I was recently asked on Facebook by someone named Mike if I had a recipe for a loaf of seitan bacon.
I seems Mike had a product he liked that was simply, best I could tell from the picture he shared and the description, a loaf of bacon like seitan. Nothing fancy like we see all the time these days. It did not remotely look like bacon, but had the flavor profile and was sliceable.
Mike had been looking for a recipe for a seitan bacon, and again best I can tell from our brief internet chat, kept finding recipes for fancy, realistic, vegan bacons. Mike just wanted the loaf he missed that he can no longer find.

So, I looked the ingredient list, it was pretty similar to most of my seitans, and figured I would give it a whirl and see if It was like the vegan bacon Mike was missing.
But really I kept thinking this was more like a Canadian bacon vs traditional bacon. Since it was going to be sliced from a loaf and round. I used to love Canadian bacon on an English muffin with egg and cheese as a kid. Essentially breakfast ham! So that is the direction I decided to go.
I already make a seitan glazed ham but it is intended to be sliced for sandwiches or served as a holiday vegan ham. Not really the cylindrical log of bacon Mike was referring too, but the base and many of the spices are similar.
And with that, I give you a simple seitan breakfast ham recipe. A vegan breakfast ham/bacon that can be sliced, fried up in a pan, and eaten with all of your favorite breakfast foods. No bells and whistles, no fancy 2 toned coloring to make it look like real bacon (Just so we are clear, I am fascinated by all of the amazing realistic looking vegan bacon recipes out there and think they are amazing, this is just not what we are aiming for in this recipe) Just an easy, anyone can makes this, maple laced, salty, vegan breakfast meat that maybe Mike will like?!?! And if not, I tried Mike, I really did!
So if you have made seitan a million times, or never made it once in you life, this recipe is for you. It is easy, but tasty. Sometimes no matter your skill level, there is no need to over complicate a thing. And I tell you what, your breakfast sandwiches will be a whole lot tastier with this vegan breakfast ham! I am sure I will also find a lot of other uses for it, but for now I am focusing on ham, egg and cheese sandwiches for days to come.
Thanks for the challenge Mike, and y’all feel free to shoot me a message if there is a recipe you miss or think I should try to make. I like a challenge.

INGREDIENTS:
1 block super firm tofu, 14-16 oz
2 cups Vital Wheat Gluten
2 tablespoons tomato paste
1/4 cup maple syrup
2 tablespoons tapioca starch or corn starch
1 tablespoon white sugar
2 teaspoons onion powder
1-2 teaspoons garlic powder
1 teaspoon smoked paprika
1/2 teaspoon black pepper
1 teaspoon coriander
1/8 teaspoon nutmeg
1/8 teaspoon allspice
1 teaspoon salt if you think it needs more (the bouillon and soy add a bit of salt as is)
2 tablespoons Garlic or Vegetable Better Than Bouillon (I used garlic)
2-3 teaspoons liquid smoke
1 tablespoon coconut aminos or soy sauce
2 tablespoons water if need (add last)
COATING:
A few tablespoons maple syrup
Salt
TROUBLE SHOOTING THIS REICPE:
*I used high protein tofu in a vacuum sealed package and this what I strongly advise using. It is much firmer than regular firm tofu and has less moisture and a more chewy texture. If you opt to use regular firm tofu you will need to press it first and remove as much liquid as possible. You may need to adjust the amount of water in the recipet as well. Add the water last, adding just enough to accomplish a firm dough.
*If you find your vegan breakfast ham has A LOT OF LITTLE HOLES, and a more BREAD LIKE TEXTURE this can be caused from under kneading the dough, BUT more likely cooking the seitan at too high of a temperature, or for too long. Check your ovens temperature with an oven thermometer. Your oven may just be cooking hotter than it registers. Also gas and electric ovens tend to cook differently. If you do not have an oven thermometer you can reduce the heat in your oven by 25 degrees, and keep the seitan covered for 50 minutes and open for 10.

INSTRUCTIONS:
Preheat oven to 350 degrees
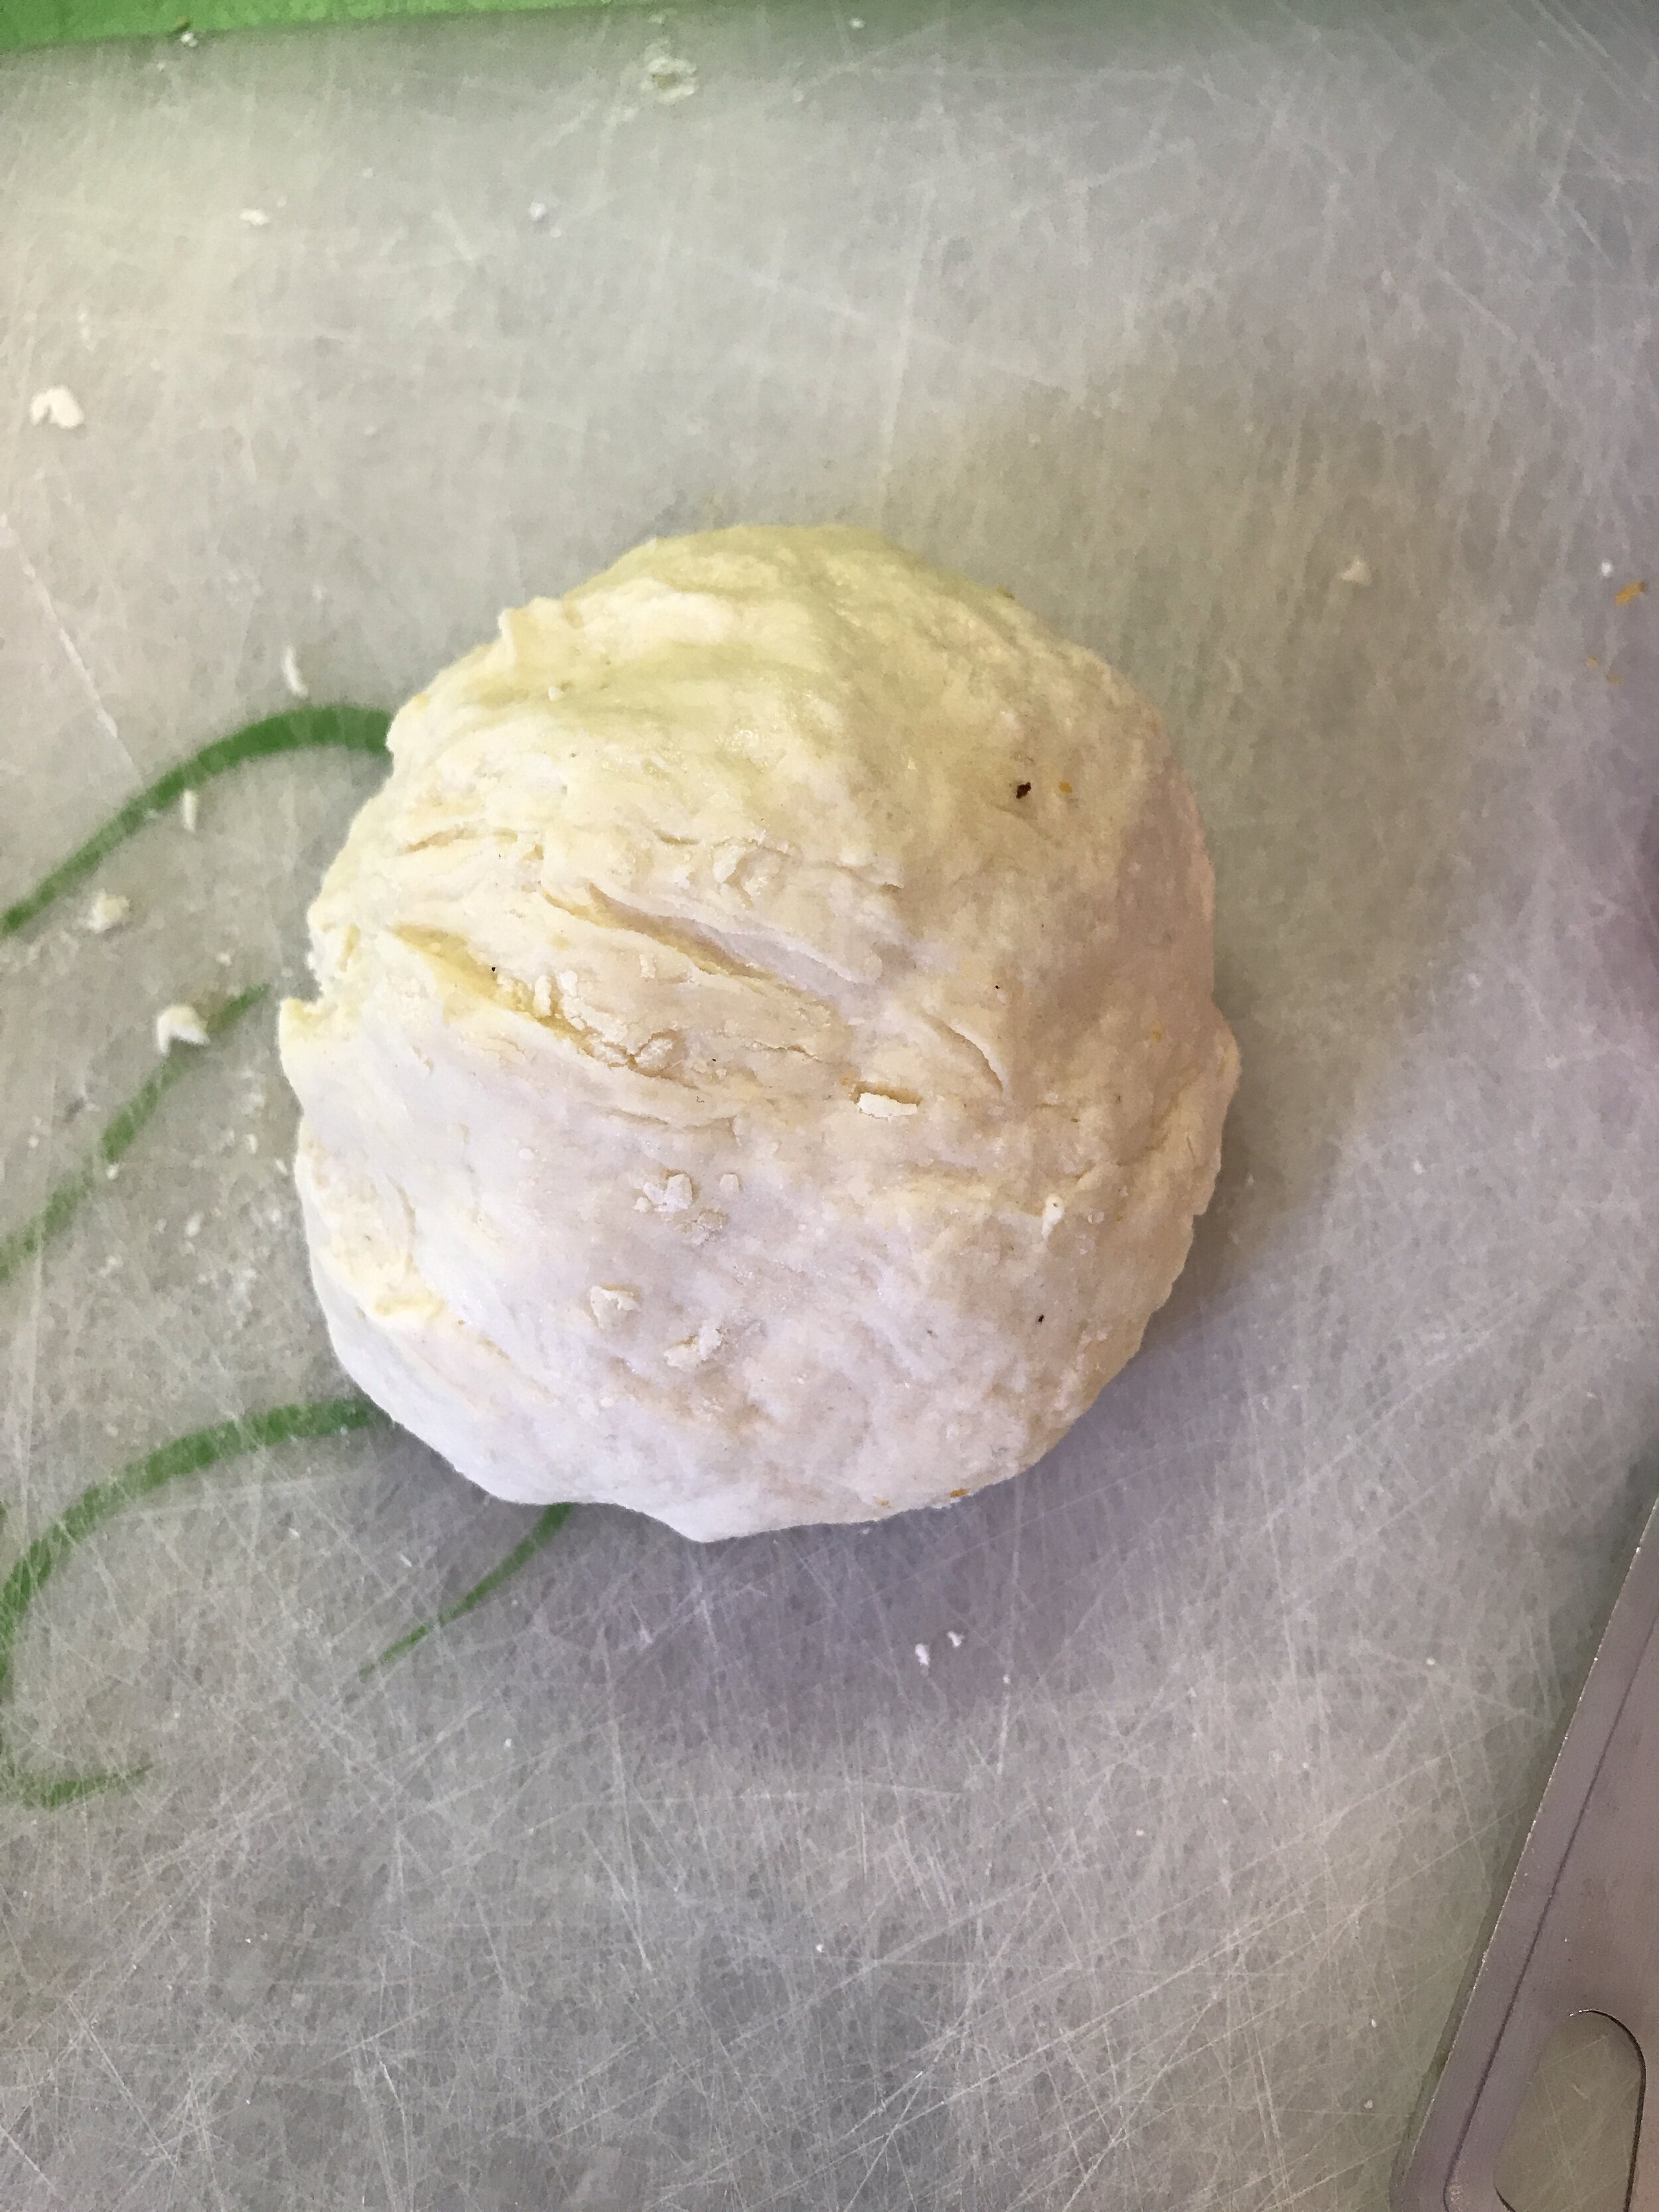
Break up the tofu and place it into a food processor with the regular metal blade. Run the processor for around a minute until the tofu is broken down.
Add all of the remaining ingredients and let the food processor run for a couple of minutes. You want the mixture to form a dough. Letting the processor run will help knead the dough. We want this seitan to be firm so we need it to knead for a bit. If you dough seems a bit too dry, you can add another few tablespoons of water, just don’t add too much more! This dough came out stickier than the turkey because of the addition of more wet ingredients, and I did not have to add ANY water to mine. If your dough seems too sticky, then add 2 more tablespoons of starch.
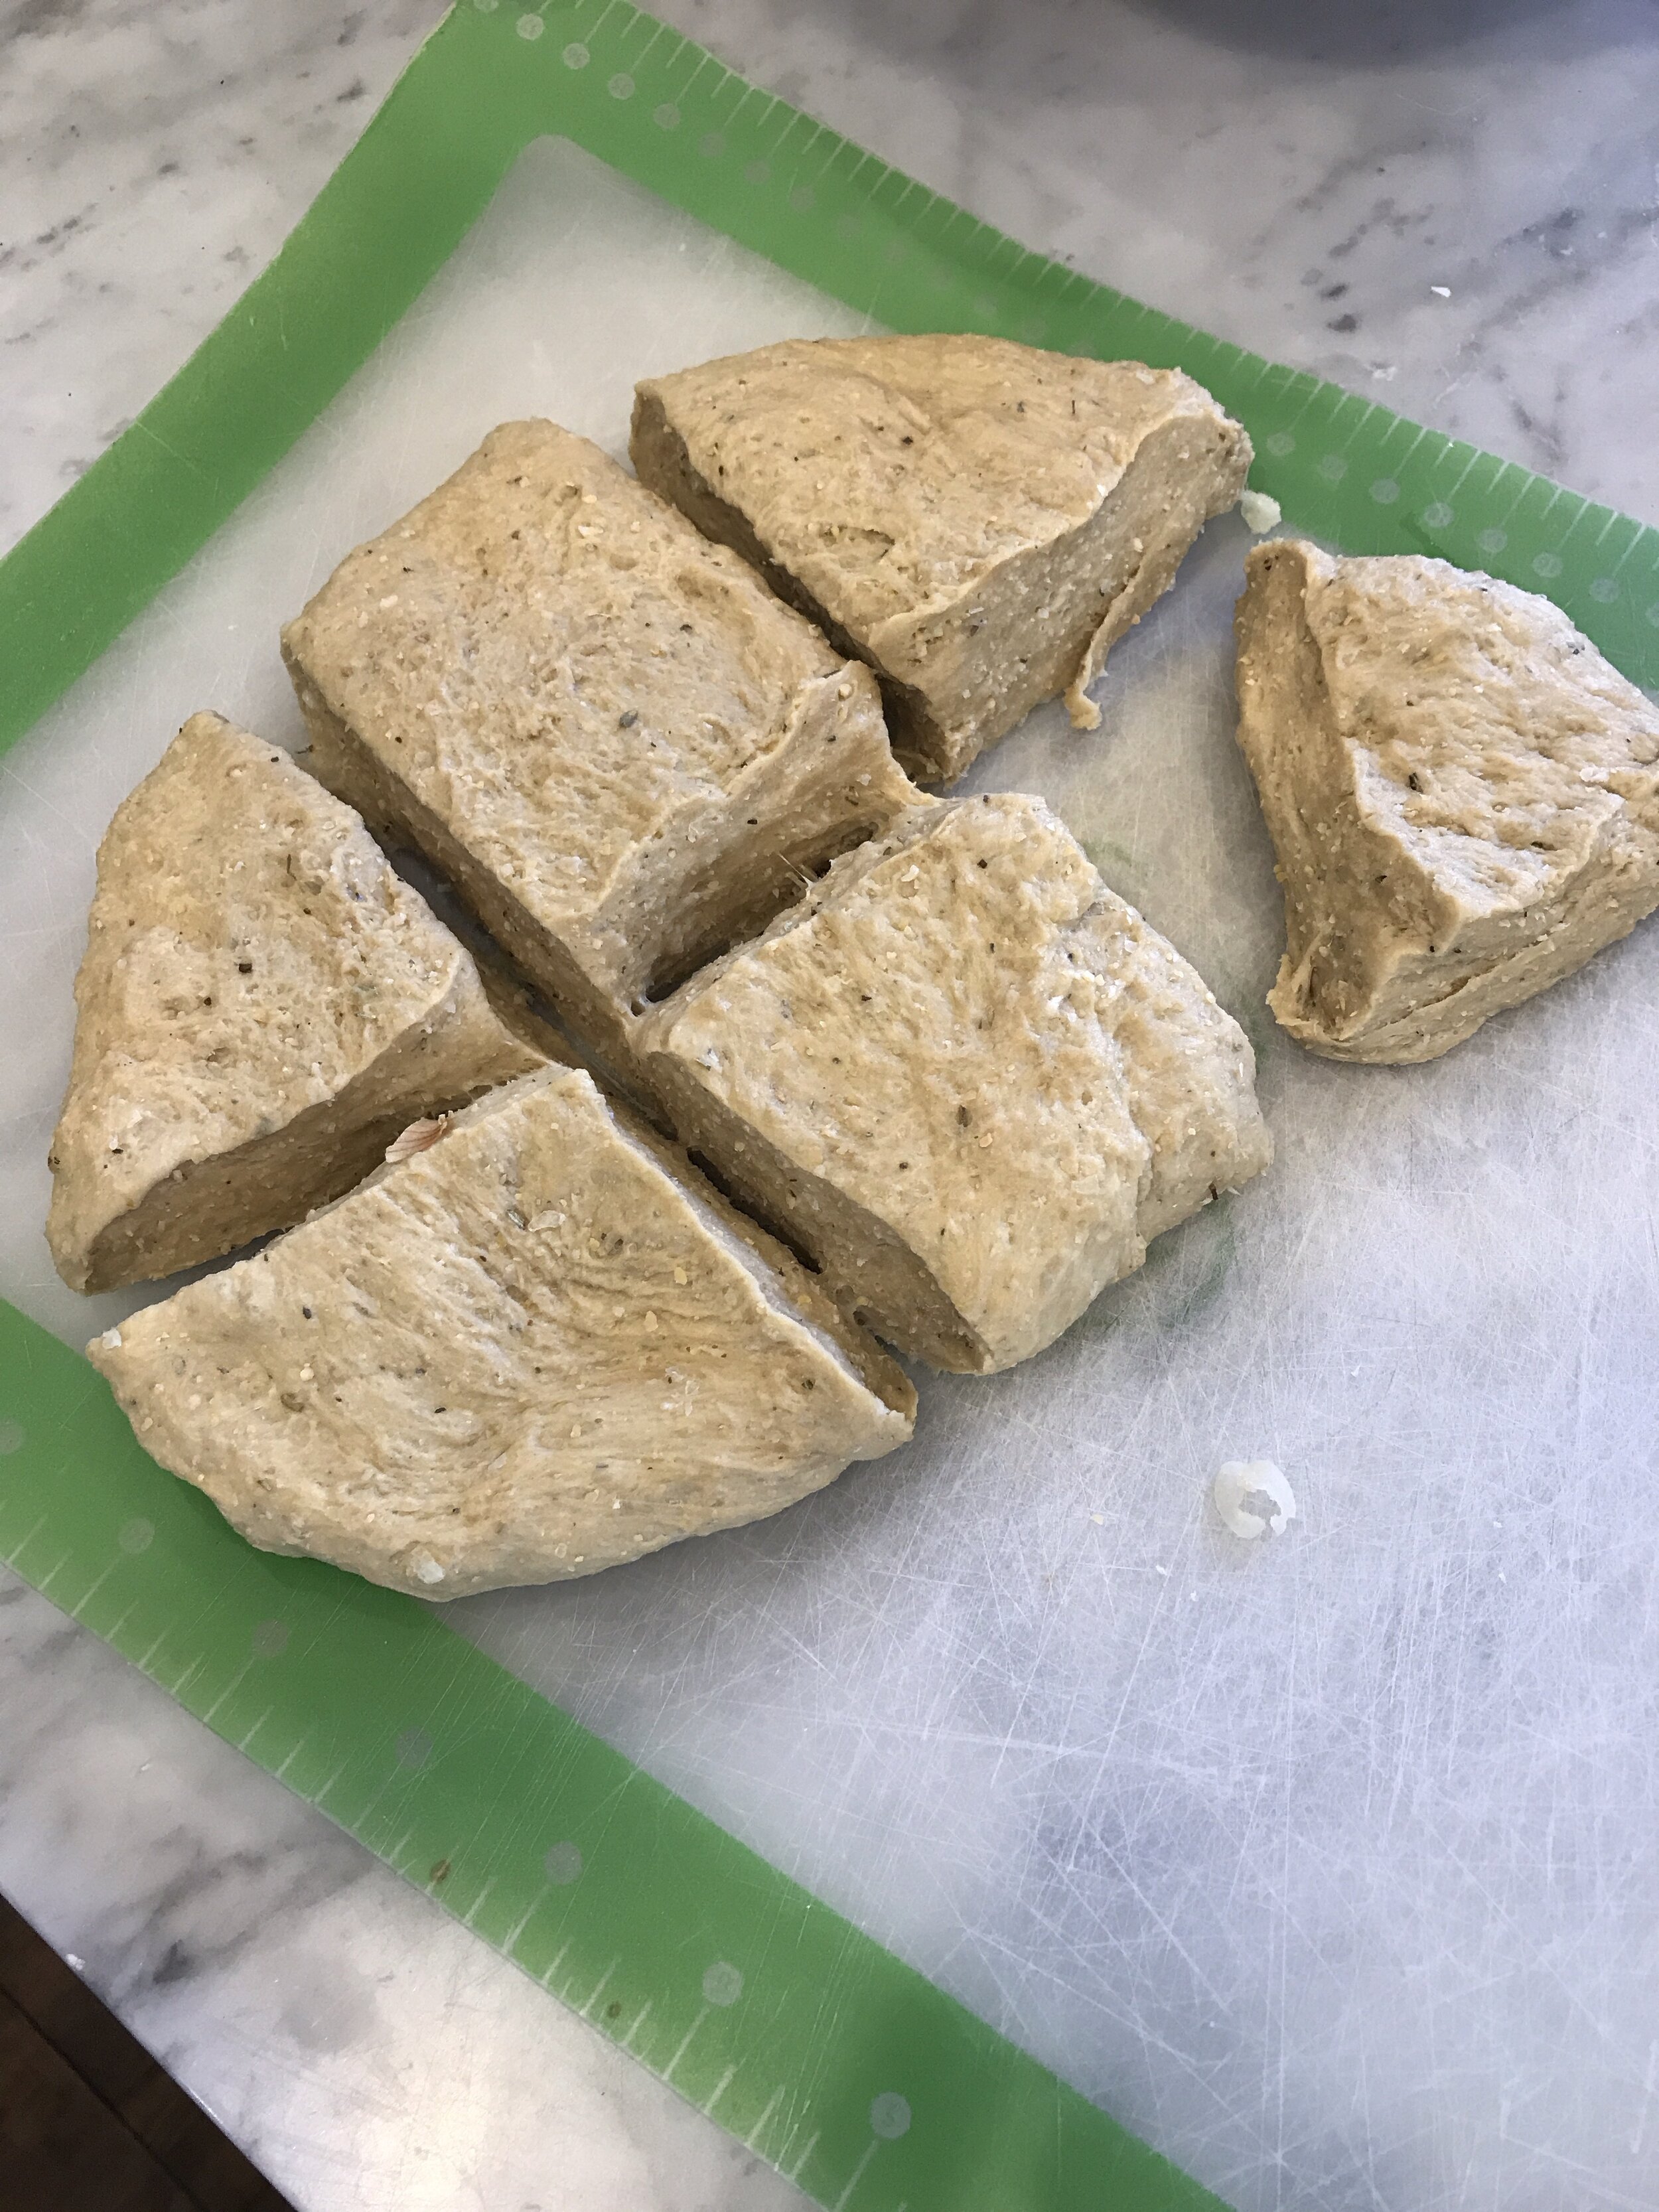
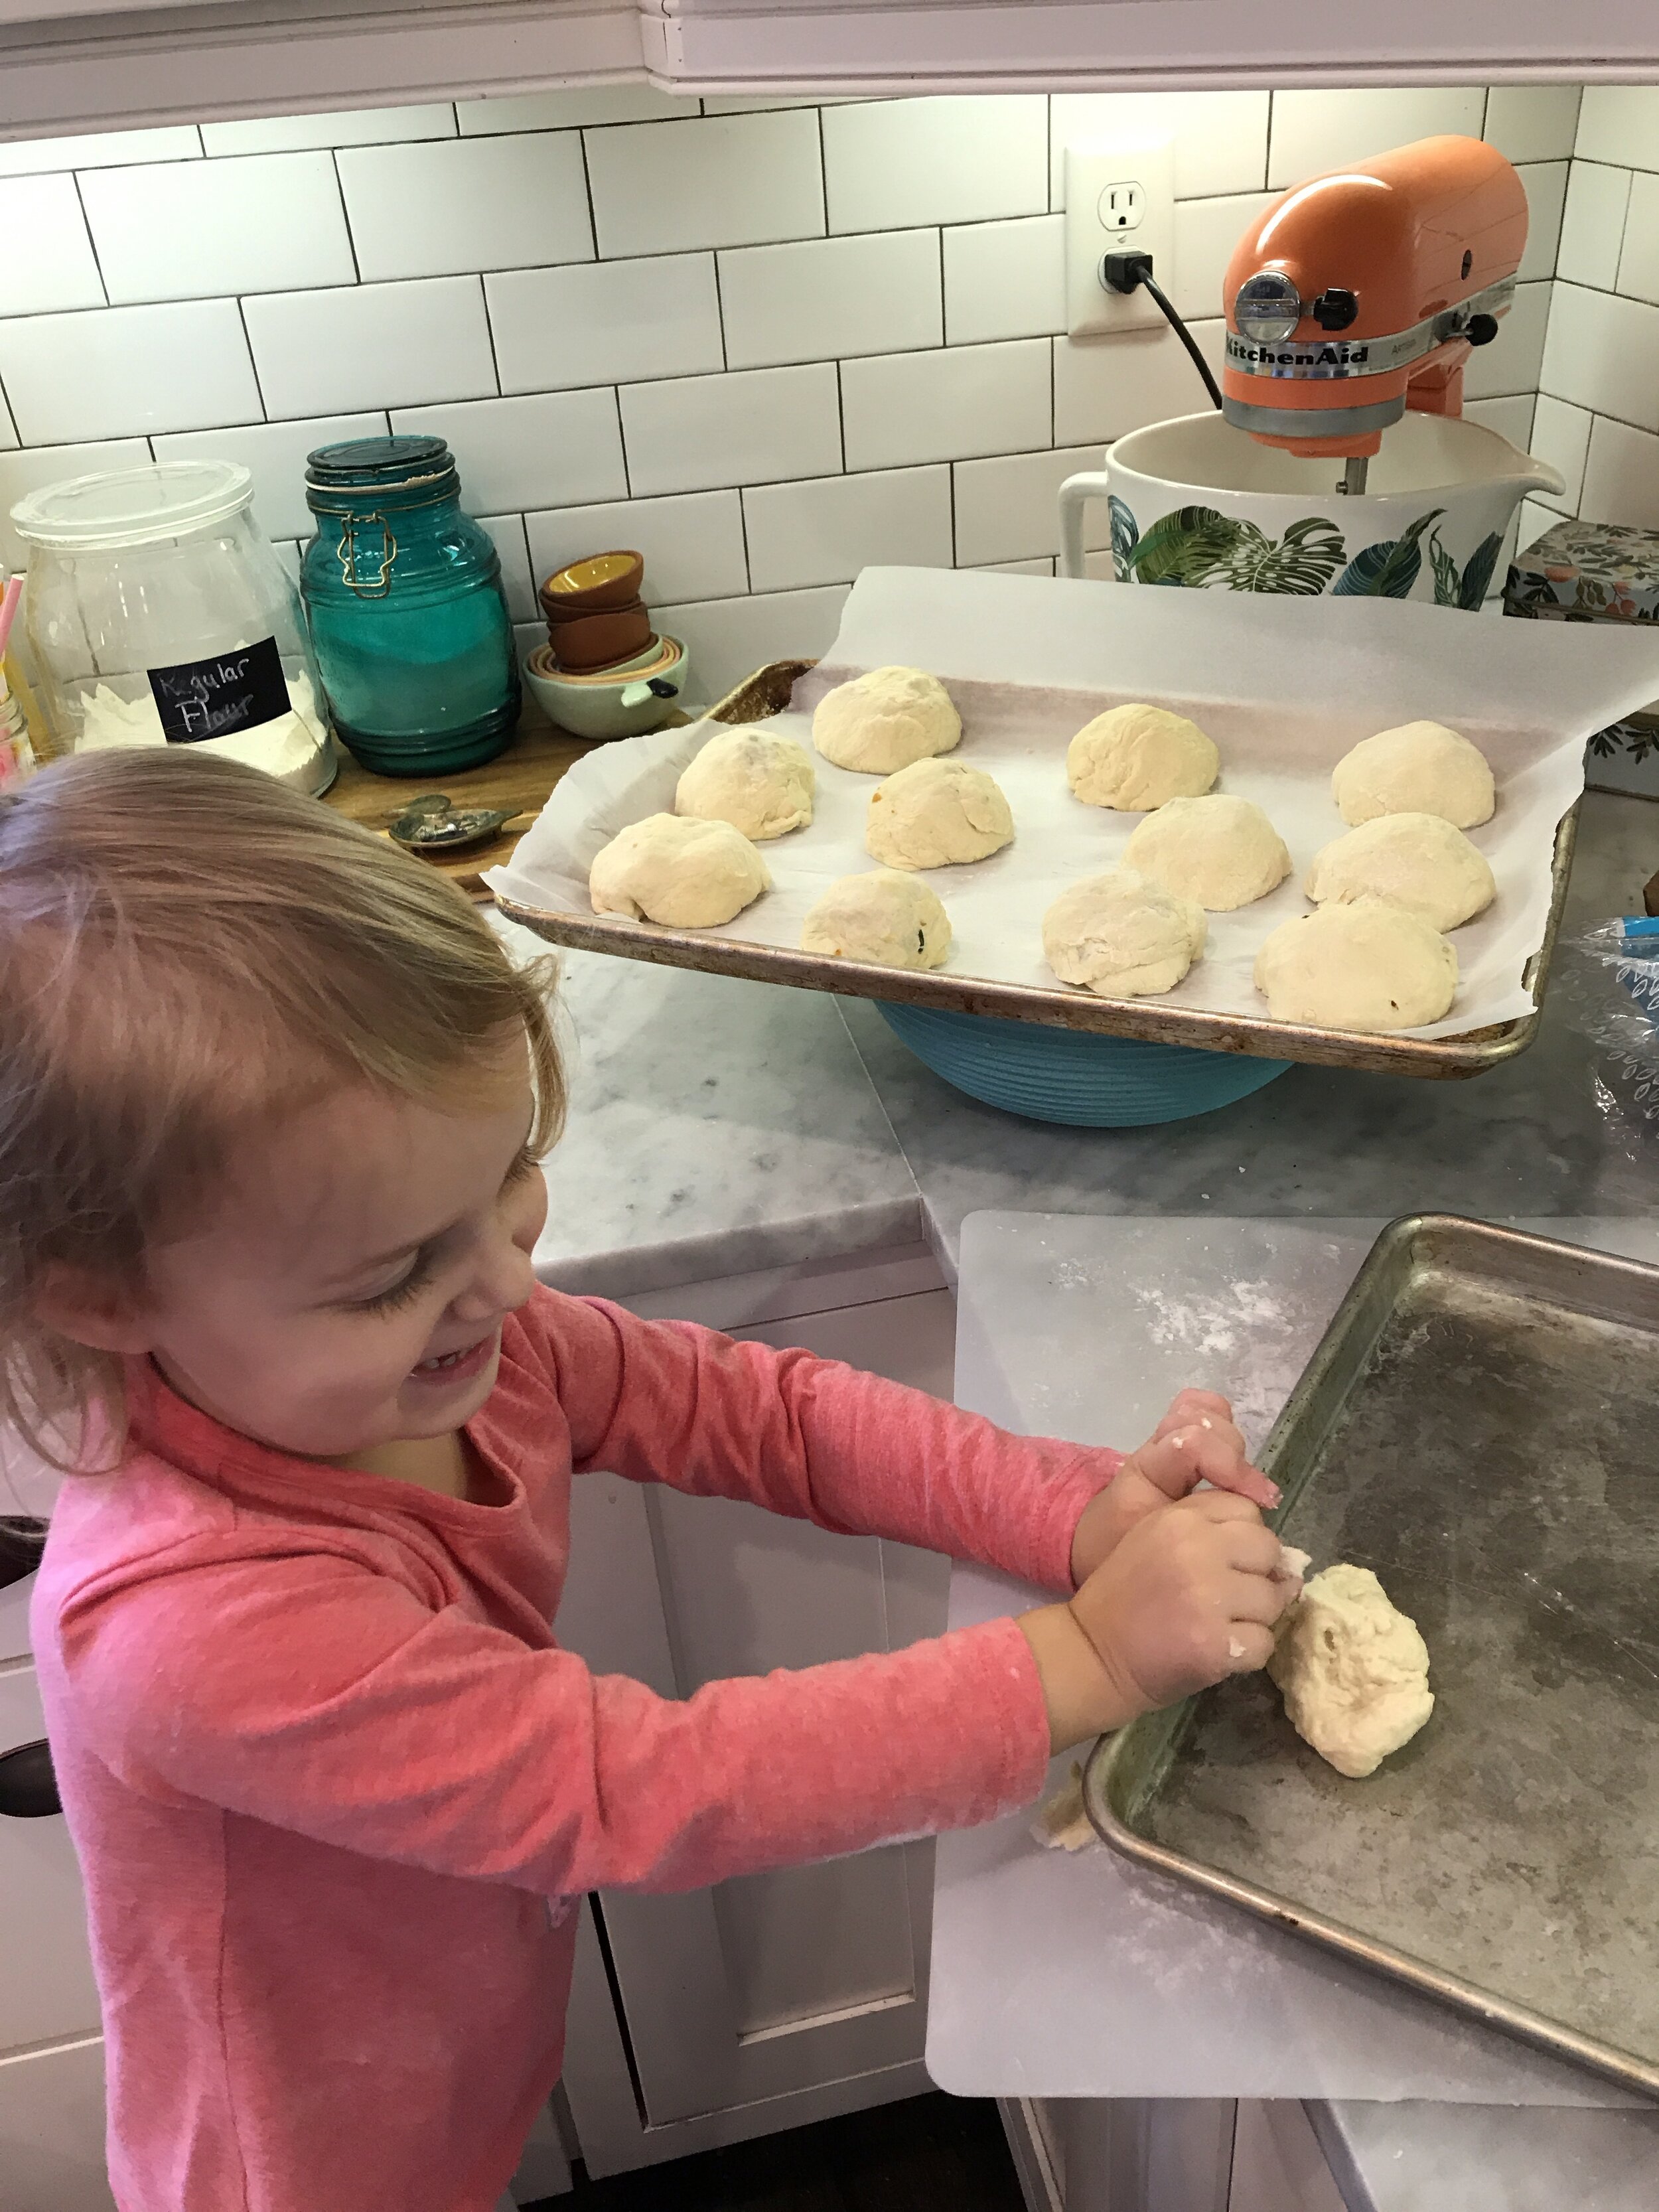
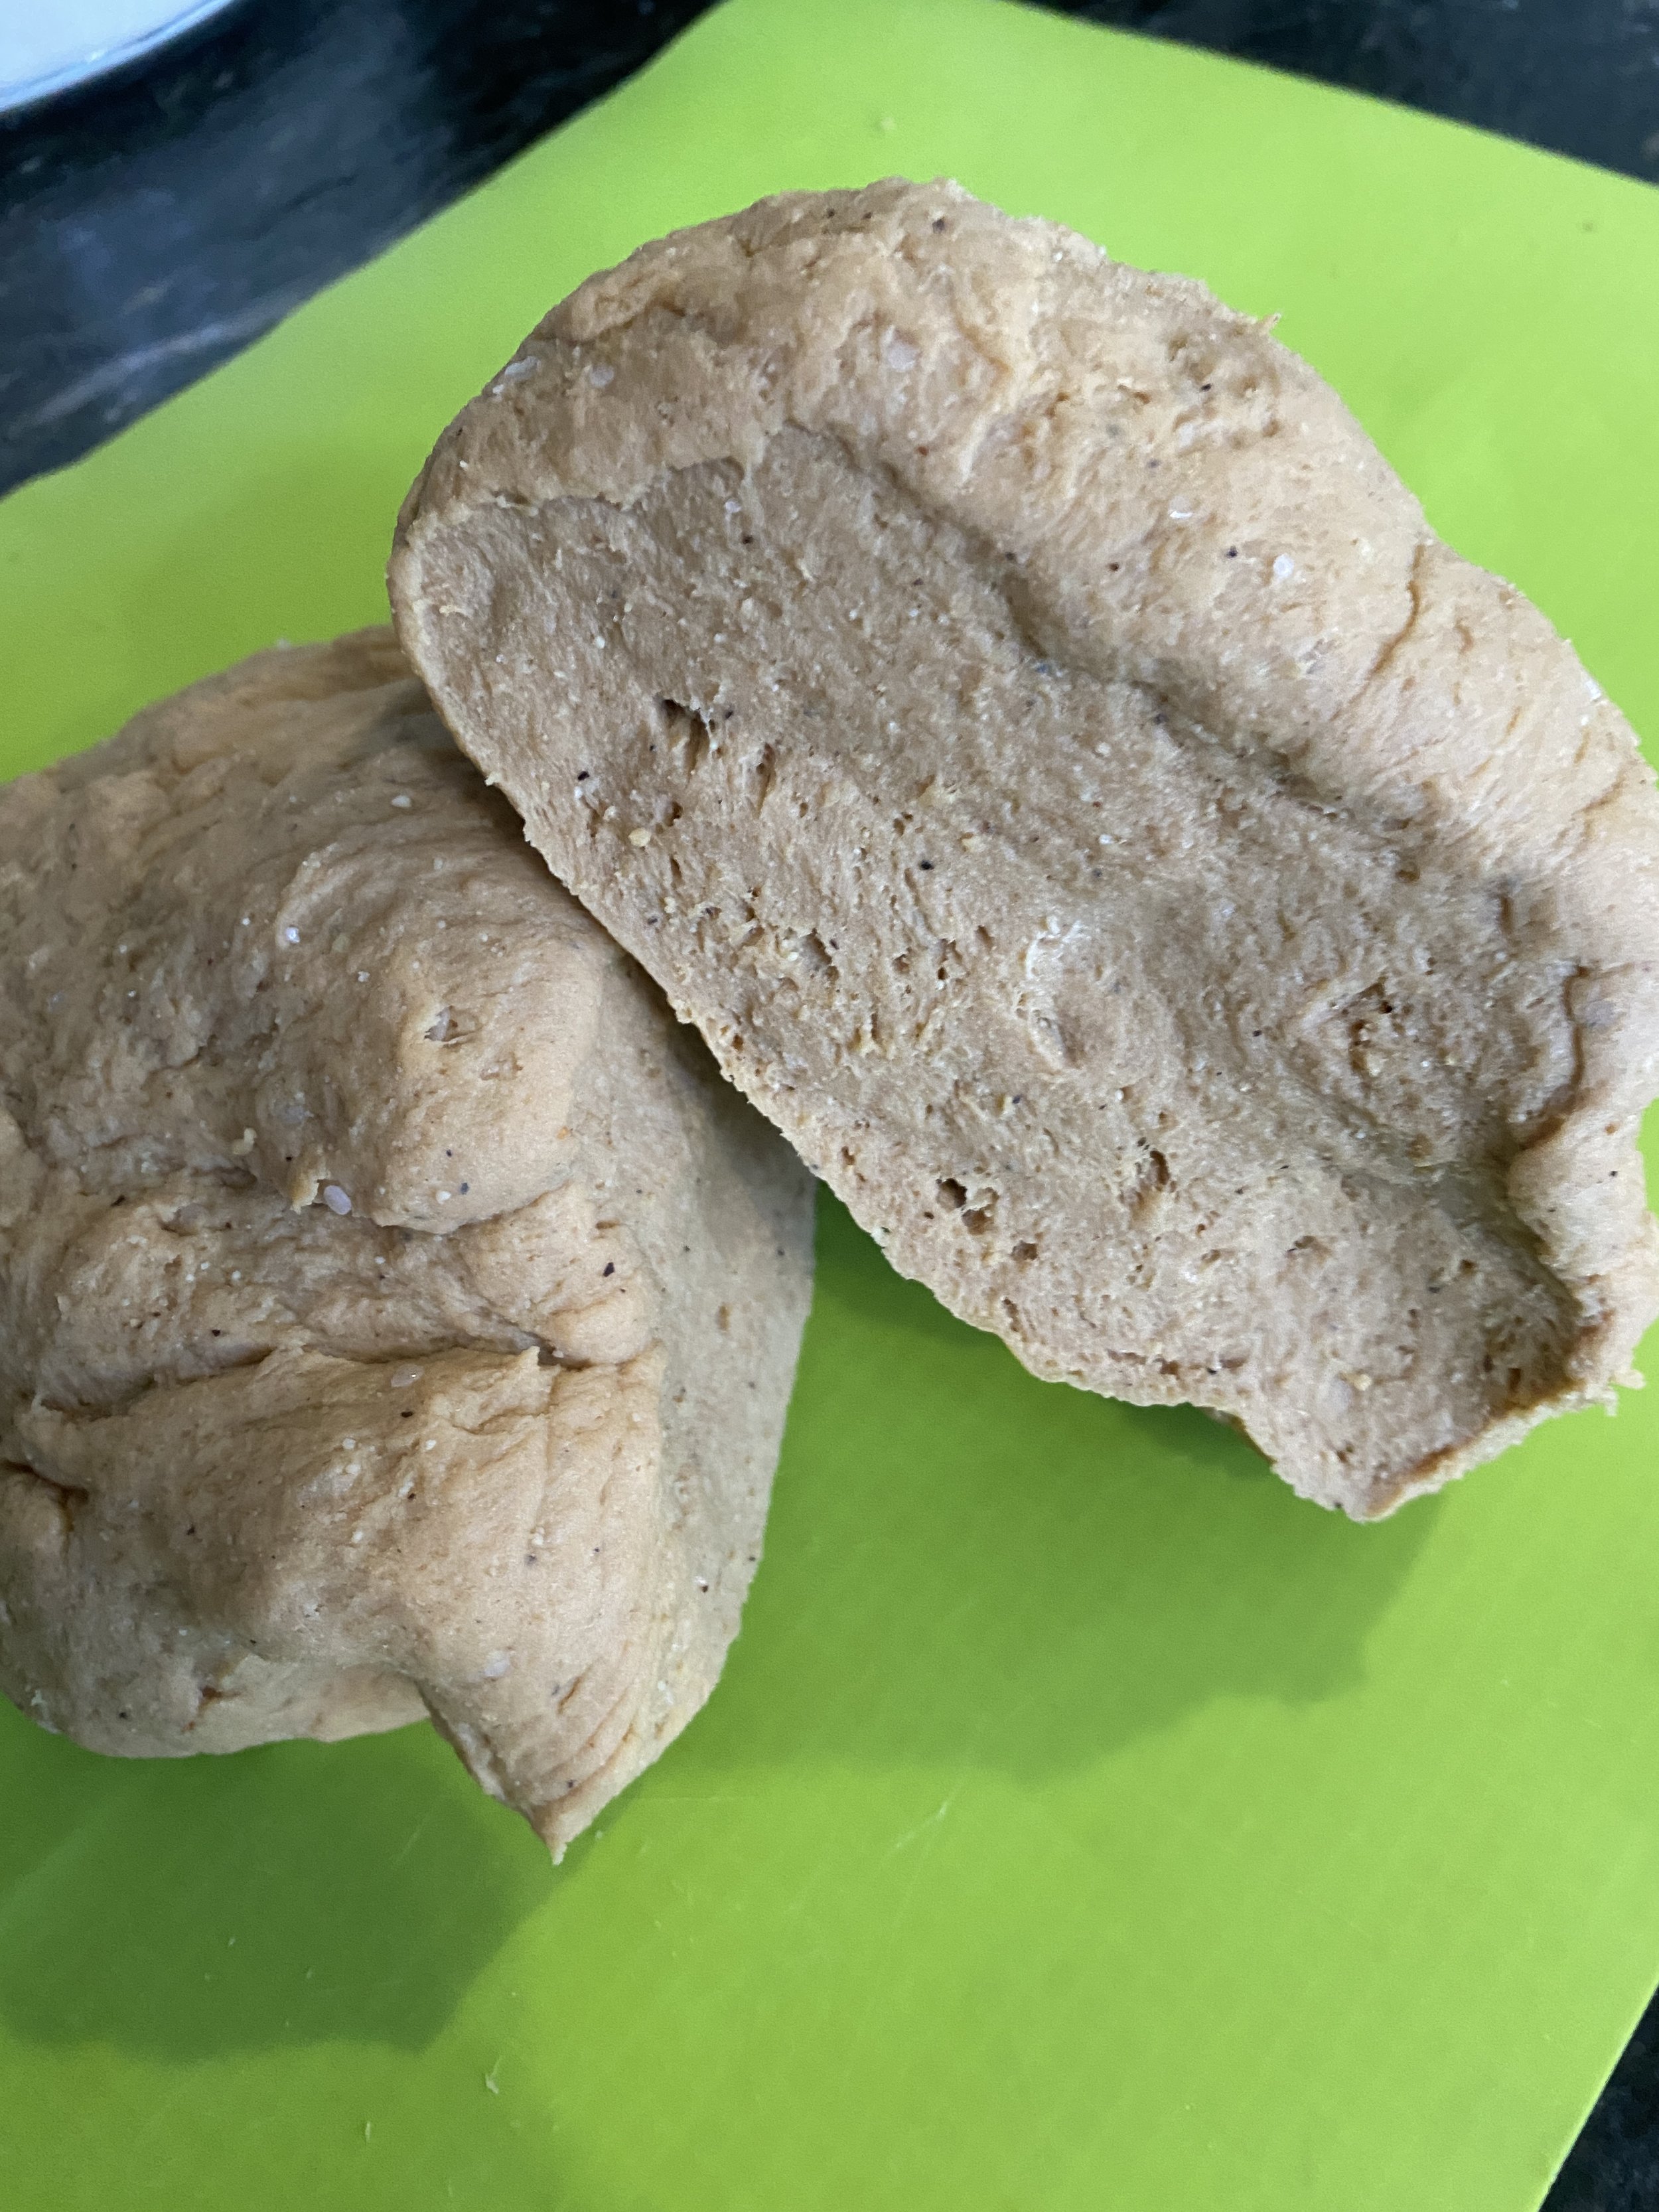
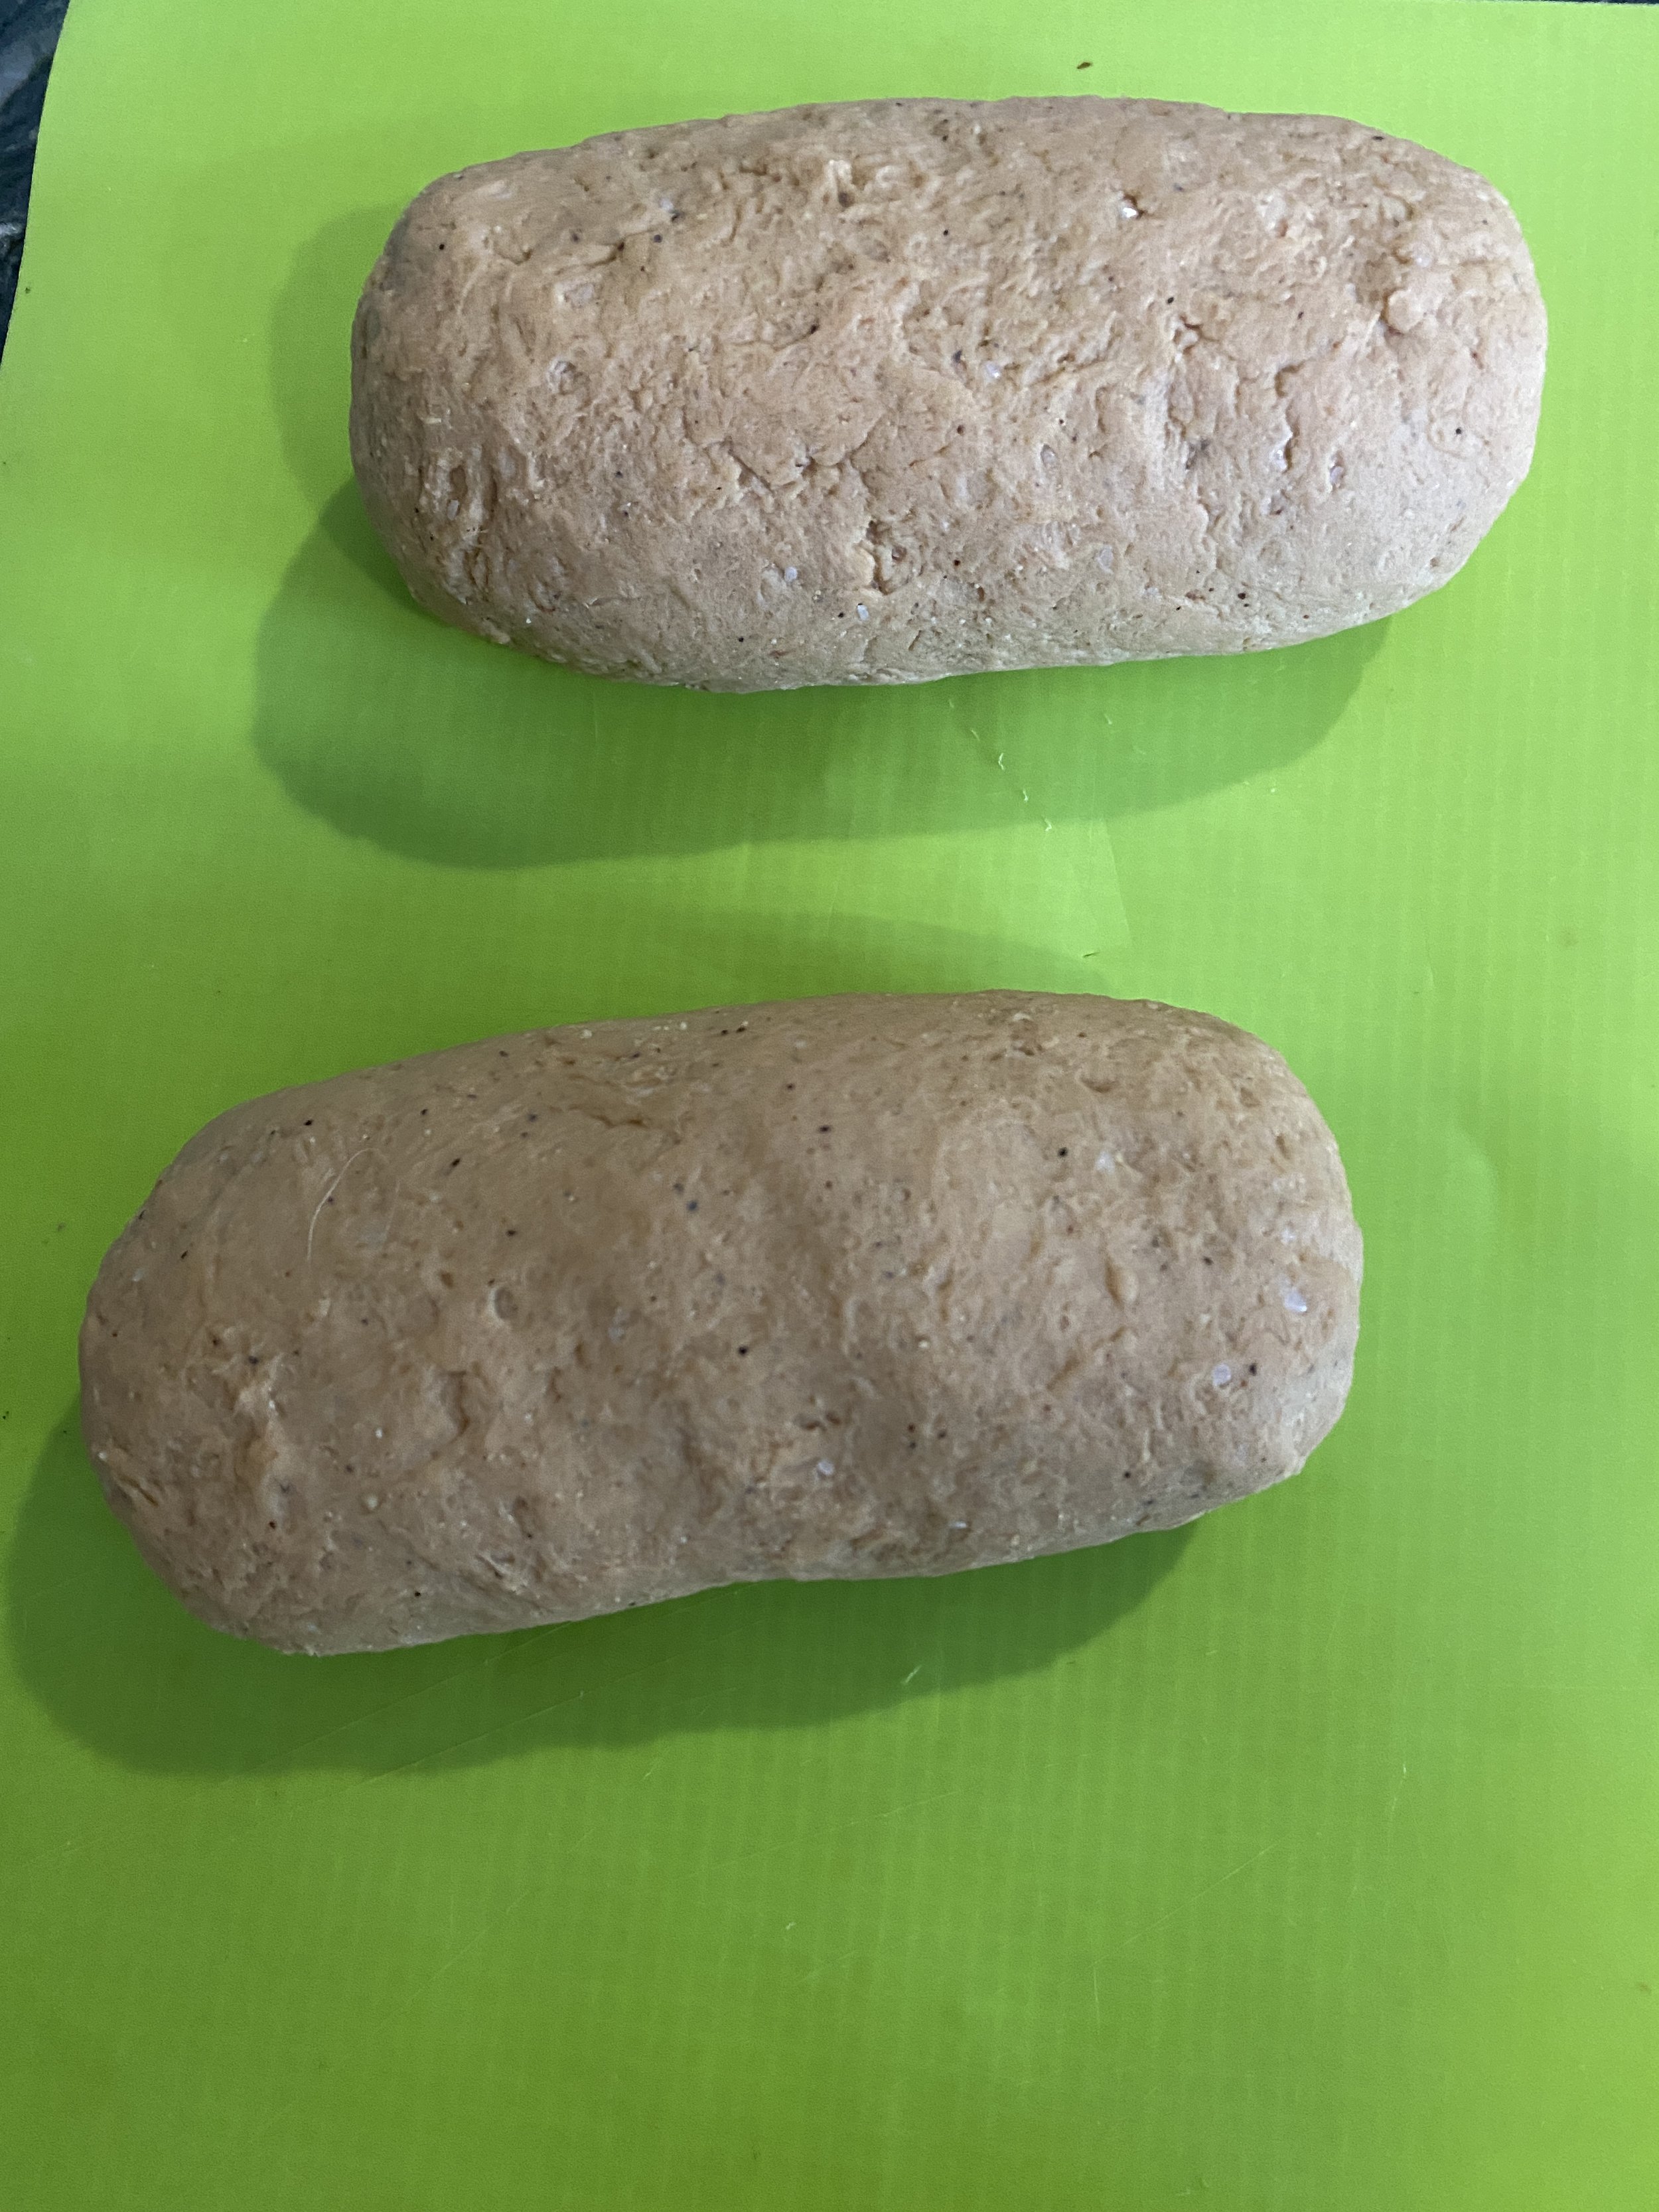
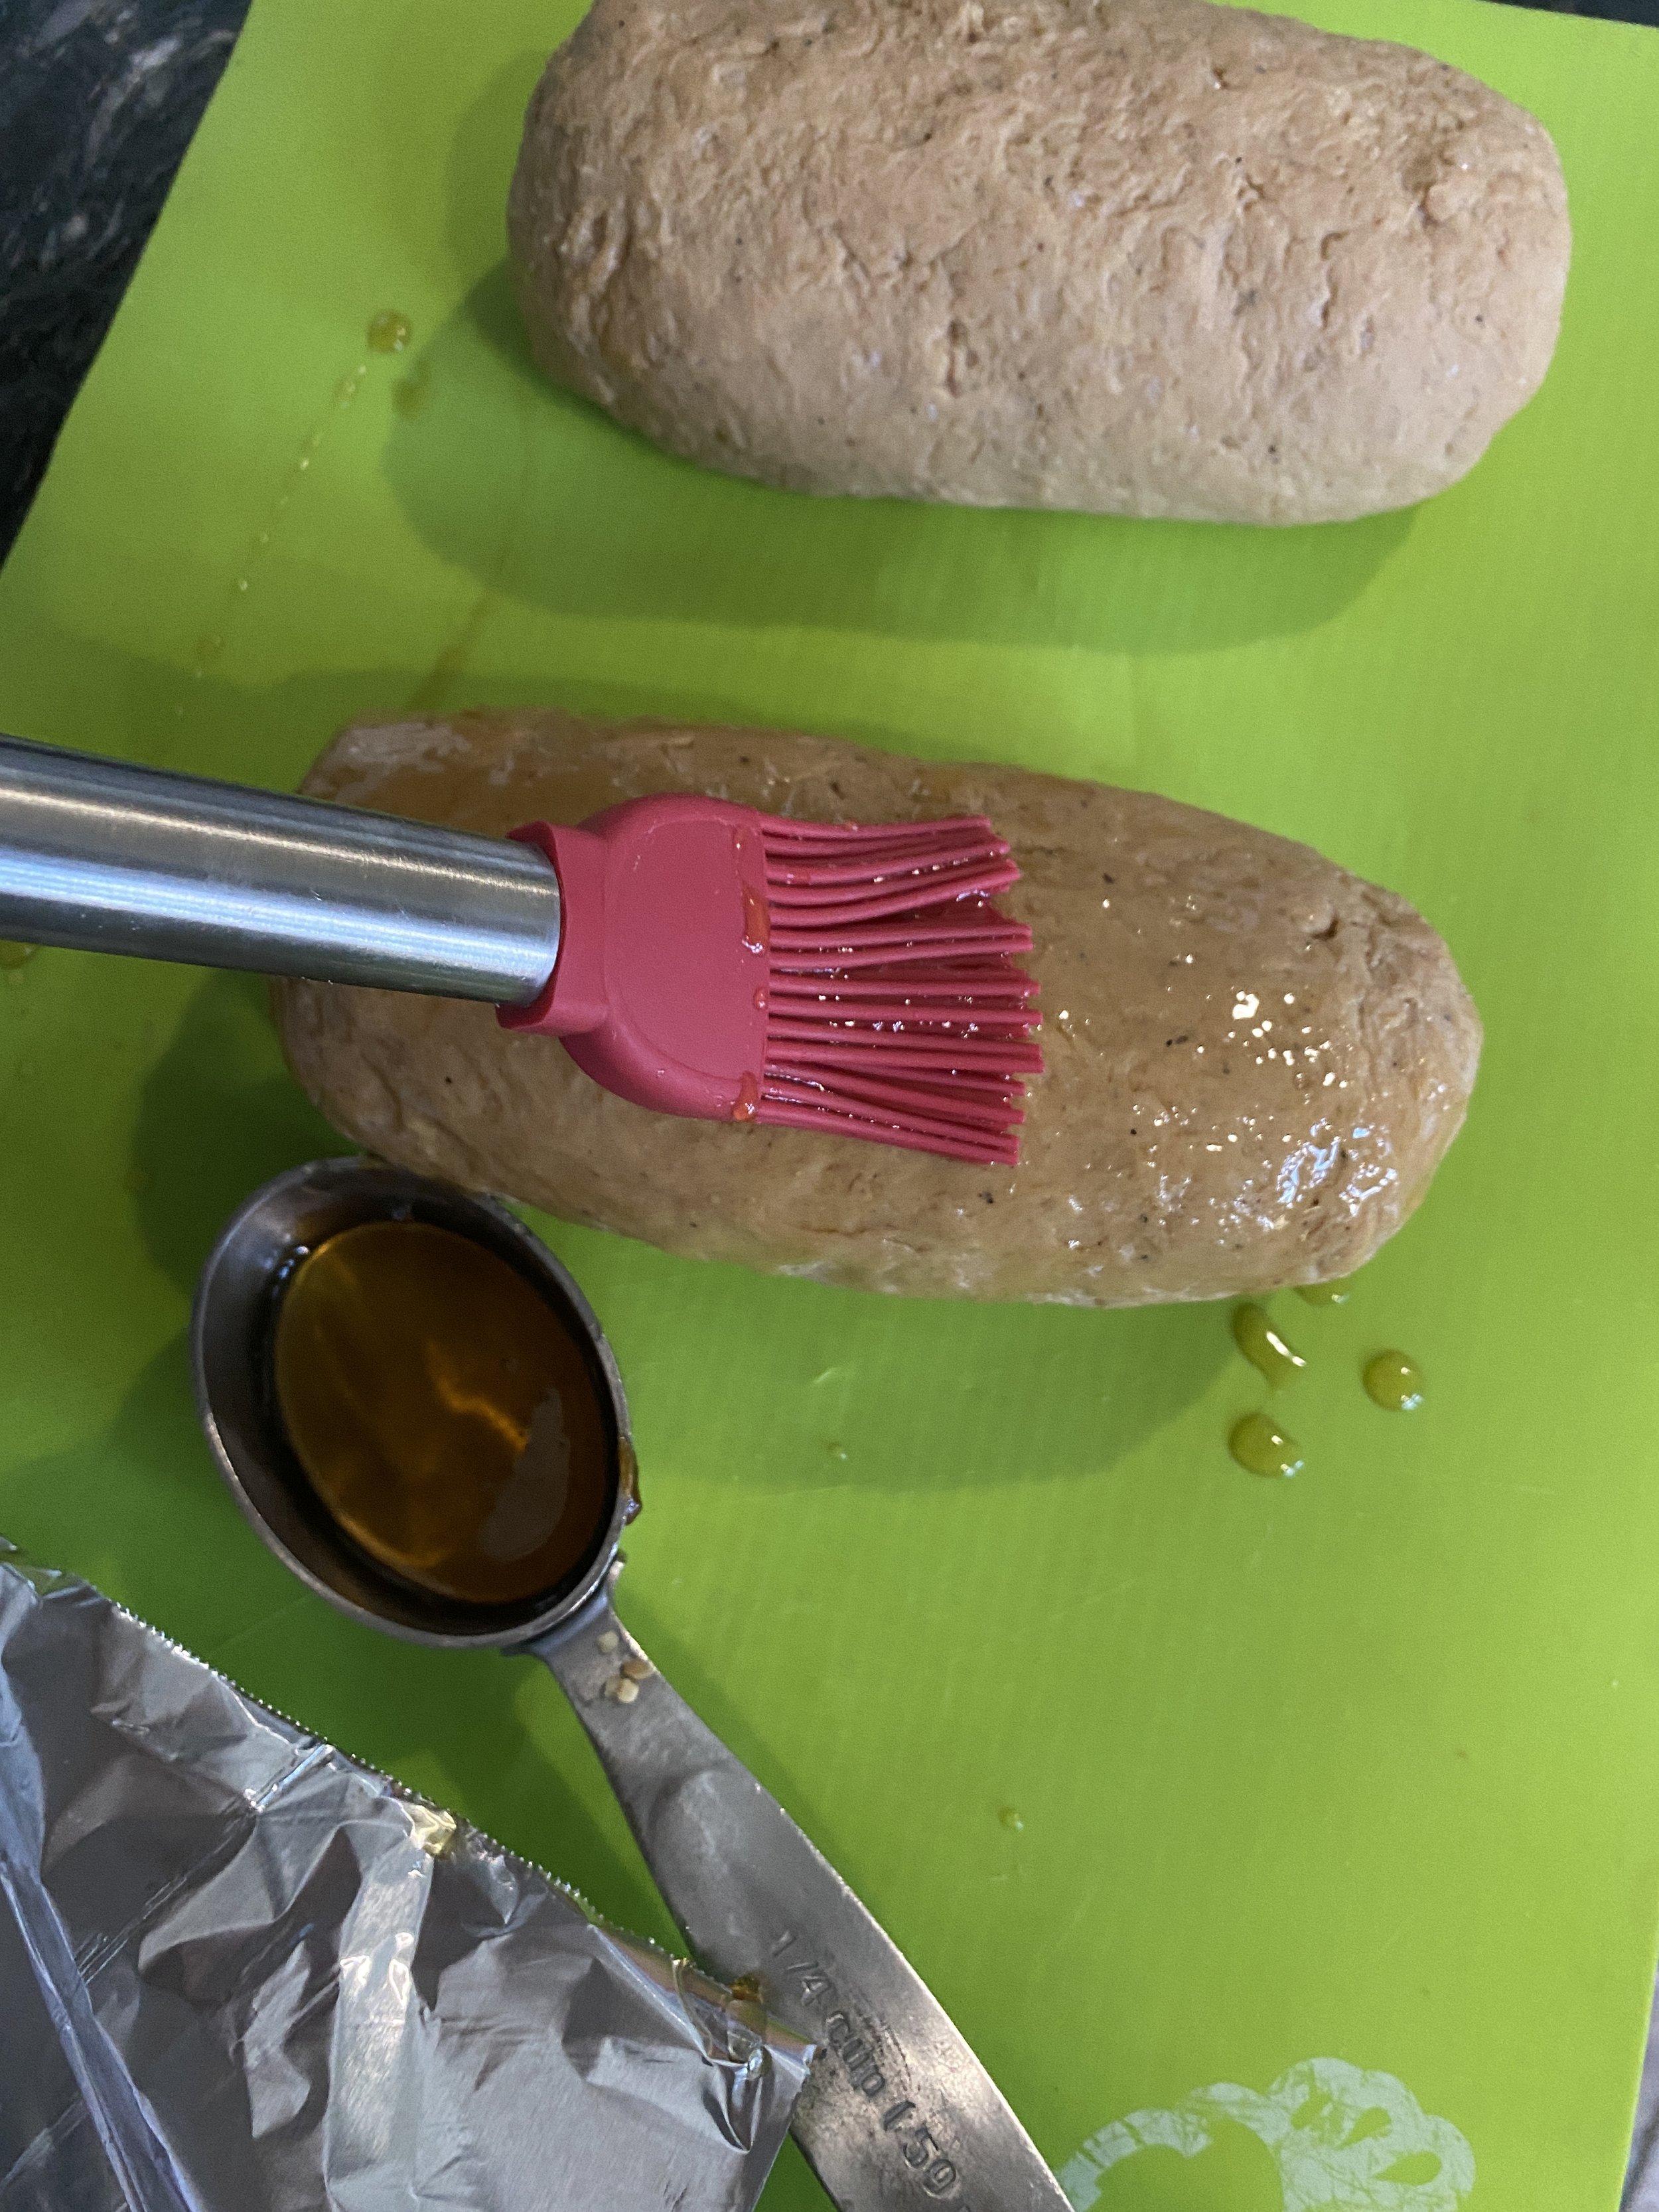
Once you have a smooth but firm dough, remove it from the food processor and place on a clean counter. Knead the dough with your hands for about a minute. Divide the dough into 2 equal piece. Form each piece into a smooth 8ish inch log. To get the dough nice and smooth roll the dough back and forth on a smooth cutting mat using the heals of your hands. You may have to pinch any seams you see and roll them out smooth.
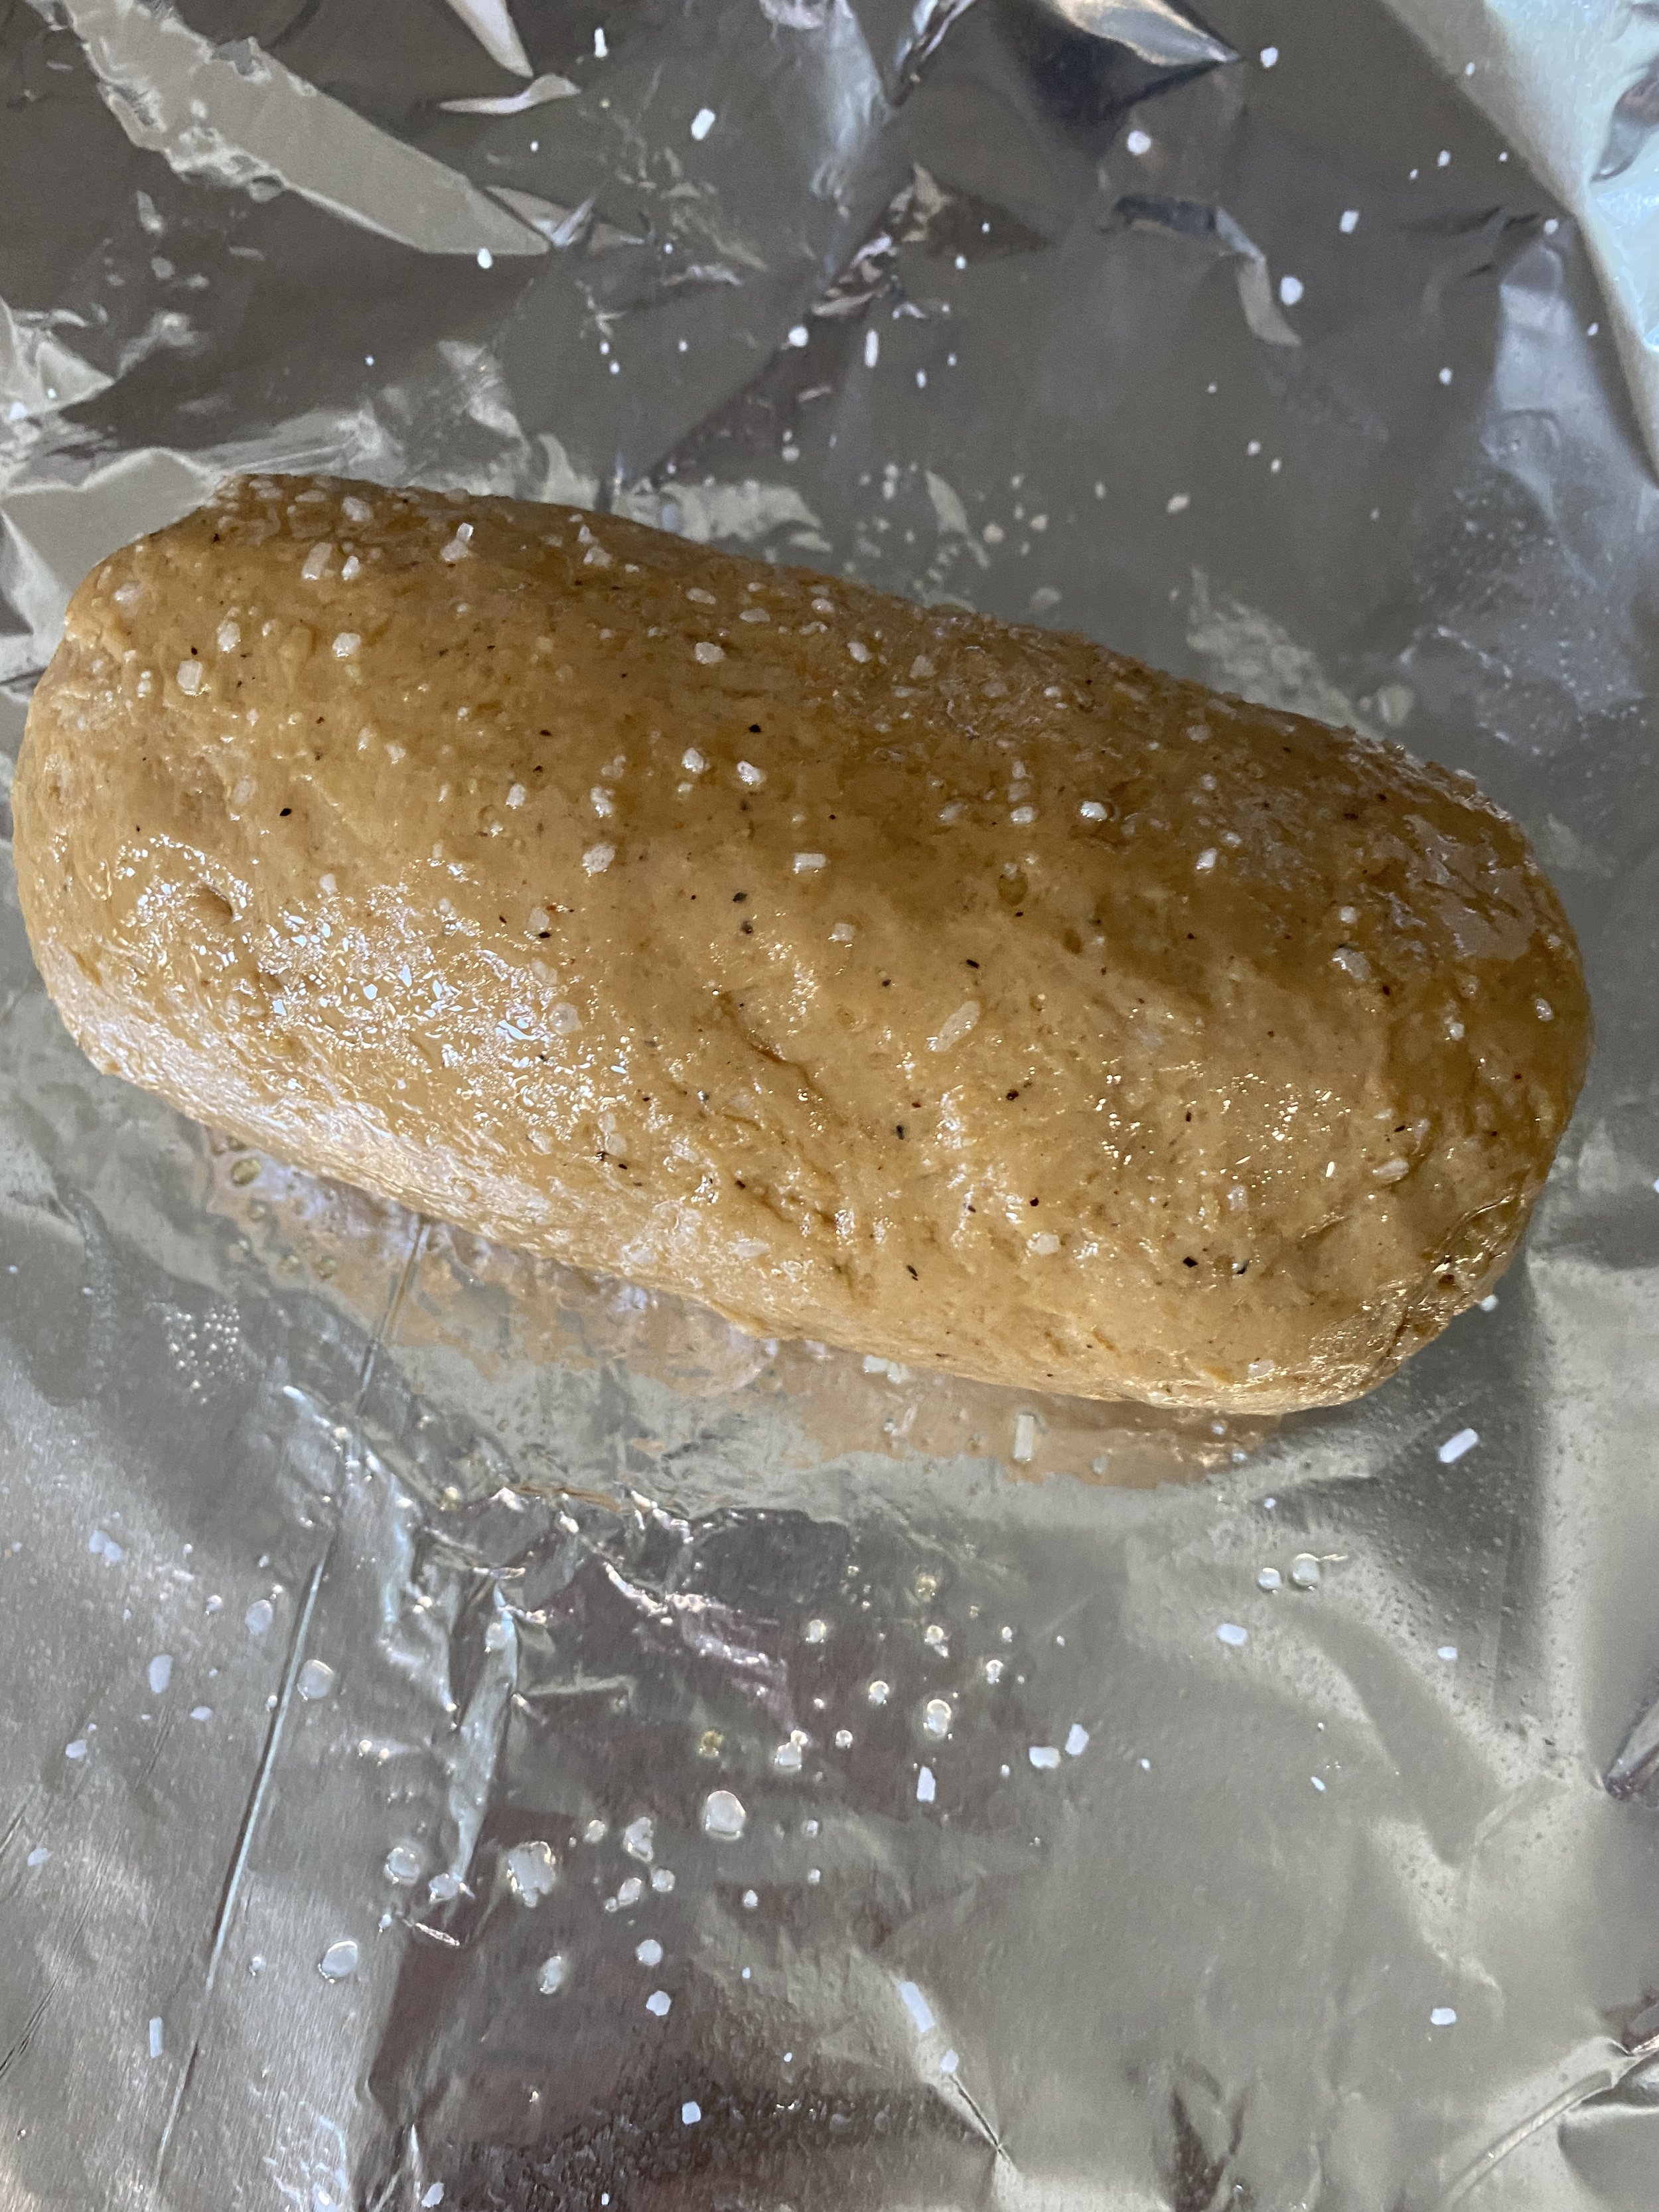
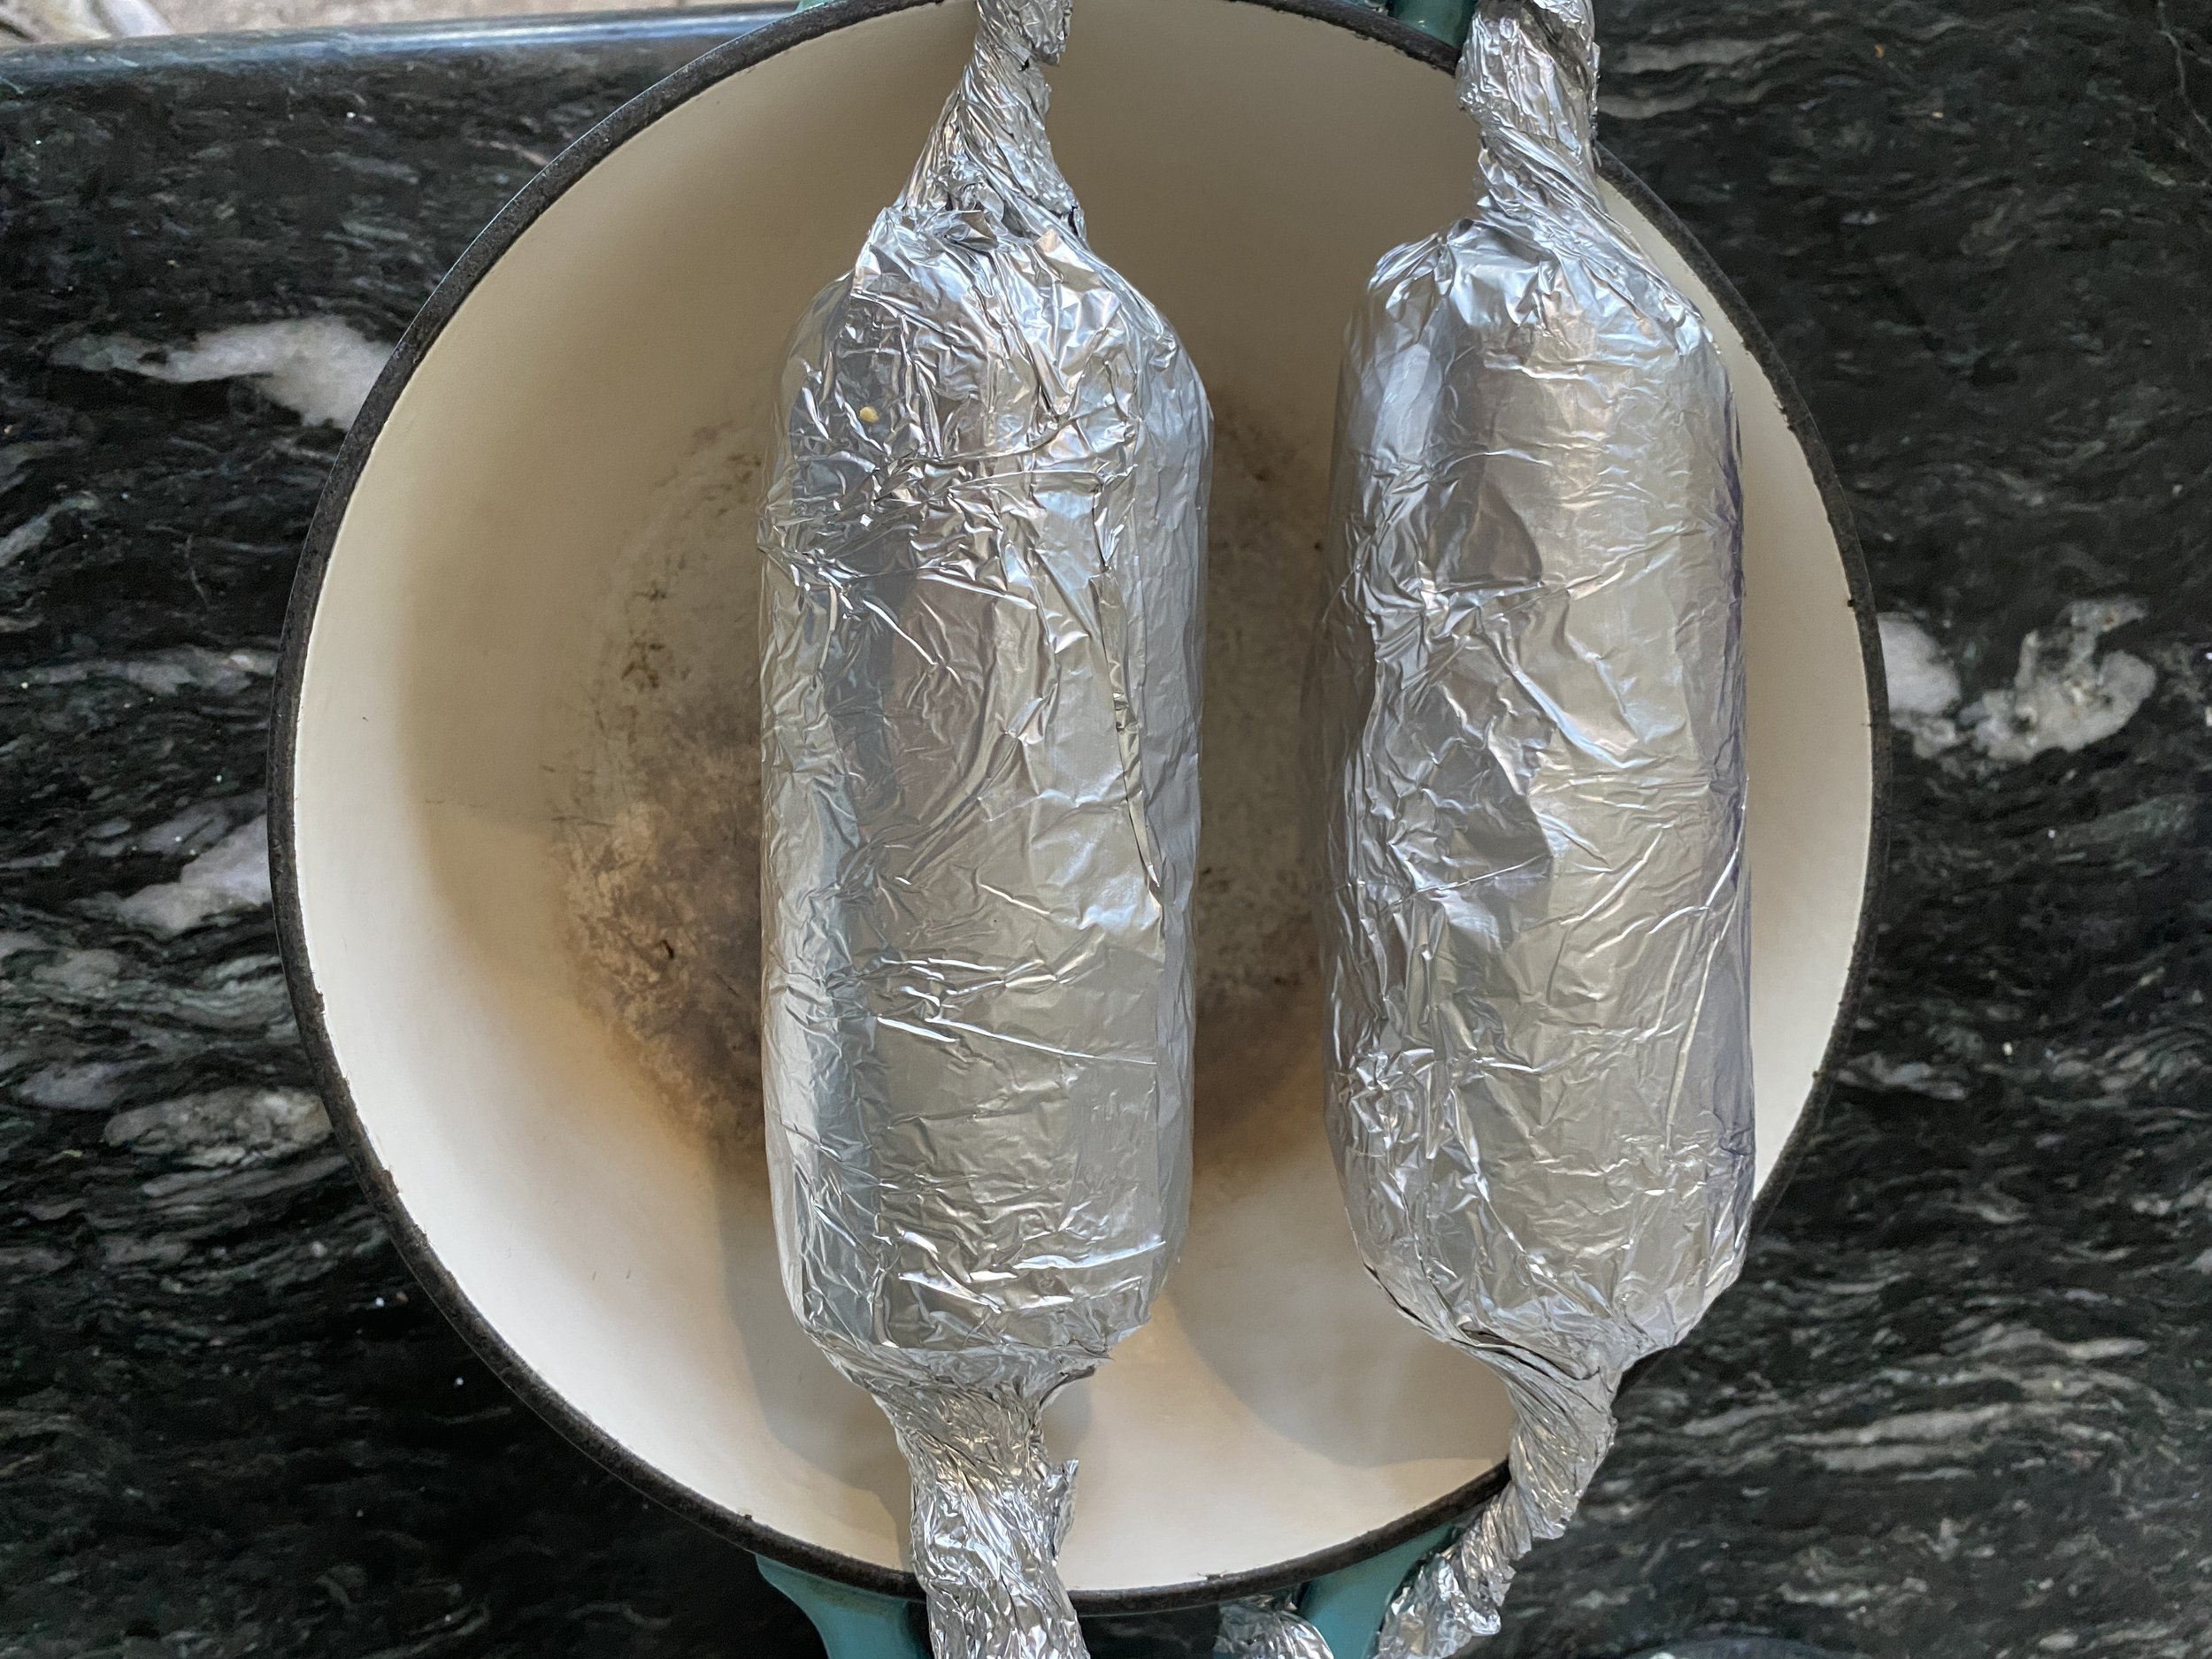
Take four pieces of aluminum foil about 3x bigger than the loaf of dough, and lay it out flat. Coat a piece of the foil in spray oil or wipe it down with any oil you have. Brush the loaf with a tablespoon or so of maple syrup. Sprinkle salt ( this depends on your salt preference, but I maybe did a little under a teaspoon per loaf) onto the foil and roll the sticky loaf in the salt. Lay the foil out and place the loaf at one end and roll the loaf up tightly in the foil. If the foil is super wrinkled those wrinkles will transfer to your dough as it bakes, just a heads up. Pinch and twist the ends of the foil to tightly seal the loaf. Now use a second piece of foil and wrap the dough again so this foil has nice long ends where you twist ( refer to picture.) You are trying to create sort of arms with the second piece of foil to hammock the loaf over a pot. Repeat process with second loaf.
Using a dutch oven, roasting pan, or any deep pot or pan that is oven safe, suspend the loaves over the pan using the foil arms to keep them from touching the bottom. (again refer to picture above if this is confusing.) You want the loaves to bake suspended vs sitting on a pan to maintain their shape. If you baked them directly on a pan they tend to get a flat bottom and often the bottom can brown or harden depending on what kind of pan you are using. This method just keeps them nice and round. If you don’t care that they are perfectly round then you can certainly bake them directly on a pan.
Bake the loaves for one hour, sealed in the foil.
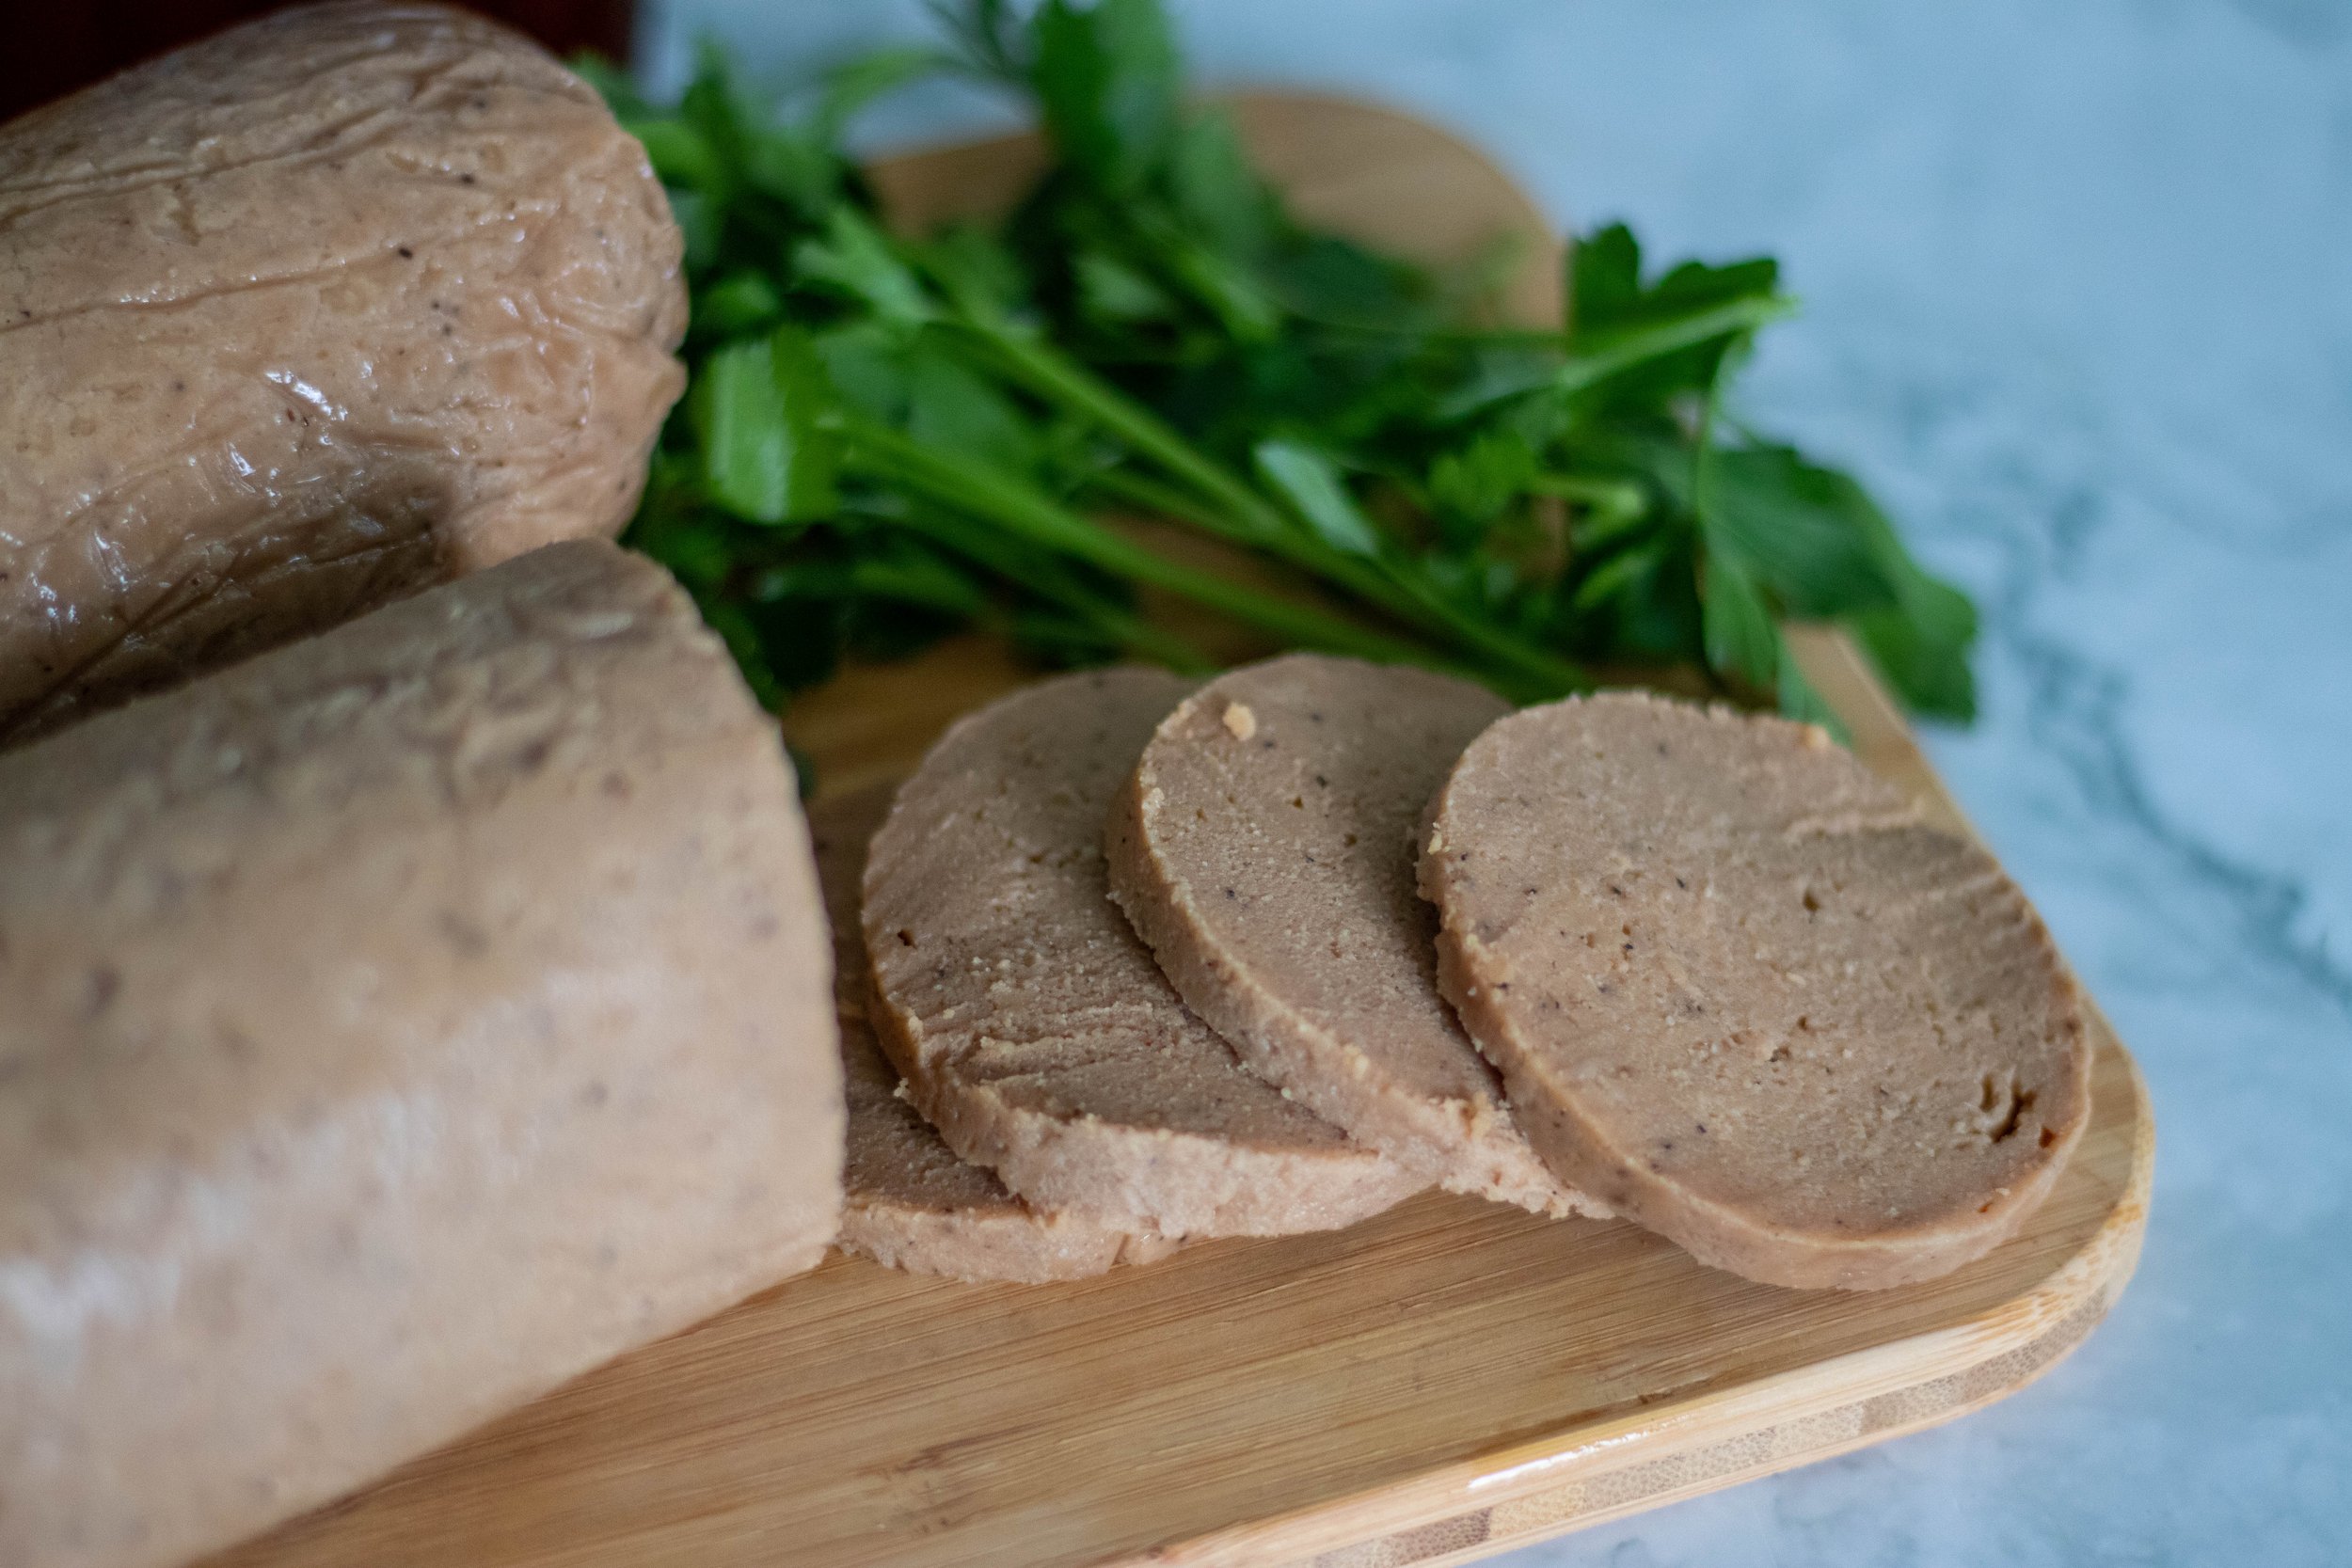
Remove finished “ham” and let cool at room temp in the foil. I leave mine just the way they are and put the pot with the suspend vegan breakfast hams still wrapped right in the fridge to allow them to rest. The breakfast ham MUST REST AT LEAST 8 HOURS. This ensures the texture we are trying to achieve. A firm, sliceable, breakfast meat. If you do not let it rest, it will seem under done, gummy, and just not that great. You have gotta let seitan have a nice long fridge nap if you want that meaty texture!
Once the “ham” has been in the fridge 8 hours per over night, you can remove it and slice it to serve. It should at this point be firm enough to slice using a mandolin or a sharp knife. Store in an air tight container in the fridge for up to 10 days. I suggest pan frying slices of this vegan breakfast ham with a little spray of oil. I makes one delicious ham, vegan egg, and cheese breakfast sandwich!


vegan flank steak