We have a popular burger chain here that we like to frequent because they offer a vegan burger.
Just one vegan burger with your run of the mill vegan toppings. I mean I guess I am thankful they have an option at all.
BUT, this doesn’t mean I don’t gaze at the menu longingly, wishing that I could order one of their other delicious sounding burgers and it be vegan too.
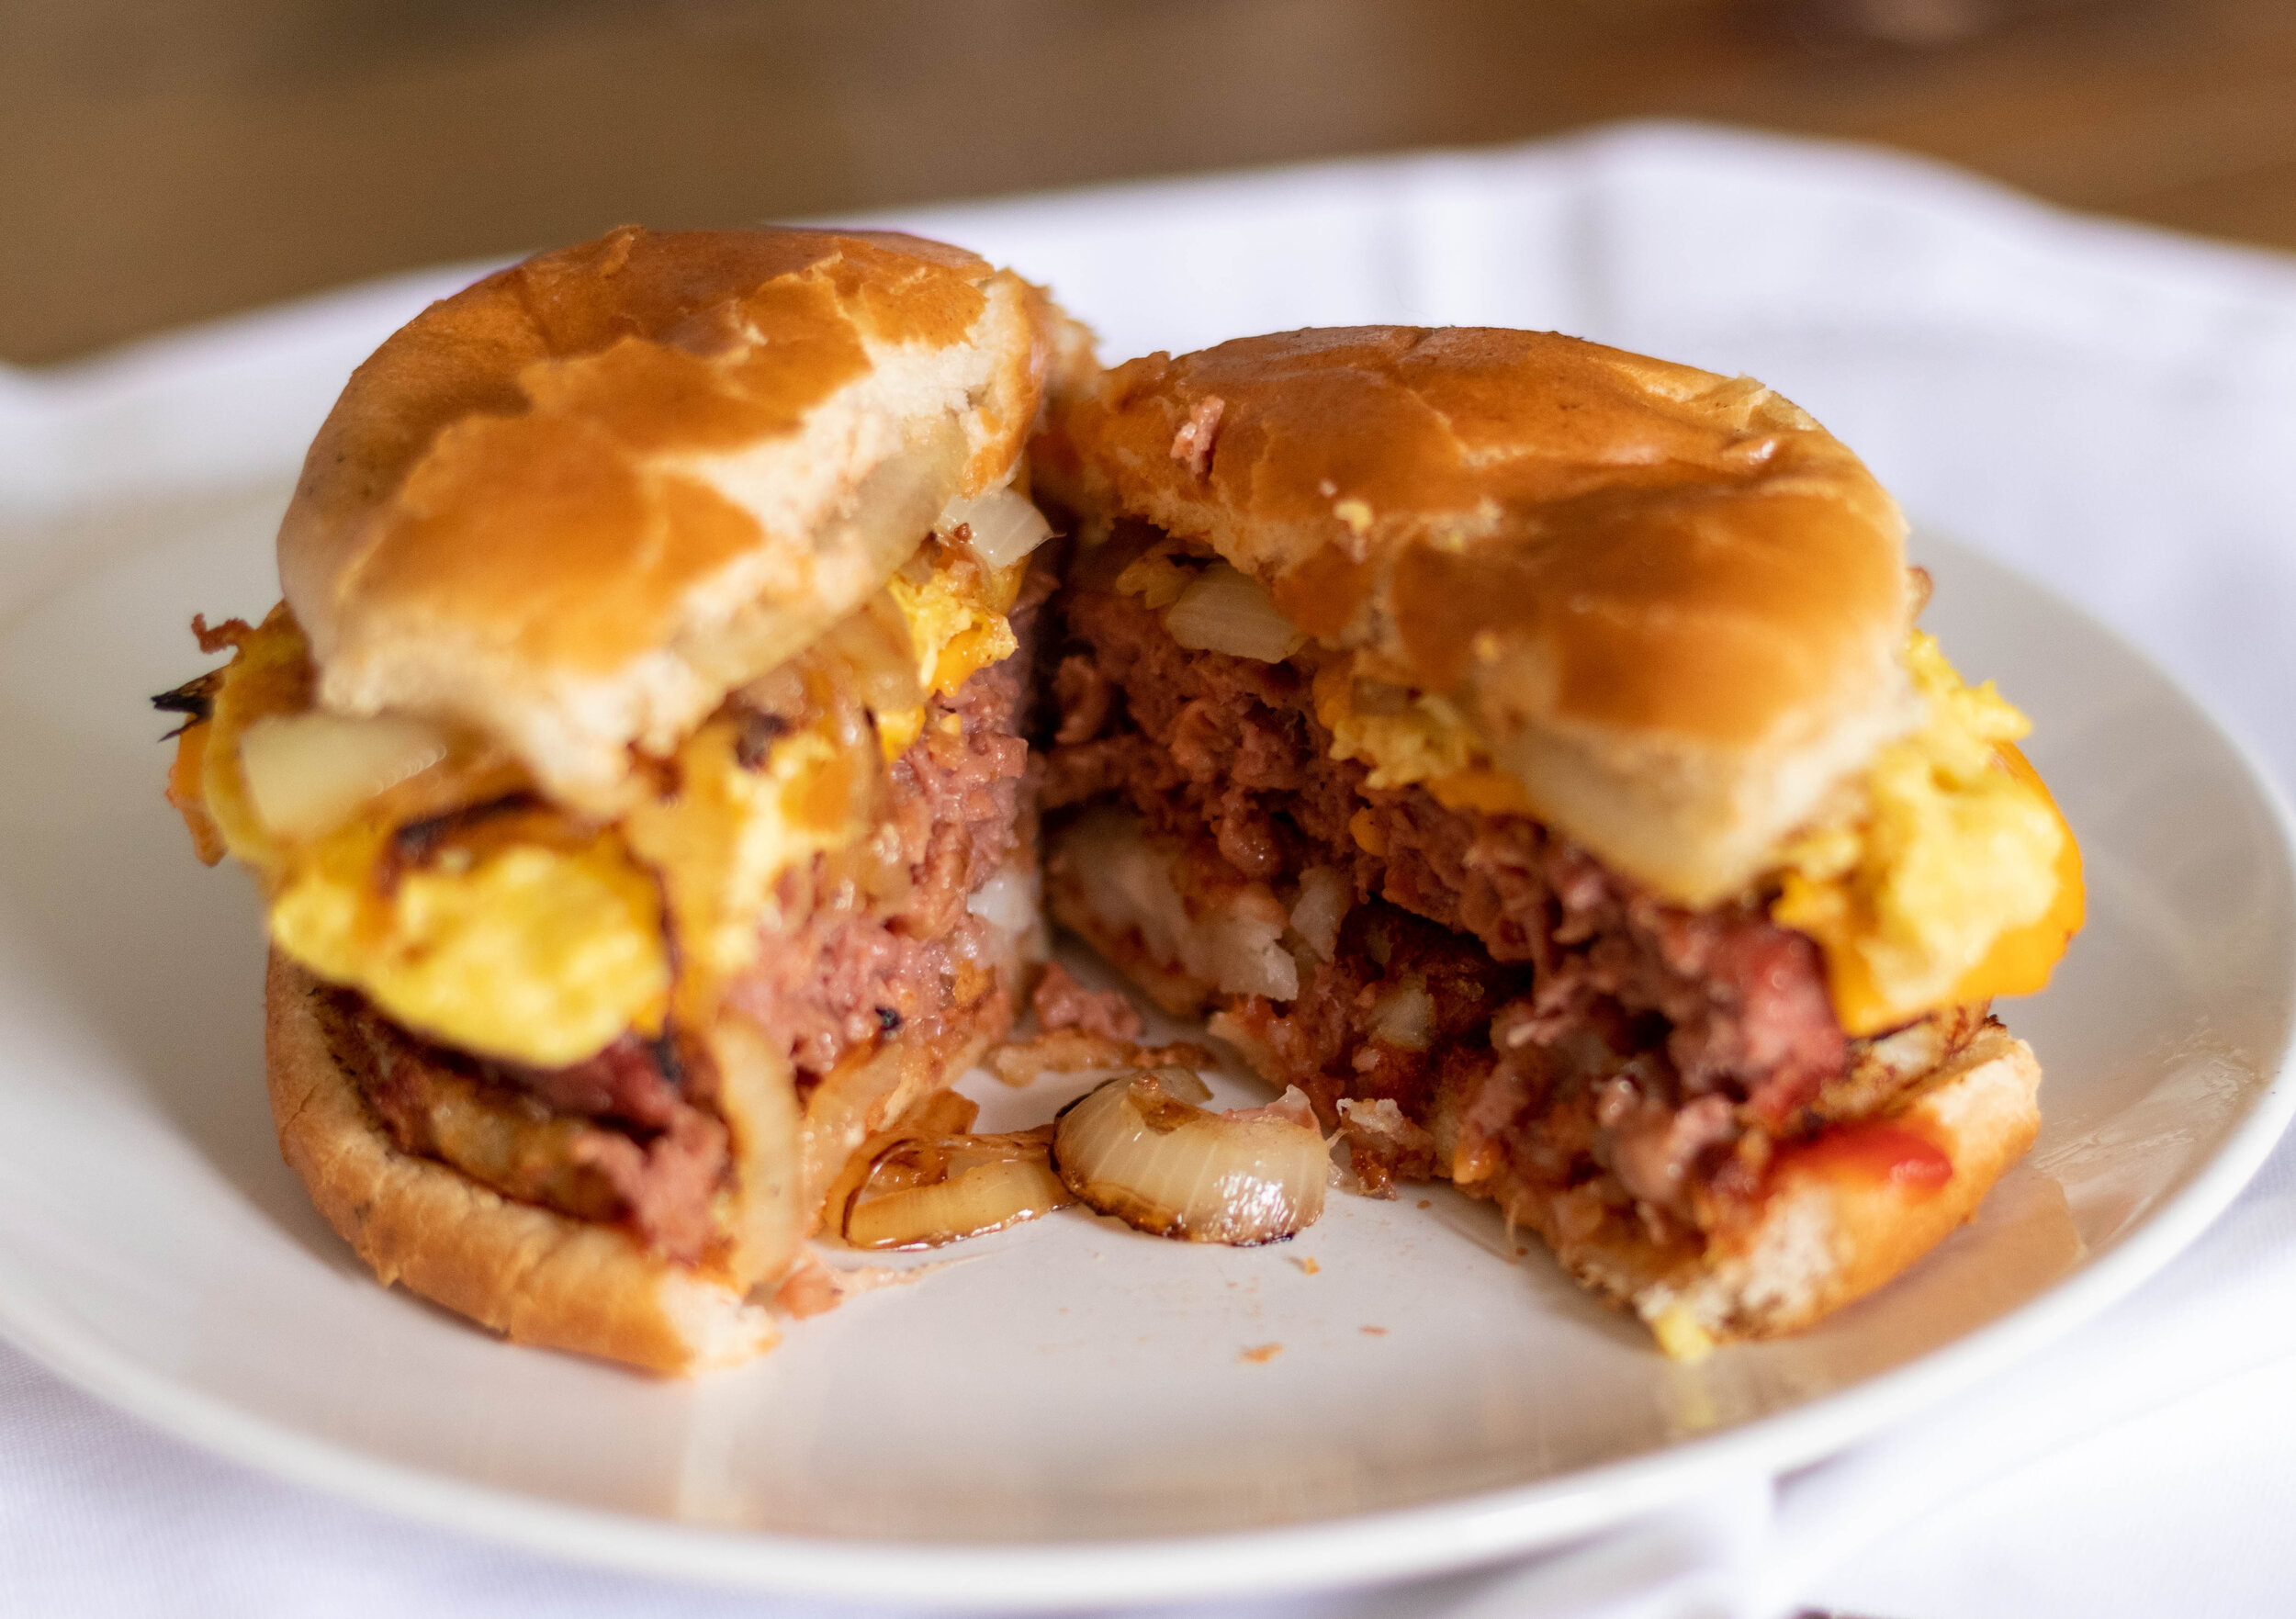
Especially their “breakfast all day burger.” I mean they had me at maple syrup and hash browns on a burger.
So, I finally decide there wasn’t any reason I couldn’t just make this masterpiece at home. And so I did.
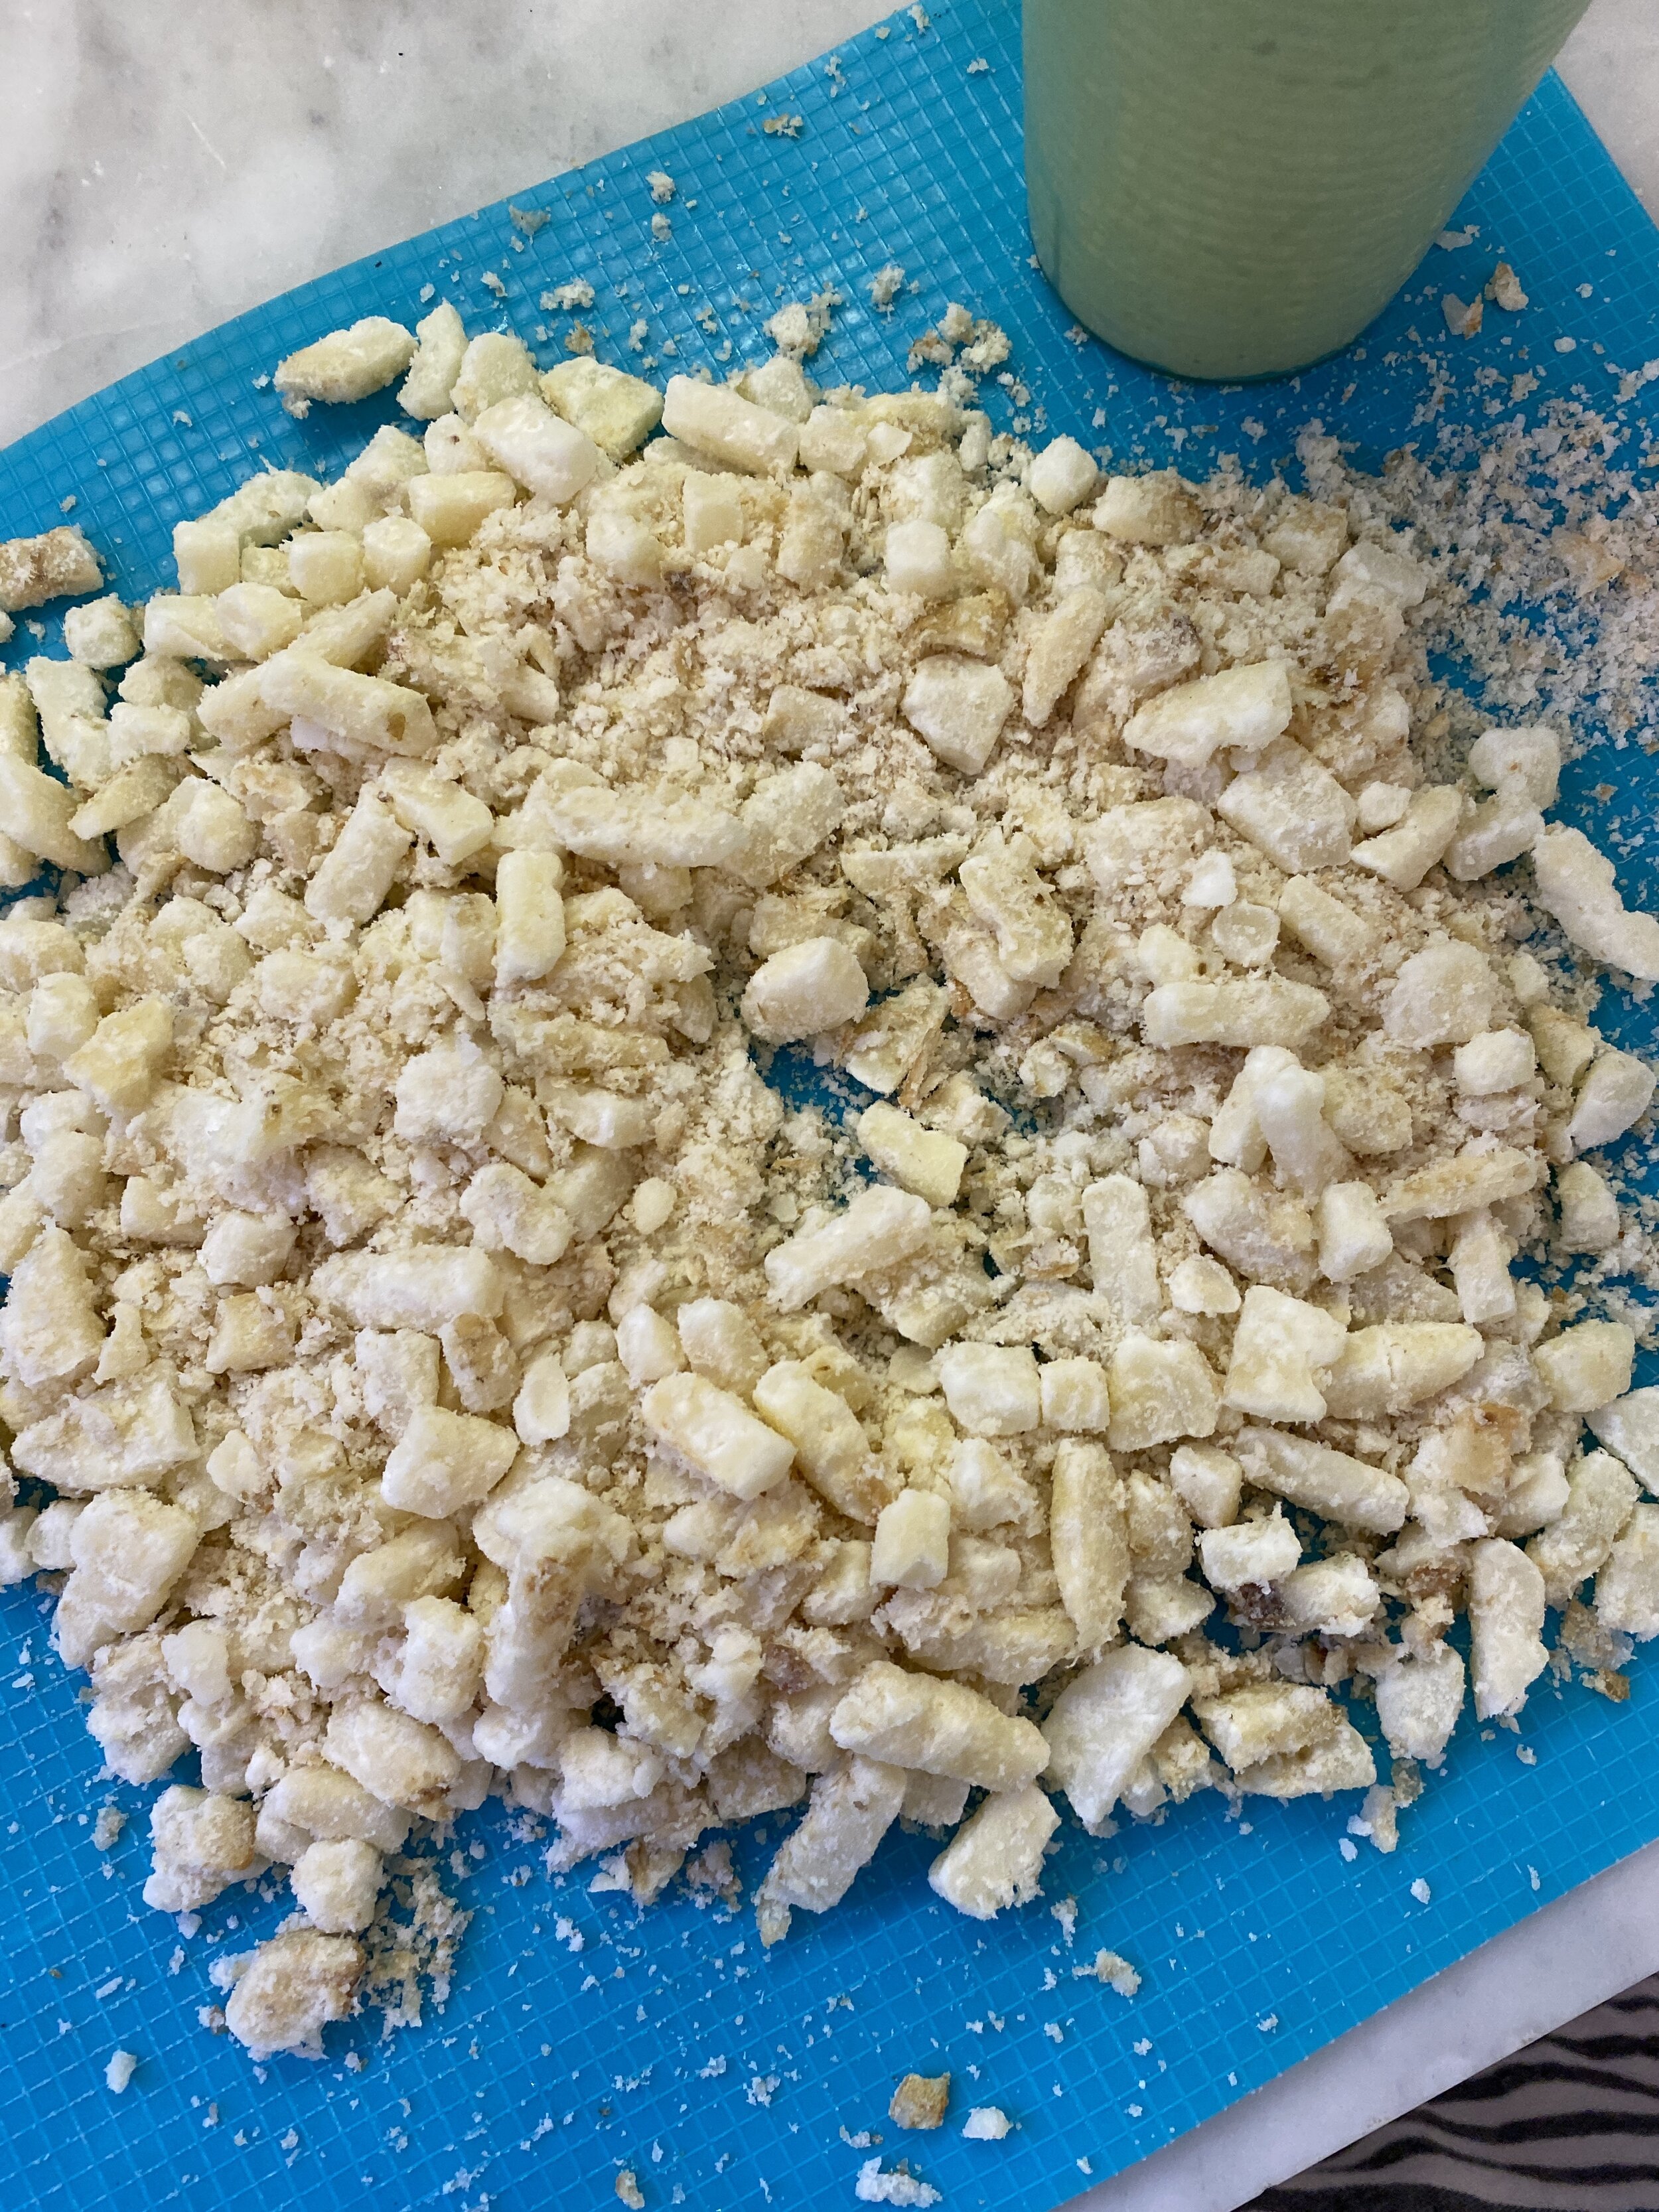
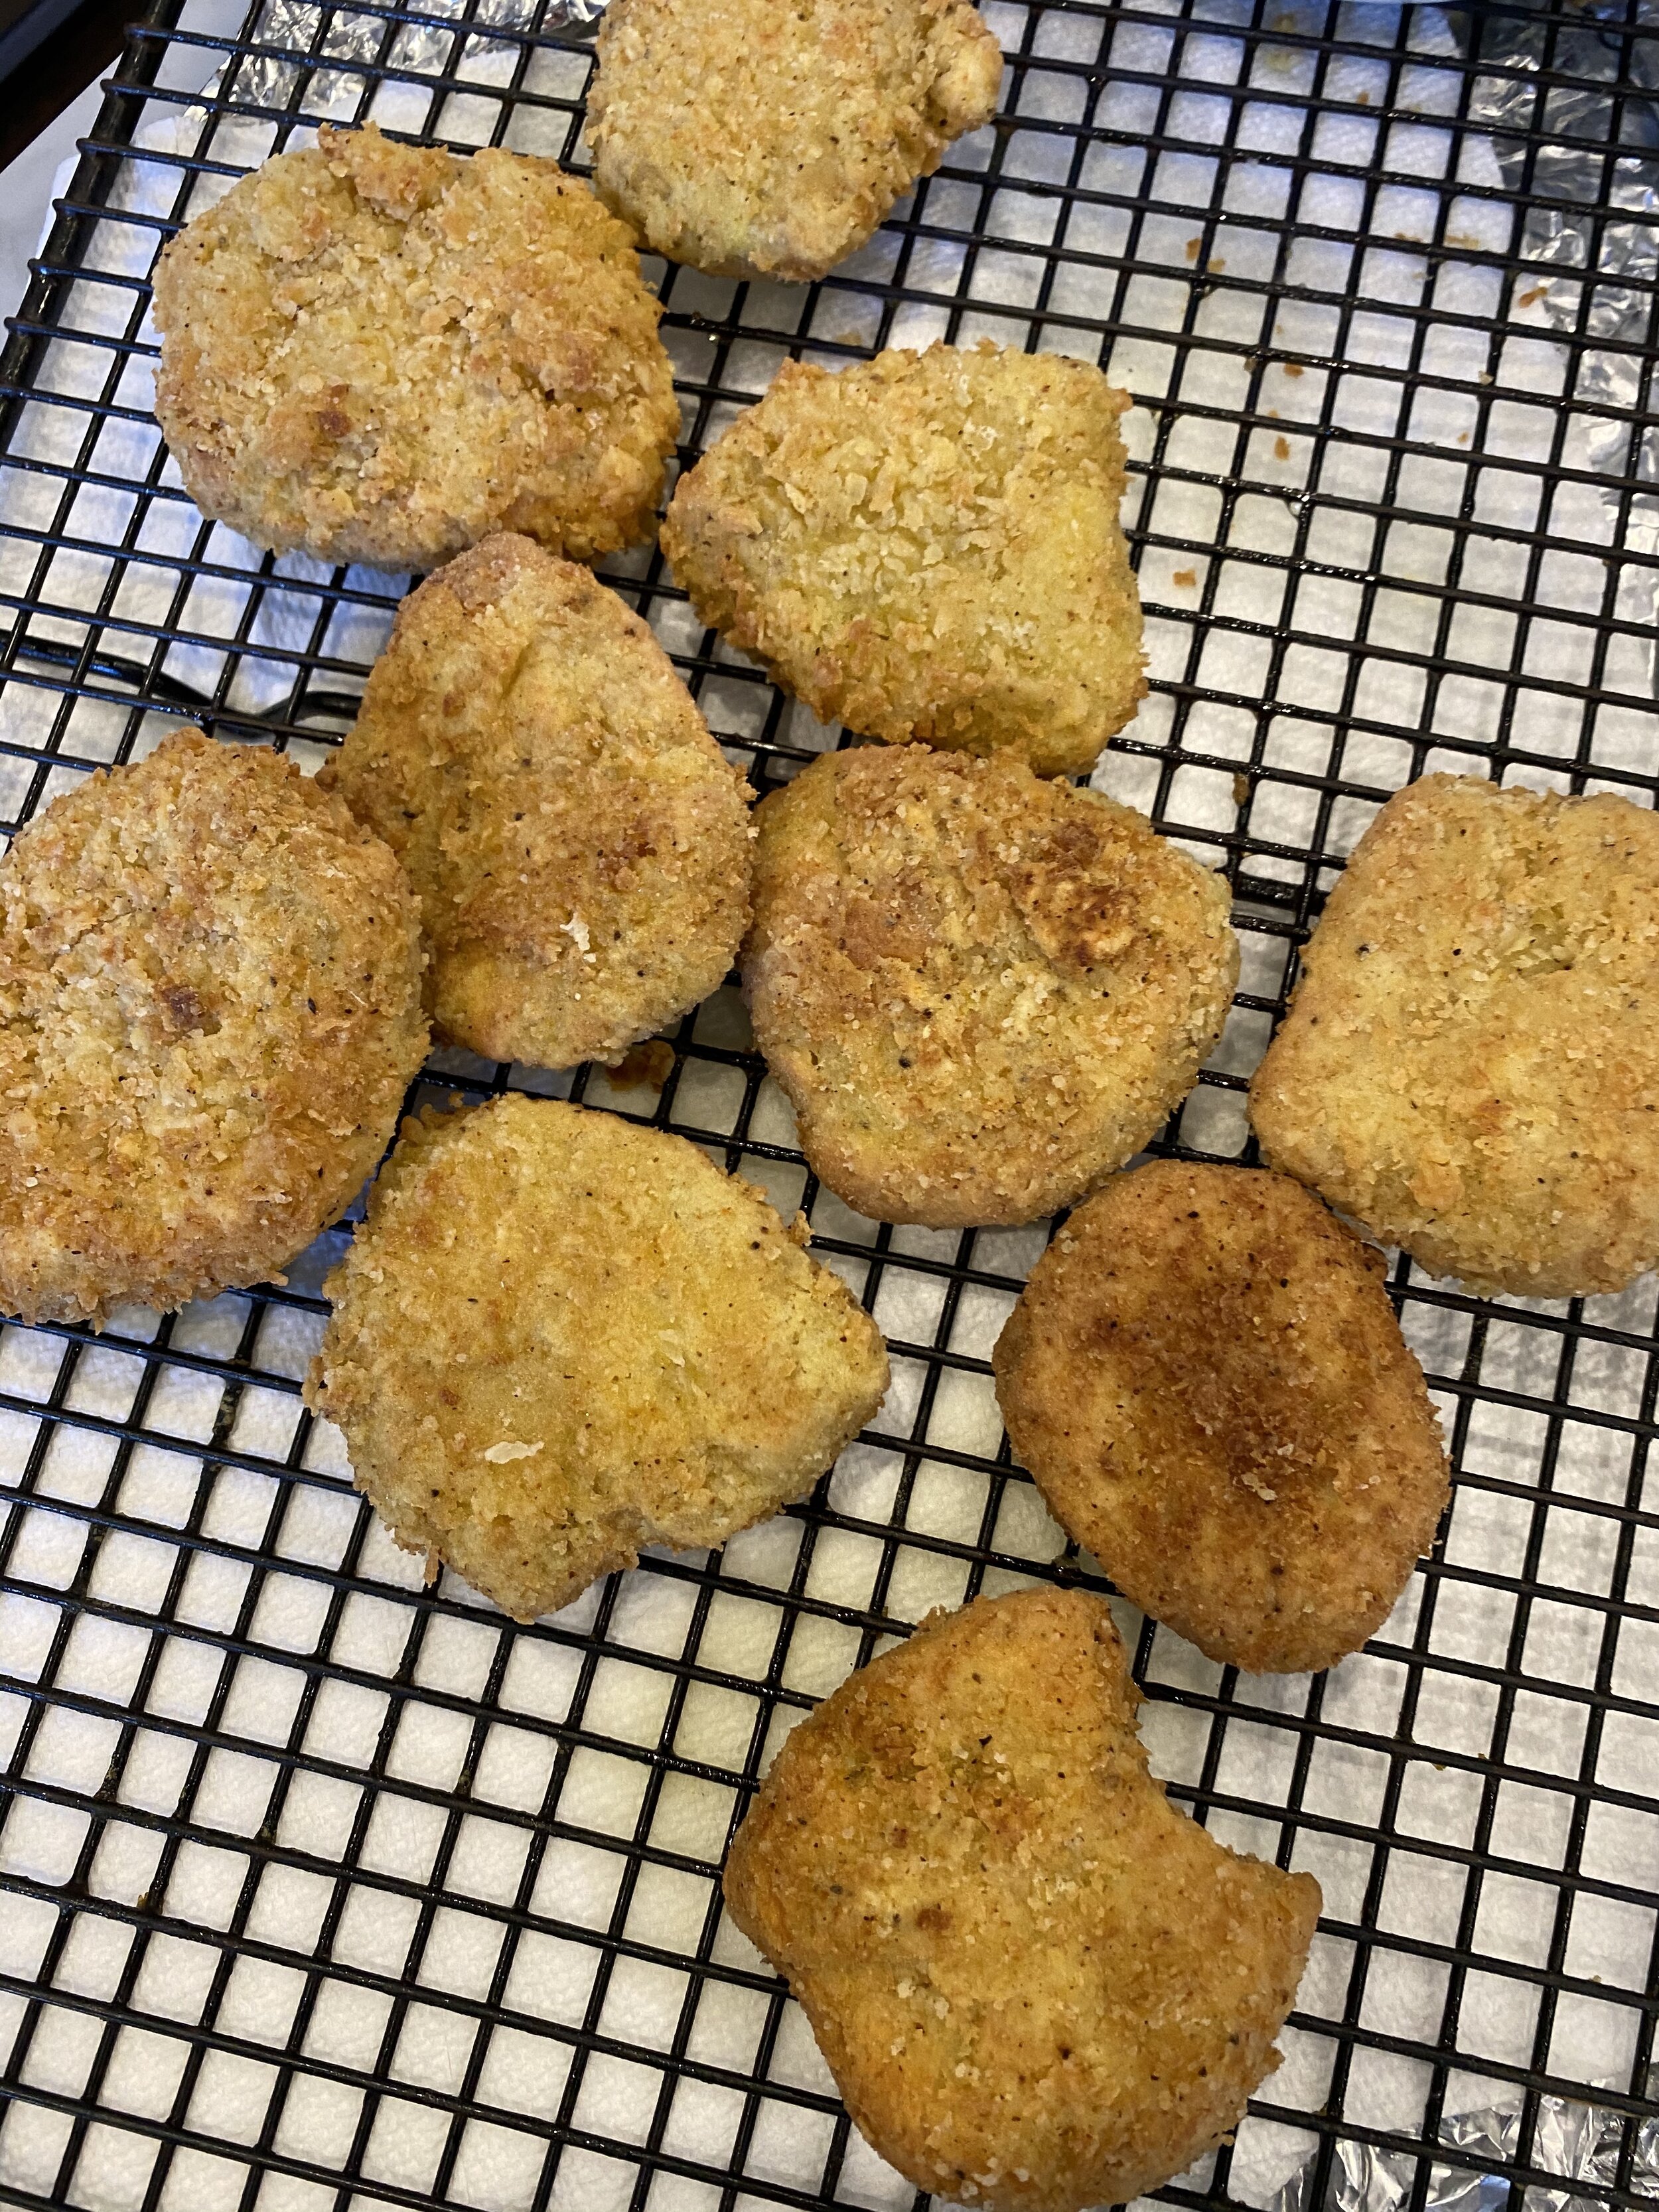
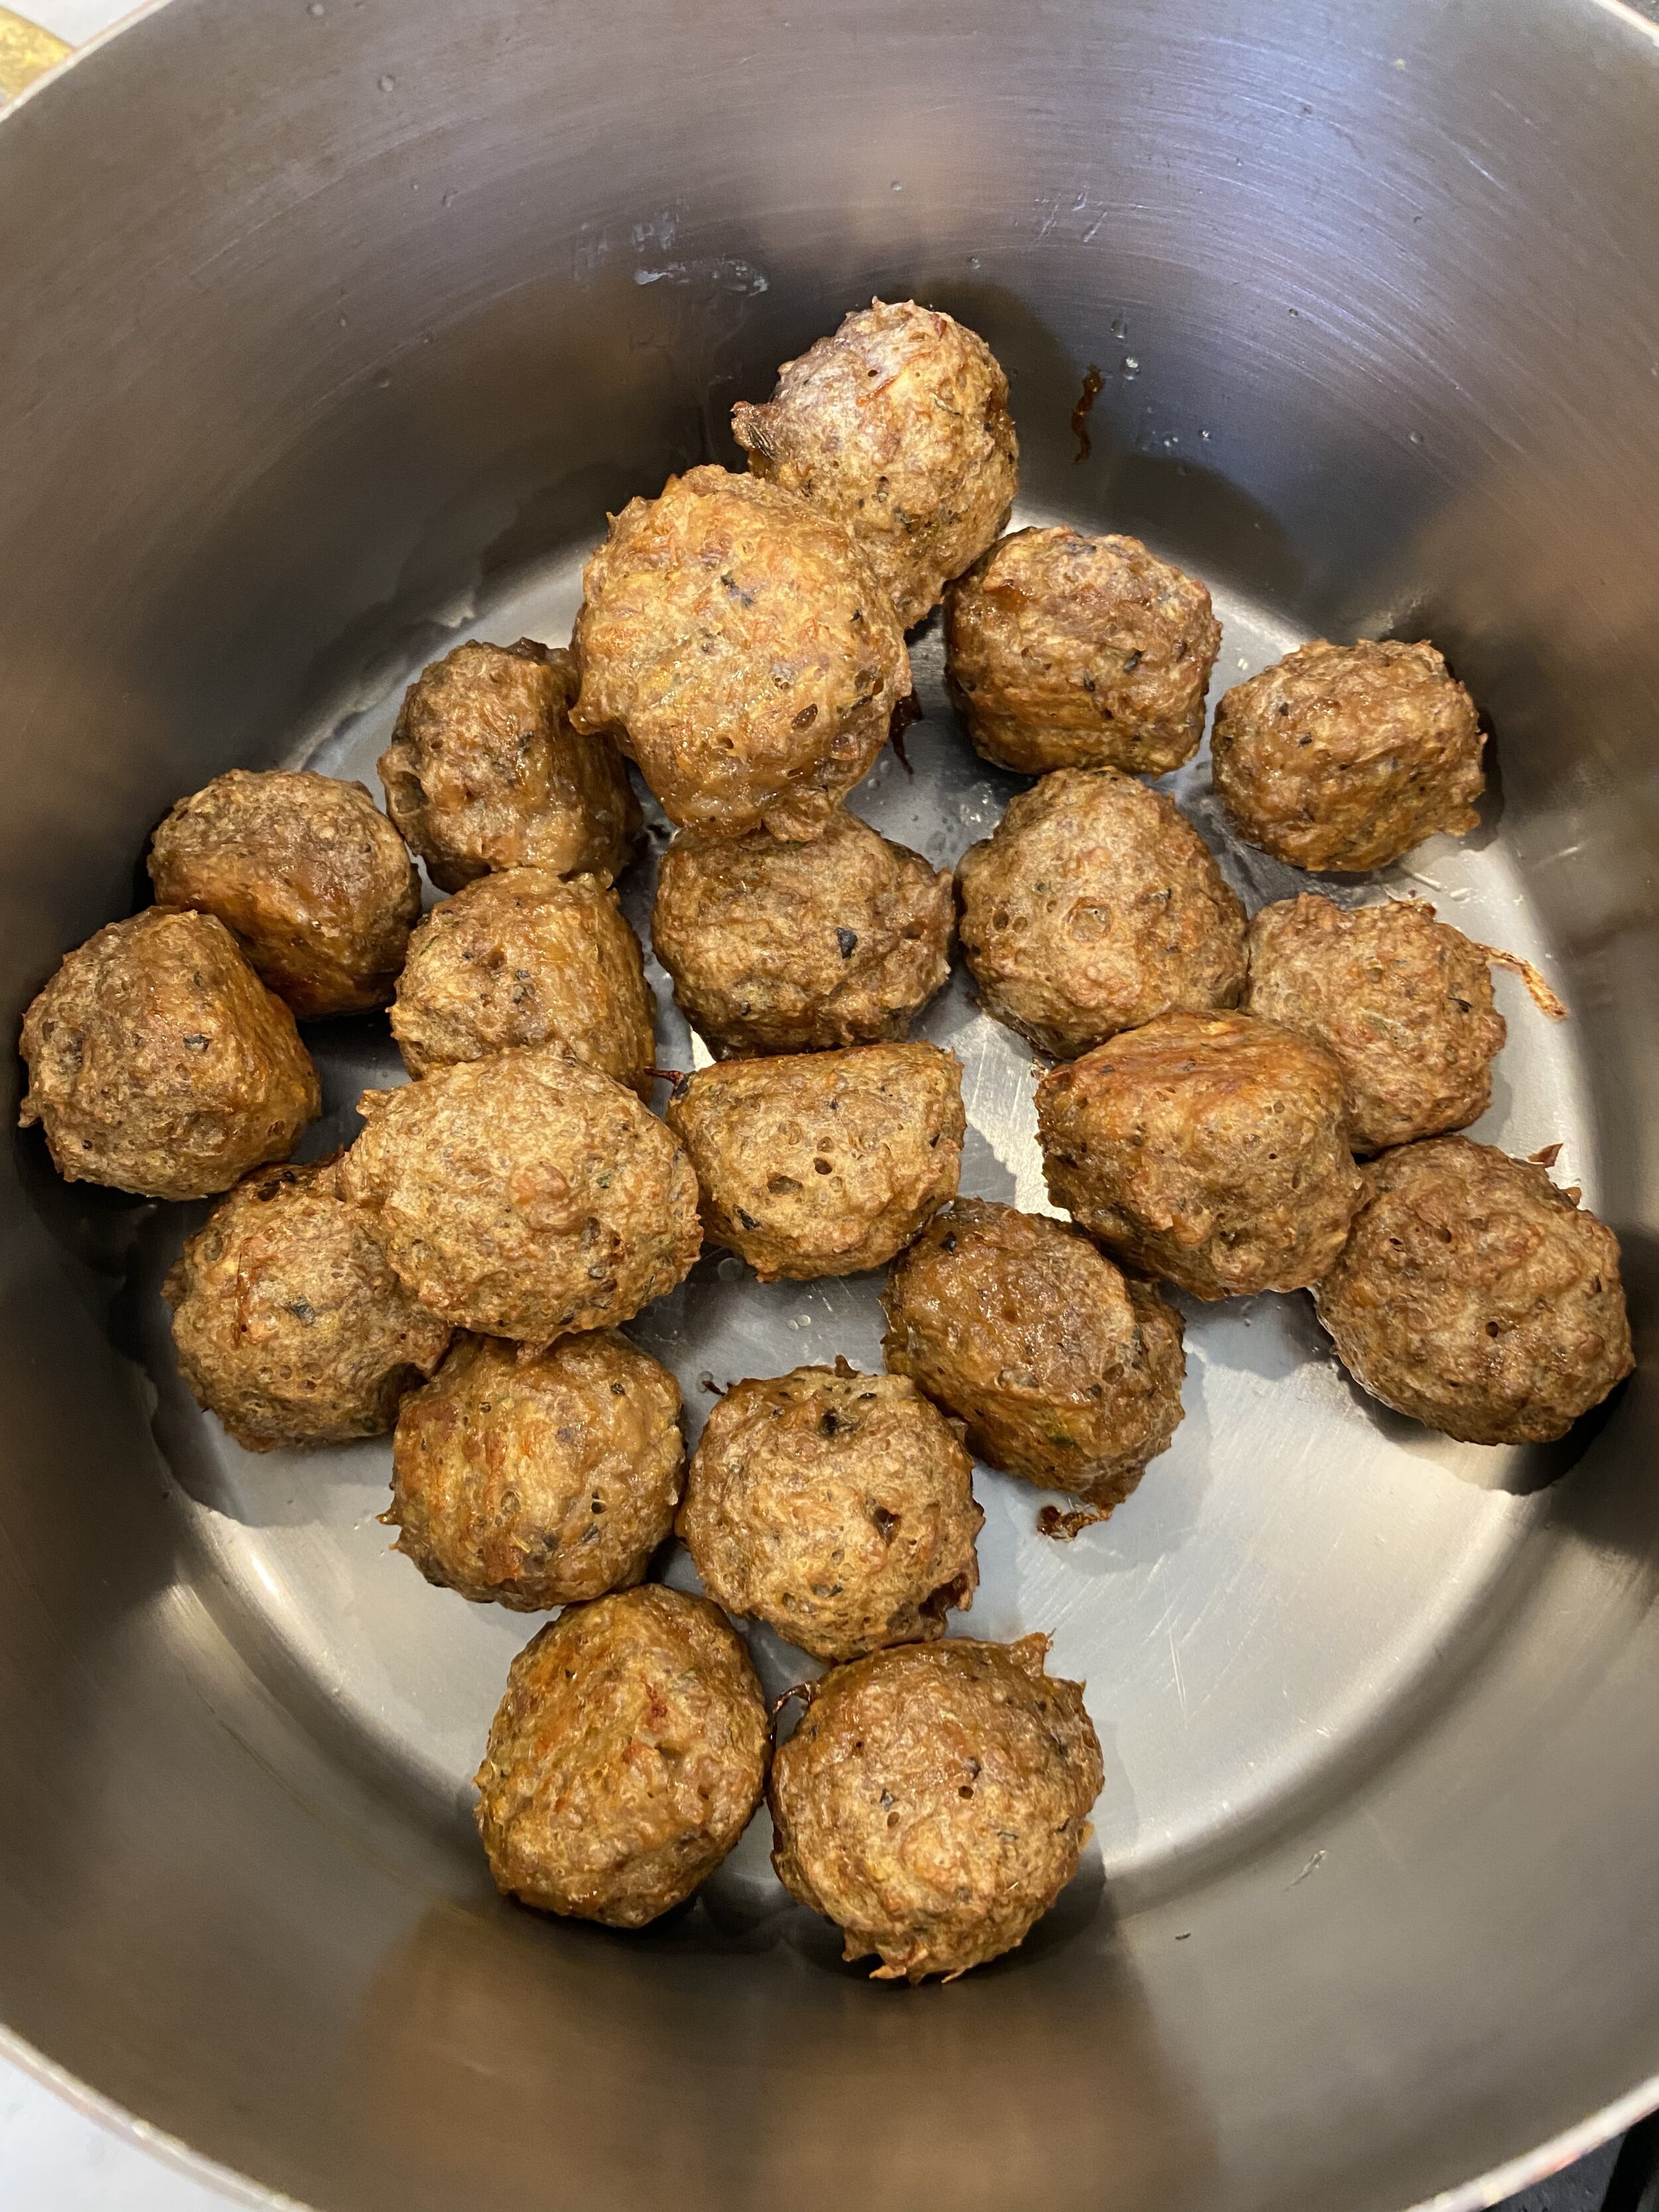
For starters I was out of hash browns, but am never, NEVER, out of tater tots, and since tater tots are just little baby hash brown nuggets, they would work just fine.
Next I use JUST EGG. I you don’t have have this product where you live you could use tofu egg scramble but fry it, of just add it scrambled.
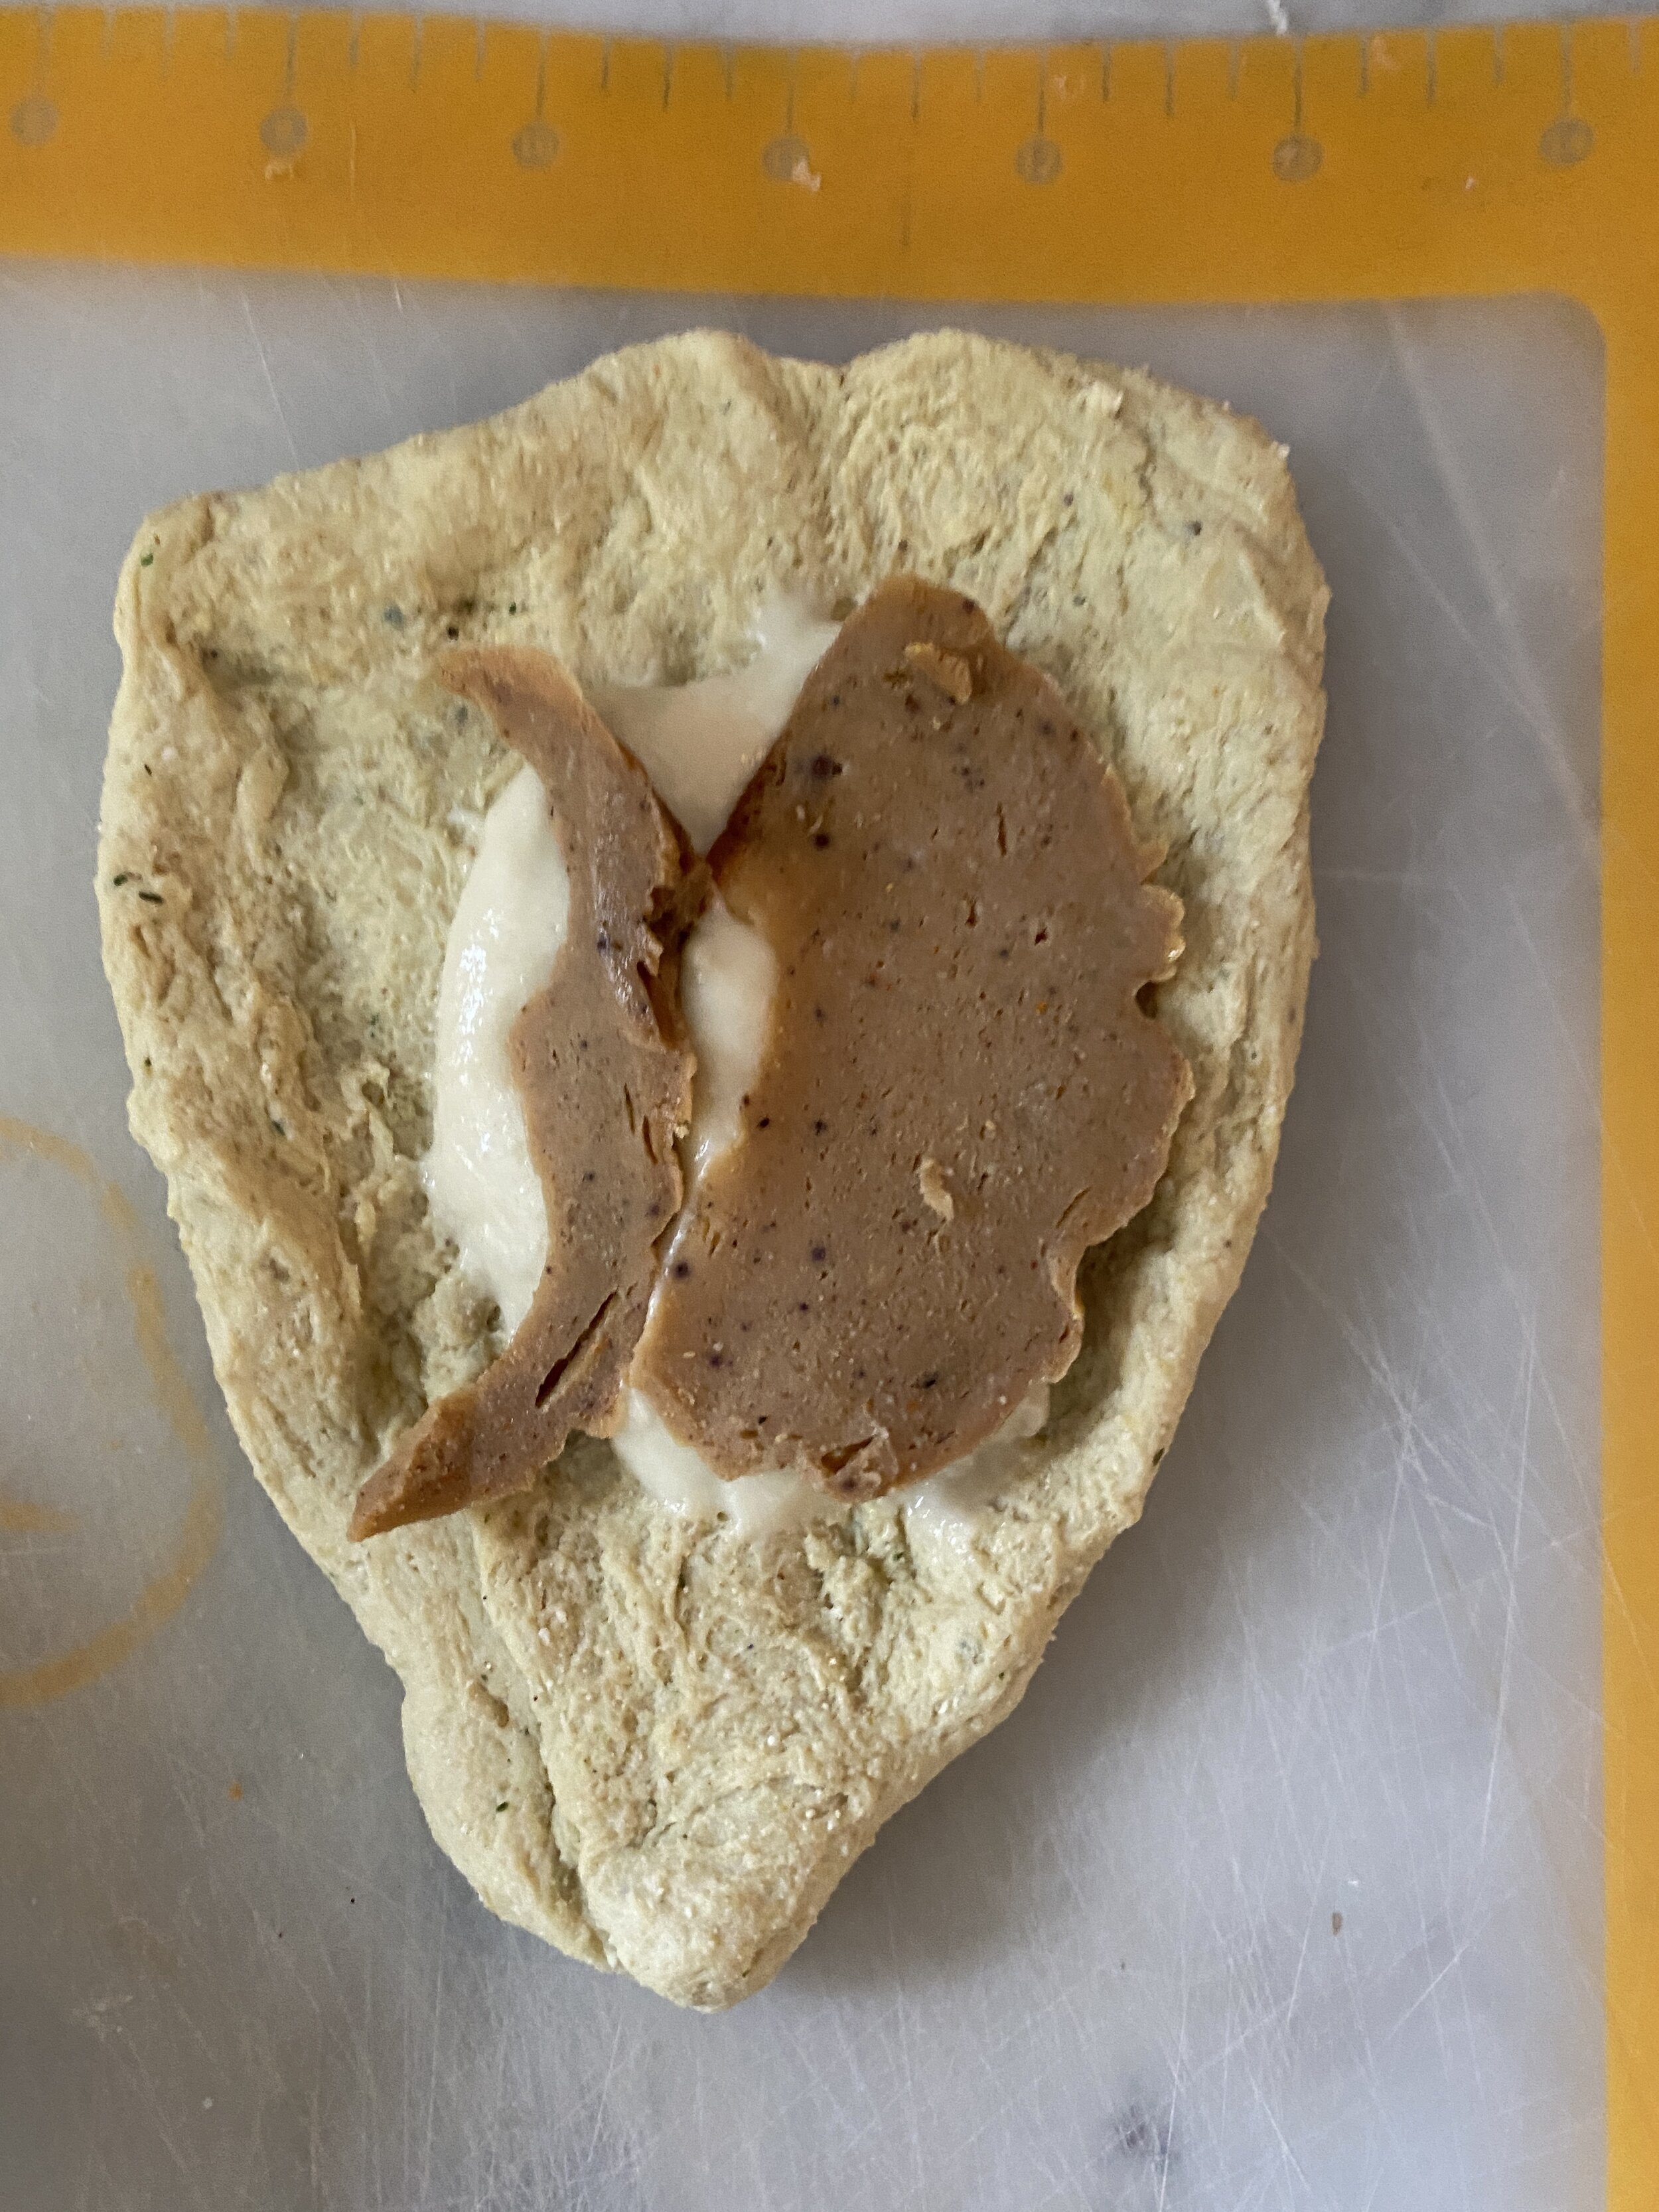
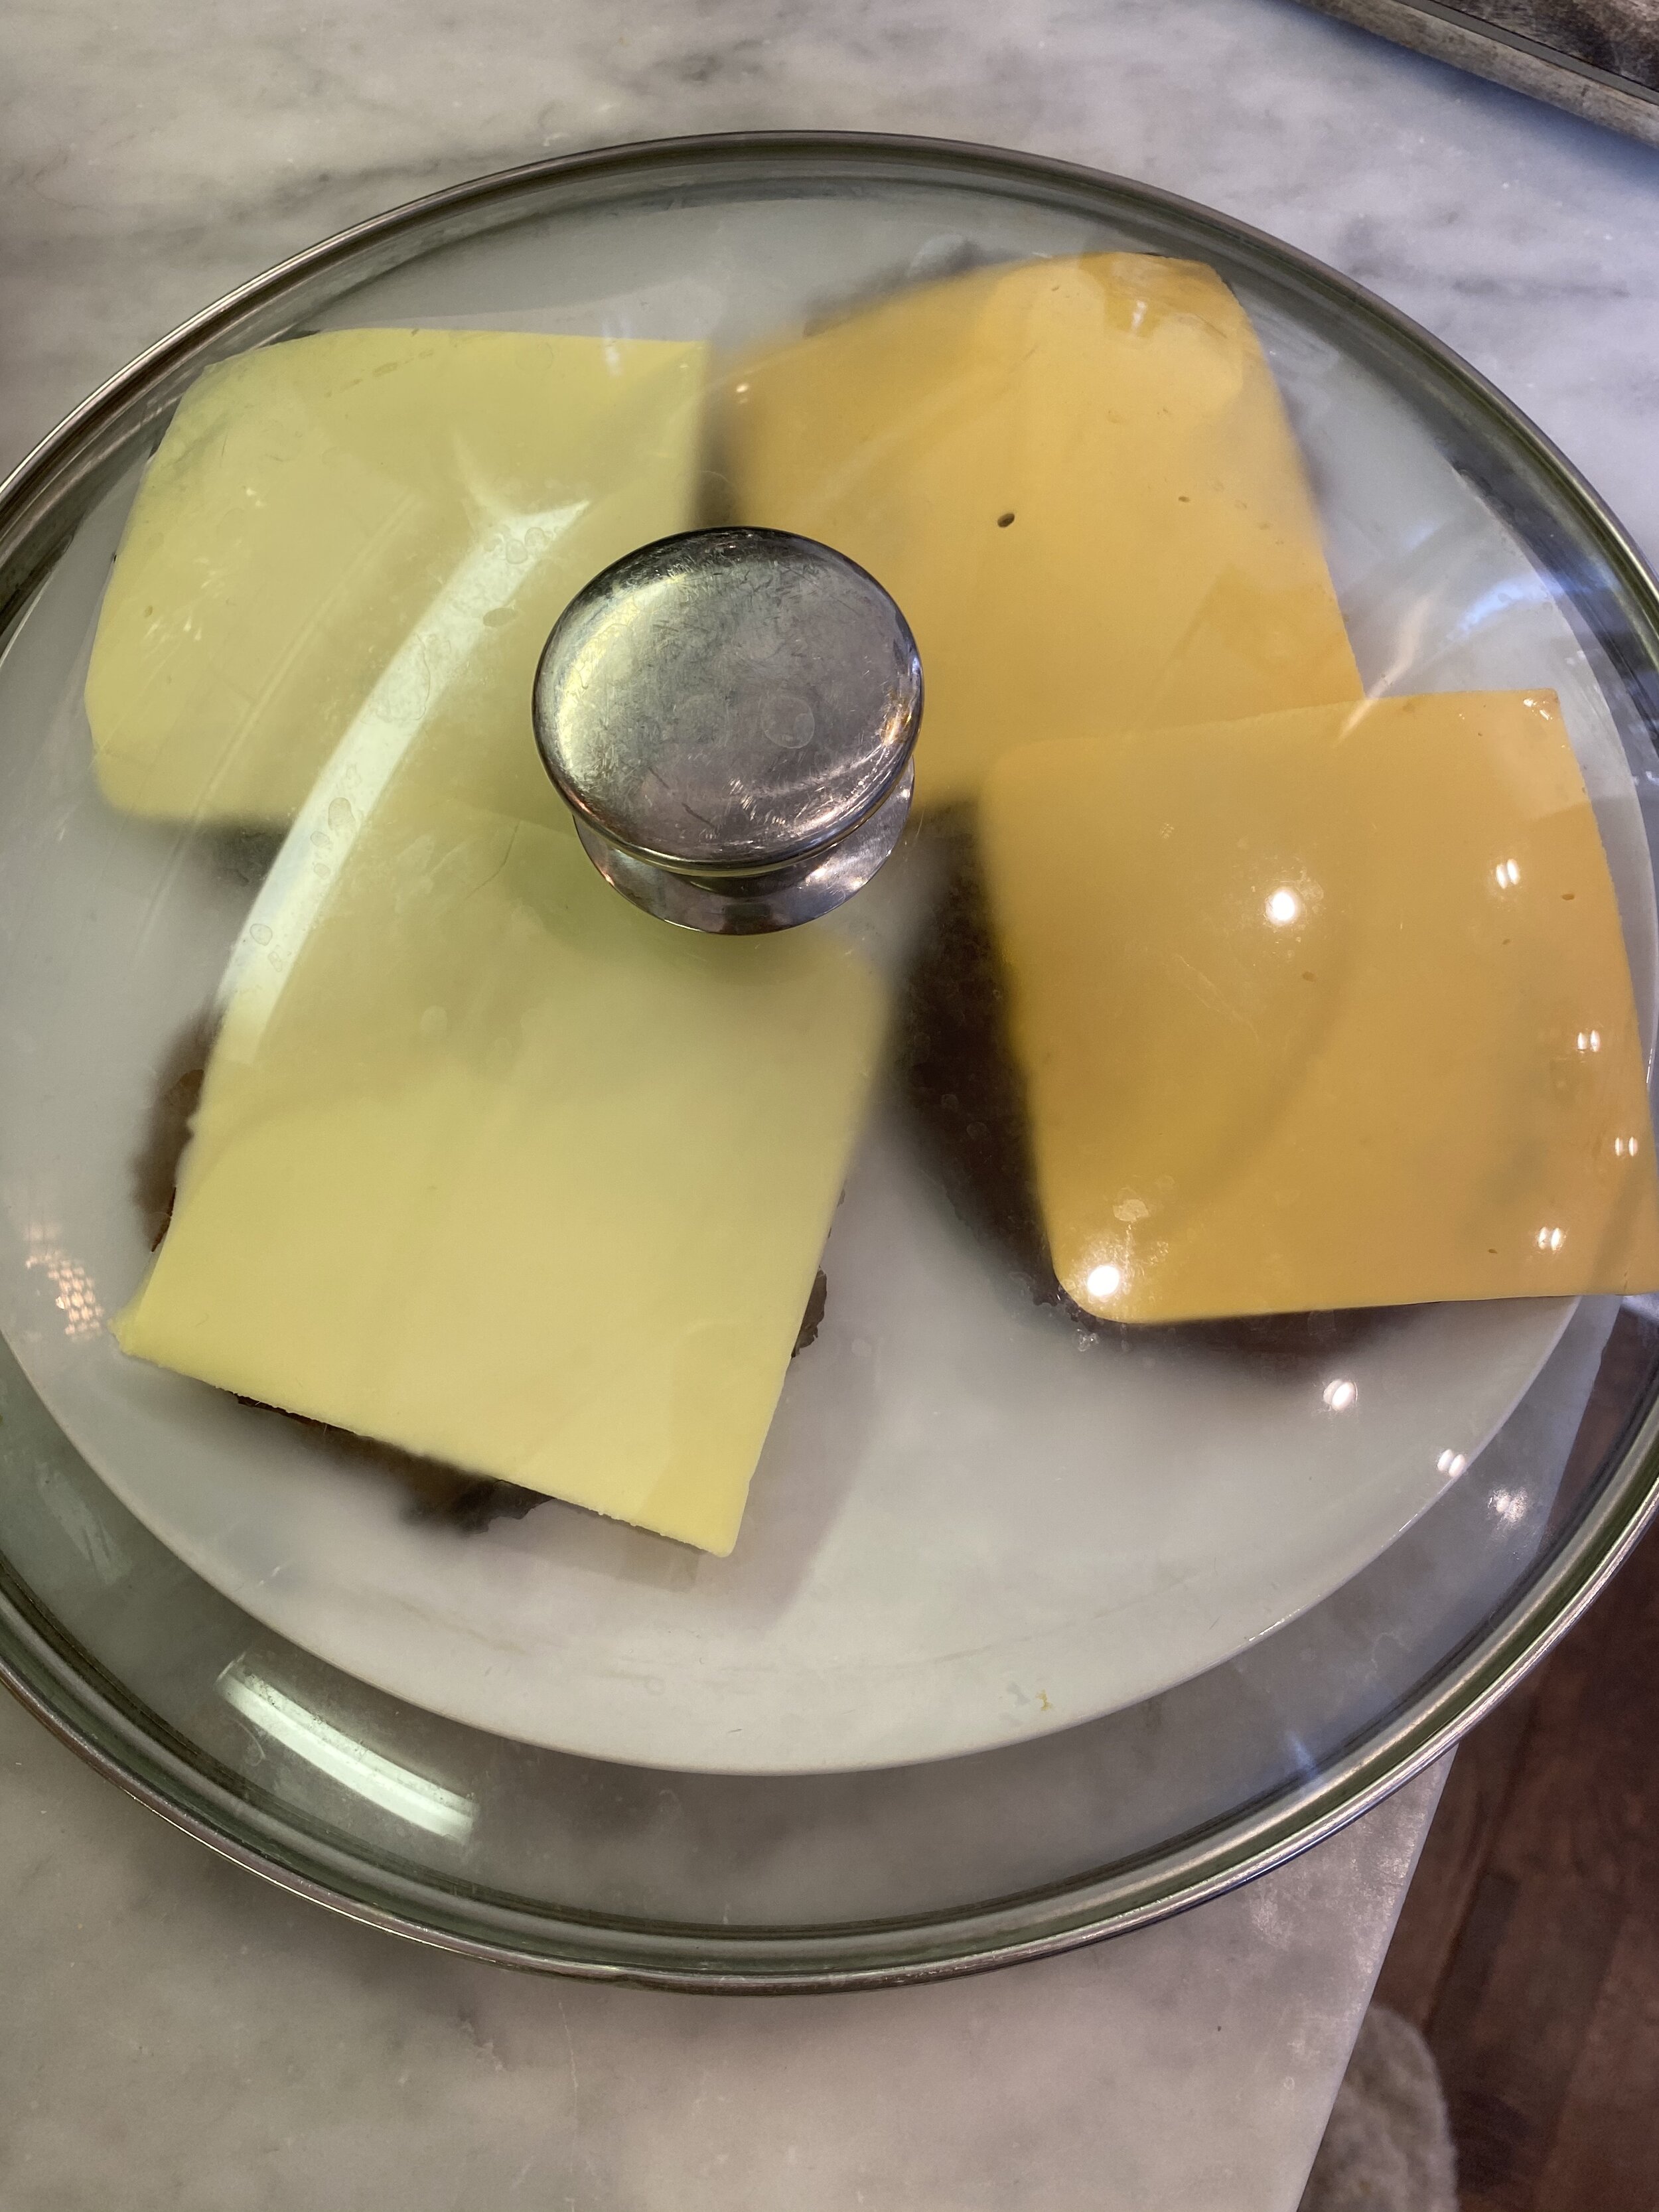
You can buy any store-bought cheese you like or try your hand at making you own. Trust me when I tell you homemade vegan cheese is actually pretty easy and cheaper than store-bought. But I also respect the convenience of just buying it already made. But if you are feeling extra and wanna try making your own, we have over 40 easy cheese recipes right here on the 86eats site!!
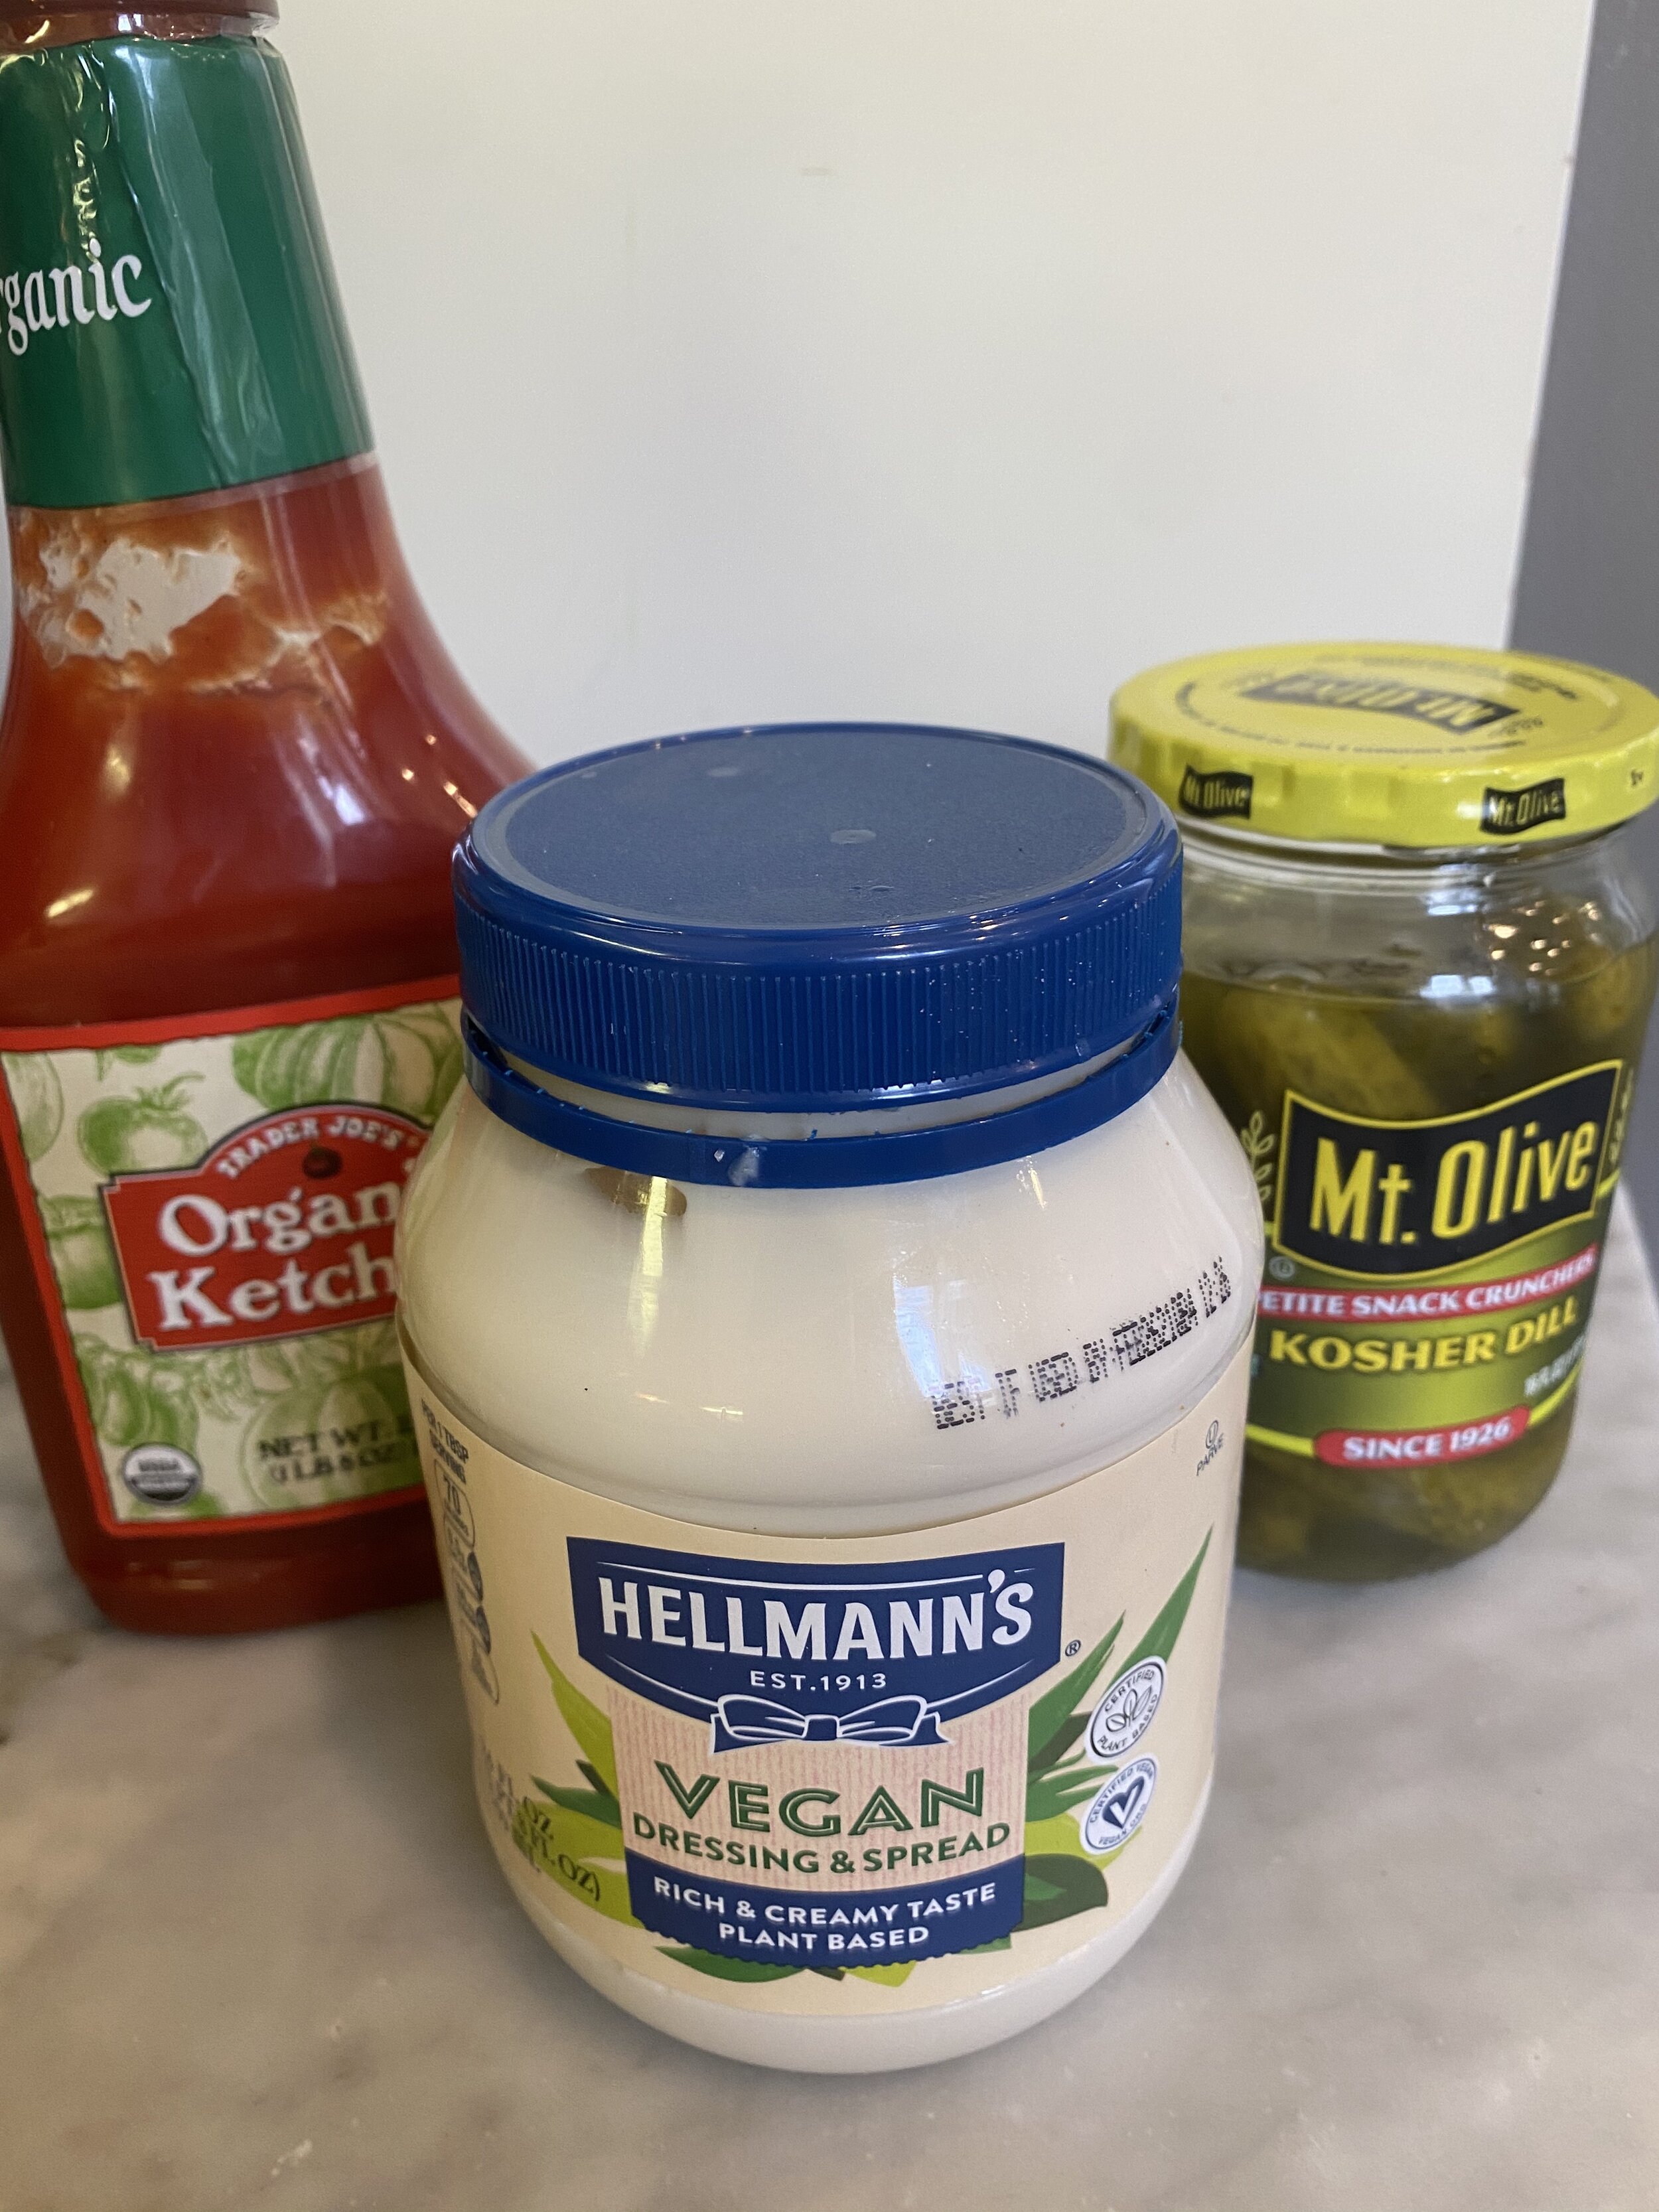
If you are weirded out by adding maple syrup to the burger, DON’T BE!! Seriously it is one of the best parts of the whole thing. Like, the more the better! Mixed with the ketchup, it is really just magical.
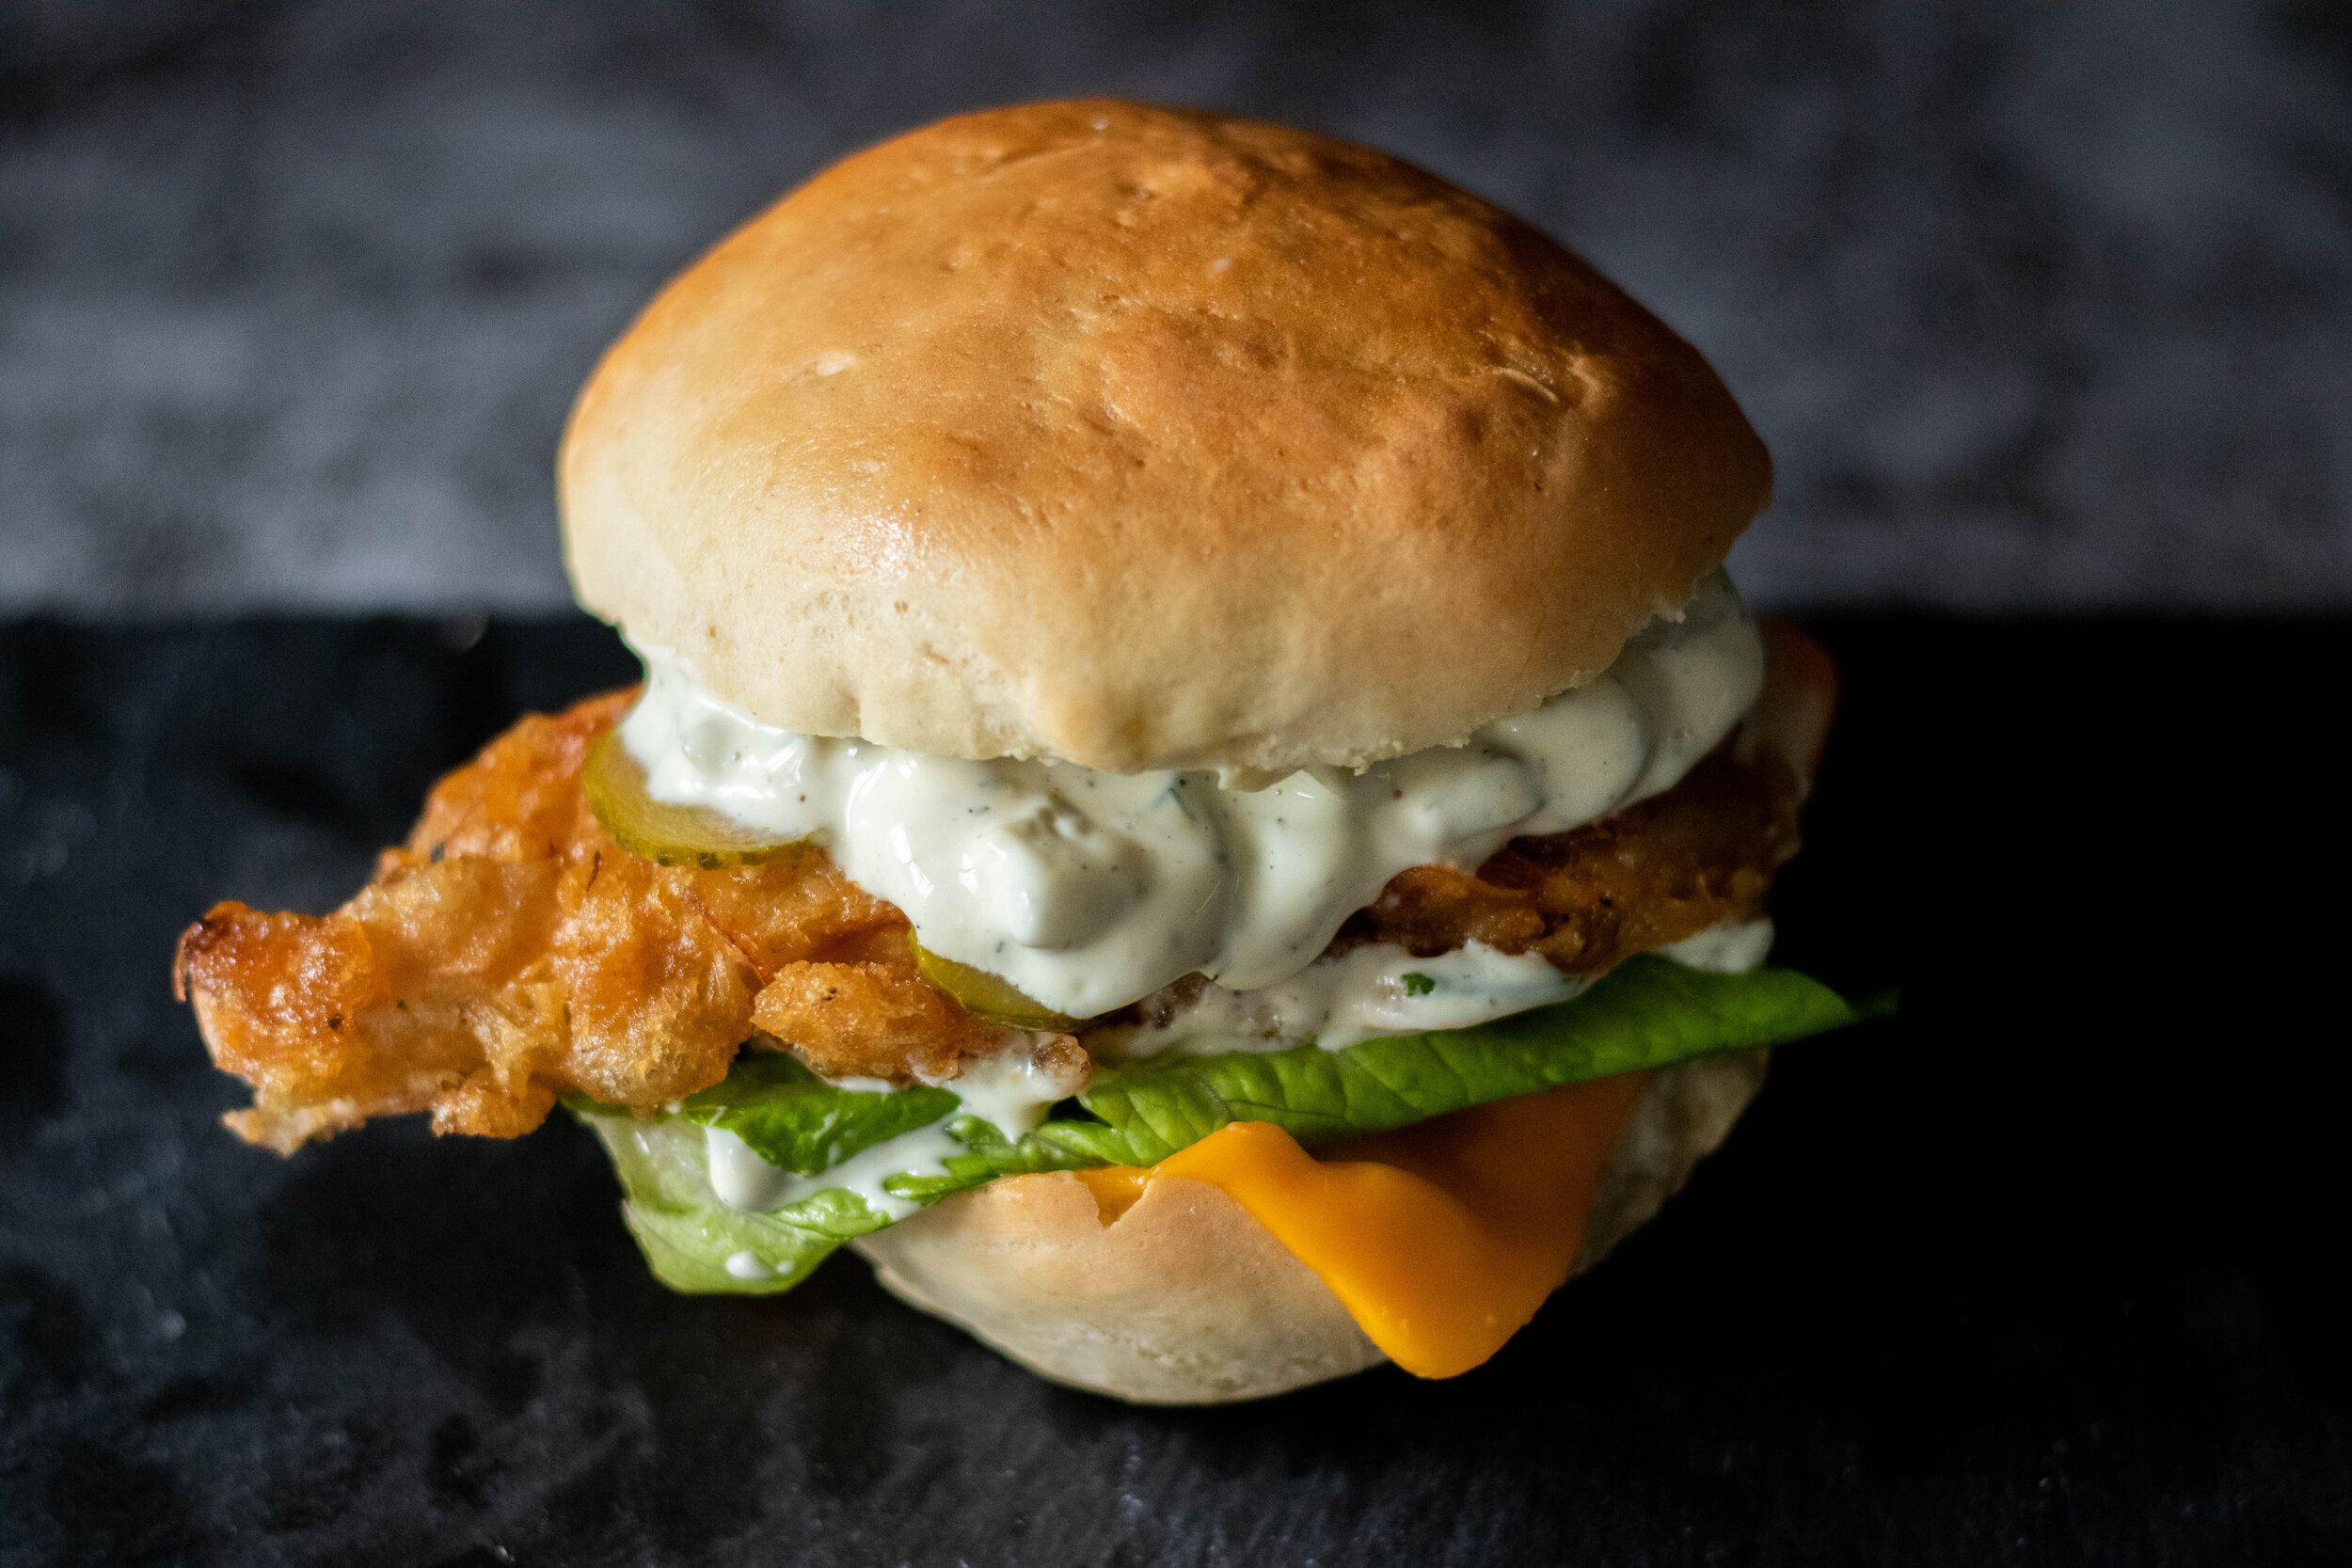
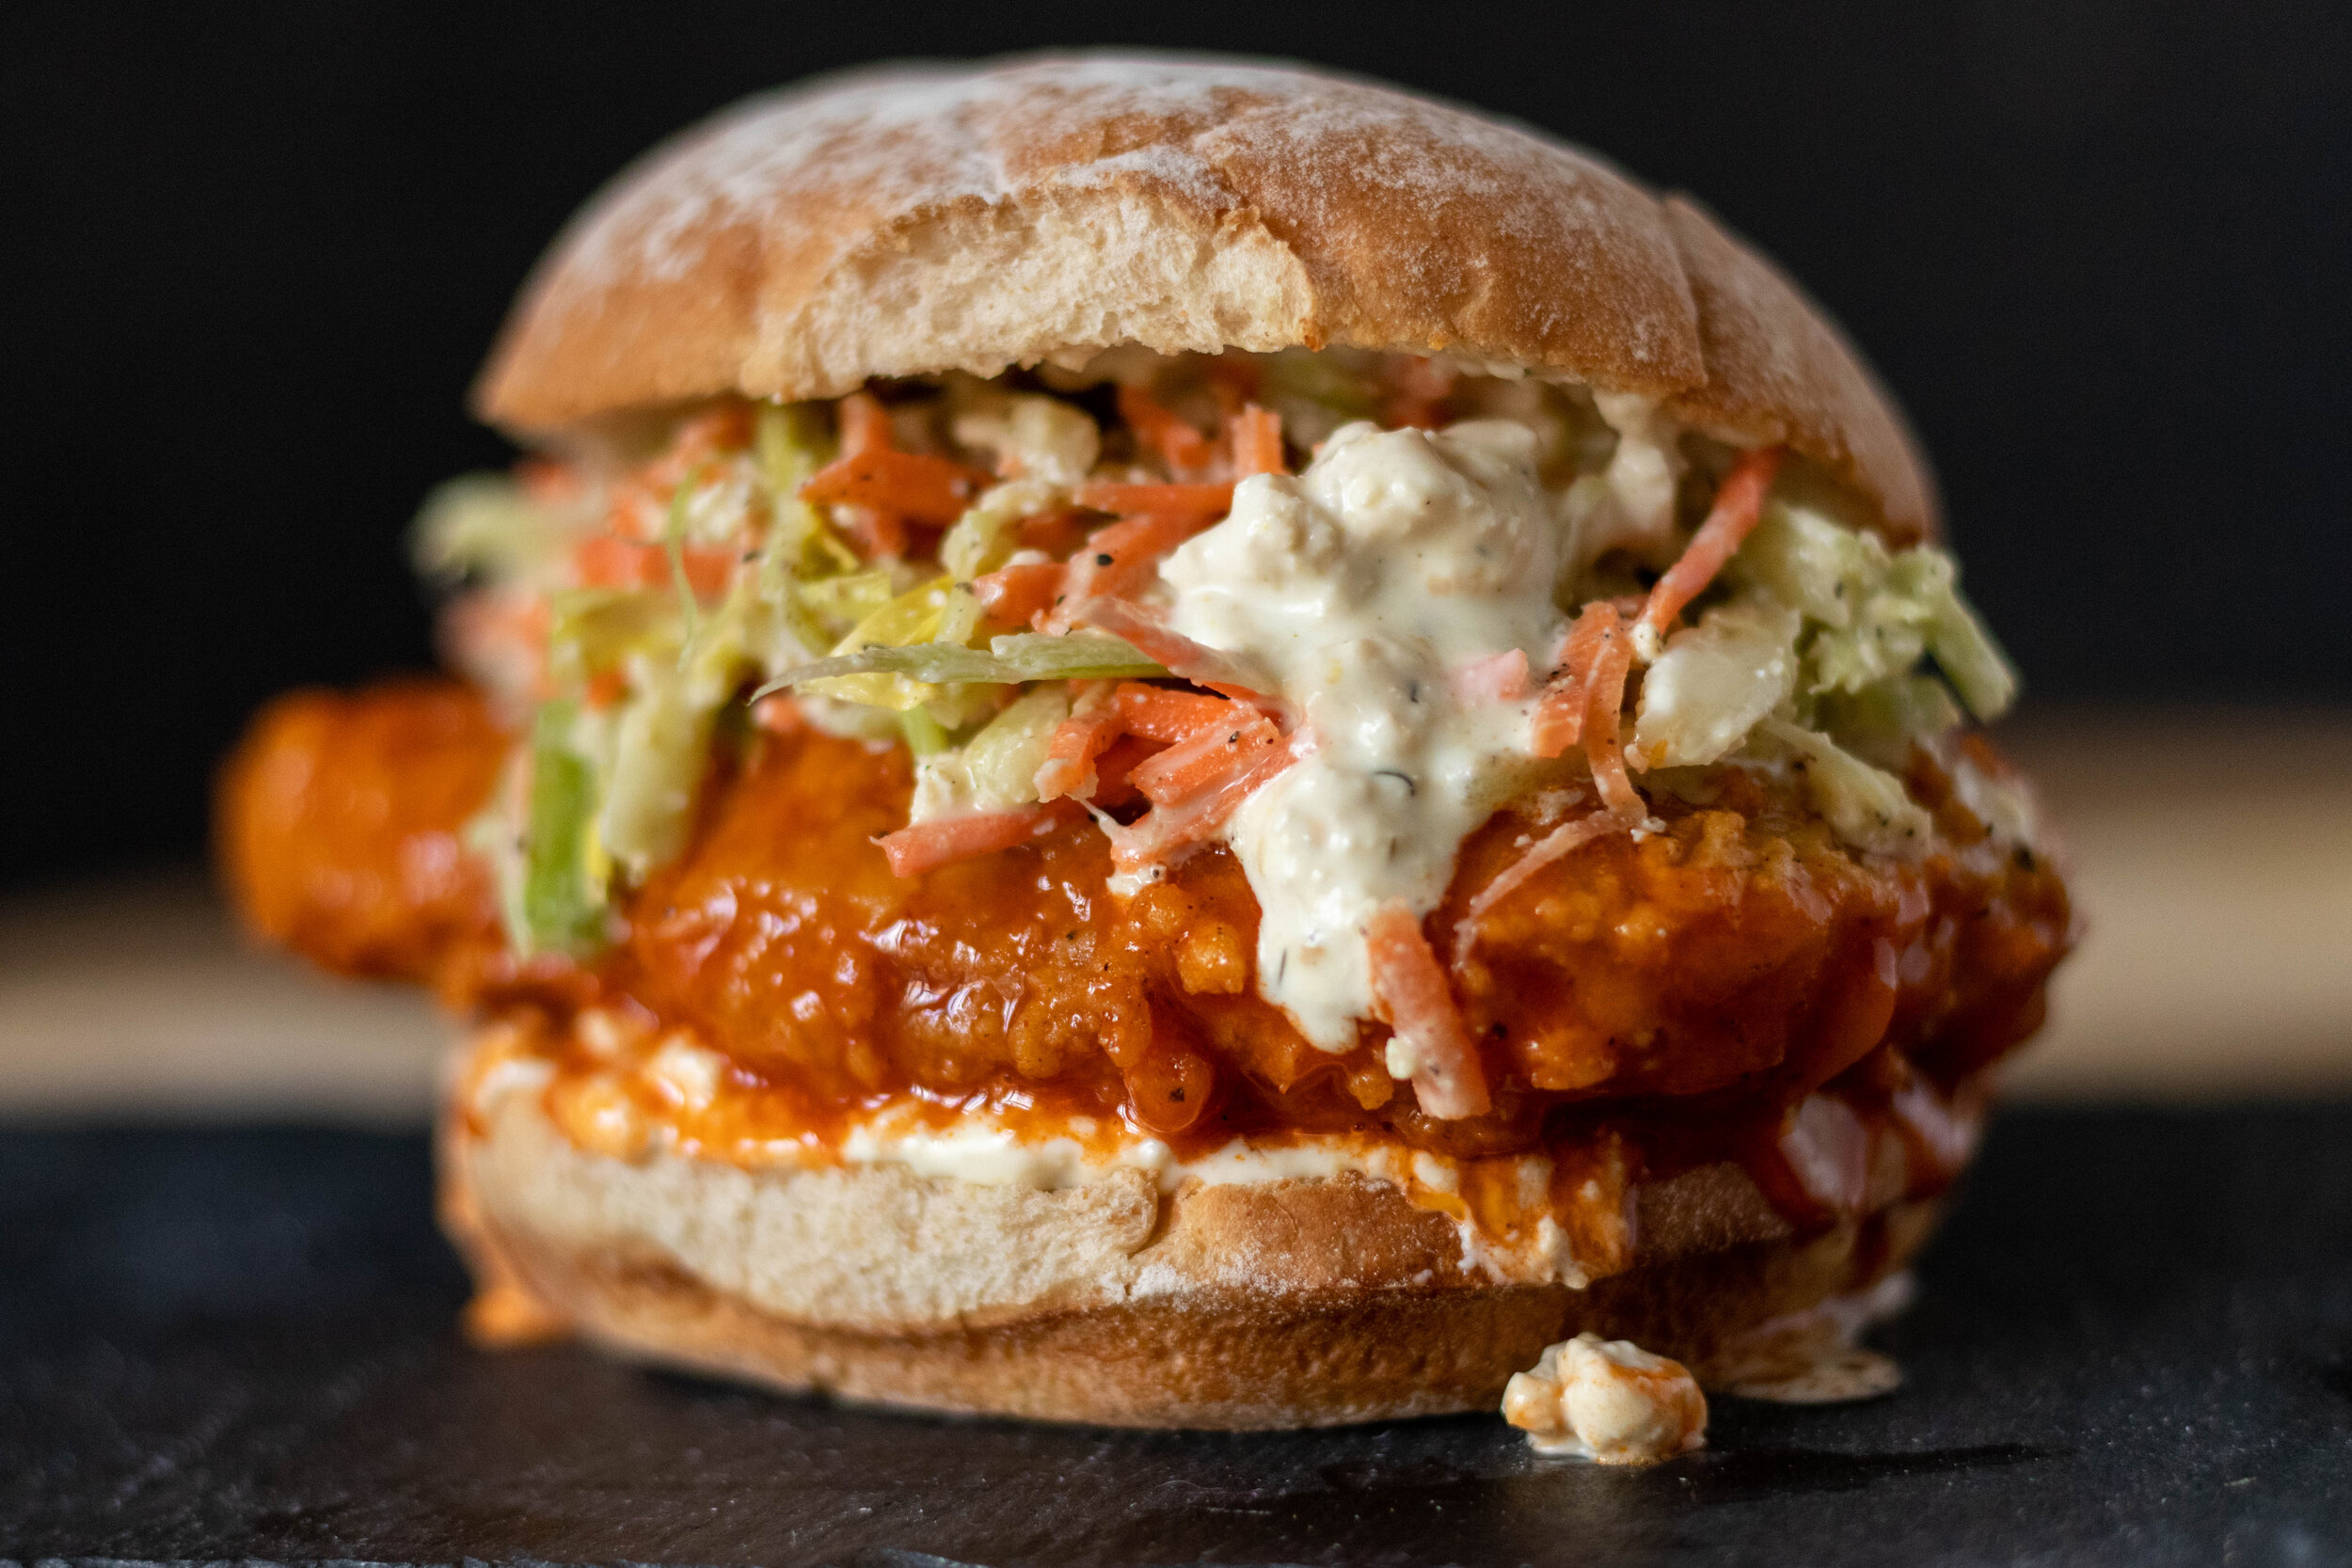
So yall, that is my vegan version of the breakfast all day burger. Perfect for breakfast, brunch, lunch or dinner. If you are one the fence about this burger, just try it, I promise it is amazing!! Maple dipped burger amazing!
And hats off to the genius that decide to make a breakfast burger to begin with. Whoever you are, I think I think I might love you.
INGREDIENTS:
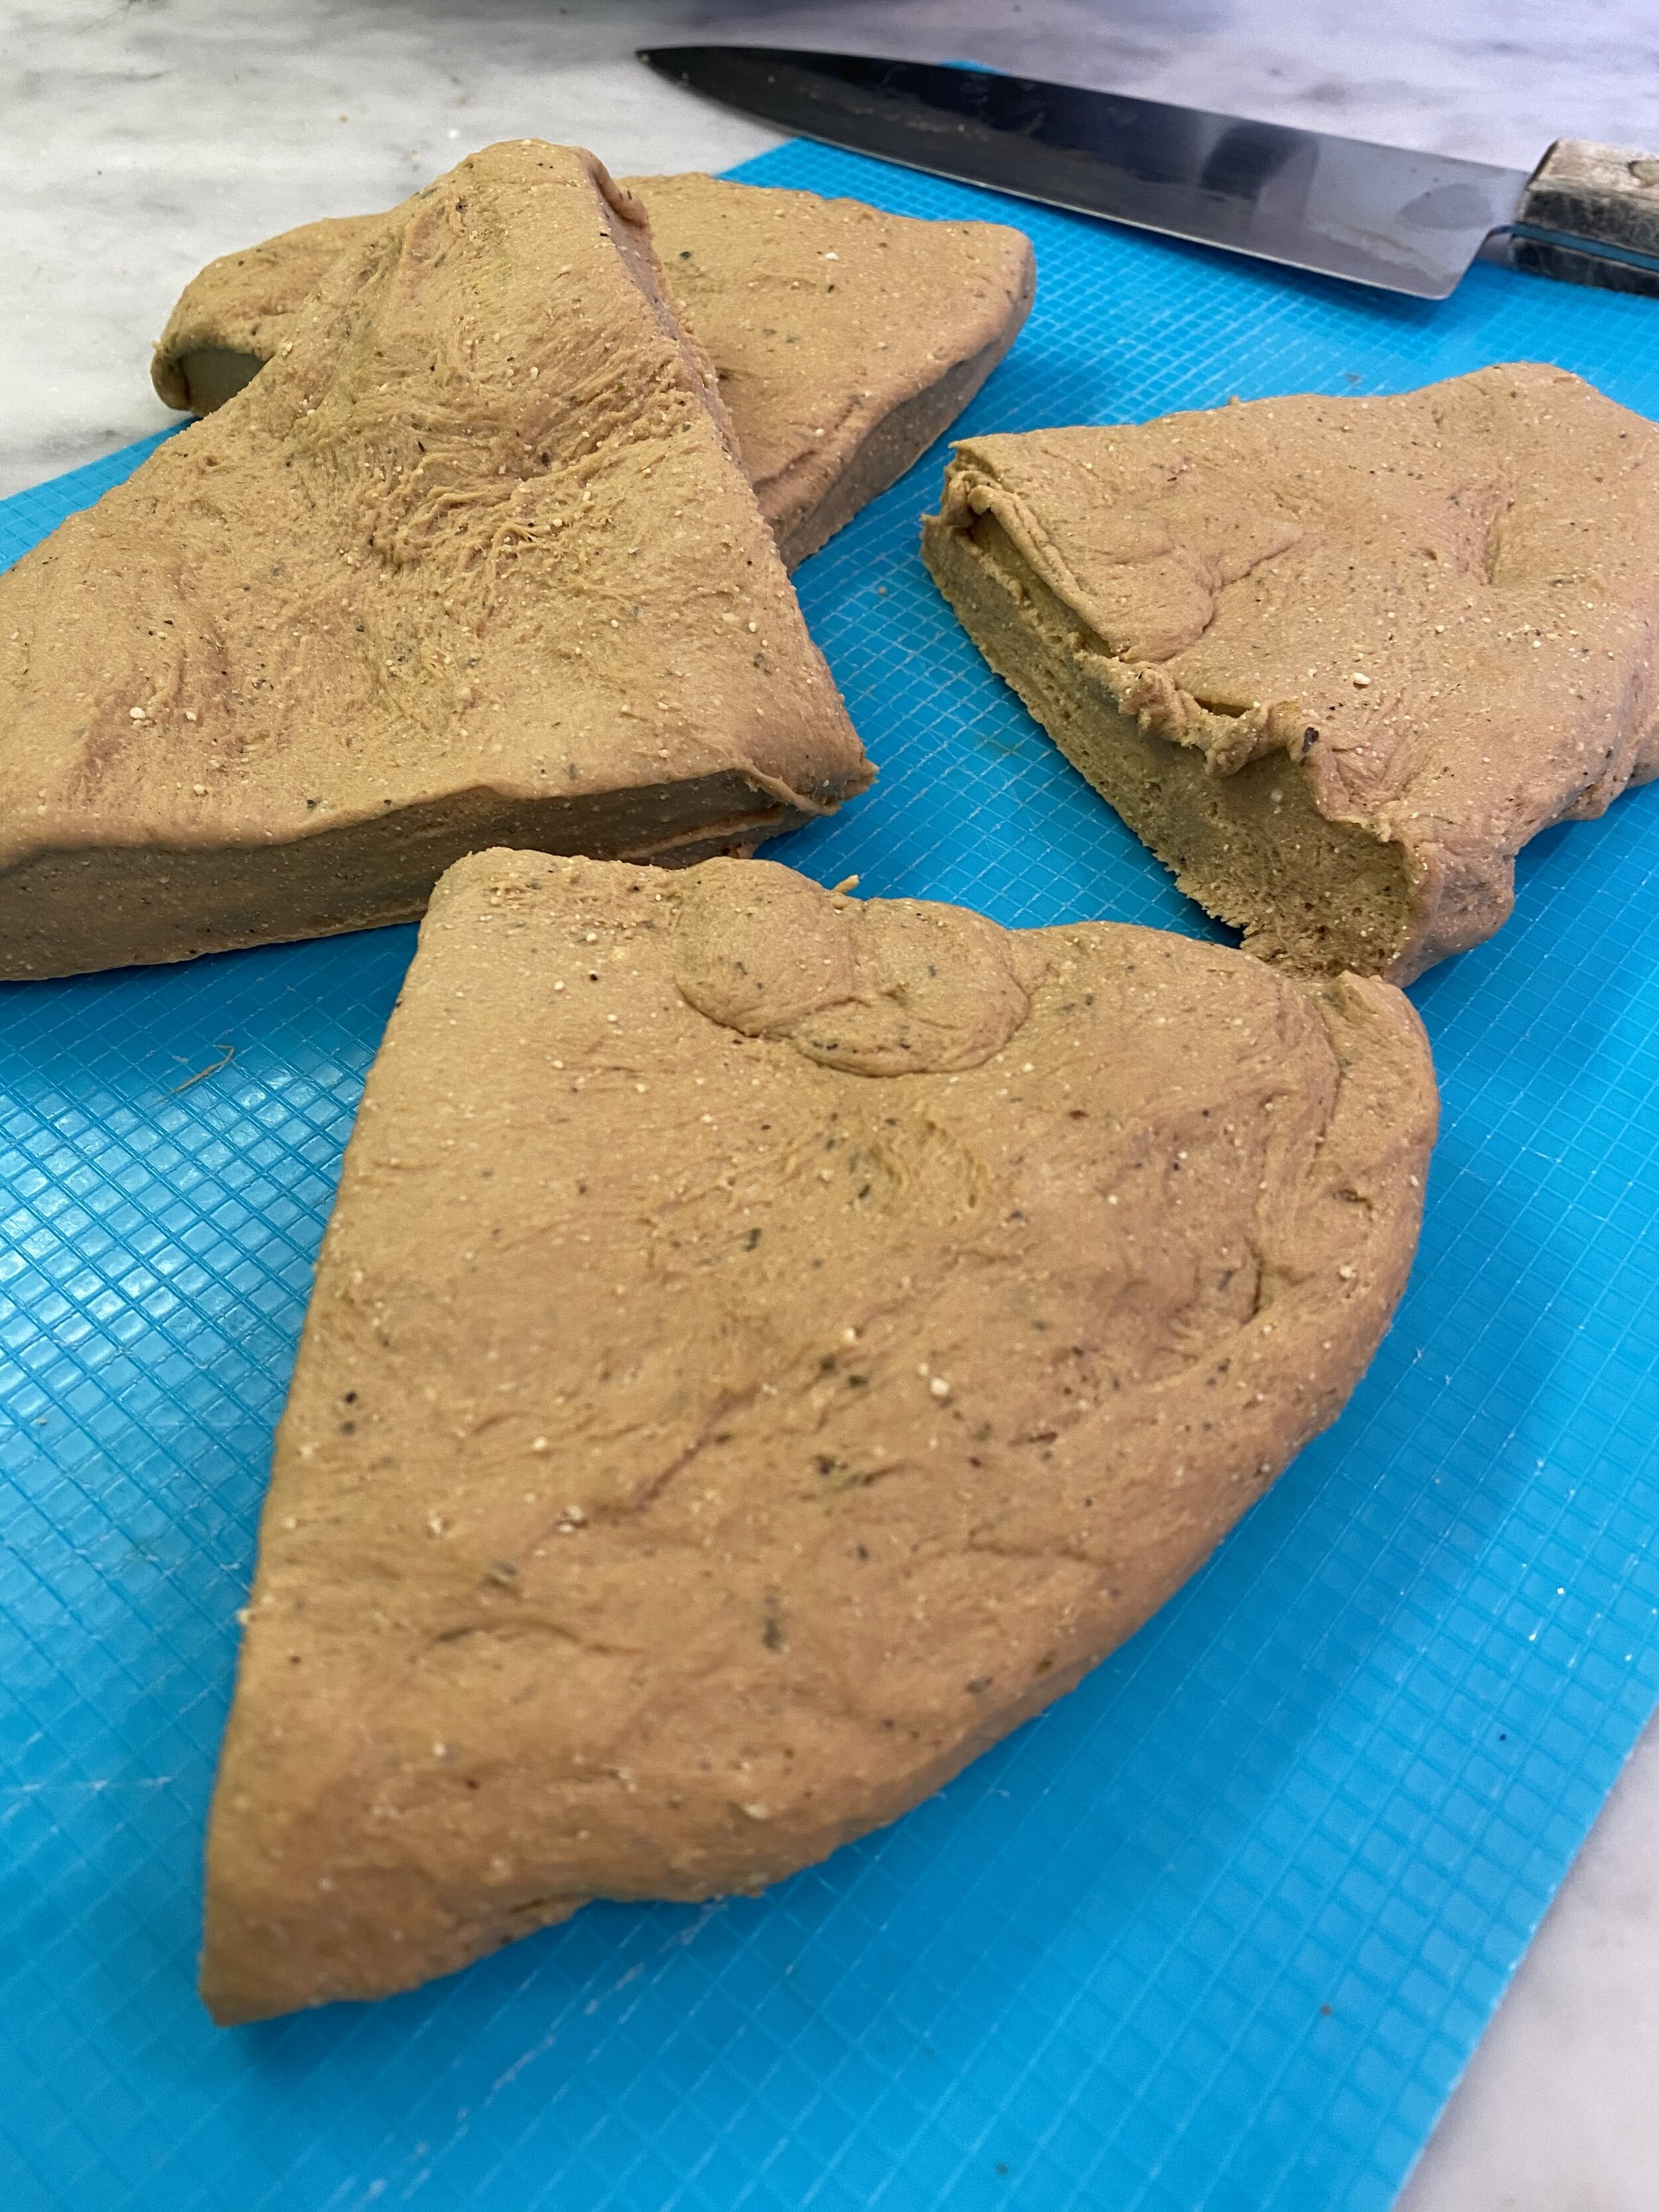
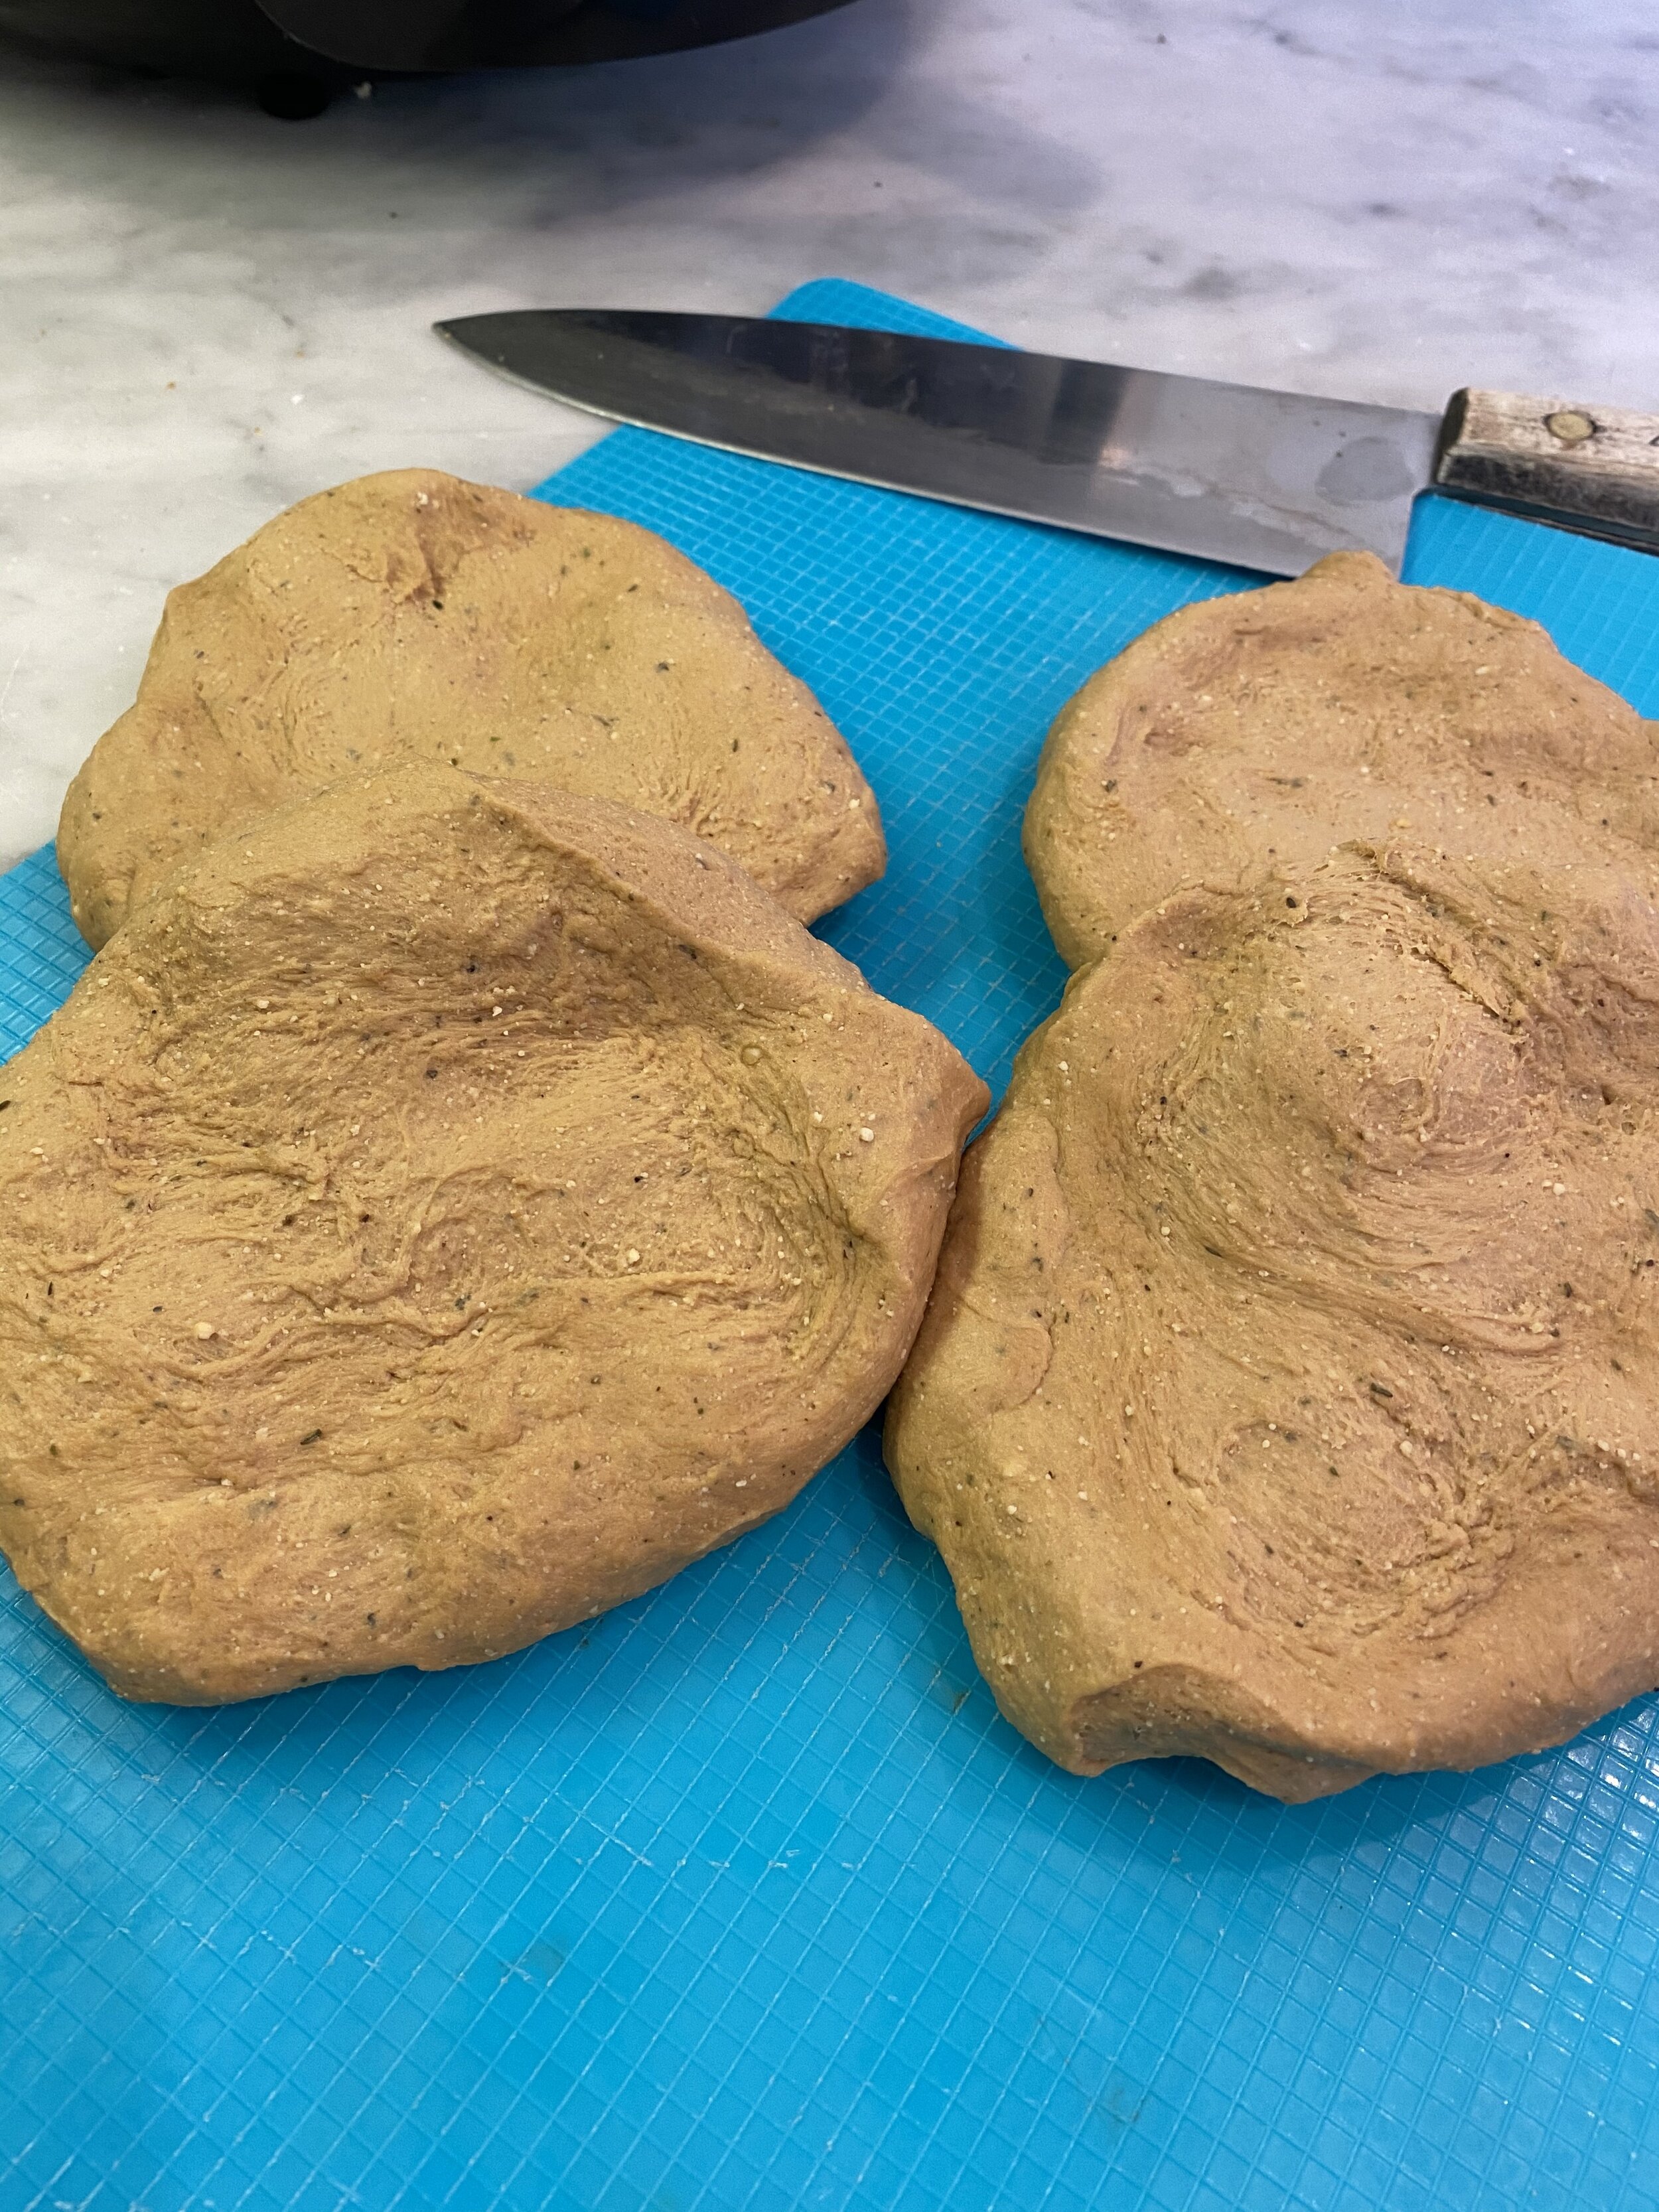
This recipe makes 4 burgers
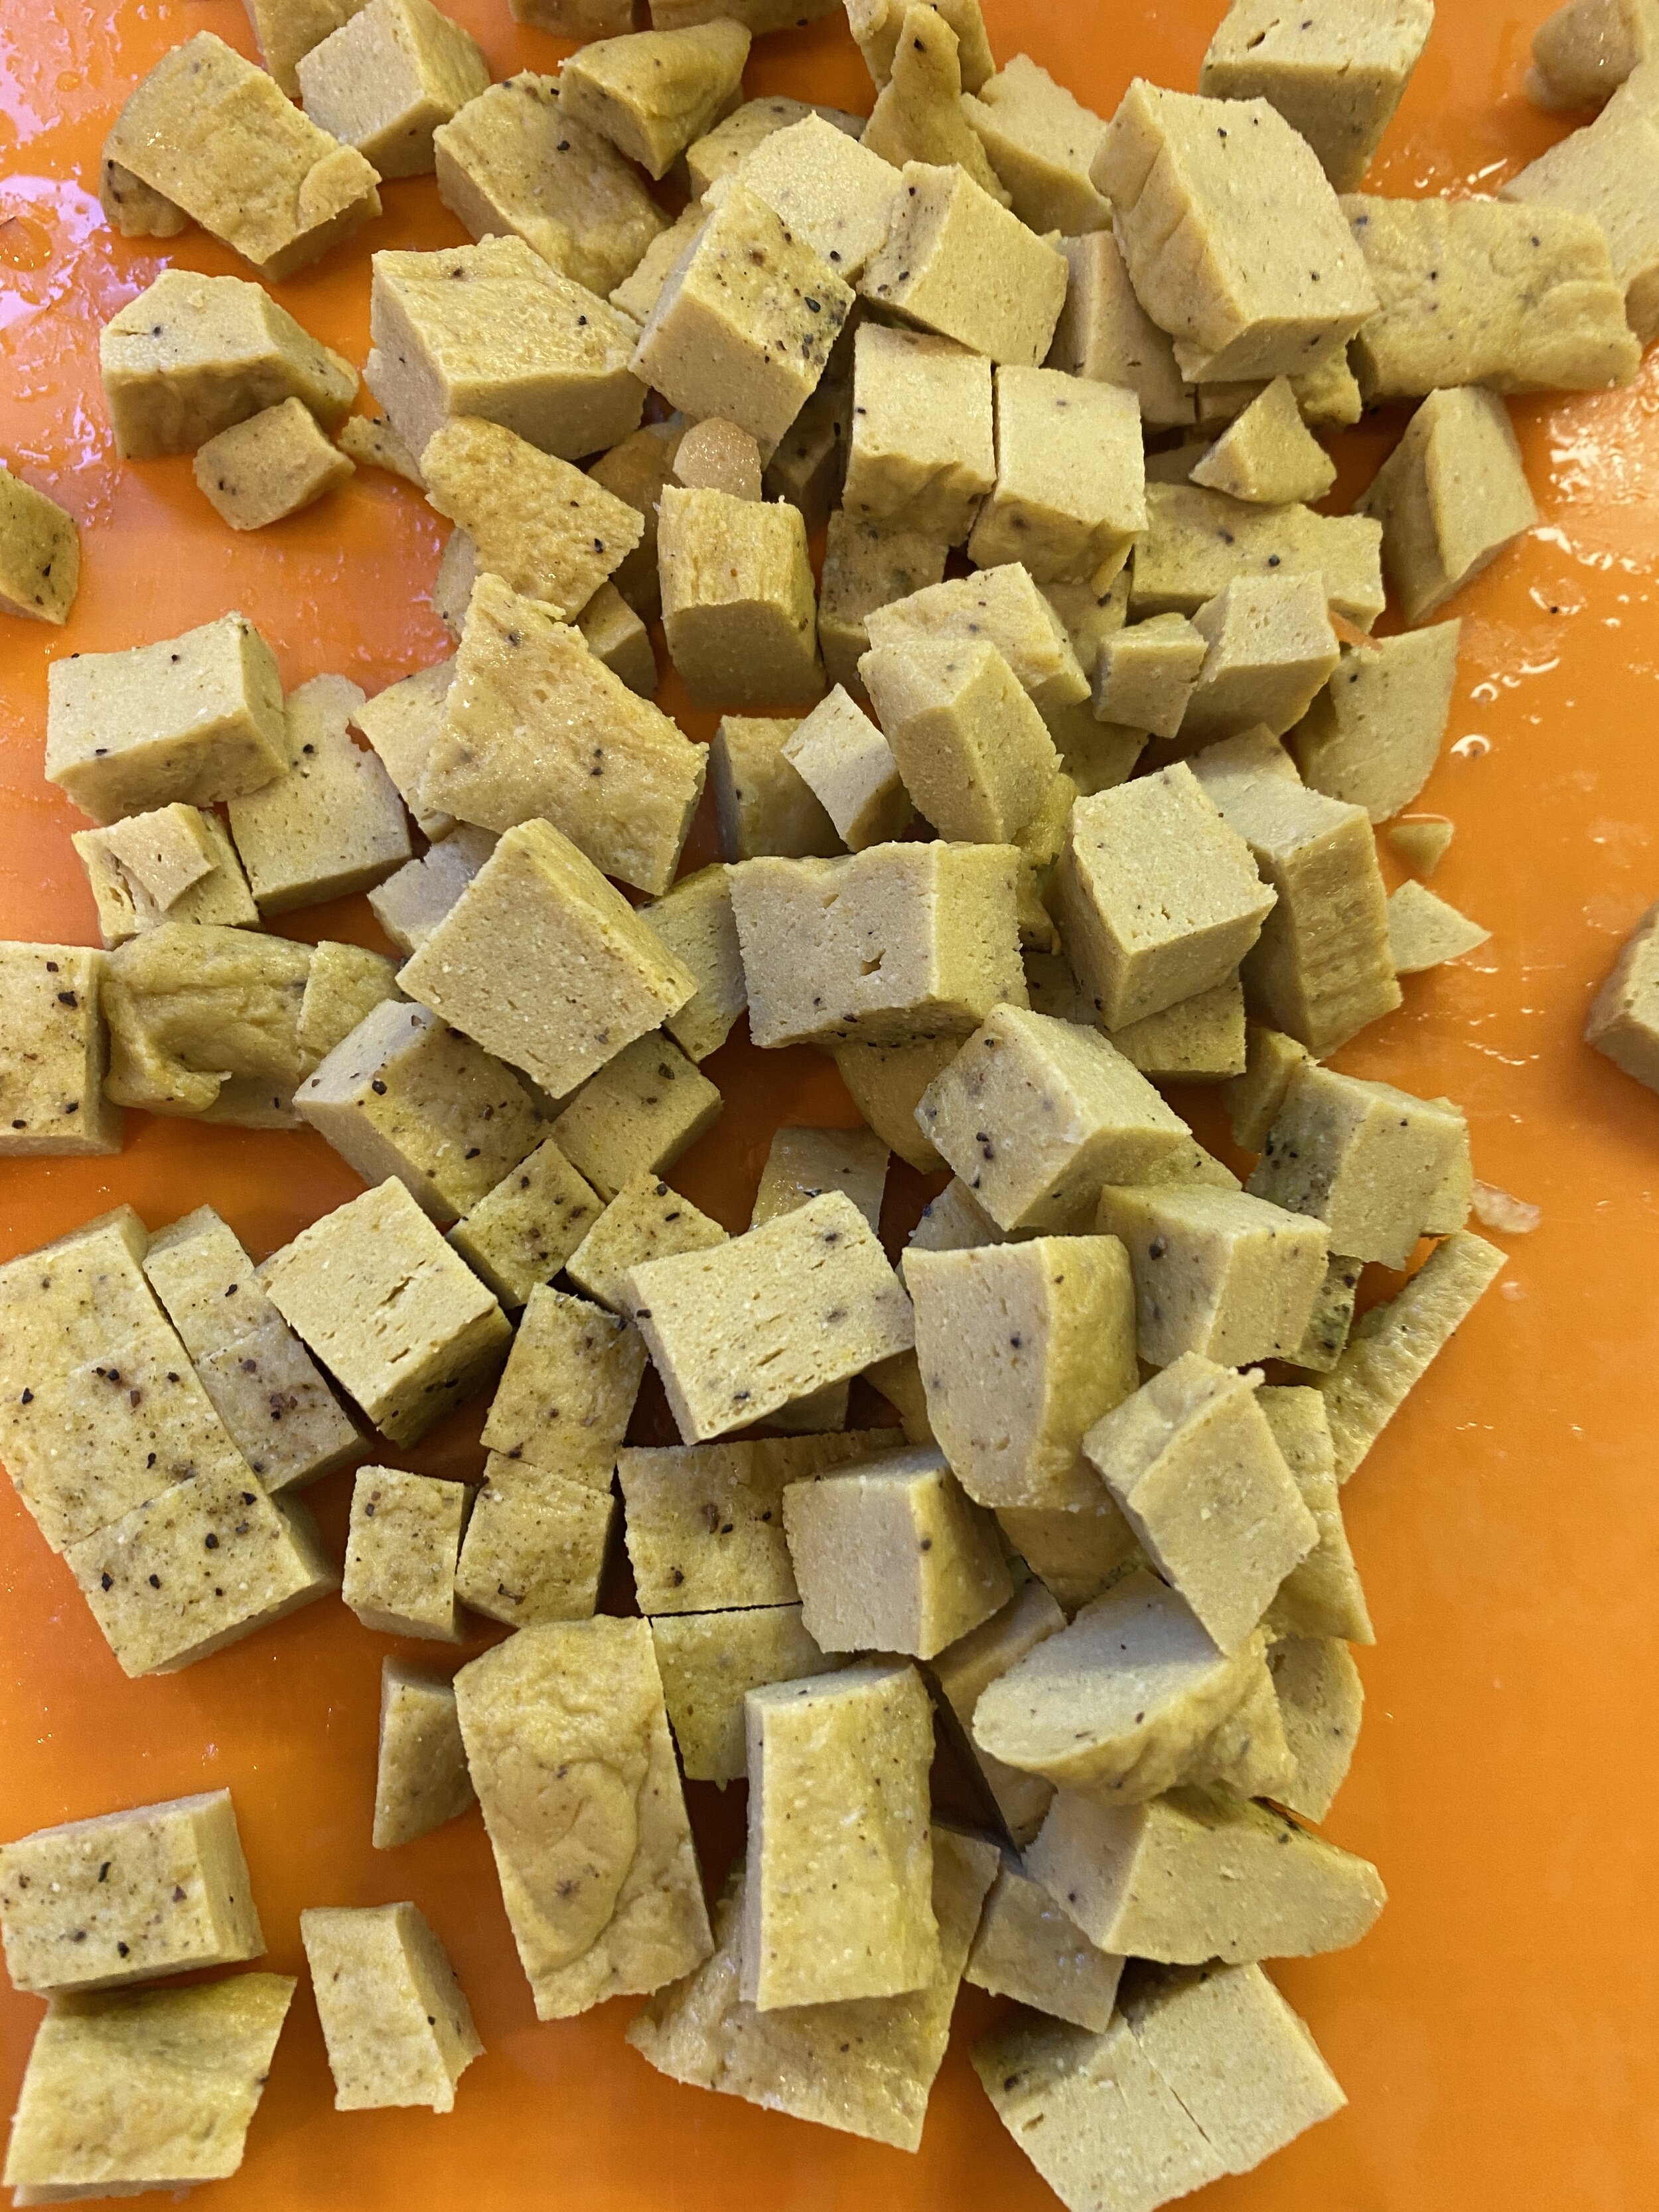
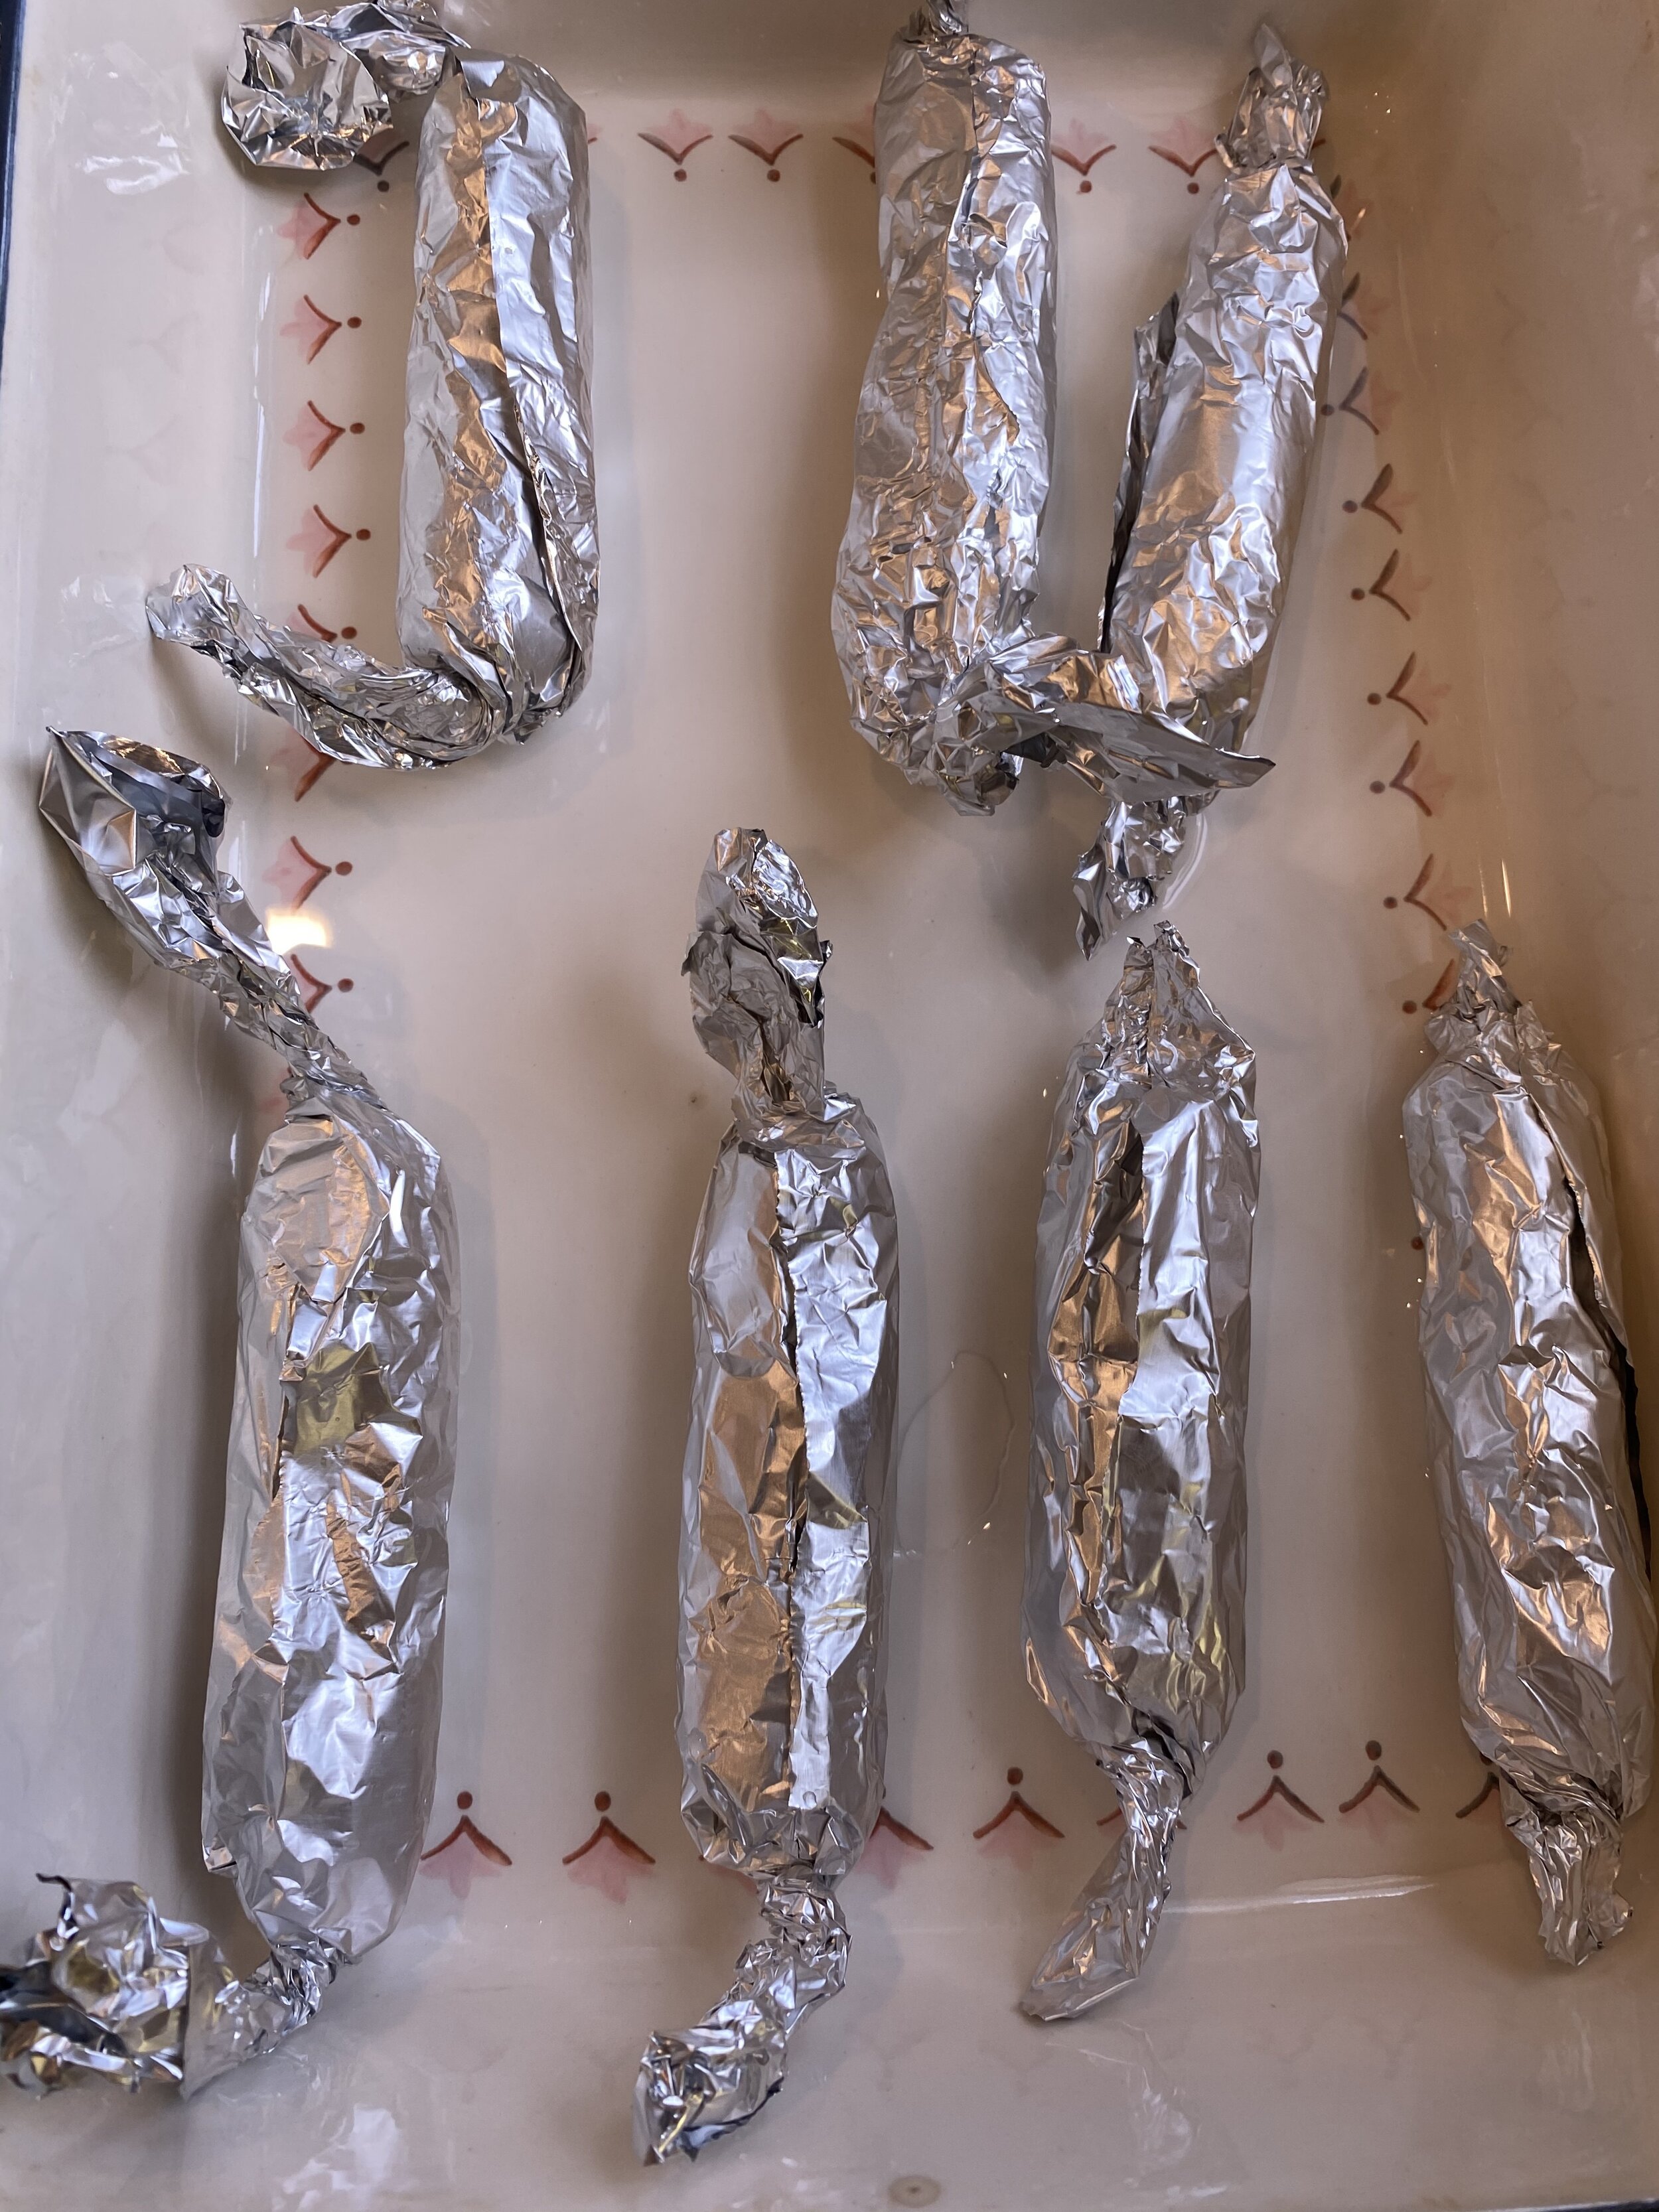
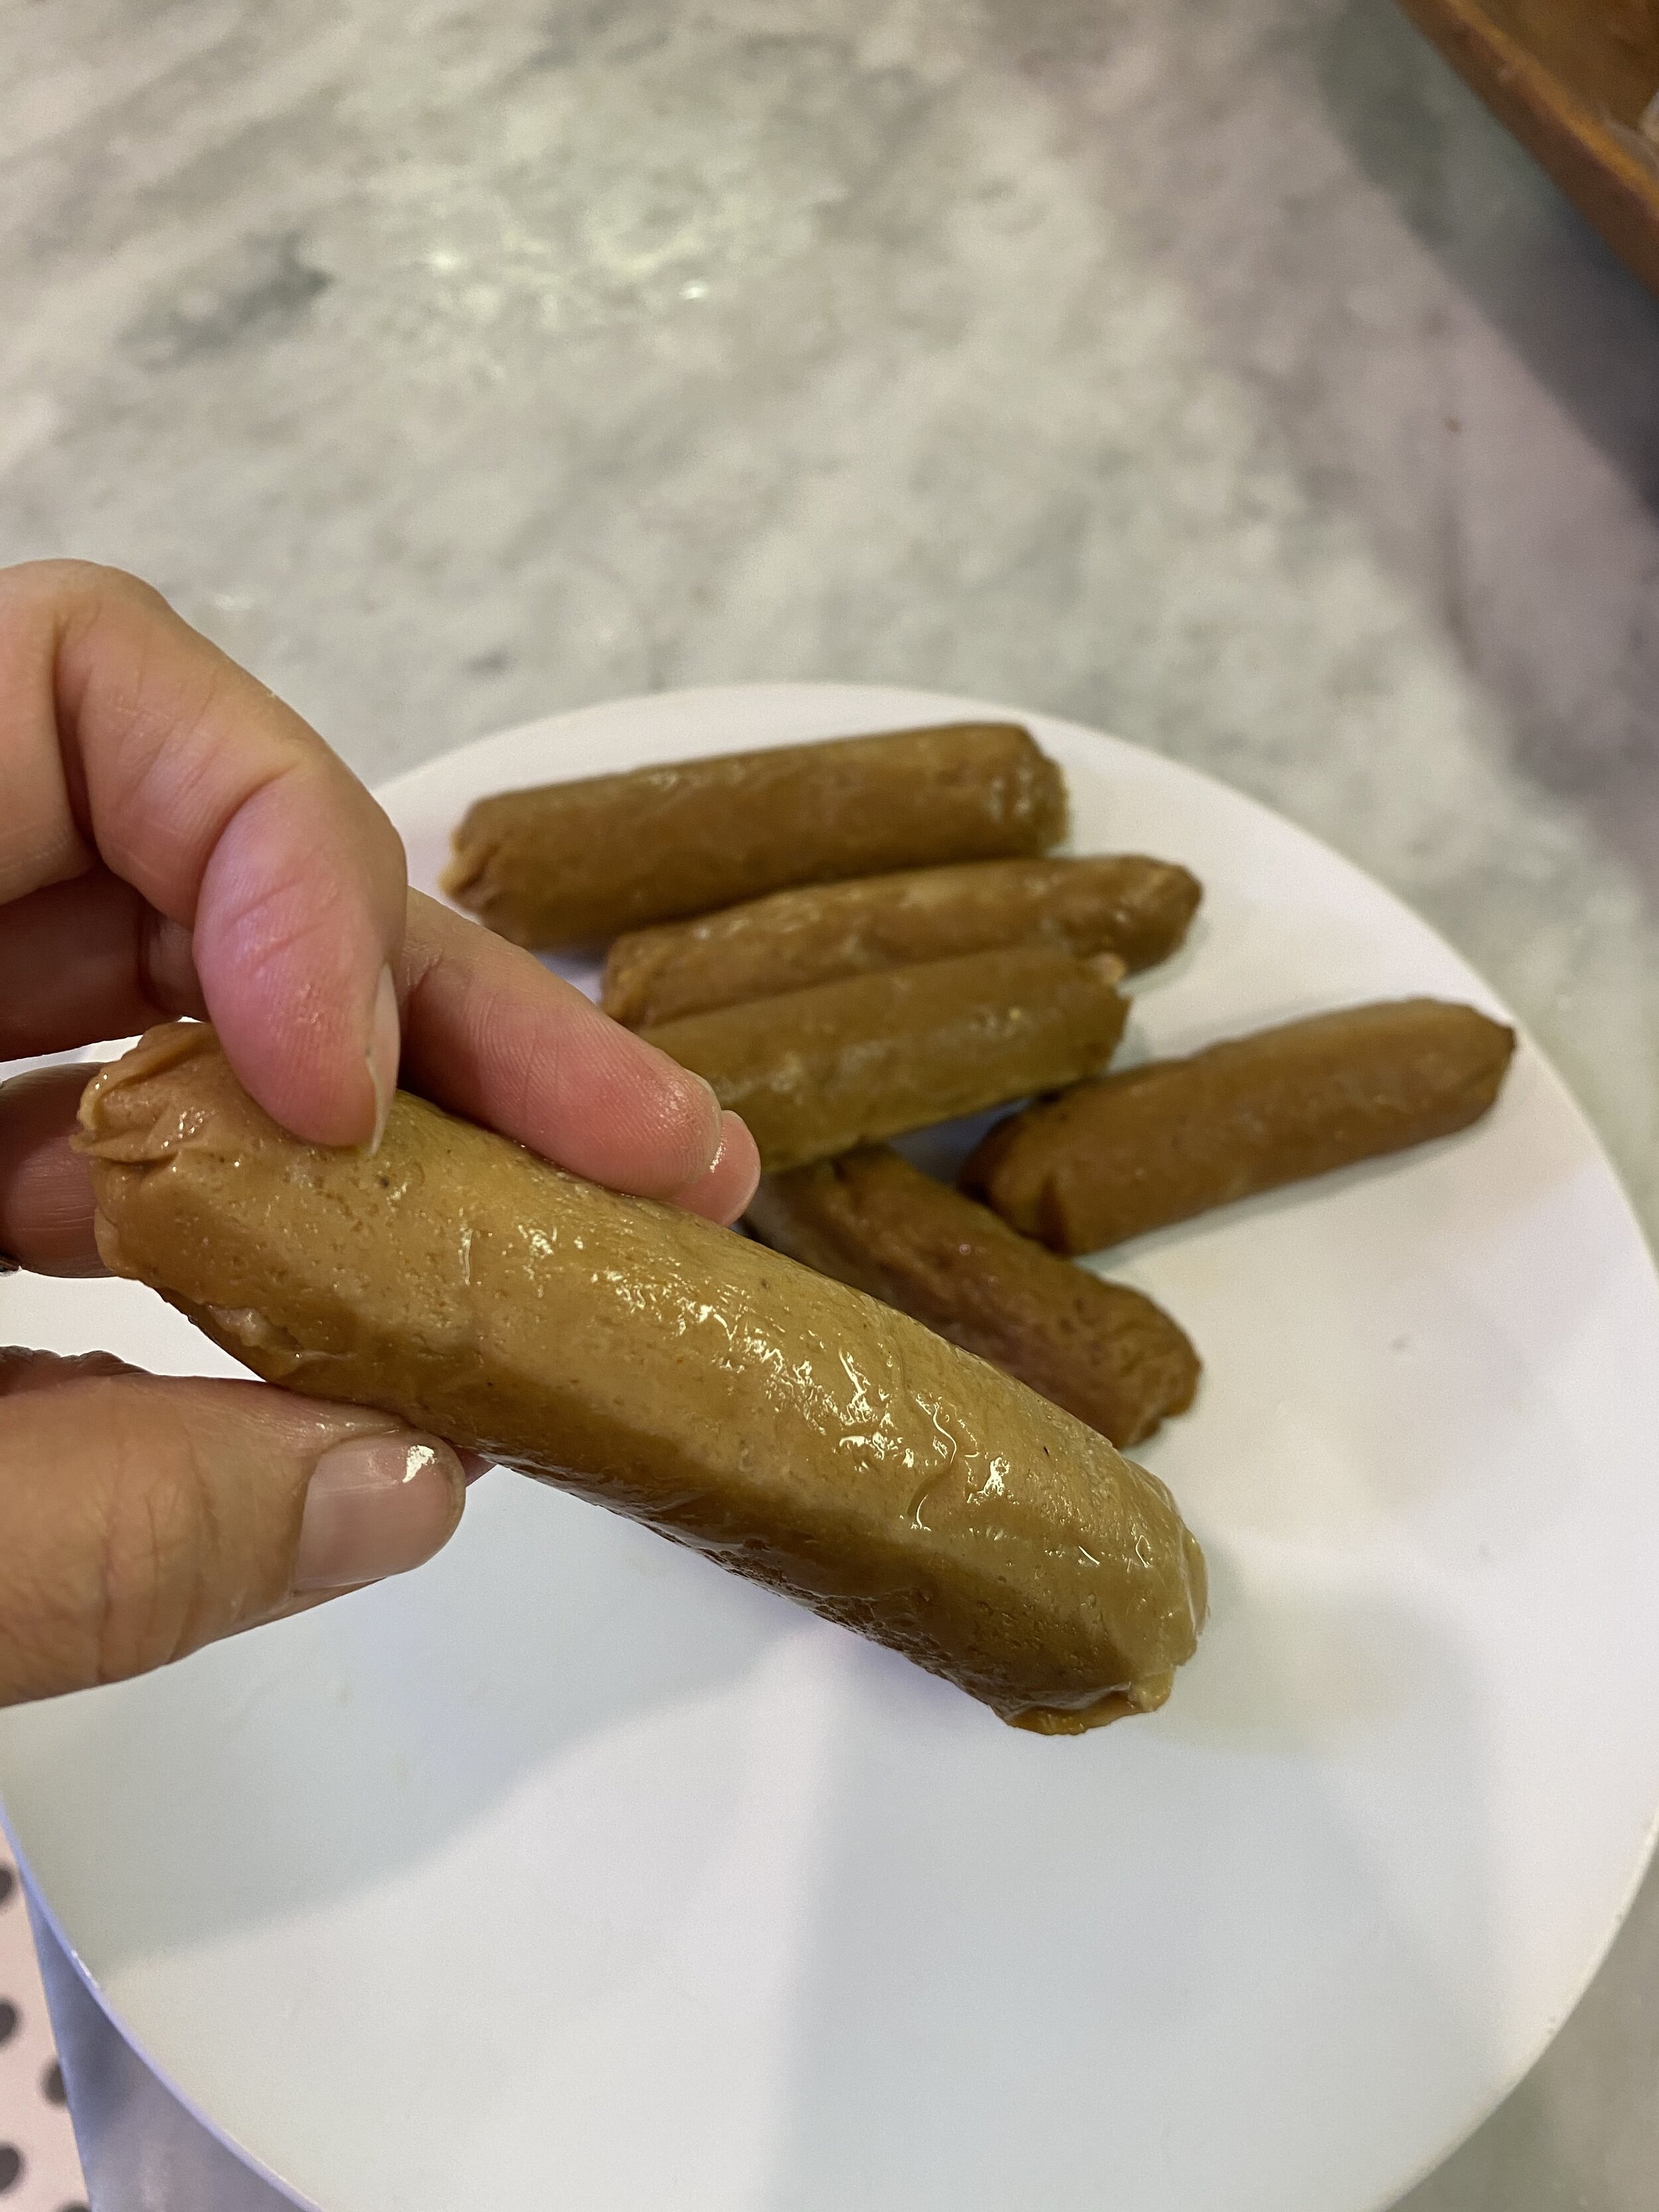
4 vegan burger patties. Homemade or We used Beyond Burgers for this recipe.
4 slices vegan cheddar, Homemade or Store-bought
4 vegan hamburger buns
1/2 bottle of Just Egg, or you can use tofu scramble
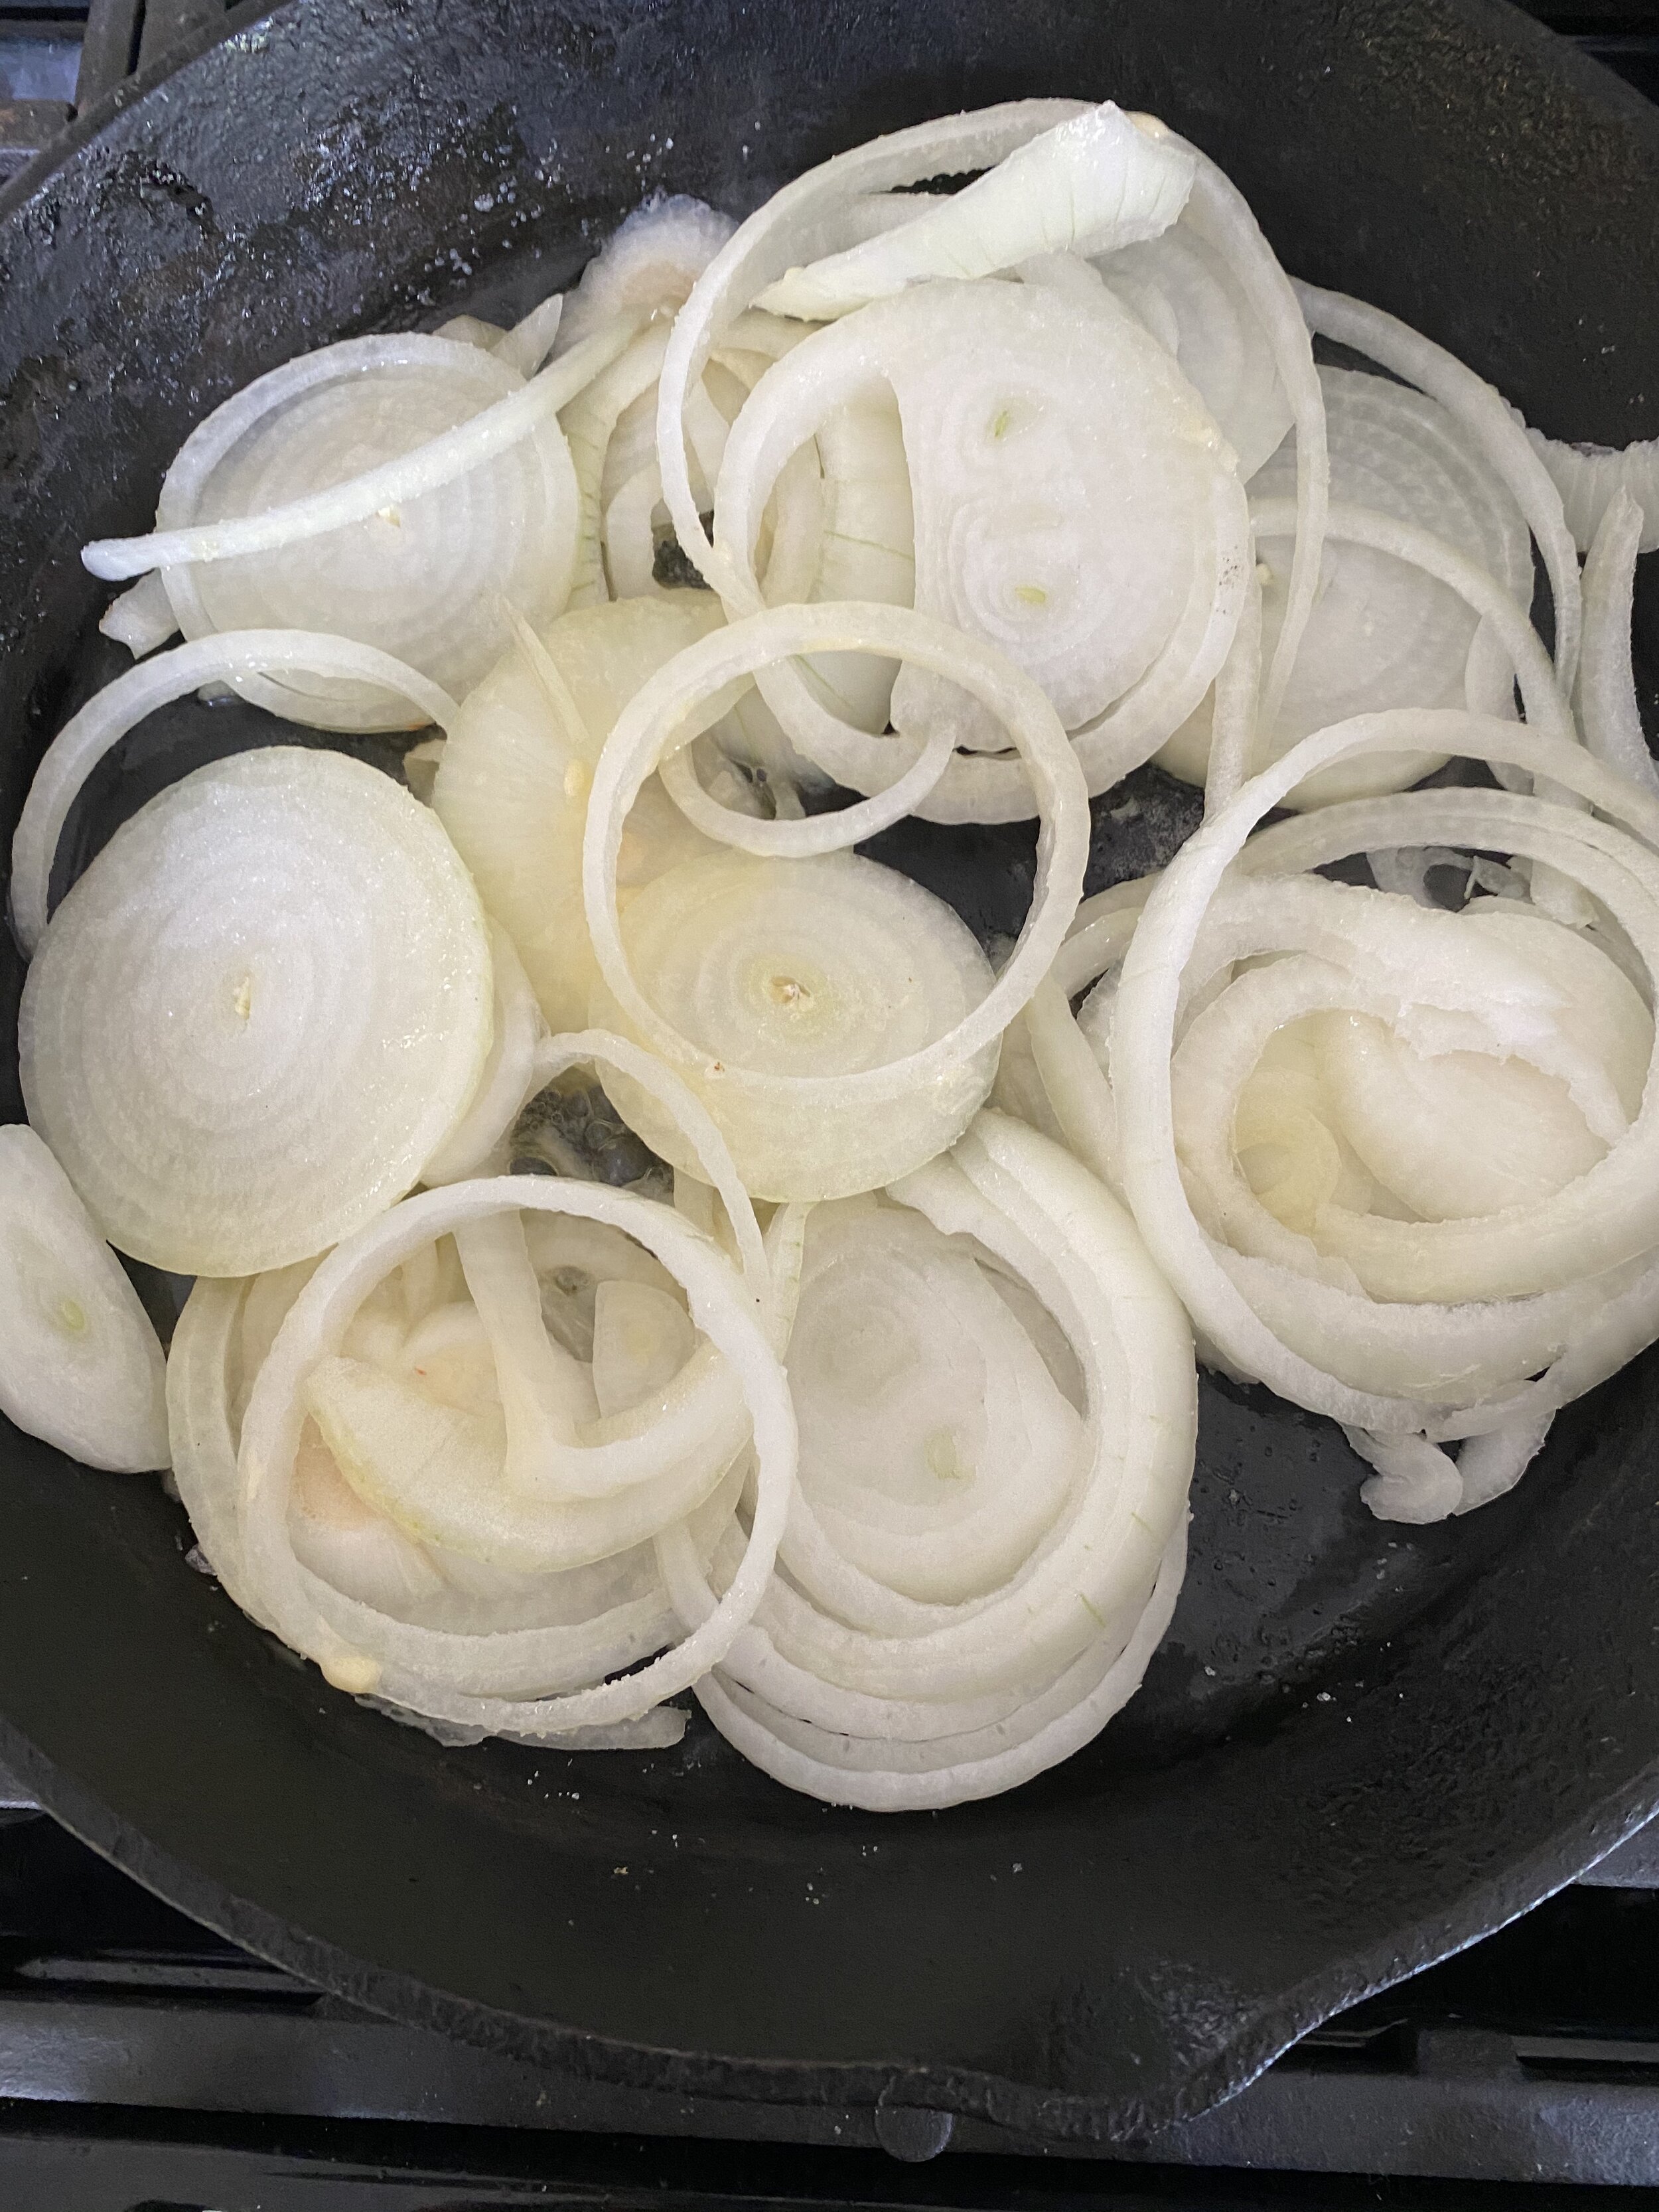
1 small yellow onion, thinly sliced
4 hash browns or 20 tater tots
8 teaspoons maple syrup (or more If you extra like maple syrup)
ketchup
Kala Namak salt (this salt smells and taste like eggs)
2 teaspoons vegan butter
INSTRUCTIONS:
Cook hash browns or tater tots in the oven or air fryer according to cooking instructions.
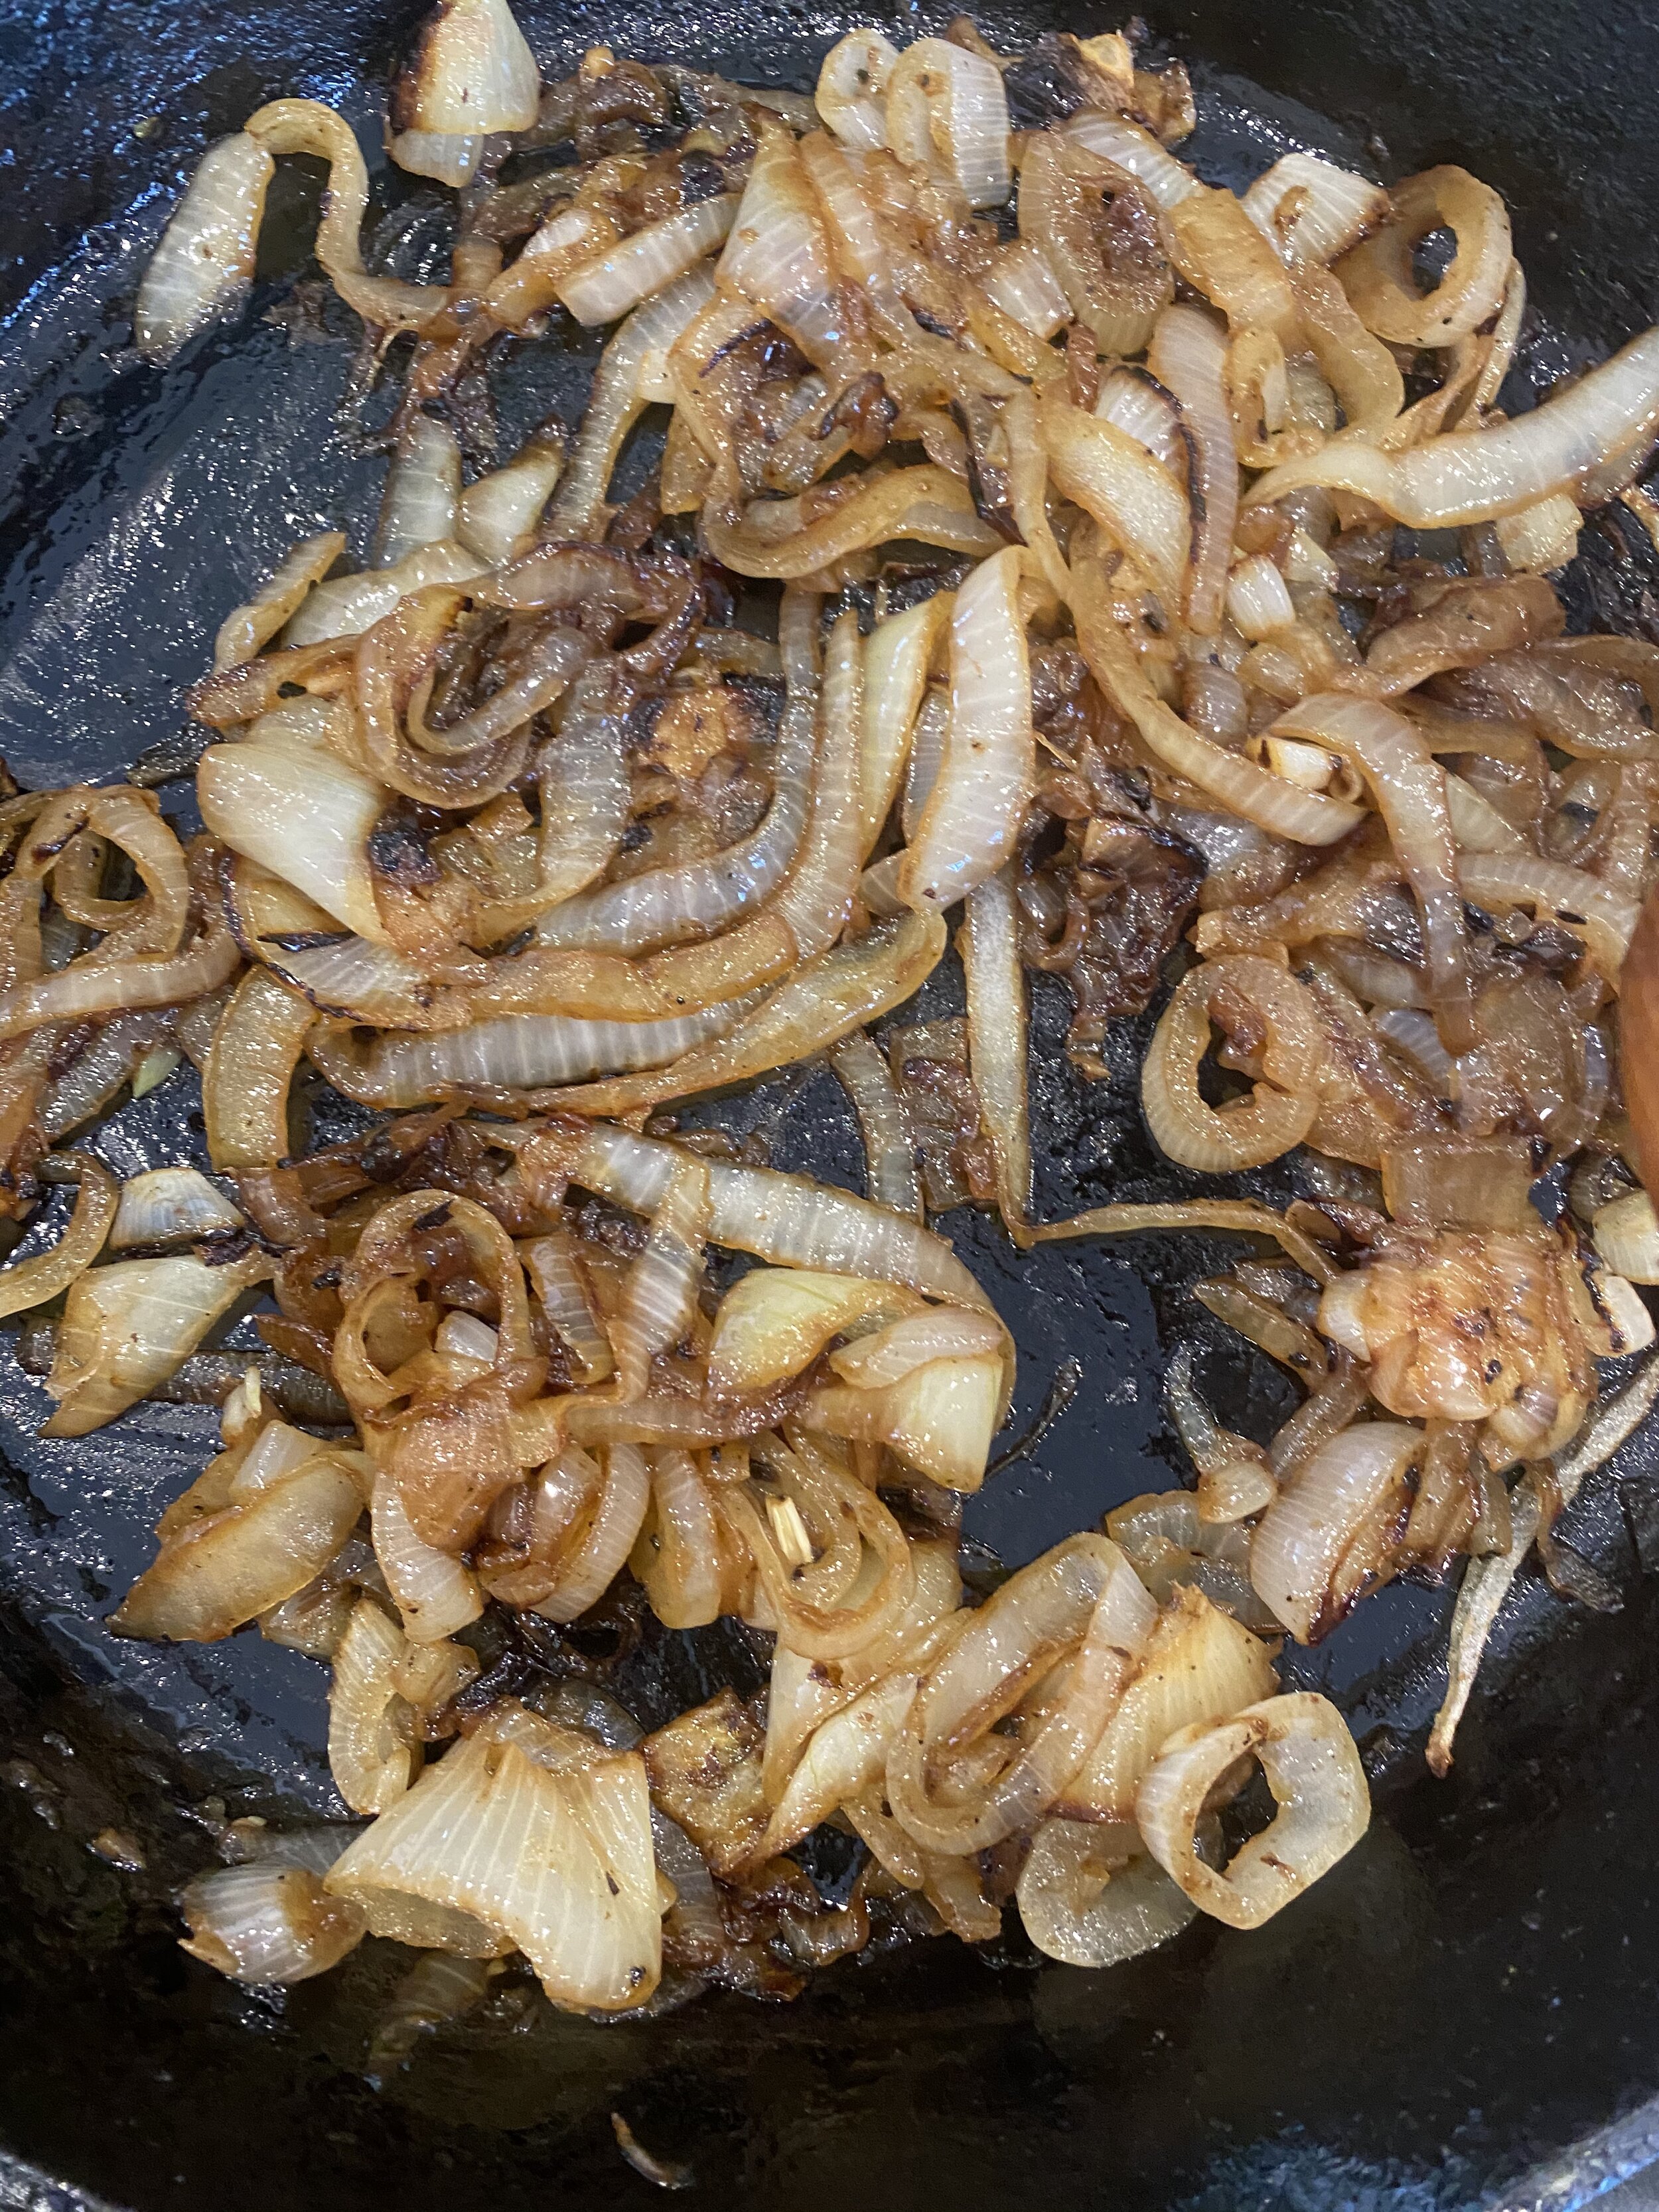
Begin by heating a large skillet over medium heat. Add the butter and allow it to melt. Add the sliced onion and cook until the onion is soft and translucent. Remove onions from the pan and set aside.
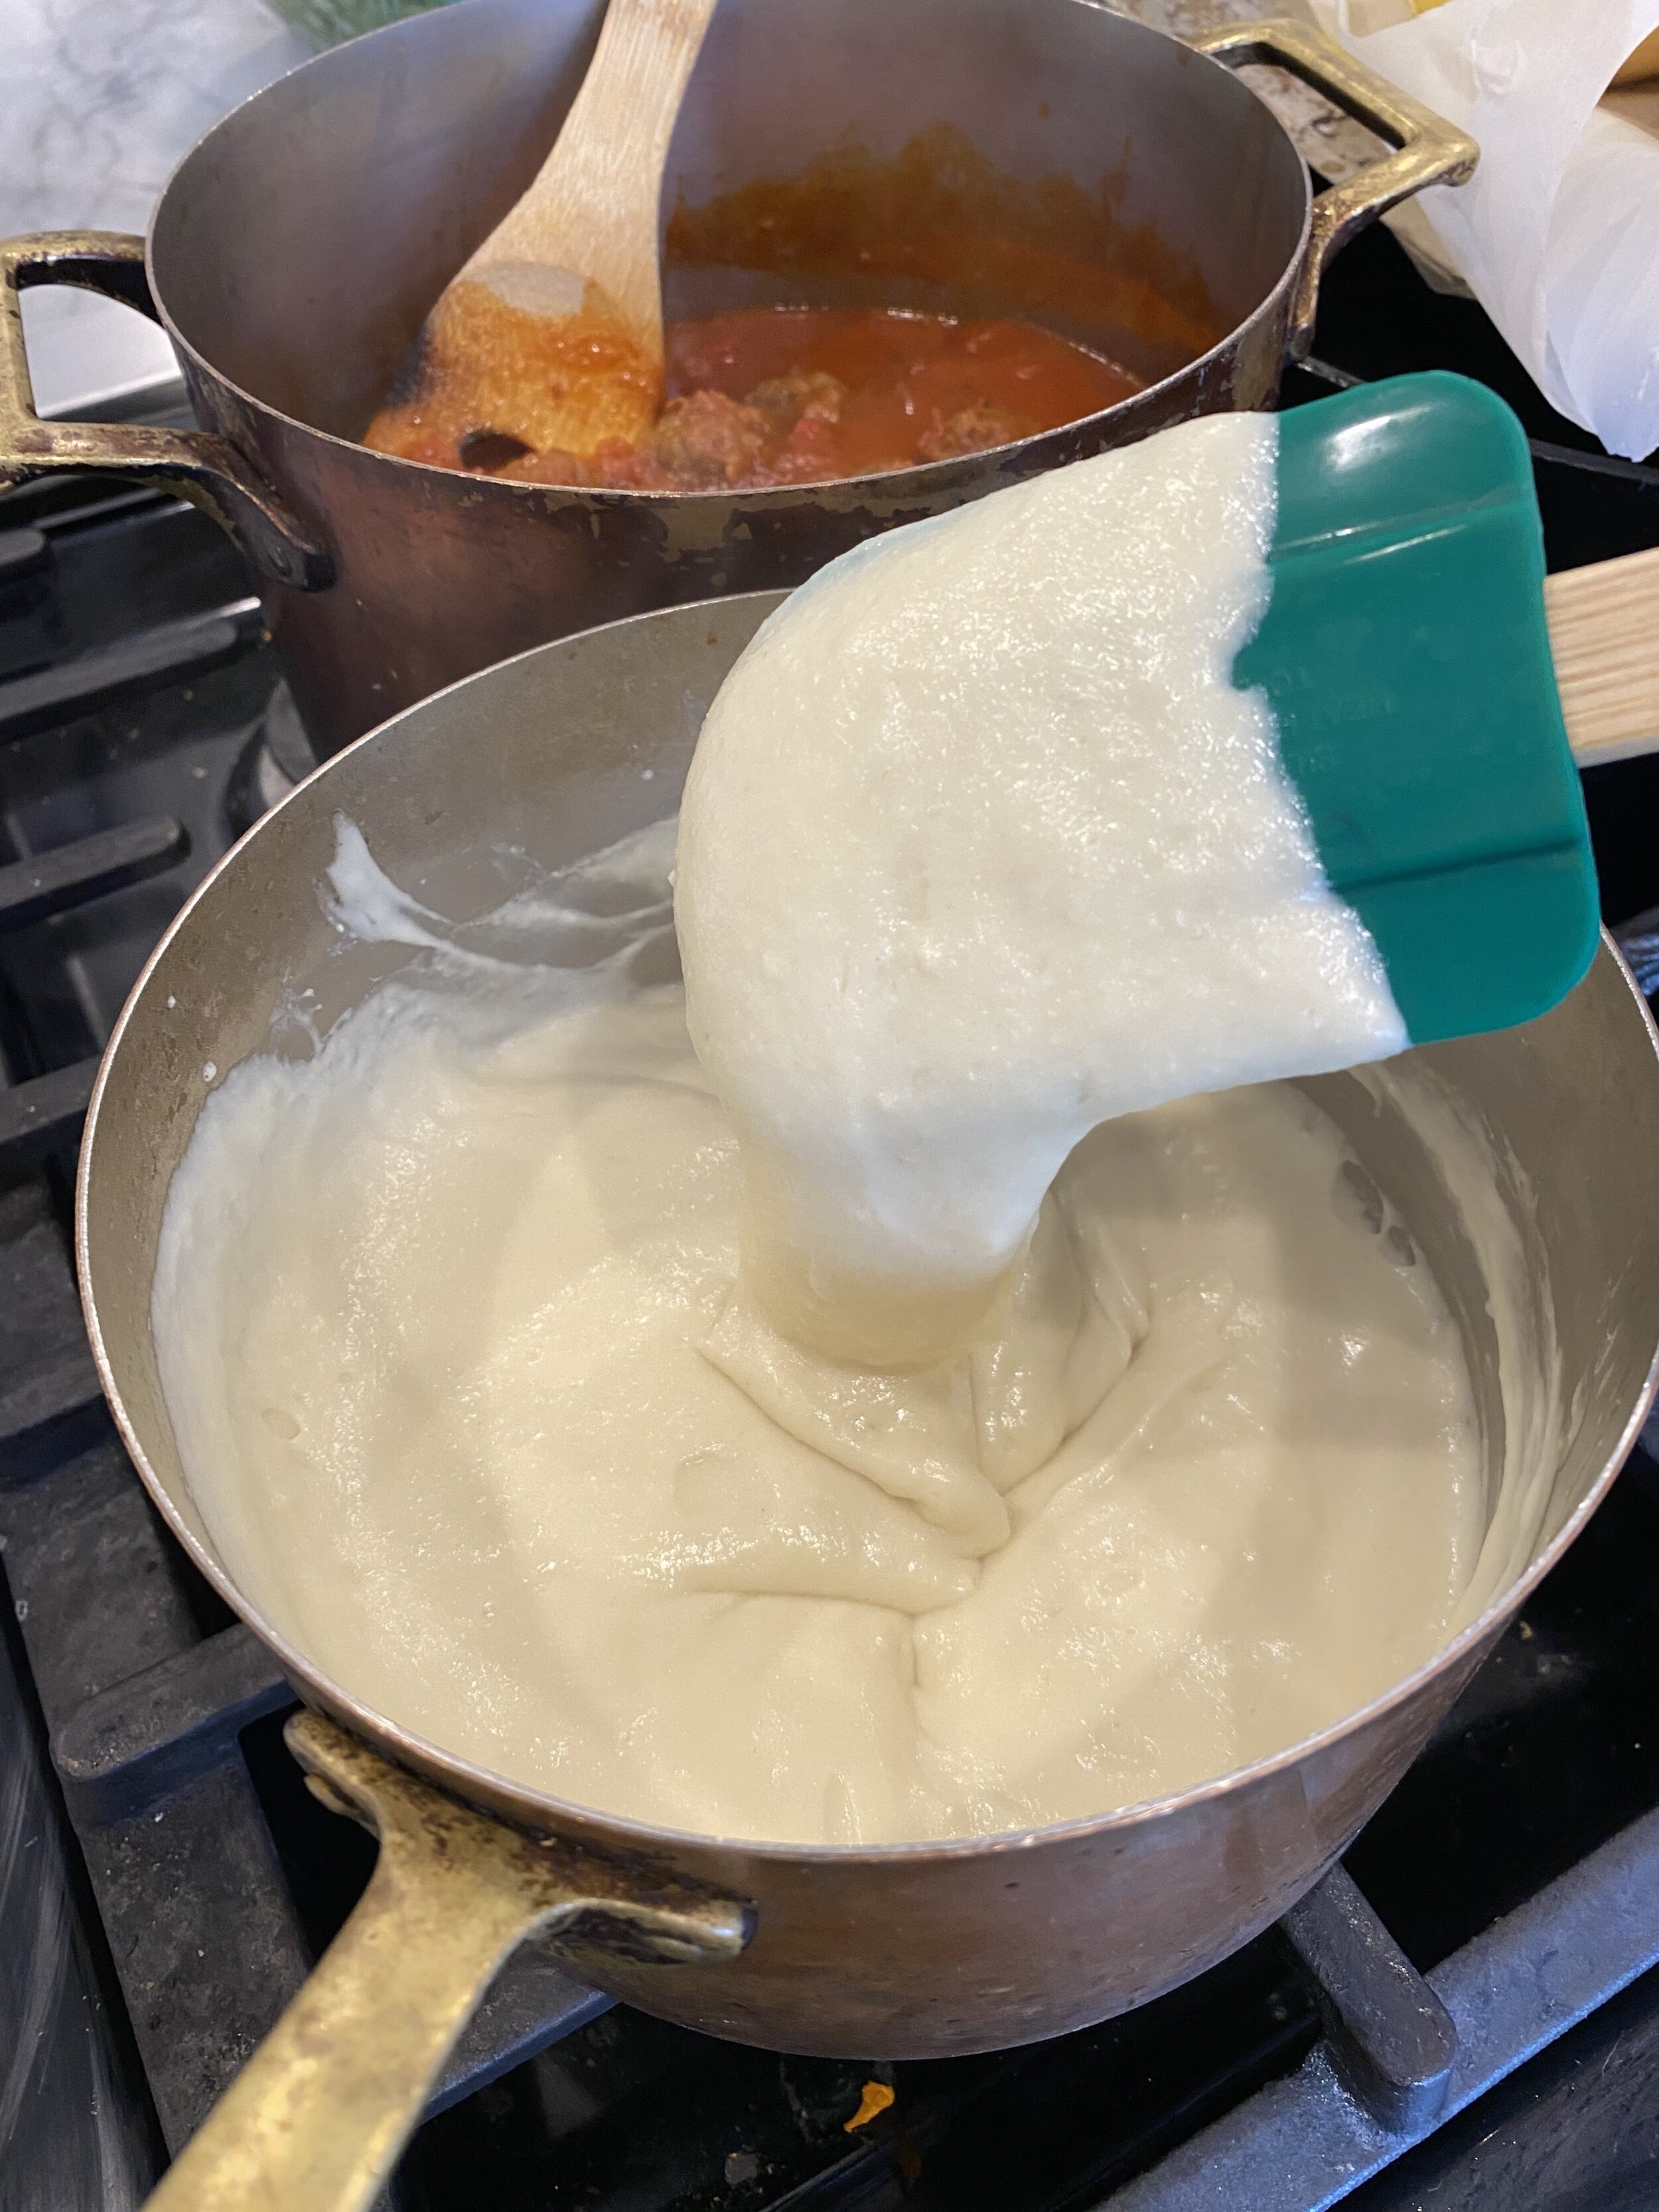
Spray the same pan generously with some cooking oil or add a little more vegan butter. Pour 4 puddles of the just egg in the pan, about 2-3 tablespoons each. Fry the Just Eggs a few minutes per side until cooke through. Sprinkle each fried egg LIGHTLY with a little Kala Namak salt. A little goes a long way. If you have not tried to fry Just Egg before, it helps to make sure the pan is nice and oiled, this helps the egg not stick and flip easier. I use a small, sharp edged spatula to help scrape the sides mine before flipping. Set eggs aside.
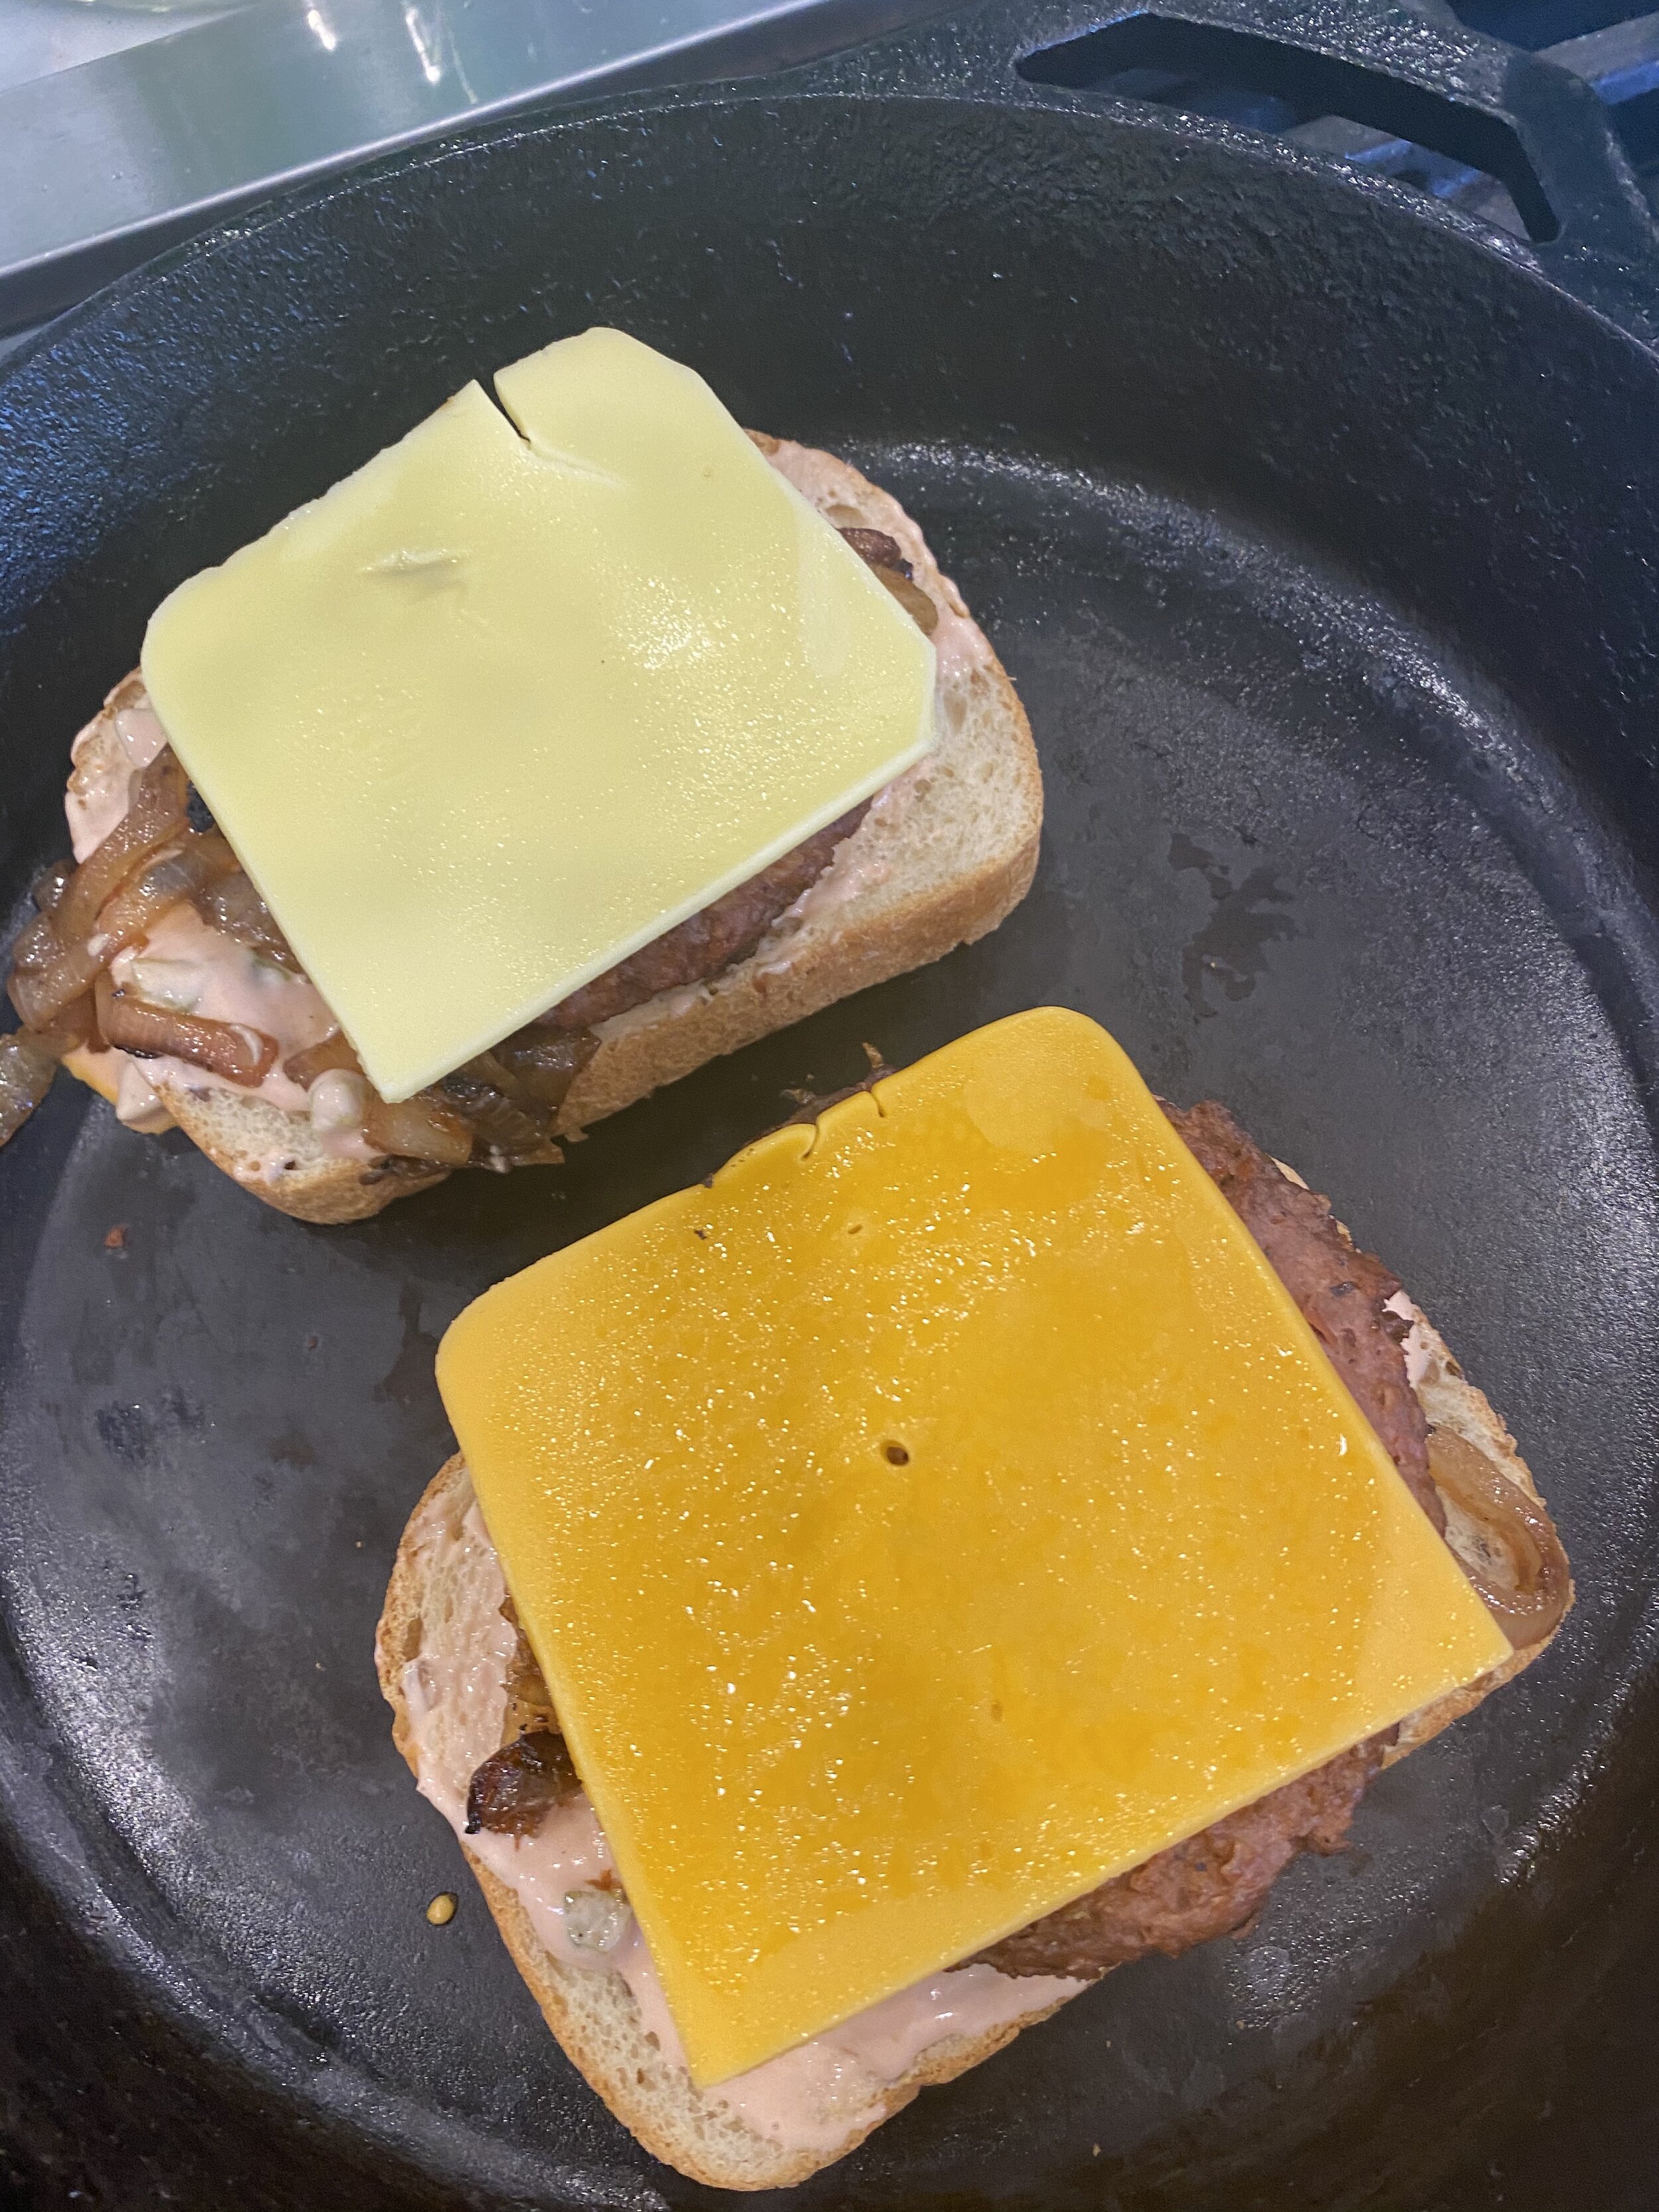
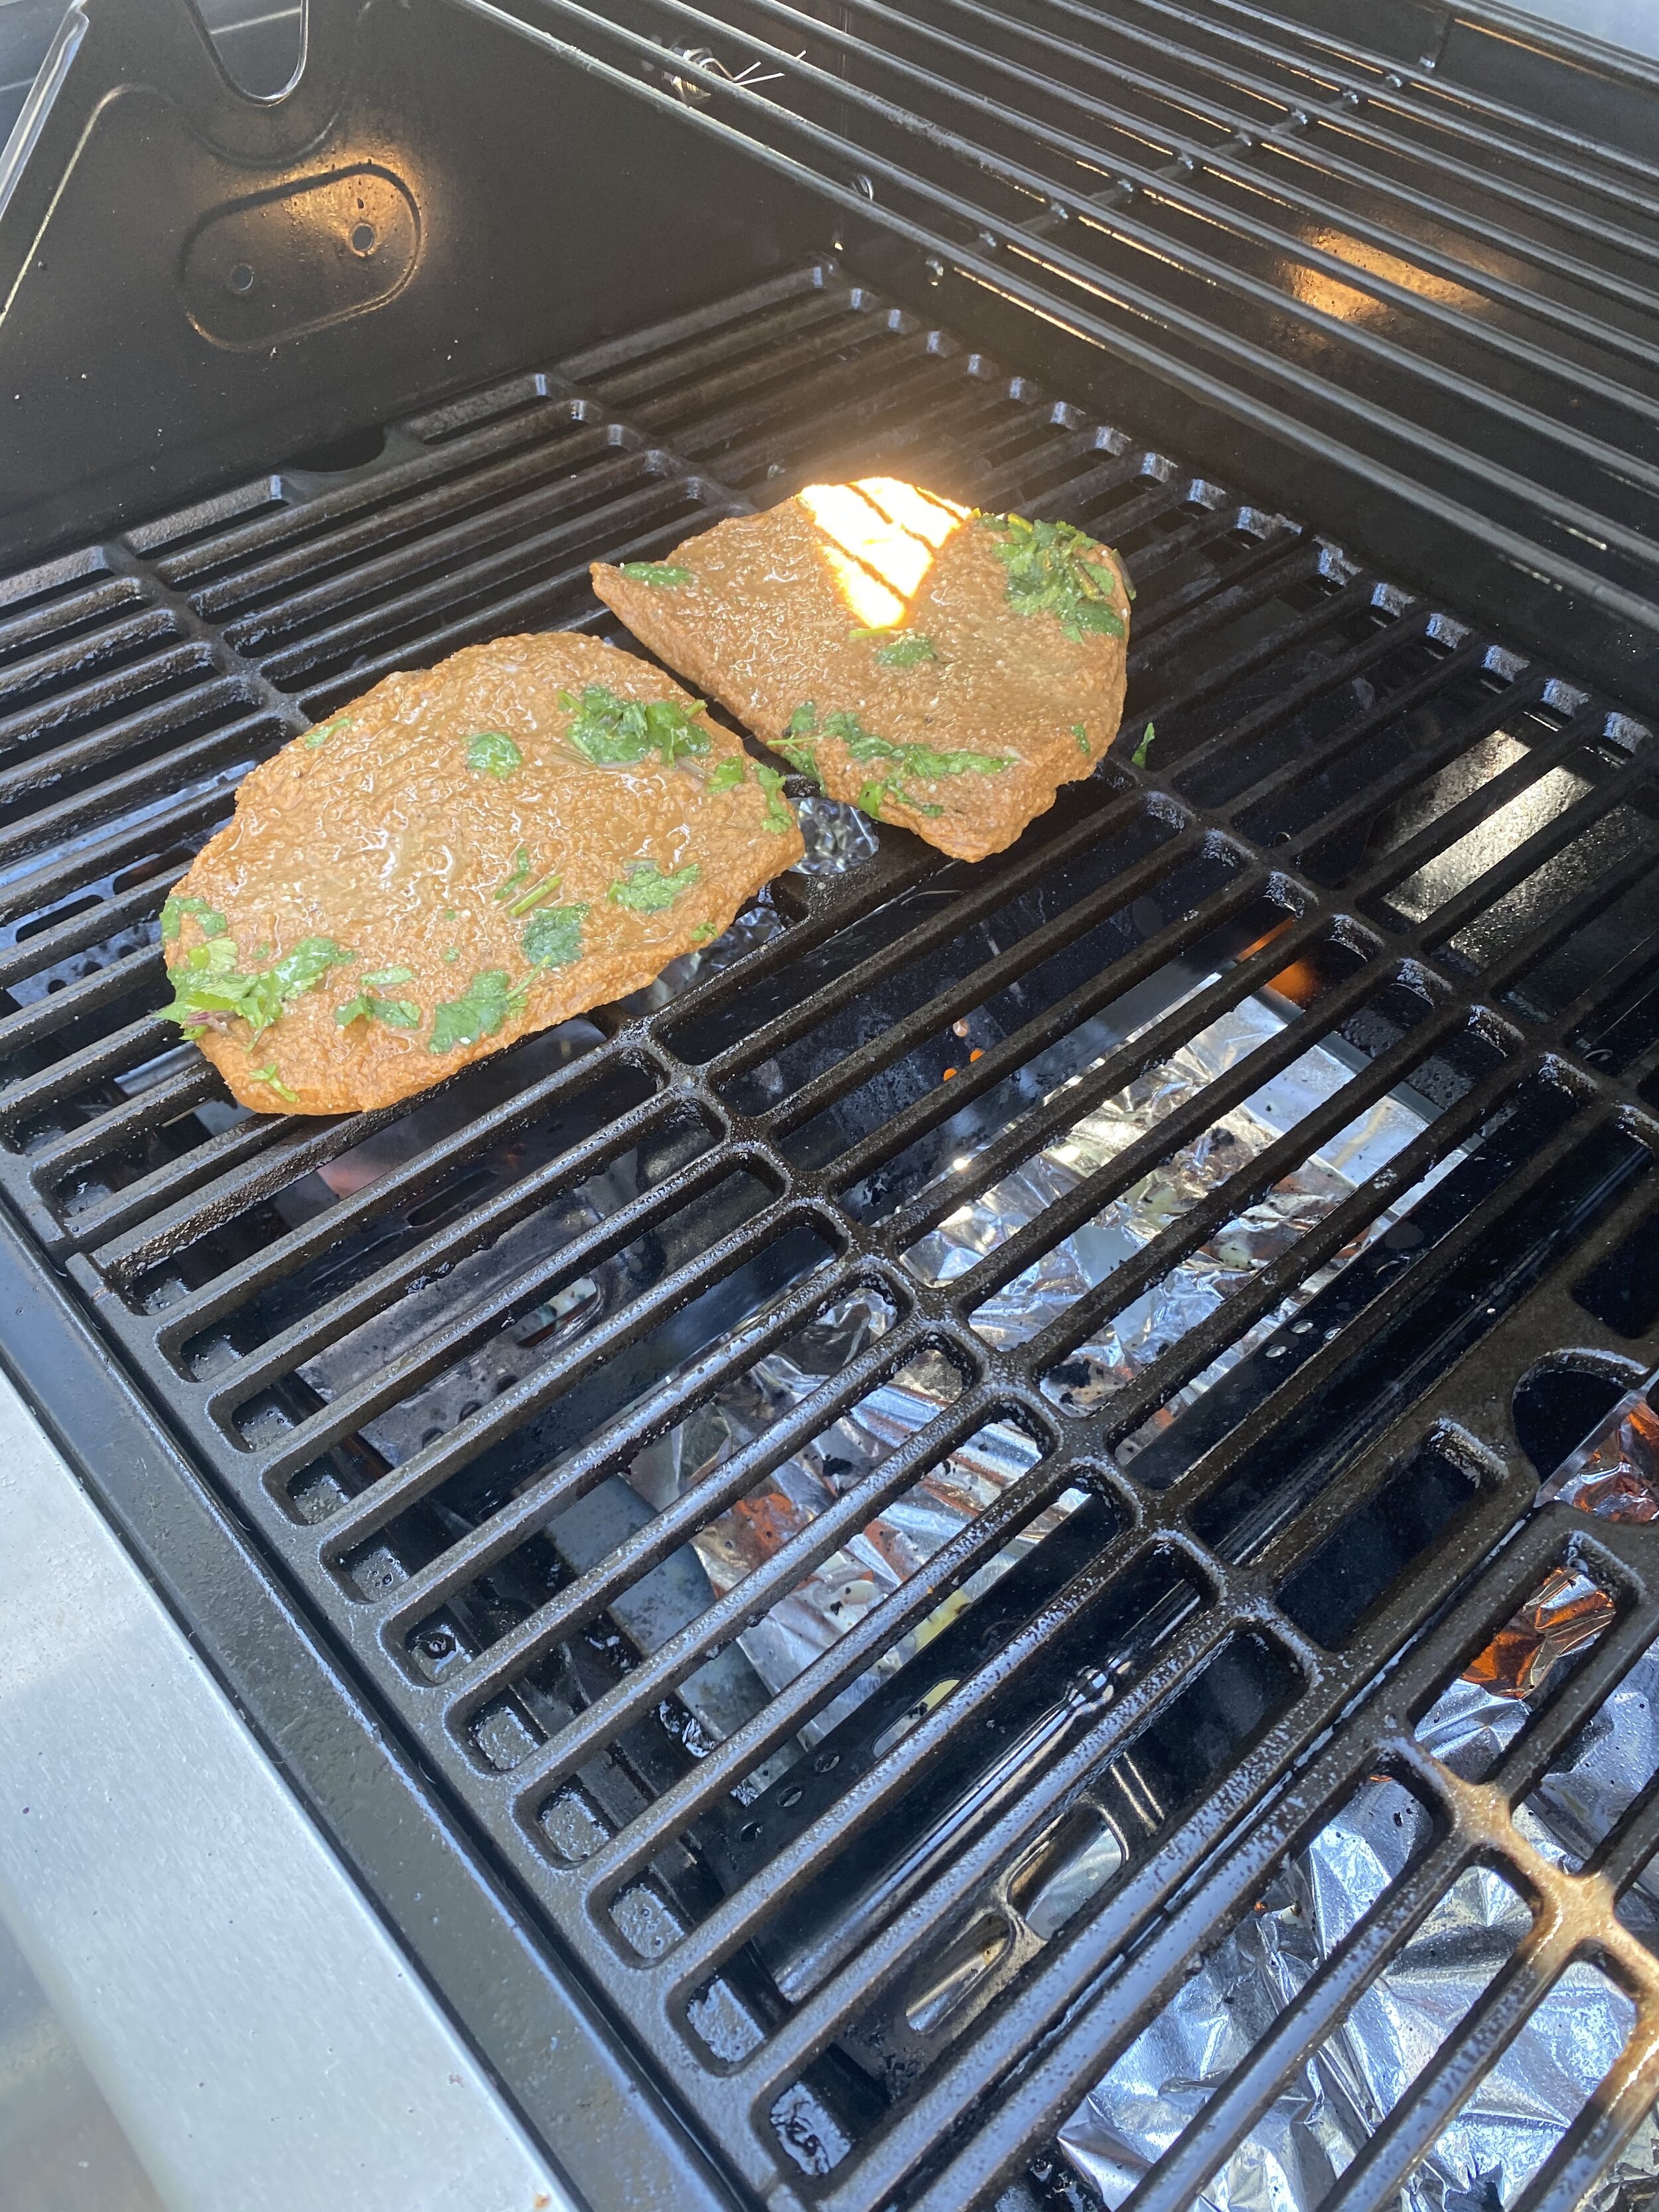
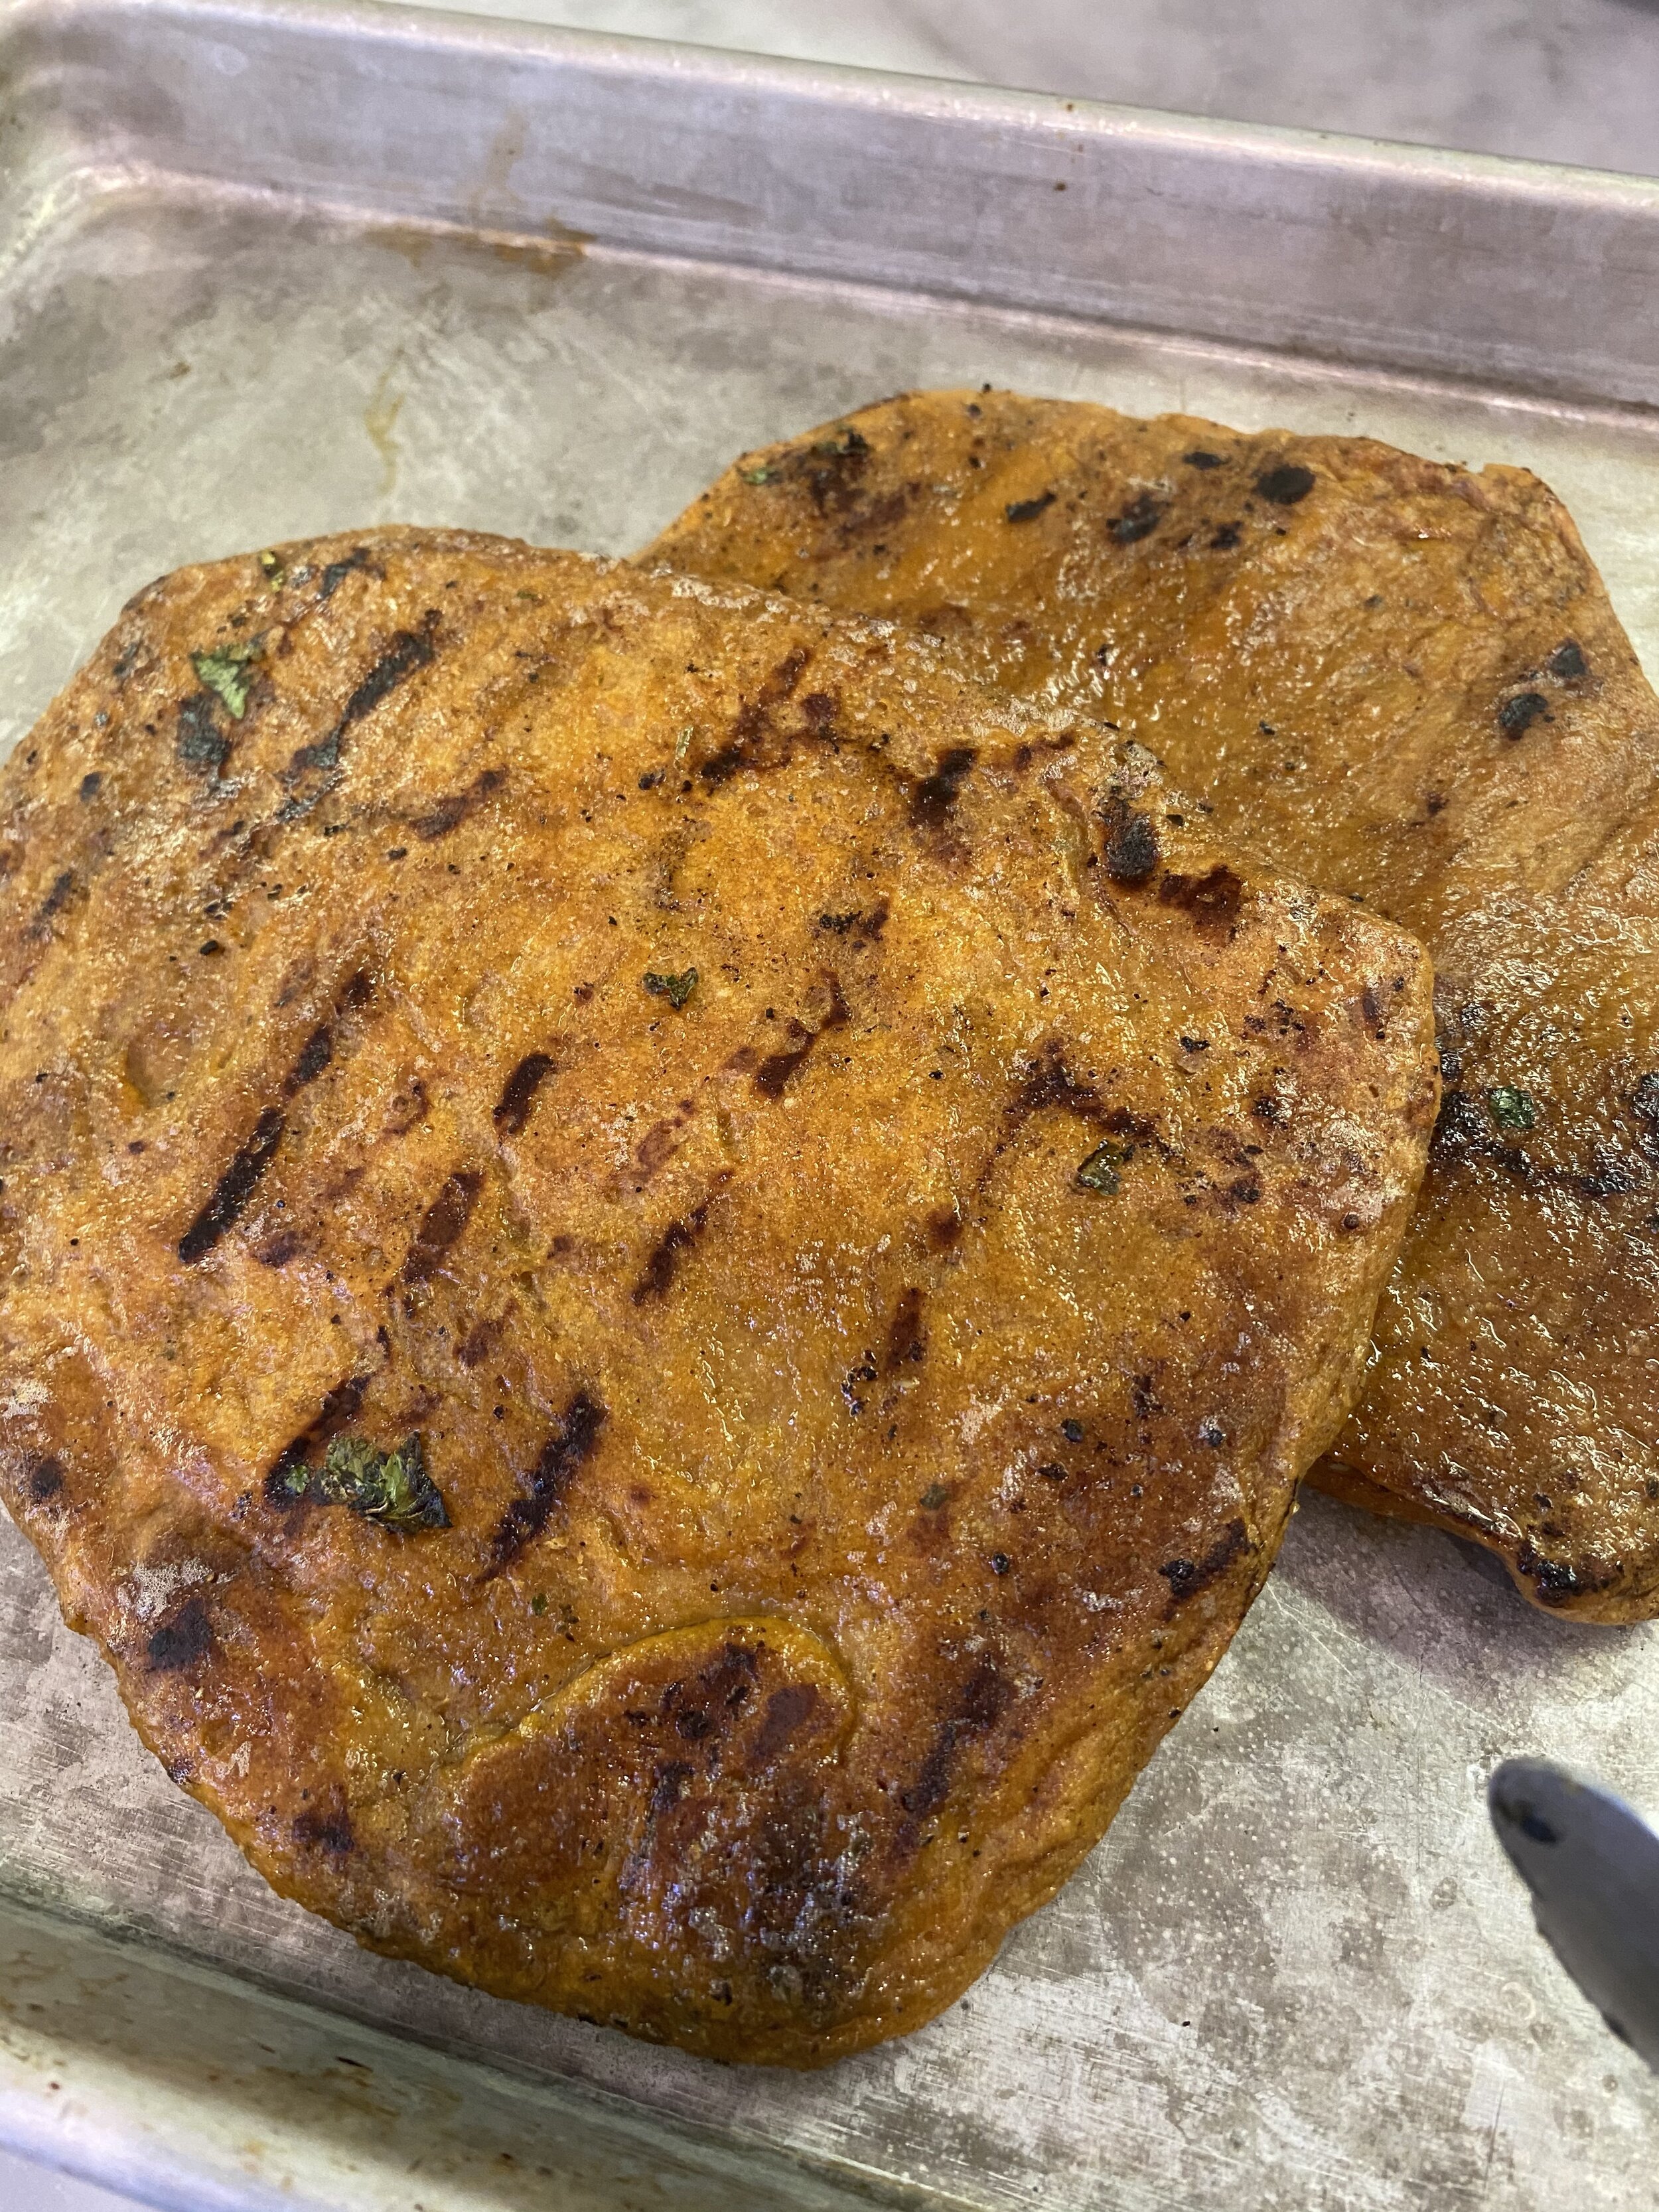
Grill or pan fry the vegan burgers. I like to brush extra maple syrup on the burgers while they grill. I also like to put my buns to the grill right before the burgers are done. I add the cheese to the meat before it is done grilling to help melt it.
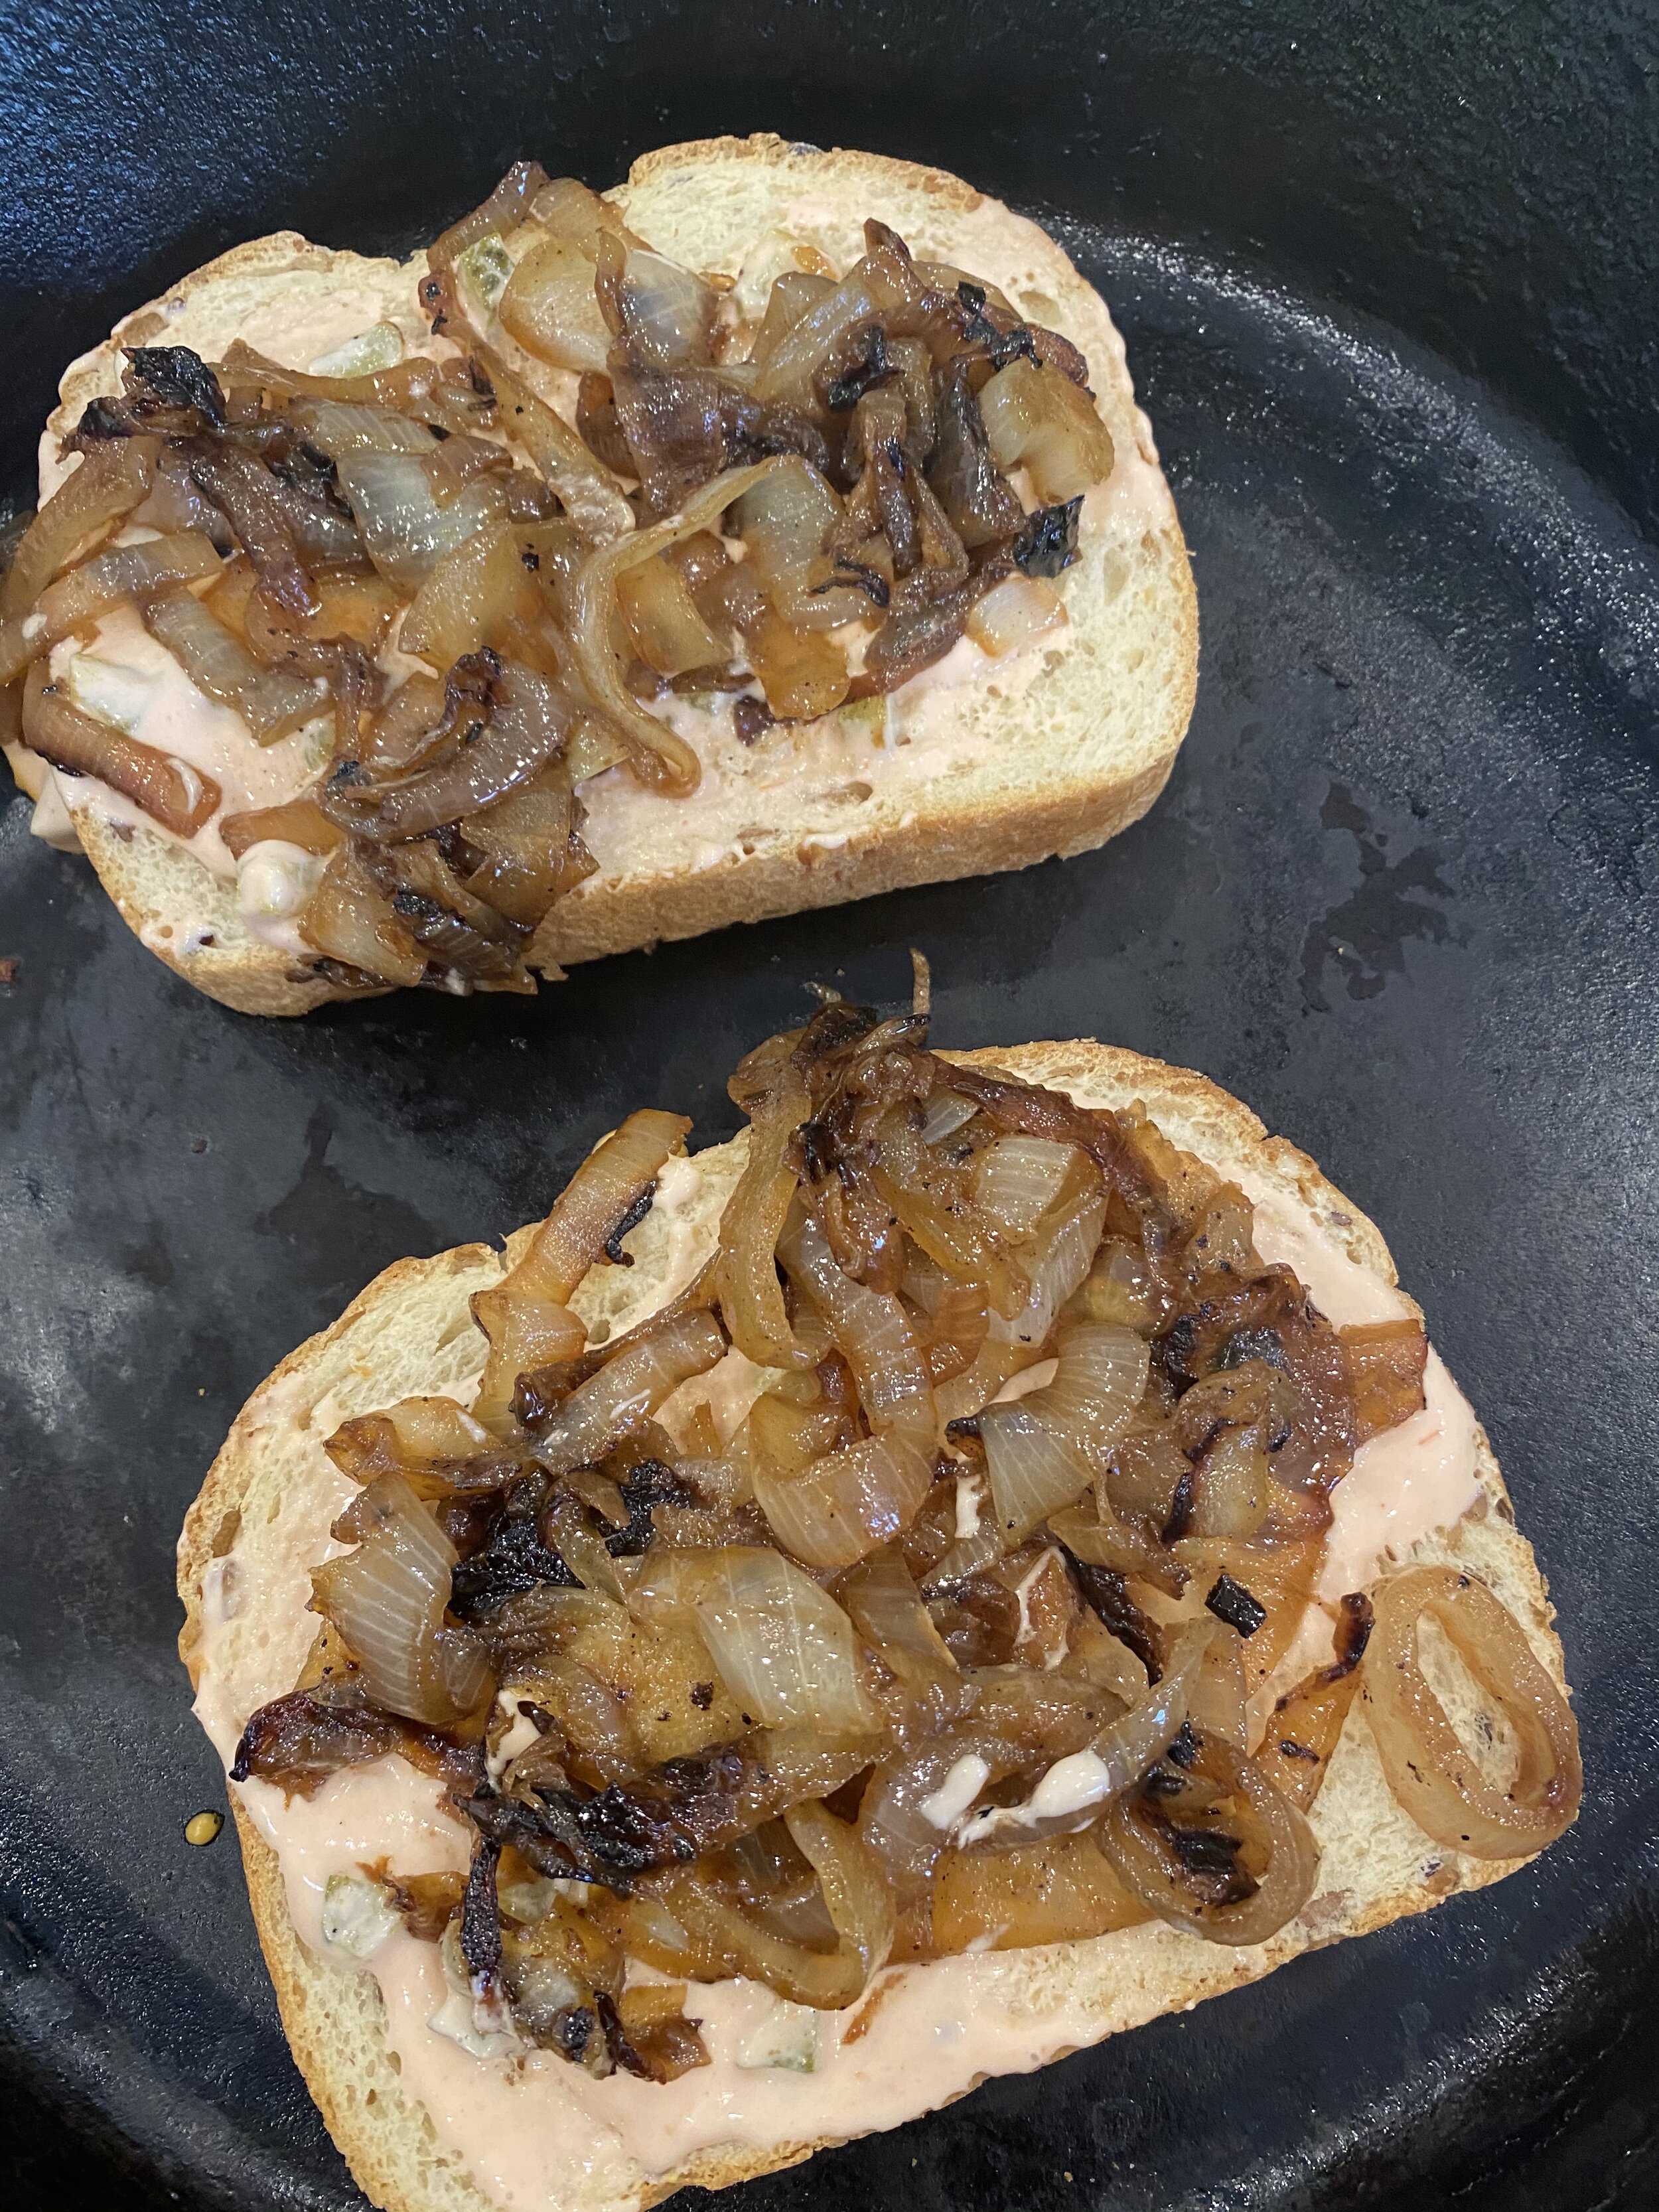
Brush each bun with a few teaspoons for maple syrup. Add some ketchup, the hash browns or tater tots. ( if using tater tots just use a fork and gently press each one down into the bun to help flatten them out a bit, this is what I used) the burger patty, and top with the grilled onion to serve.
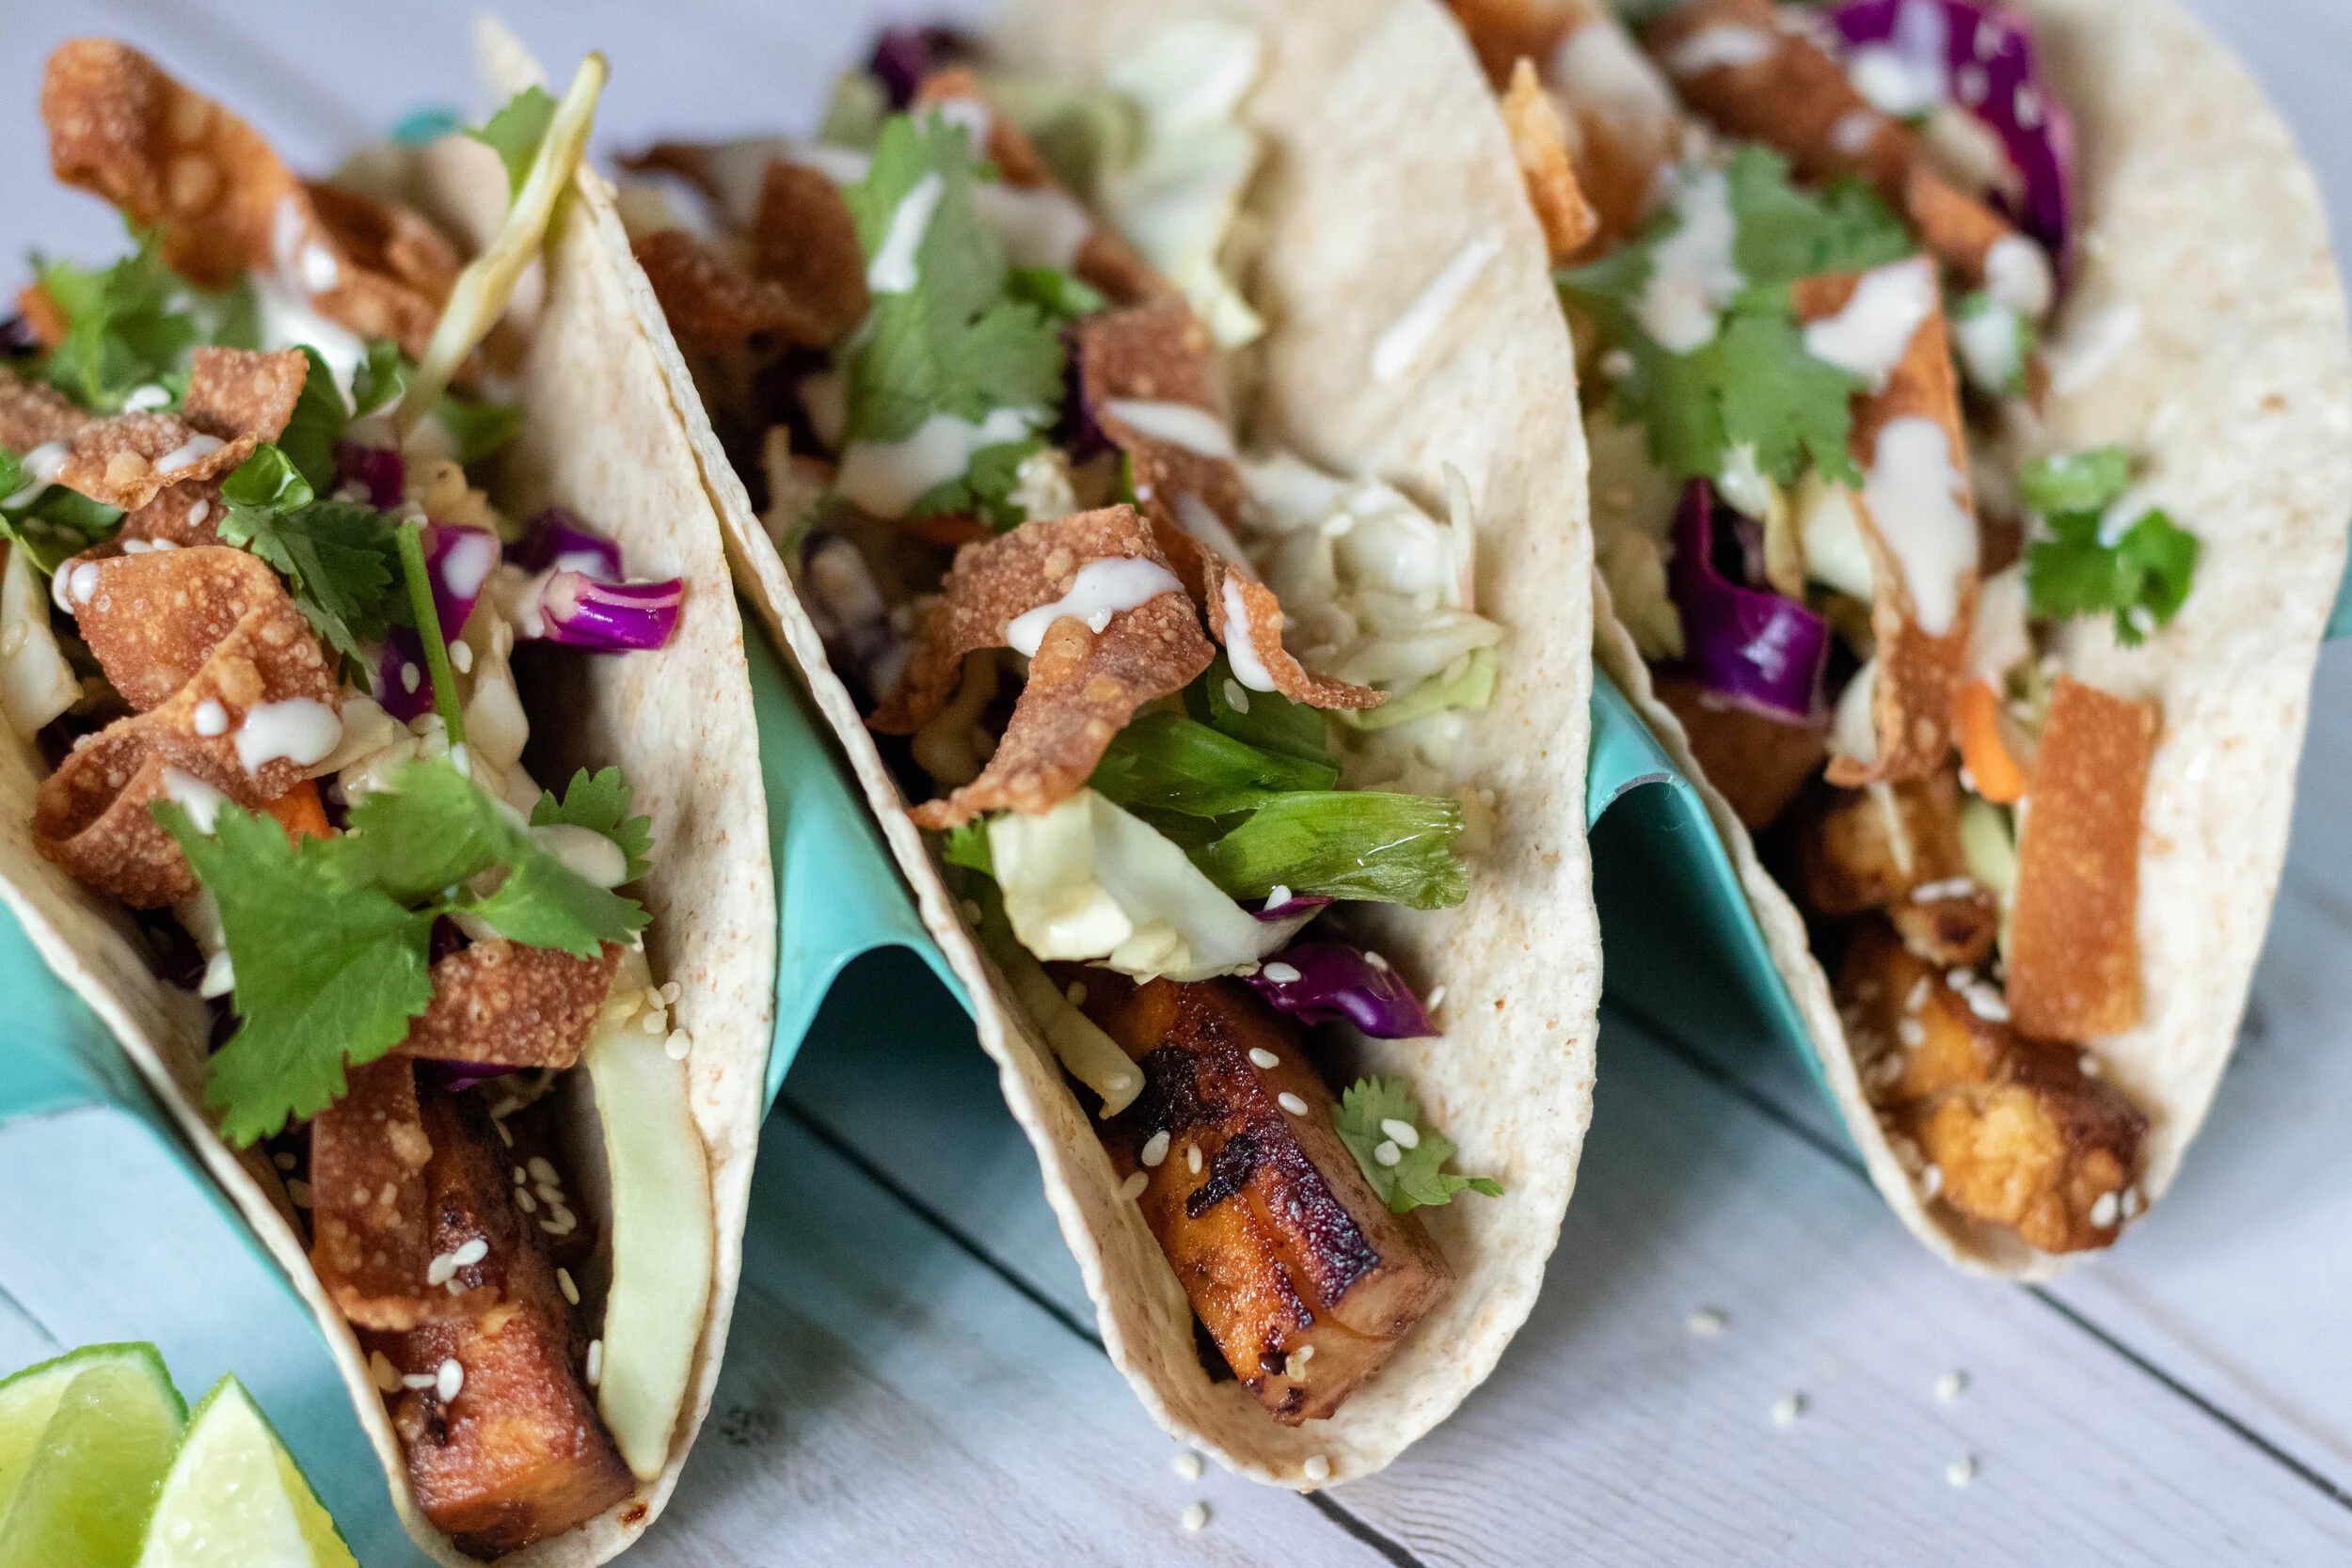
If you like this recipe, then try these: