Truth be told, I never really ate Chicken Cordon Blue before I was vegan.
I don’t know why? I mean it was certainly something my parents never made, so maybe that’s why.
My husband on the other hand adored it, and ordered it often if we ever went somewhere and it was an option. I don’t know why I didn’t jump on the band wagon back then, but I didn’t.
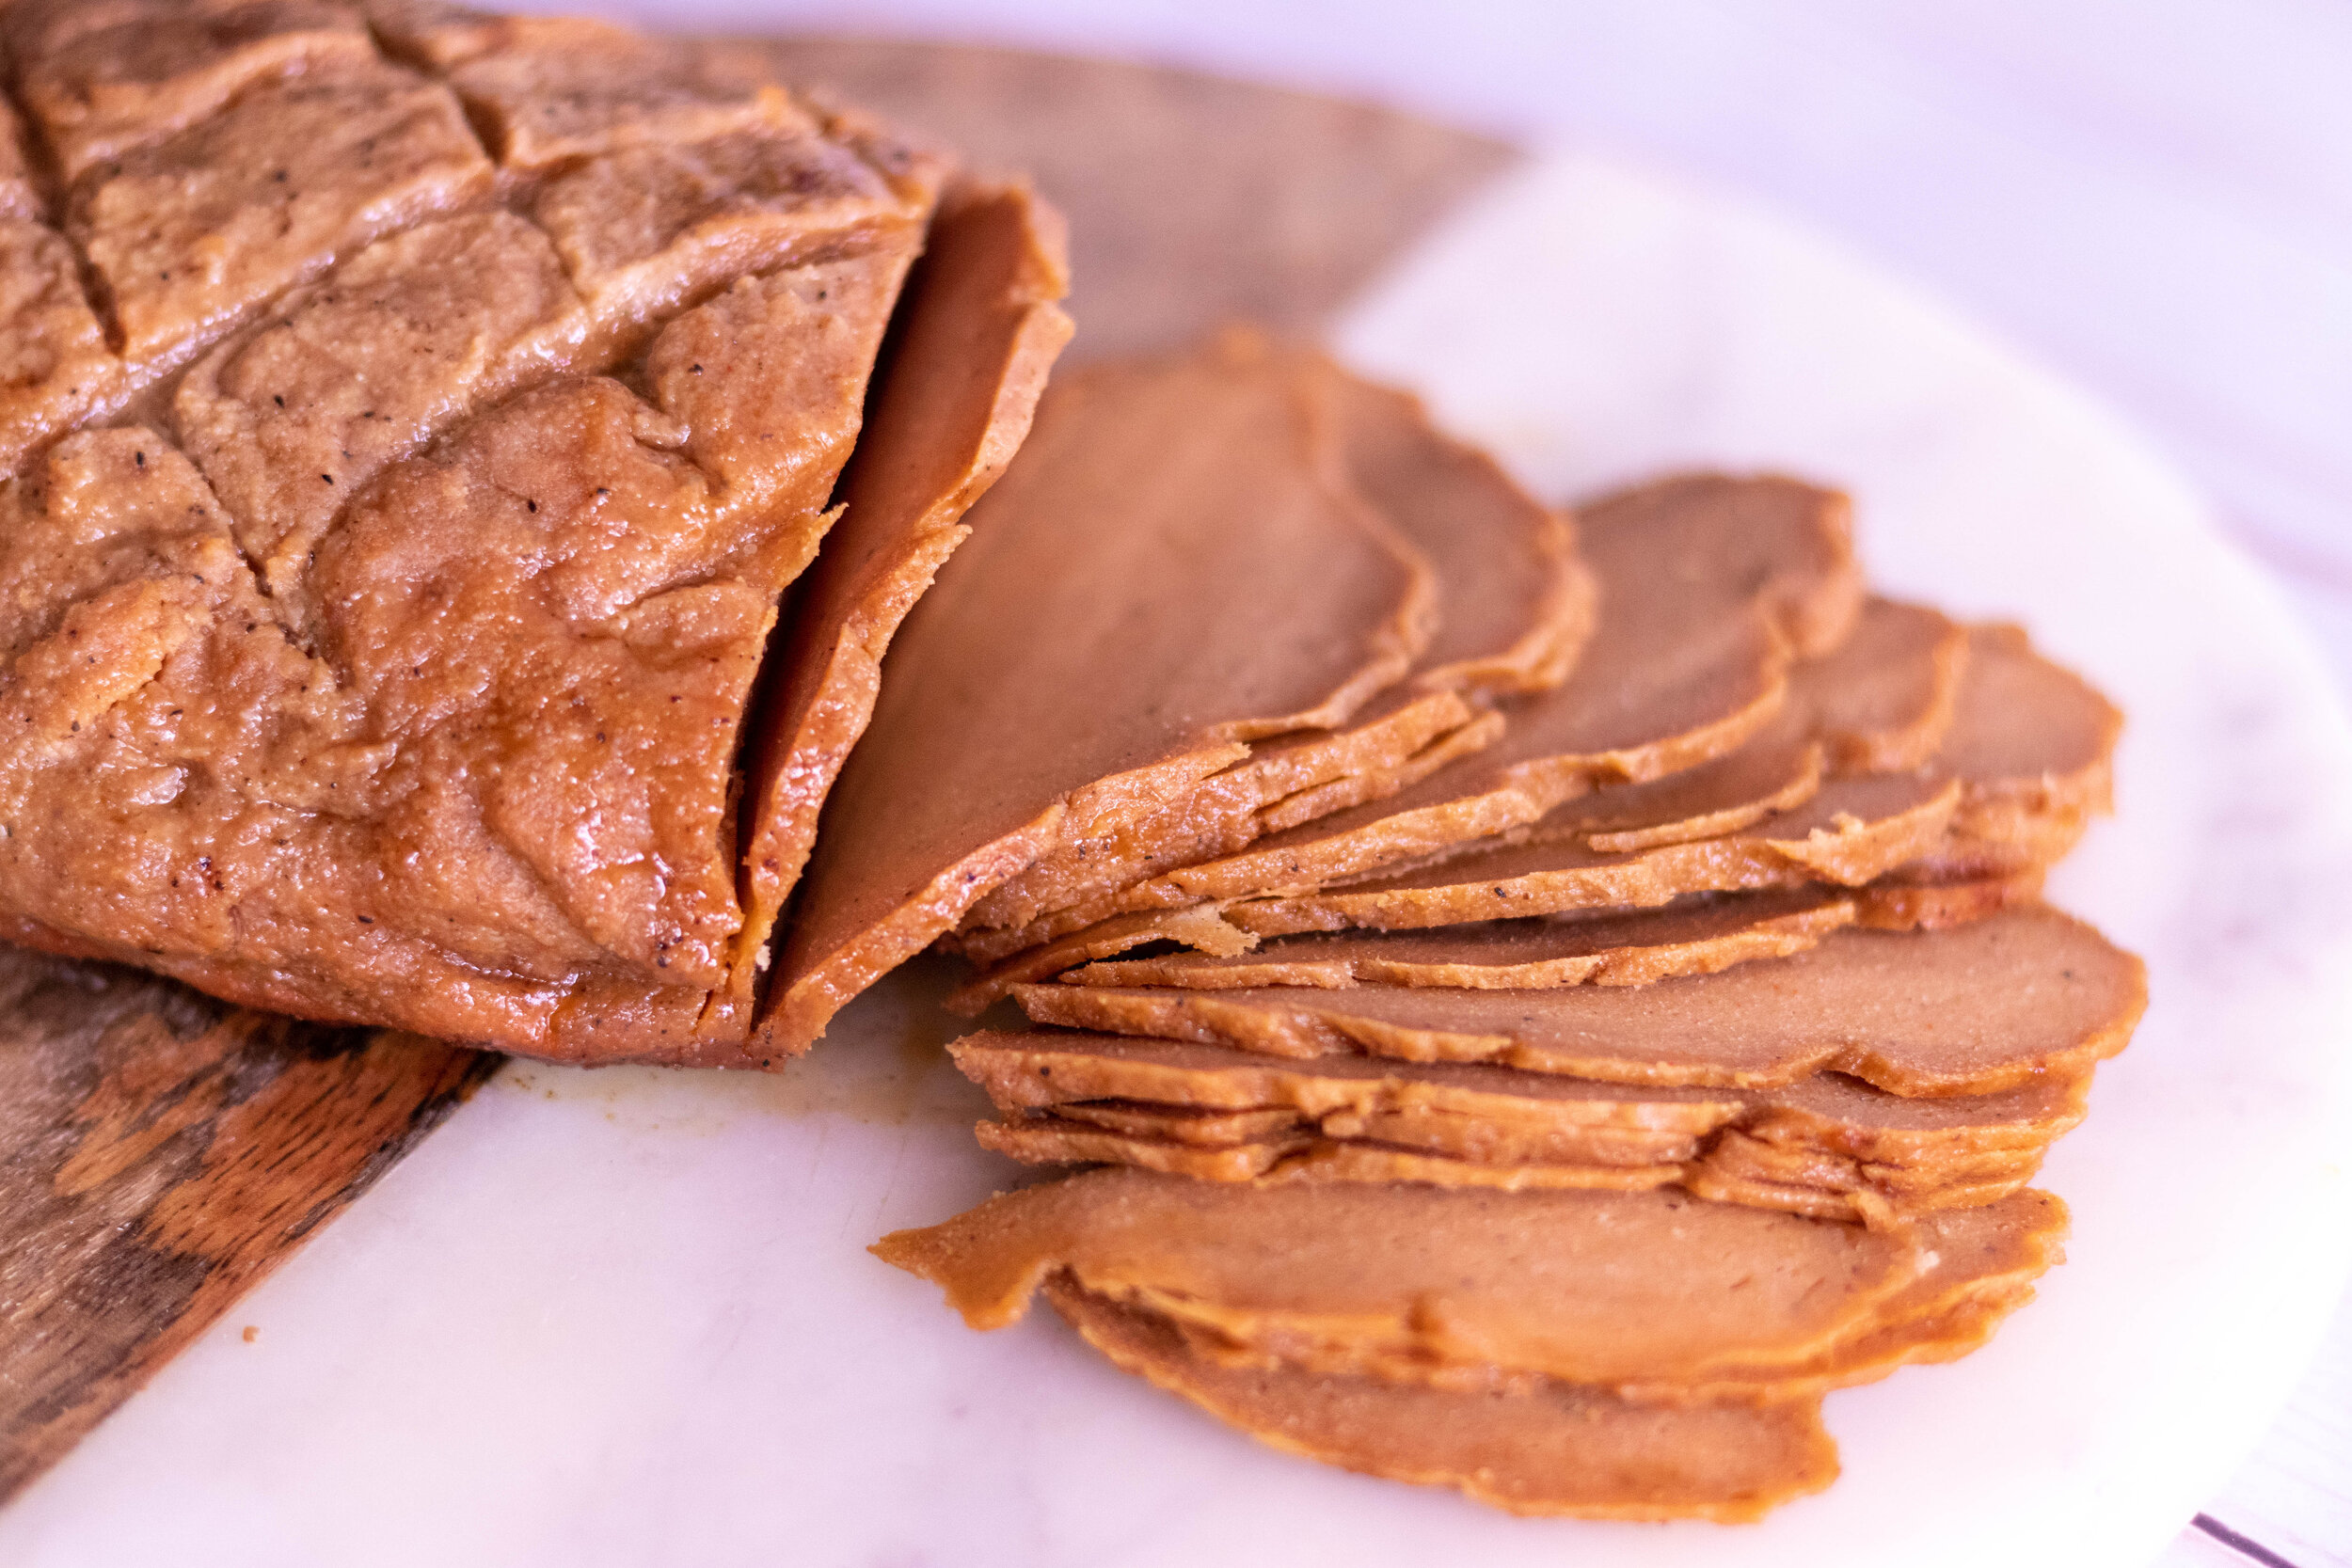
So recently I decided I would give it a go since I had just baked up a vegan deli glazed ham and we still have a little left over. This ham is so super easy and if you haven’t tried making it yet, I highly recommend it. It is one of my favorite seitan recipes on our site! You can also use something like Lifelight smart bacon. But if you make the ham then USE IT!! It is so good!

I also make a really easy and very convincing vegan chicken breast. I normally make a batch or 2 each week for meal prep, because it is so quick and easy, and it keeps for a week in the fridge or months in freezer. For this recipe you do need to make a fresh batch of the chicken because you actually have to stuff the chicken seitan when it is still in its dough form.
For the cheese I used our all purpose cheese sauce, and I literally use it for almost any recipes that requires a gooey cheese. I make a ton of sliceable, shreddable vegan cheeses BUT this sauce is still my go to because it is so good, so easy, and most people have the ingredients in their pantry already! For this recipe you have to let the sauce cook until its good and thick and gooey! This just makes it easier to get it into the vegan chicken breast without it all oozing out! I say to make a half batch for the recipe, but if you make a full batch you can use it to make all kinds of things later in the week. Pizza, quesadillas, grilled cheese, nachos, lasagna, all kinds of things!

It might seem like this vegan Chicken Cordon Bleu recipe has a lot of steps, or too many ingredients, and you are not wrong, but also you are. If you have recently bake a vegan ham, or use pre-made vegan ham or bacon it is really easy! I really think once you make the cheese sauce it will become a staple in you fridge once you discover all the different ways you can use it! Because I already had the ham, this recipe did not take me any longer to make than regular vegan fried chicken! For us the cheese and ham are already staples in our house, making this recipe relatively quick and unfussy. So I guess it just depends on what you keep on hand.
But I will also say that if you do not already have a vegan ham laying around or a batch of cheese sauce made up, it is worth the effort to make both just to make this reicpe!! You will have lots of leftover ham that you eat on sandwiches, or freeze for later, and again the cheese sauce is so versatile and can be used in a ton of recipes!

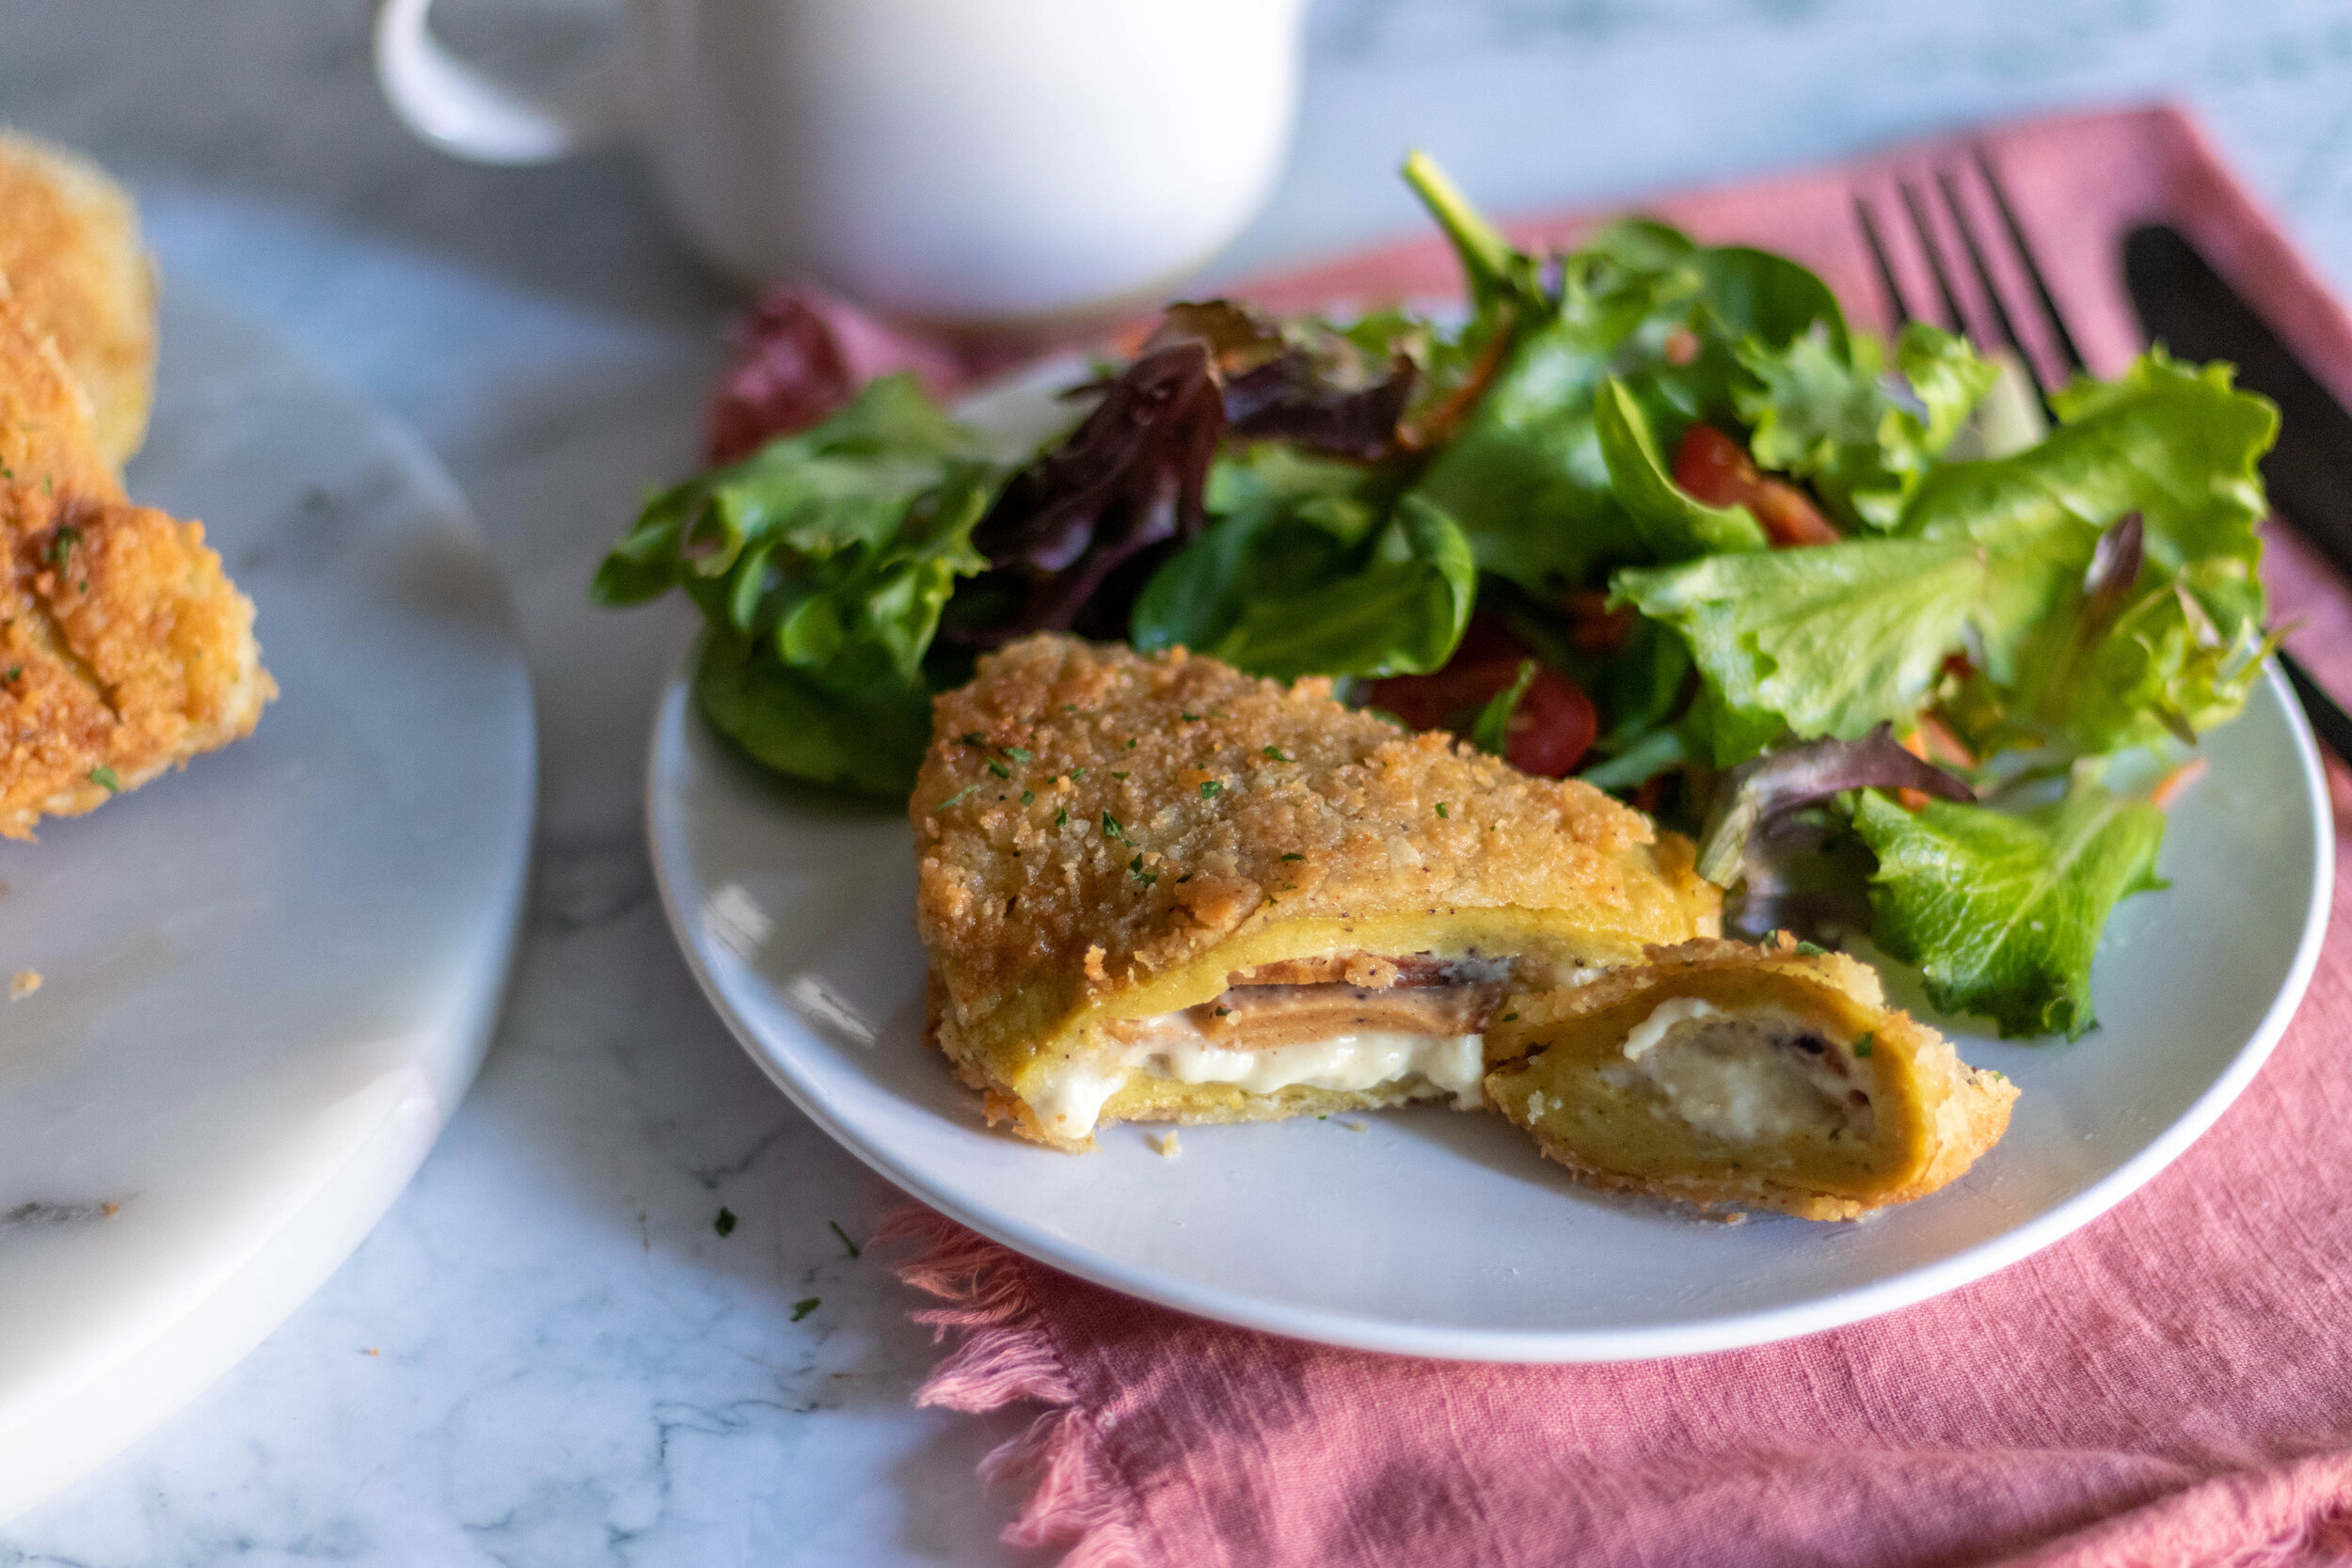
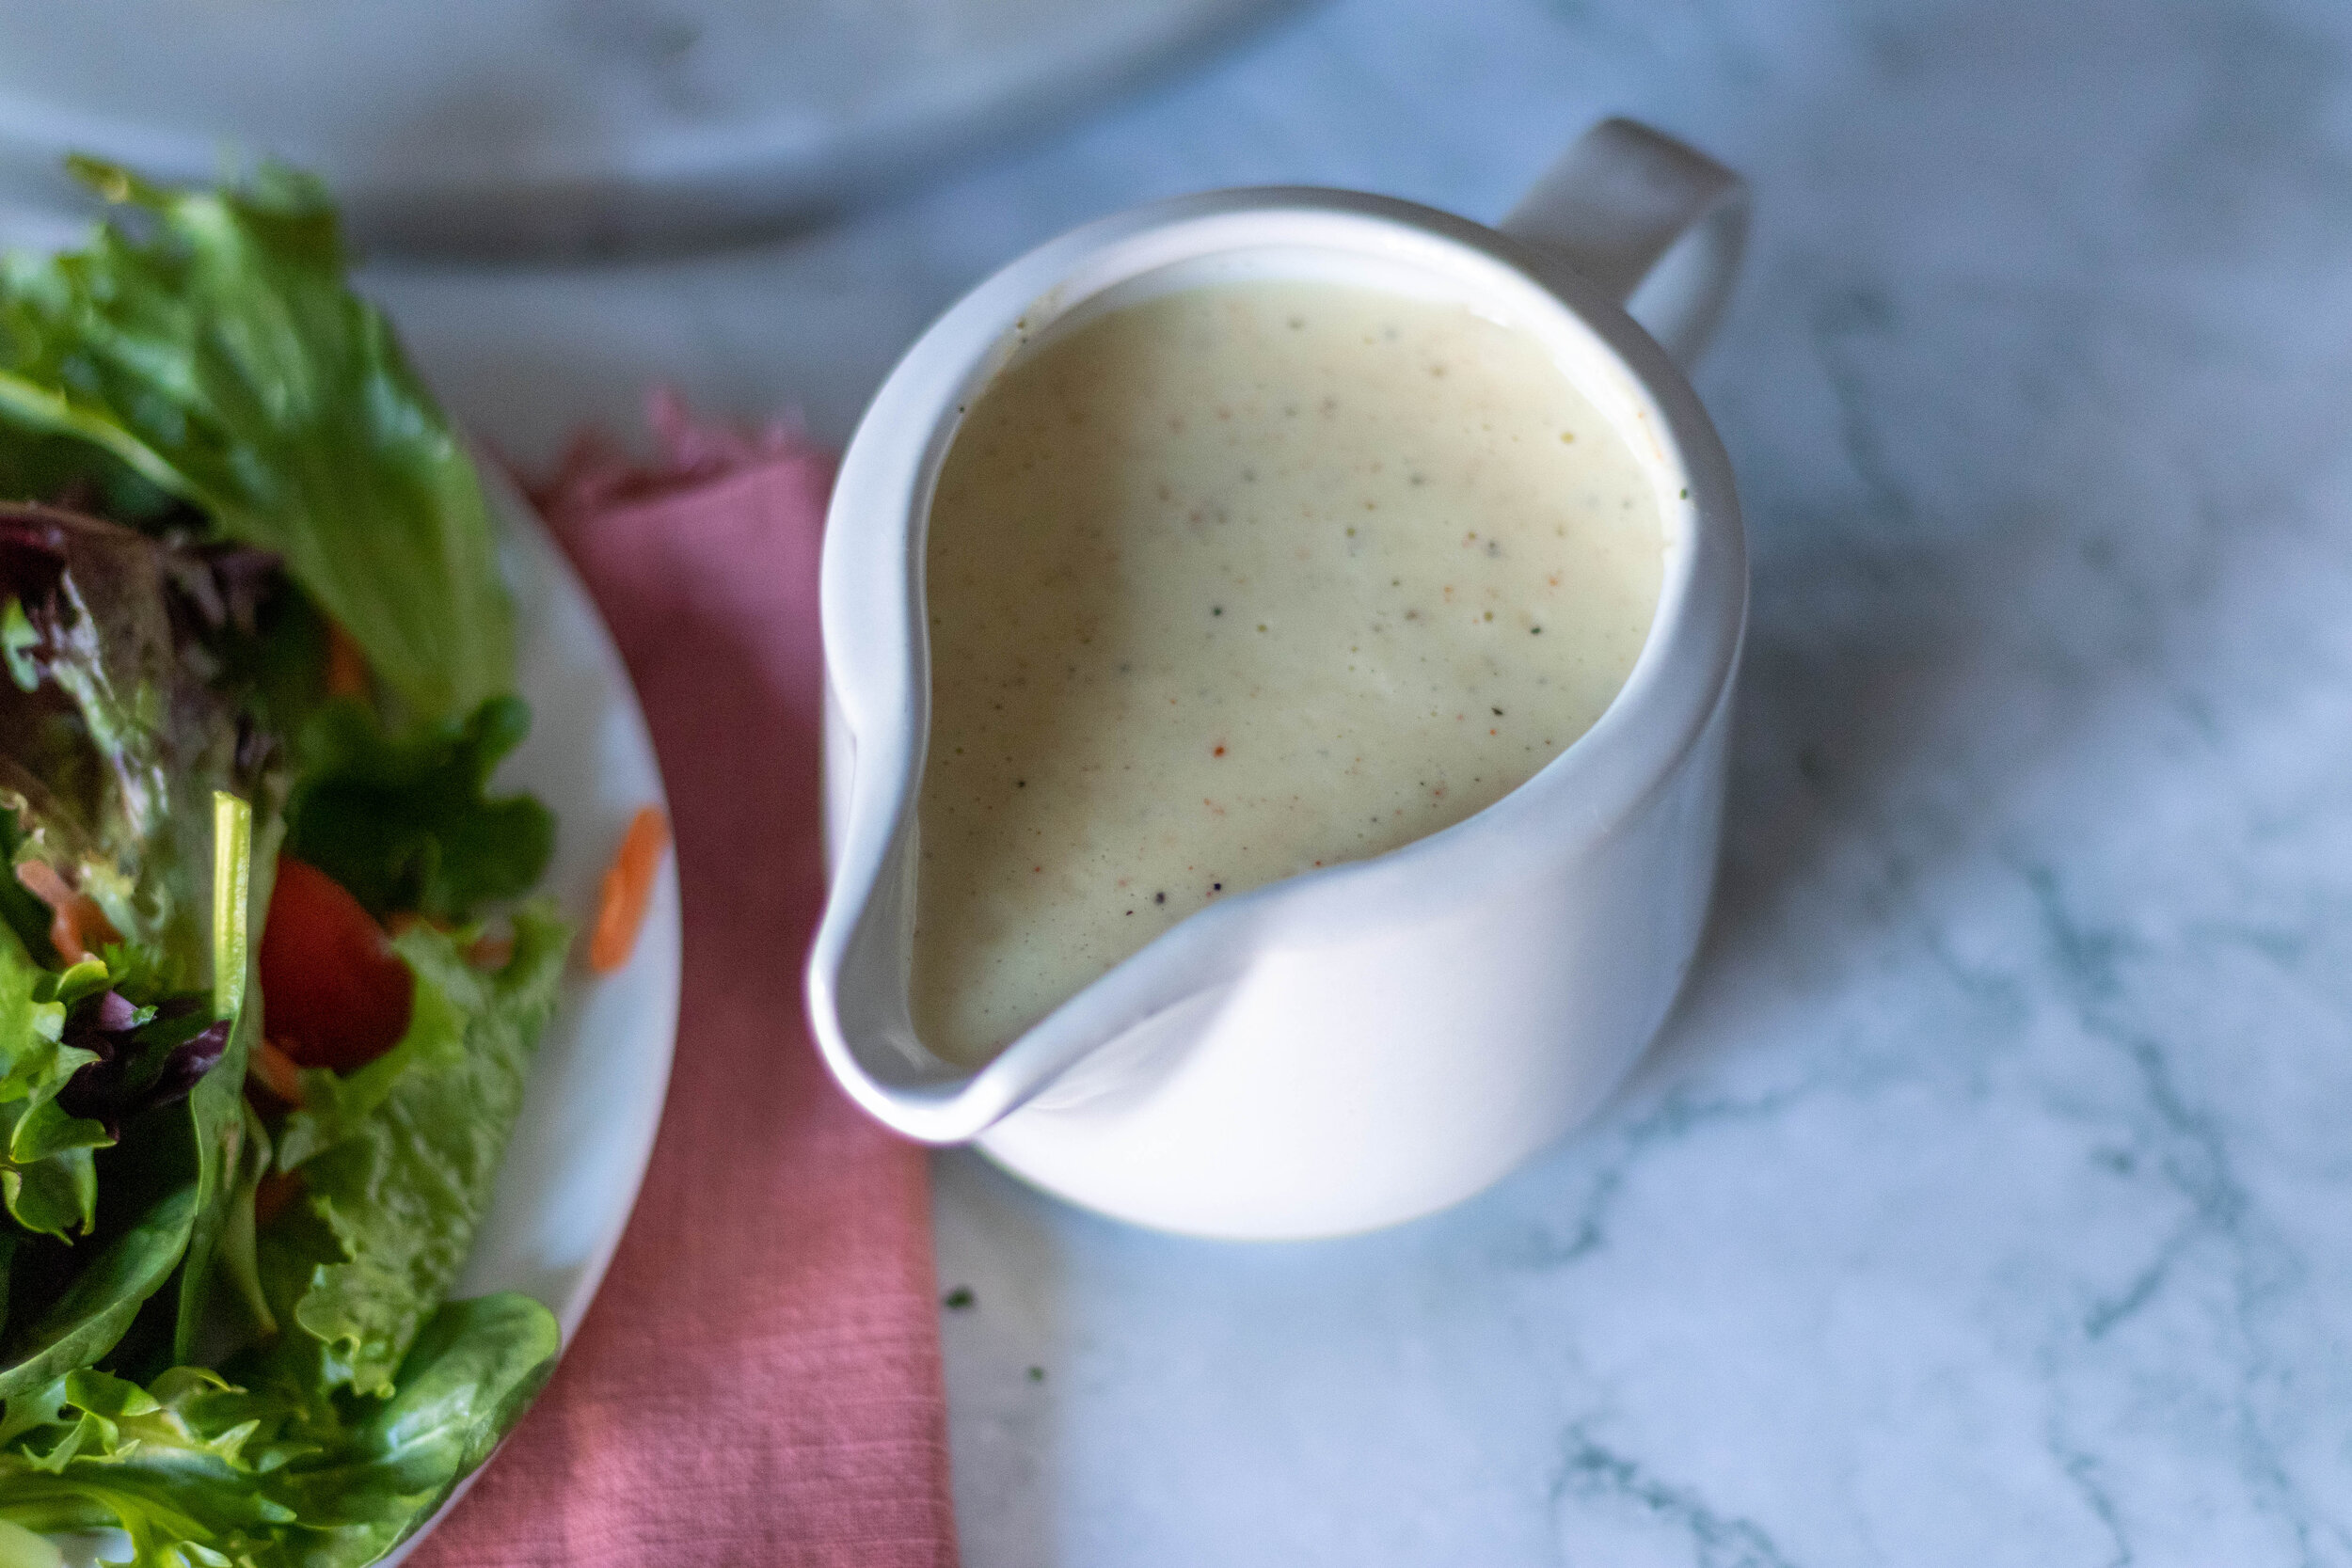
I know not all Chicken Cordon Bleu comes with a sauce on it, but I am a fan of sauce. So I decided to use some reserved cheese to make a creamy sauce with a zesty kick from the dijon mustard. Again, you can skip this step but y’all, its soooo good. I might be my favorite part of the whole reicpe! So again I say just try it!!
So there you go, my versions of Vegan Chicken Cordon Bleu from a former non fan. Easier than you might think and now I have to wonder why I never ate it more when we were not vegan, because it is delicious! I hate to tell my husband he was right, but…….
INGREDIENTS:
I cup thinly sliced vegan deli ham. or 8 sliced Lightlife Smart Bacon
1/2 batch all purpose vegan cheese sauce (1/4 cup for chicken, 1/2 cup for sauce)
1 teaspoon dijon mustard
1/3 cup vegan sour cream or plain unsweetened yogurt
1/3 cup unsweetened plant milk
3/4 cups all purpose flour
3/4 cups vegan panko bread crumbs
1/4 cup corn or tapioca starch
1 teaspoon salt
1 teaspoon onion powder
1 teaspoon of any all purpose sesoinng you like
Oil for frying
CHICKEN BREAST:
1 block super firm tofu (16 oz) the kind that is vacuum sealed in not much water
1 cup vital wheat gluten
2 -3 teaspoons No Chicken Better Than Bouillon, or any vegan chicken flavored bouillon powder or seasoning
1 teaspoon garlic powder
1-2 teaspoons onion powder
1/2 teaspoon sage
1/2 teaspoon rosemary
2 teaspoons liquid smoke
2 tablespoons tapioca or corn starch
1/4 cup nutritional yeast
2 tablespoon neural flavored oil
1/2 to 3/4 cups water
1 teaspoons salt
CREAMY DIJON MUSTARD SAUCE:
1/2 cup of prepared all purpose cheese sauce
1 cup unsweetened plant milk
1-2 teaspoon dijon mustard
1/4 teaspoon black pepper
1/4 teaspoon paprika
INSTRUCTIONS:
Prepare cheese sauce according to instructions. You want the sauce pretty thick so allow it too cook until it is thick and kind of stretchy. Allow it to cool while you prepare the chicken.
You can use our 86eats deli ham recipe or you can use a premade vegan ham or bacon. If you want to use our ham recipe it will have to be made ahead of time and allowed to rest.
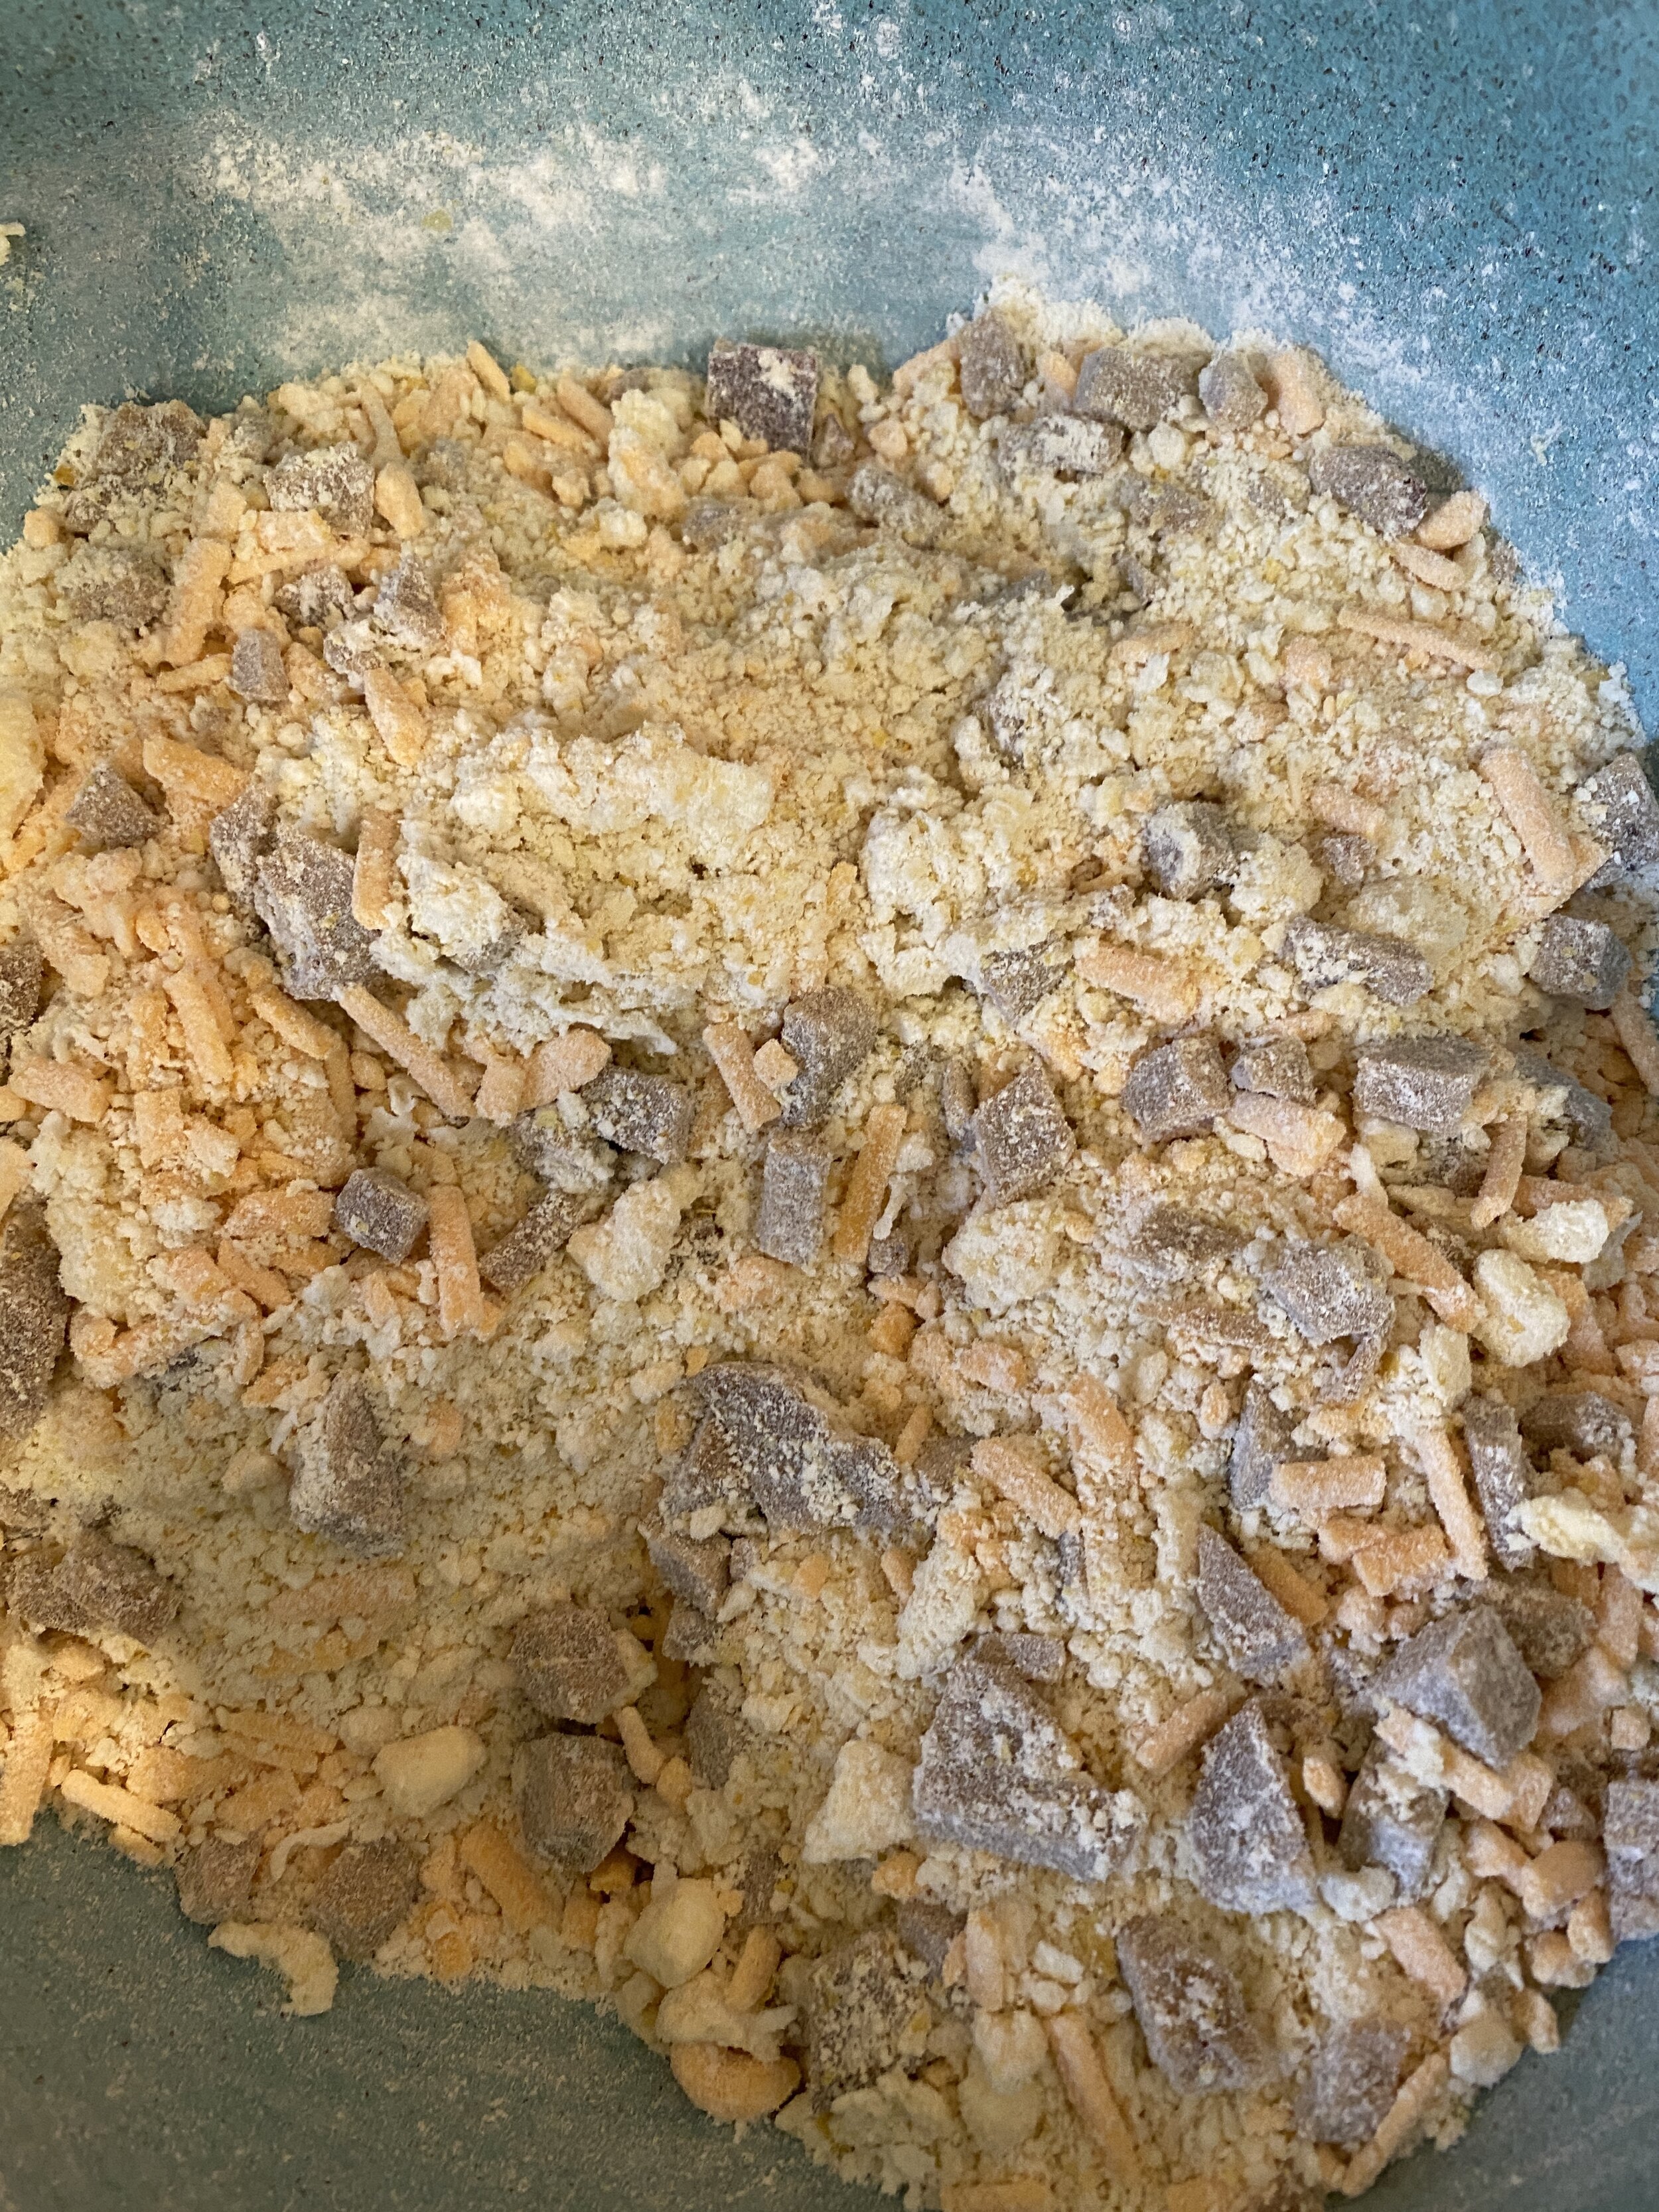
For The Chicken: Preheat oven to 350 degrees. Break up the tofu and place it into a food processor with the regular metal blade. Run the processor for around a minute until the tofu is broken down.
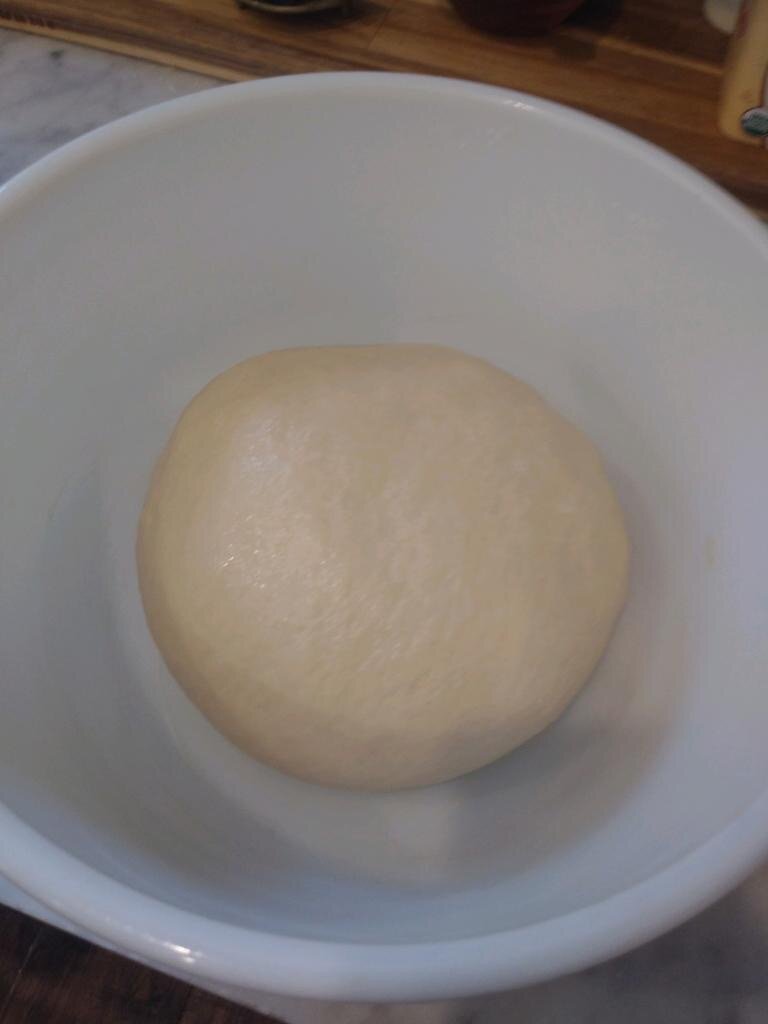
Add all of the remaining ingredients and let the food processor run for a couple of minutes. You want the mixture to form a dough. Letting the processor run will help knead the dough. We want this seitan to be firm so we need it to knead for a bit. If you dough seems a bit too dry, you can add another few tablespoons of water, just don’t add too much more! I start at 1/2 cup and work from there.
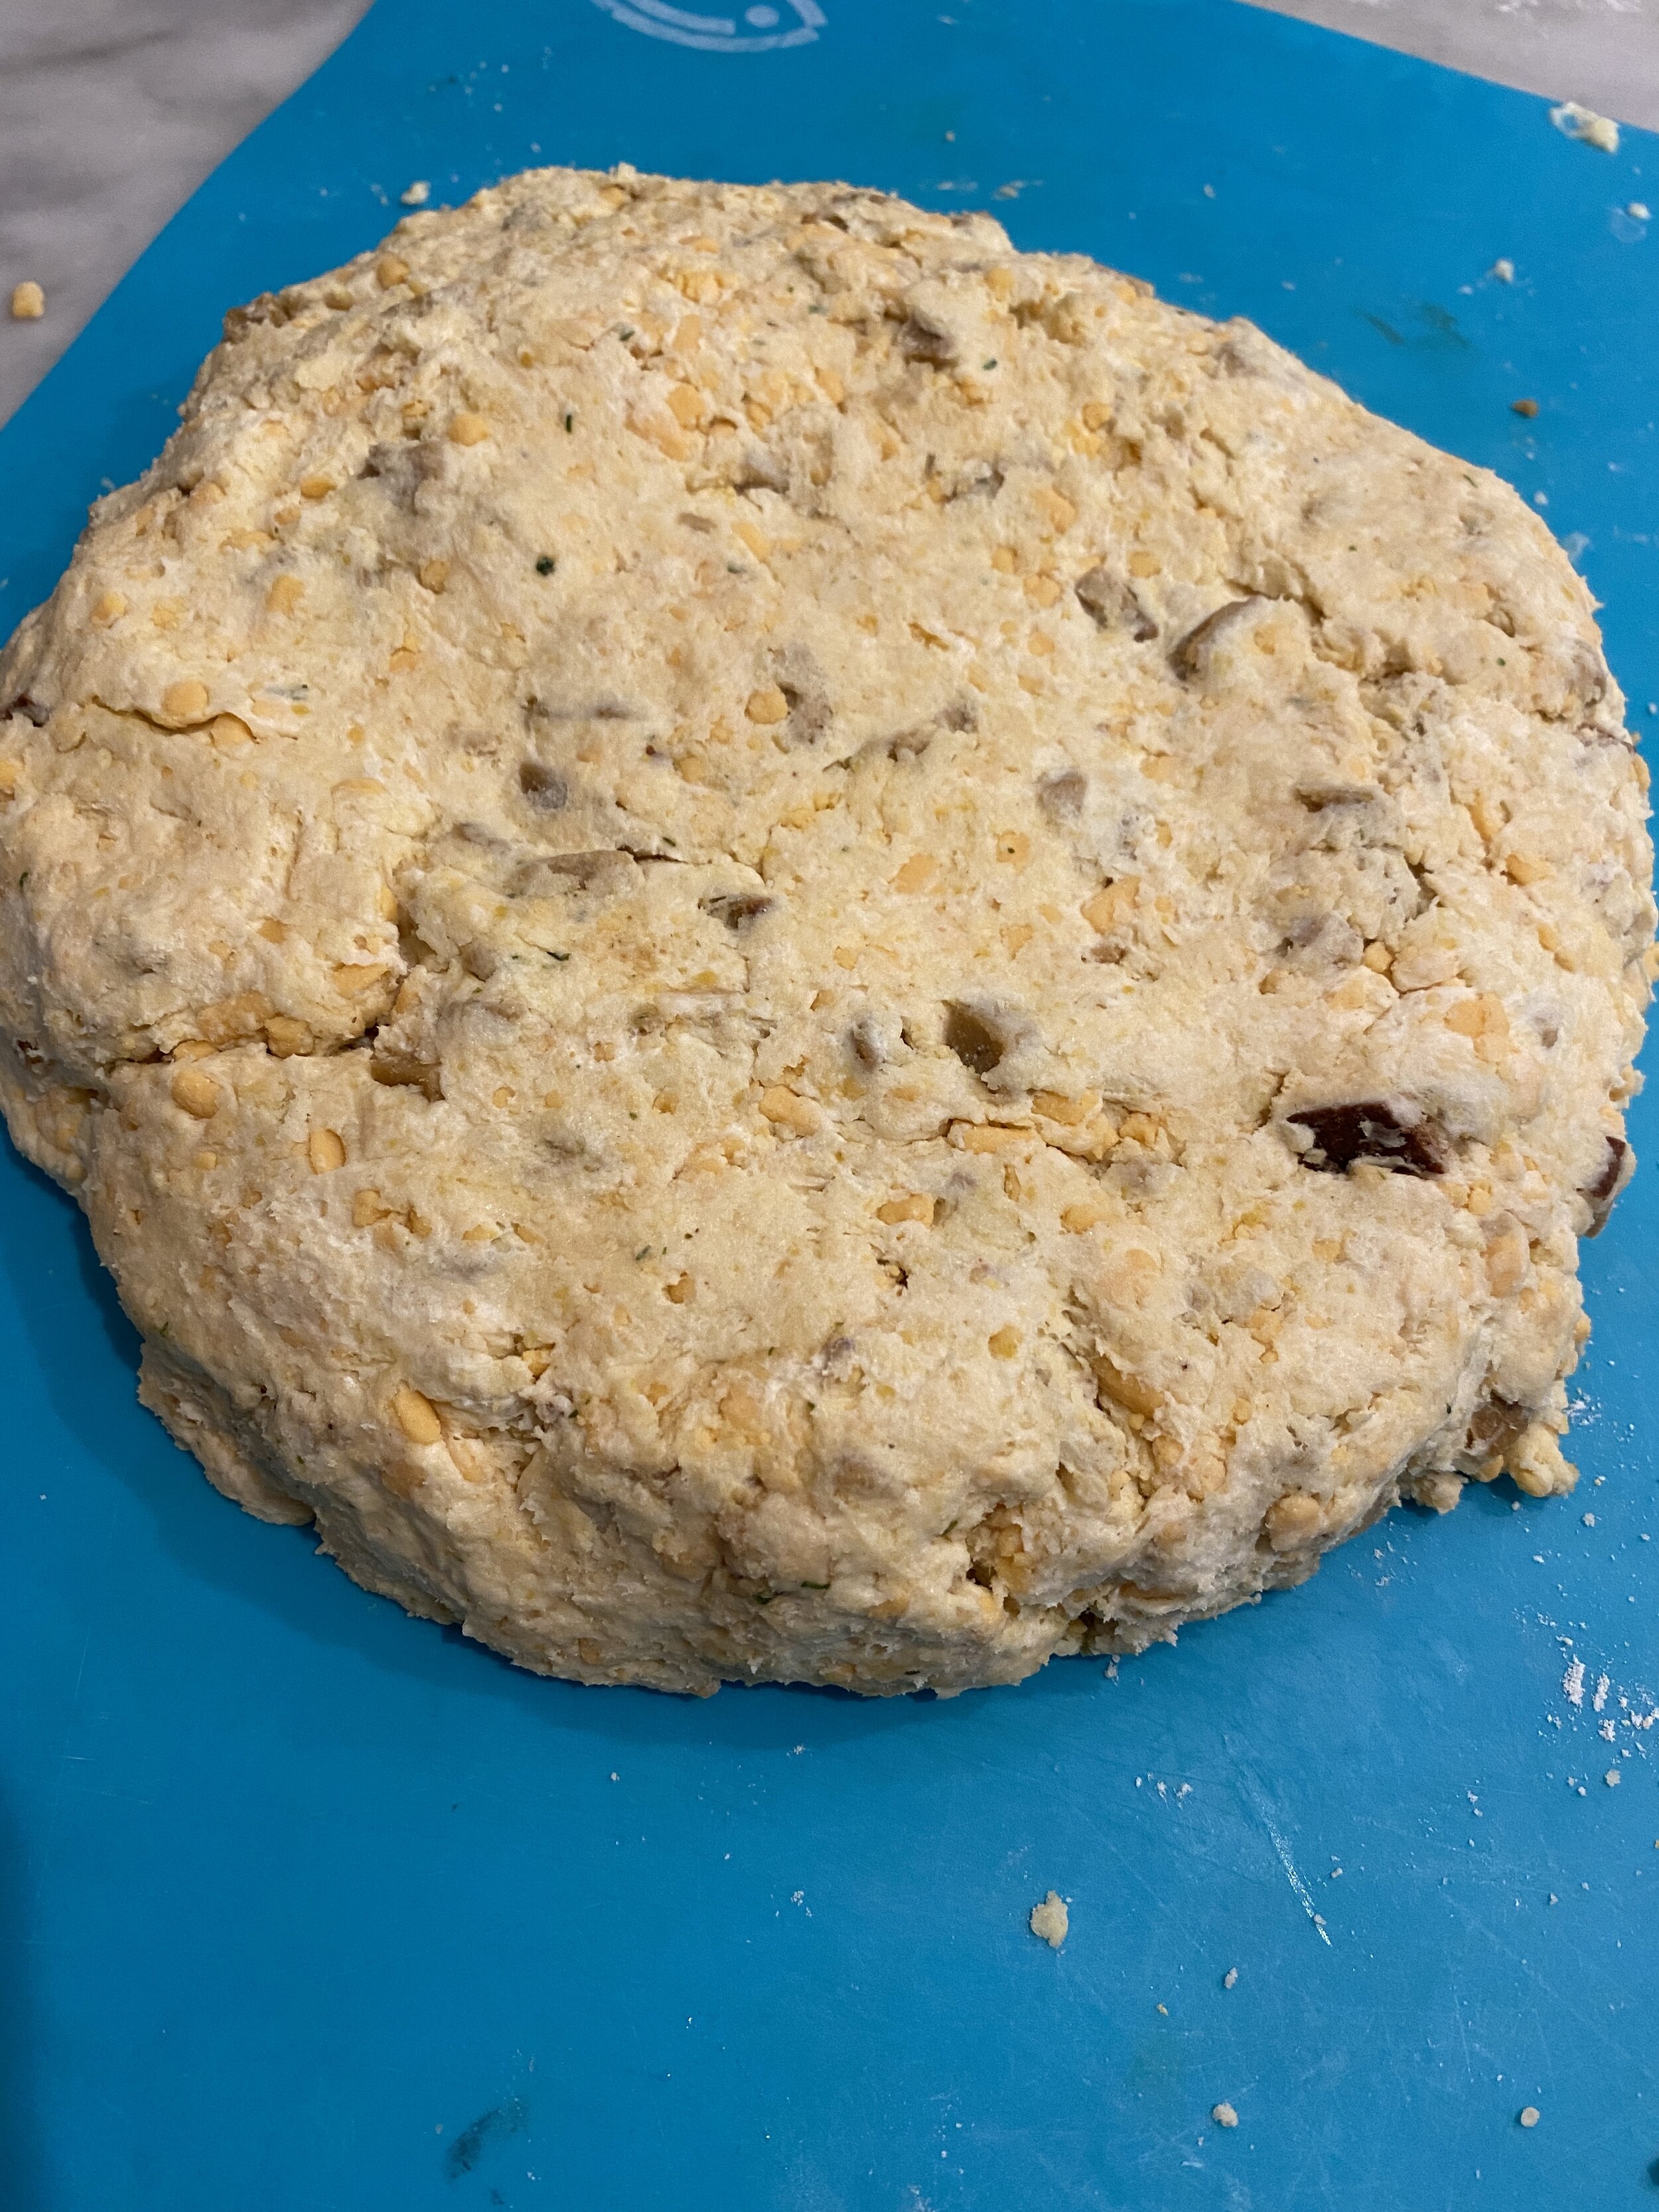
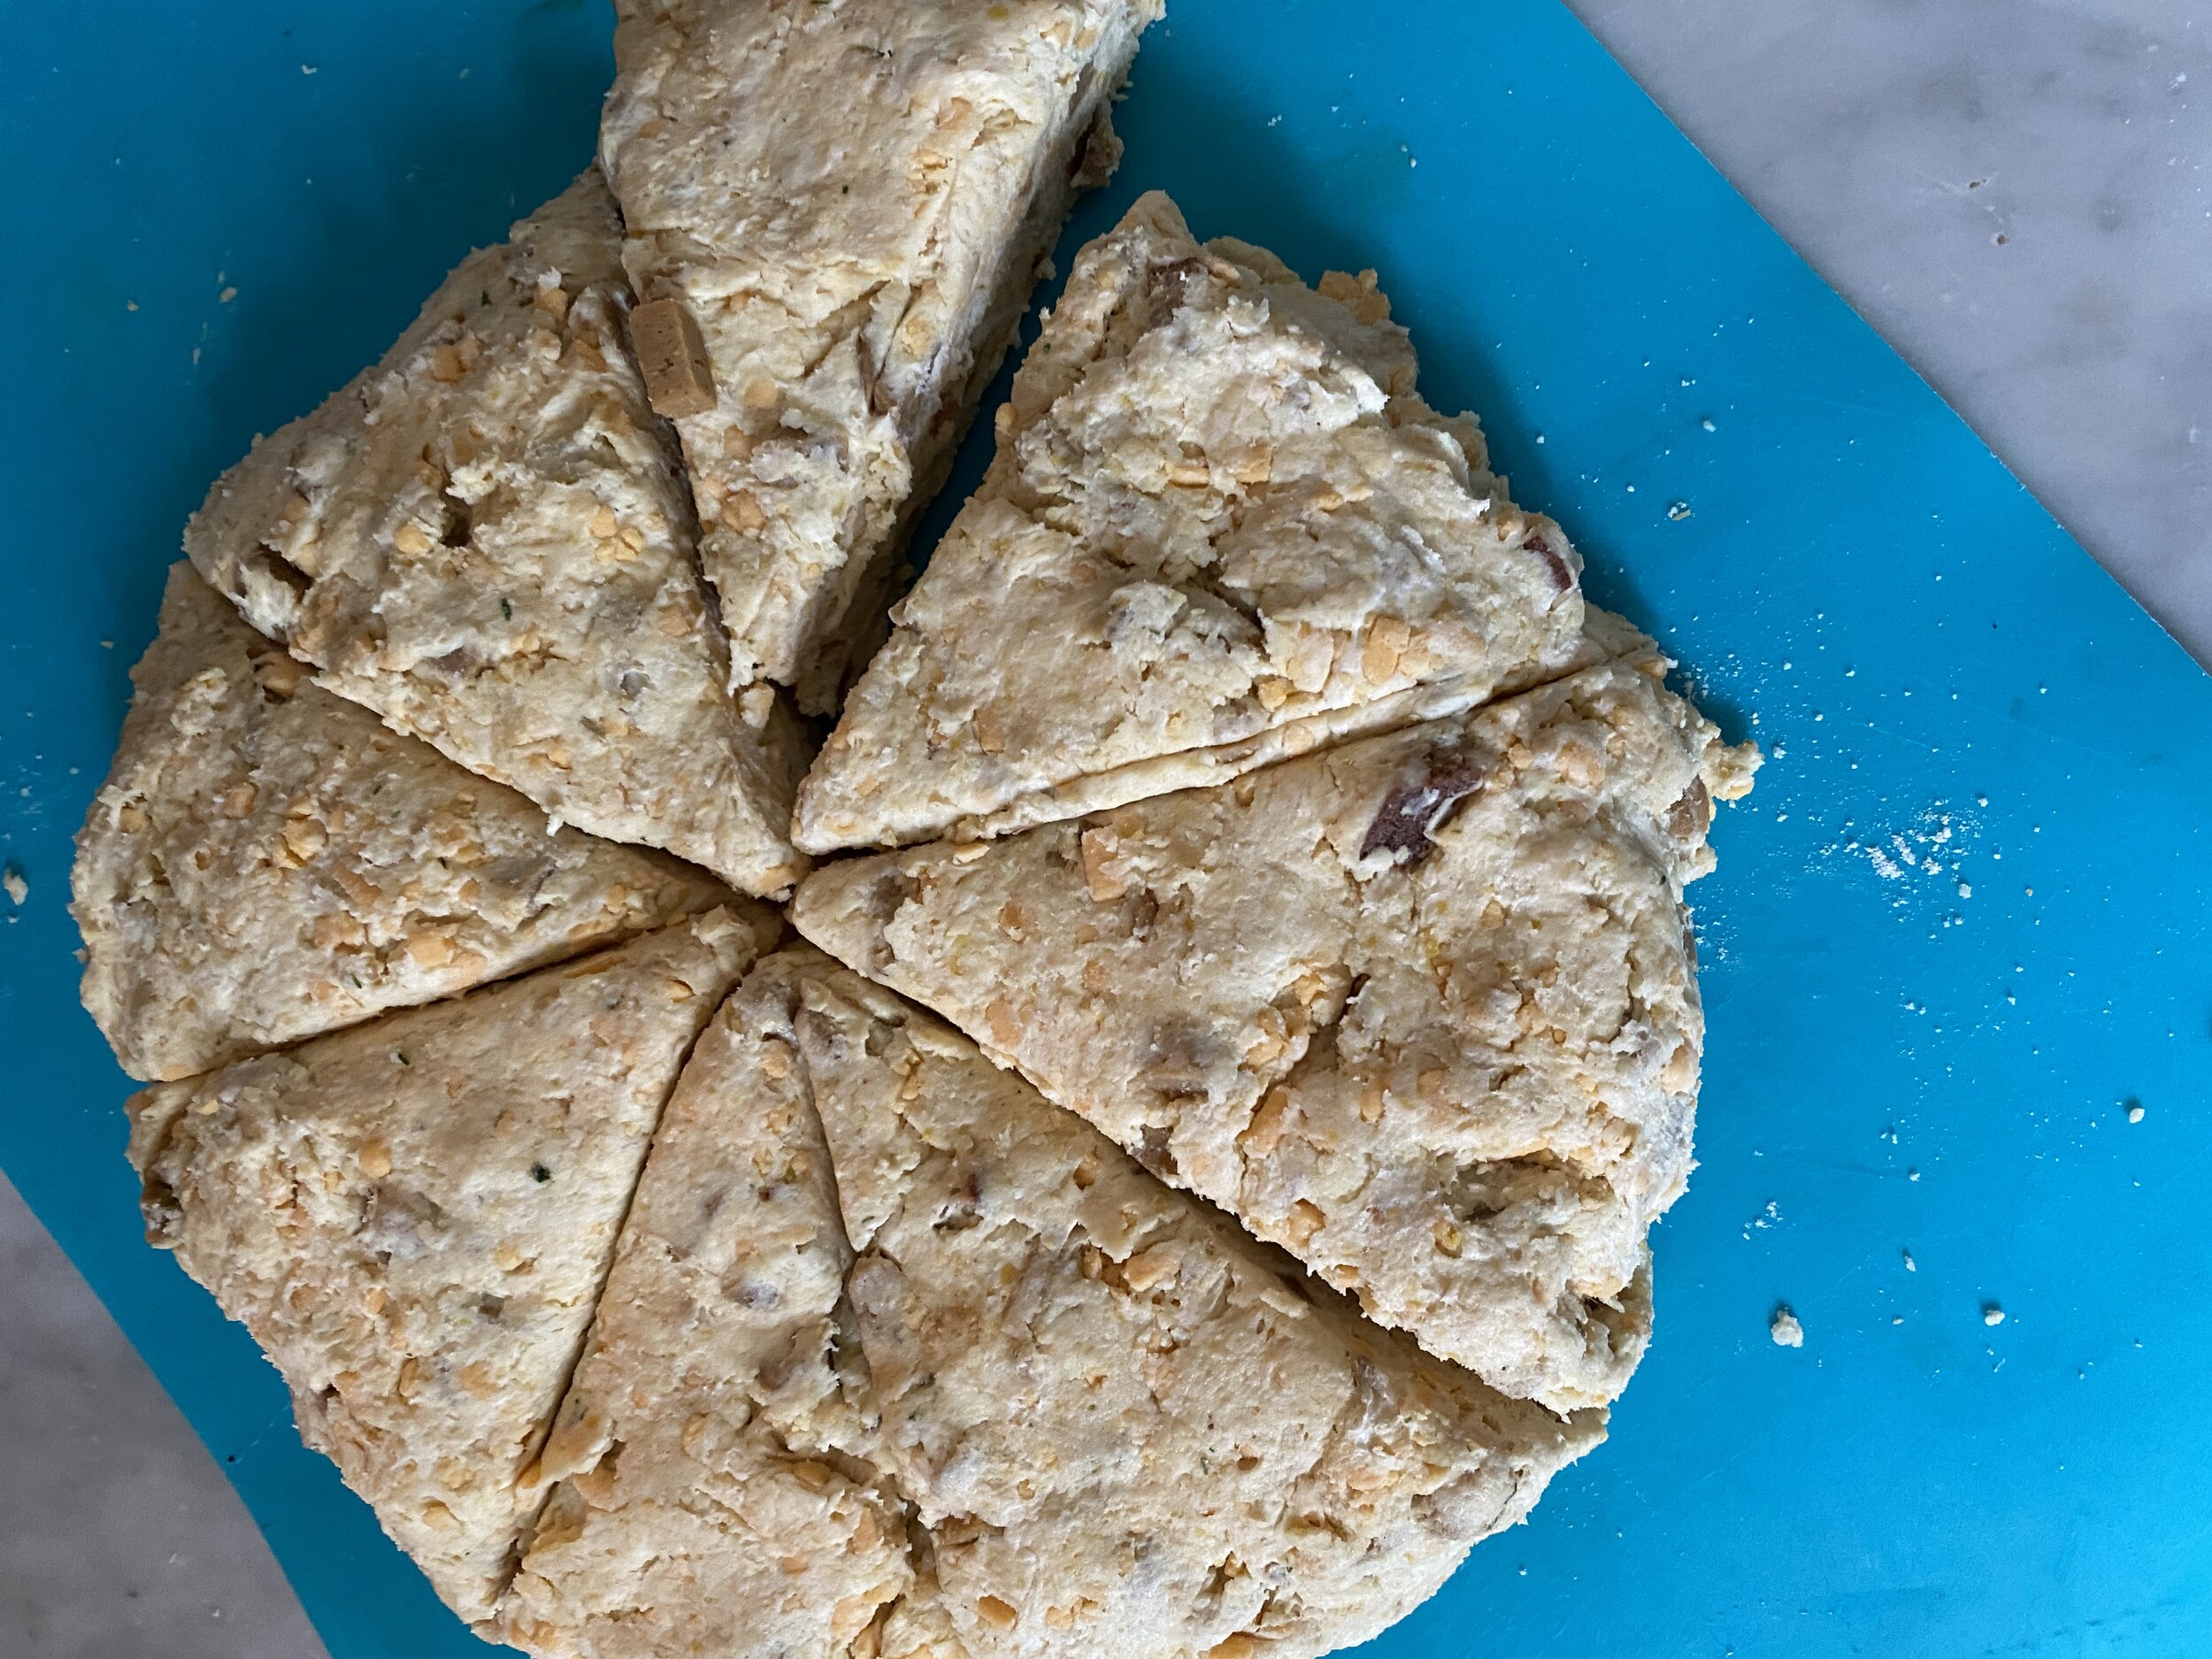
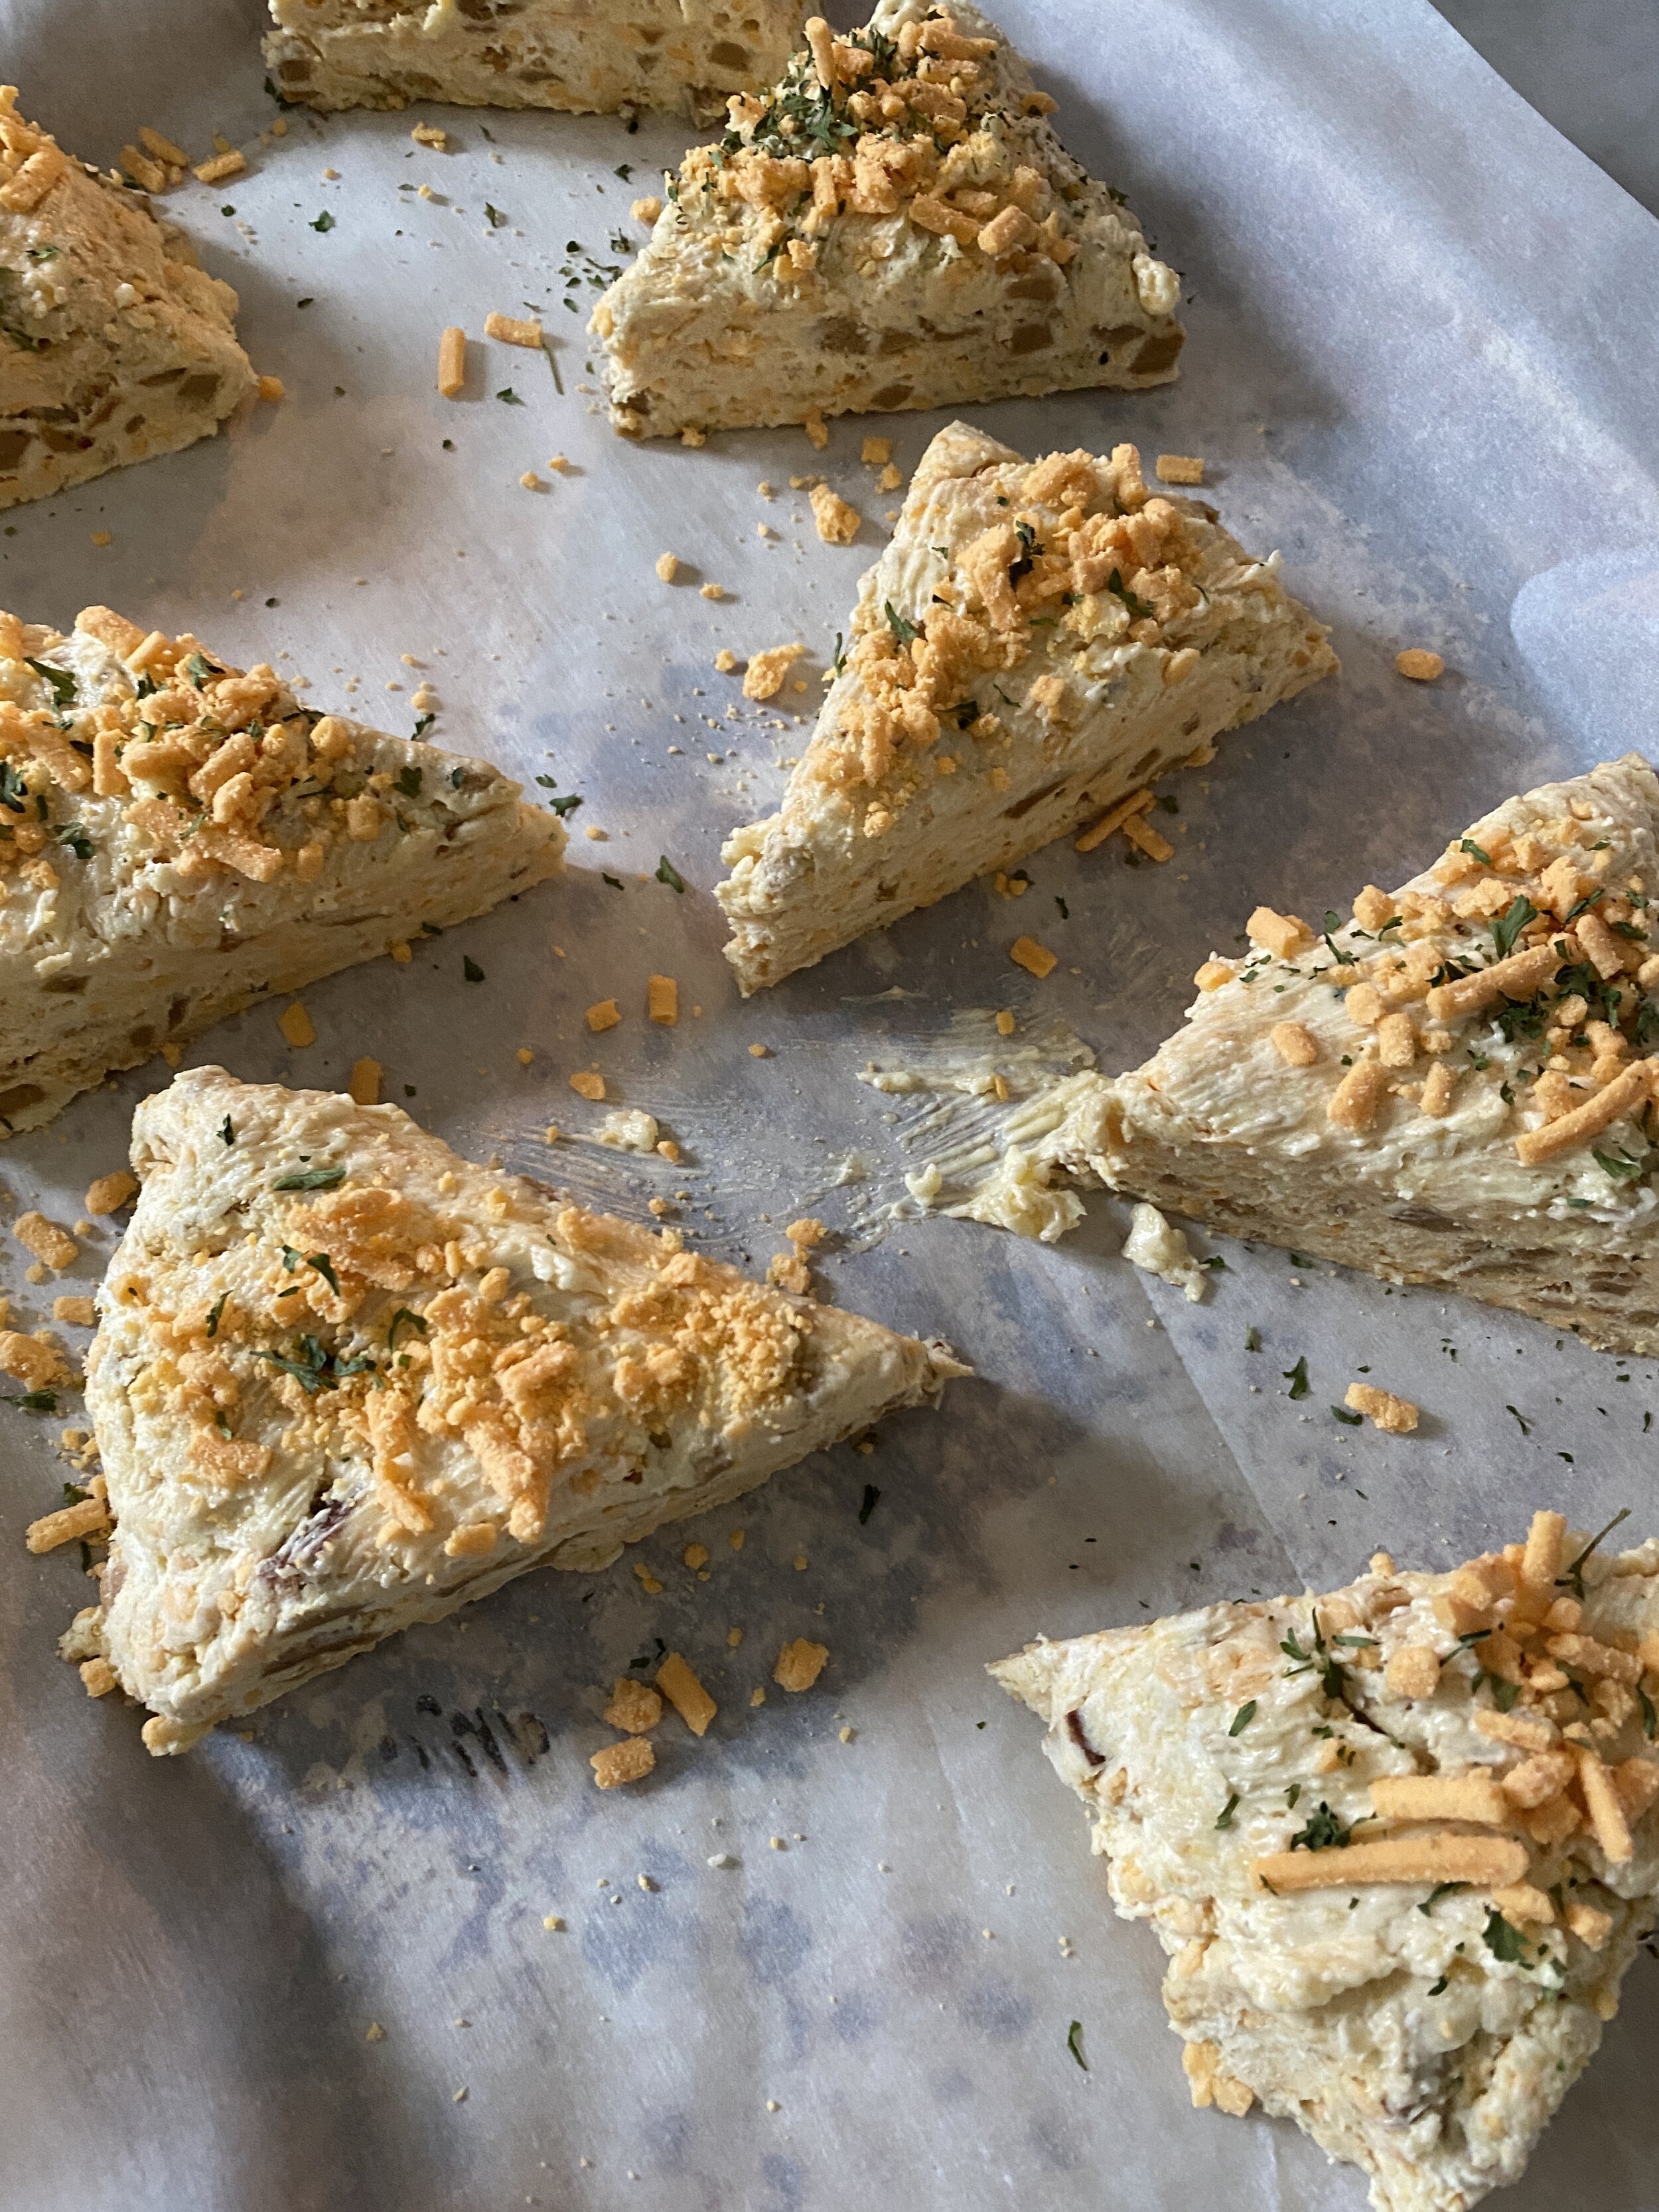
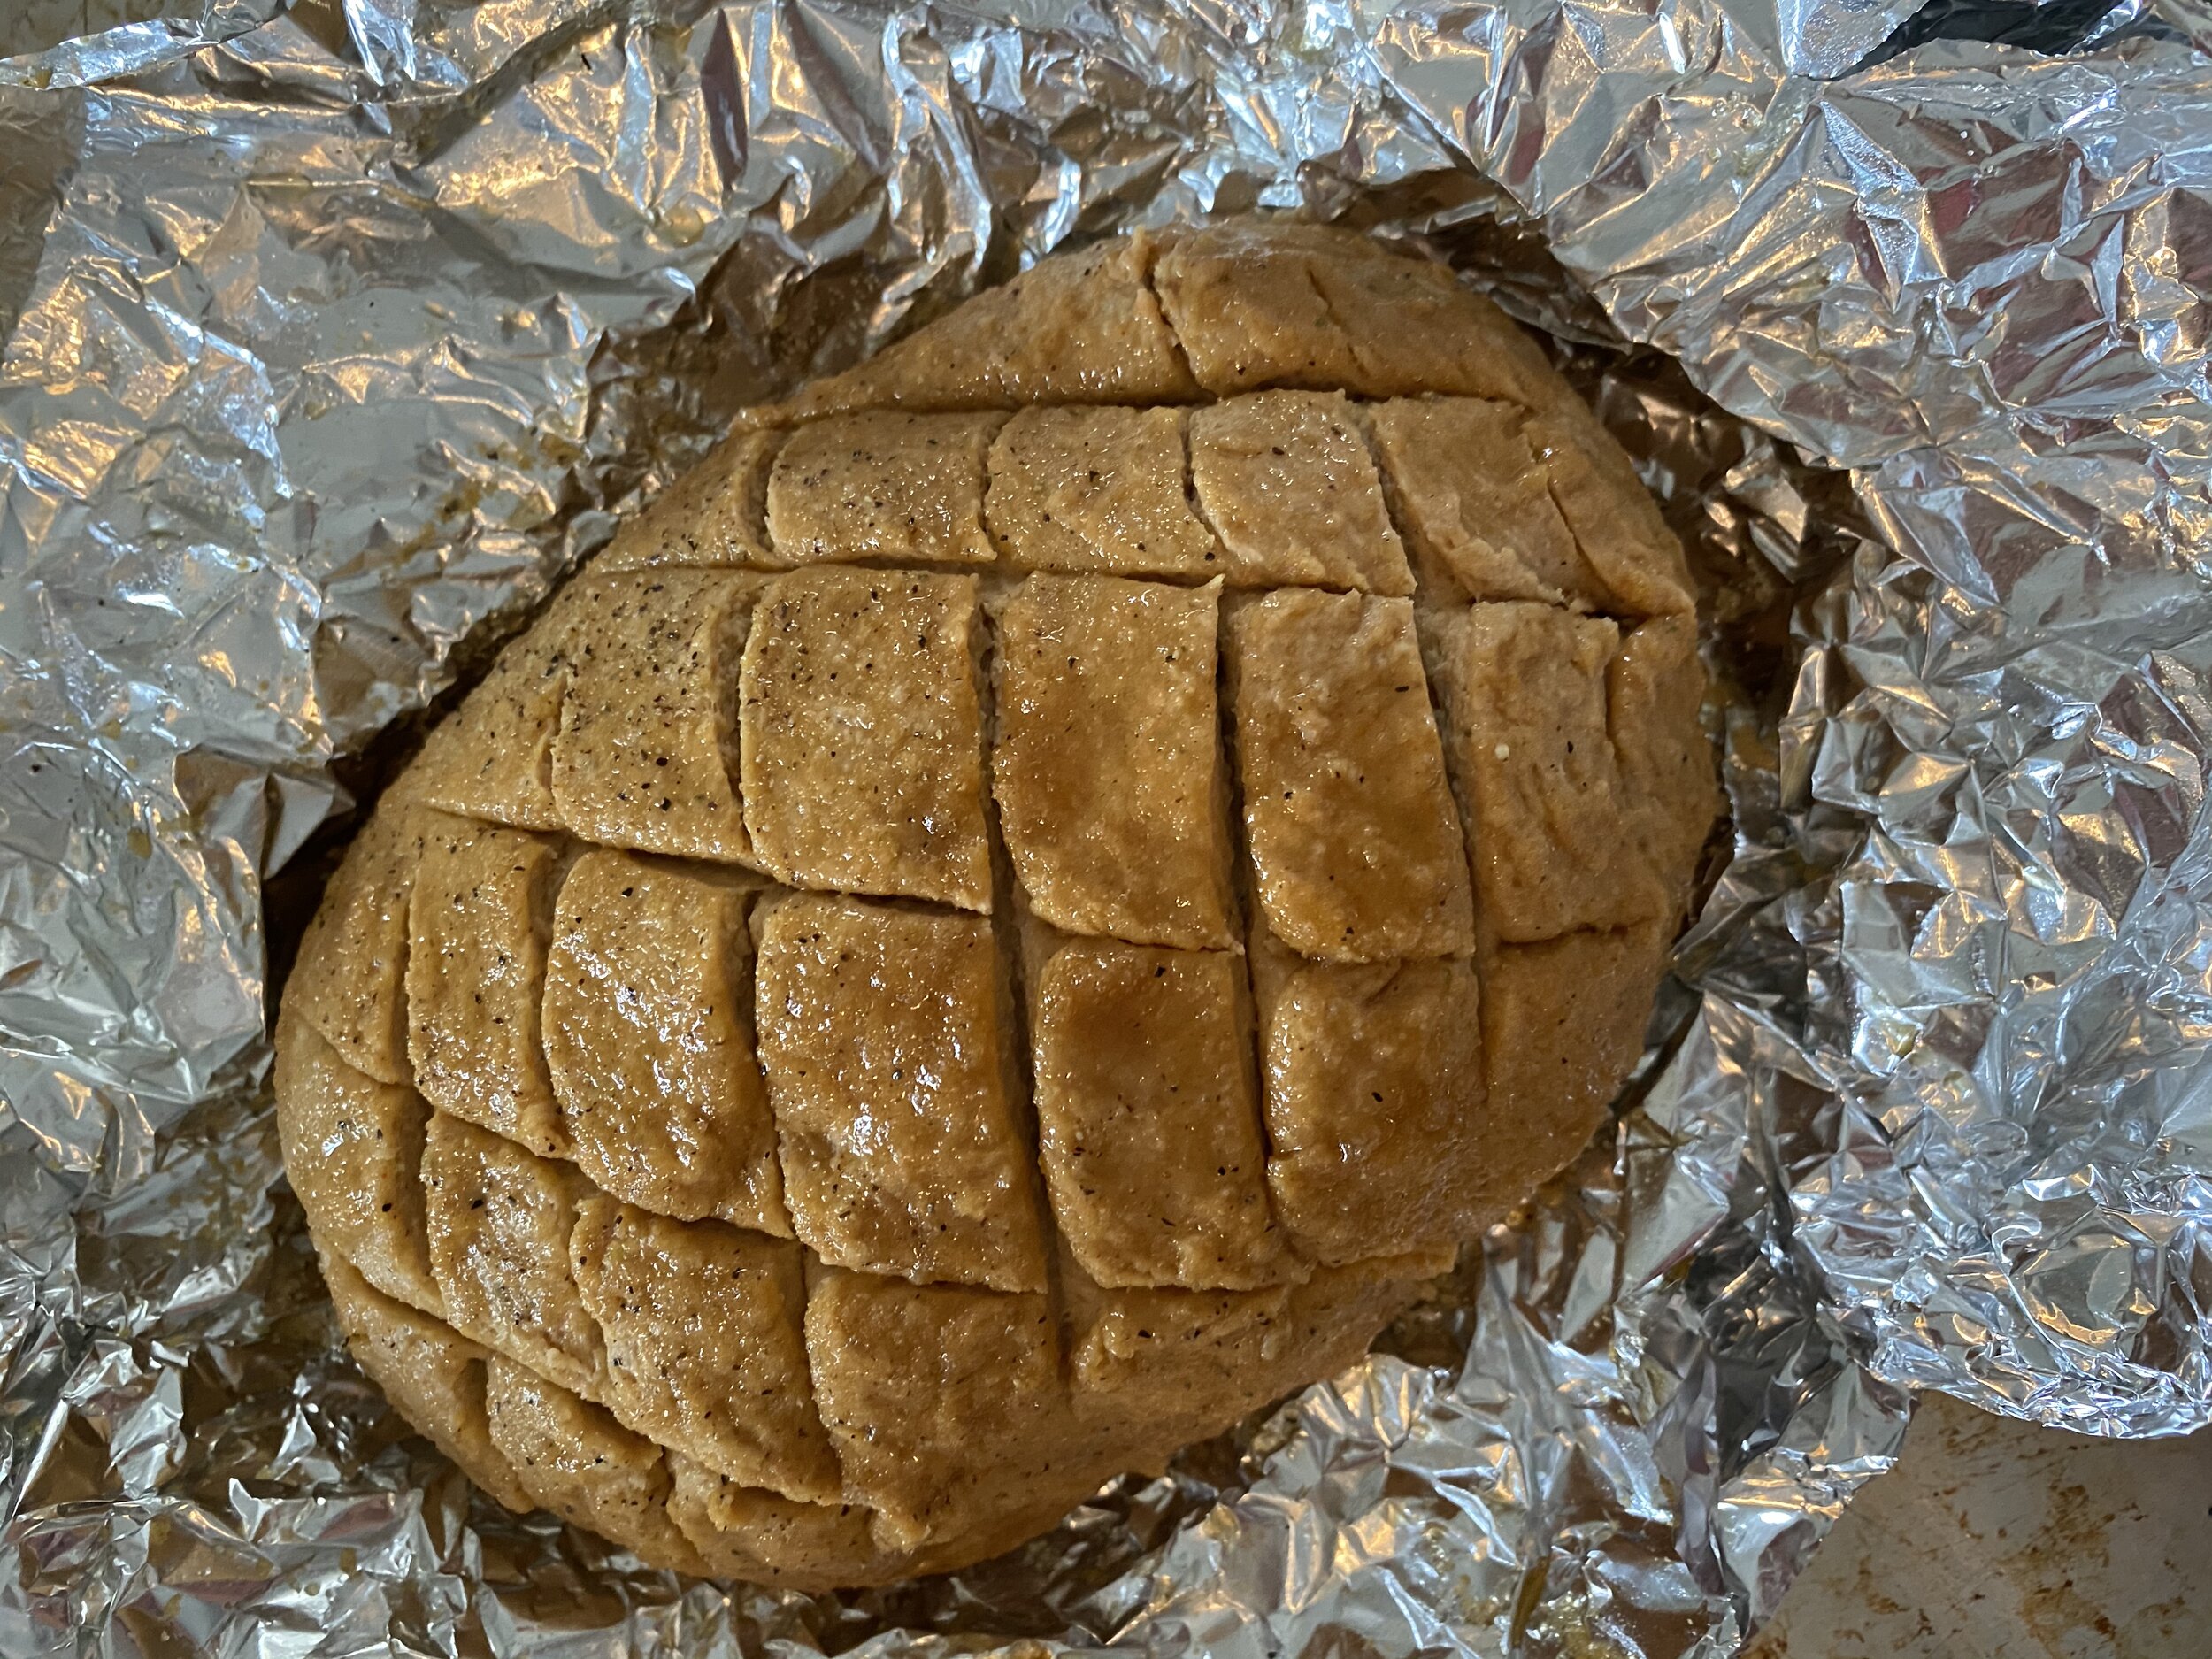
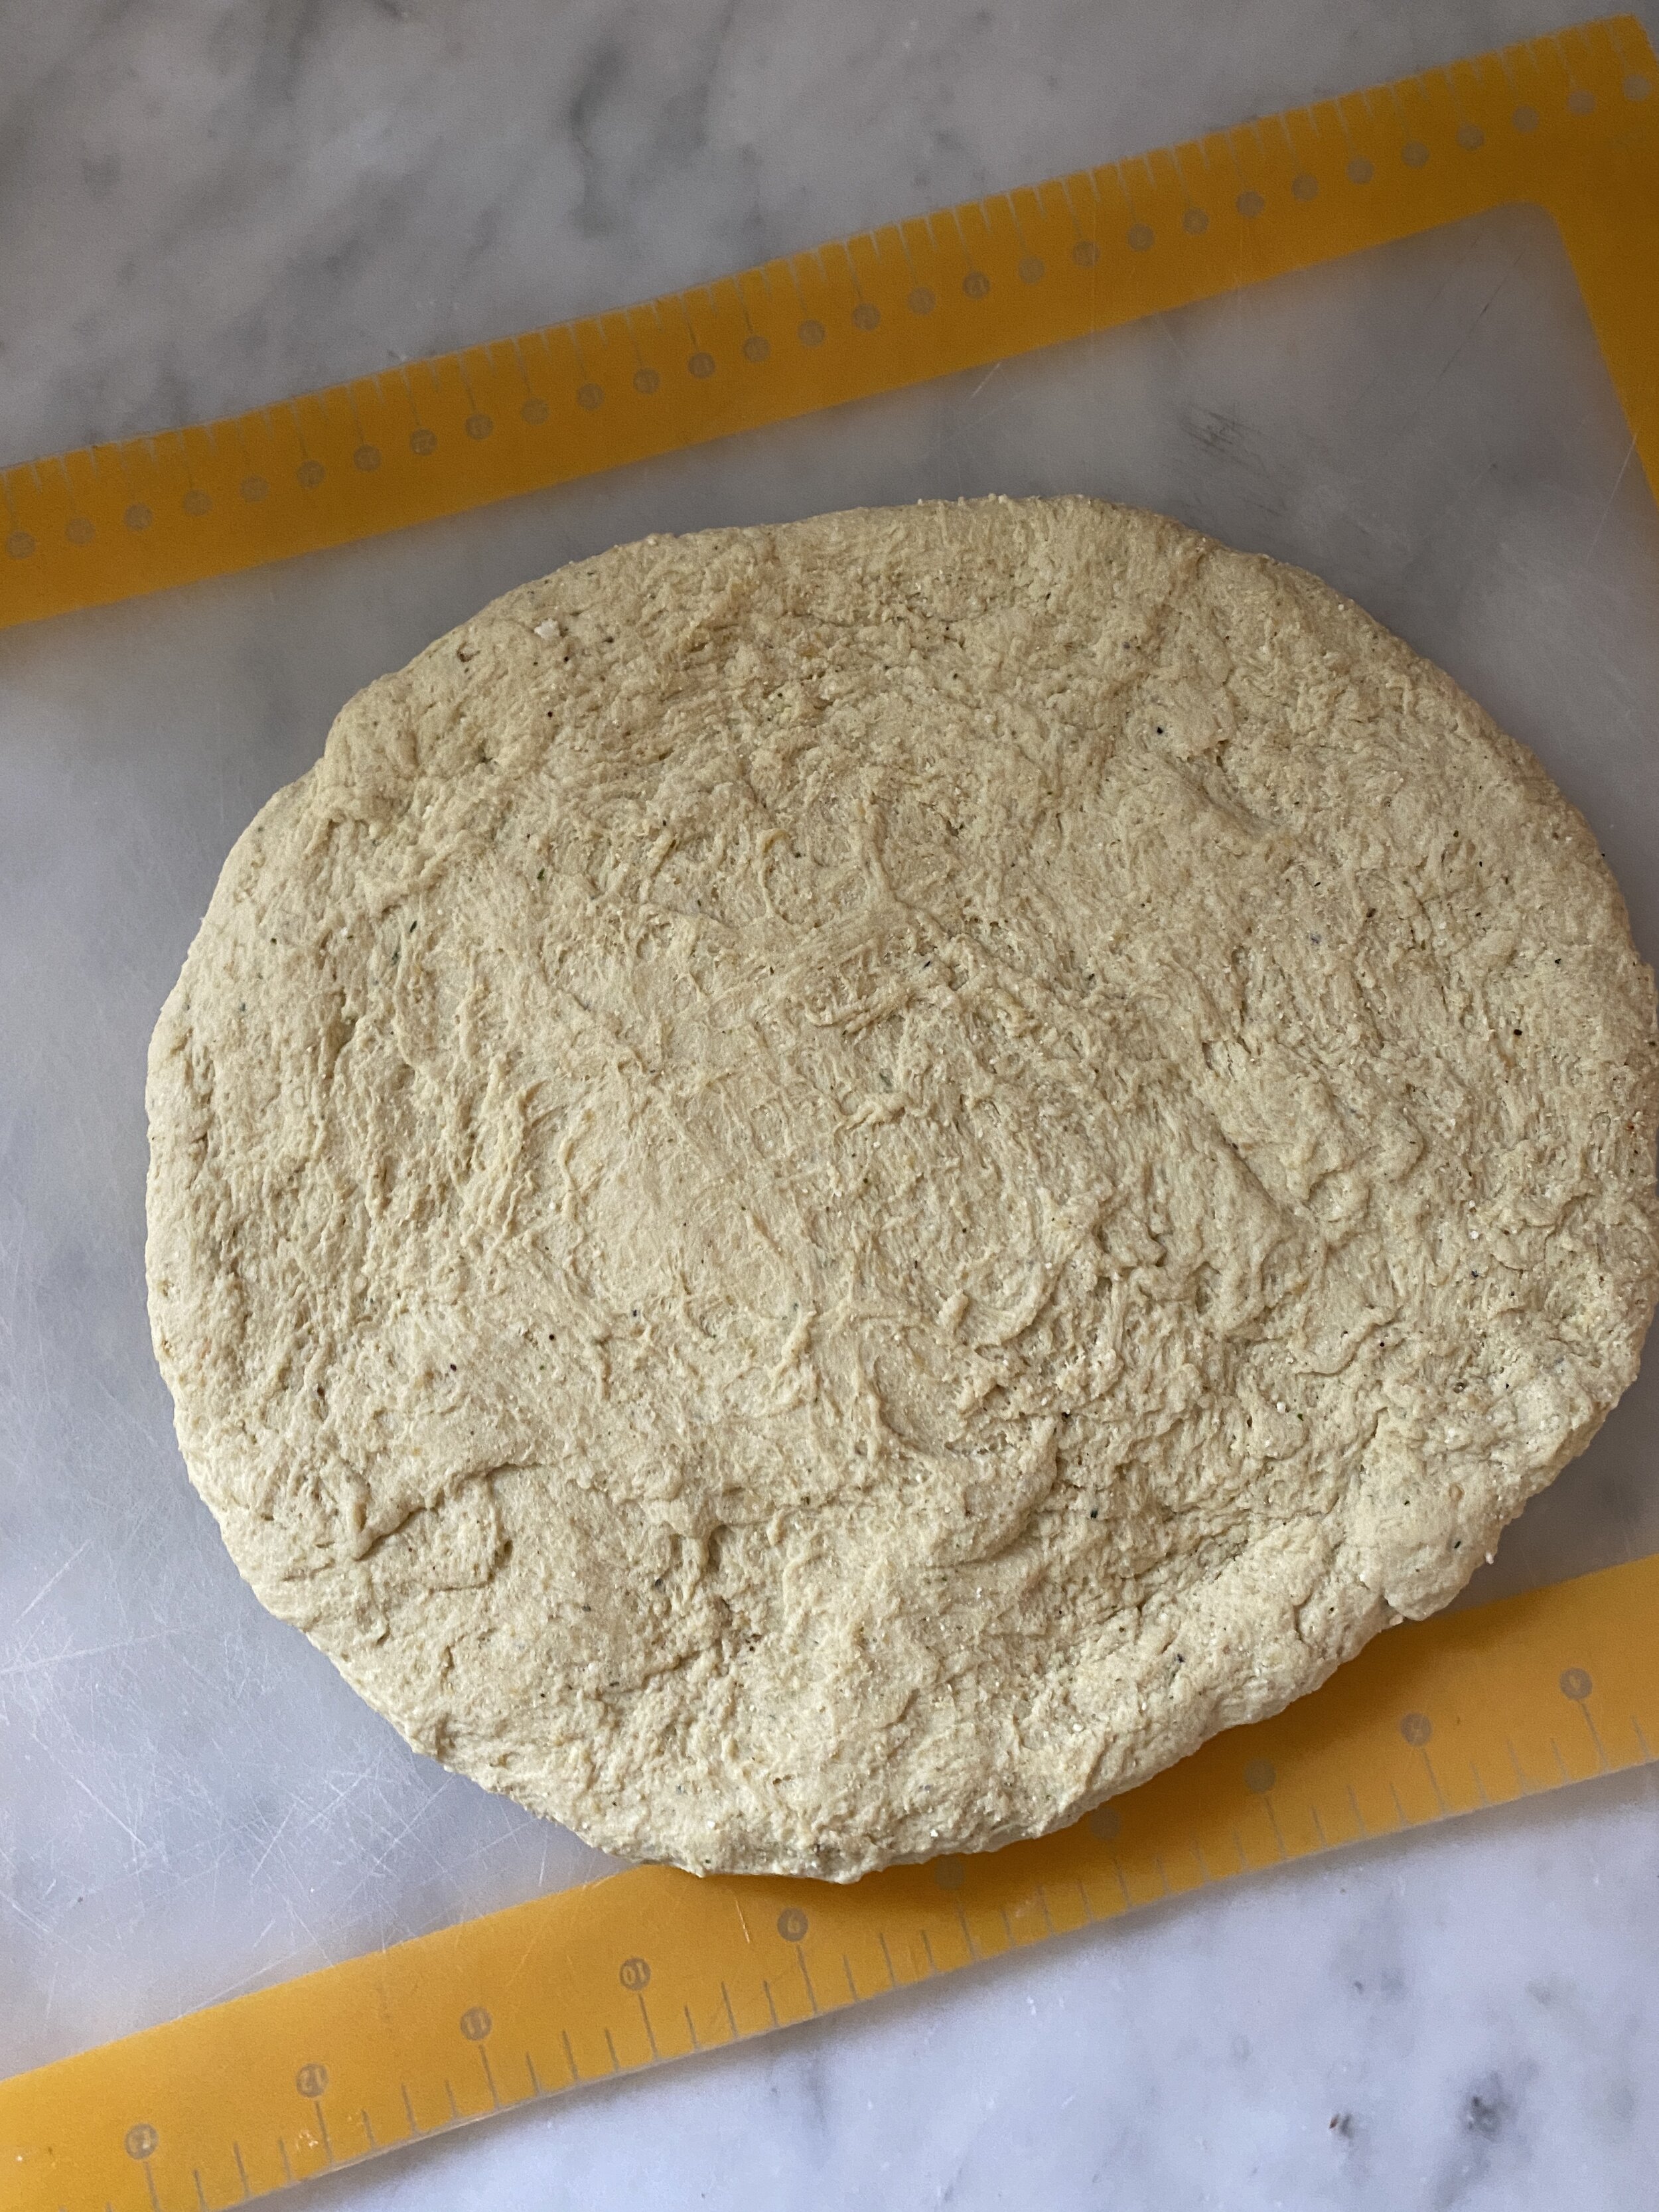
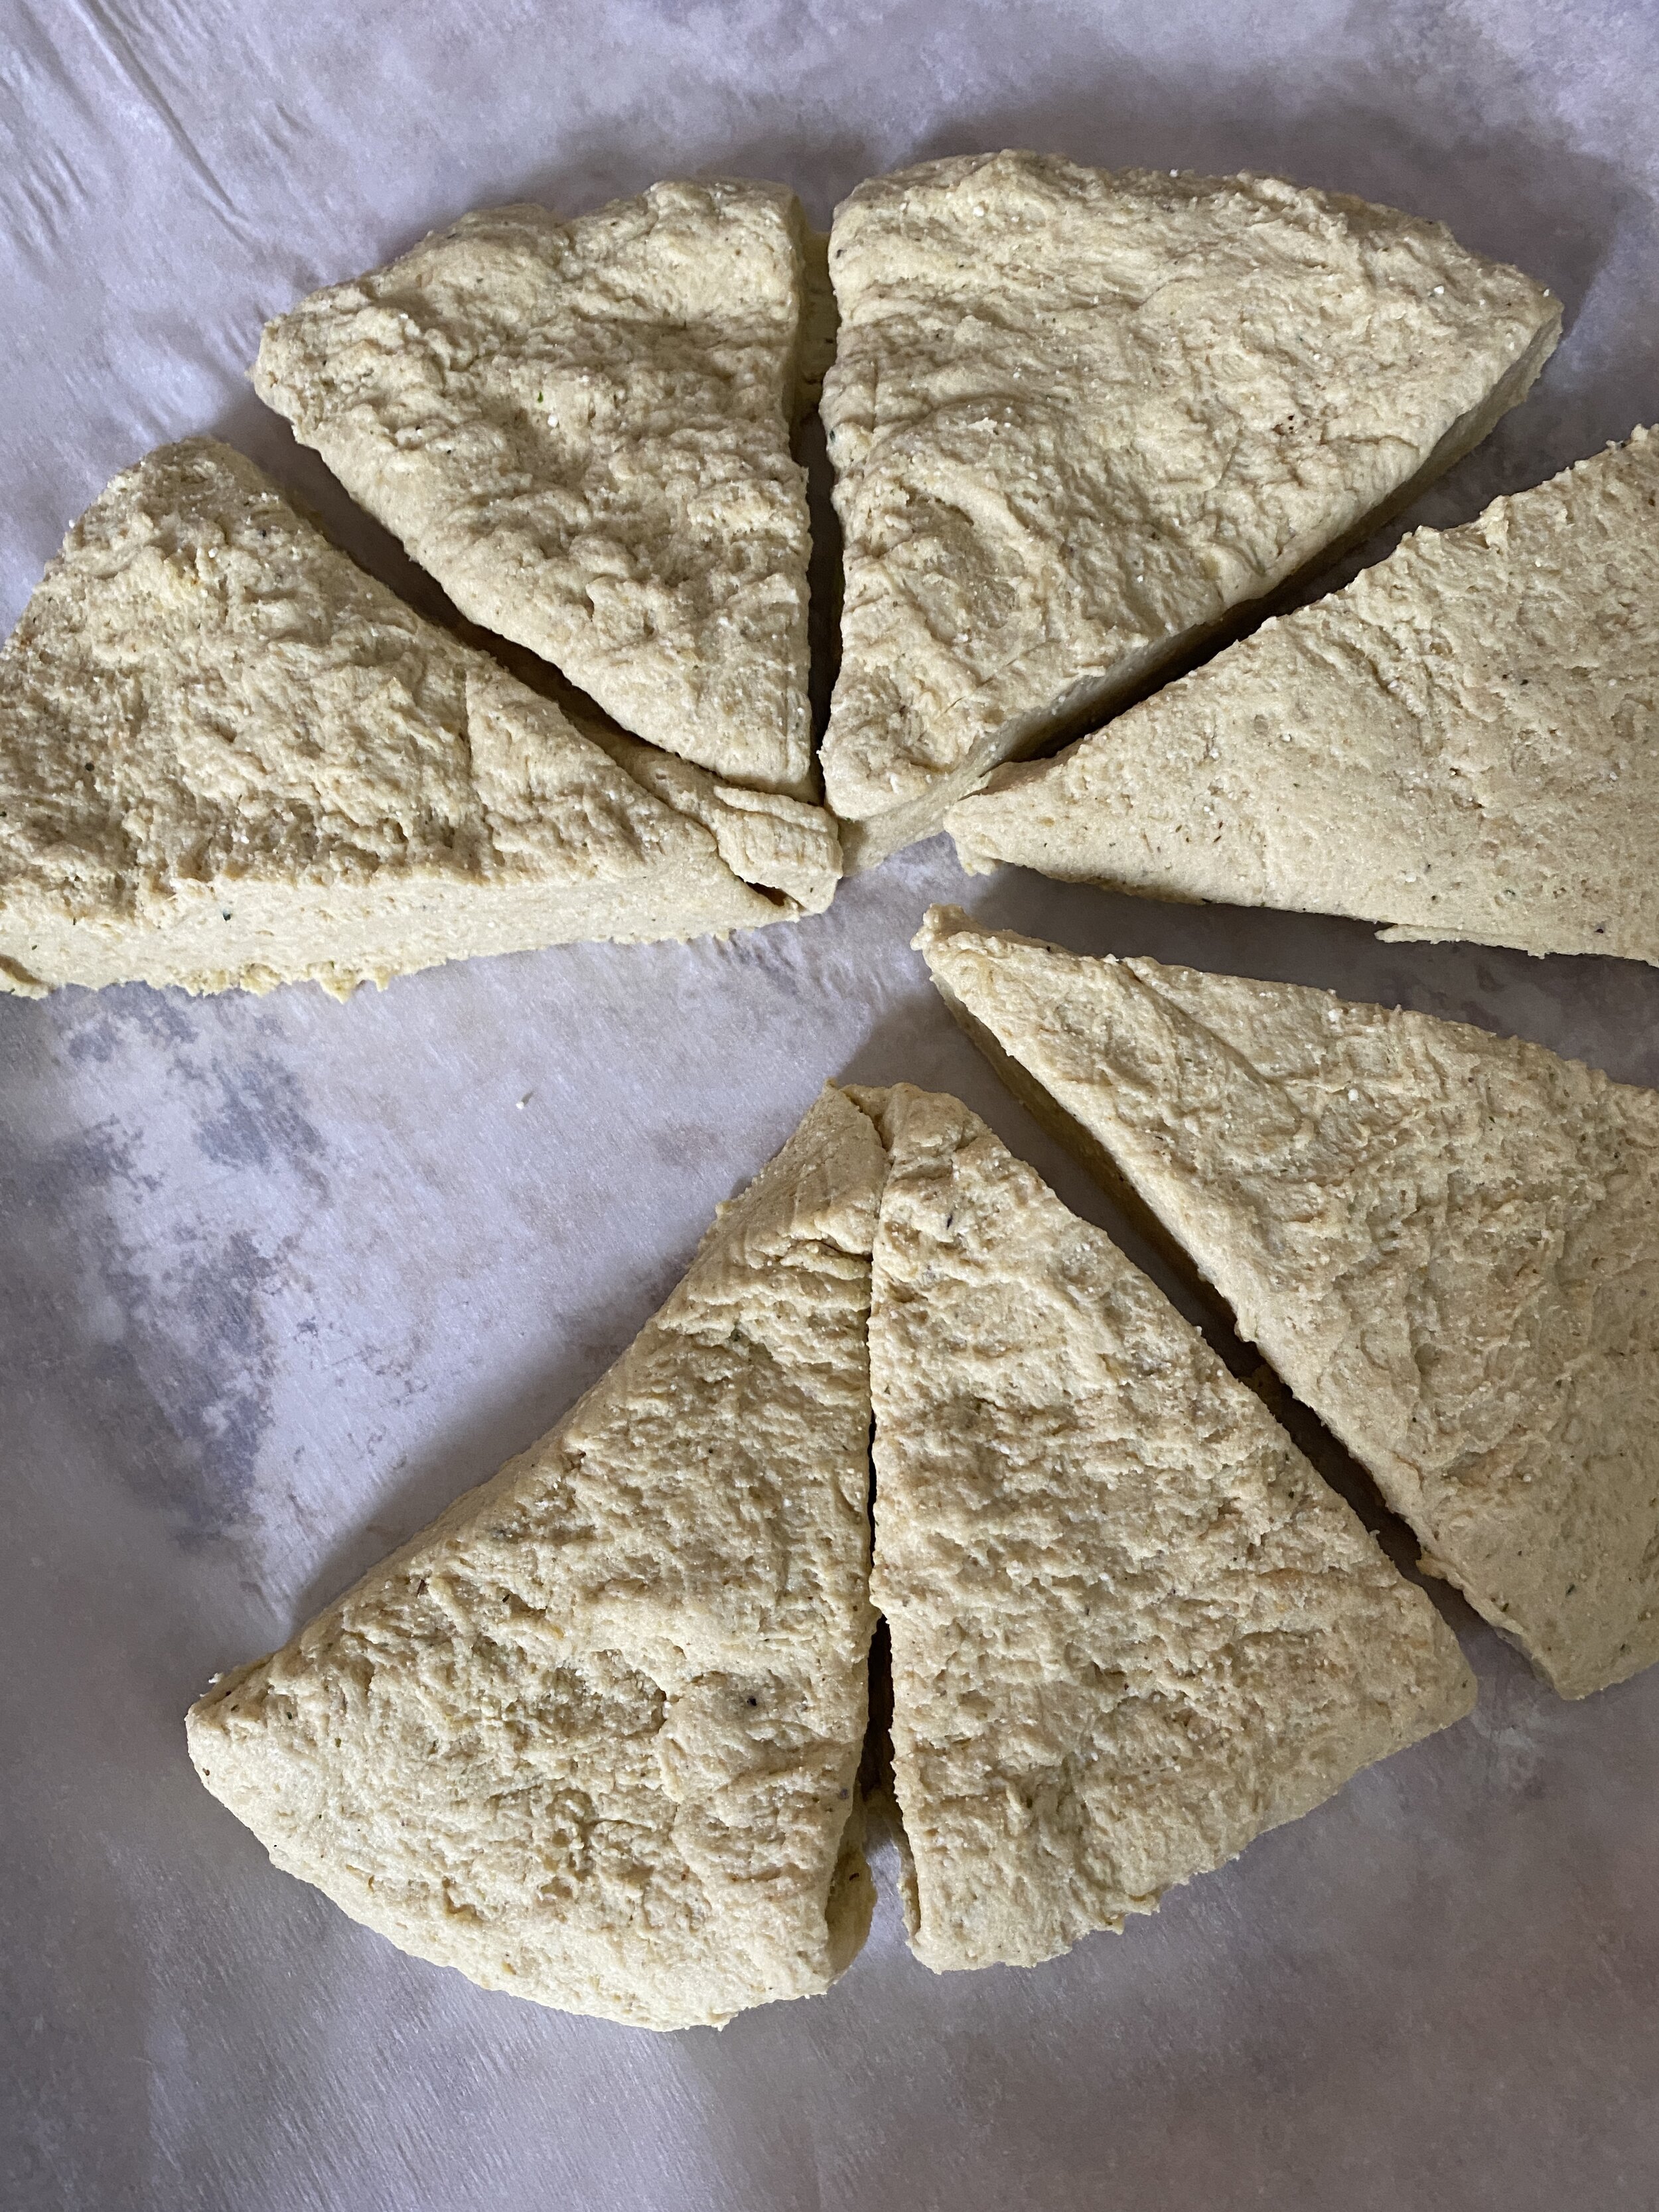
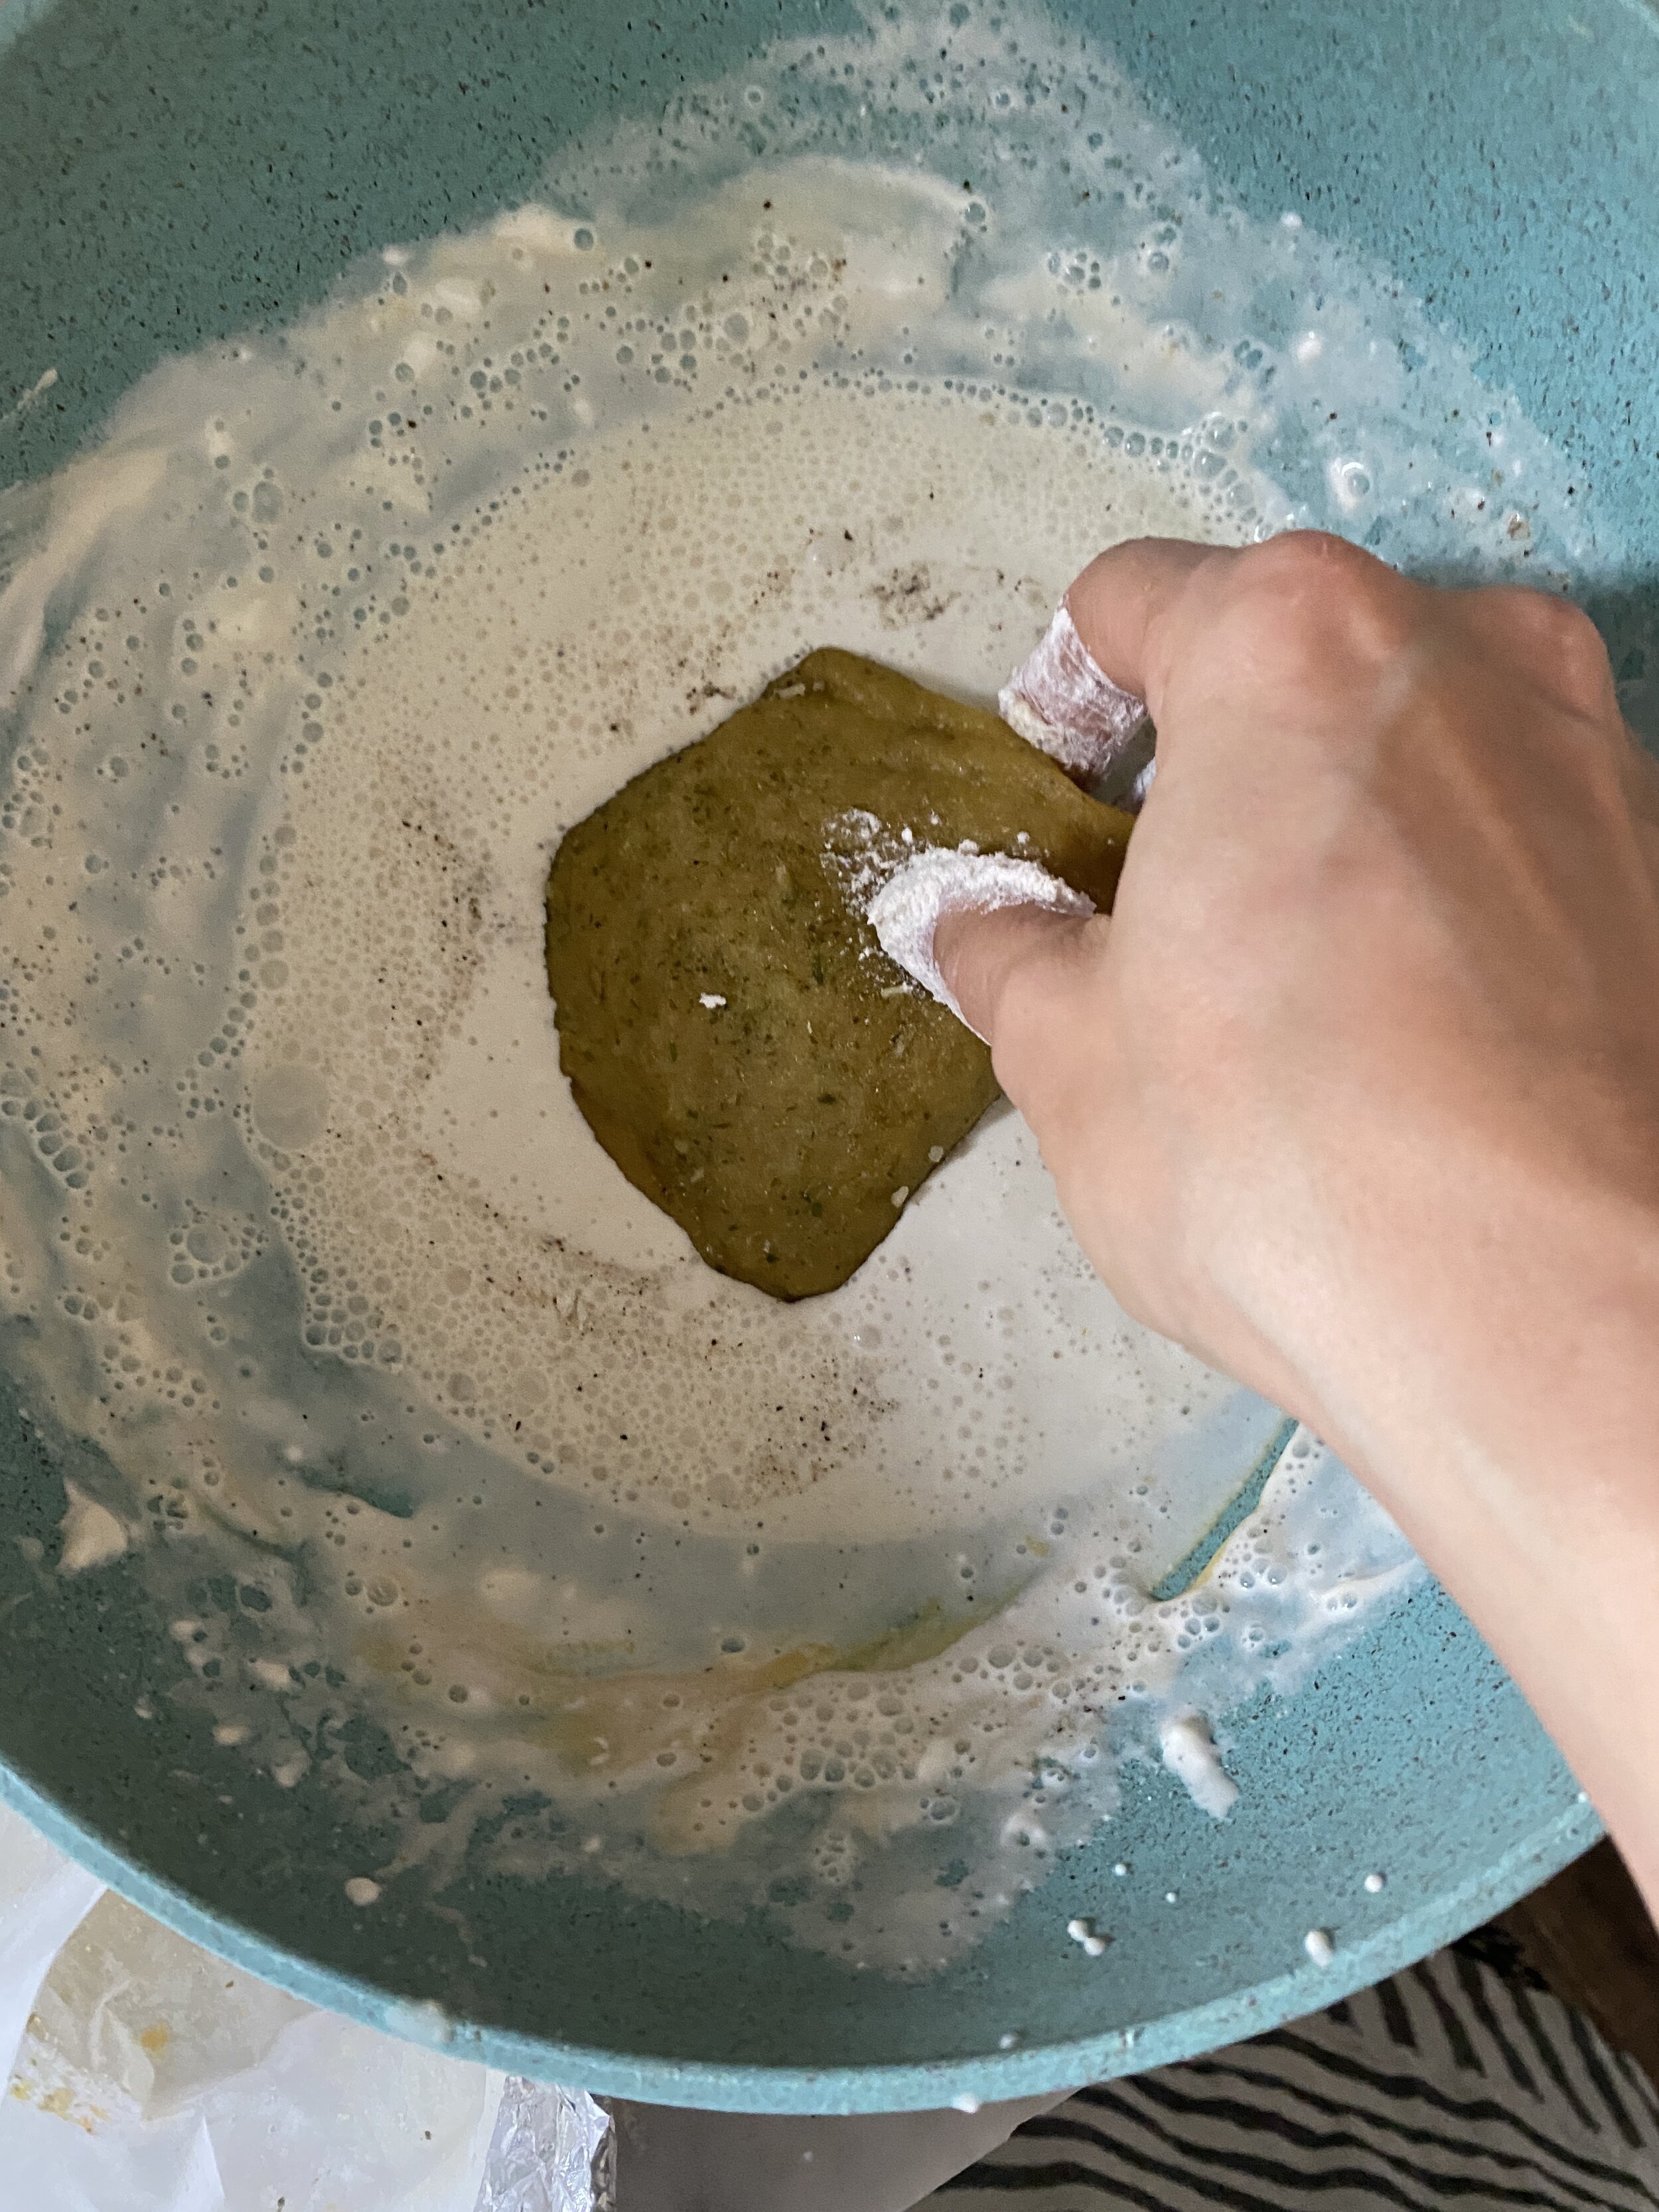
Once you have a smooth but firm dough, remove it from the food processor and place on a clean counter. Knead the dough with your hands for about a minute, forming a kind of oval, flattened out shaped with the dough. Cut the dough into 8 triangles. Using your hands, form the triangles into a chicken breast shape.
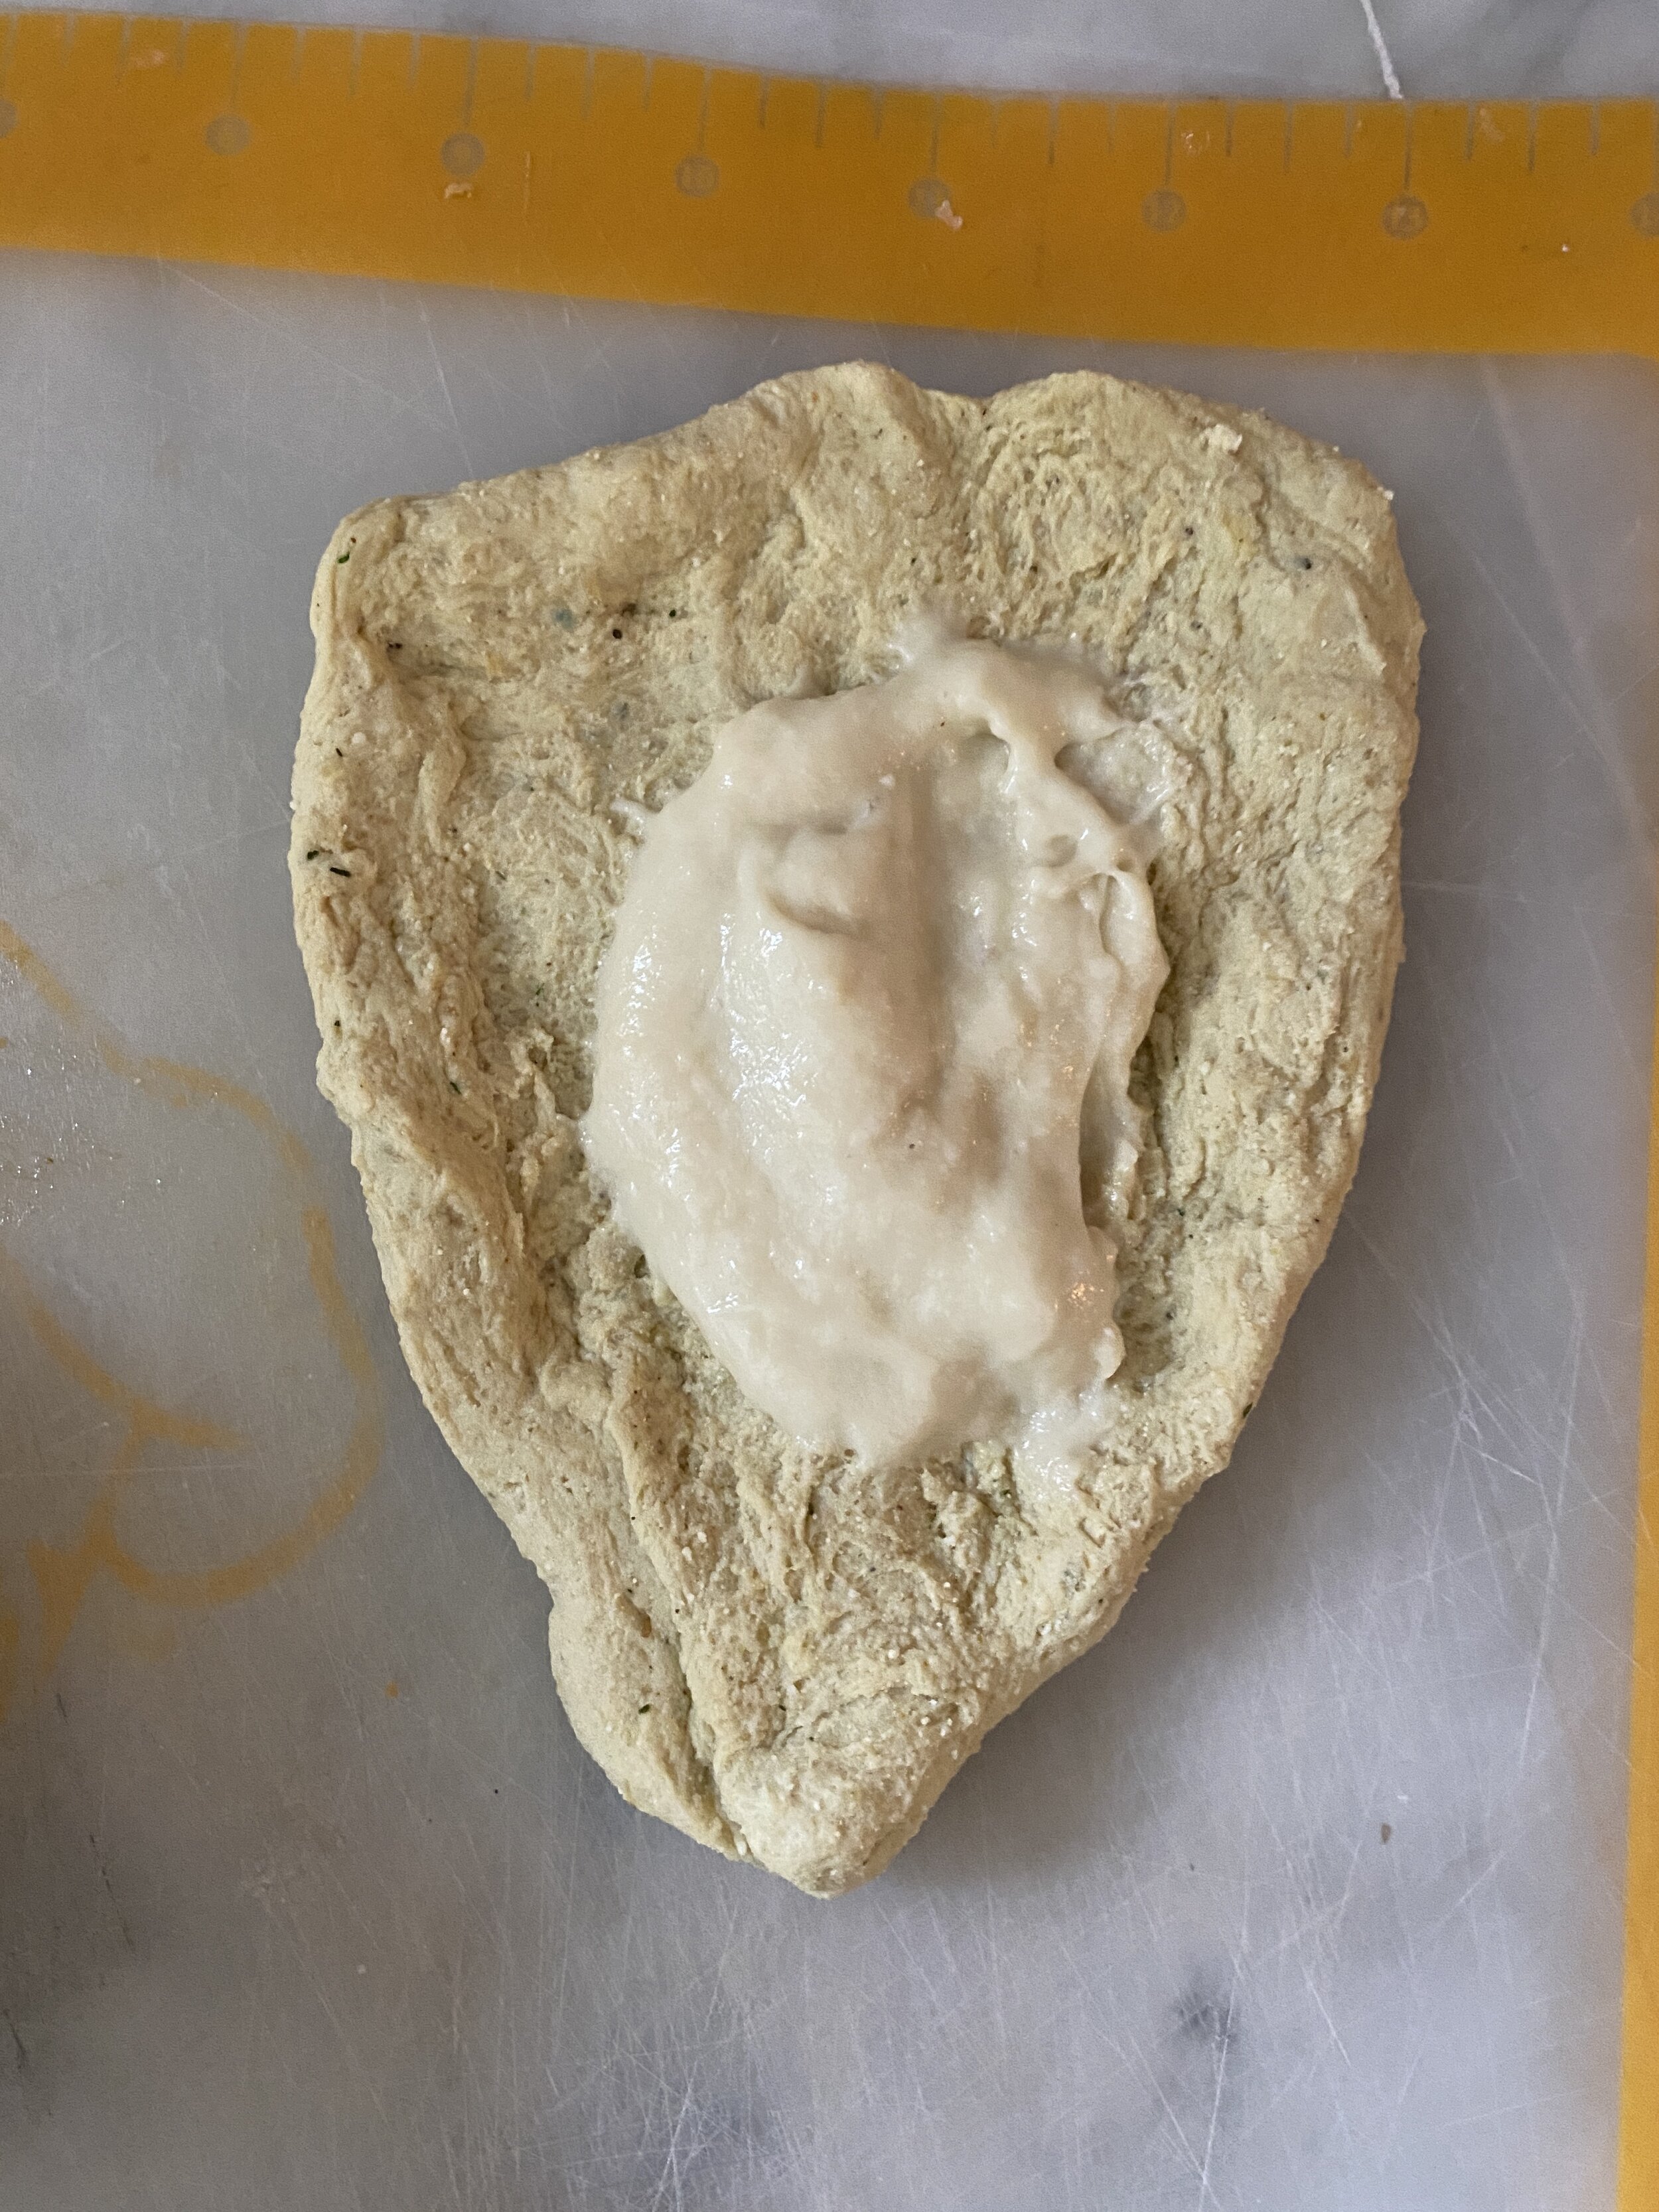
Flatten out the chicken breast shapes to about a half inch thick. You are going to stuff and fold the pieces in half so make sure you have formed them big enough and flat enough to accomplish this.
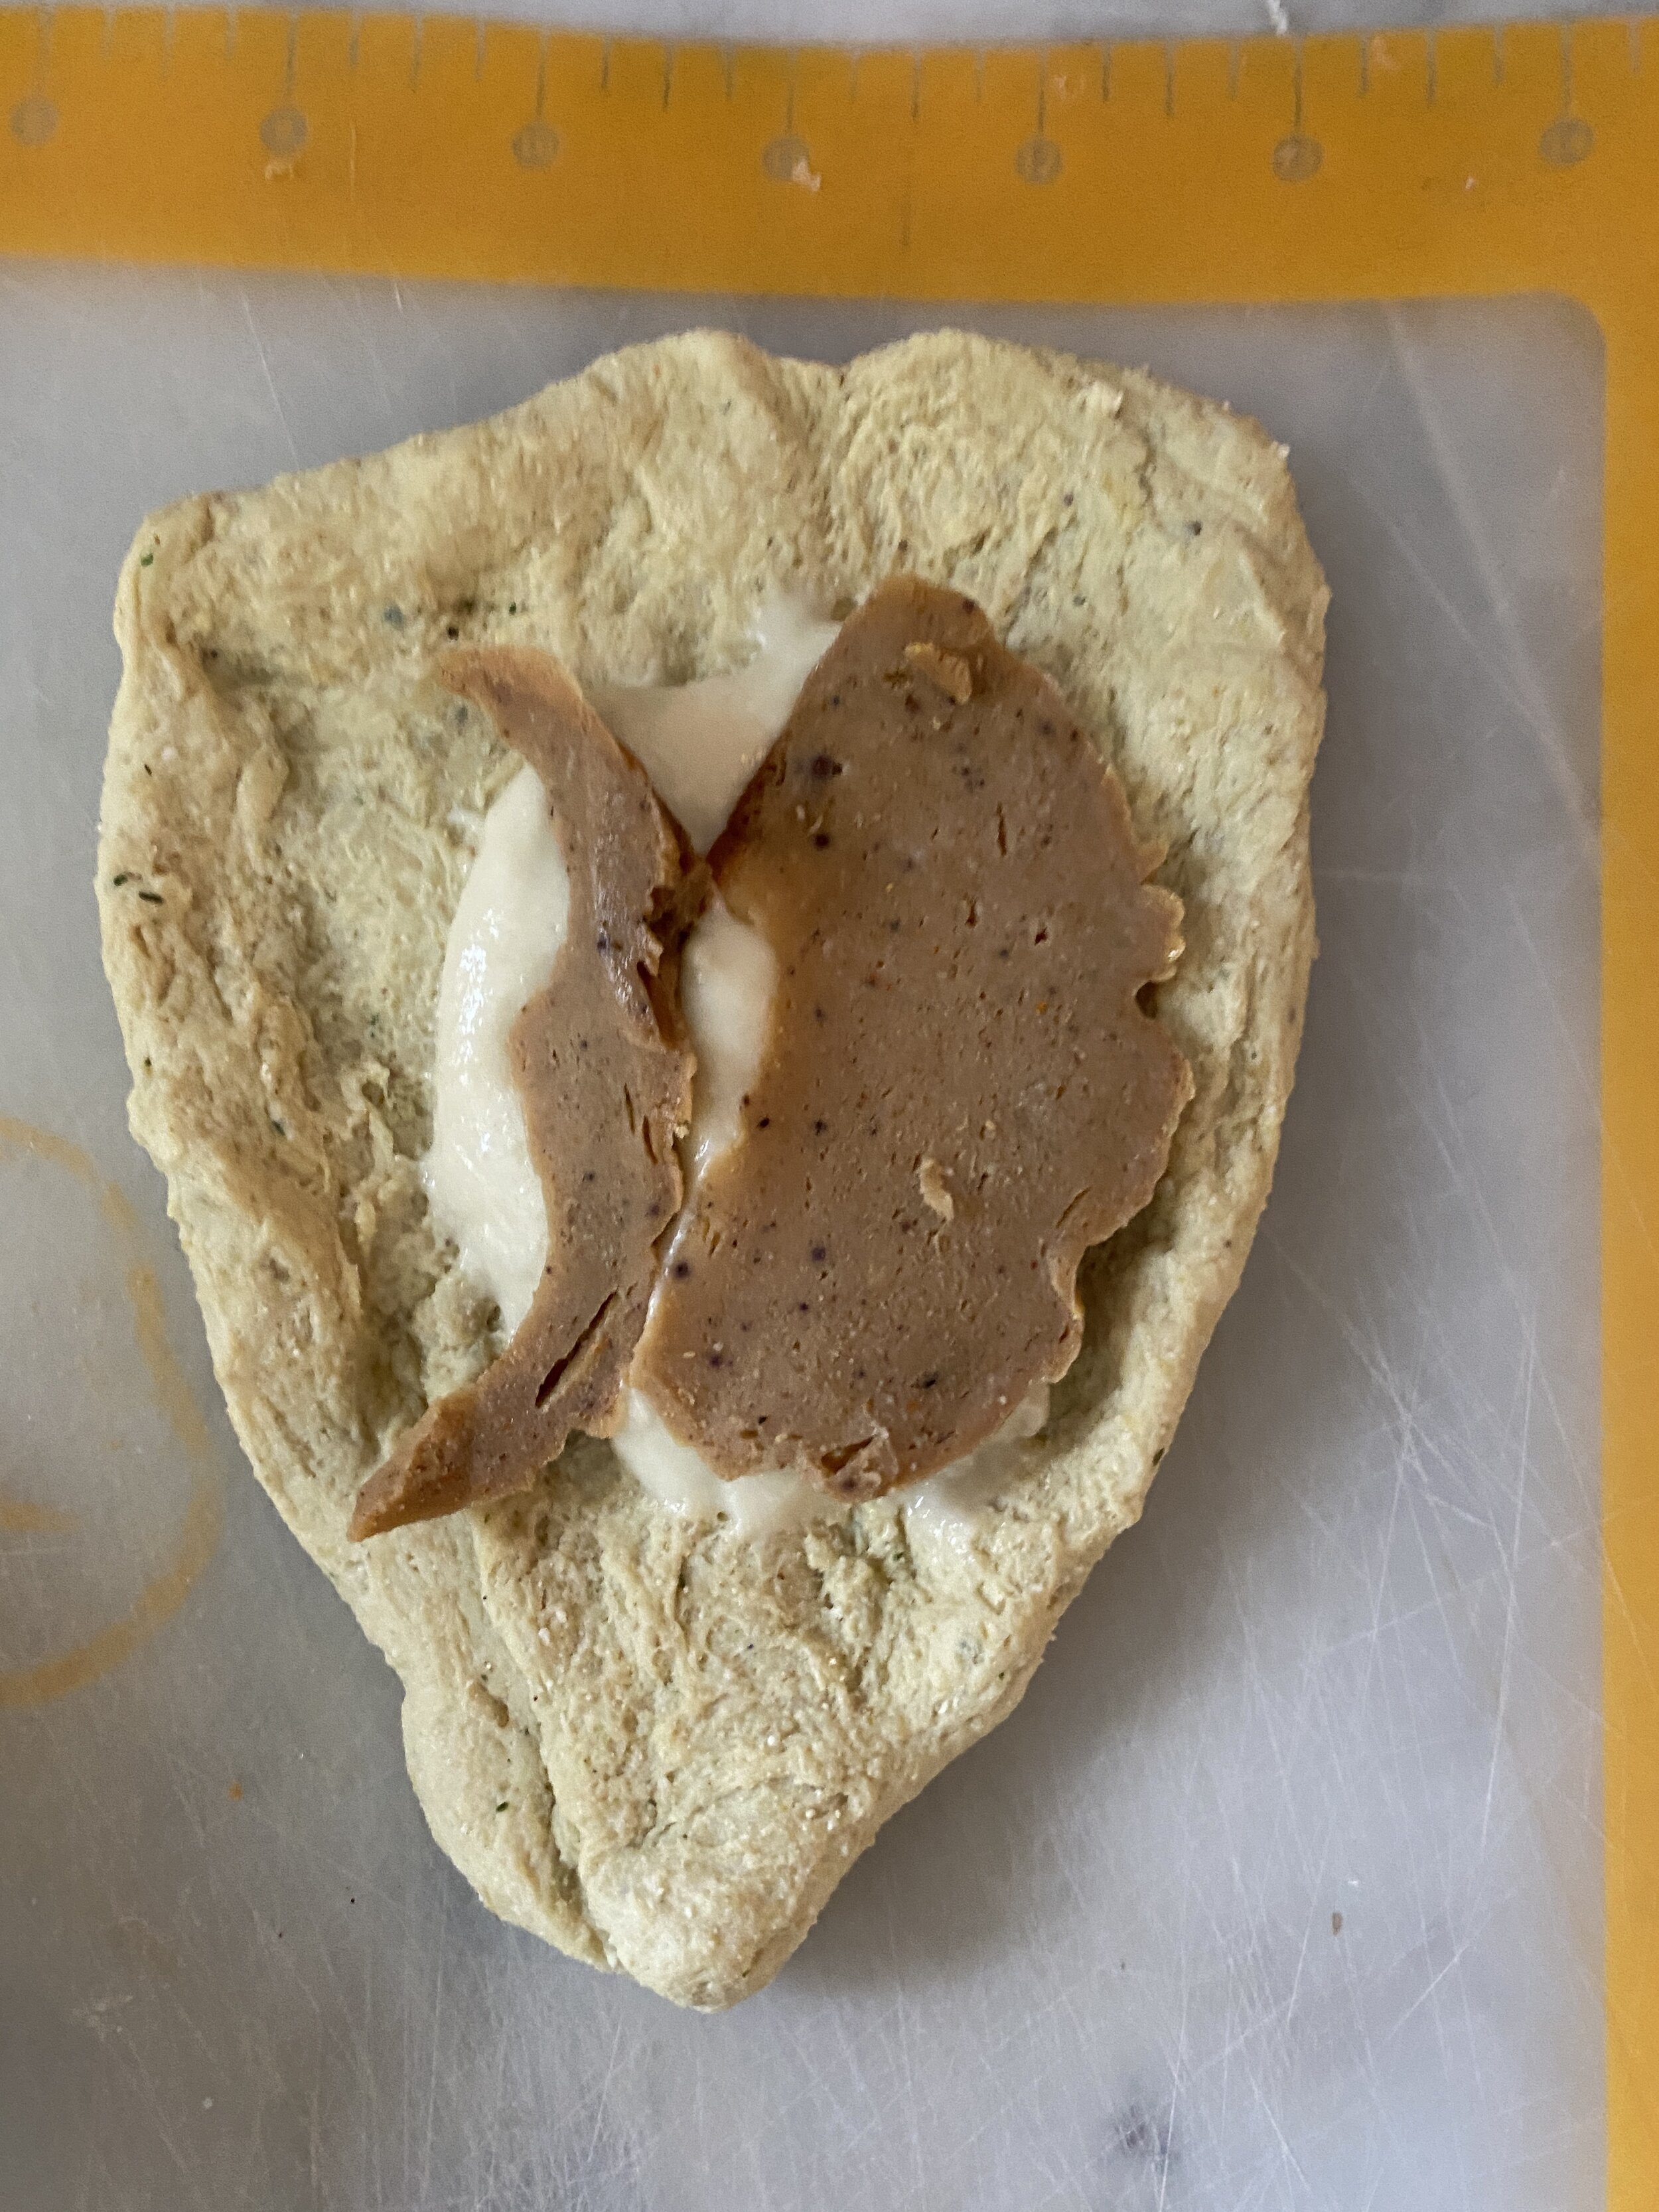
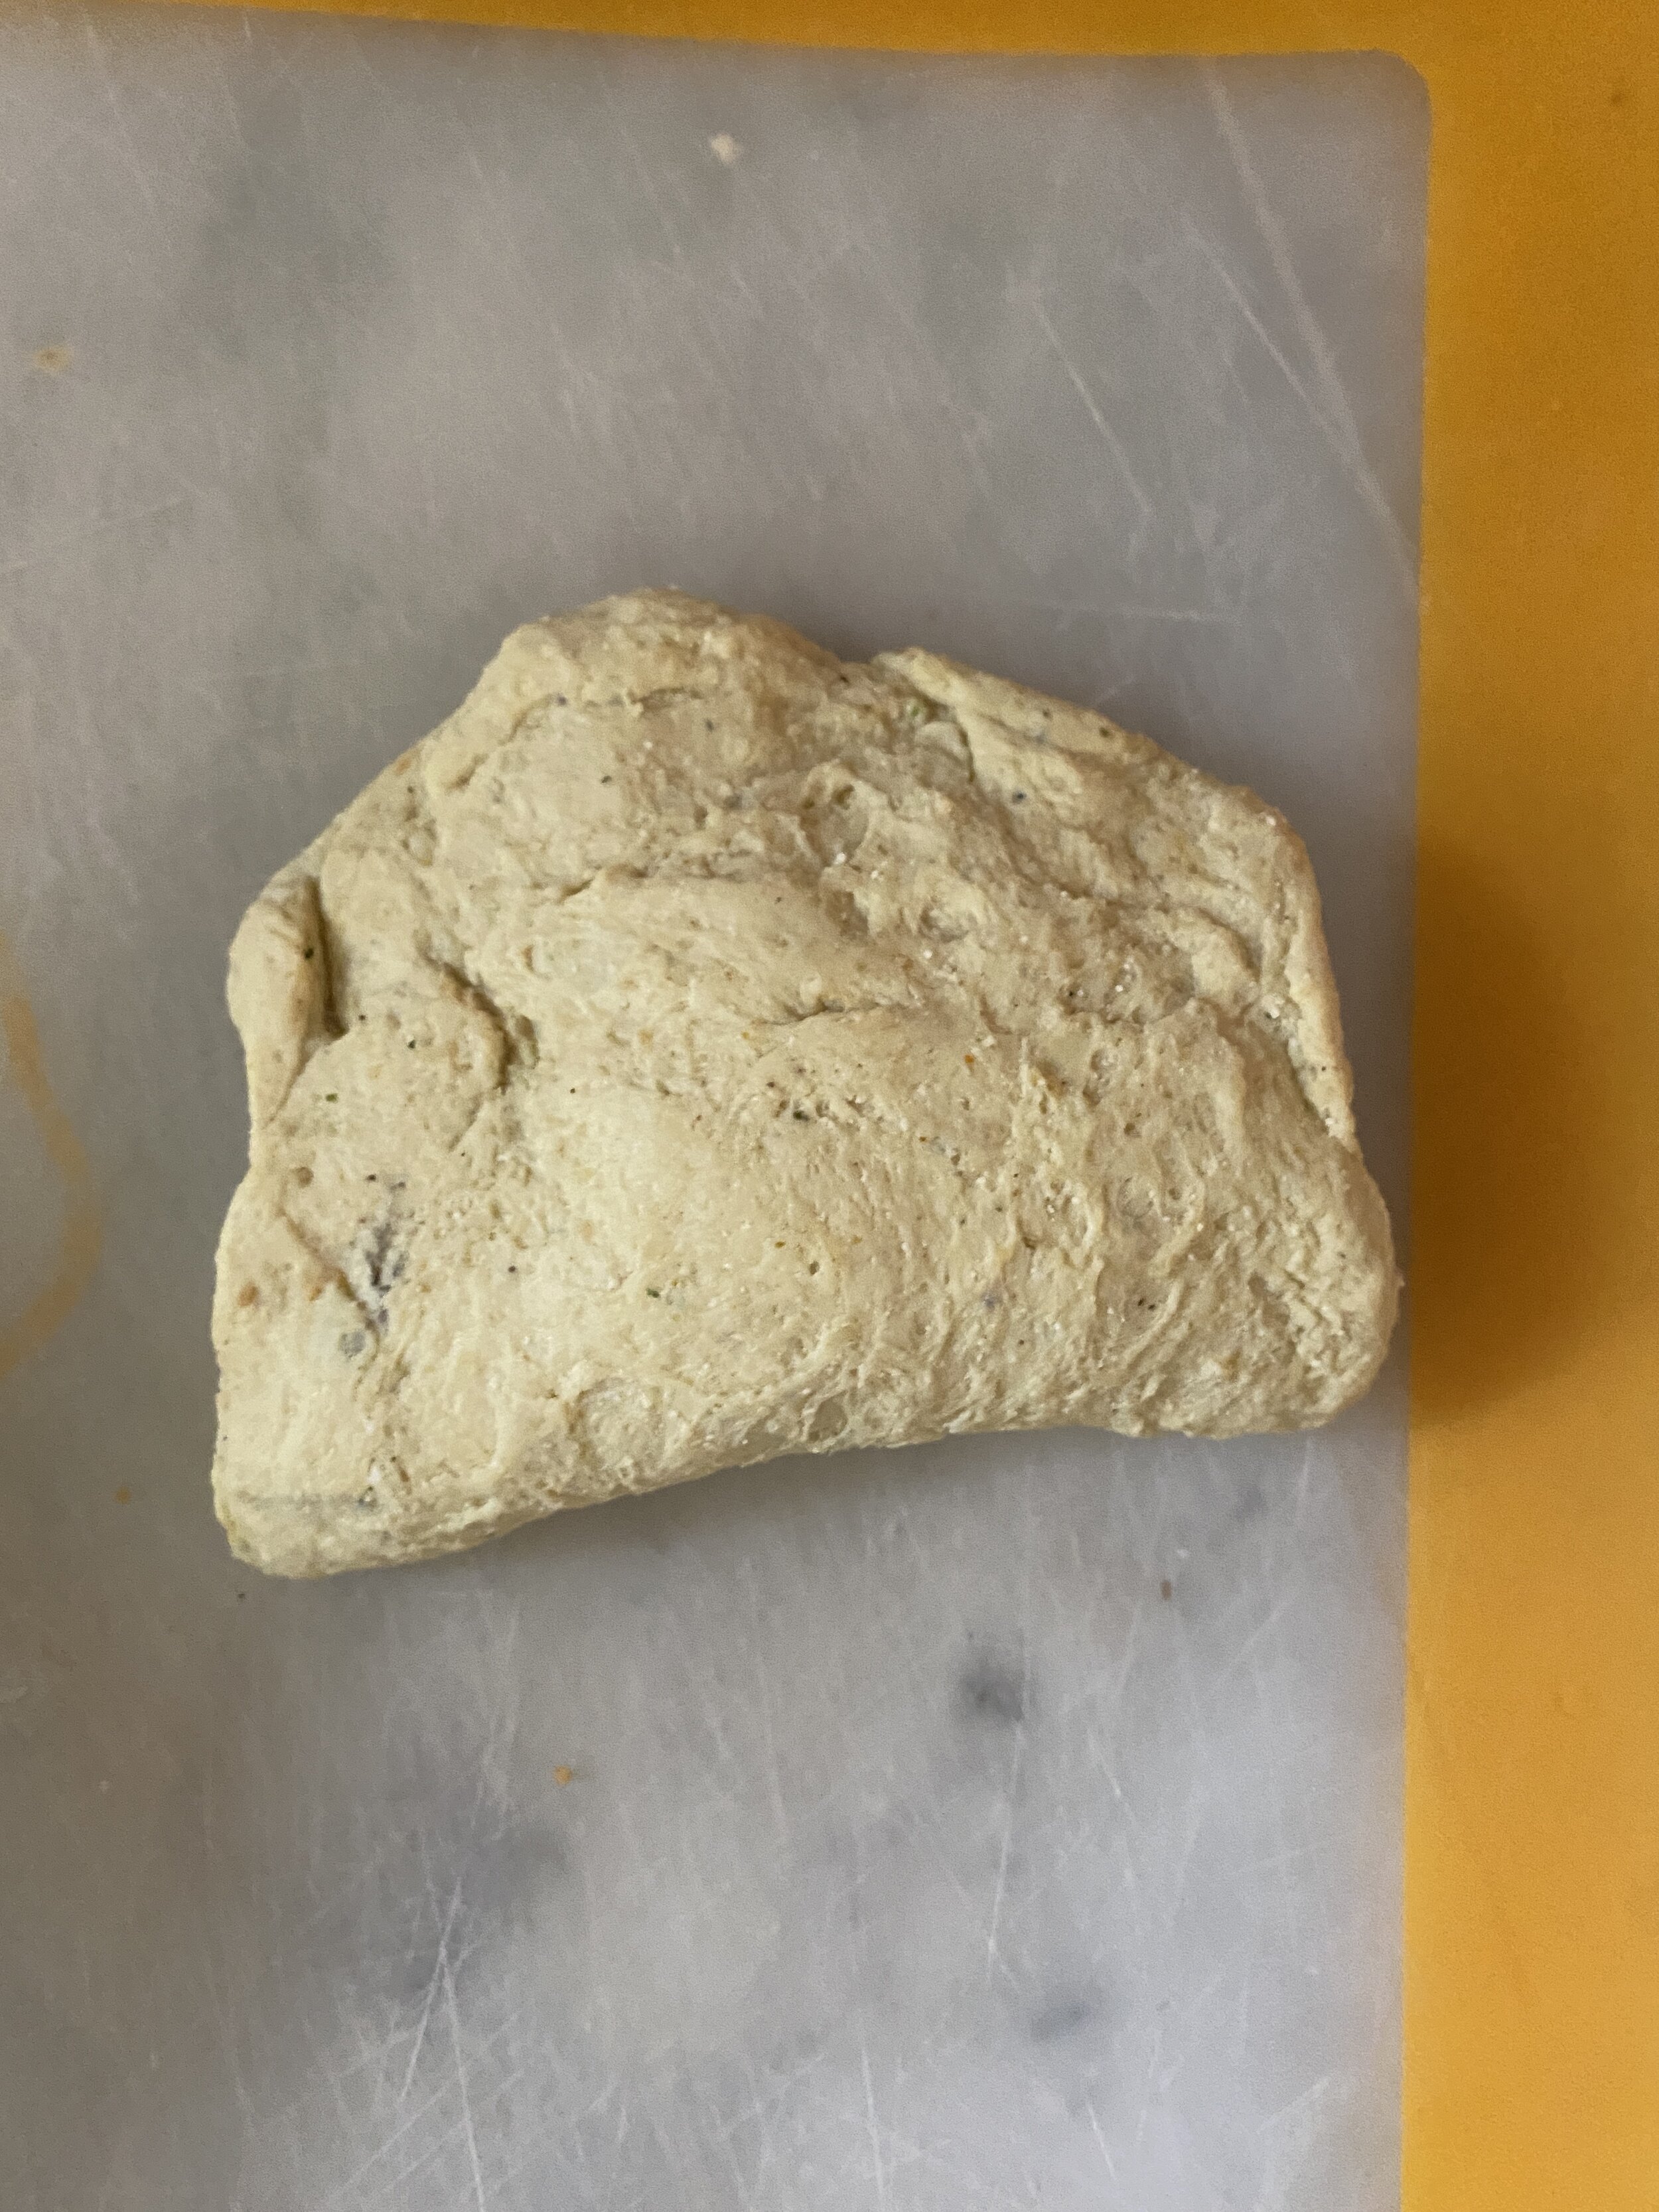
Take about a tablespoon of the cooled cheese sauce and spread it in the middle of the chicken breast but leave and edge of seitan dough untouched by the cheese ( the dough won’t stick together if it gets wet with the cheese.) Lay a few thin pieces of vegan ham on the cheese and fold the breast in half. Pinch the edges to make sure the vegan chicken breast is perfectly sealed. You don’t want any cheese oozing out while baking.
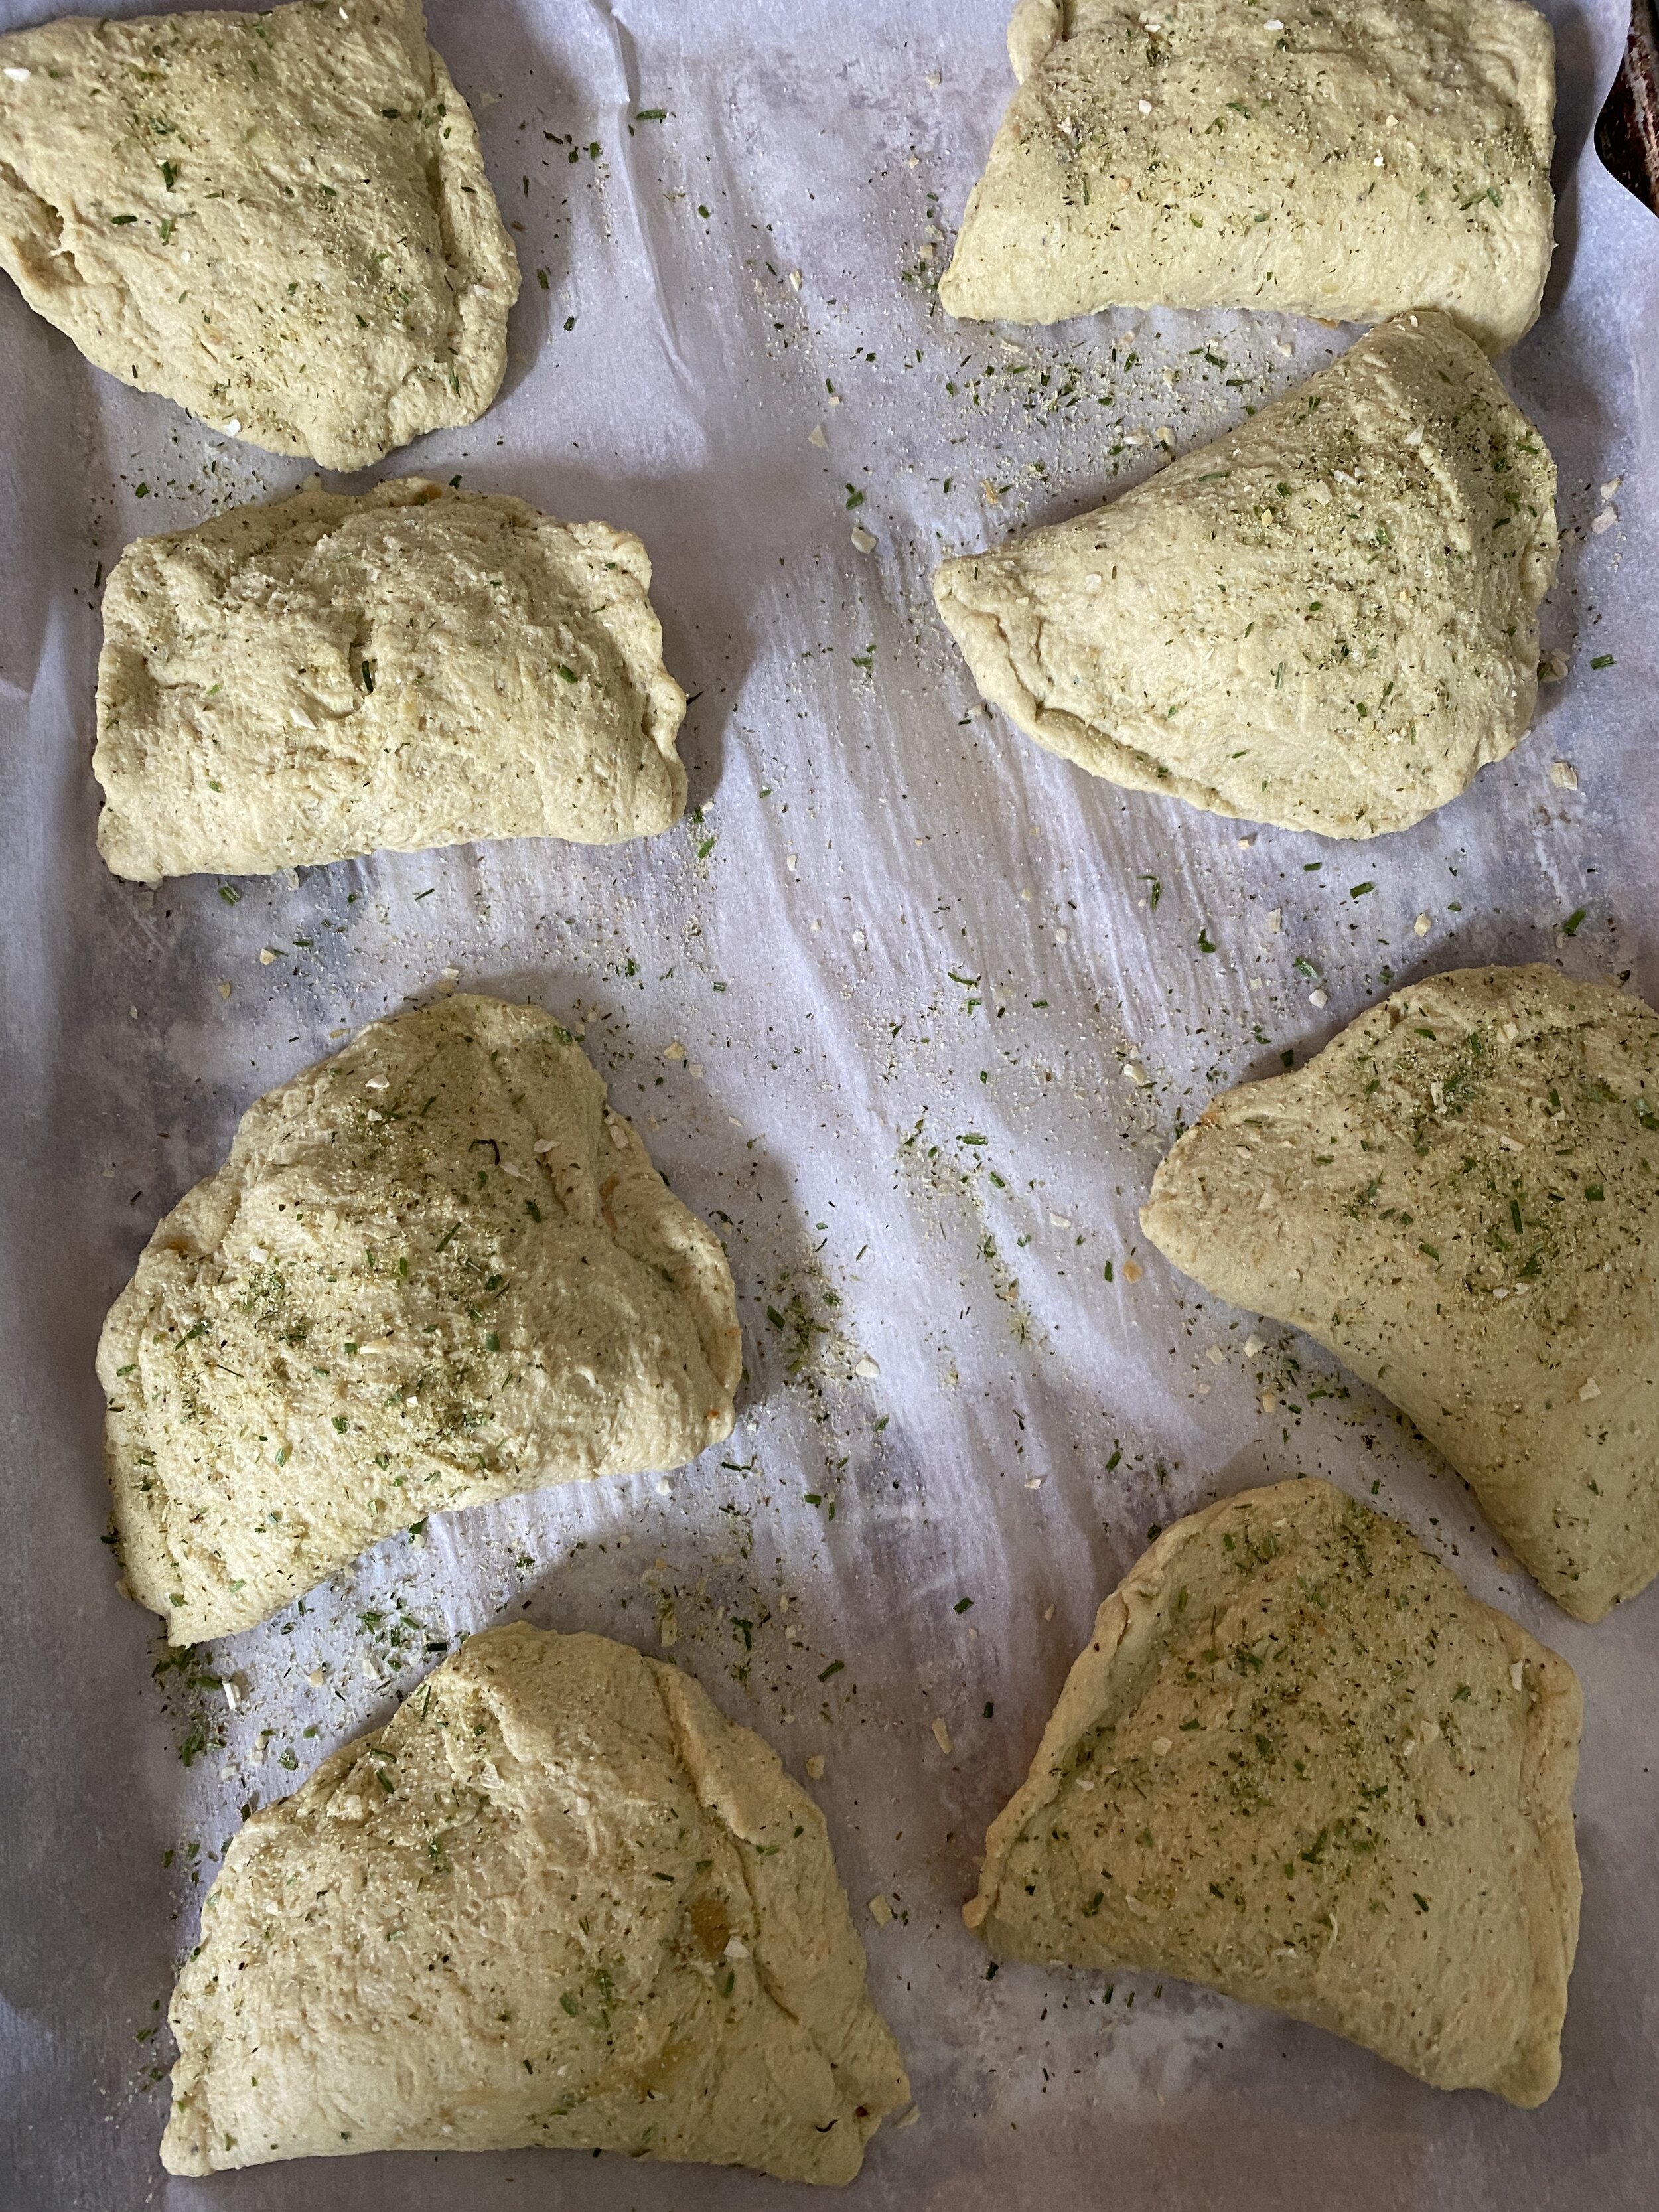
Place the stuffed chicken breast on a parchment lined baking sheet. Spray the tops with some cooking oil and tightly cover the entire pan with foil. If you don’t want the foil touching your food, lay another piece of parchment paper on top of the breast before covering in foil.
Let the chicken breast bake covered for 30 minutes.
Remove from the oven and allow to cool at room temperature for about 15 minutes. Pop the chicken in the fridge and let it rest for at least 4 hours. This rest time is important for the texture to develop.
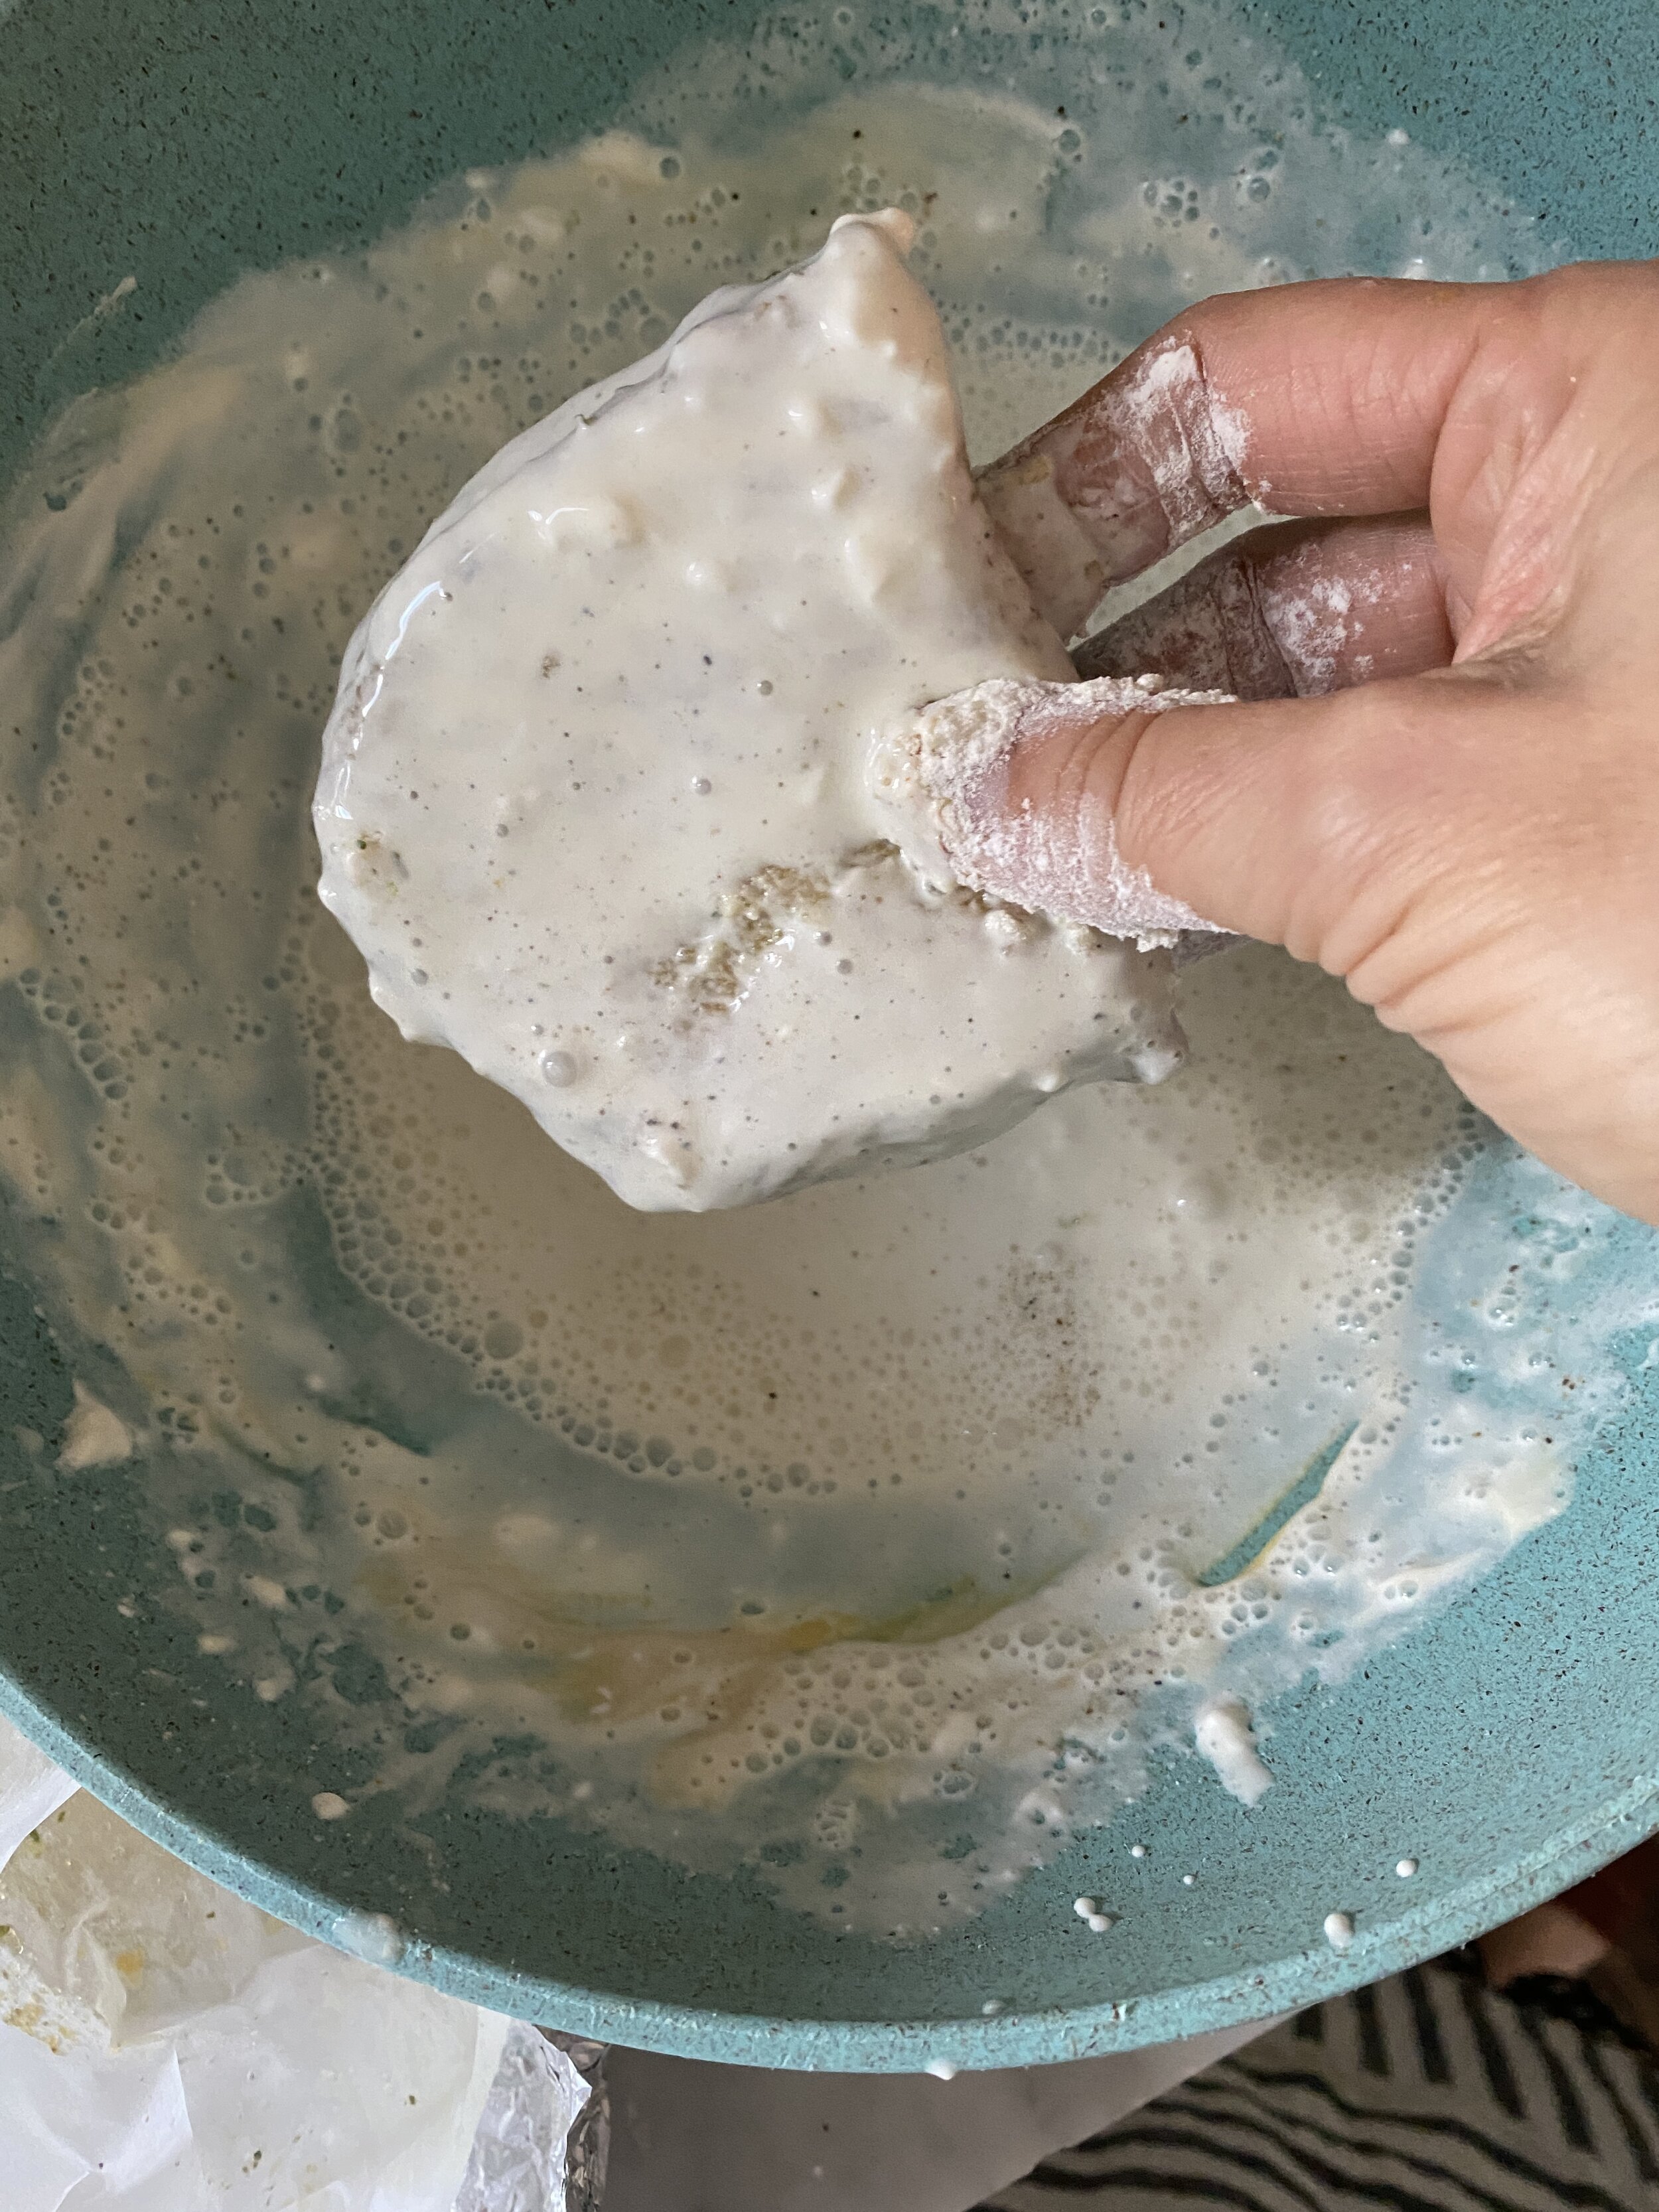


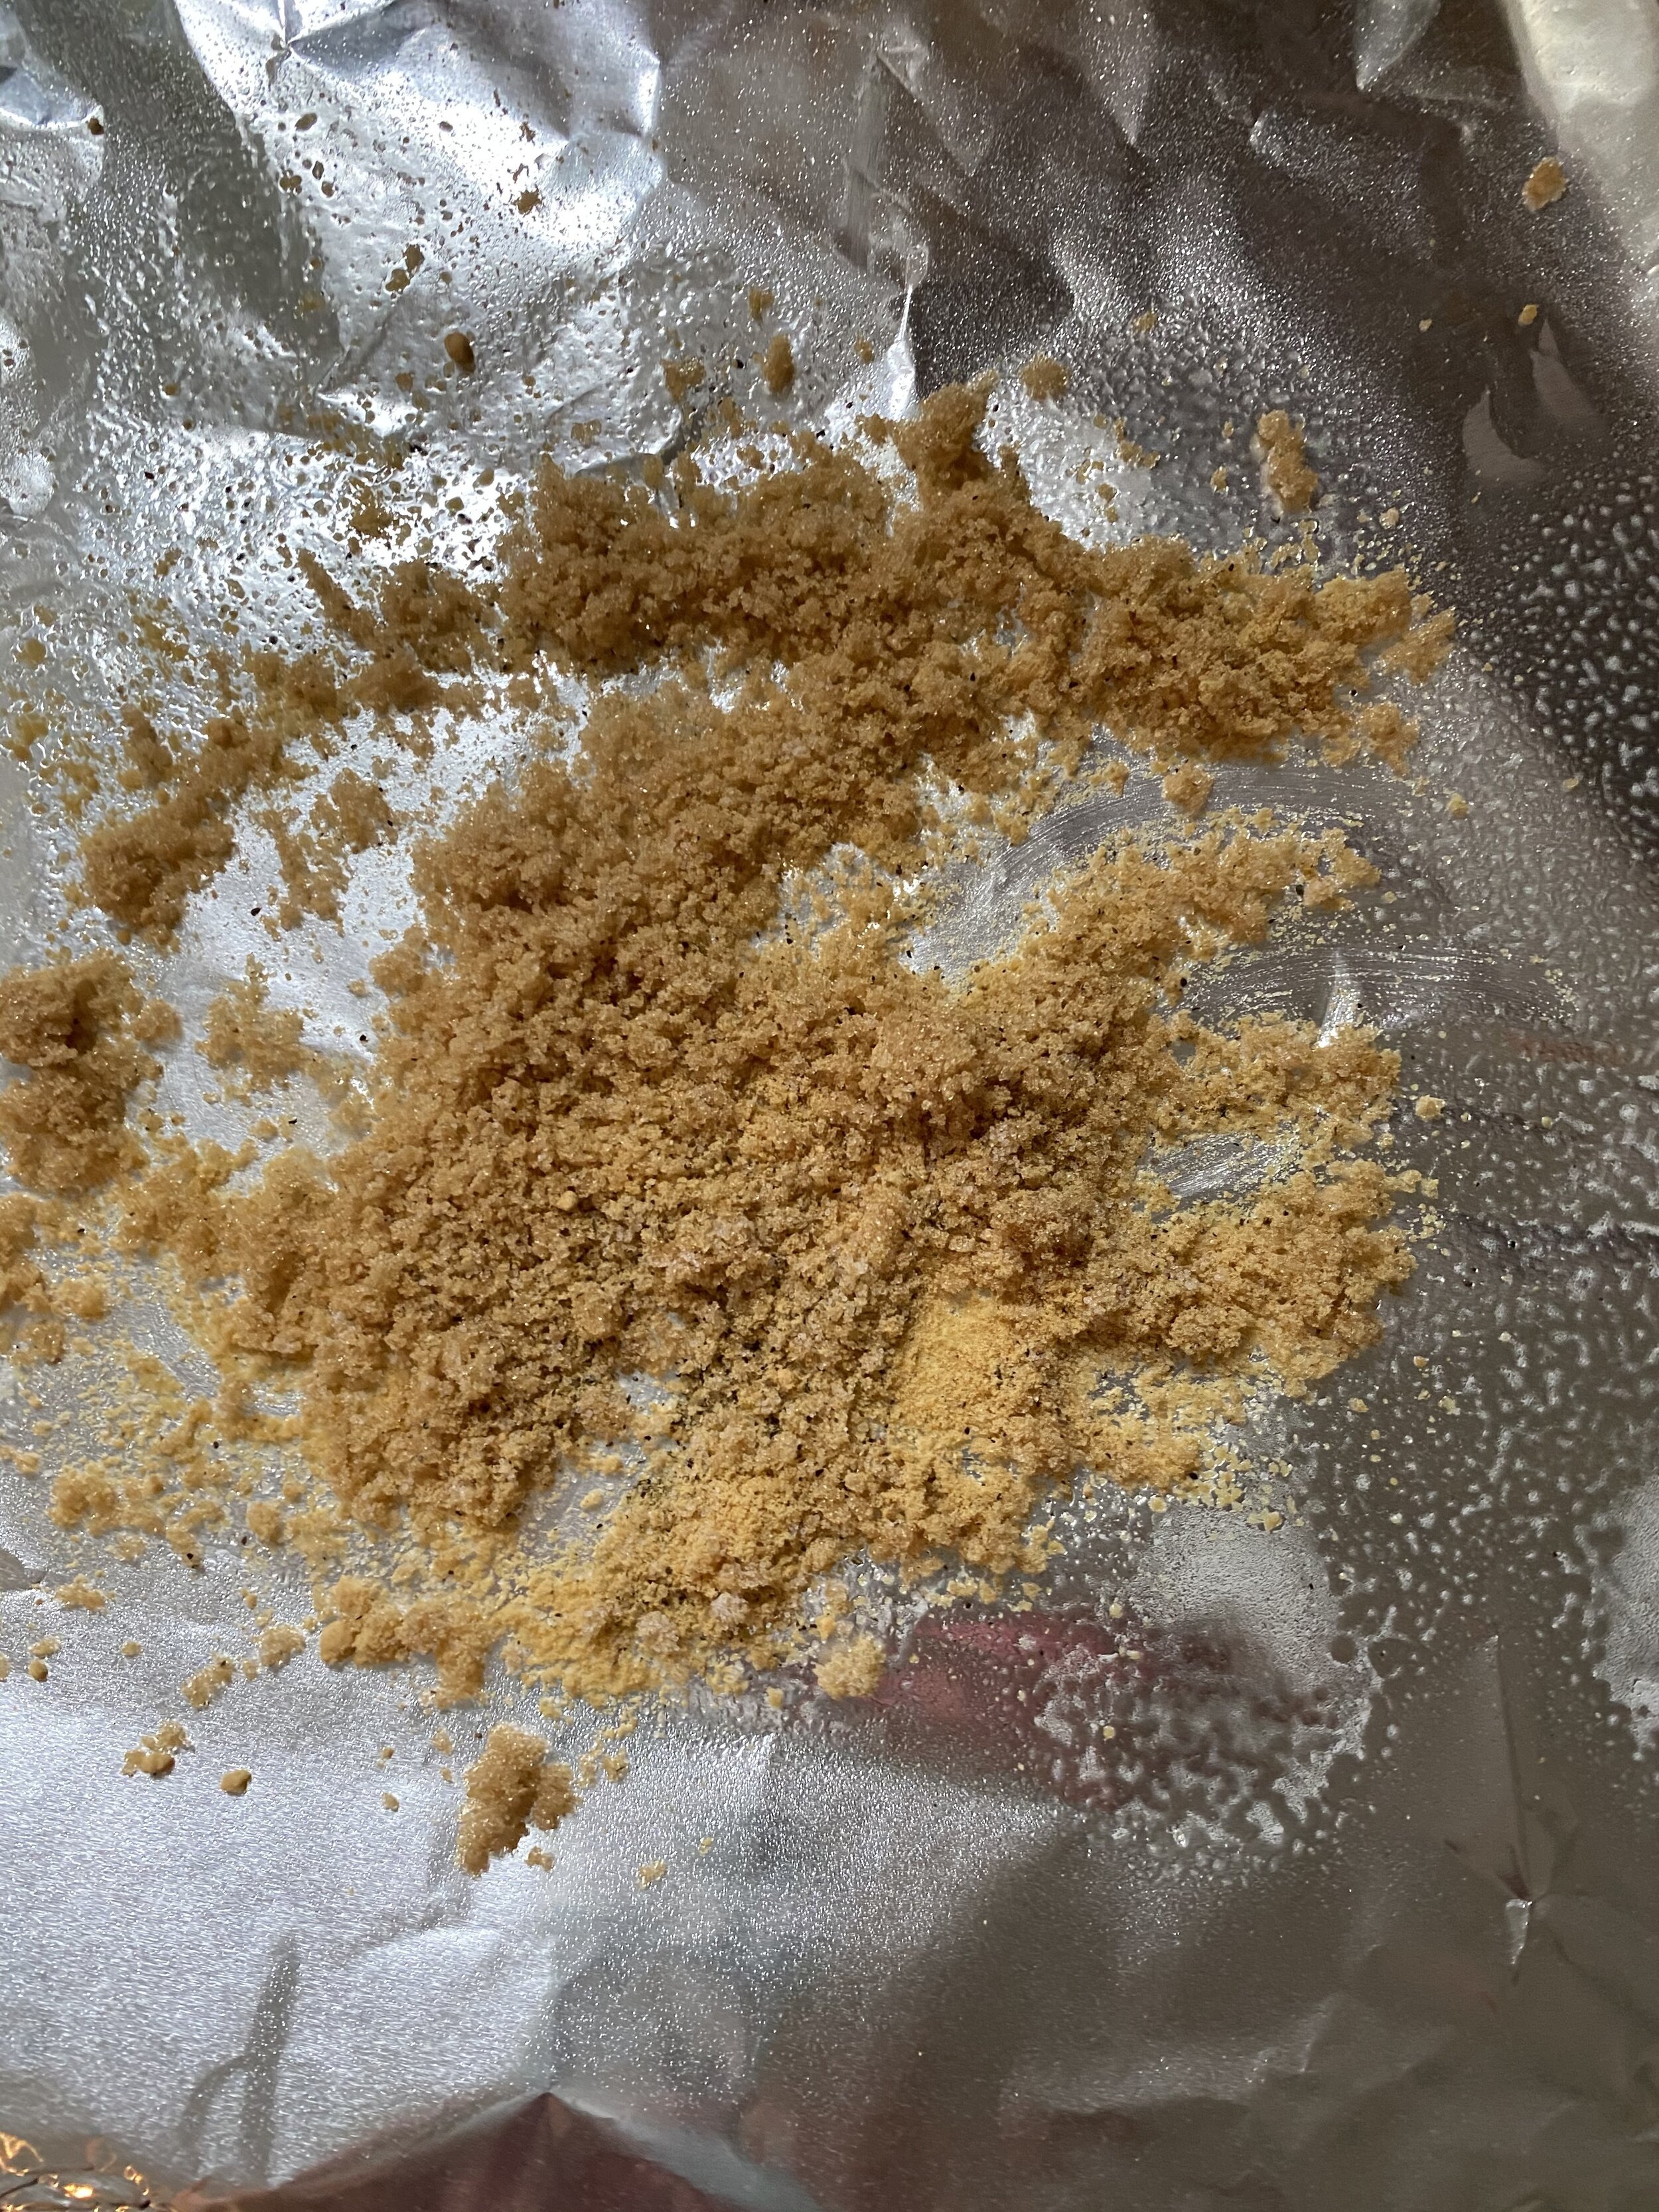
To Coat The Chicken: In a medim bowl mix 1/3 cup plant milk, 1/3 cup sour cream or yogurt, and 1 teaspoon dijon mustard. In another bowl mix the flour, starch, bread crumbs, salt, onion powder, and all purpose seasoning.
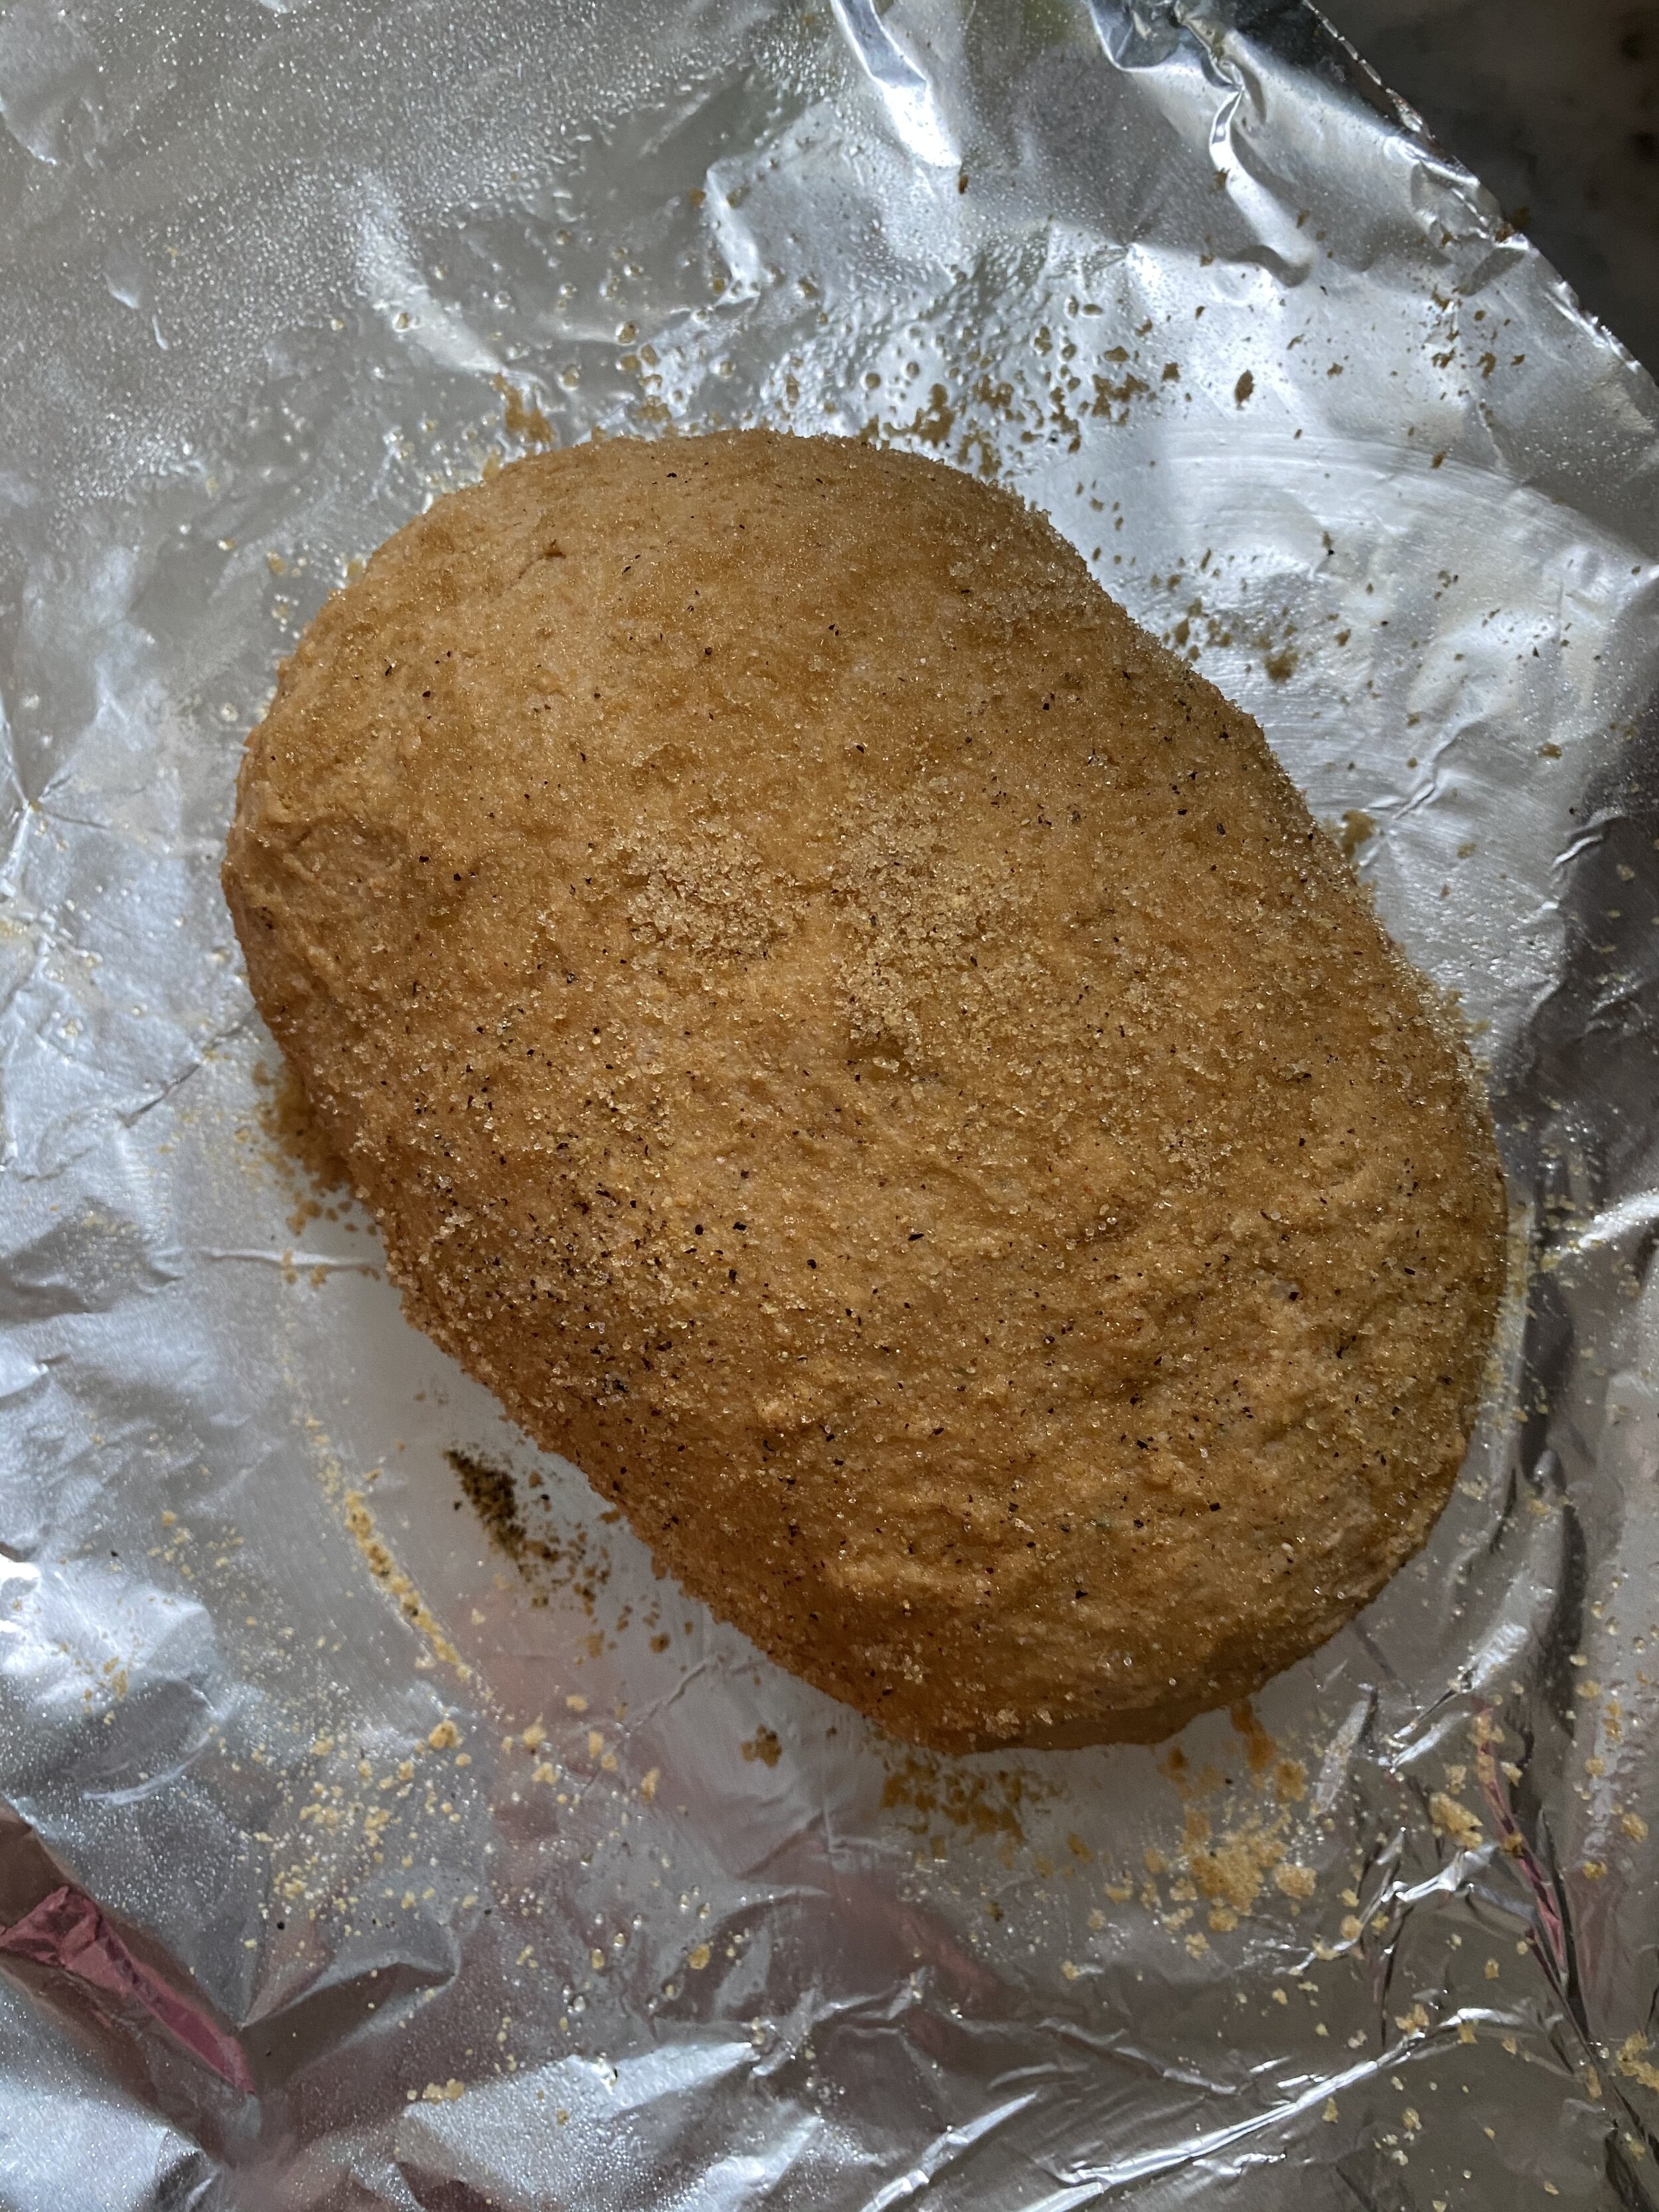
Dip the chicken breast first in the wet mixture then the dry. Make sure the pieces are coated well and entirely.
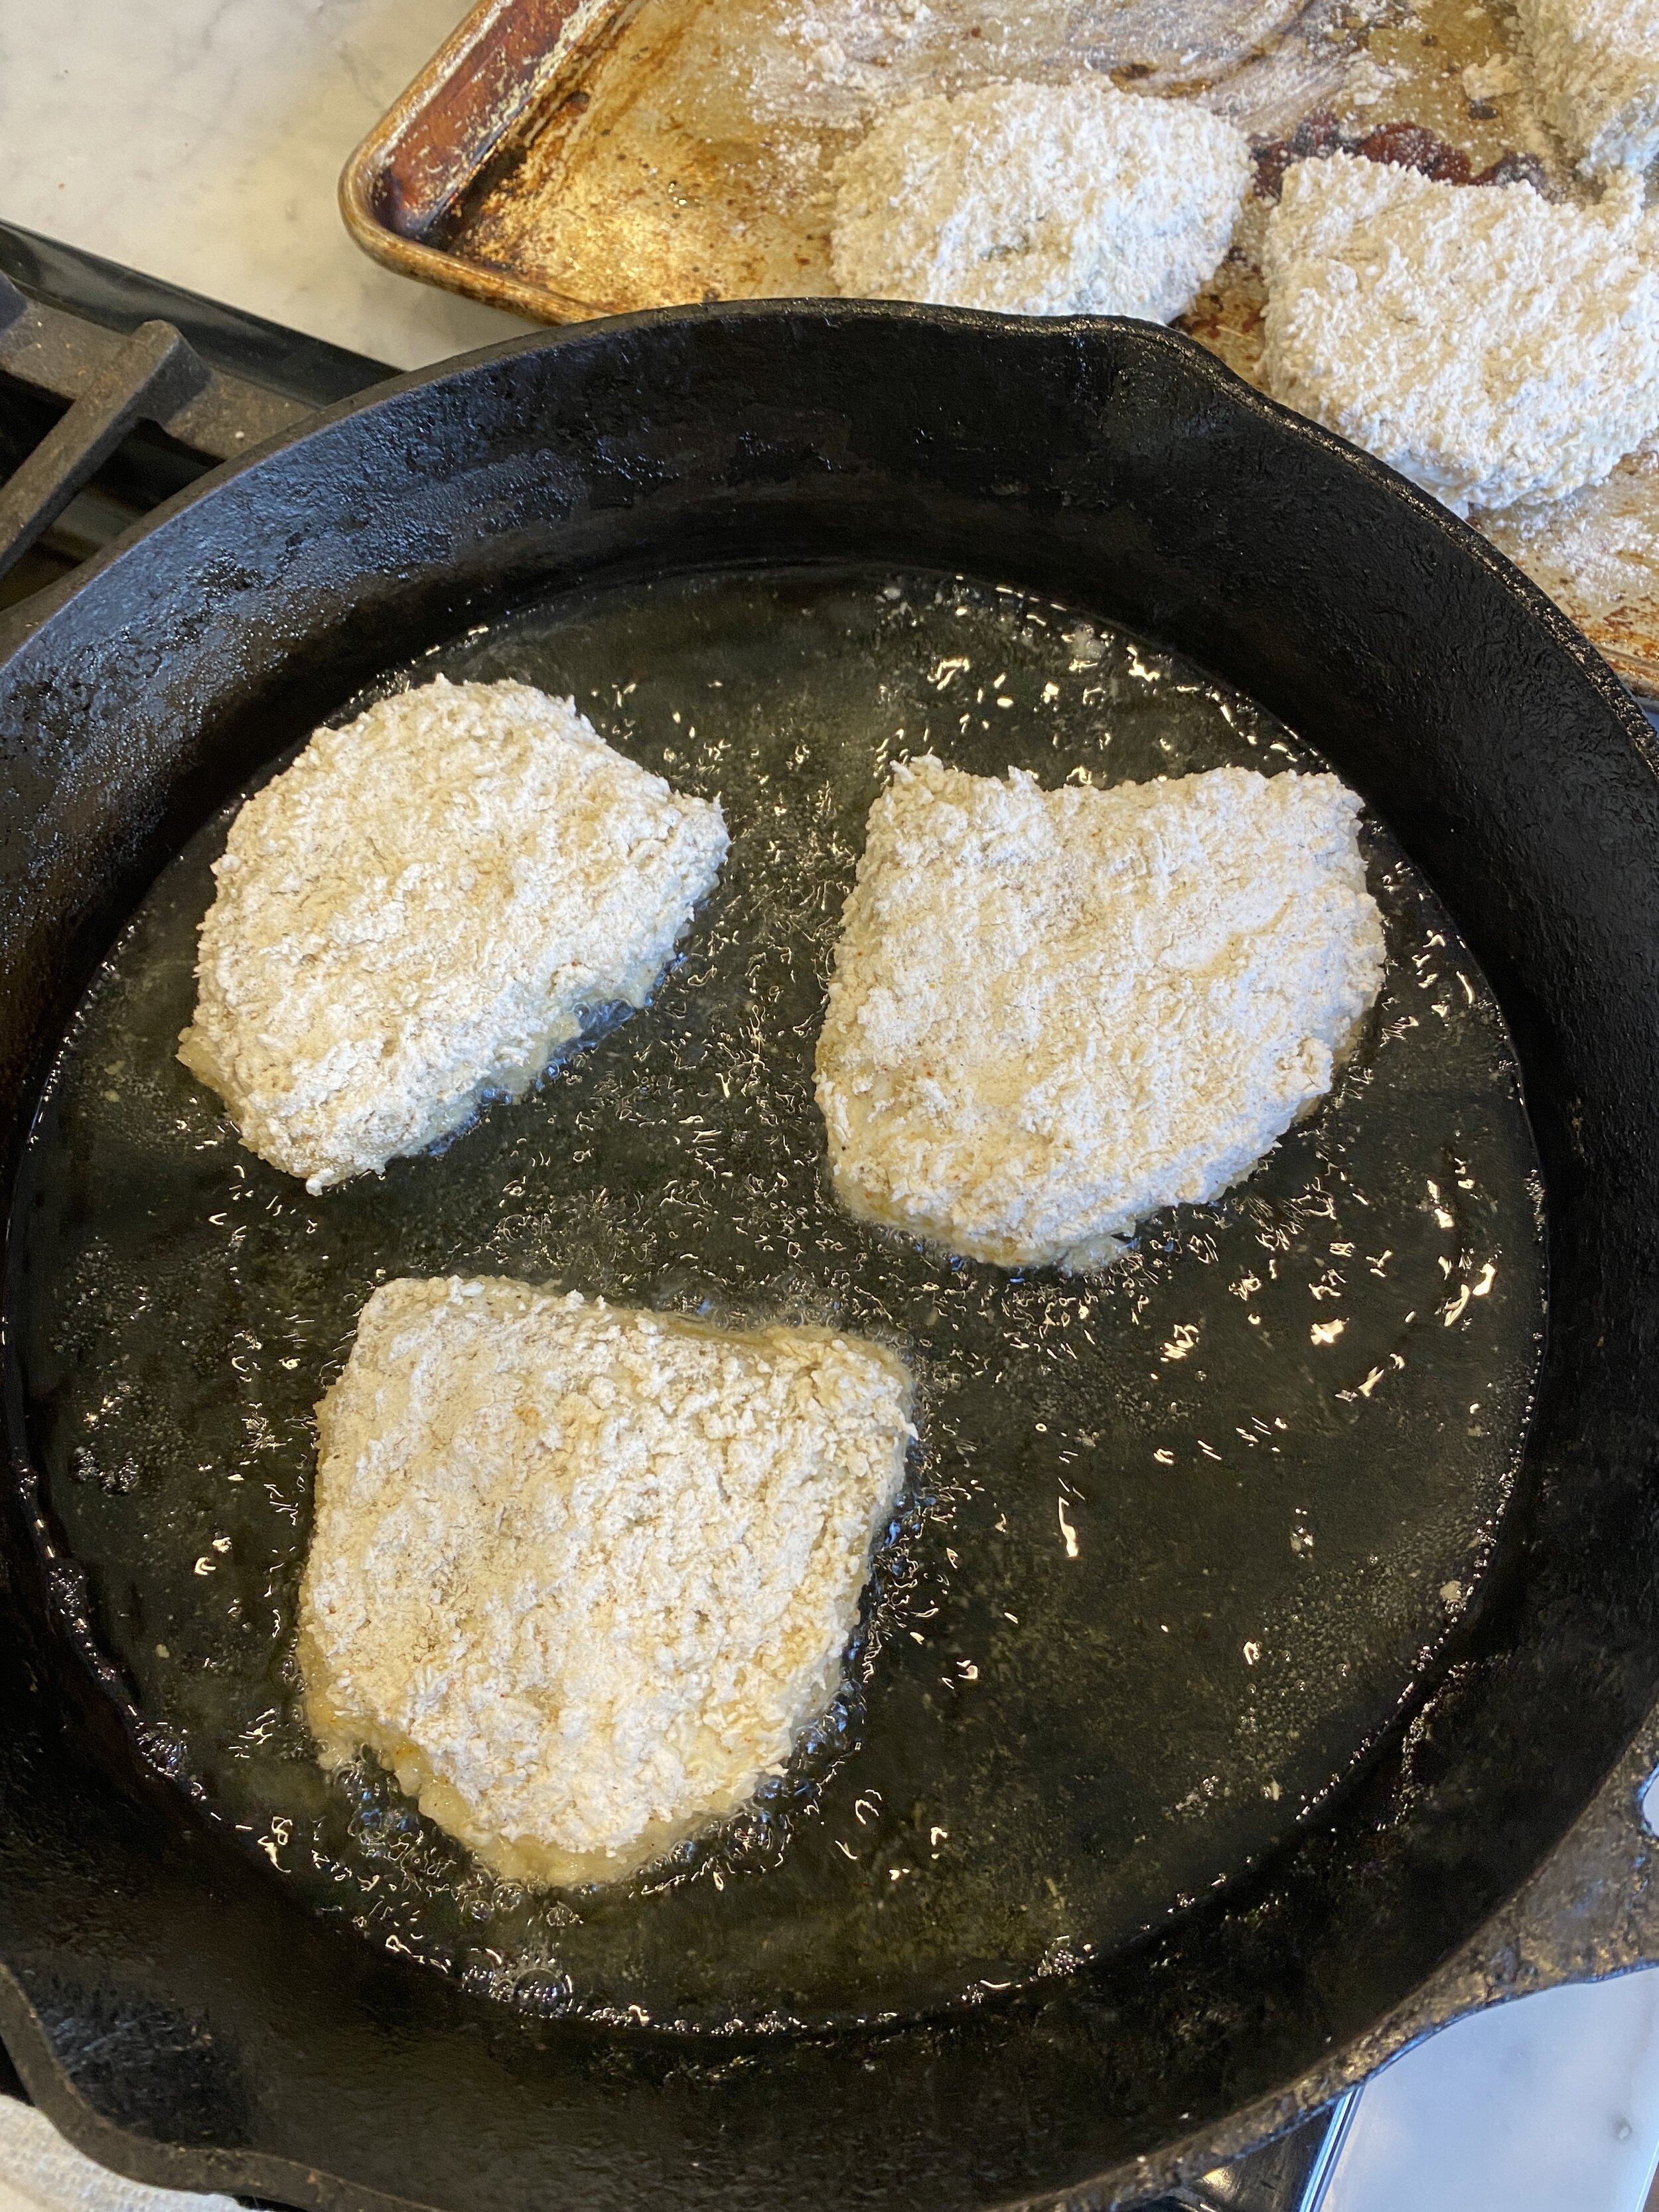
Place a wire cooling rack on top of paper towel lined cookie sheet and place it next to the stove.
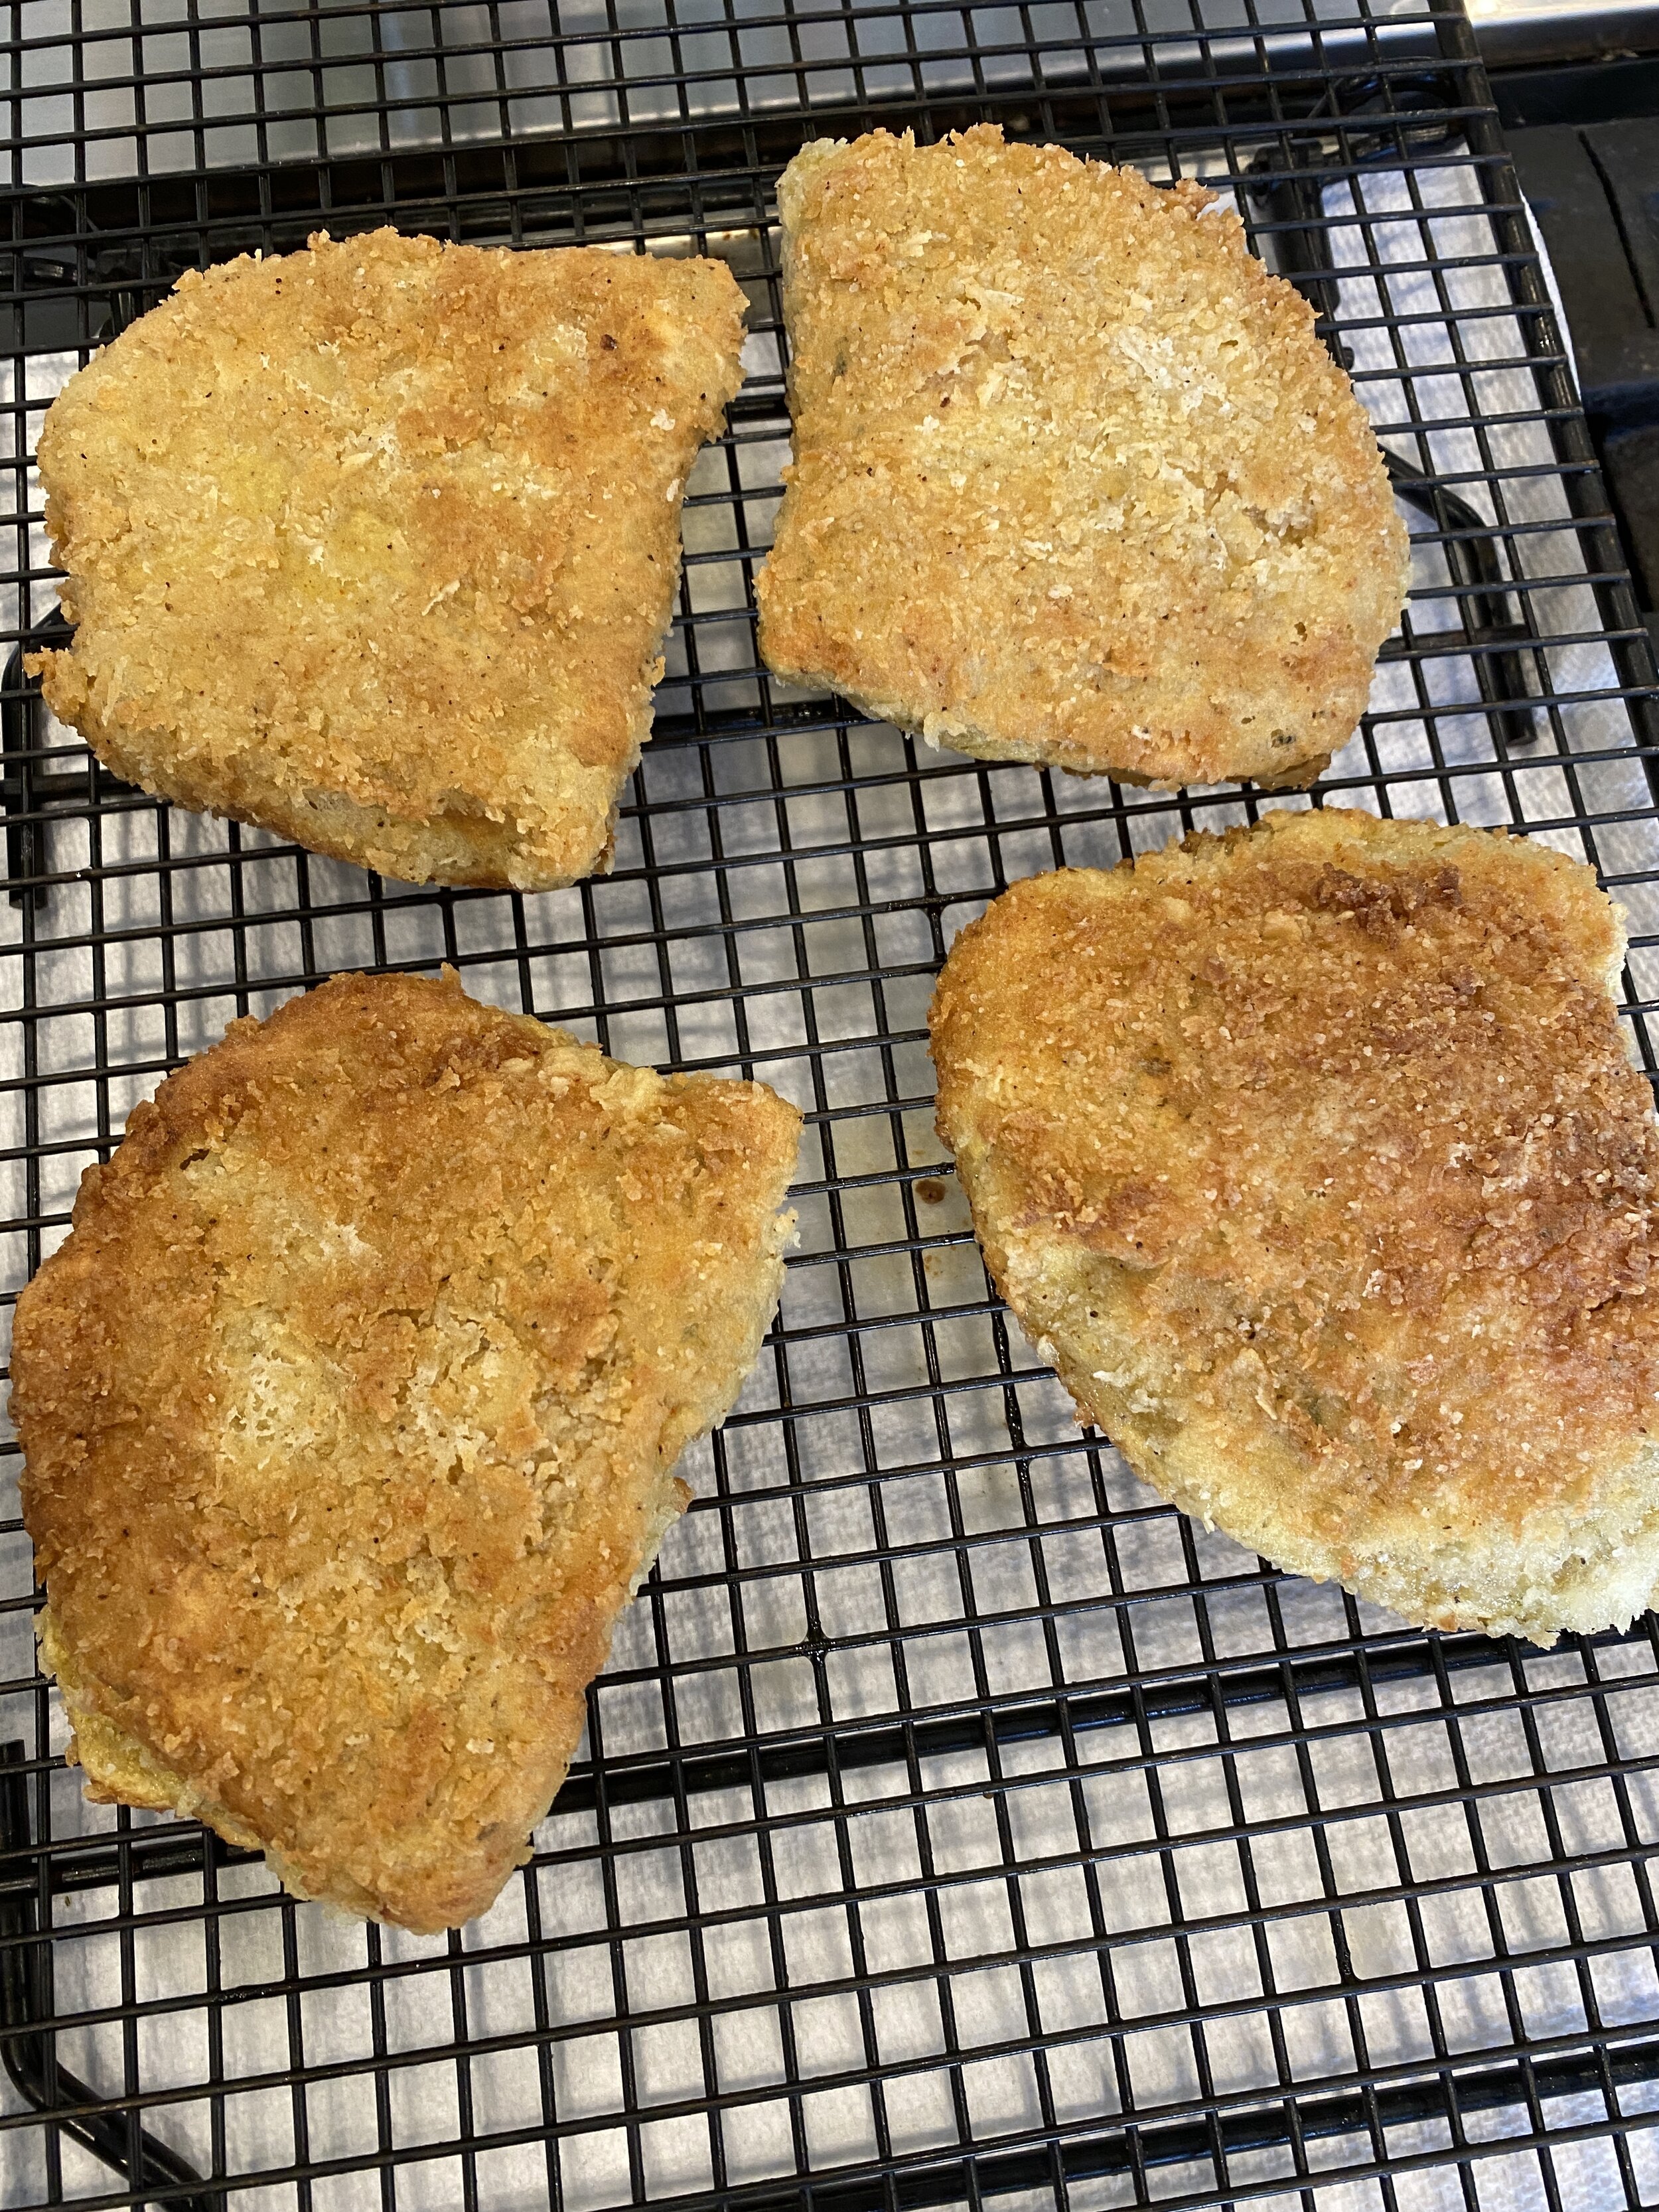
Heat a deep skillet with several inches of any neutral oil you prefer for frying. I like peanut or grapeseed oil. Get the oil good and hot (350 degrees if you have a kitchen thermometer, if you don’t you can put a chop stick in the pan touching the bottom. If little bubbles form around the tip of the chop stick then the oil is ready.) Fry a few pieces at a time, just for a few minutes per side or until the chicken breast begin to brown and are crispy. Place on cooling rack for a few minutes after they are done to allow excess oil to drip off. You can alternatively use an air fryer. Just fry at 375, giving them a mist with oil. You will need to flip the mid fry and probably fry them for about 10 minutes depending on how many you have in there. Just check on them and when they are brown and crispy they are done.
Prepare the sauce by whisking 1/2 cup of cheese in a sauce pan with the 1 cup of plant milk, dijon and spices. Heat on medium heat whisking continuously until the cheese sauce thins back out and the sauce is smooth. It will be lumpy and kind of weird at first, but just keep whisking and it will come together. You can add less or more dijon mustard depending on preference.
Serve the vegan Chicken Cordon Bleu with the creamy dijon sauce on the side or drizzled on top.
If you like this recipe, then try these: