Many, many, many, months ago my friend Rosemary Kate sent me a text asking if I had made a vegan salami yet.
I had not. I had, however, thought about it, but had not tried it at that point. So I got right to work.
Guys, some things just don’t come that easily. Like you may try a recipe 5 times before it works out, or doesn’t.
In this case I think I made 5 or 6 salamis and was just not really satisfied with how it looked.
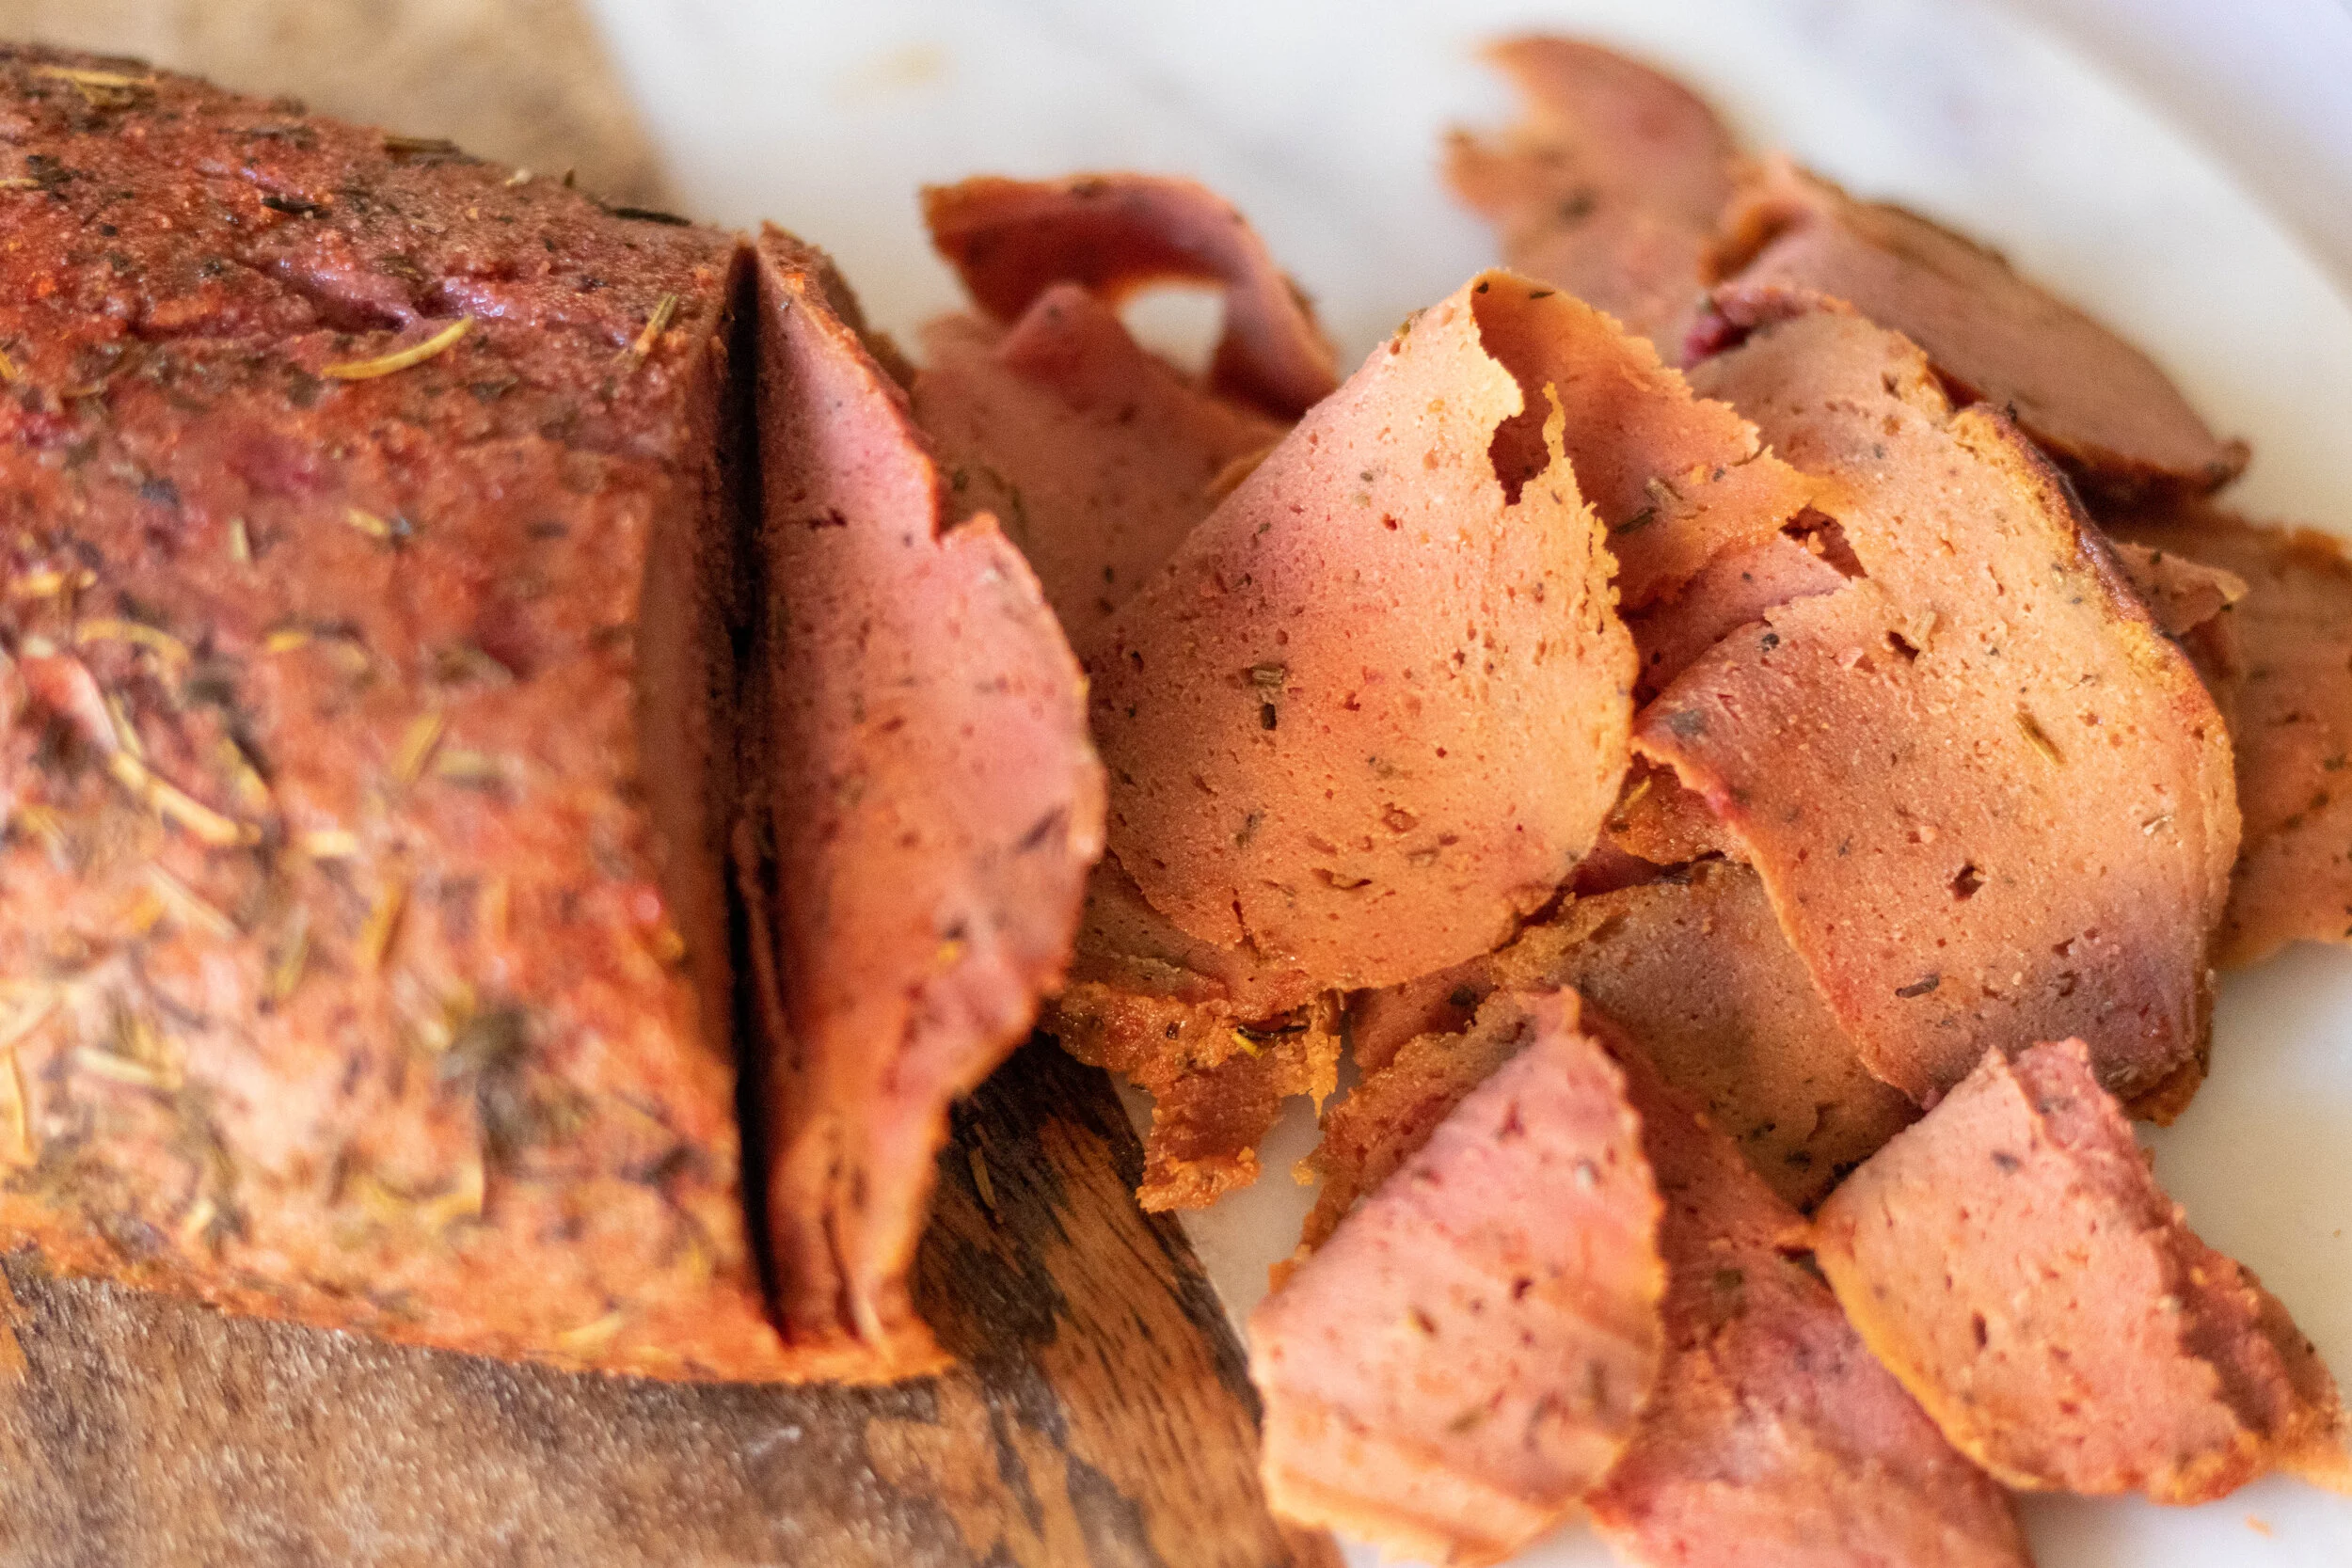
I mean I know looks are not what counts in life, but where food is concerned, they kind of do matter. And when you are trying to mimic a classic meat, you want people to look at it and say, “oh is that vegan salami”, so I just kept on trying.

After attempting to mimic the fat bits with white seitan and it always failing, I tired small tapioca pearls.
My daughter and I have been mulling over the idea of using tapioca when I saw a fellow recipe creator and Facebook friend, Aleksandra (go join her Facebook group Creative Vegan Cooking! You will find so much inspiration there, I promise) make a beautiful seitan with tapioca!! And our suspicions were confirmed about using tapioca as the fat bits! She is a genius. I knew that already, but this sealed the deal.
I only had small pearls on hand so I tried that at first. And at first, that seemed like it was going to work. But once the salami baked up, the pearls were lost! Sigh…attempt number 5, at least.
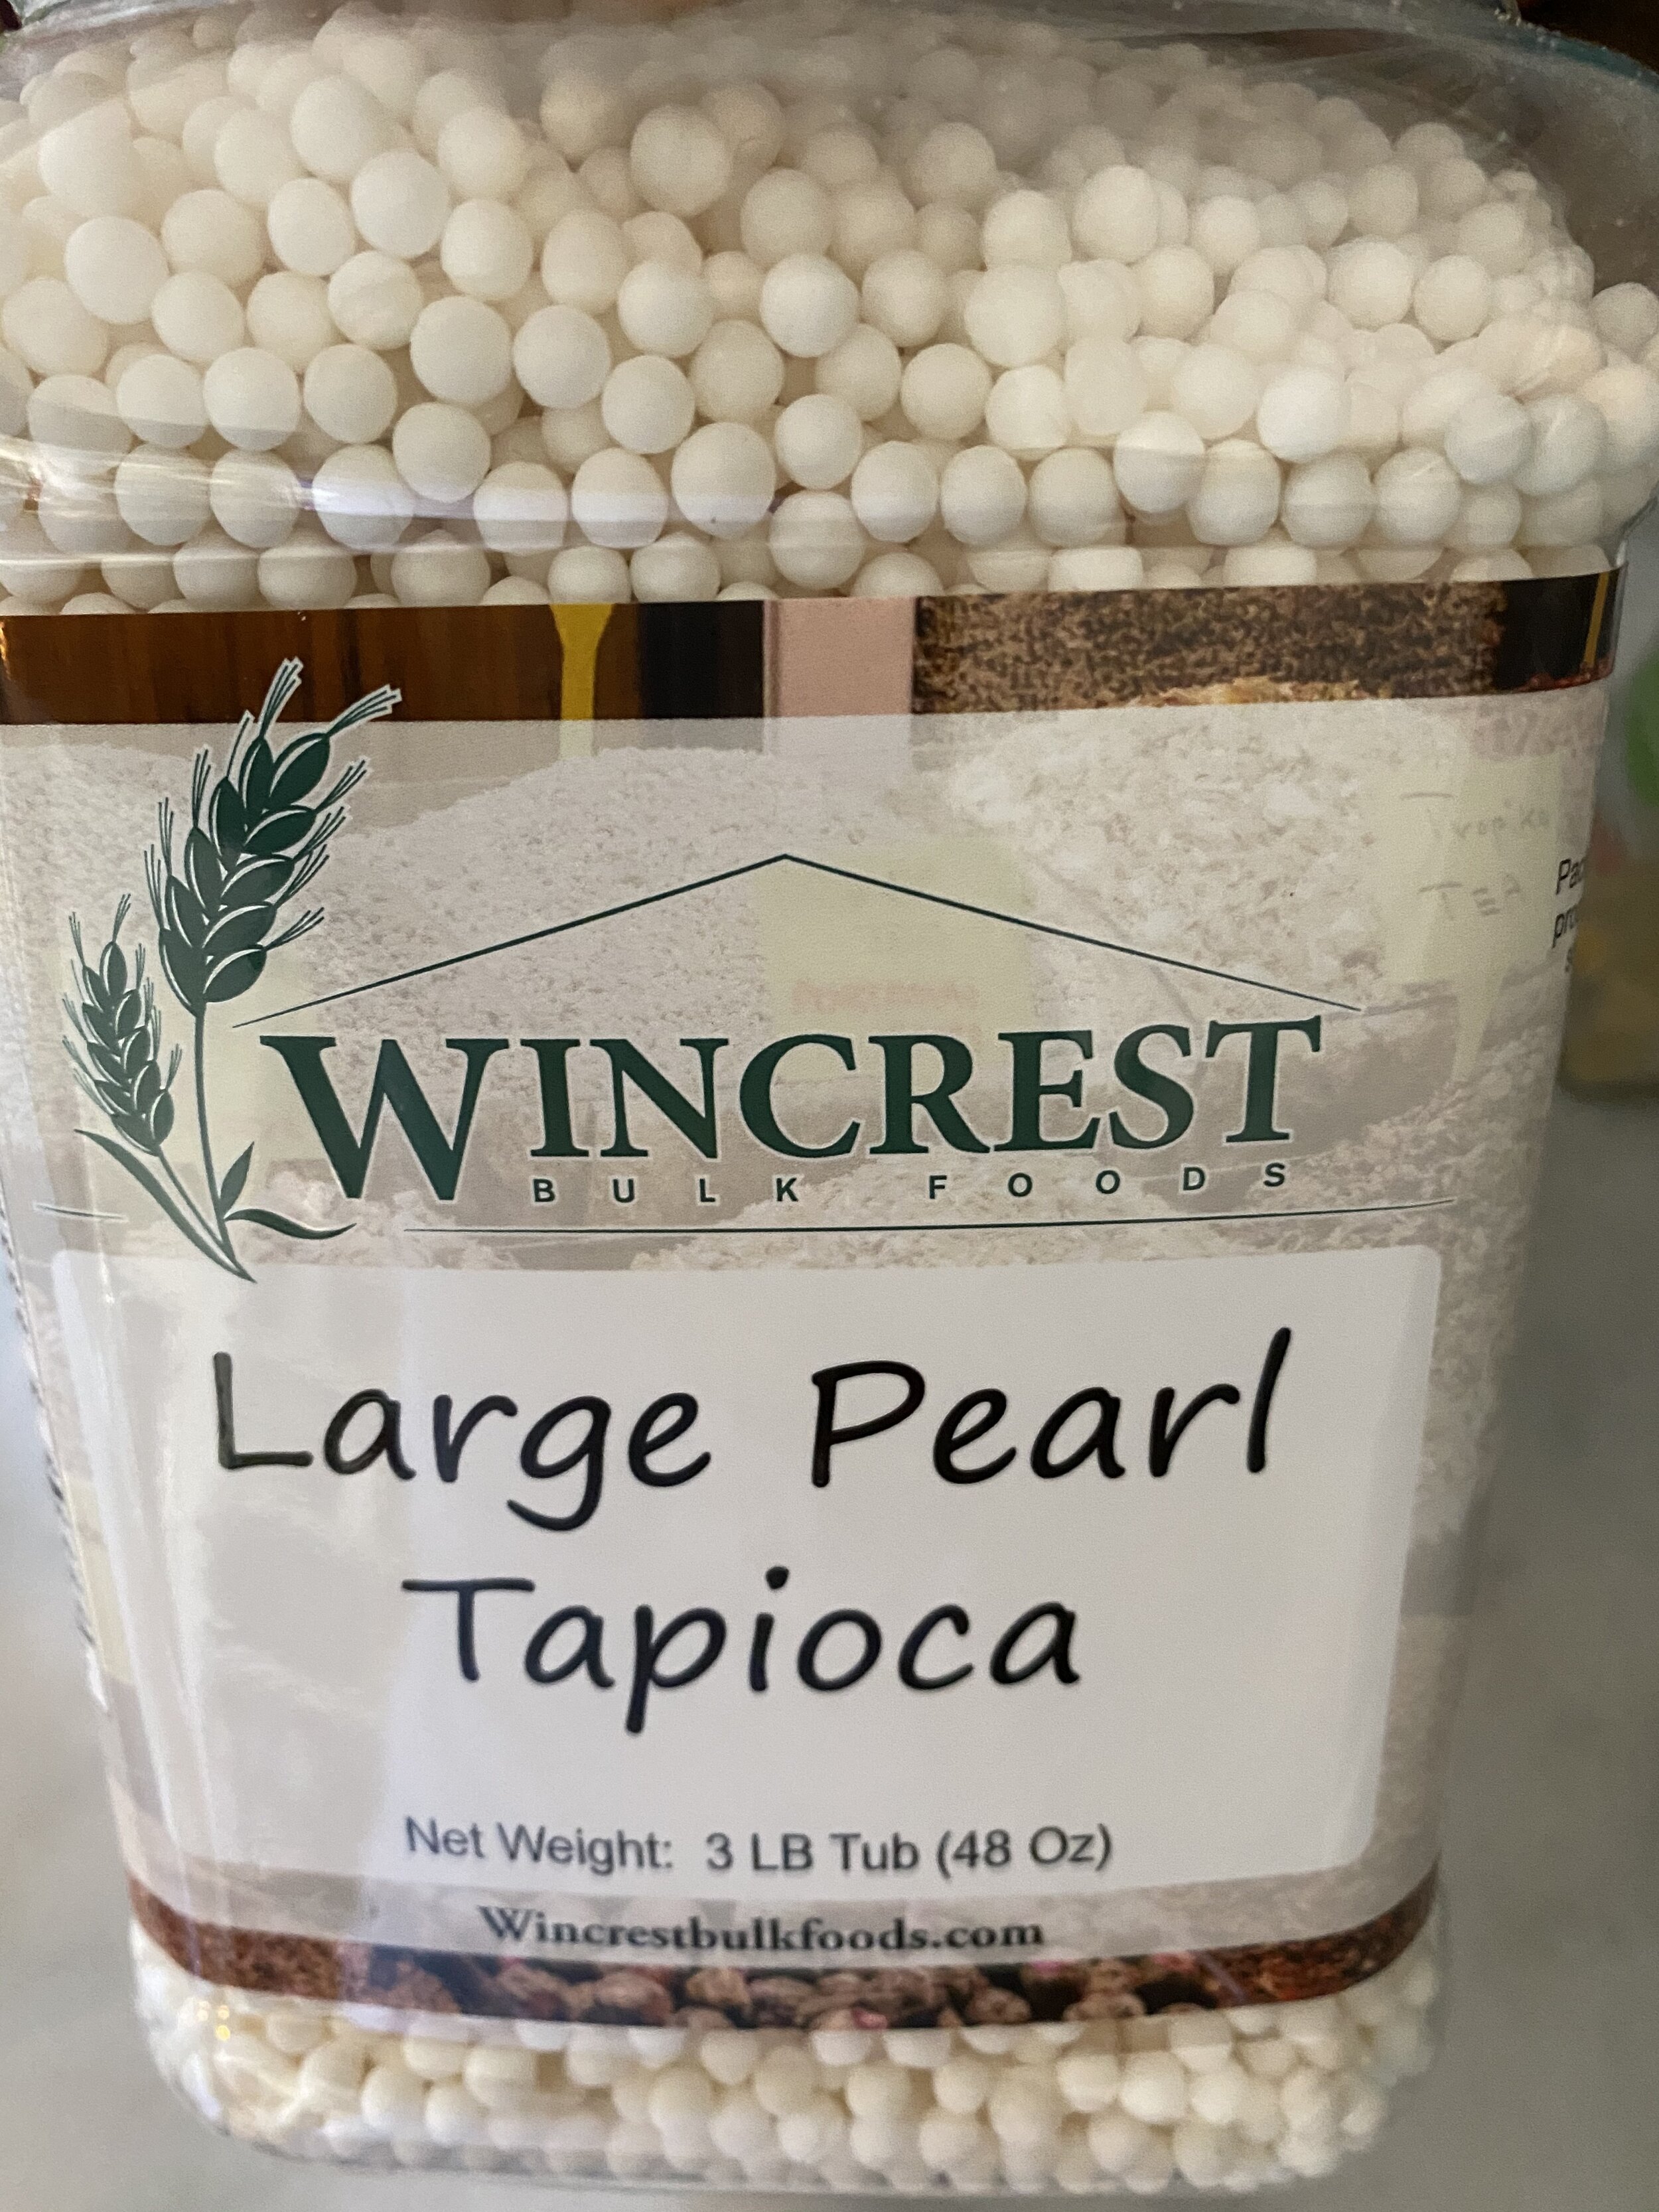
So you 100% NEED TO USE THE LARGE PEARLS. They do not get lost in the dough. I had to order mine online because I could not easily find them at a regular grocery store.
Now if you do not care about it actually looking like salami, you do not have to use the pearls at all!! The only single thing those pearls do is recreate the fat bits in a non vegan salami. That is it. The taste and texture will be the same without them.
I am just tenacious and stubborn to a fault and would not dare post a vegan salami until I felt like it at least somewhat resembled a traditional salami.
This vegan salami recipe is pretty quick (mixing and baking that is) and easy to make. It does take some time for those pearls to soak, so keep that in mind when you go to make this vegan meat. You will need to soak the tapioca for about 4 hours. You will also need to allow for the VERY IMPORTANT REST TIME. And I yell this because you 100% have to let this salami rest before you go slicing into it. The texture depends on it.
I say this so you understand you will make vegan salami today and probably not eat it until tomorrow! But that is ok, good things come to those who wait, and this vegan salami is worth the wait.
It is also worth the savings. Store bought vegan meats are not very cheap. But if you make your own at home it will be pennies to the dollar you spend on pre-made vegan meats! That is reason enough for me to make my own vegan deli meats at home. They are so affordable and easy to make, once you start, there will be no looking back! Promise!
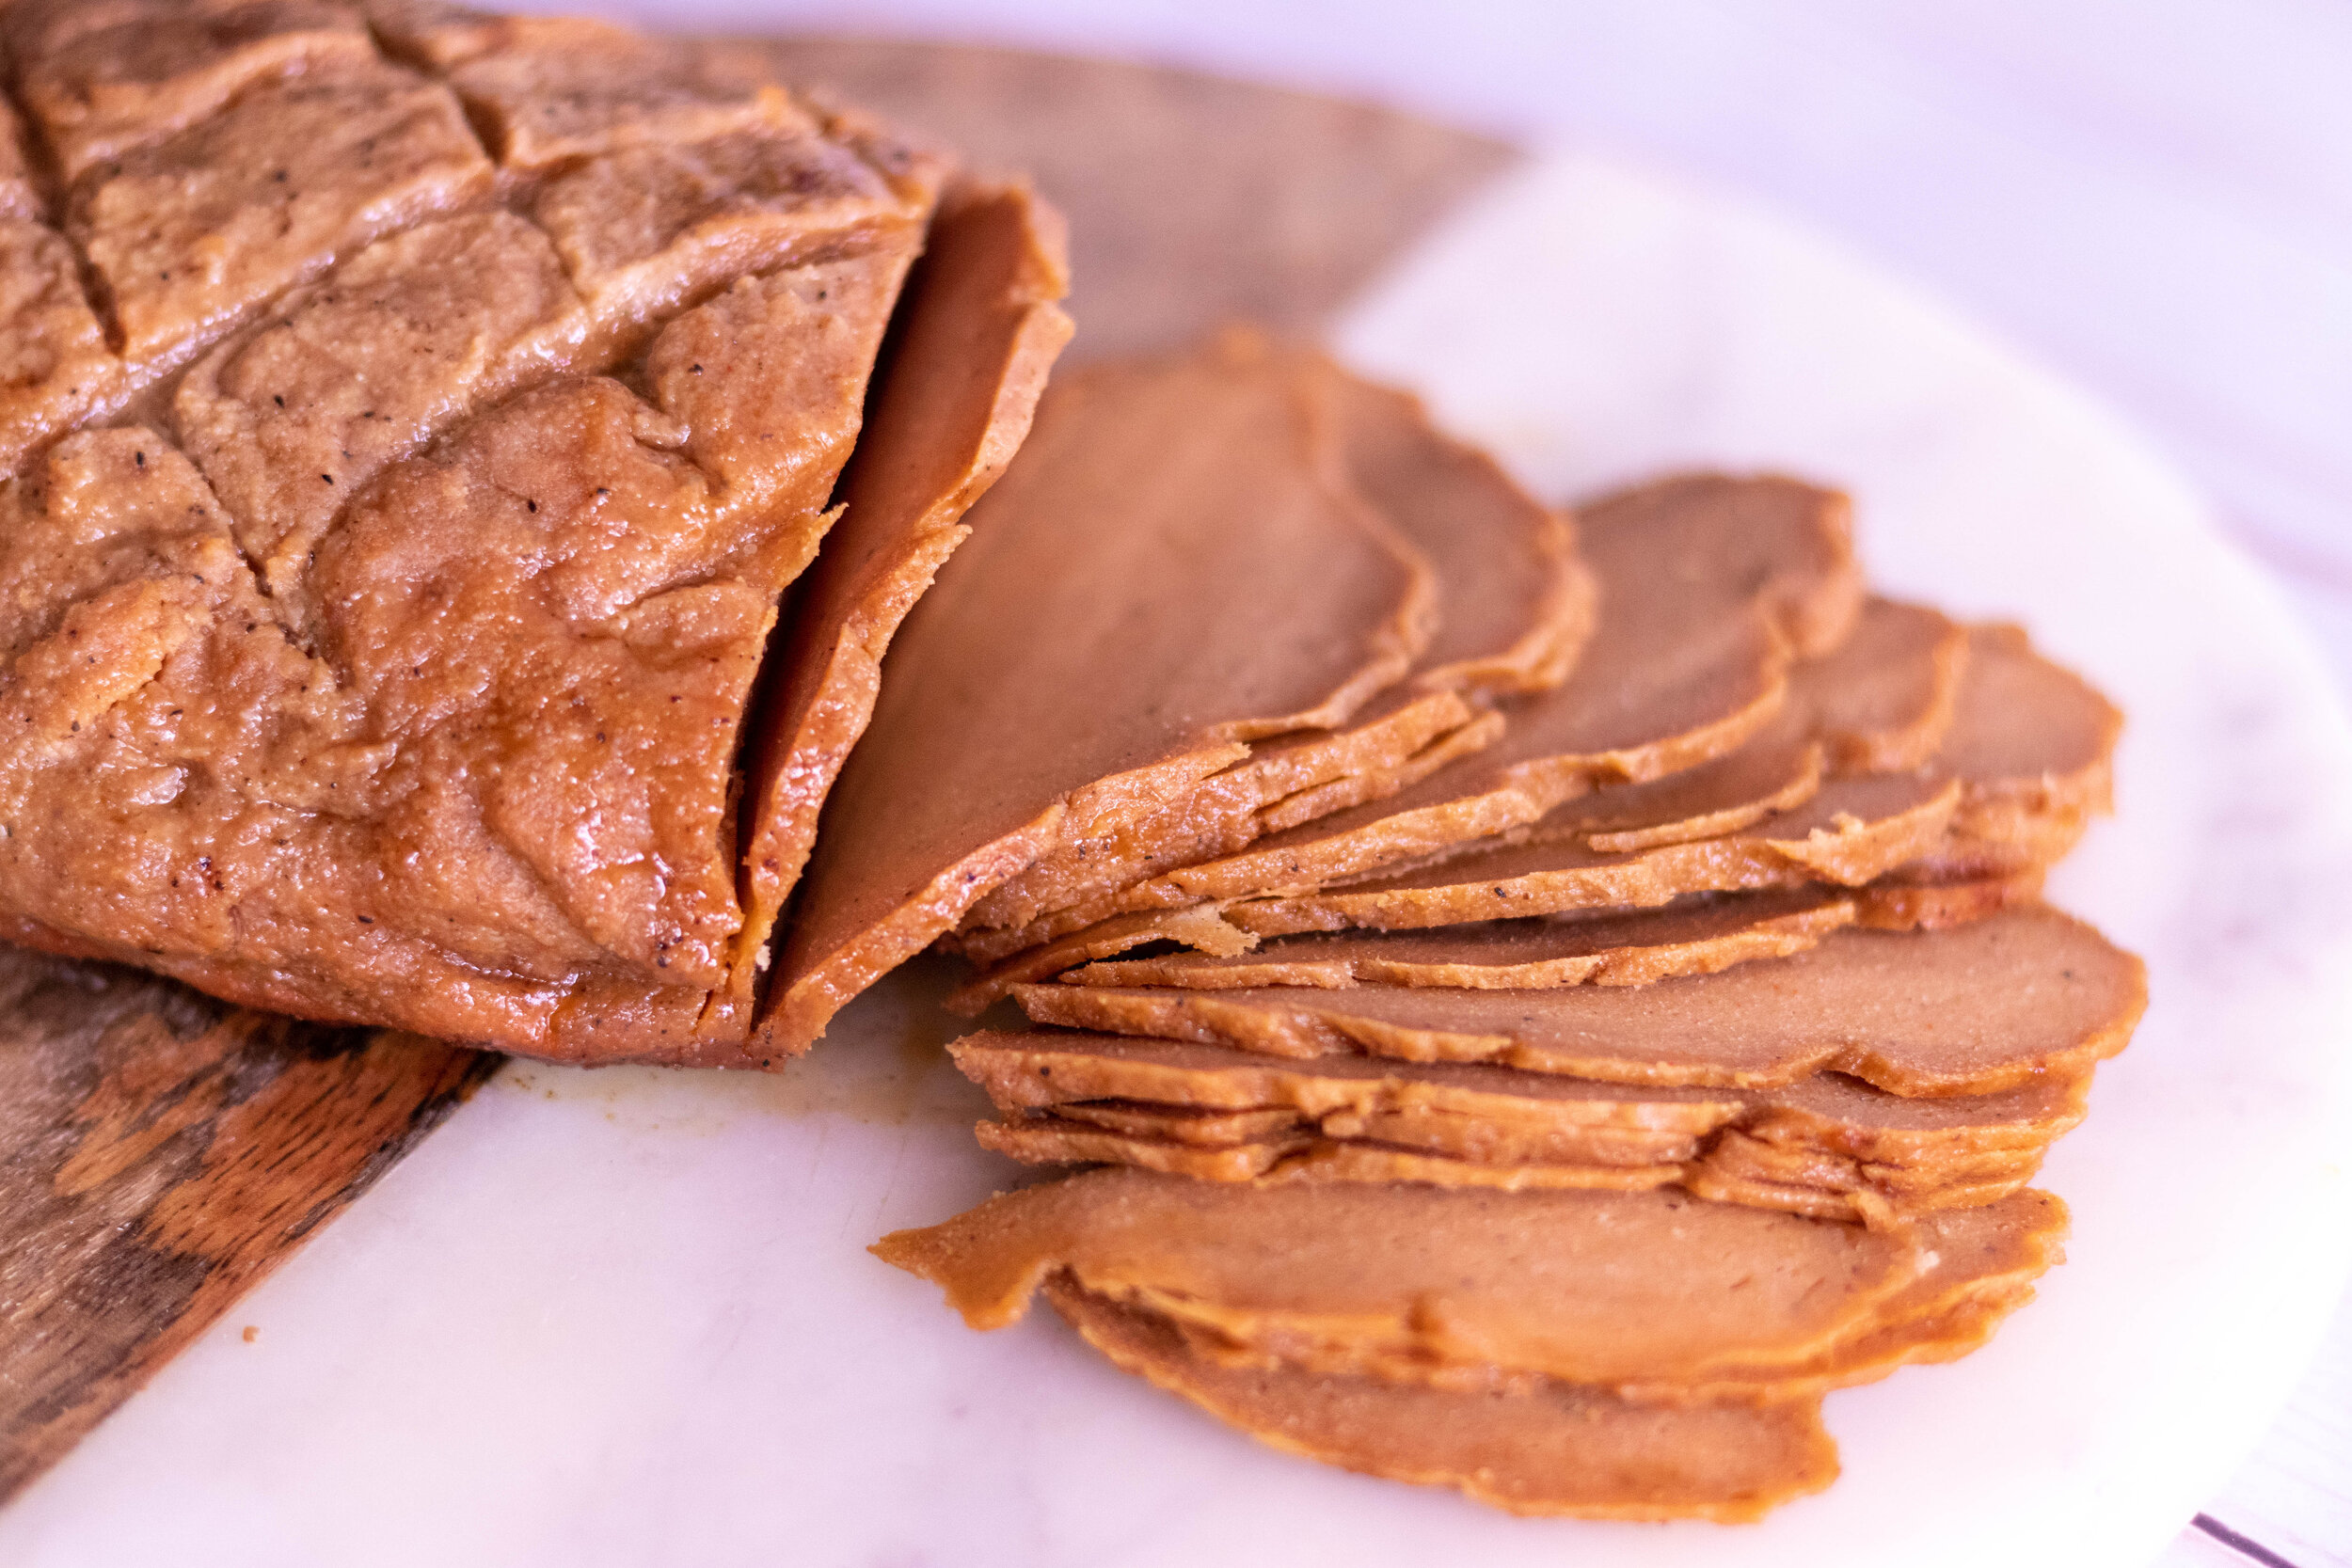
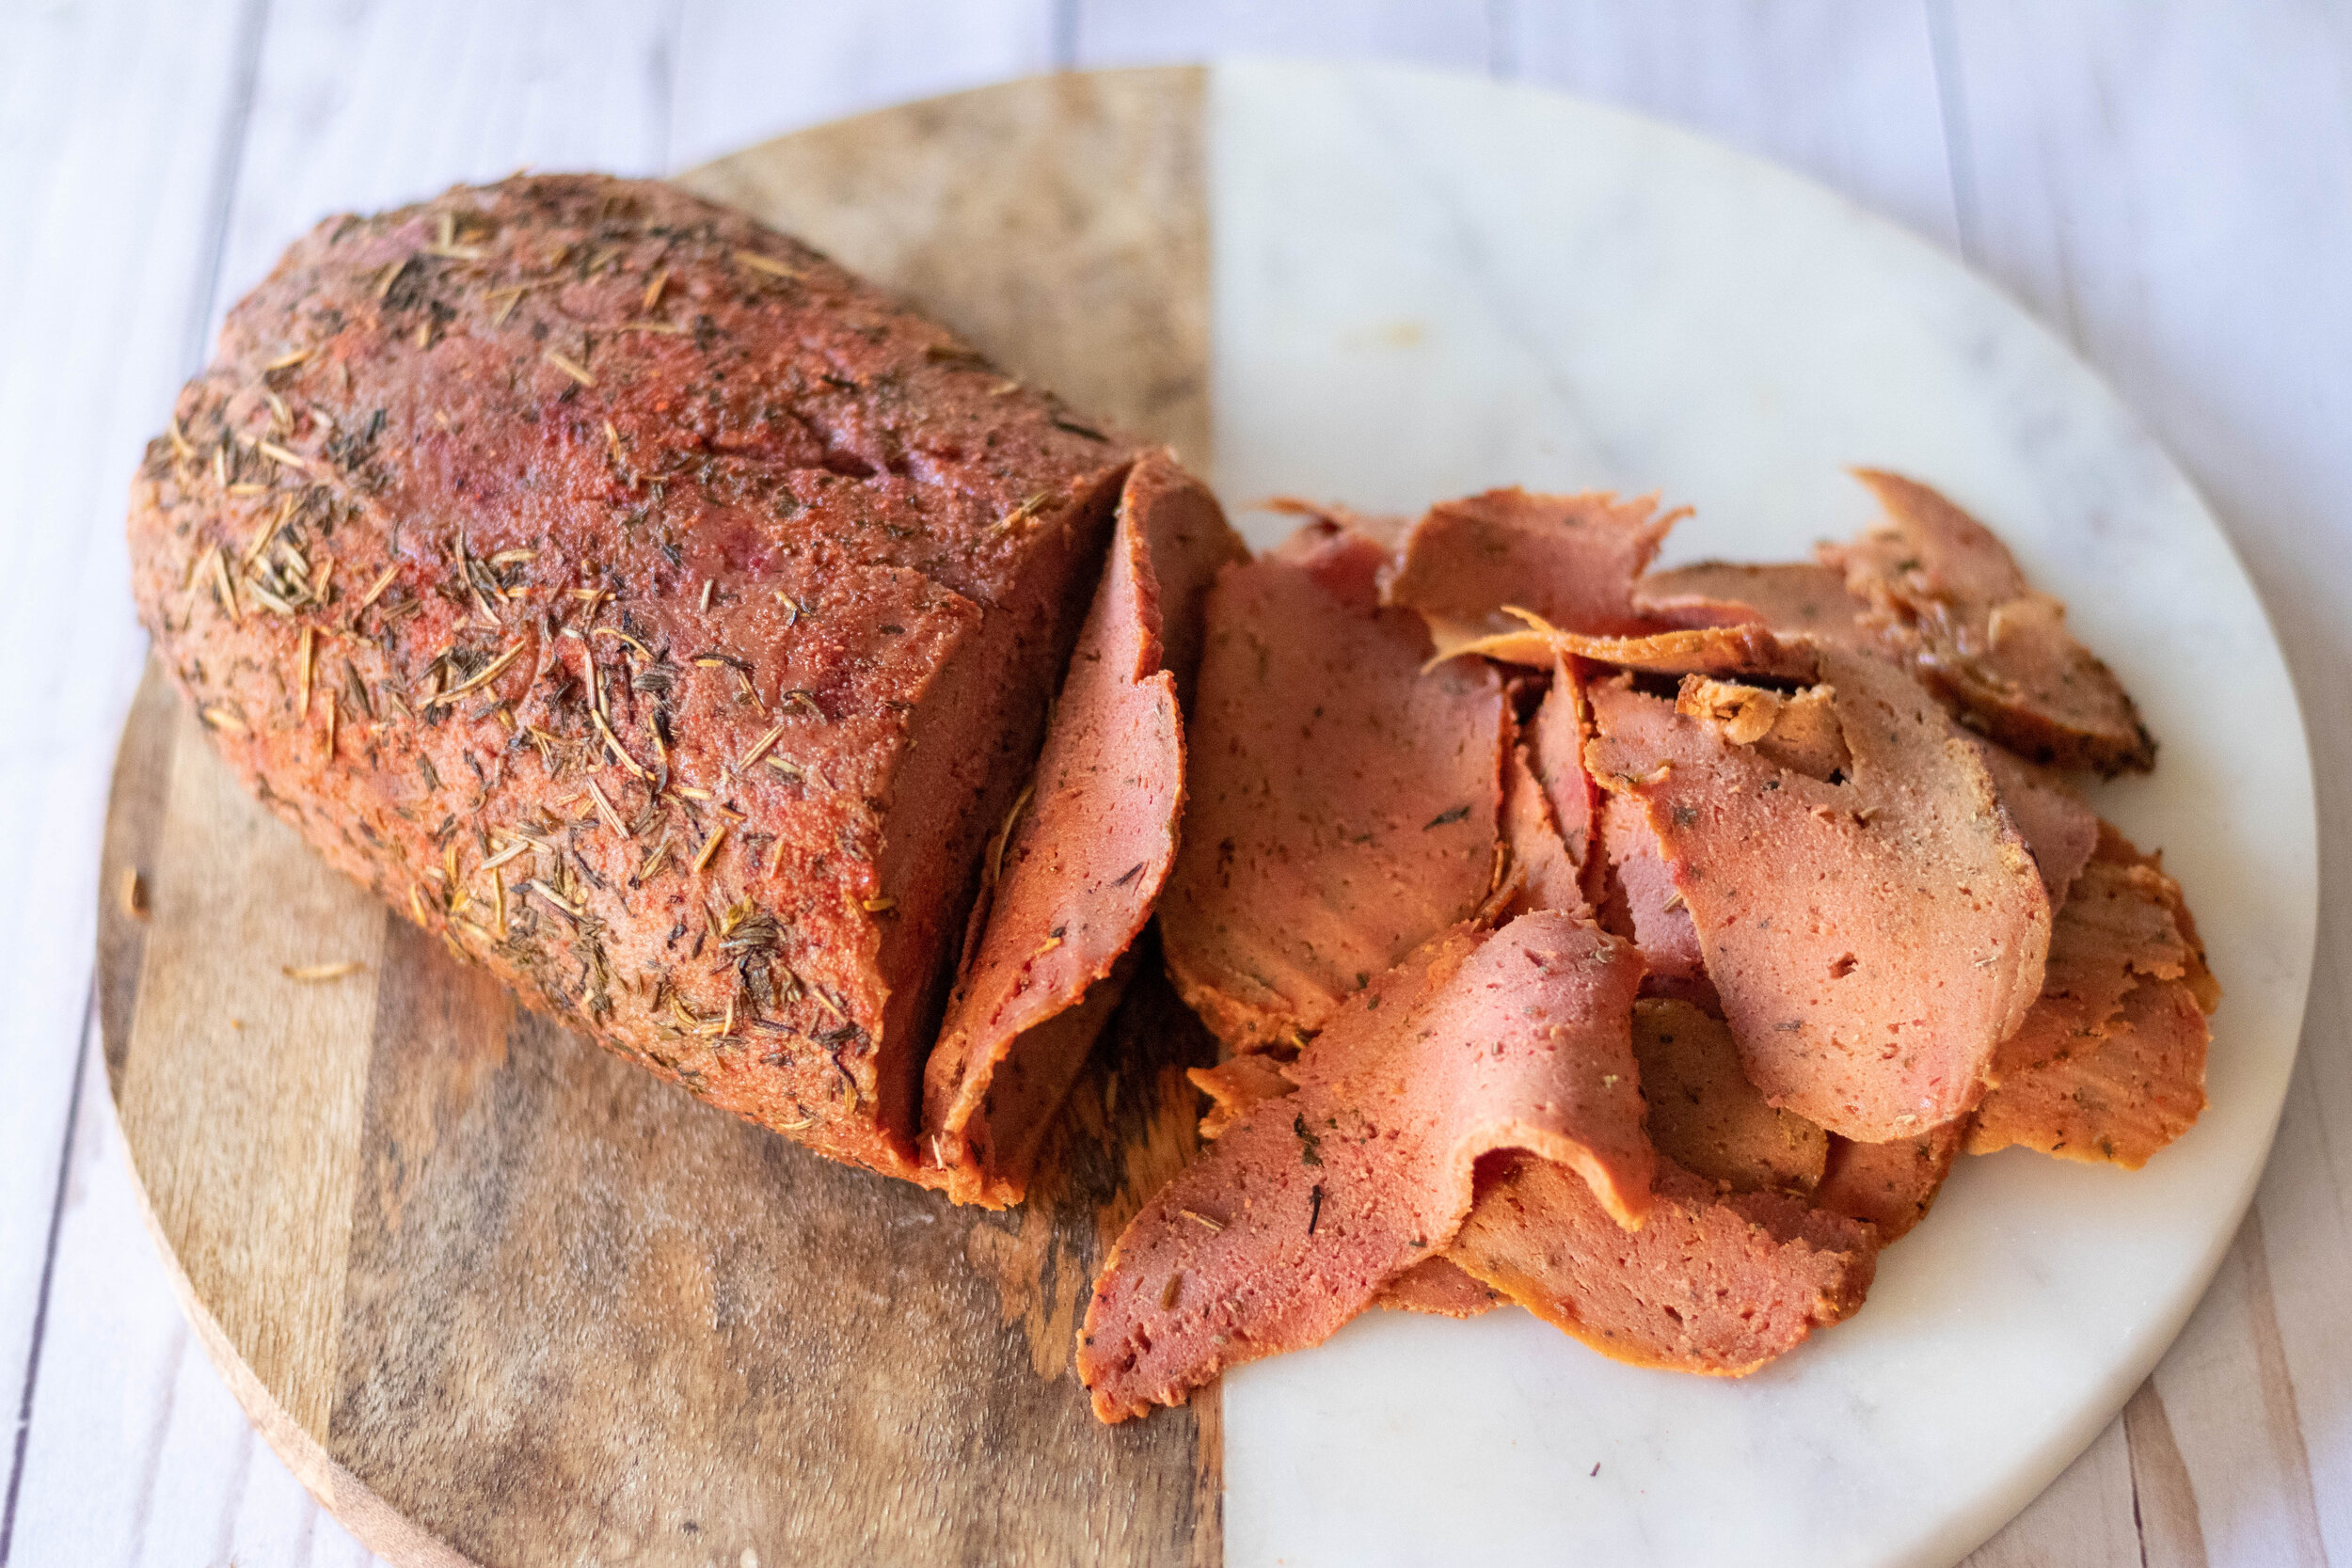
So go, make some vegan salami and stack it high on a cracker with a nice slice of vegan cheese, or on your favorite sandwich! It really is delicious and so easy to make your own vegan salami right at home!

INGREDIENTS:
16 oz of super firm tofu (the kind in vacuum sealed package)
1 1/2 cups vital wheat gluten
1/4 cup LARGE tapioca peals, plus hot water to soak them
1/4 cup nutritional yeast
1/4 cup tapioca or corn starch
1/3 cup diced cooked beet (buy in a jar or tin, or you can wrap in foil and bake at 400 degrees until tender. After it has baked the peel easily comes off)
2 tablespoons tomato paste
1 tablespoons No Beef or Vegetable Better Than Bouillon. or some other vegan bouillon paste or powder
2 teaspoons onion powder
2 teaspoons minced garlic
2 teaspoons dried mustard
2 teaspoons sugar or monk fruit sweetener
1-2 teaspoons black pepper
1 teaspoon salt (optional)
2 tablespoons neutral flavored oil (you can also use water instead)
1-2 teaspoon liquid smoke
1-2 teaspoons dried red pepper flakes
1-2 tablespoons water if needed
*I use SUPER FIRM TOFU that is packaged in a sort of vacuum sealed wrapper. This tofu if much firmer than firm or extra firm and does not hold much water. Because of this you do not need to press this tofu AND it yields a much firmer seitan than regular or extra firm tofu. If you can only find firm or extra firm tofu then you will need to press it really well first, I suggest at least 30 minutes.


INSTRUCTIONS:
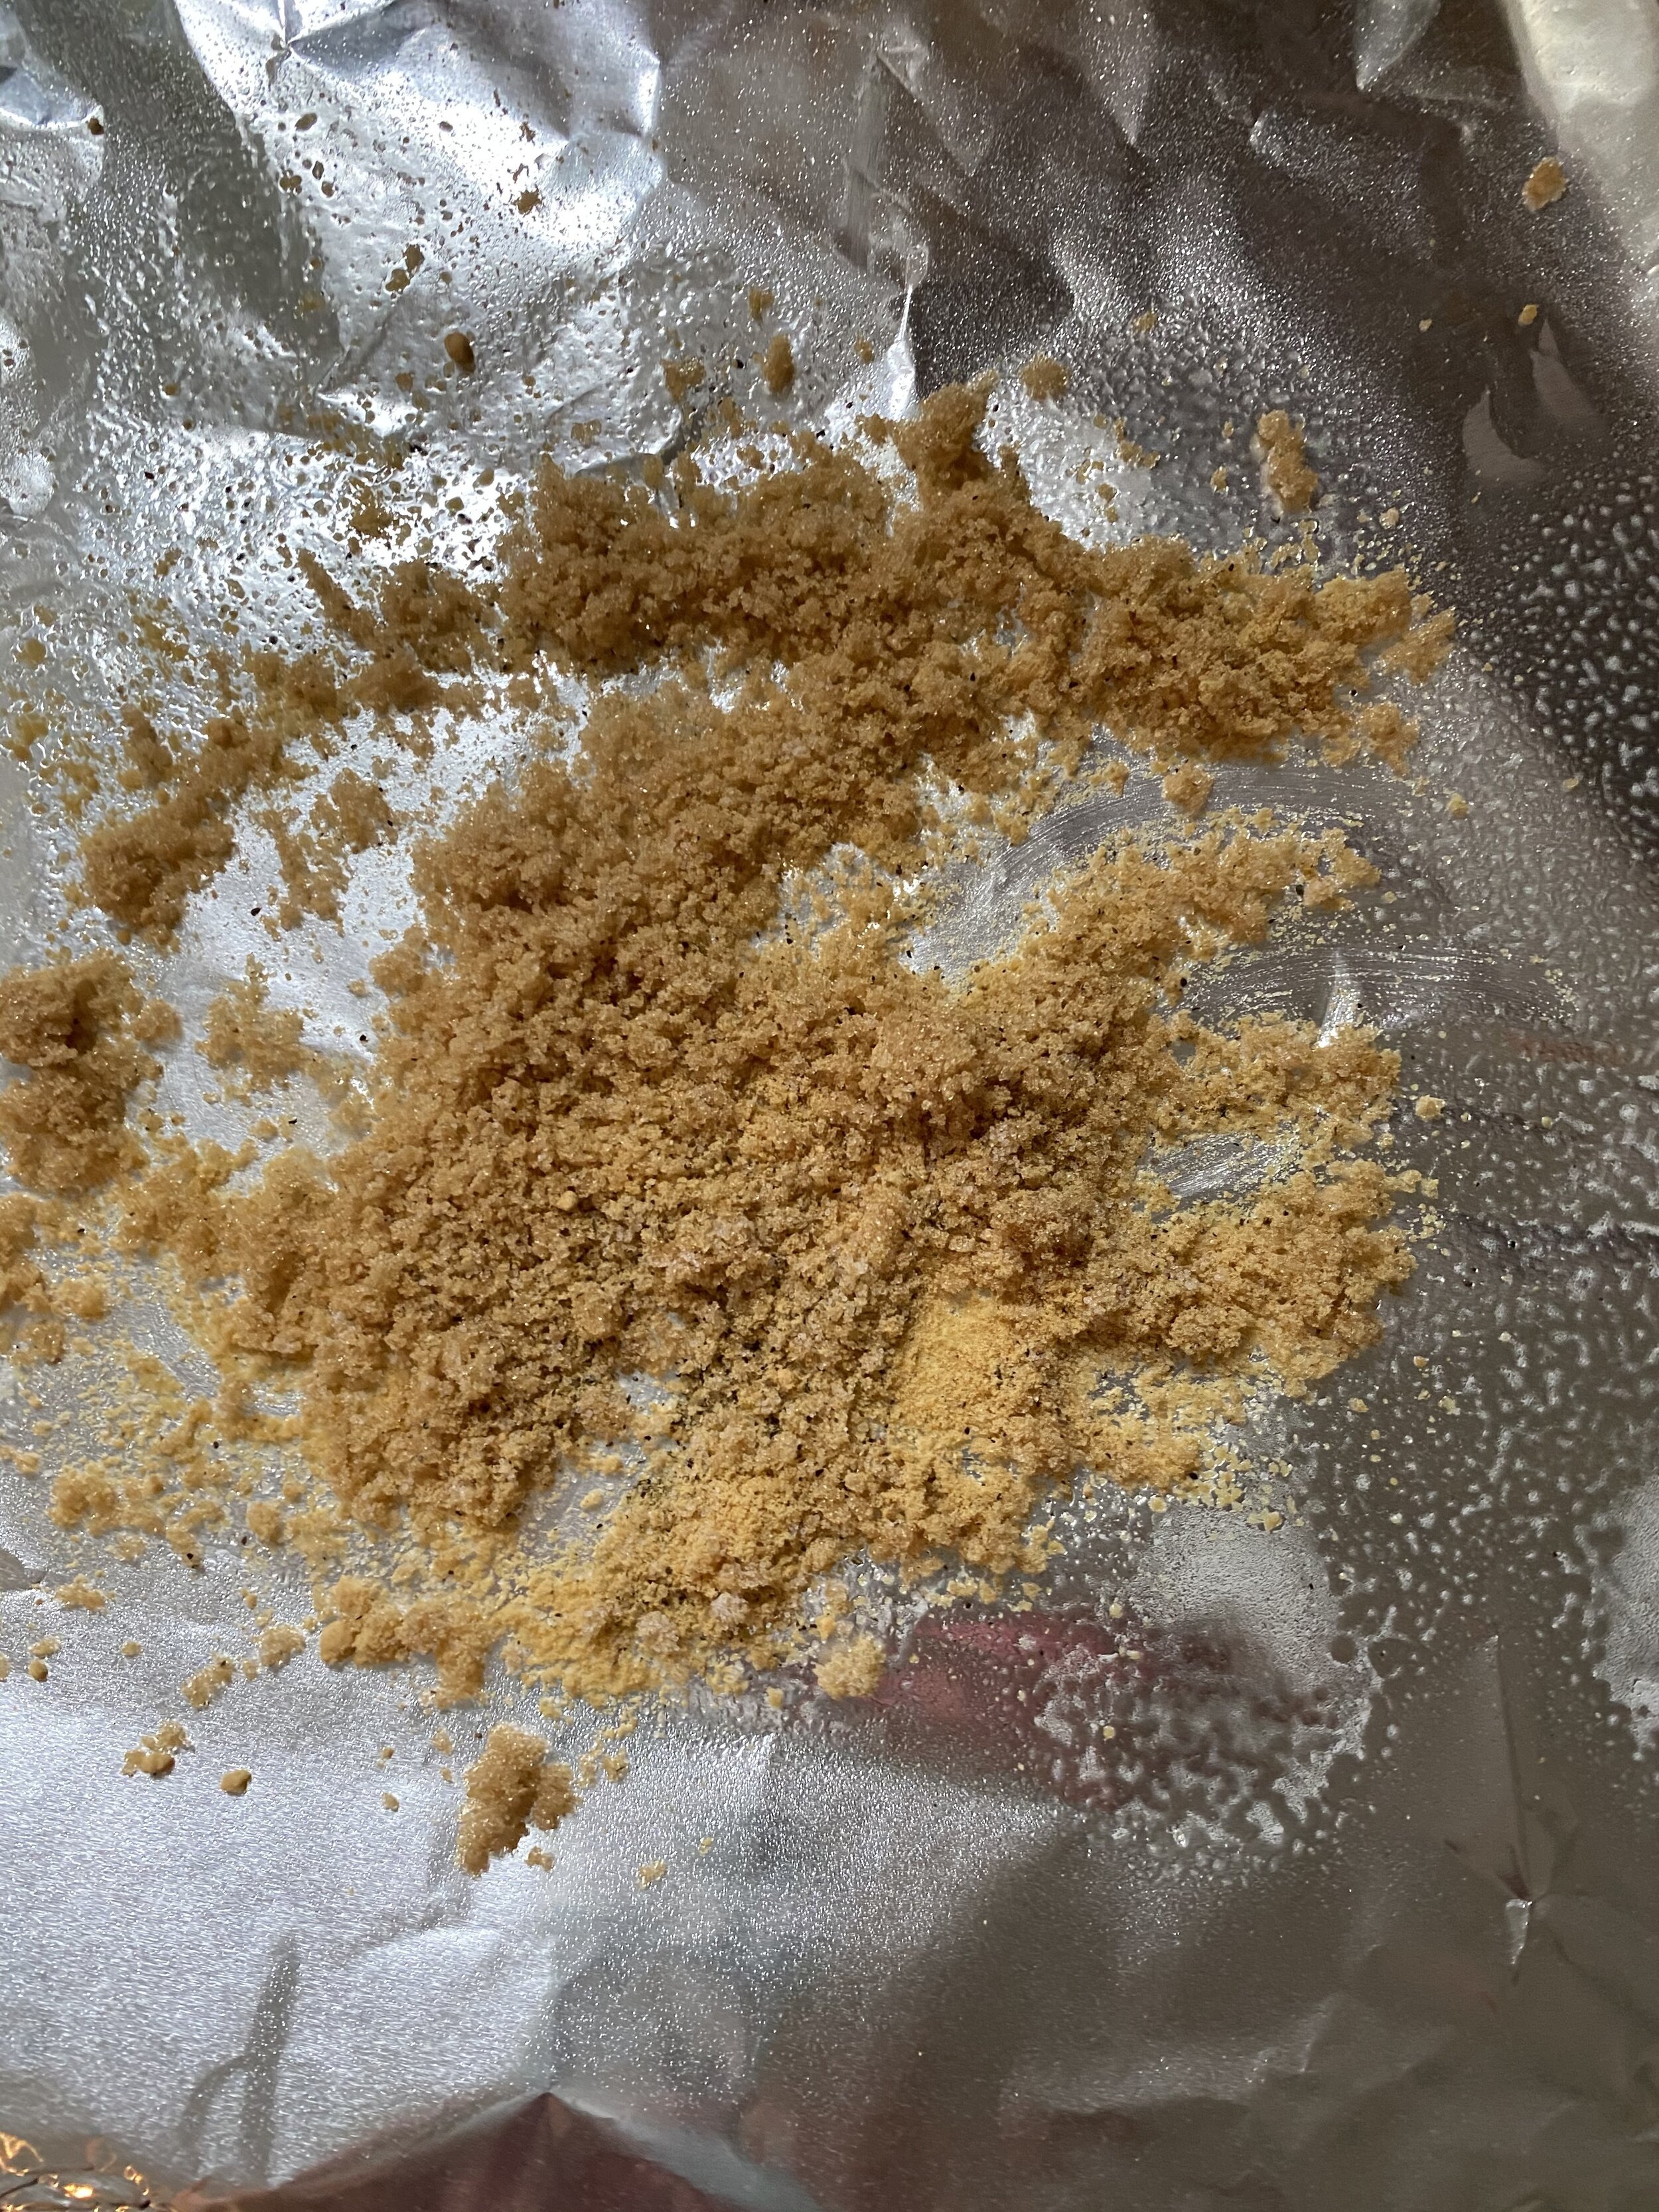
In a medium sized bowl, add 1/4 cup of large tapioca pearls. Cover the pearls in HOT water. You can also add 1 teaspoon of bouillon if you like but don’t have to. Let the pearls soak for about 4 hours. Once they are done soaking, drain and set aside.
Preheat oven to 350 degrees Fahrenheit
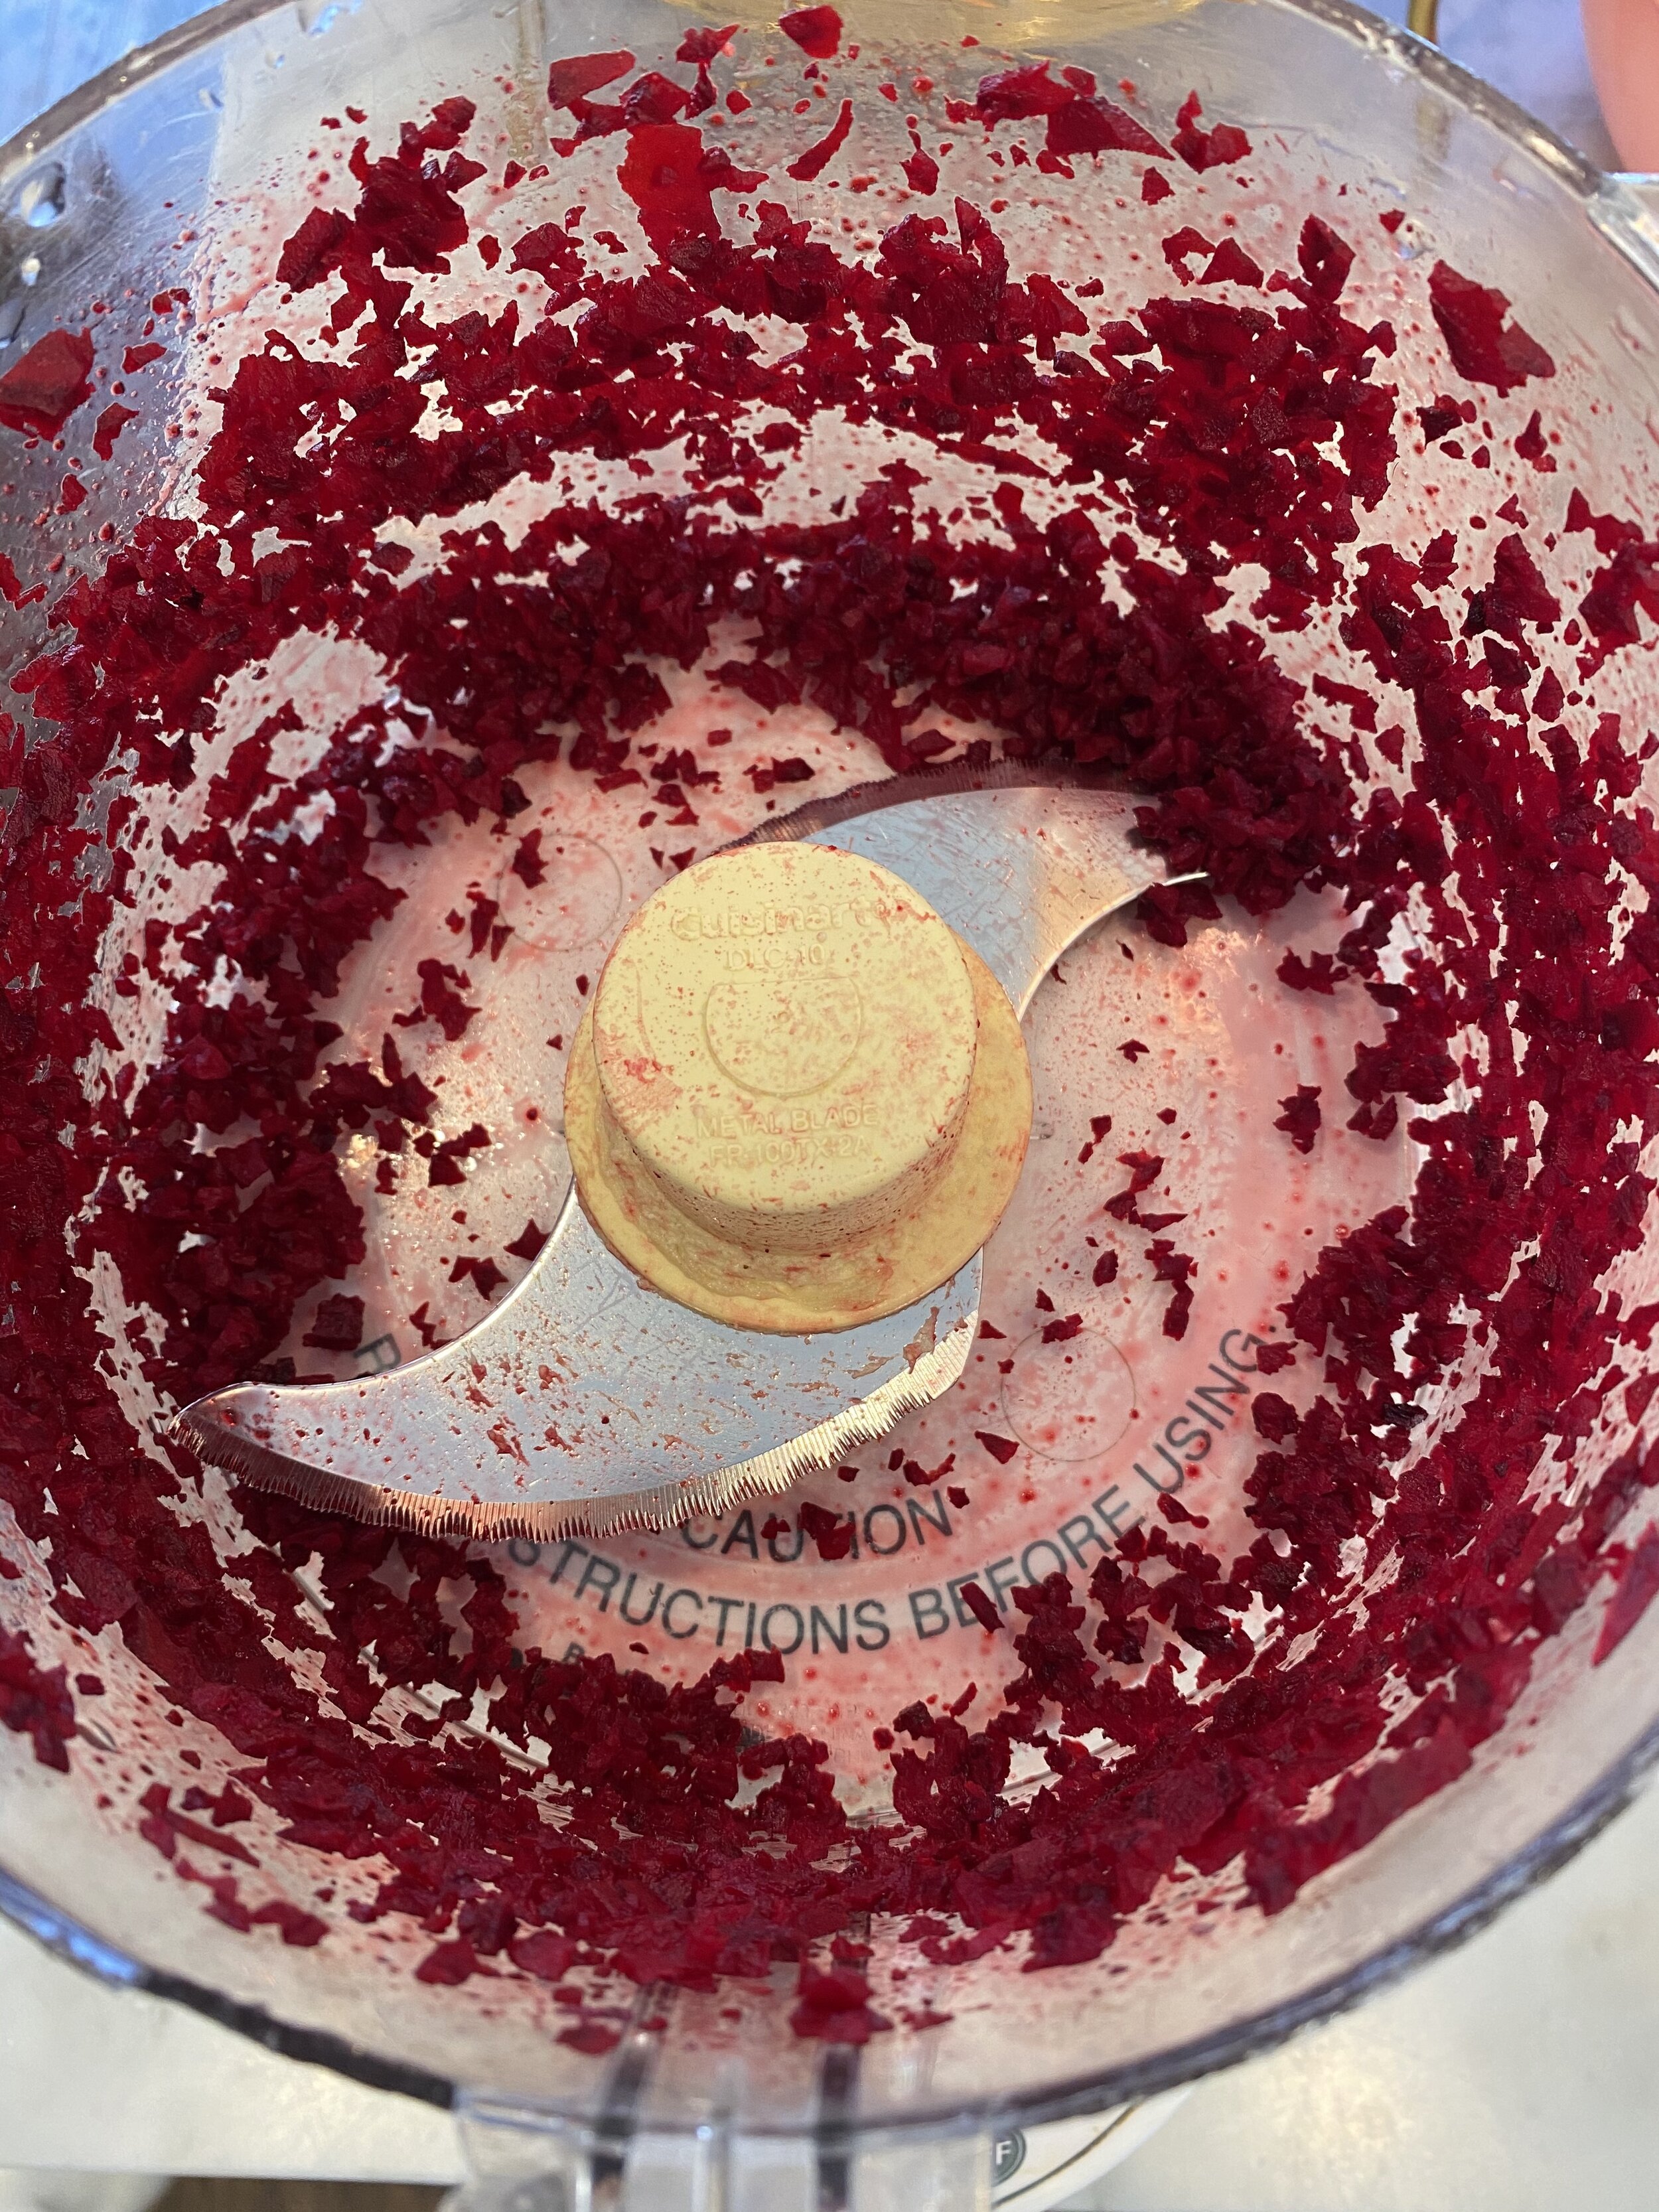
Add the cooked beet to a food processor or high speed blender, and blend until the beet is well minced and broken down.
Add the tofu (no need to press if using super firm) broken up into pieces into the food processor, or blender with the beet, and blend for a minute. You want to blend until the tofu iis good and broken down.
Food Processor Instructions: Add all of the remaining ingredients and let the food processor run for a couple of minutes. You want the mixture to form a dough. Letting the processor run will help knead the dough. We want this seitan to be firm so we need it to knead for a bit. If you dough seems a bit too dry, you can add a tablespoons or of water, just don’t add too much more! You need a firm dough for this recipe.
Blender Instructions: If you are using blender then break down the beet and tofu in the blender and get it as smooth as you can. Add the tofu and beet mixture to a bowl with the remaining ingredients and mix by hand. You will have to get the dough as mixed as you can then turn it out onto a clean surface to knead the dough by hand unit it comes together. You alternatively could add the tofu and beet mixture and remaining ingredients to a stand mixer with a dough hook attachment, and allow it to mix and knead that way.
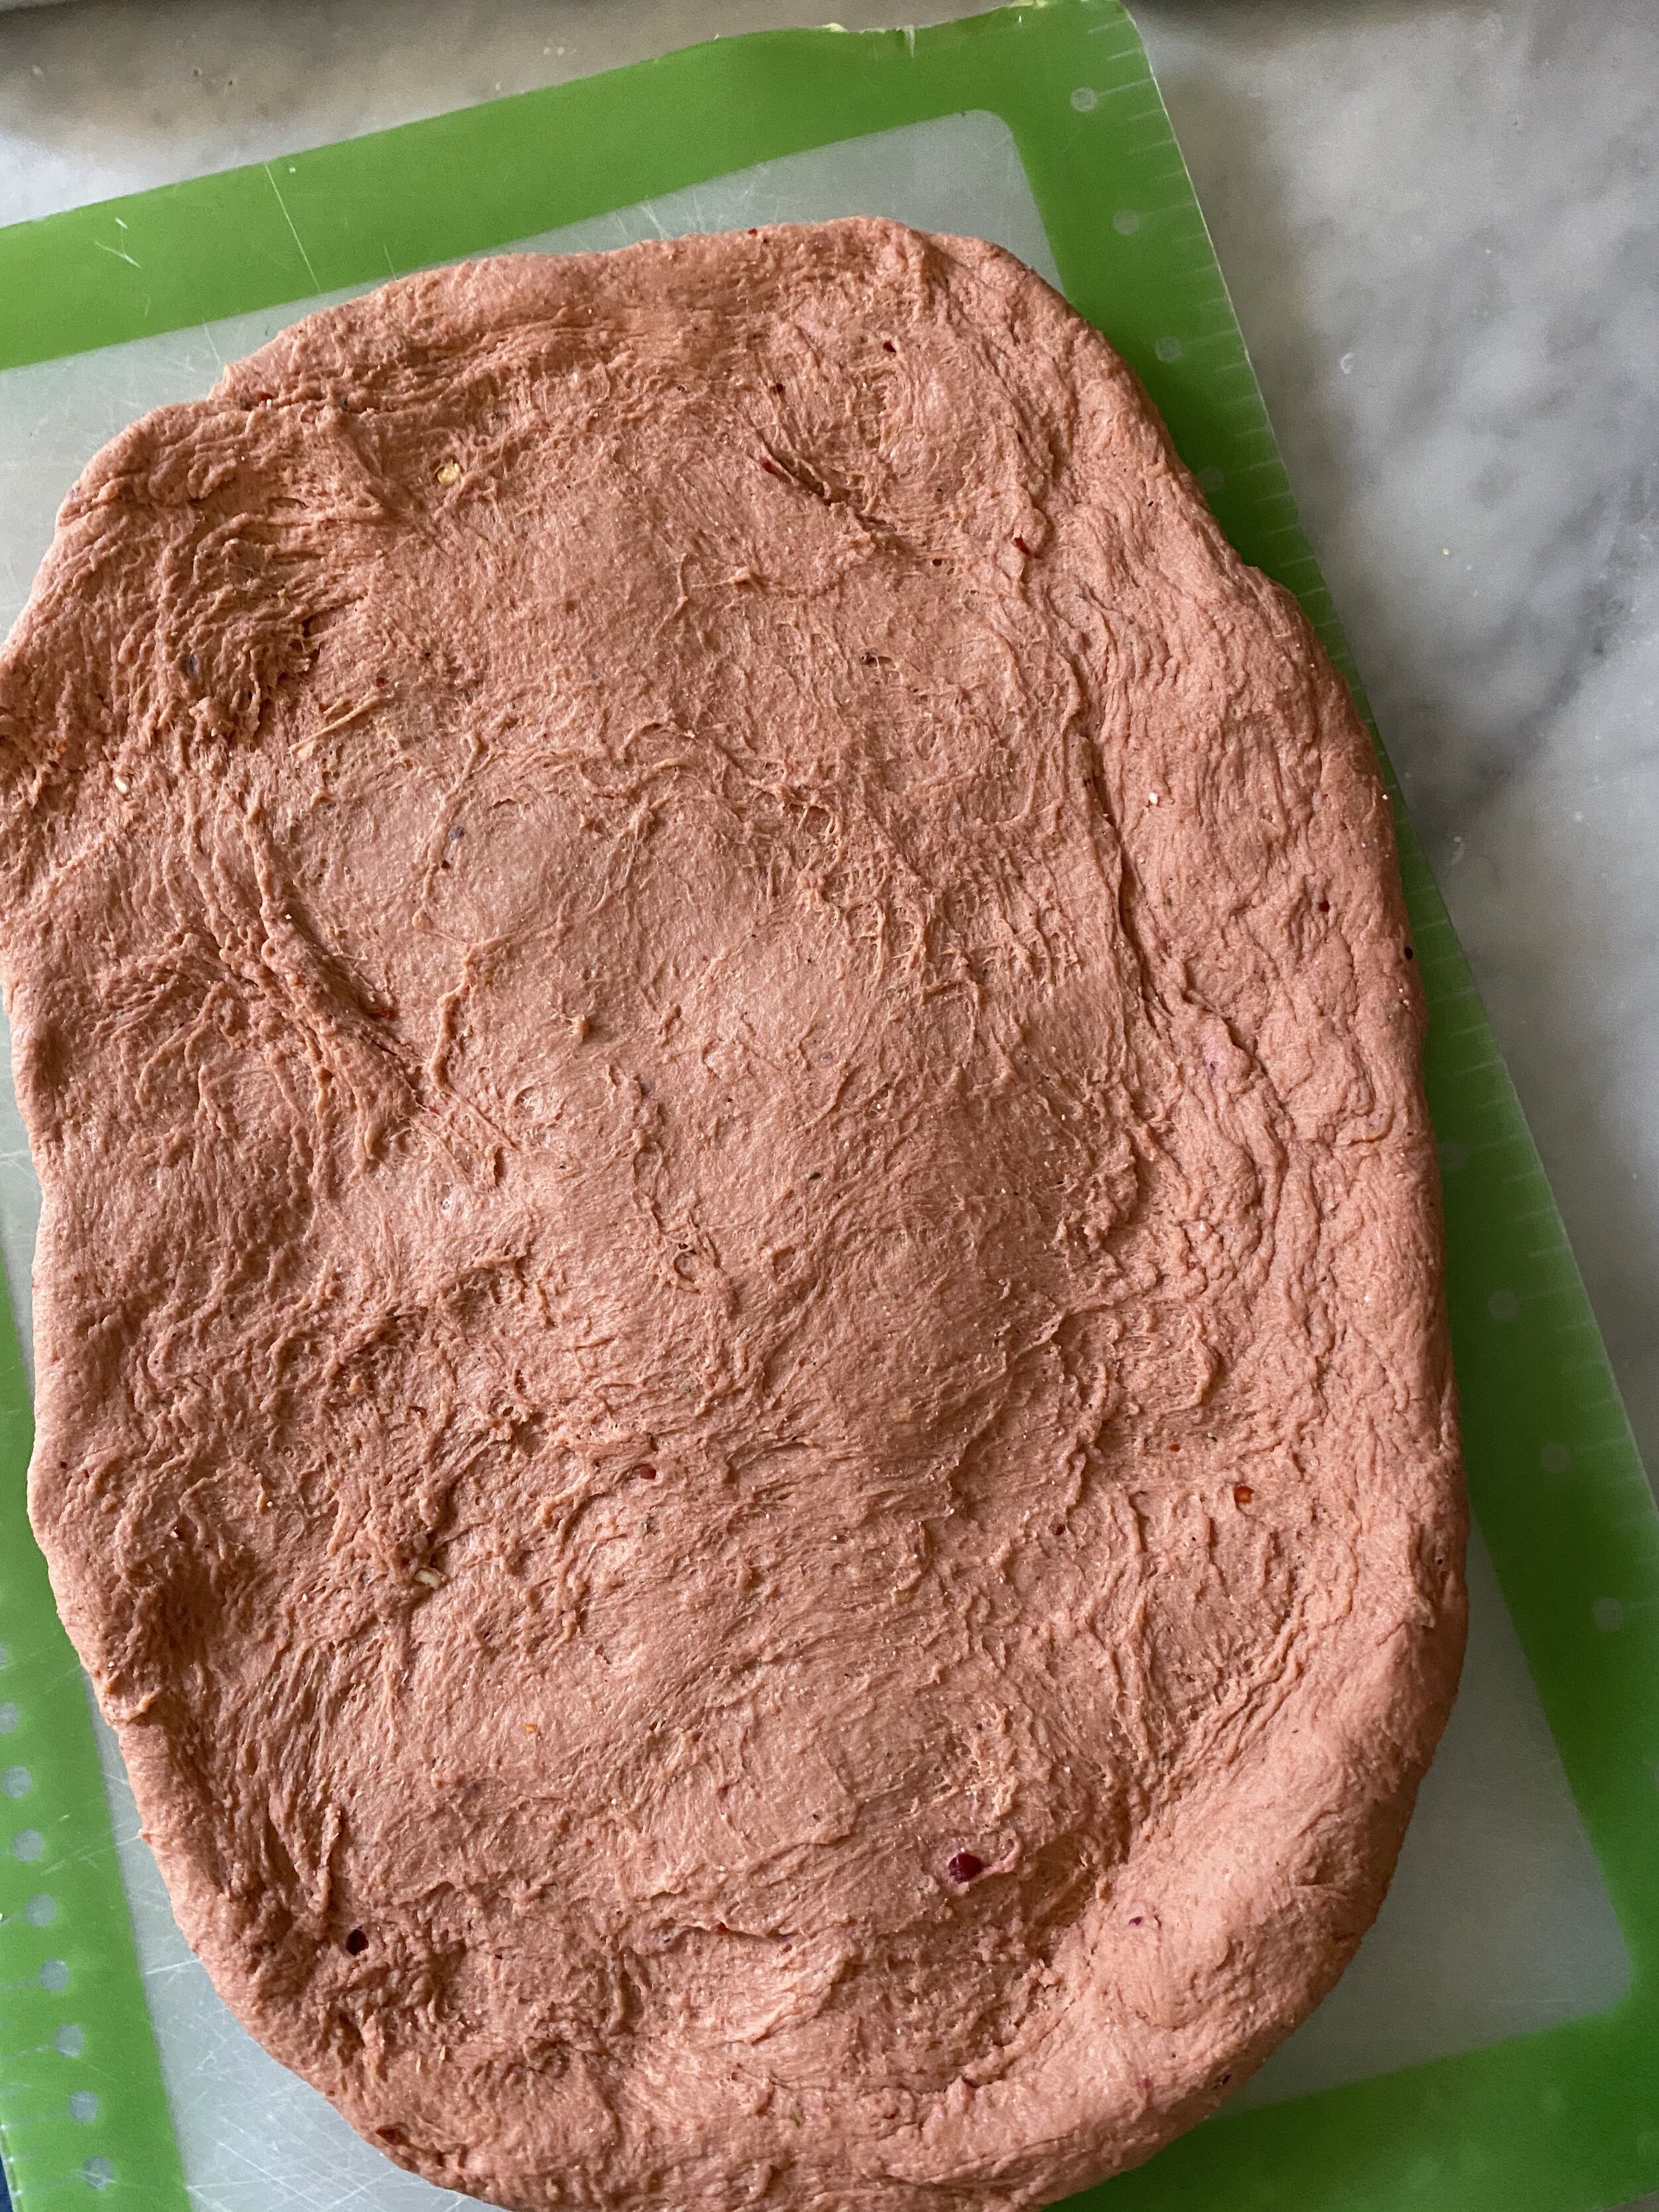
Once you have a smooth but firm dough, remove it from the food processor and place on a clean counter. Knead the dough with your hands for about a minute, forming a large rectangle shaped loaf with the dough. Try to stretch and flatten the dough out as much as you can.
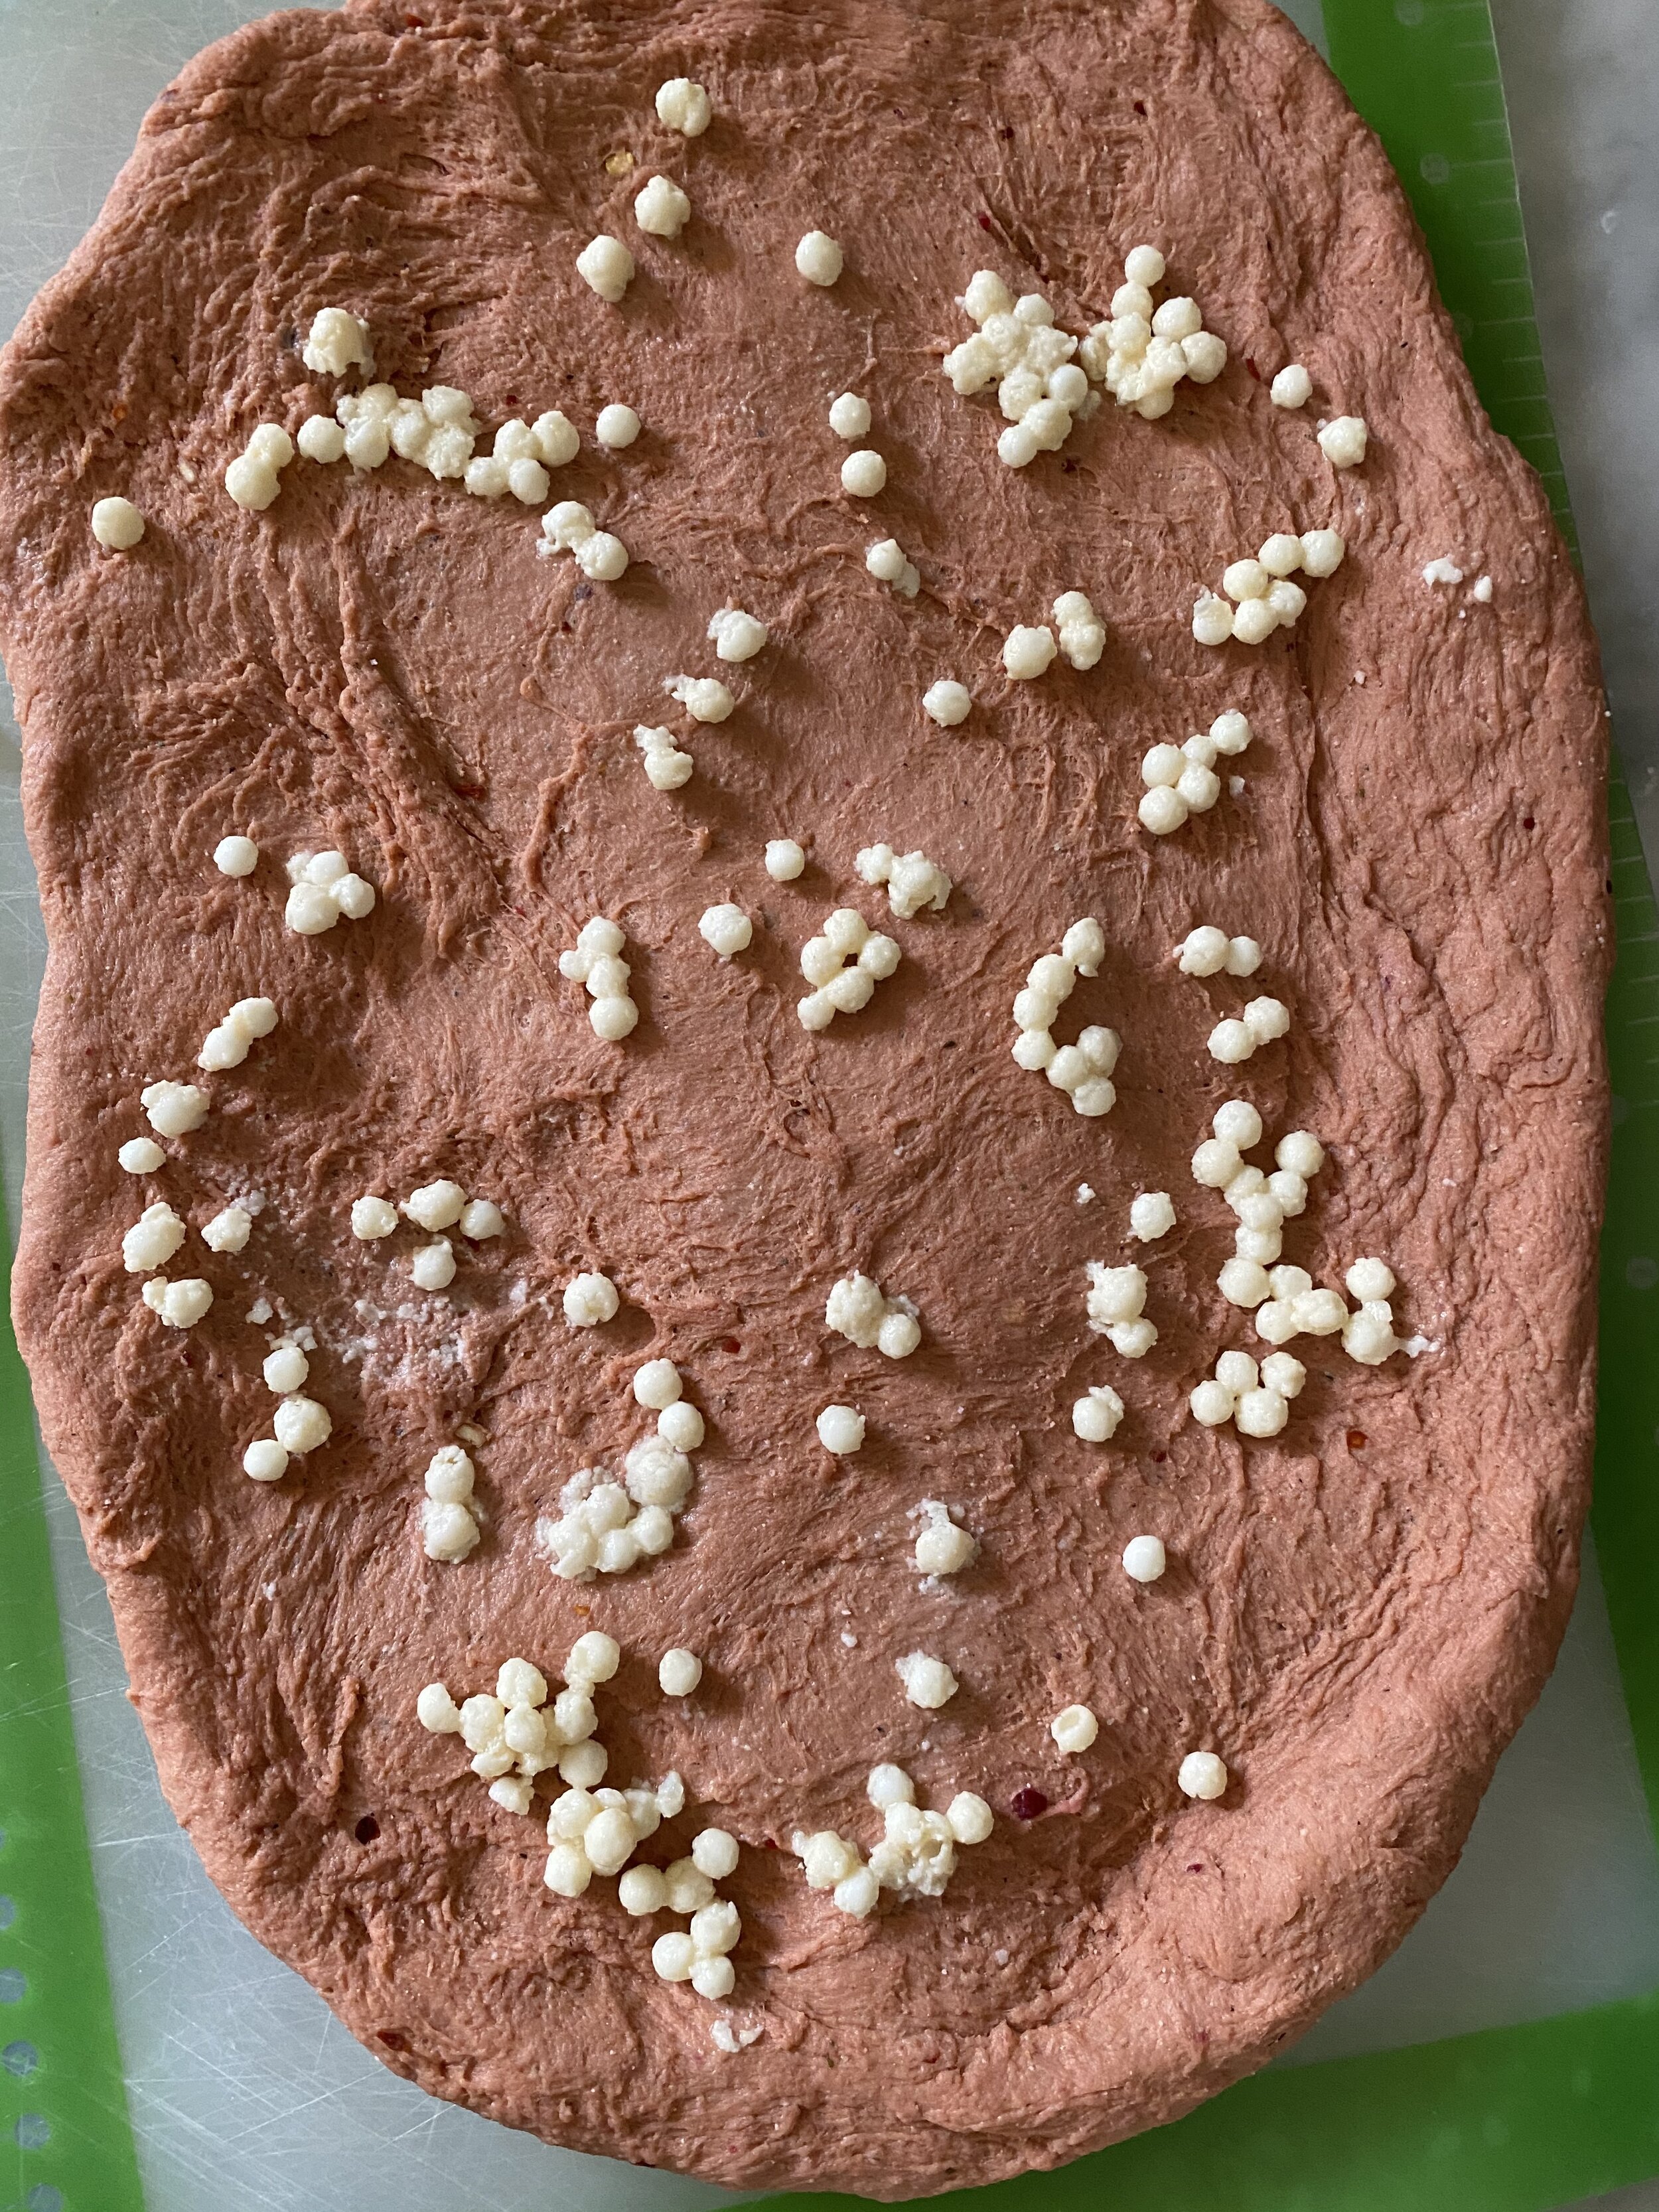
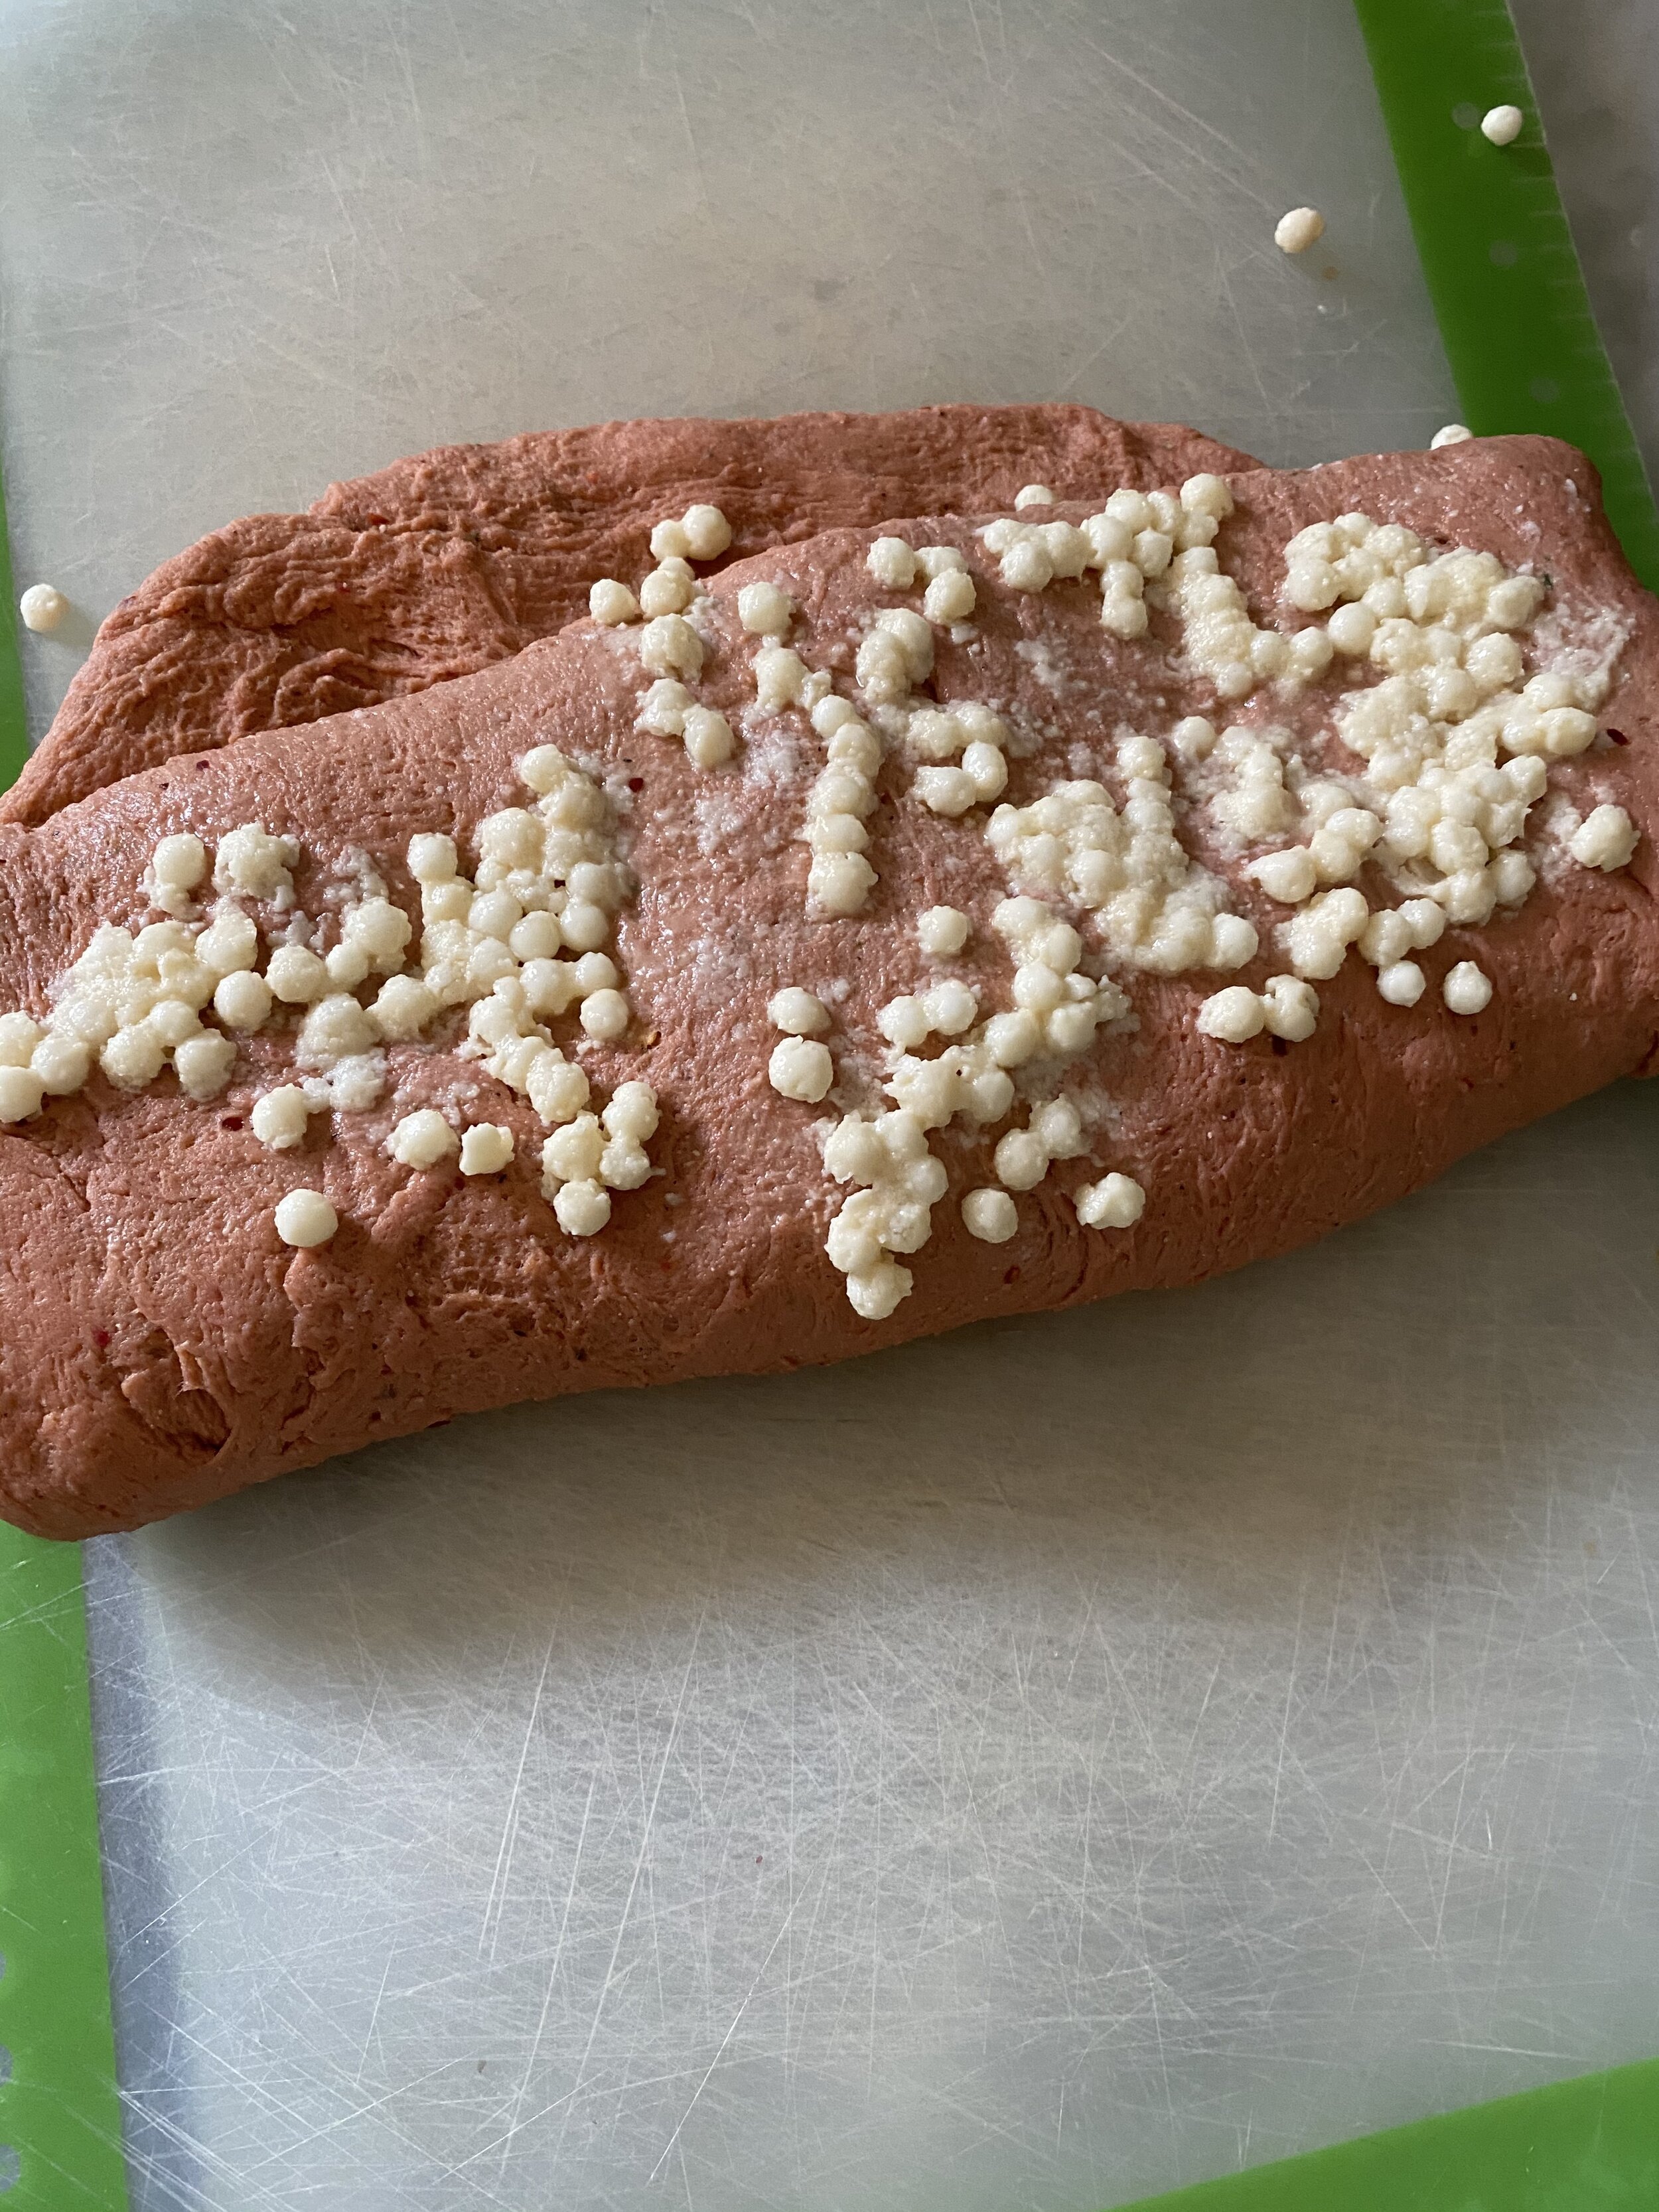
Sprinkle and few tablespoons of the tapioca pearls evenly over the dough and press them in the best you can with your hands (they like to pop out of the springy dough.) Now fold the dough in half and sprinkle more pearls, pressing them in. fold again, adding more pearls, repeating this process until you can not fold the dough any more, and you are out of pearls ( as you fold pearls will spring out as mentioned above, its ok if you don’t get them all in there.)
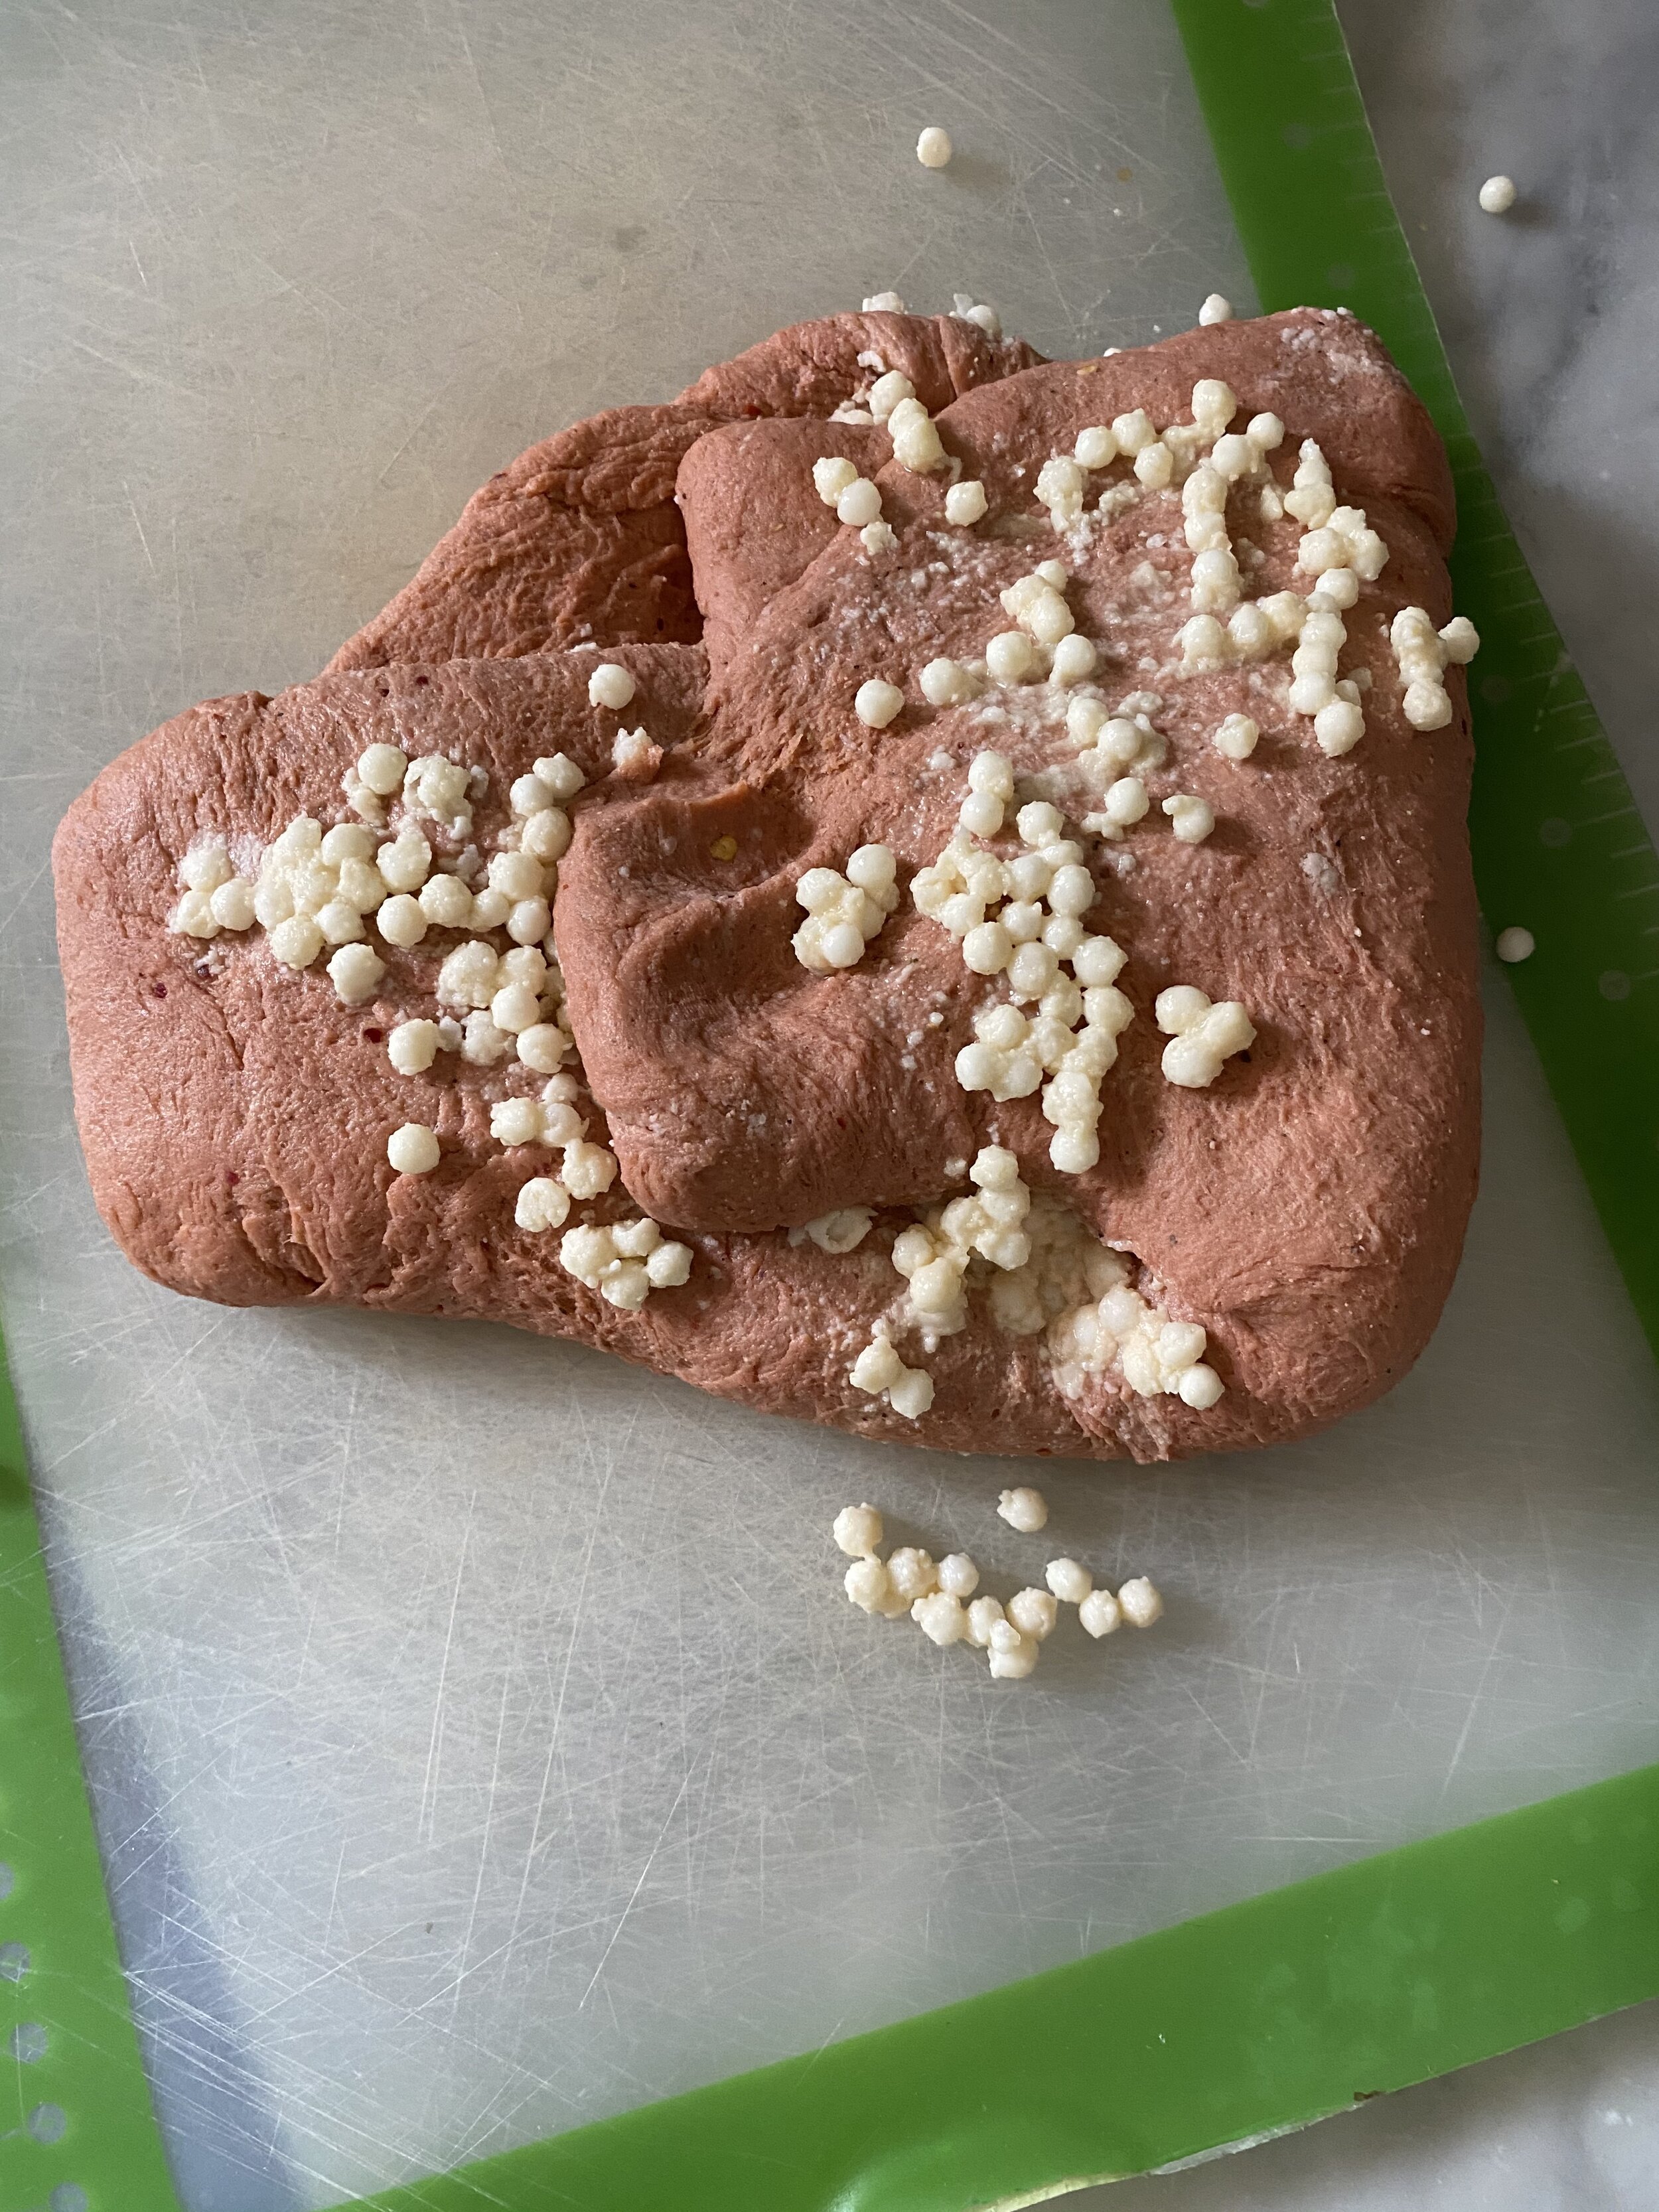
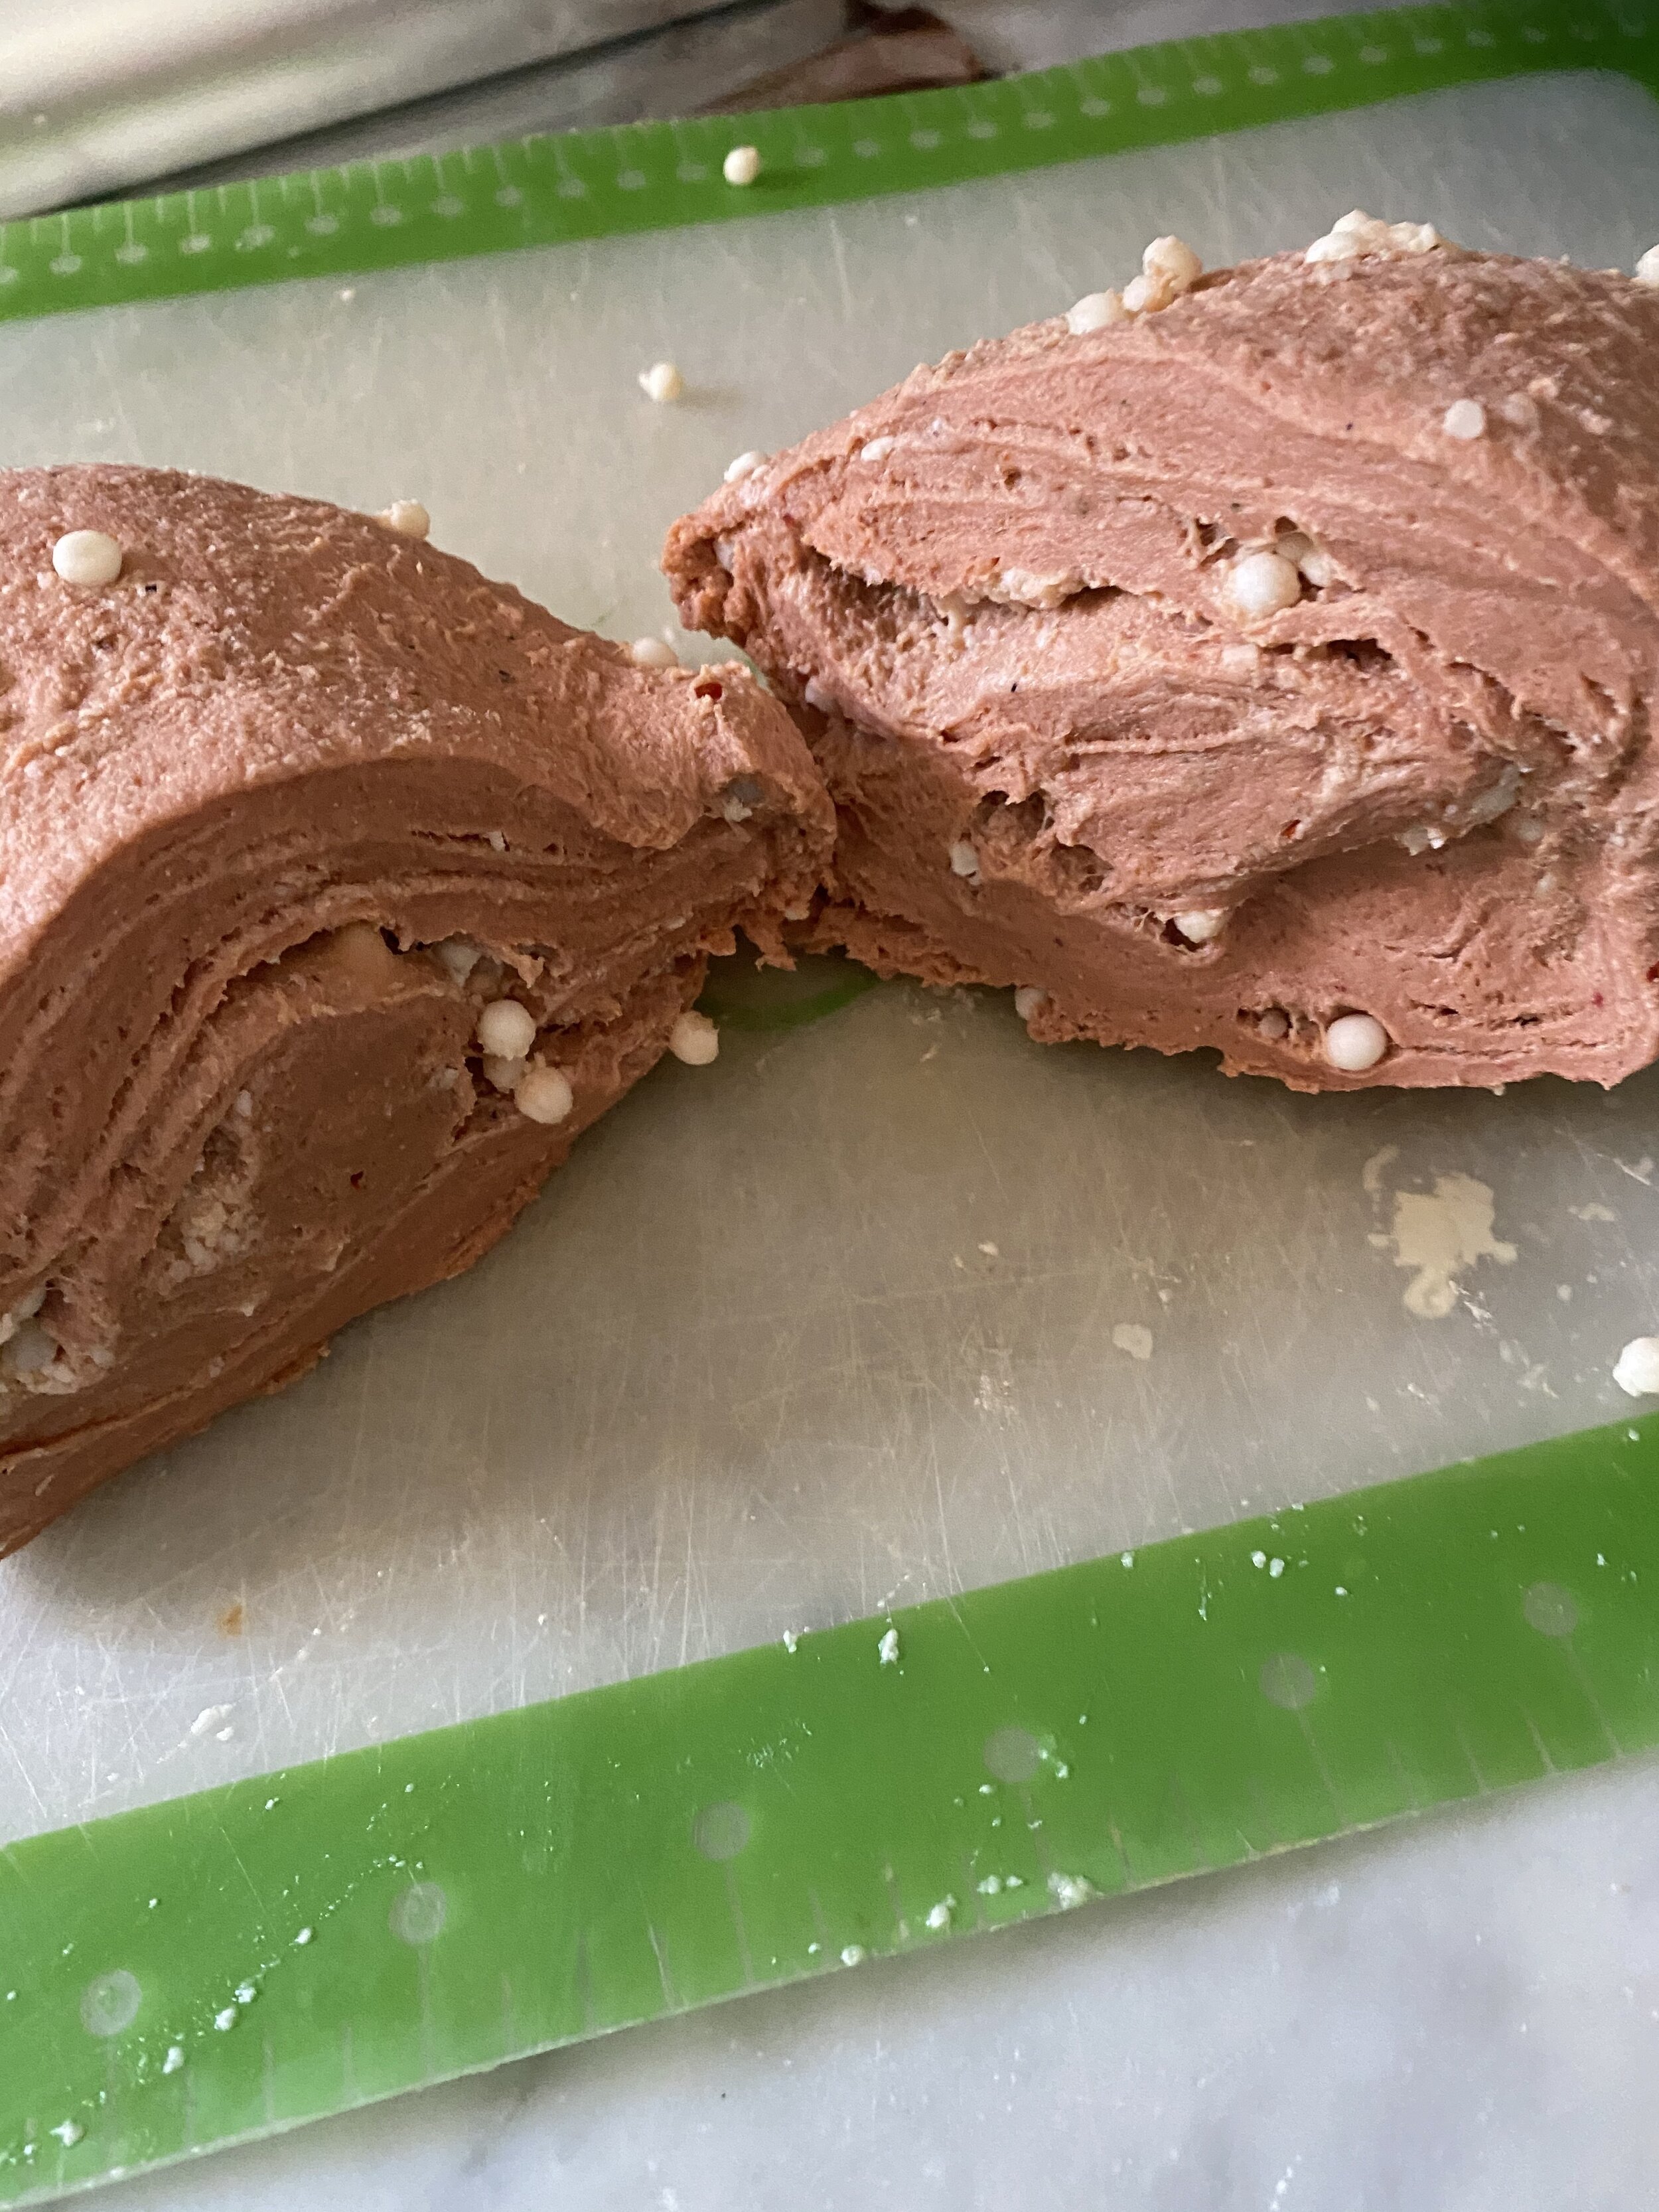
Once you have gotten all of the pearls (or as many as you can) into the dough, cut it in half. Begin kneading one piece at time by hand until the dough comes back together and is somewhat smooth.
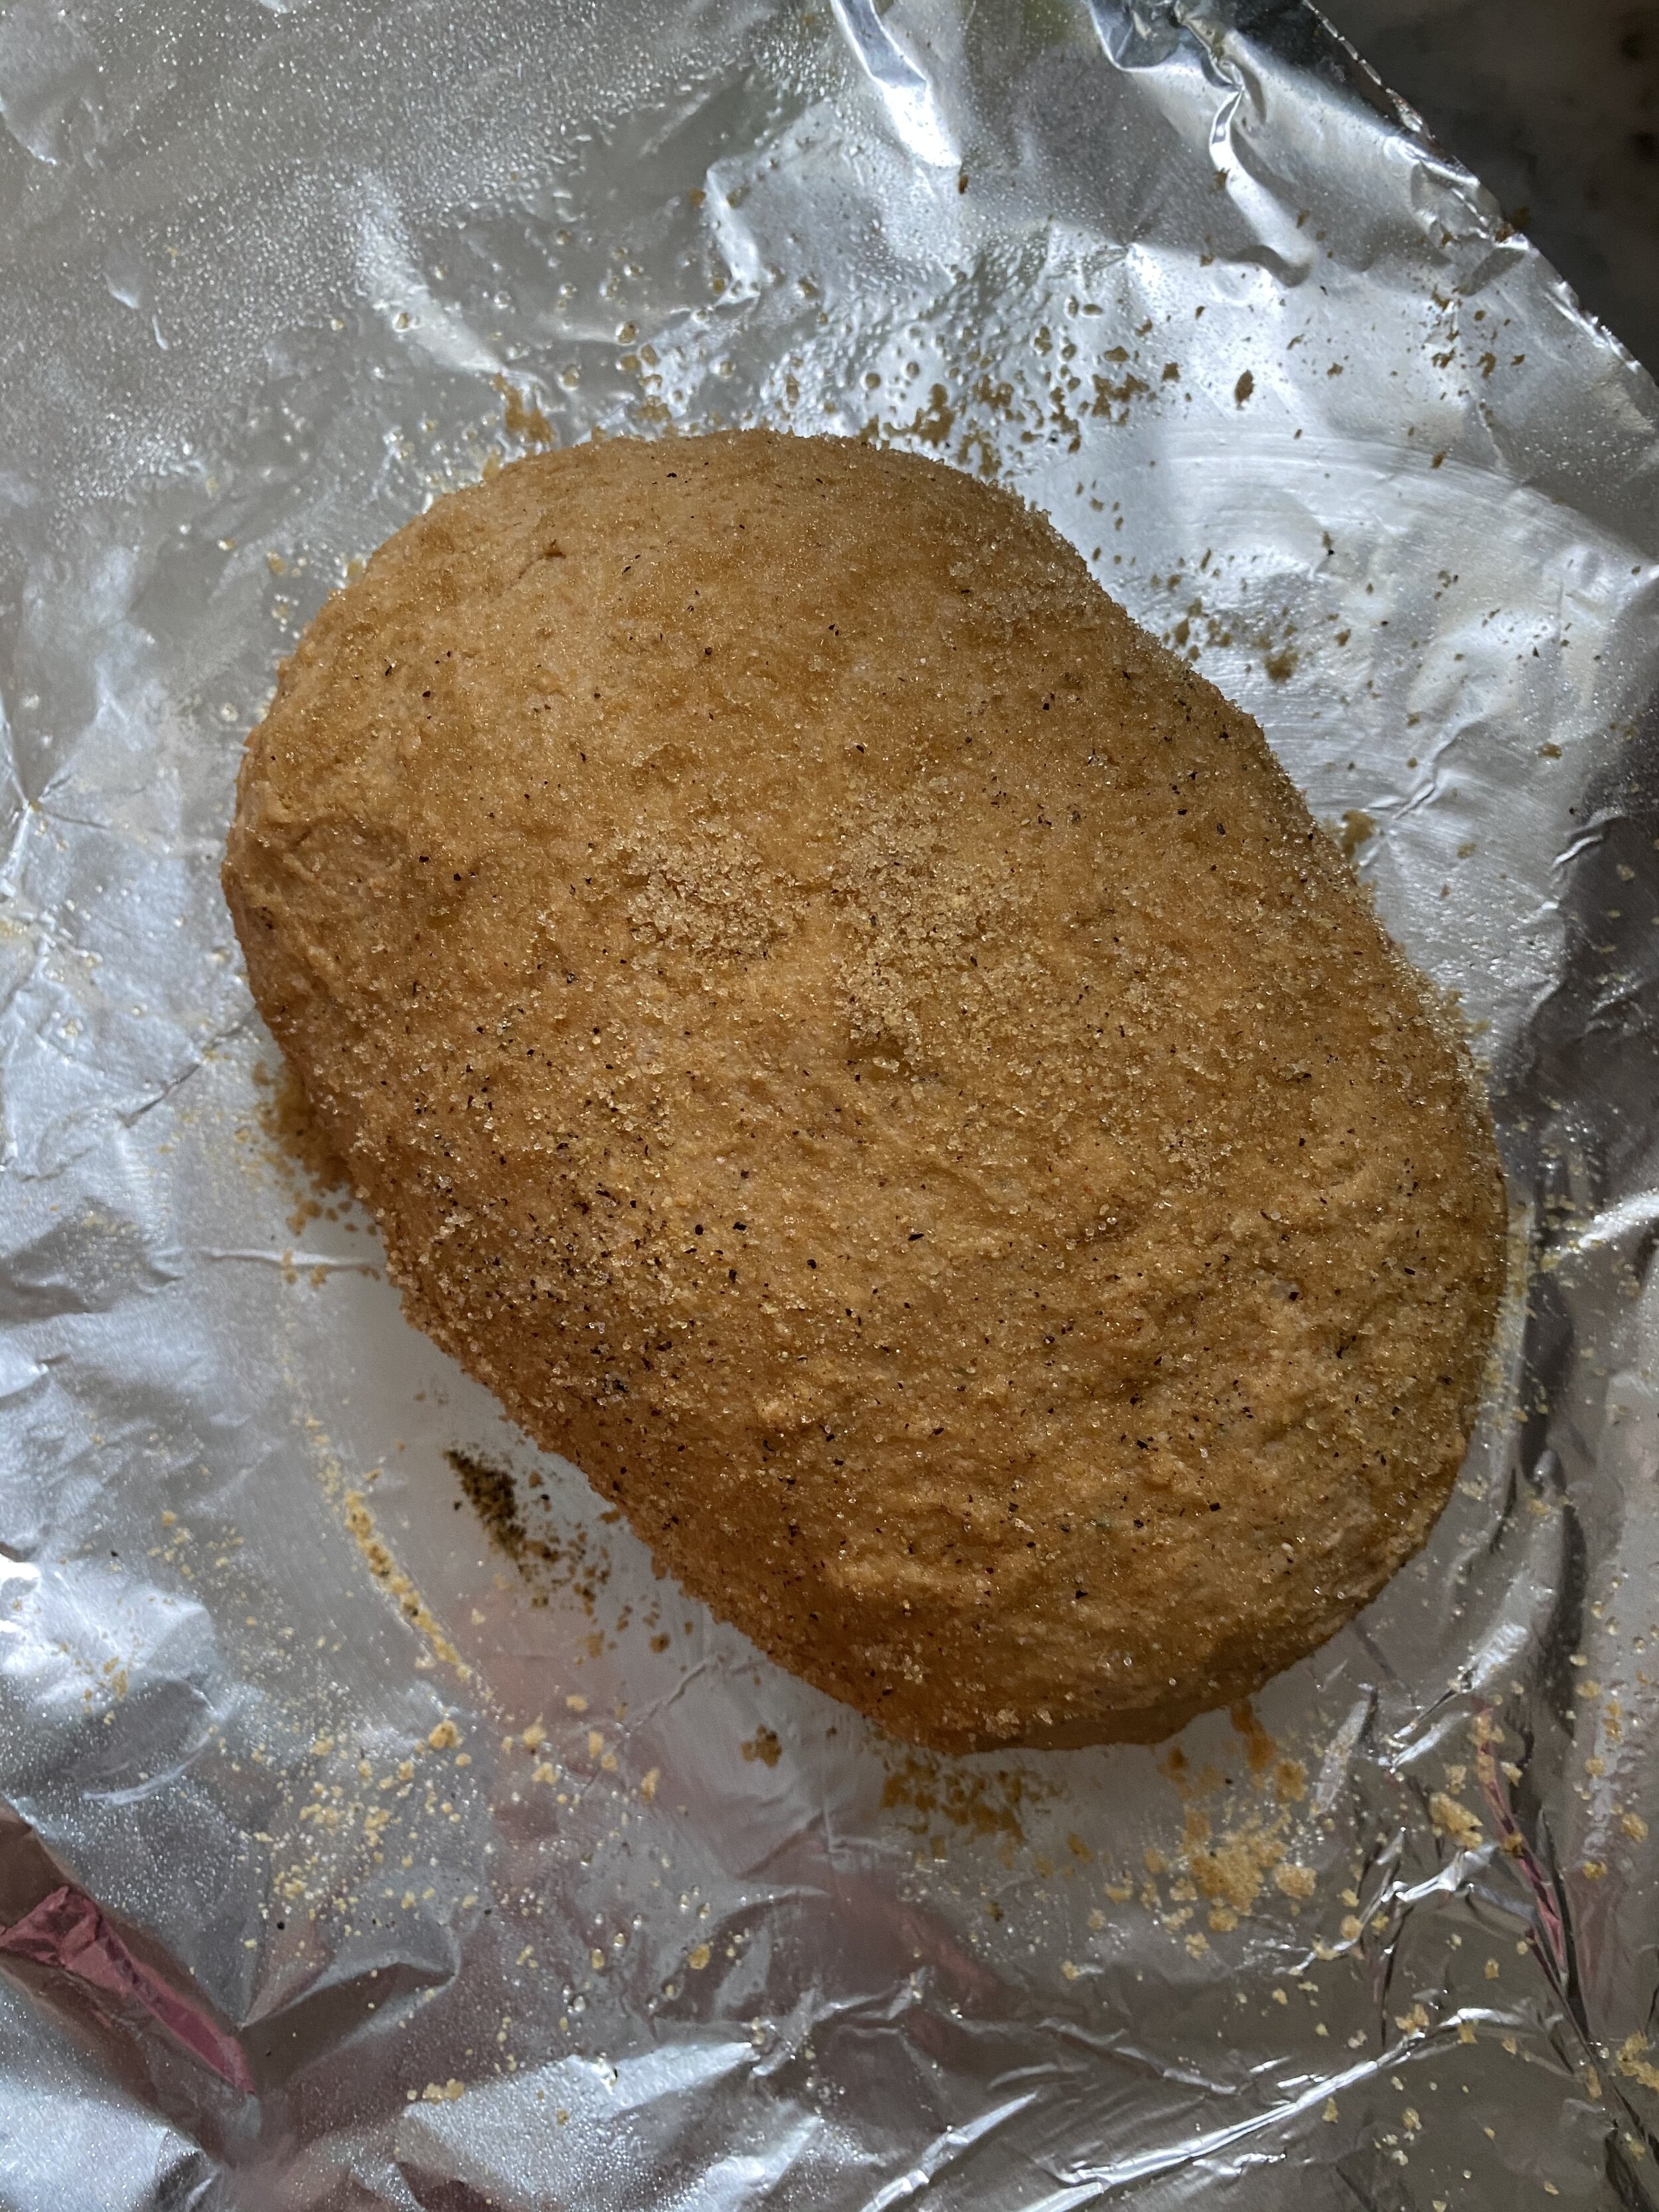
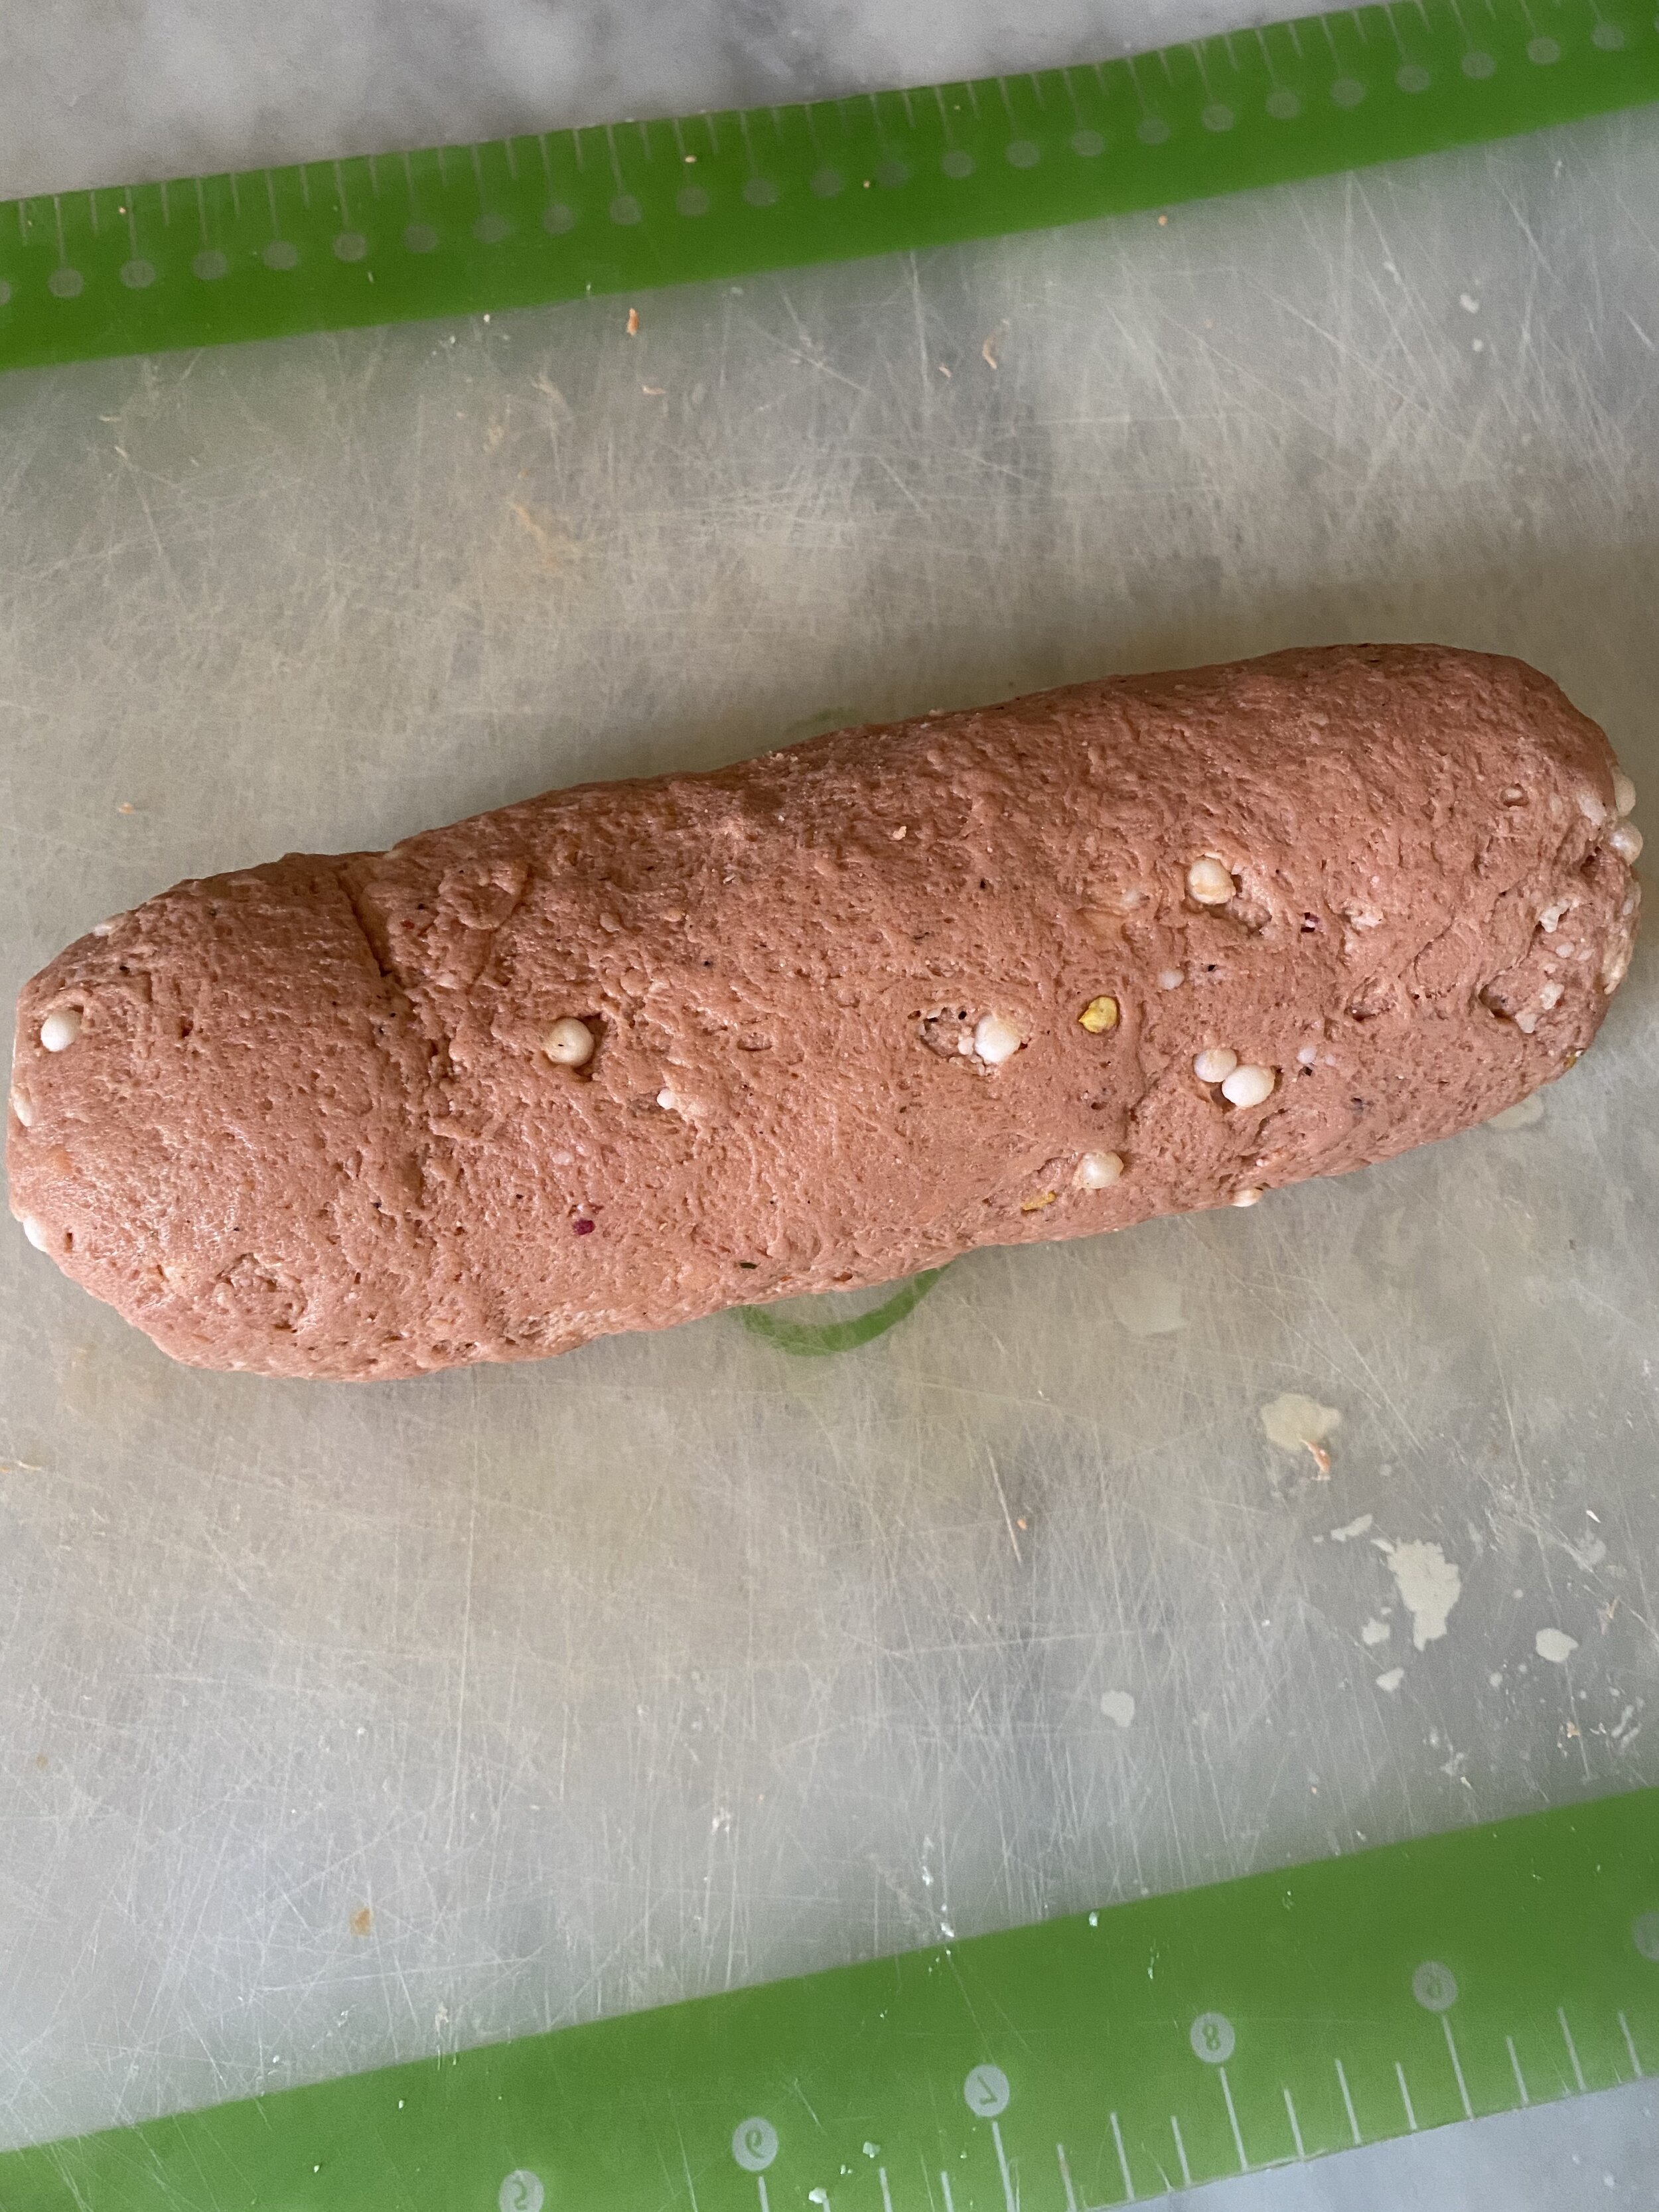
Shape each piece of dough into a 7 or 8 inch log. You will need to roll and pinch the dough to get it as smooth as you can. Adding the tapioca pearls makes getting the dough smooth a little more difficult than if you were making something like a pepperoni. But it will get smooth, I promise.
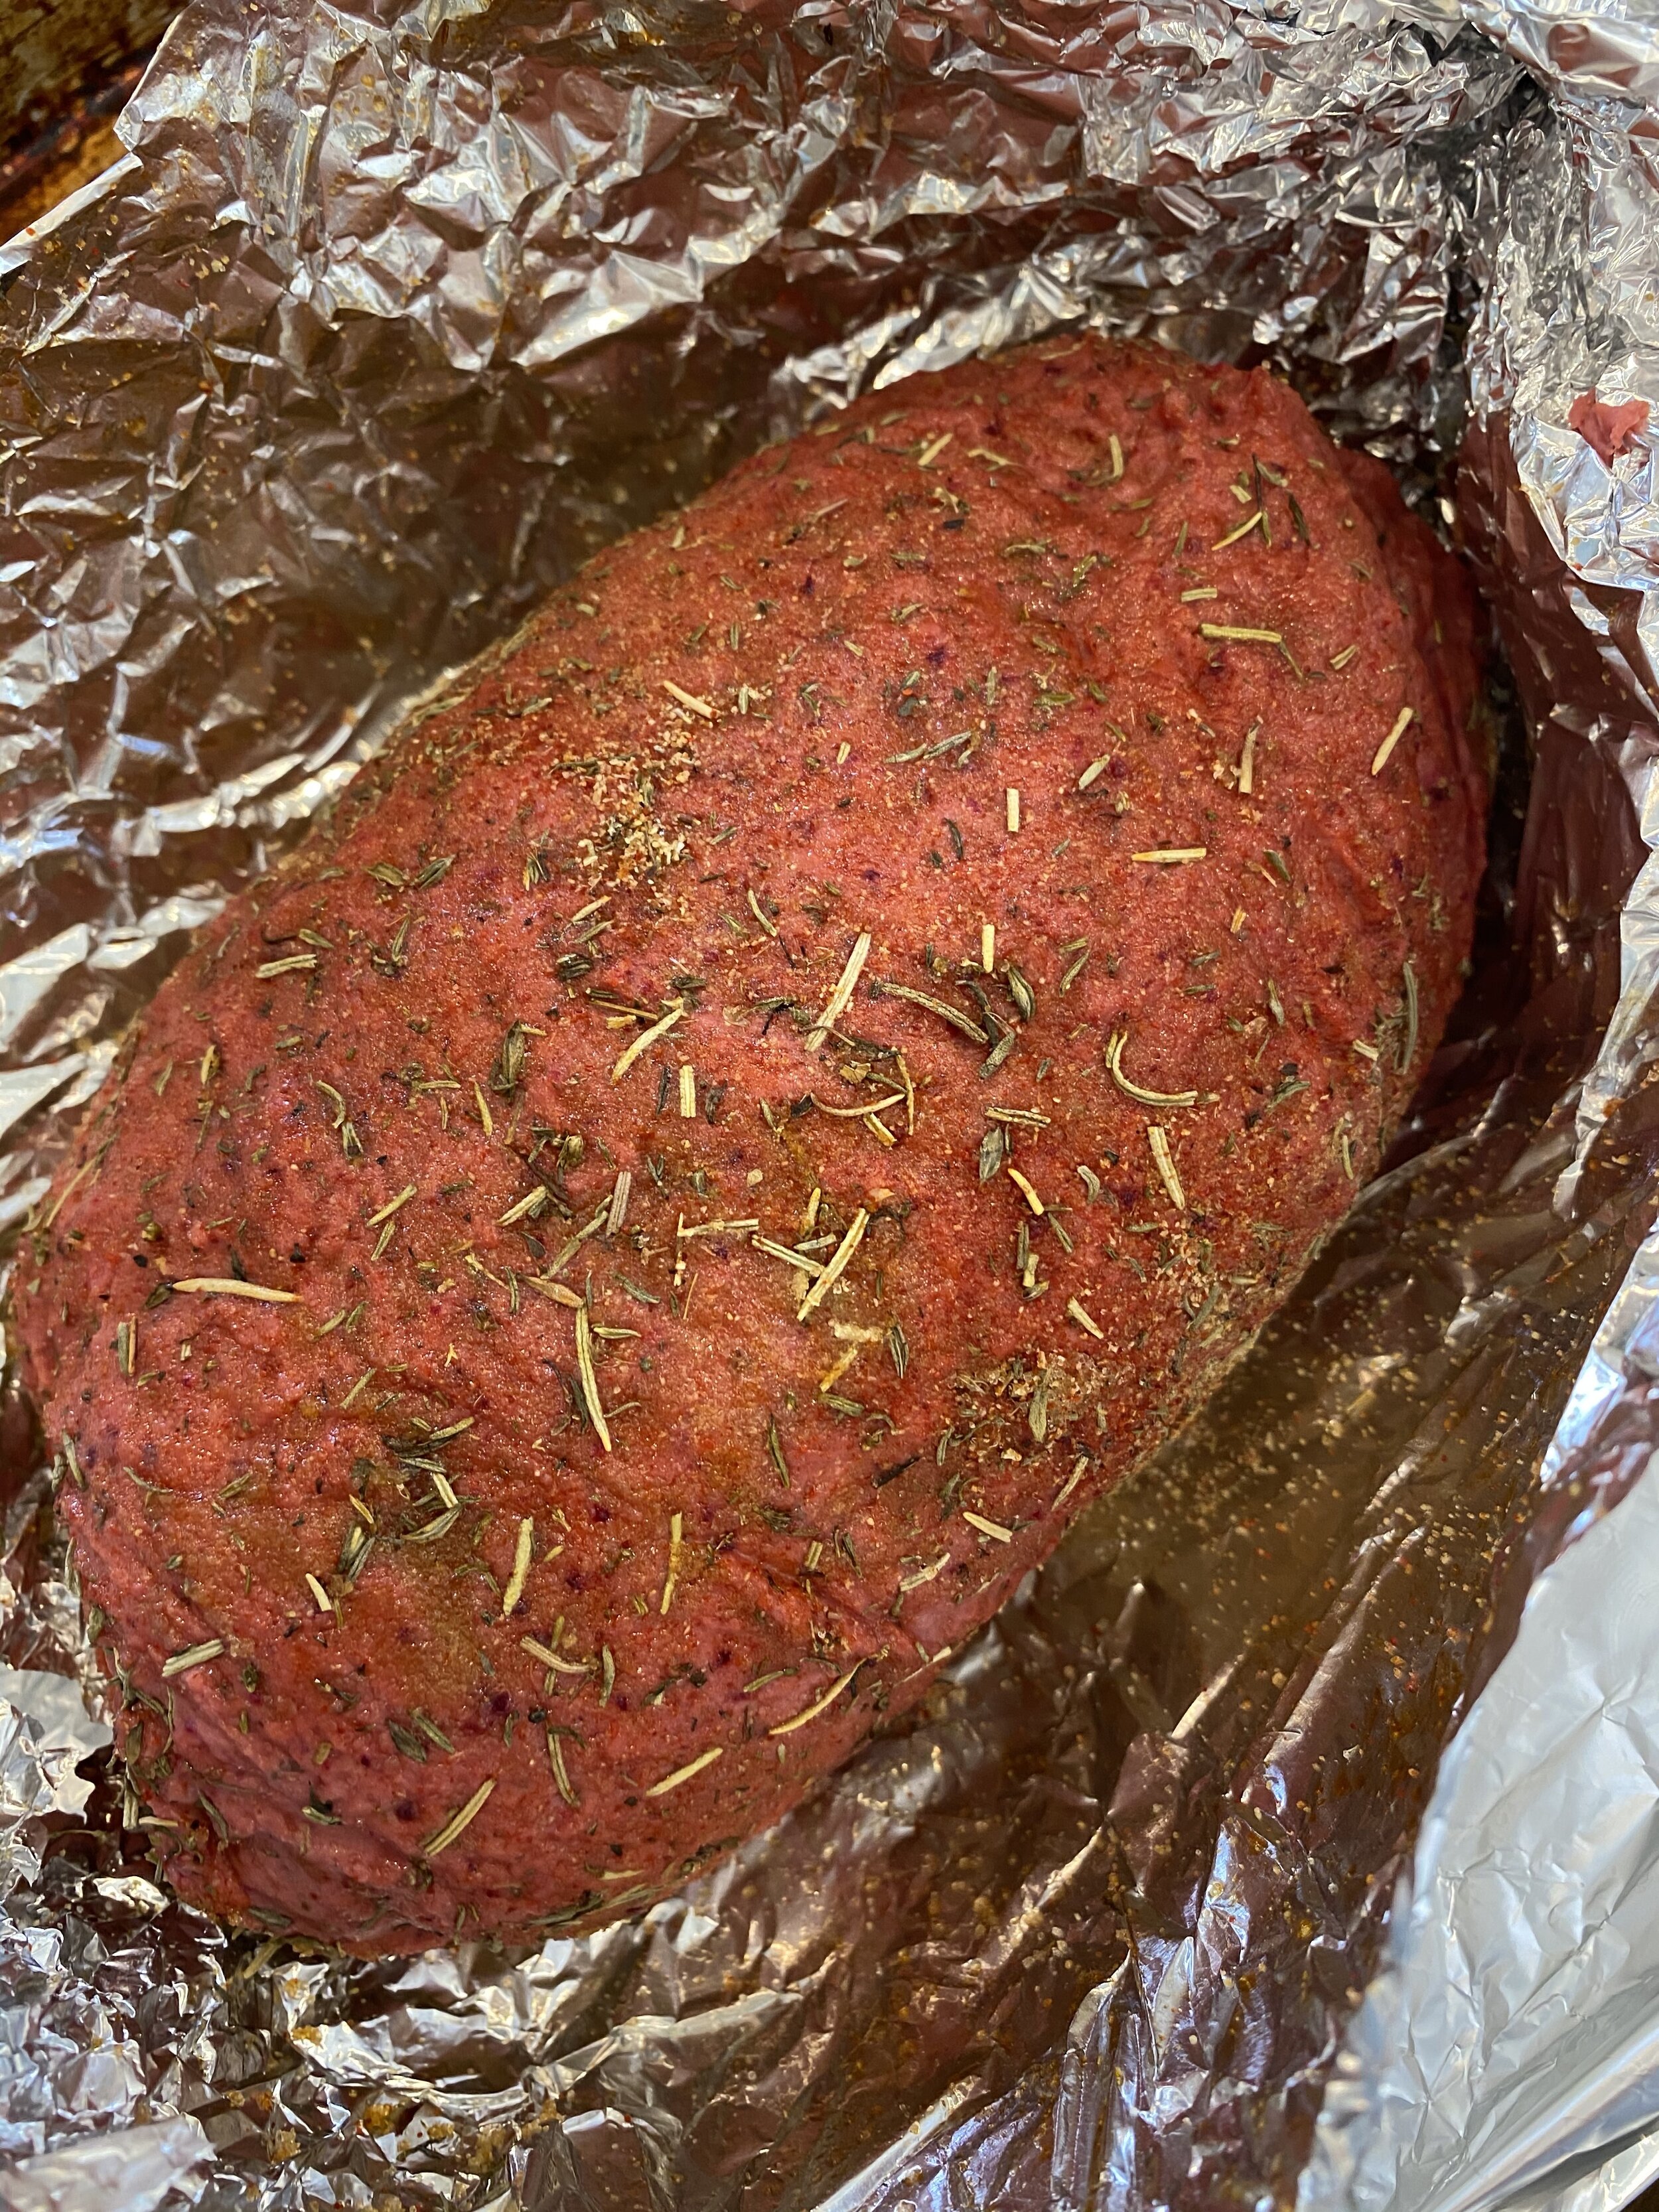
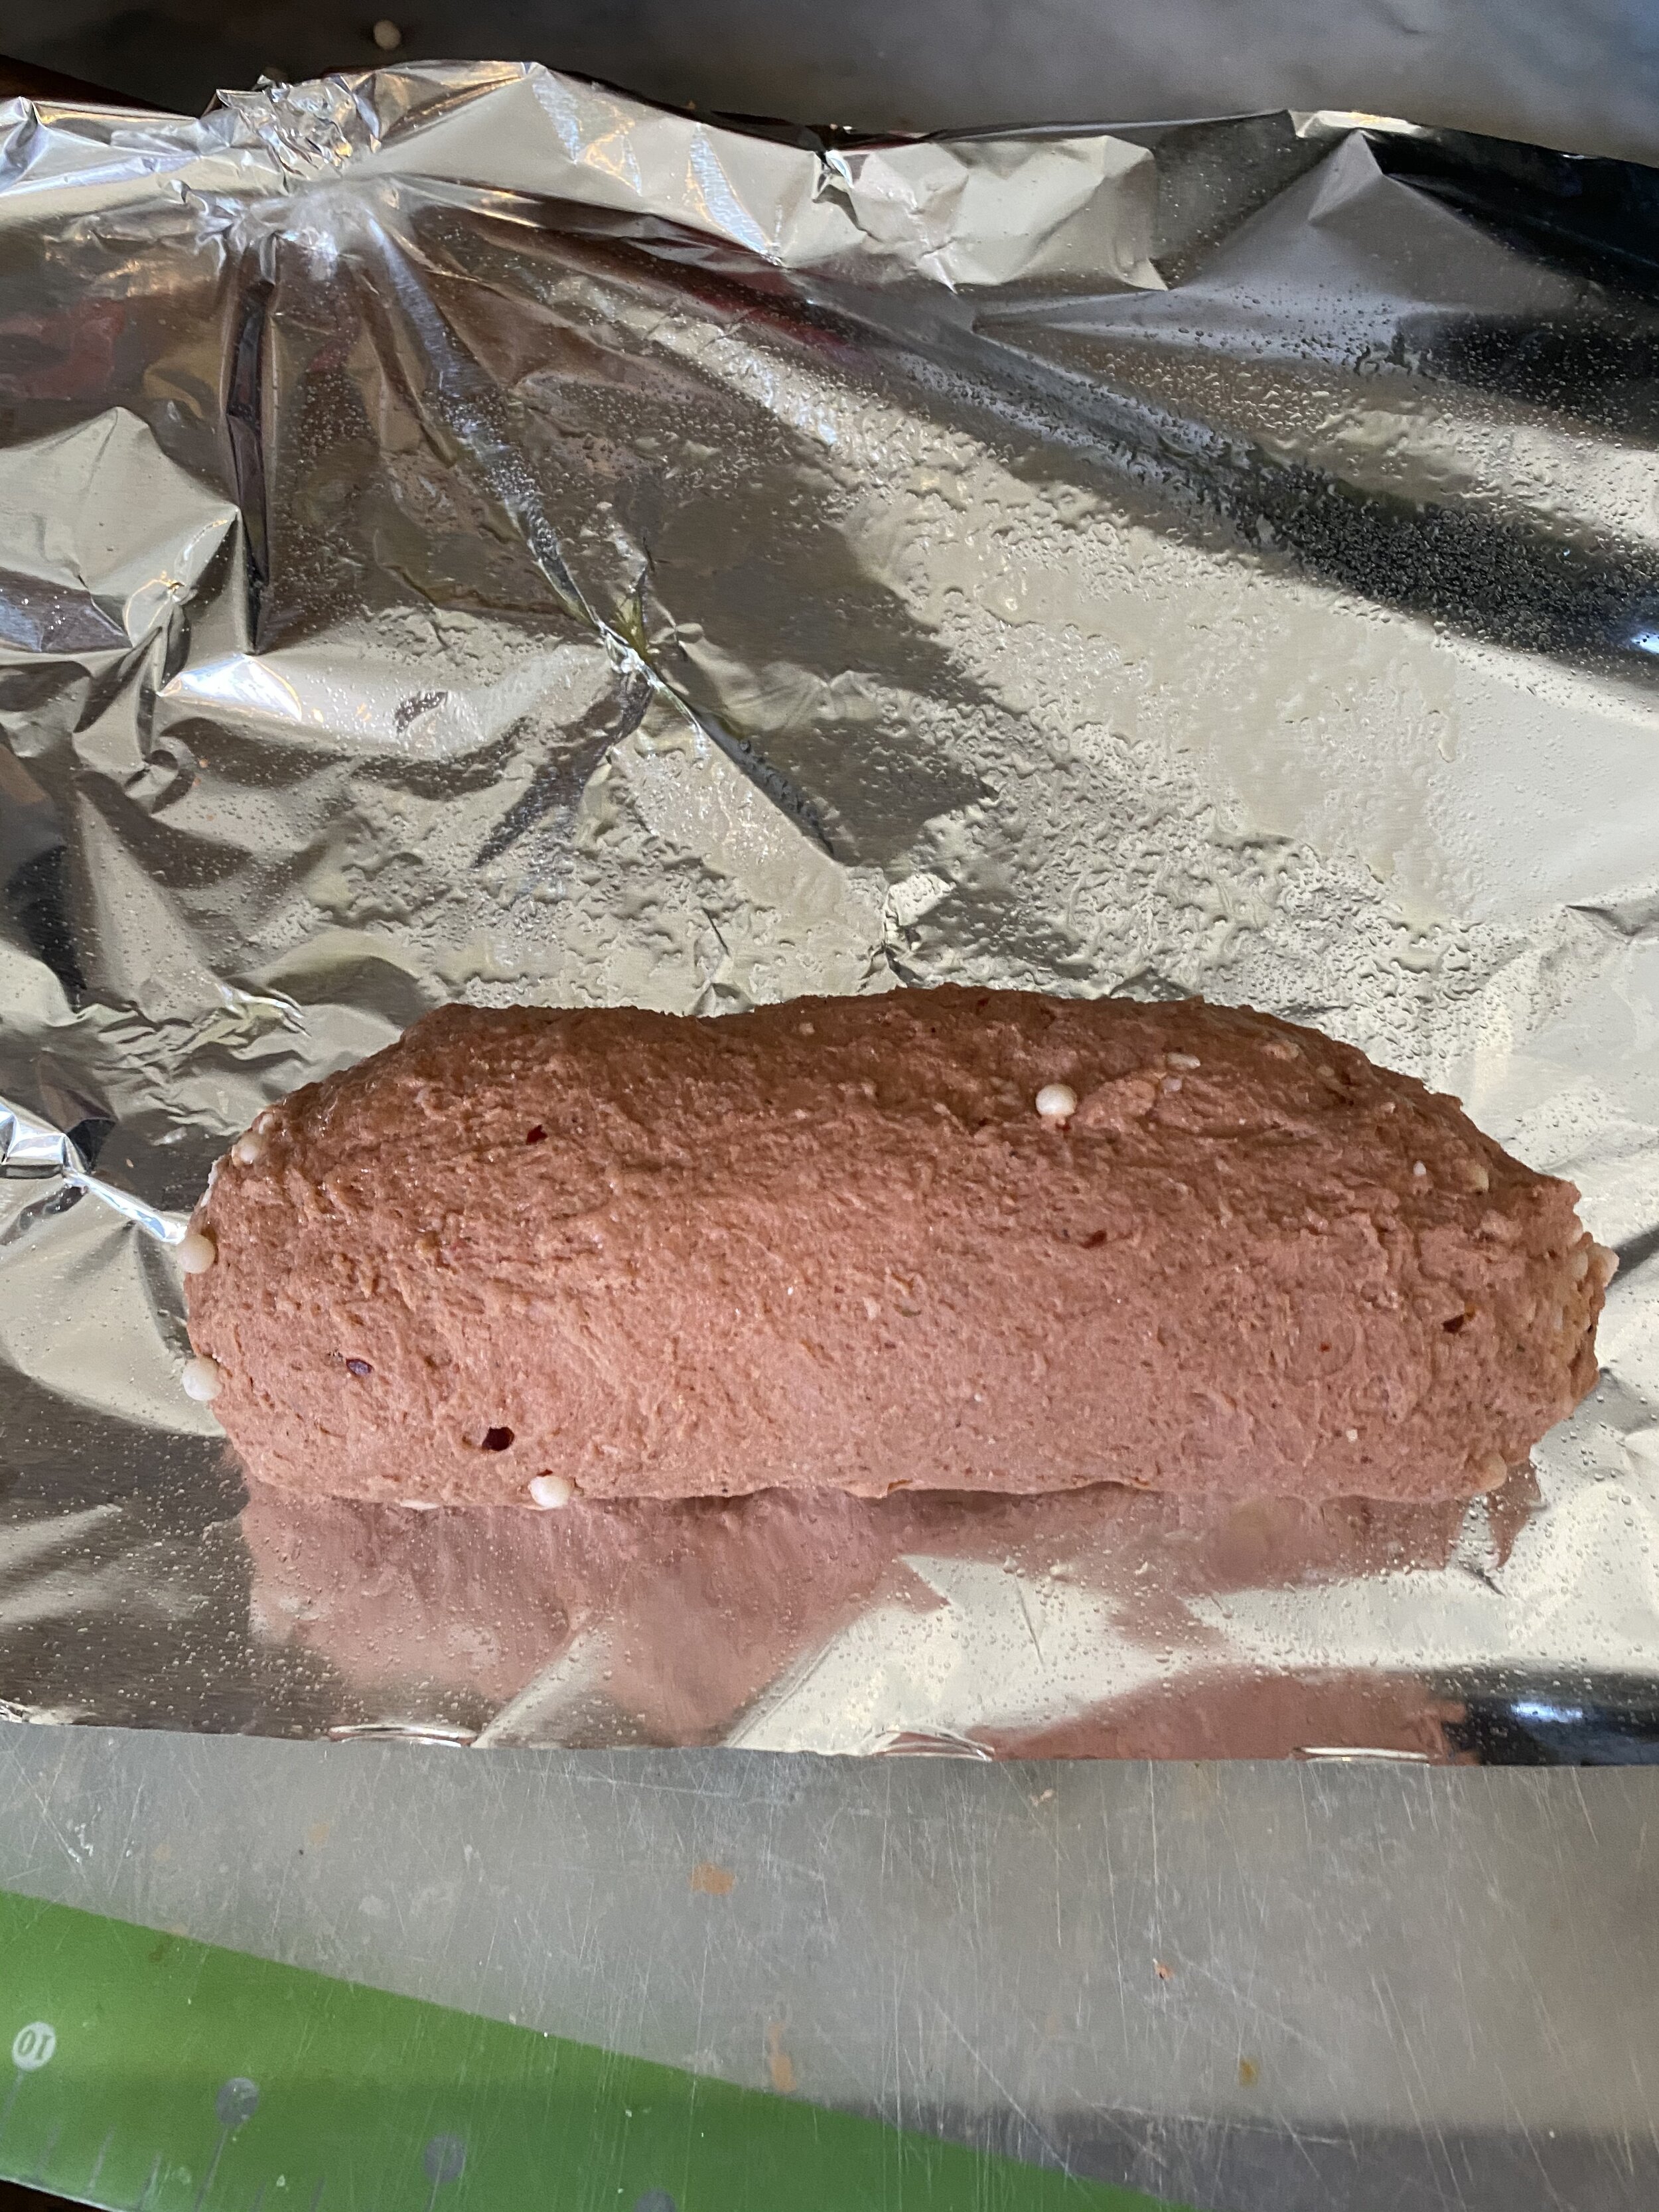
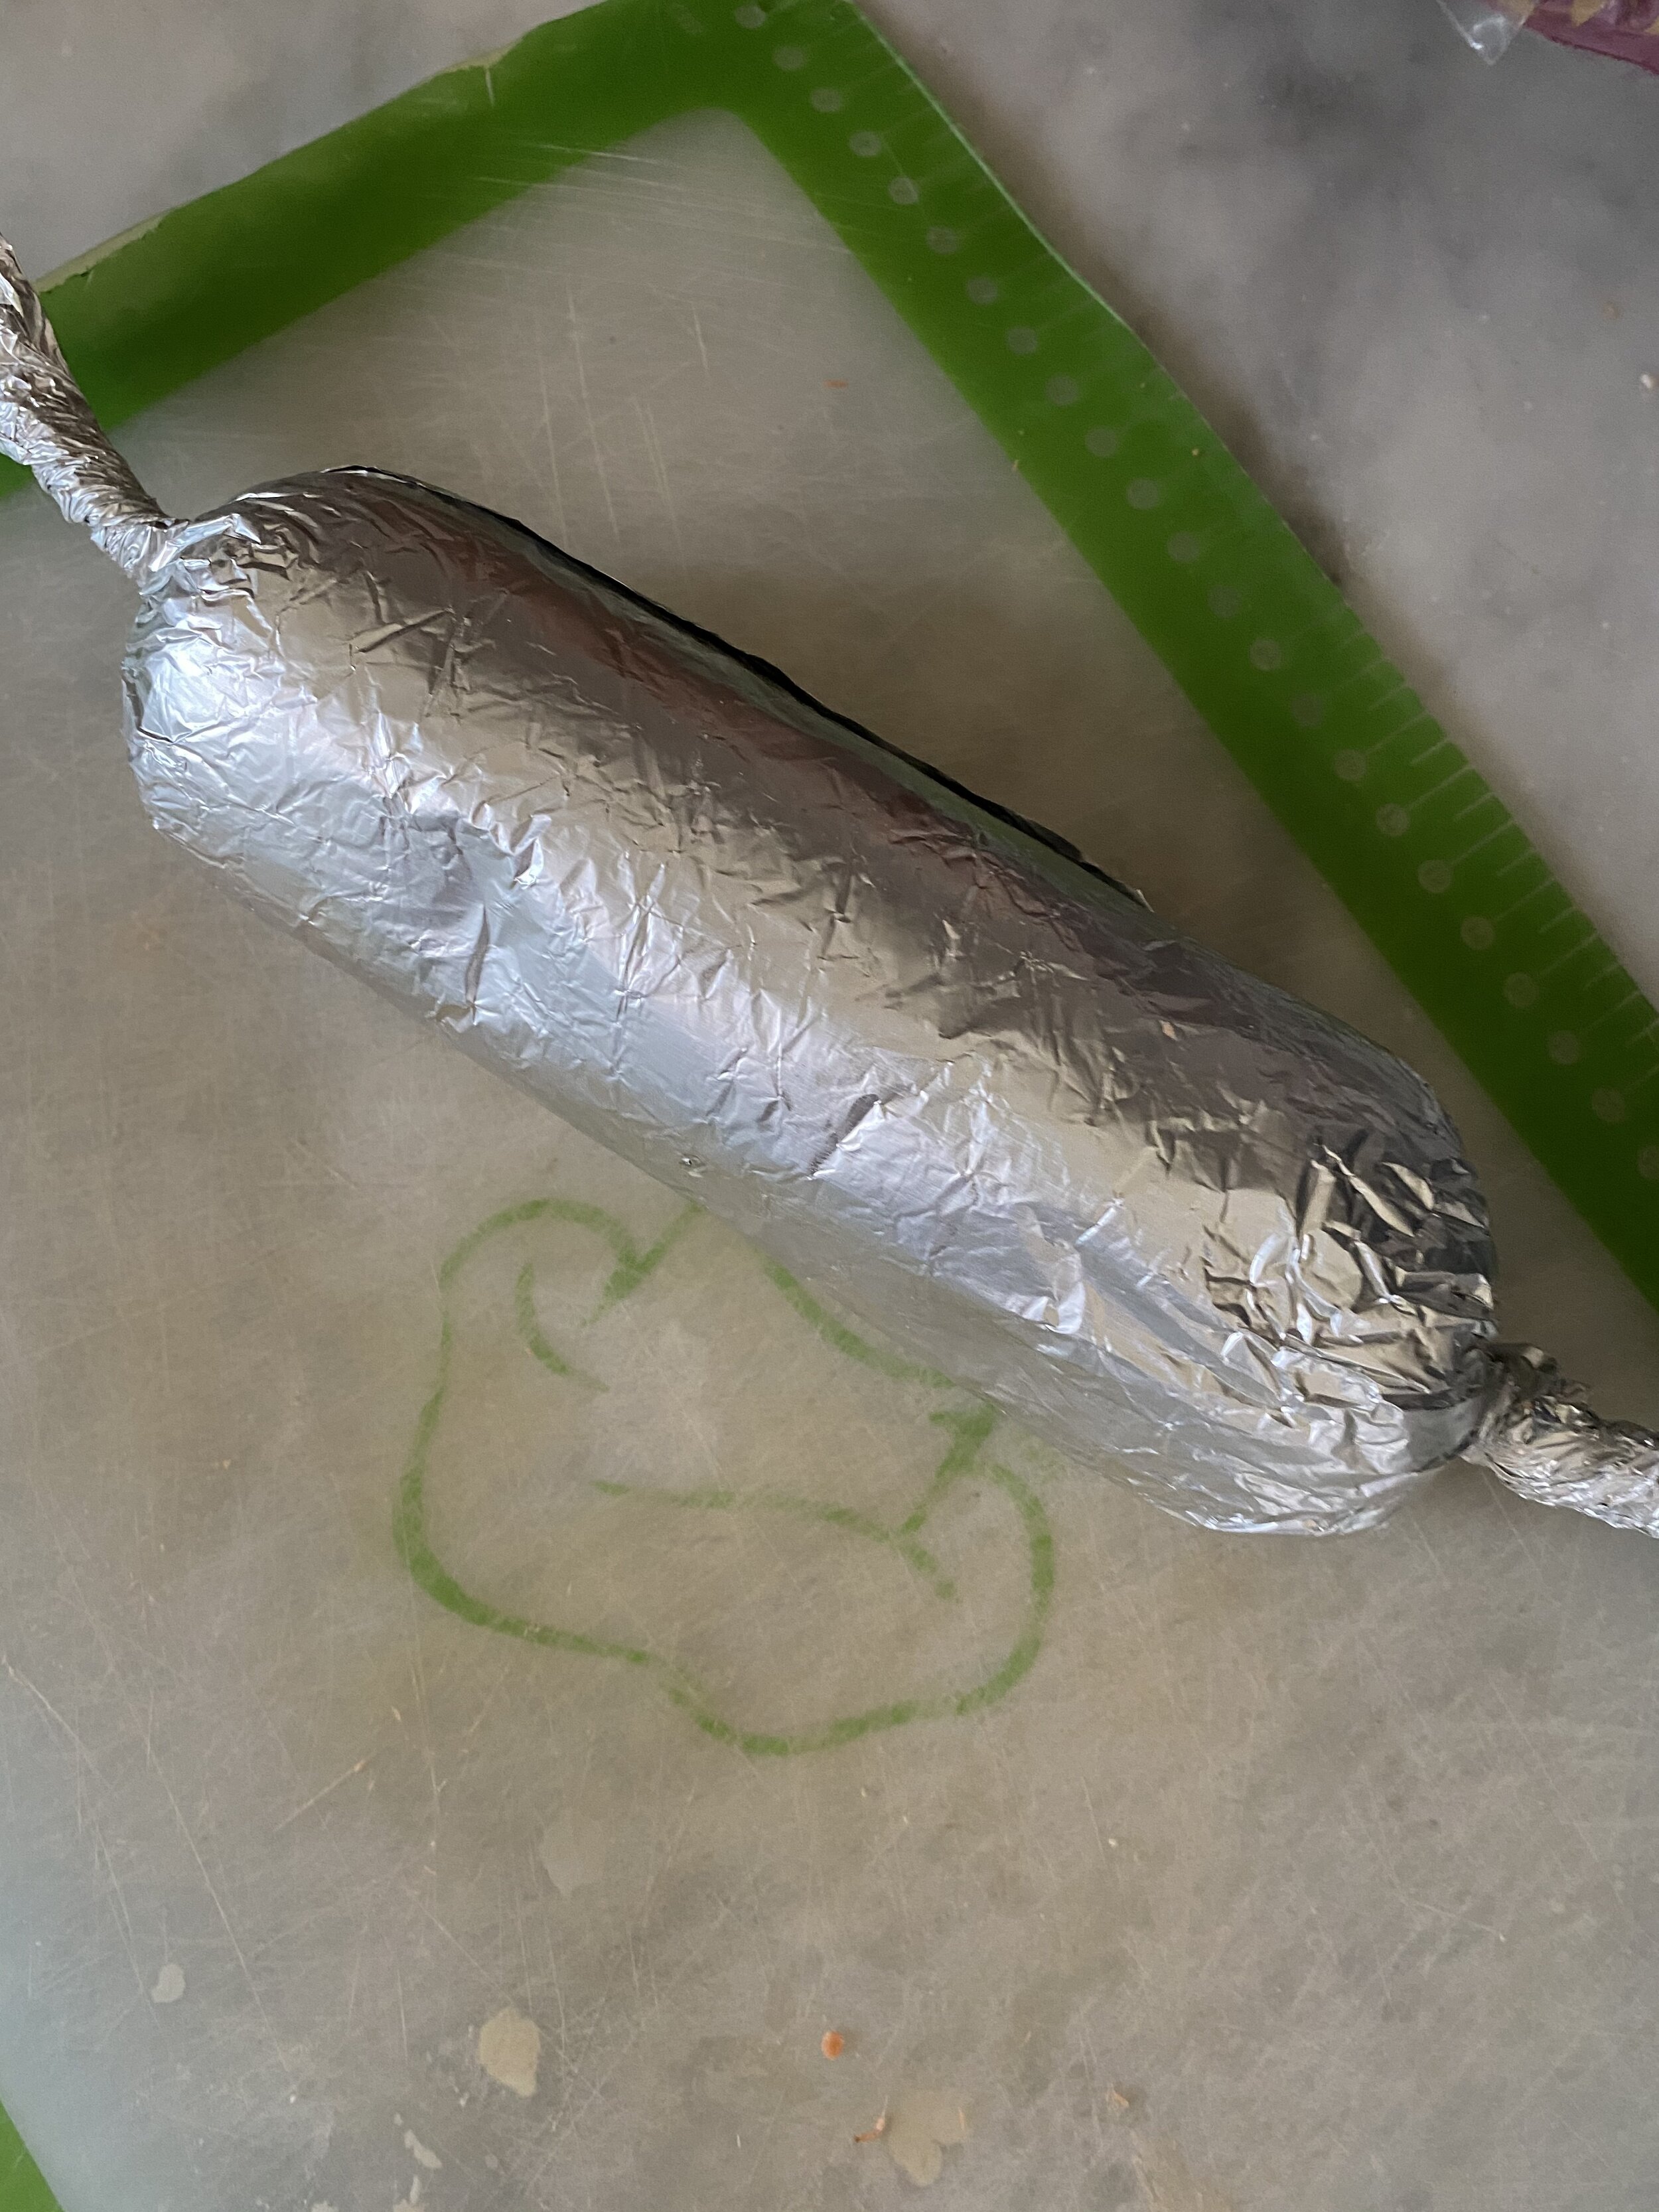
Take two pieces of aluminum foil about 3x bigger than each log of dough, and lay it out flat. Coat the foil in spray oil or wipe it down with any oil you have. Place a log of seitan at one of the long ends of the foil and begin rolling. Once you have it rolled up tightly in the foil, twist up the ends of the foil nice and tight (see picture) like foil arms.
Take a dutch oven, cast iron skillet, or even a baking dish, and use the foil ends to drape the salamis over the pot or pan. You want them suspended and not touching the bottom. If the salami is baked resting on a pan, the bottom tends to flatten a bit and brown while it bakes. This will help you keep a nice round shape without a water bath, and the bottom won’t brown!
Place the pot or pan in the oven on the middle rack, and let the vegan salamis bake wrapped for 1 hour.
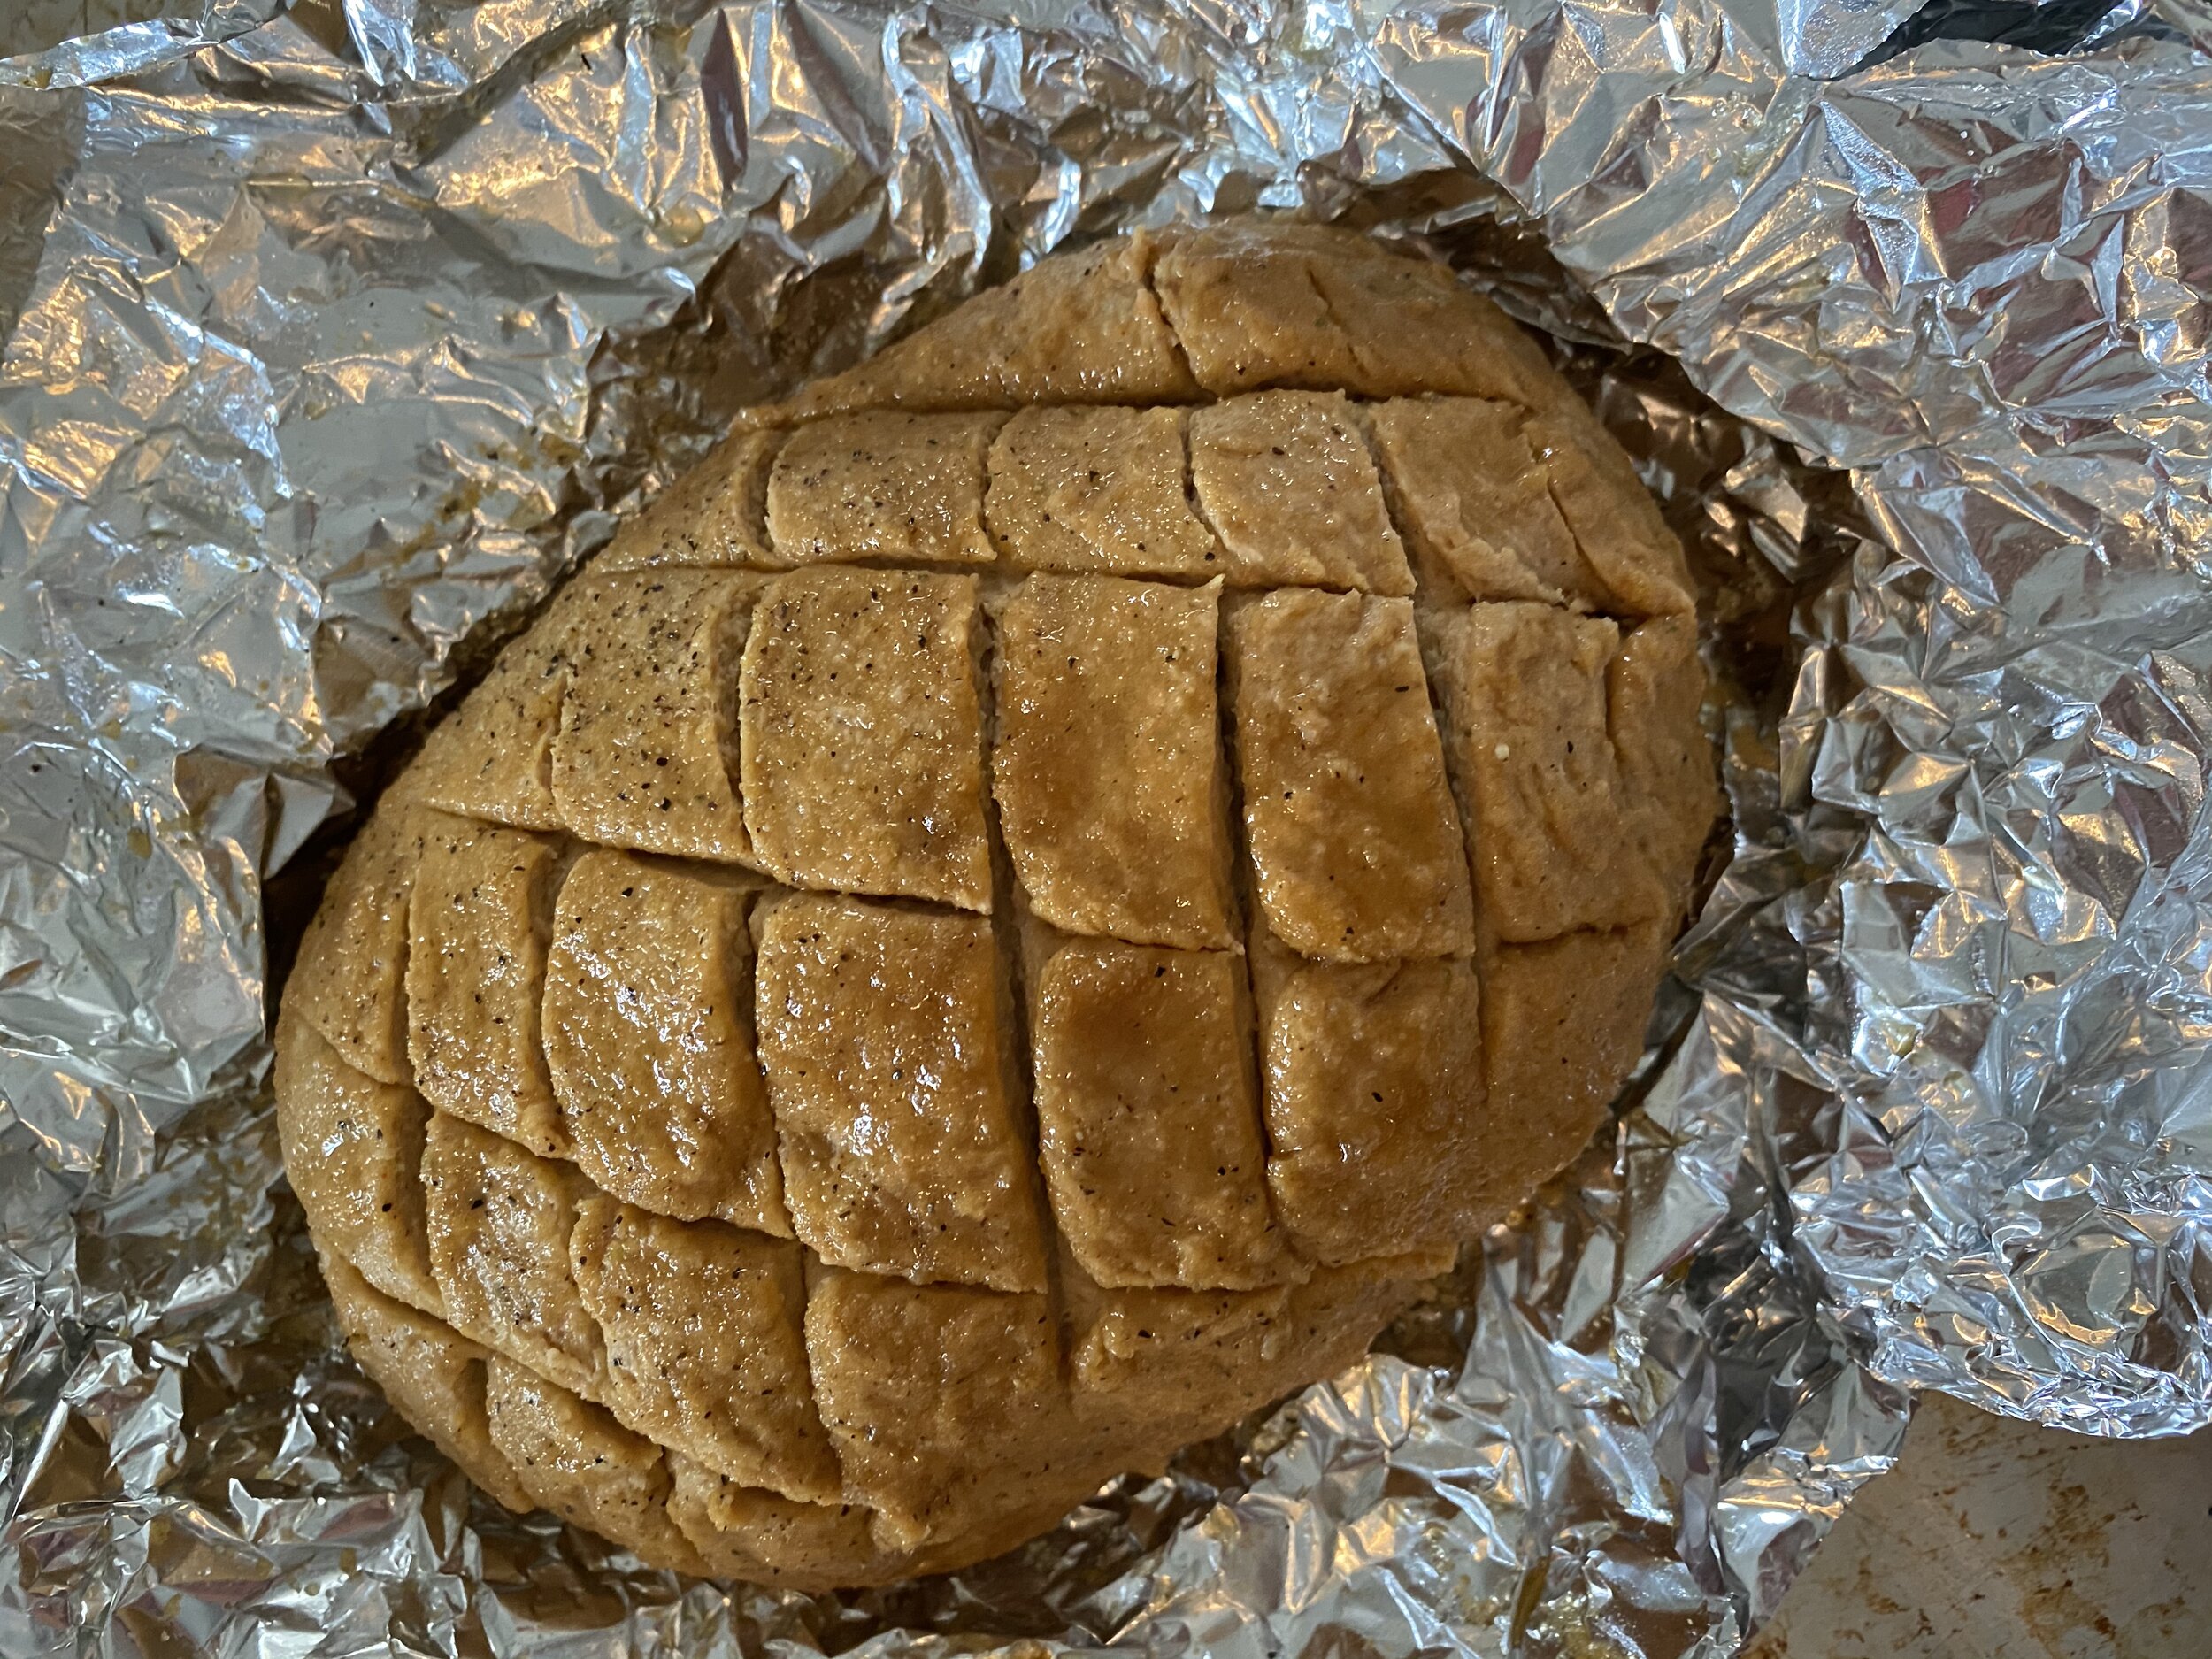
Remove from the oven and allow to cool enough to open the foil. Allow to further cool at room temperature. Once cooled place in a zip lock bag or airtight container in the fridge.
Leave the vegan salami in the fridge to rest for at least 6 hours. I normally just leave mine to rest over night. The salami MUST REST! Seitan will firm up only after it has a nice long rest in the fridge! If you want a firm sliceable vegan salami then you have to let it rest, y’all!
Store rested vegan salami in the fridge for up to 10 days in an air tight container, or freeze for up to 6 months.
Trouble shooting issues with your vegan salami:
If your vegan salami seems too doughy after it has rested, then you may not have kneaded it long enough. The longer you knead seitan dough the tougher / firmer it will get. Make sure to let the dough knead a few minutes. Also make sure you wrap that foil nice and tight!!!
It also may be that your oven temp is off and is not the temperature it is registering. You can get an oven thermometer to check the real temp or next time just let it bake an extra 20 minutes.
If you seitan seems bread like, with little holes in it after it has rested, once you slice it, then your oven may be cooking hotter than it registers or you maybe have cooked it too long. Again, can get an oven thermometer and check the temp, or just knock back the temp 20 degrees or so then next time you bake it.
If you like this recipe, then try these:


vegan flank steak