I make a lot of seitan based vegan meats.
I have recipes for a holiday roast, holiday turkey style breast with crispy skin, chicken breast, pastrami, brisket, and even pepperoni. But until I made our original deli turkey I had never added tofu to the mix.
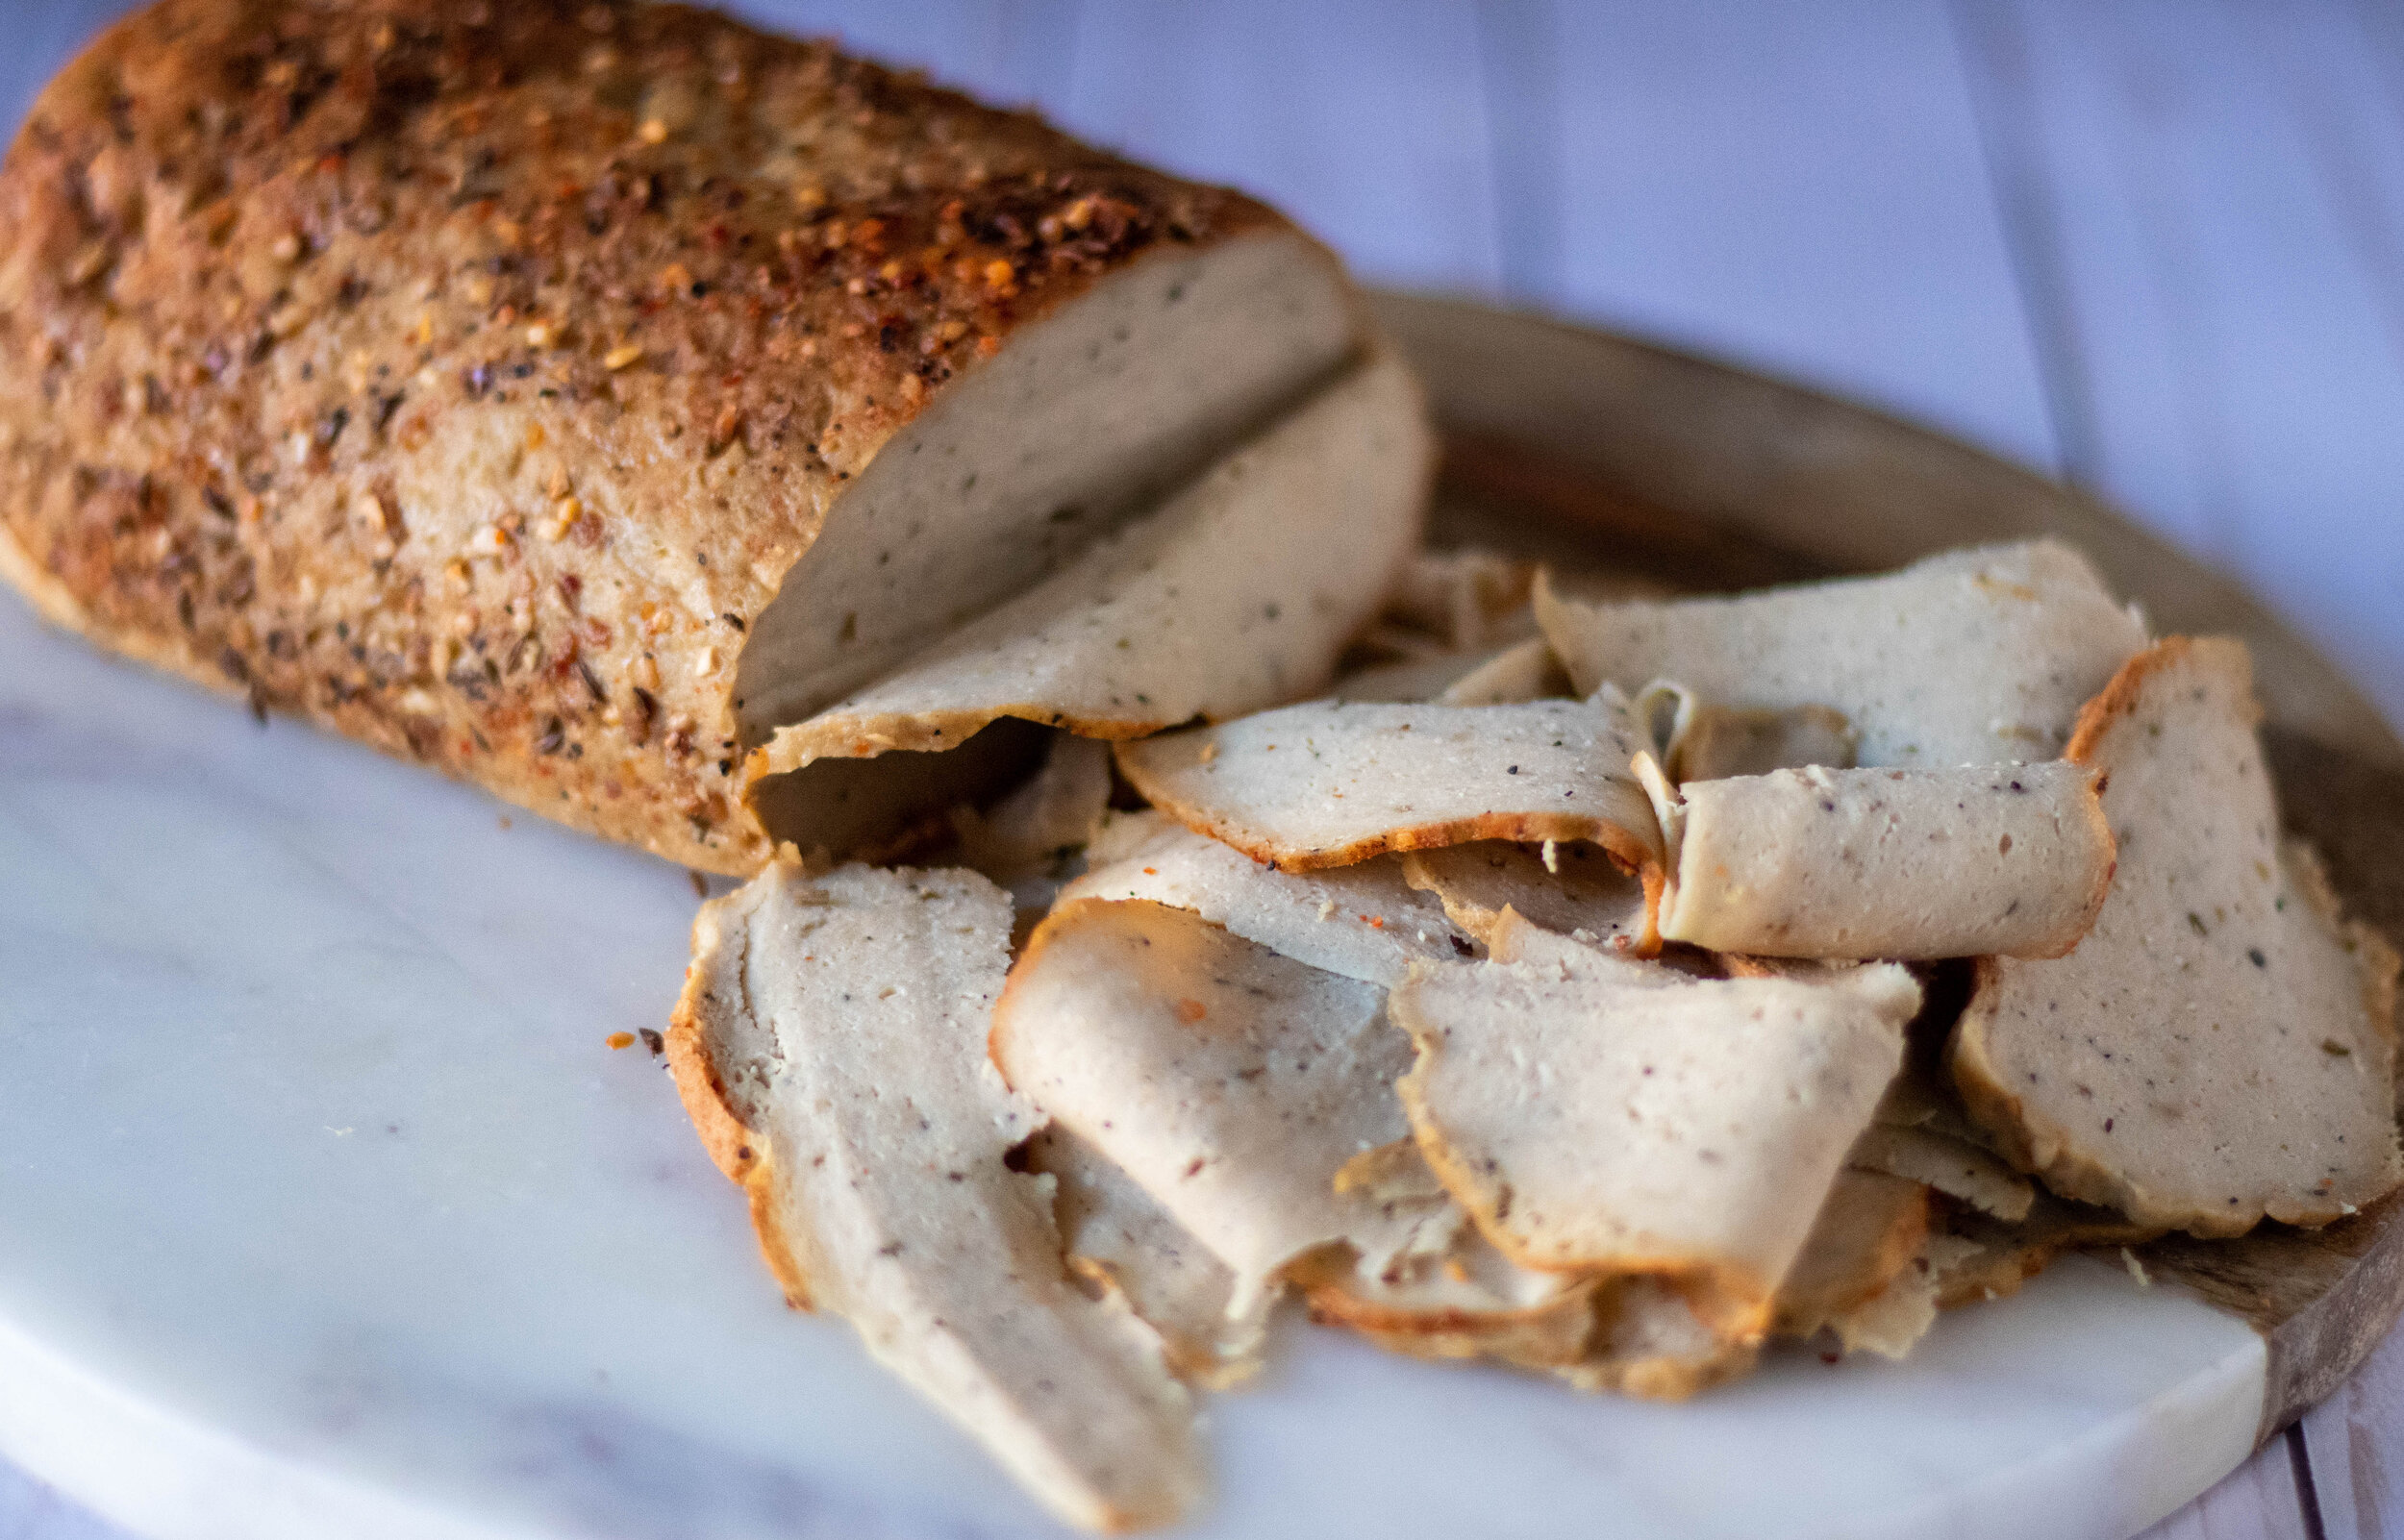
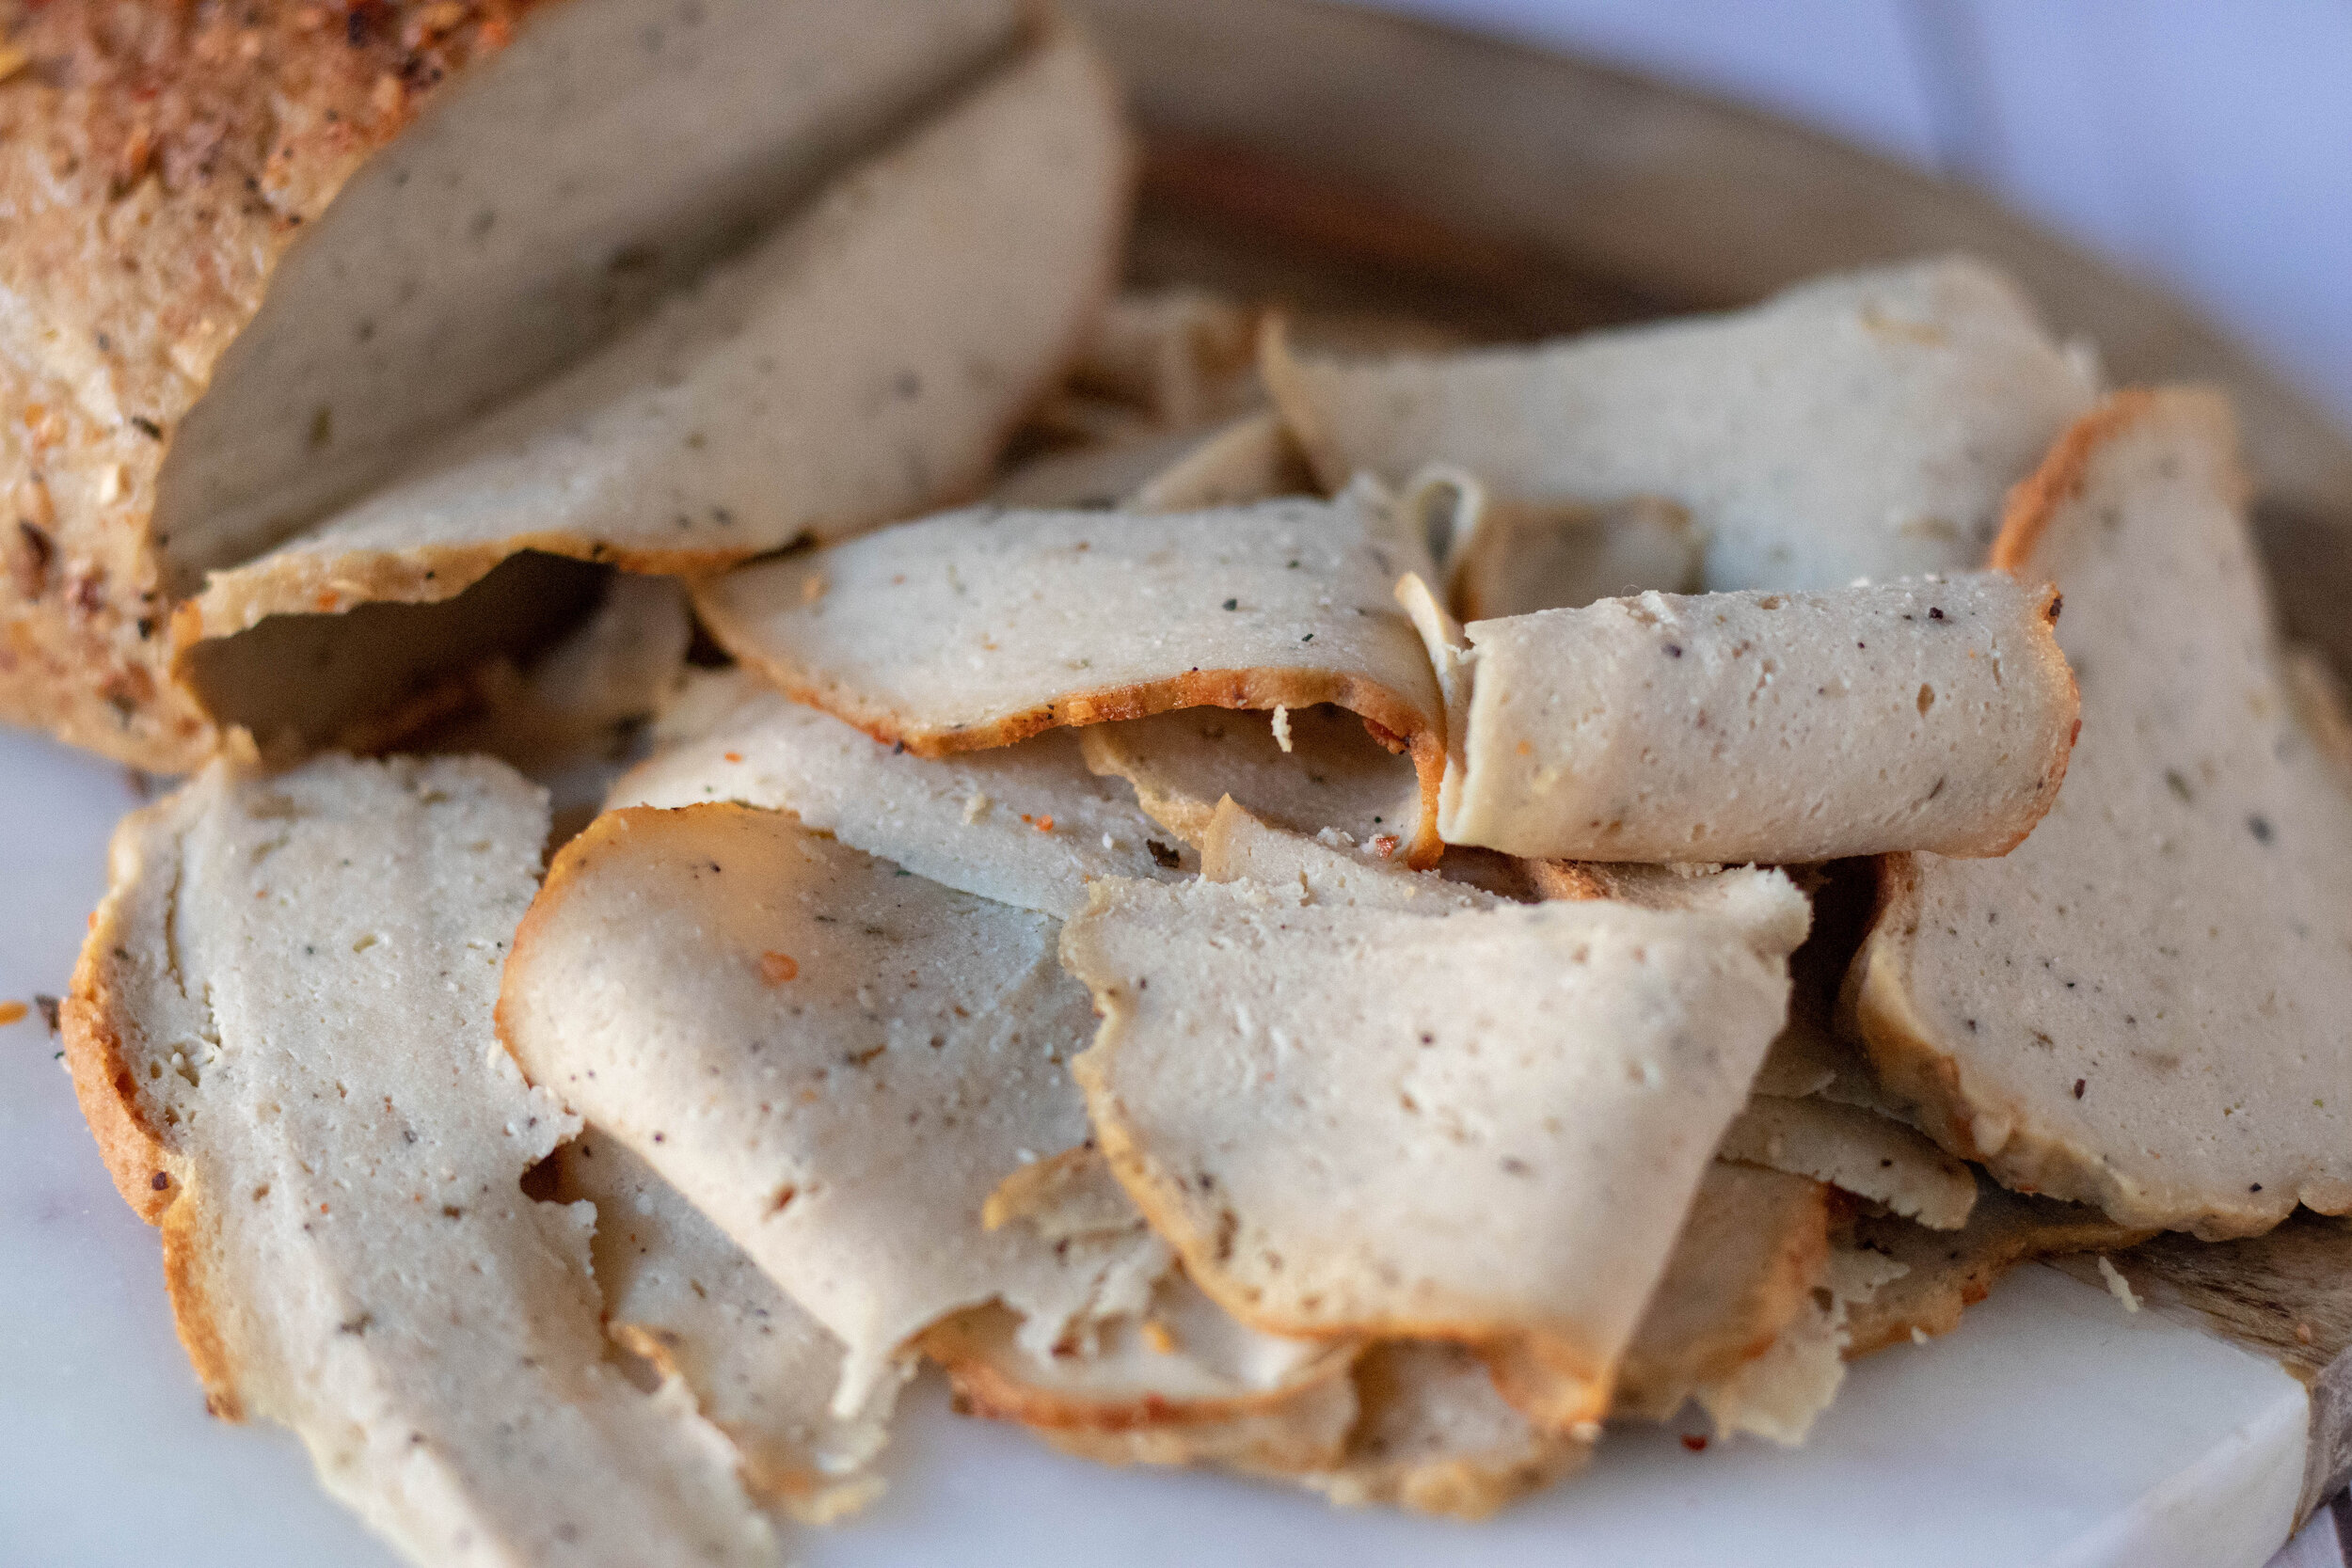
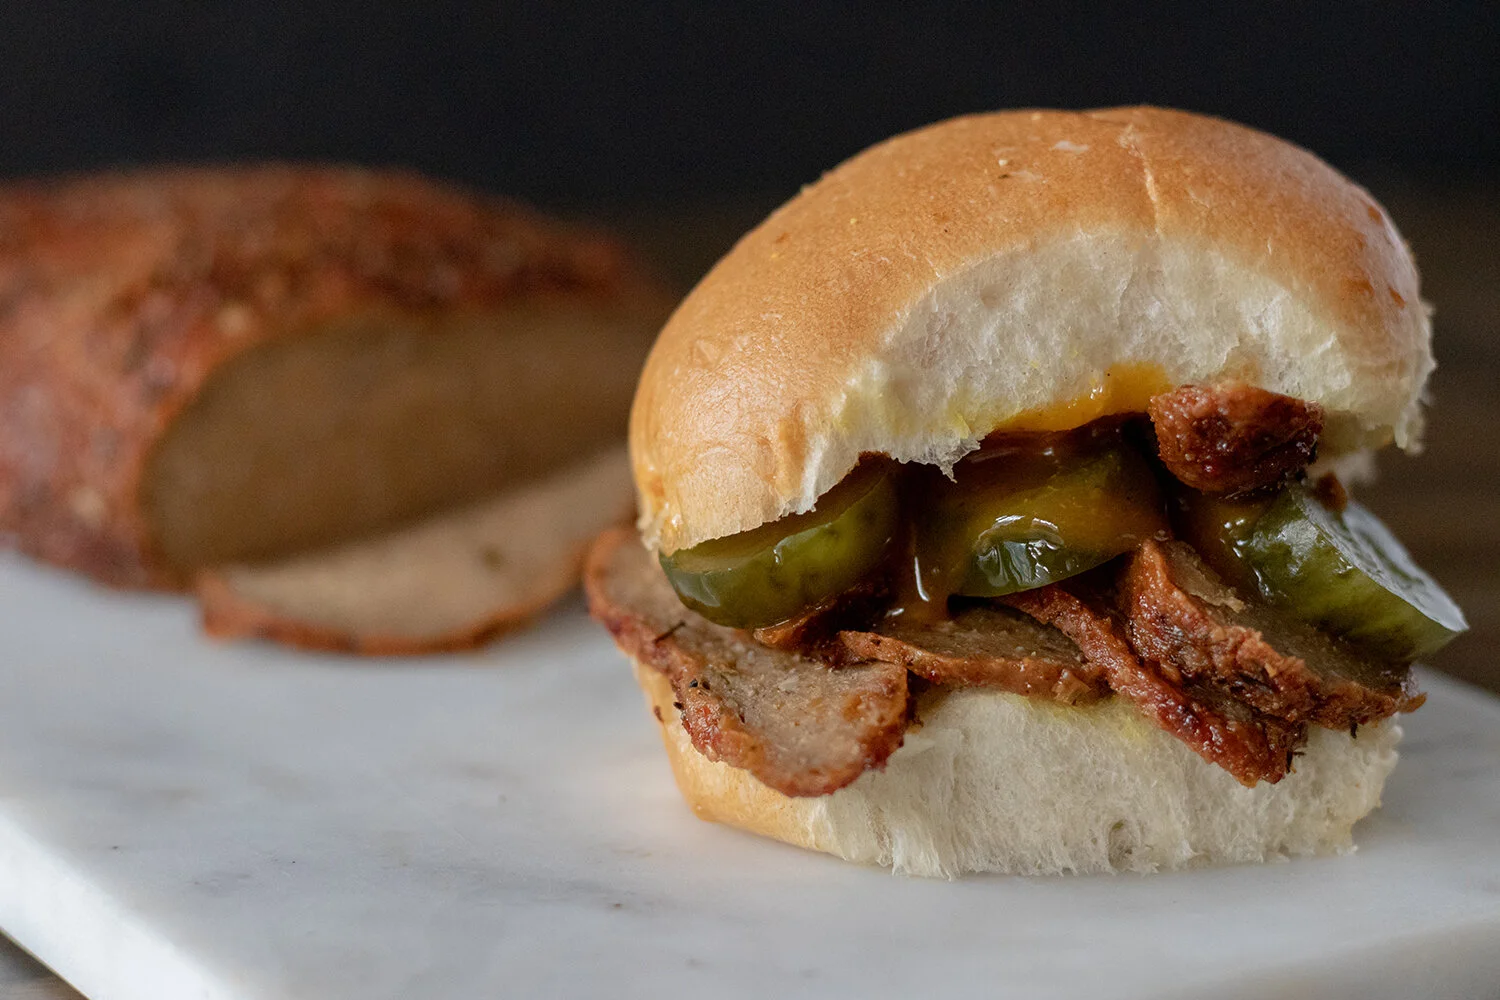
If there was ever a sandwich I missed since going vegan it is a regular old turkey sandwich. I used to love a good deli carved turkey sandwich more than almost anything. So I decided I would try to add tofu to my regular turkey style breast recipe to see if I could get it to a more deli sliced texture.
Y’all, the answer is YES! I have seen other people adding tofu to seitan recipes, and obviously Tofurkey lunch slices are a mix of tofu and vital wheat gluten so I decided to give it a go. It only took one experiment and it came out pretty perfect the first time. I was elated.

Even my husband who normally passes on vital wheat gluten recipes loves it! I was so excited that I made sandwiches to take to my Mah Jong group, i’m sure I have mentioned my Mah Jong group before. Y’all, side note: learn to play Mah Jong, it’s SO FUN!! Sorry back to the point of this! They were skeptical at first but everyone who tried it was floored and surprised by how good it was! Yay for my Mah Jong crew loving vegan meats!!
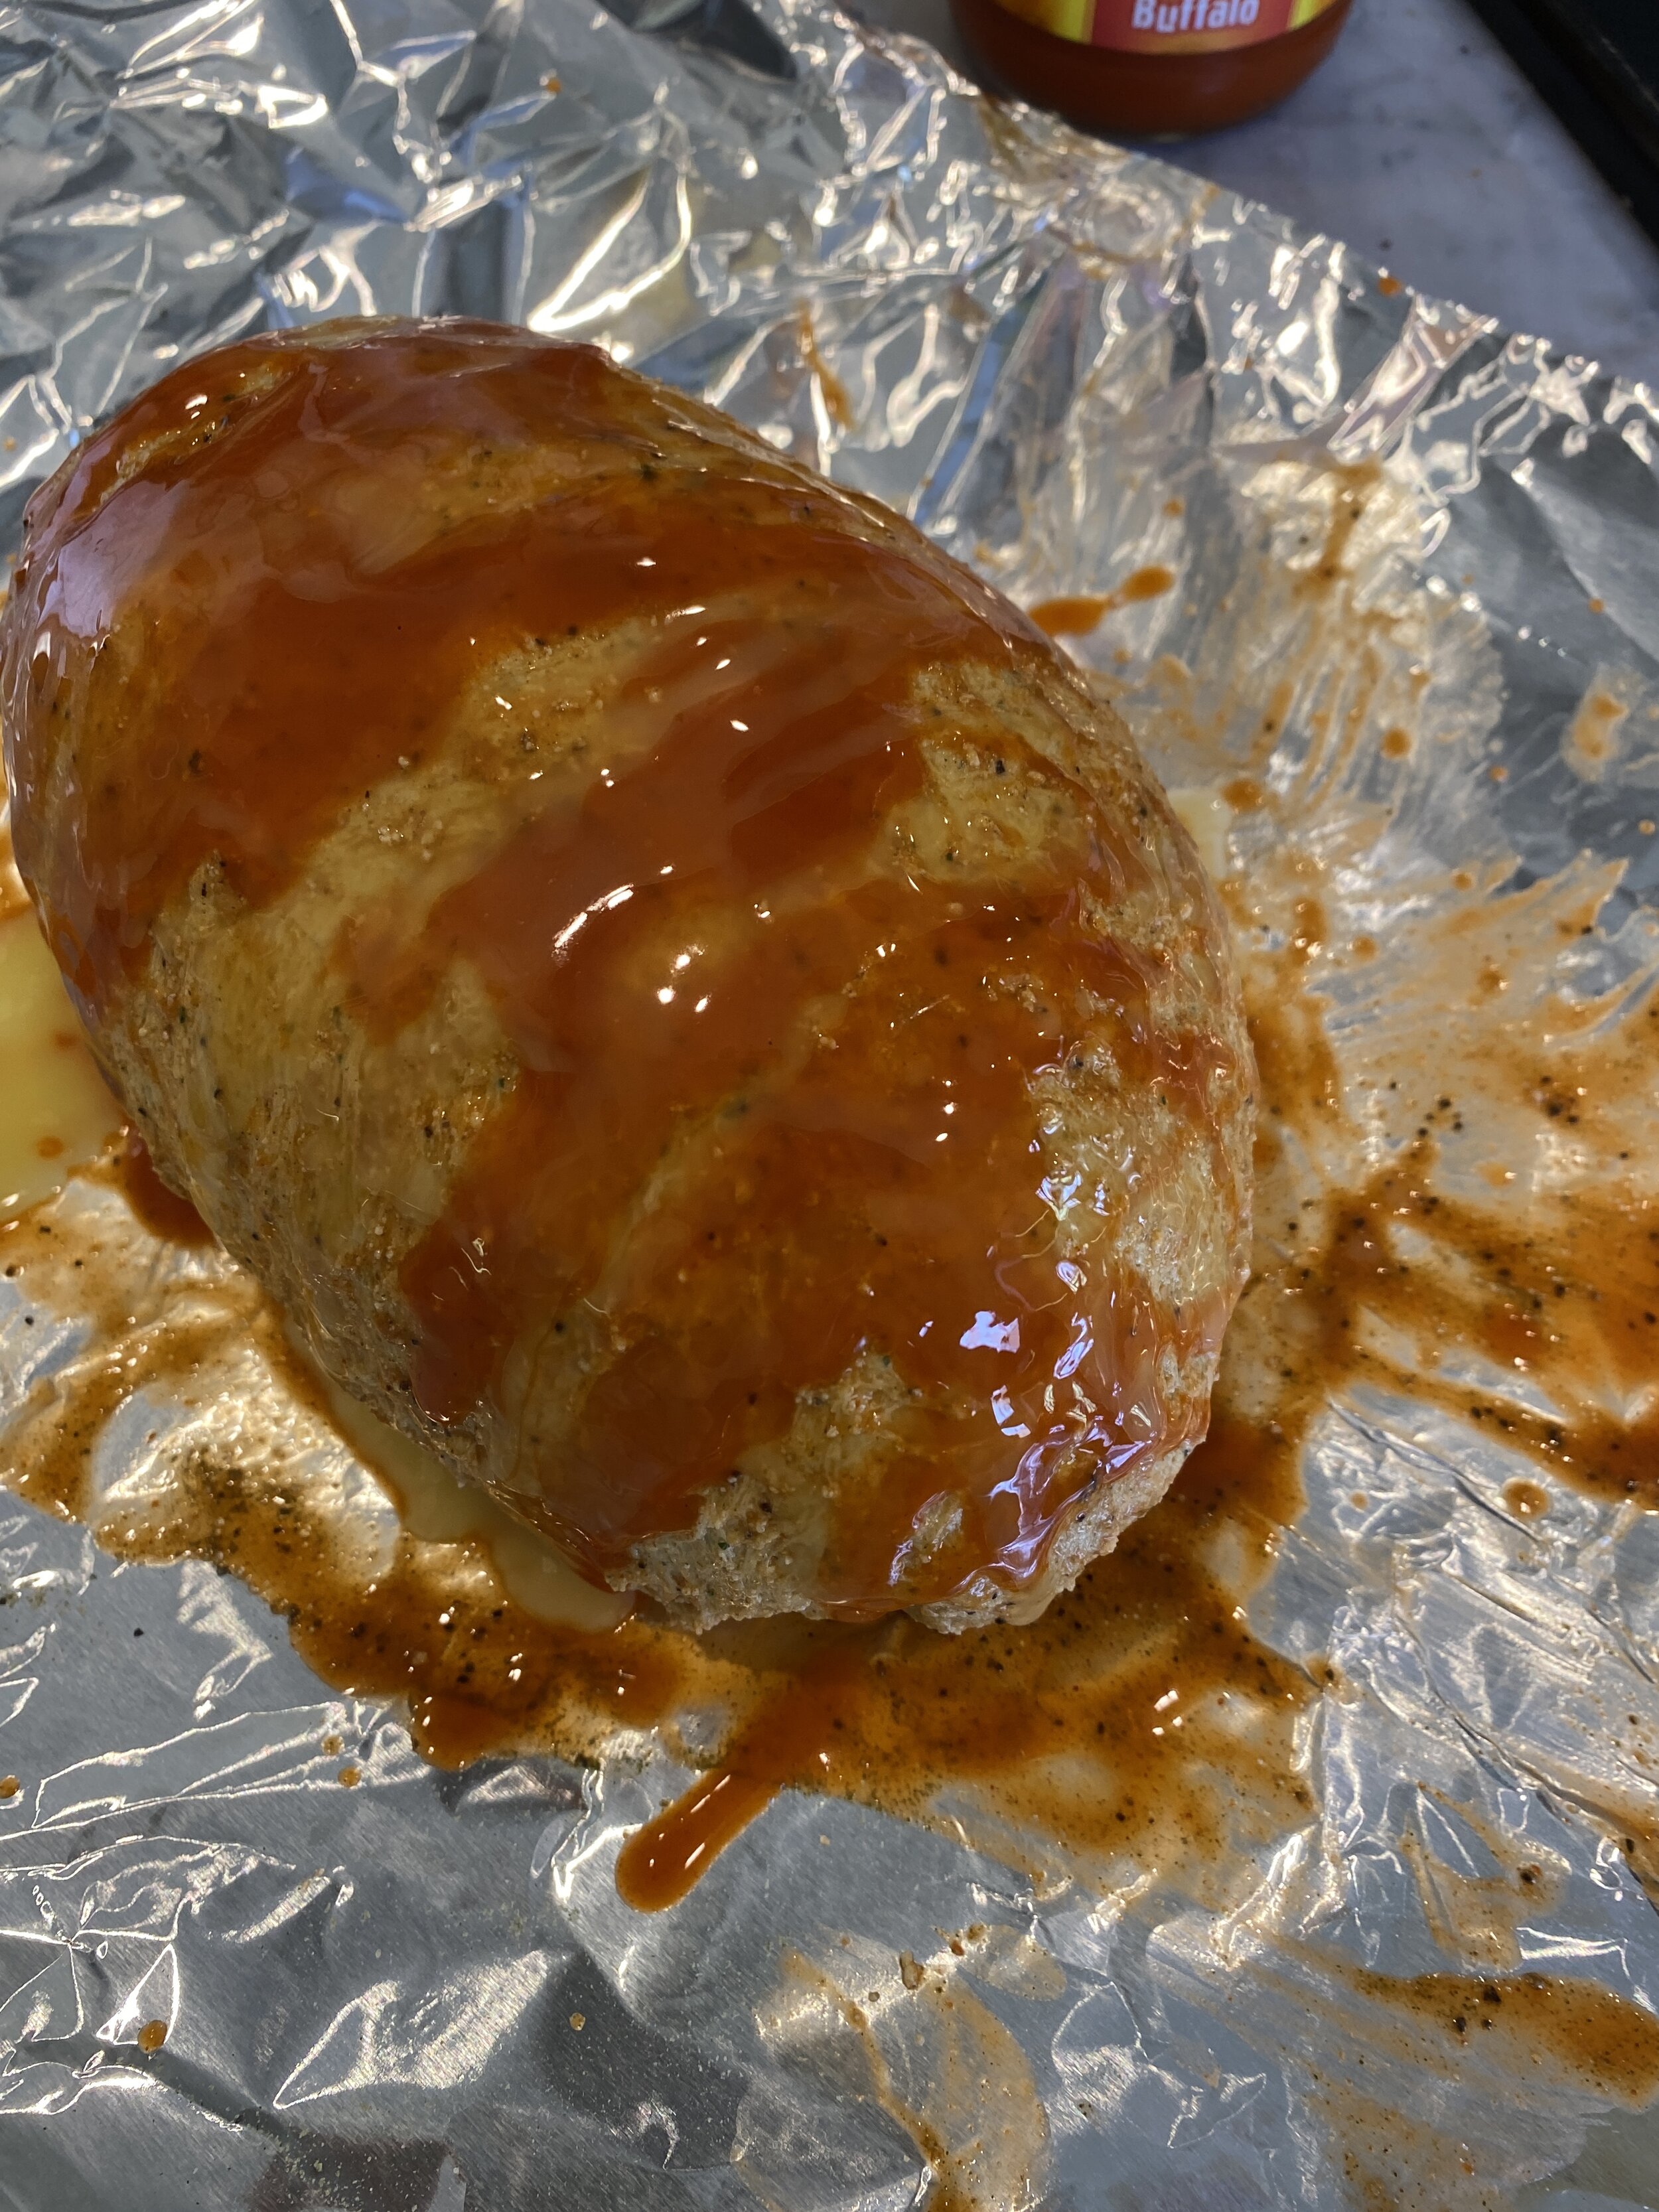
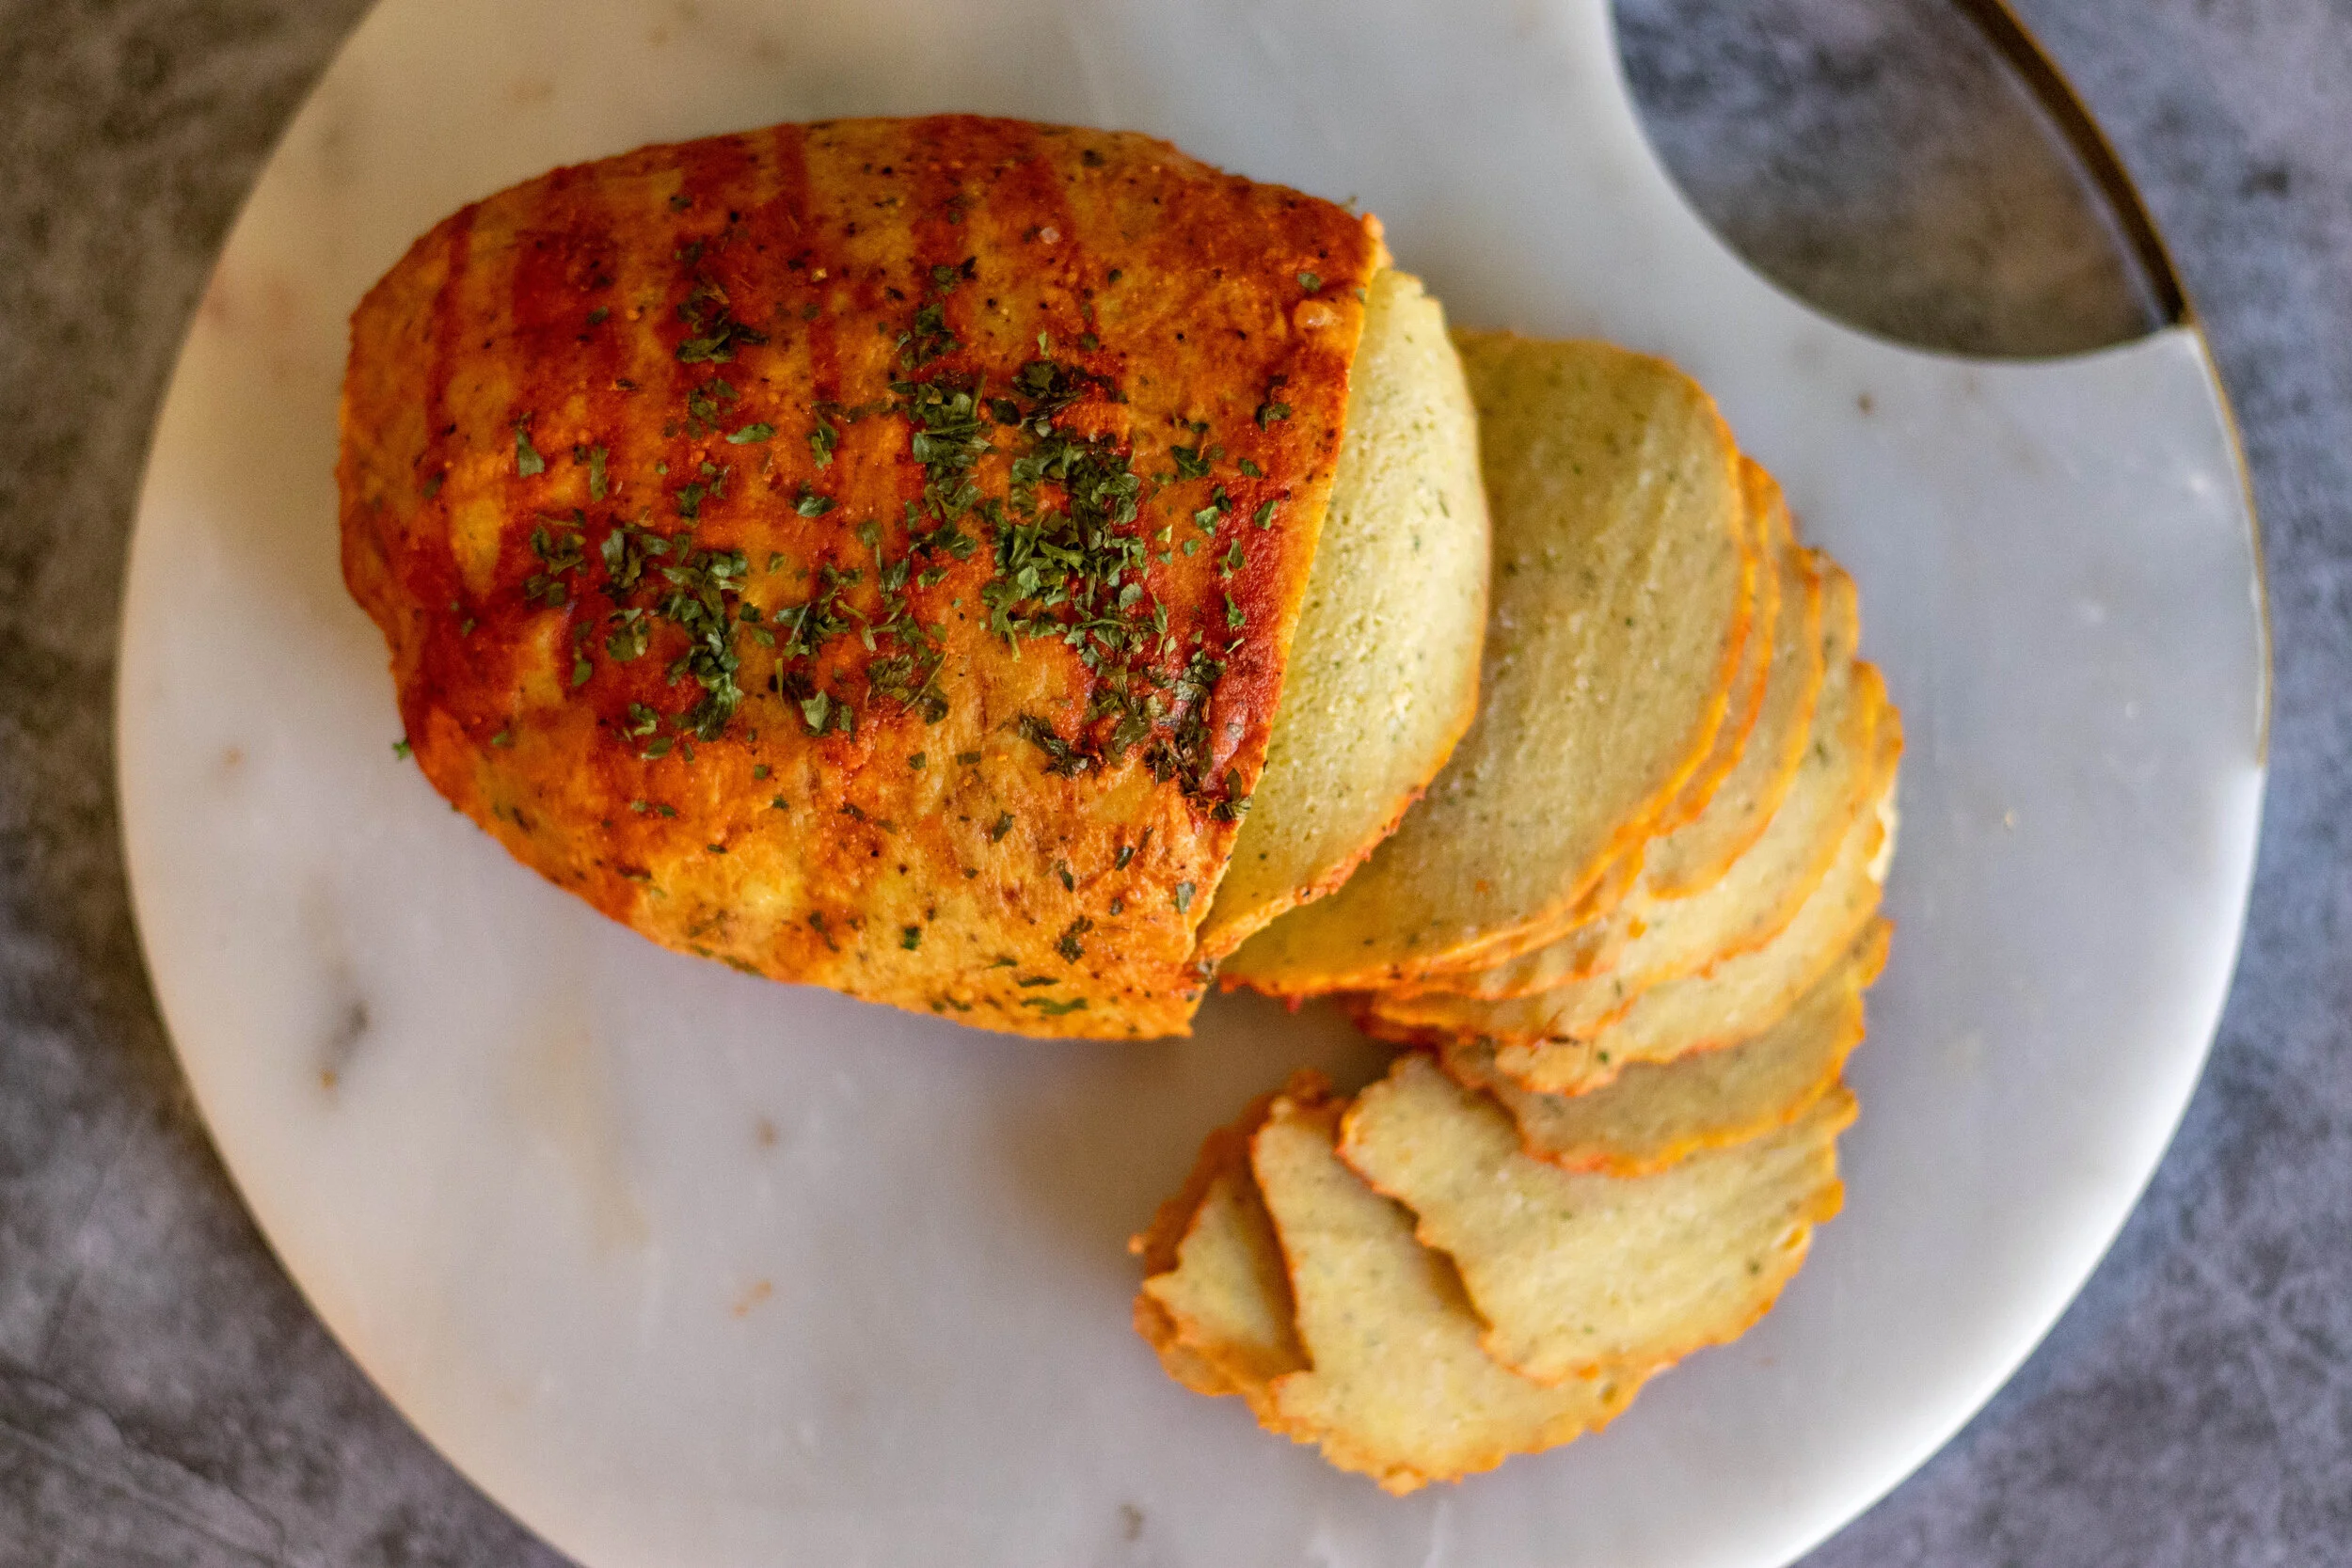
So after I created my original turkey recipe I have started playing with different rubs and spices. I am a sucker for any and all things buffalo and Franks Buffalo sauce is bought in bulk in this house. Why it took me so long to deicide to rub one of these bad boys down with some melted butter and Franks is beyond me but thank the heavens it finally occurred to me because OH MY GOSH, Y’ALL!!!!
If you are not into buffalo, check out our original deli sliced turkey recipe. Just as tasty but not spicy! But when the recipe tells you to LET IT REST IN THE FRIDGE, you have to muster all of your strength and patience and do as I say! You will not have the texture you want unless you “let the breast rest. “ So just cook it one night and let it sit in the fridge til the next day. And if you don’t let it rest and decide to dig right in, don’t message me and tell me it was not firm enough, not even joking.
So if you are missing some legit turkey but don’t want to eat an actual turkey, this is your answer! I promise, PROMISE, it will be worth your time and effort. Maybe just go ahead and make 2 at once!

INGREDIENTS:

1 cup vital wheat gluten
1 block extra firm high protein tofu (14oz -16oz block)
1/2-3/4 cups water
1/4 cup nutritional yeast
2 tablespoons neutral flavored oil ( you can replace with water if you are oil free)
2 tablespoons tapioca starch or corn starch
2 teaspoons onion powder
1-2 teaspoons garlic powder
1/4 -1/2 teaspoon cayenne pepper
1/2 teaspoon black pepper
1 tablespoon No Chicken Better Than Bouillon, or any chicken-less bouillon cube or powder (if using cubes or powder just dissolve in with the water)
1 teaspoon liquid smoke
1 teaspoon salt optional if you feel like the bouillon is not salty enough
For the coating: 3 tablespoons up to 1/4 cup buffalo sauce, 1 teaspoon melted vegan butter ( we used Franks Buffalo sauce, it is vegan), plus 1/2 teaspoon garlic, and 1/2 teaspoon onion salt
A few teaspoons dried parsley (optional)
TROUBLESHOOTING THIS RECIPE:
*I used high protein tofu in a vacuum sealed package and this what I strongly advise using. It is much firmer than regular firm tofu and has less moisture and a more chewy texture. If you opt to use regular firm tofu you will need to press it first and remove as much liquid as possible. You may need to adjust the amount of water in the recipe as well. Add the water last, adding just enough to accomplish a firm dough.
*If you find your turkey has A LOT OF LITTLE HOLES, and a more BREAD LIKE TEXTURE this can be caused from under kneading the dough, BUT more likely cooking the seitan at too high of a temperature, or for too long. Check your ovens temperature with an oven thermometer. Your oven may just be cooking hotter than it registers. Also gas and electric ovens tend to cook differently. If you do not have an oven thermometer you can reduce the heat in your oven by 25 degrees, and keep the seitan covered for 50 minutes and open for 10.
INSTRUCTIONS:
Preheat oven to 350 degrees
Break up the tofu and place it into a food processor with the regular metal blade. Run the processor for around a minute until the tofu is broken down.
Add all of the remaining ingredients except the buffalo sauce and parsley and let the food processor run for a couple of minutes. You want the mixture to form a dough. Letting the processor run will help knead the dough. We want this seitan to be firm so we need it to knead for a bit. If you dough seems a bit too dry, you can add another few tablespoons of water, just don’t add too much more! I start at 1/2 cup and work from there.
Once you have a smooth but firm dough, remove it from the food processor and place on a clean counter. Knead the dough with your hands for about a minute, forming a kind of oval shaped loaf with the dough.
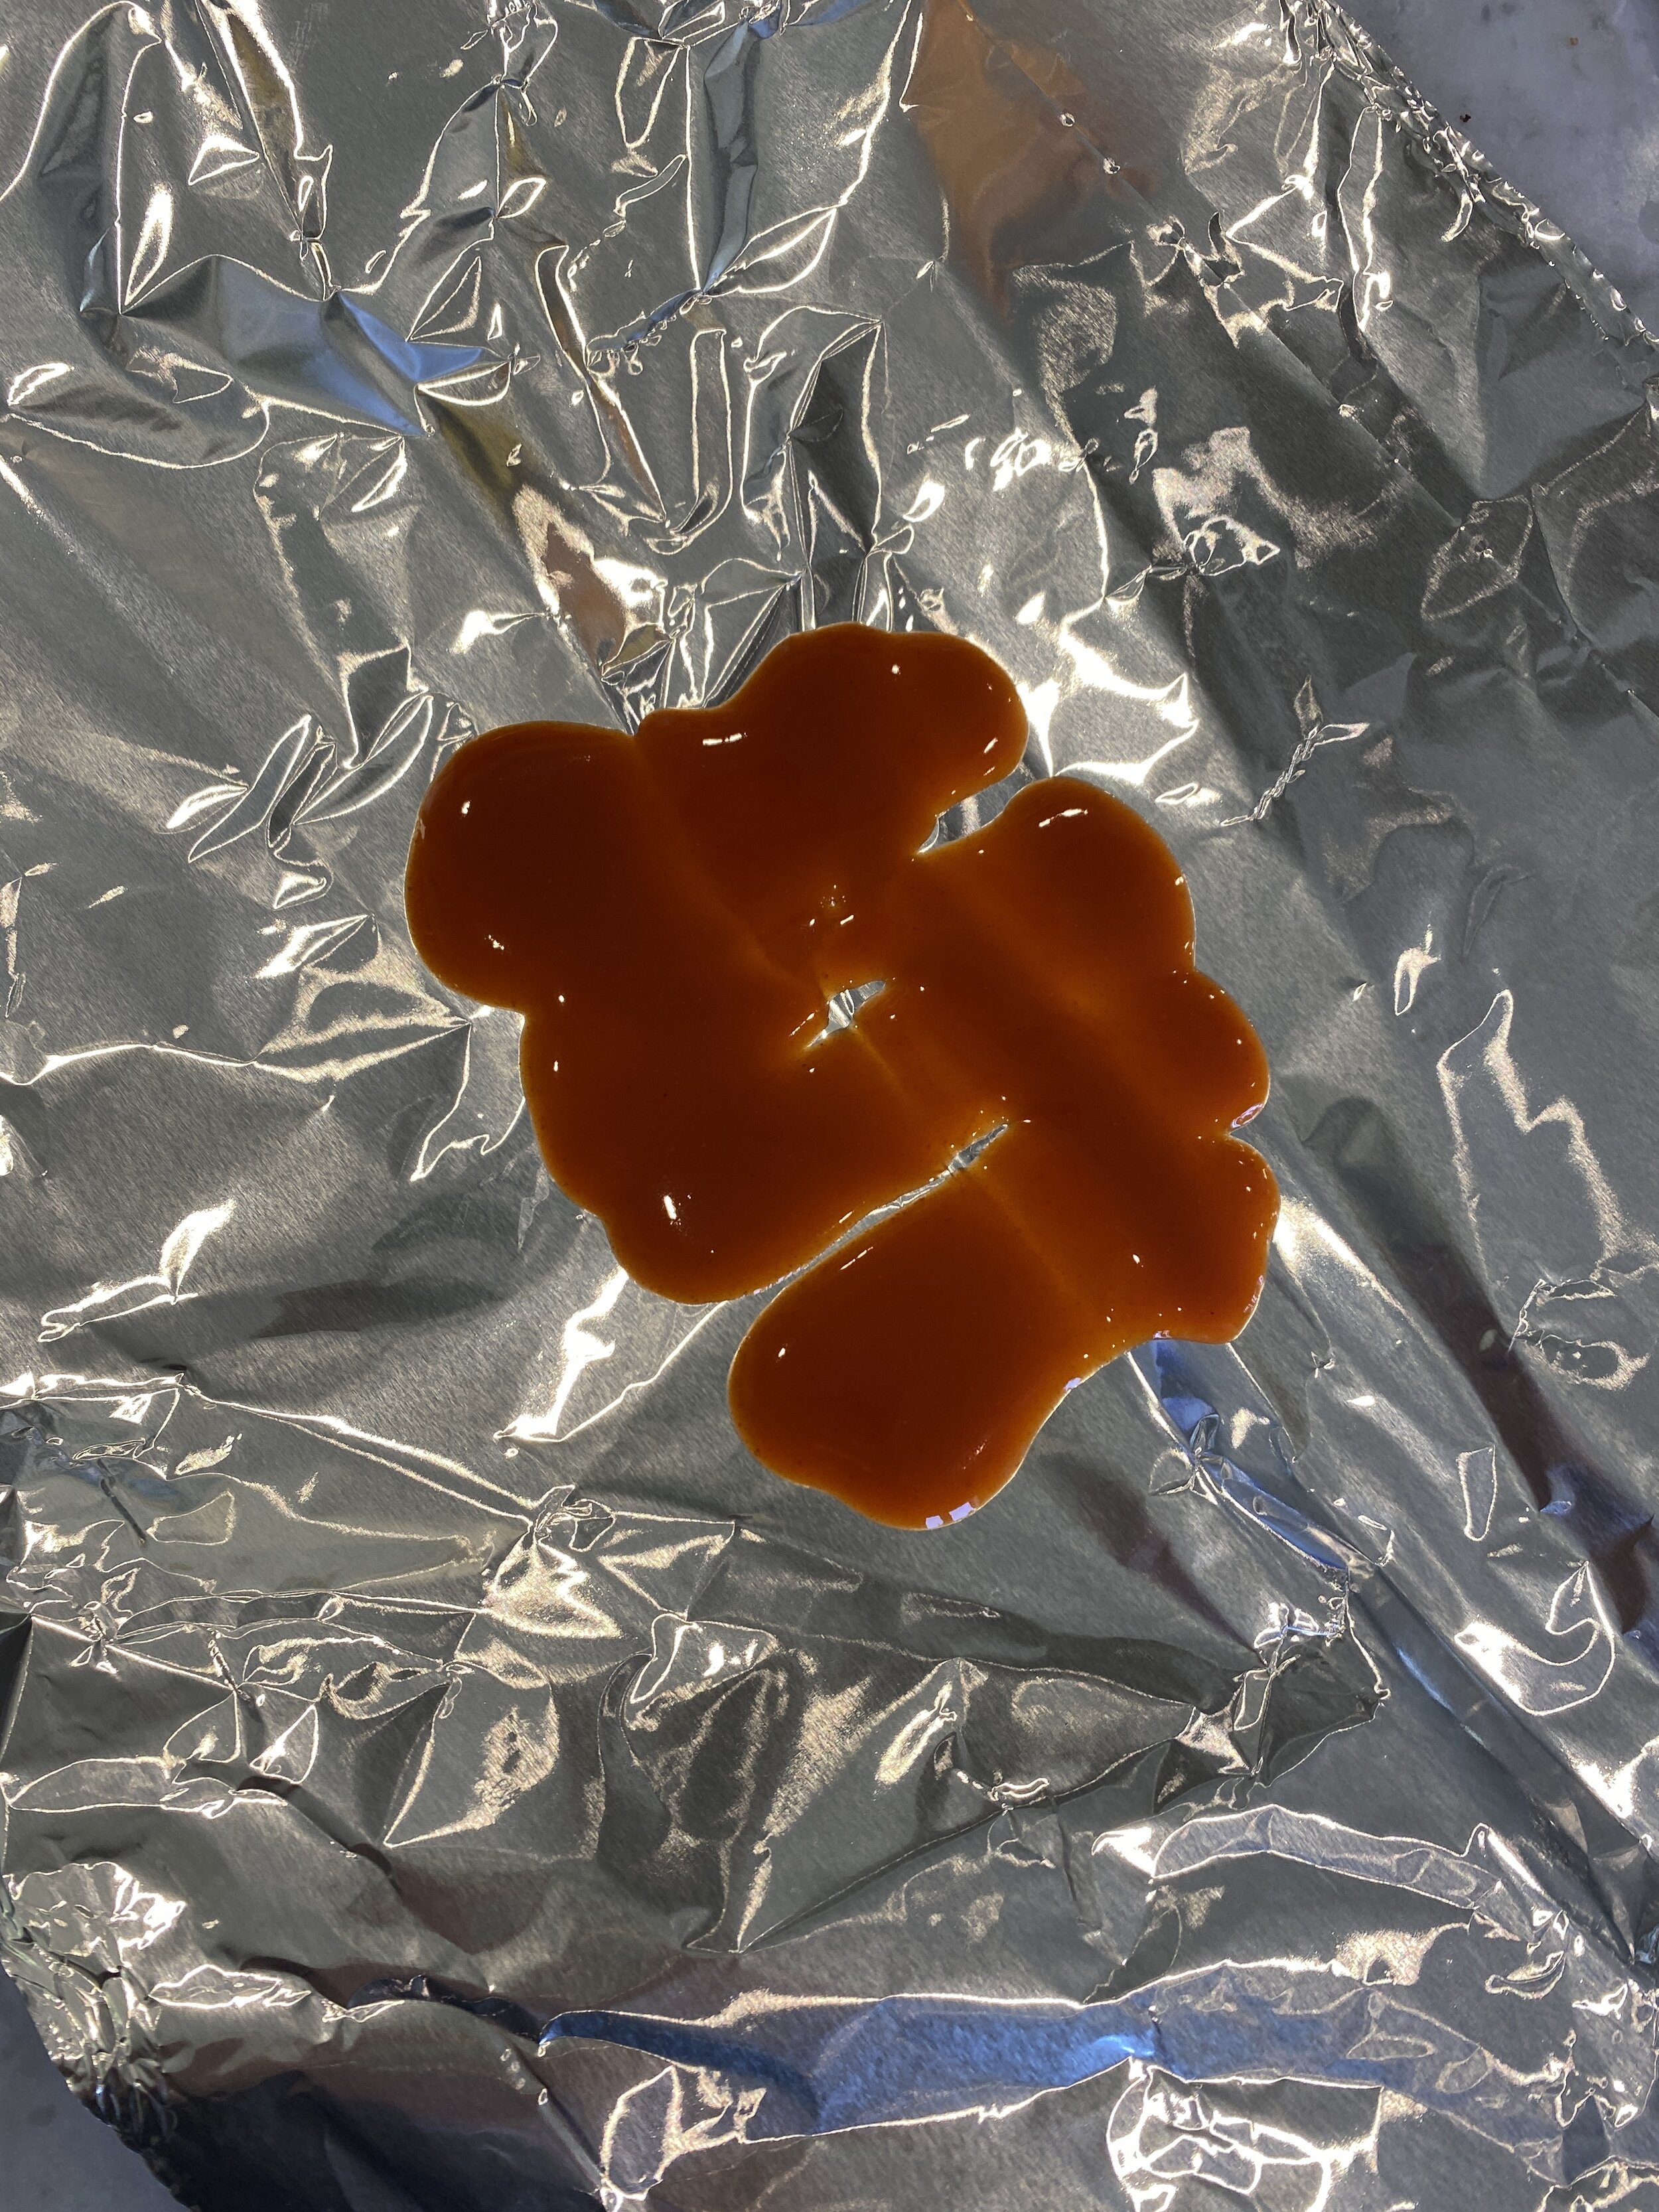
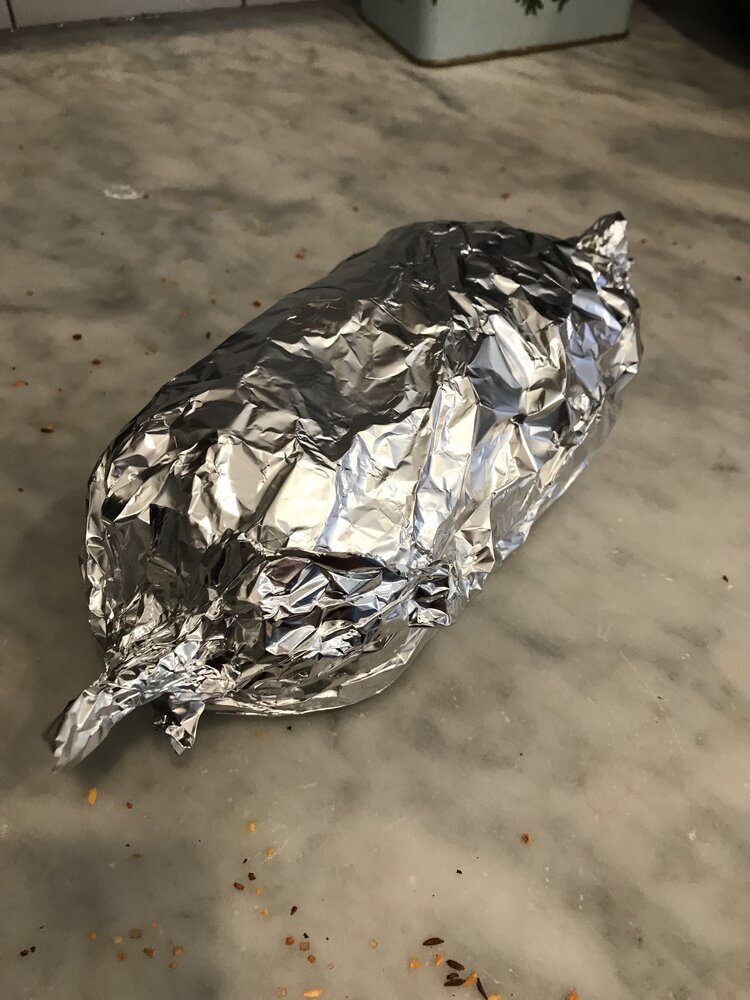
Take a piece of aluminum for about 3x bigger than the loaf of dough, and lay it out flat. Coat the foil in spray oil or wipe it down with any oil you have. Mix the buffalo sauce, garlic, onion salt and butter in a small bowl. Pour half of the mixture in the center of the foil. Place the turkey on the foil and roll it around in the sauce. Sprinkle with dried parsley if you like. Pour the remaining sauce on top of the turkey. Seal up the foil nice and tight around the roast, twisting the ends. If you feel like the foil may leak then add a second piece tightly around the first.
Place on a baking sheet and put in the oven on the middle rack. Bake sealed for 40 minutes. After 40 minutes carefully open up the foil, and continue baking for another 25-30 minutes.
Remove finished “turkey” breast and let cool at room temp. Seal the foil back up and place the “turkey” breast in the fridge over night to rest. This step is important to get the texture we are trying achieve. If you try and serve it before it rests it will not be nearly as firm.
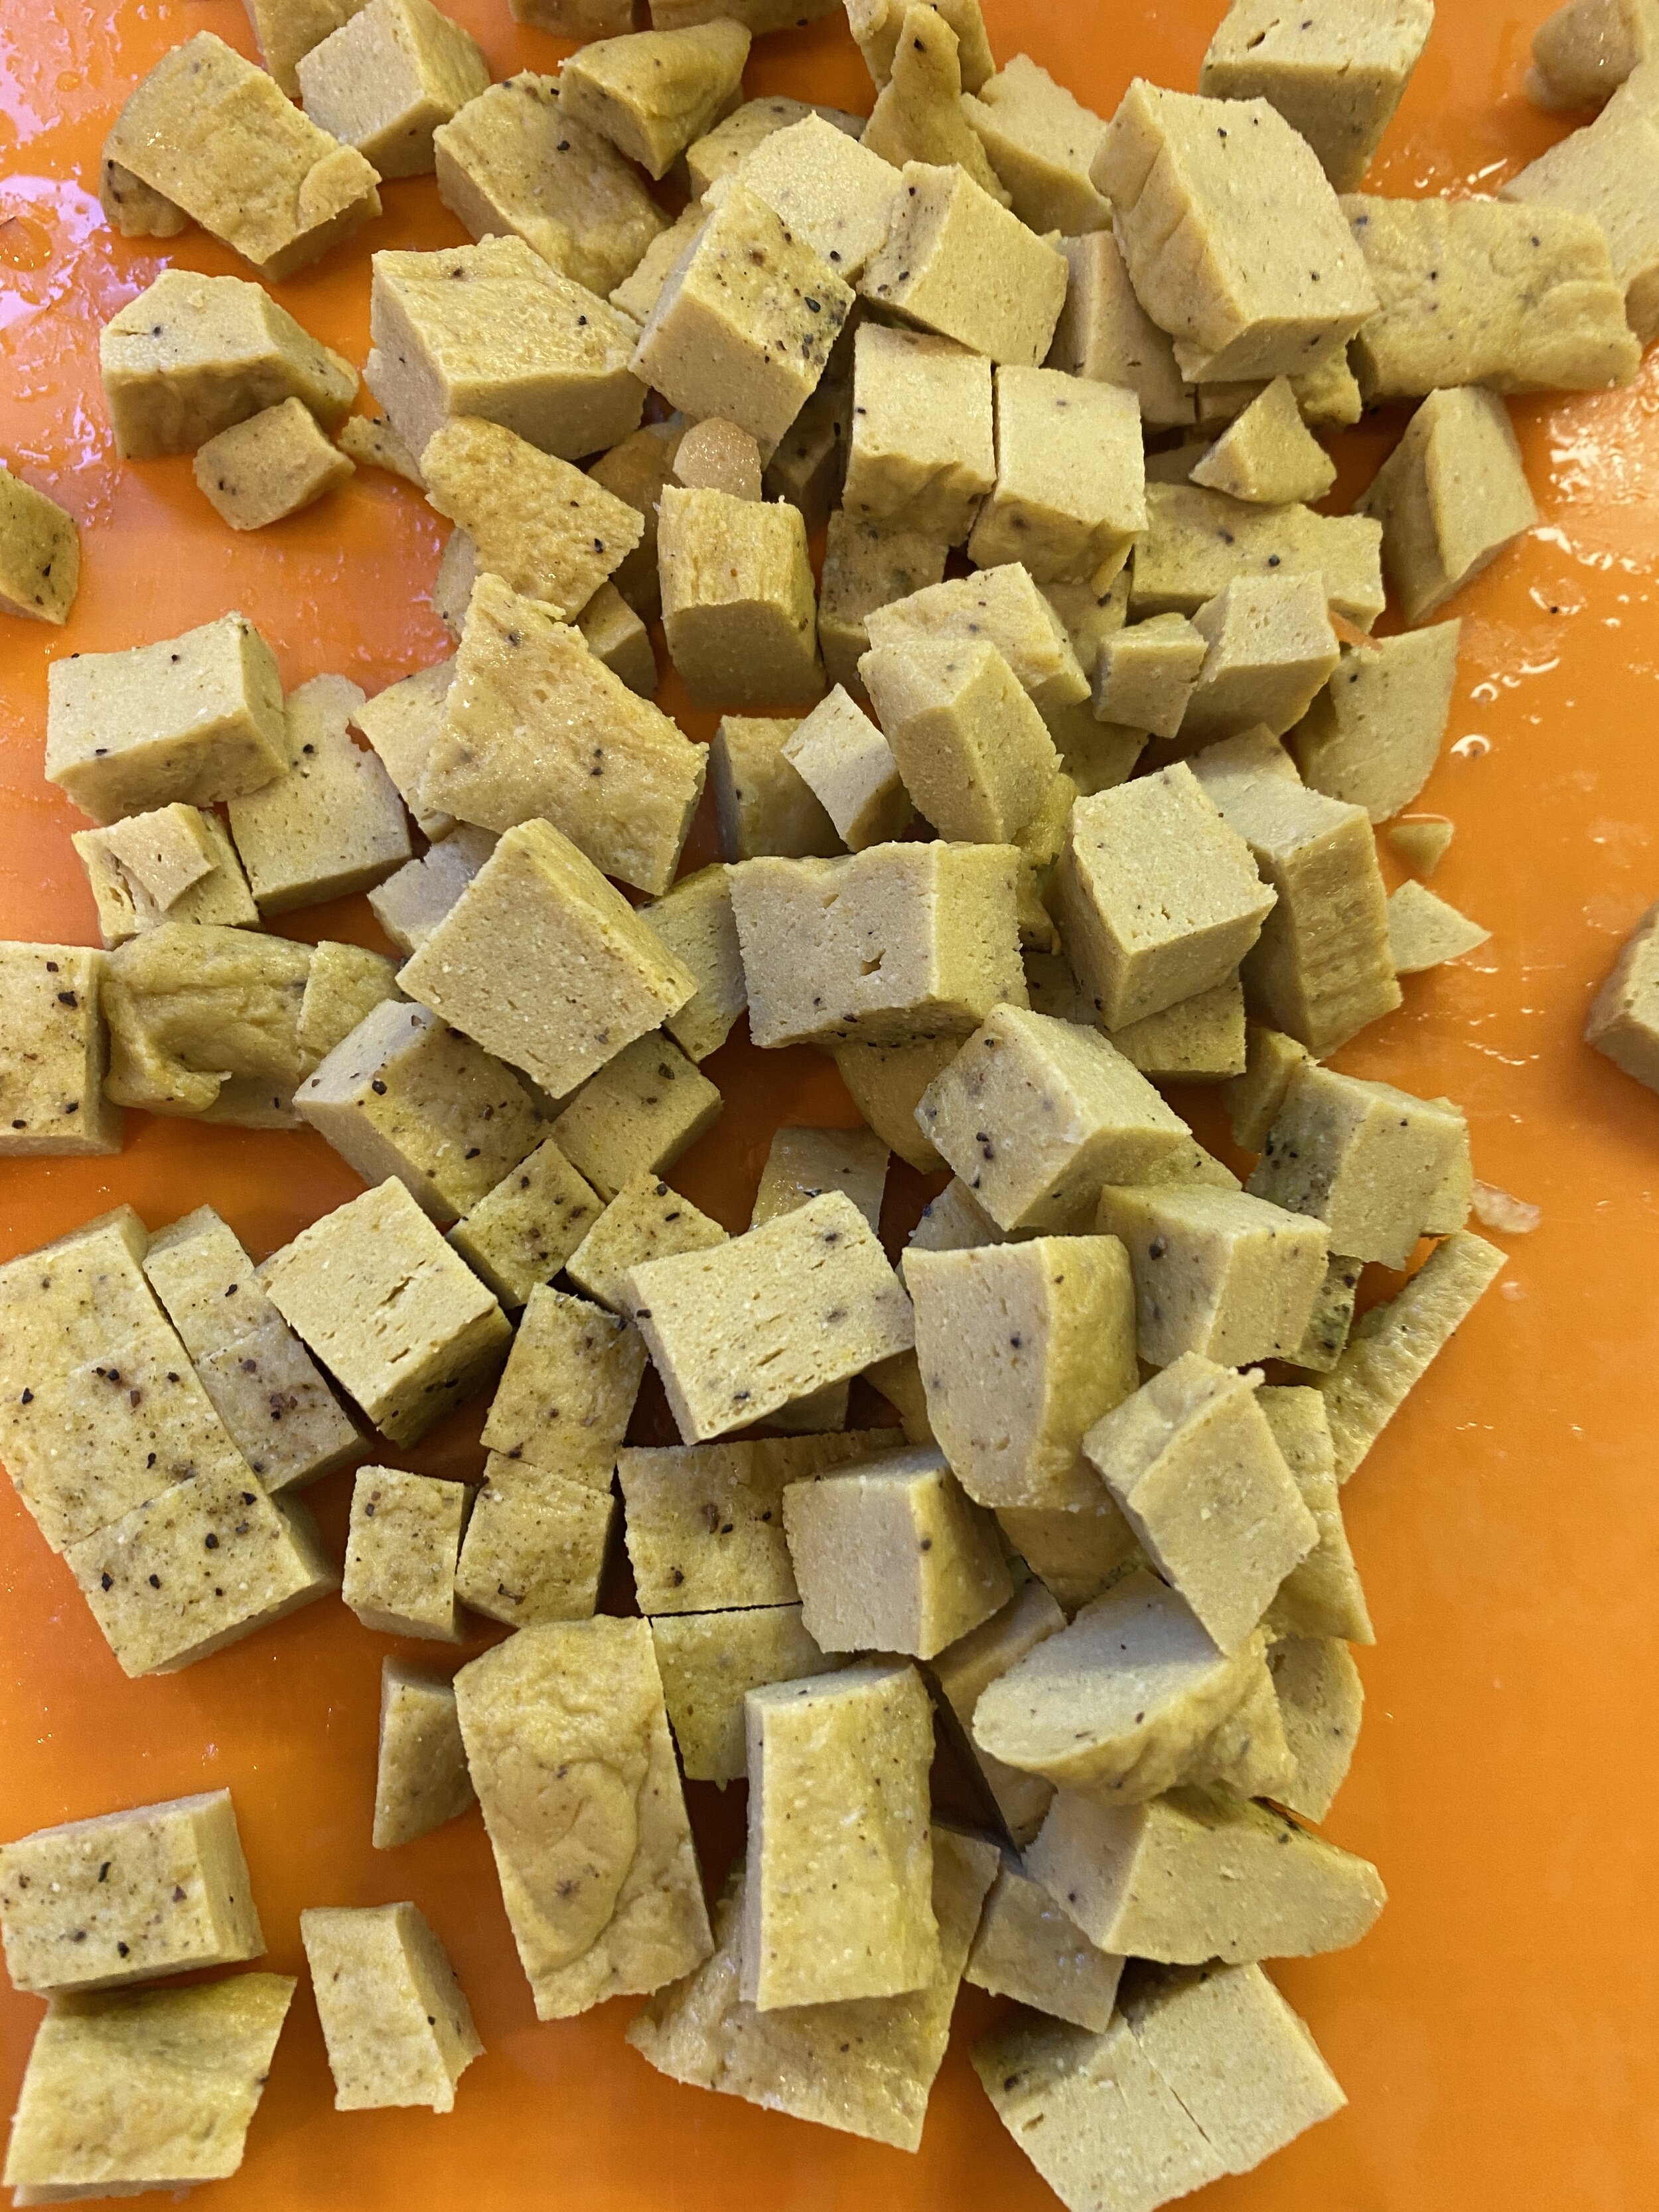
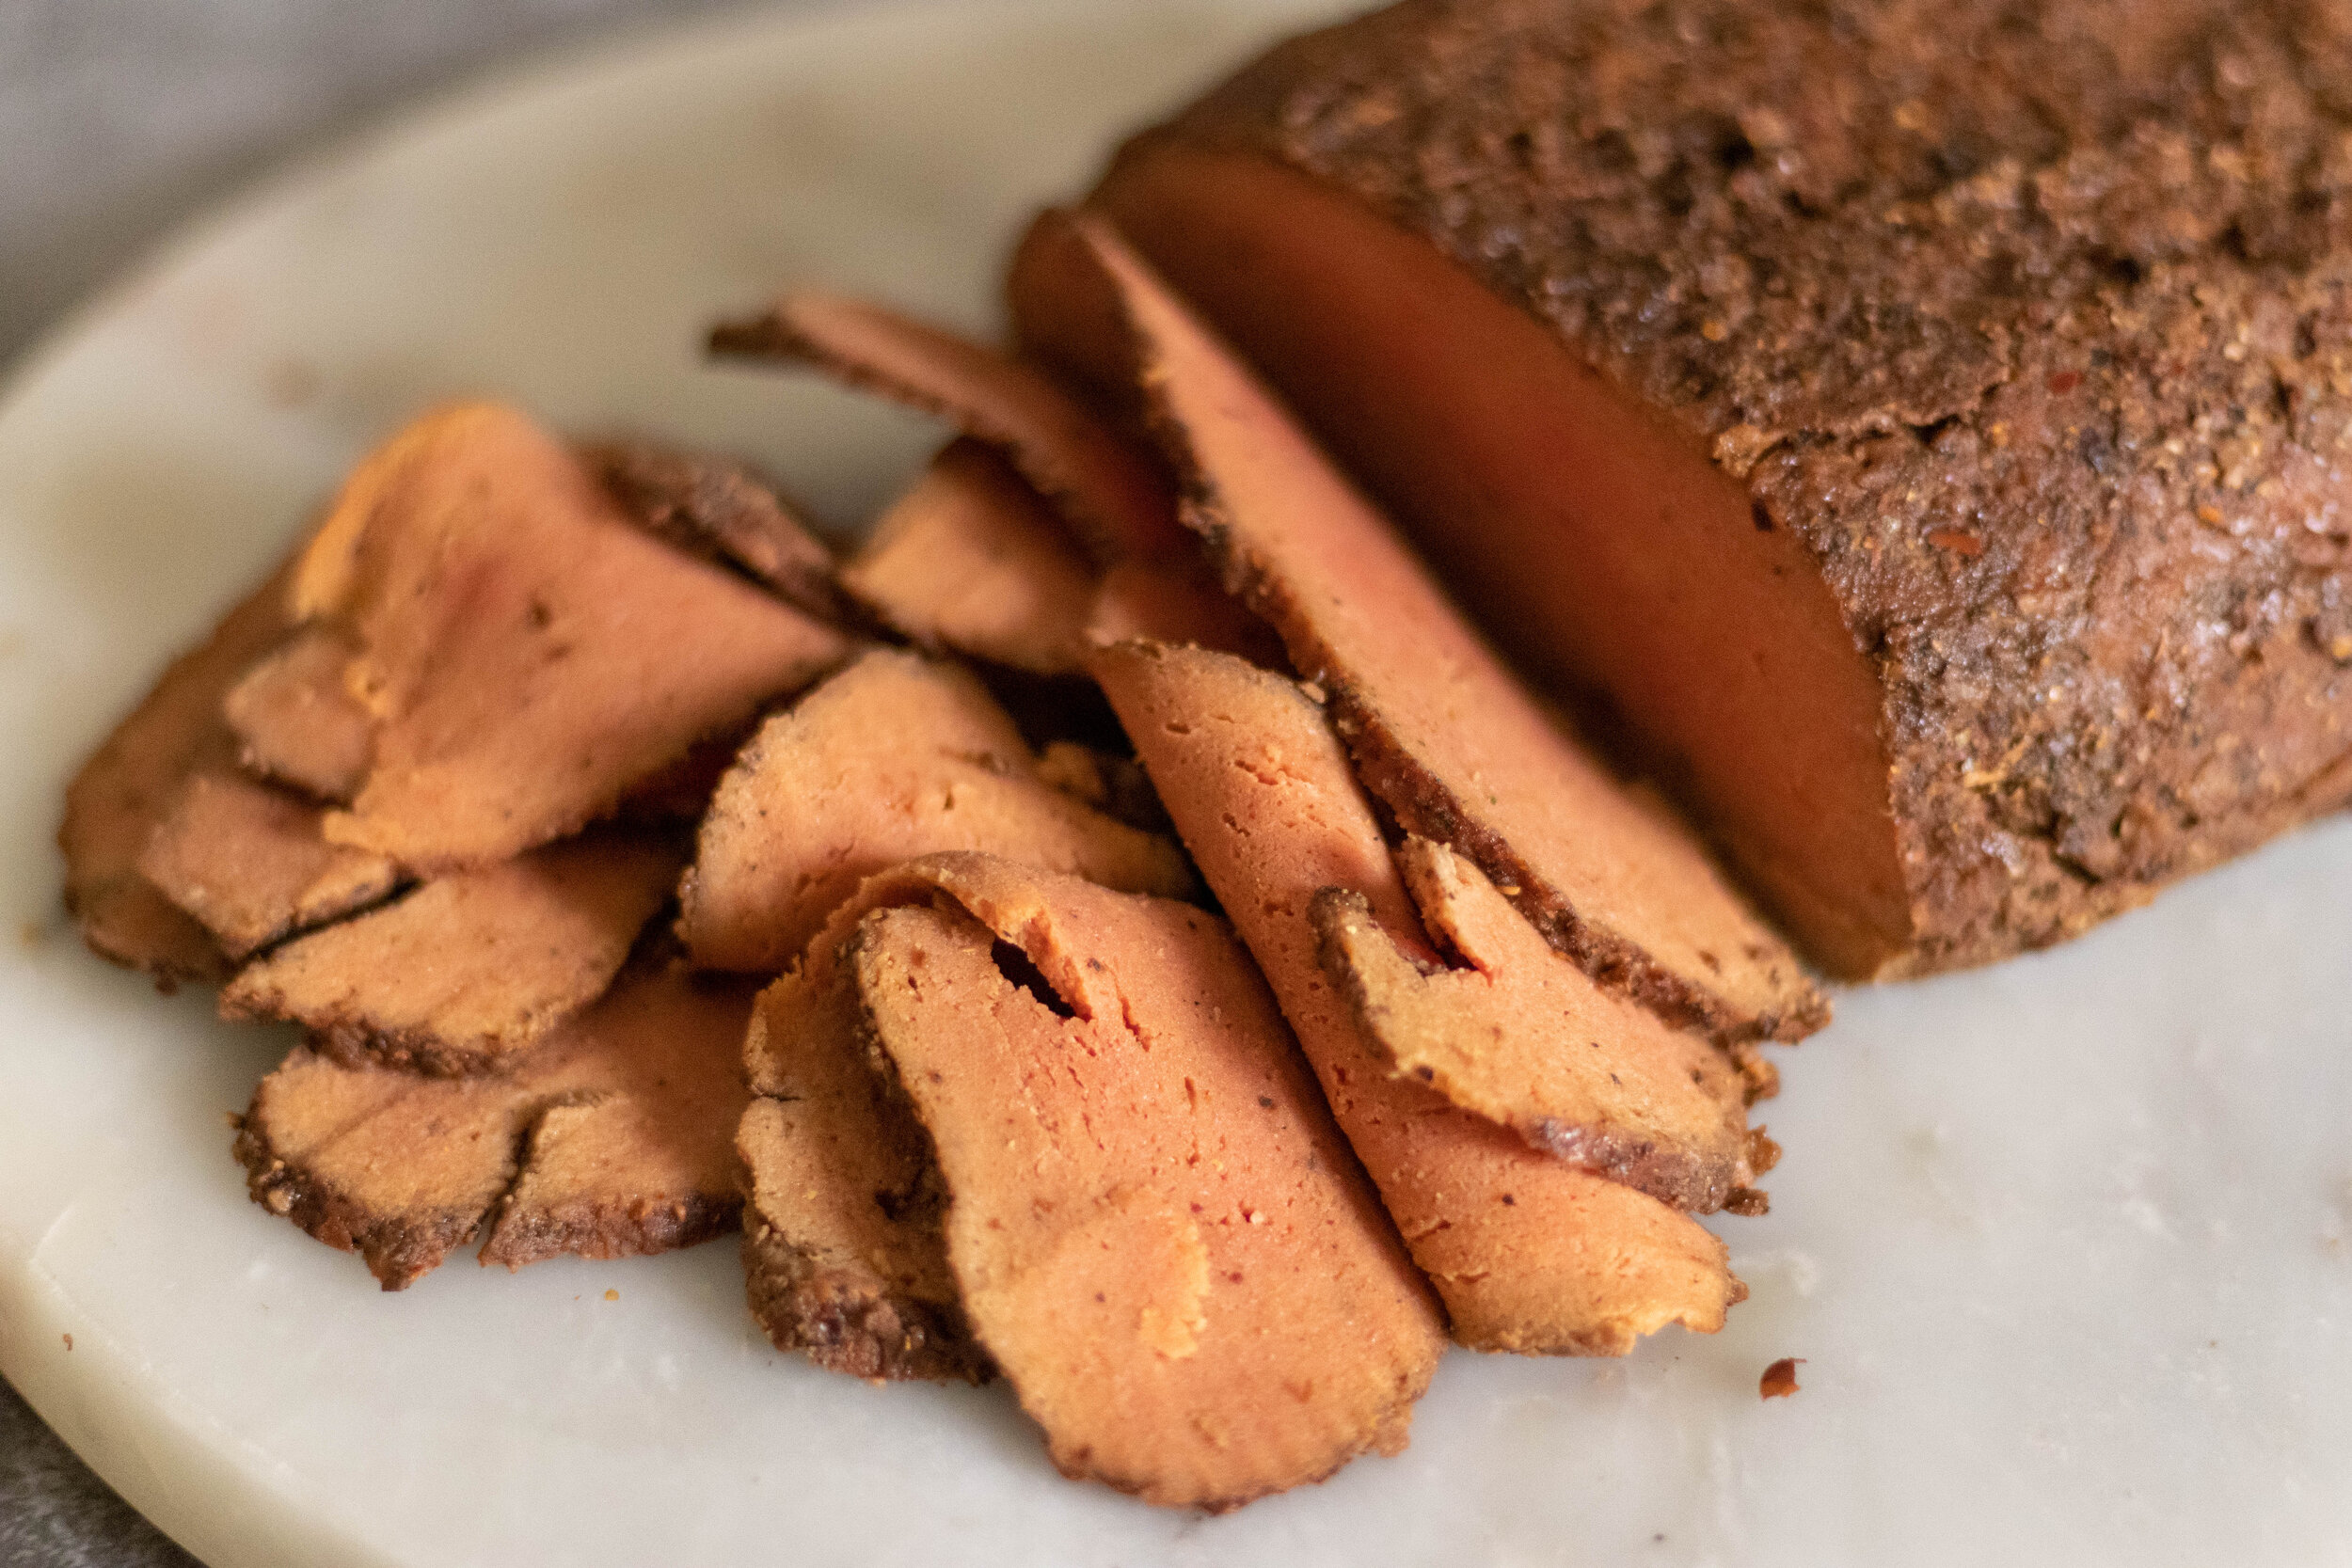
Once the “turkey” breast has been in the fridge over night, you can remove it and slice it to serve. It should at this point be firm enough to slice using a mandolin or a sharp knife. Store in an air tight container in the fridge for up to 10 days.
If you like this recipe, then try these:
Vegan Corned Beef

Vegan Salami

Vegan Turkey Breast with Crispy Skin
vegan flank steak