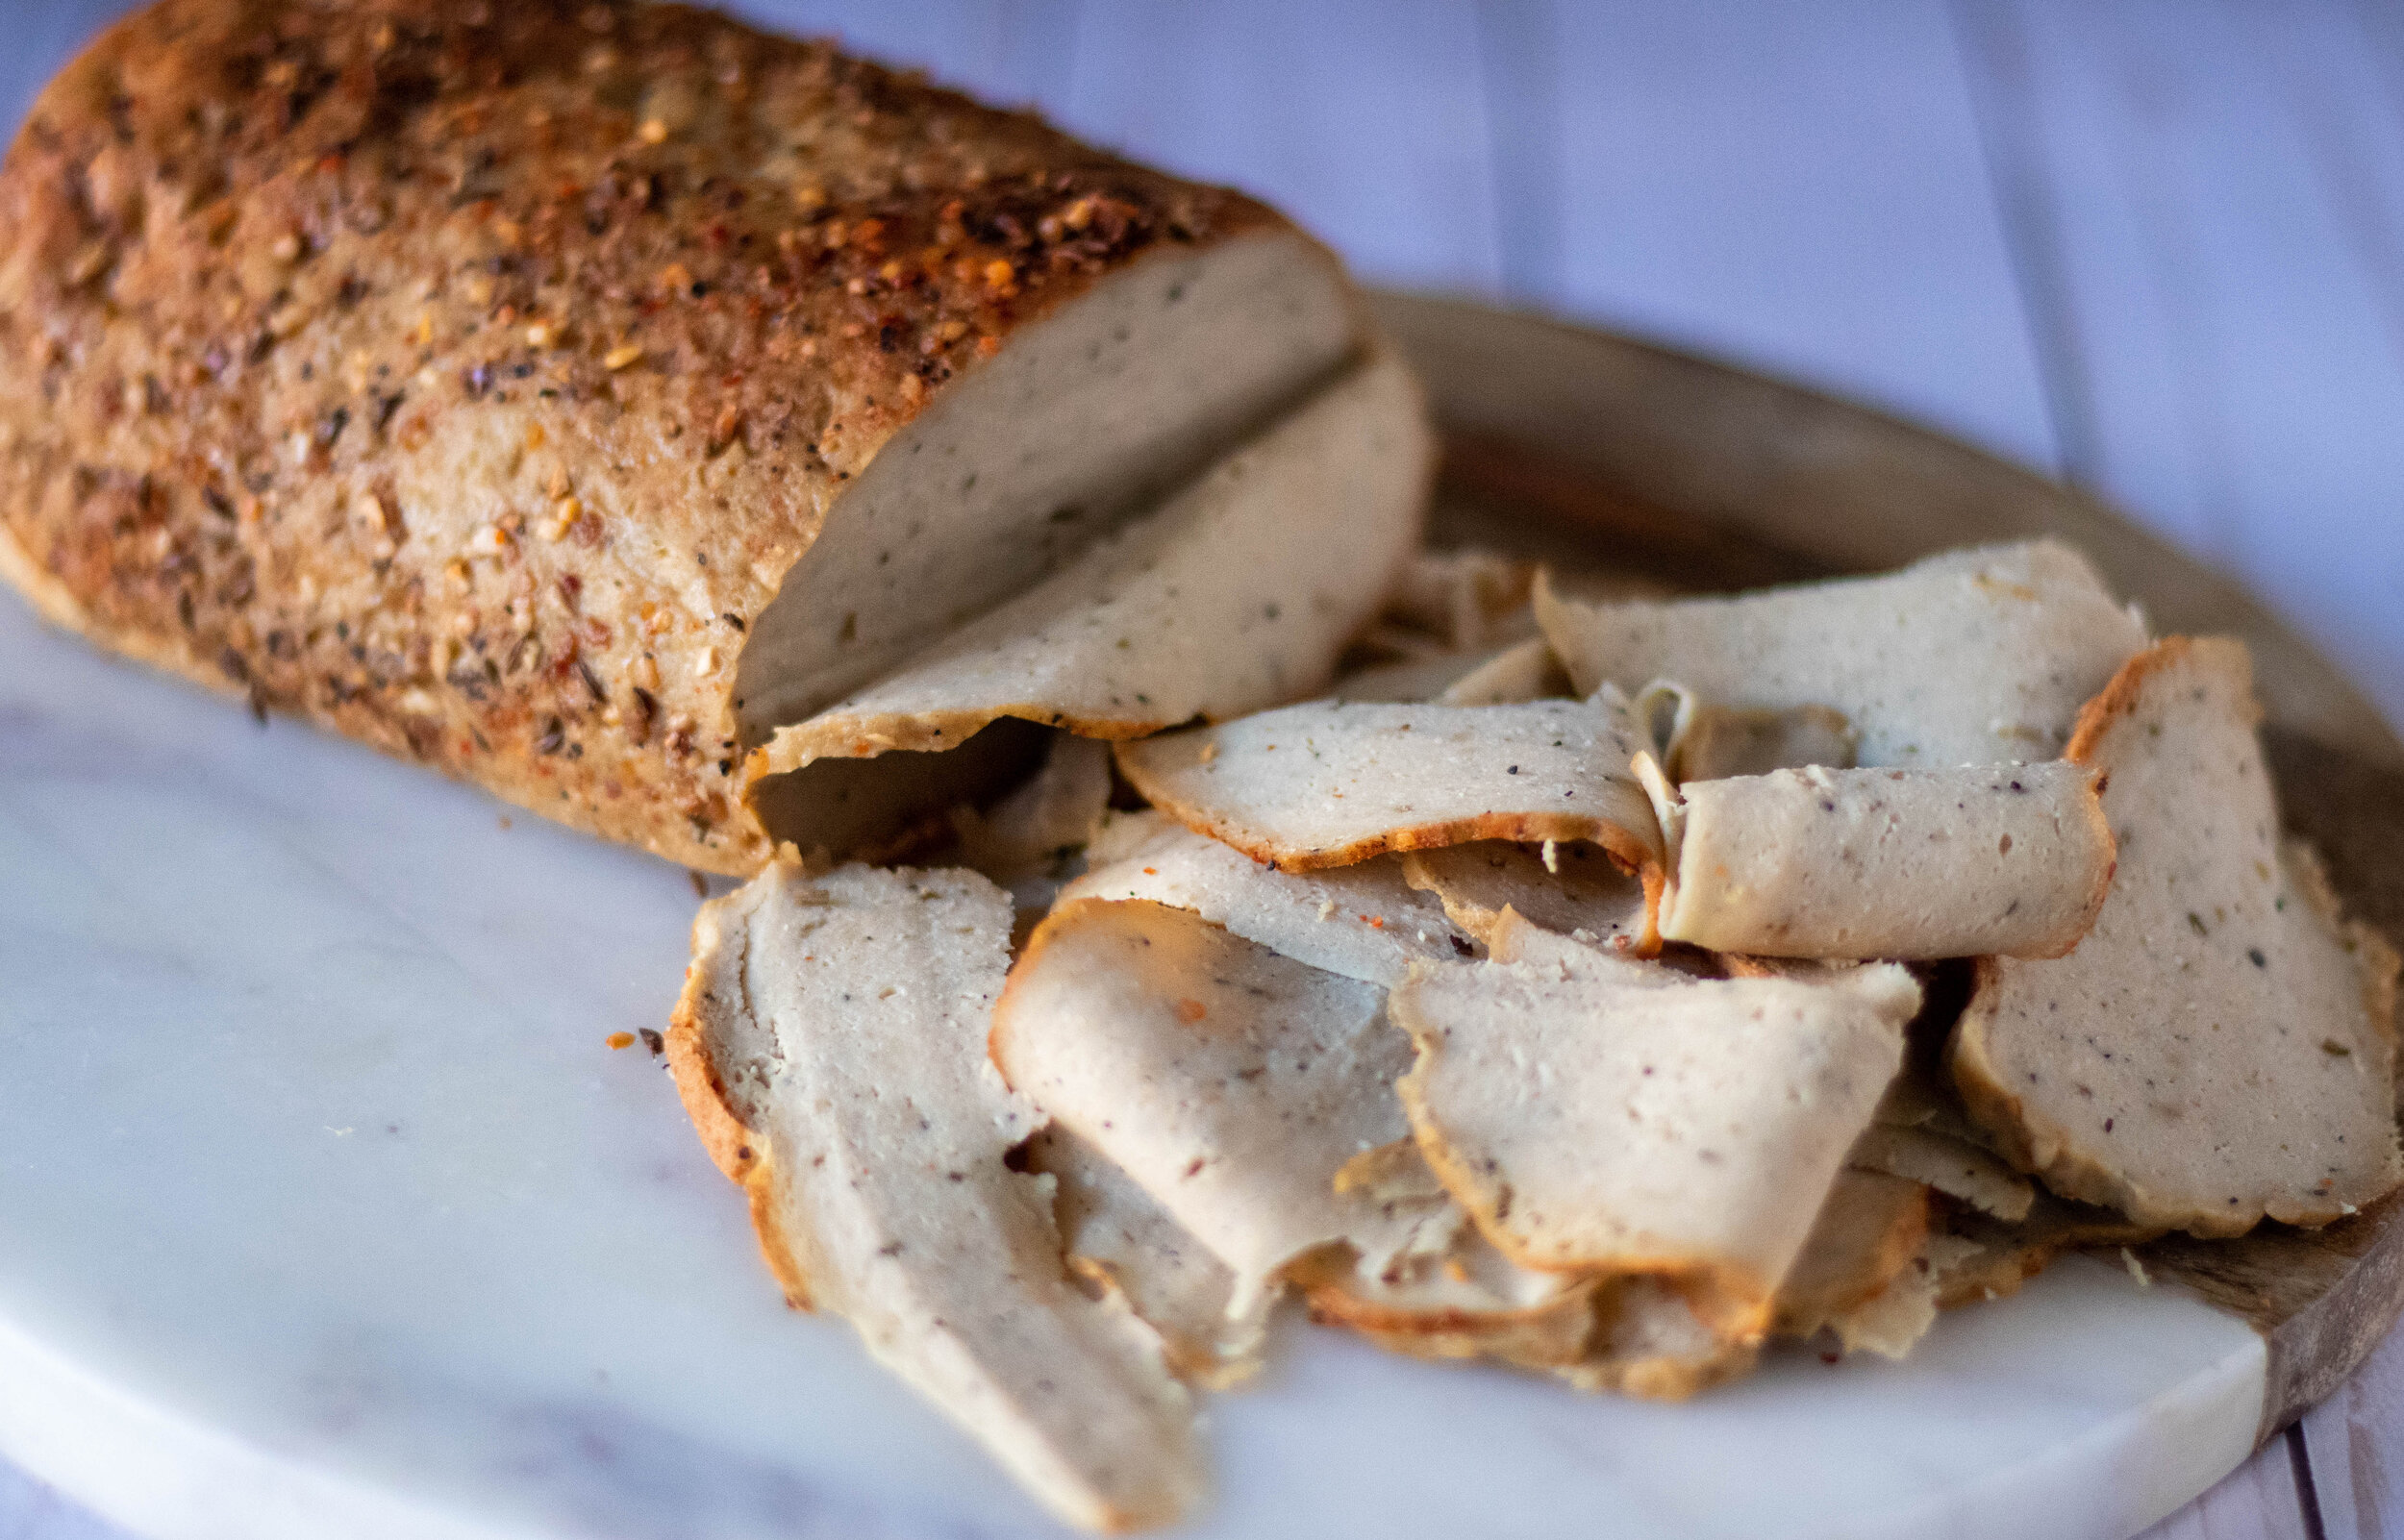
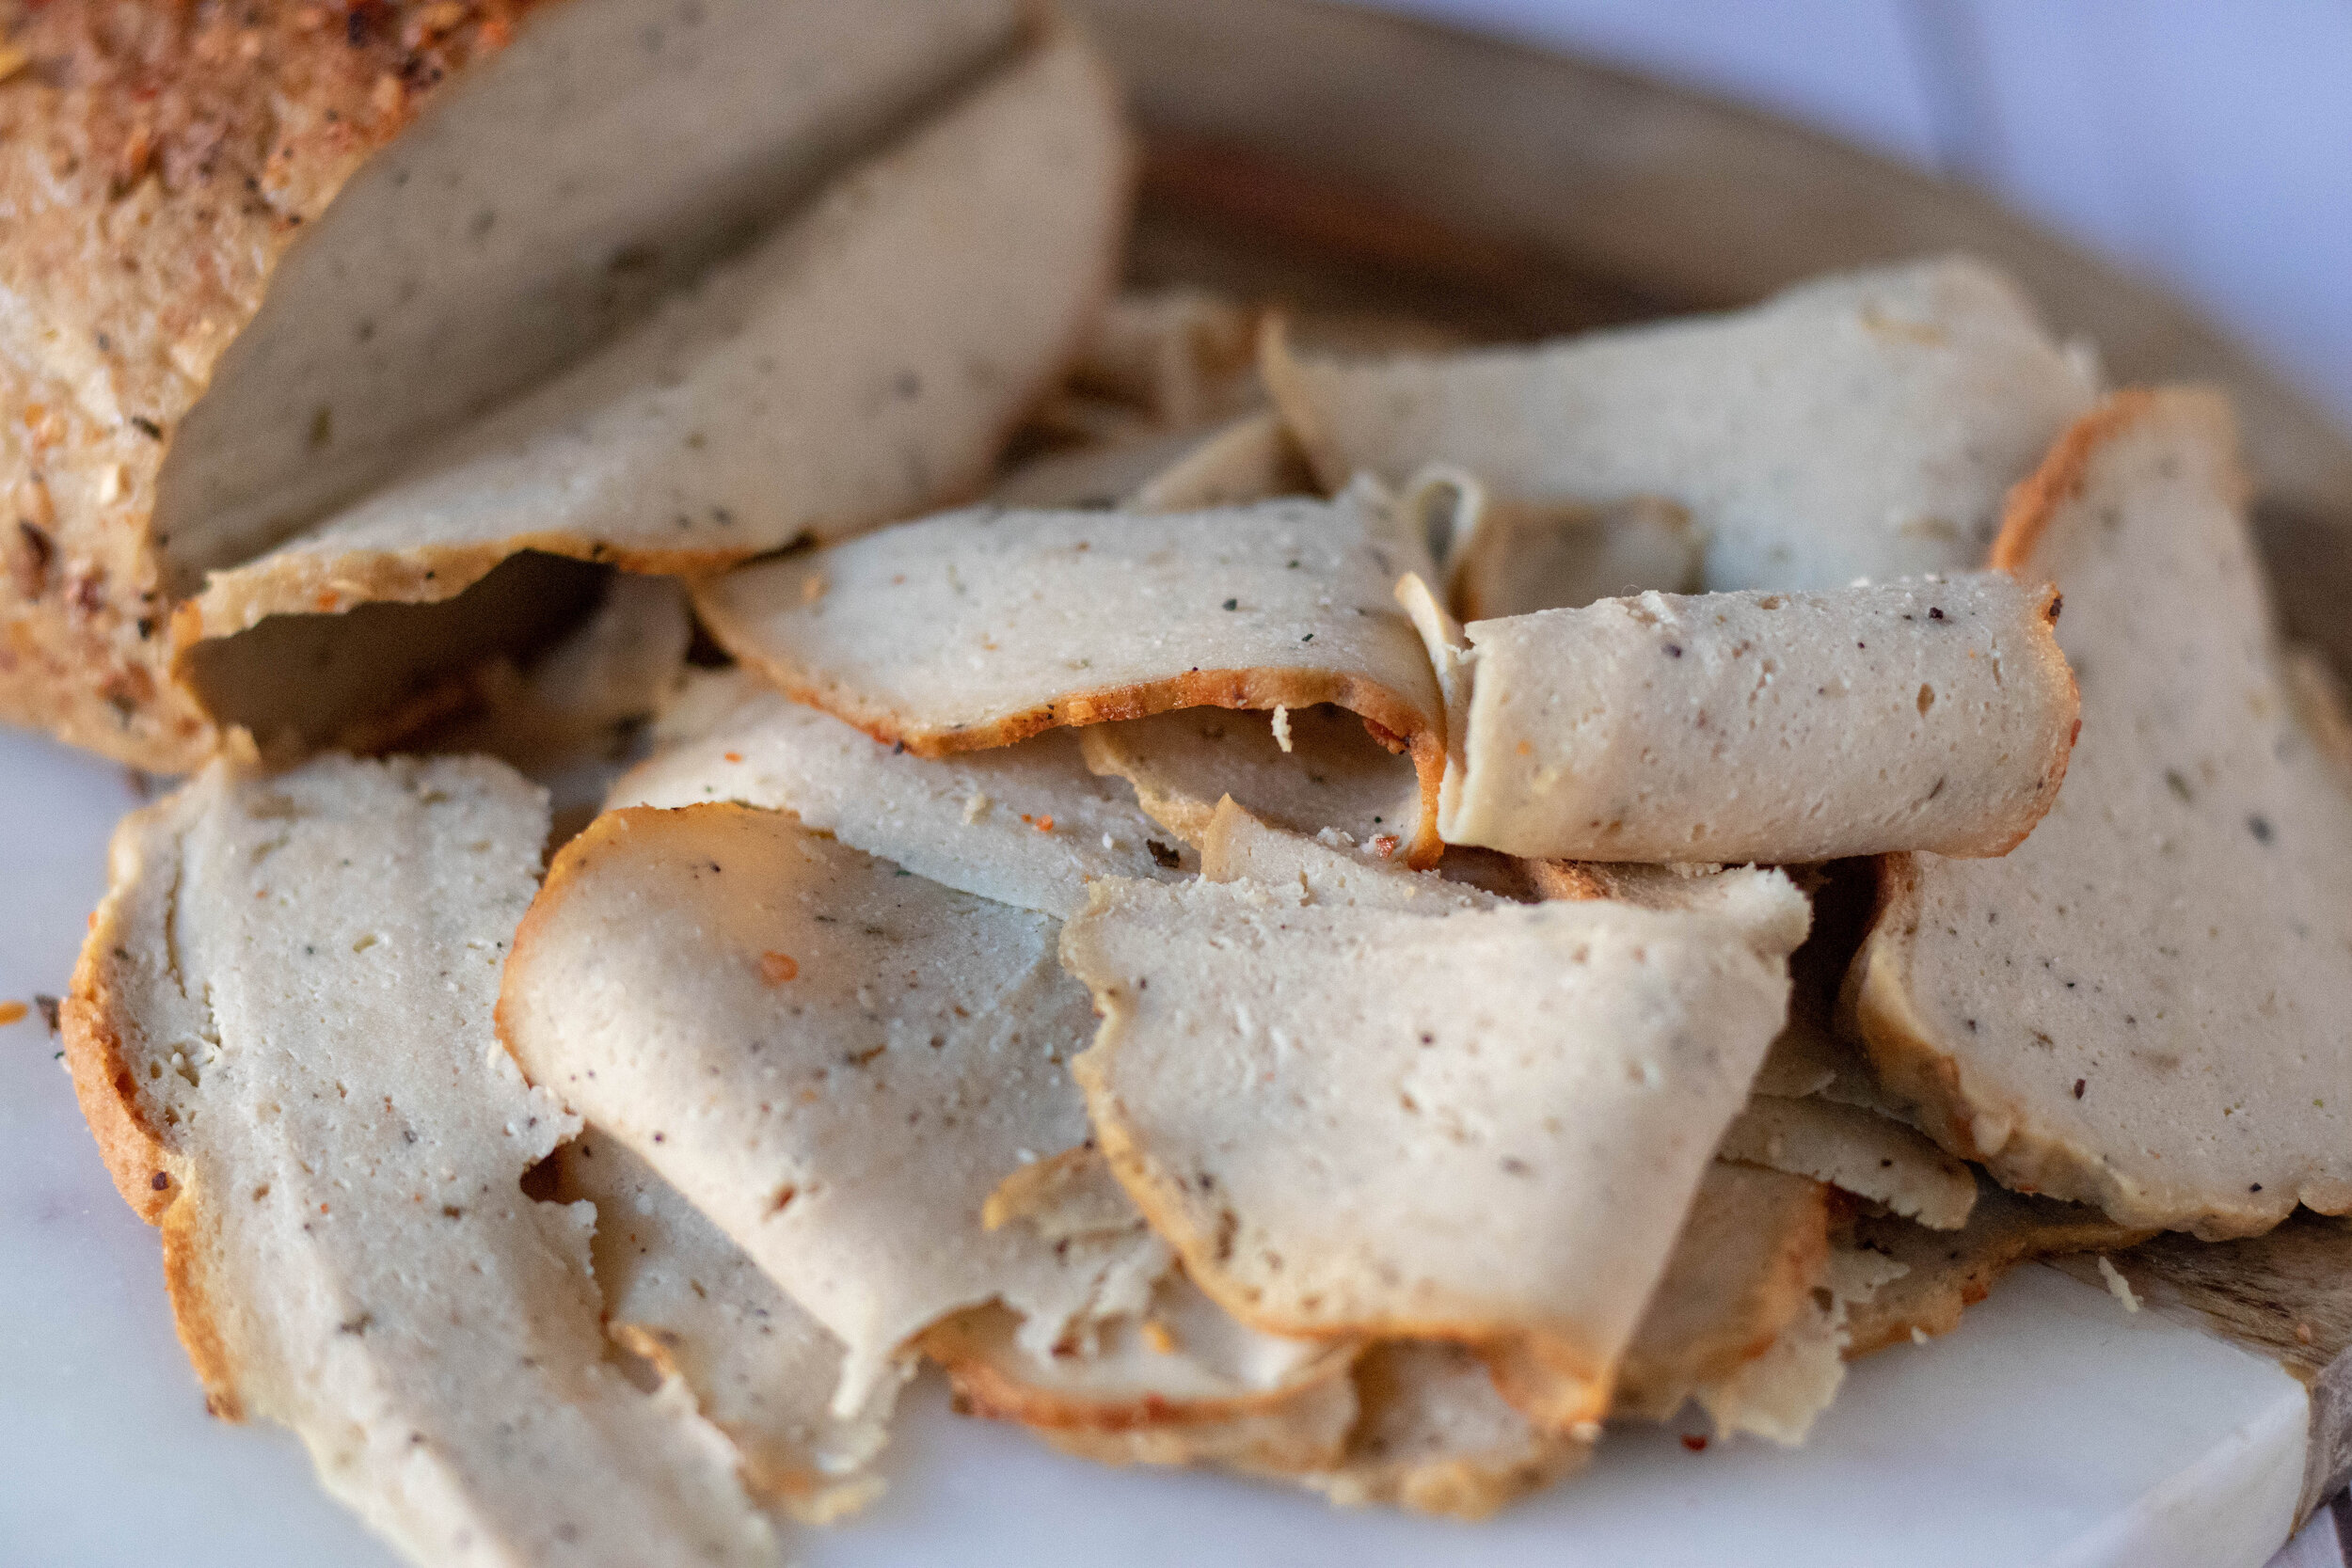
One of the most popular recipes on this site is our Vegan Deli Sliced Turkey. And for good reason! It’s delicious and super easy to make.
We mixed vital wheat gluten, tofu, herbs and spices to create a very convincing vegan turkey breast. The texture and flavor are just spot on!
So when I was thinking over new spring dish ideas, specifically main dishes, I decided I wanted to stuff that turkey breast with some herbs, roll it up, and see how it would turn out.
I had imagined using a variety of herbs and bread crumbs to stuff the vegan turkey breast with, but because I am wrote this recipe durning some very strange, unprecedented, quarantine times, I had to use what I had on hand.
I had a bunch of basil and a bag of sun dried to tomatoes so decided to work from there. I love basil and sun dried tomatoes together and decided the combo would give this stuffed turkey breast and Italian feel. The flavors are bright but also light and zippy.
Even though the filling was not what I had originally dreamed up, it just goes to show using what you have on hand sometimes can create happy accidents….errrr, well, this is less an accident and more a product of availability, and mandatory shelter at home orders. But still the result was happy!
You can use any herbs you have on hand, as well. If do not have sun dried tomatoes you can skip that and just use herbs and bread crumbs.
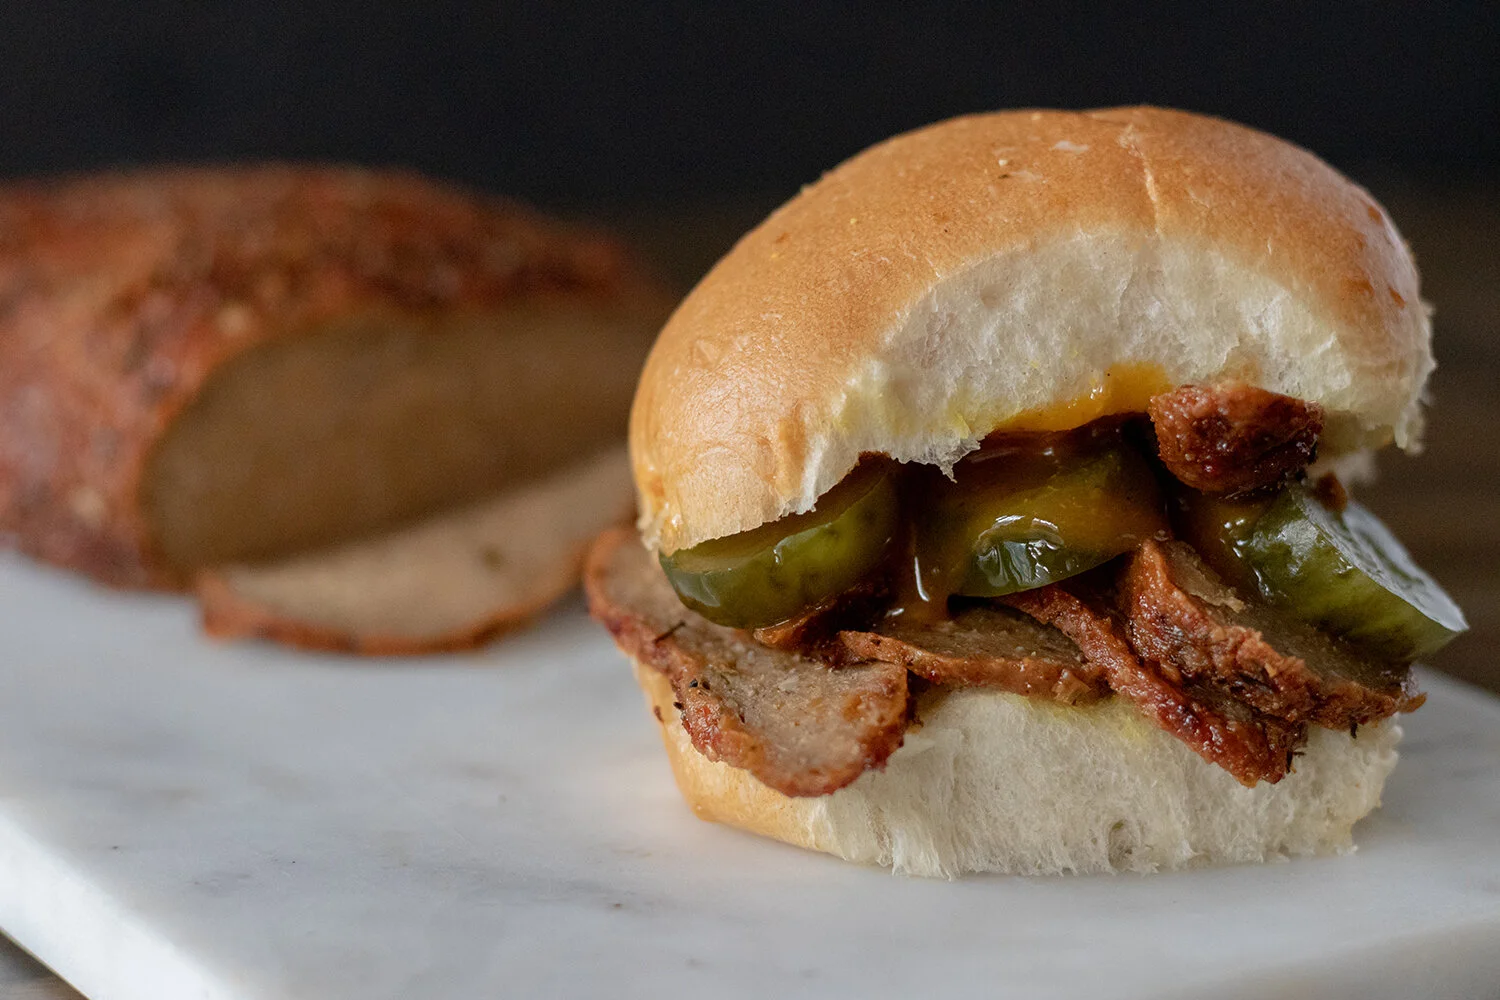
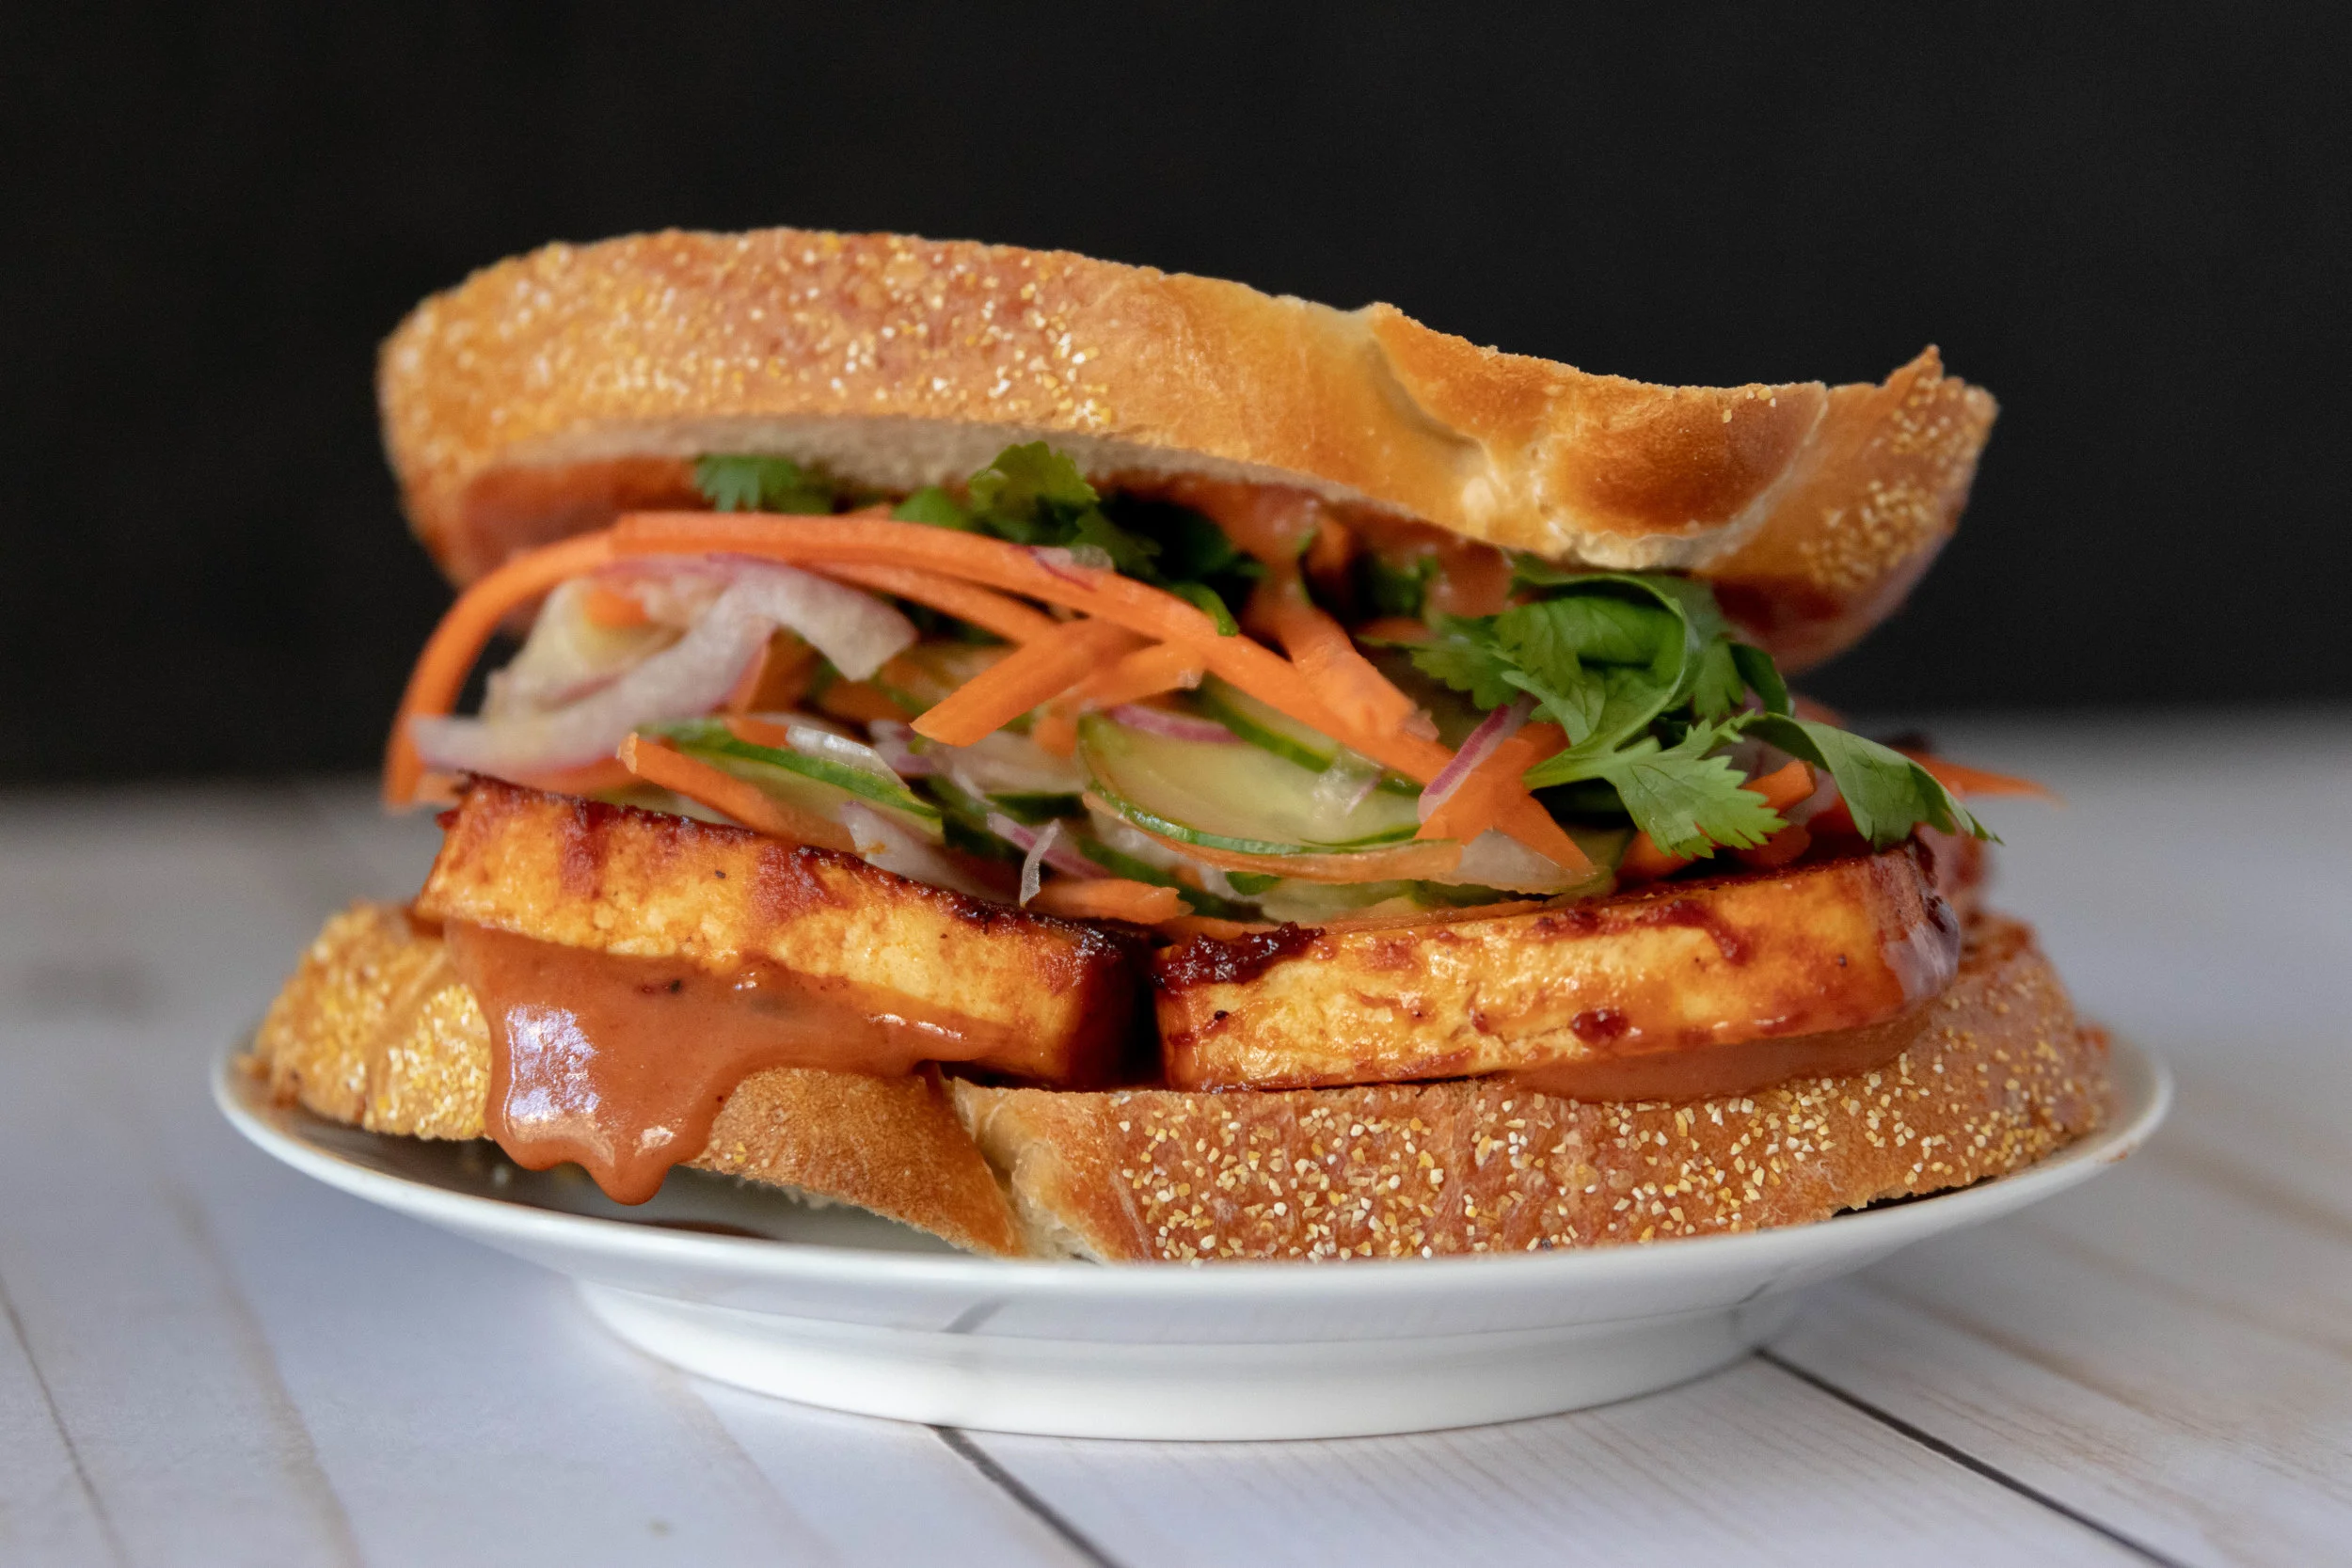
We ate this vegan turkey breast as a dinner, but you could easily slice it thinly and use it for one dang delicious sandwich, too.
So if you have been thinking about what you would make for your next spring holiday meal, or have some extra time on your hands and want to give seitan turkey a go, there is no better time than now!
This recipe is beyond easy, and so delicious.

INGREDIENTS:
1 block extra firm high protein tofu (14oz -16oz block)
1 cup vital wheat gluten
1/2-3/4 cups water
1/4 cup nutritional yeast
2 tablespoons neutral flavored oil
2 tablespoons tapioca starch
2 teaspoons onion powder
1-2 teaspoons garlic powder
1/2 teaspoon sage
1 teaspoon rosemary
1 tablespoon No Chicken Better Than Bouillon
1 teaspoon liquid smoke
1 teaspoon salt optional if you feel like the bouillon is not salty enough
3 tablespoons mix Italian herbs for the coating, plus 1 tablespoon nutritional yeast
*I used high protein tofu in a sort of vacuum sealed package and this what I strongly advise using. It is much firmer than regular firm tofu and has less moisture and a more chewy texture. If you opt to use regular firm tofu you will need to press it first and remove as much liquid as possible. You may need to adjust the amount of water in the recipe ads a result as well. Add the water last, adding just enough to accomplish a firm dough. Be advised that I have not made this turkey with regular firm tofu and I have gotten several comments that using it has caused the tofu to have more of bread texture with many holes in it. I am sure moisture is what is causing this issue. I really suggest only using the HIGH PROTEIN EXTRA FIRM for this recipe if you can find it.
FOR THE FILLING:
1 cup bread crumbs (make sure they are vegan, many brands are not)
1/2 cup fresh basil
1/4 cup fresh parsley (optional)
1/4 cup sun dried tomatoes
Juice from 1/2 lemon
2-3 teaspoons olive oil
1 teaspoon salt

INSTRUCTIONS:
Preheat oven to 350 degrees
Begin by adding all of the ingredients for the filling in the food processor. Mix for a few minutes until all of the ingredients are minced up and browned down into a crumb consistency. Place filling in a bowl and set aside. Rinse the food processor.
Break up the tofu and place it into a food processor with the regular metal blade. Run the processor for around a minute until the tofu is broken down.
Add all of the remaining ingredients and let the food processor run for a couple of minutes. You want the mixture to form a dough. Letting the processor run will help knead the dough. We want this seitan to be firm so we need it to knead for a bit. If you dough seems a bit too dry, you can add another few tablespoons of water, just don’t add too much more! I start at 1/2 cup and work from there.
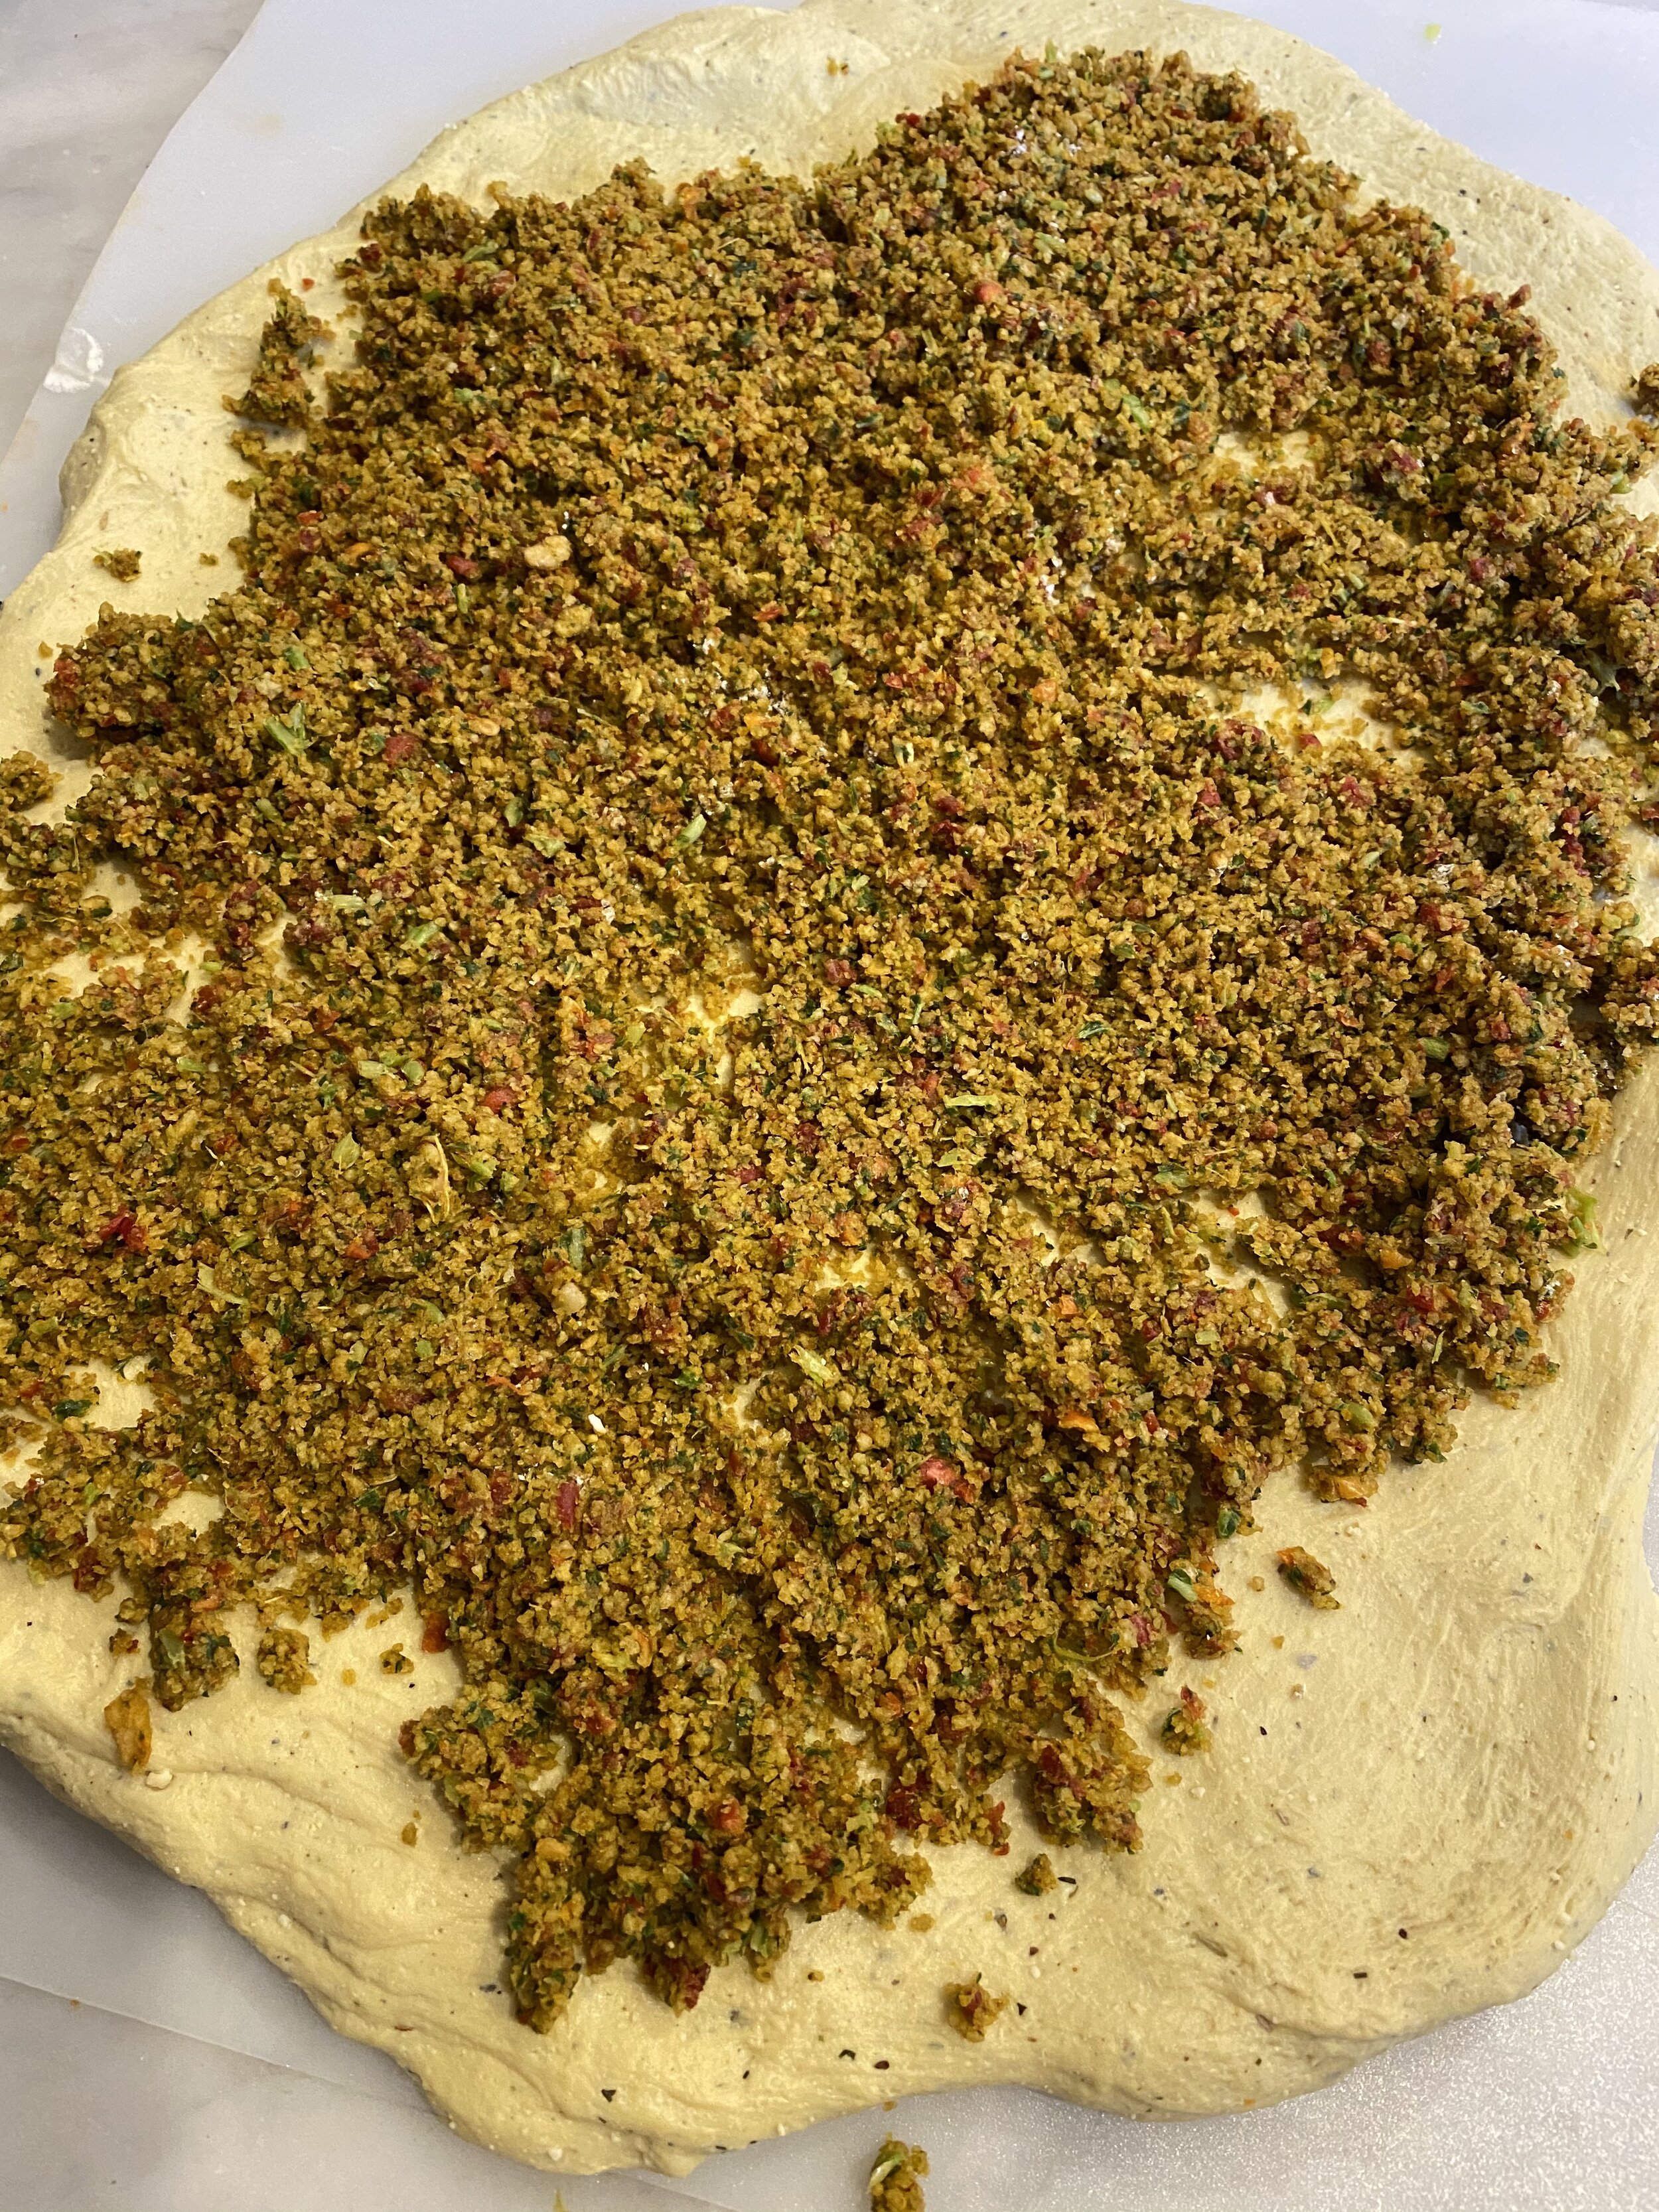
Once you have a smooth but firm dough, remove it from the food processor and place on a clean counter. Knead the dough with your hands for about a minute. Flatten the dough out into a regtangle-ish shape. About 12 inches by maybe 8 inches.
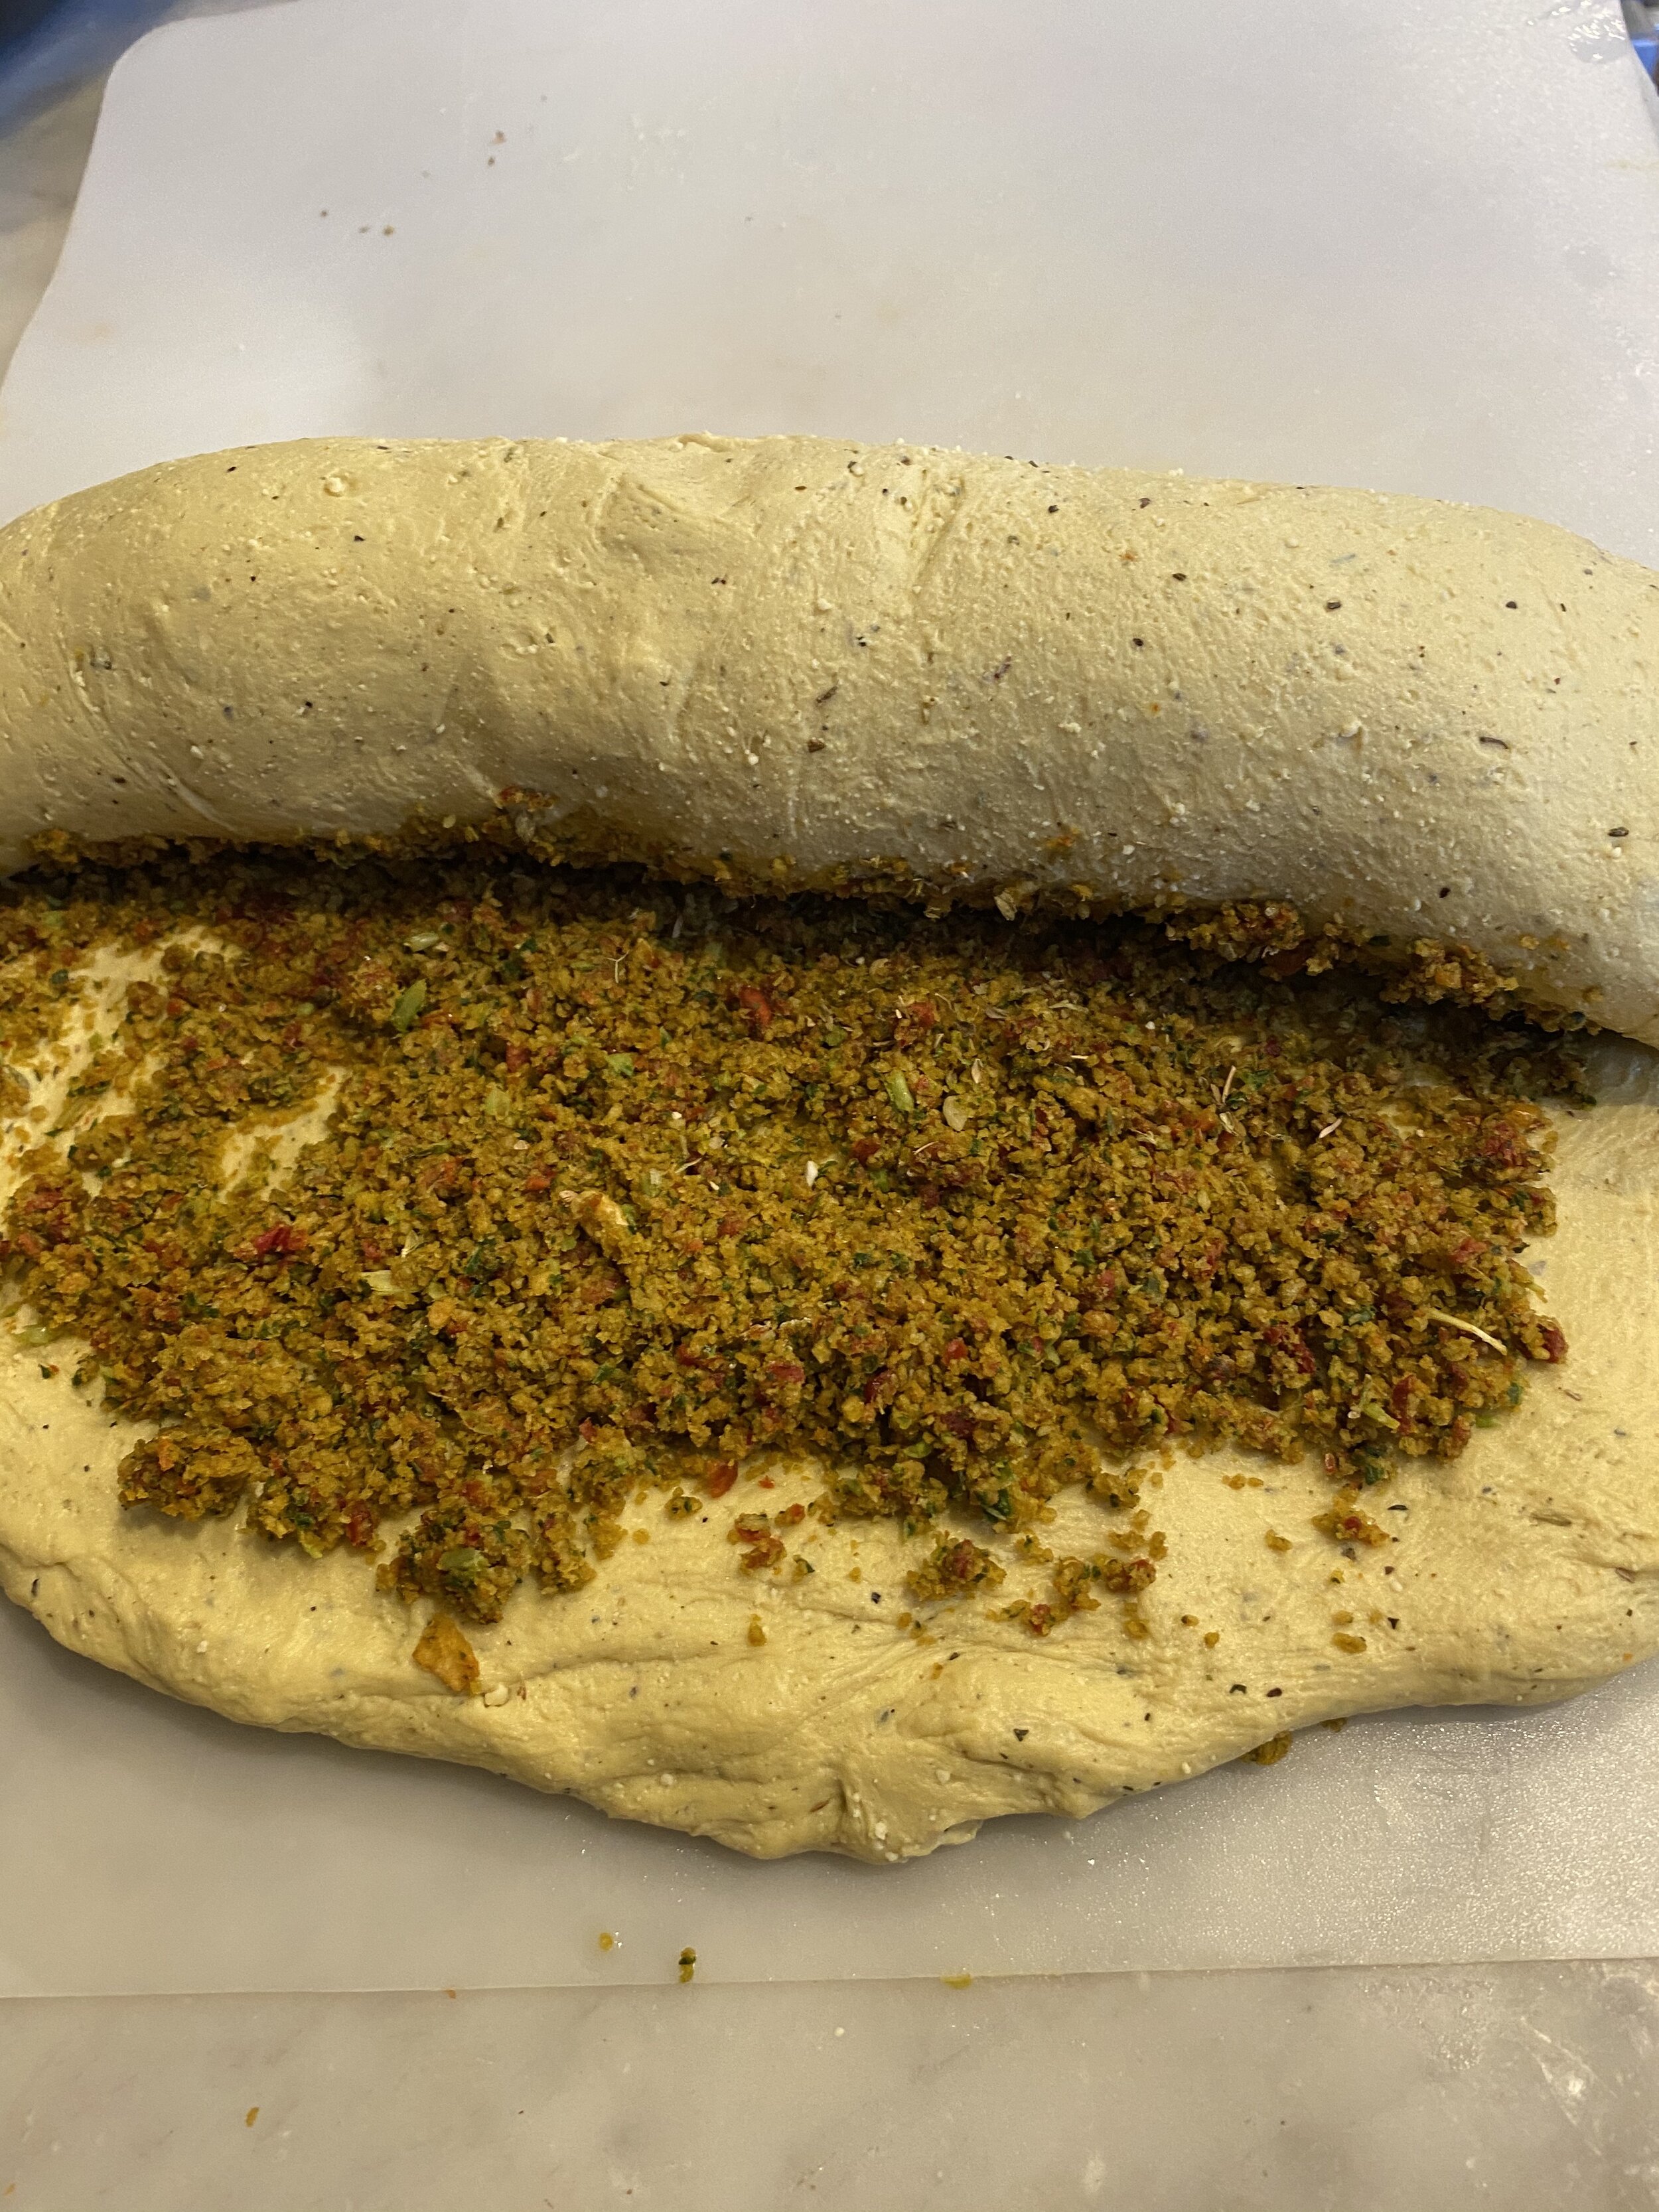
Spread the filling over the dough leaving some room around the edges so the filling does not spill out.
Begin rolling up the dough starting at one of the shorter ends. Once you have rolled it up, tuck in the ends.
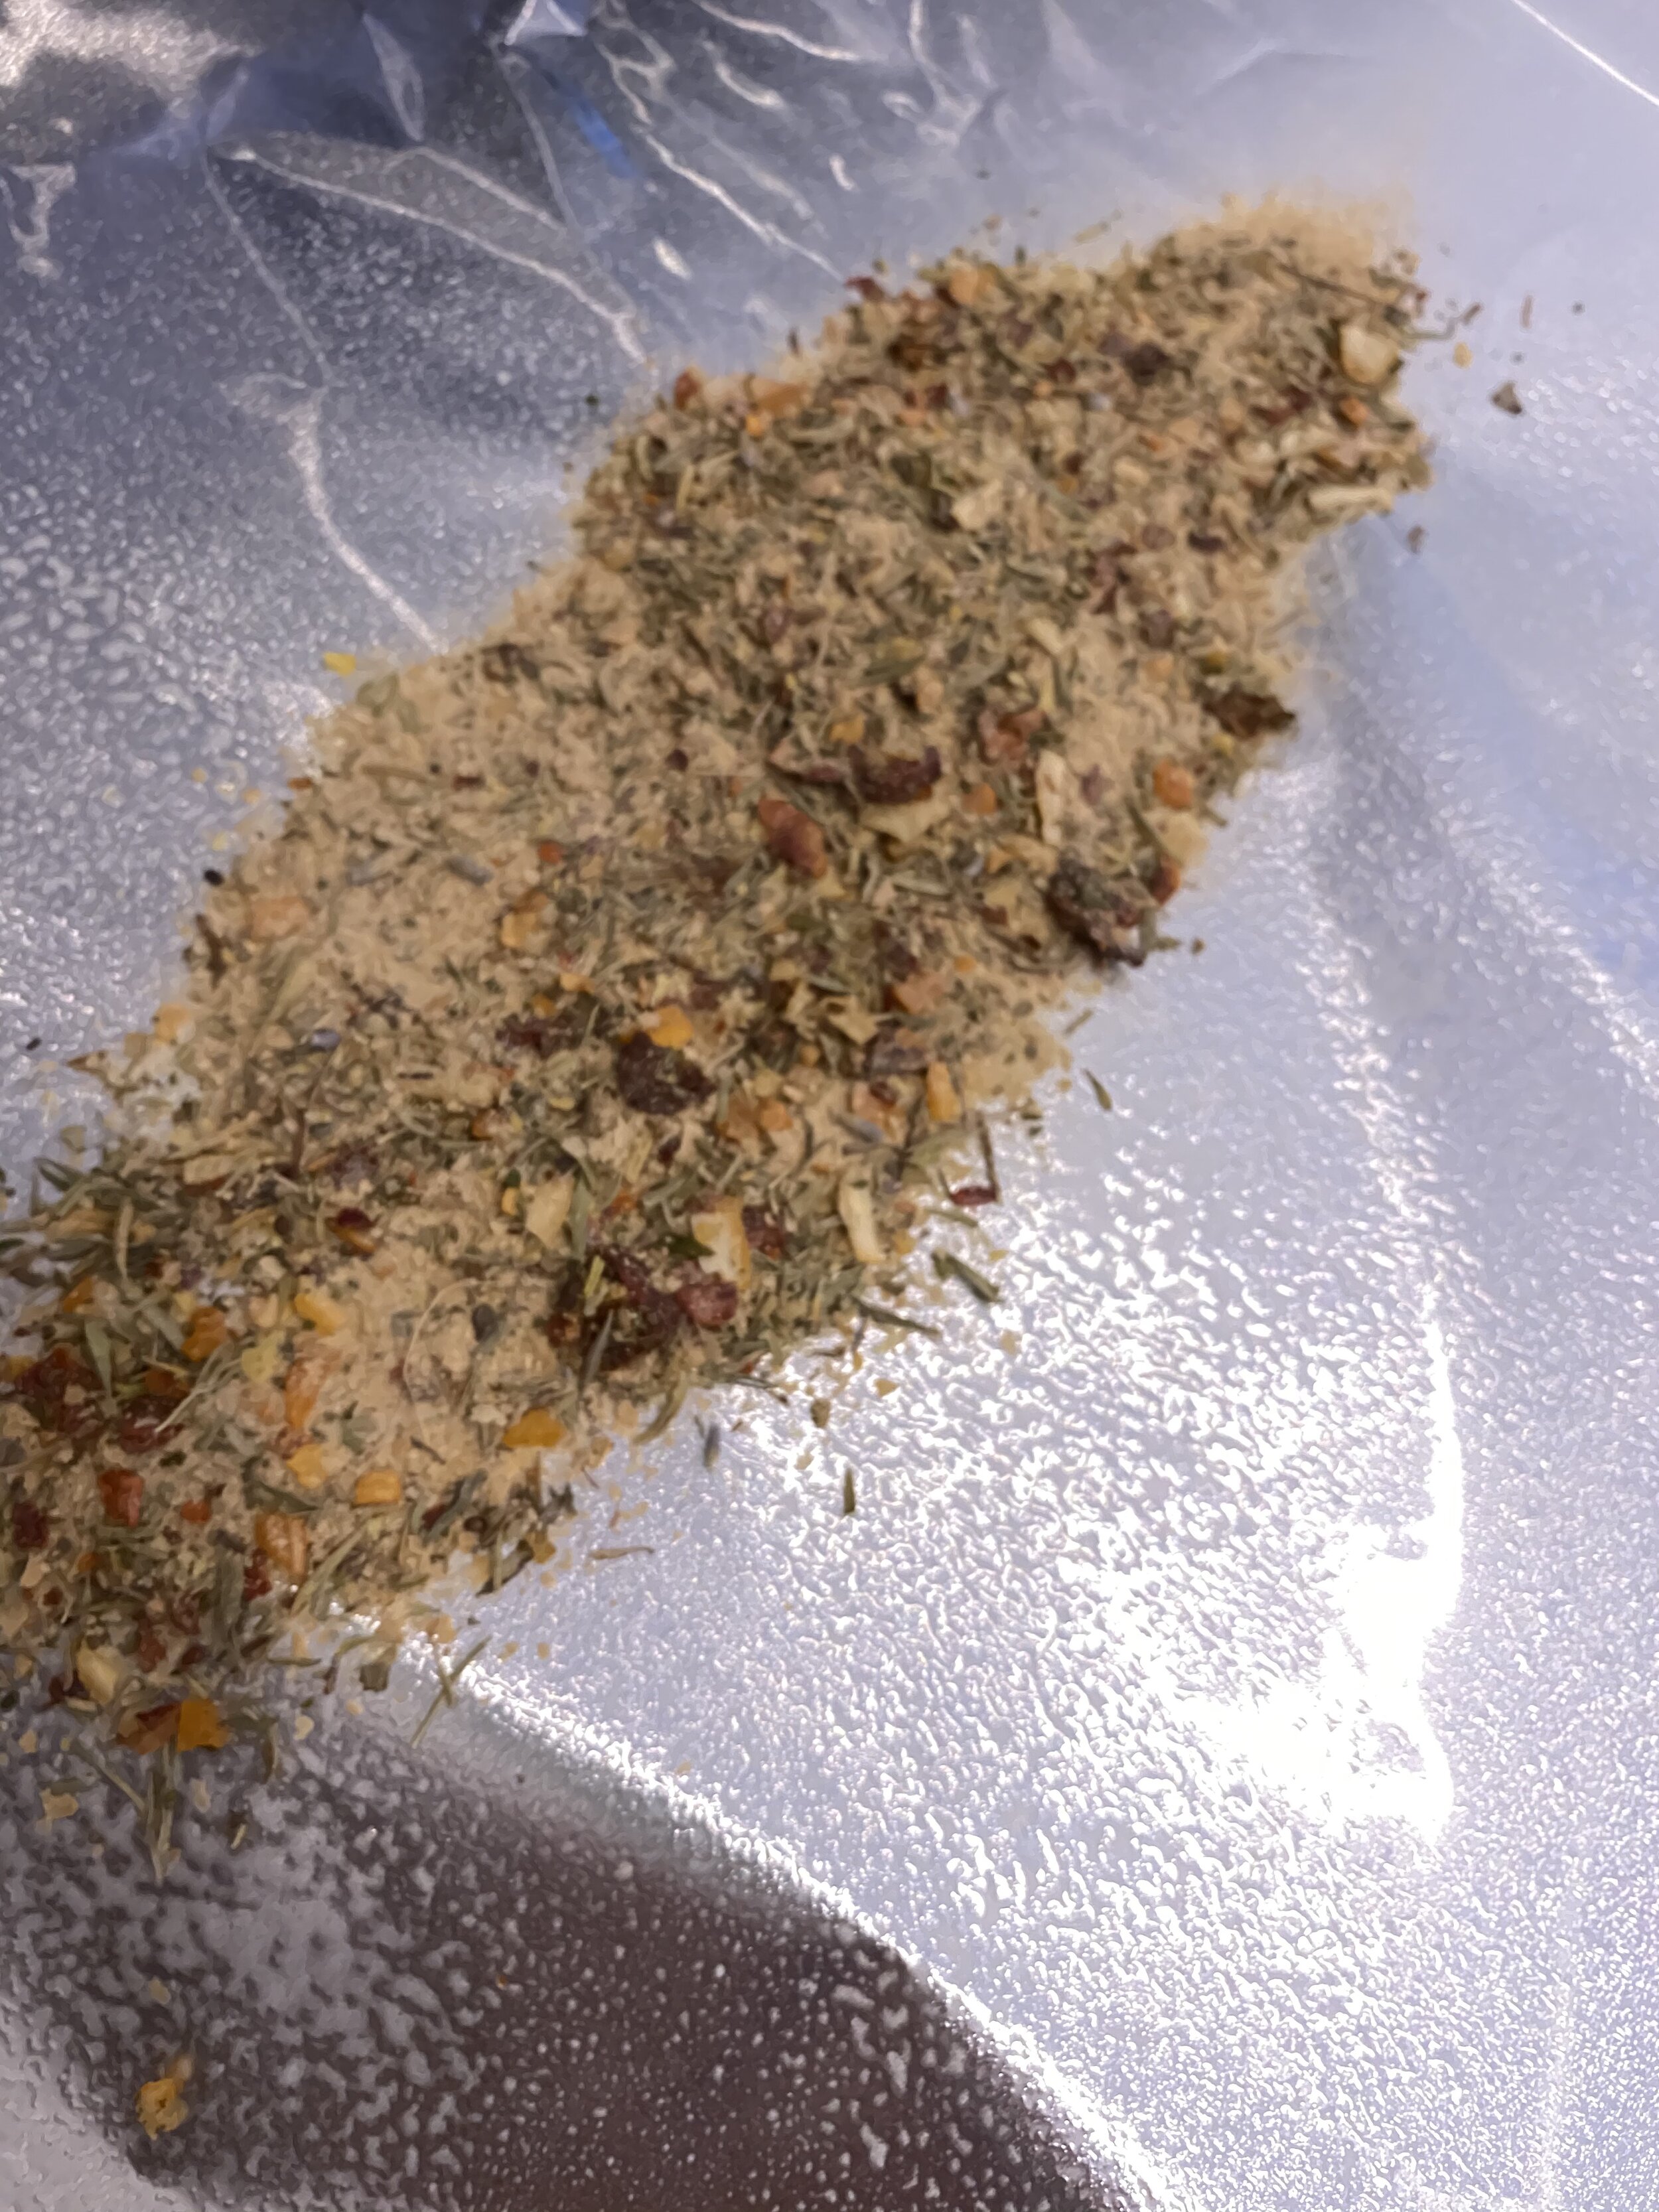
Take a piece of aluminum for about 3x bigger than the loaf of dough, and lay it out flat. Coat the foil in spray oil or wipe it down with any oil you have. Sprinkle half coating seasoning you are using in the center of the foil. Place the loaf on the seasoning and roll it around. Sprinkle the remaining seasoning over the top and press it in. The goal is to fully coat the loaf in the seasoning!
Place the loaf back in the center of the foil and fold up the sides, pinching at the top to seal it up, then twist the ends to fully seal the foil.
Place on a baking sheet and put in the oven on the middle rack. Bake sealed for 30 minutes. After 30 minutes carefully open up the foil, and continue baking for another 30 minutes.
Remove finished “turkey” breast and let cool at room temp. Seal the foil back up and place the “turkey” breast in the fridge over night to rest. This step is important to get the texture we are trying achieve. If you try and serve it before it rests it will not be nearly as firm.
Once the “turkey” breast has been in the fridge over night, you can remove it and slice it to serve. Since this turkey is better hot, Just slice and place in the oven at 350 degrees for 20 minutes or until it is heated back through. I like to give it a little spray with oil when reheating and cover with foil to keep it from getting too dry.
*If your oven cooks hotter than the temperature registered, your “turkey” may develop little holes around the edges. If this happens you can decrease the temperature by 20 degrees the next time you make this dish, or cook uncovered for less time . The turkey will still be delicious but this has been a question asked often in our regular deli turkey breast. It could also be a matter of making sure you knead the dough long enough.

If you like this recipe, then try these: