I hava a lot of seitan recipes on the site. From vegan chicken breast to a whole array of vegan deli meats, but steak was not something I had never really prioritized. I was not a big steak eater way back when I ate meat, so it wasn’t of great importance for me to veganize. Until it was.
My oldest daughter however LOVED steak. Like she would have eaten it every day if would have let her when she was little.
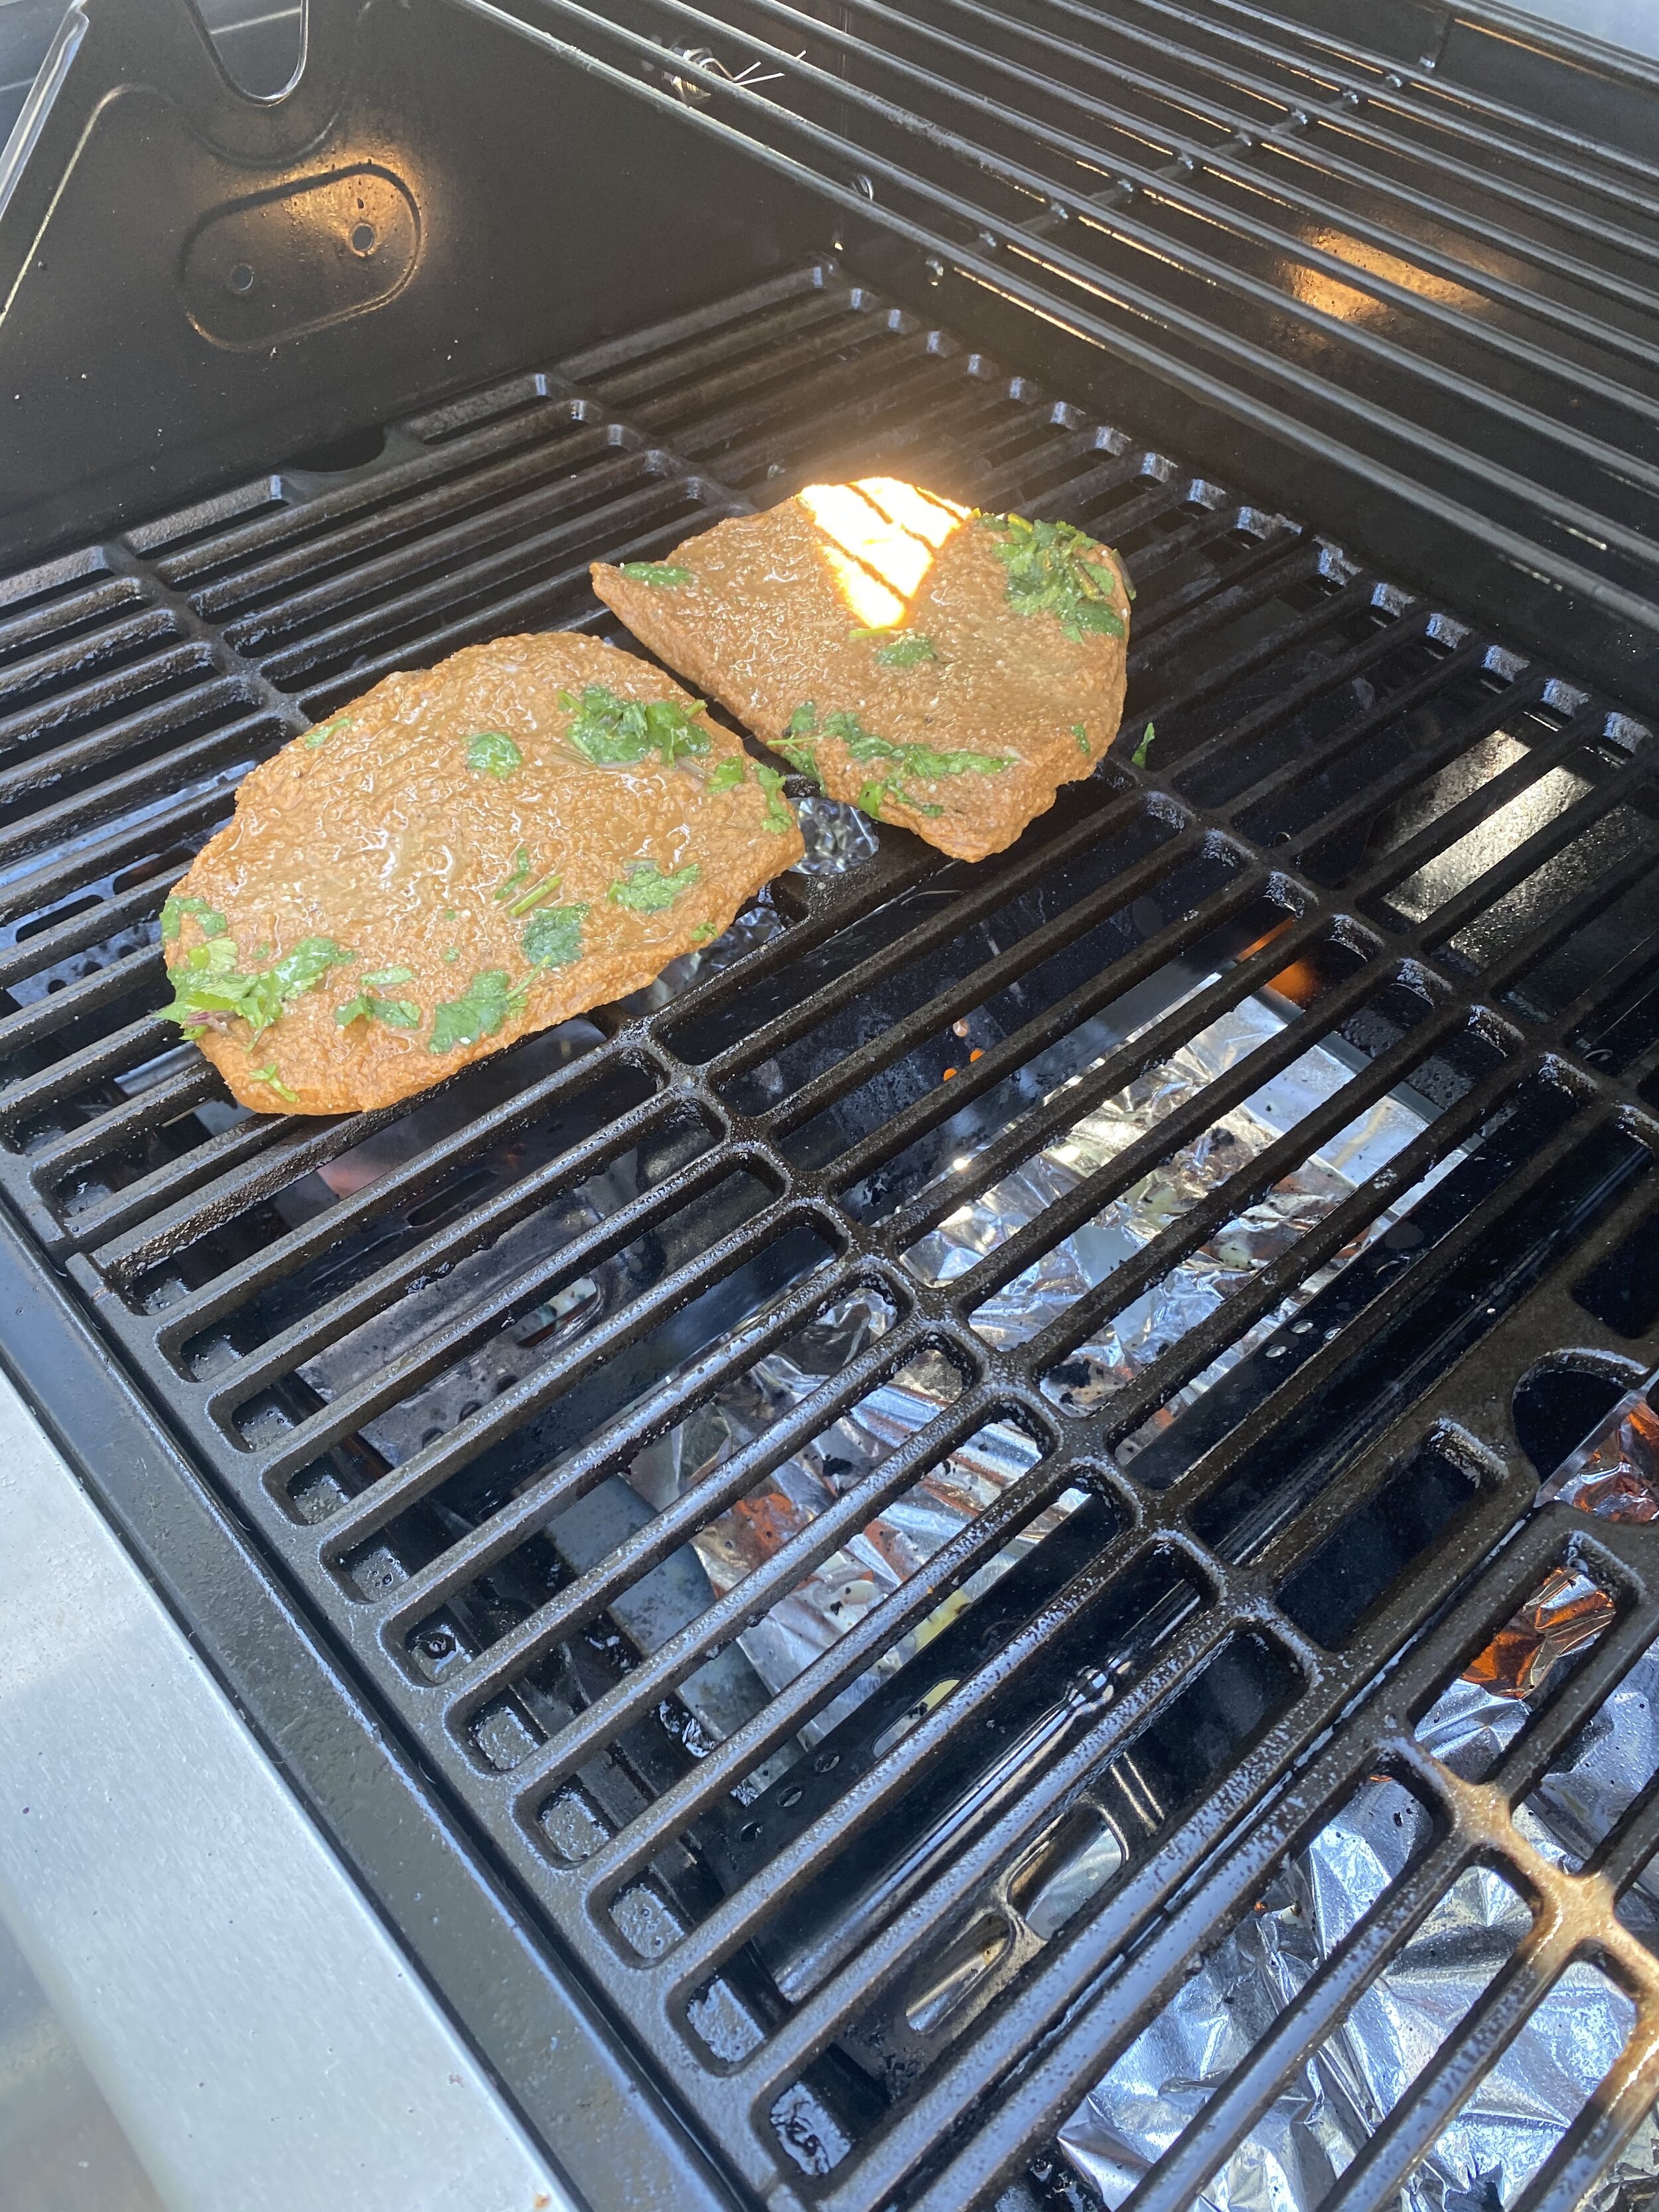
Recently I mentioned that I was going to grill kabobs for dinner, and my oldest daughter asked if I could please try and make steak so she could have a vegan steak kabob. I was grilling that night so If I was going to make steak it needed to be smaller pieces because as I always preach to yall, SEITAN NEEDS TO REST!!!!
So the obvious solution was a vegan steak tip. I could make them that morning and we would be able to eat them that night. I still prefer my seitan rest a full day, but for smaller pieces like these, or the vegan chicken breast on my site that are thin, a good 8 hour rest will normally do.
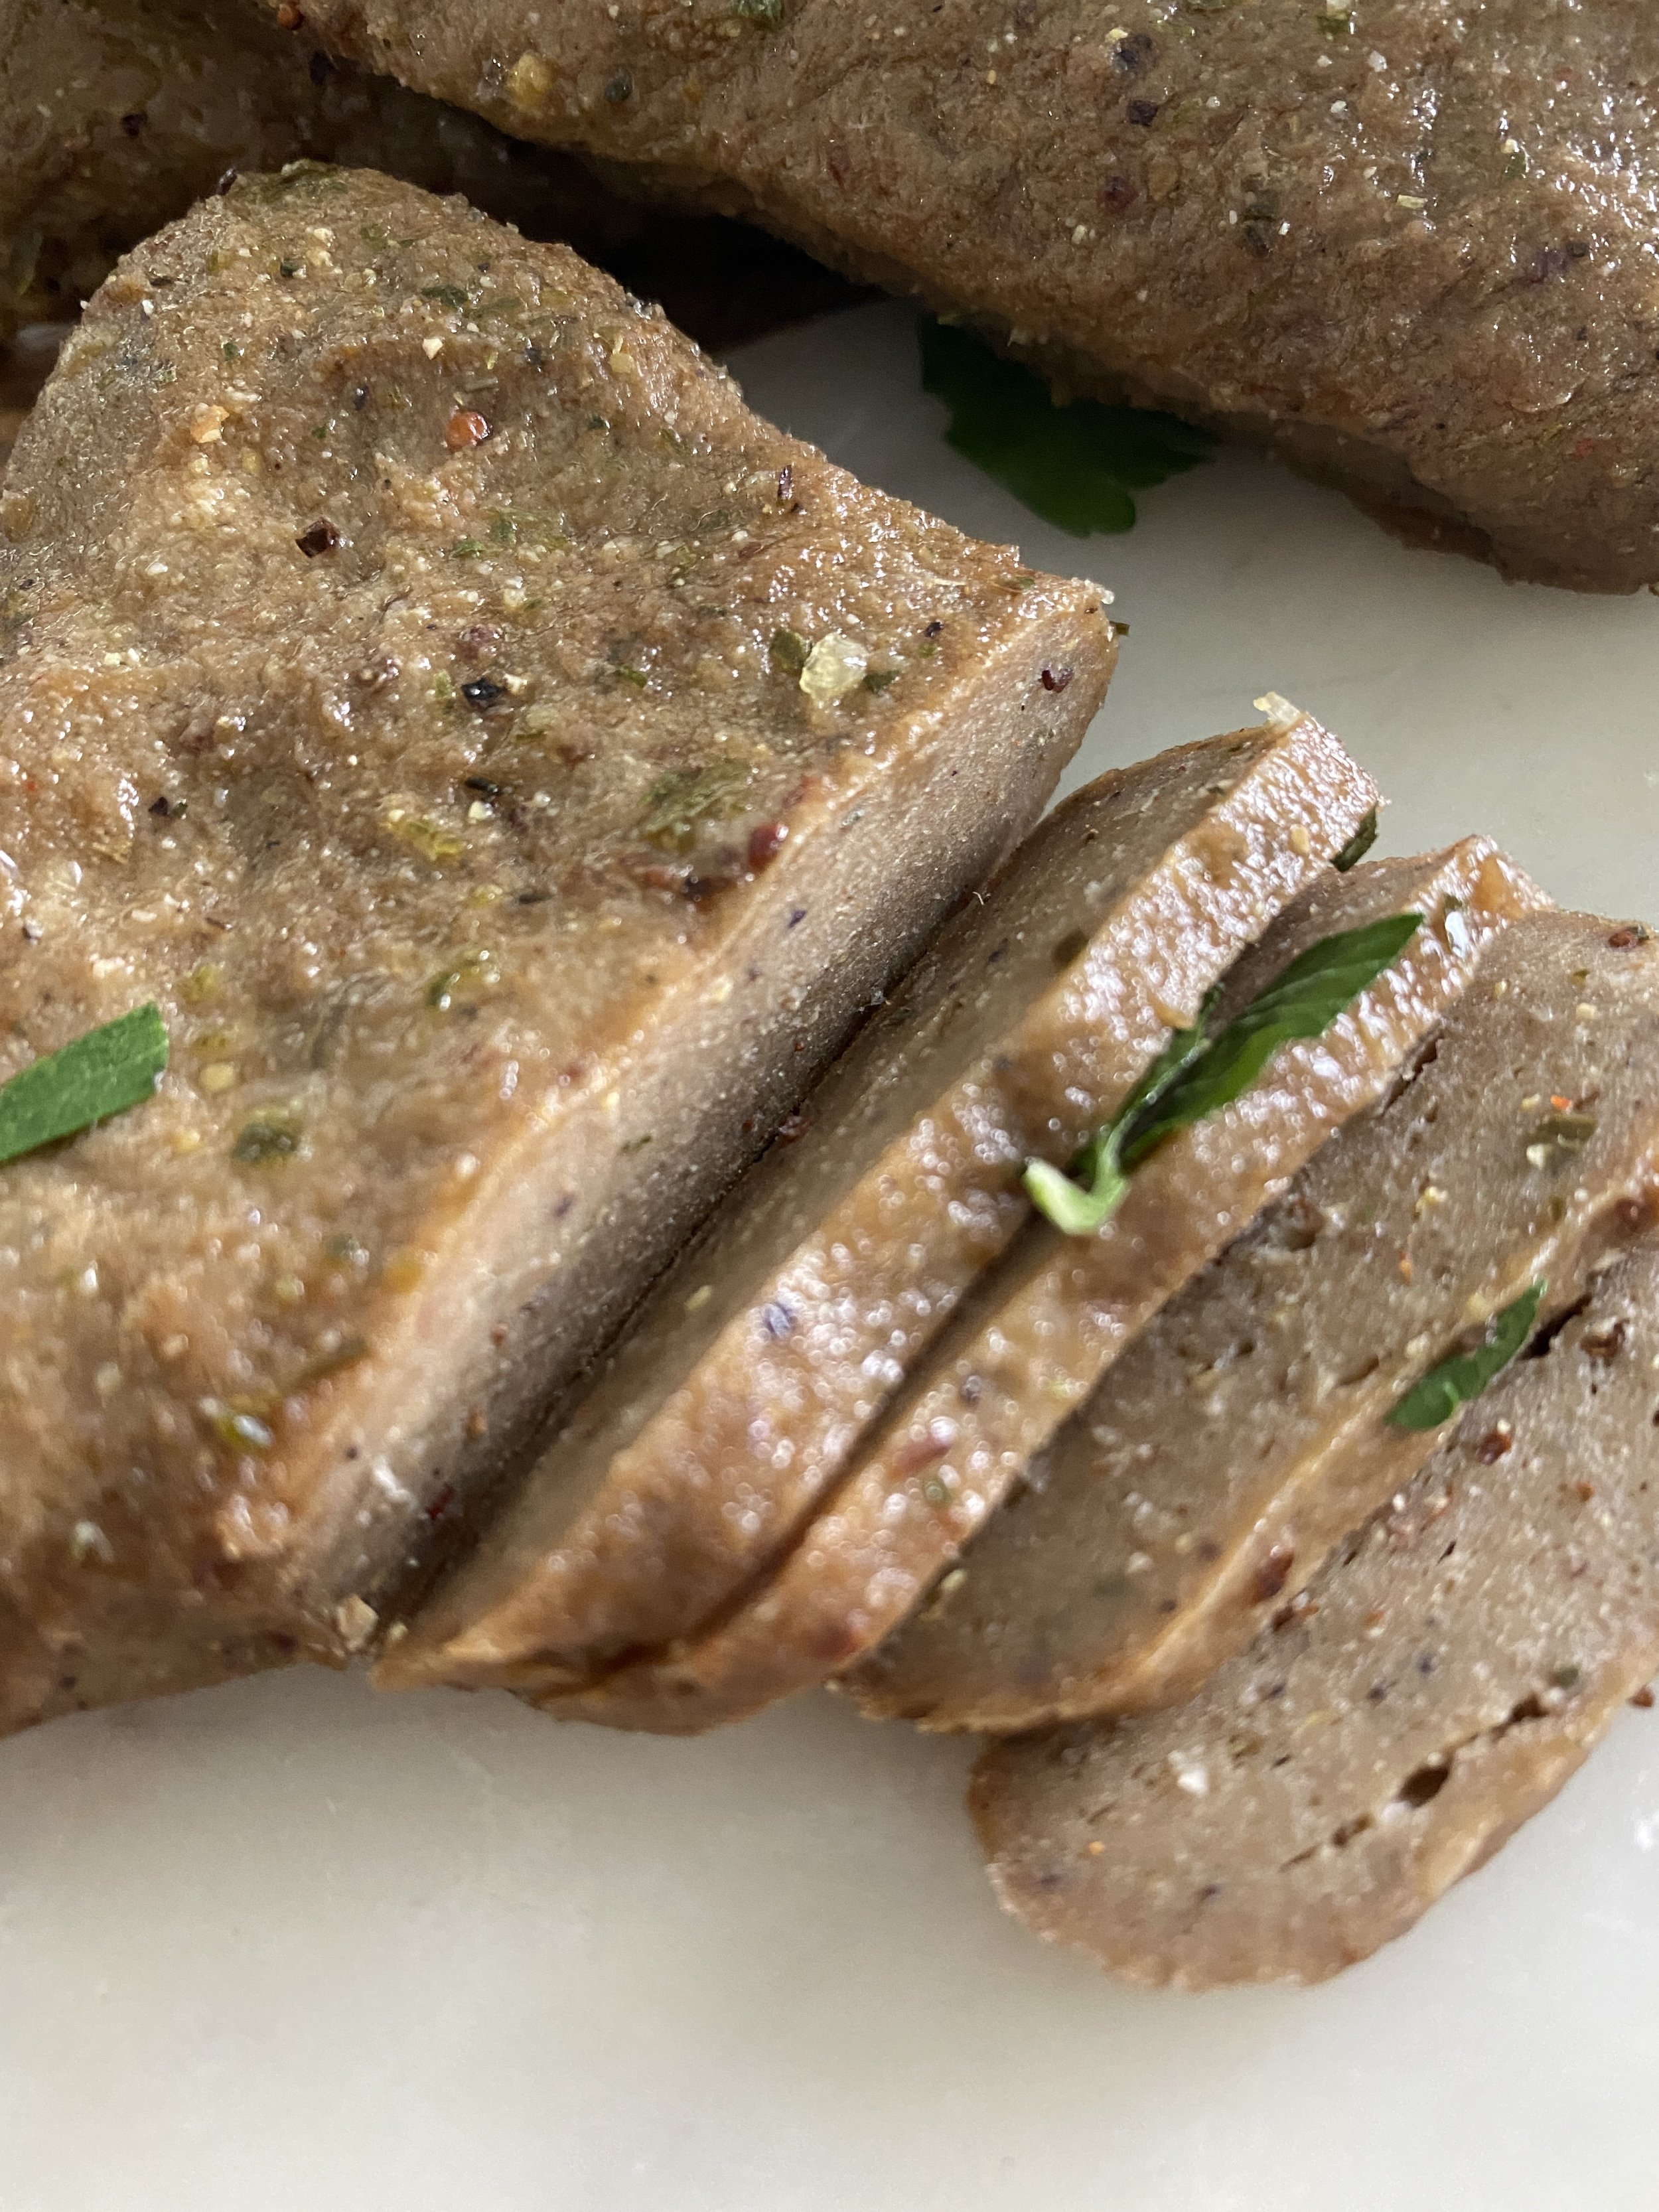
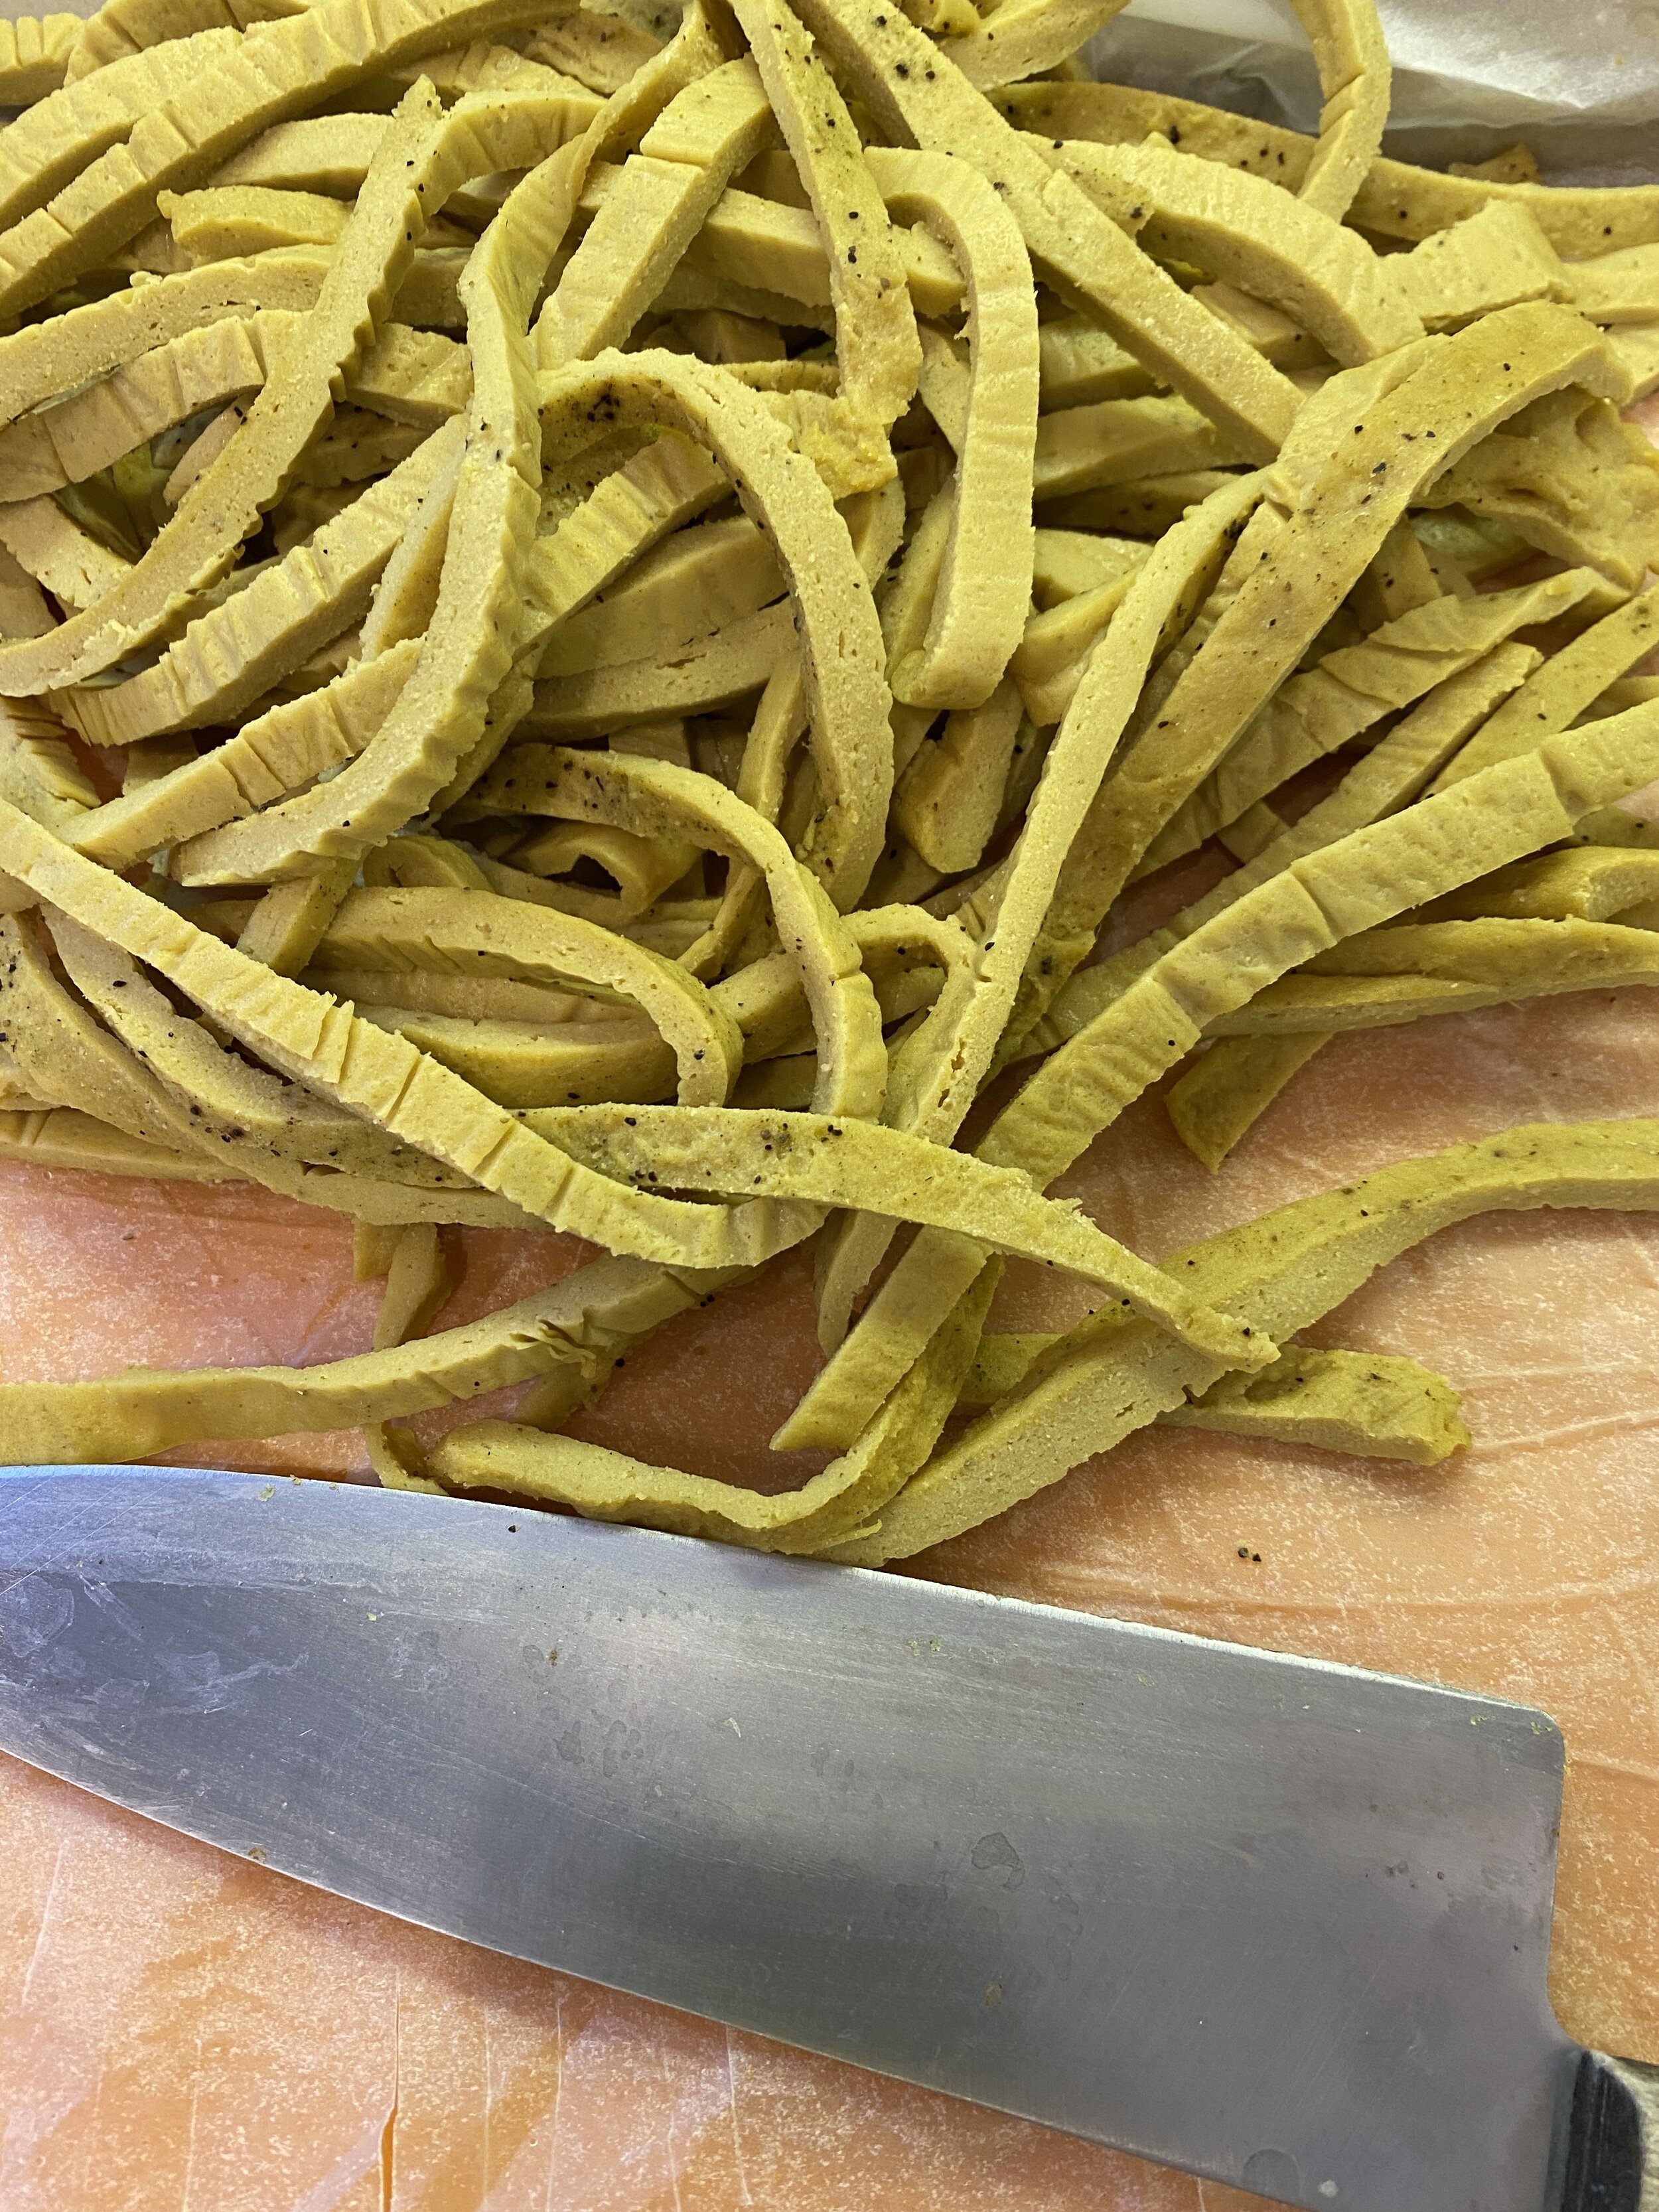
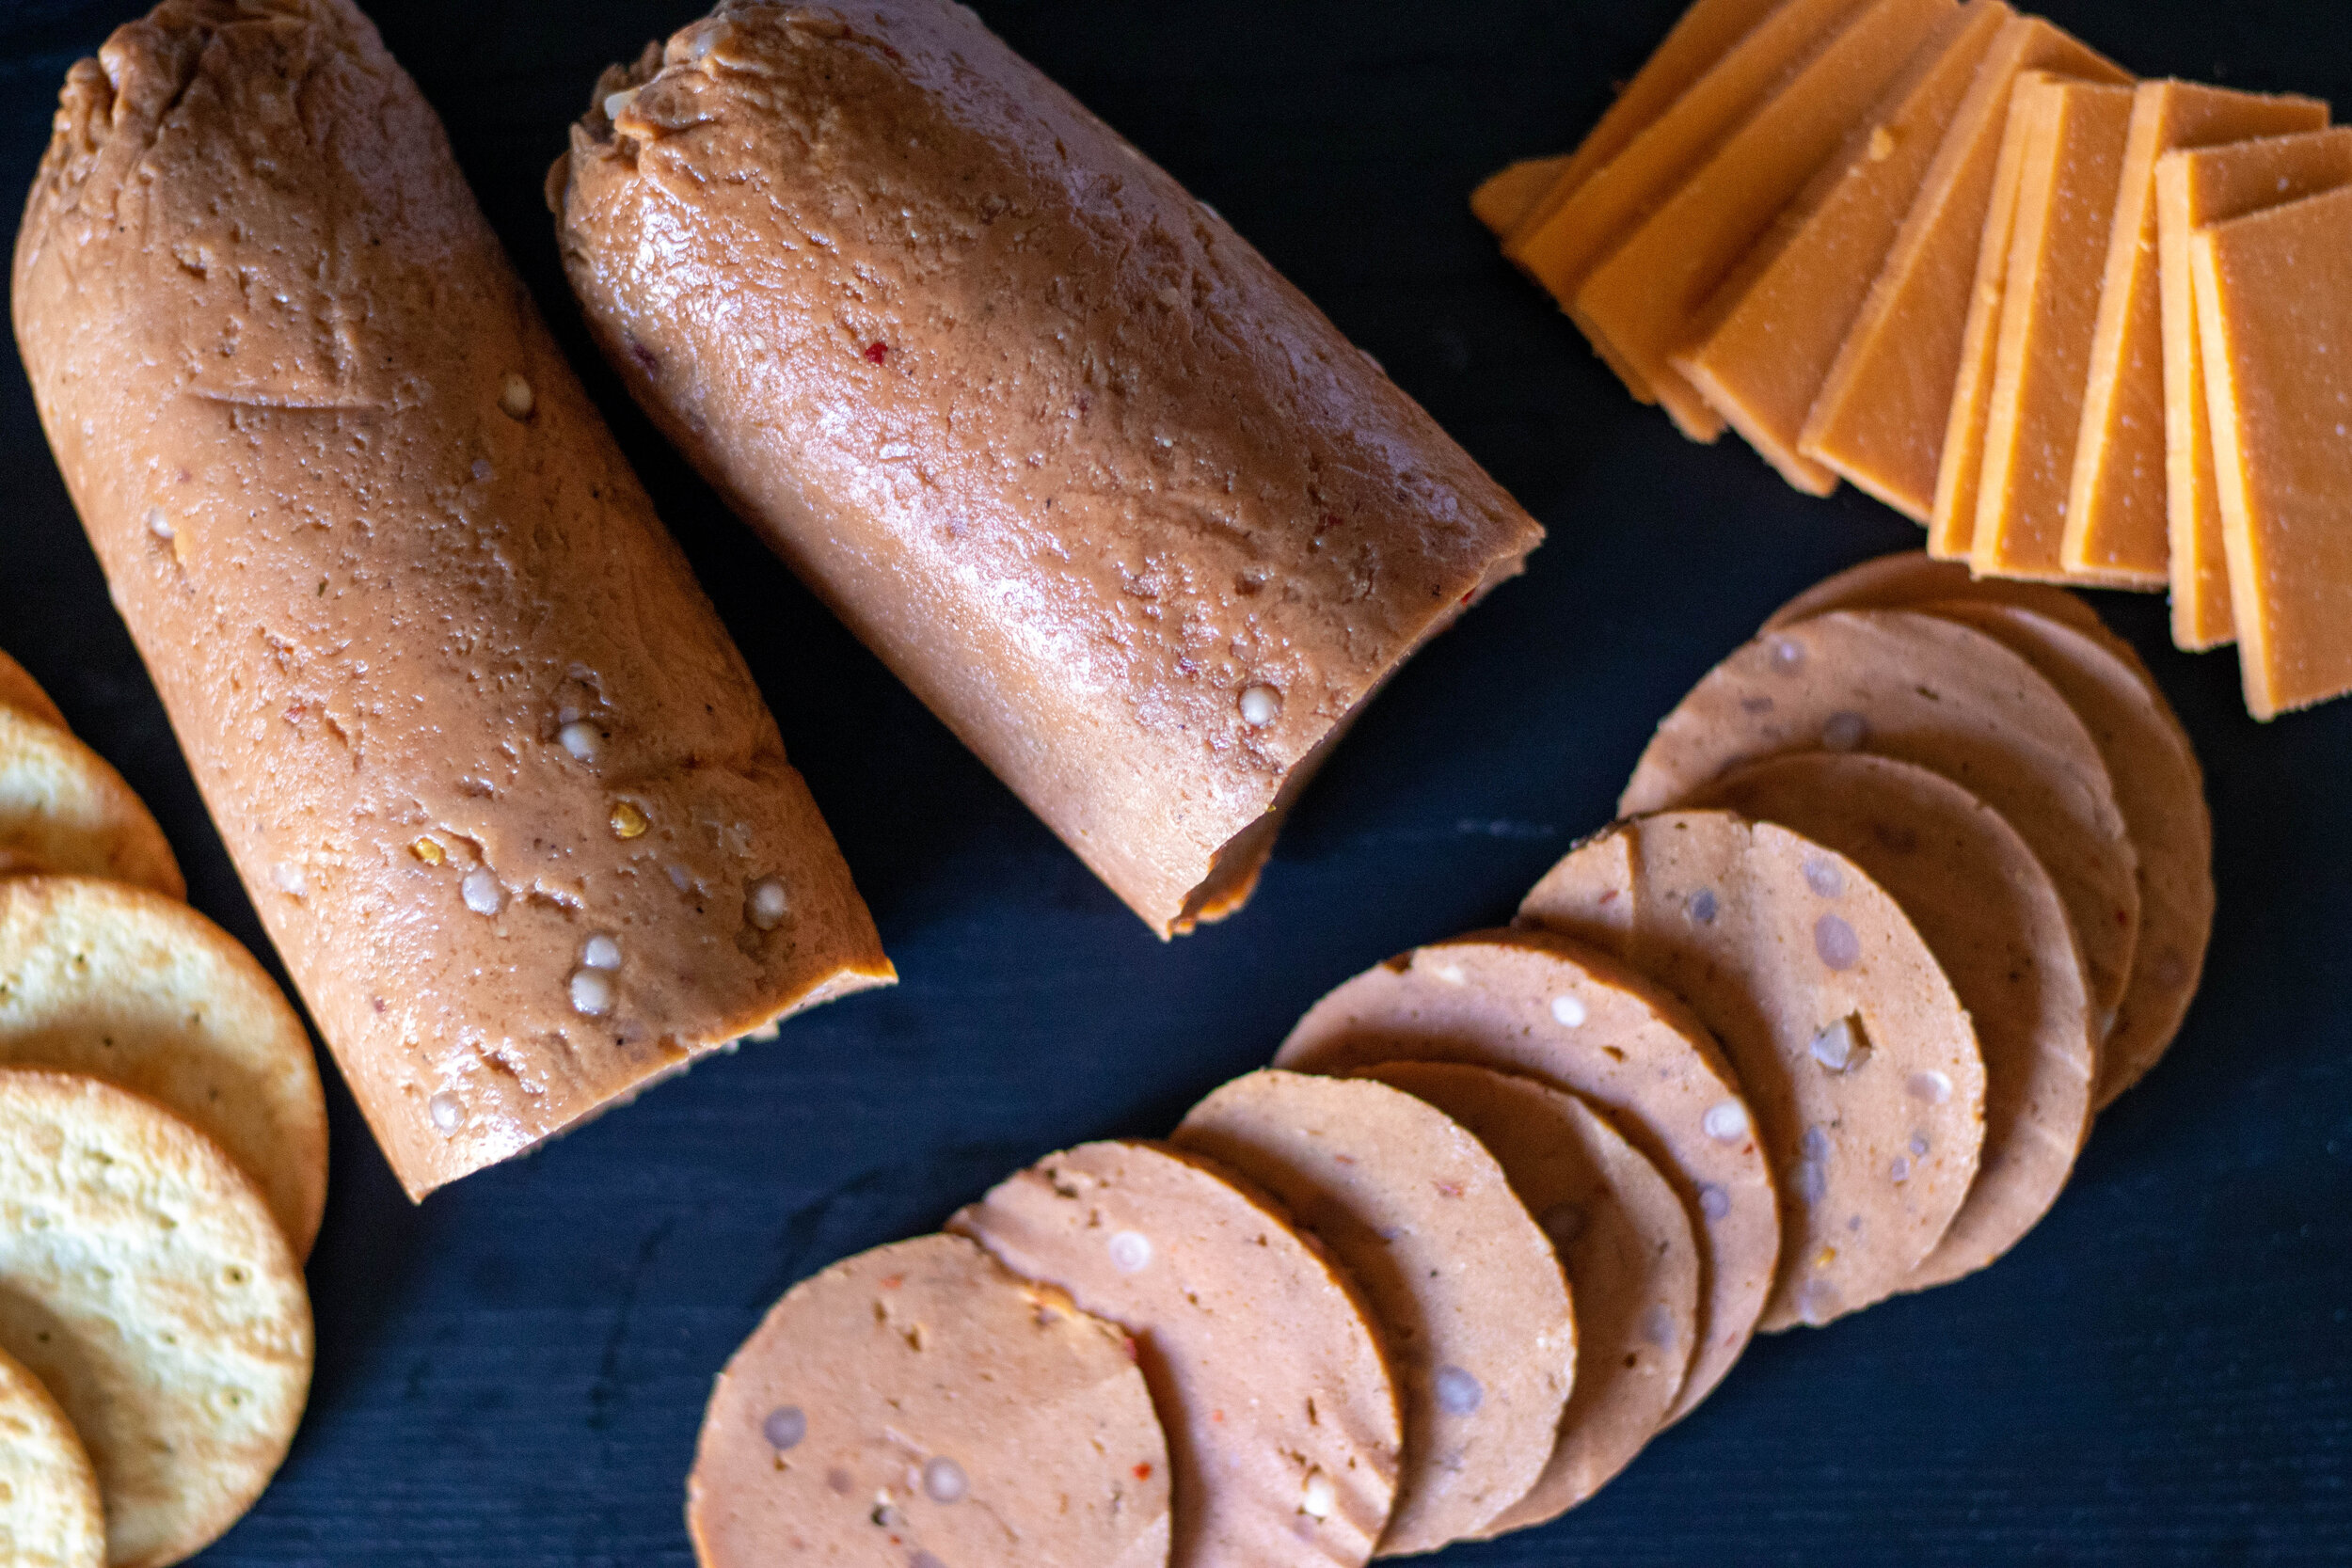
I have watched all kinds of methods over the years for vital wheat gluten seitans and the washed flour methods for getting a “shreddier” meat texture, and decided to try and braid and twist this seitan dough to see if the texture would be more steak like. I think it was. Have I tried making without braiding then twisting to know the difference? No, no I have not. Probably because I actually think it’s fun to braid then twist it….sort of like adult play dough. Feel free to skip that part and let me know your outcome. As for me, I’ll stick with my method because the texture isn’t as smooth as the seitans I don’t do this with, and that was my goal.
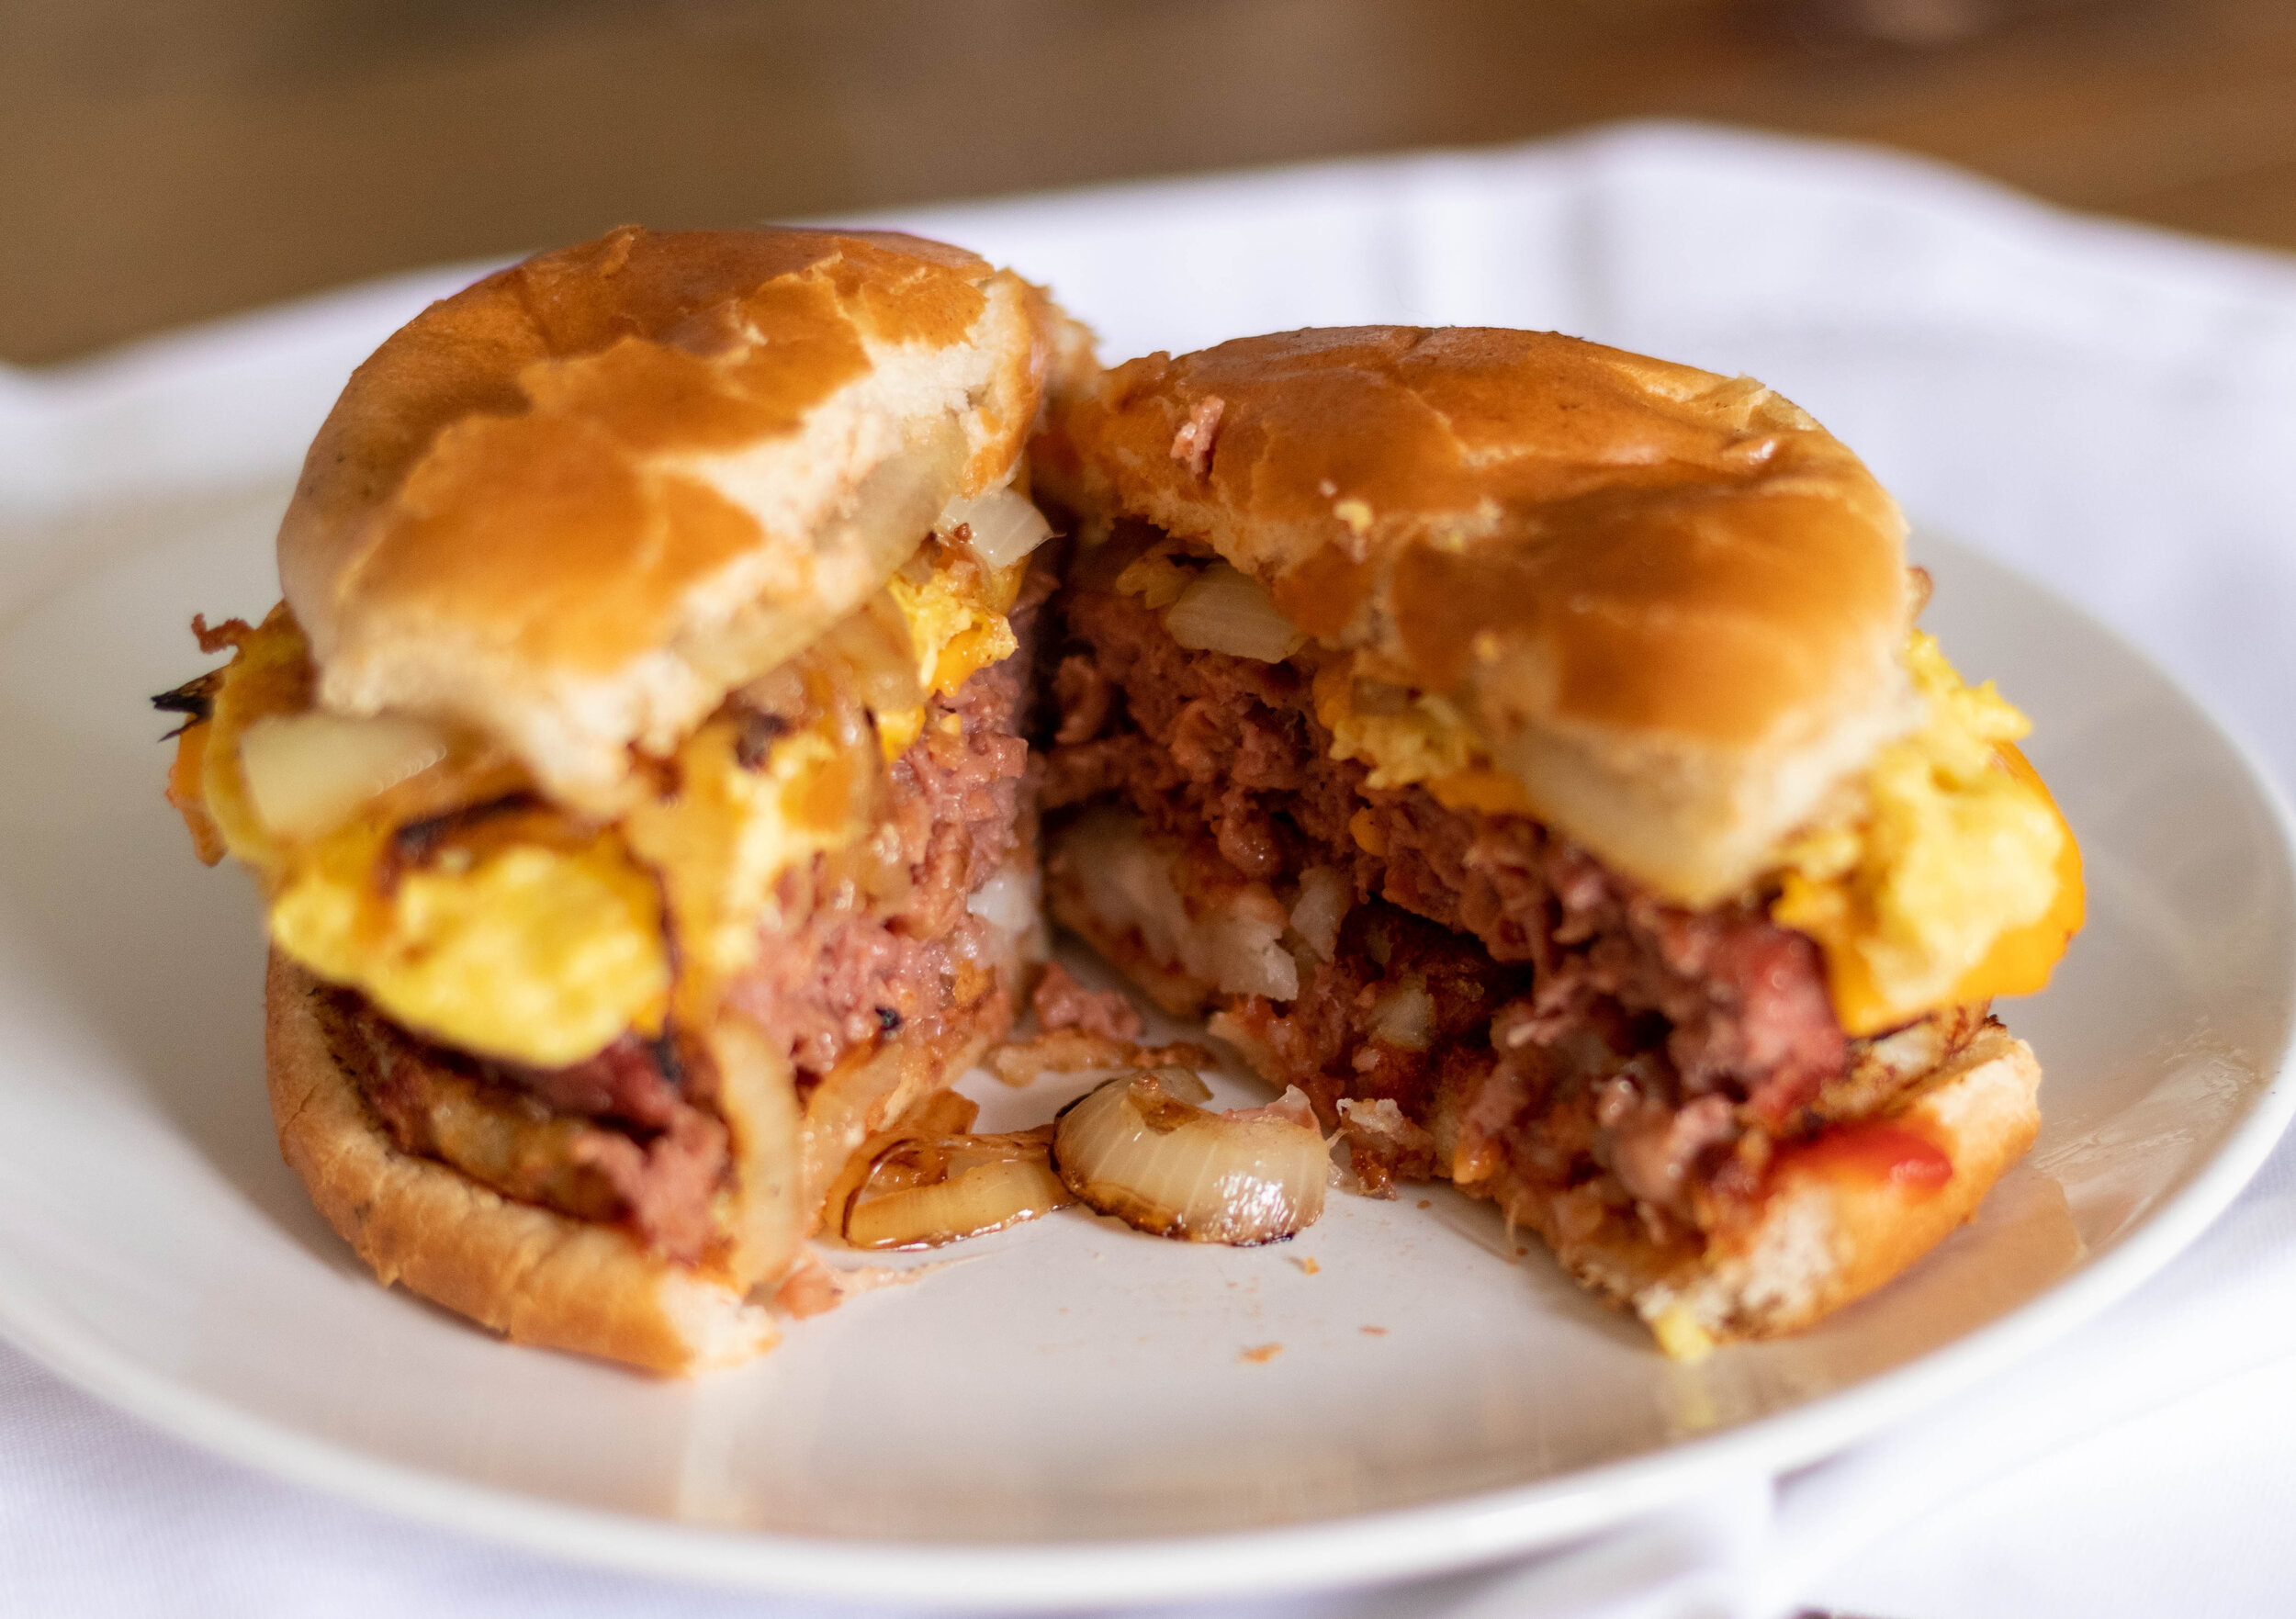
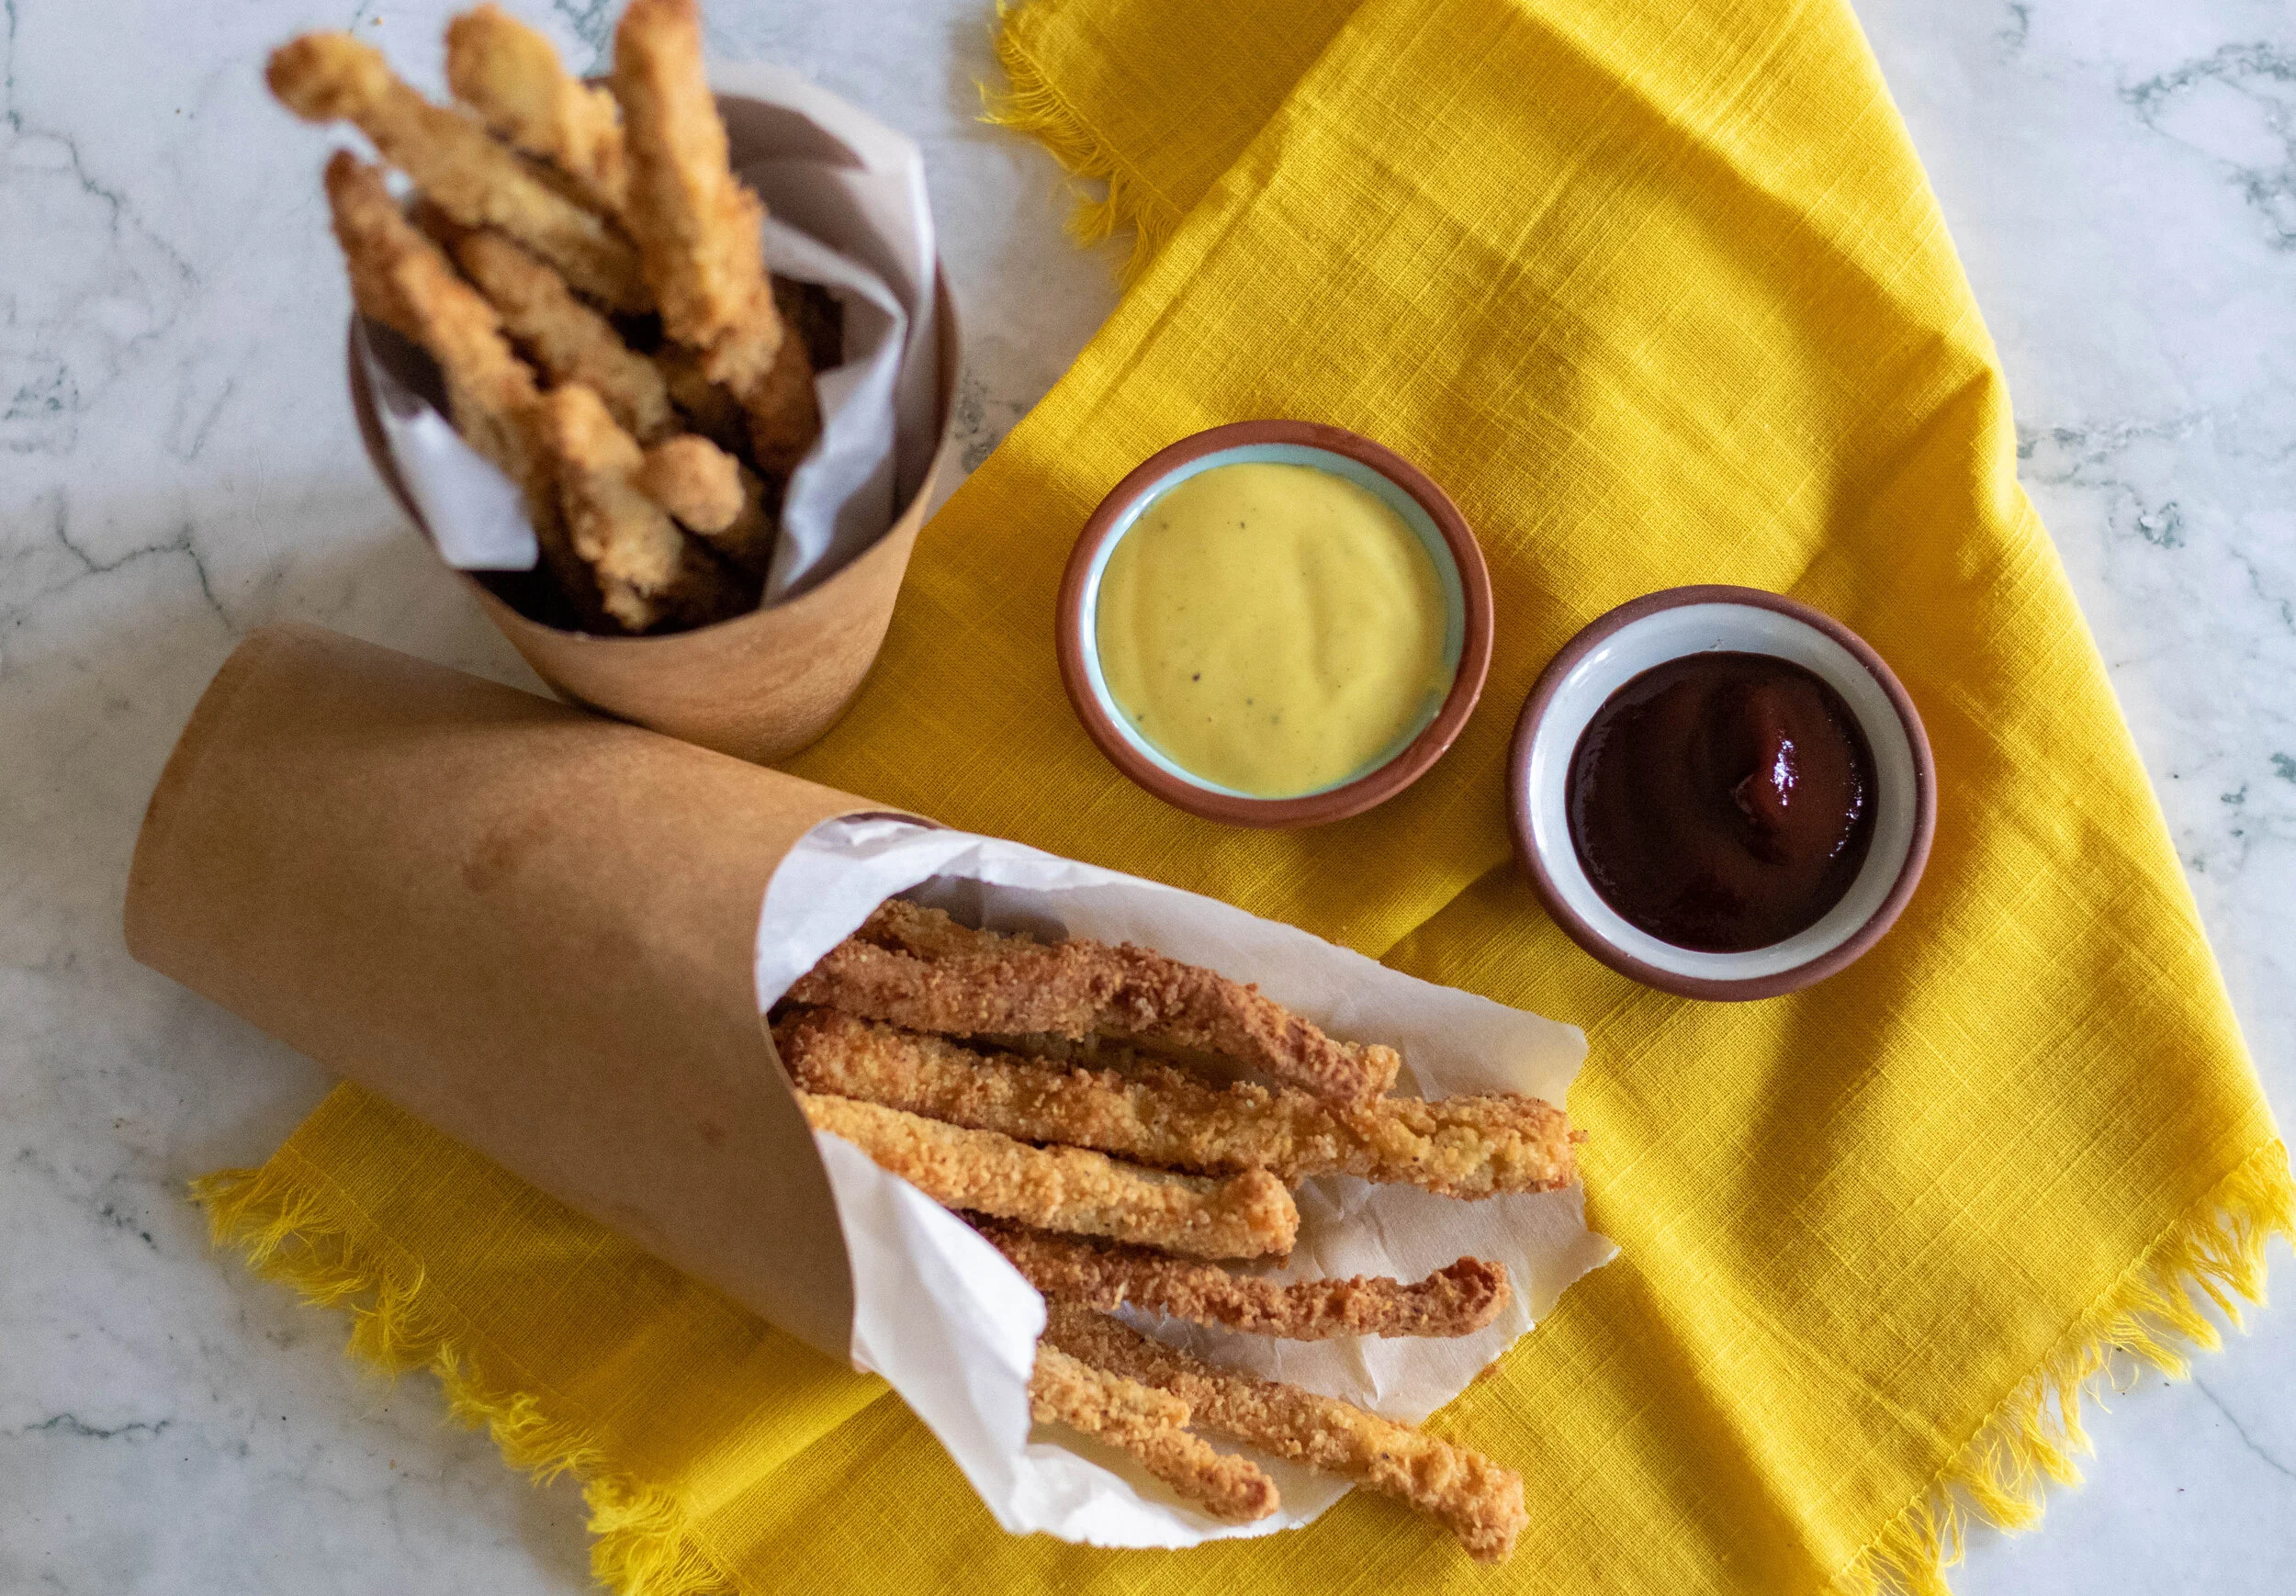
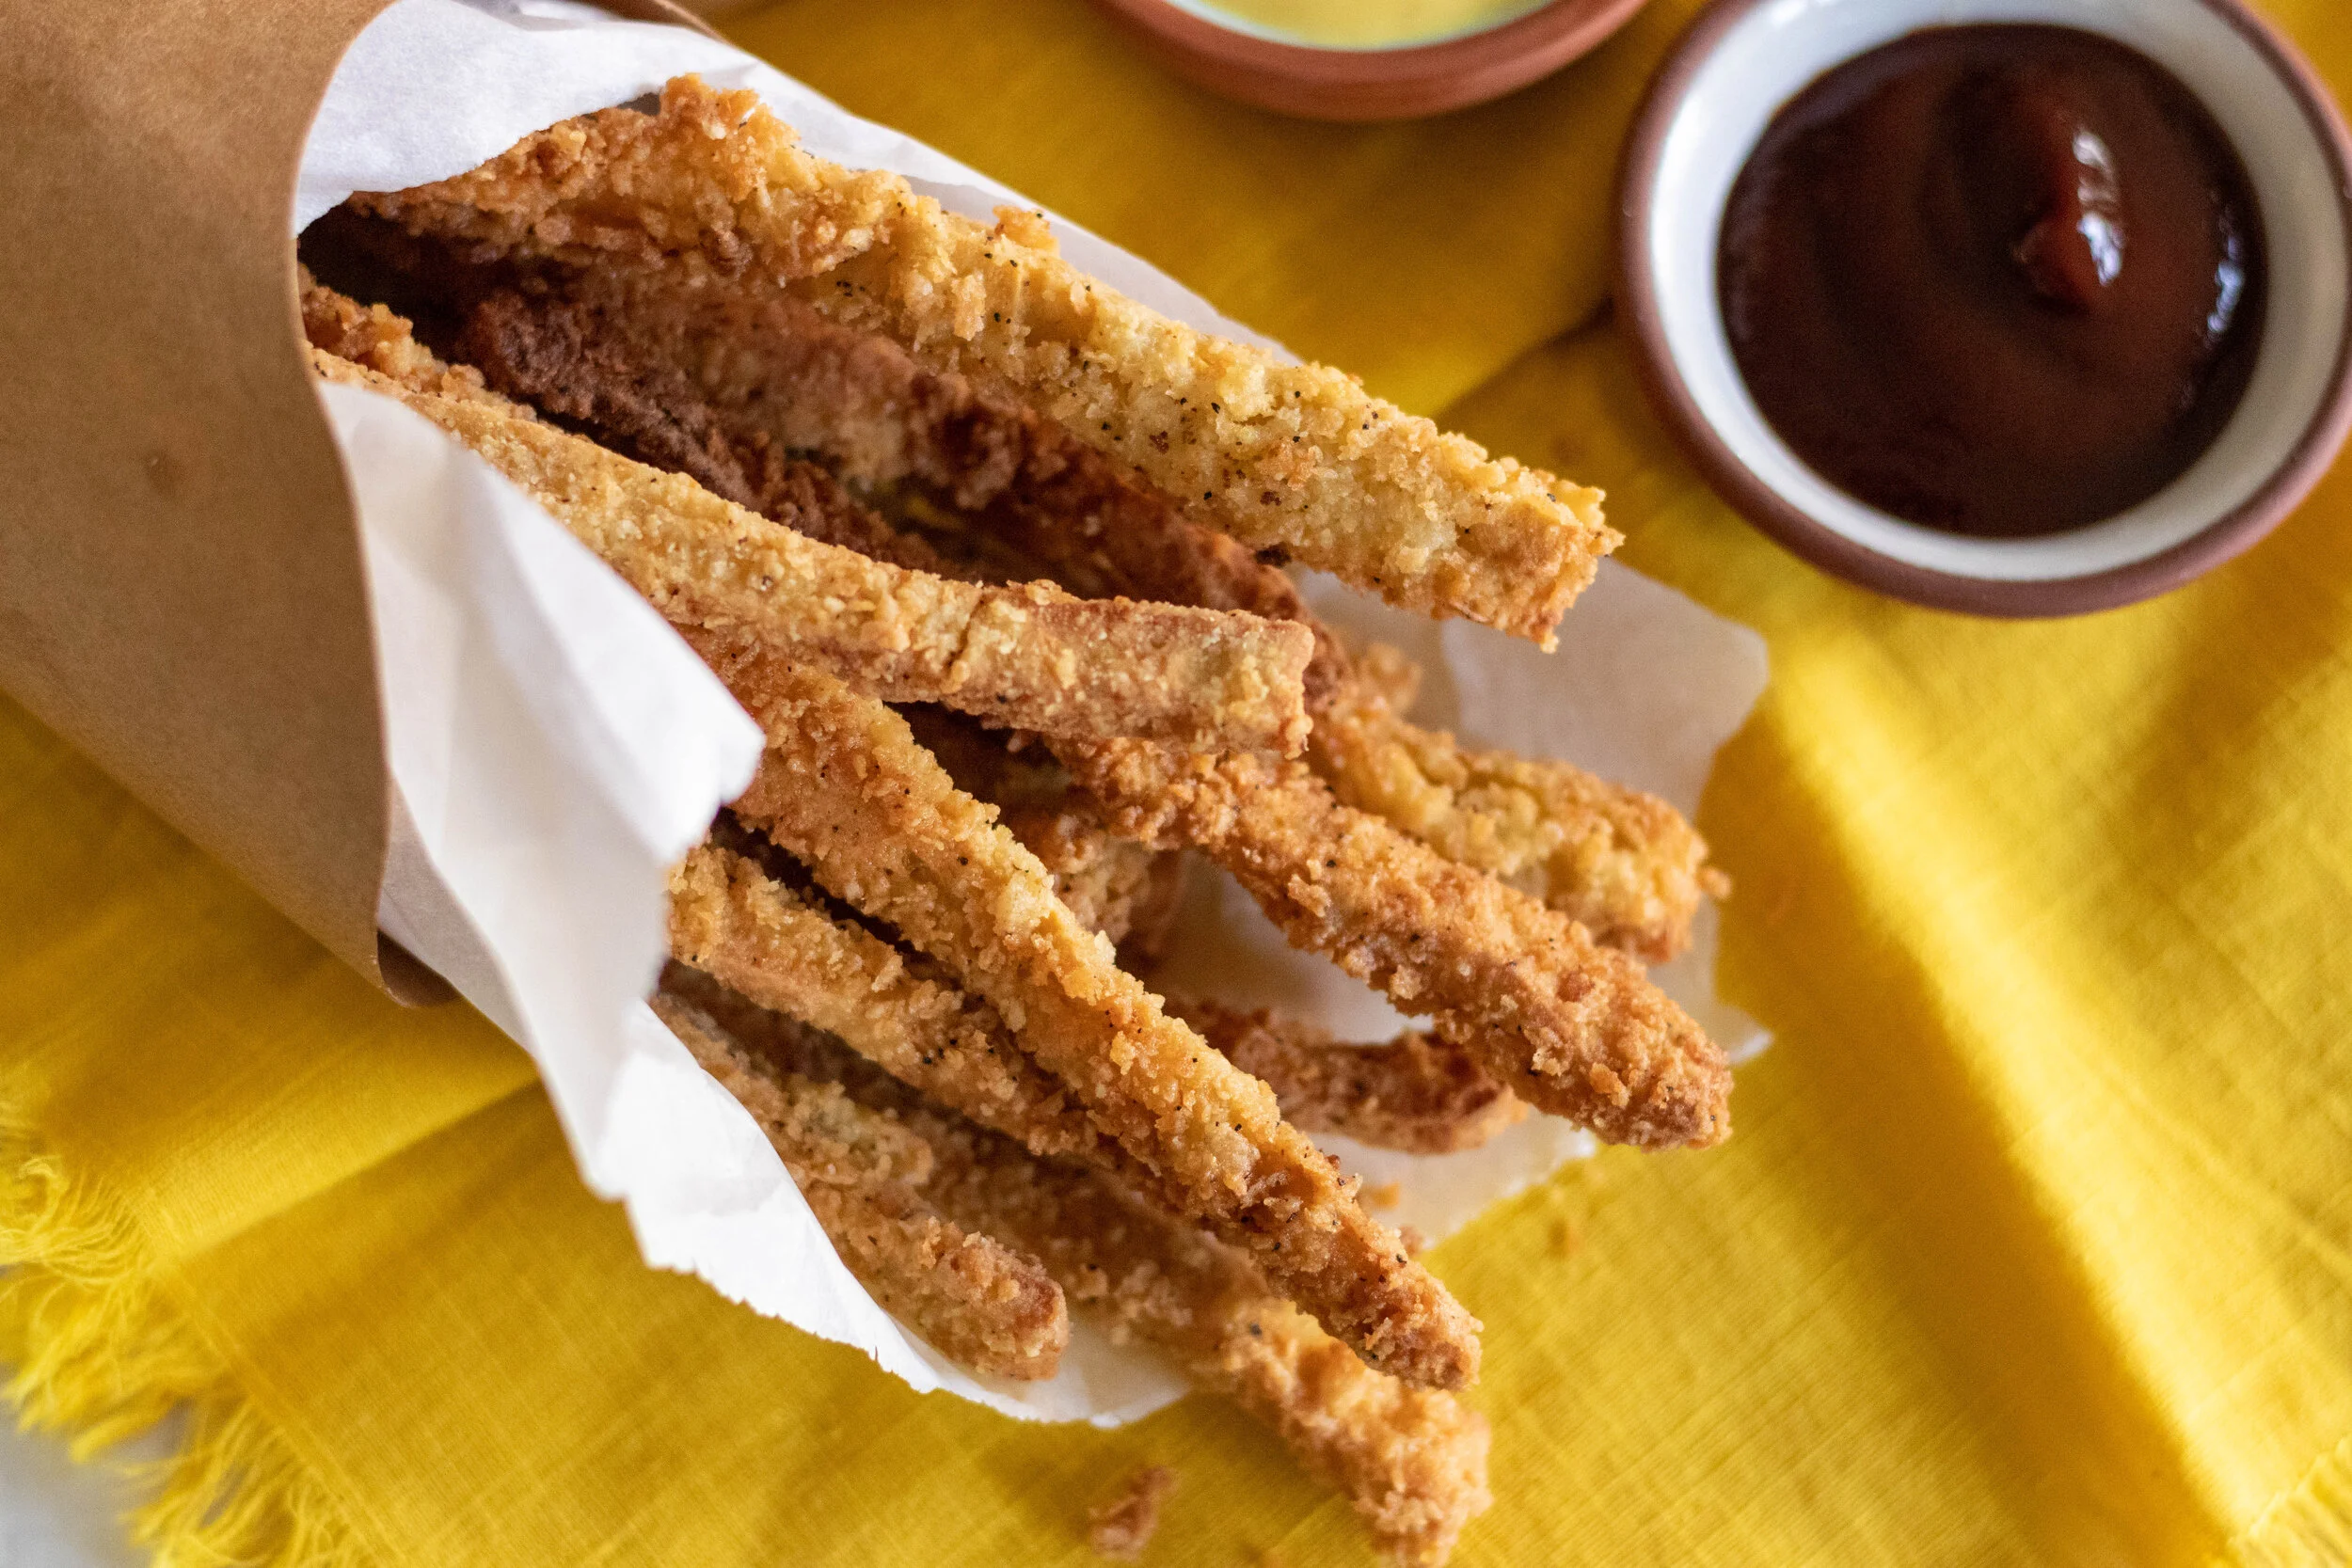
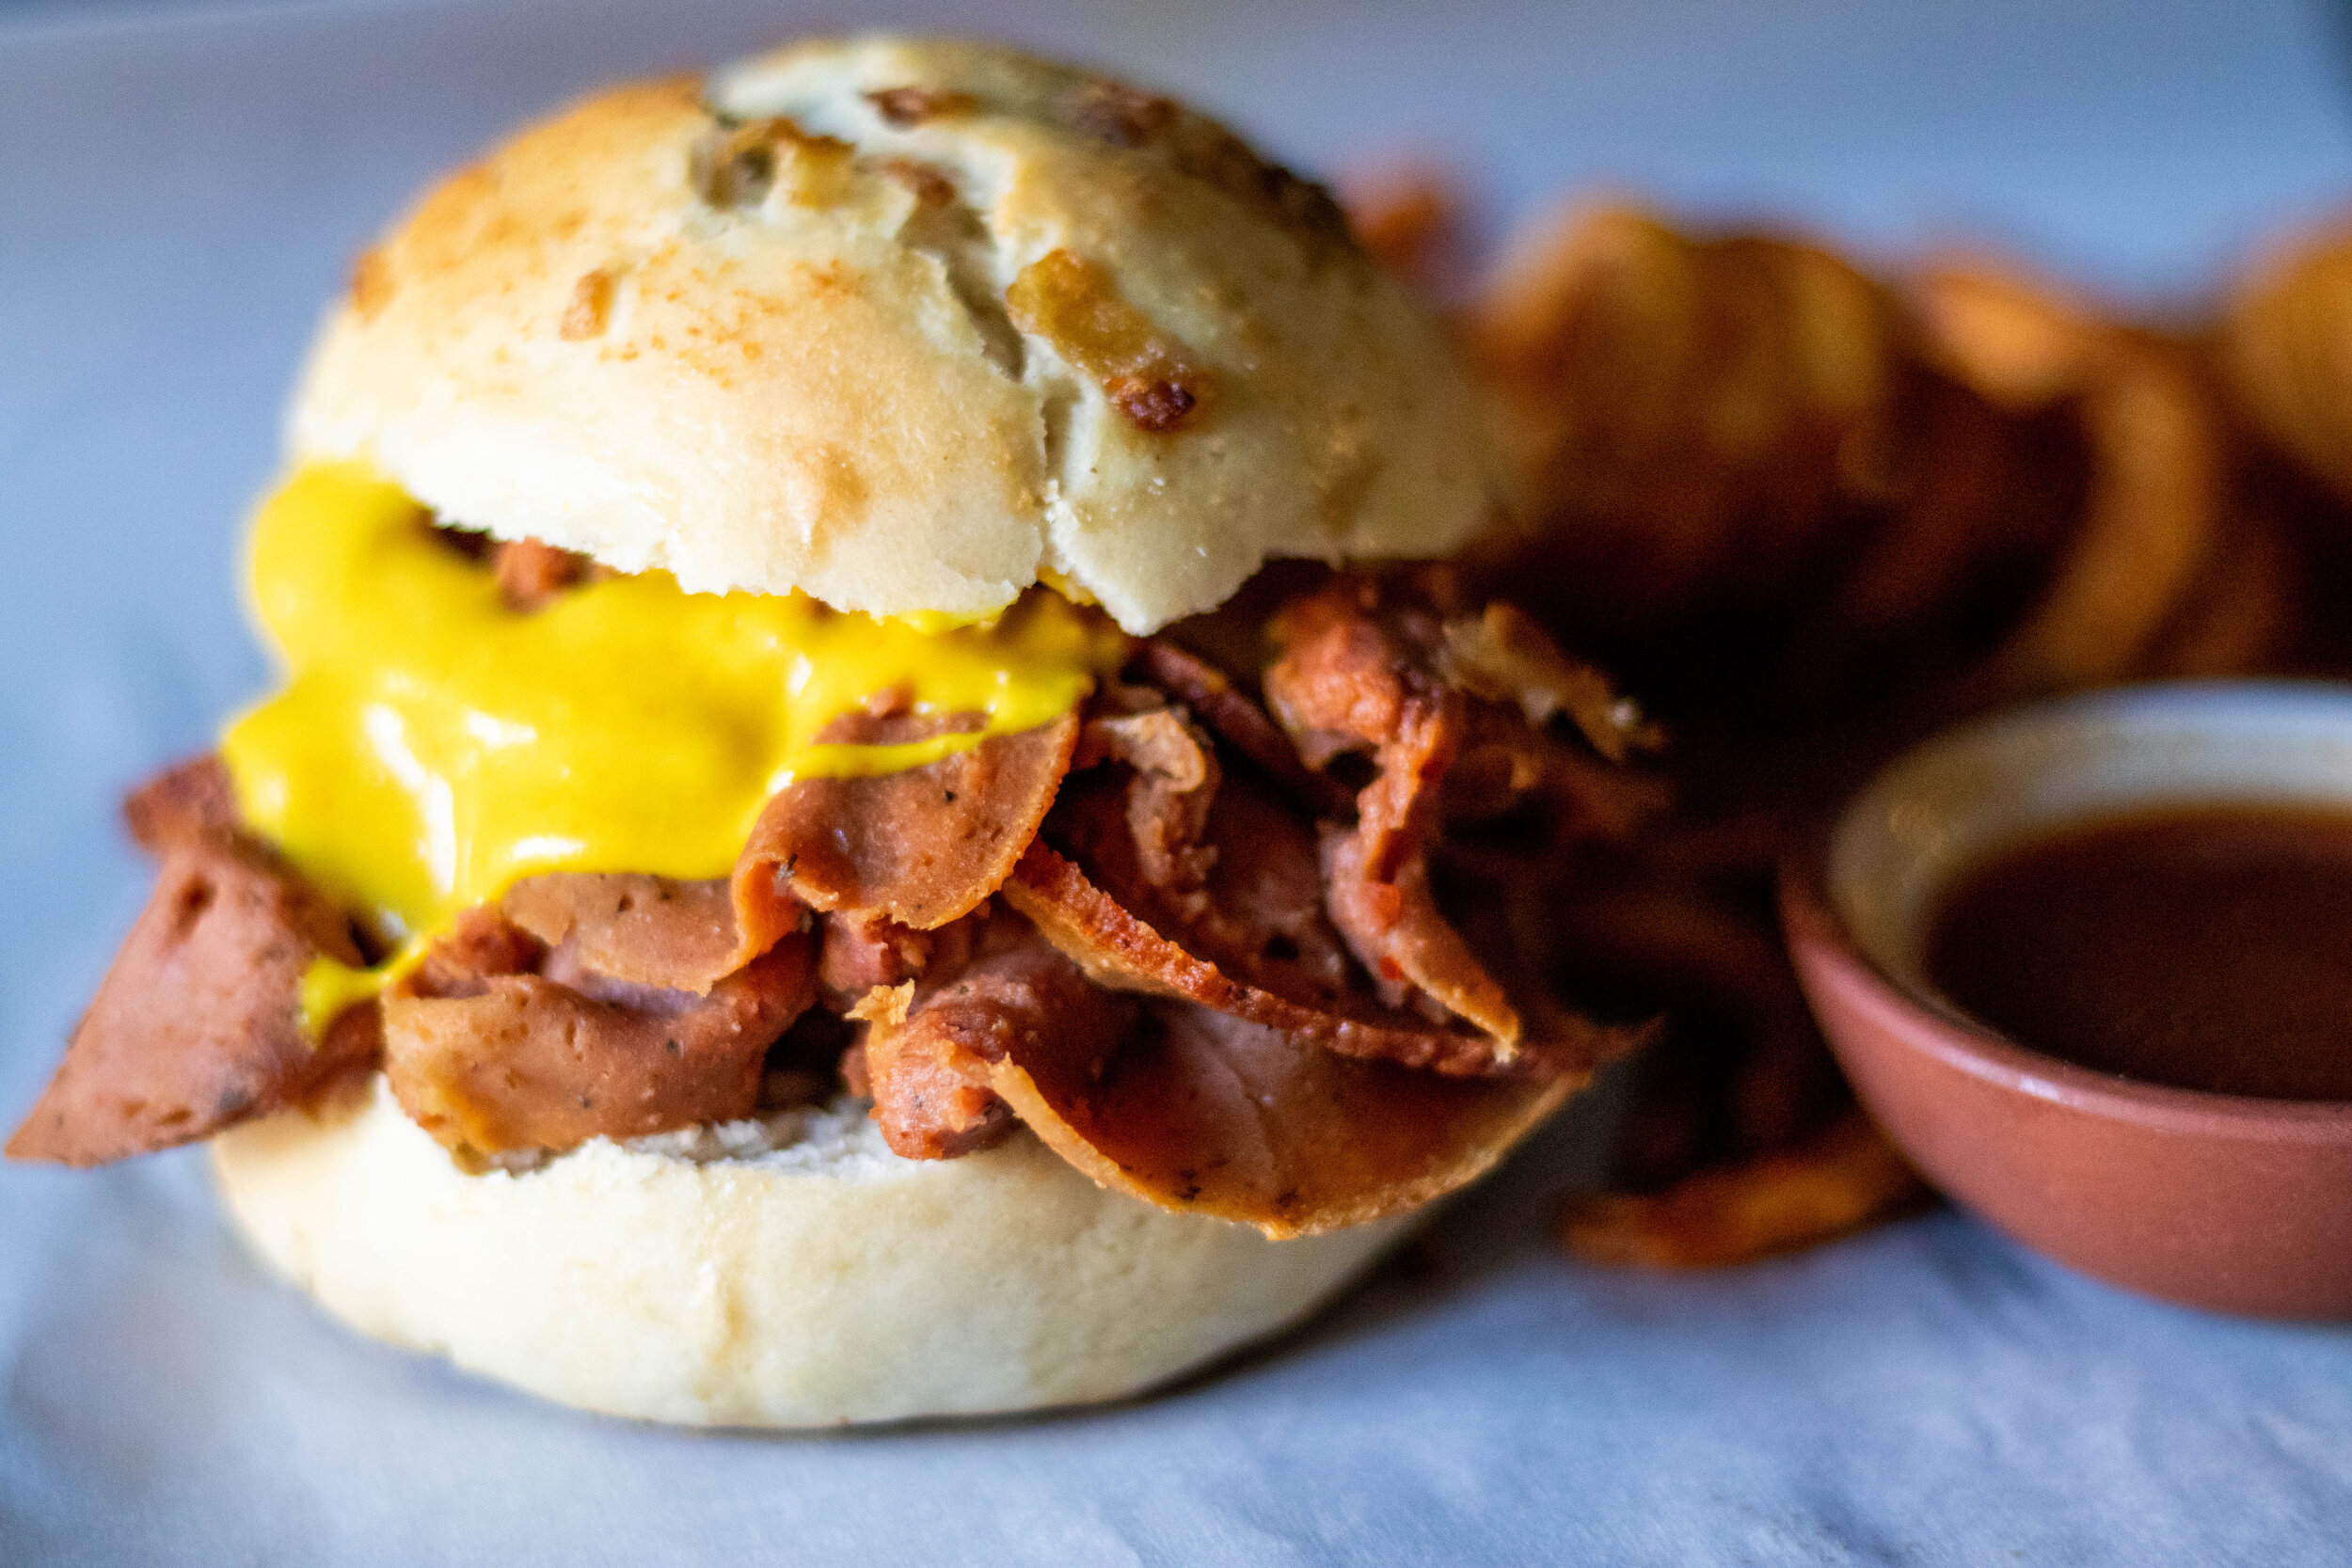
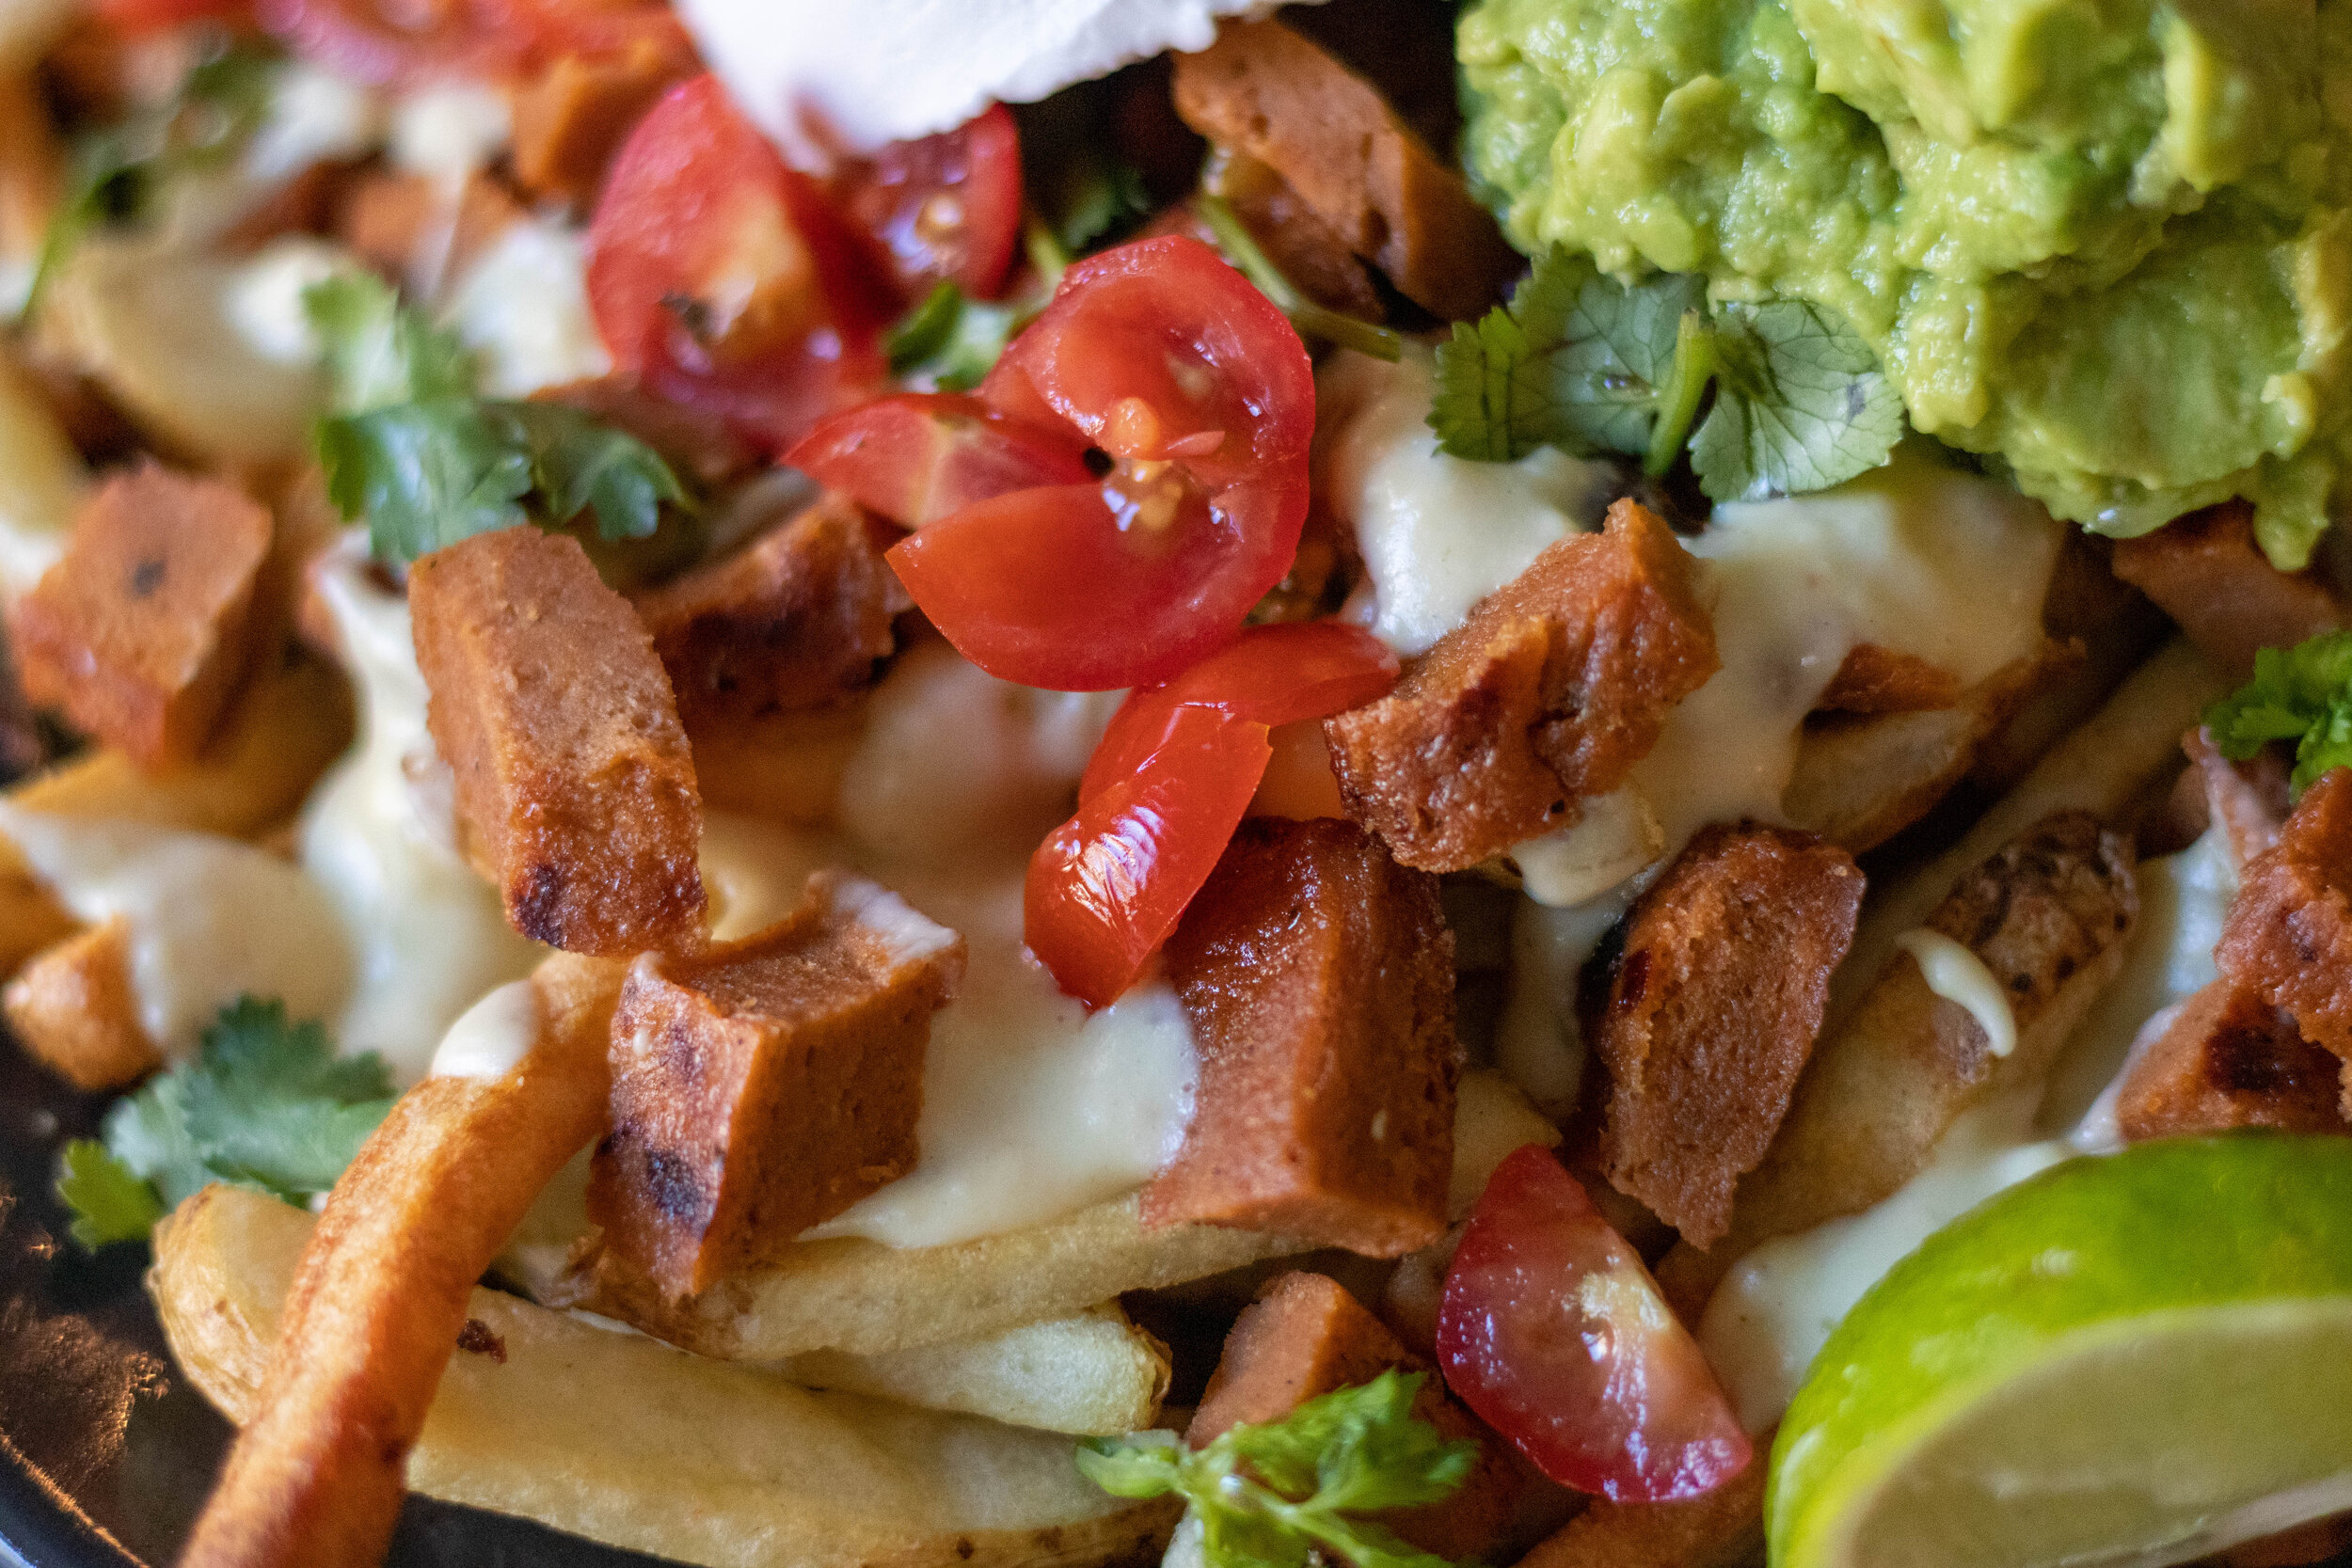
Even if you have never made seitan in your life, I truly believe you can make these vegan steak tips. They mix up in like 10 minutes and bake in under 30. These vegan steak tips will keep in the fridge for a week or so, and can be frozen for up to 6 months. You can use these vegan steak tips in so many different recipes. For steak kabobs, fajitas, tacos, soups, stews, on pizza, in casseroles or quiche. Just about any recipe that calls for beef pieces, you could use these vegan steak tips.
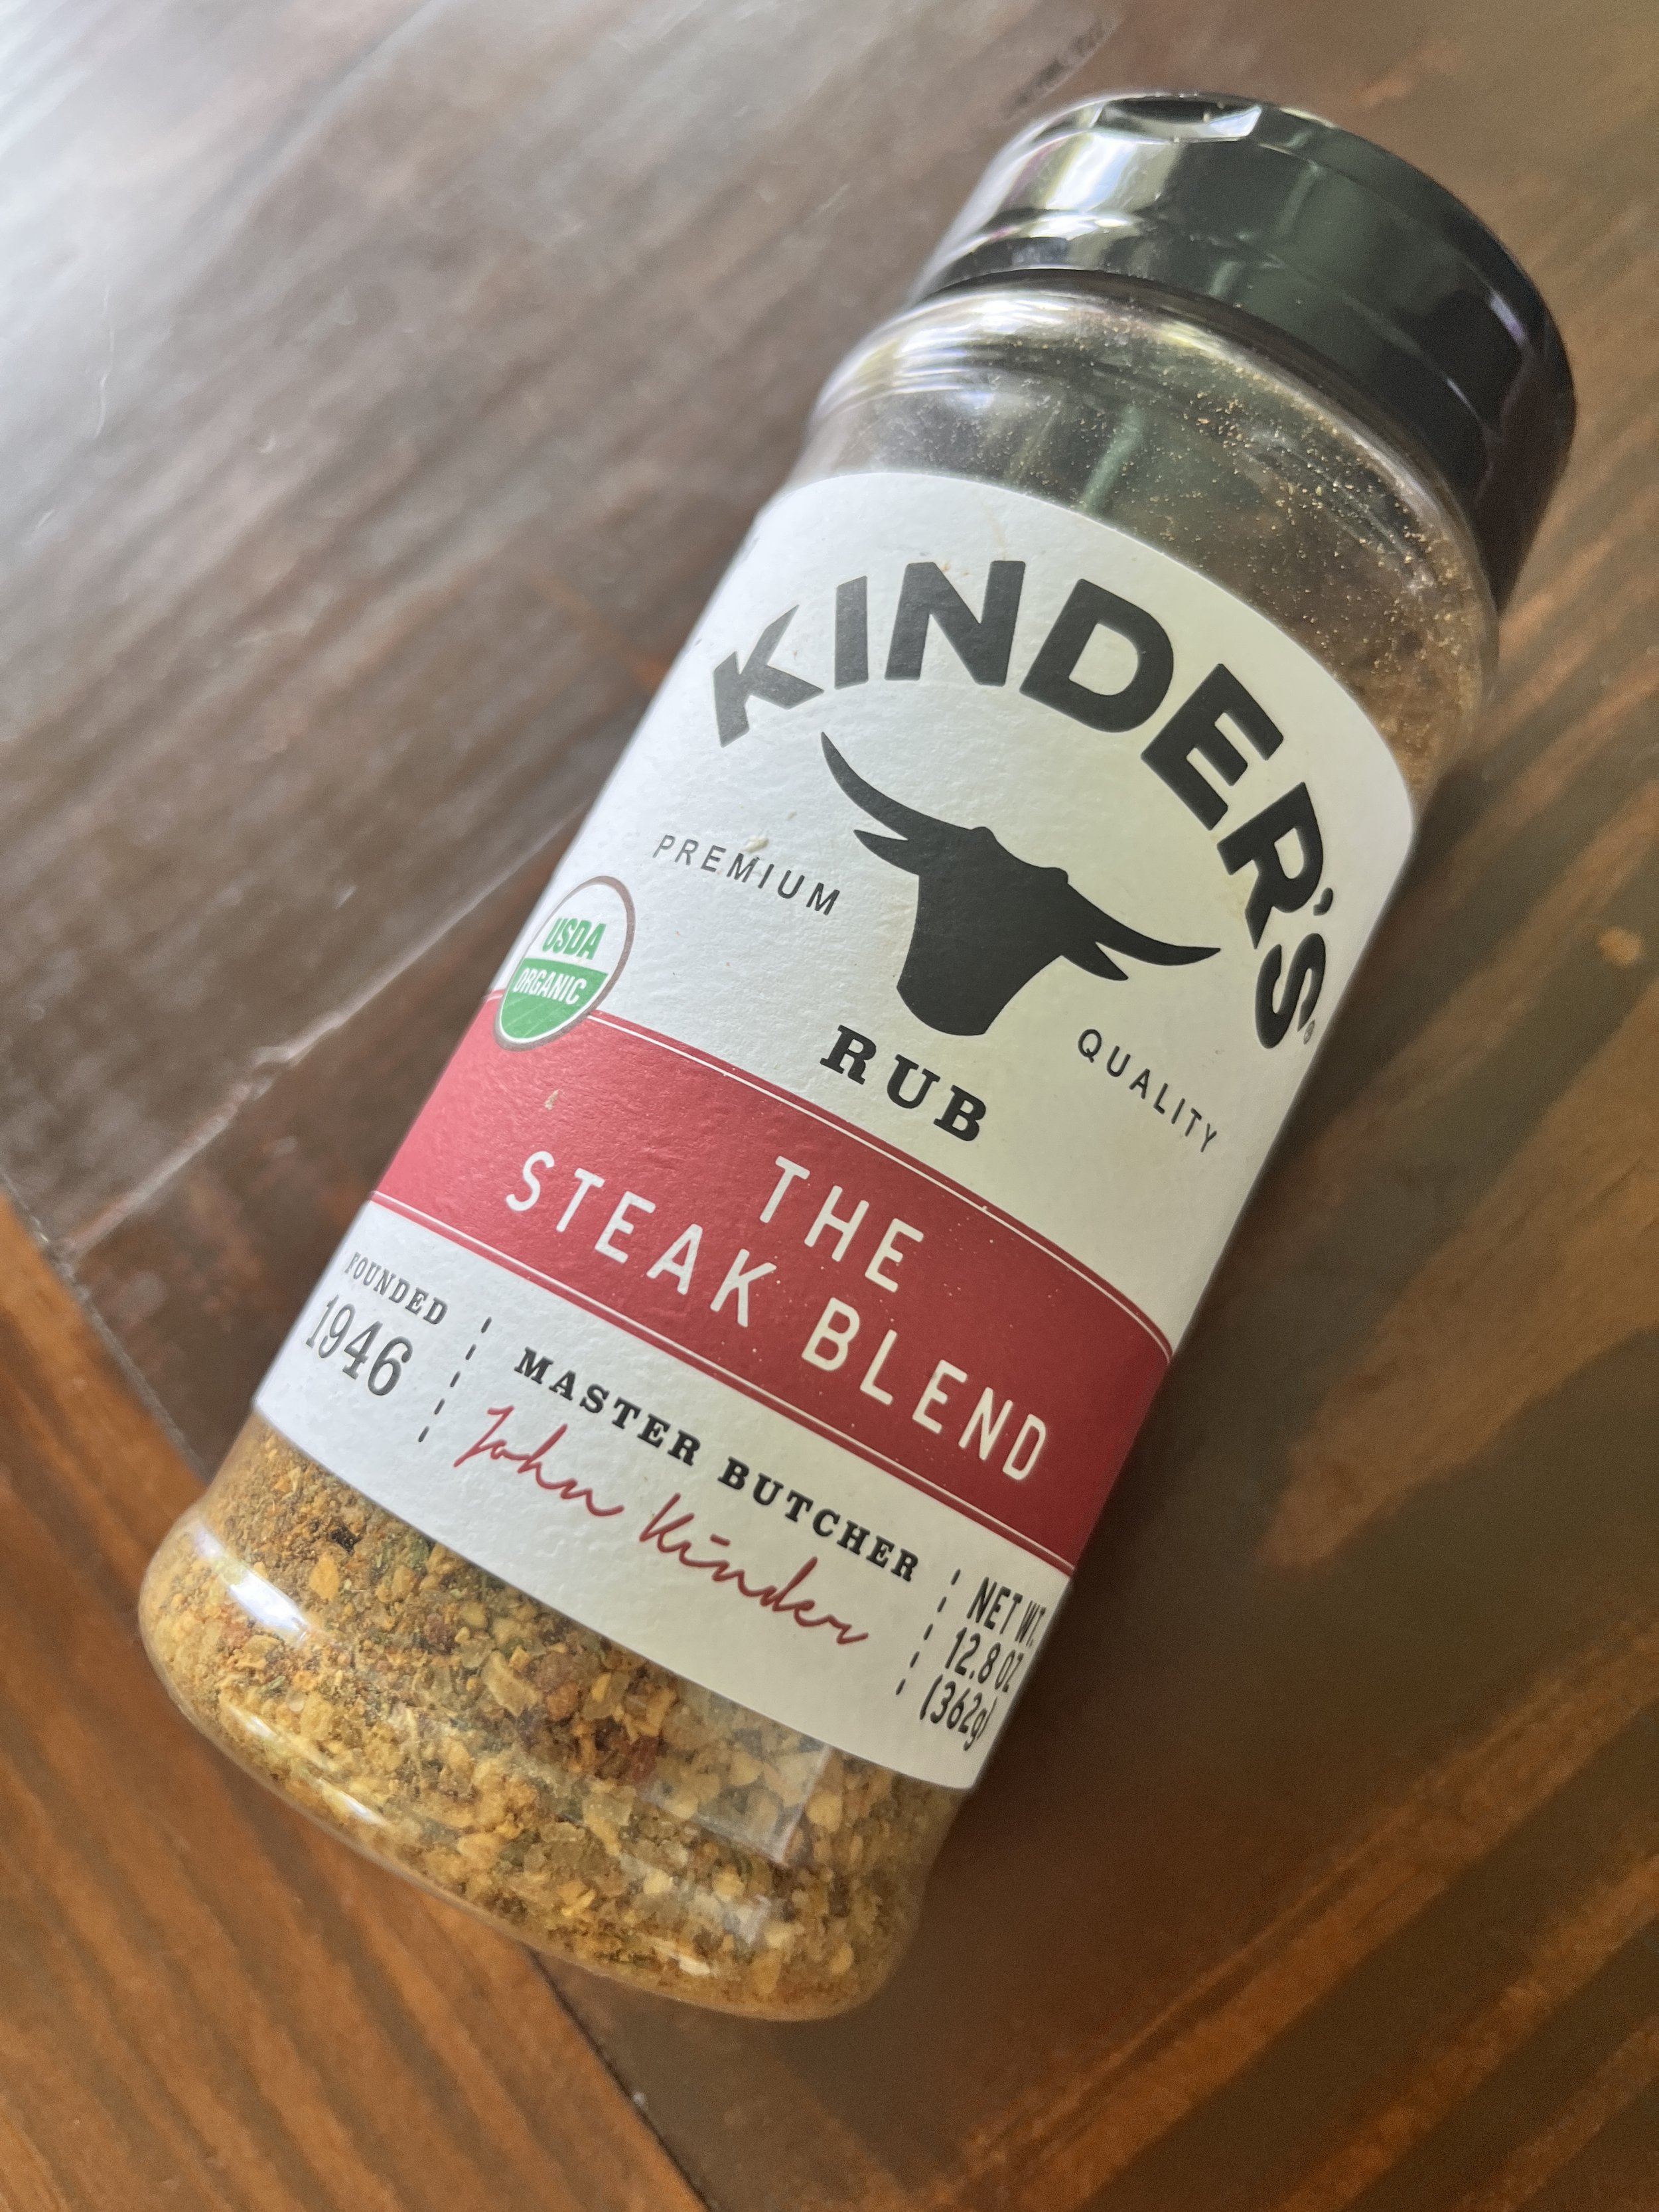
My one suggestion is get a good steak seasoning blend. I have been using Kinder’s steak blend and swear this is one of the reasons these steak tips are so dang good! Any steak seasoning would do but this is the one that I have used for these tips, and now even use in my roast beef. I got mine at Costco but you can order it online as well. This is not an affiliate post, this is just the seasoning I bought and really like and am often asked for a link if I mention a seasoning or product I use. So there you go.
For the record my daughter was a fan of the vegan steak tips, and much to my surprise my 5 year old daughter ate more of them than anyone and asked for a second batch the next day which I gladly obliged in making,
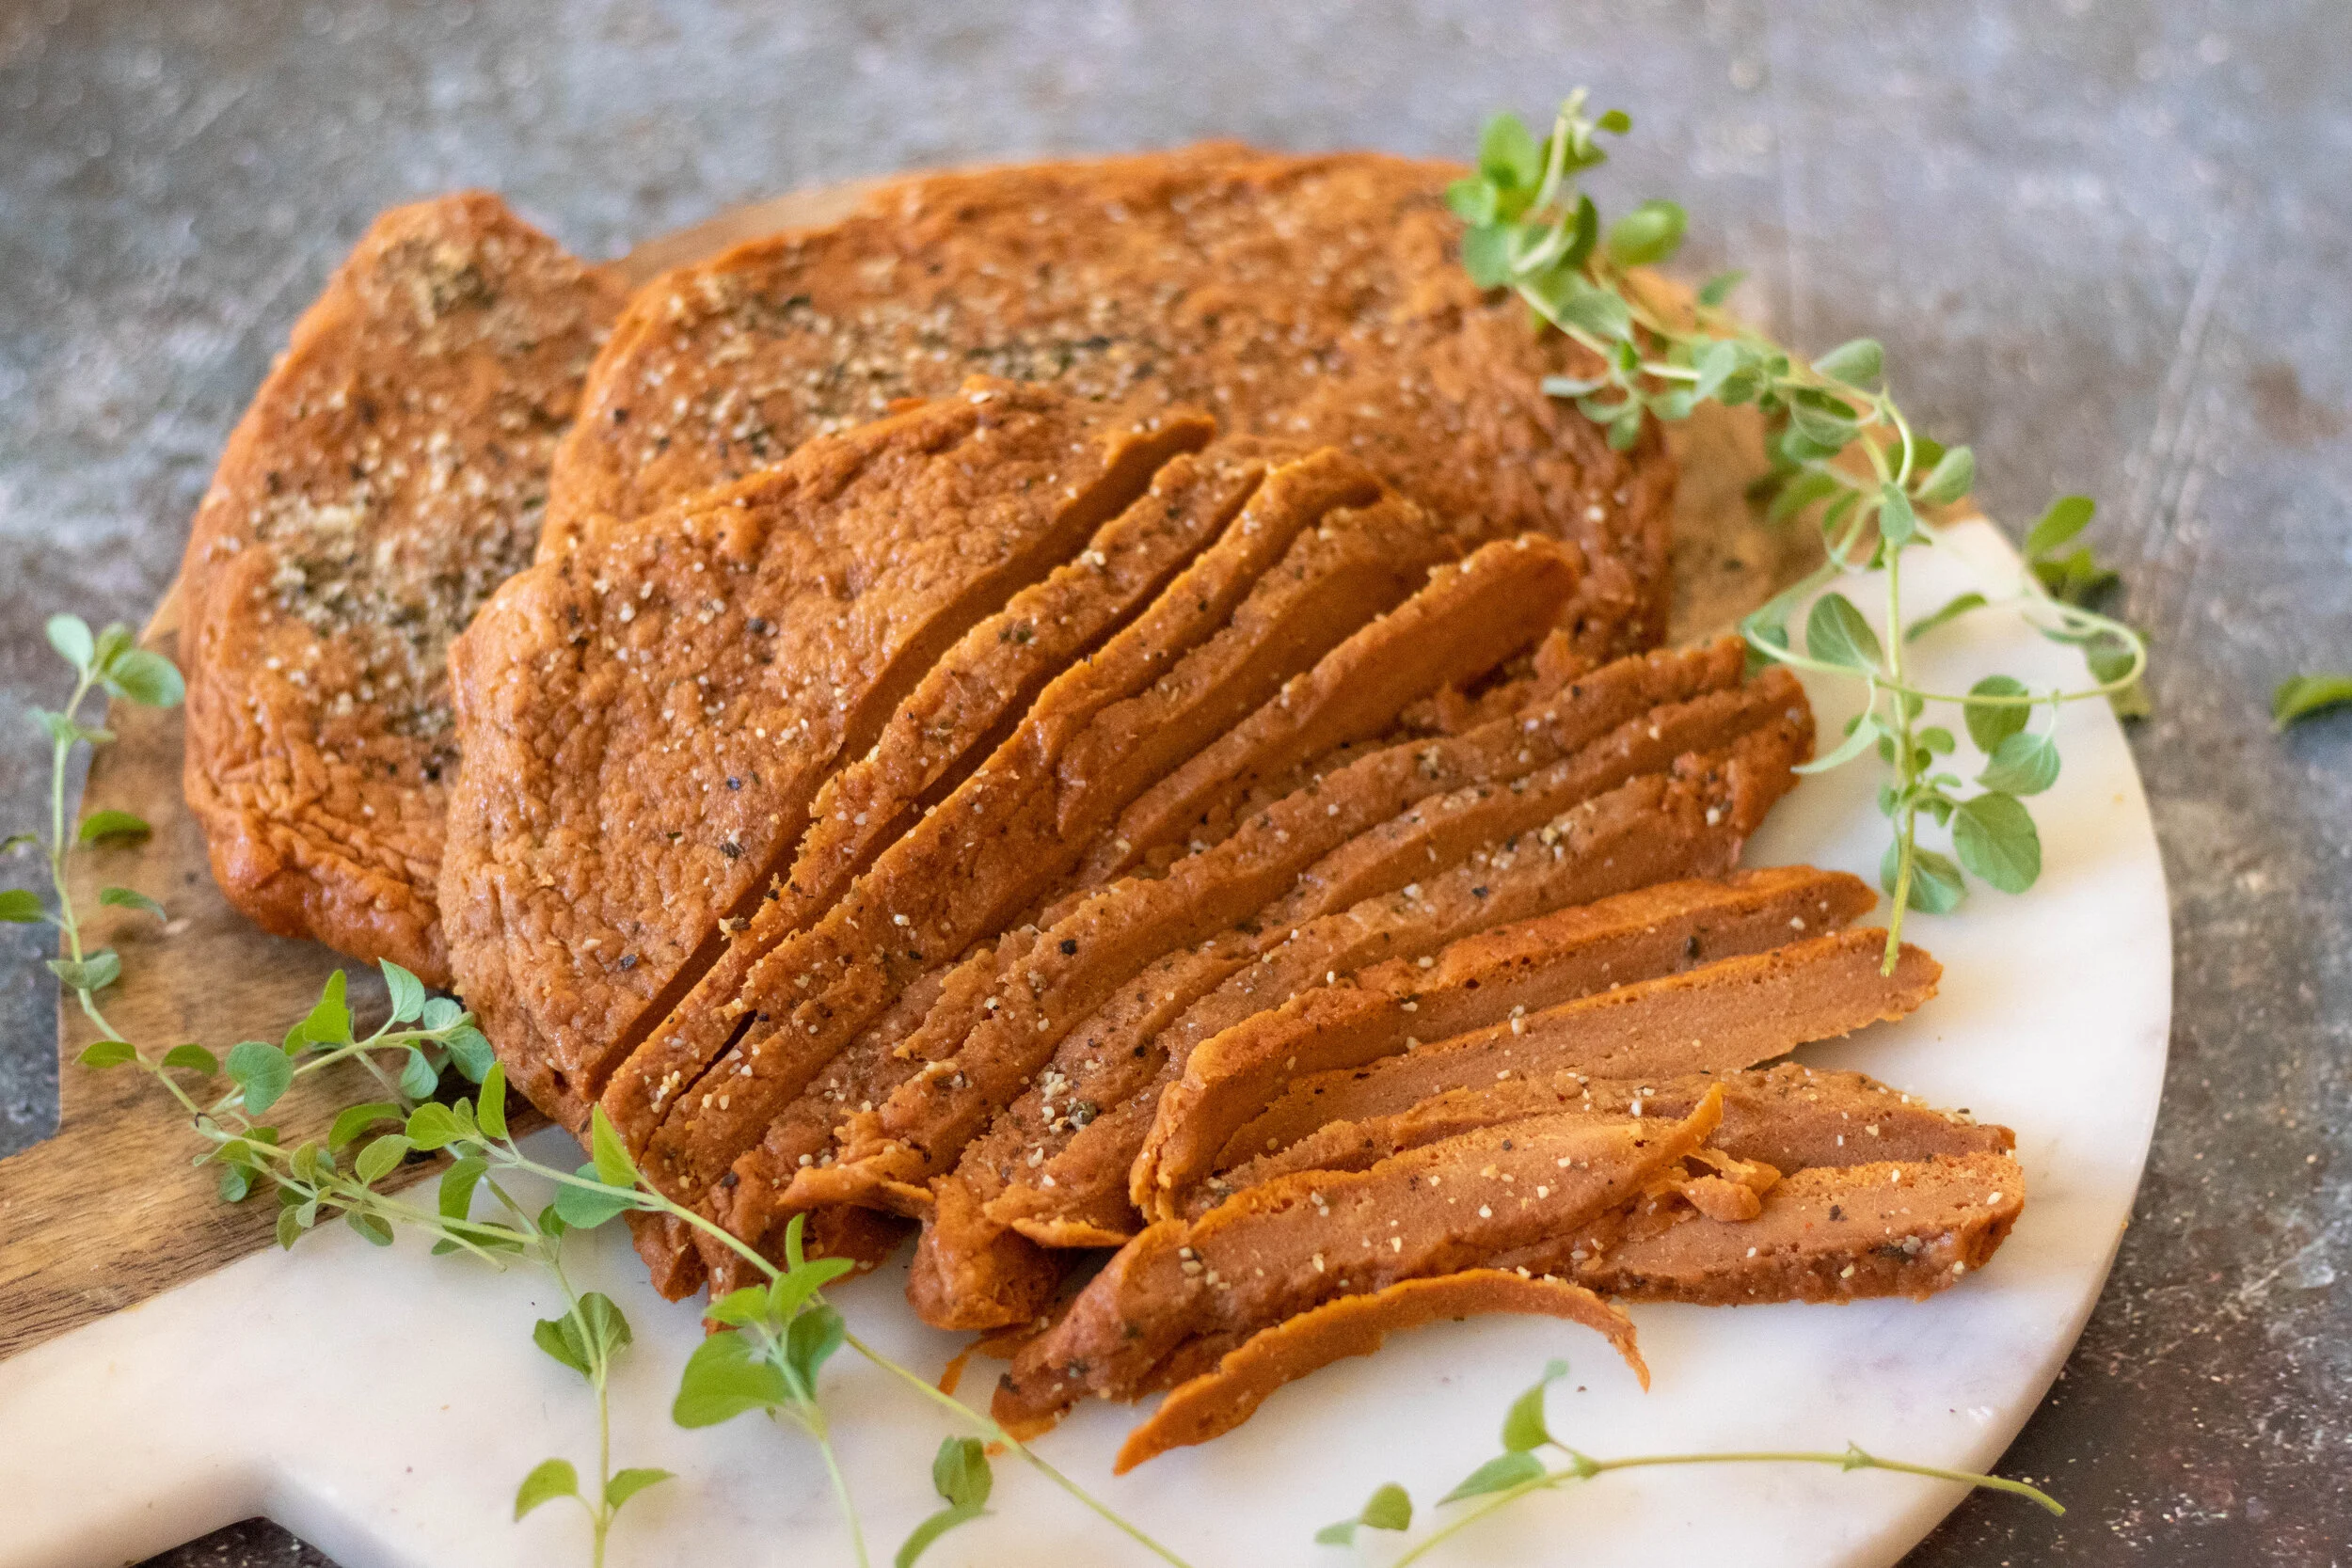
So here is my 86eats steak recipe, a long time coming. If you wanted a full size steak I would follow the braid twist instructions then flatten that out into a disk like in my easy vegan chicken breast recipe. Then I would follow the cut and bake instructions in the chicken recipe, and I think you would get a pretty tasty full sized steak!
Either way, I think you will like this easy vegan steak! I did, even though it was never on my own radar. It will not be a staple recipe in my house!
TROUBLE SHOOTING THIS REICPE:
*I used high protein tofu in a vacuum sealed package and this what I strongly advise using. It is much firmer than regular firm tofu and has less moisture and a more chewy texture. If you opt to use regular firm tofu you will need to press it first and remove as much liquid as possible. You may need to adjust the amount of water in the recipet as well. Add the water last, adding just enough to accomplish a firm dough.
*If you find your steak has A LOT OF LITTLE HOLES, and a more BREAD LIKE TEXTURE this can be caused from under kneading the dough, BUT more likely cooking the seitan at too high of a temperature, or for too long. Check your ovens temperature with an oven thermometer. Your oven may just be cooking hotter than it registers. Also gas and electric ovens tend to cook differently. If you do not have an oven thermometer you can reduce the heat in your oven by 25 degrees, and keep the seitan covered for the whole bake.
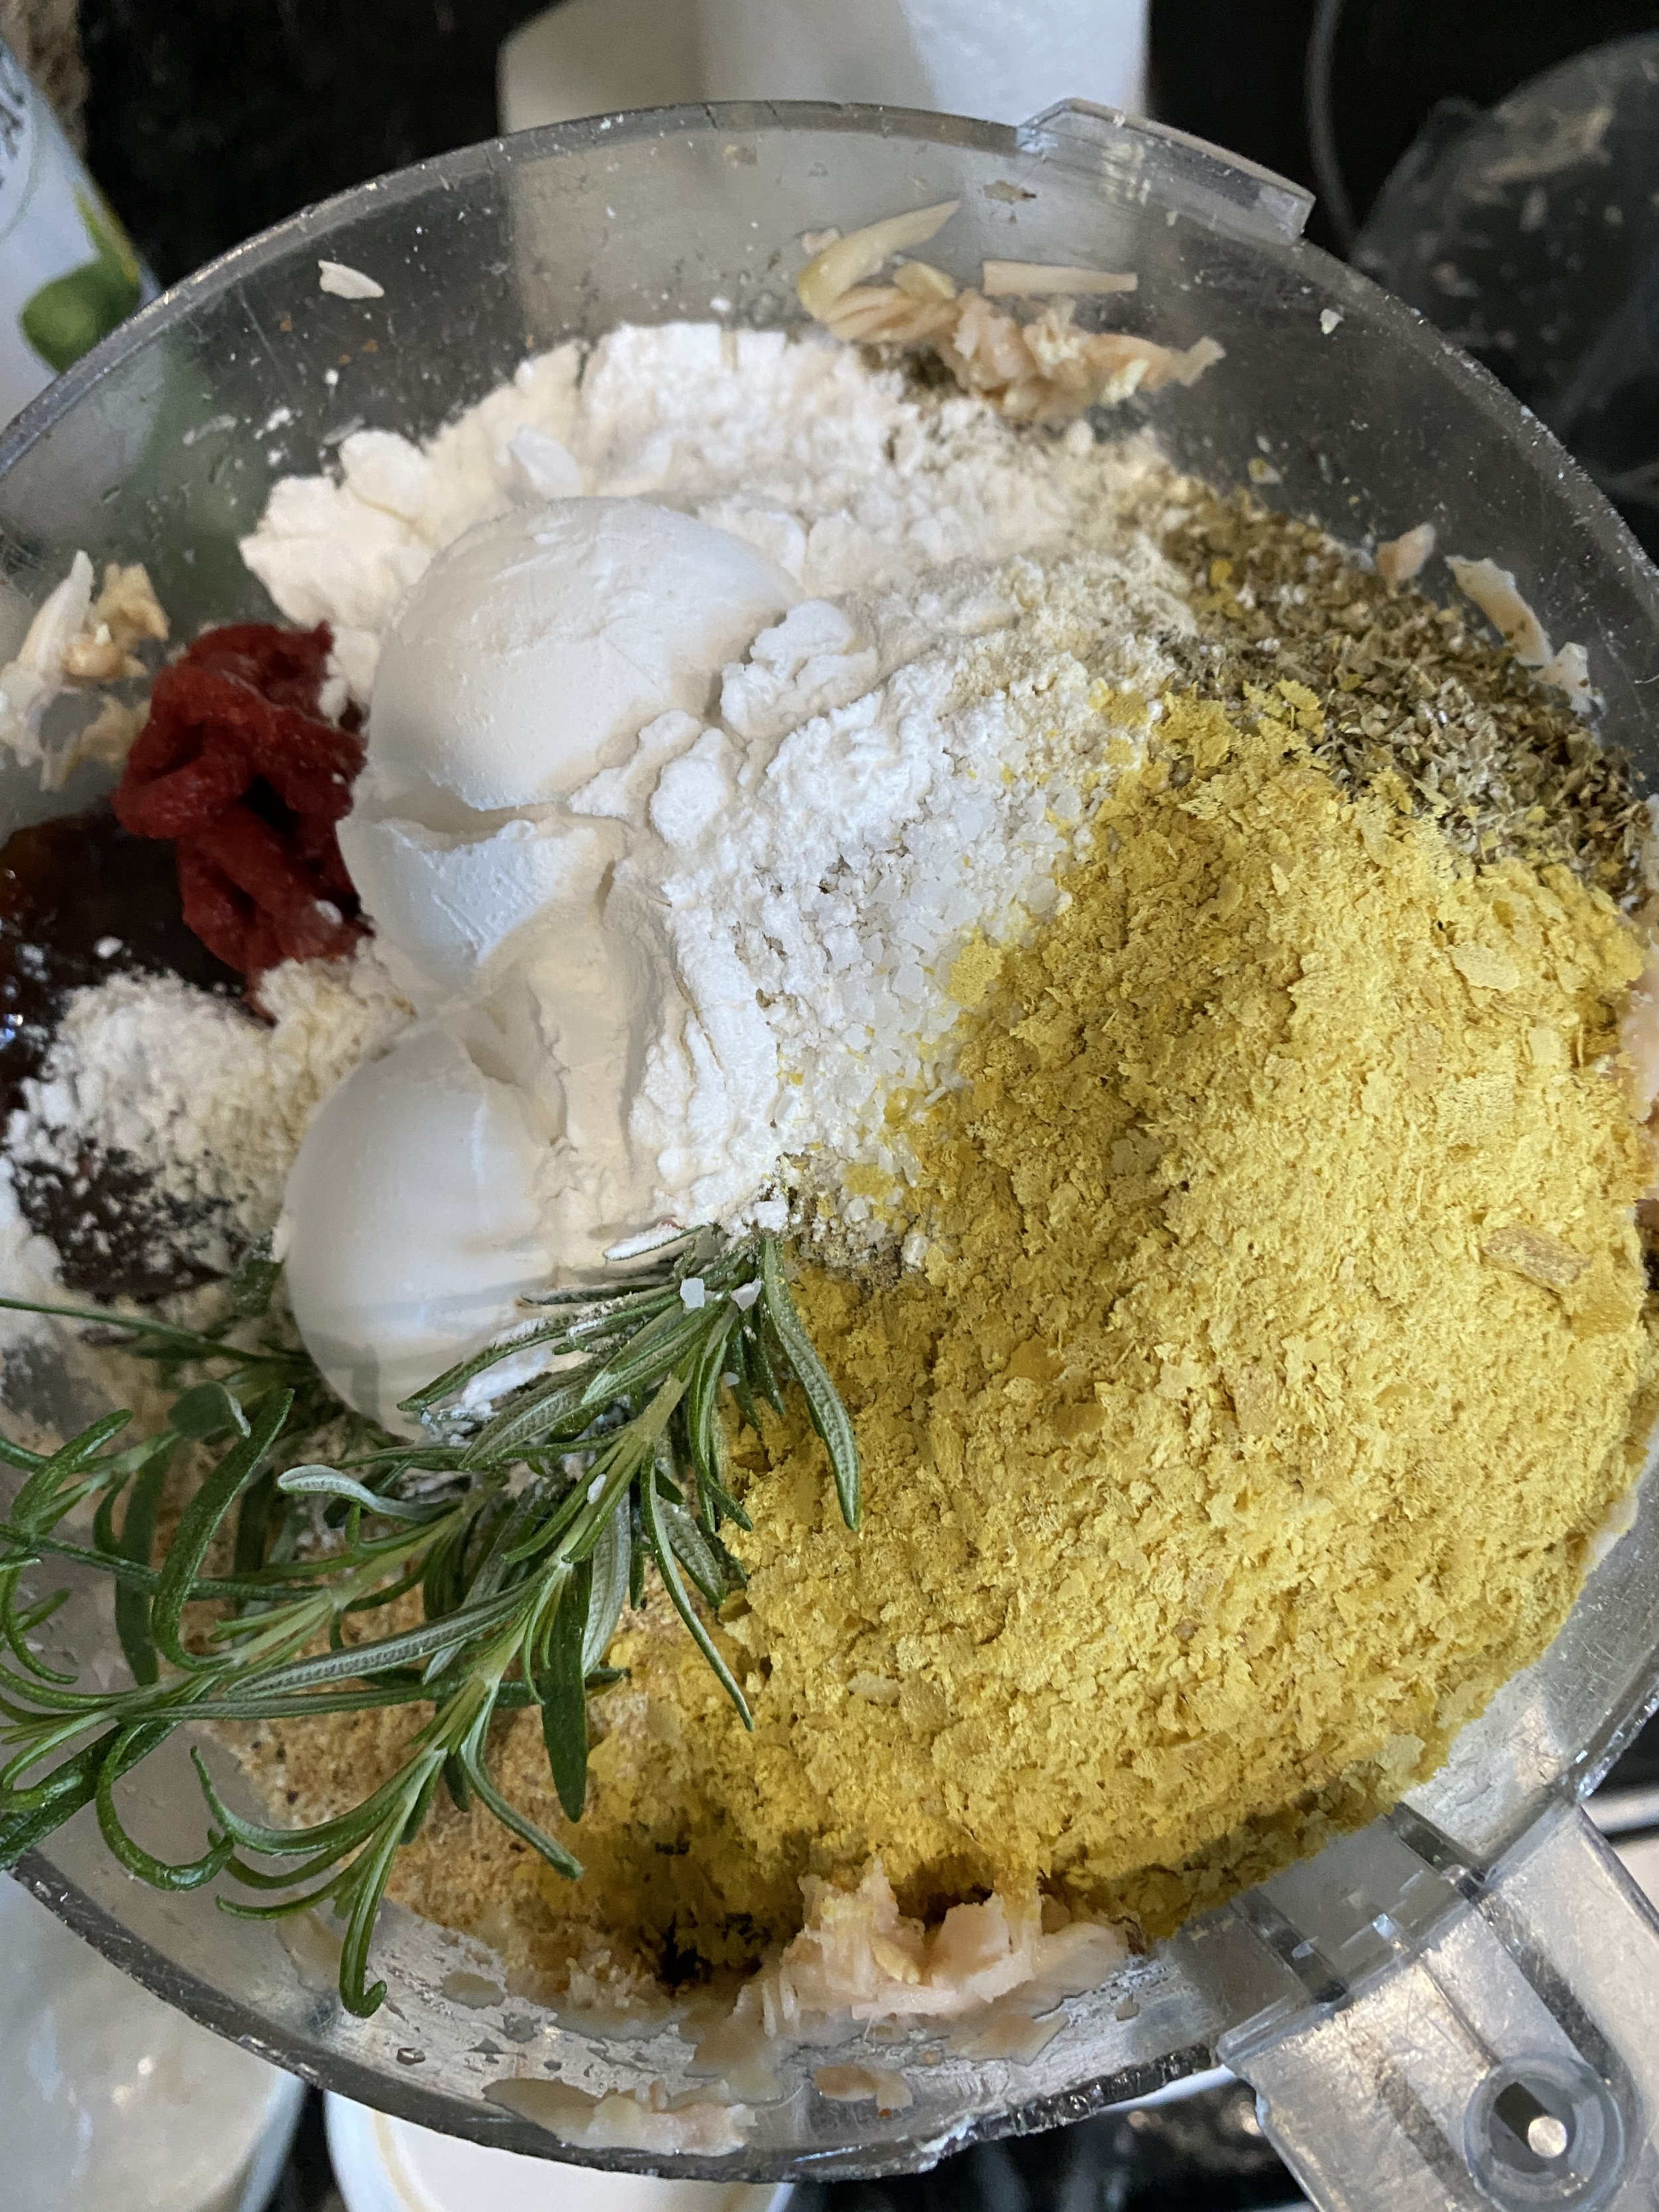
INGREDIENTS:
16 oz package of super firm tofu (the kind that is vacuum sealed not in a tray of water)
1 cup vital wheat gluten
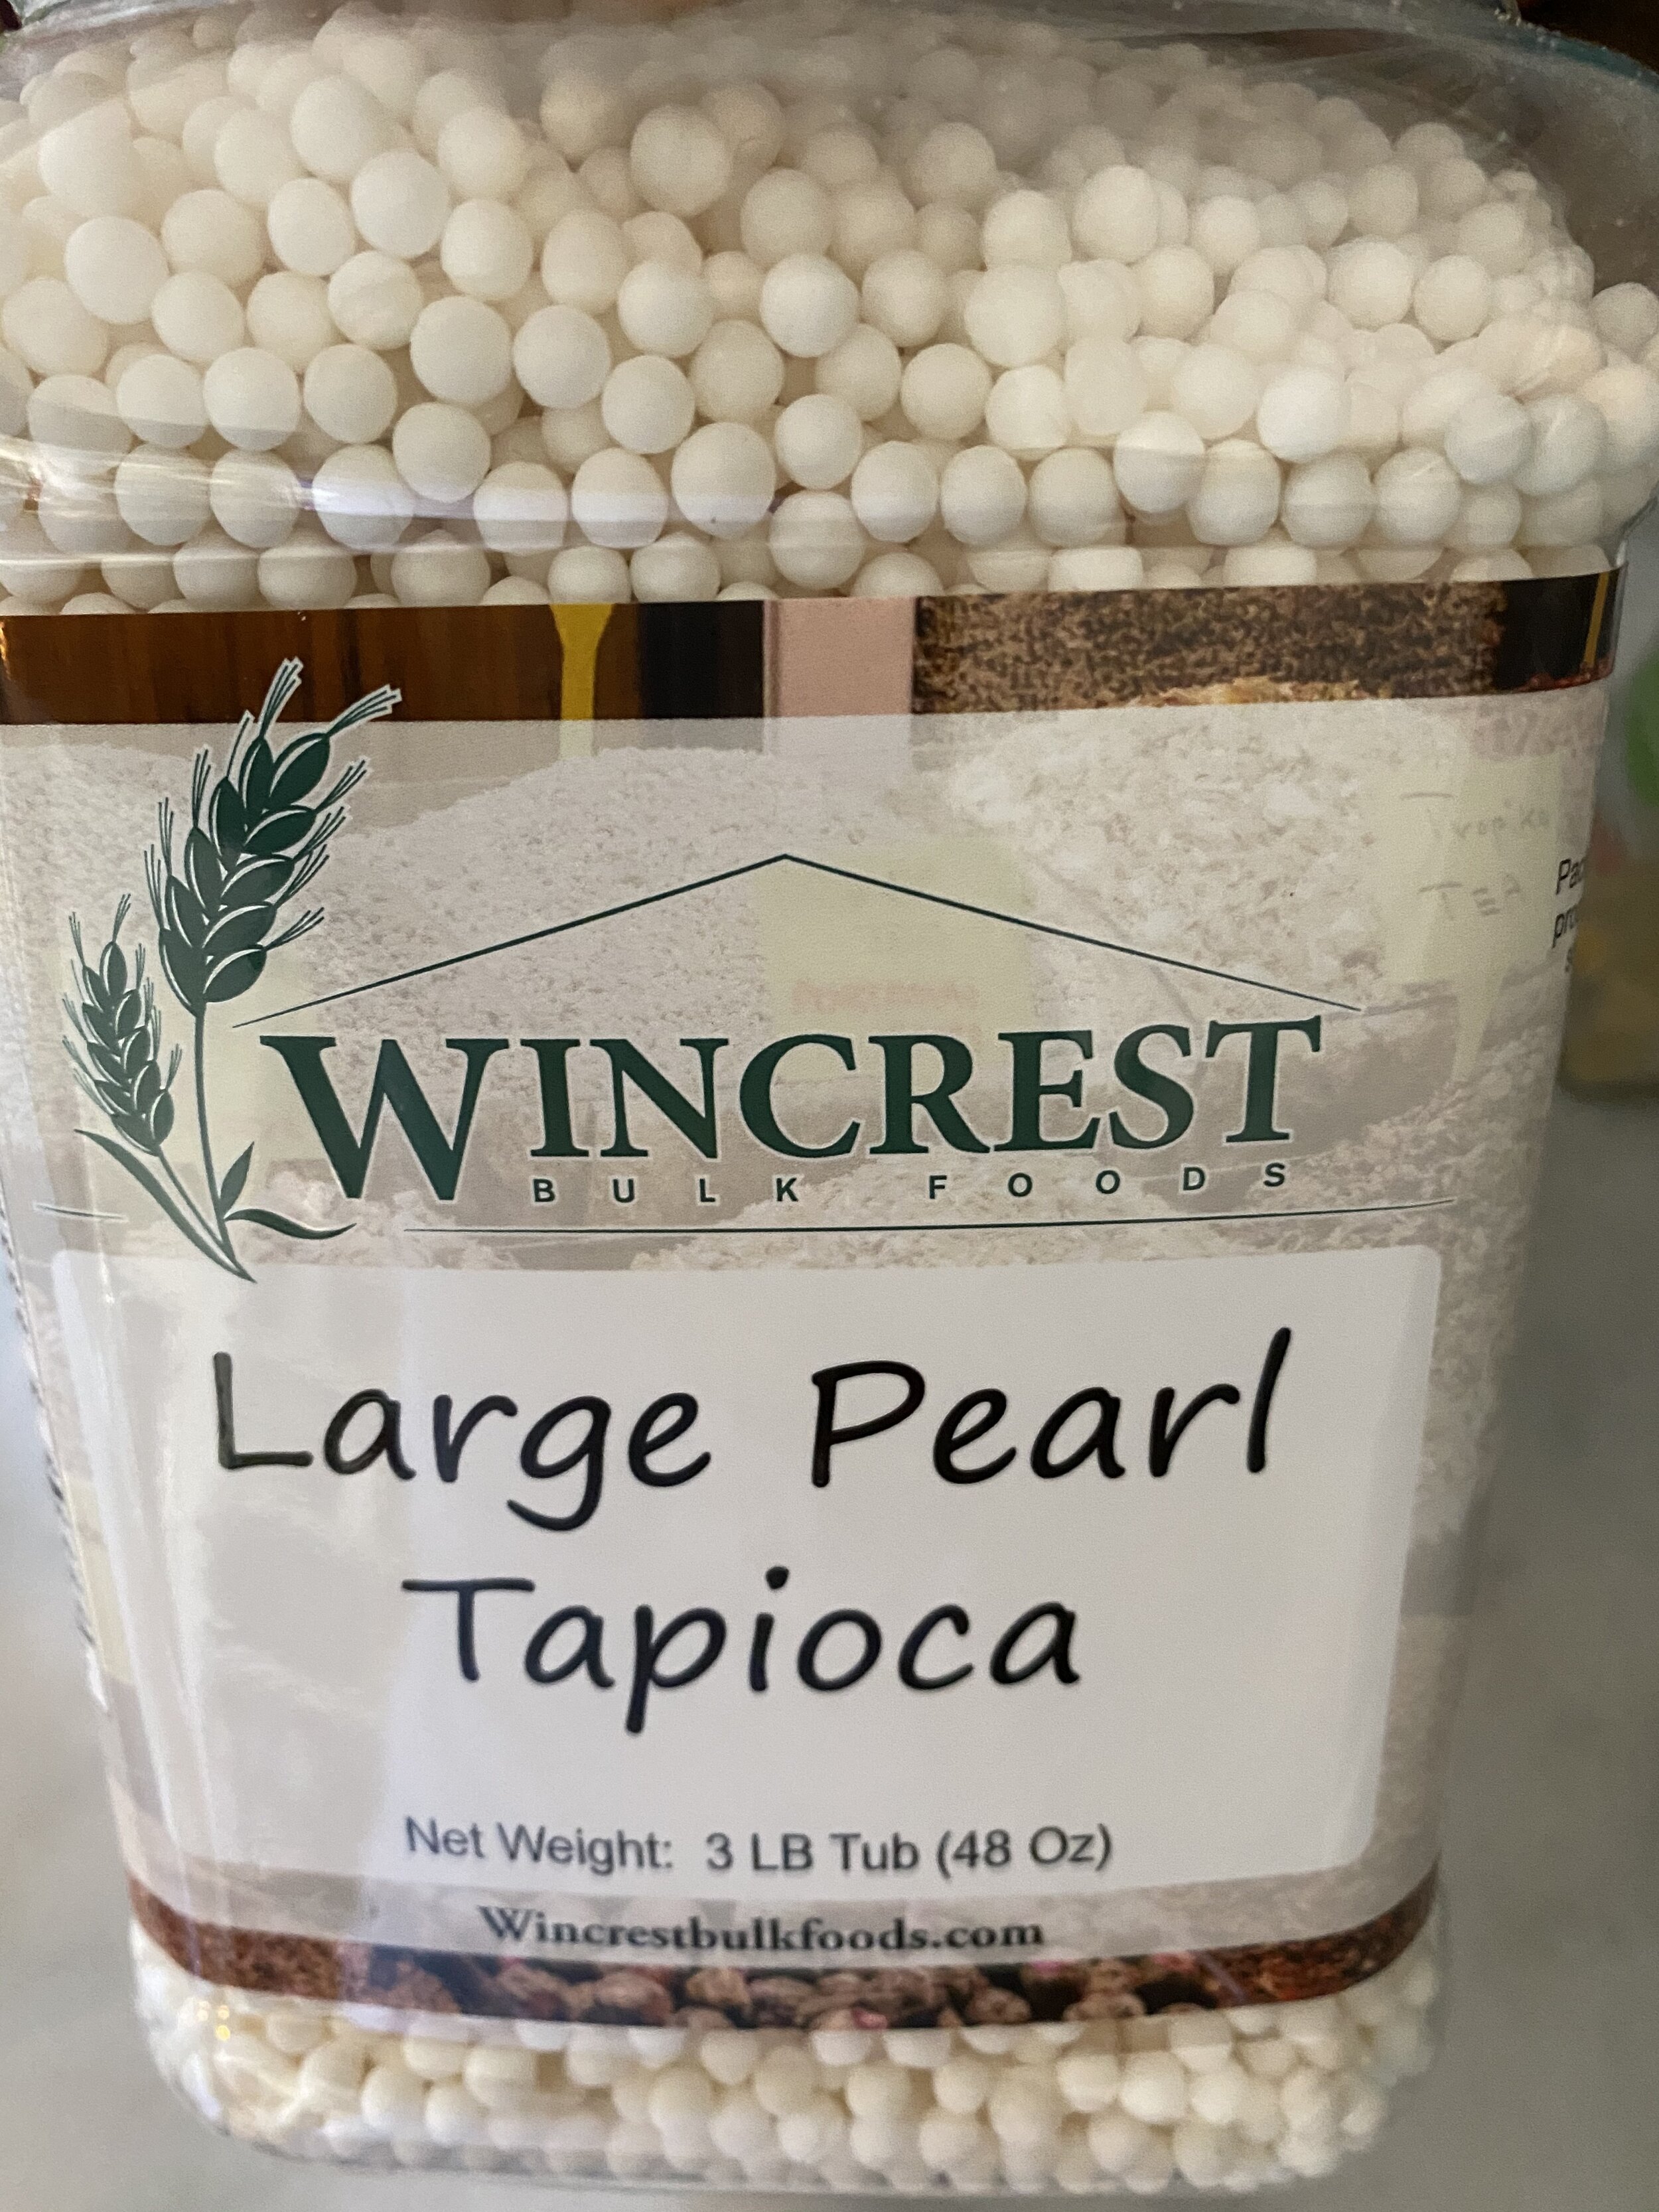
3 tablespoons tapioca starch
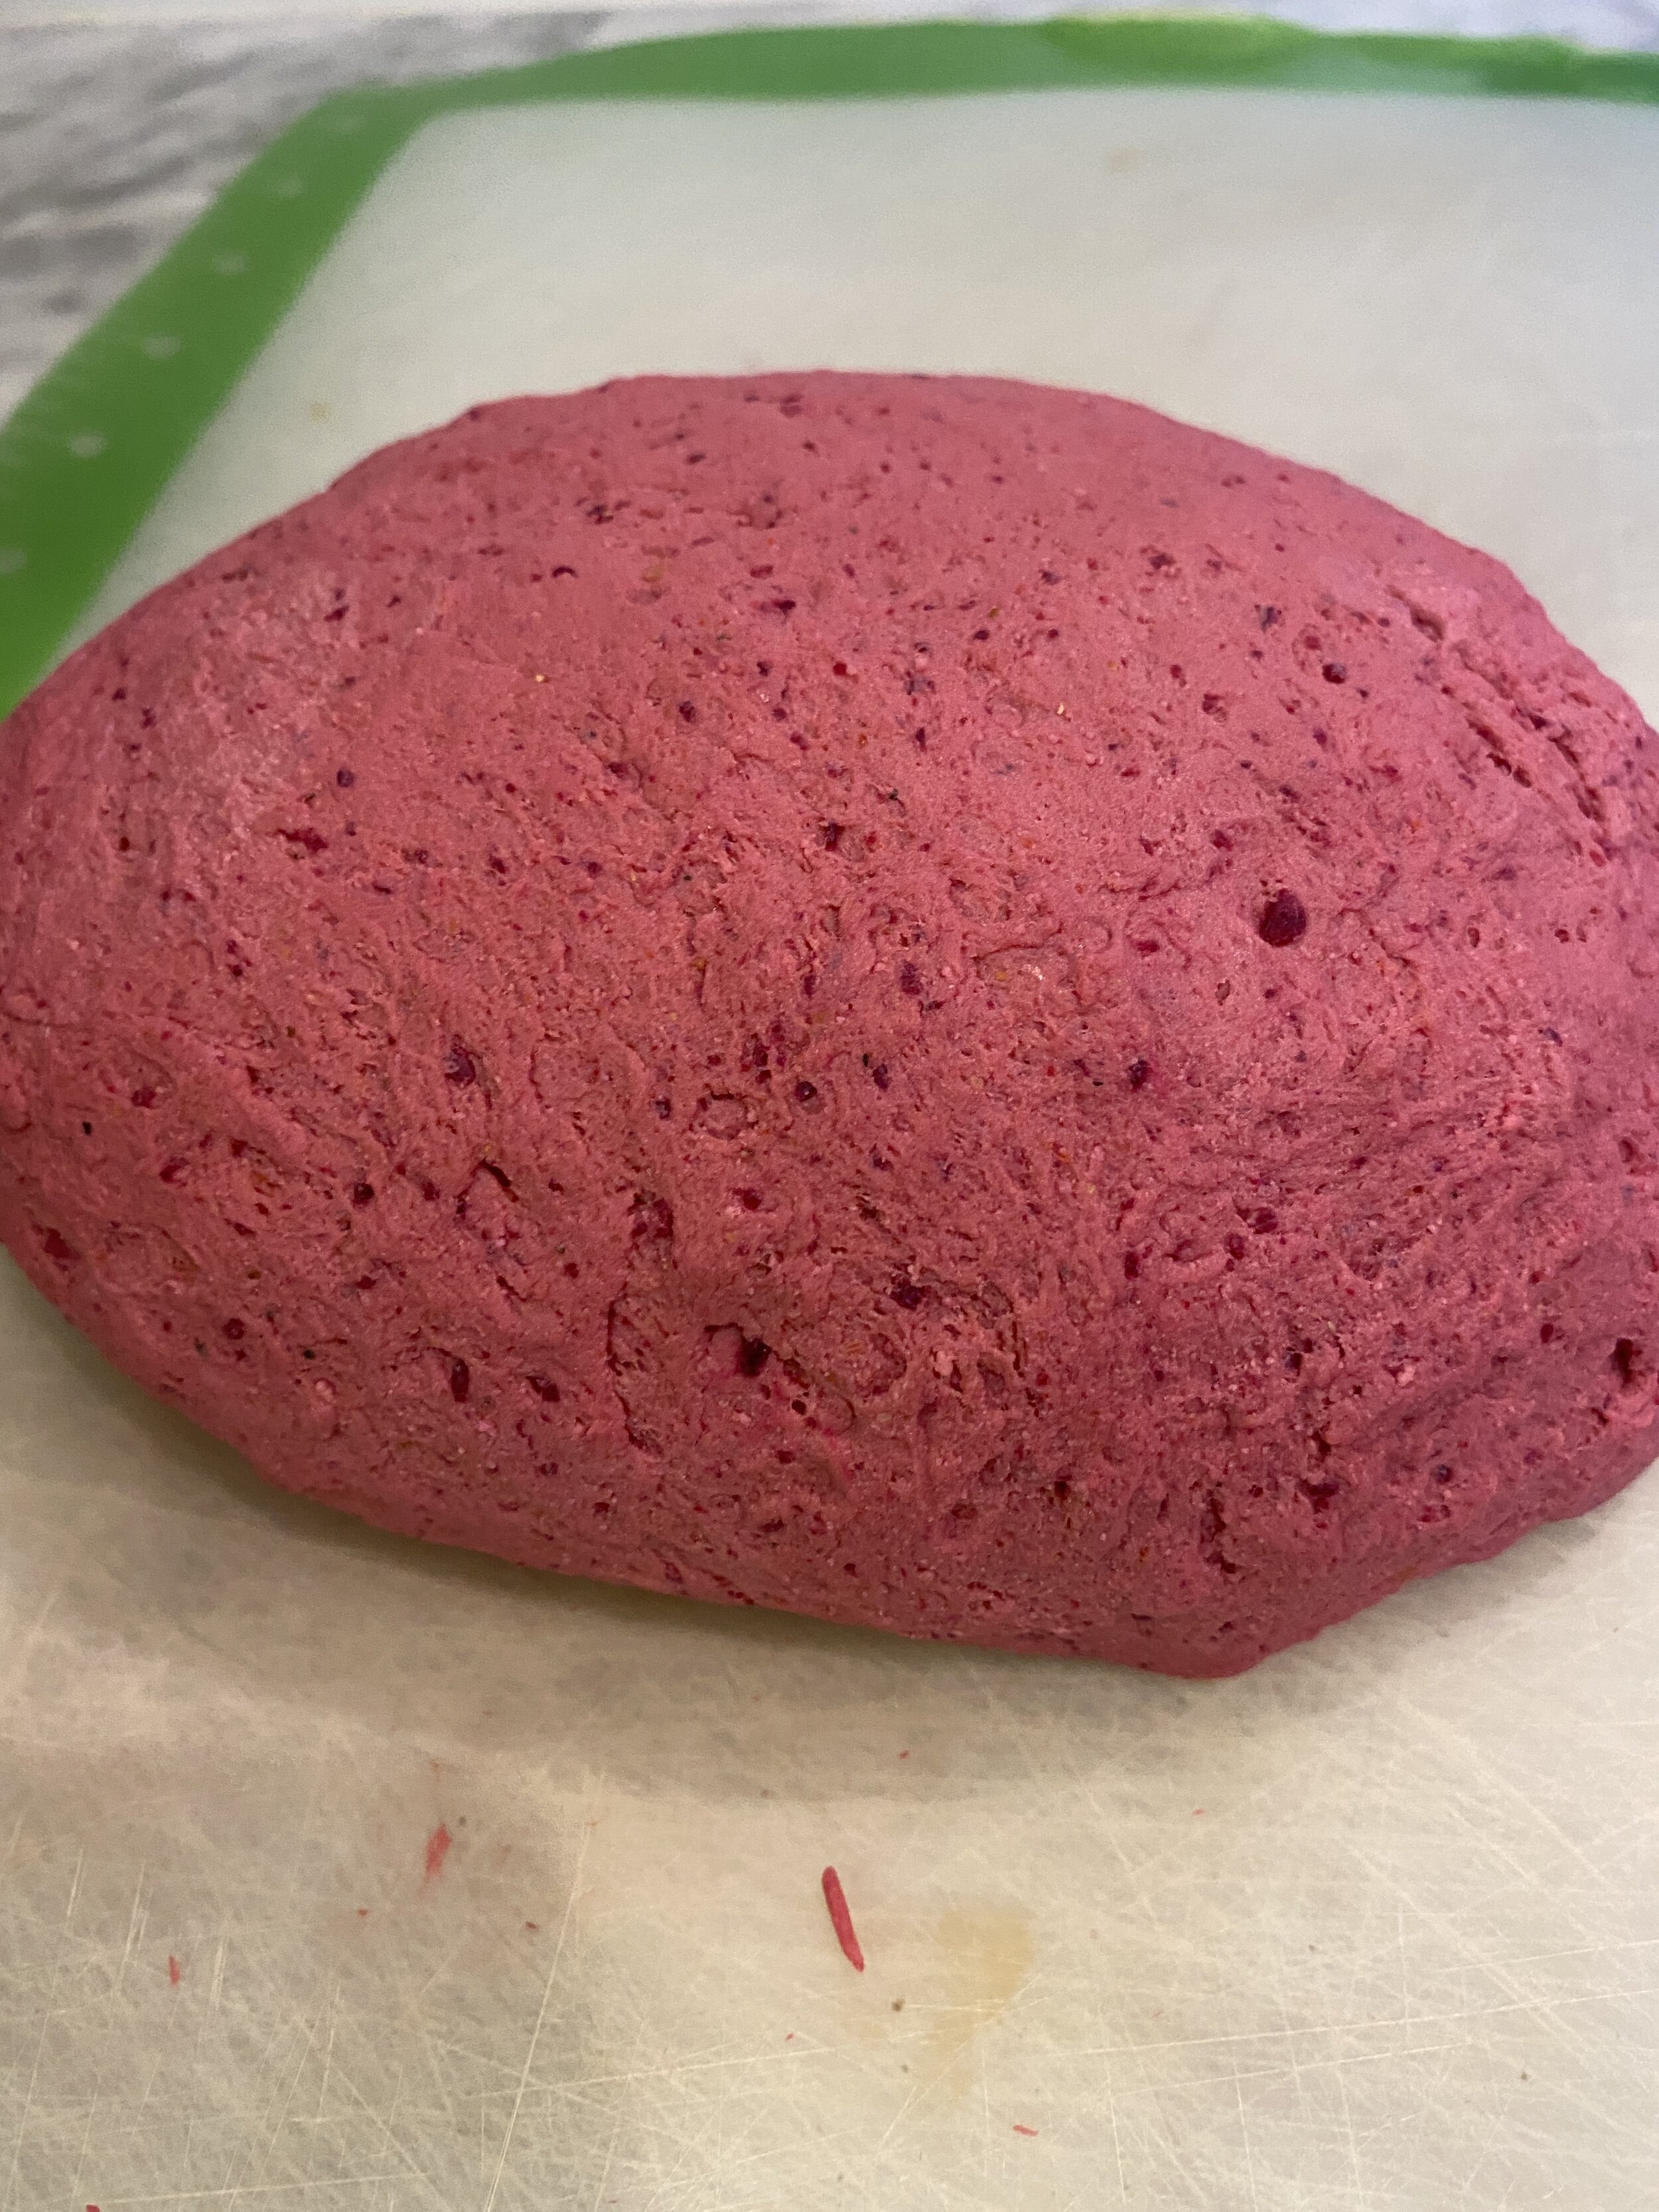
2 tablespoons beet powder
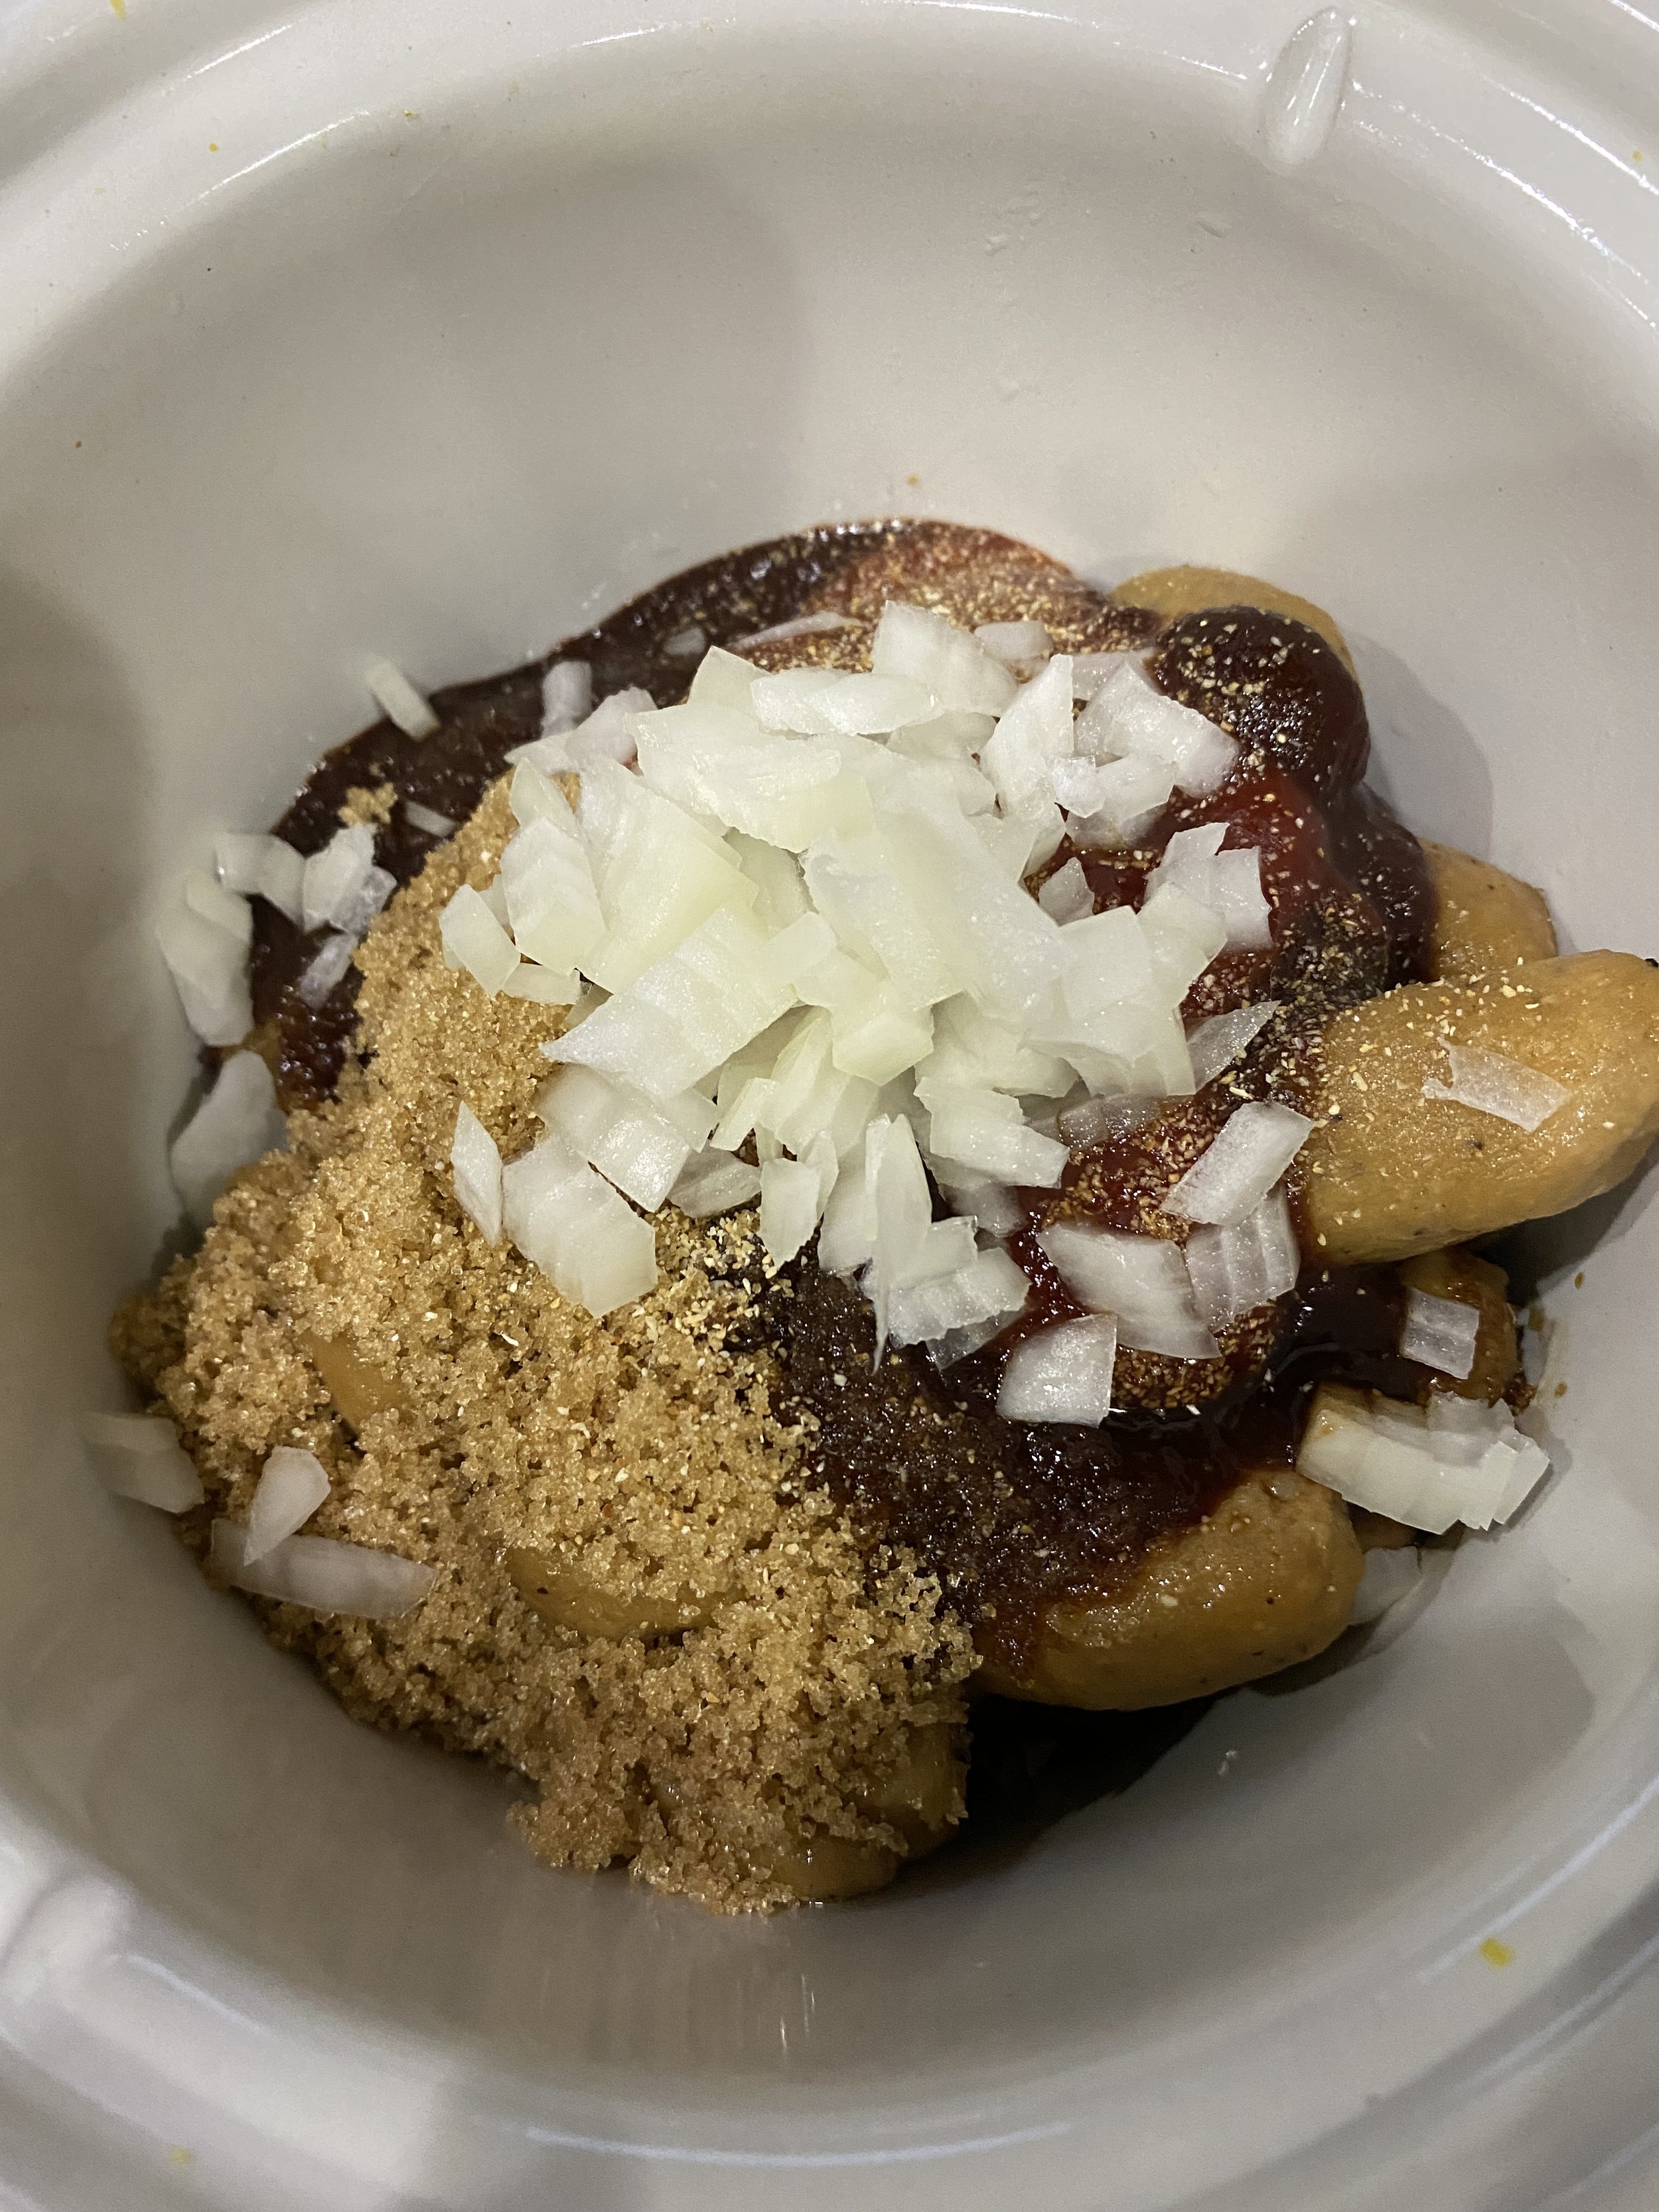
1-2 tablespoons No Beef or Vegetable Better than bouillon
(I add 2 because I like the nice beefy flavor it gives but if you feel that is too much salt you can add 1 or less if you like)2 tablespoons soy sauce ( I use low sodium or you can use coconut aminos)
1/4 cup BBQ sauce
2 teaspoons each of garlic powder, black pepper, and onion powder
2-3 teaspoons of any steak seasoning bled you like ( plus more for coating before you bake)
2 teaspoons neutral flavored oil or water

INSTRUCTIONS:
Preheat oven to 350 degrees
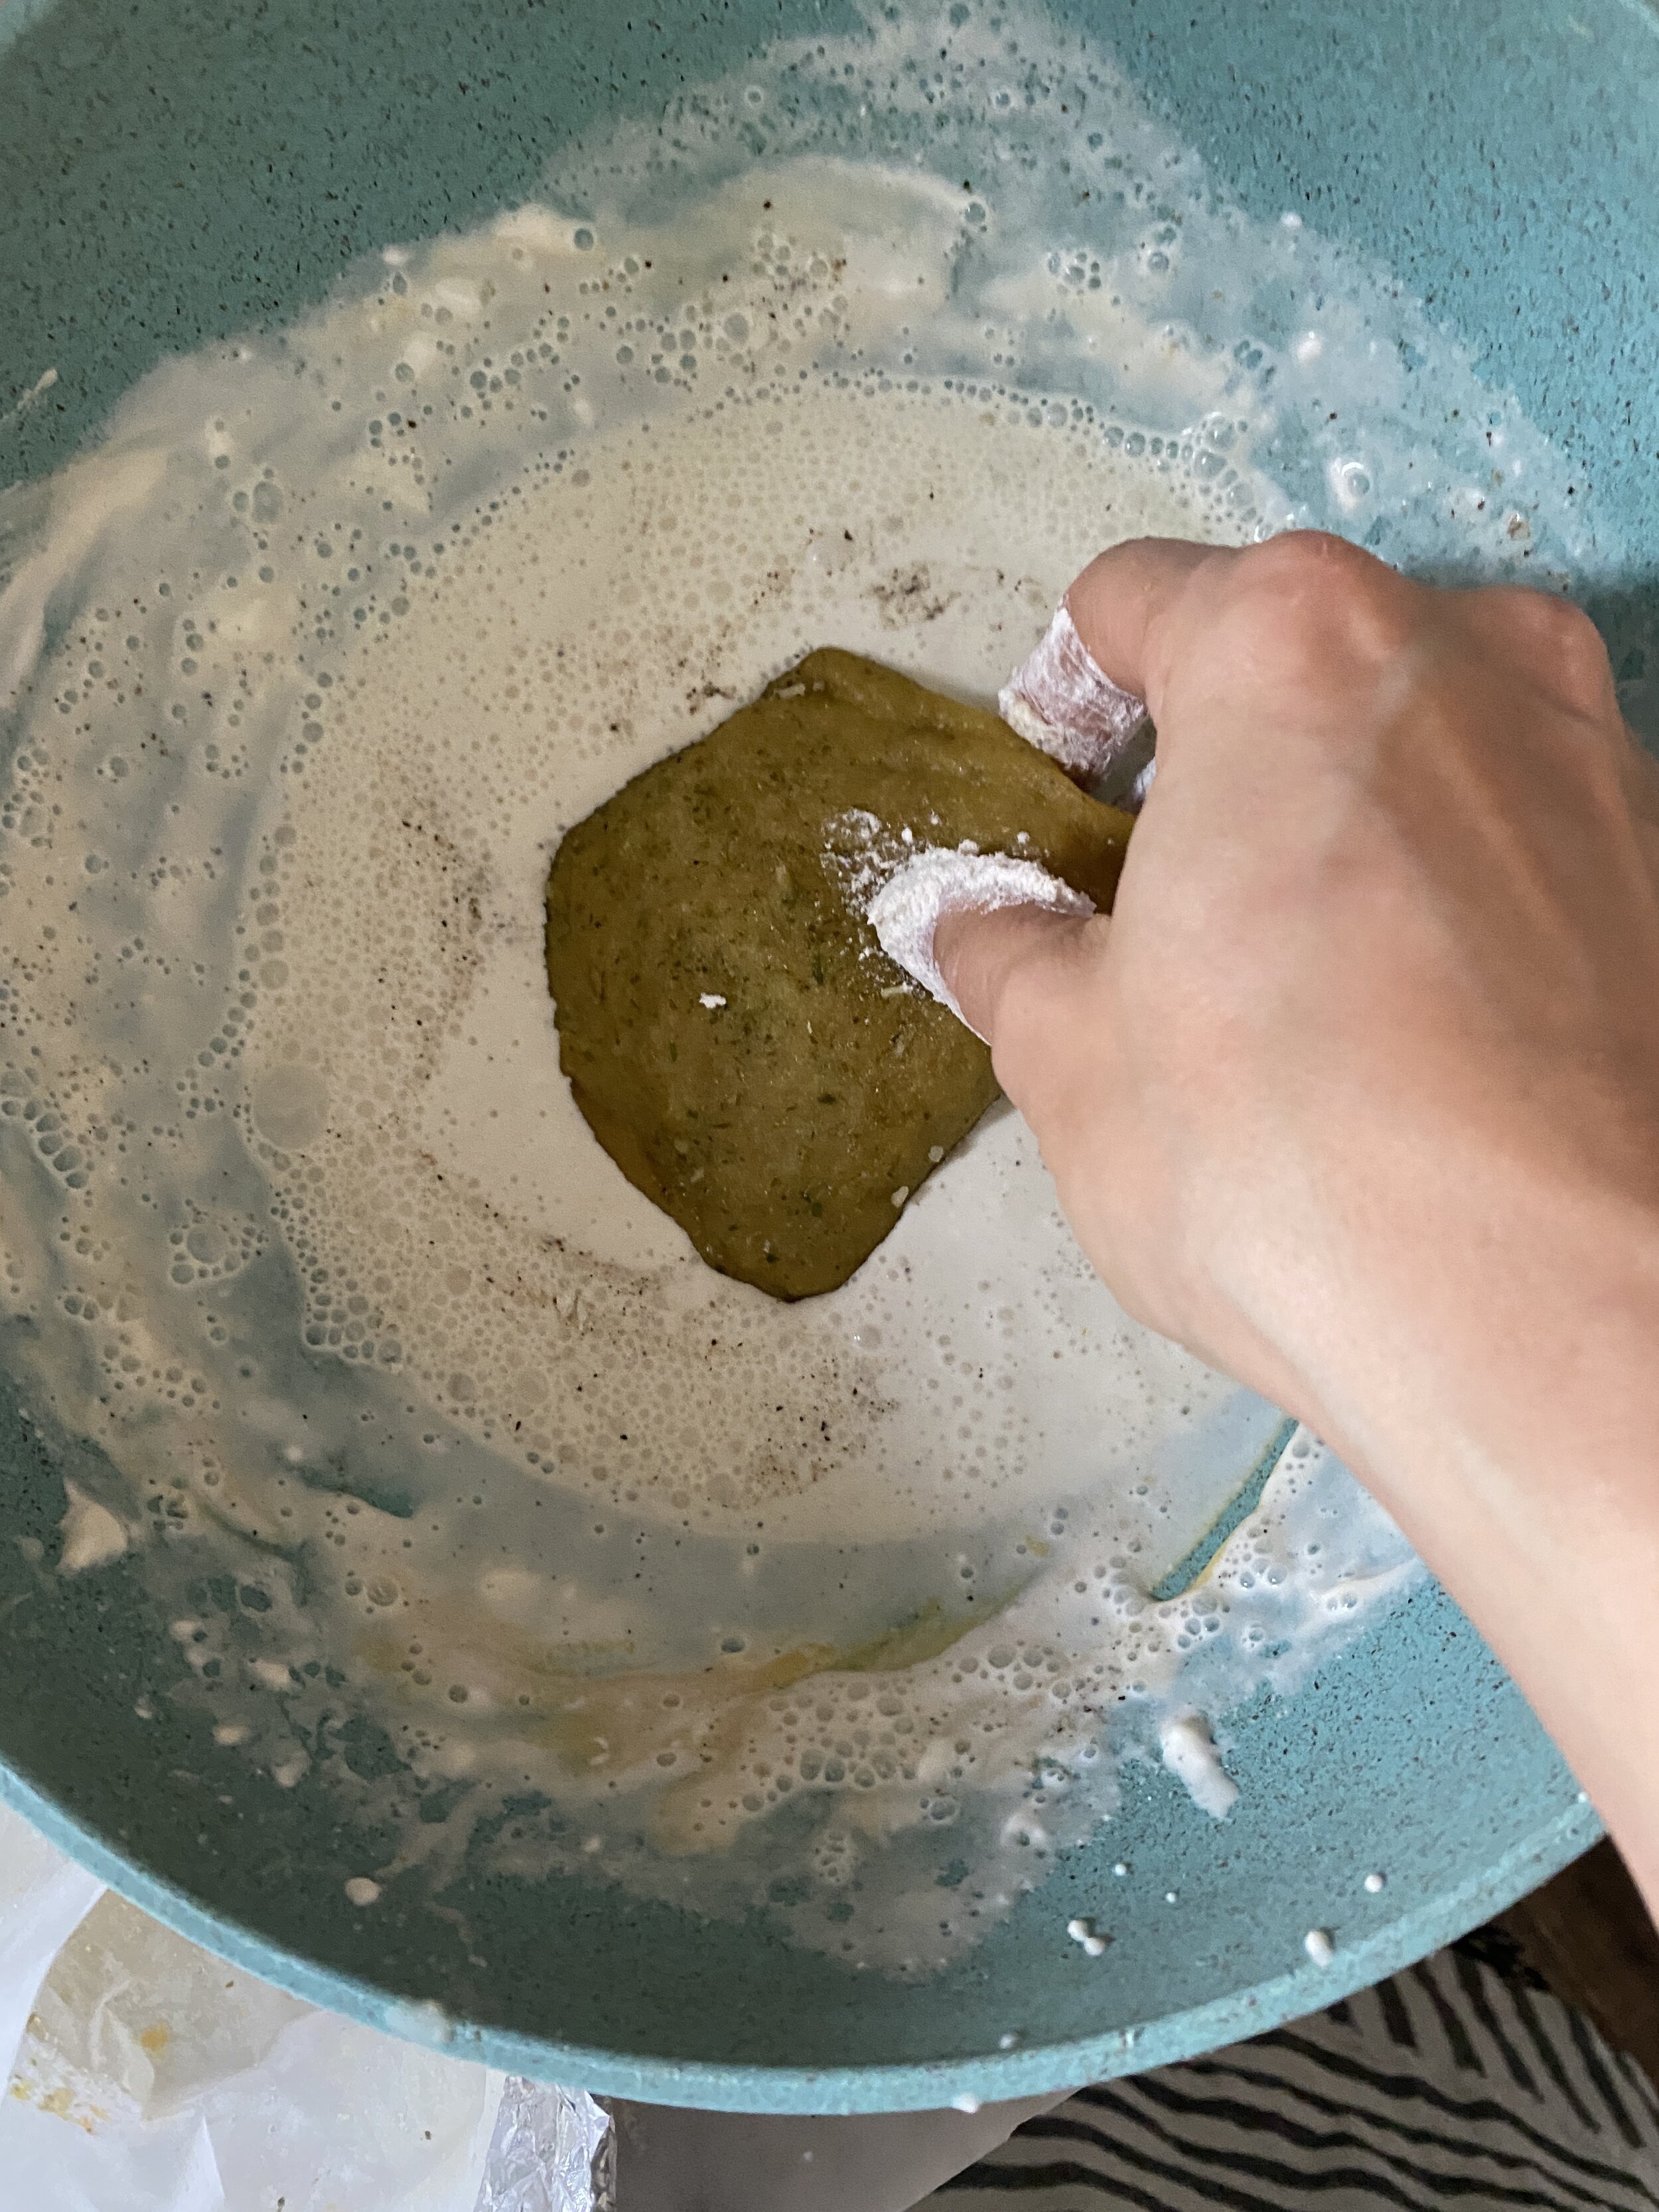
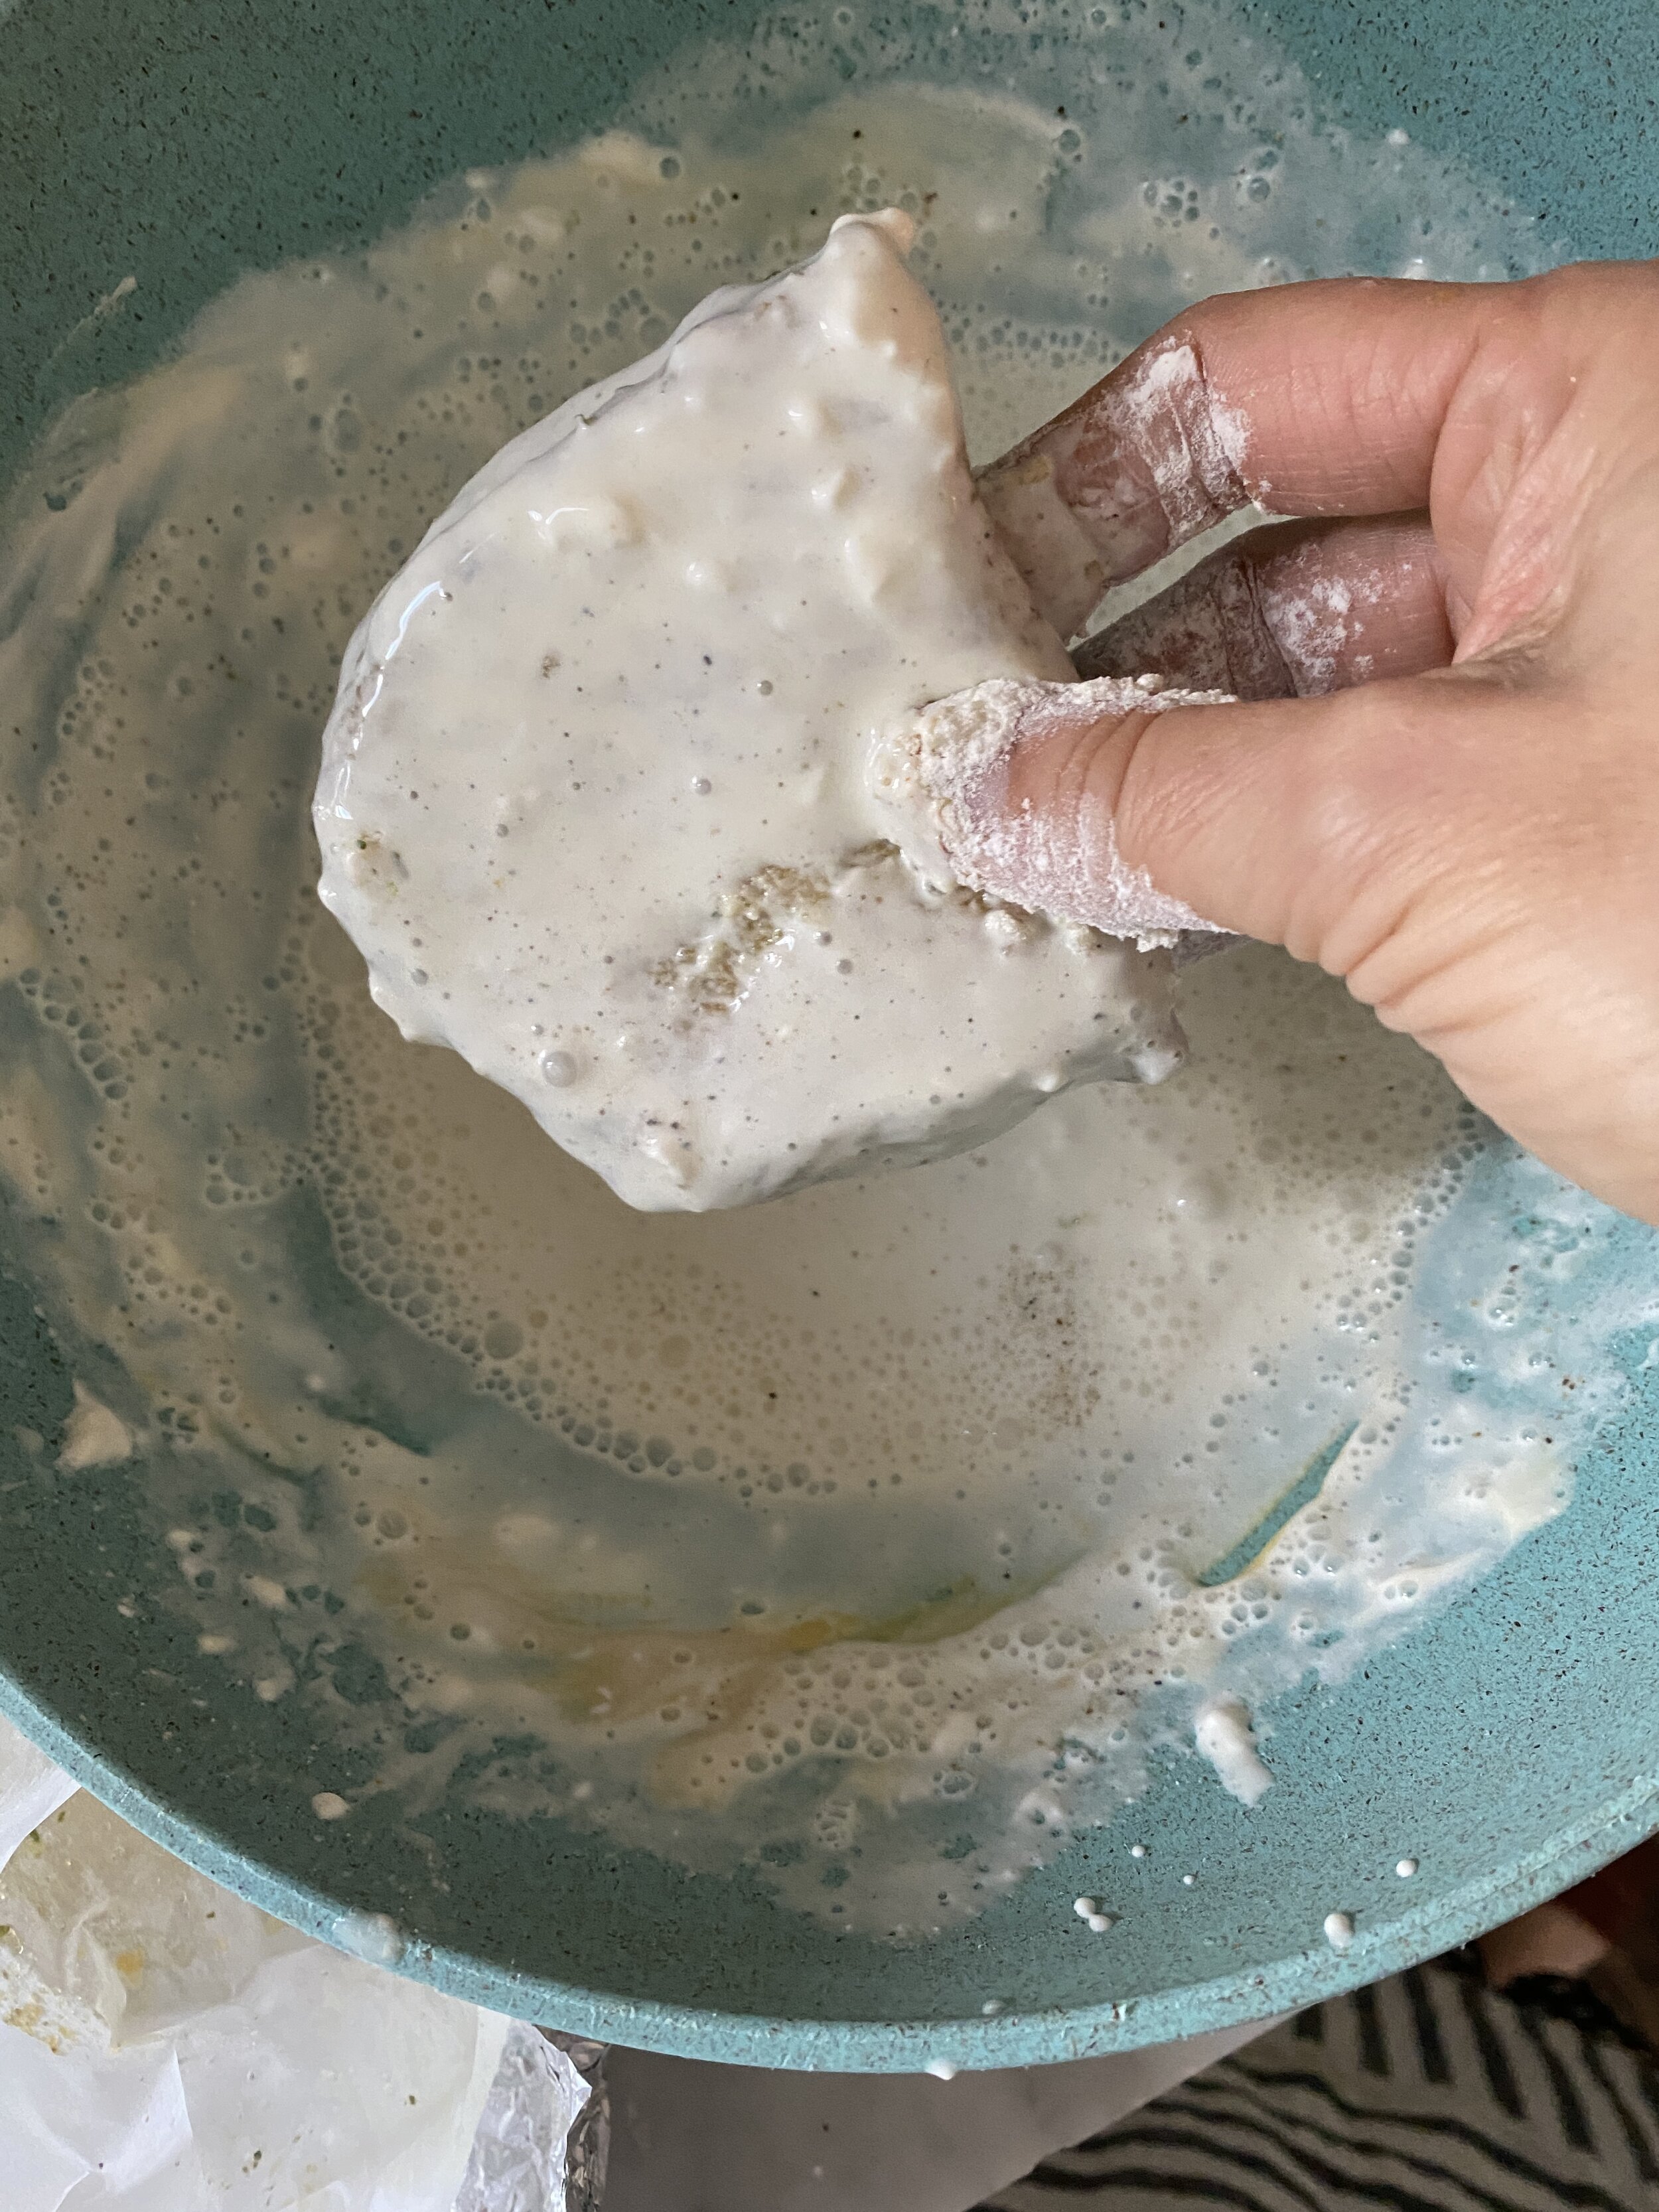
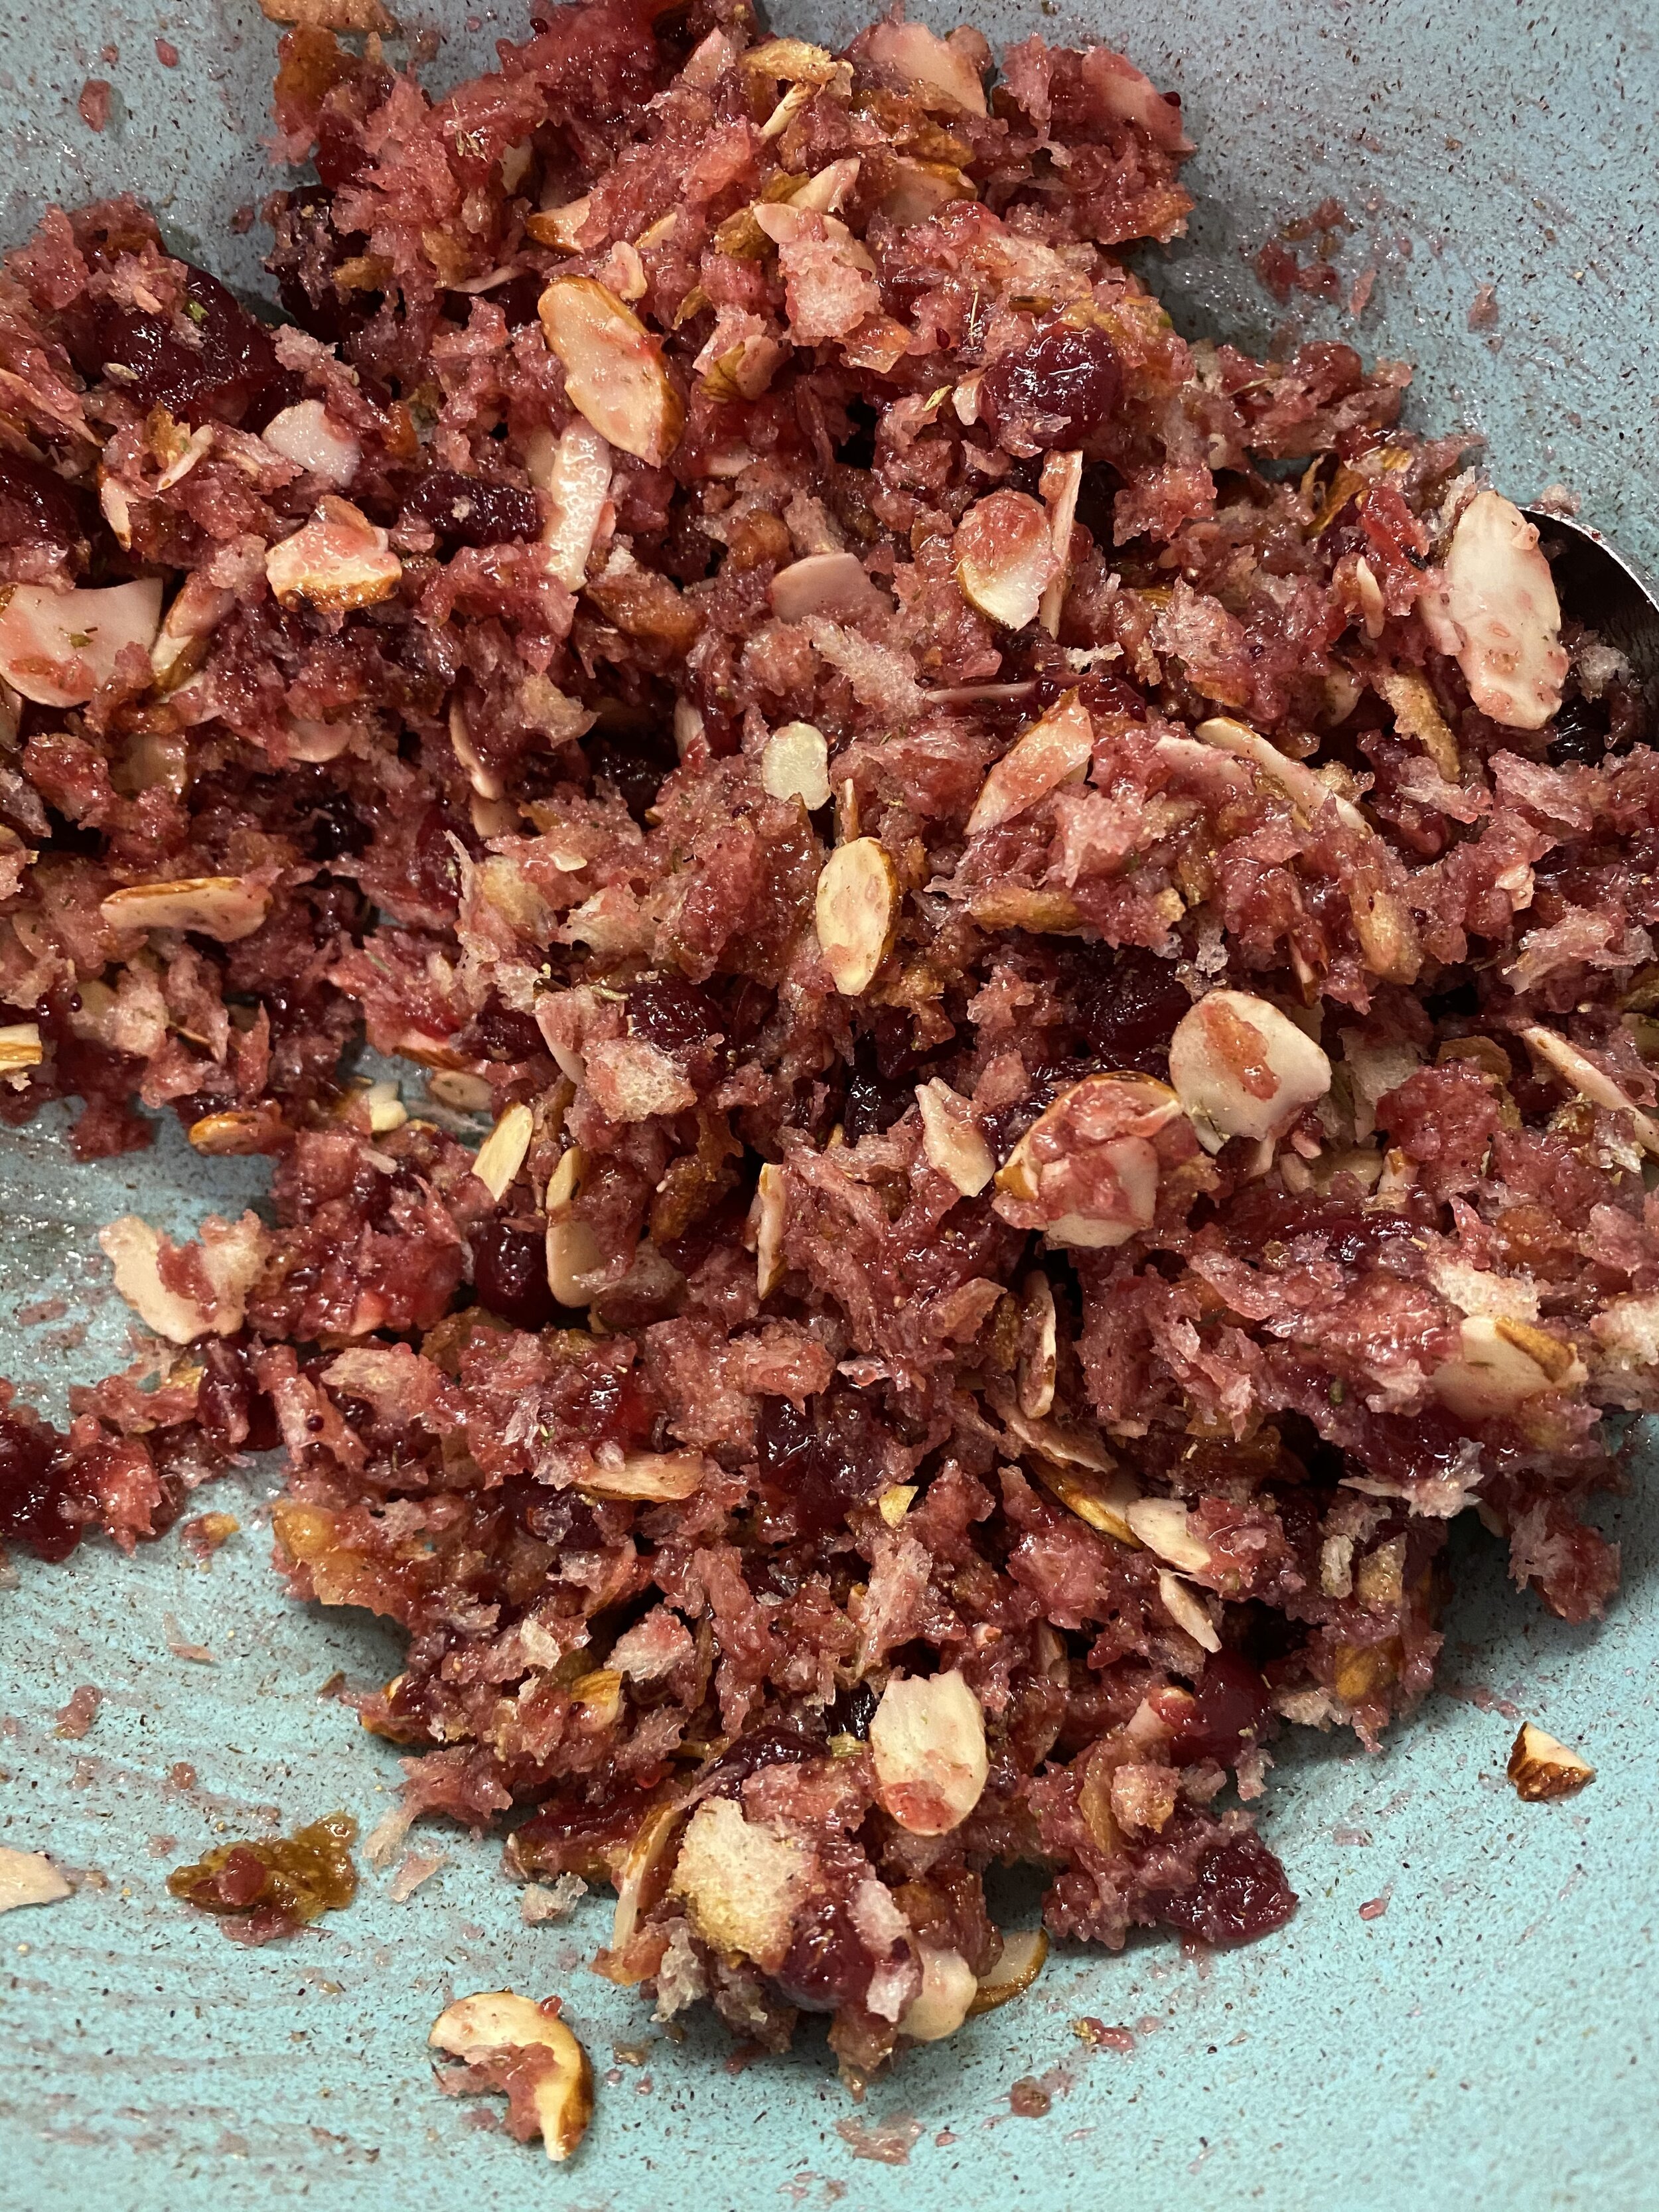
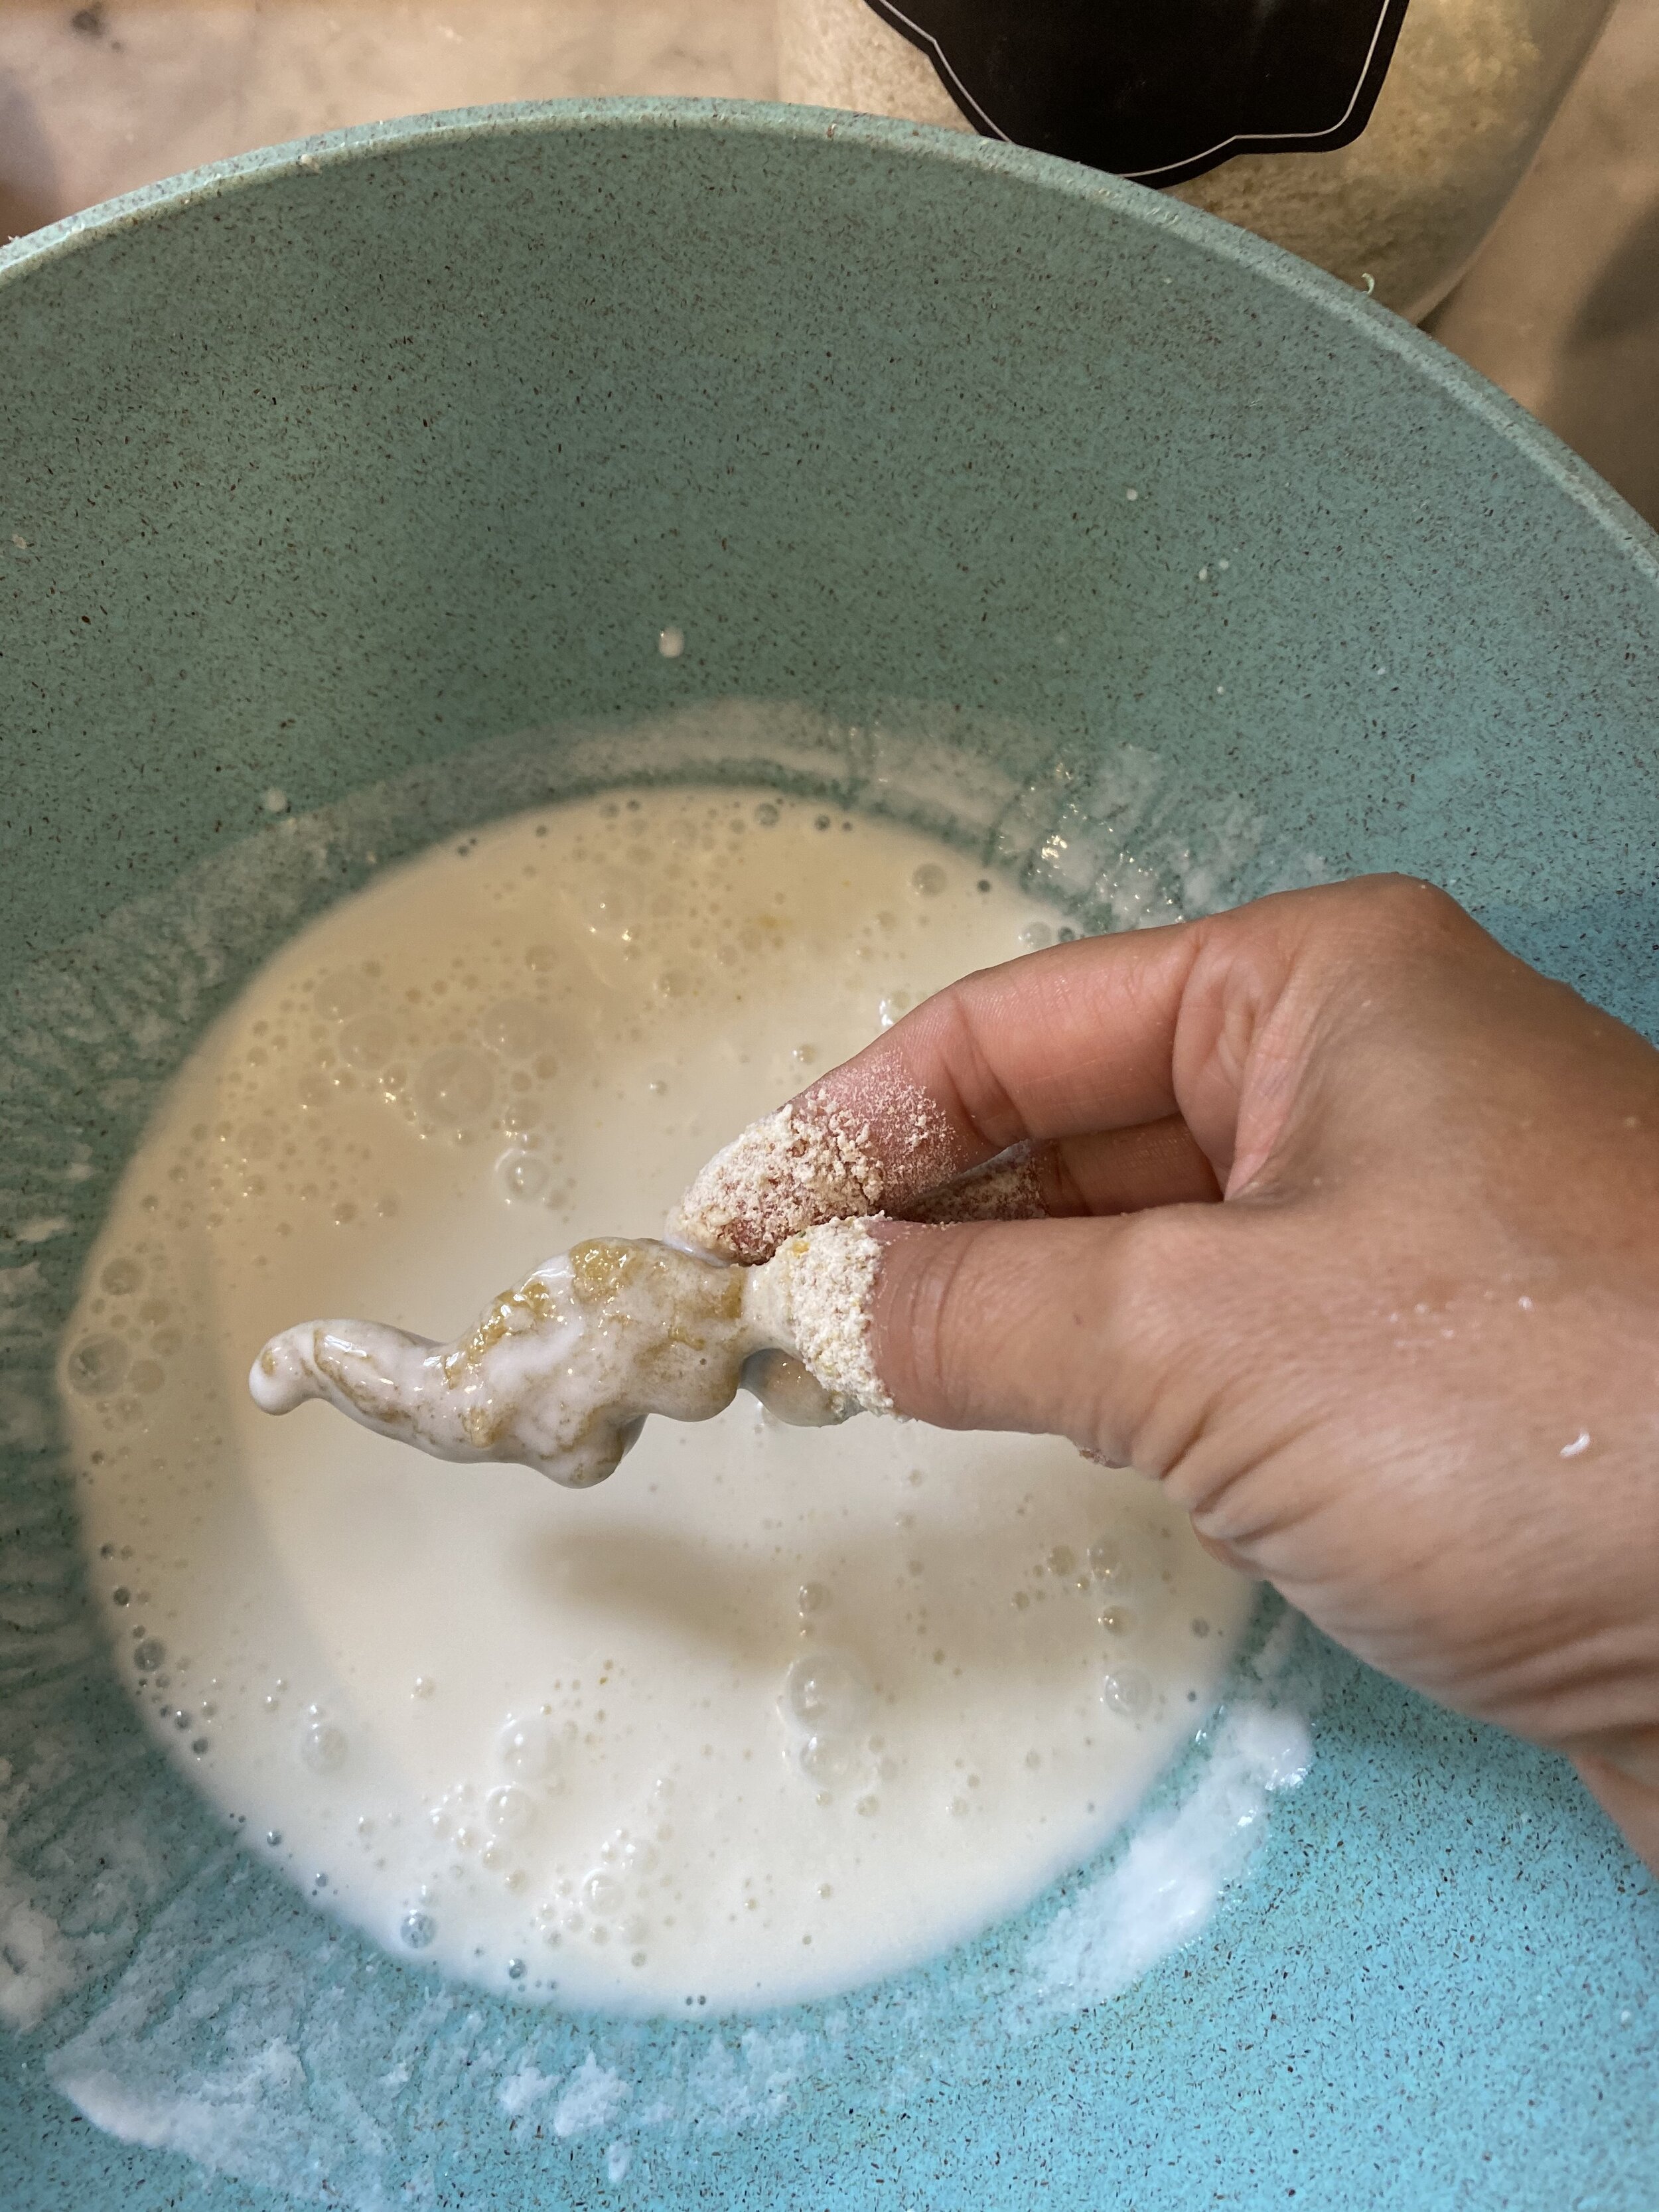
1. Break up the tofu and place it into a food processor. Run the processor for around a minute until the tofu is broken down.
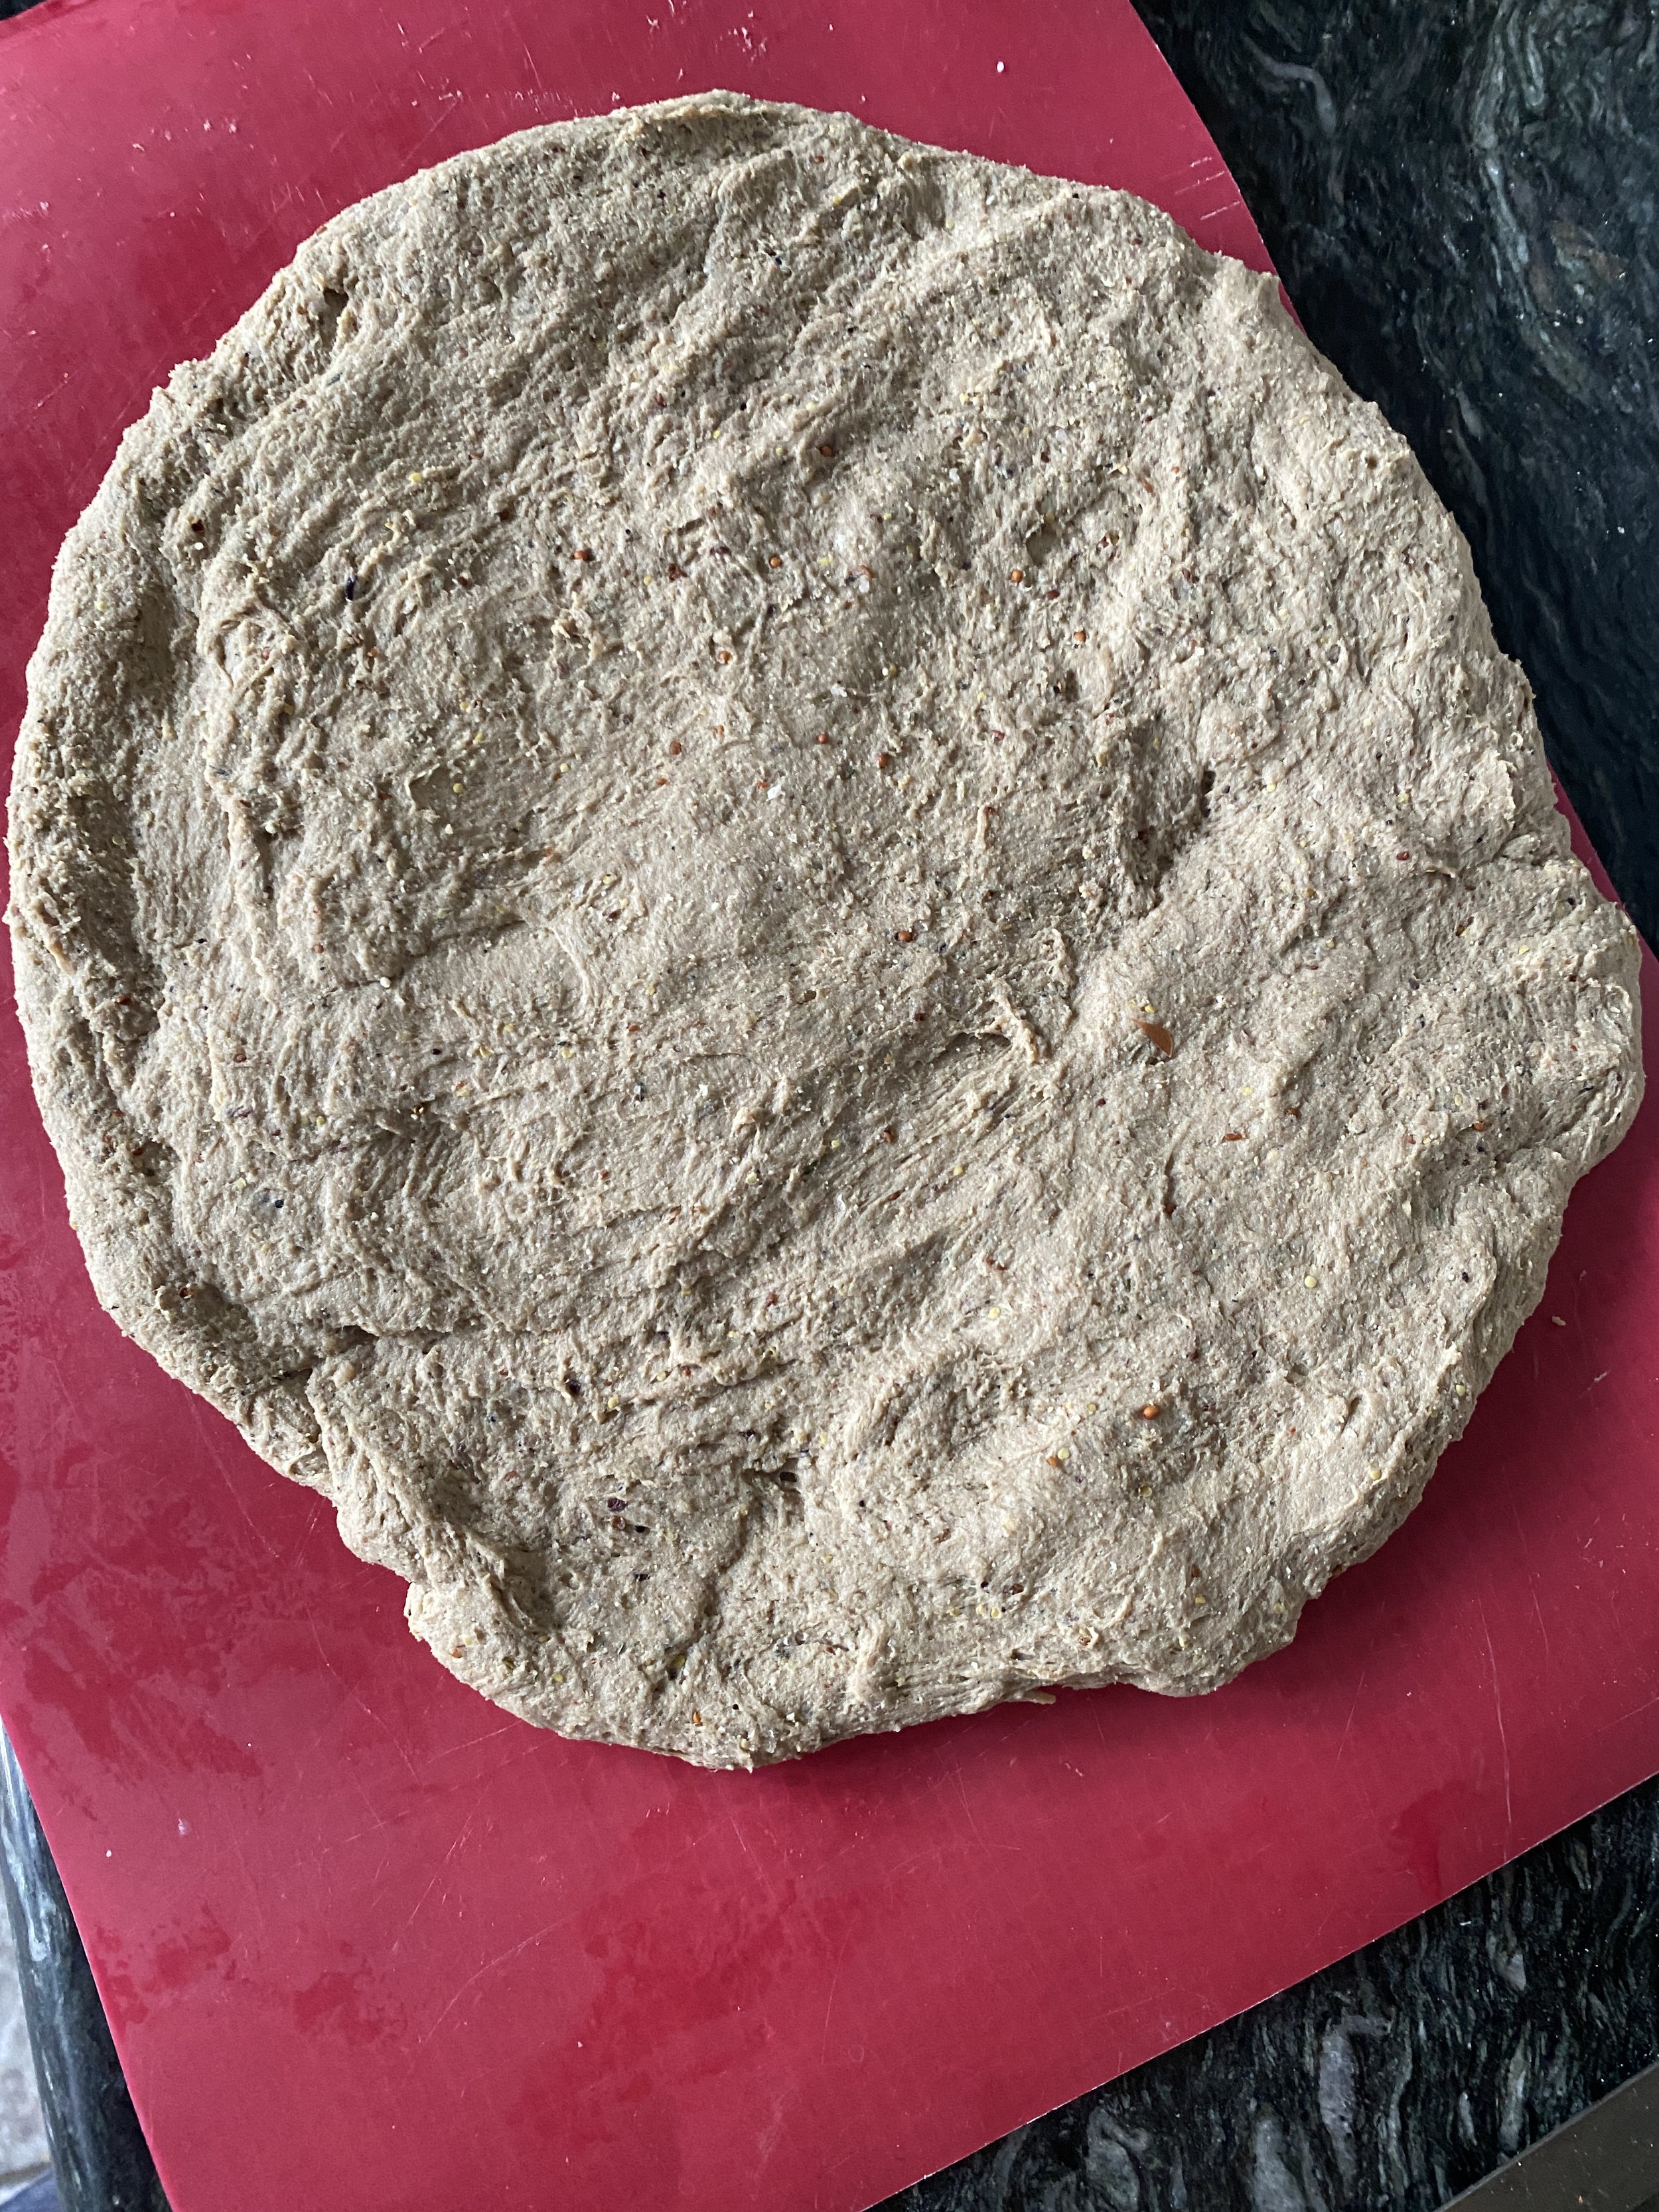
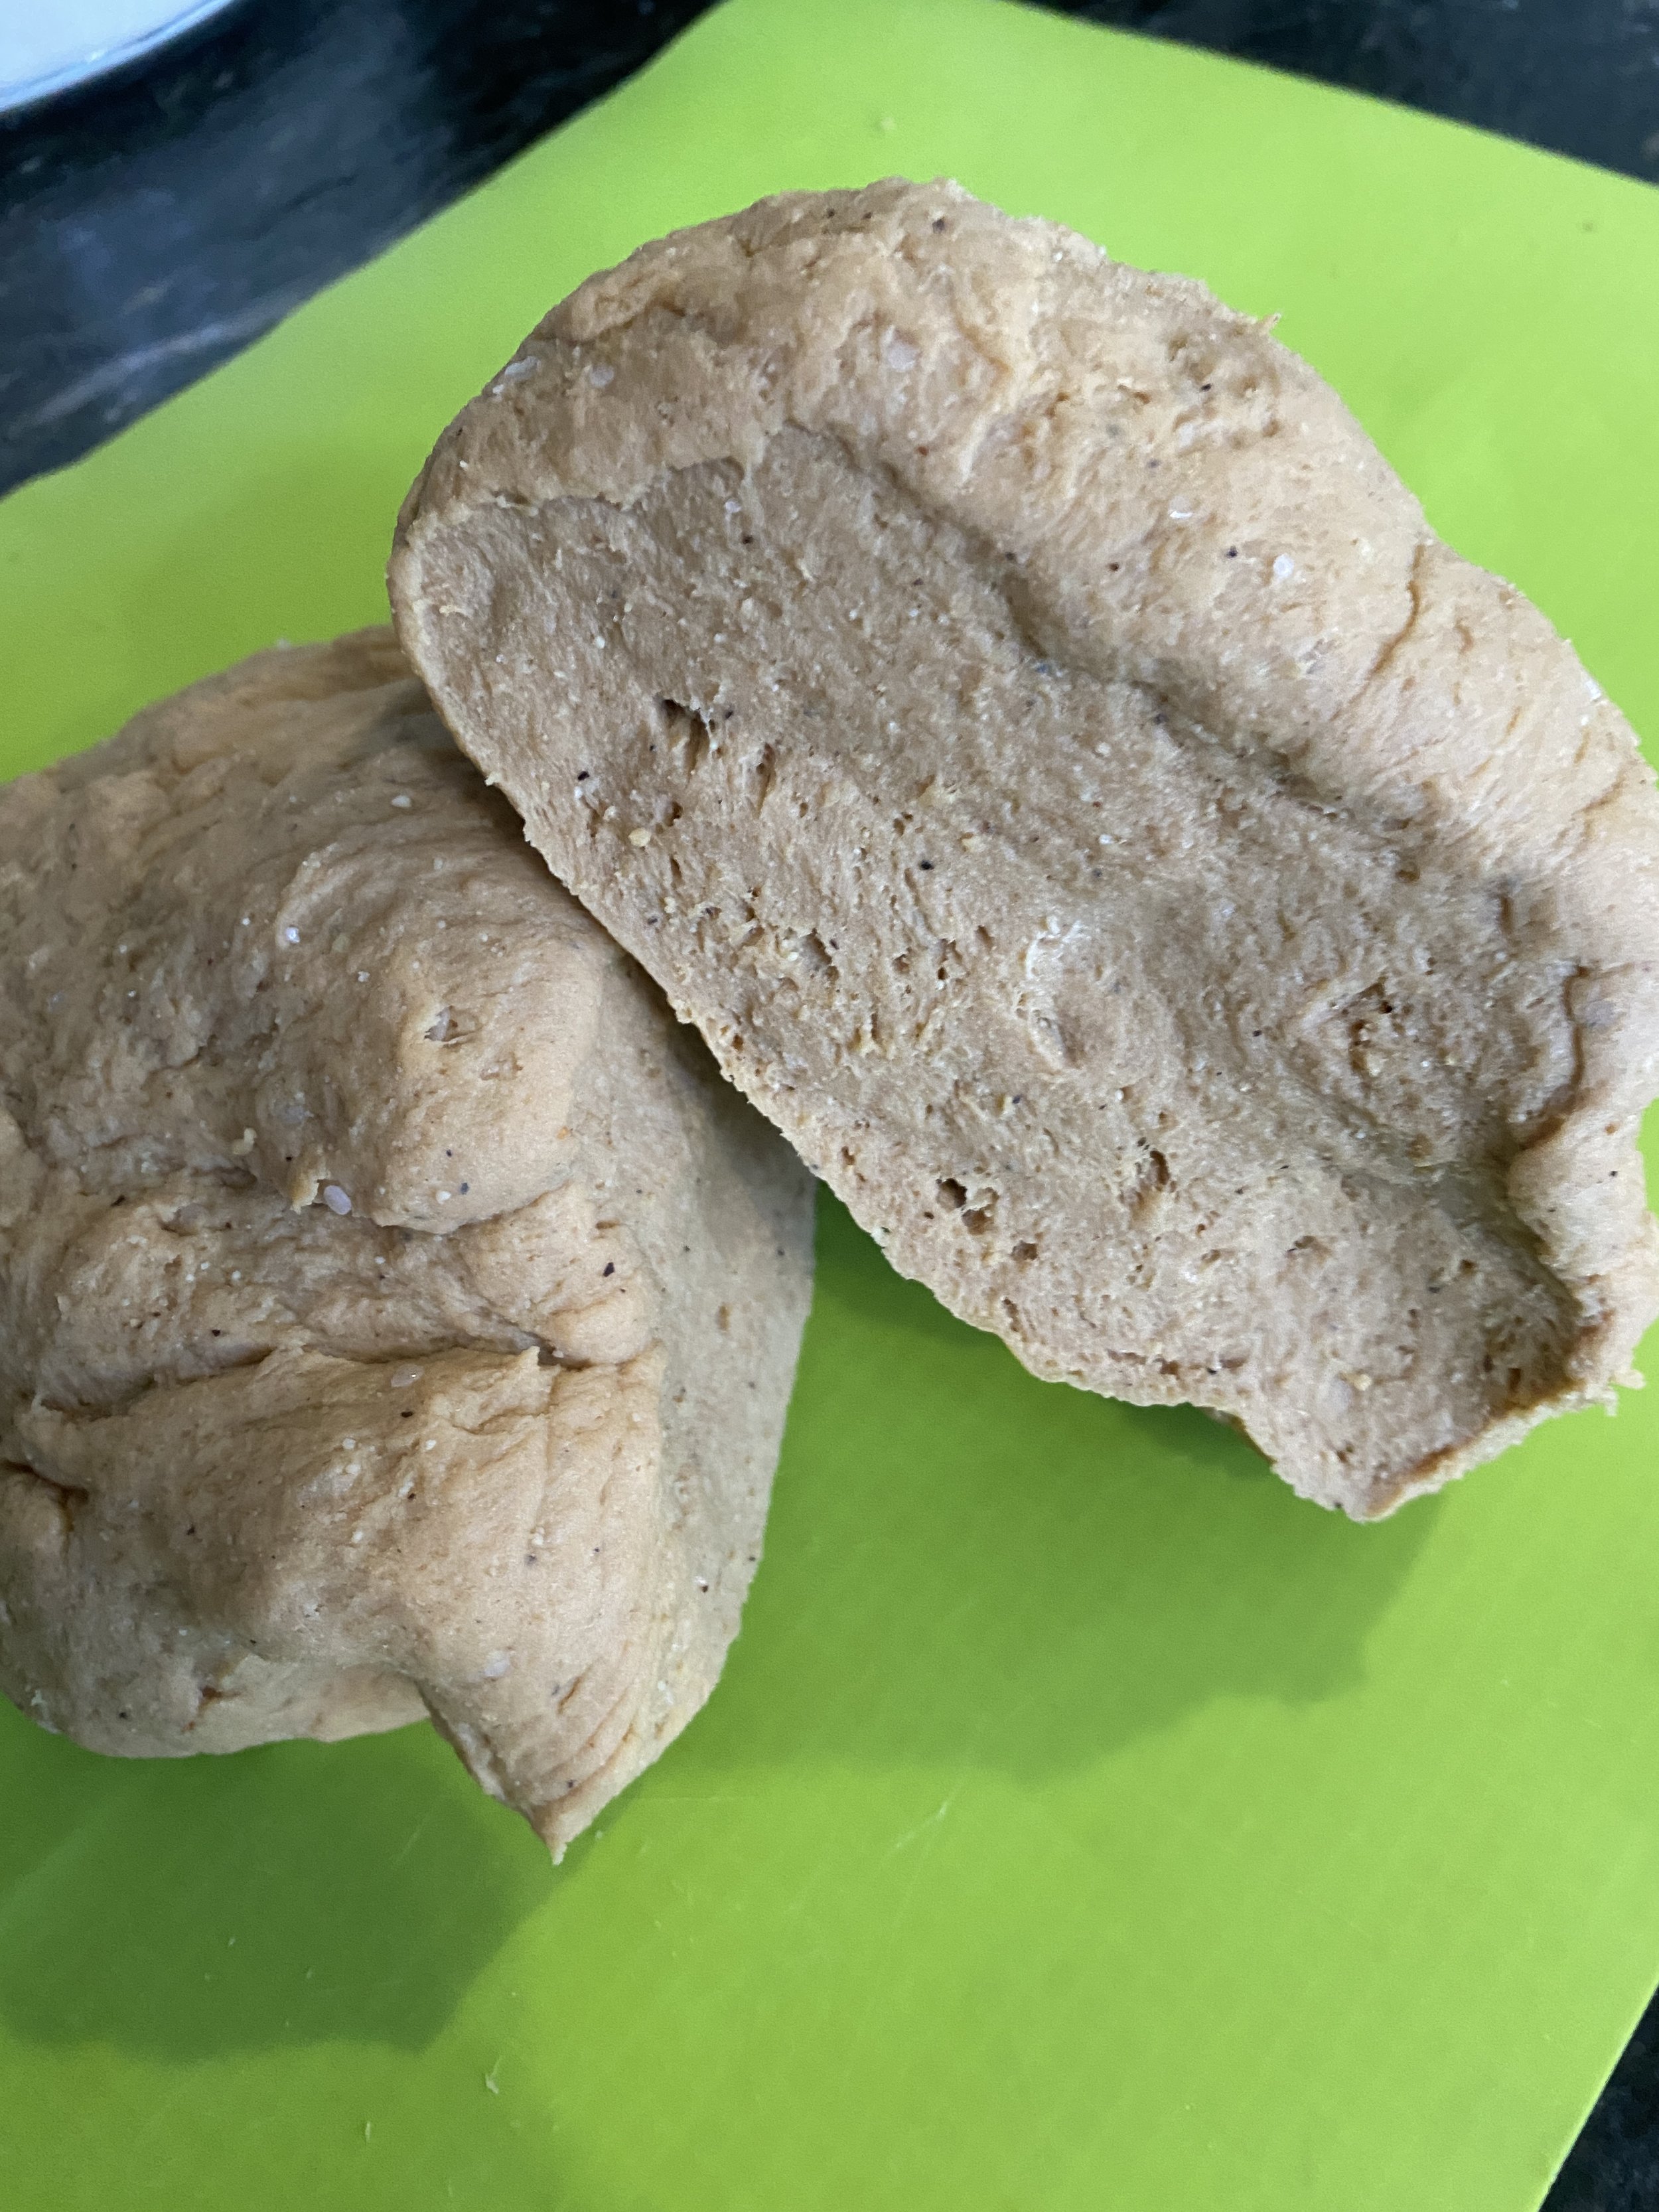
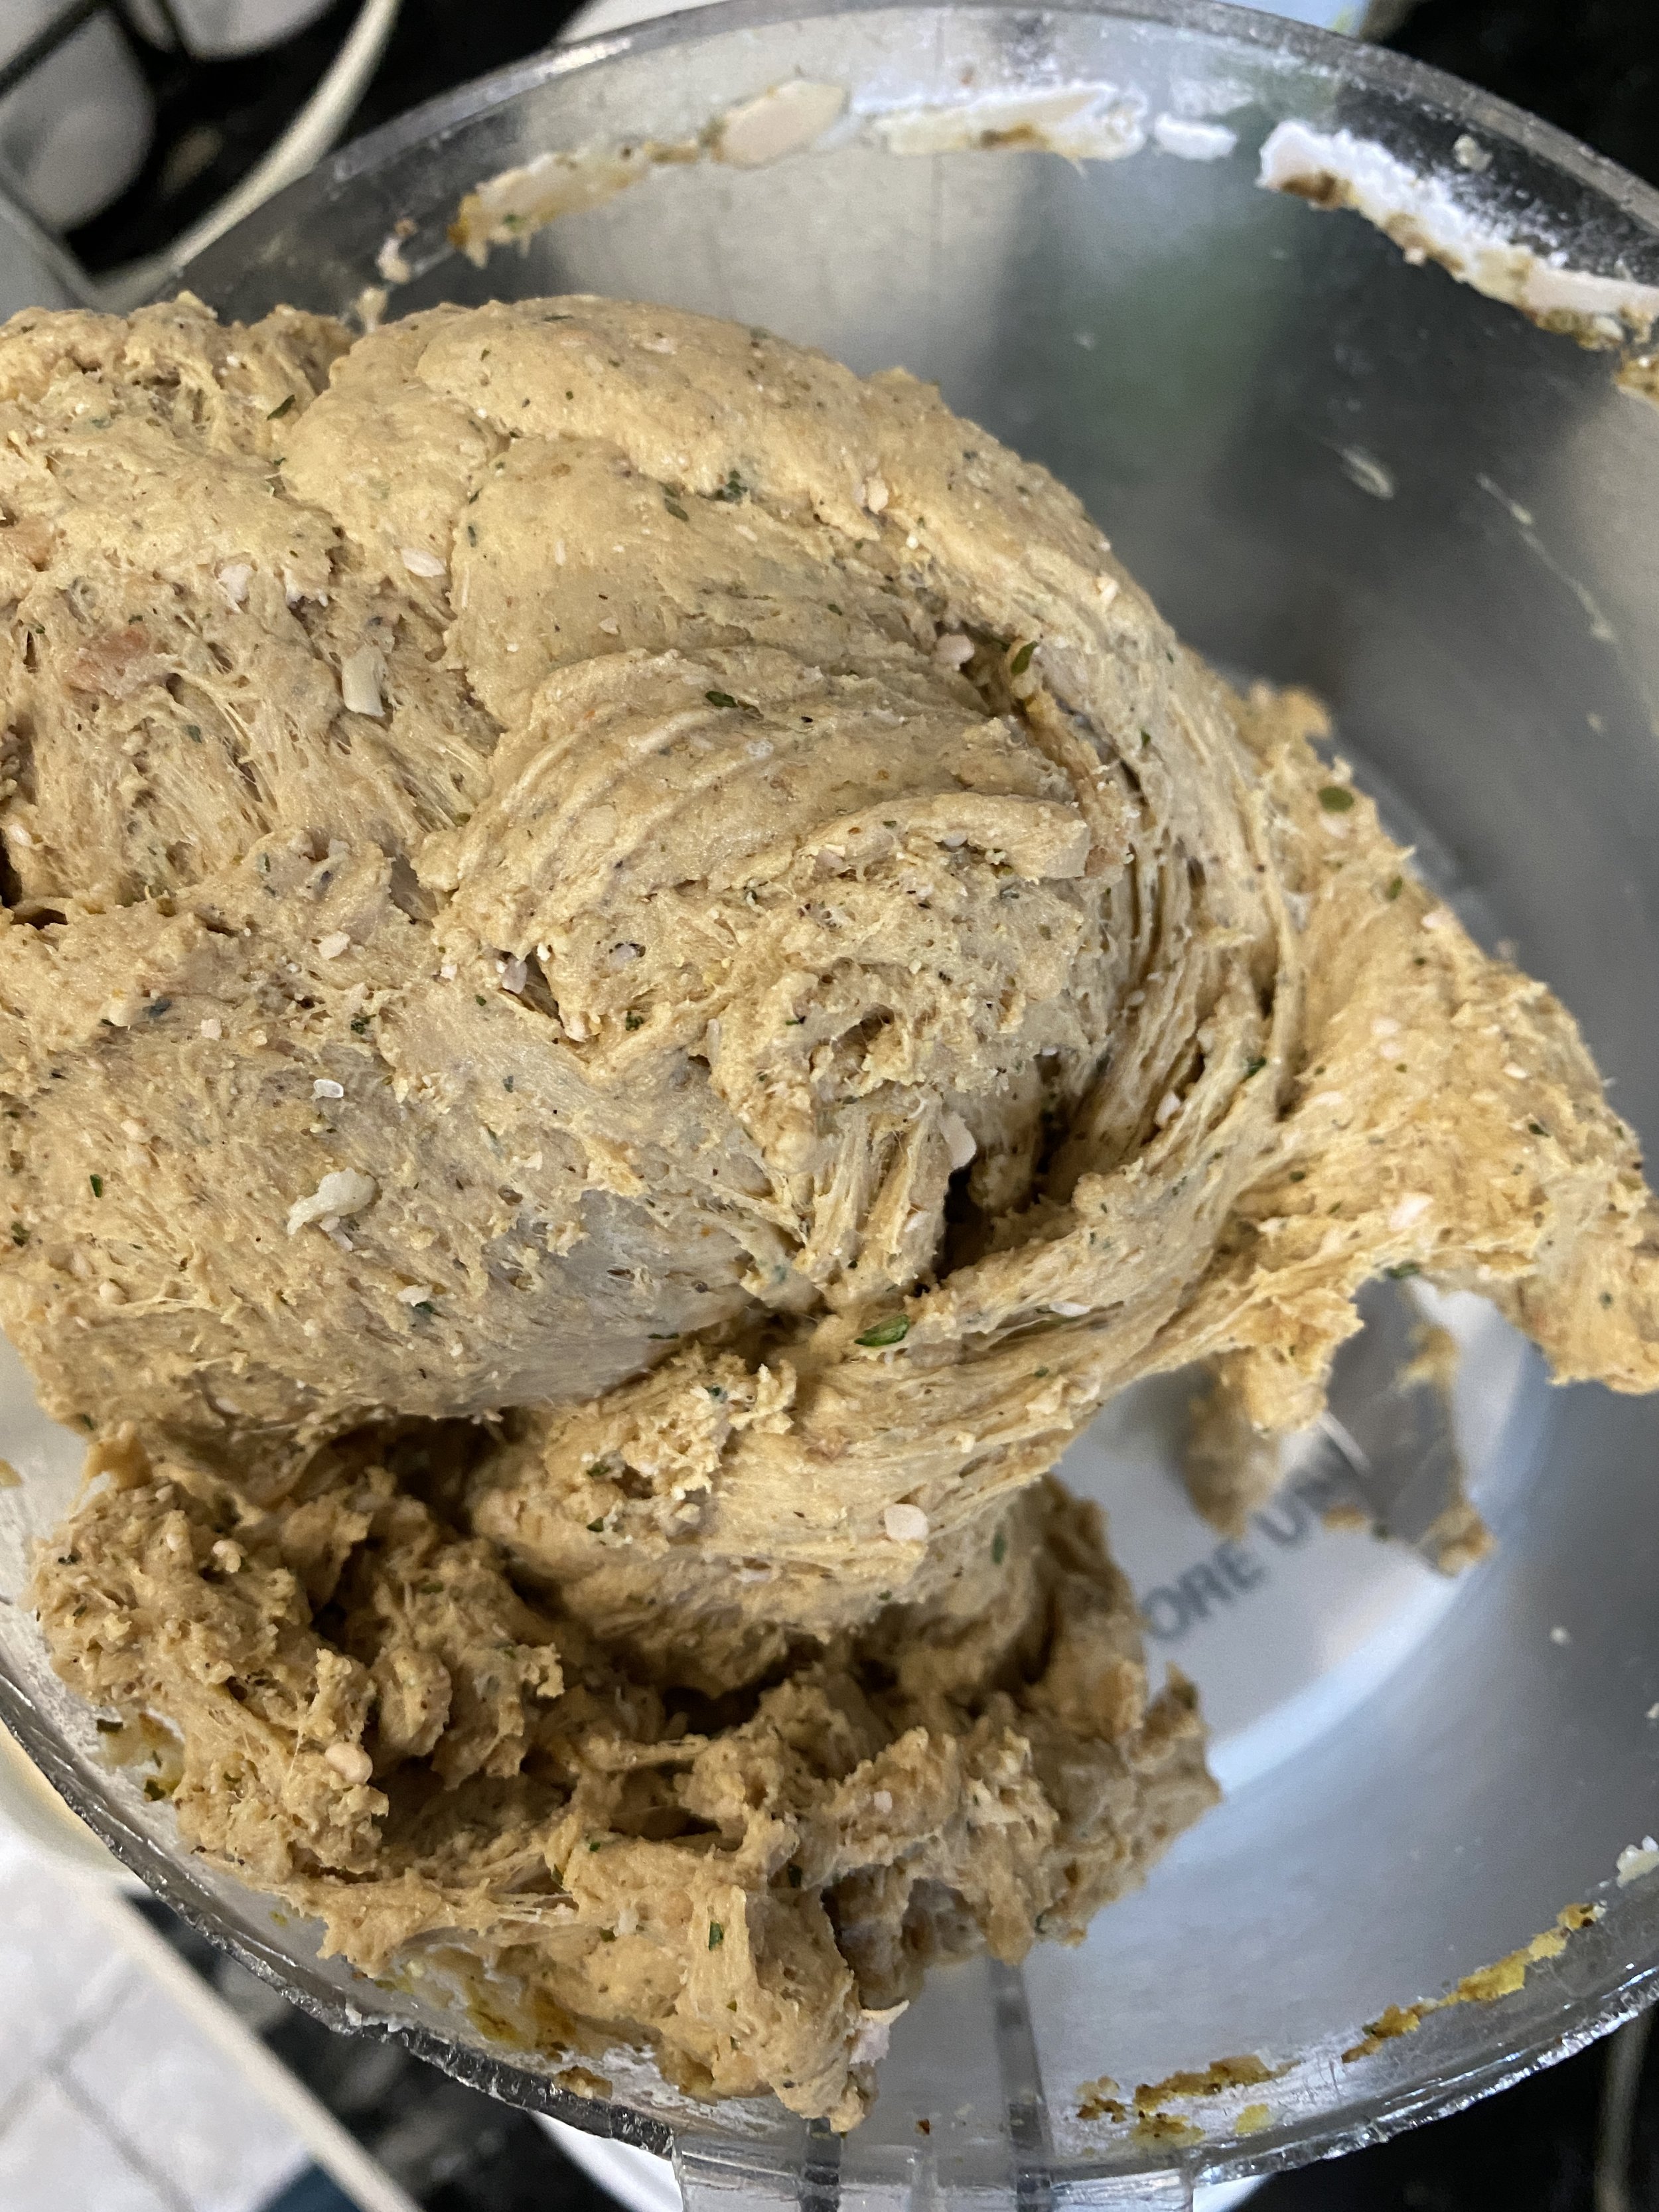
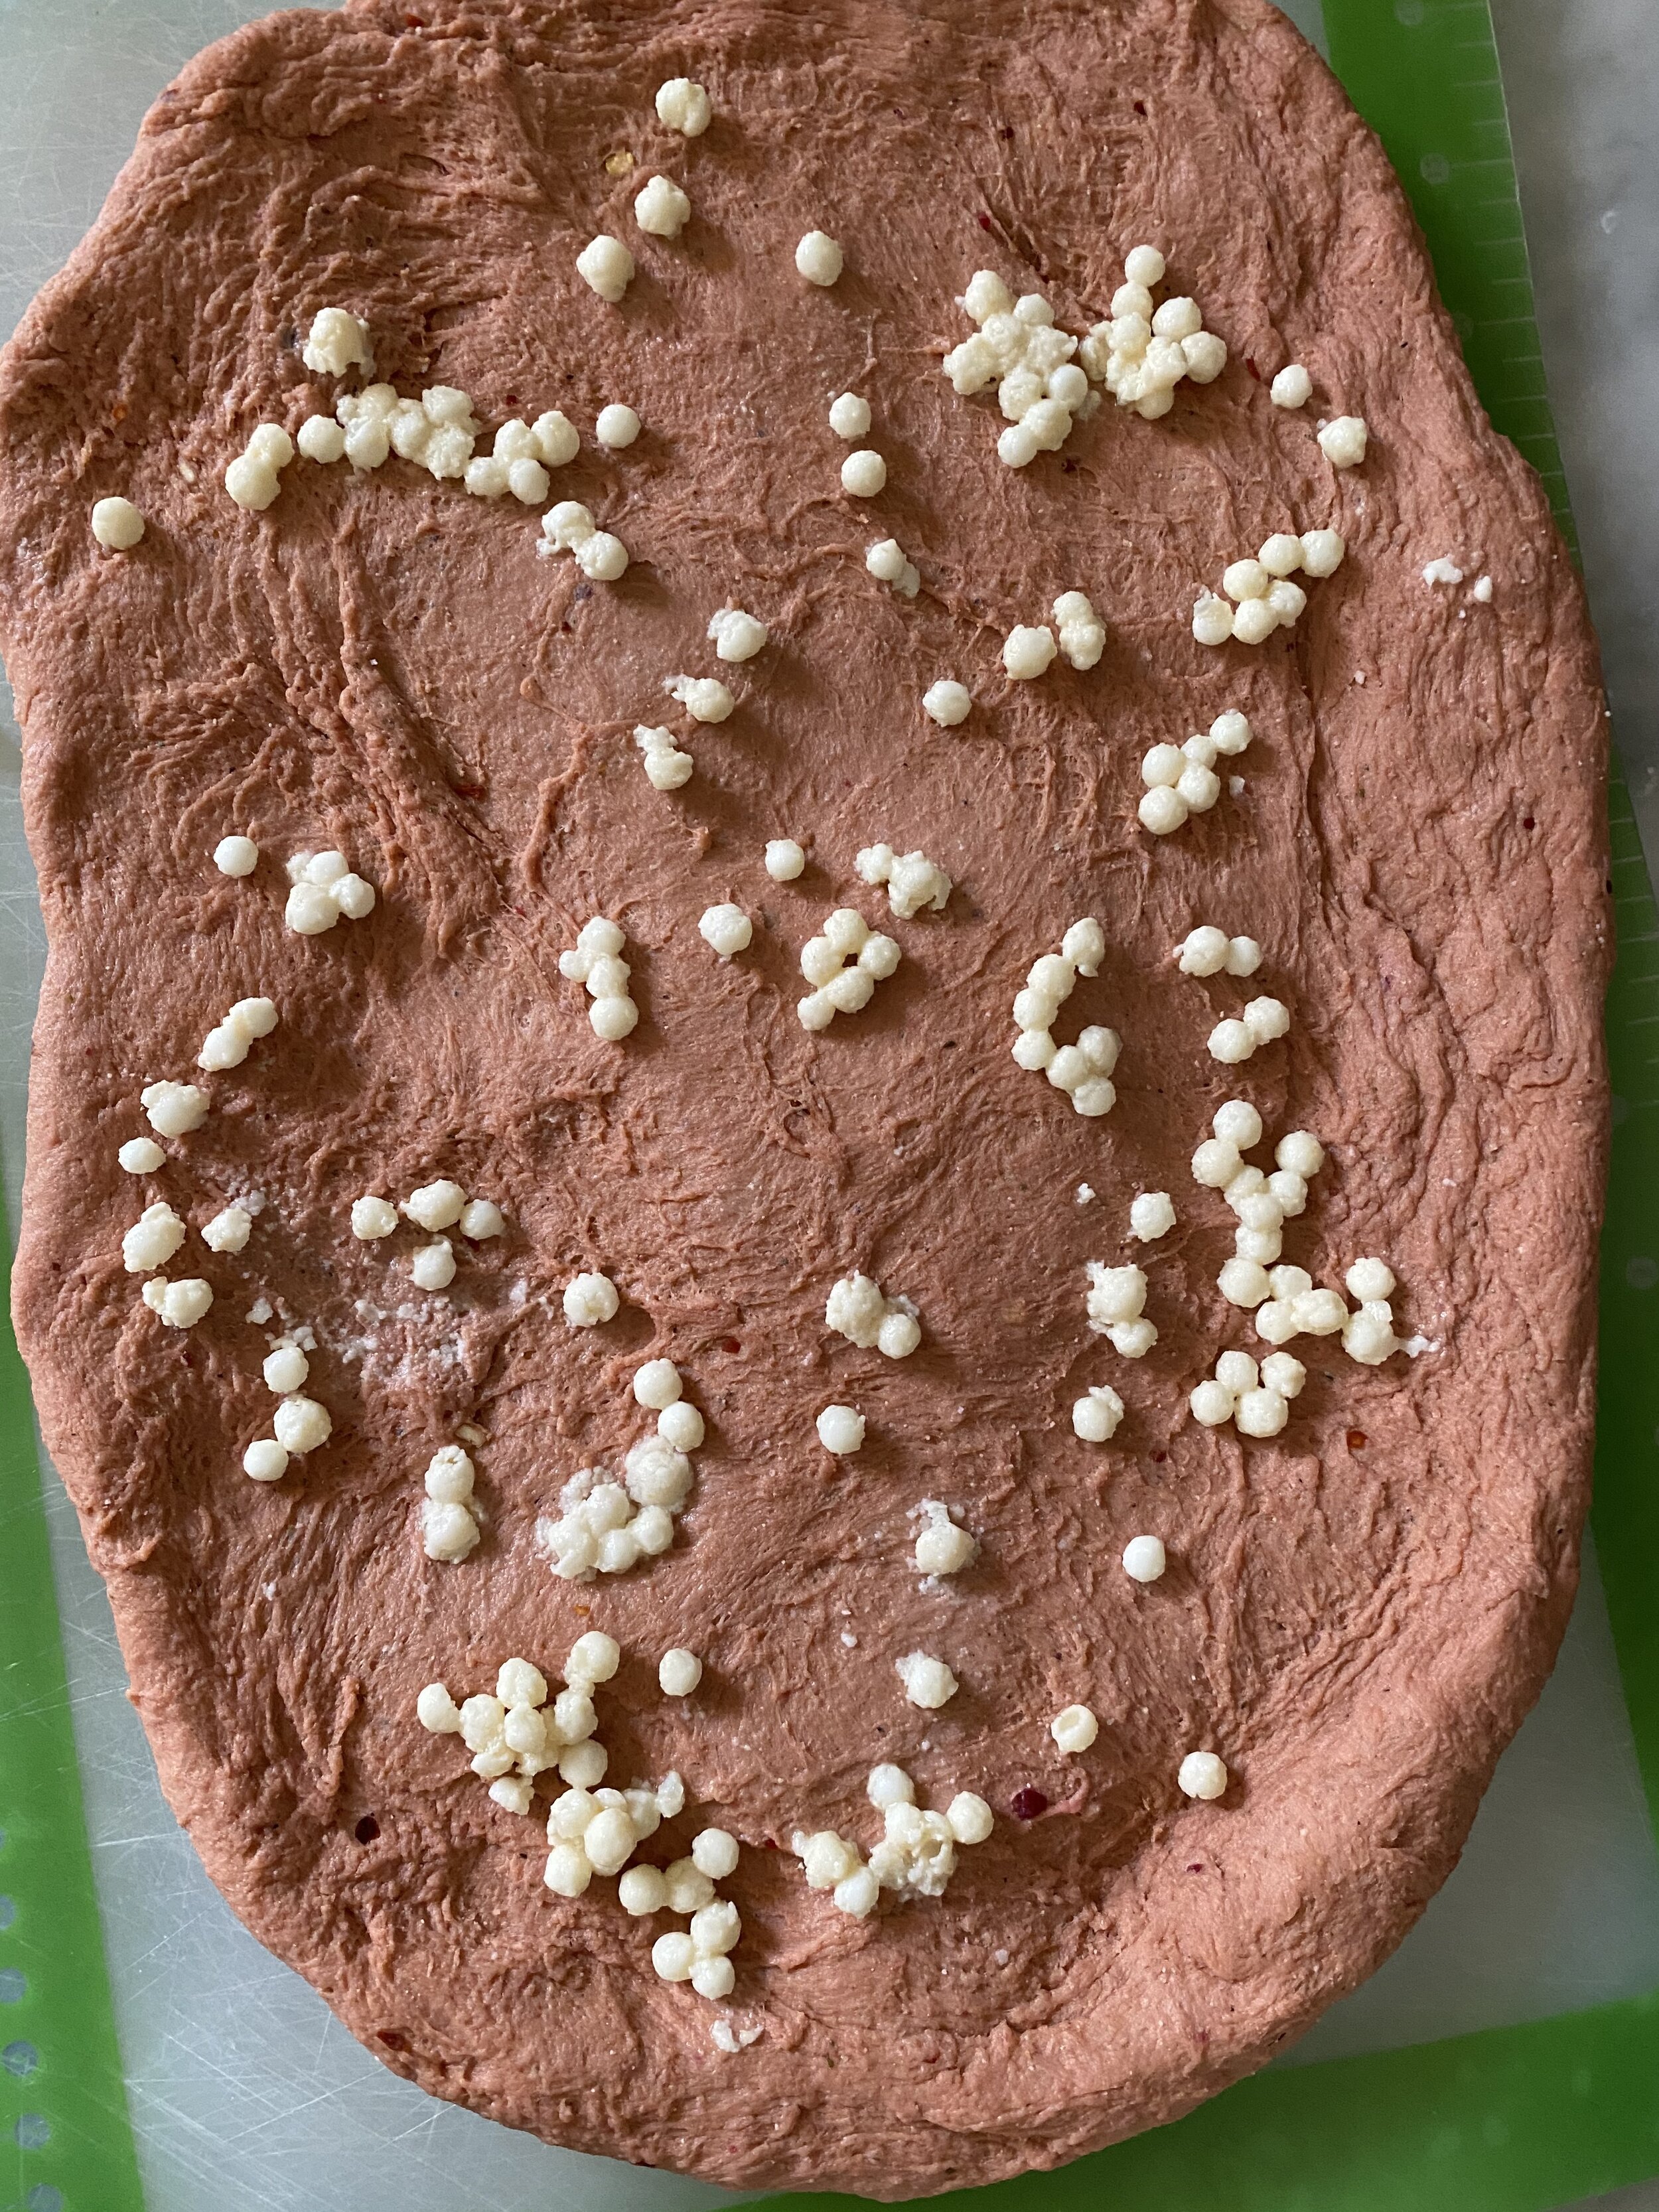
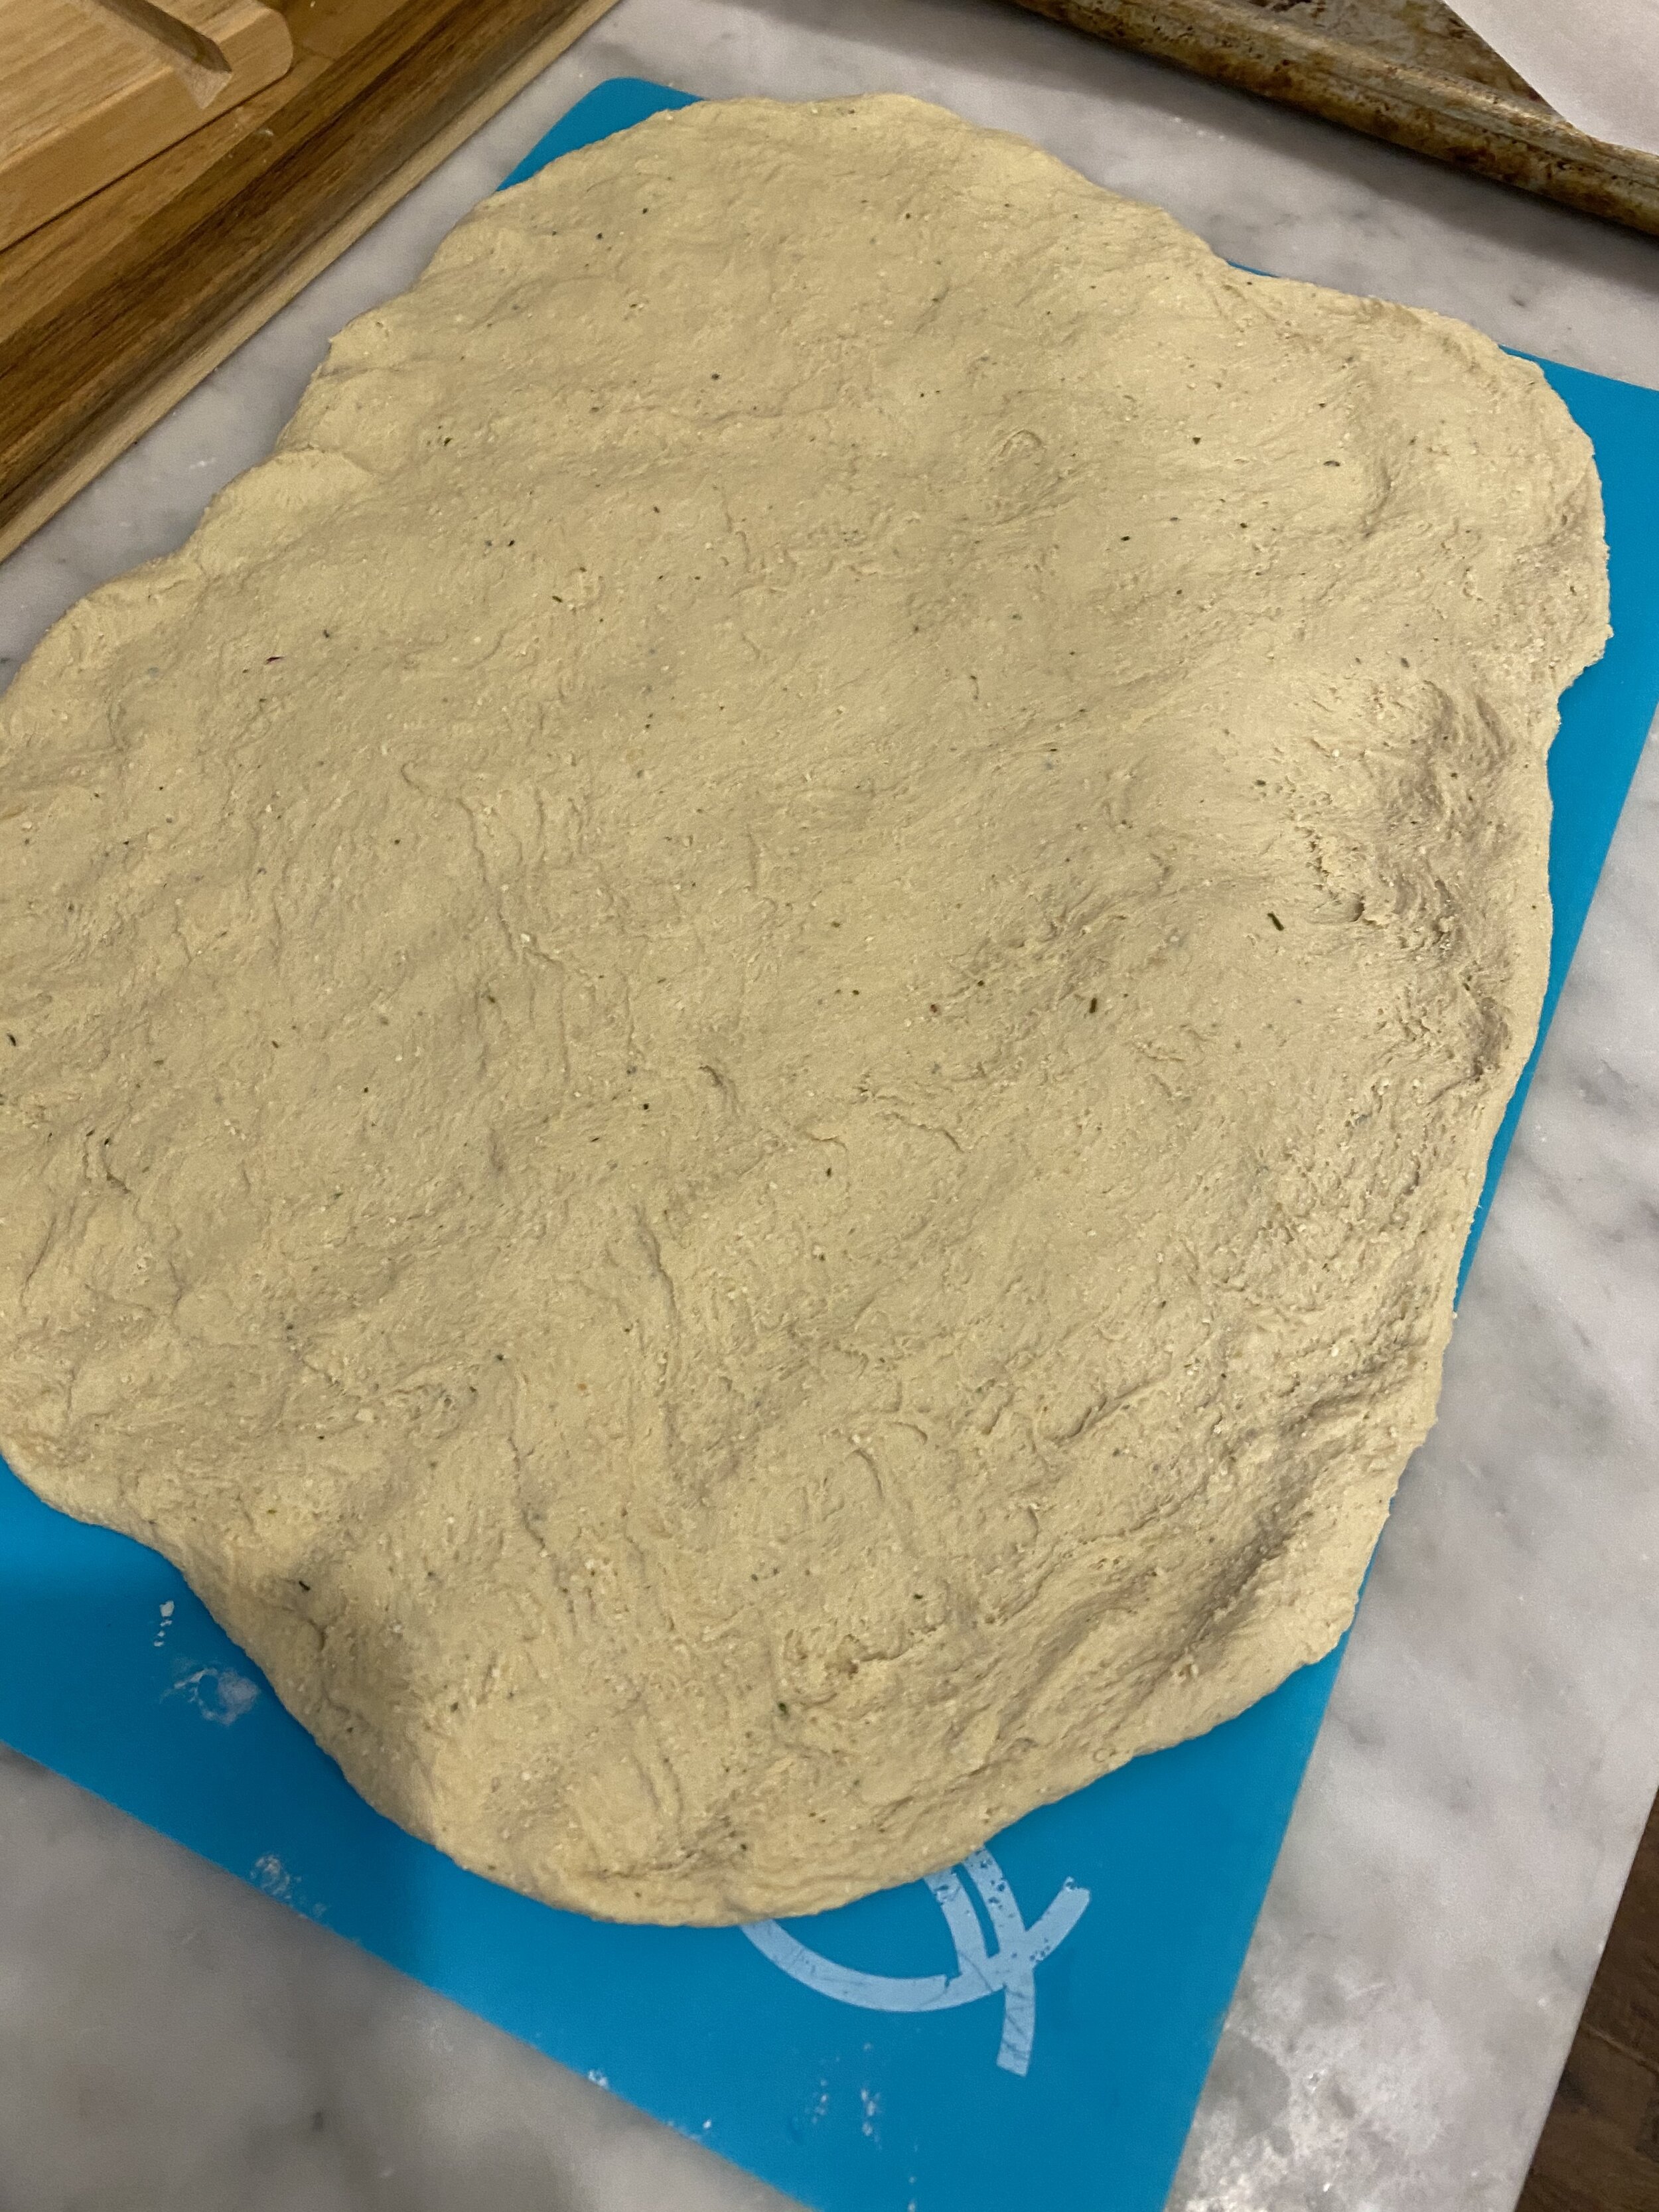
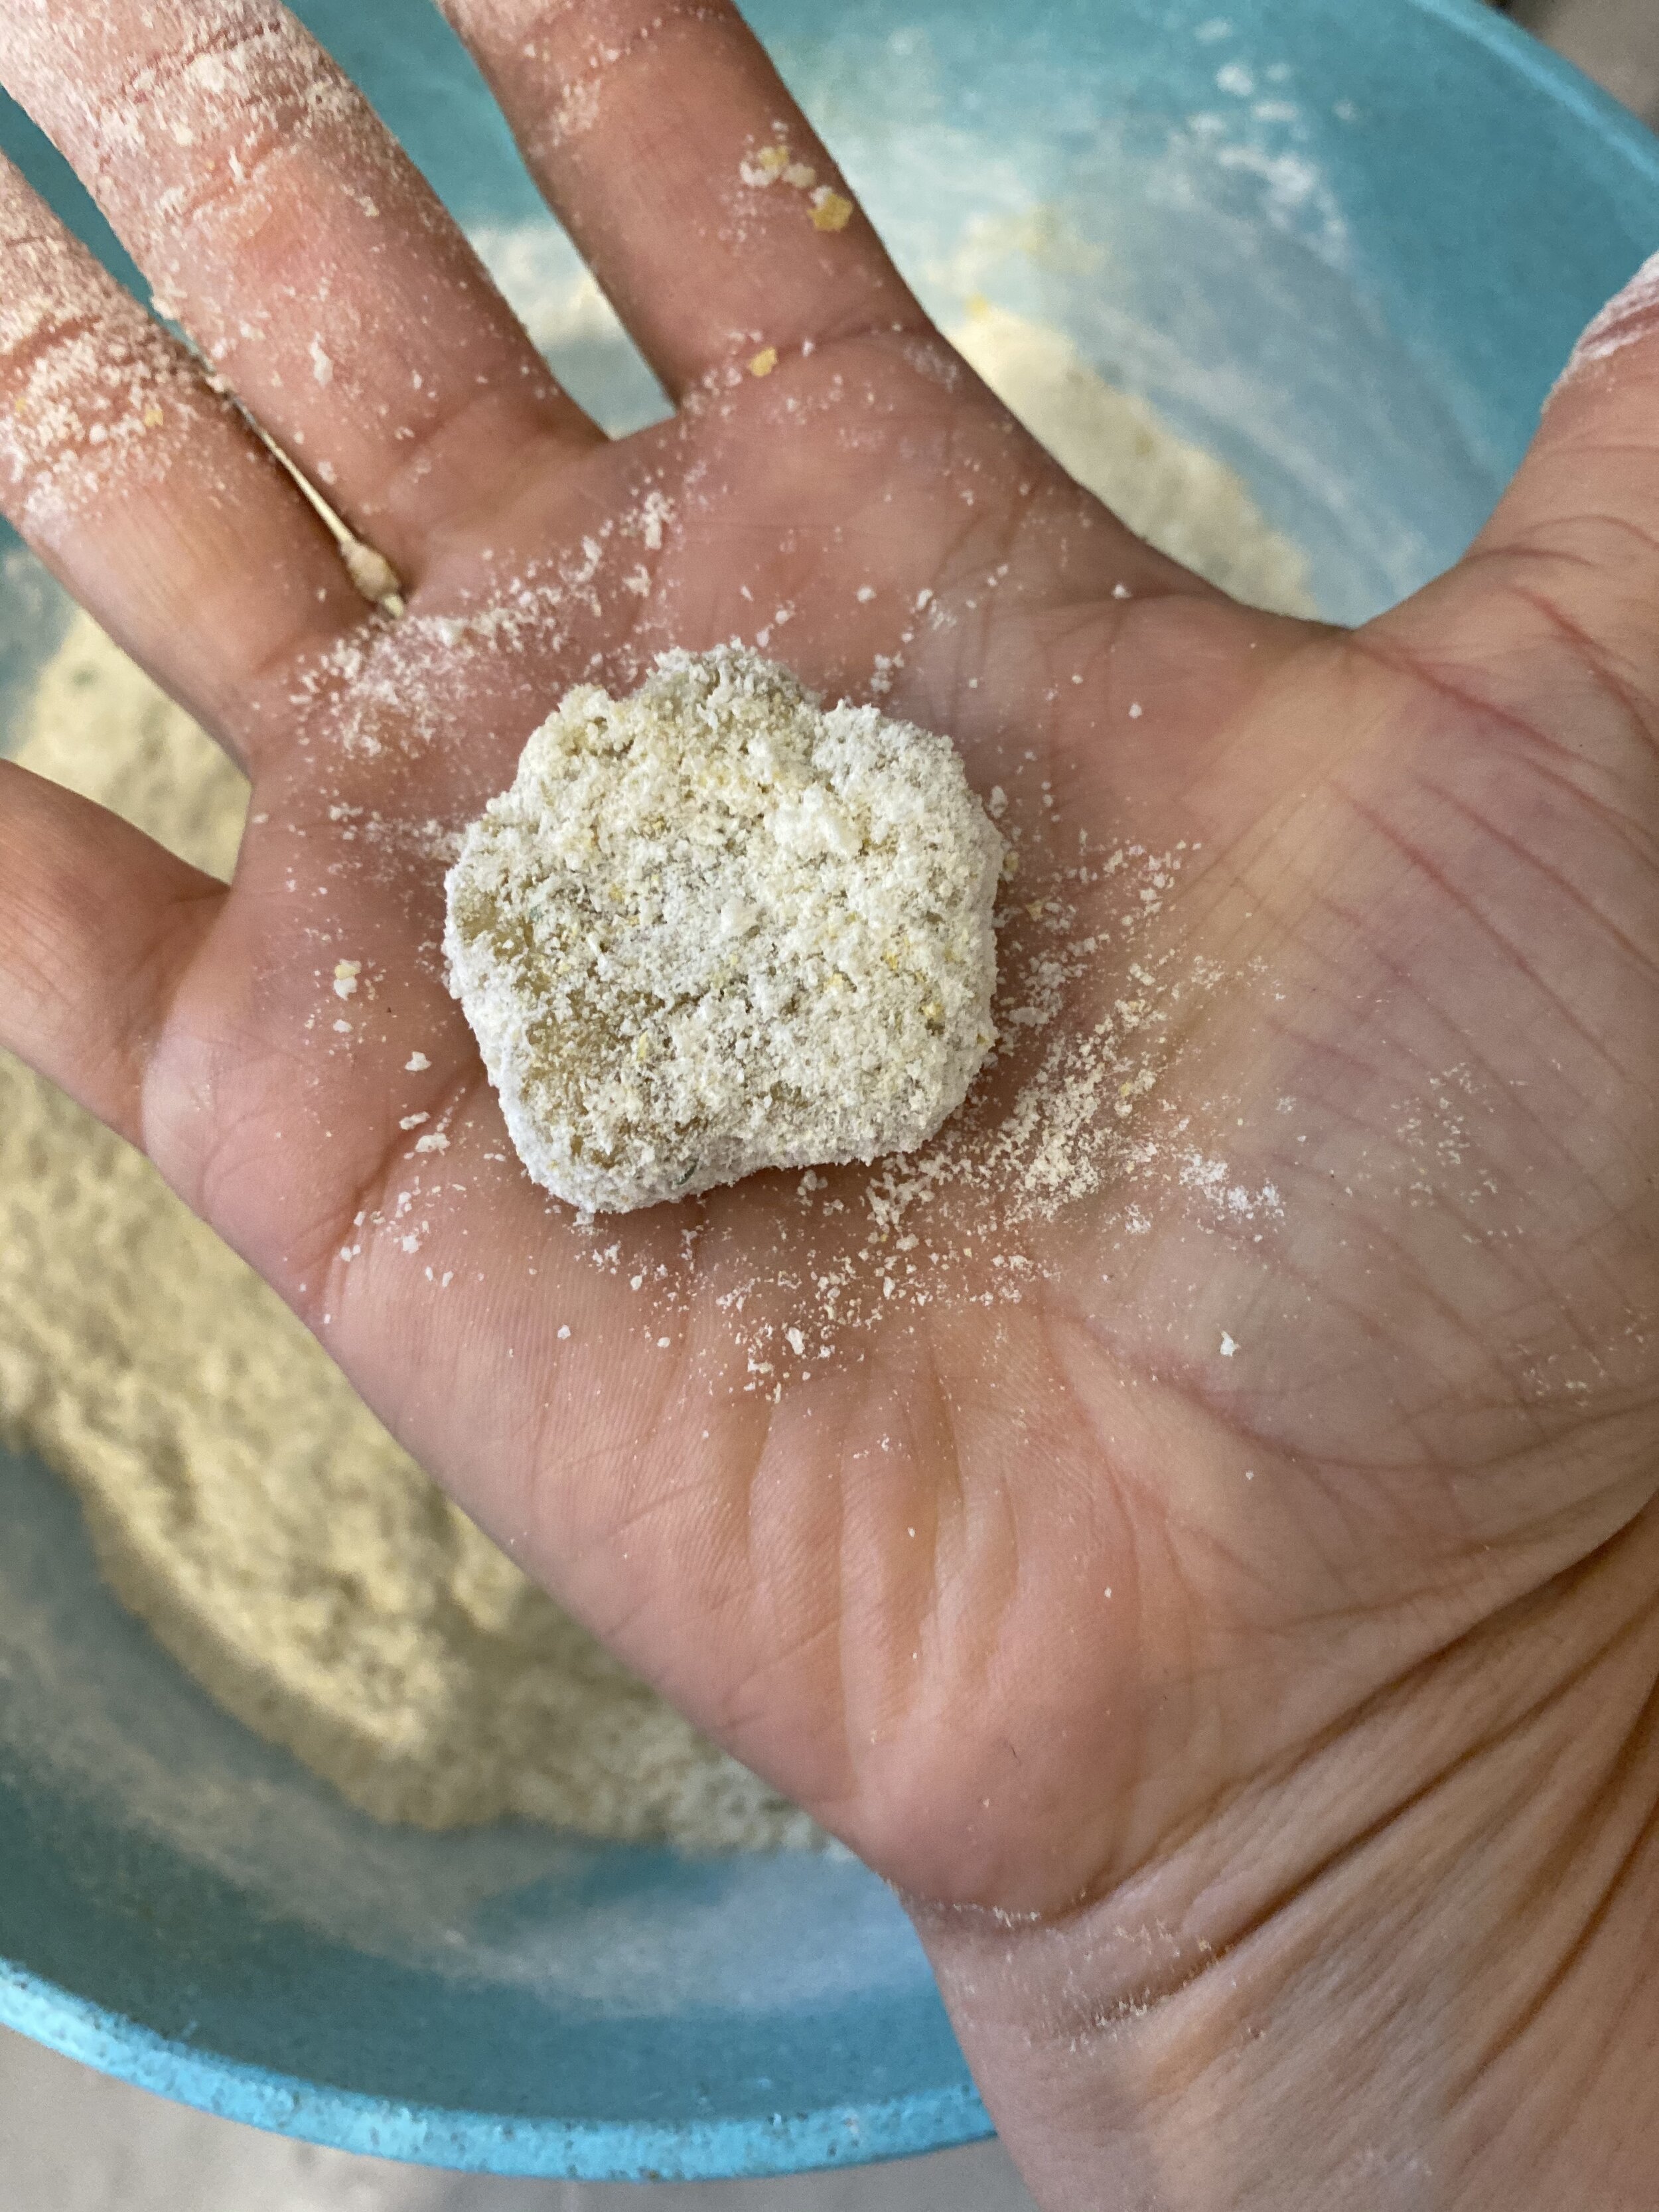
2. Add all of the remaining ingredients and let the food processor run for a couple of minutes. You want the mixture to form a dough. Letting the processor run will help knead the dough. We want this seitan to be firm so we need it to knead for a bit.
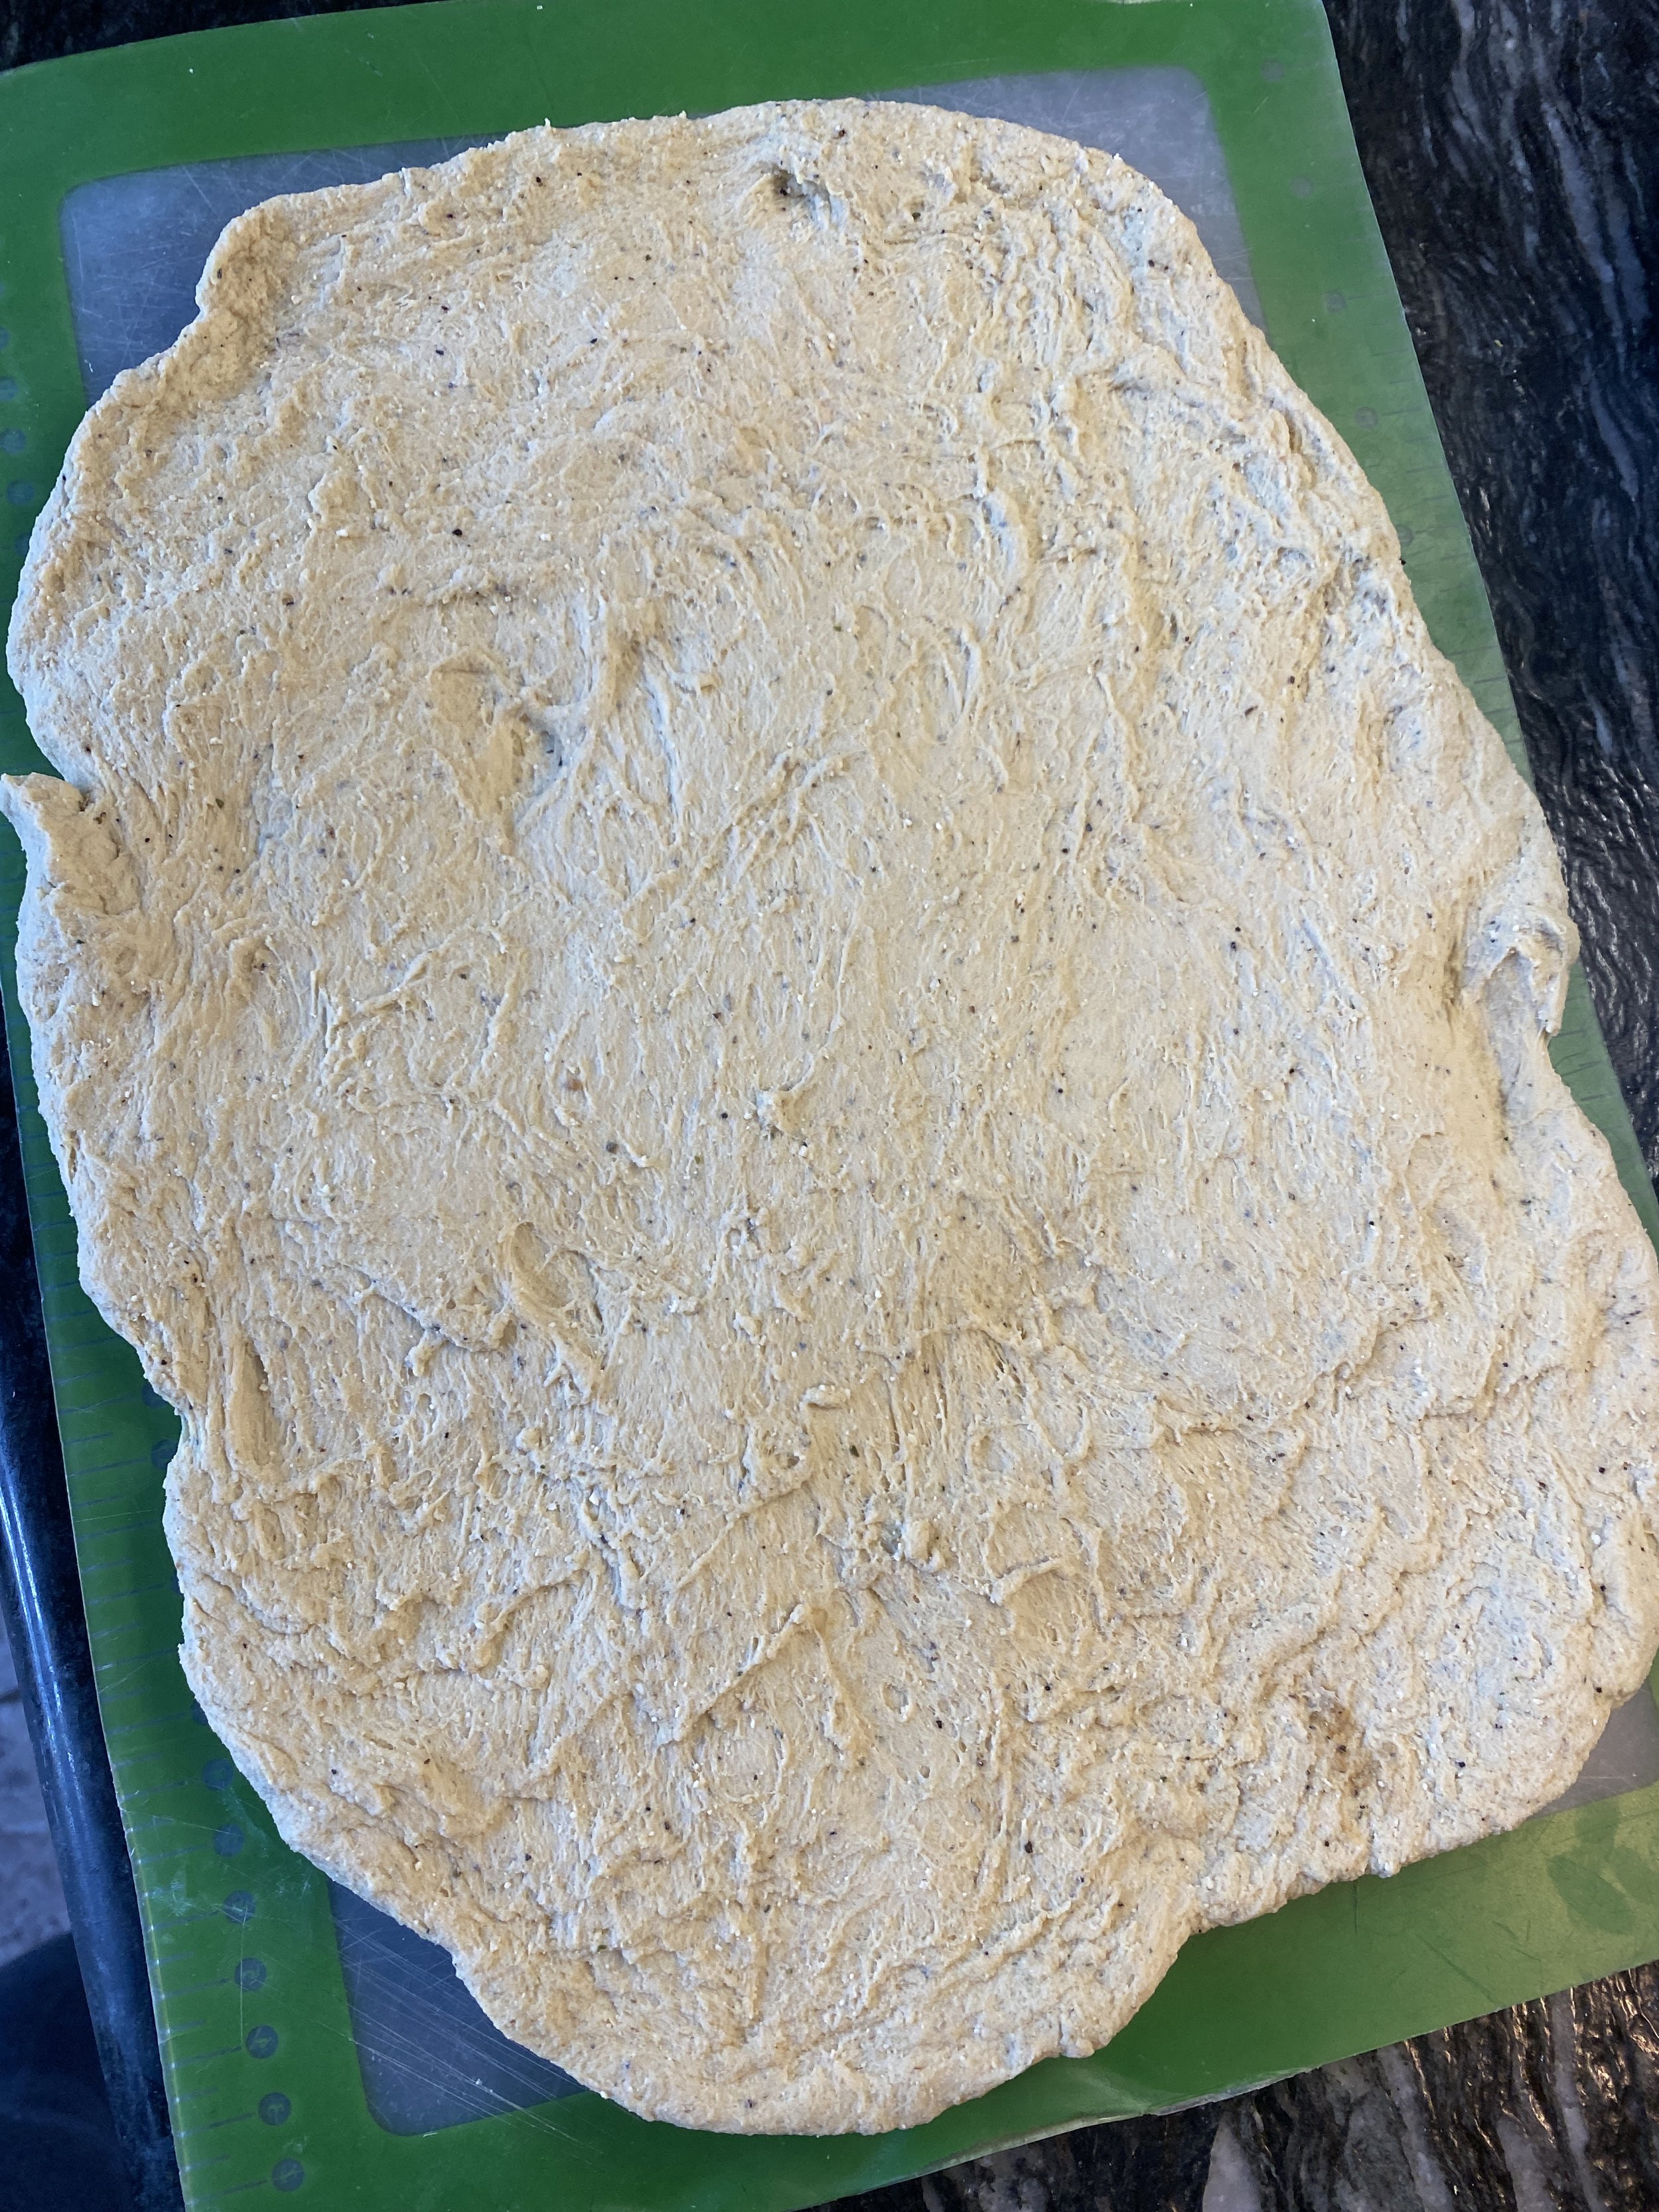
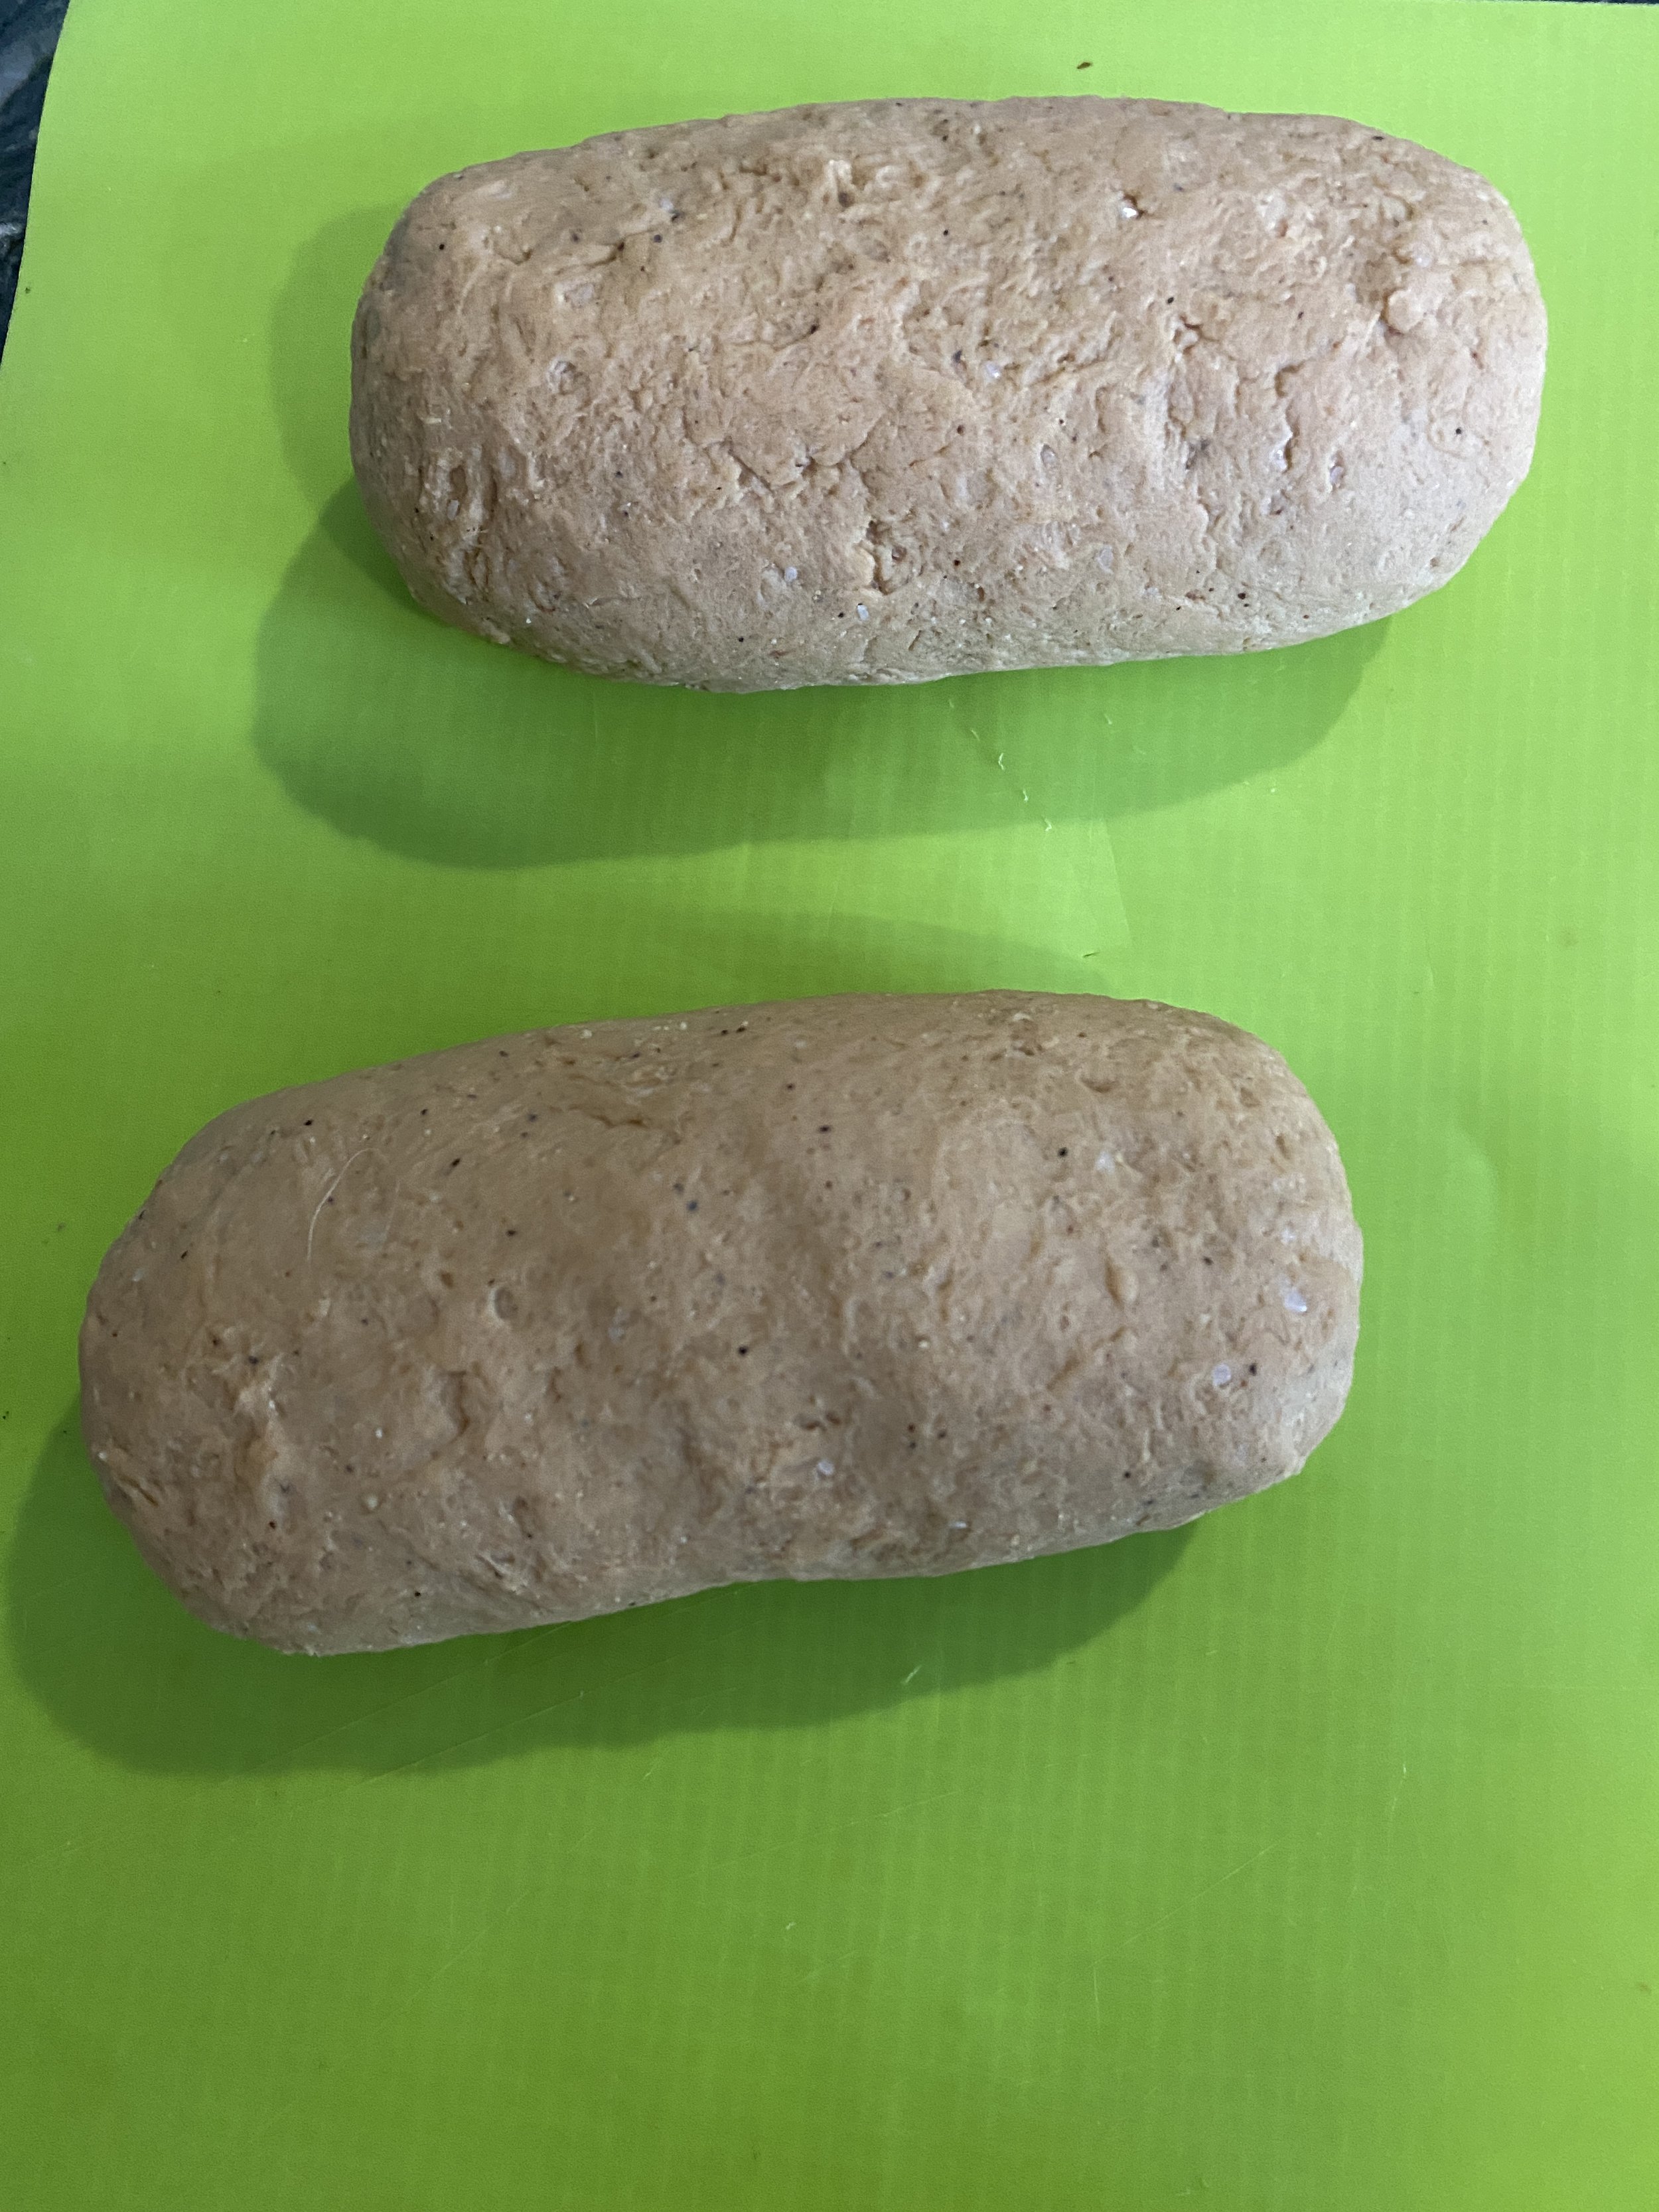
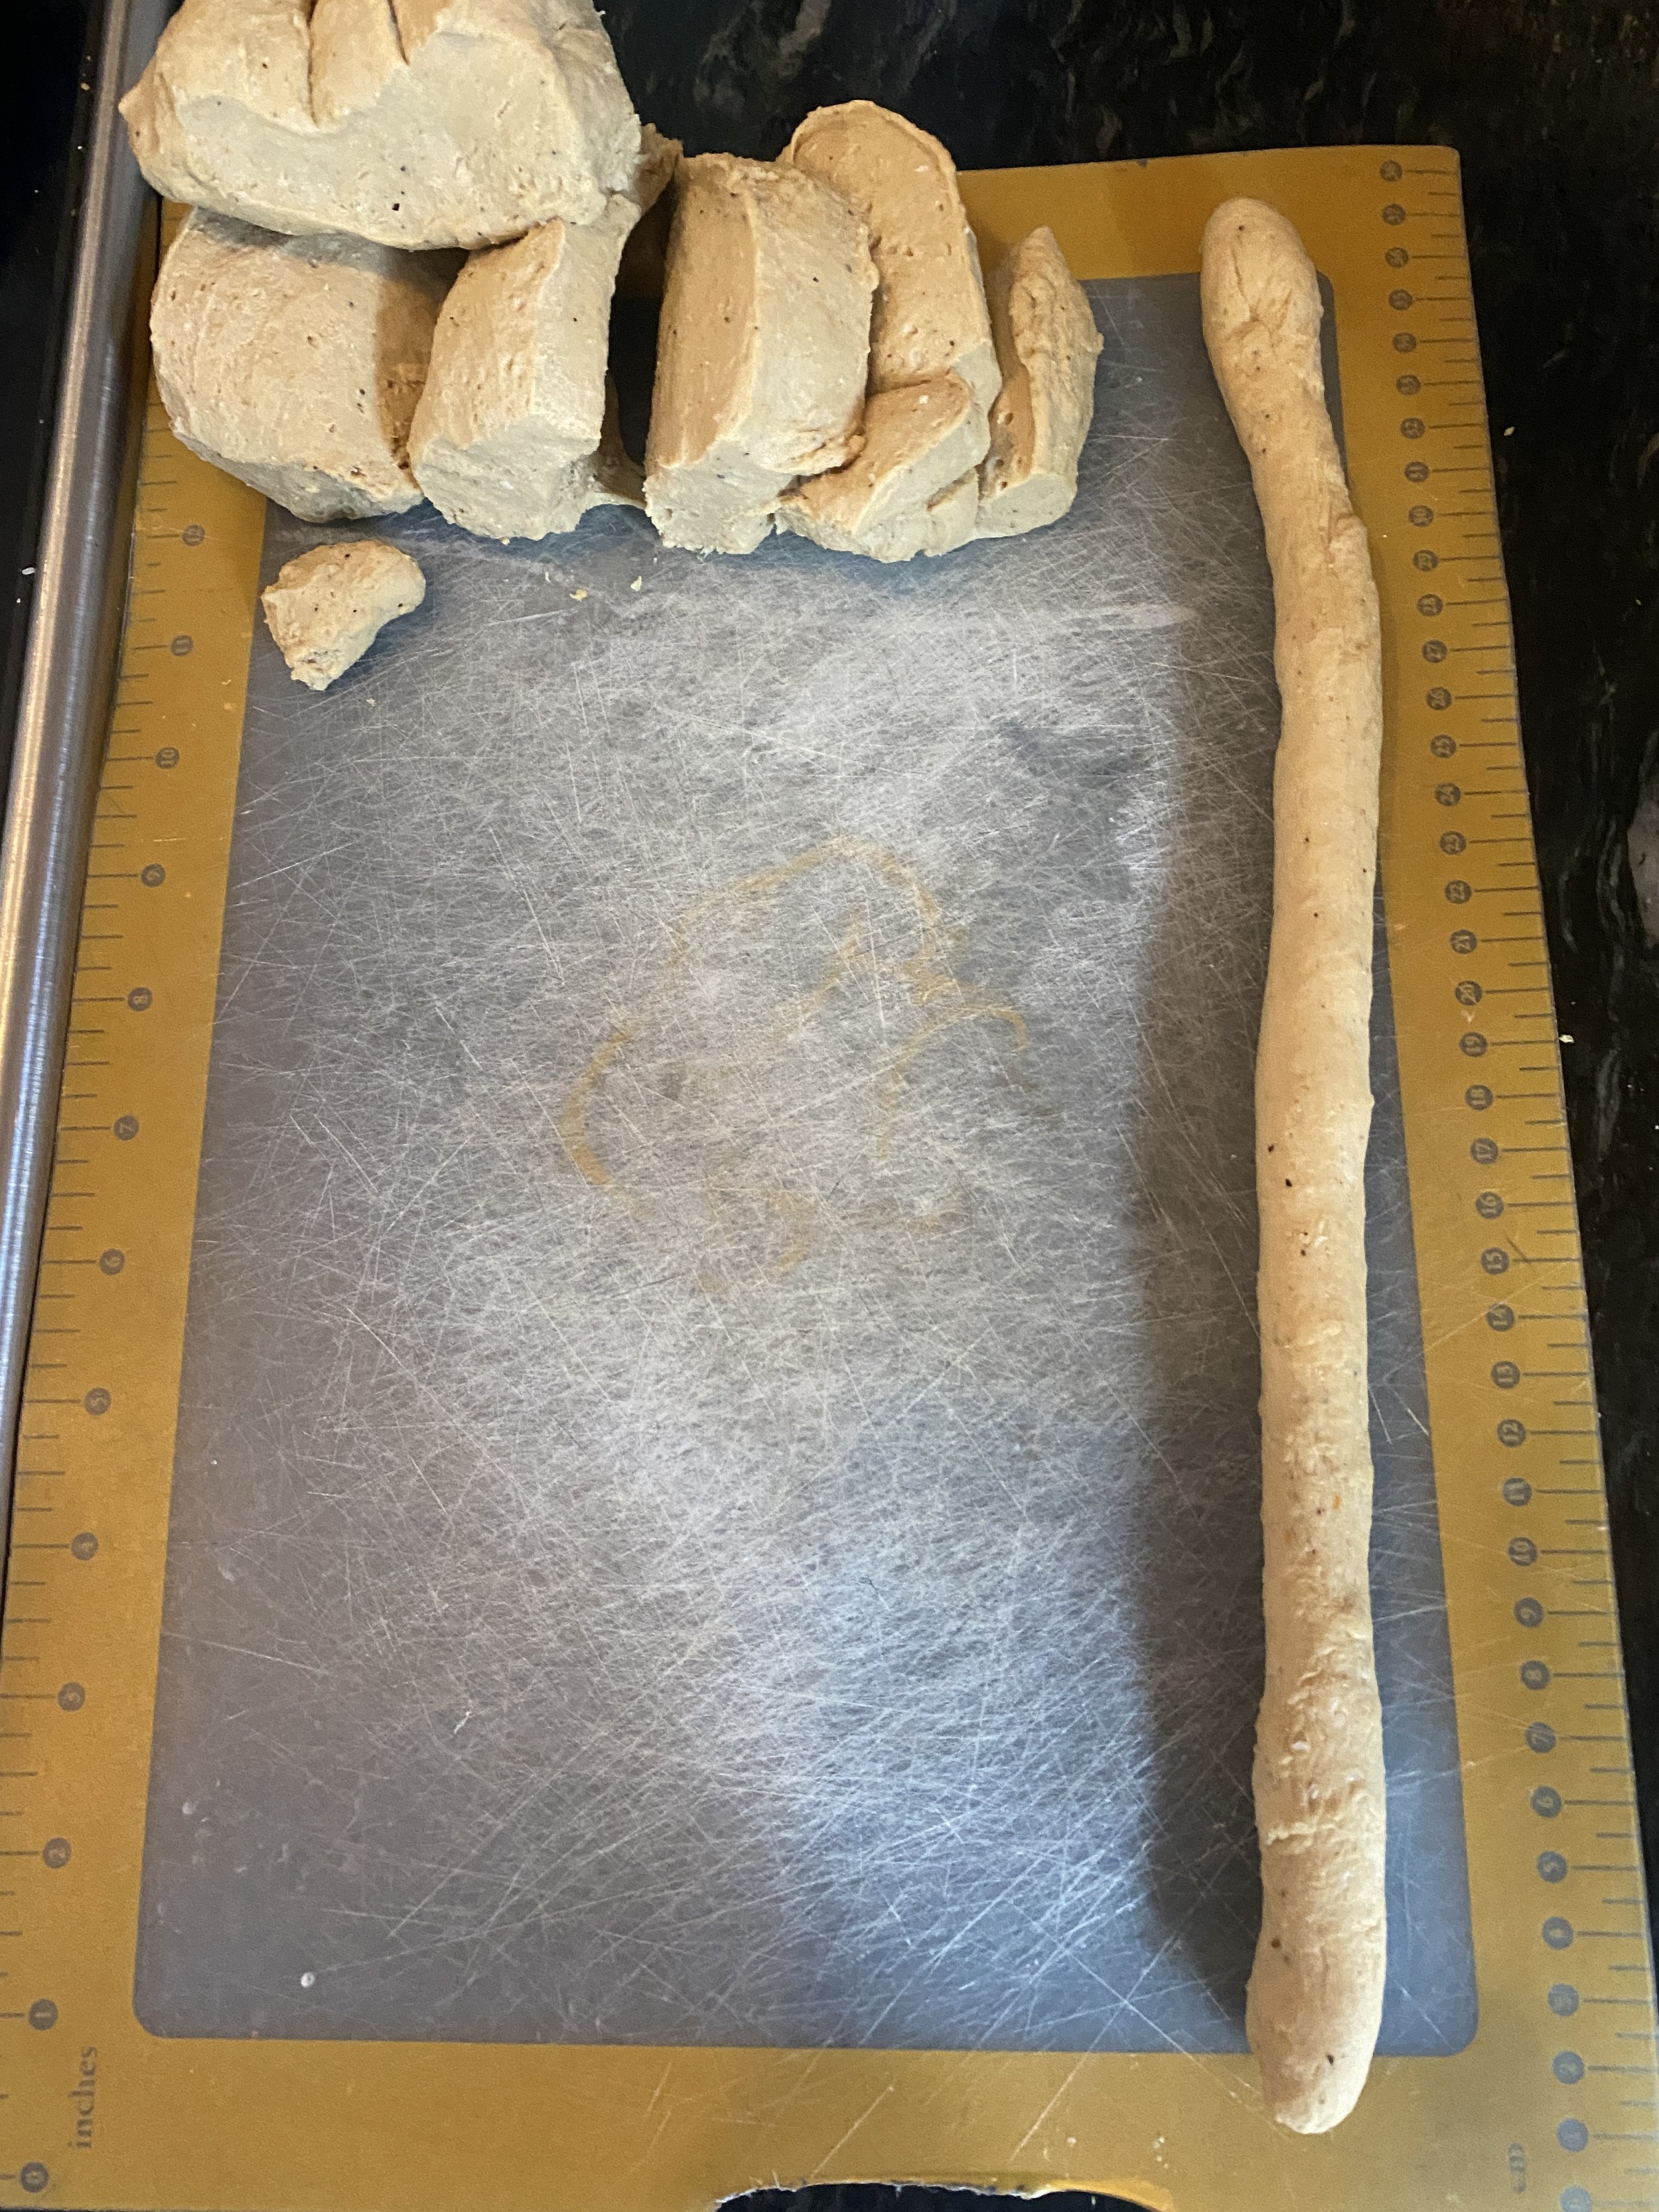
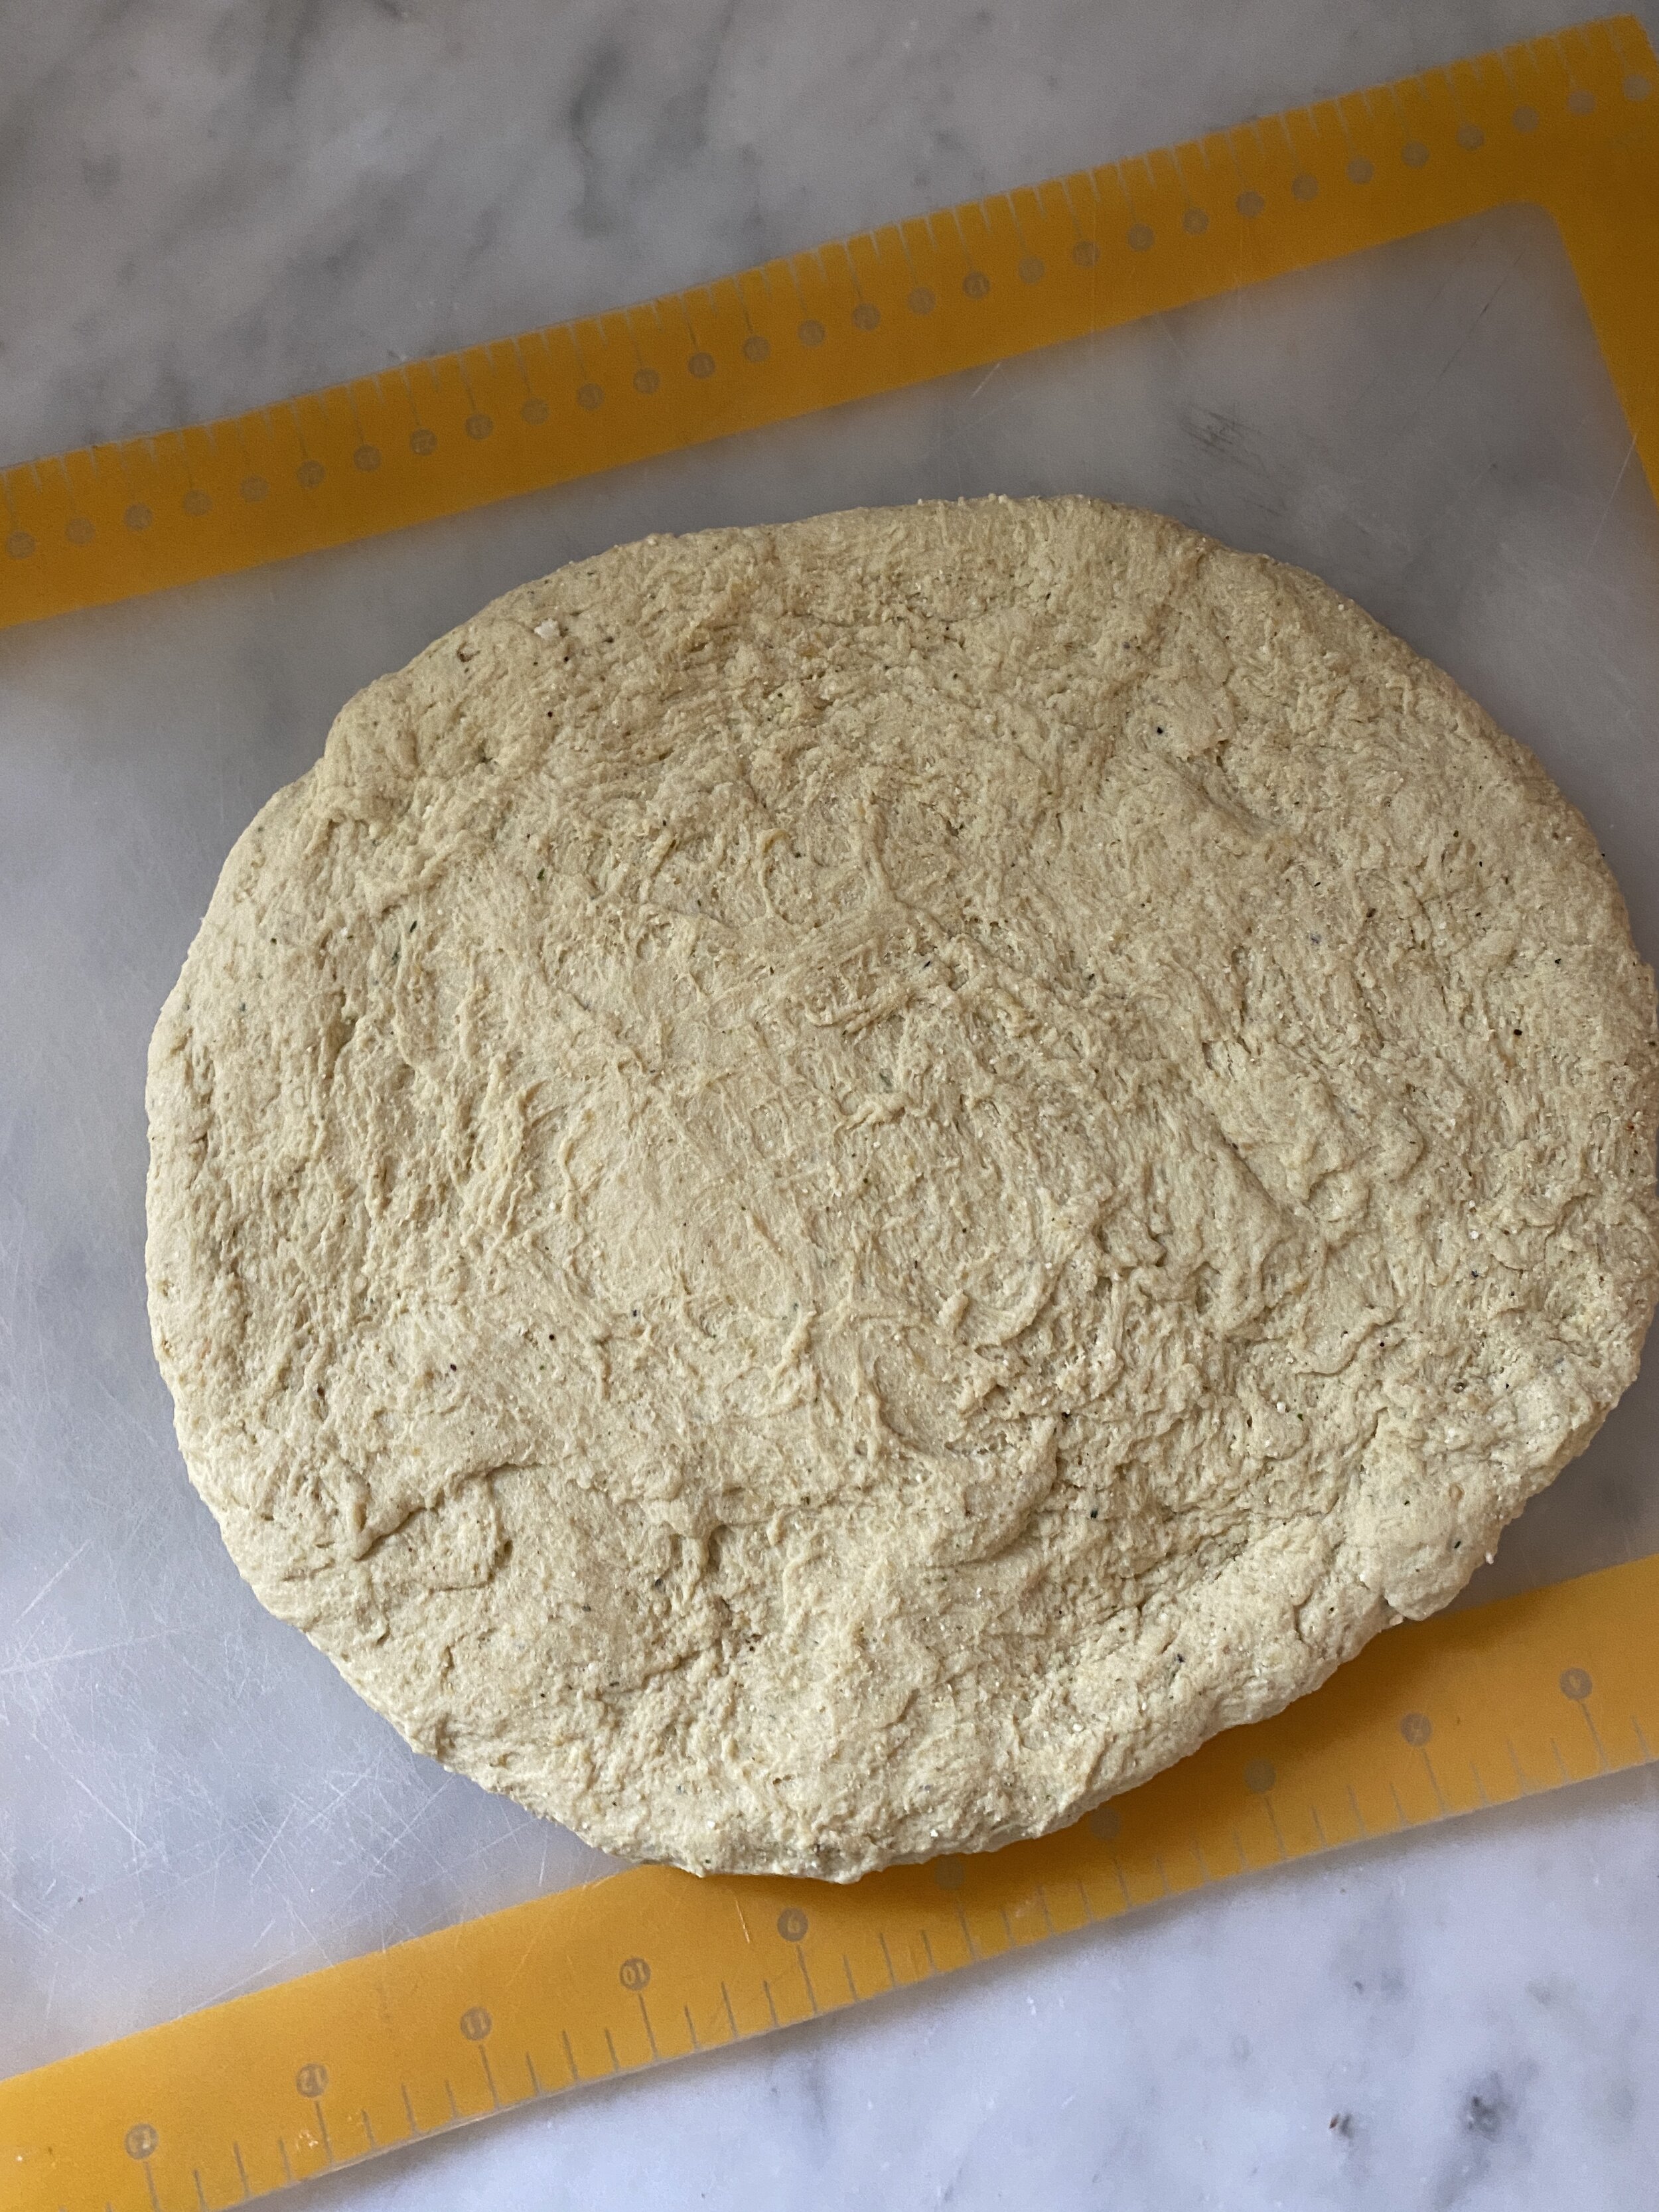
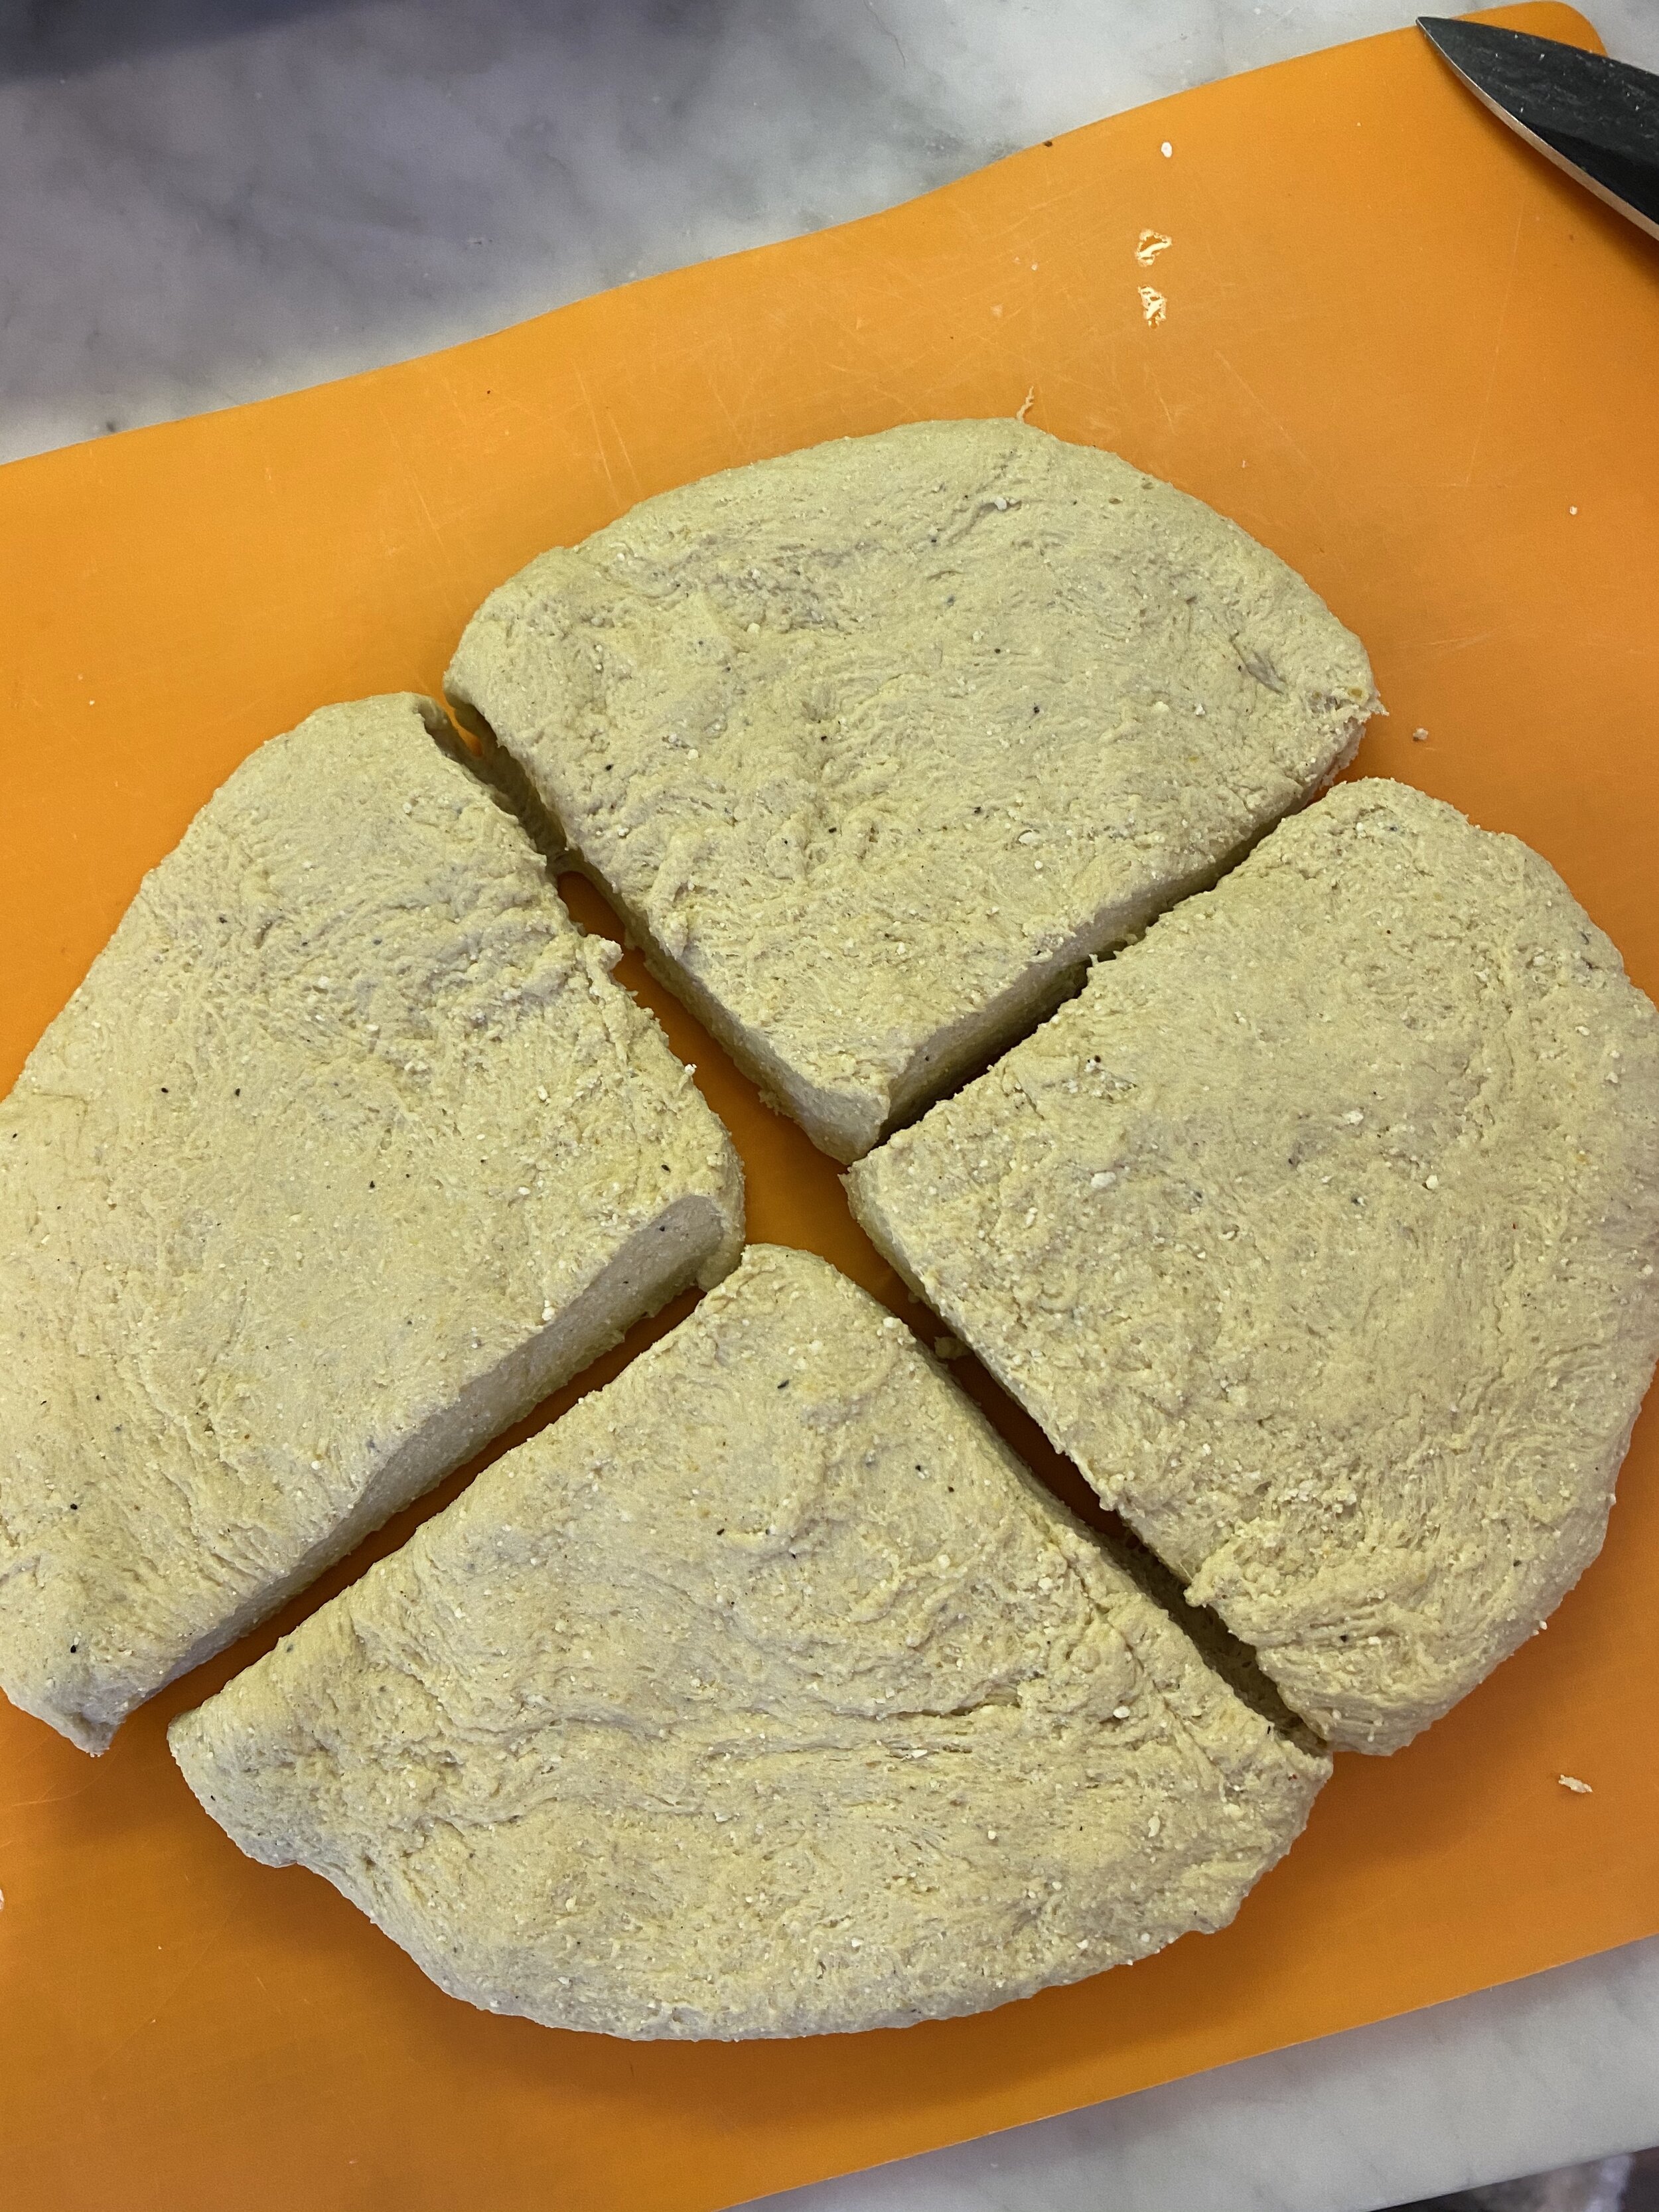
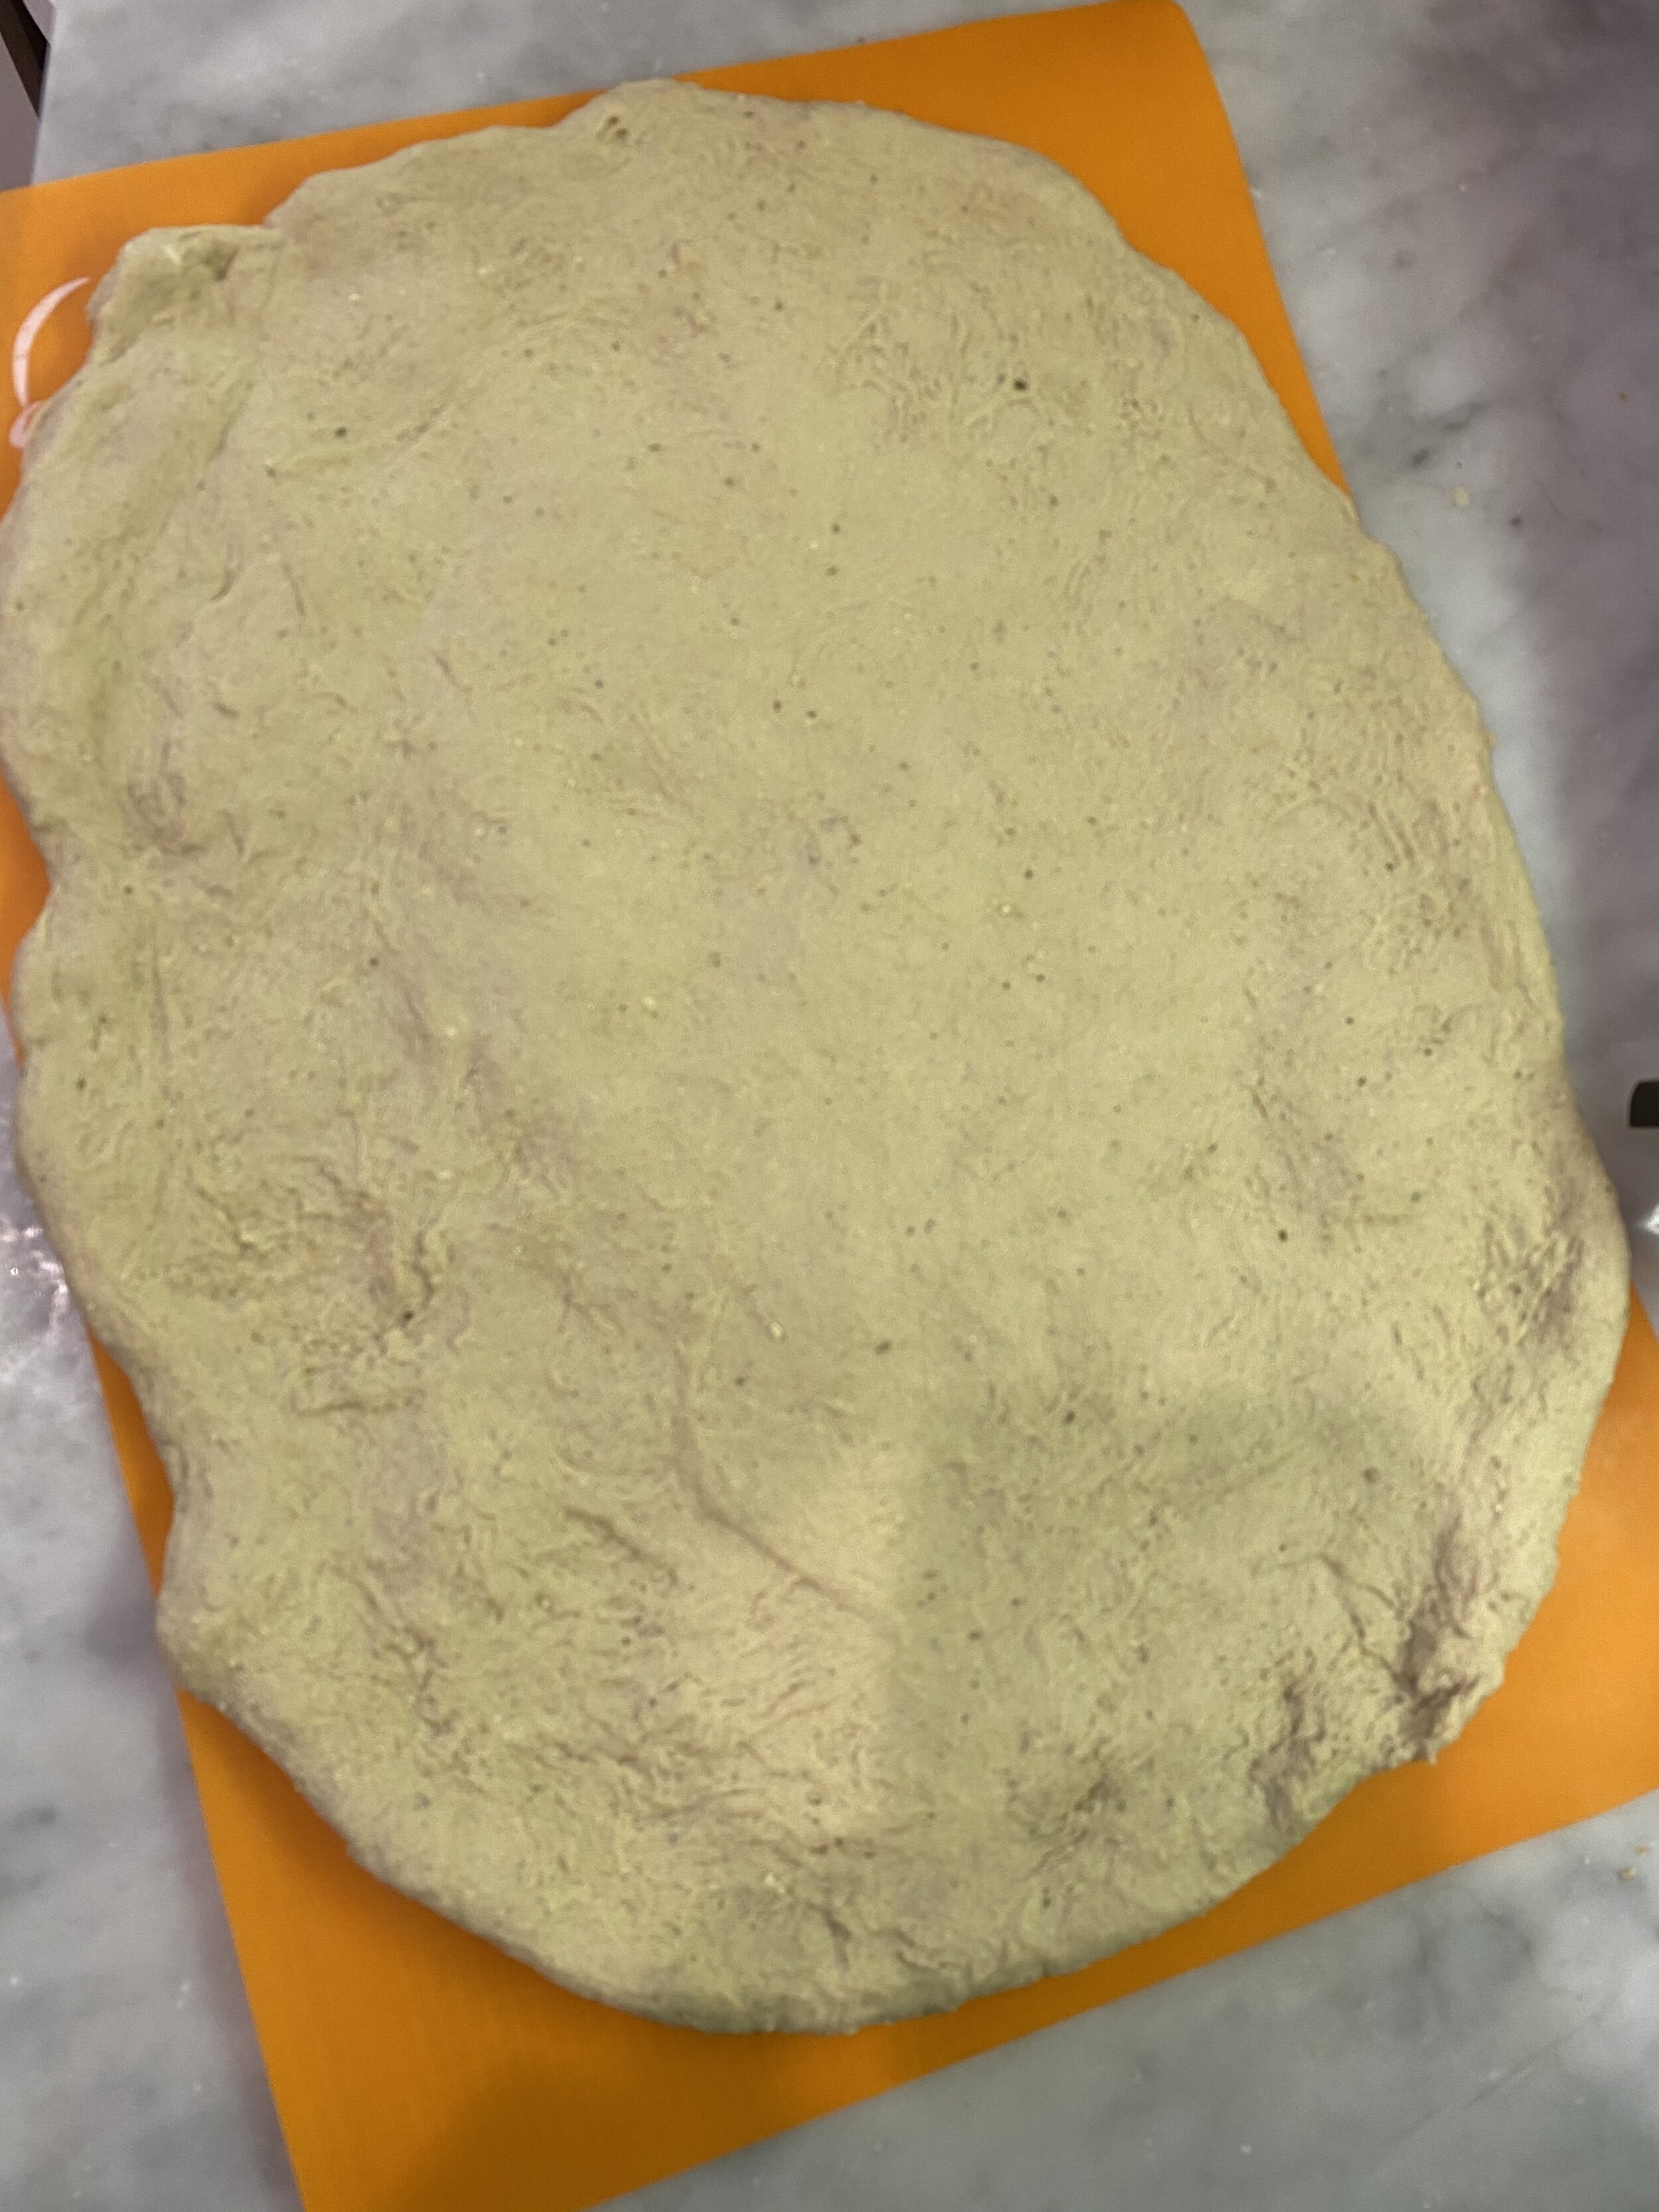
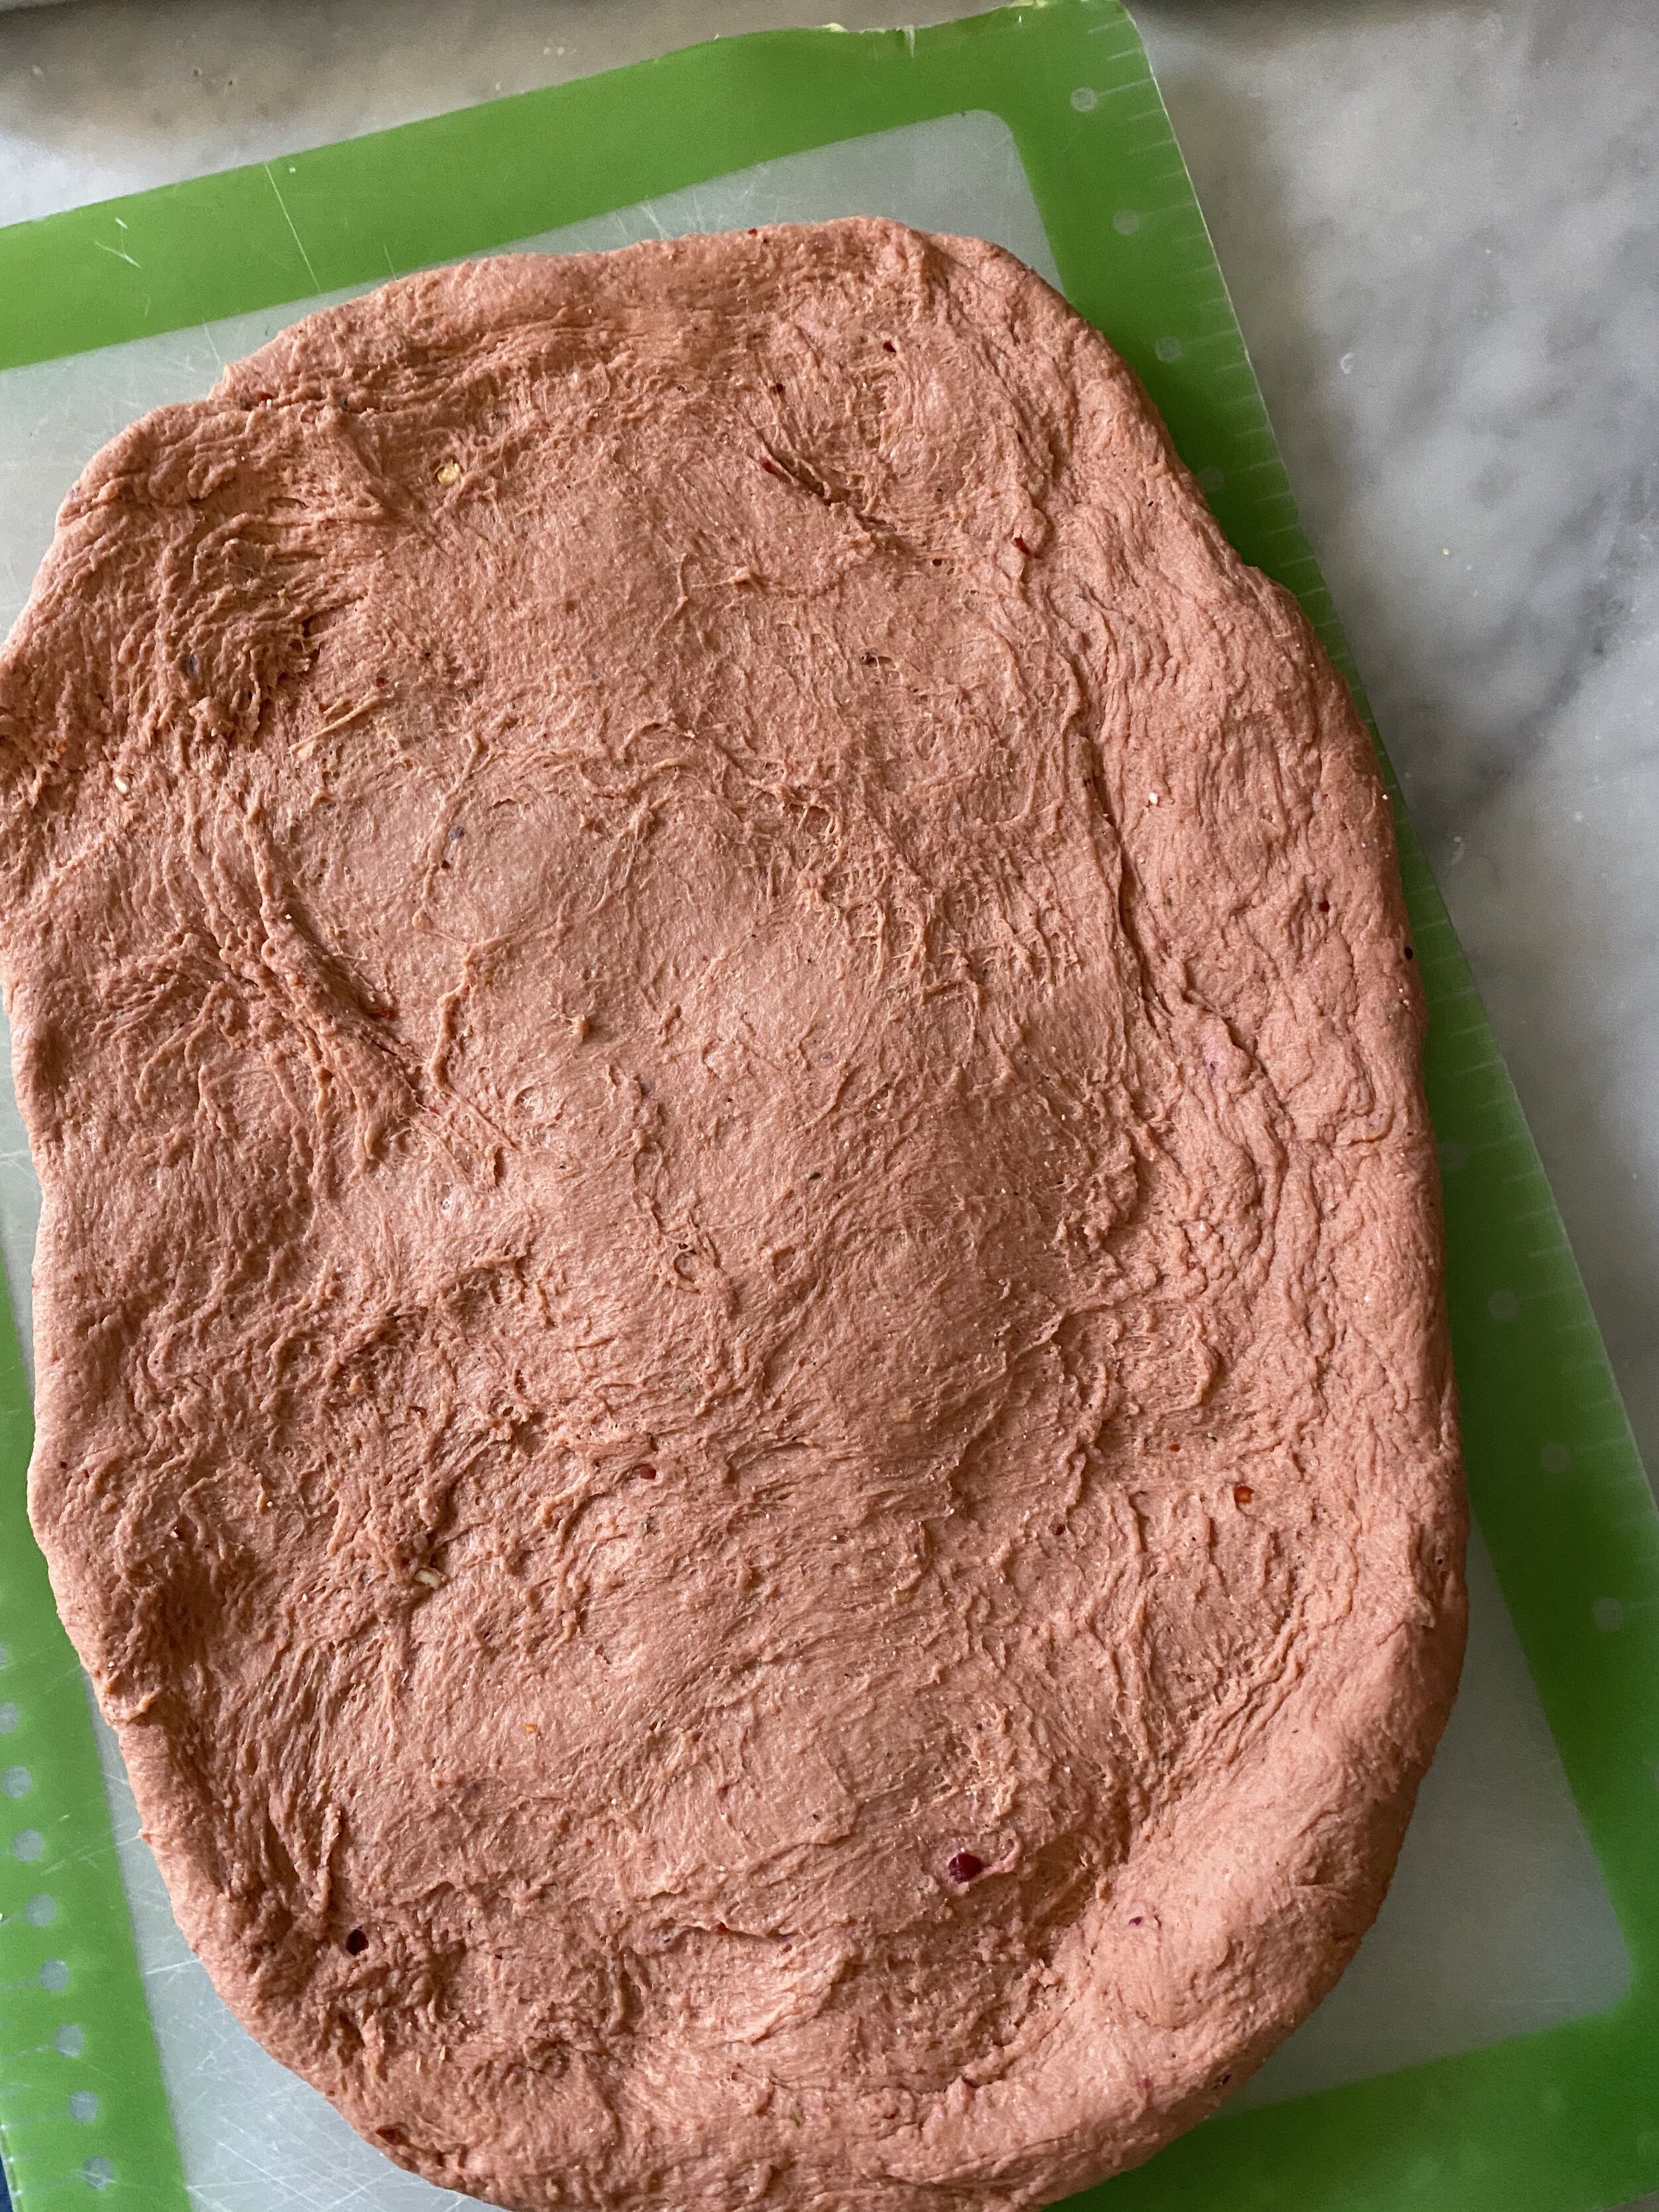
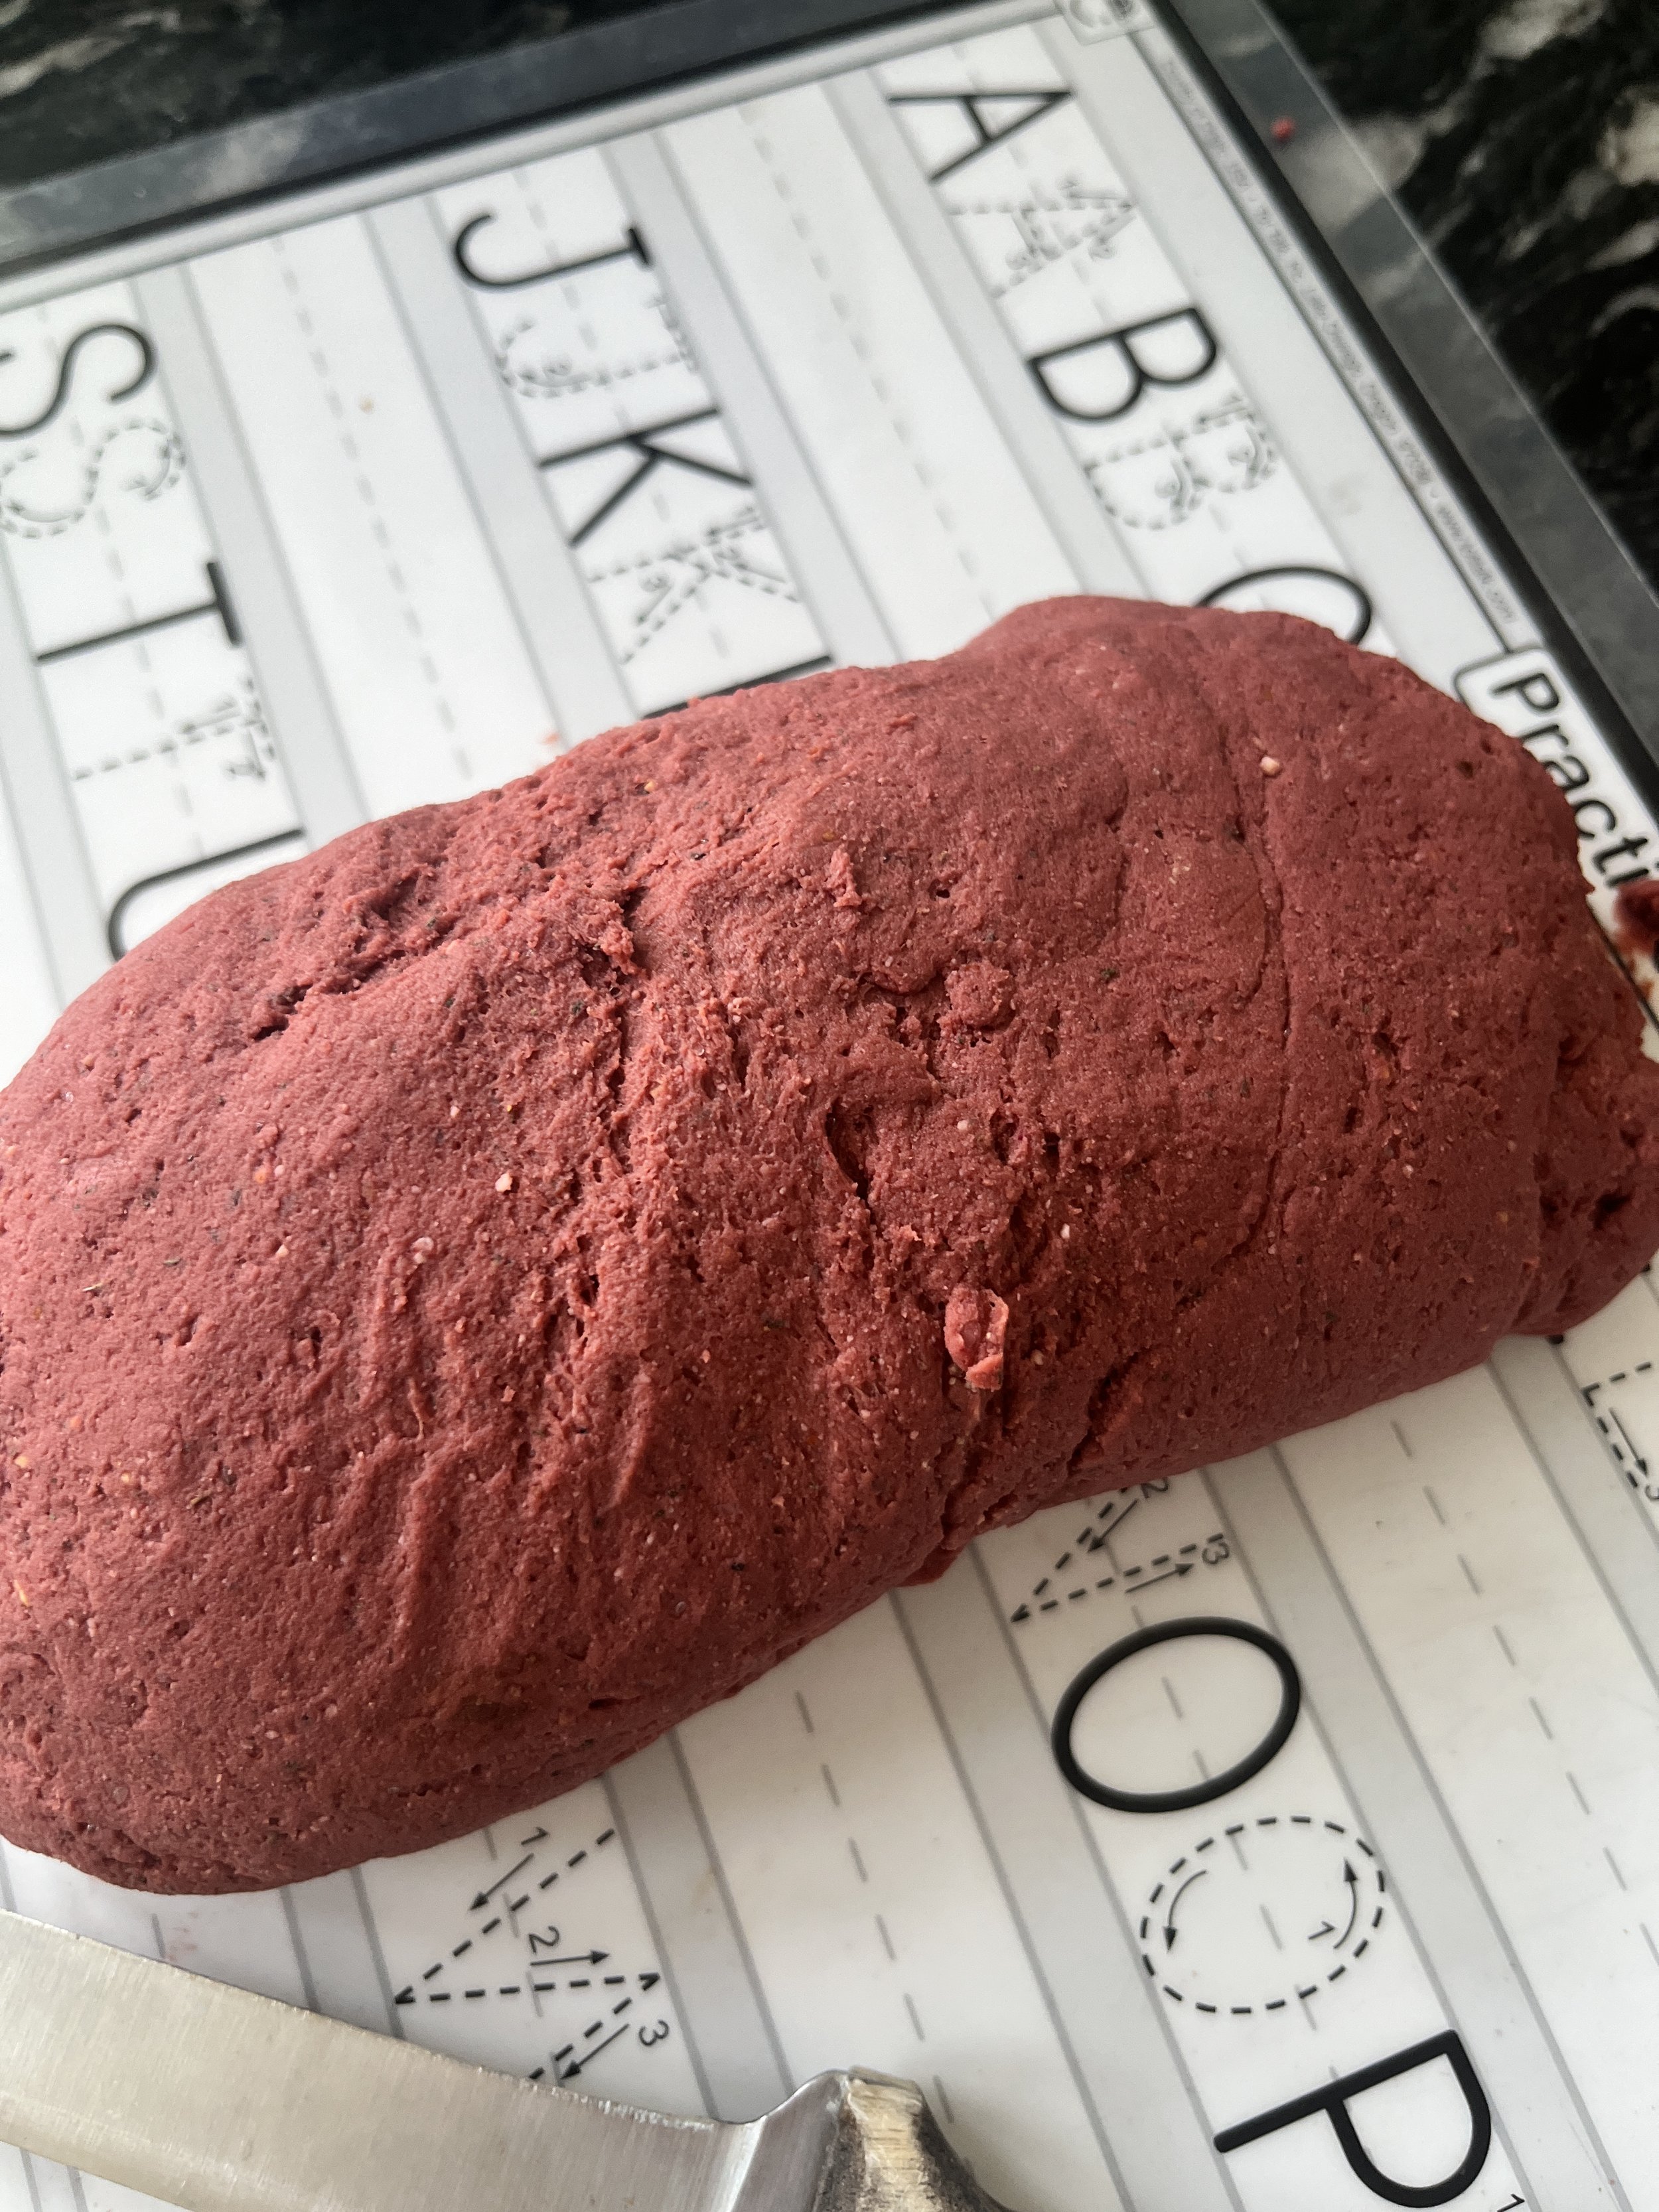
3. Once you have a smooth but firm dough, remove it from the food processor and place on a clean counter. Knead the dough with your hands for about a minute, forming a kind of loaf with the dough.
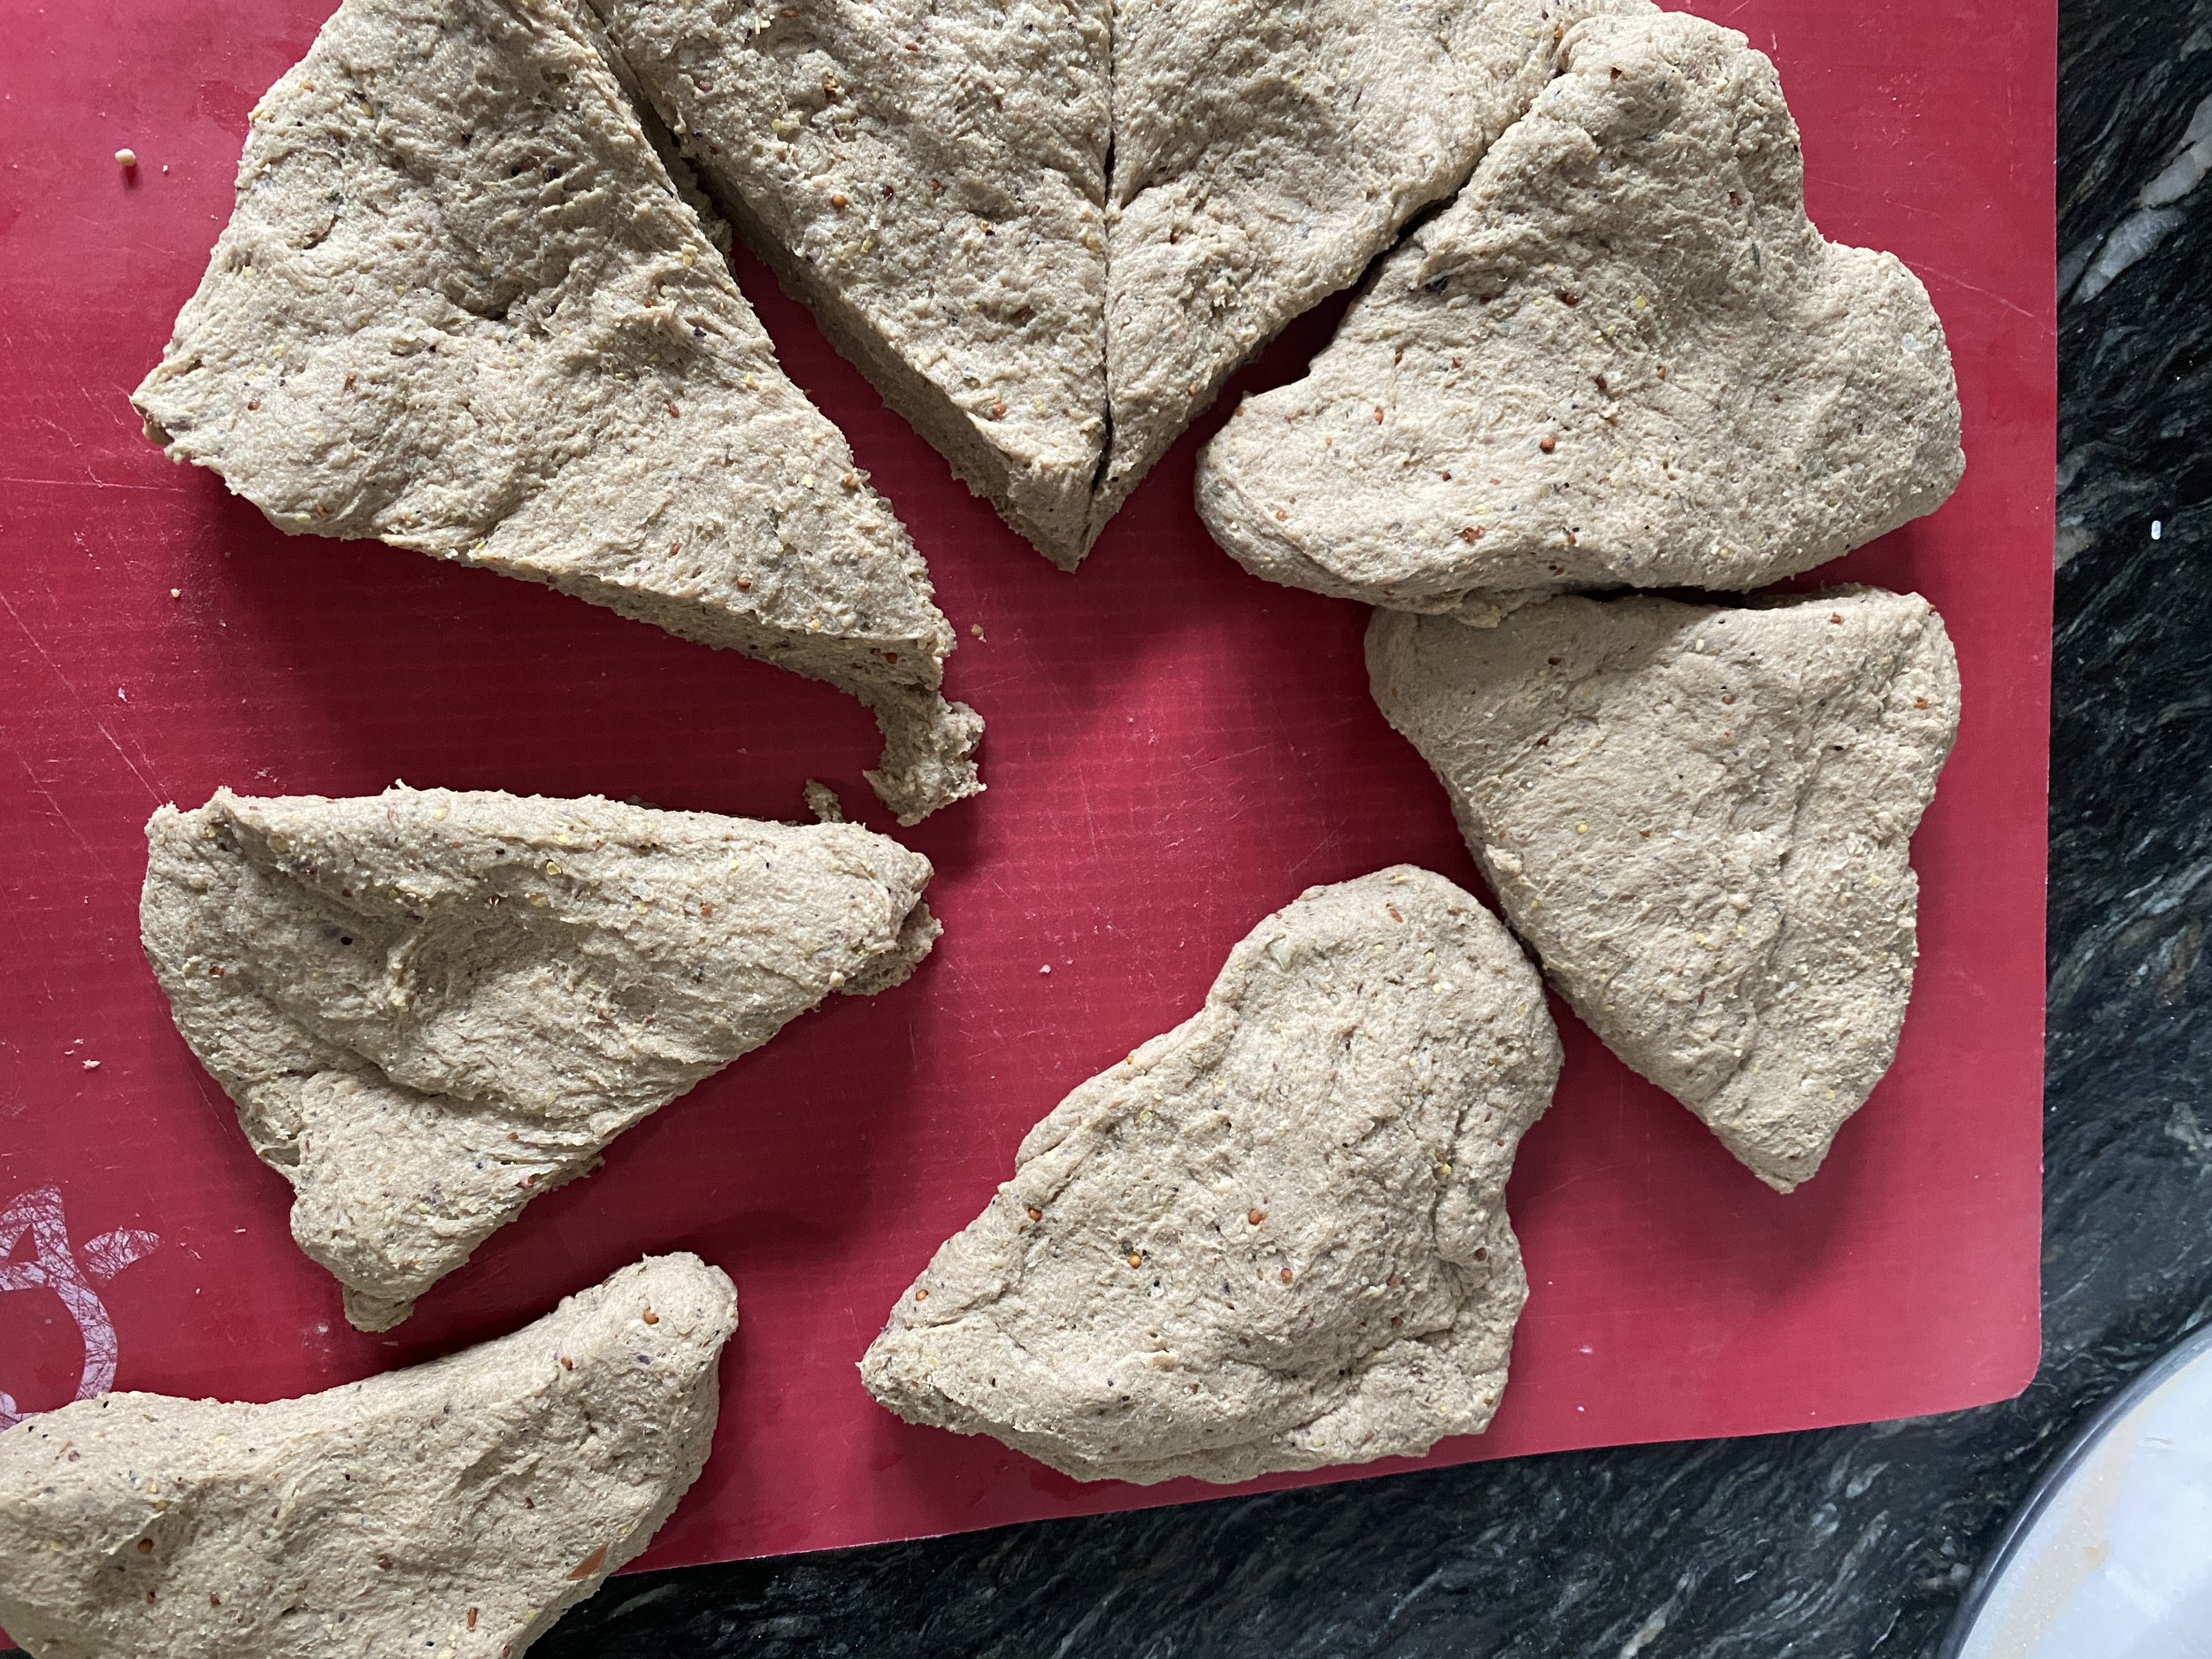
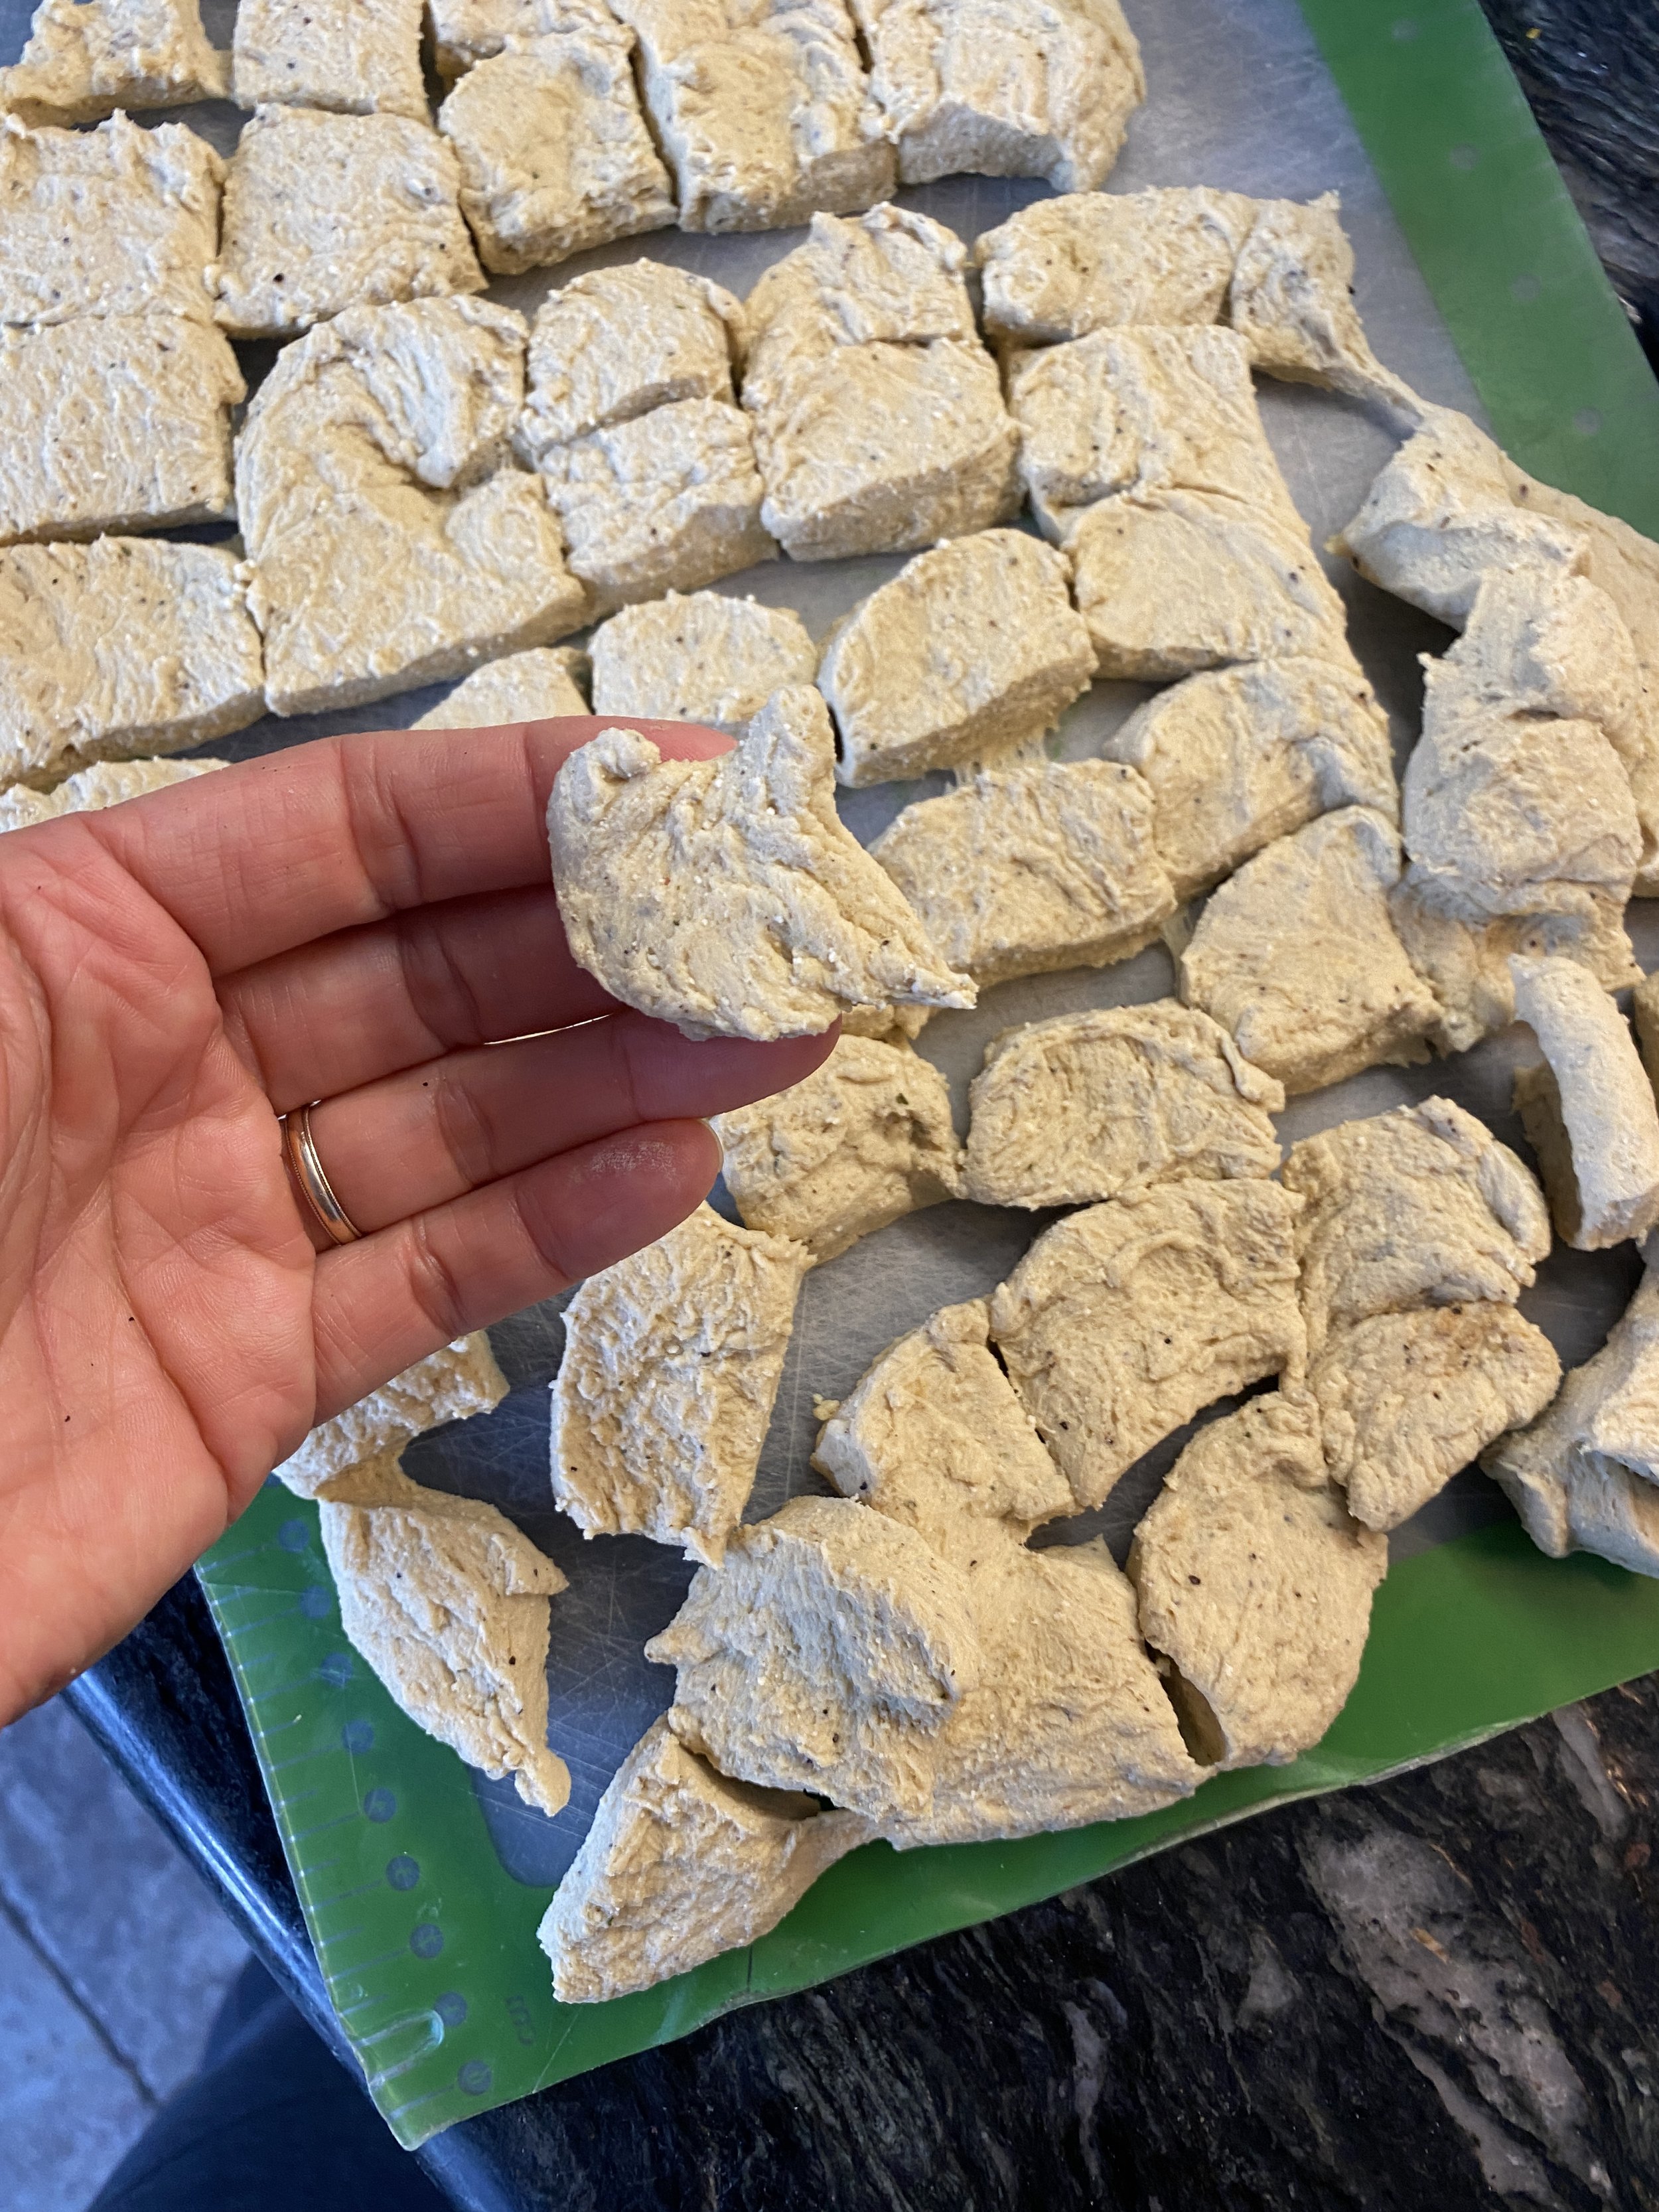
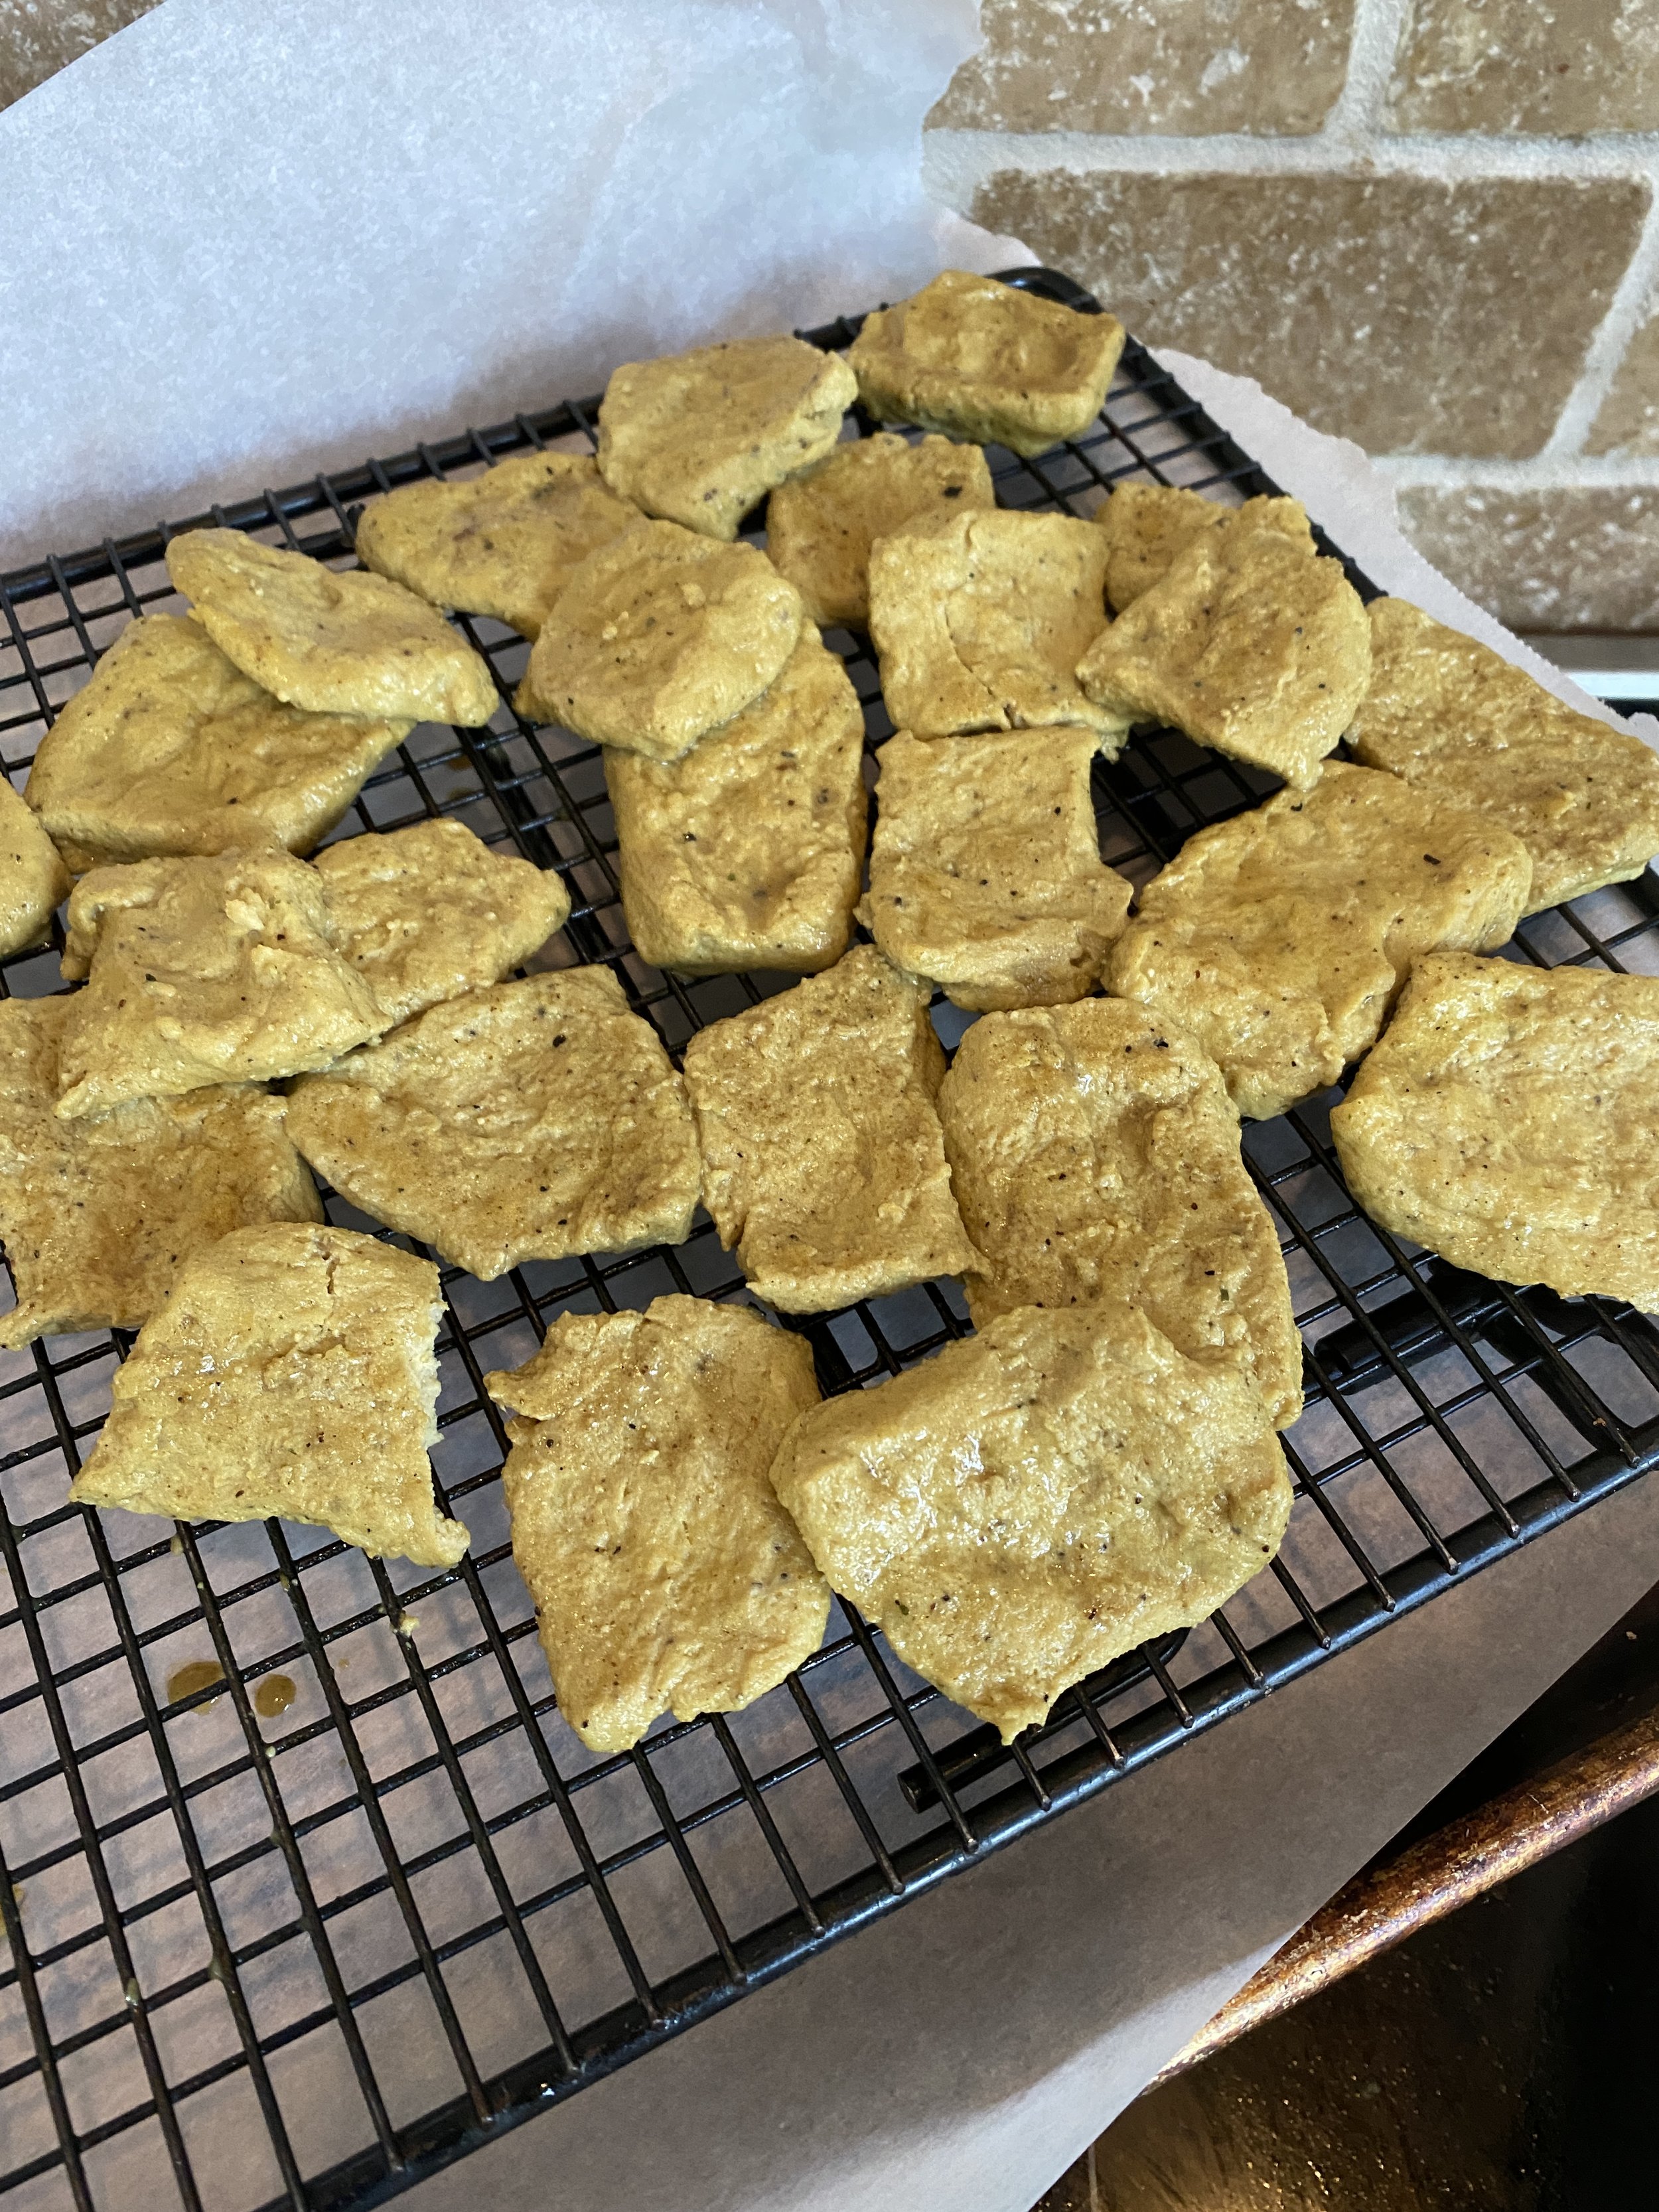
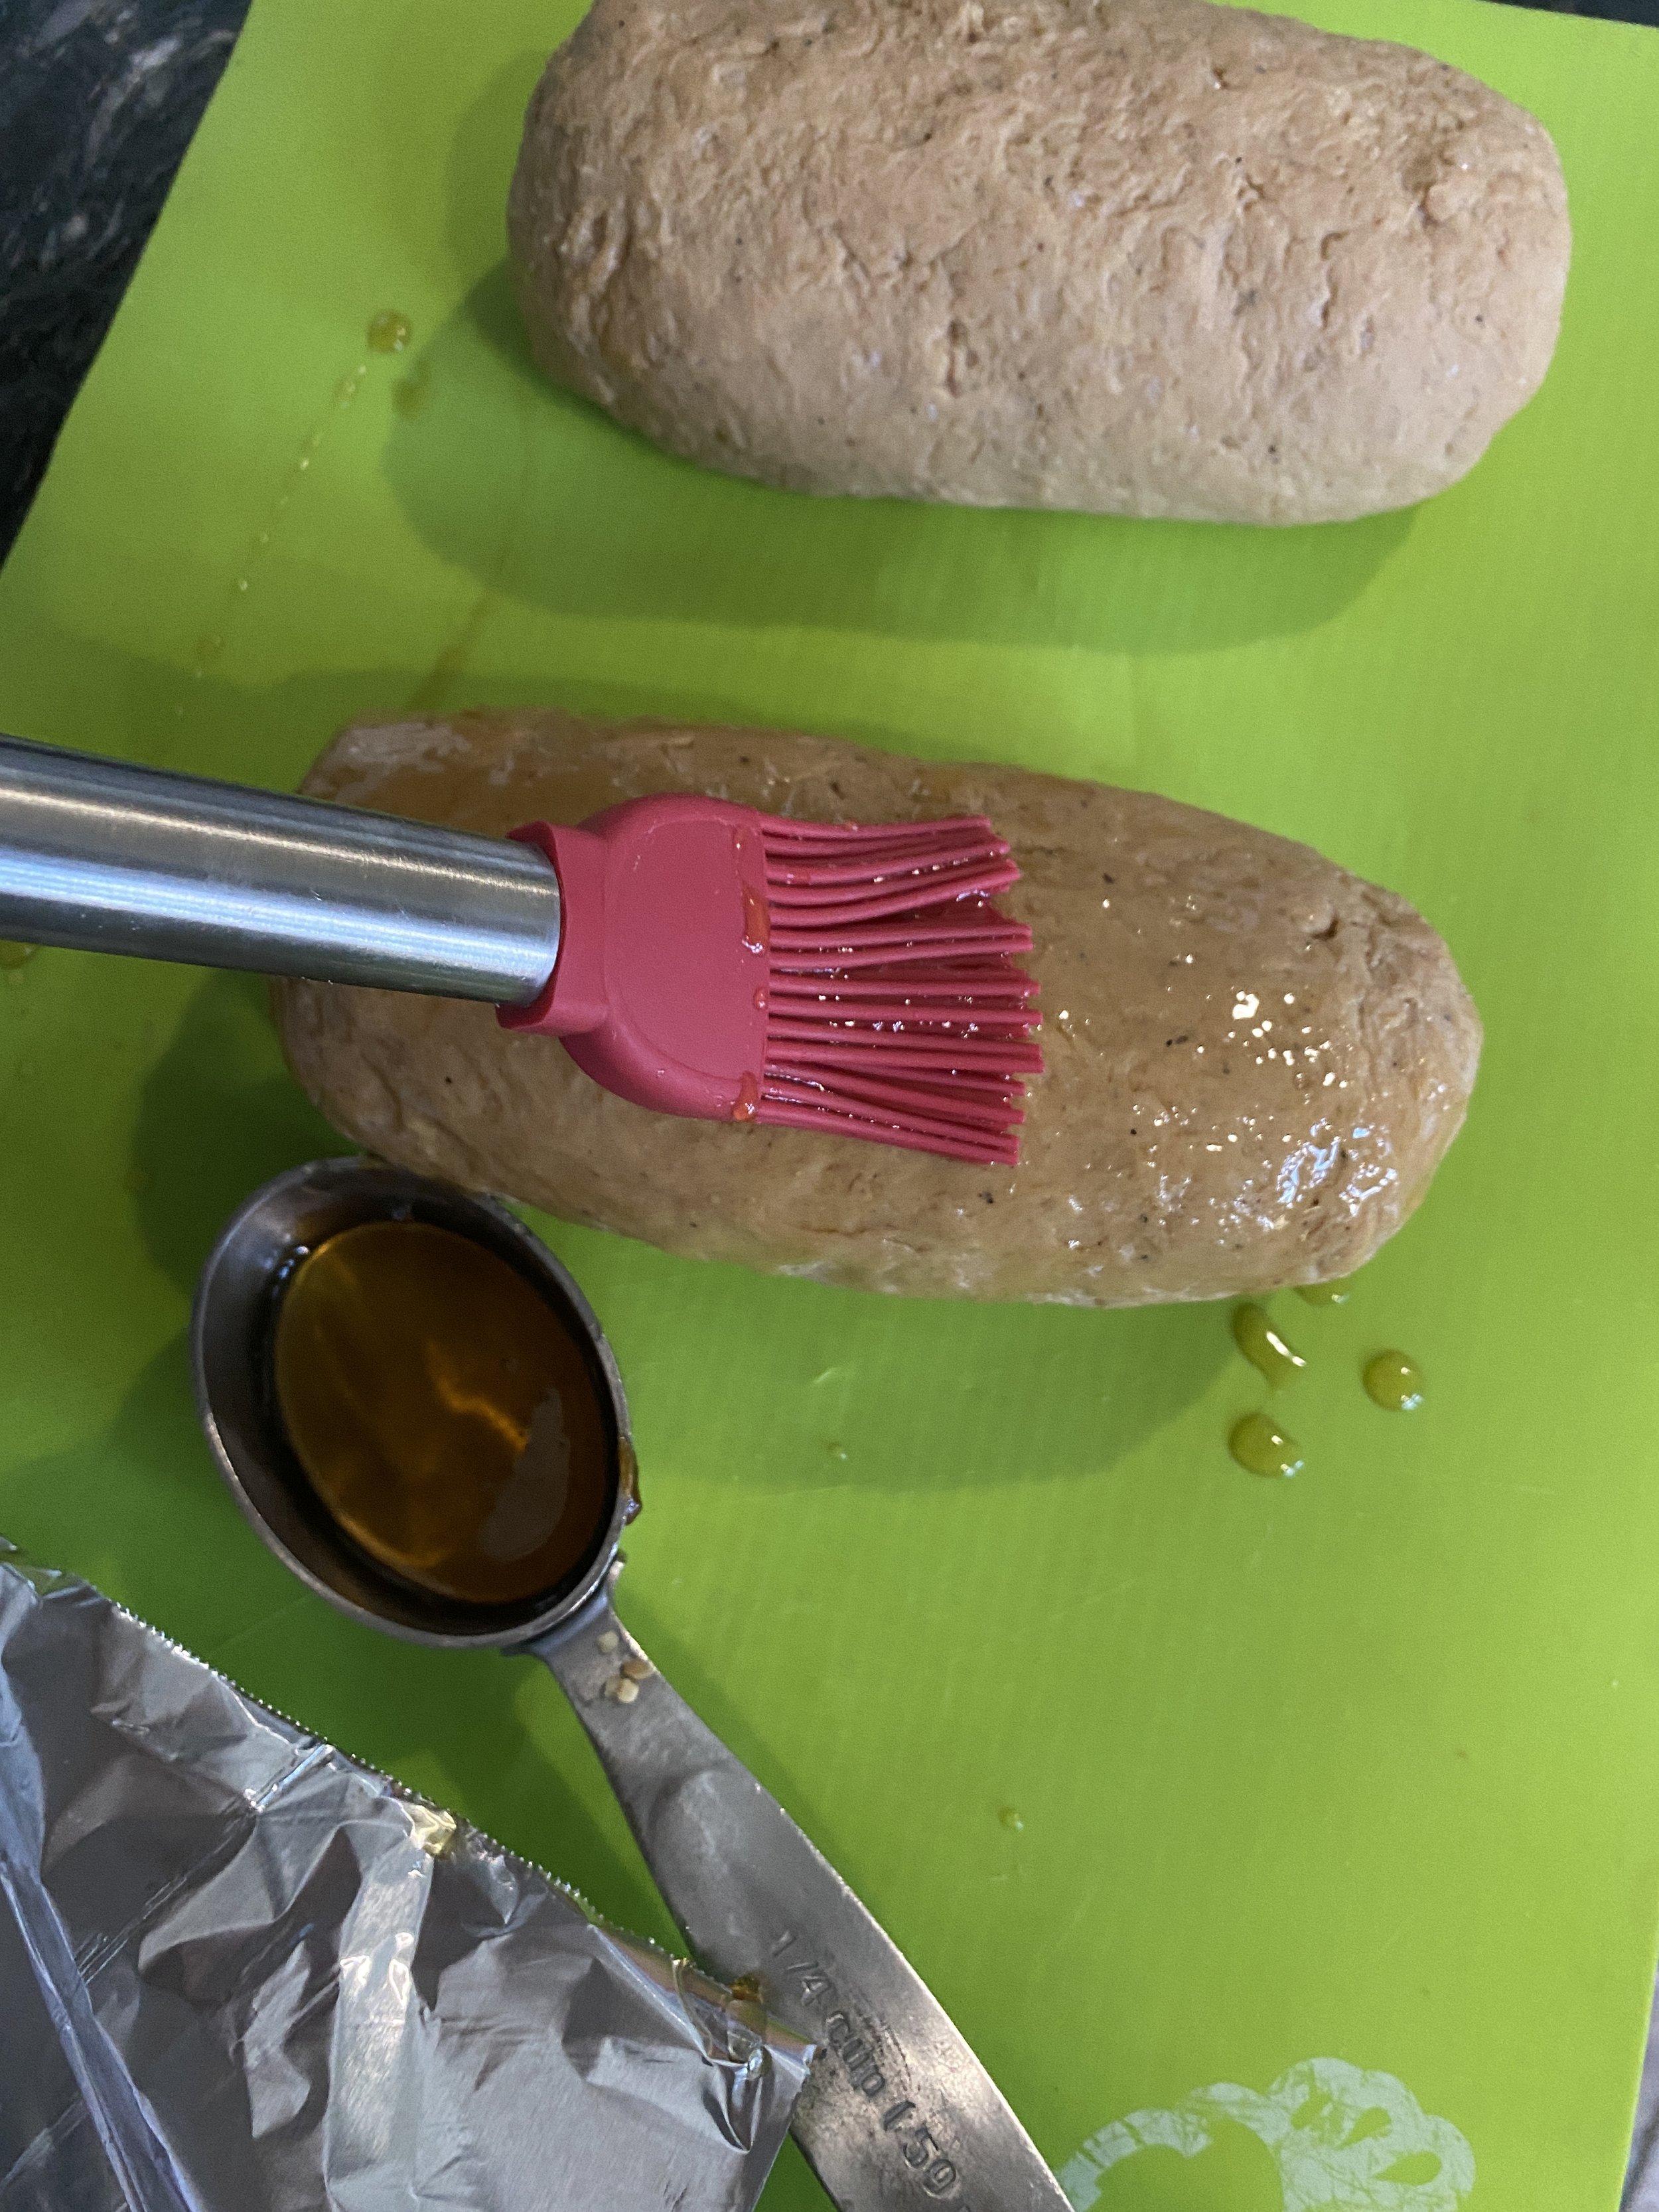
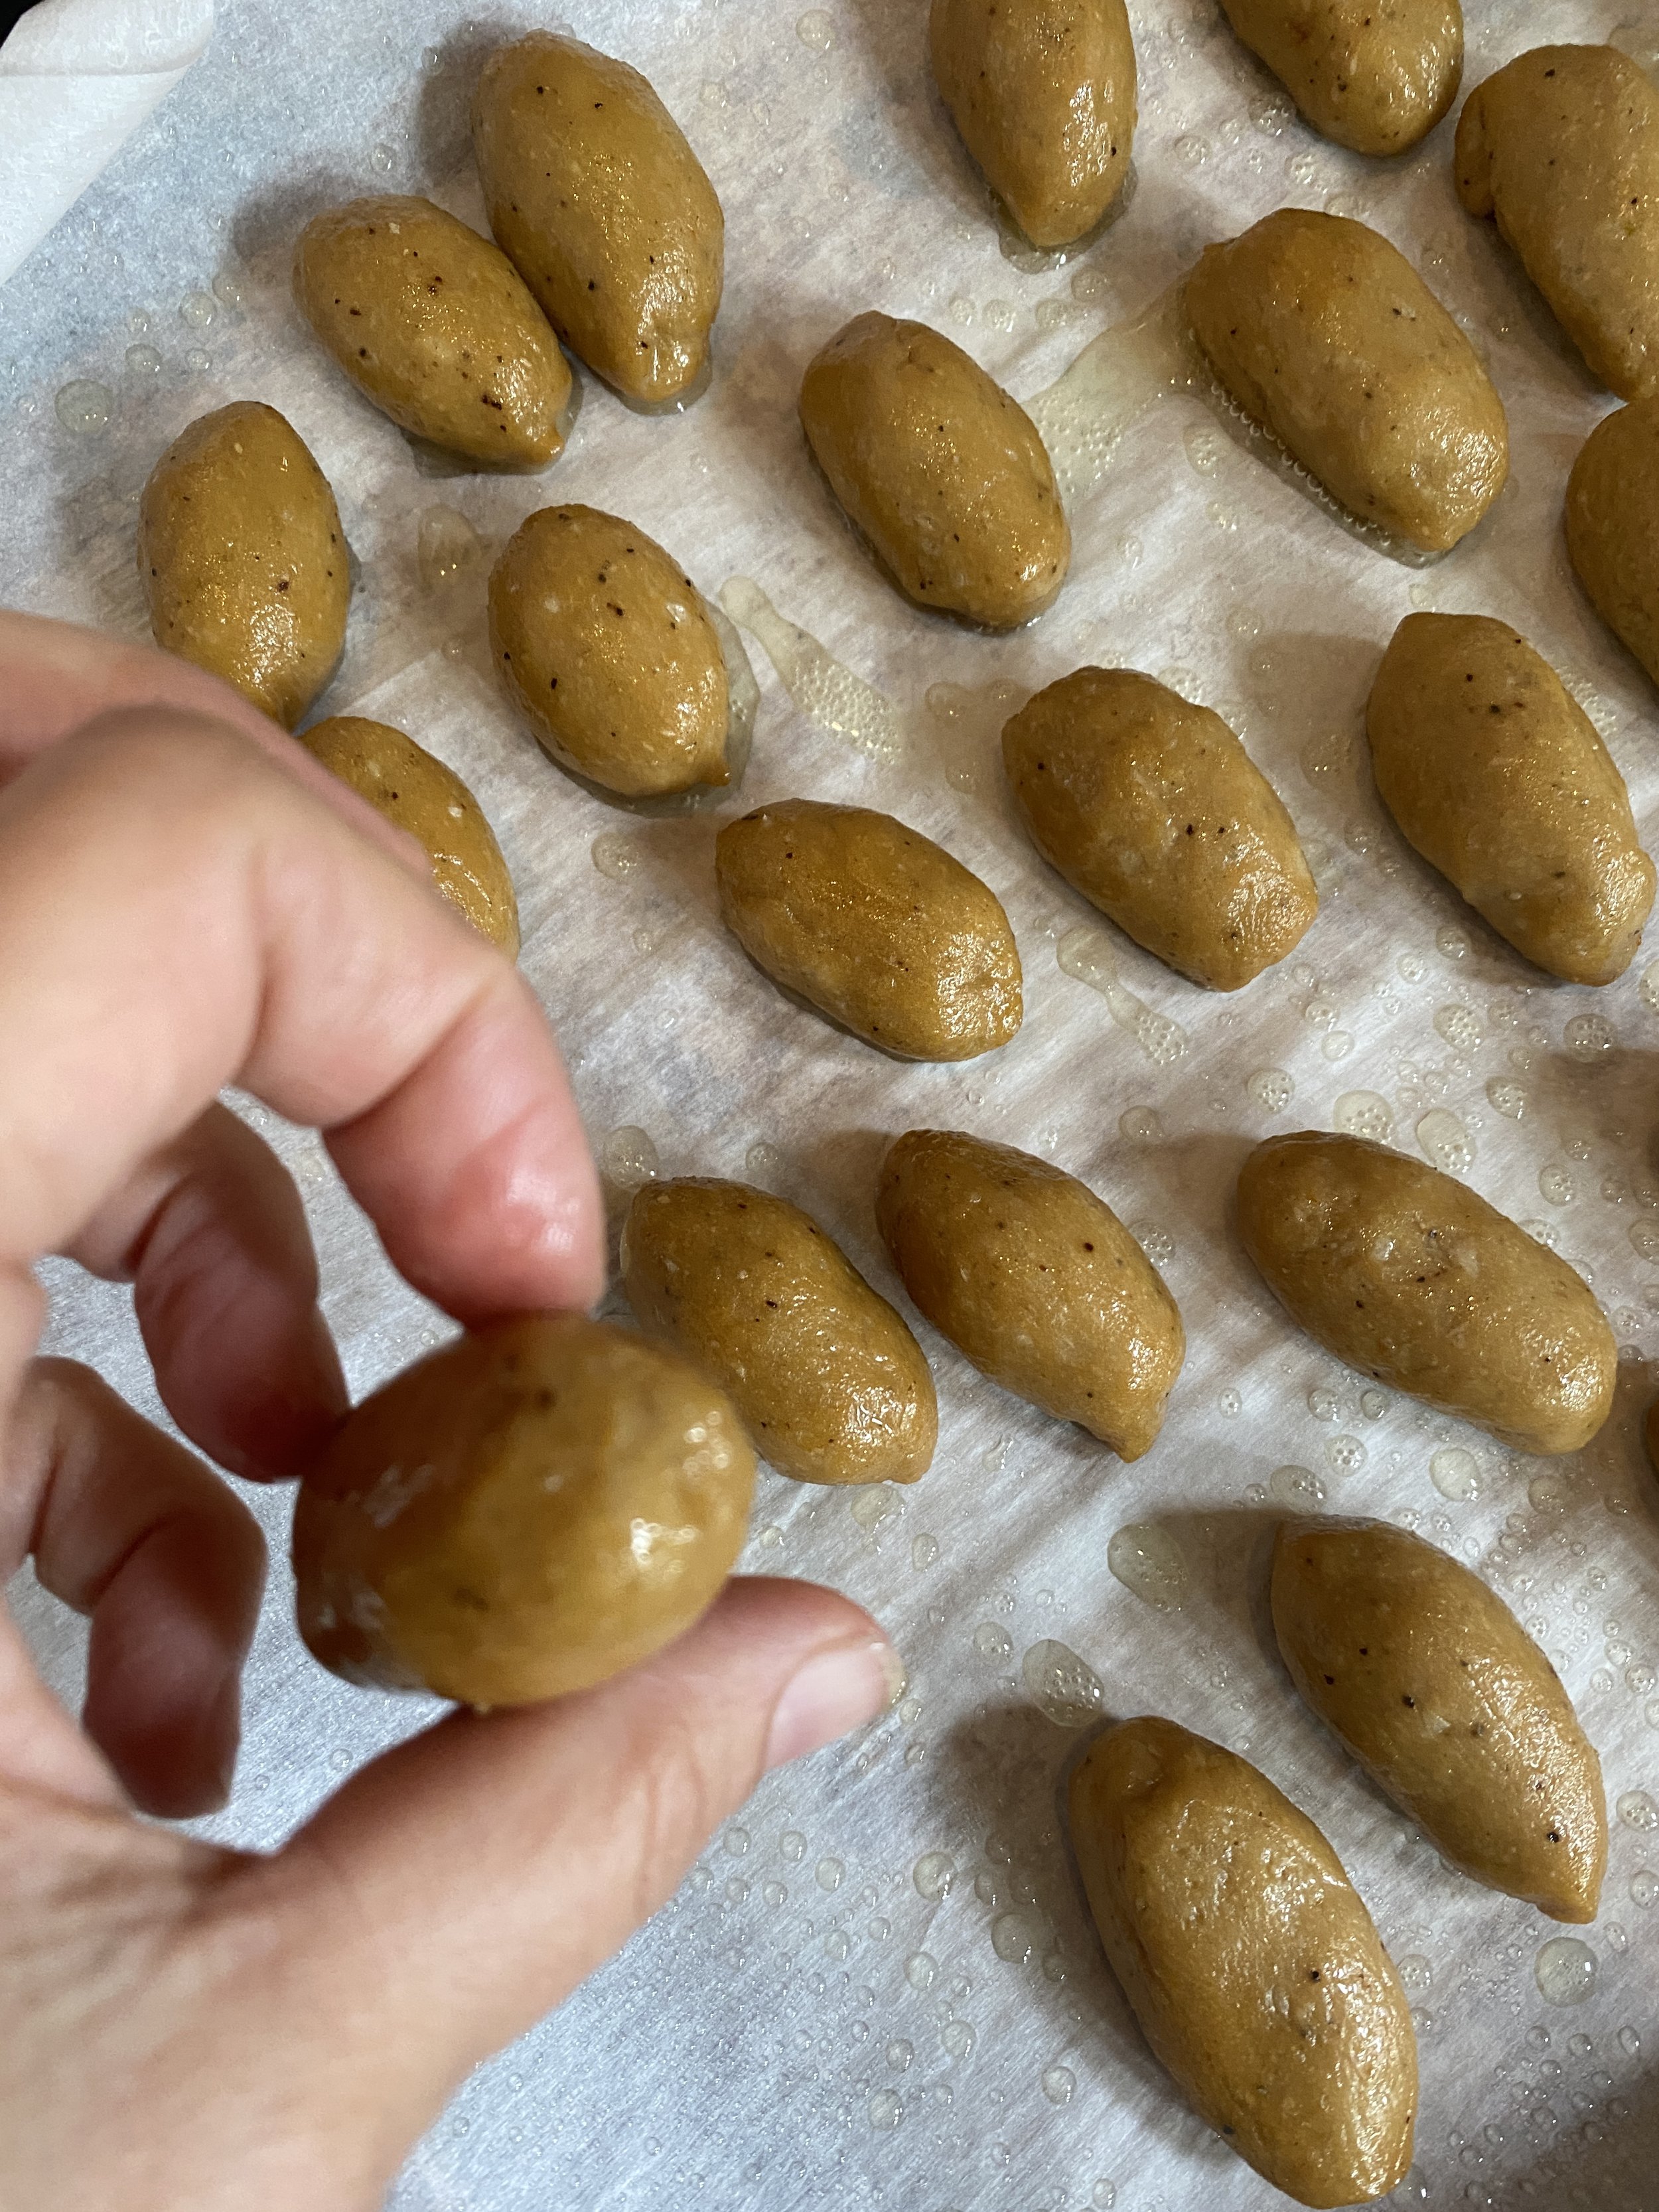
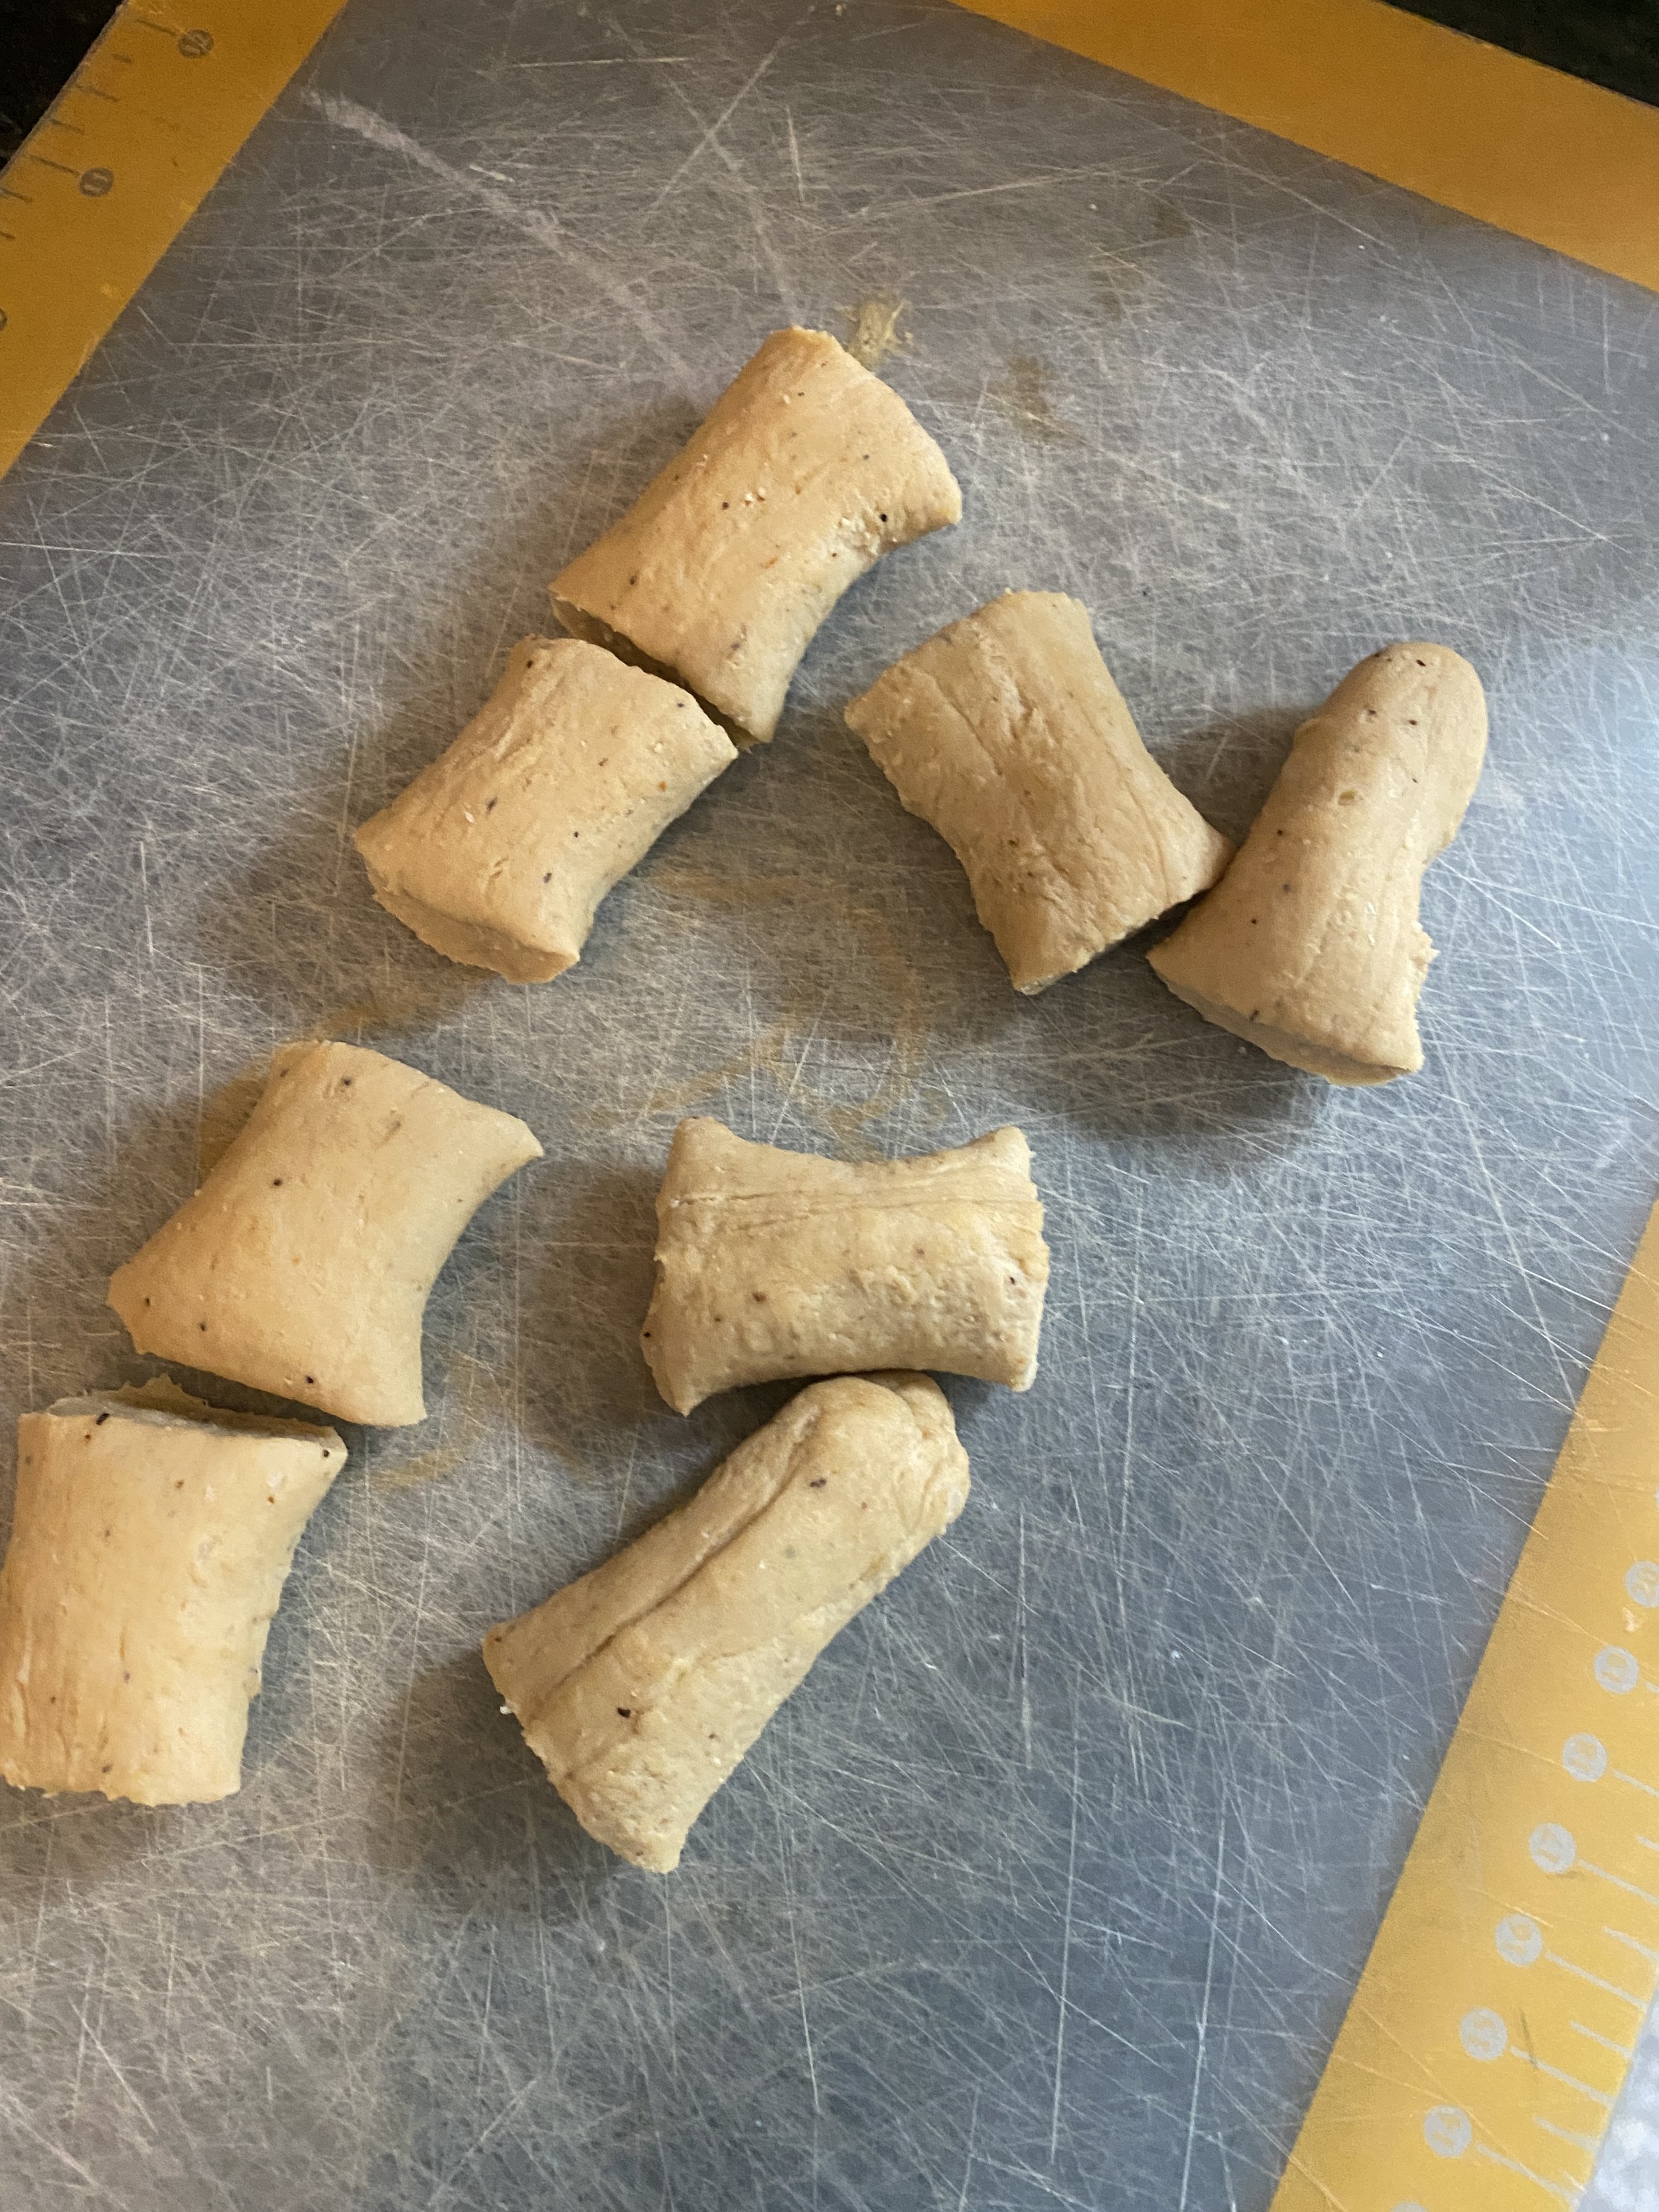
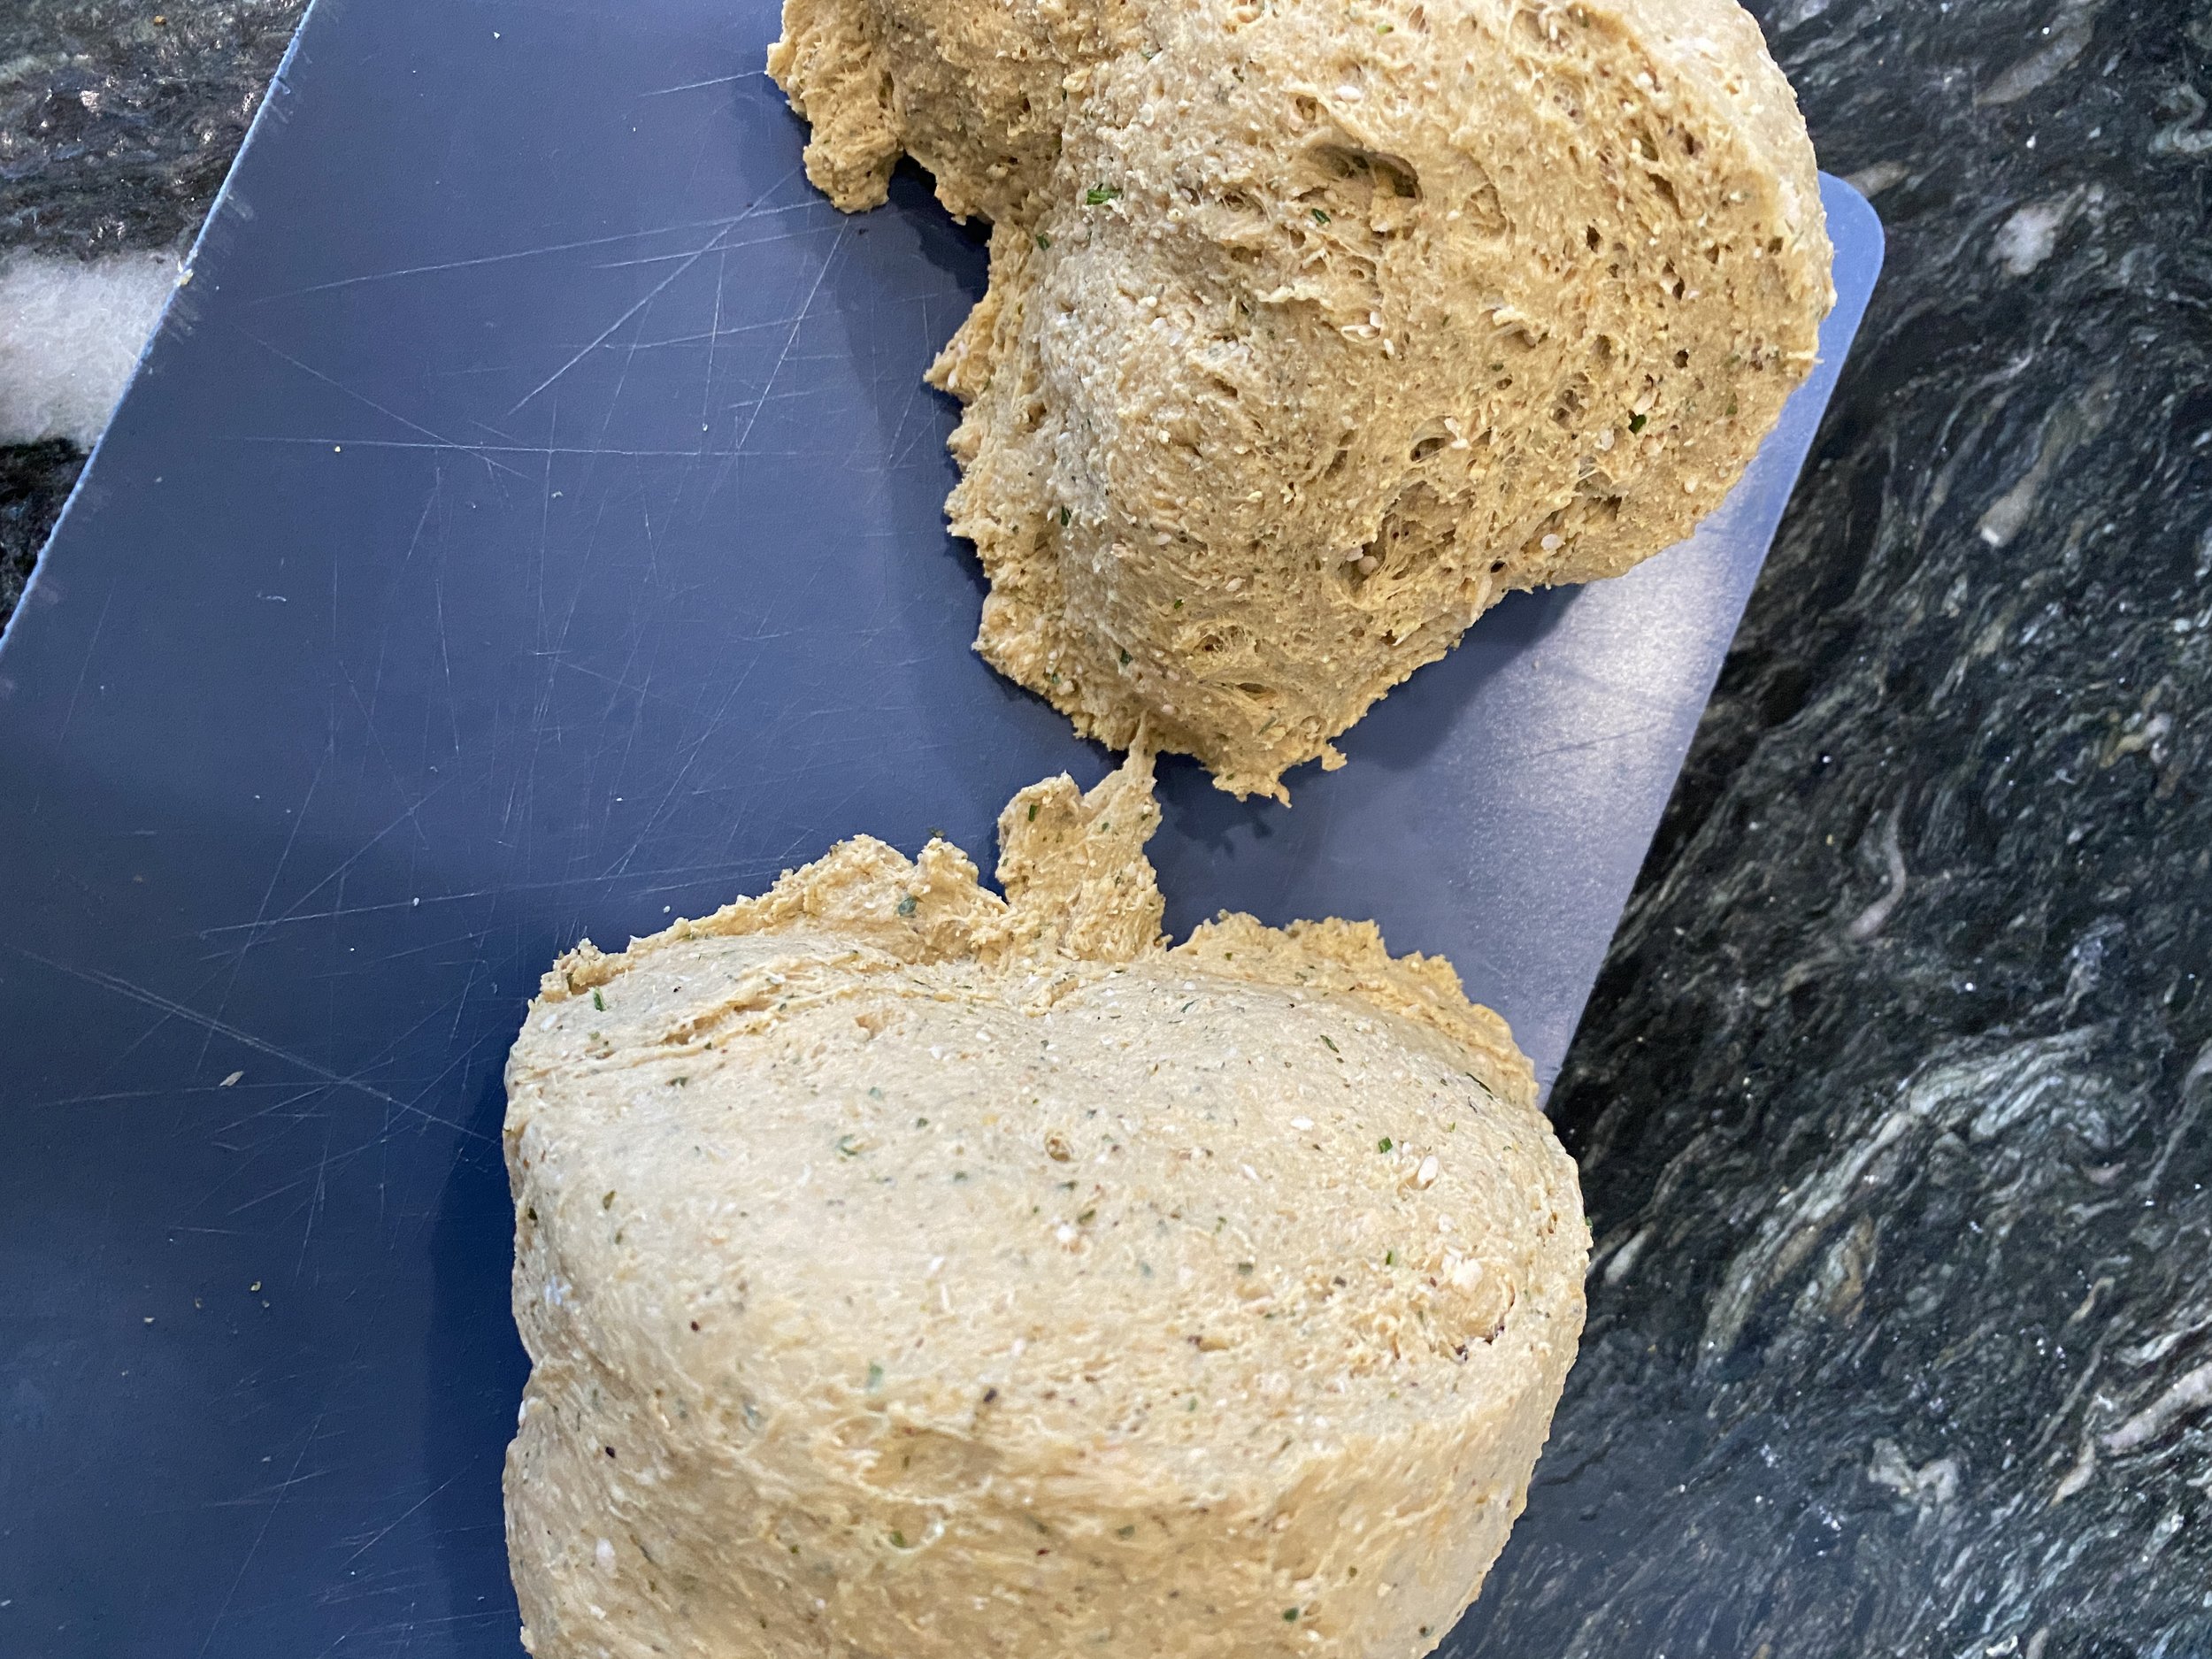
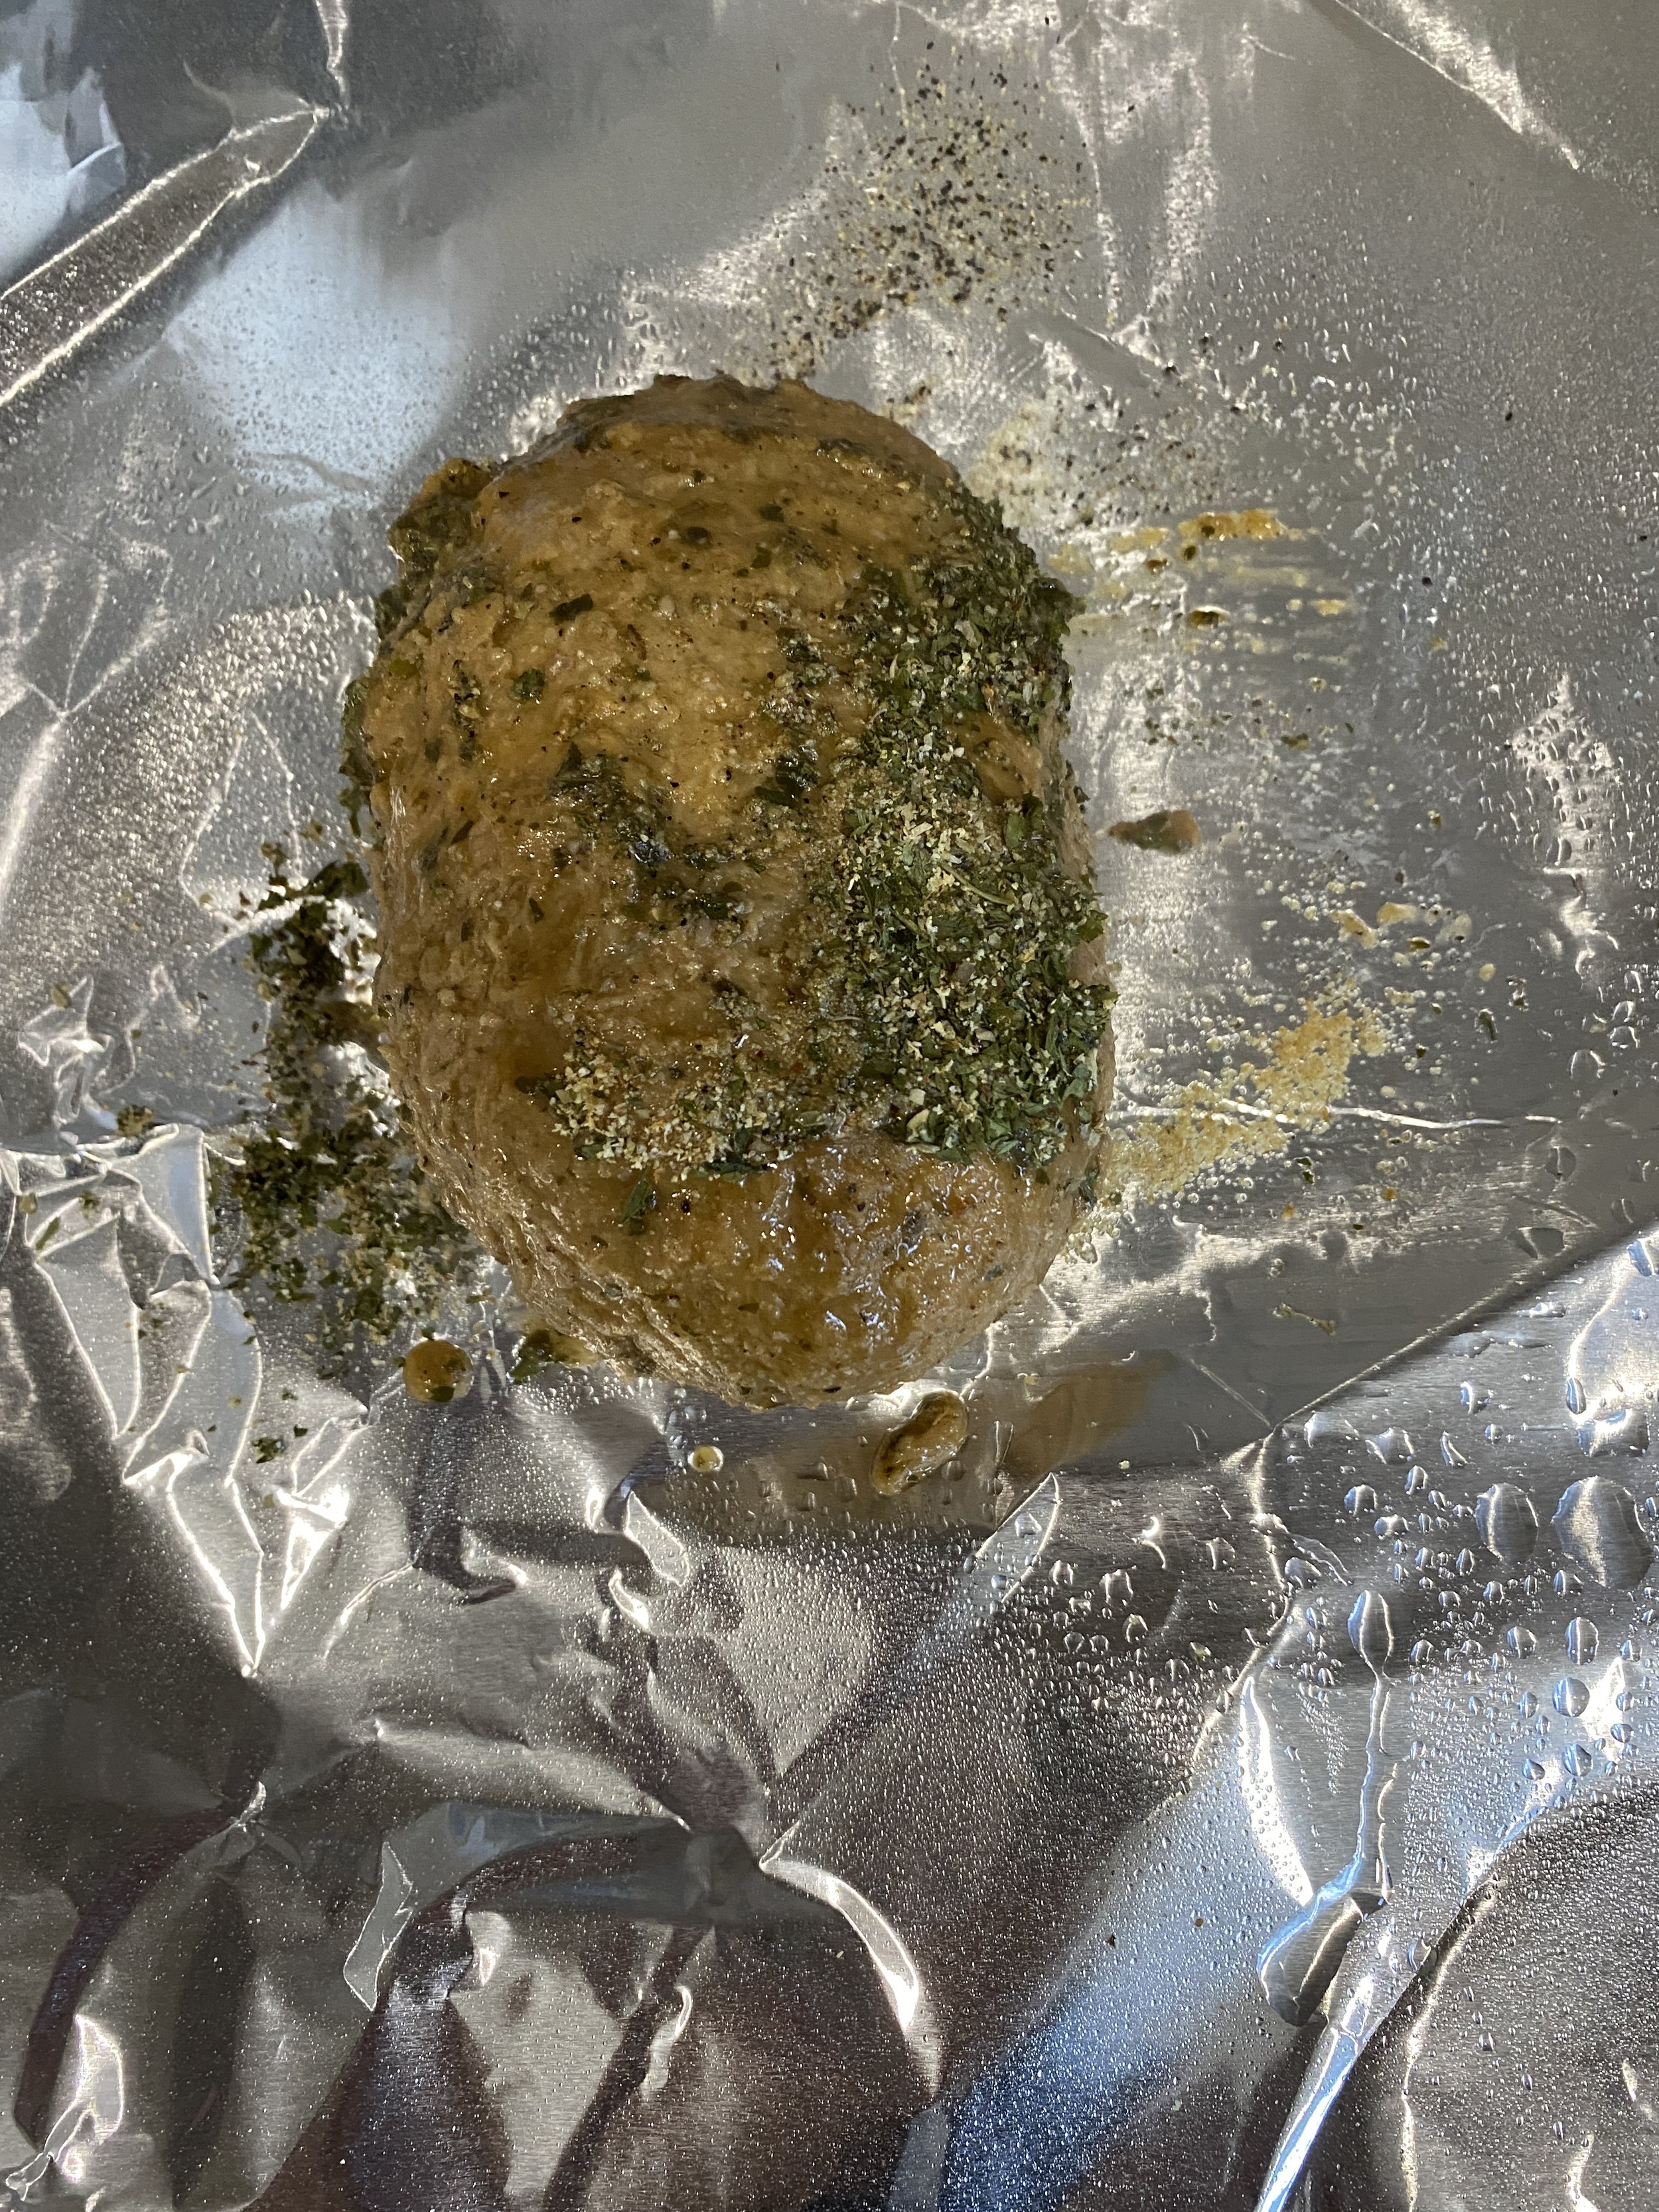
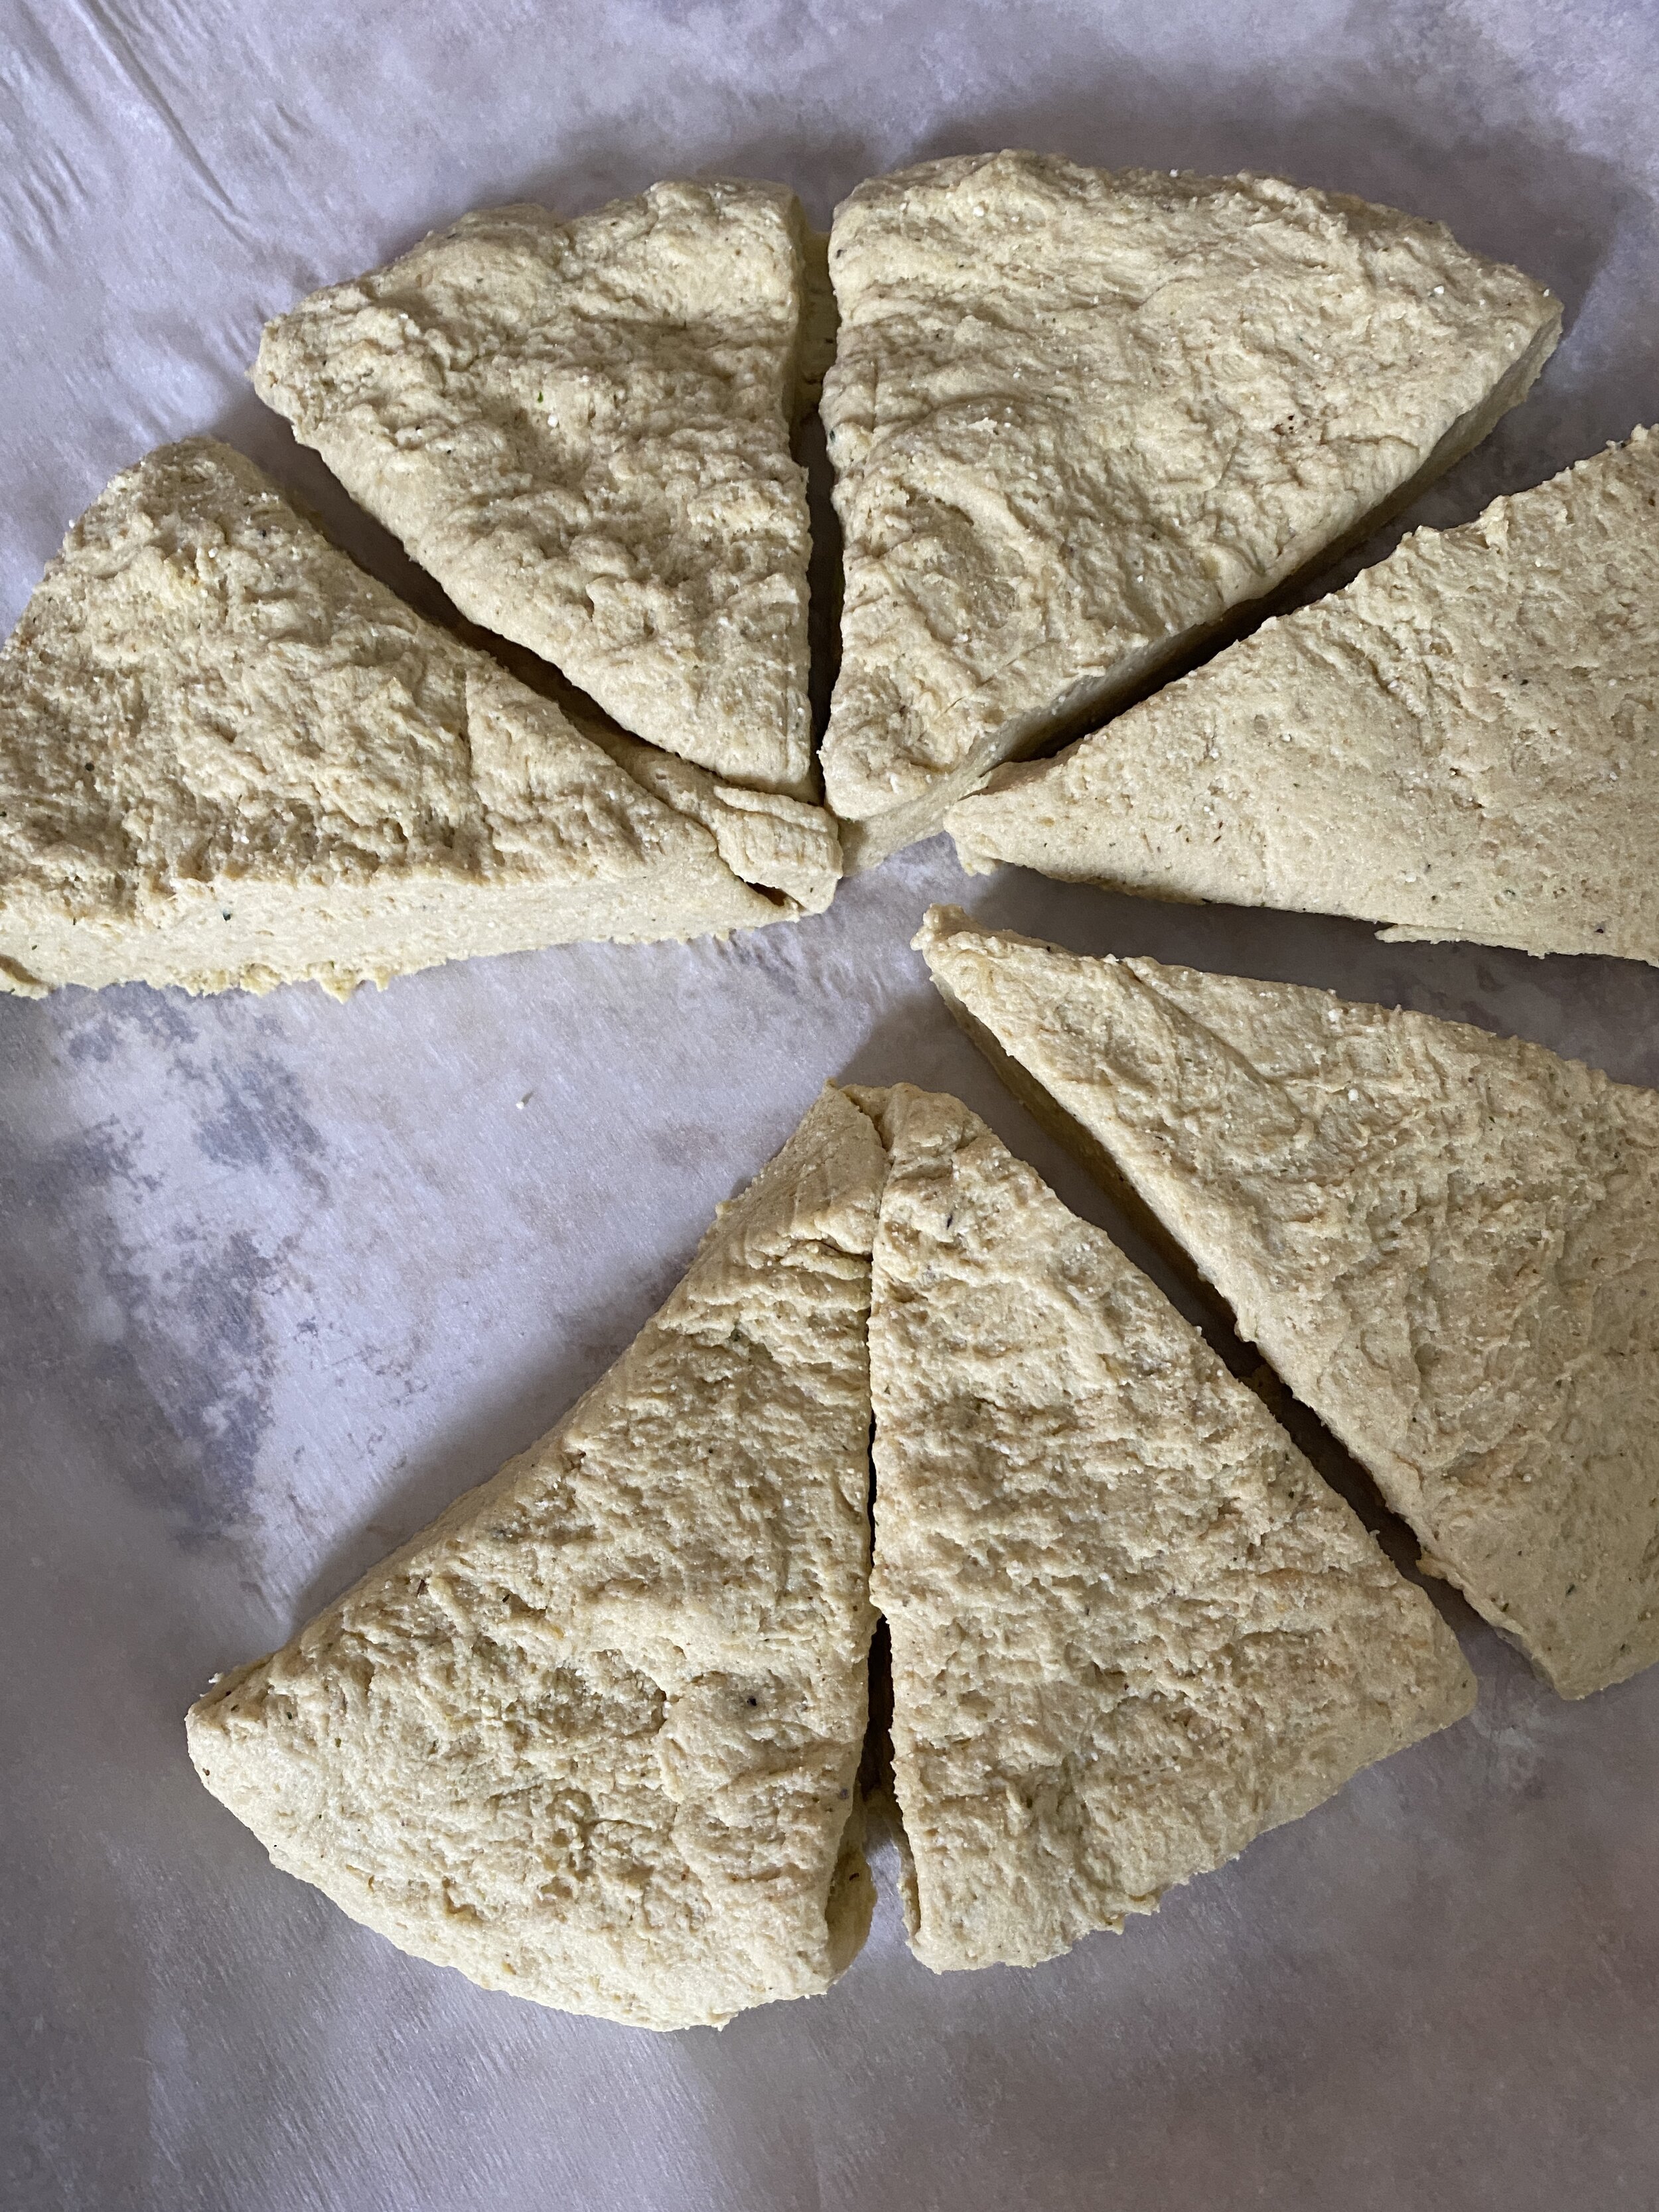
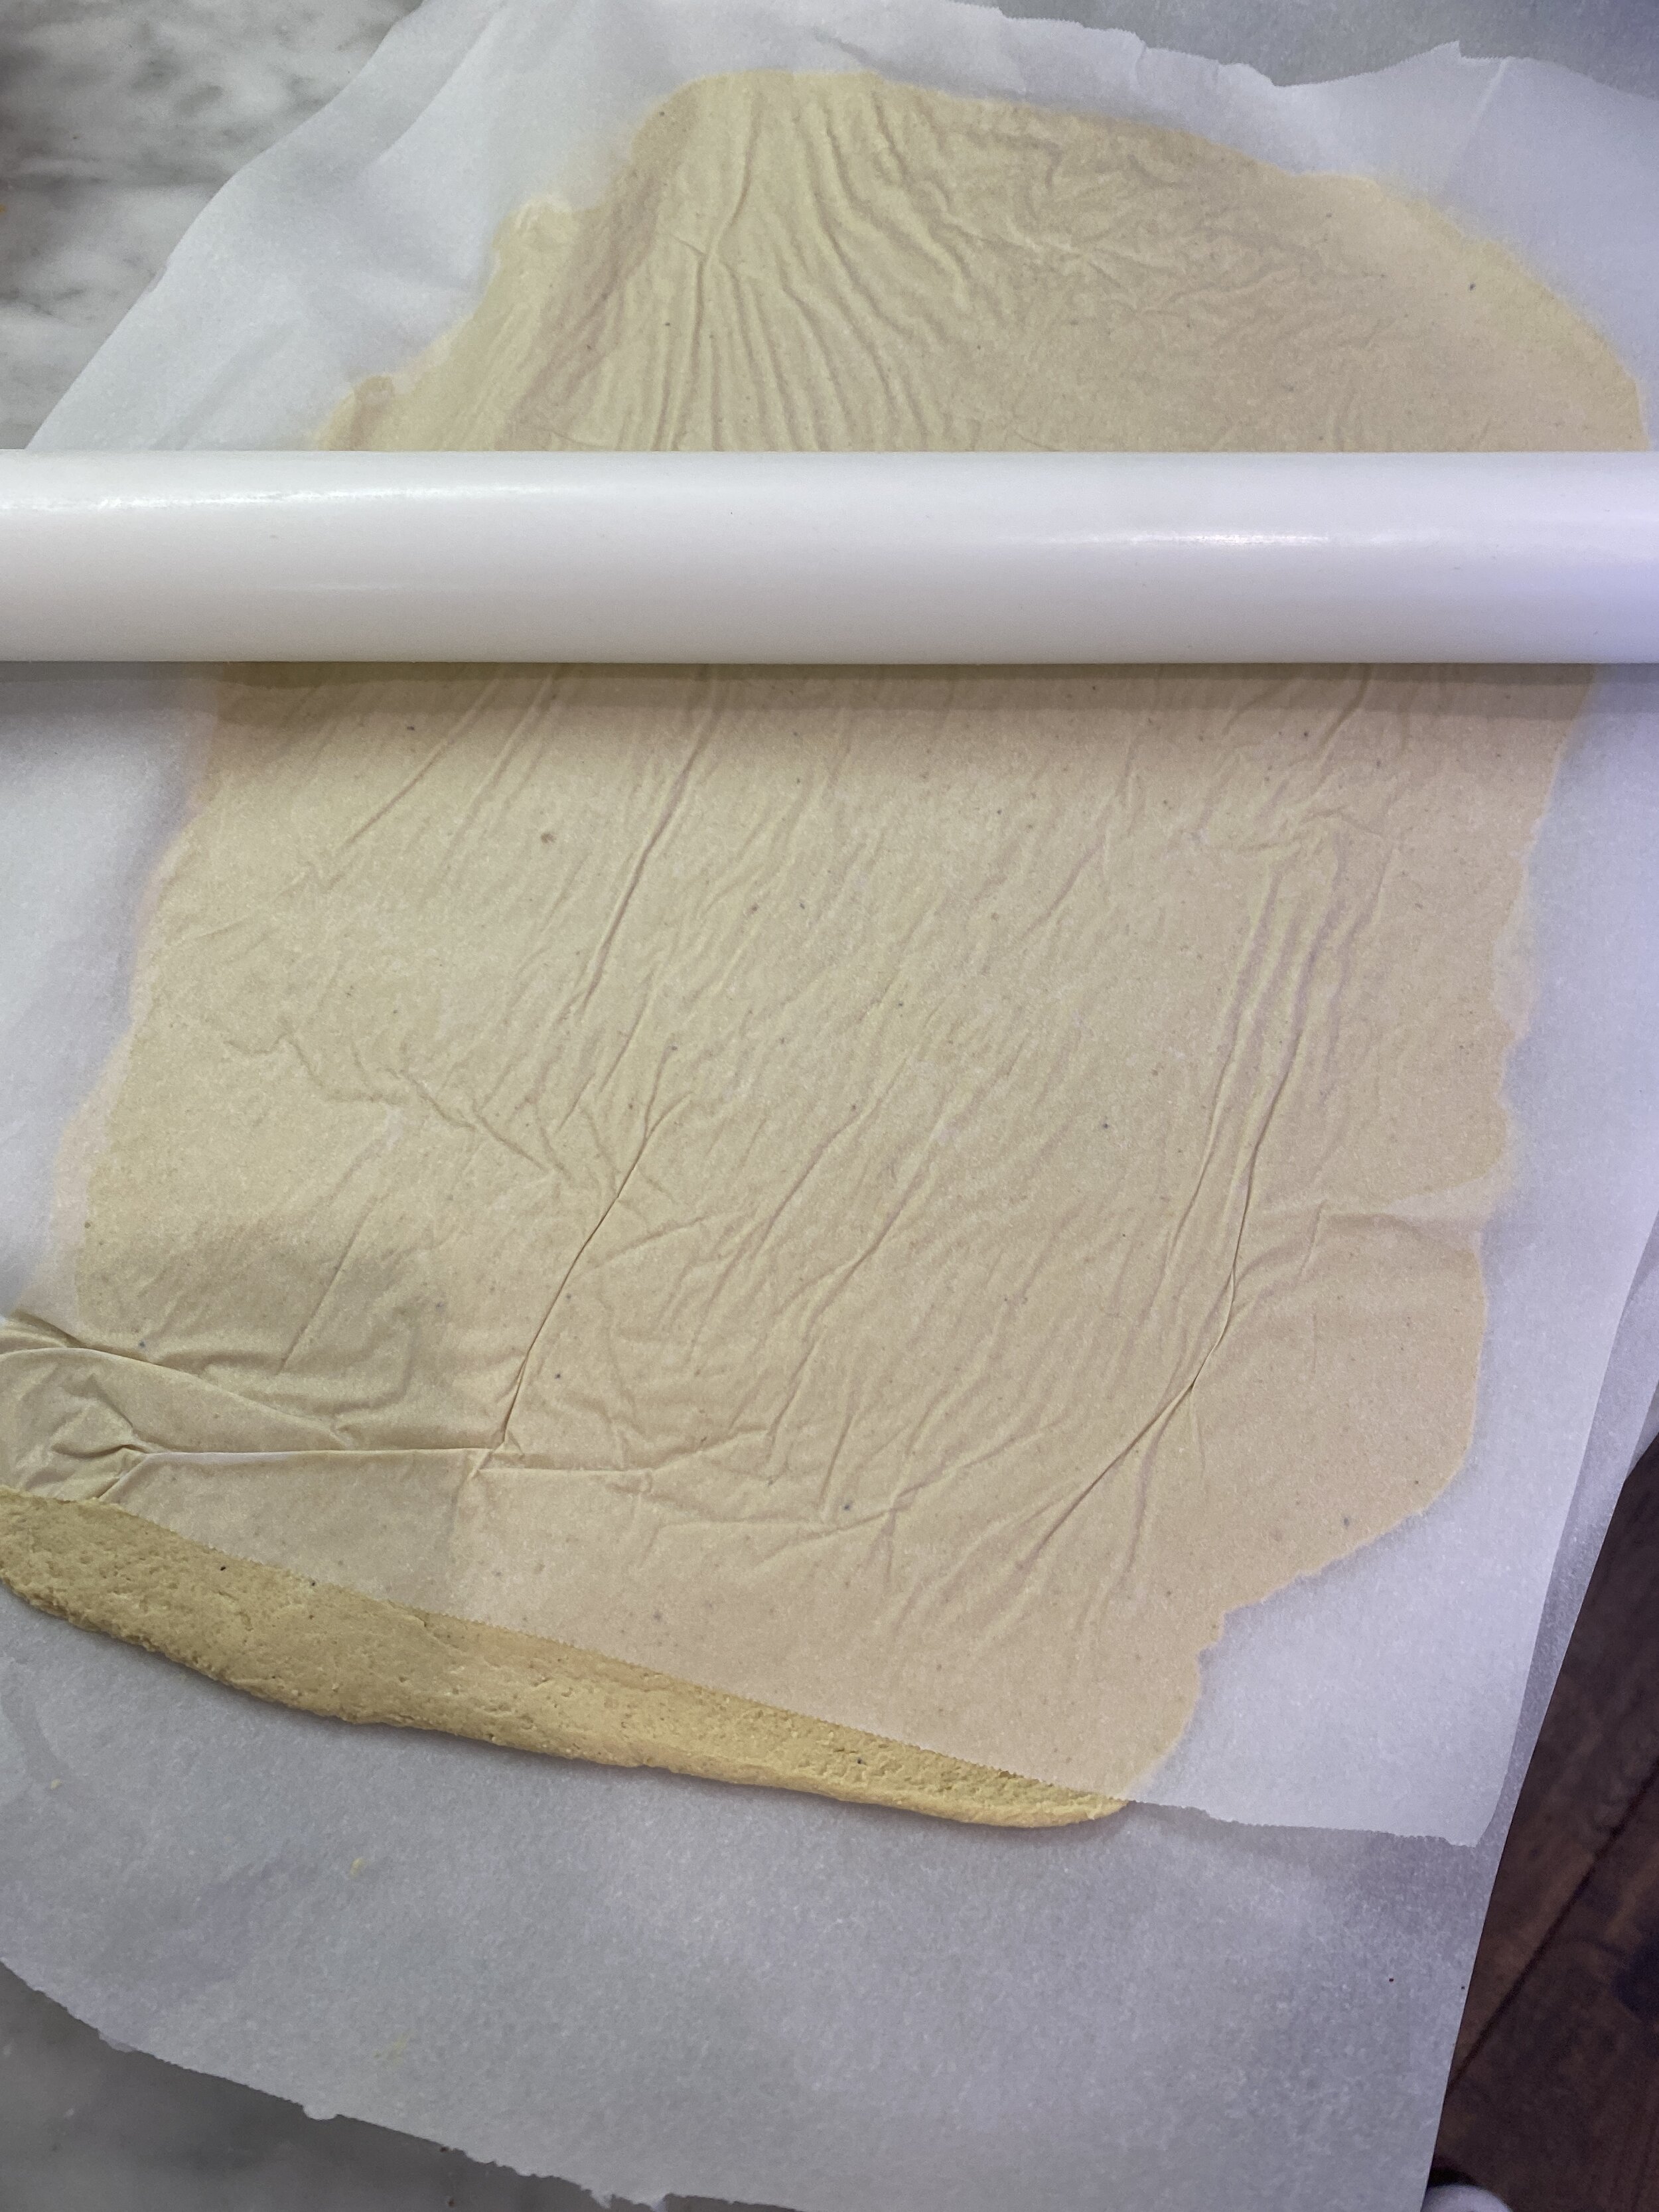
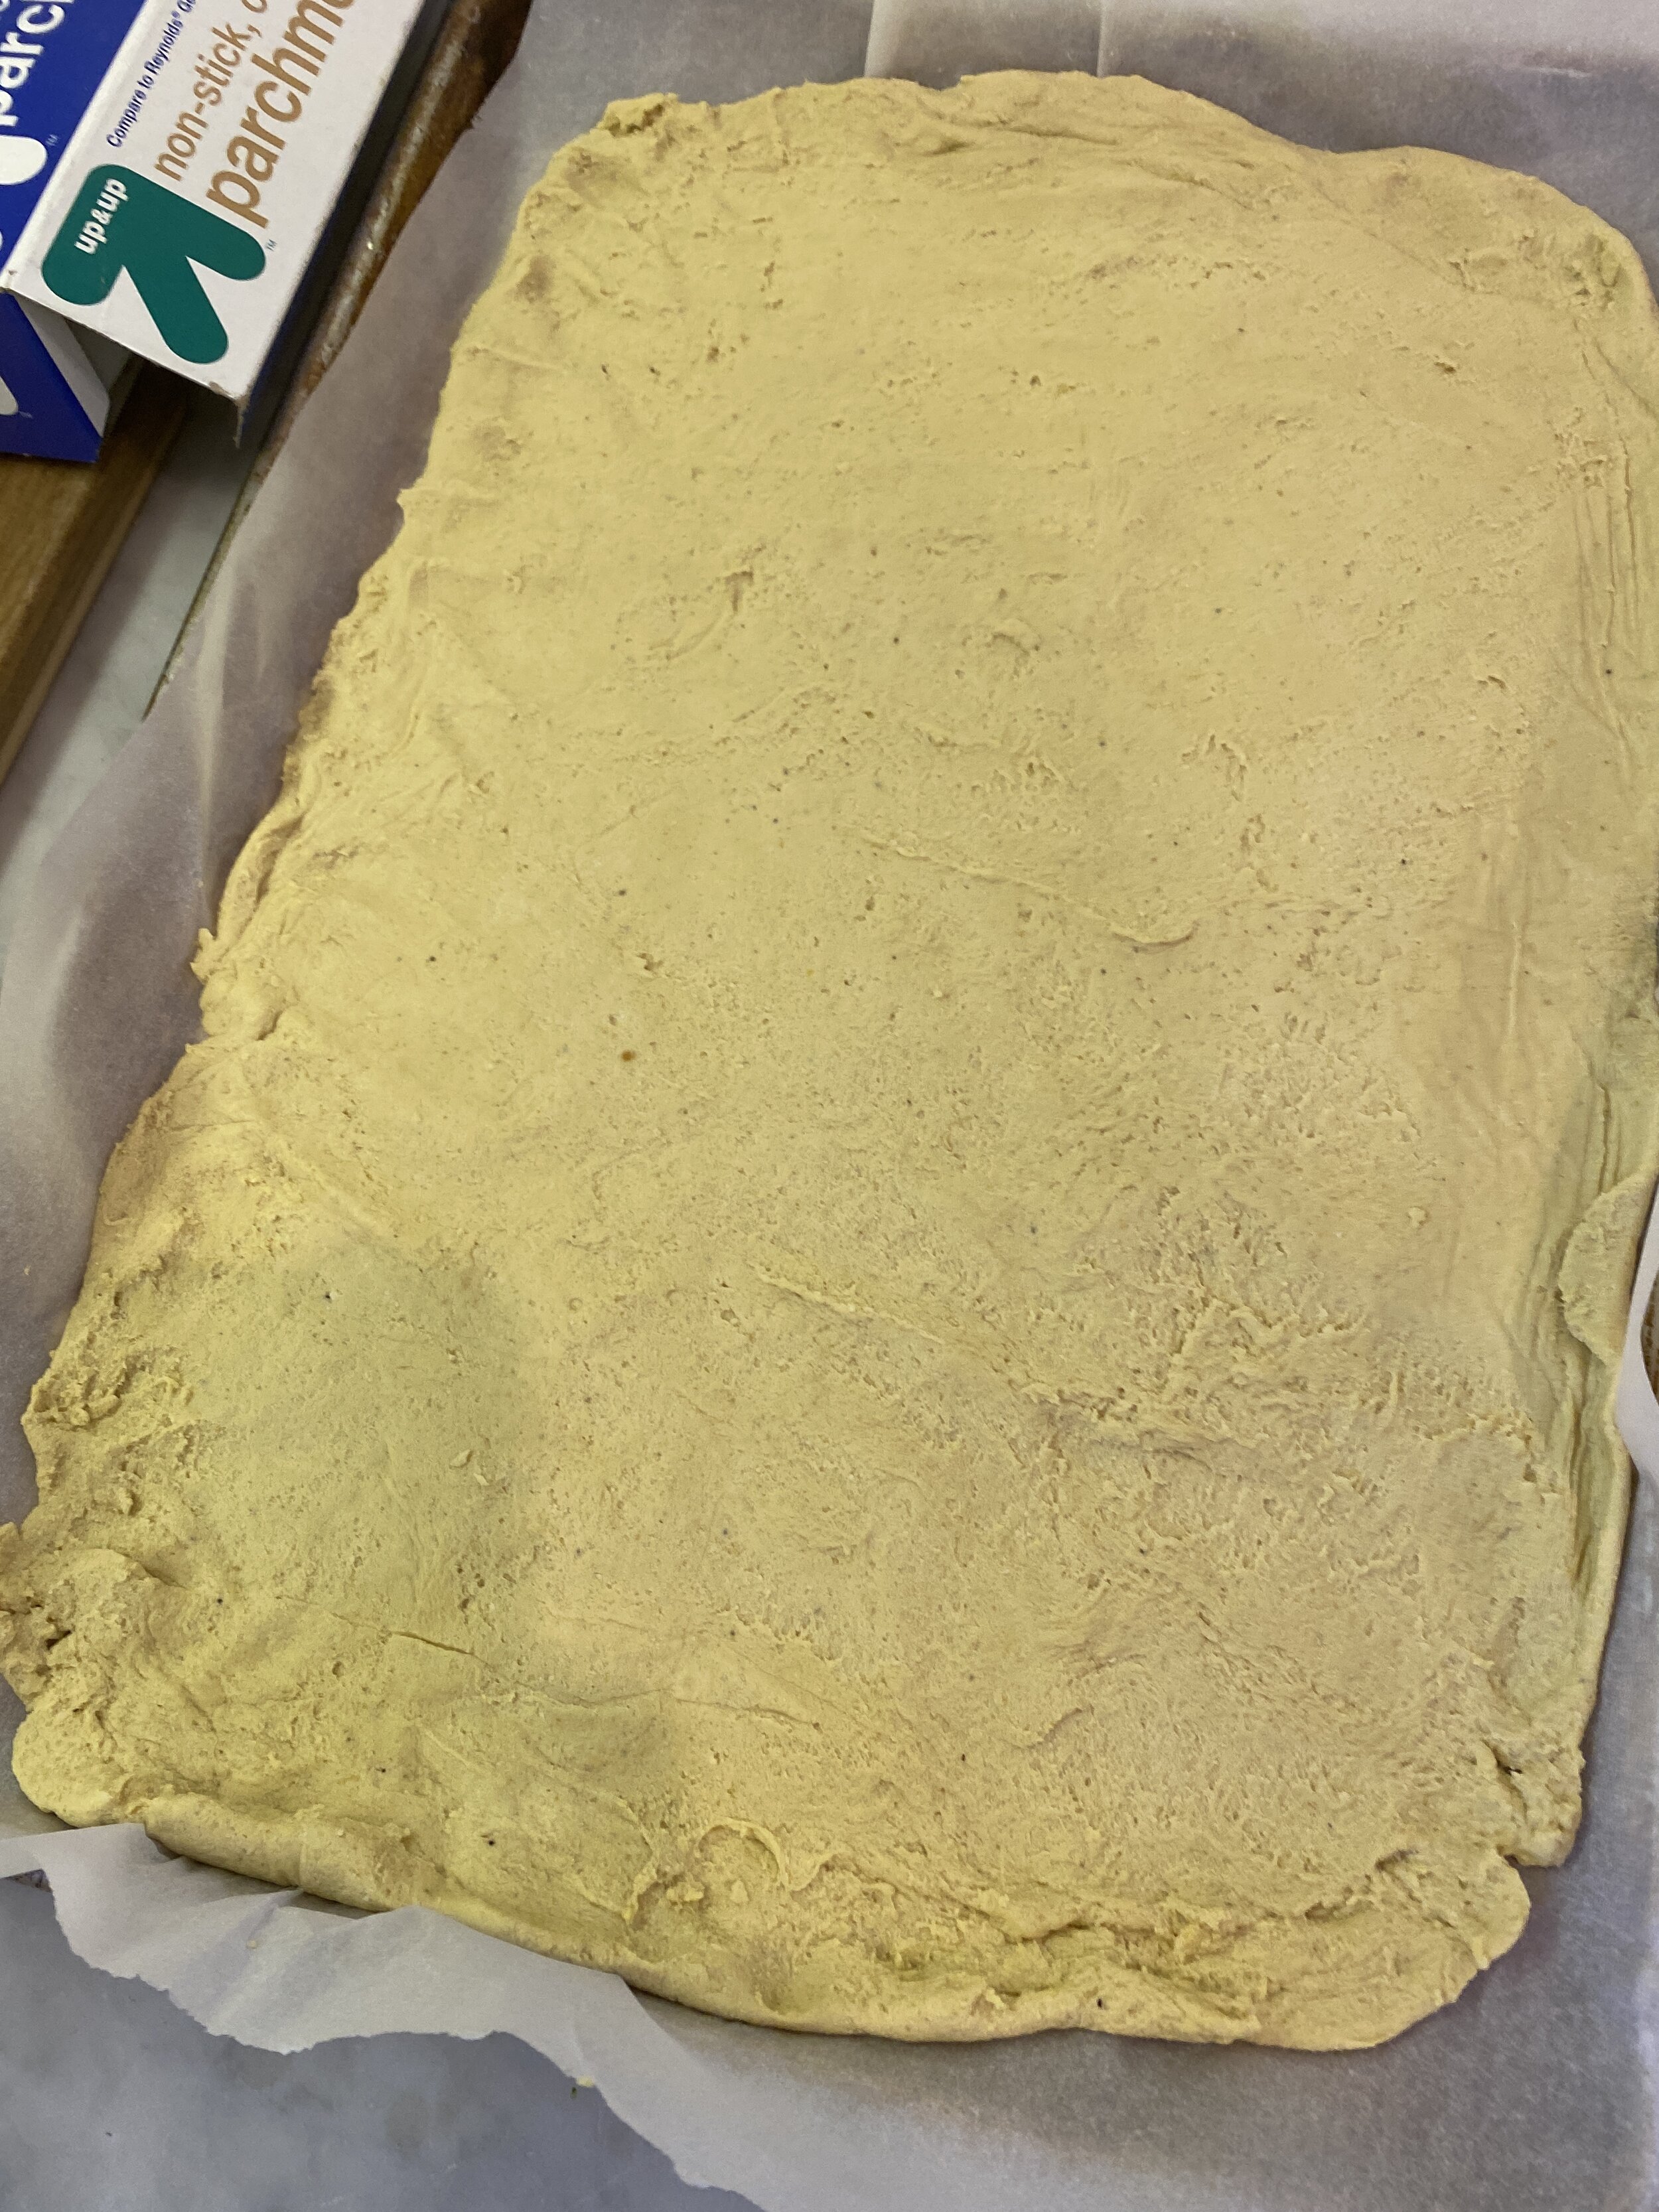
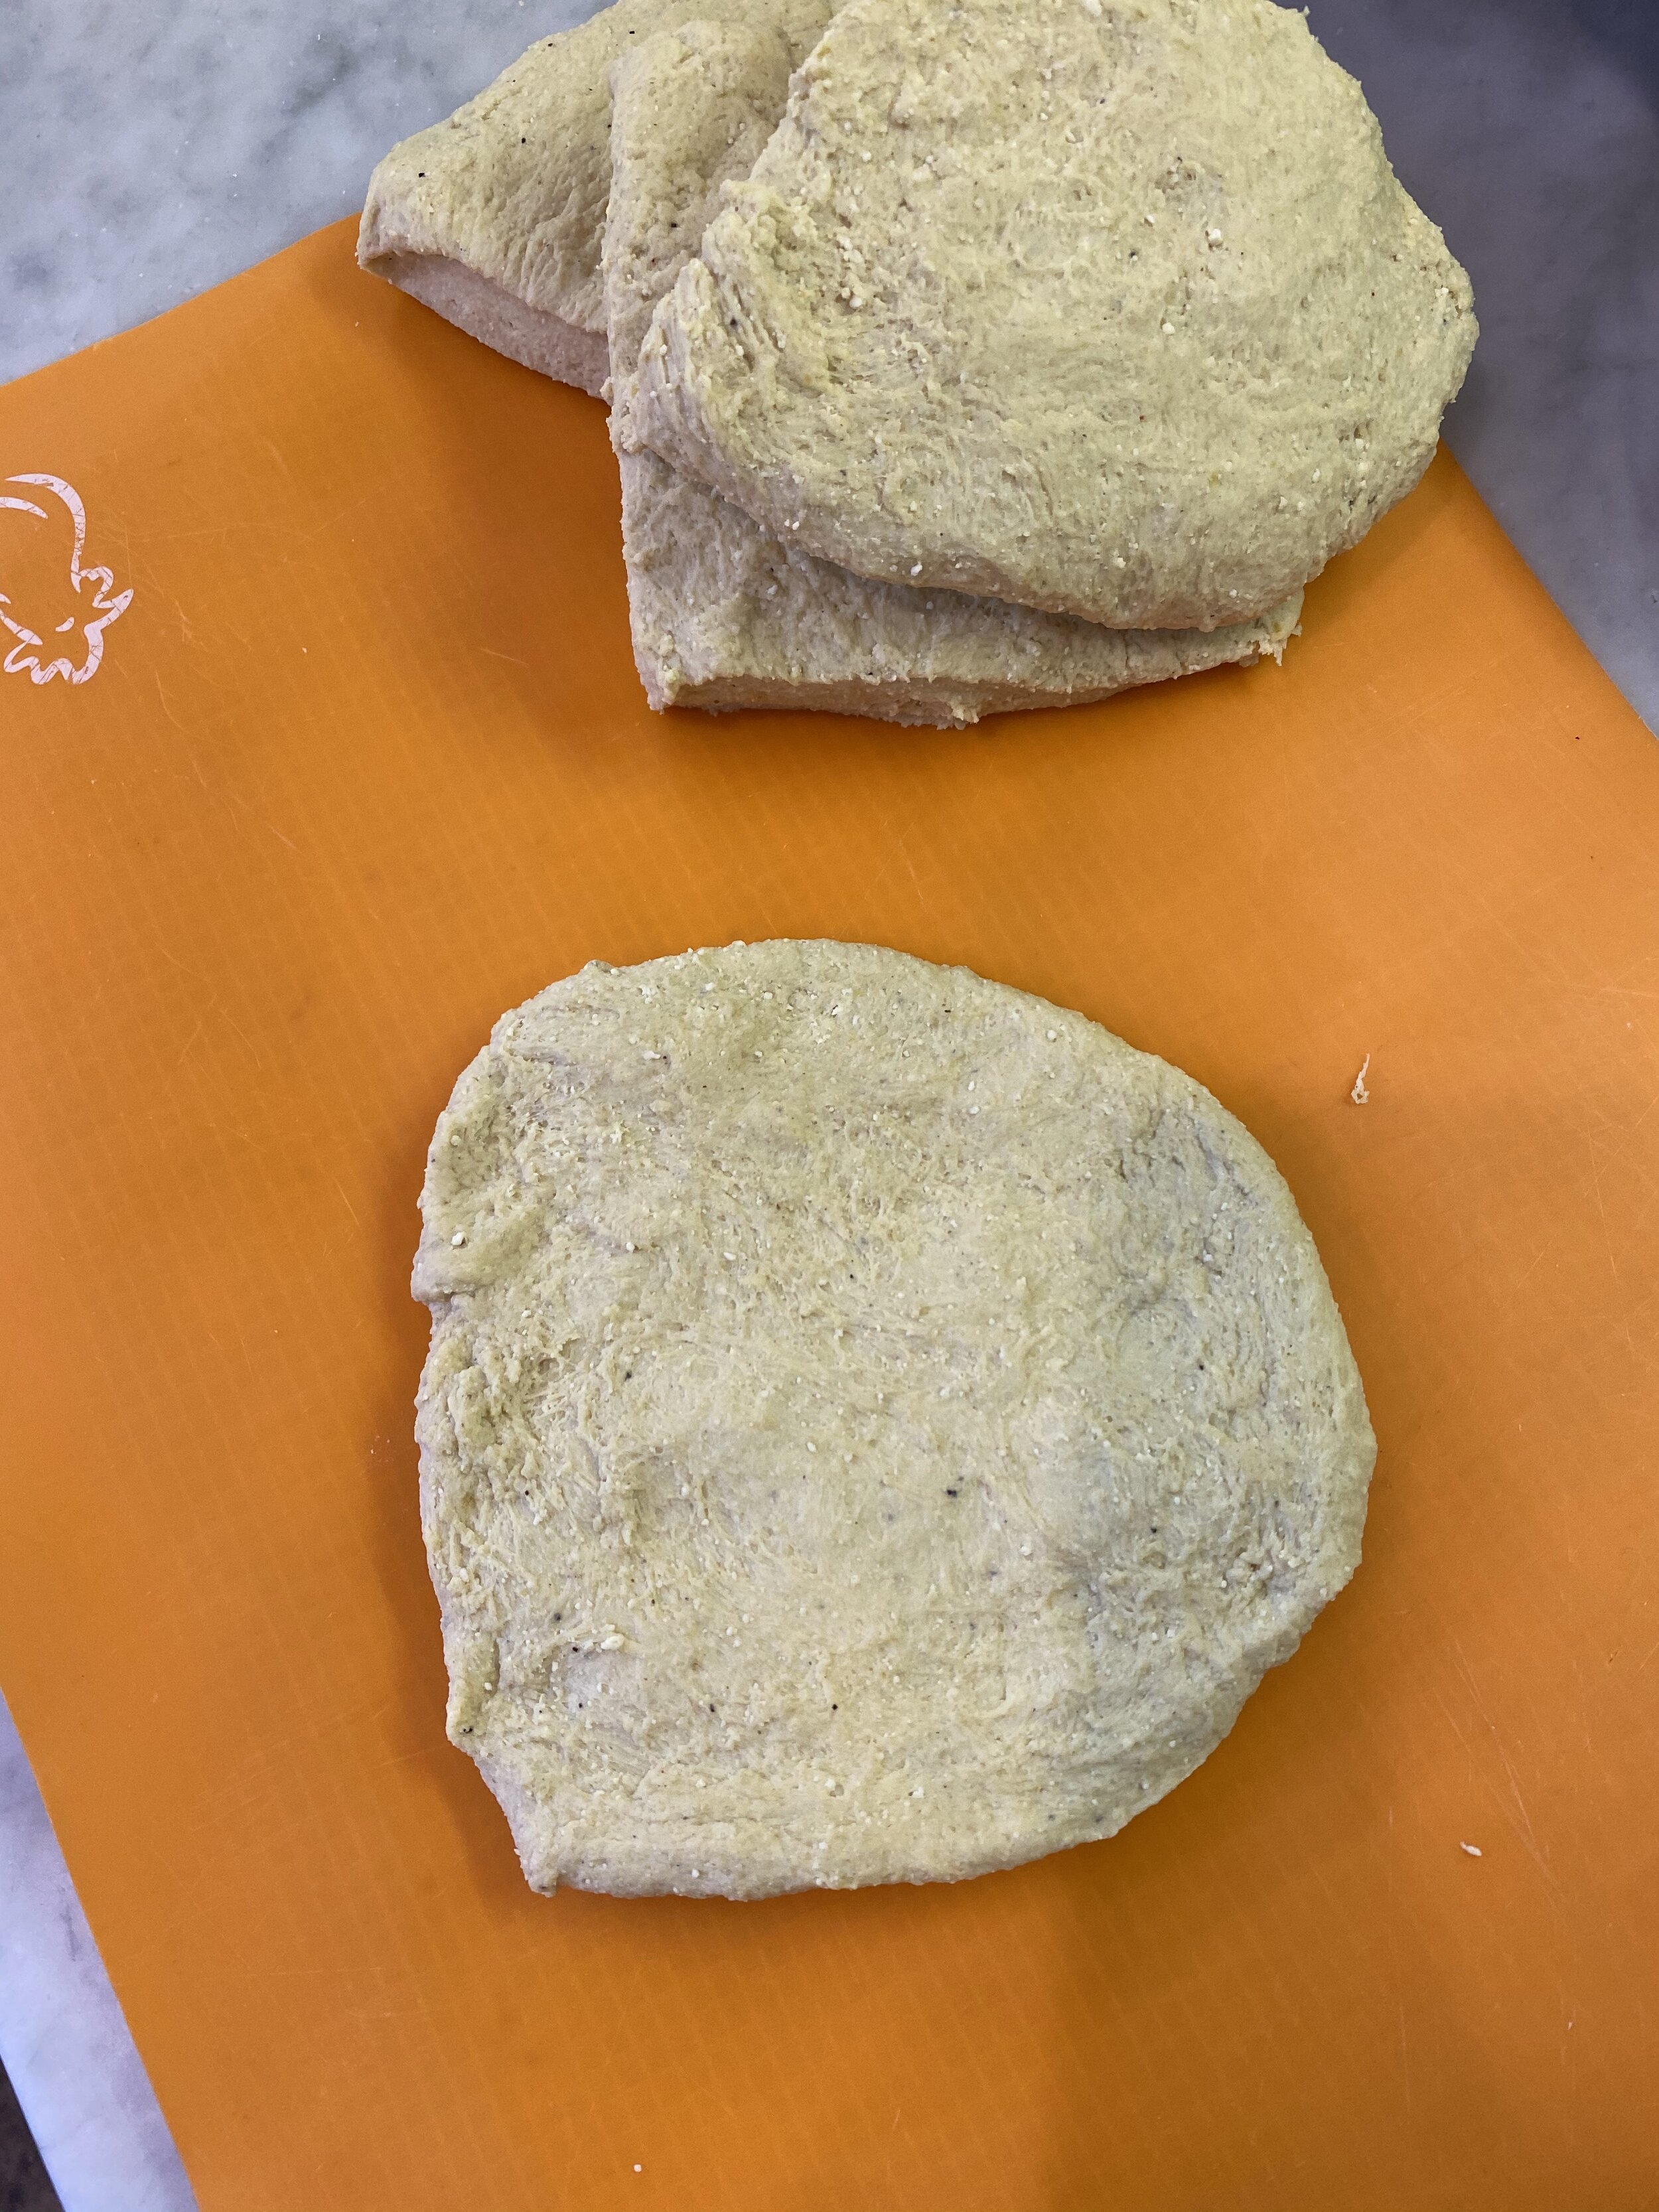
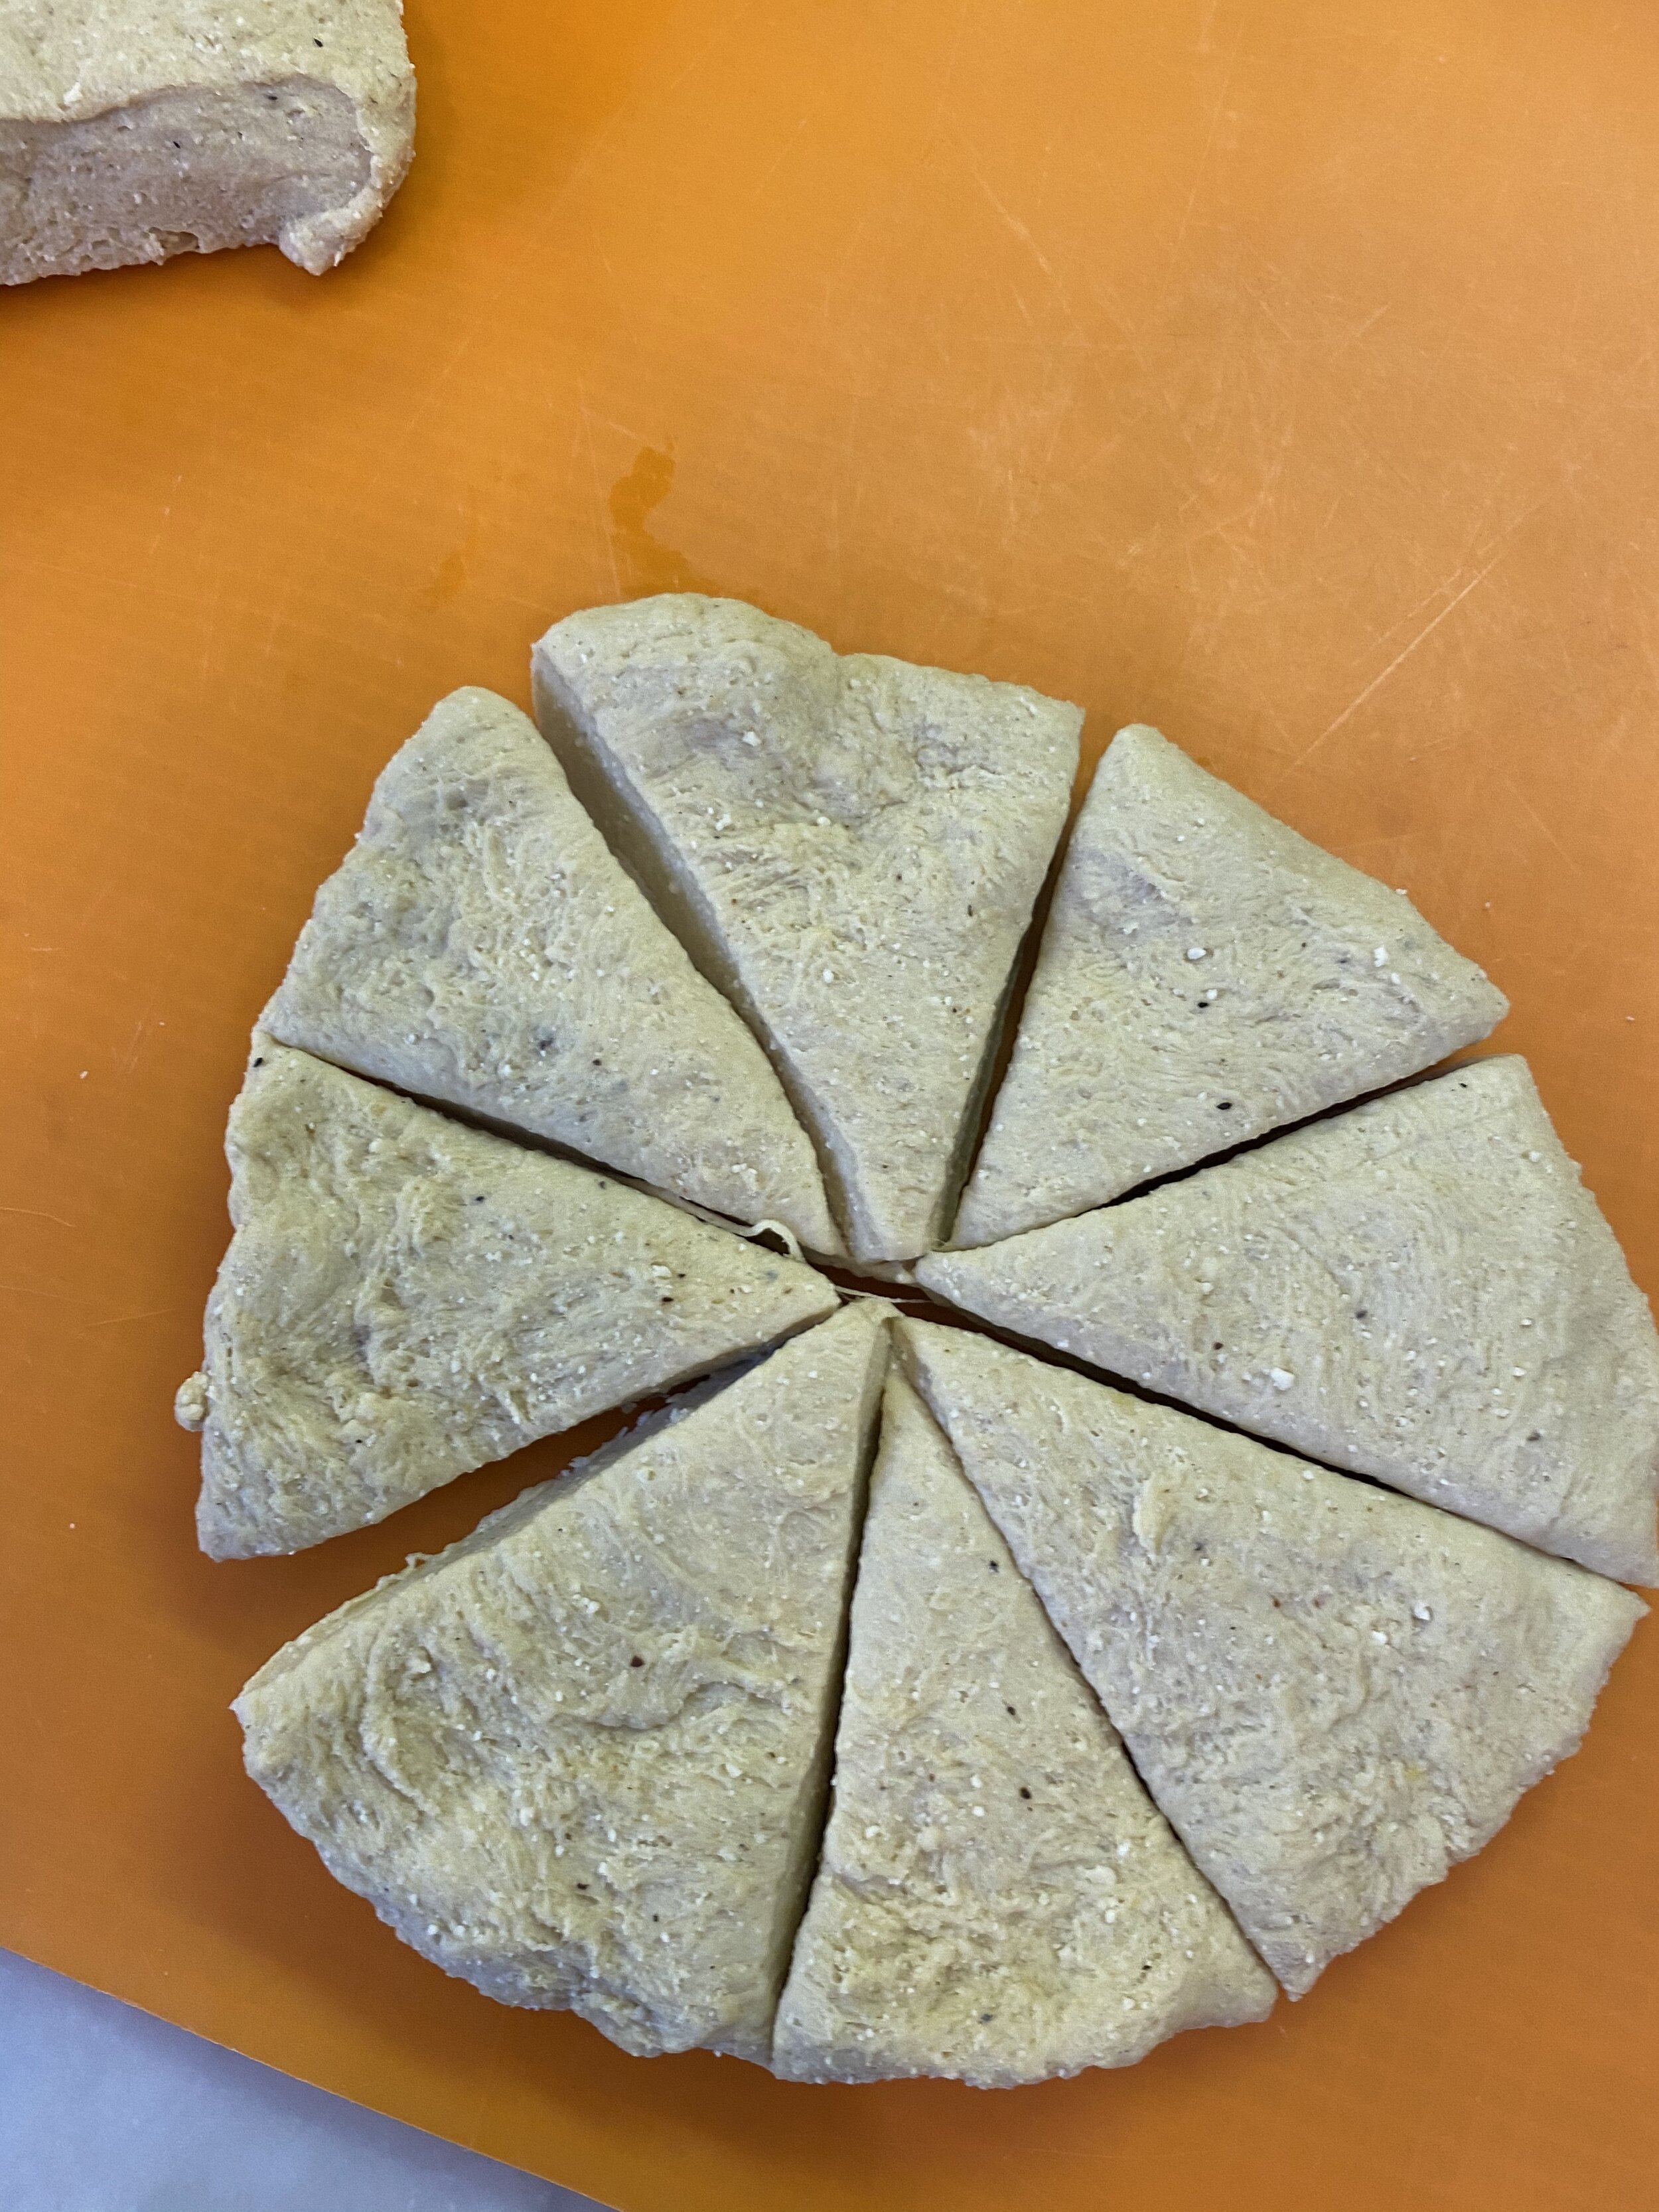
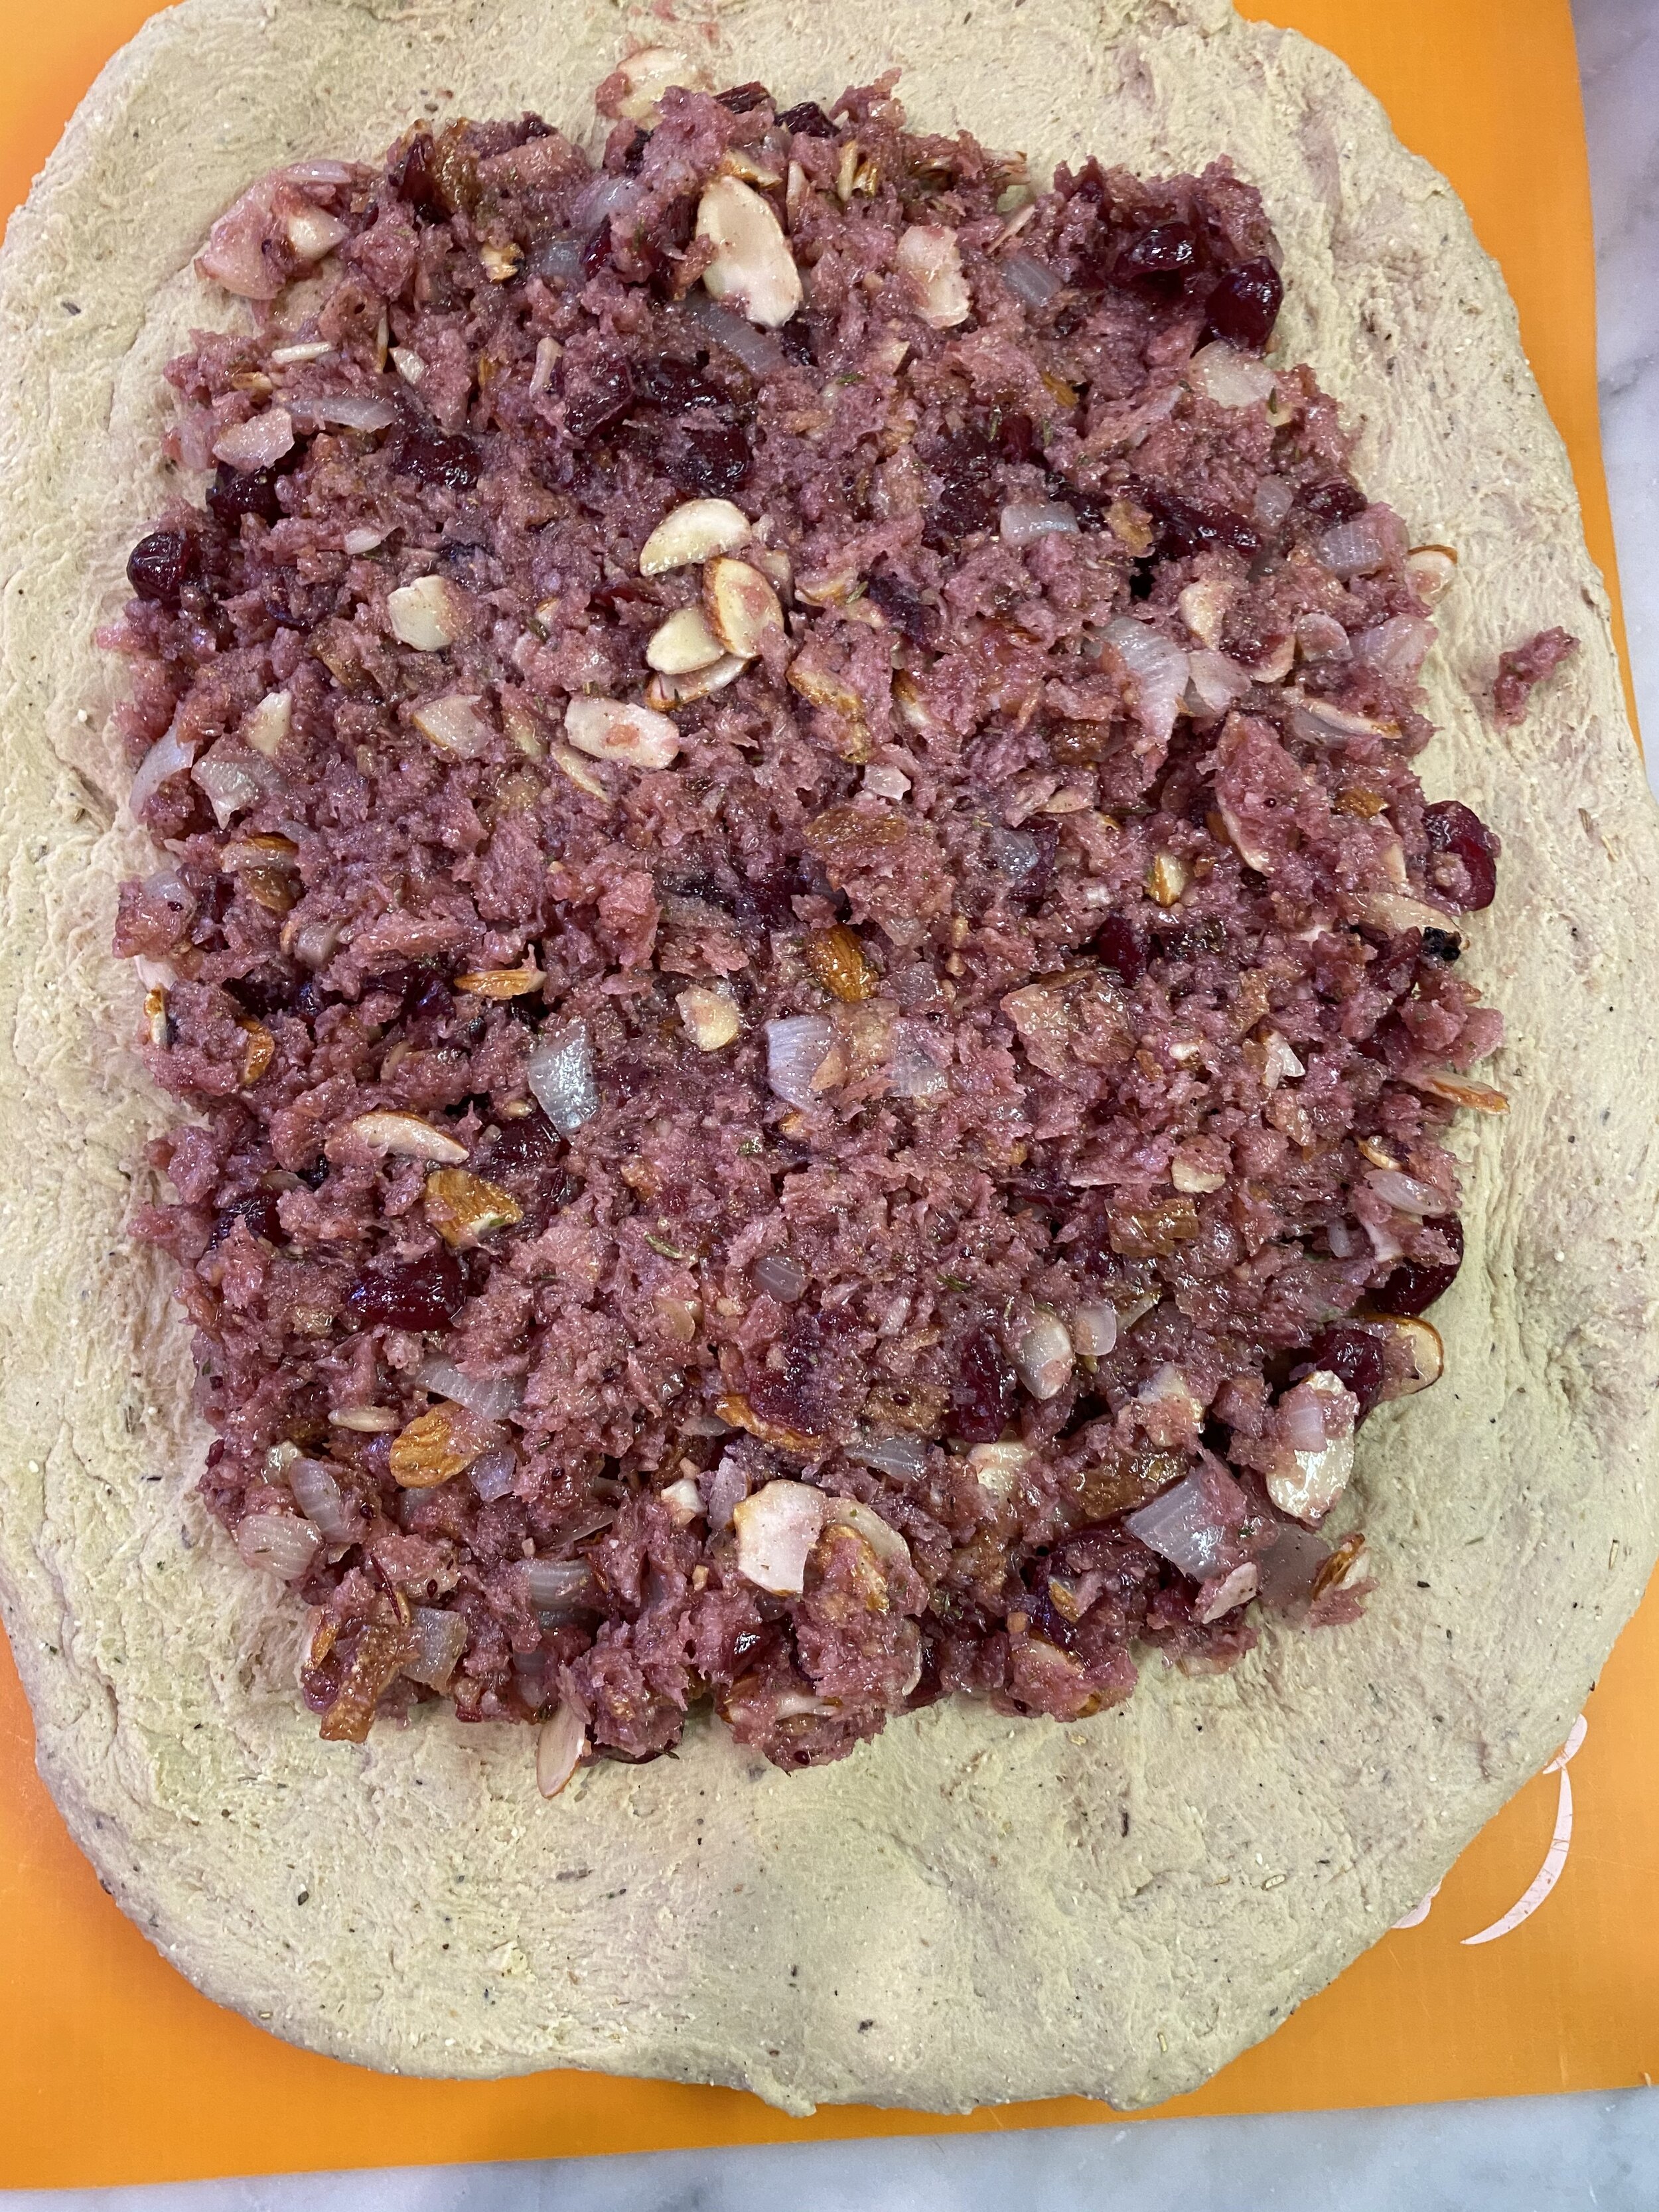
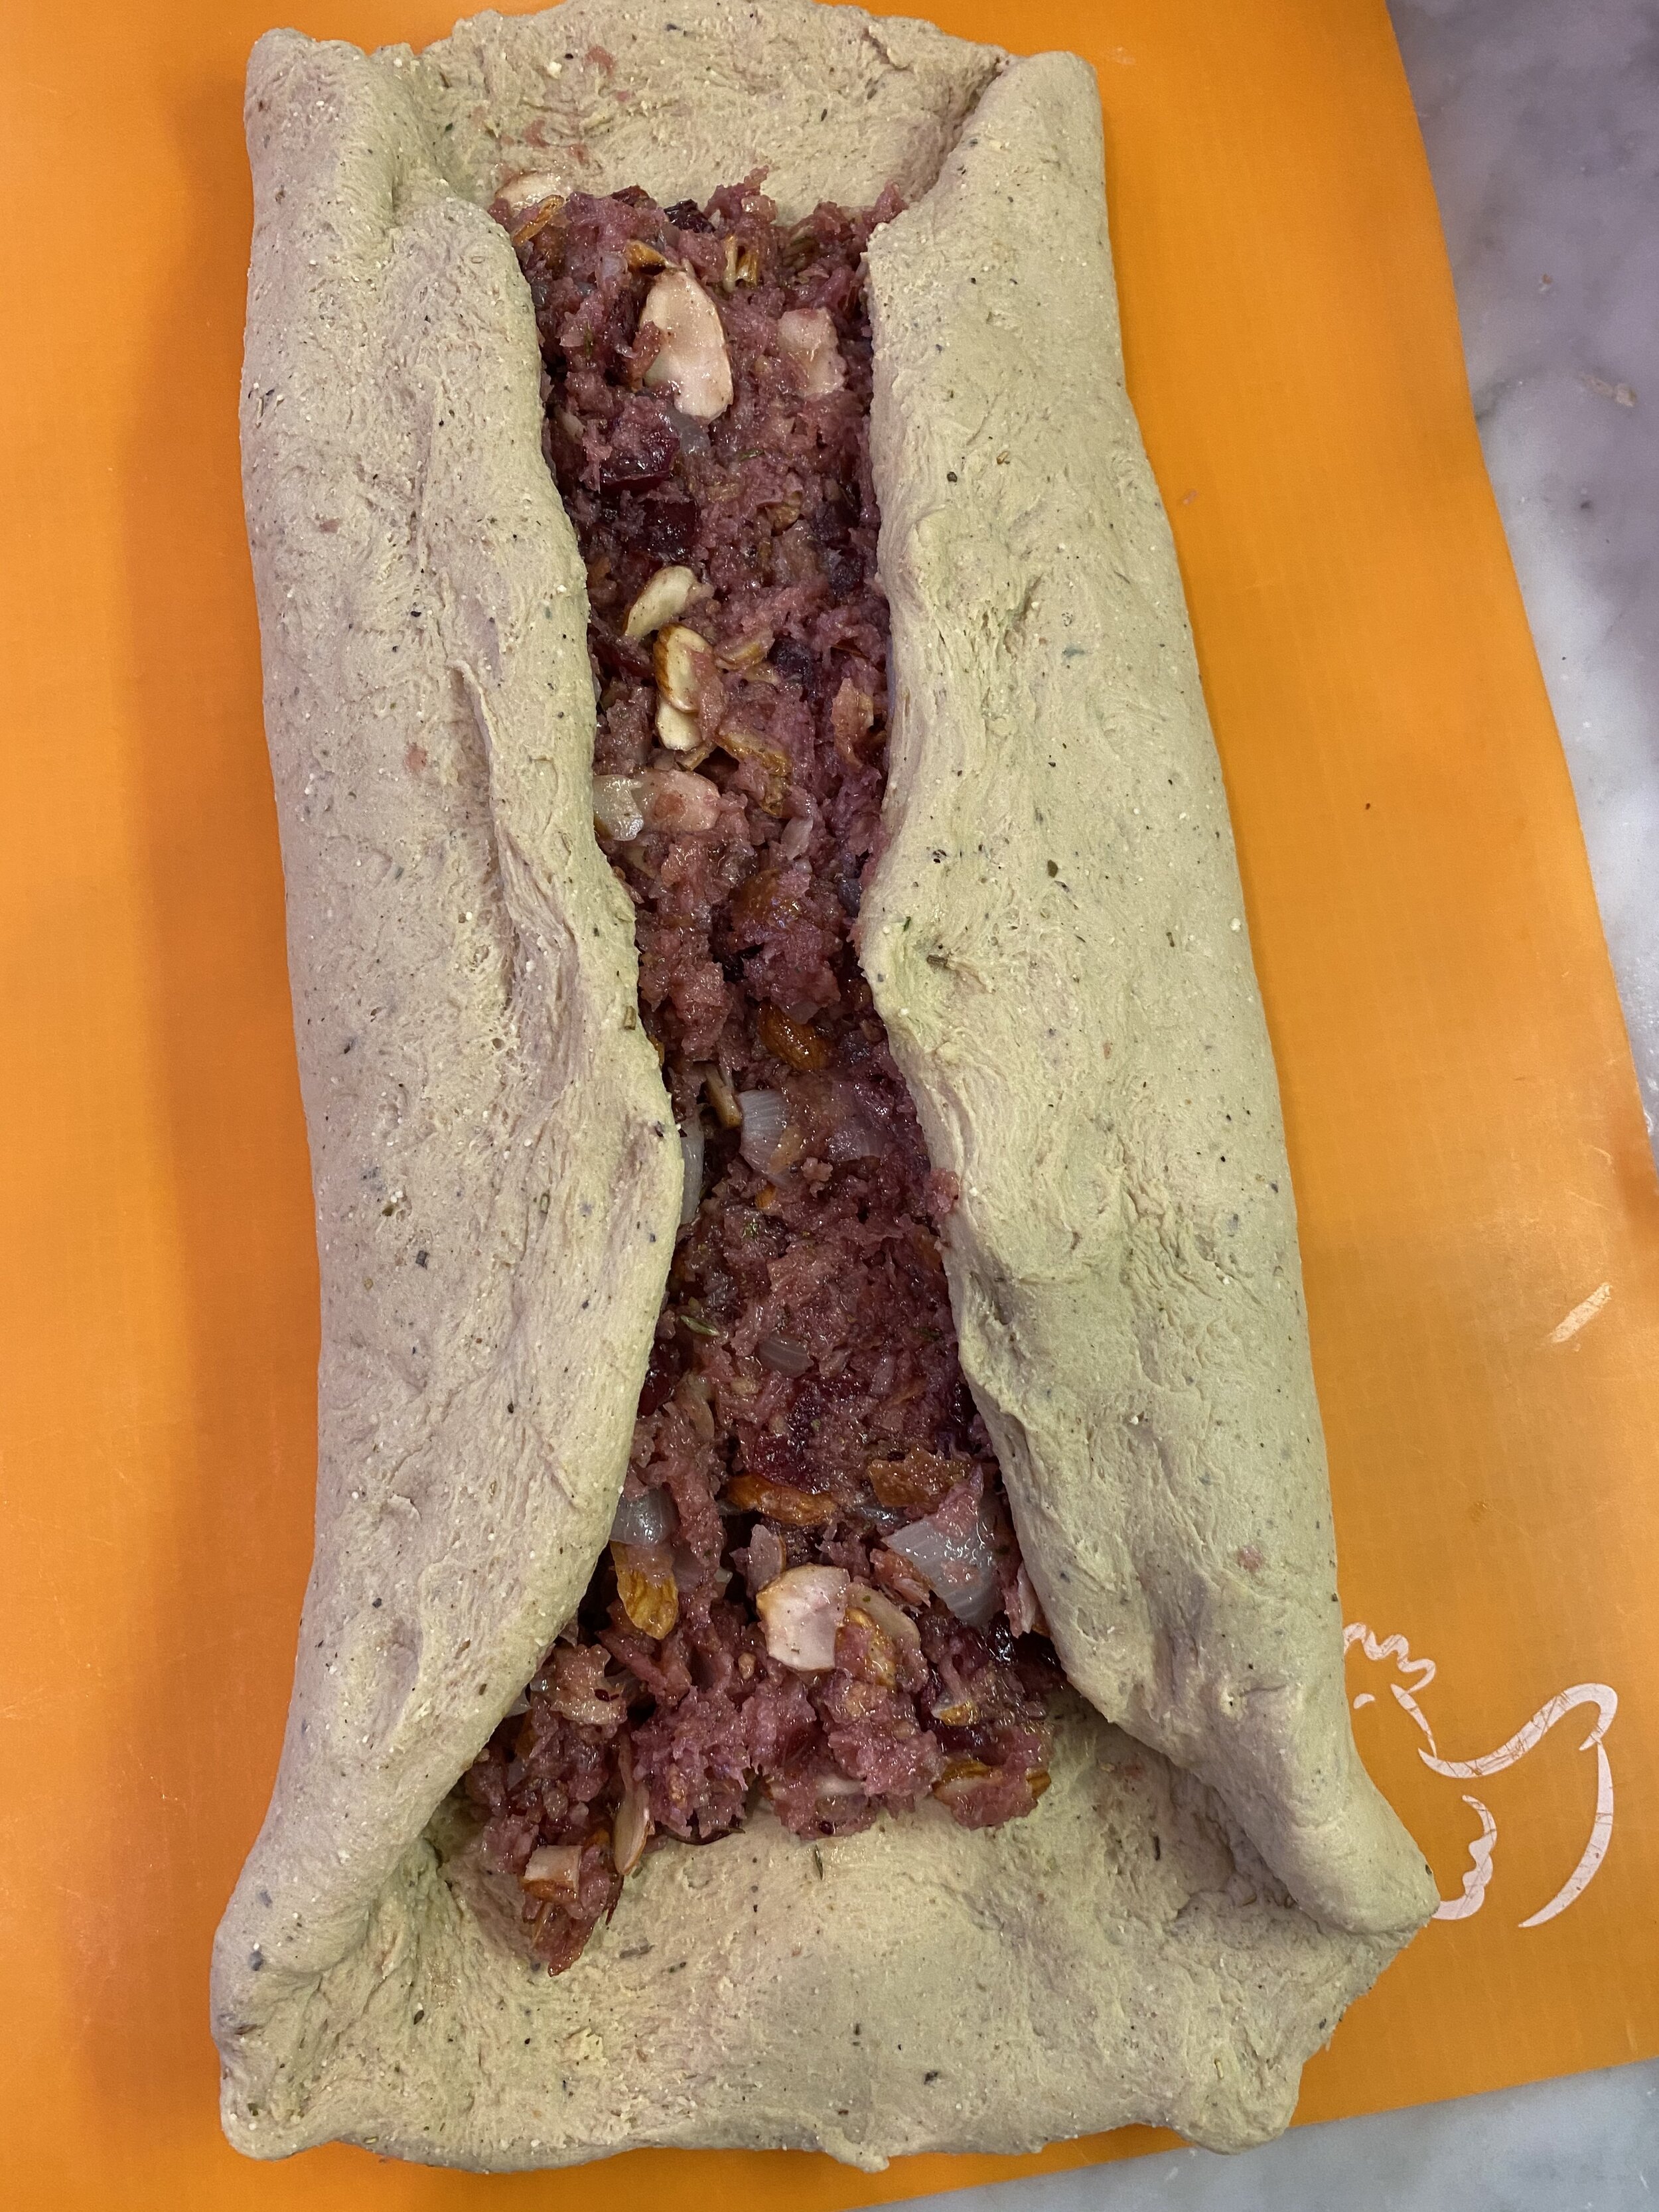
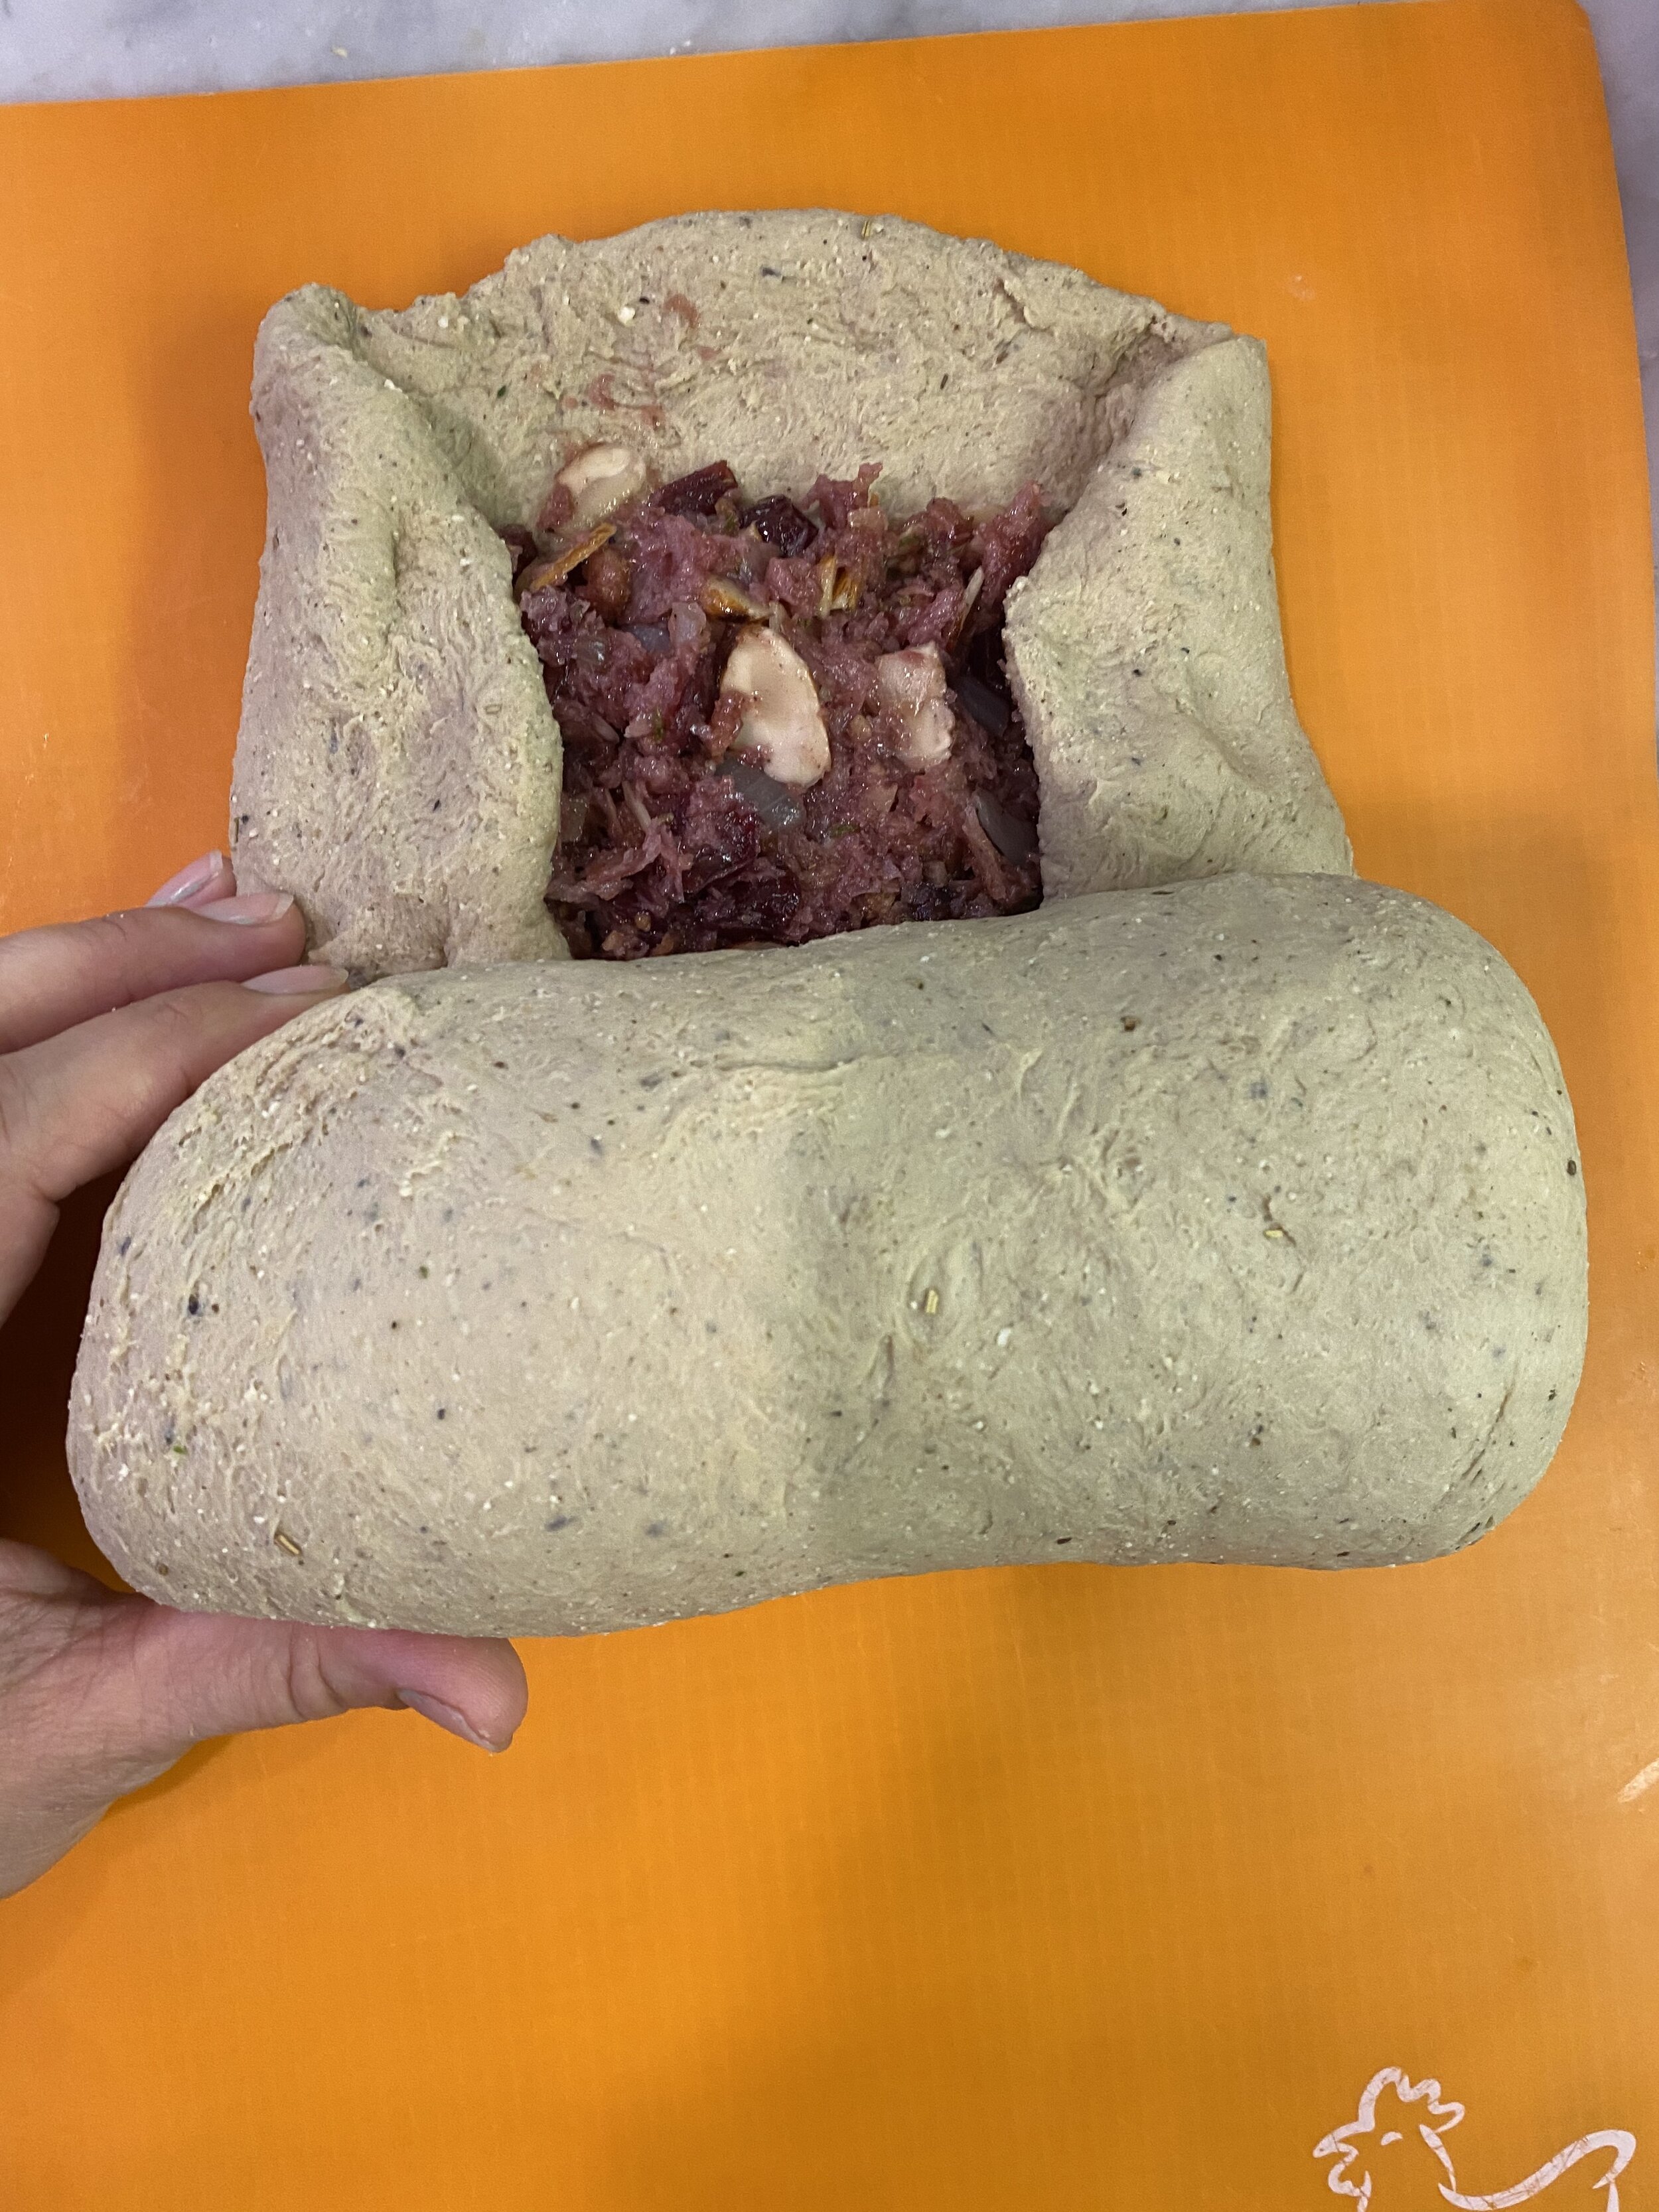
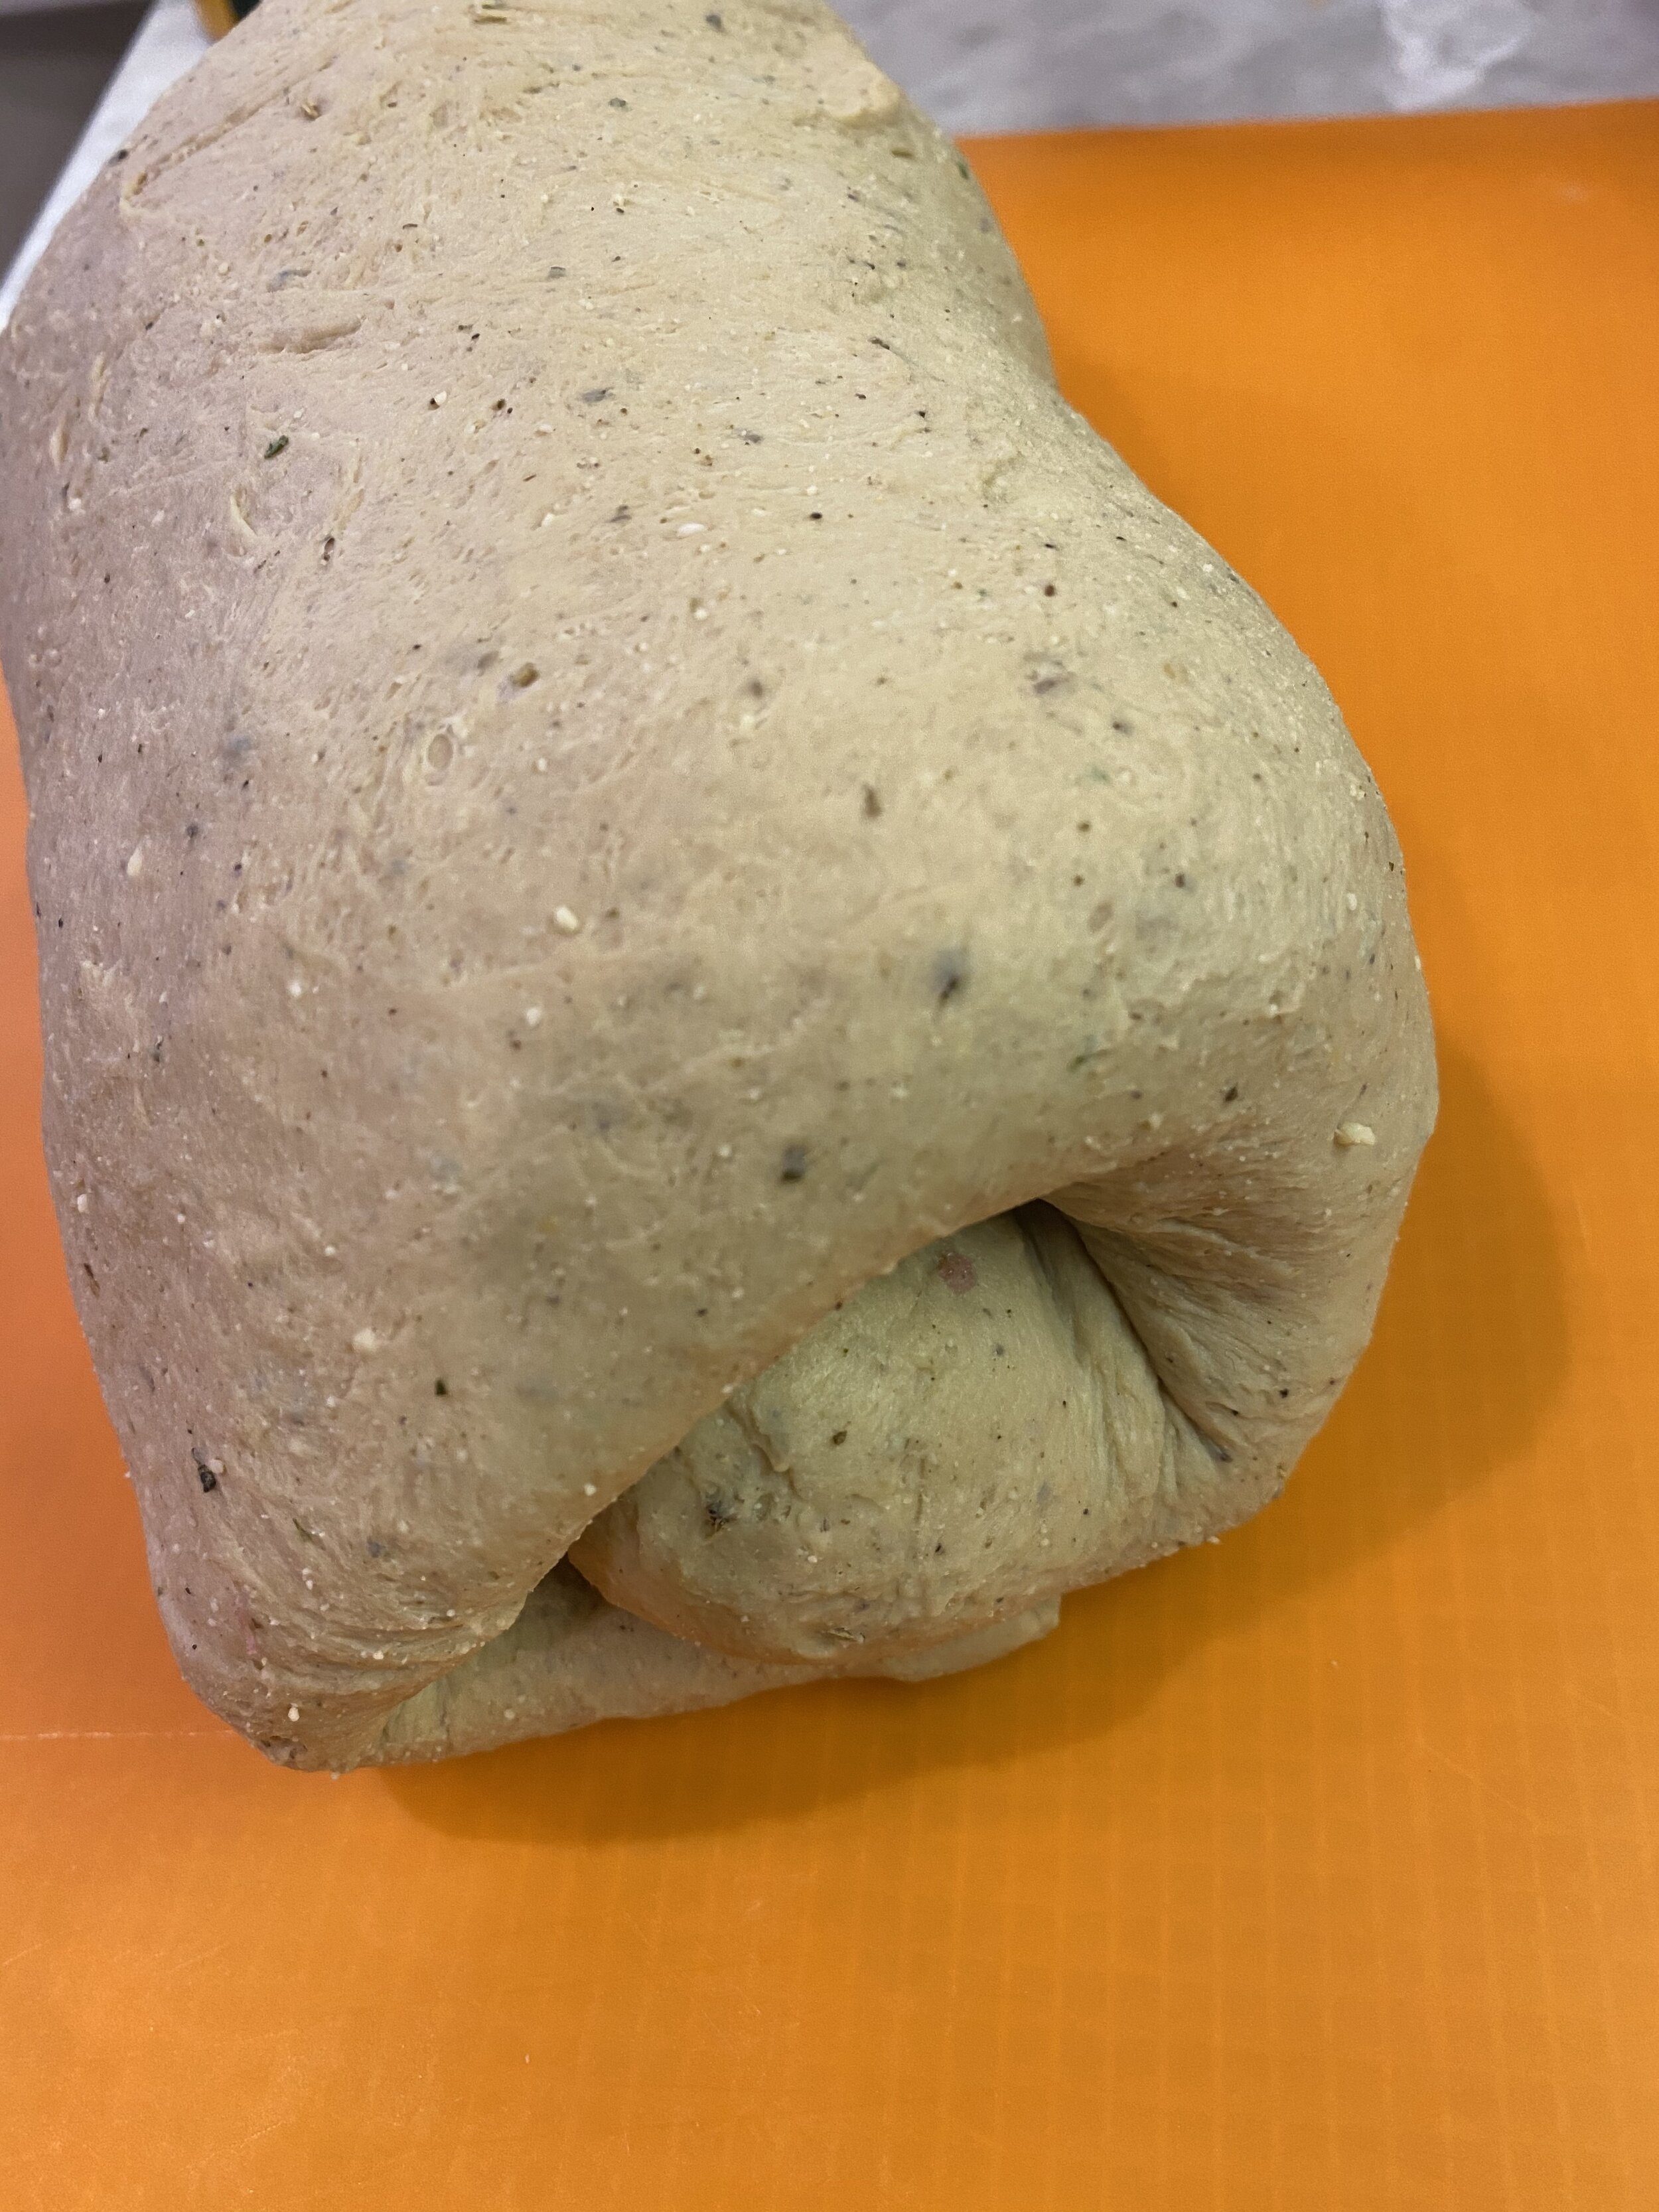
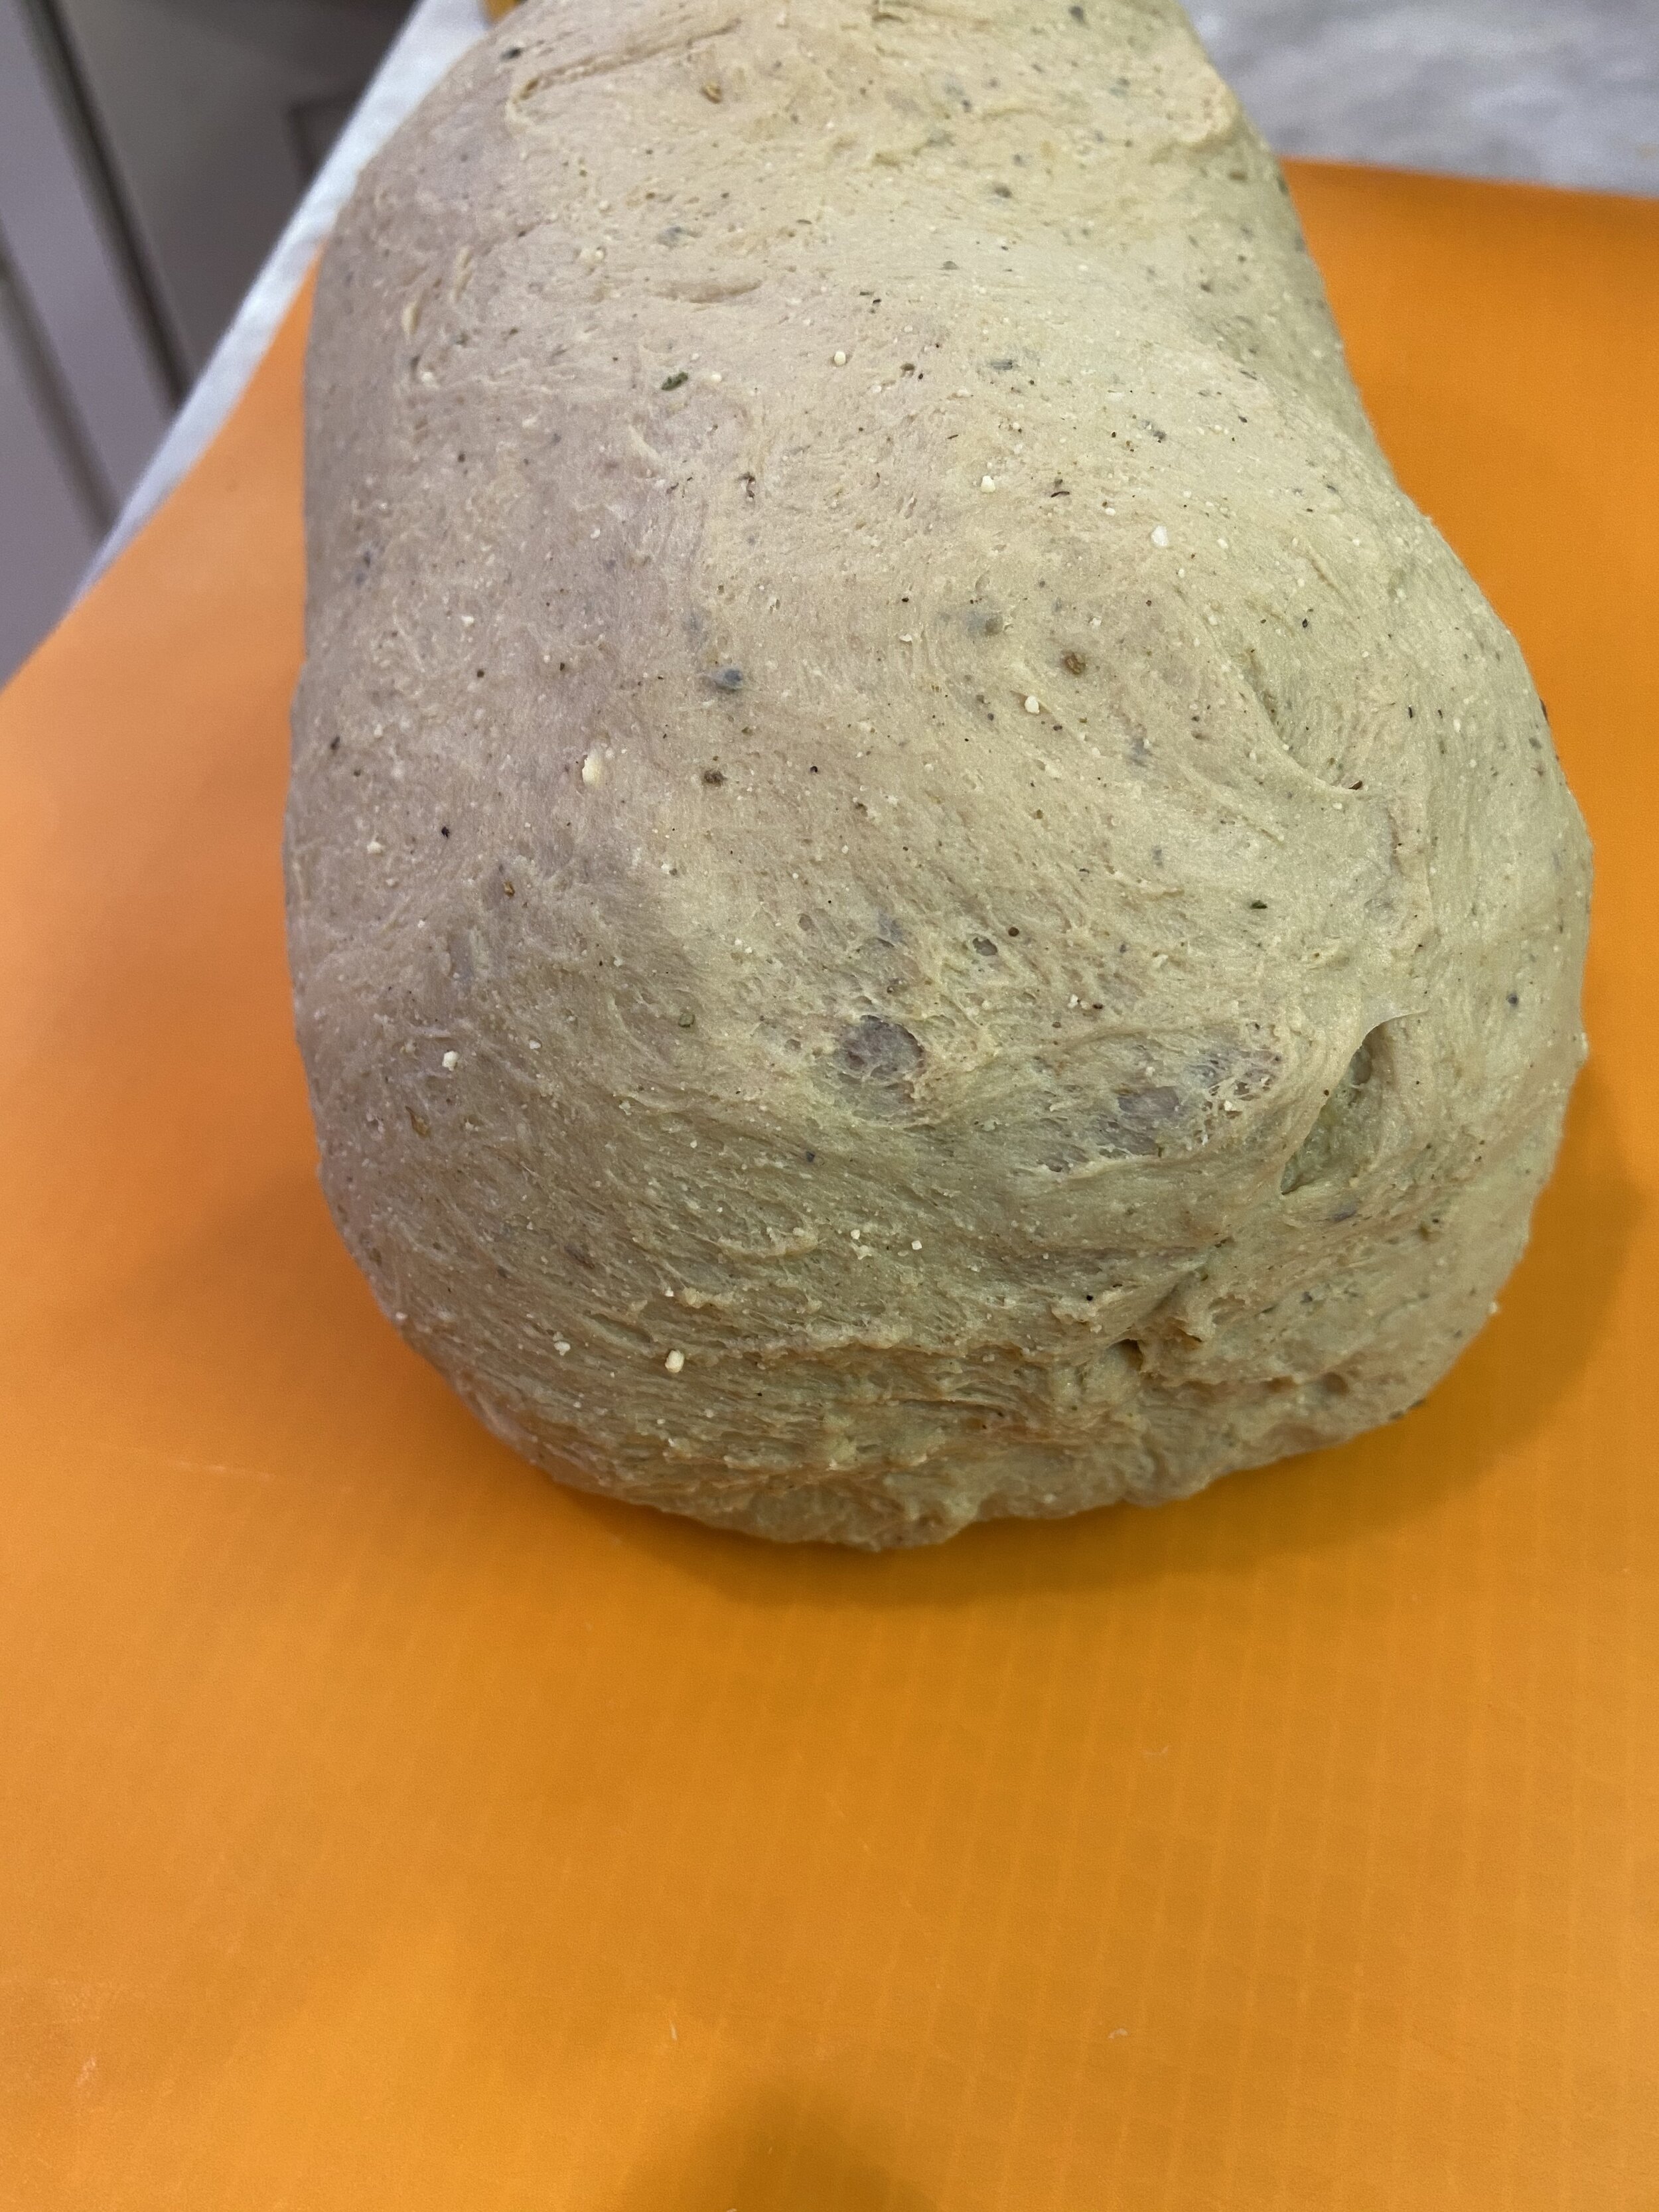
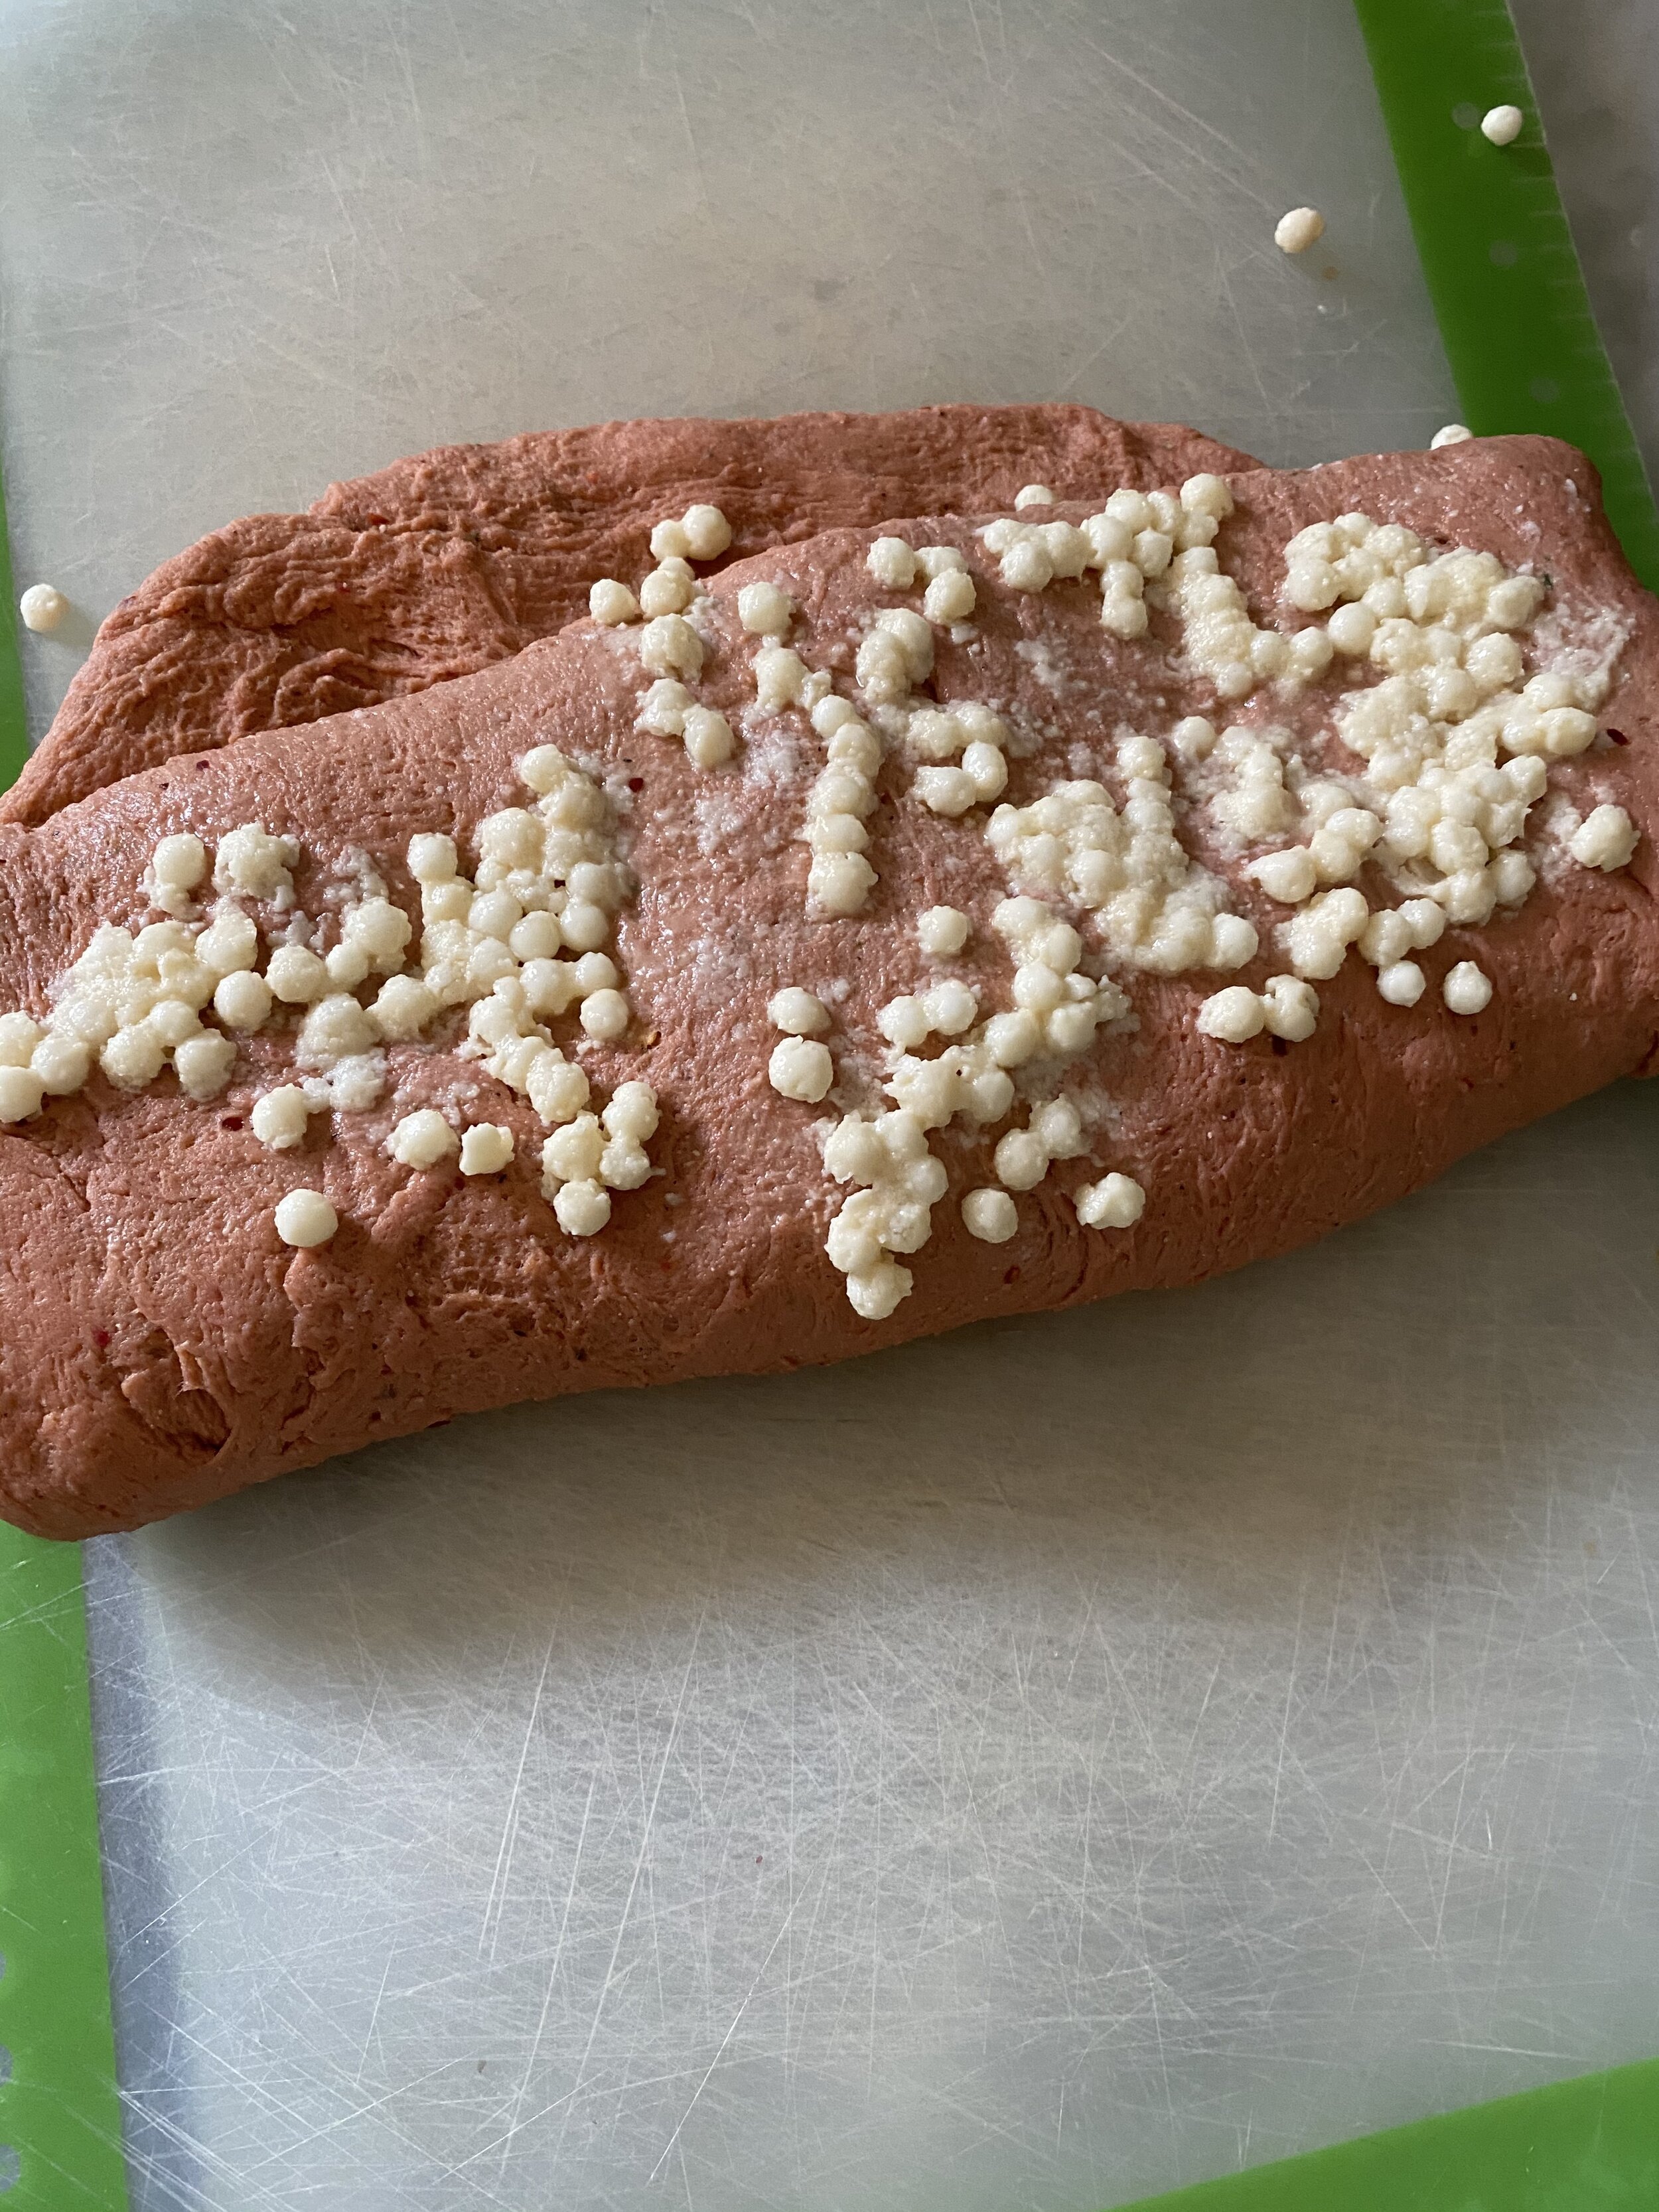
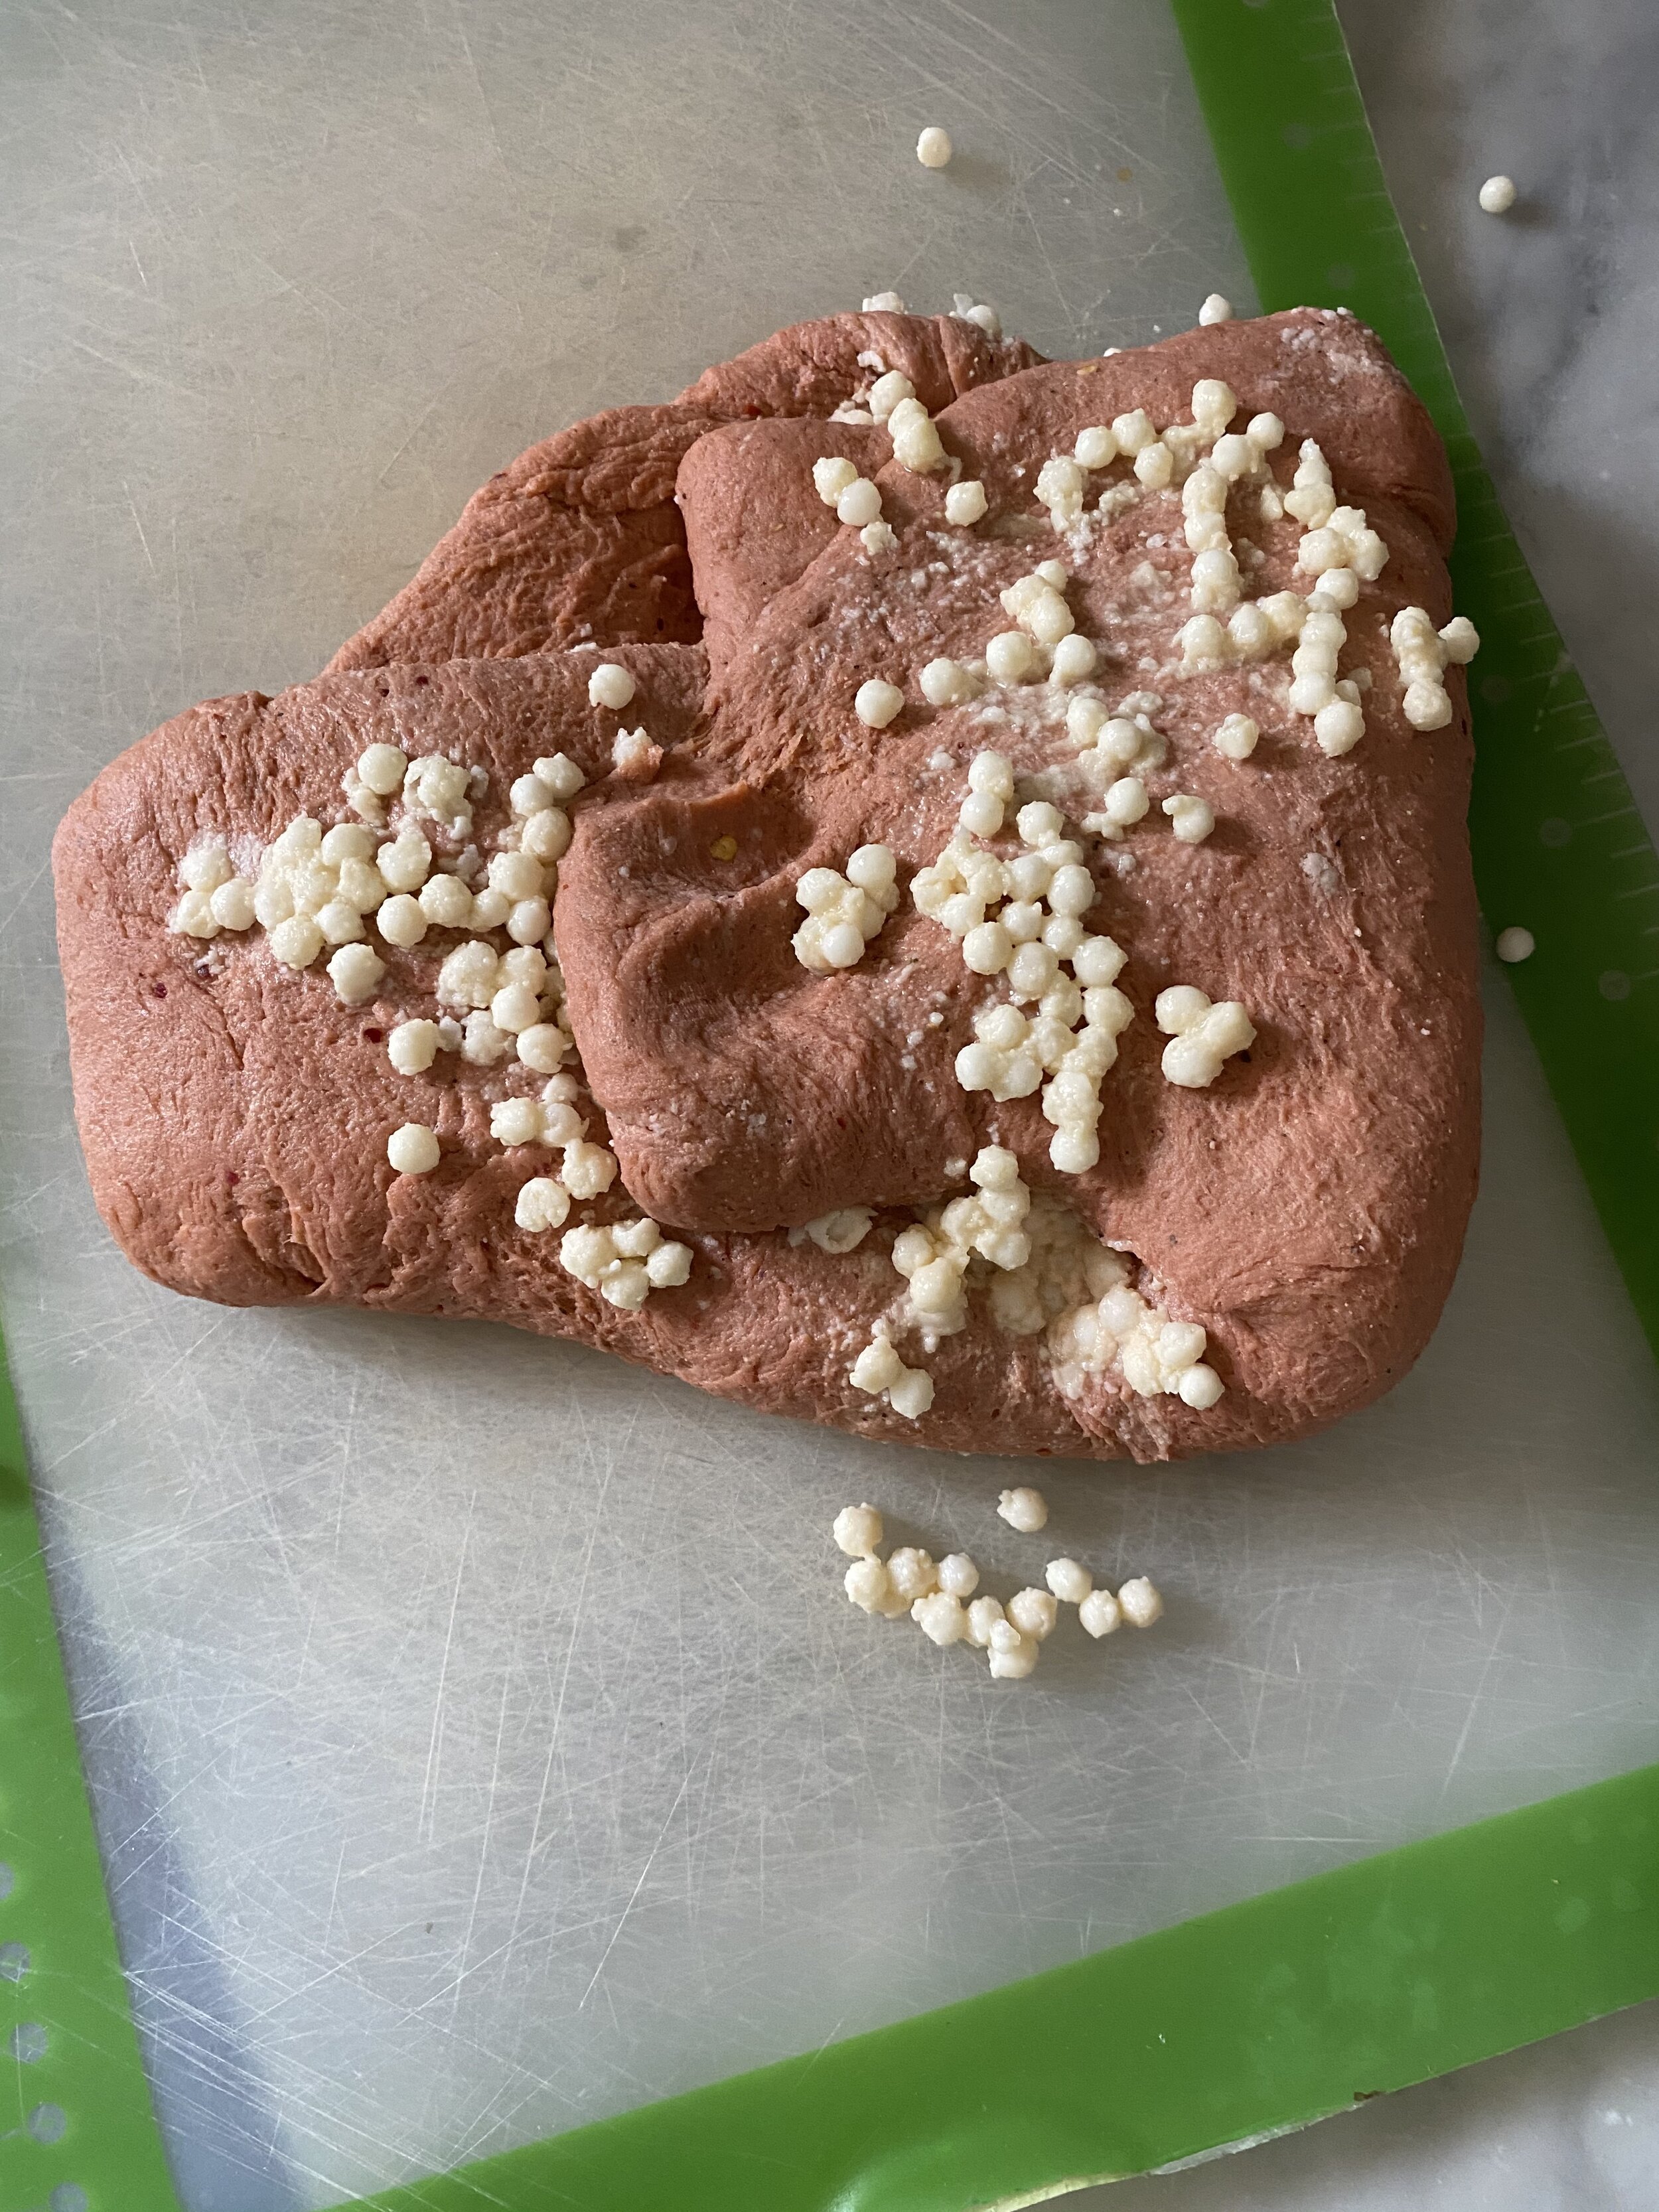
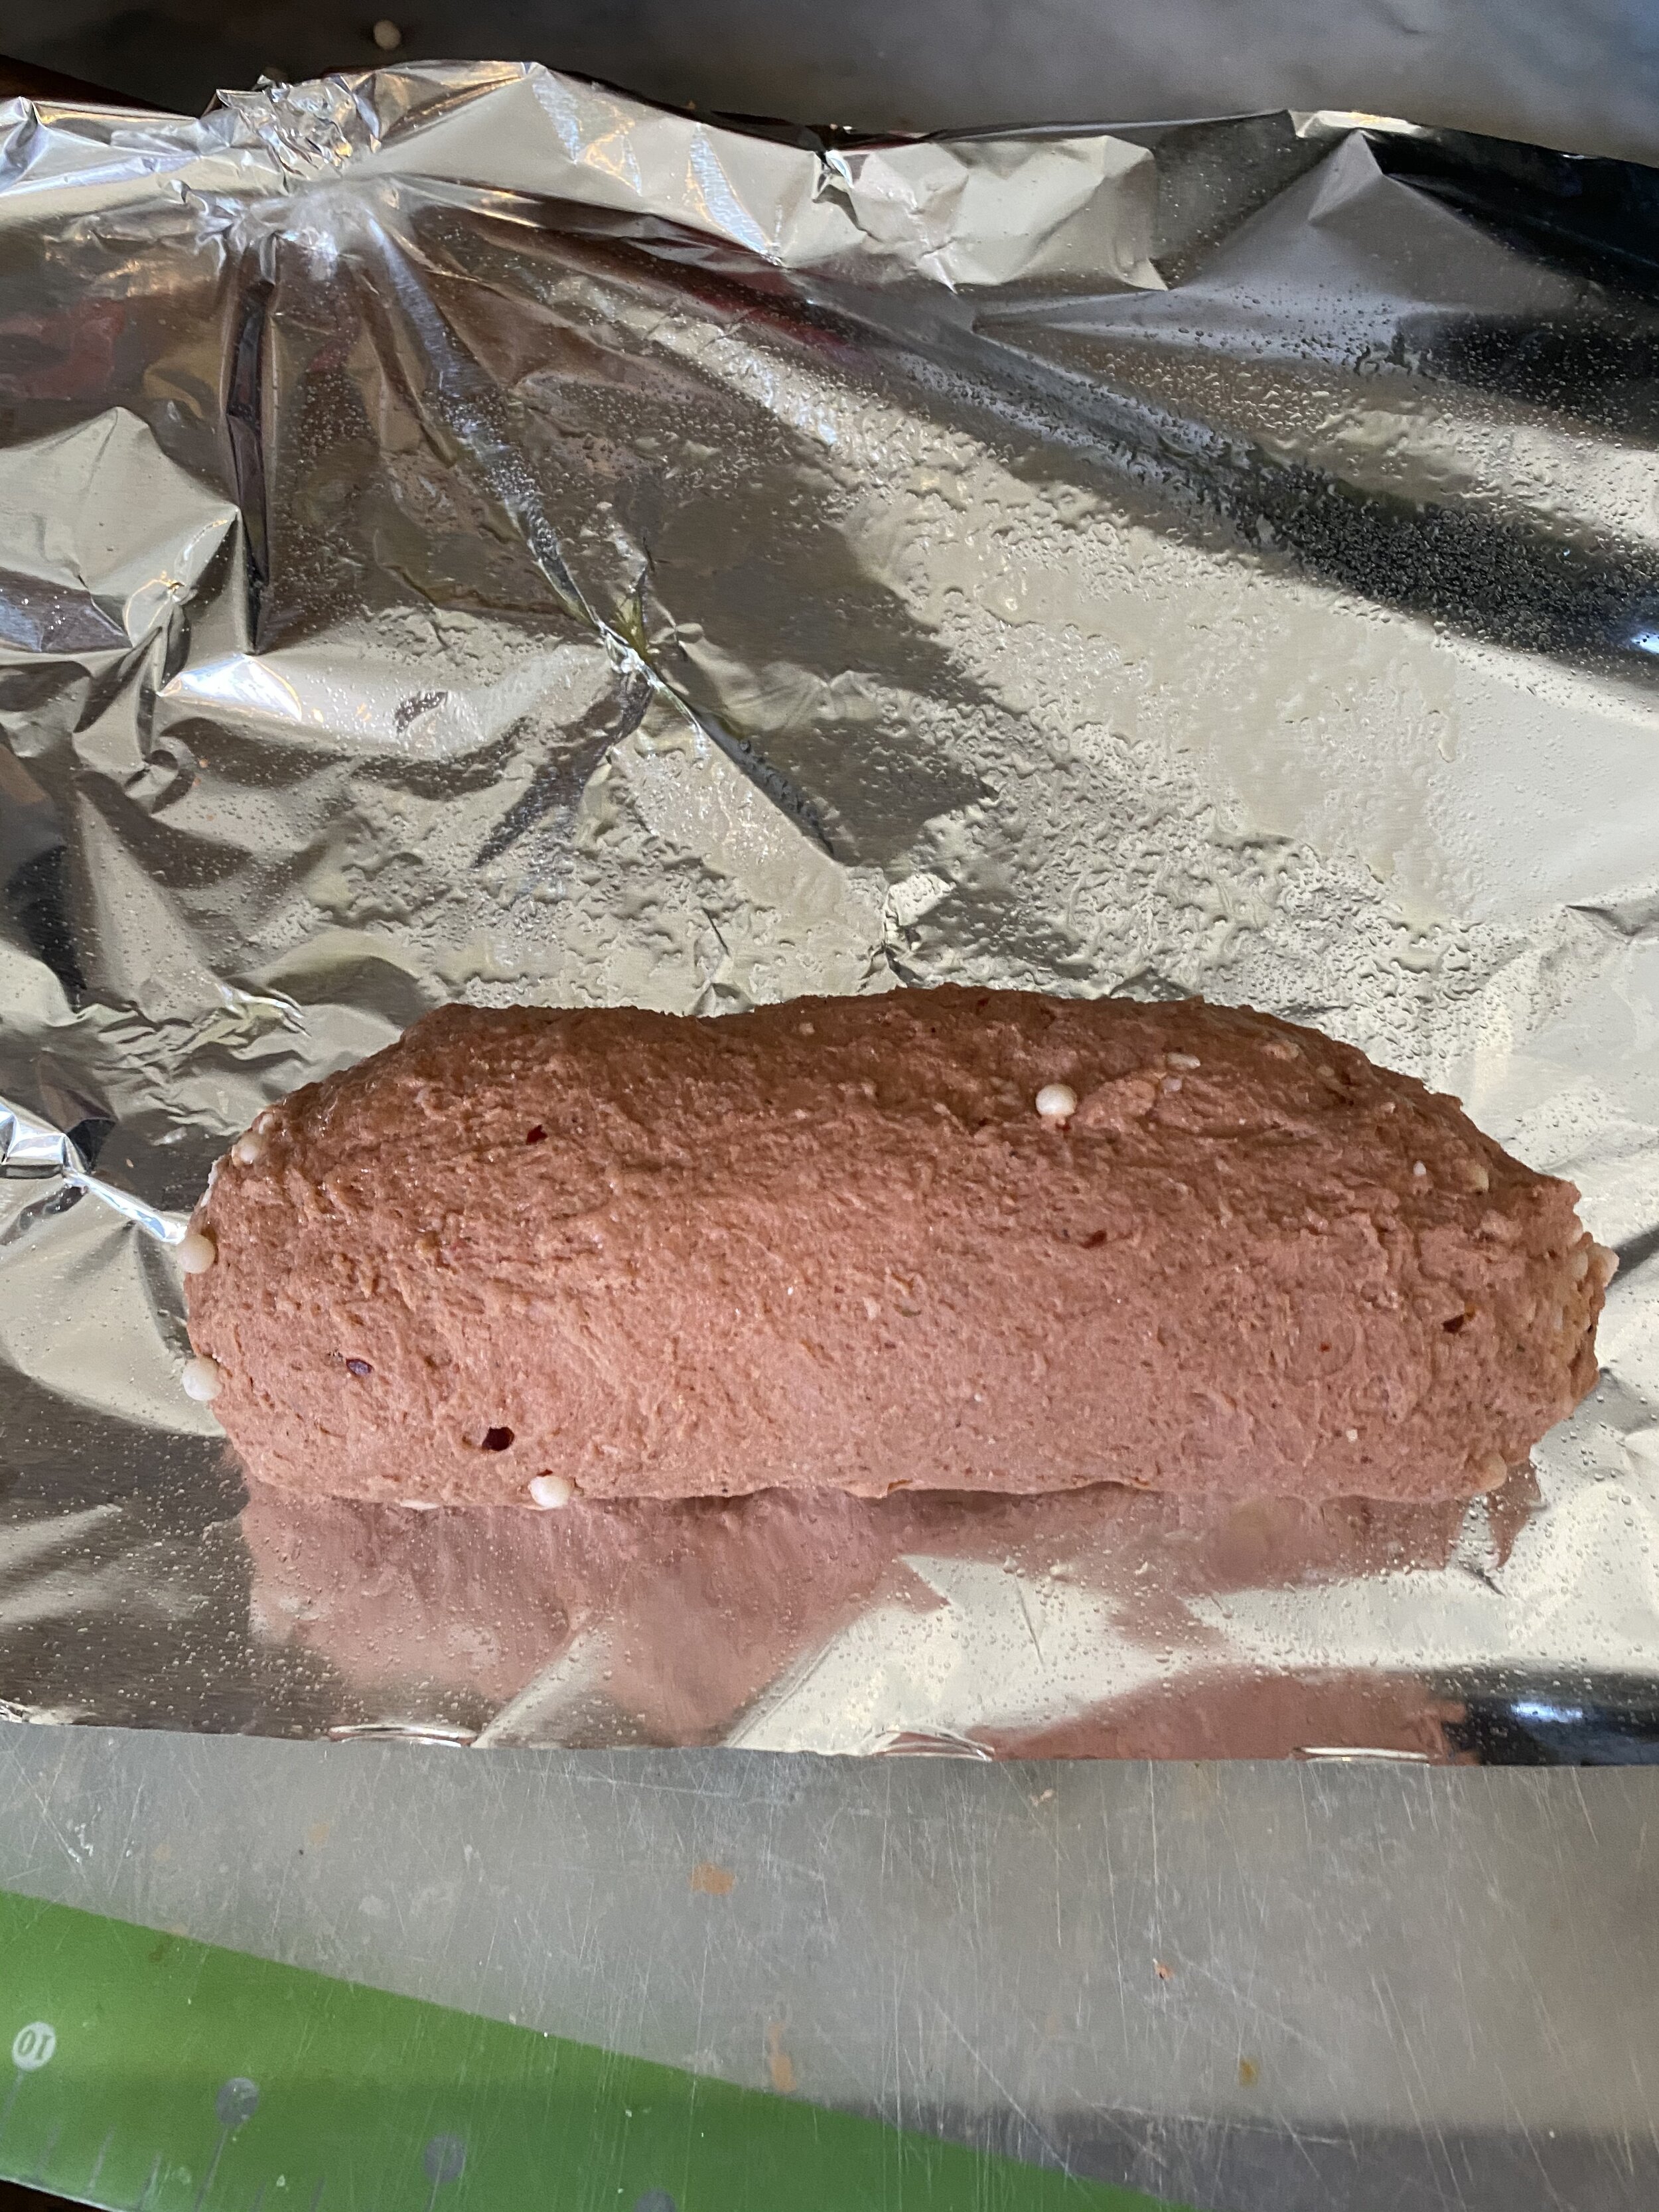
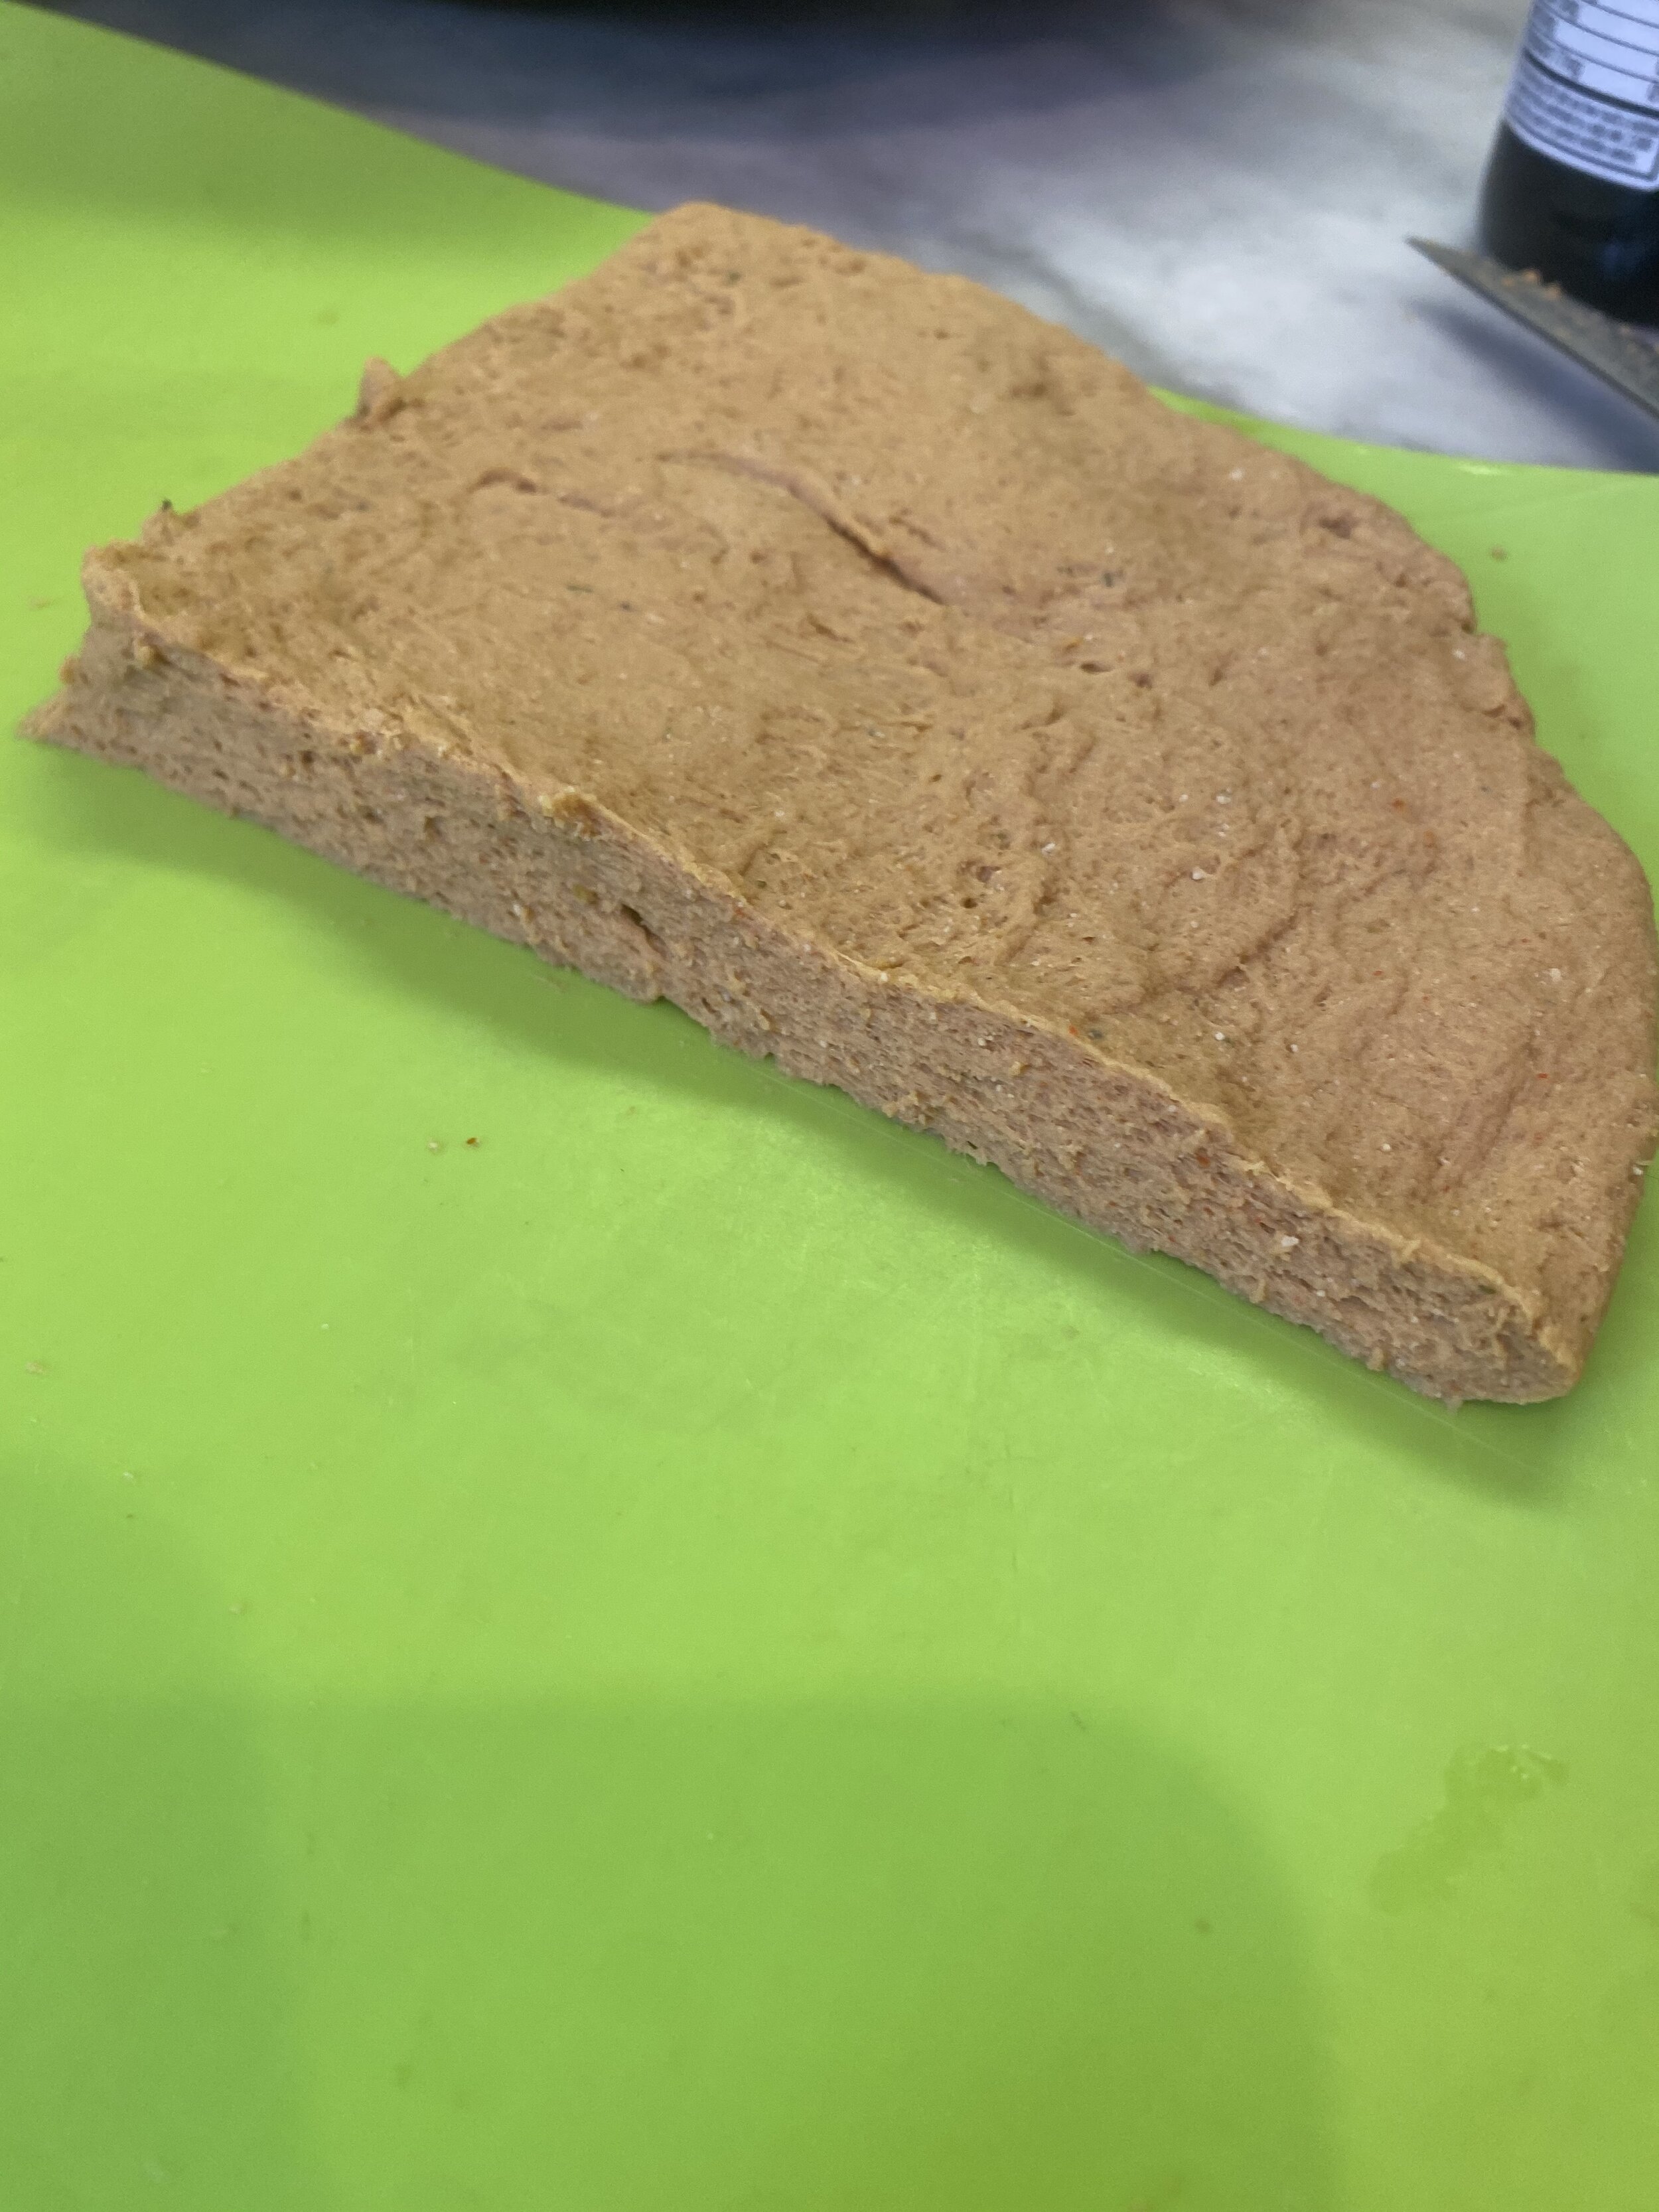
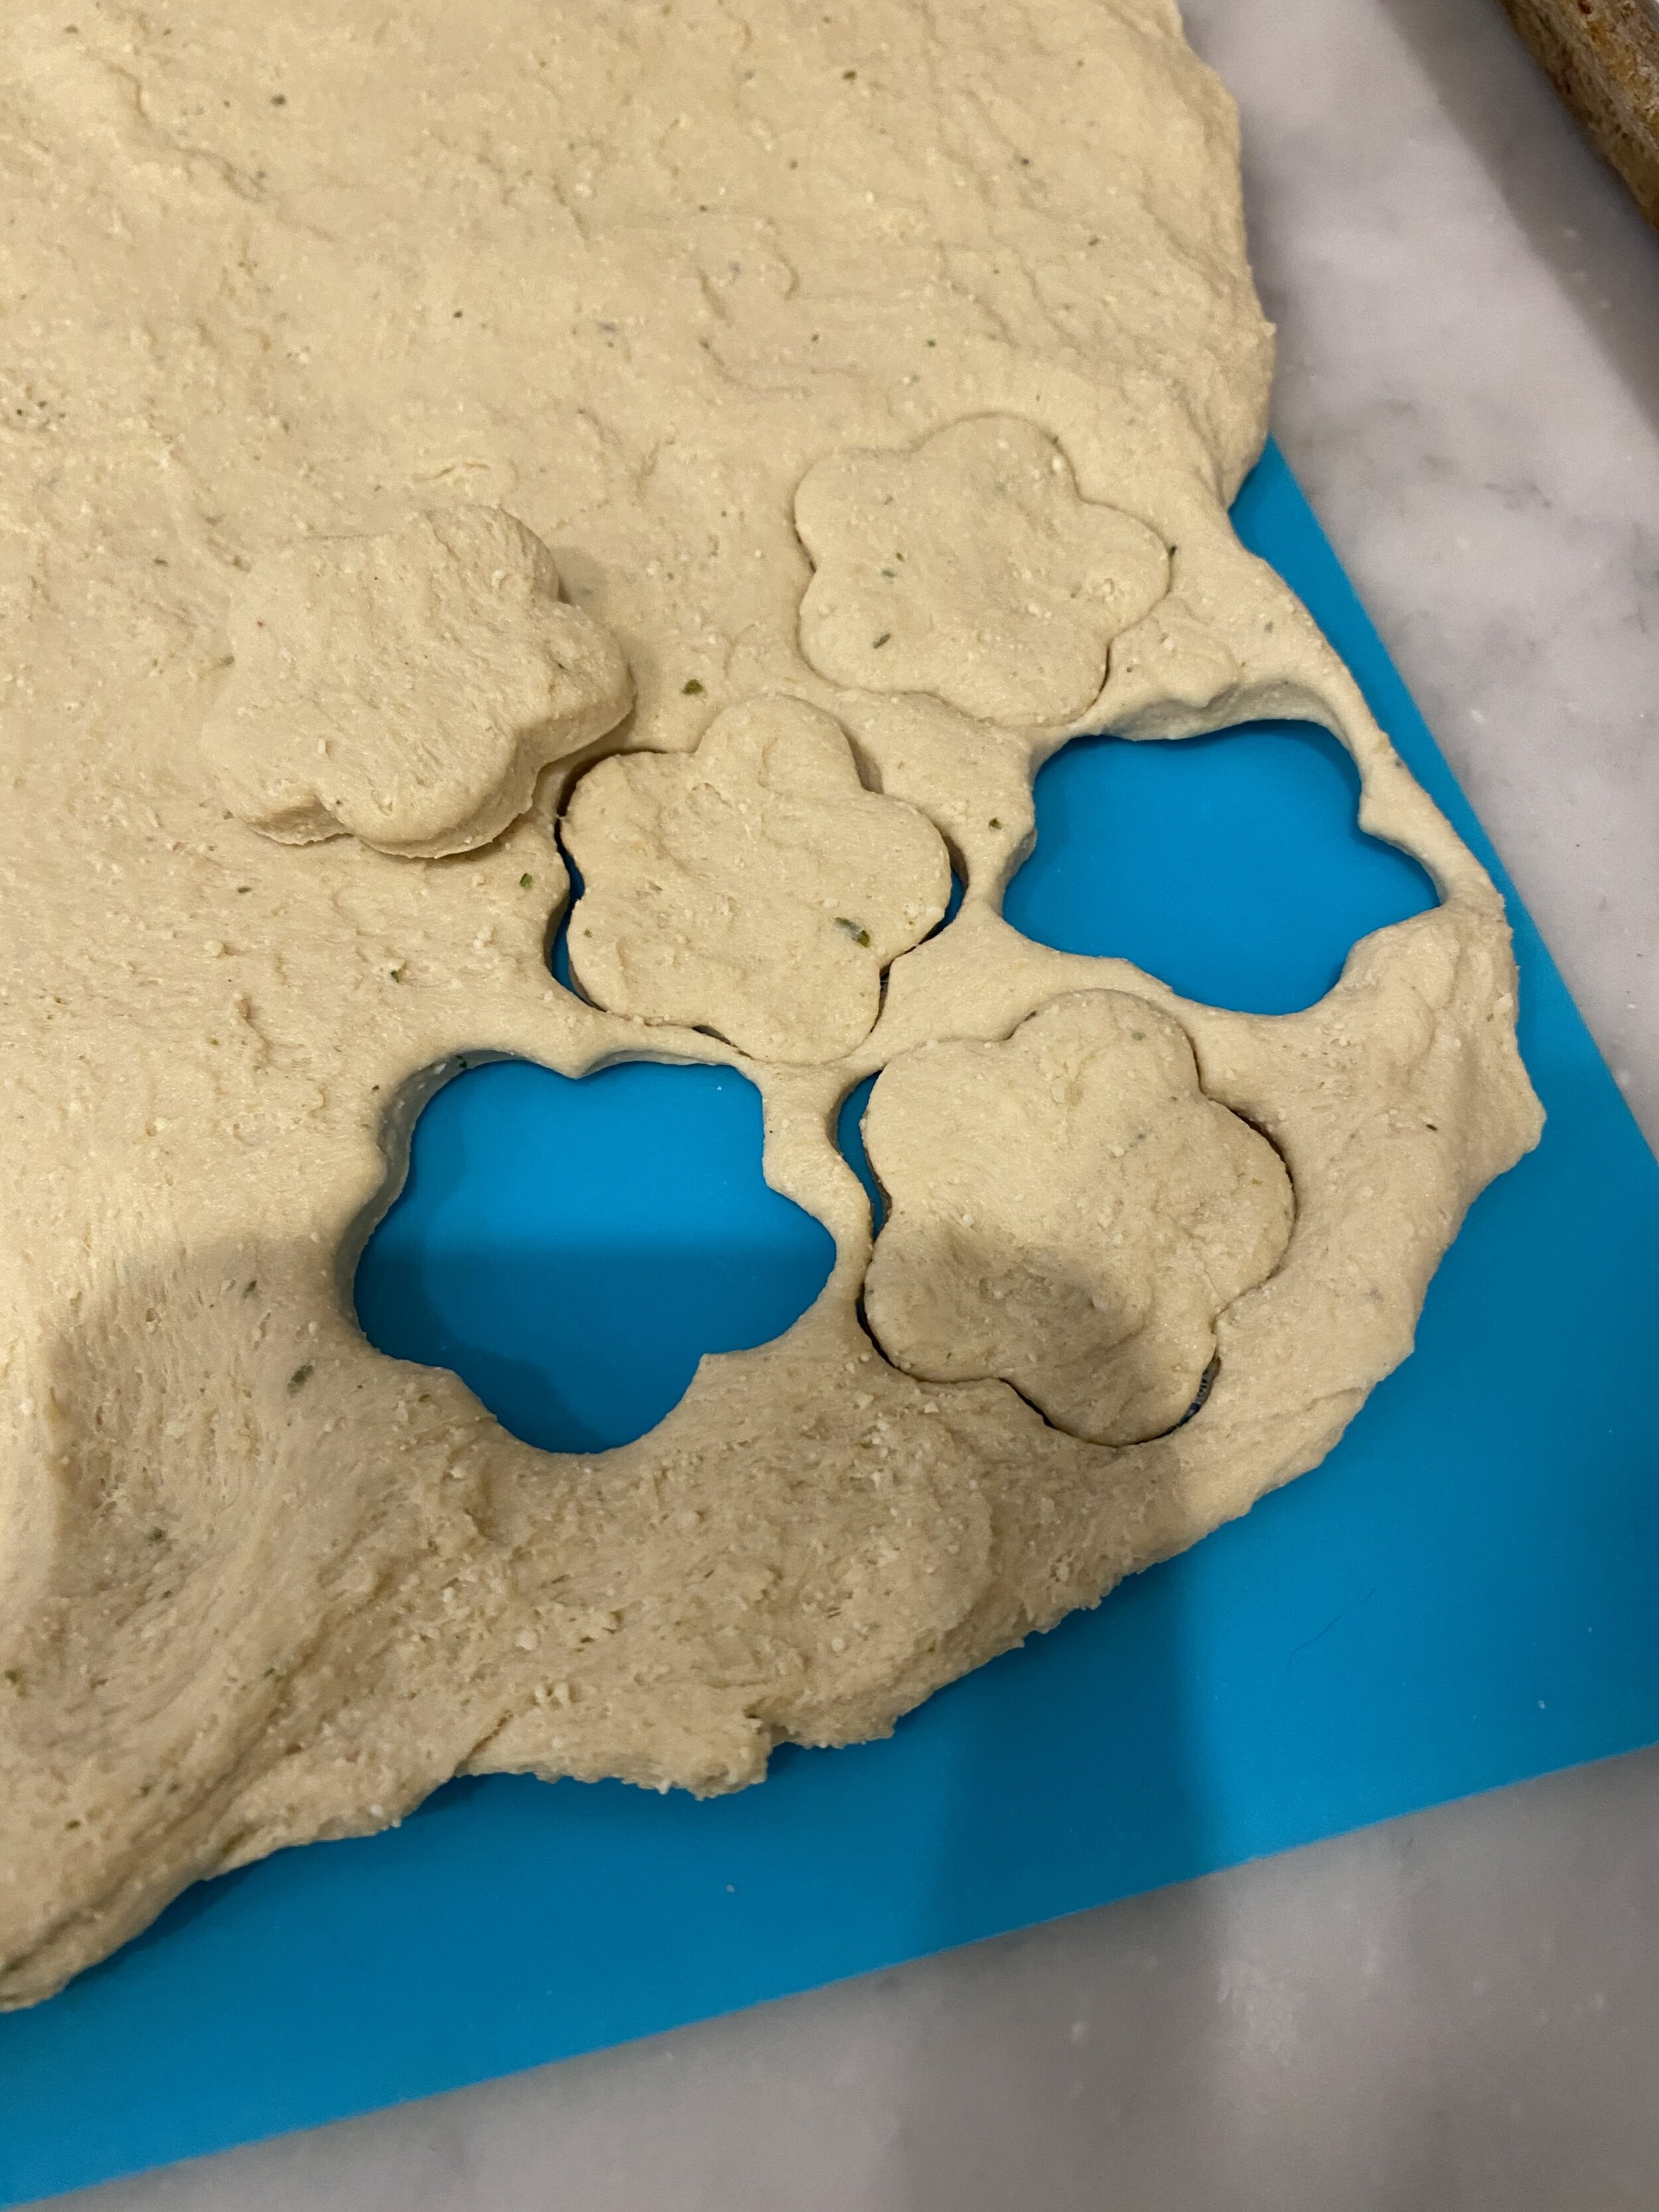
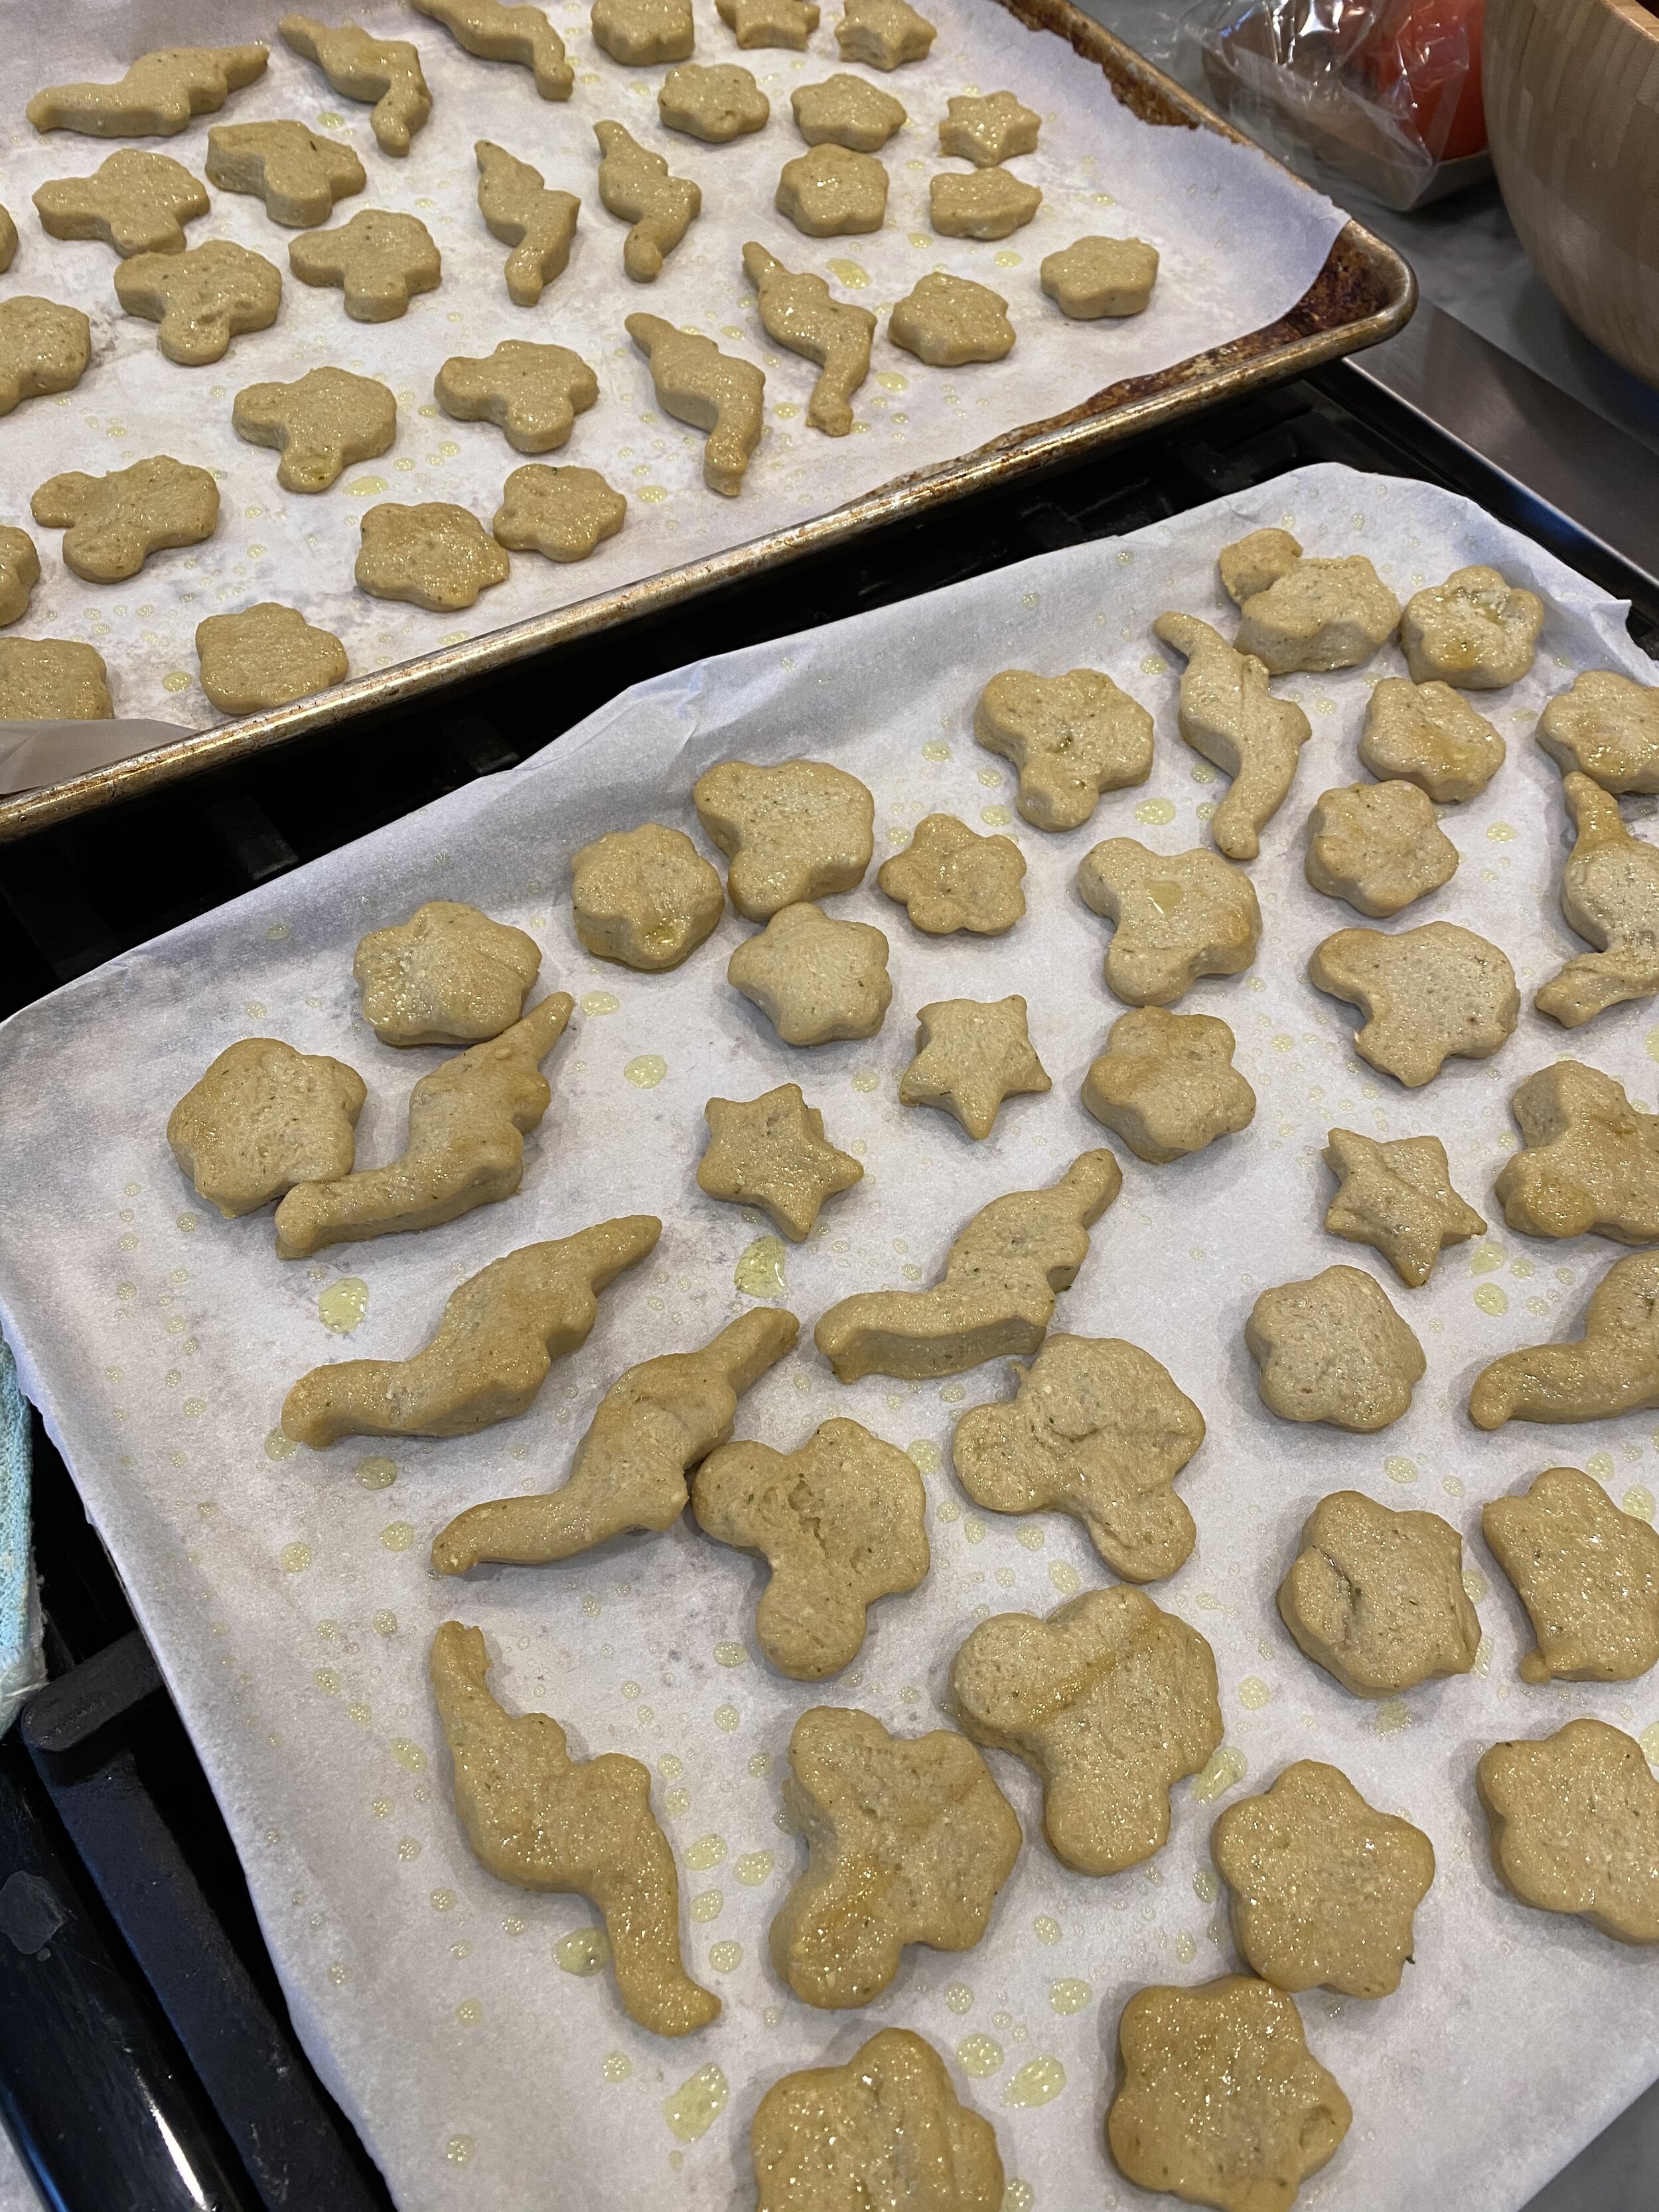
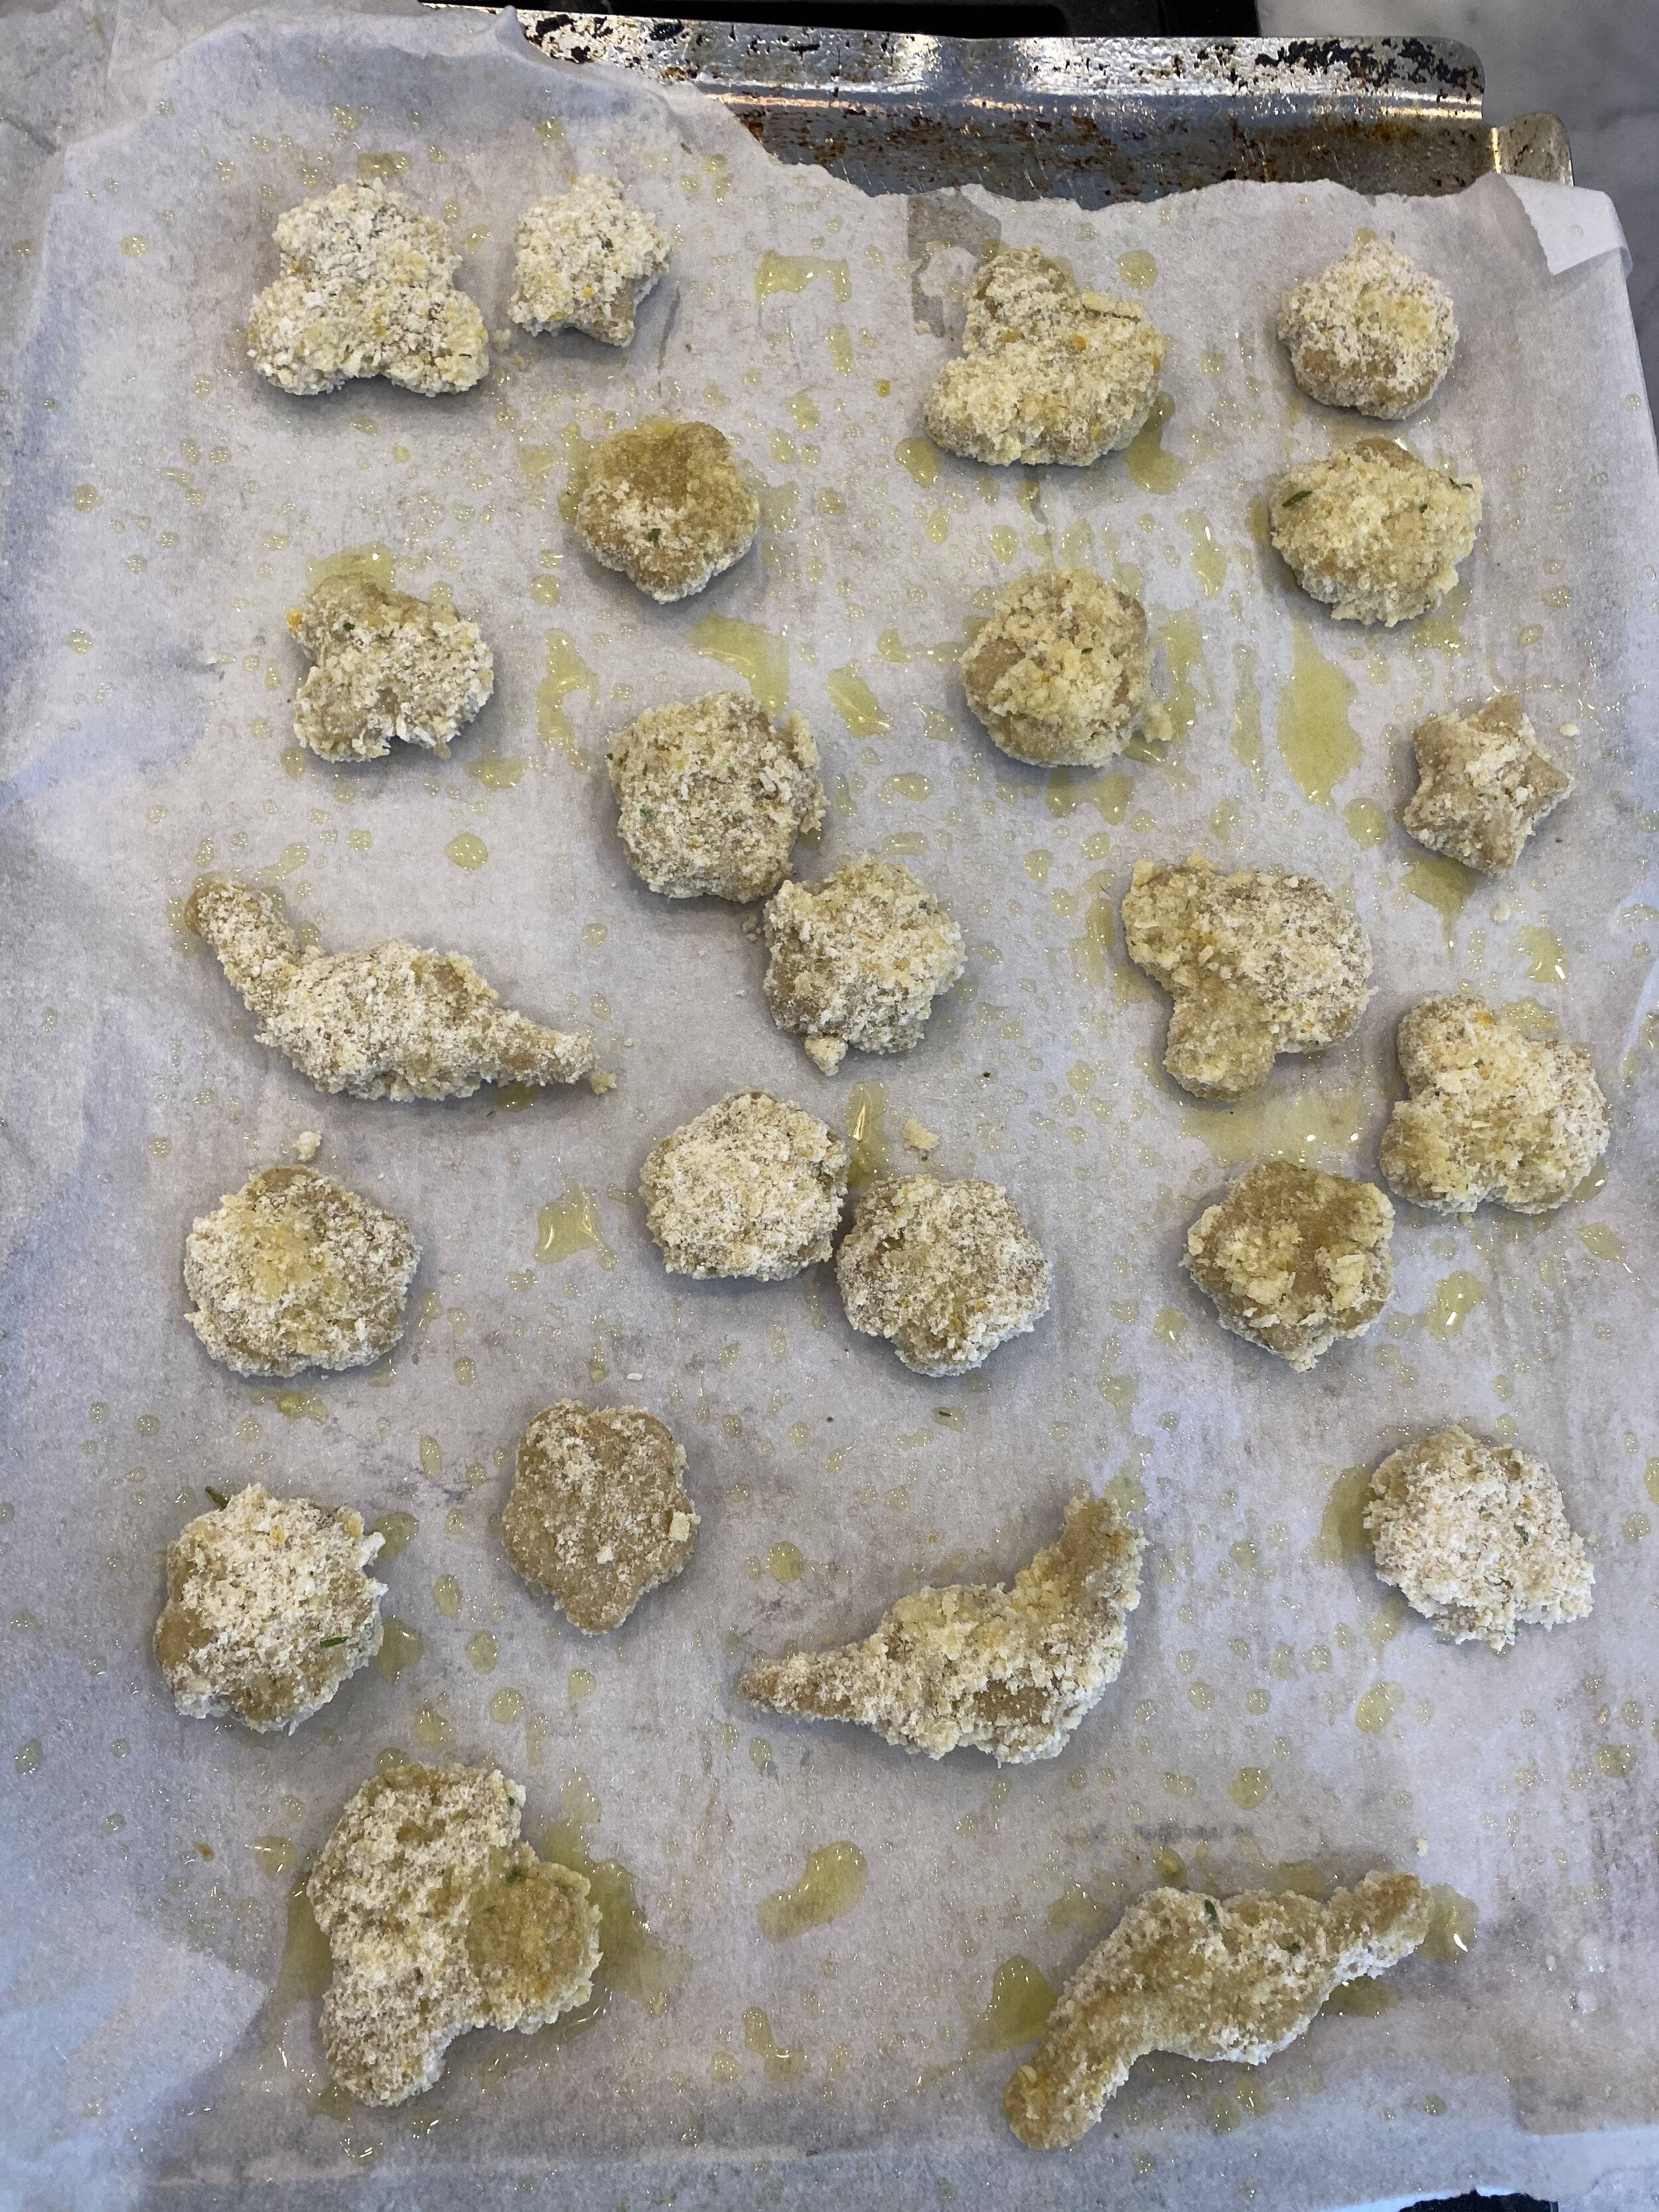
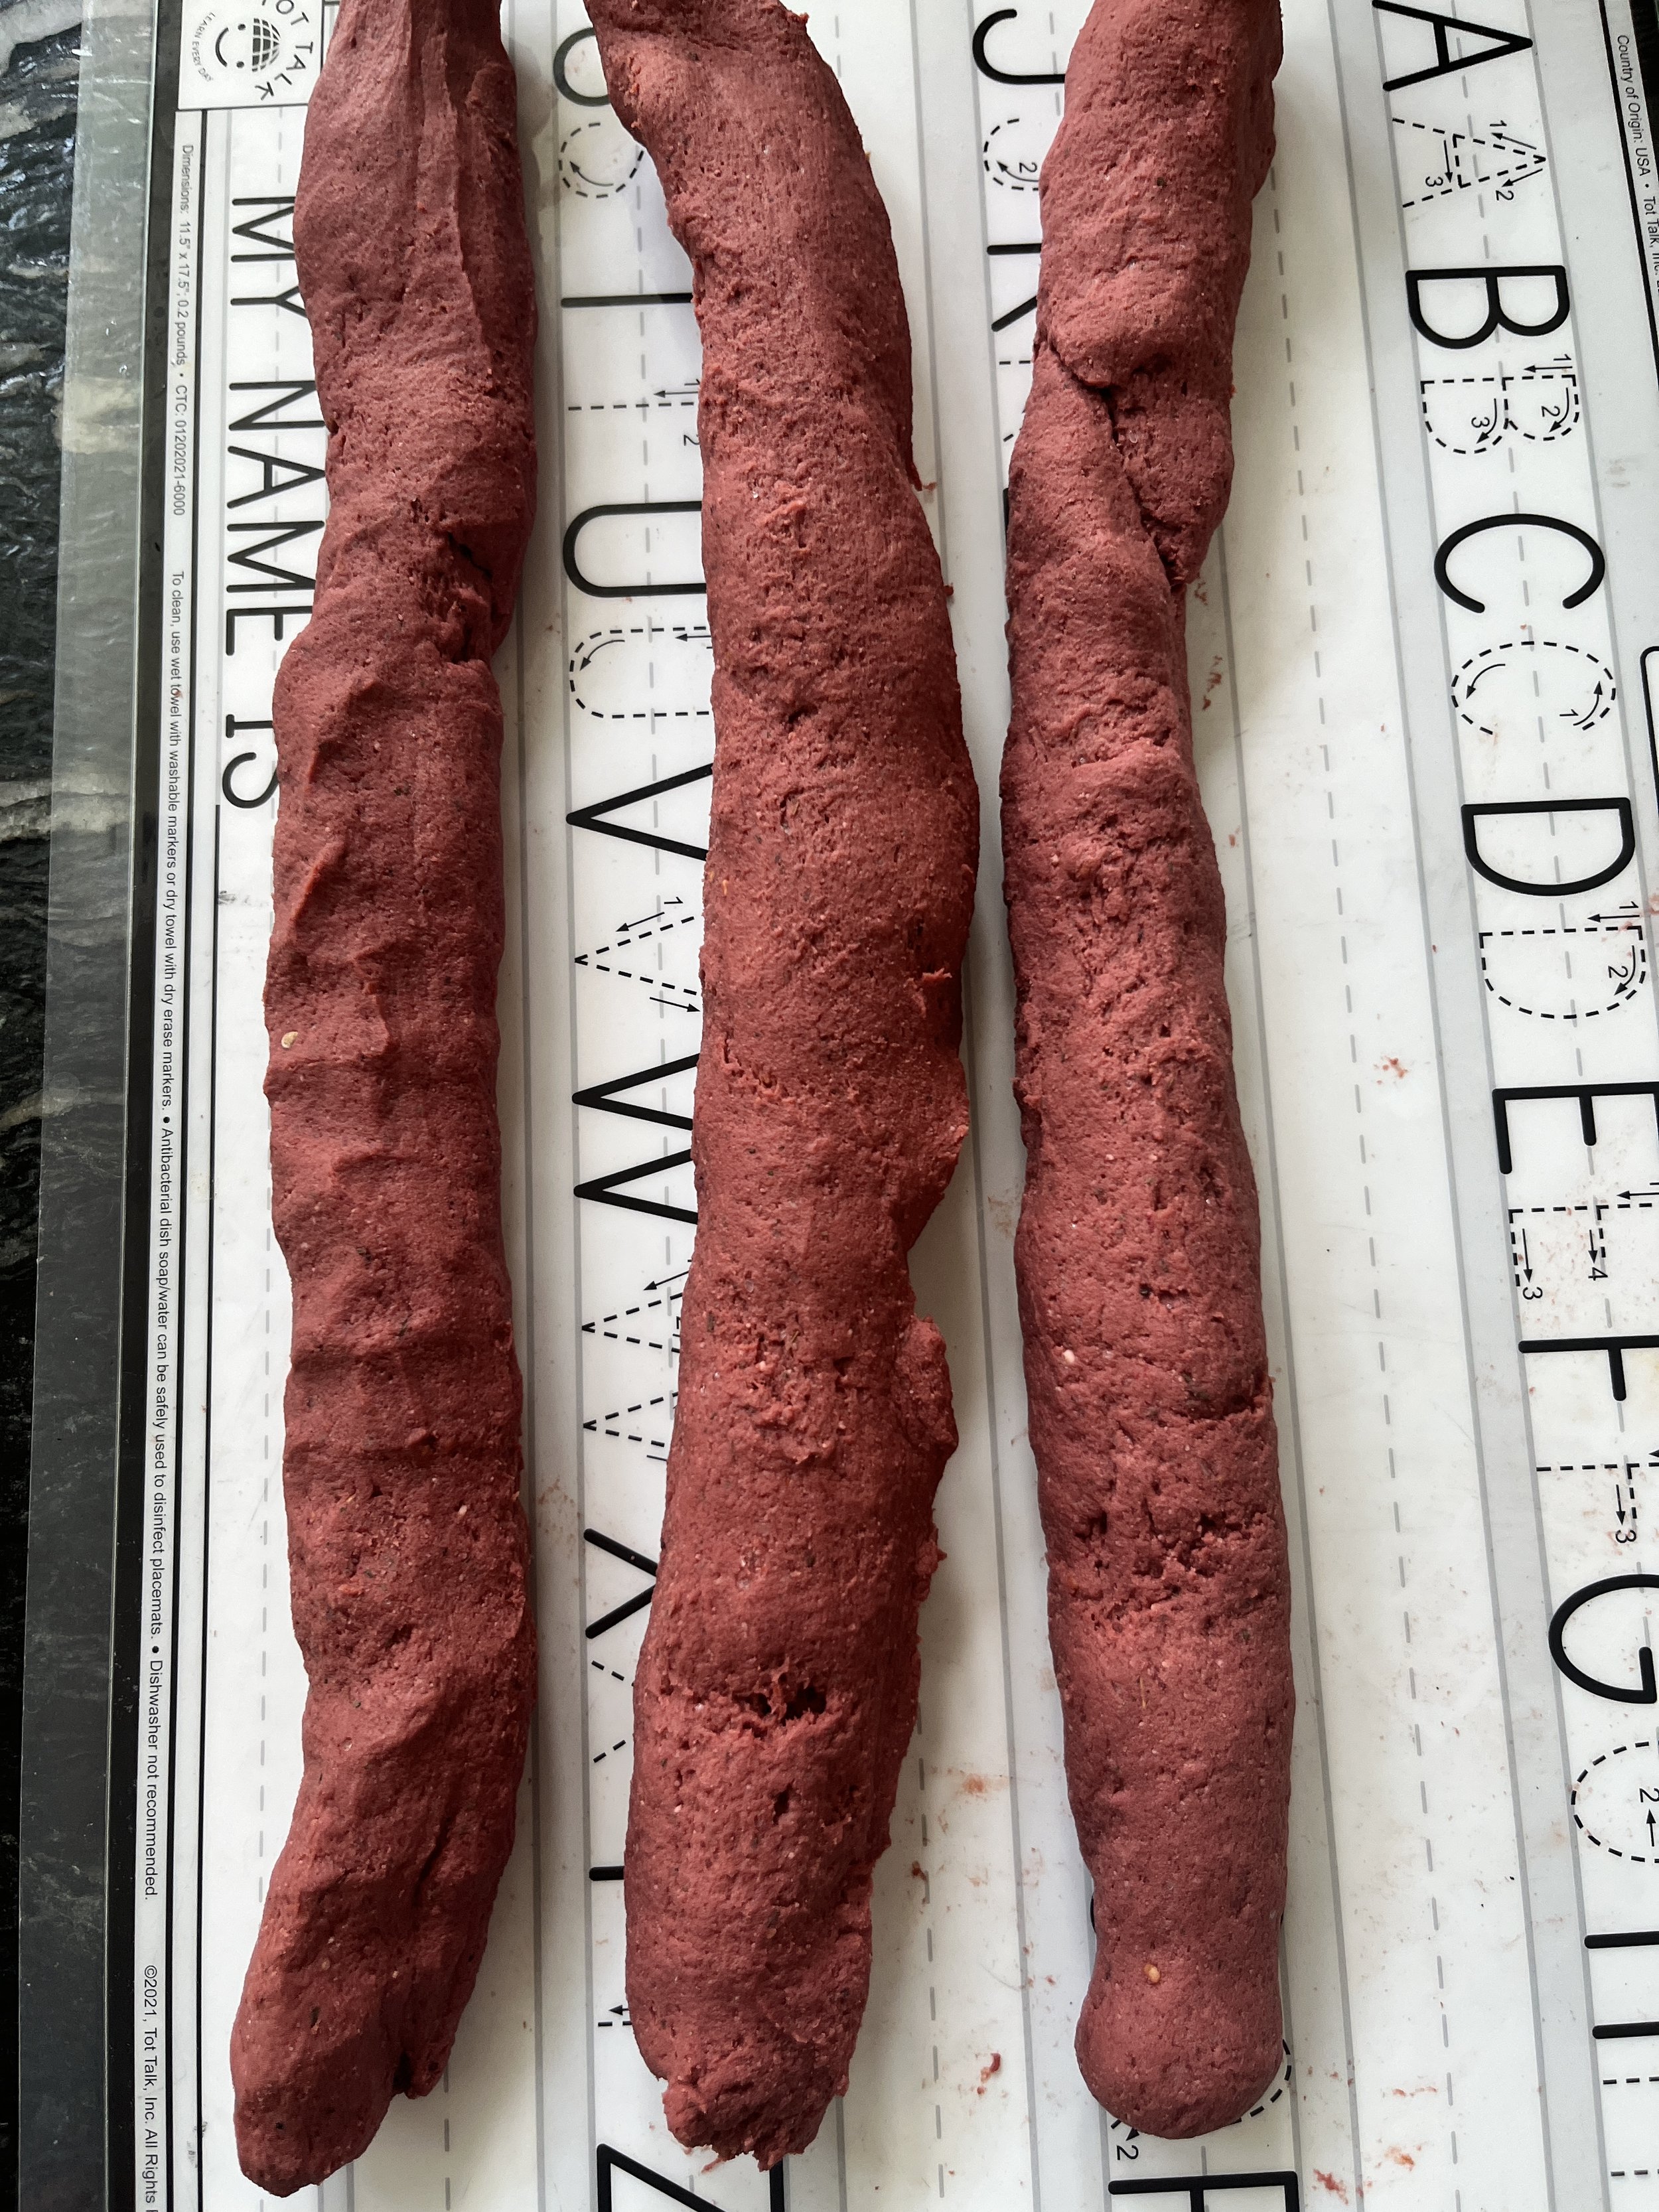
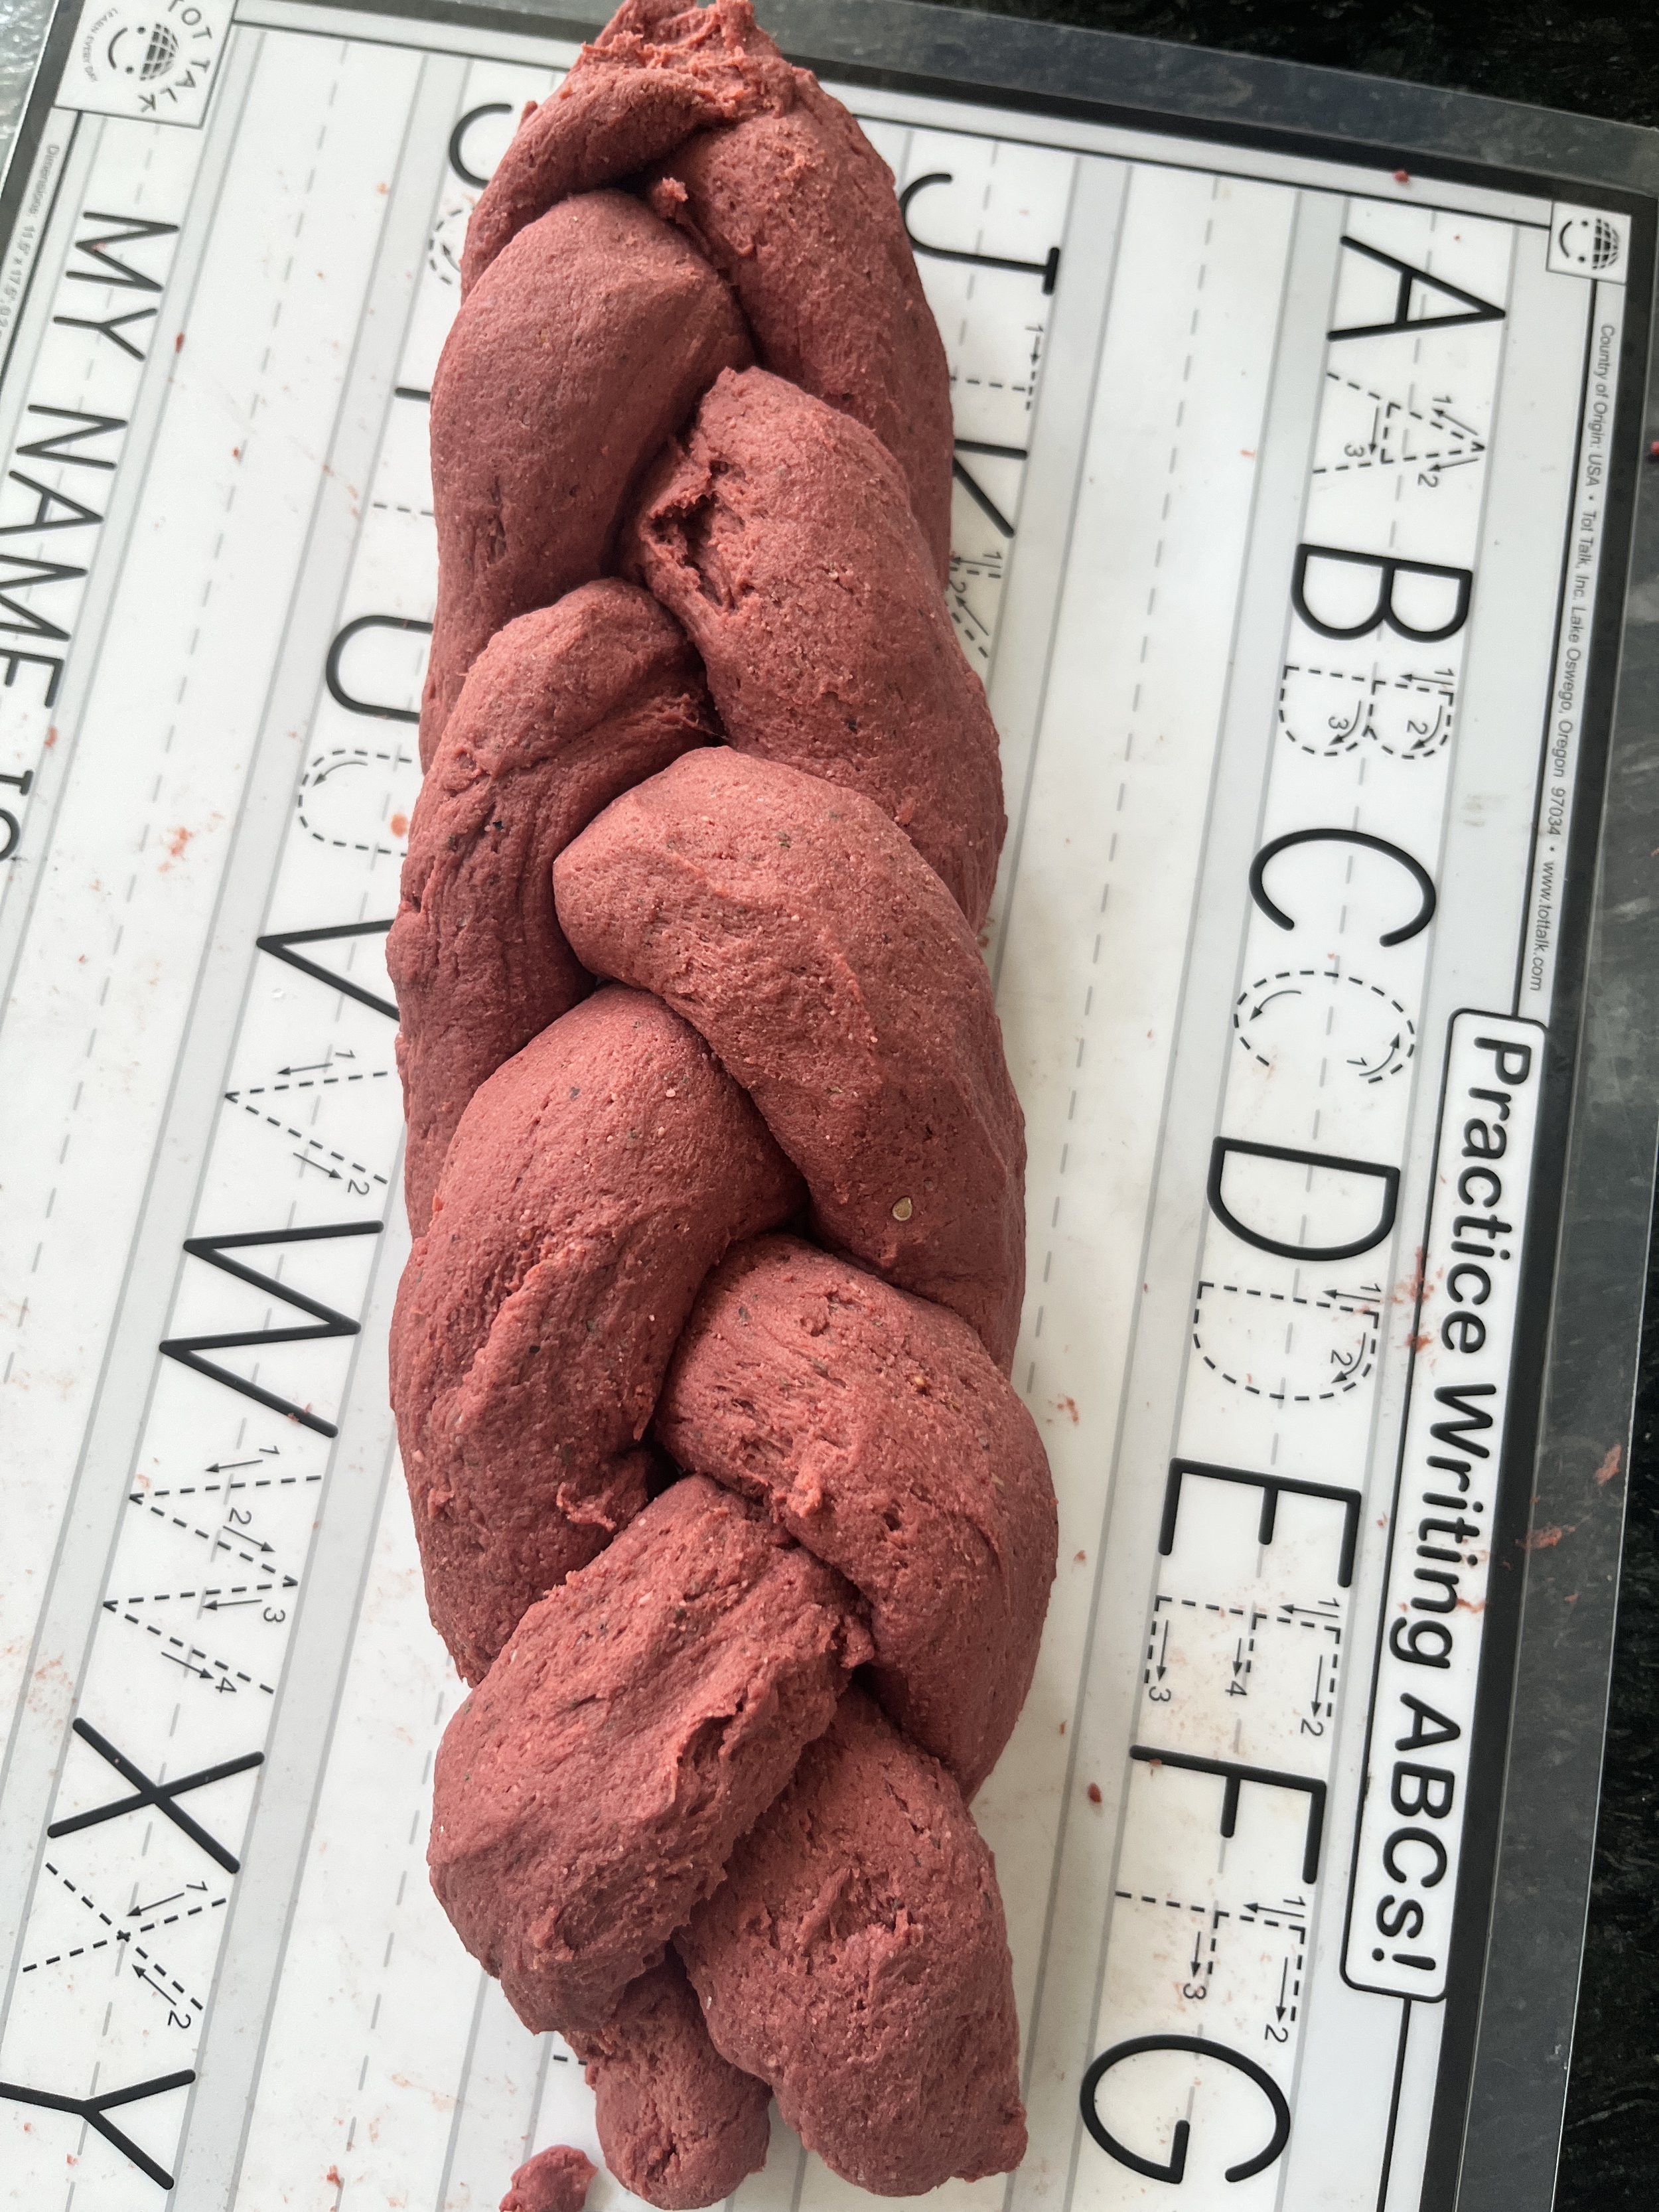
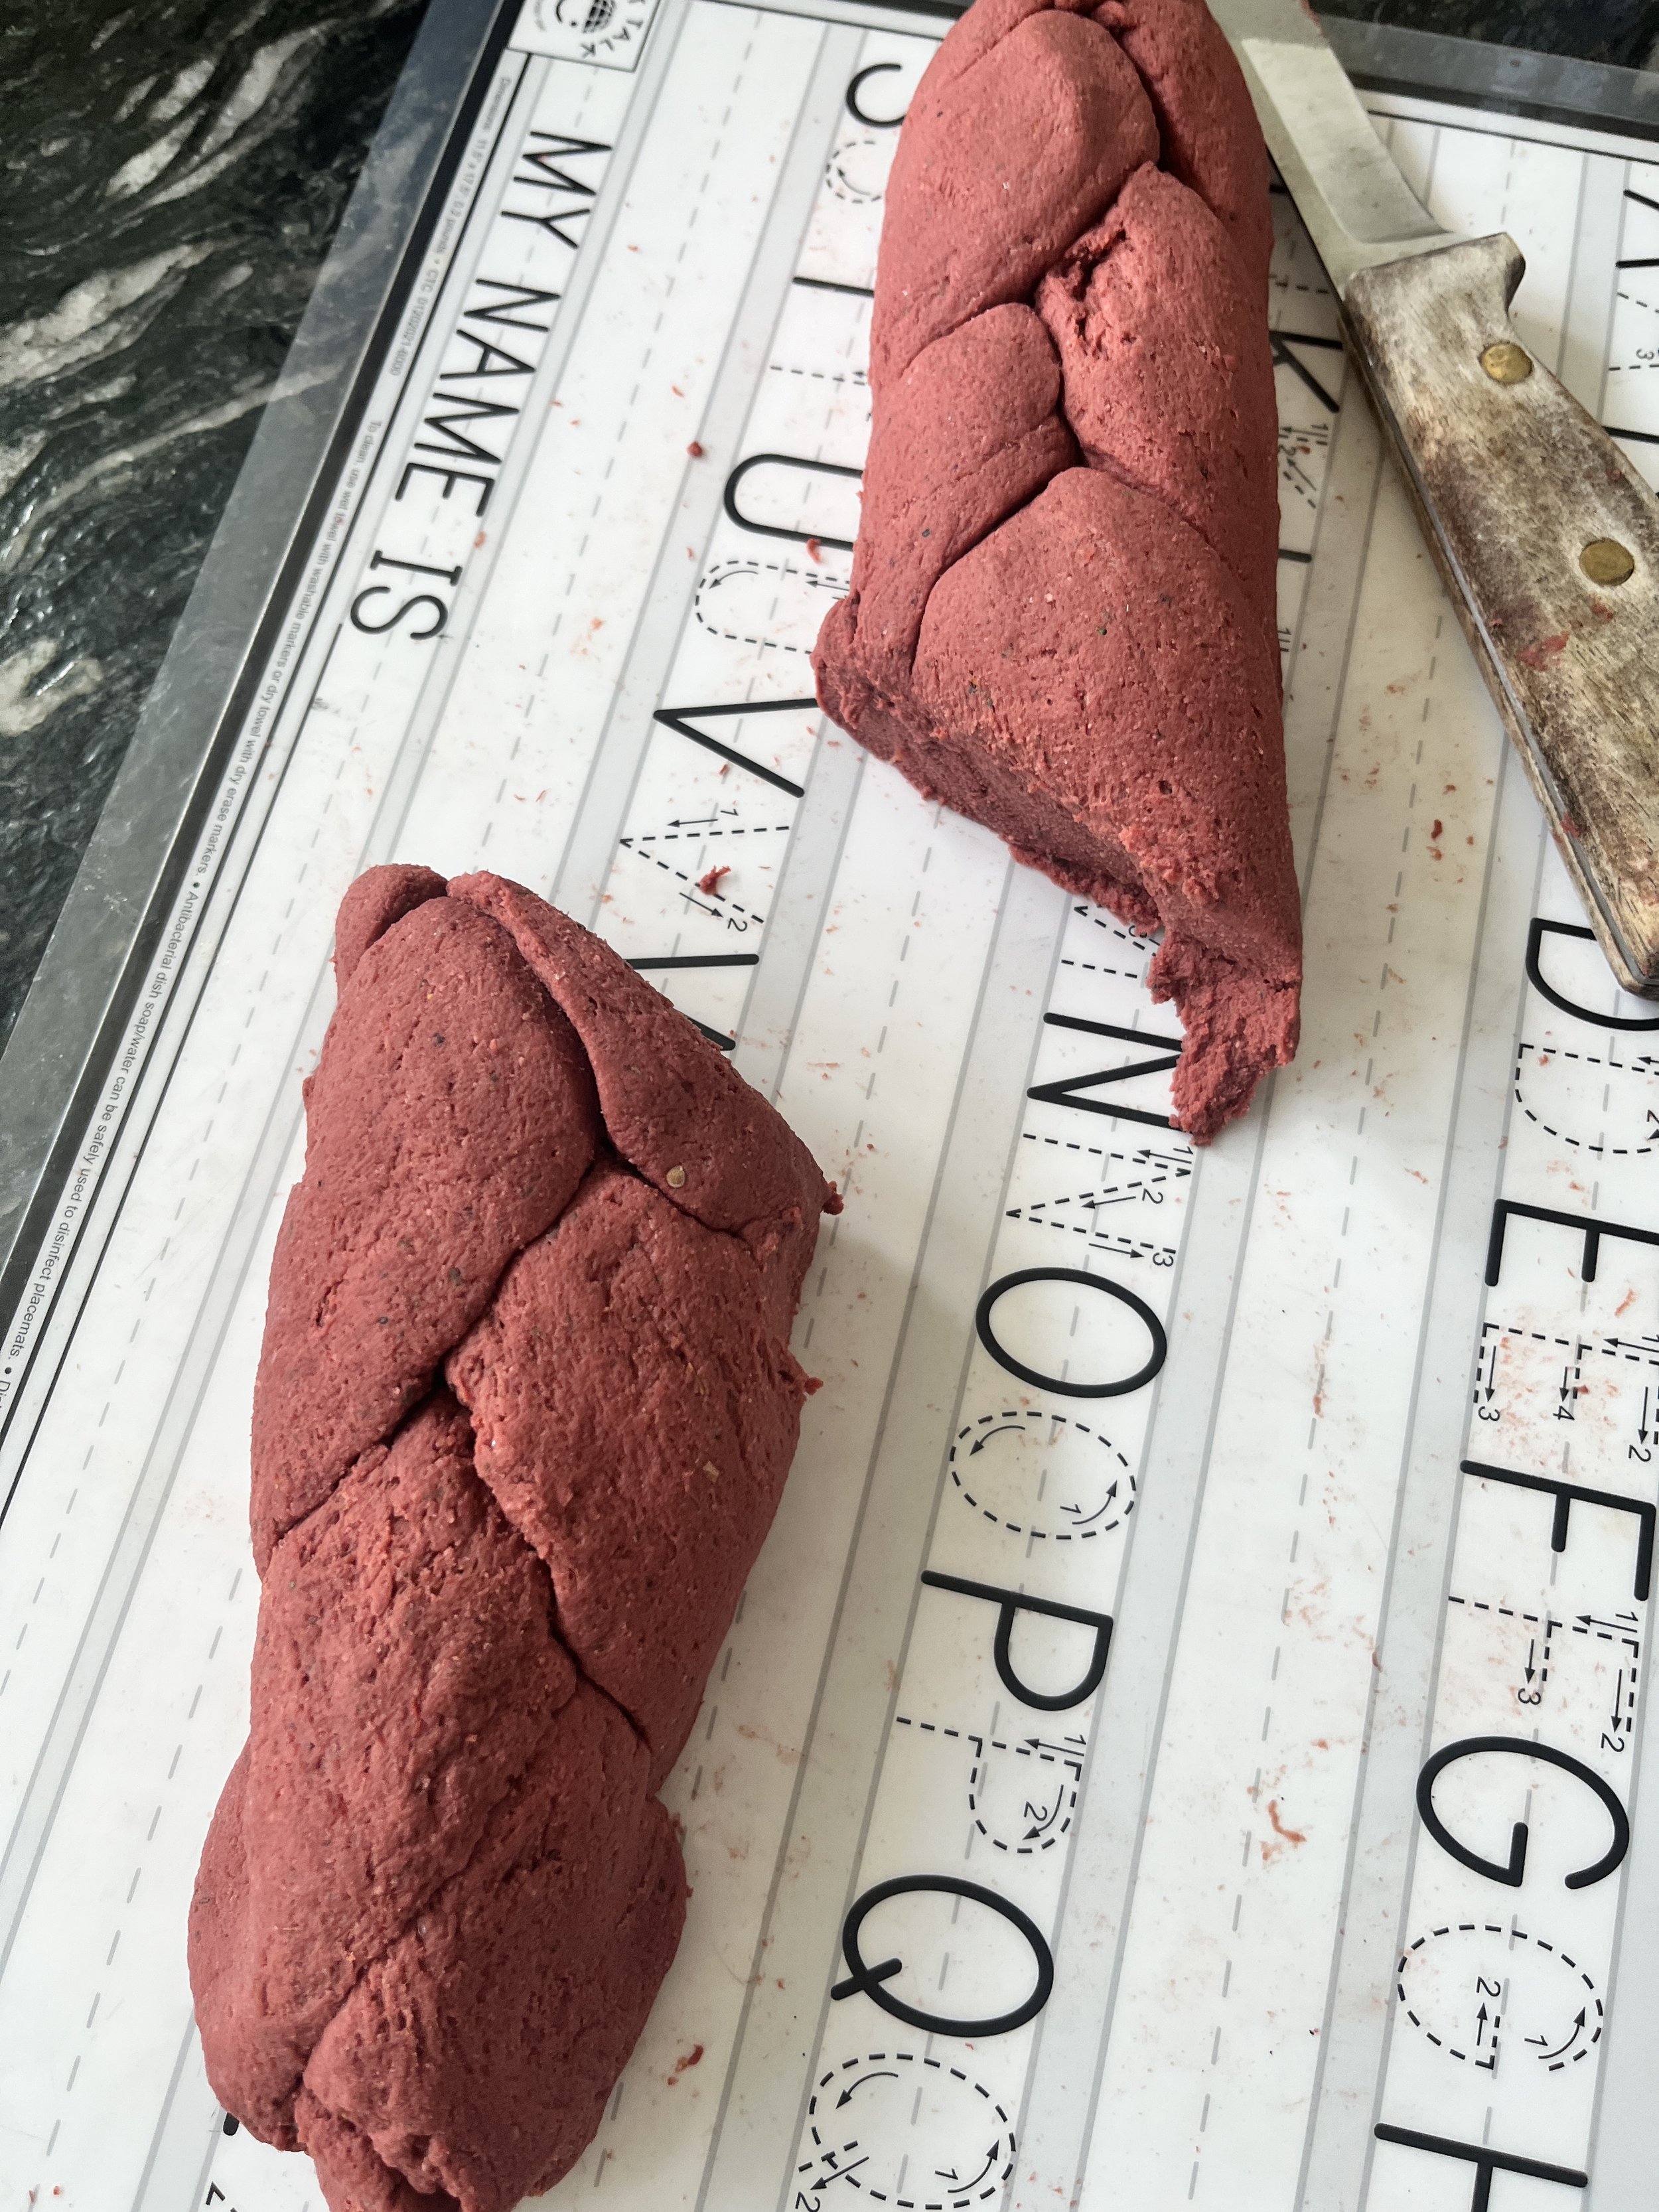
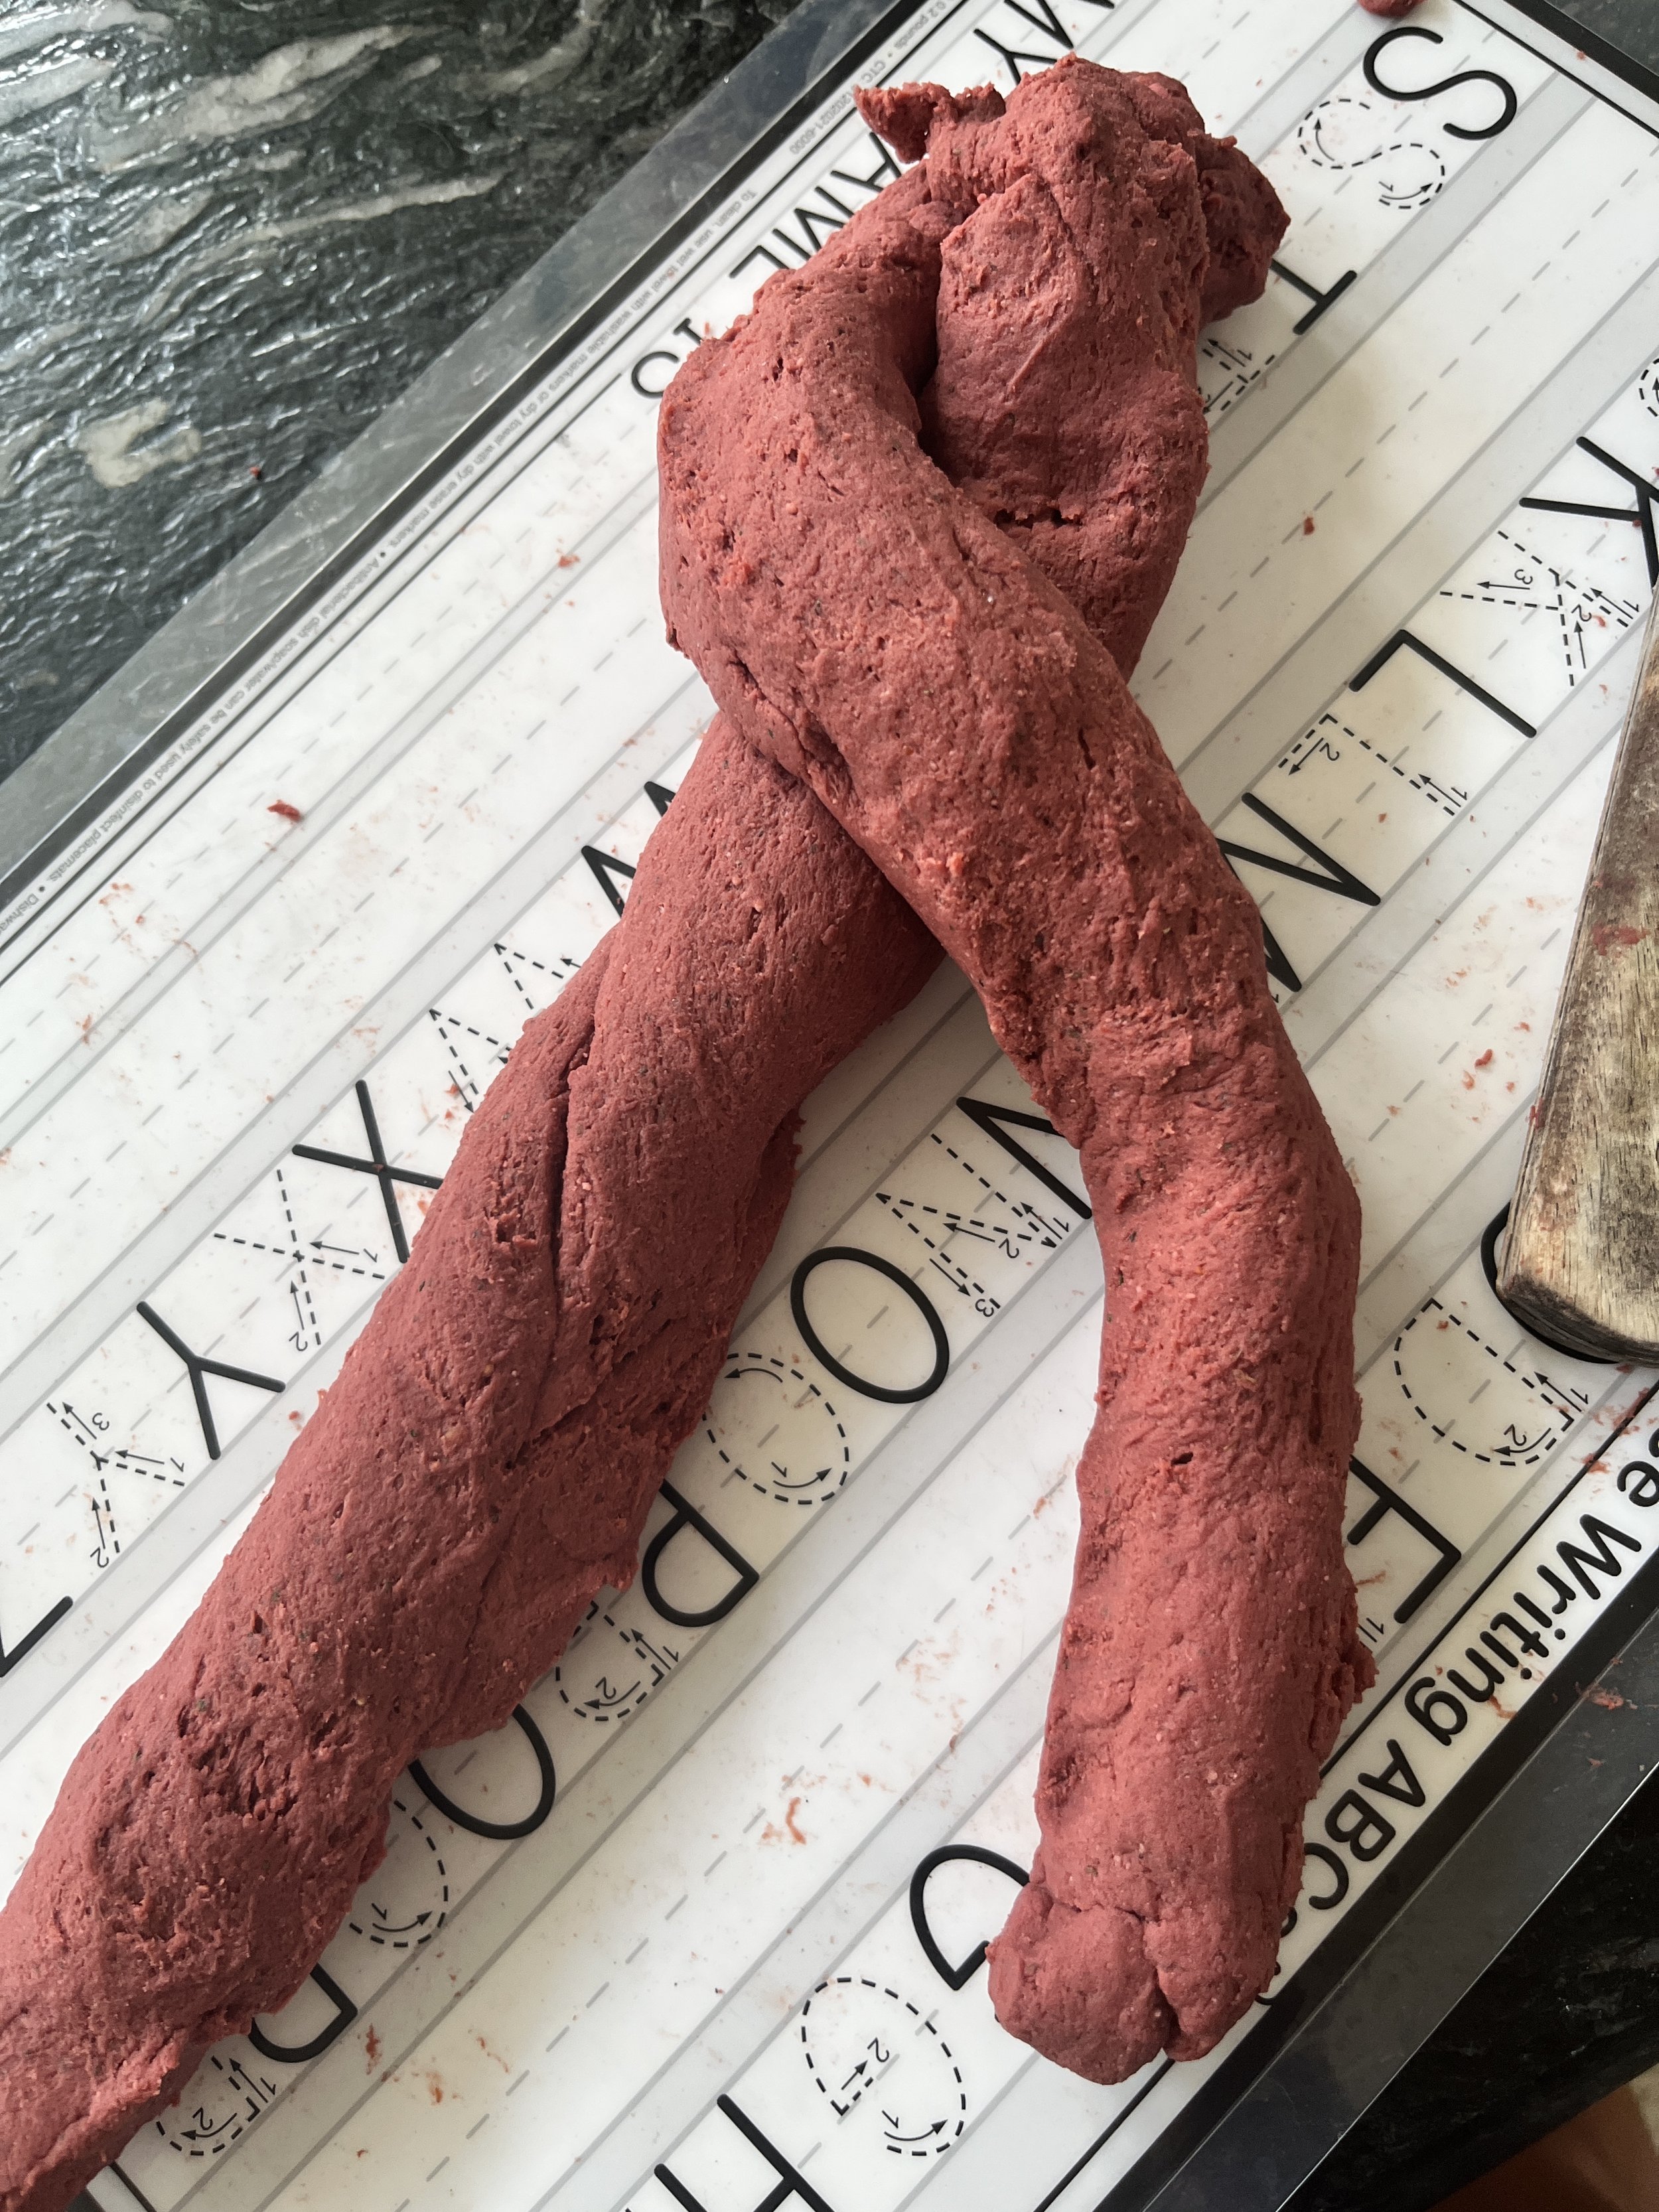
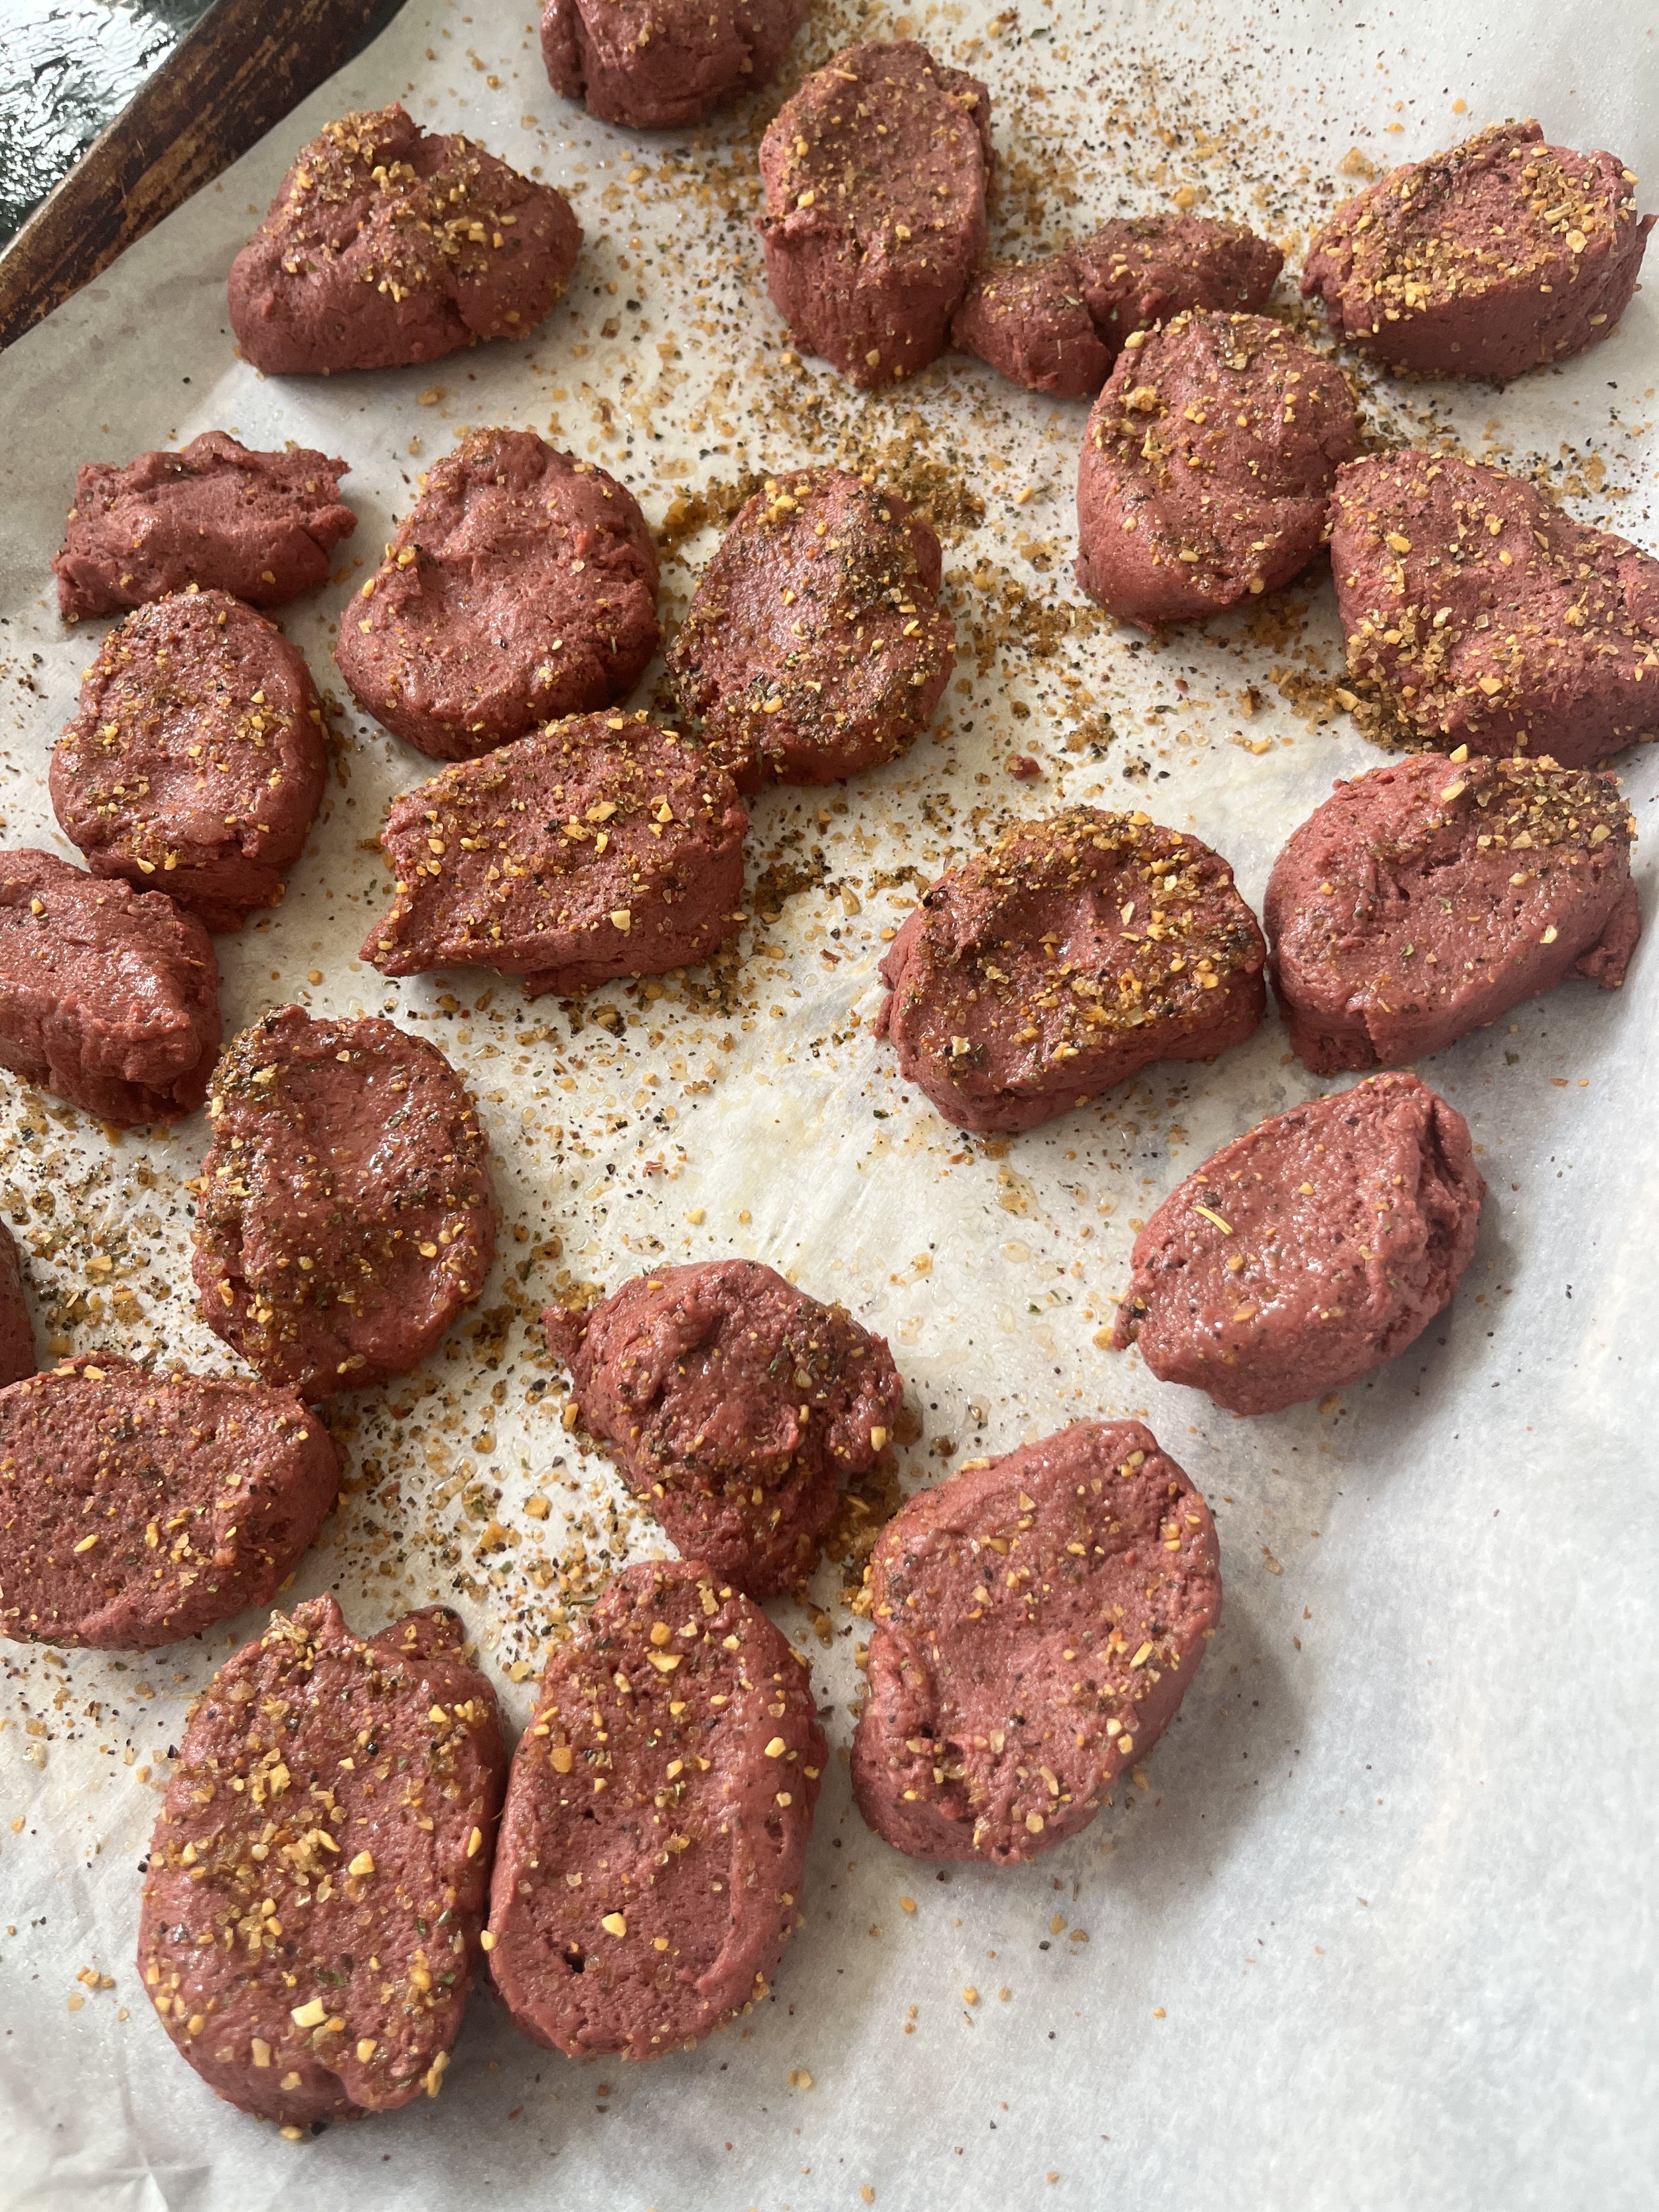
4. Evenly divide the dough into three pieces. ( see above for pictures of these following steps) Take one piece at a time a using your hands roll the dough into a rope around 12 inches long. Repeat with remaining two pieces. Lay the pieces on clean surface (cutting board, a borrowed ABC place mate from your 5 year old, clean counter top, whatever you got) side by side, pinch the top ends together. Braid the pieces as tightly as you can. Now cut the braid in half an roll each half into ropes about 16-18 inches. Pinch the ropes together at the top and twist them together as tightly as you can.
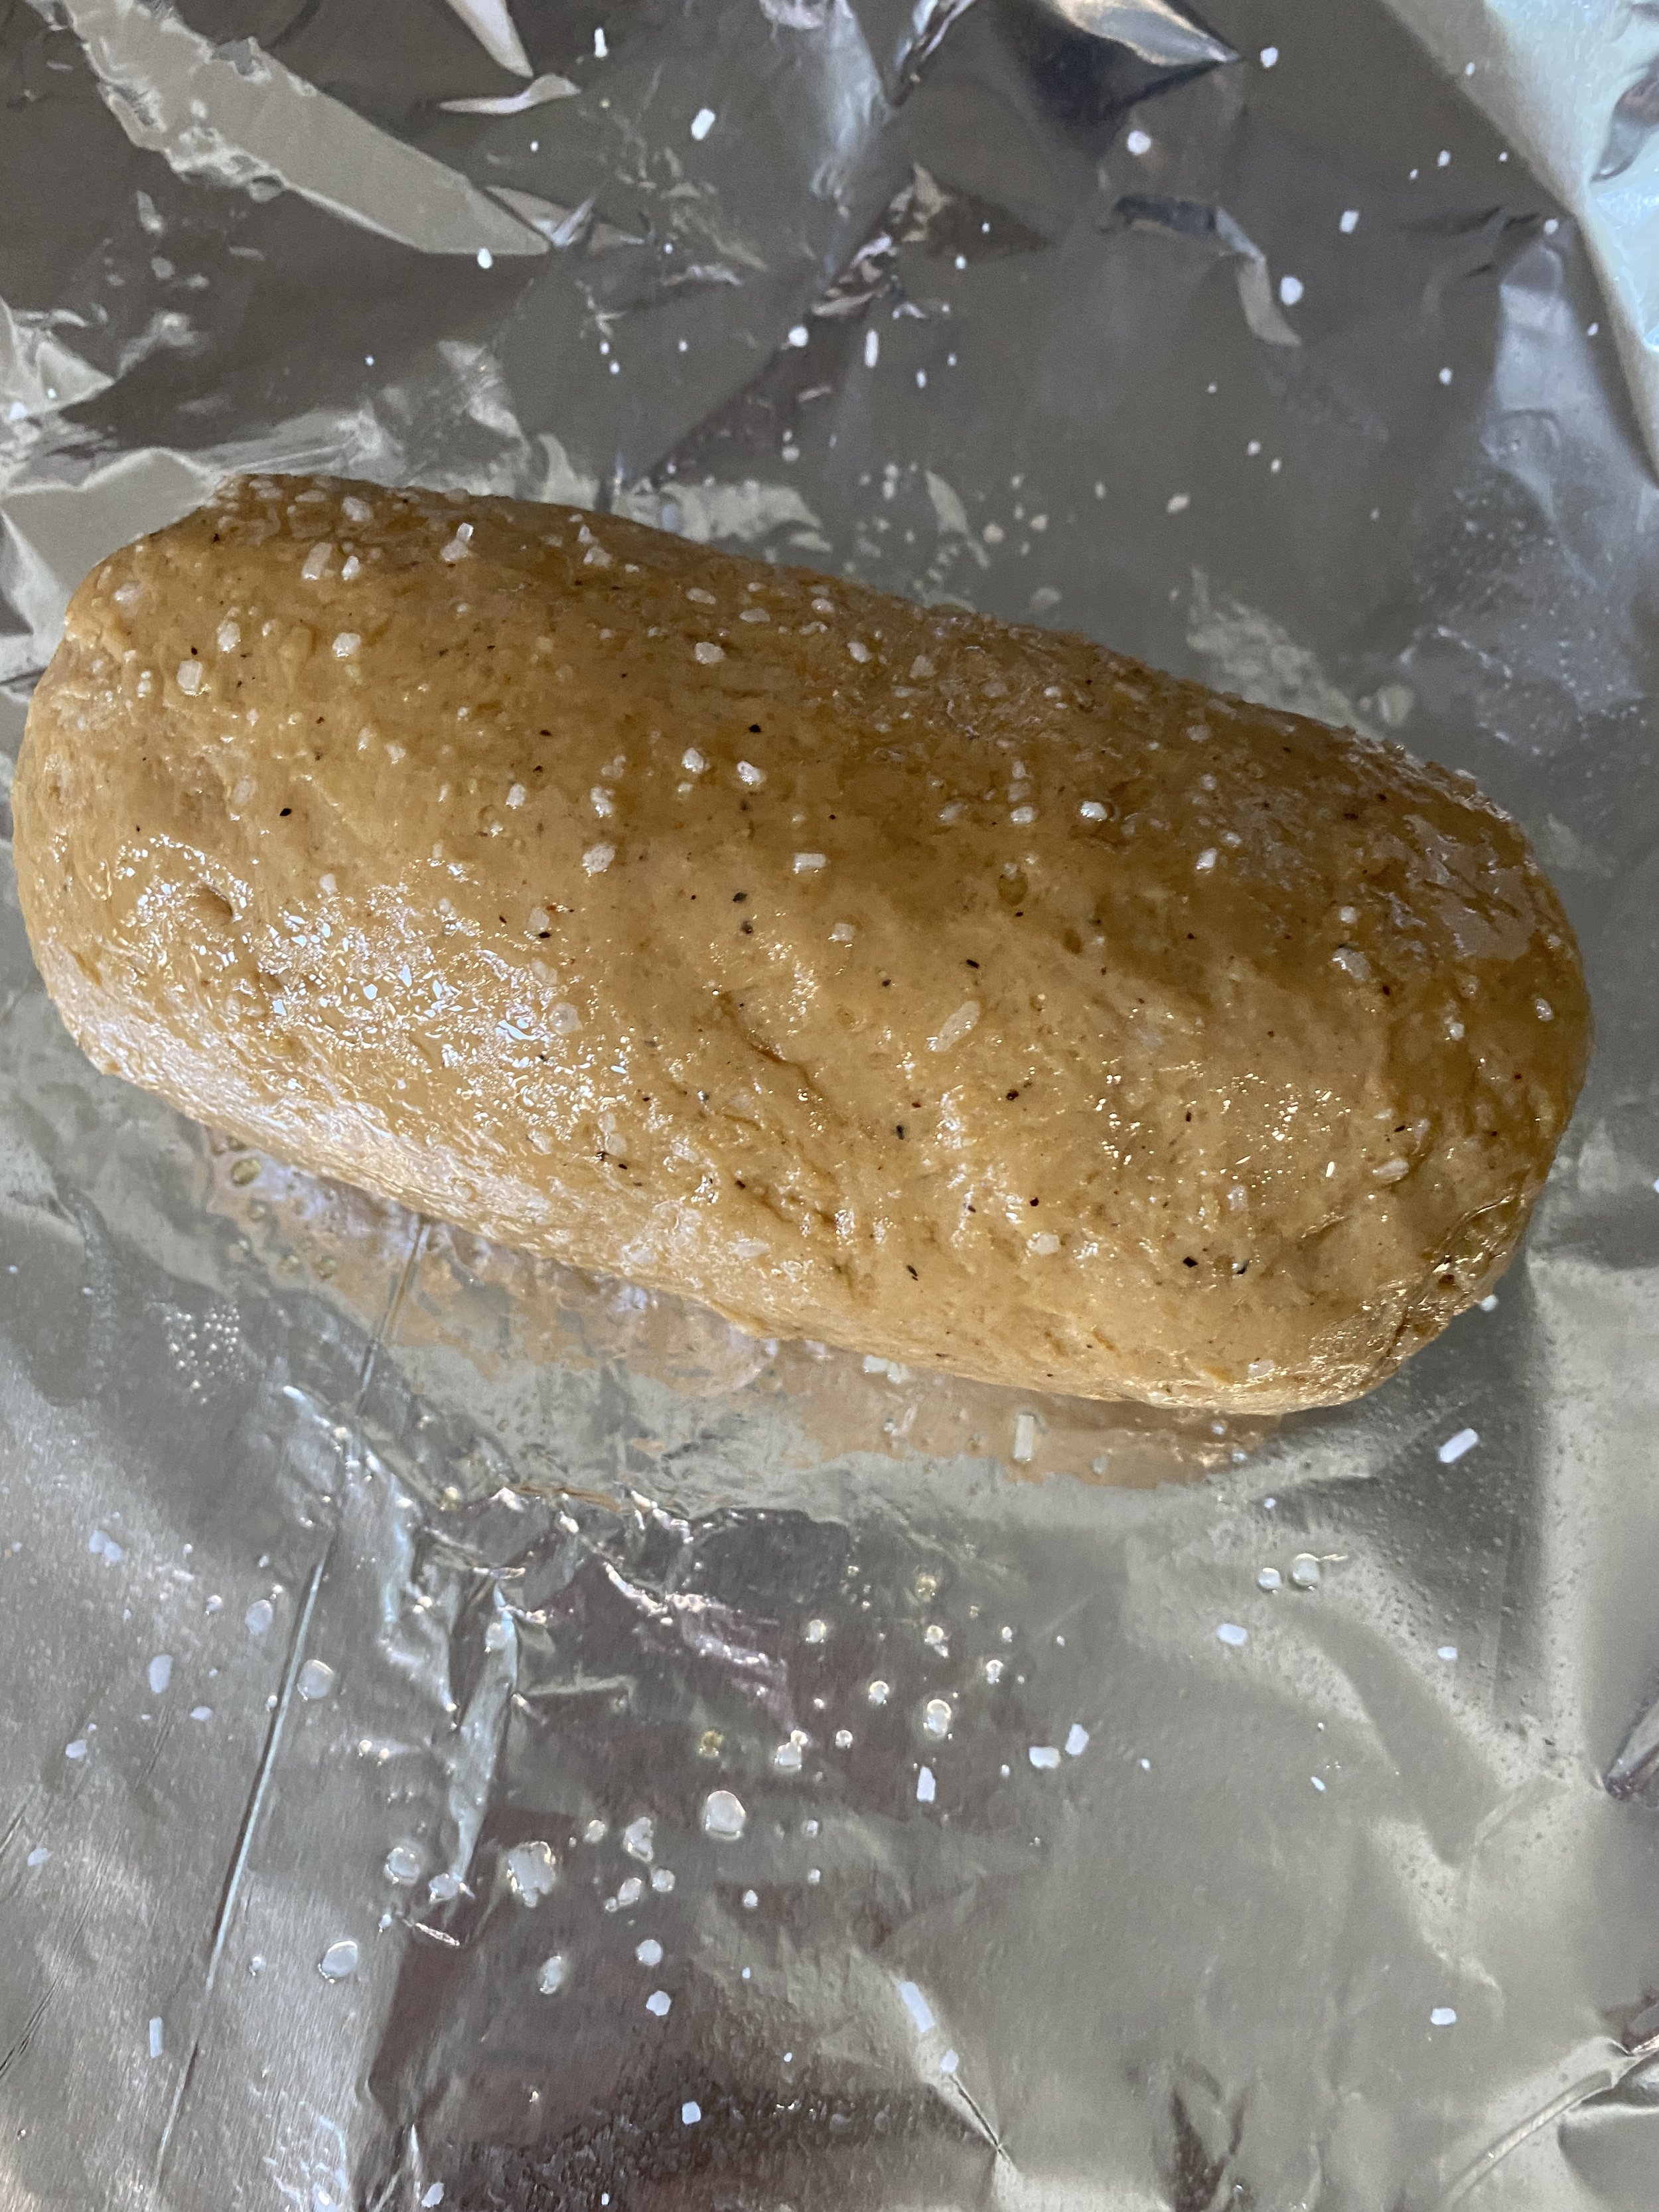
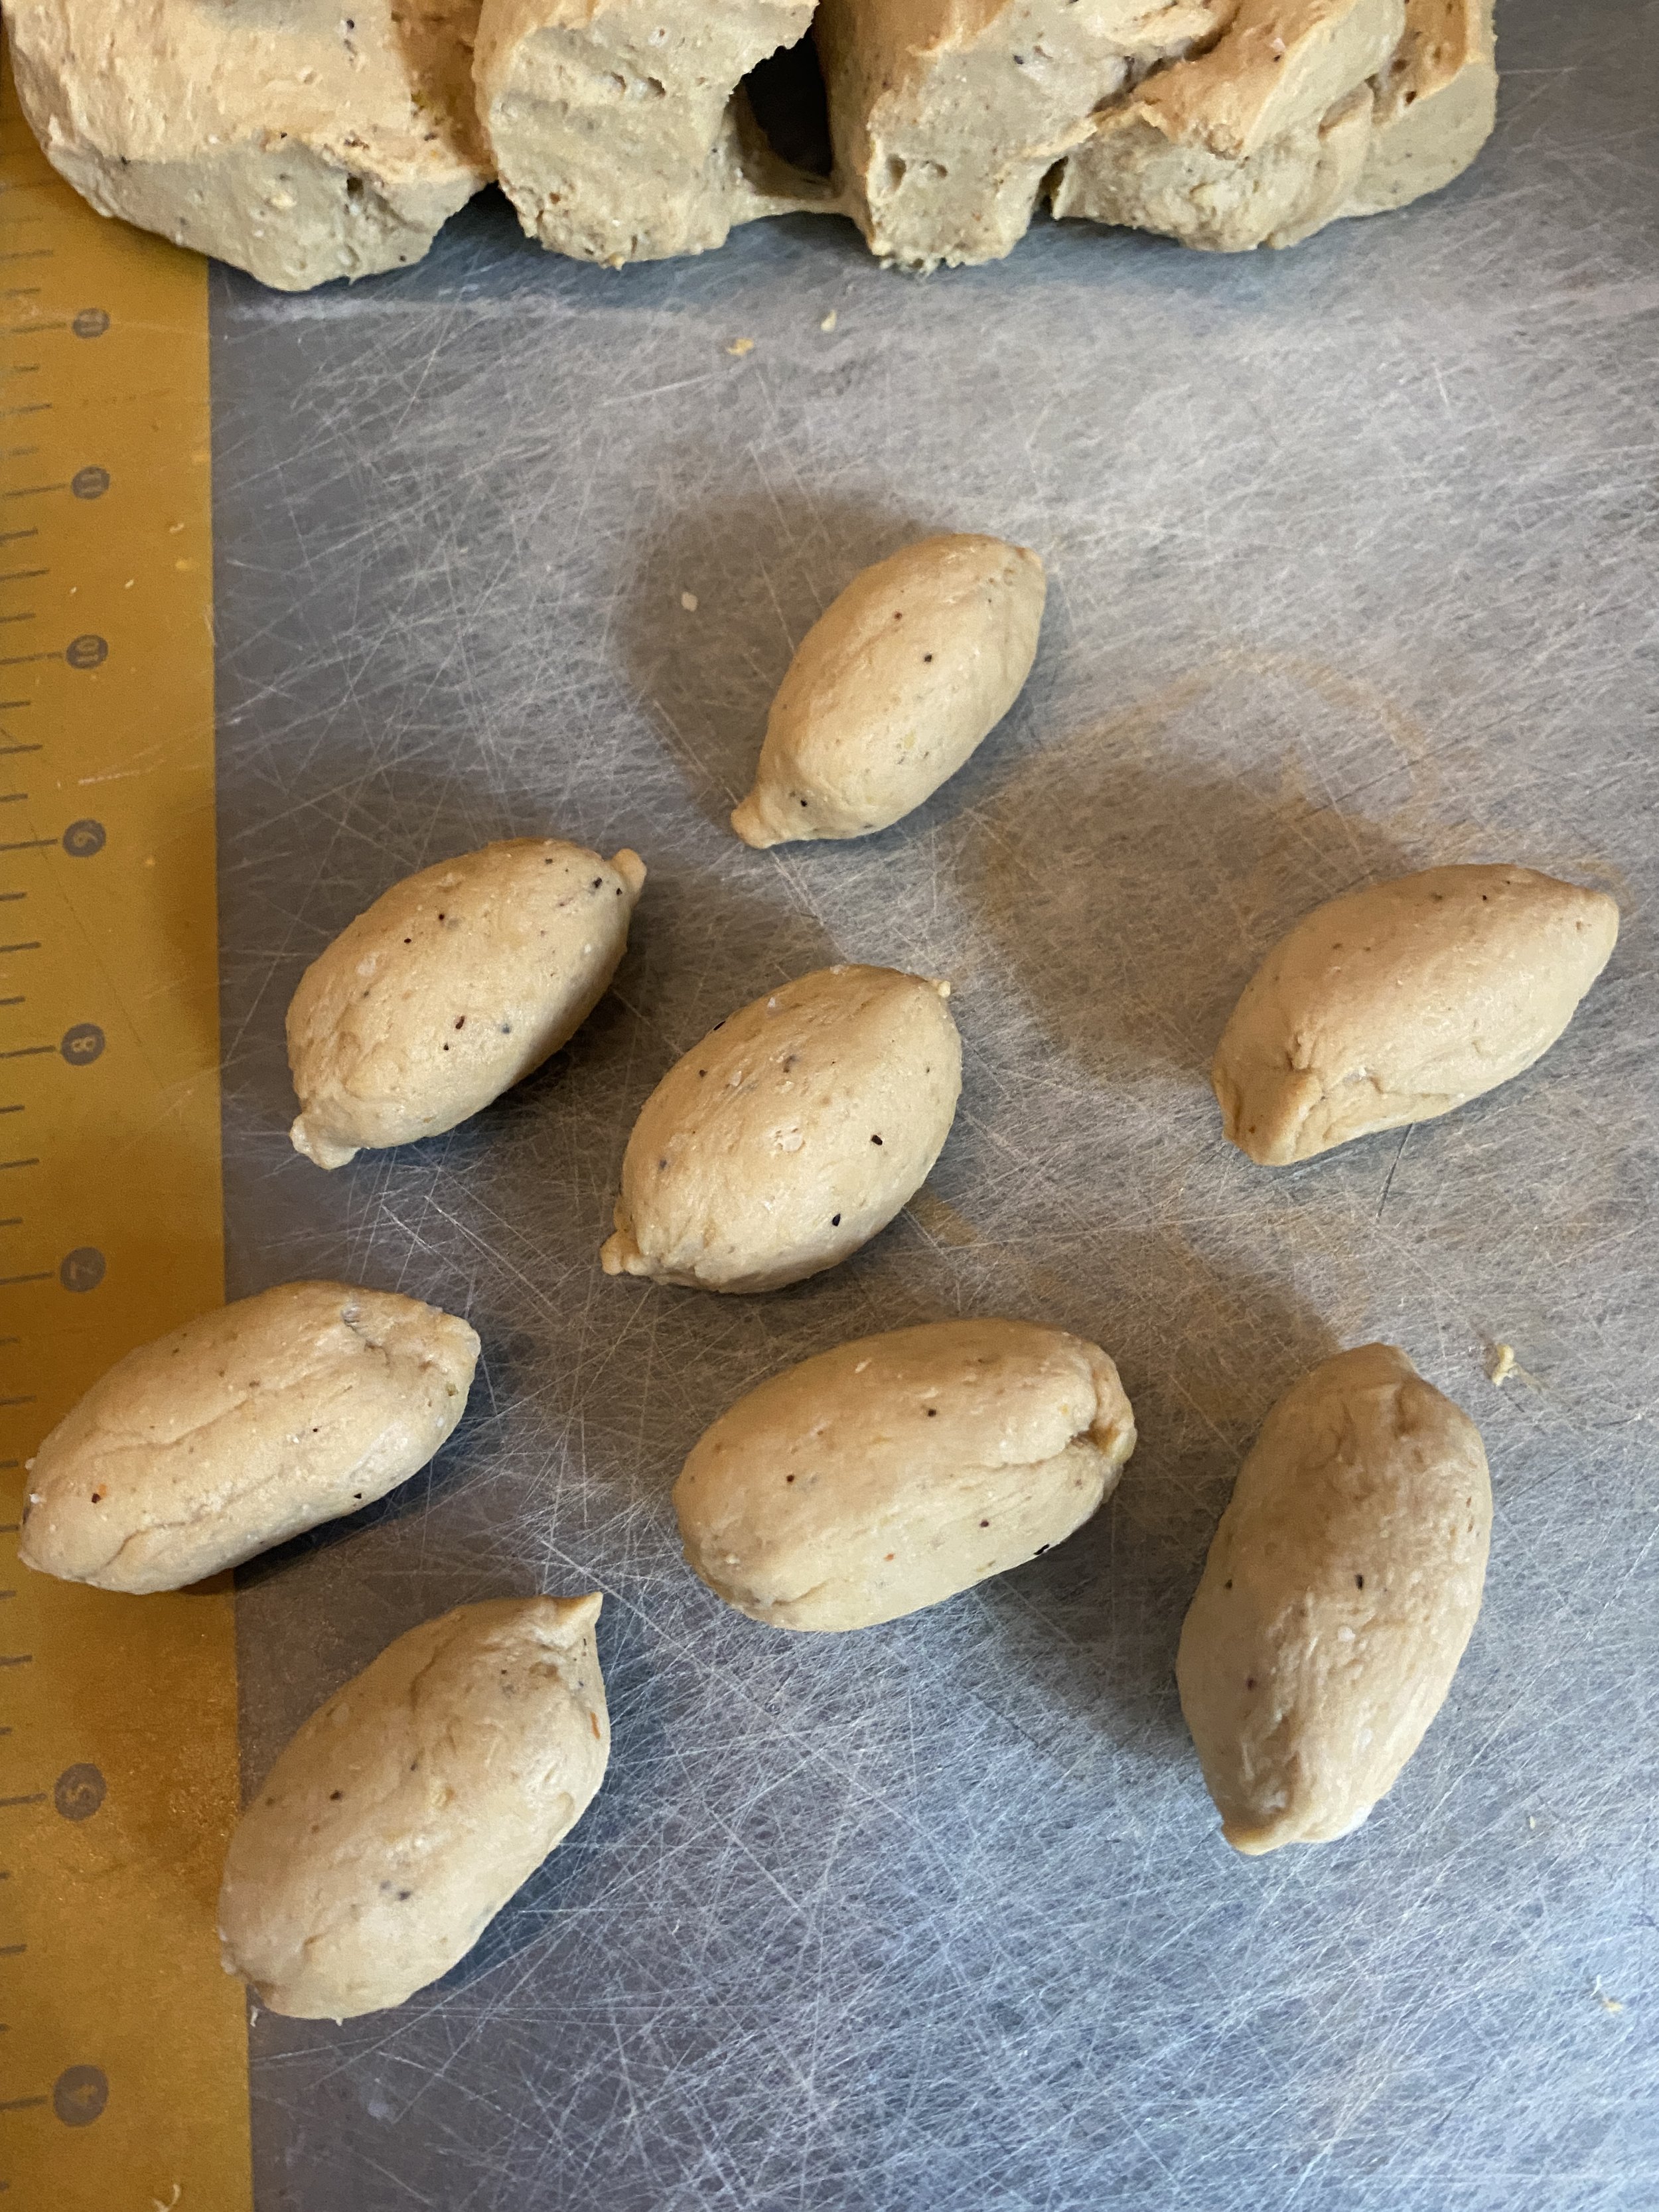
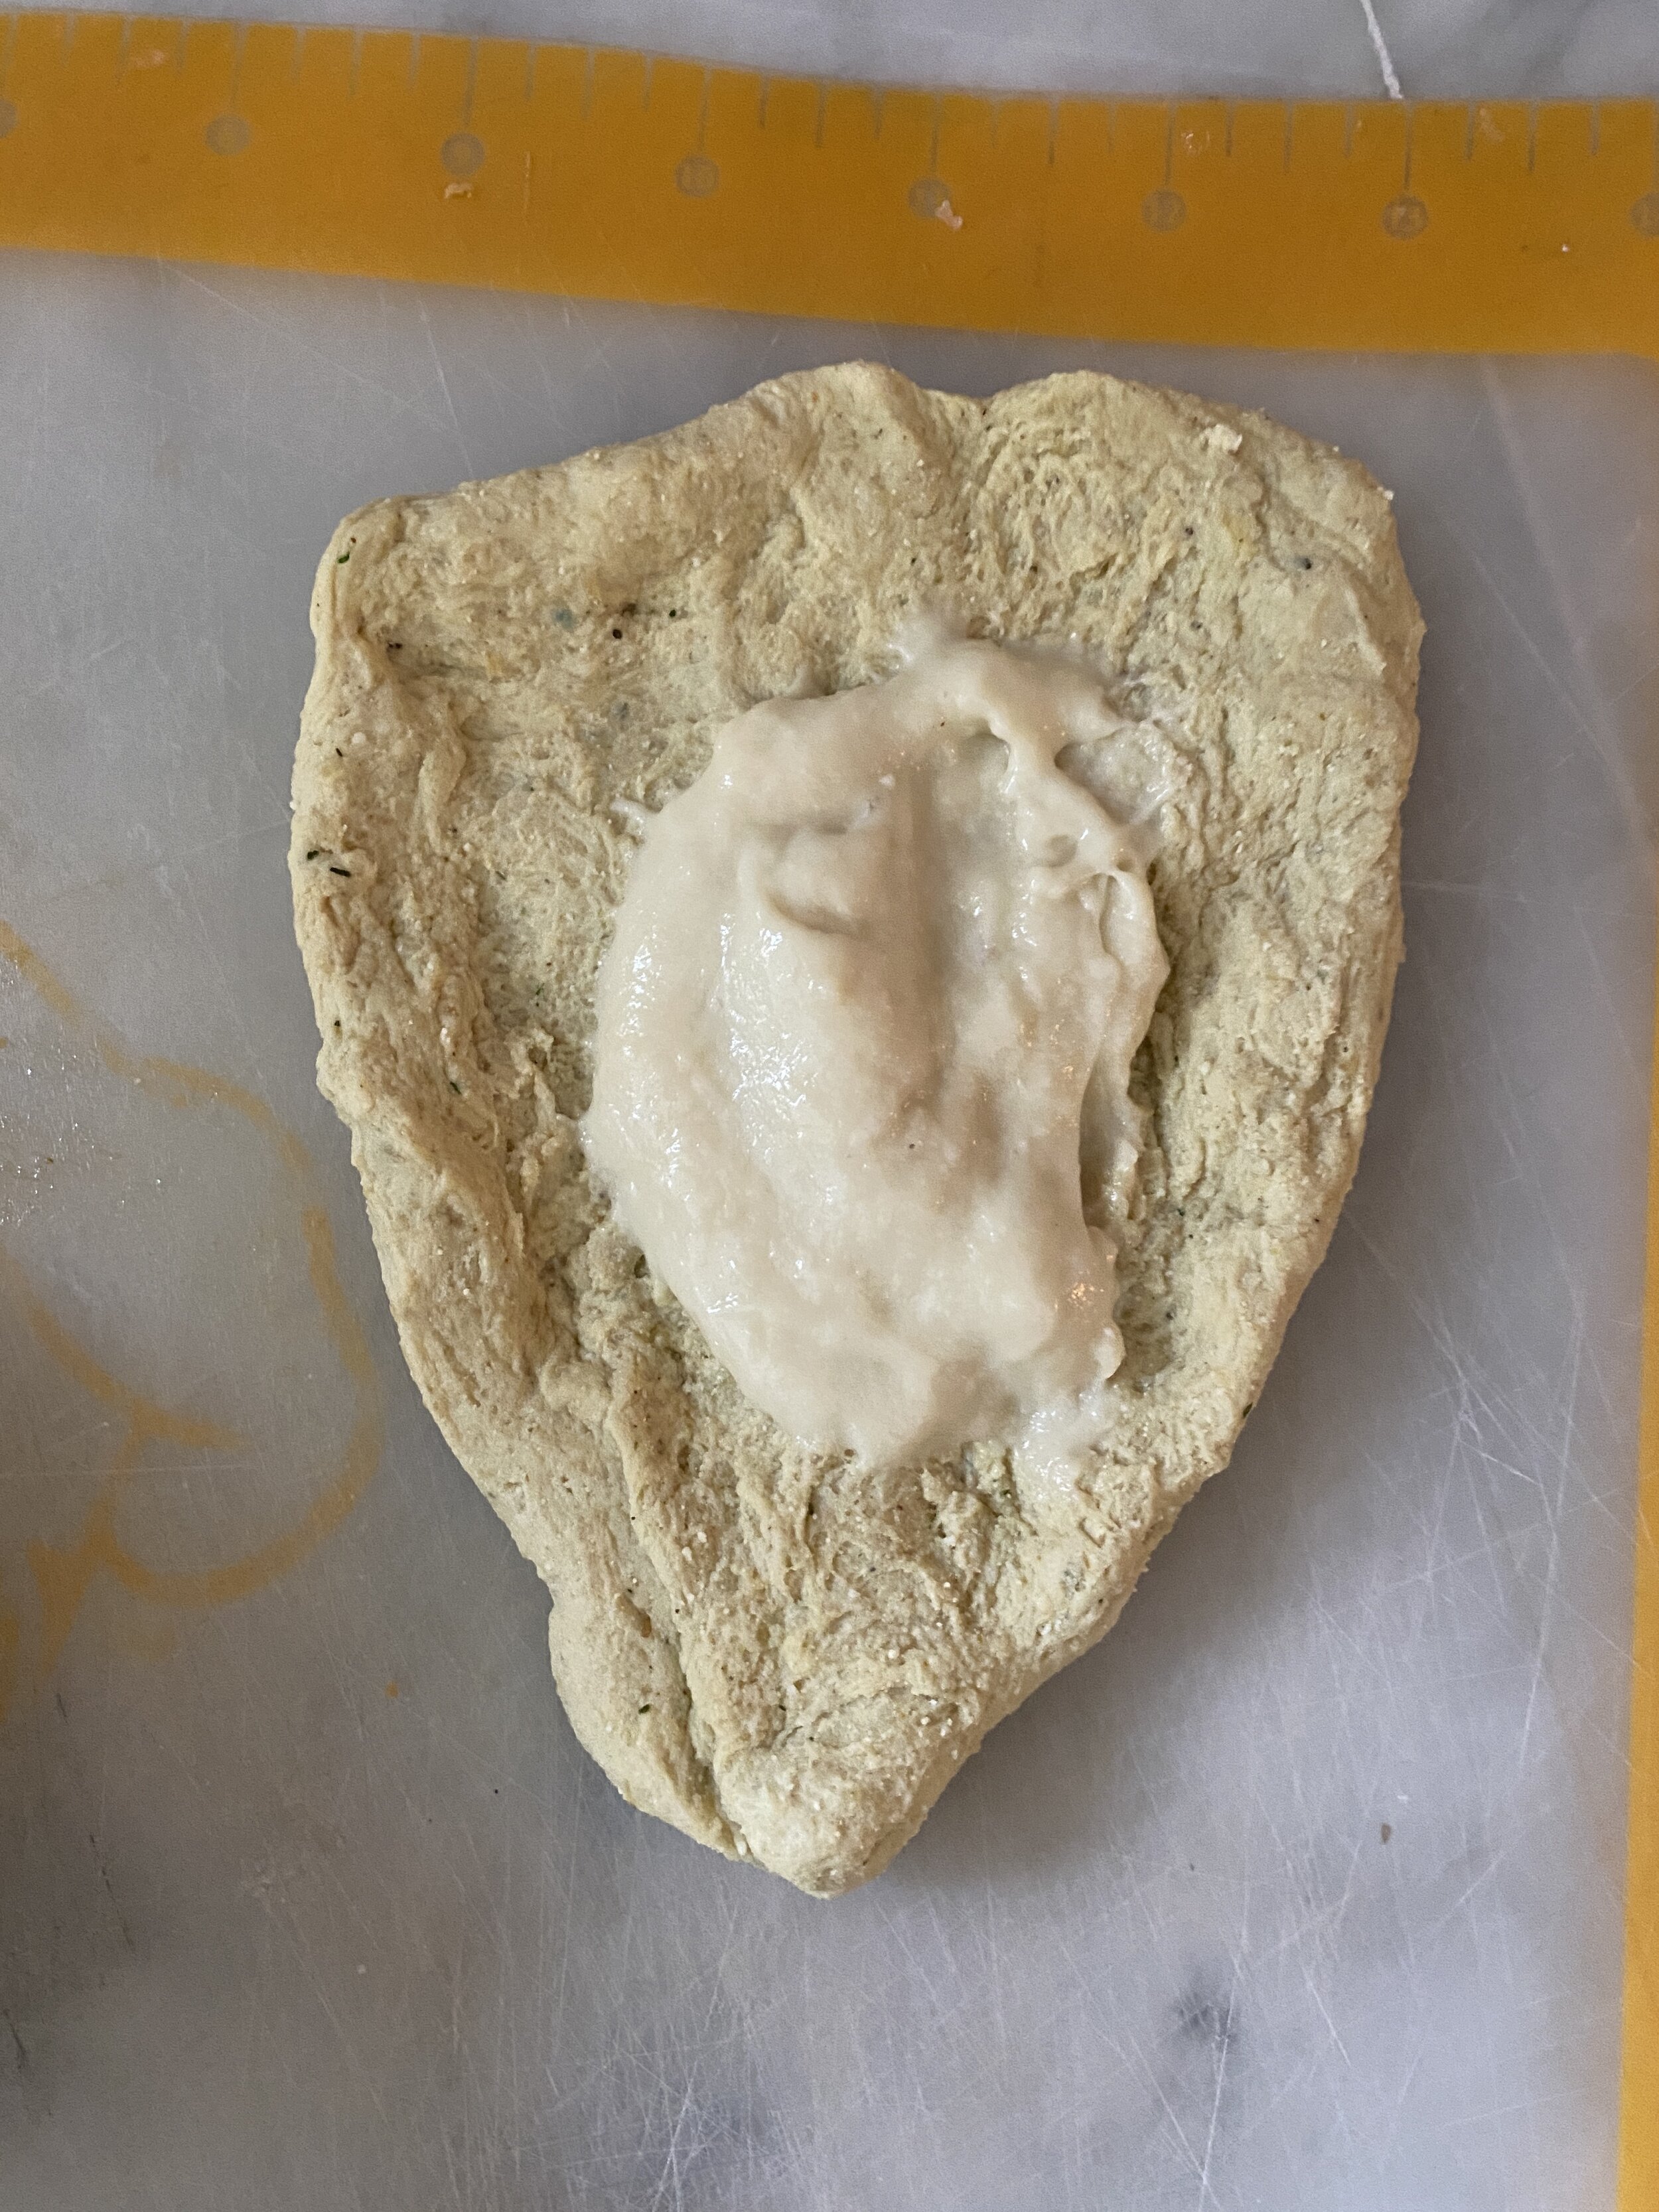
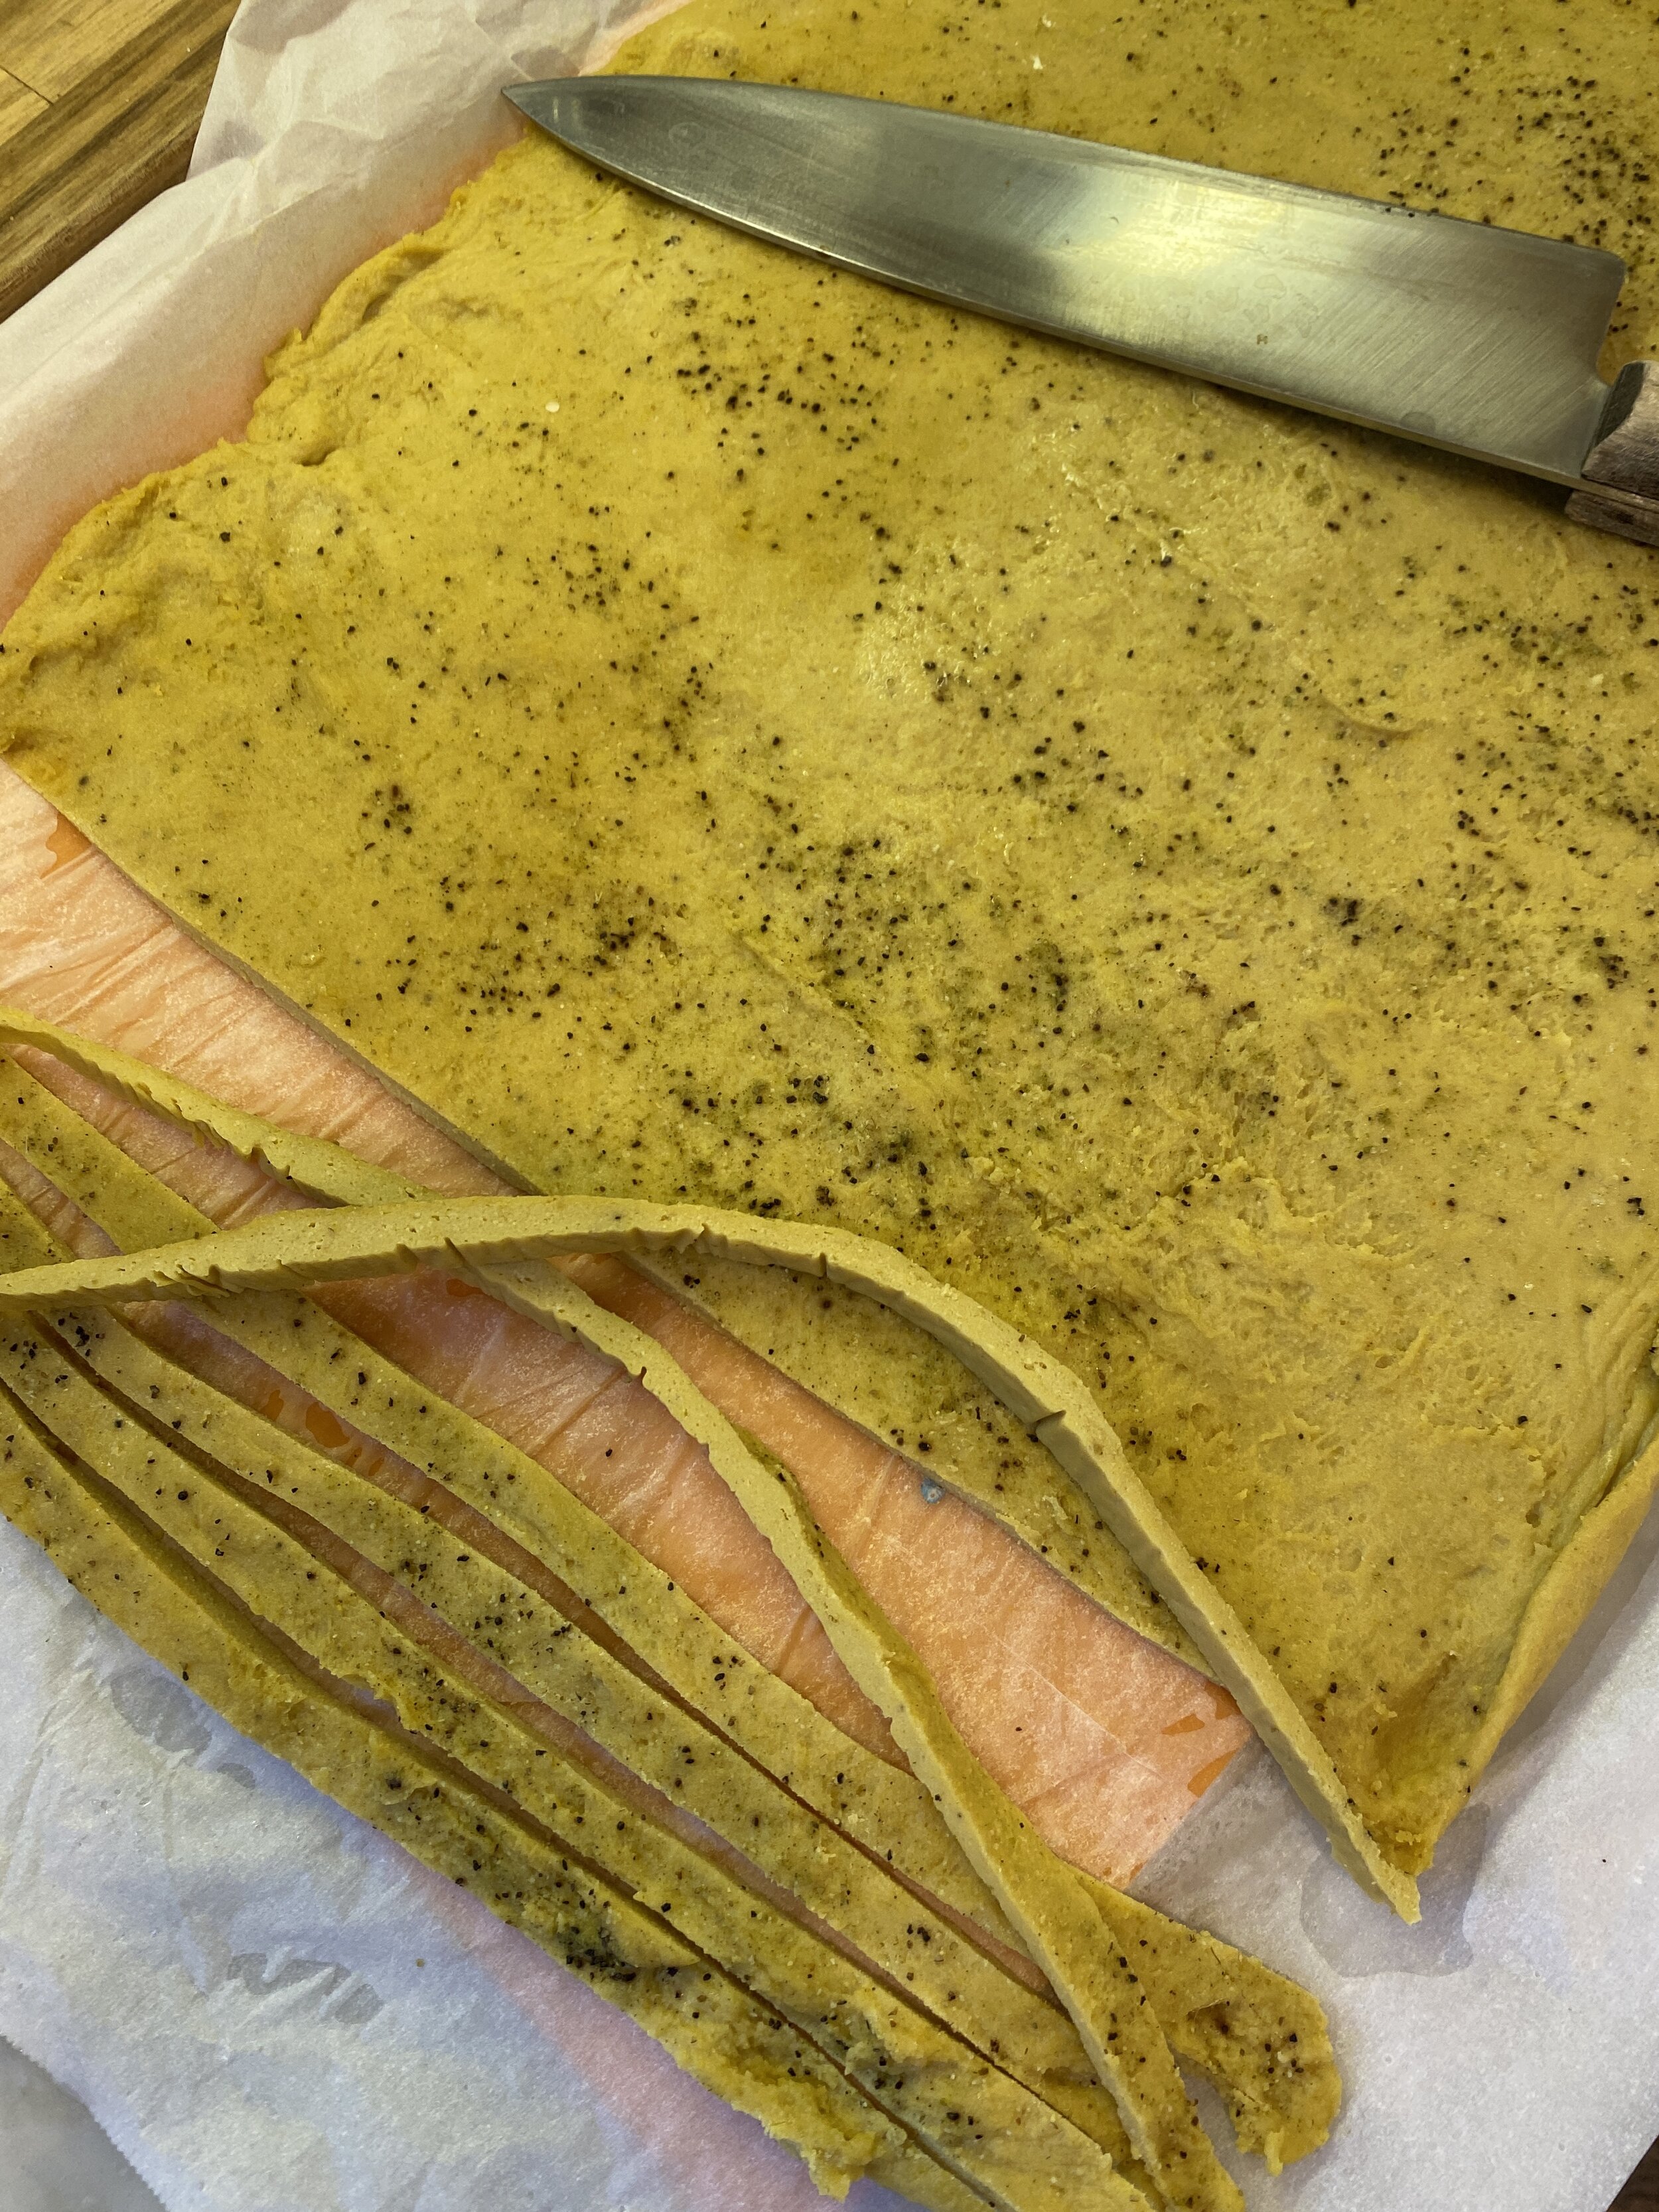
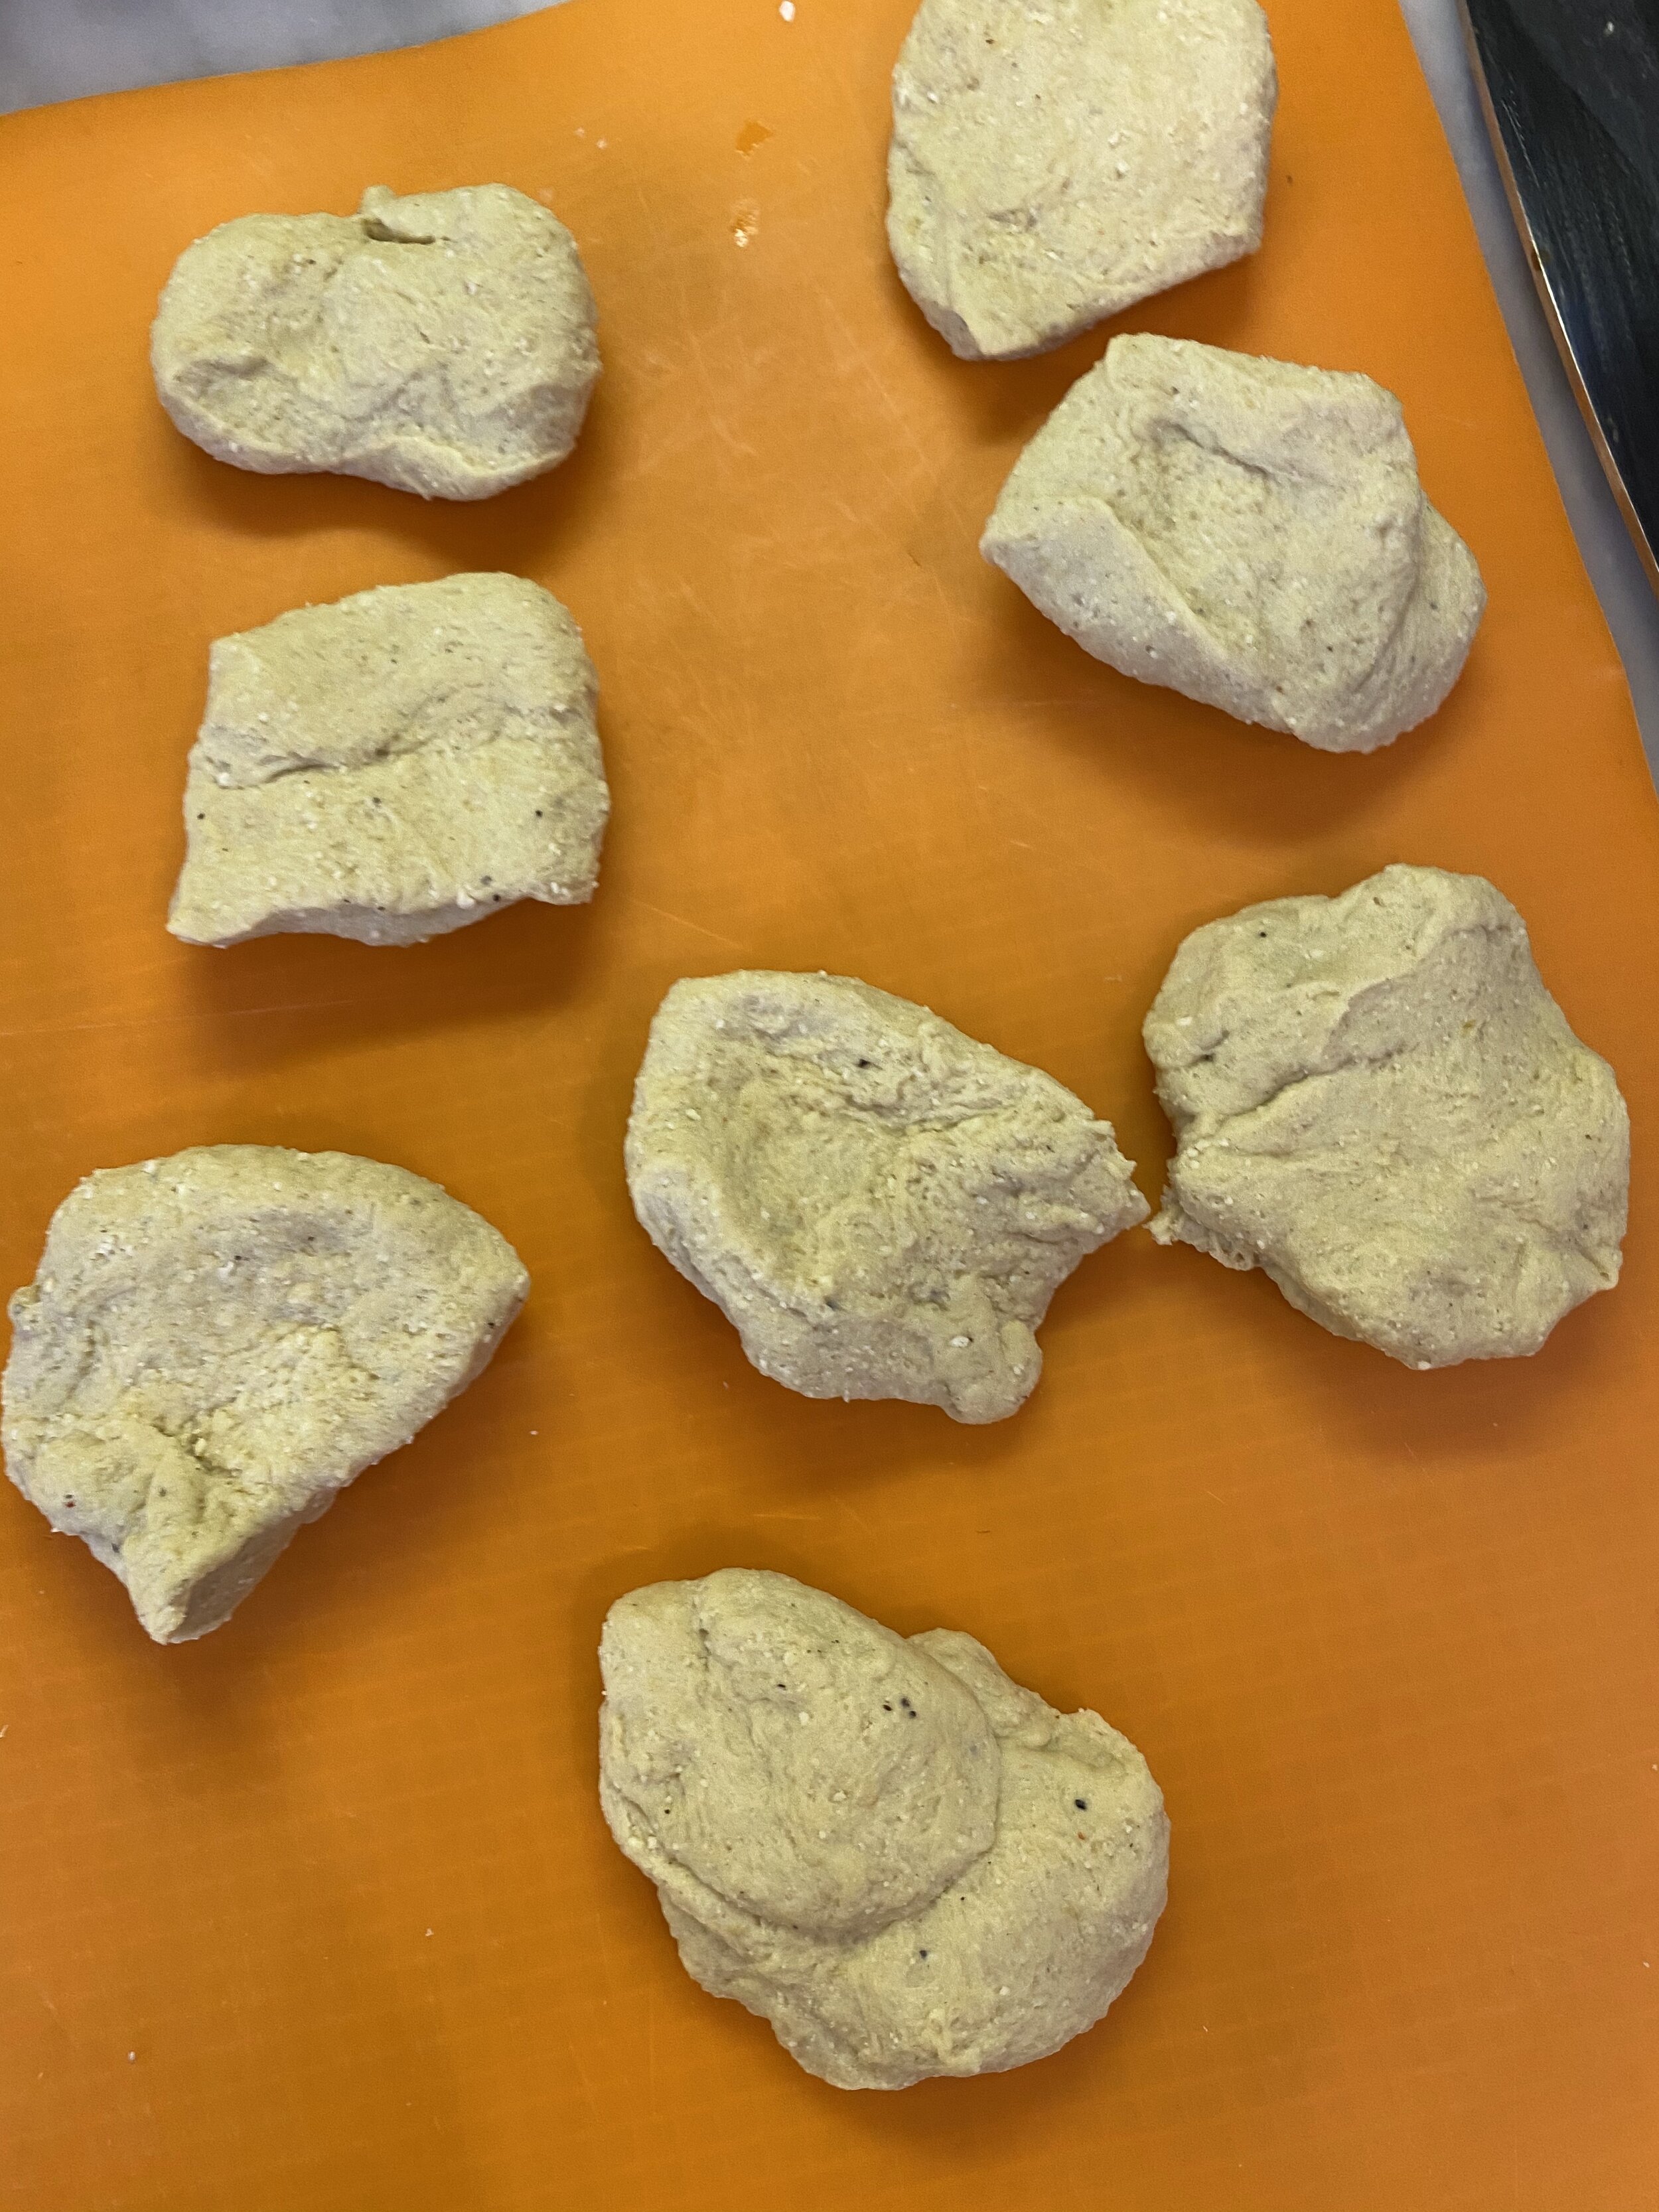
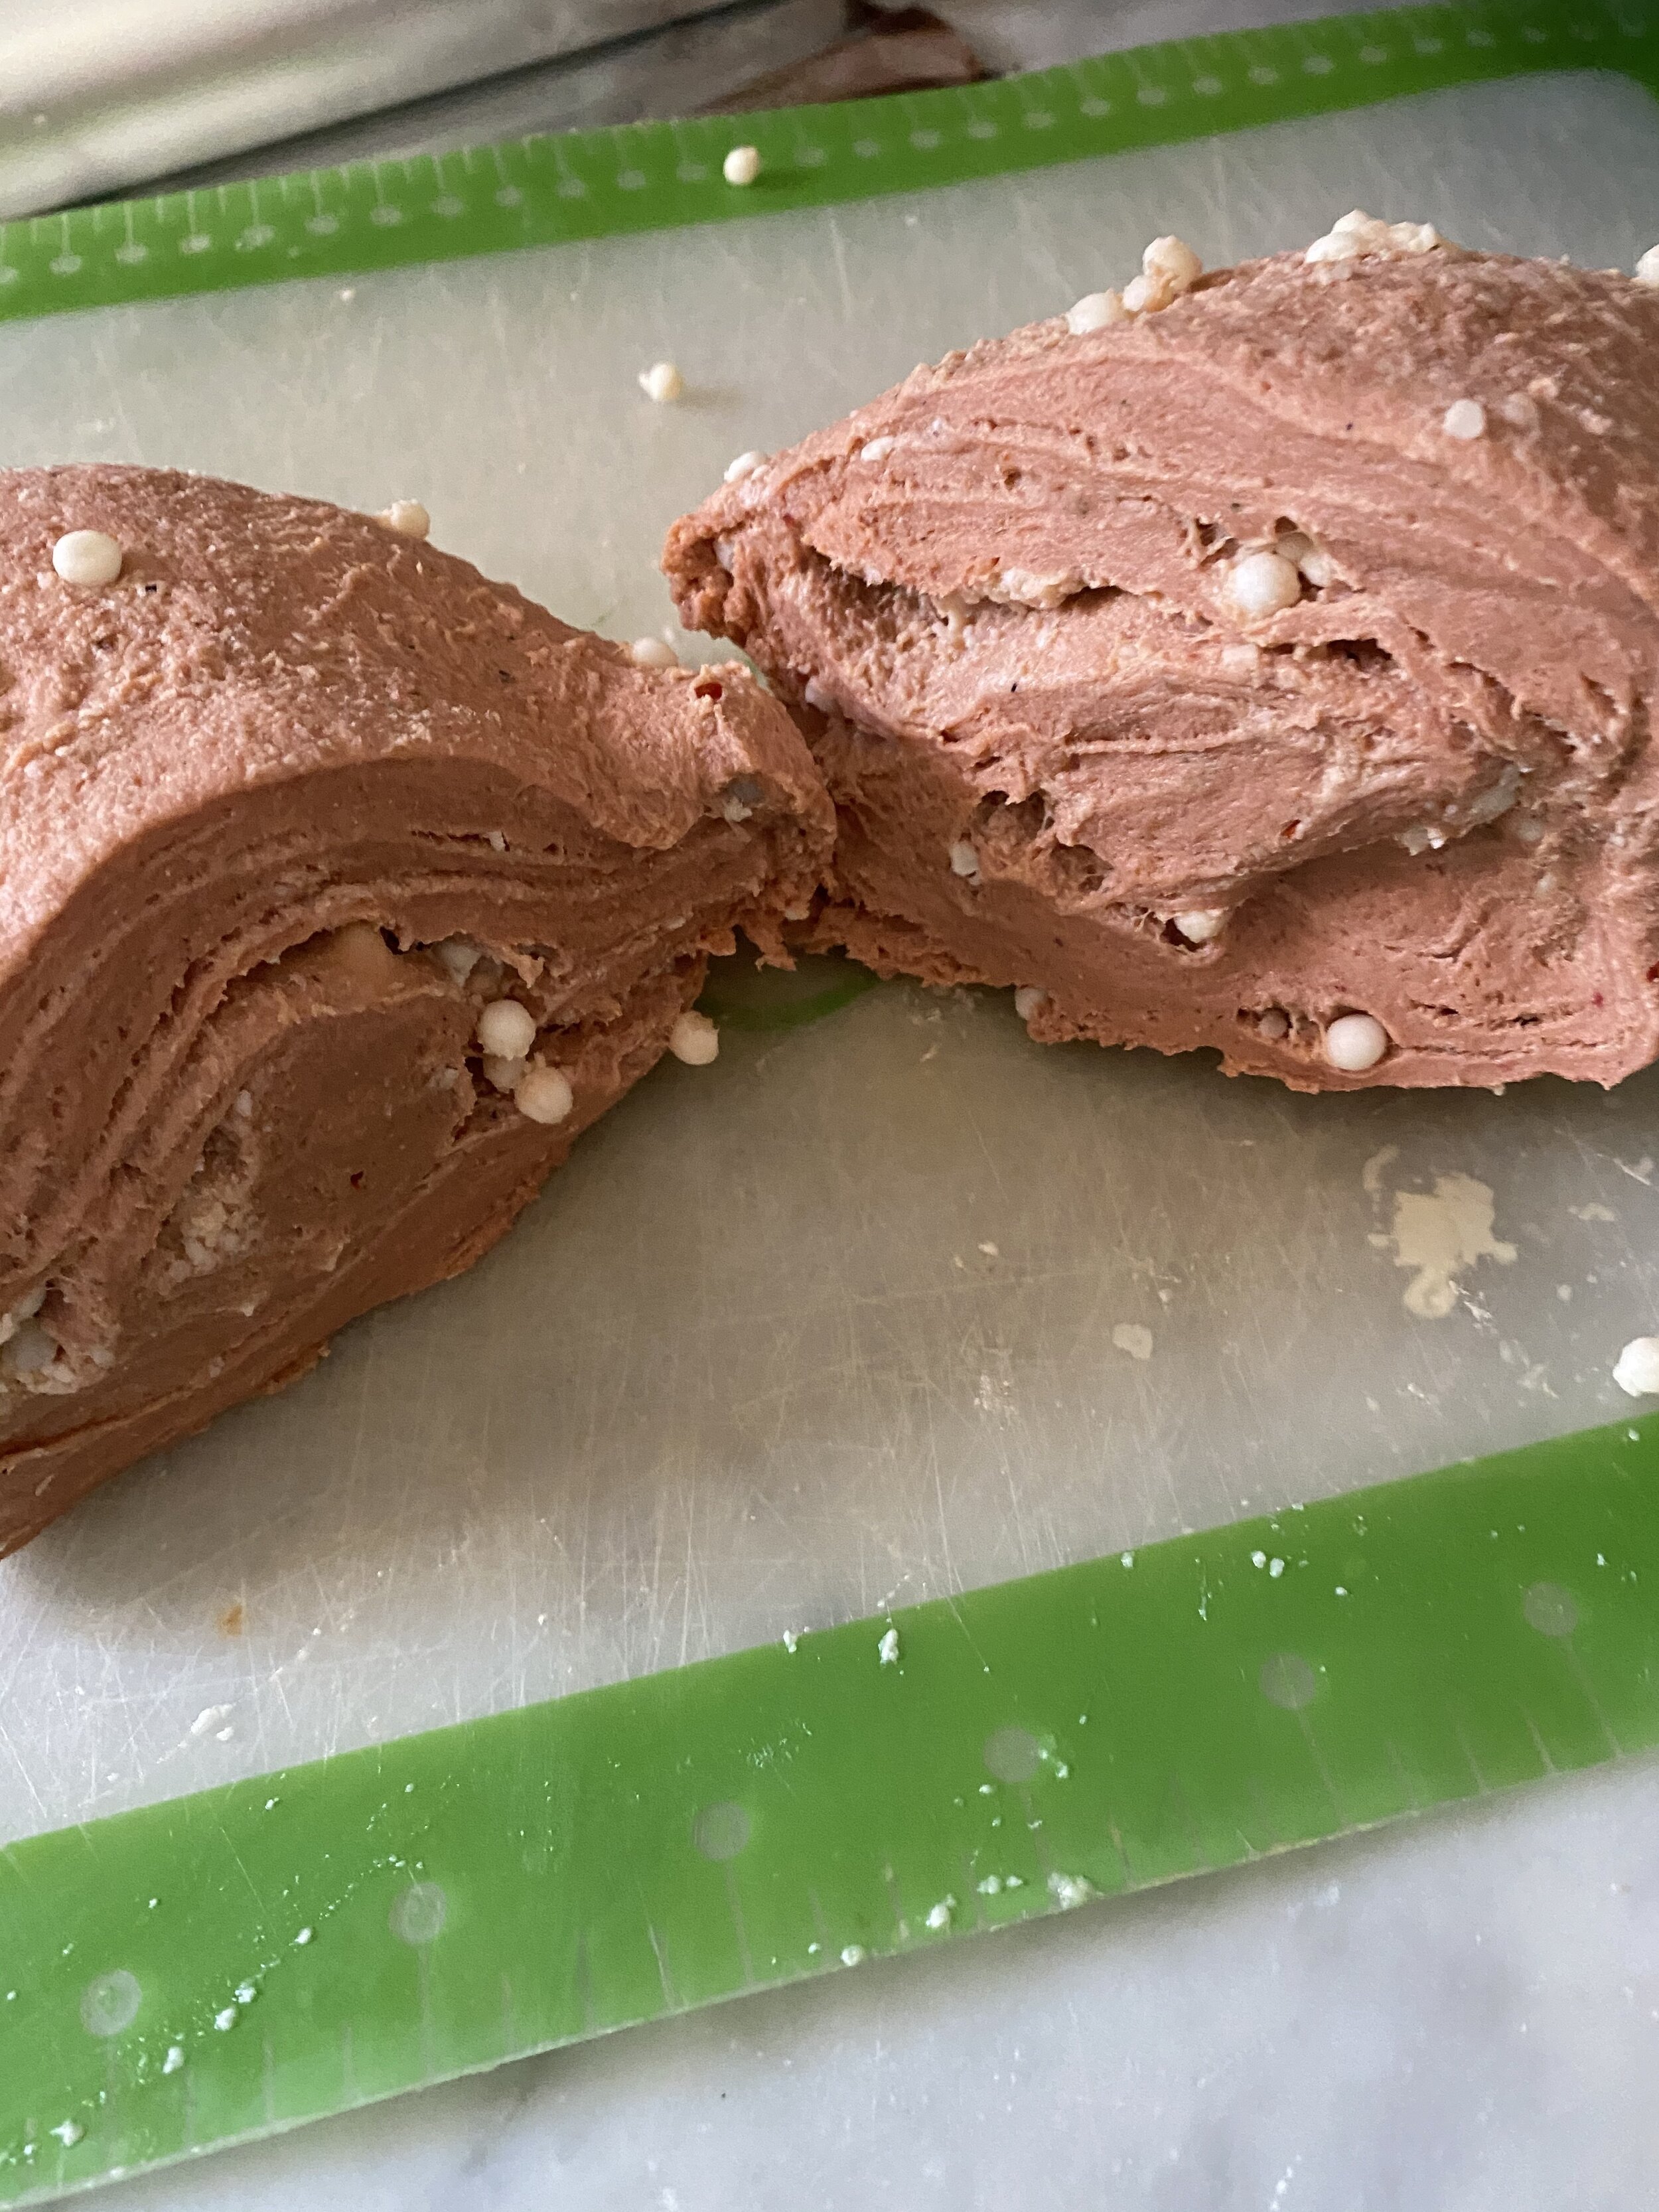
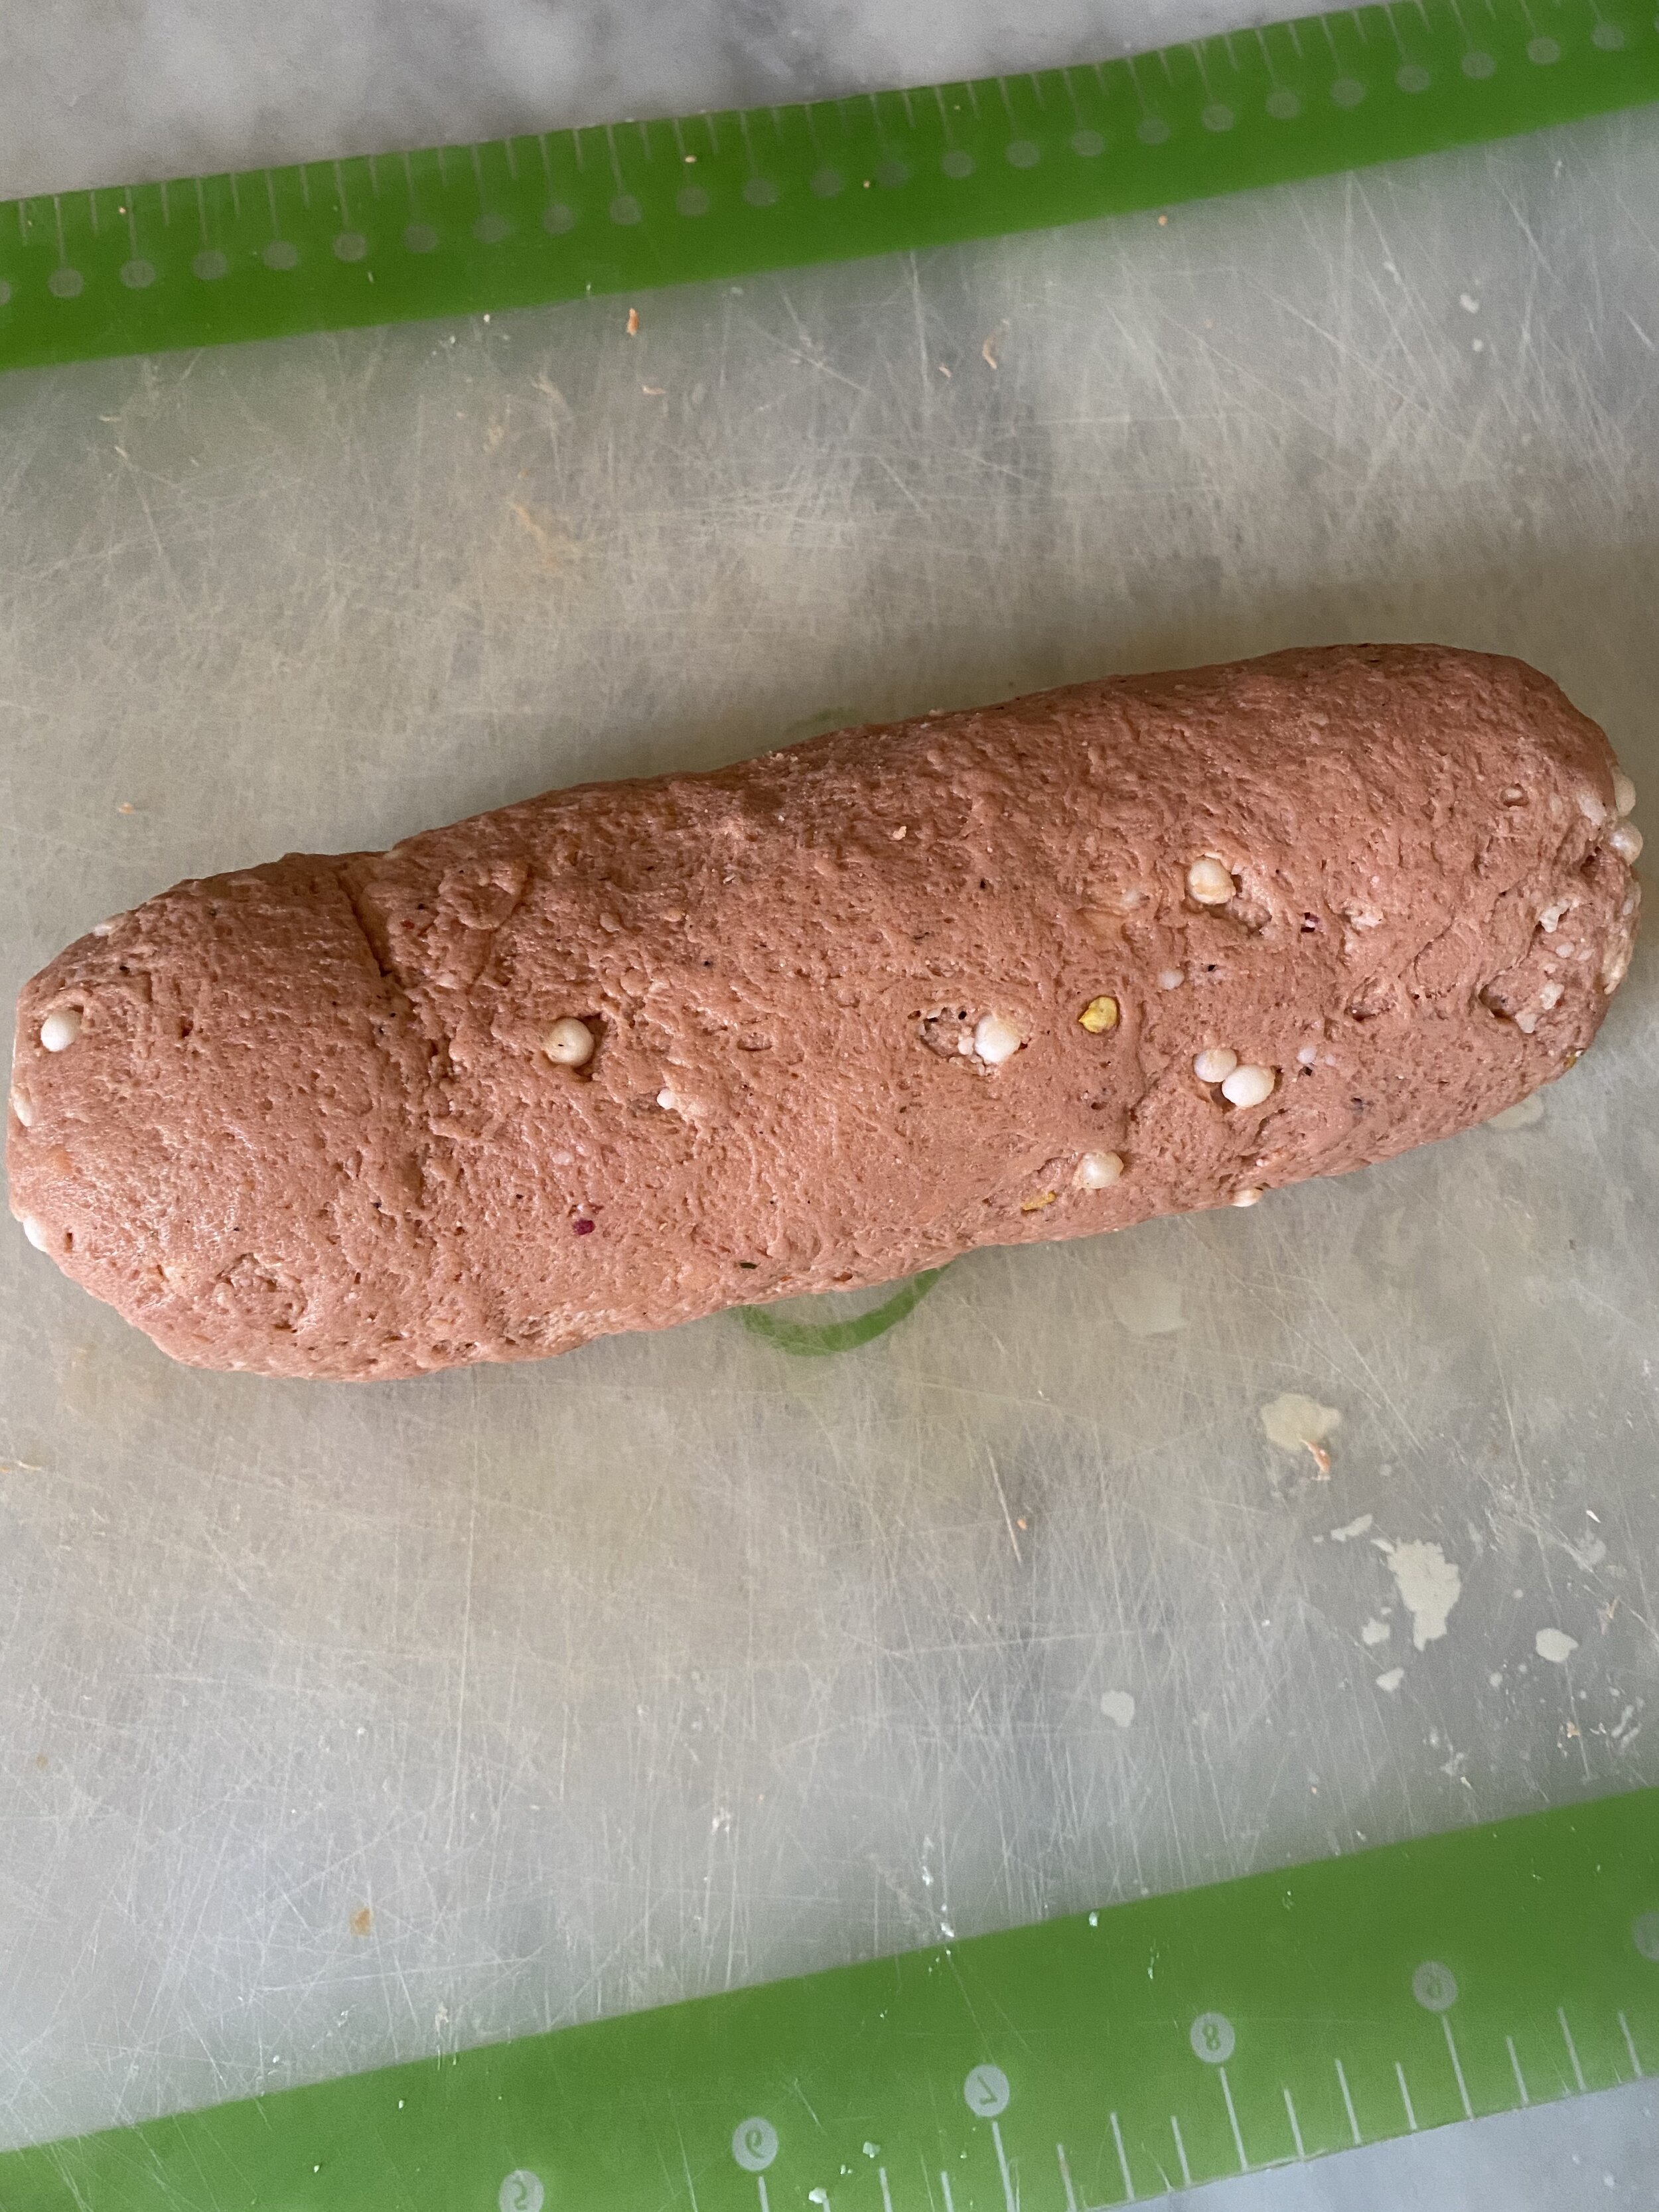
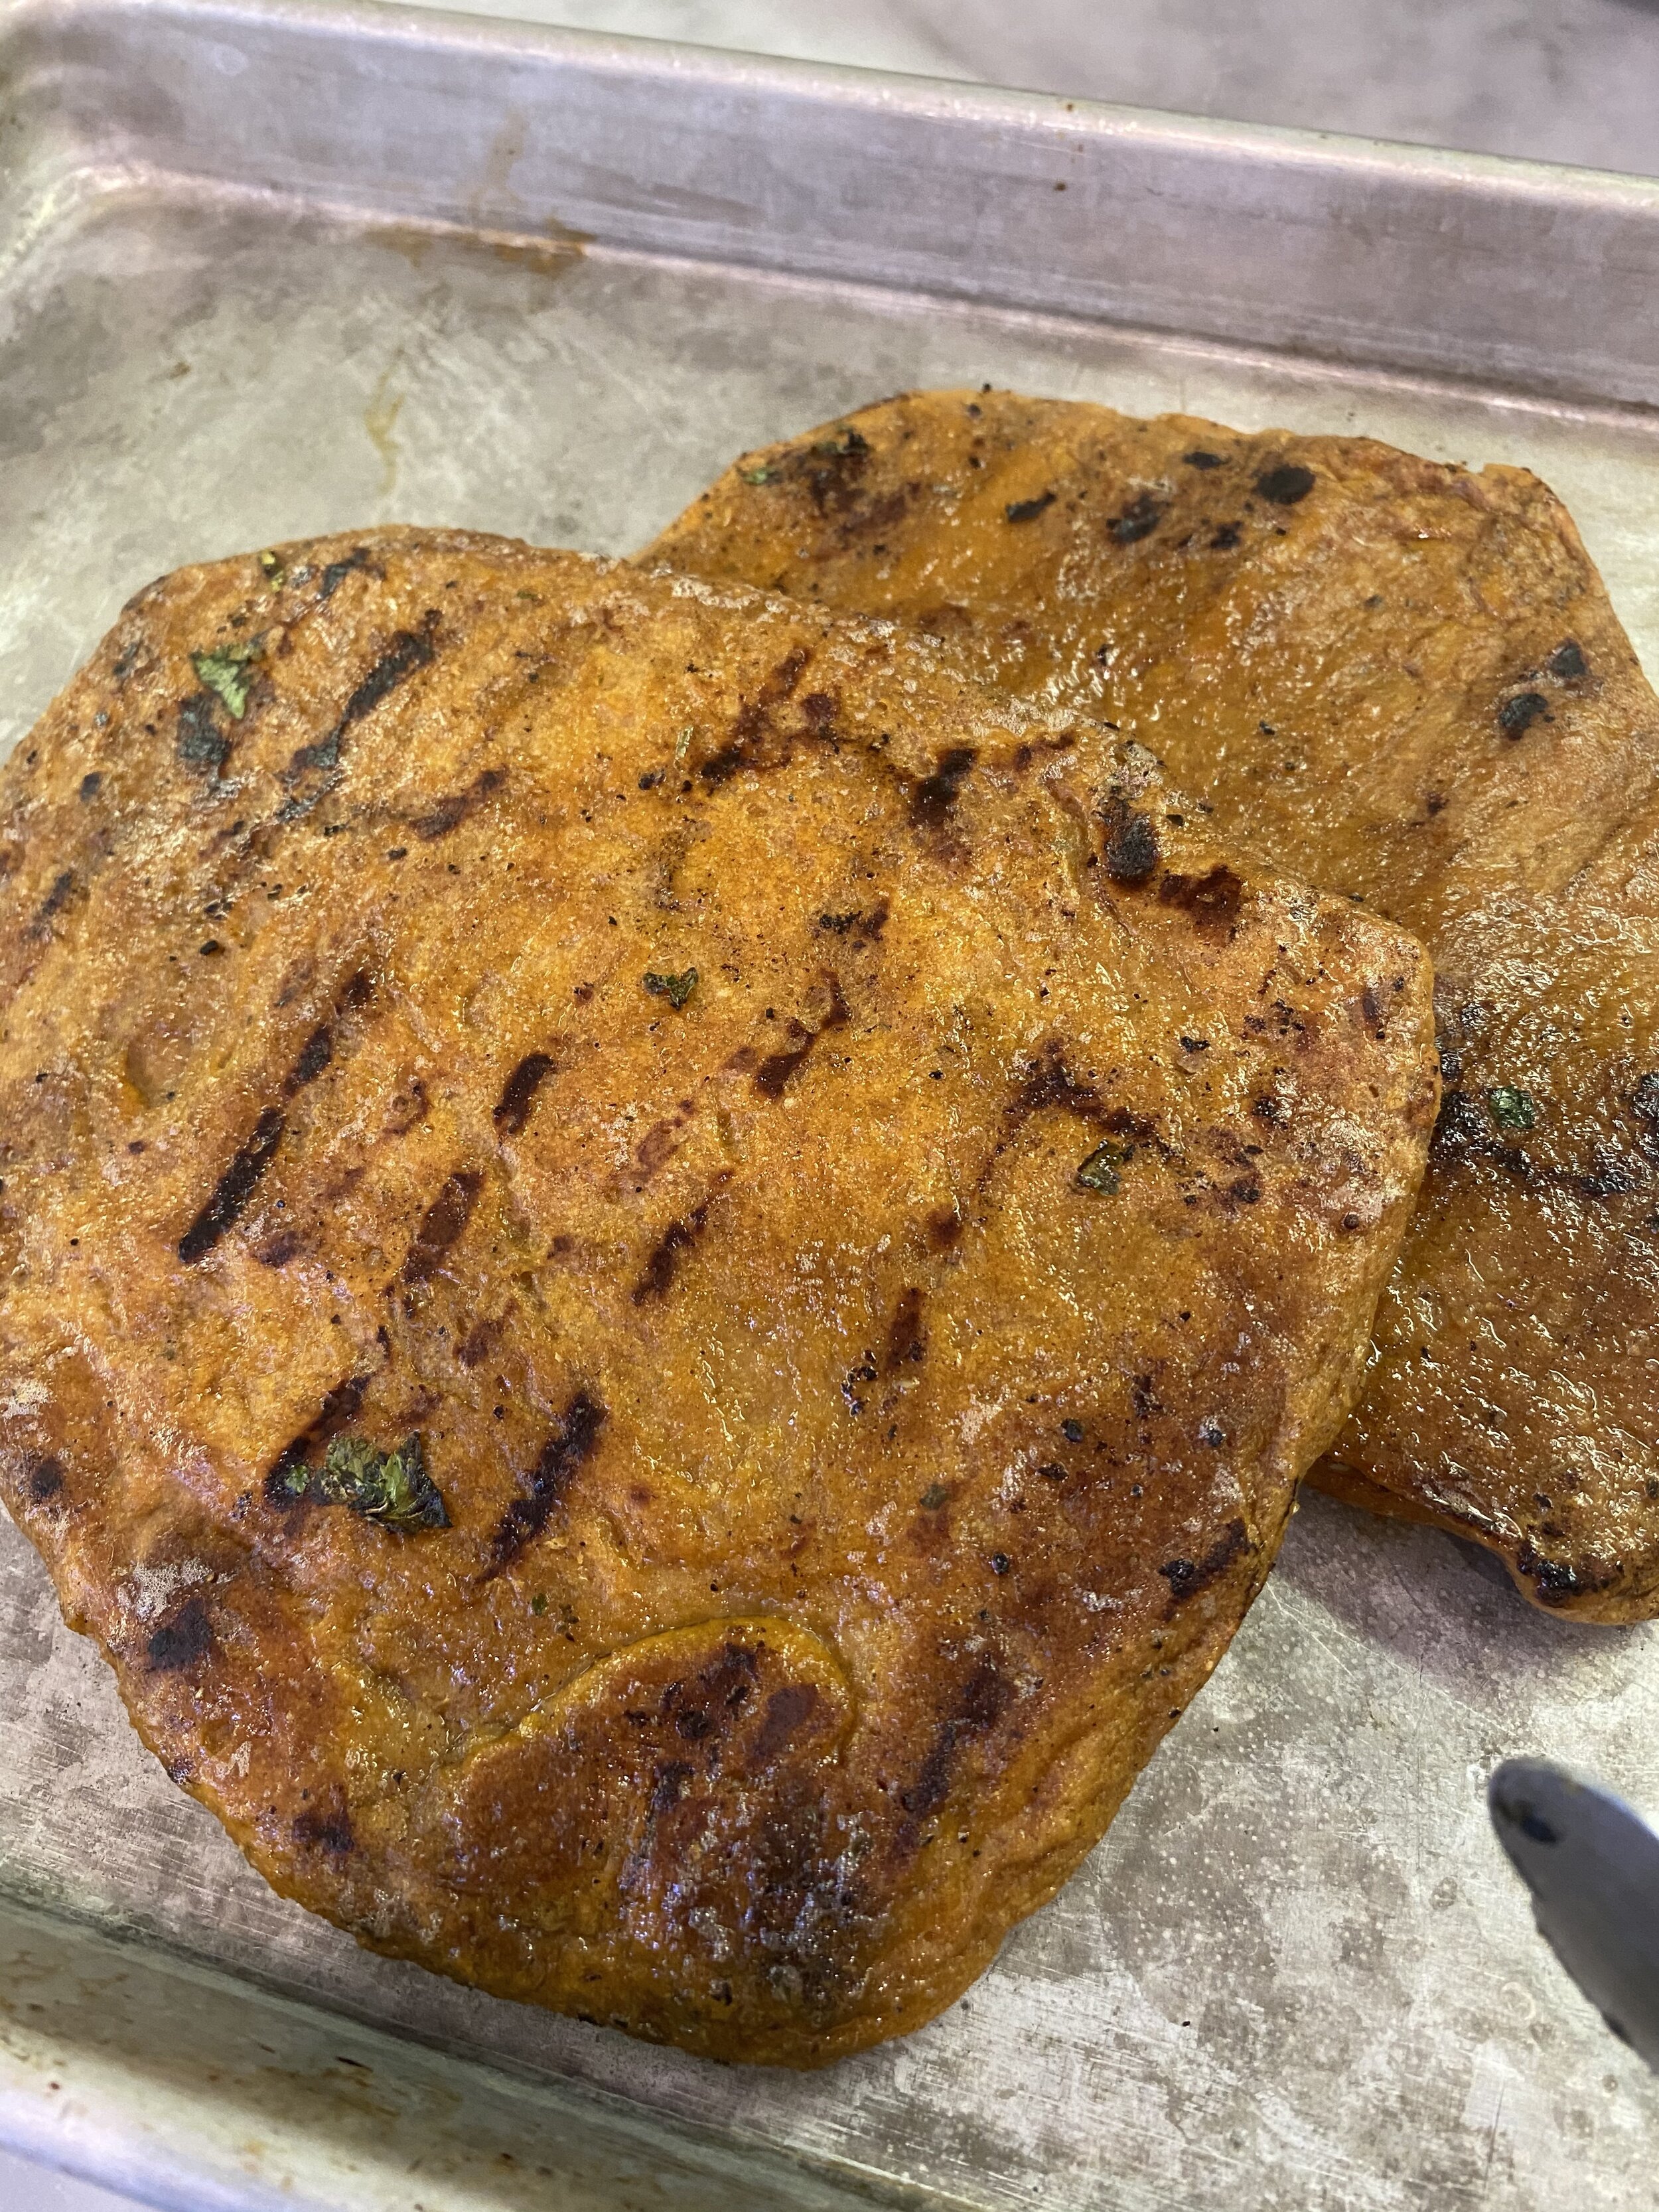
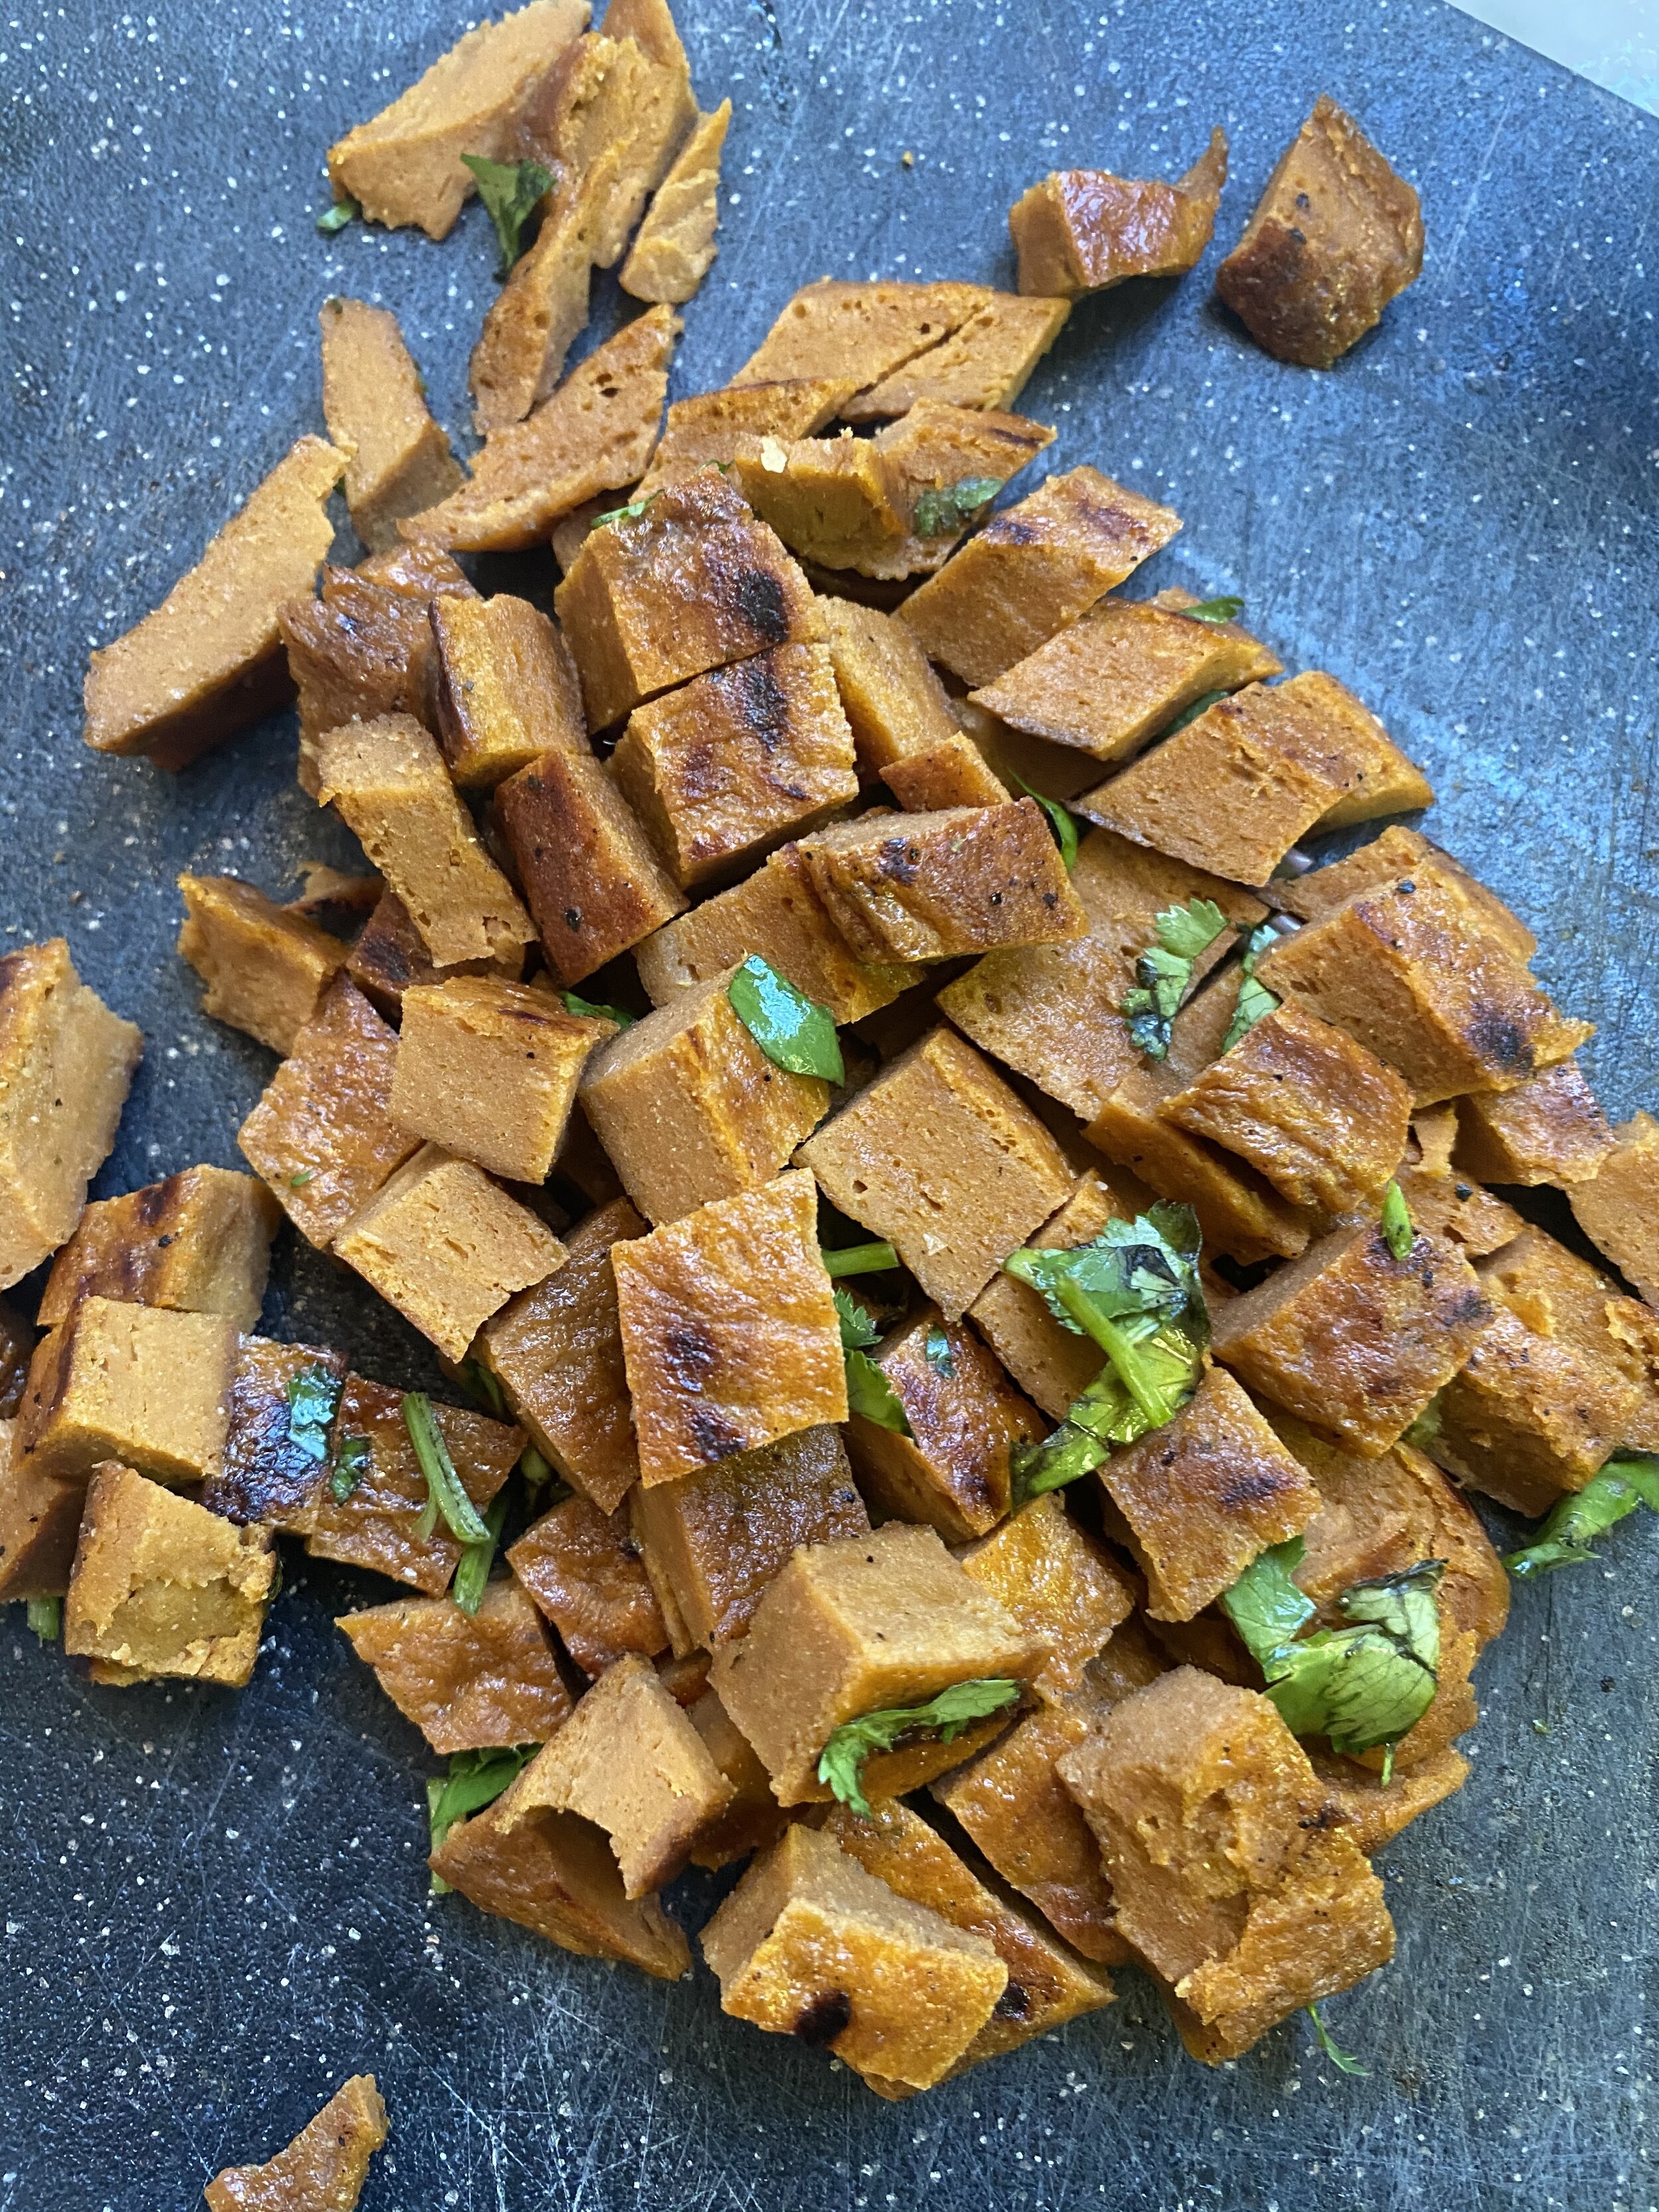
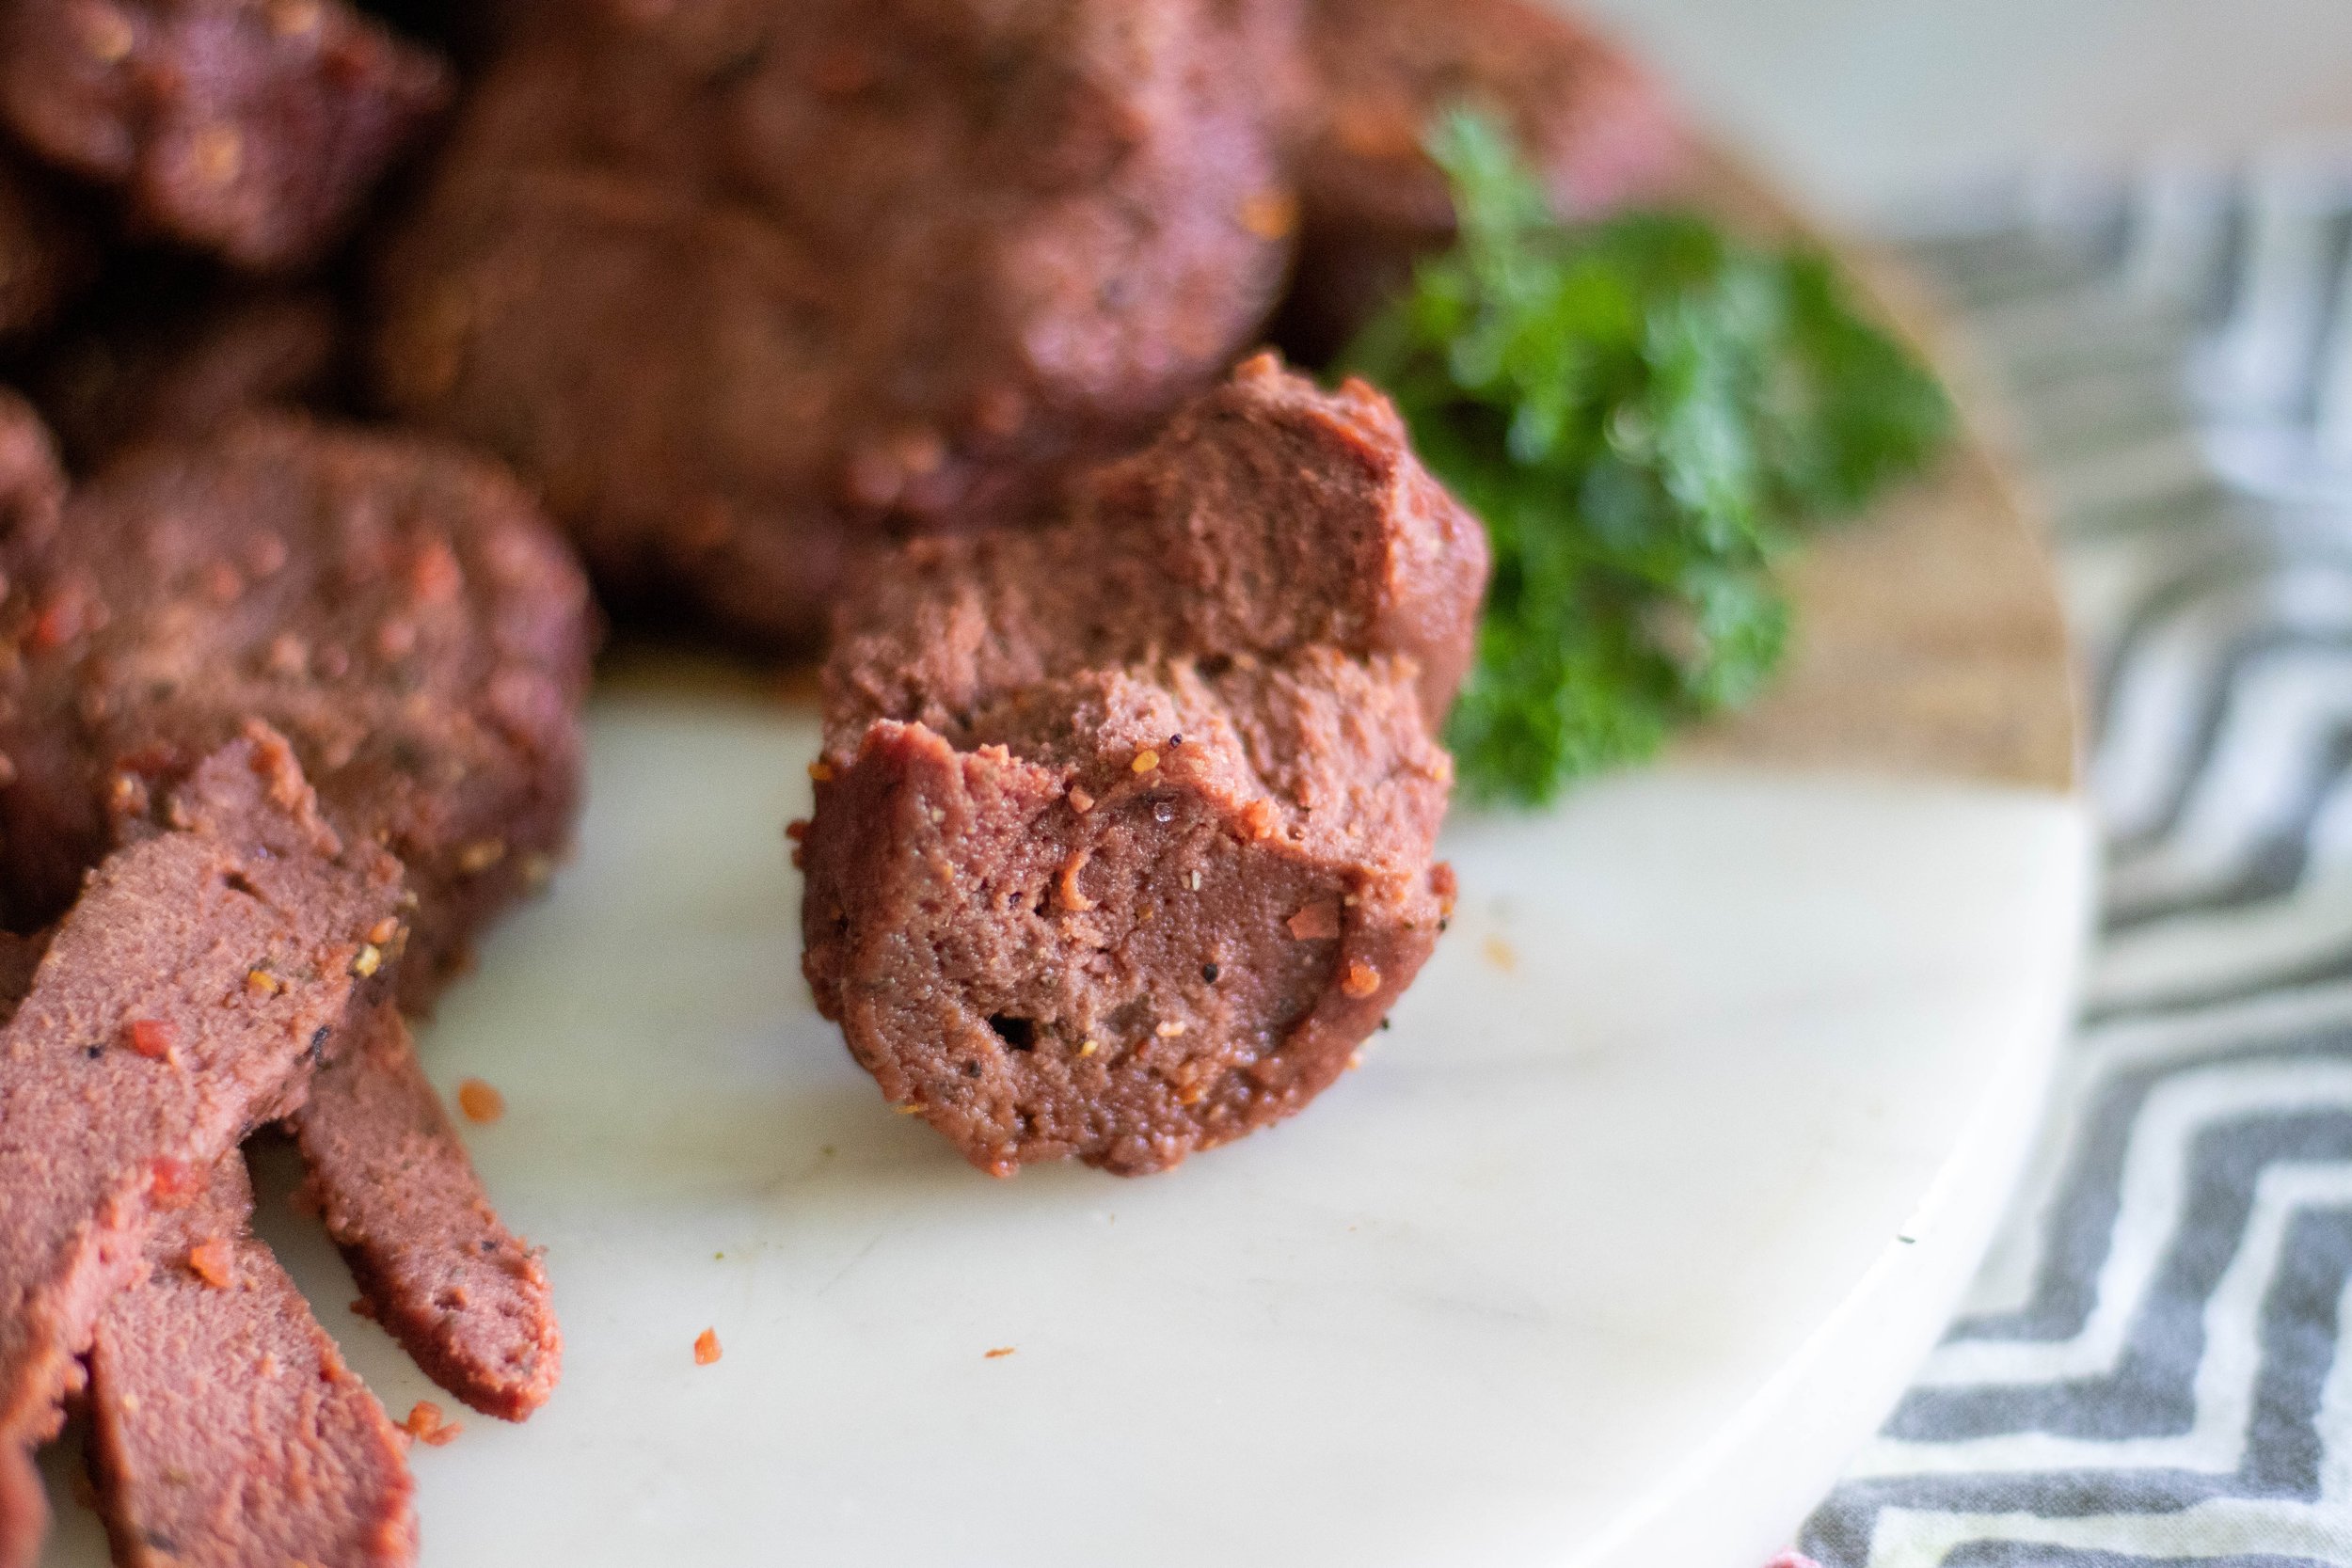
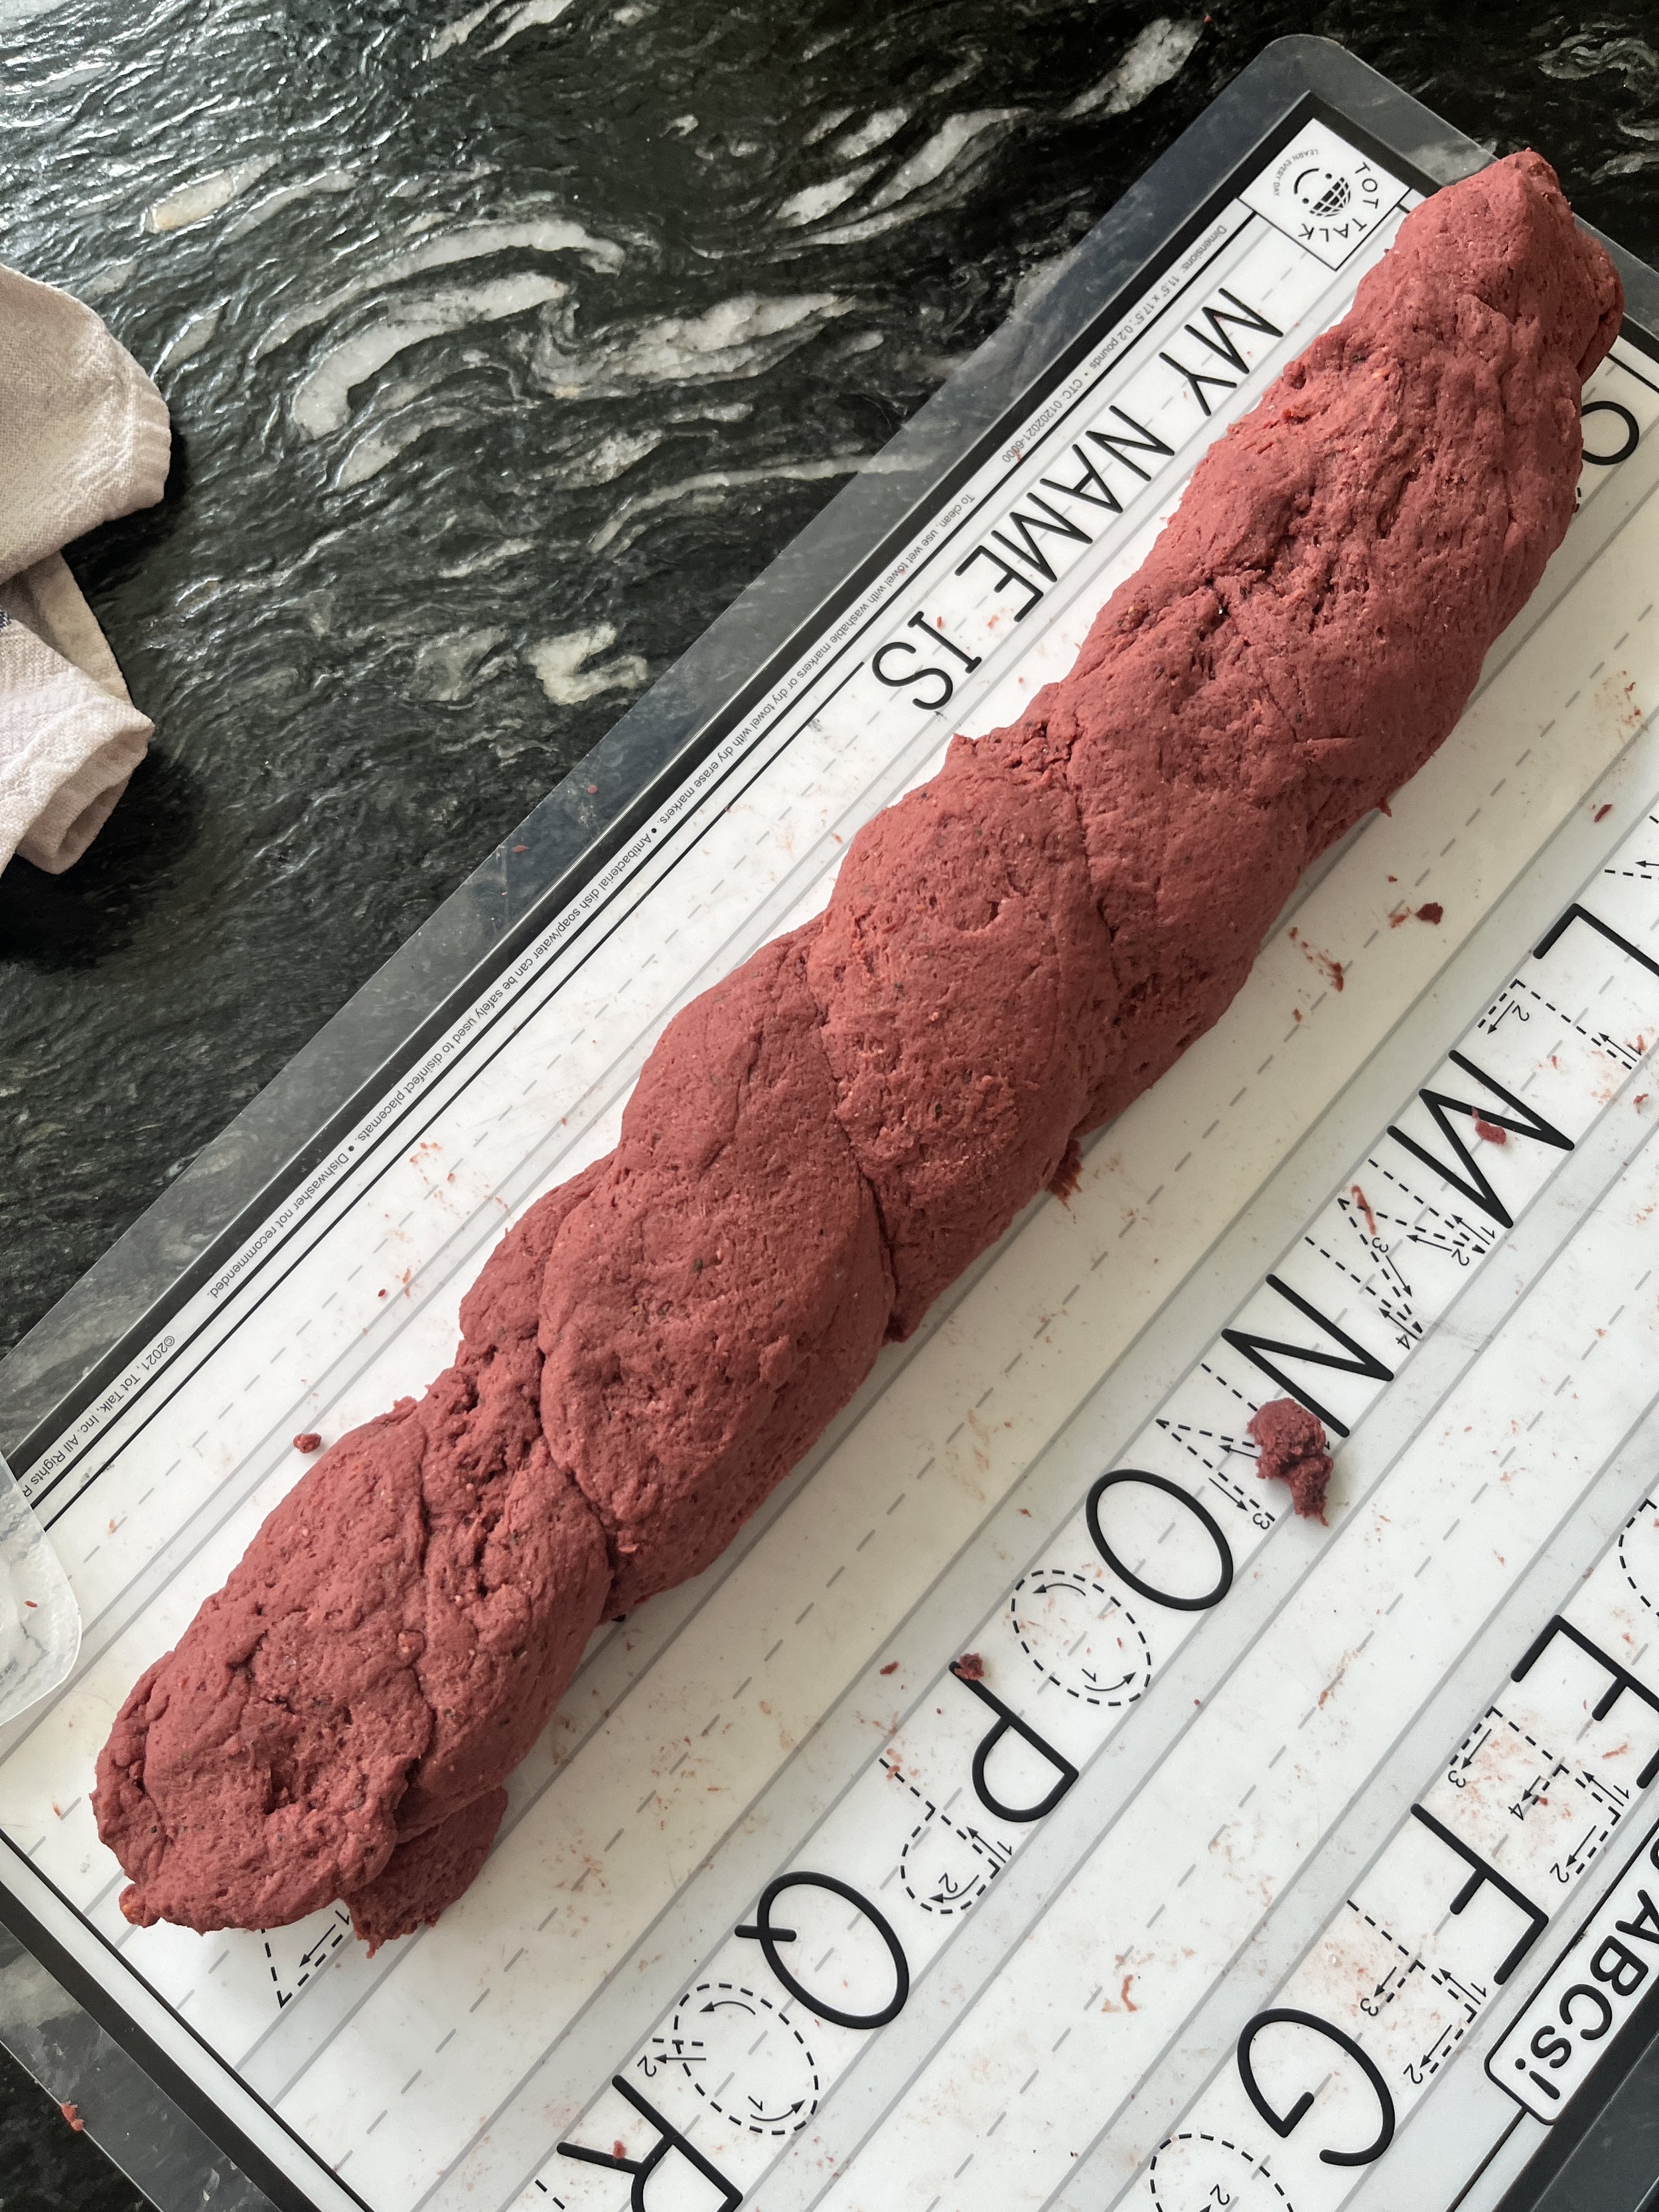
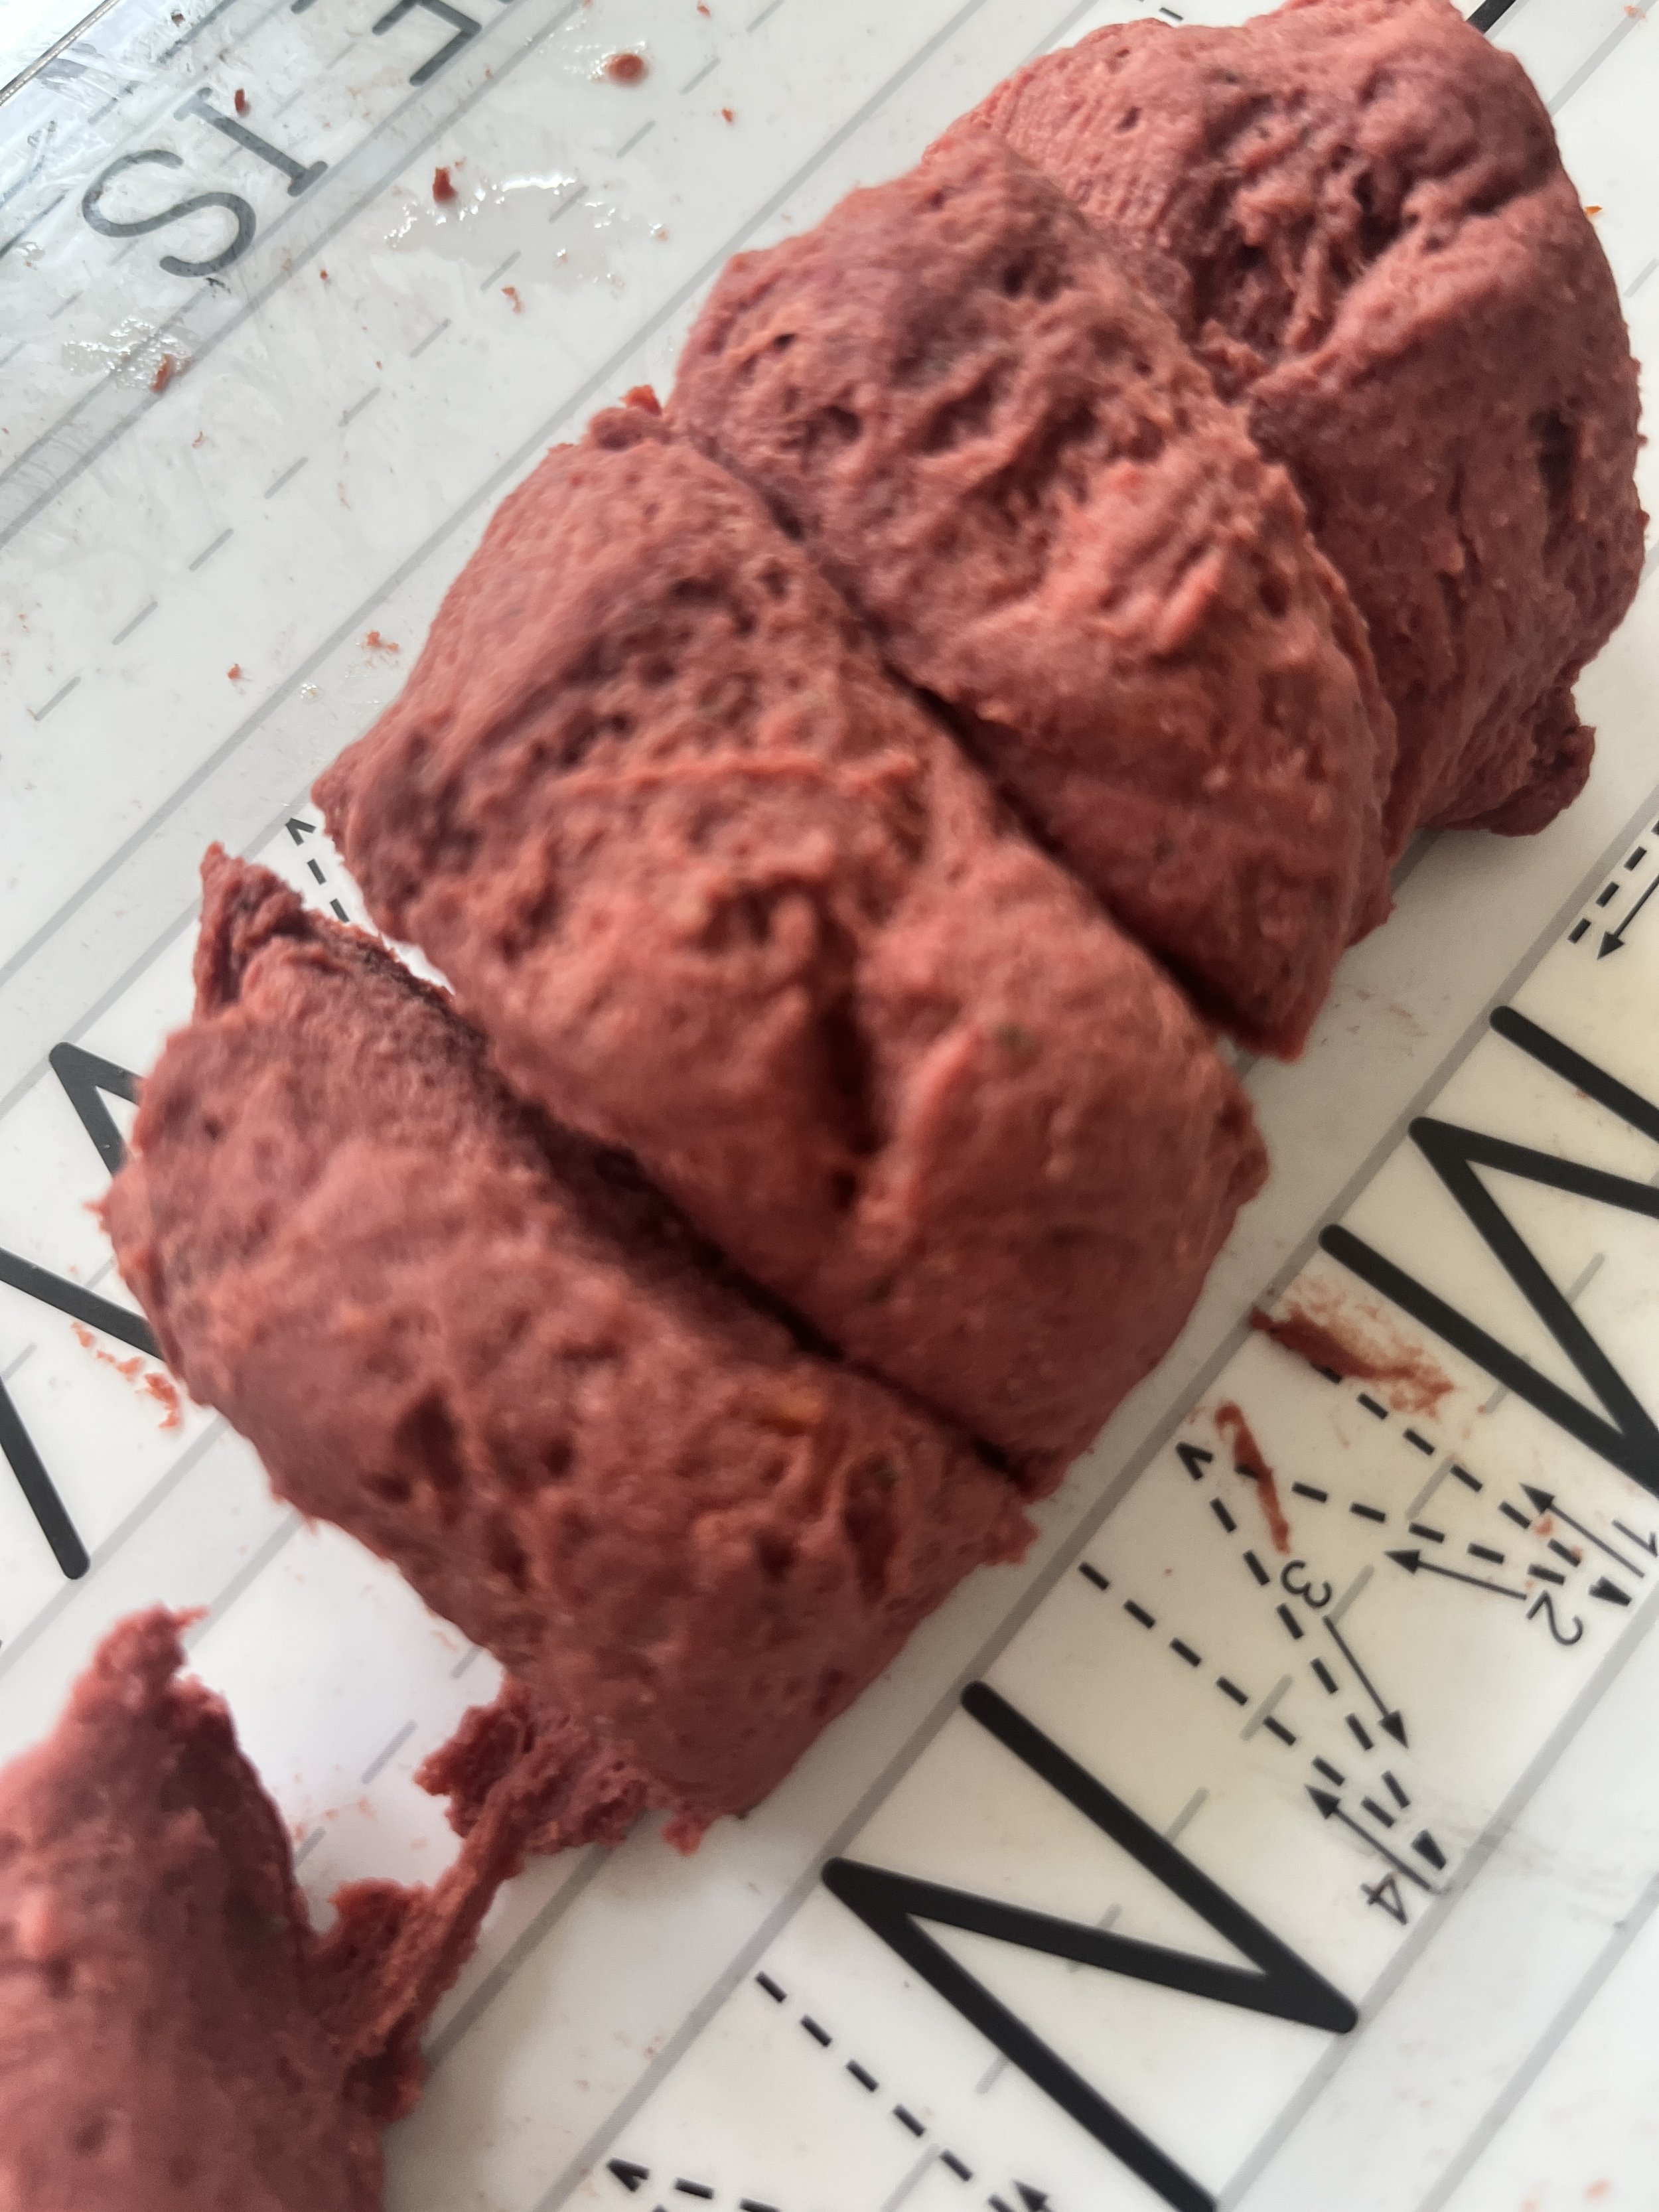
5. Now that you have one twisted rope, roll it back and forth on a smooth surface to sort of press it together. Cut the rope into 1 to 1 and 1/2 inch chunks. Press the chunks in the middle using your thumb kind of flattening them a bit. Braiding then twisting the dough give these beef tips a more beef life texture than just rolling out a smooth dough and cutting it. However you CAN just take the dough and roll it out into one long smooth 16 inch or so inch rope and cut it into chunks without the braid and twist. I just believe this is giving the shreddy texture. I have not tried without the braid and twist and if you try and find the texture beefy, by all means let me know and I will stand corrected!!
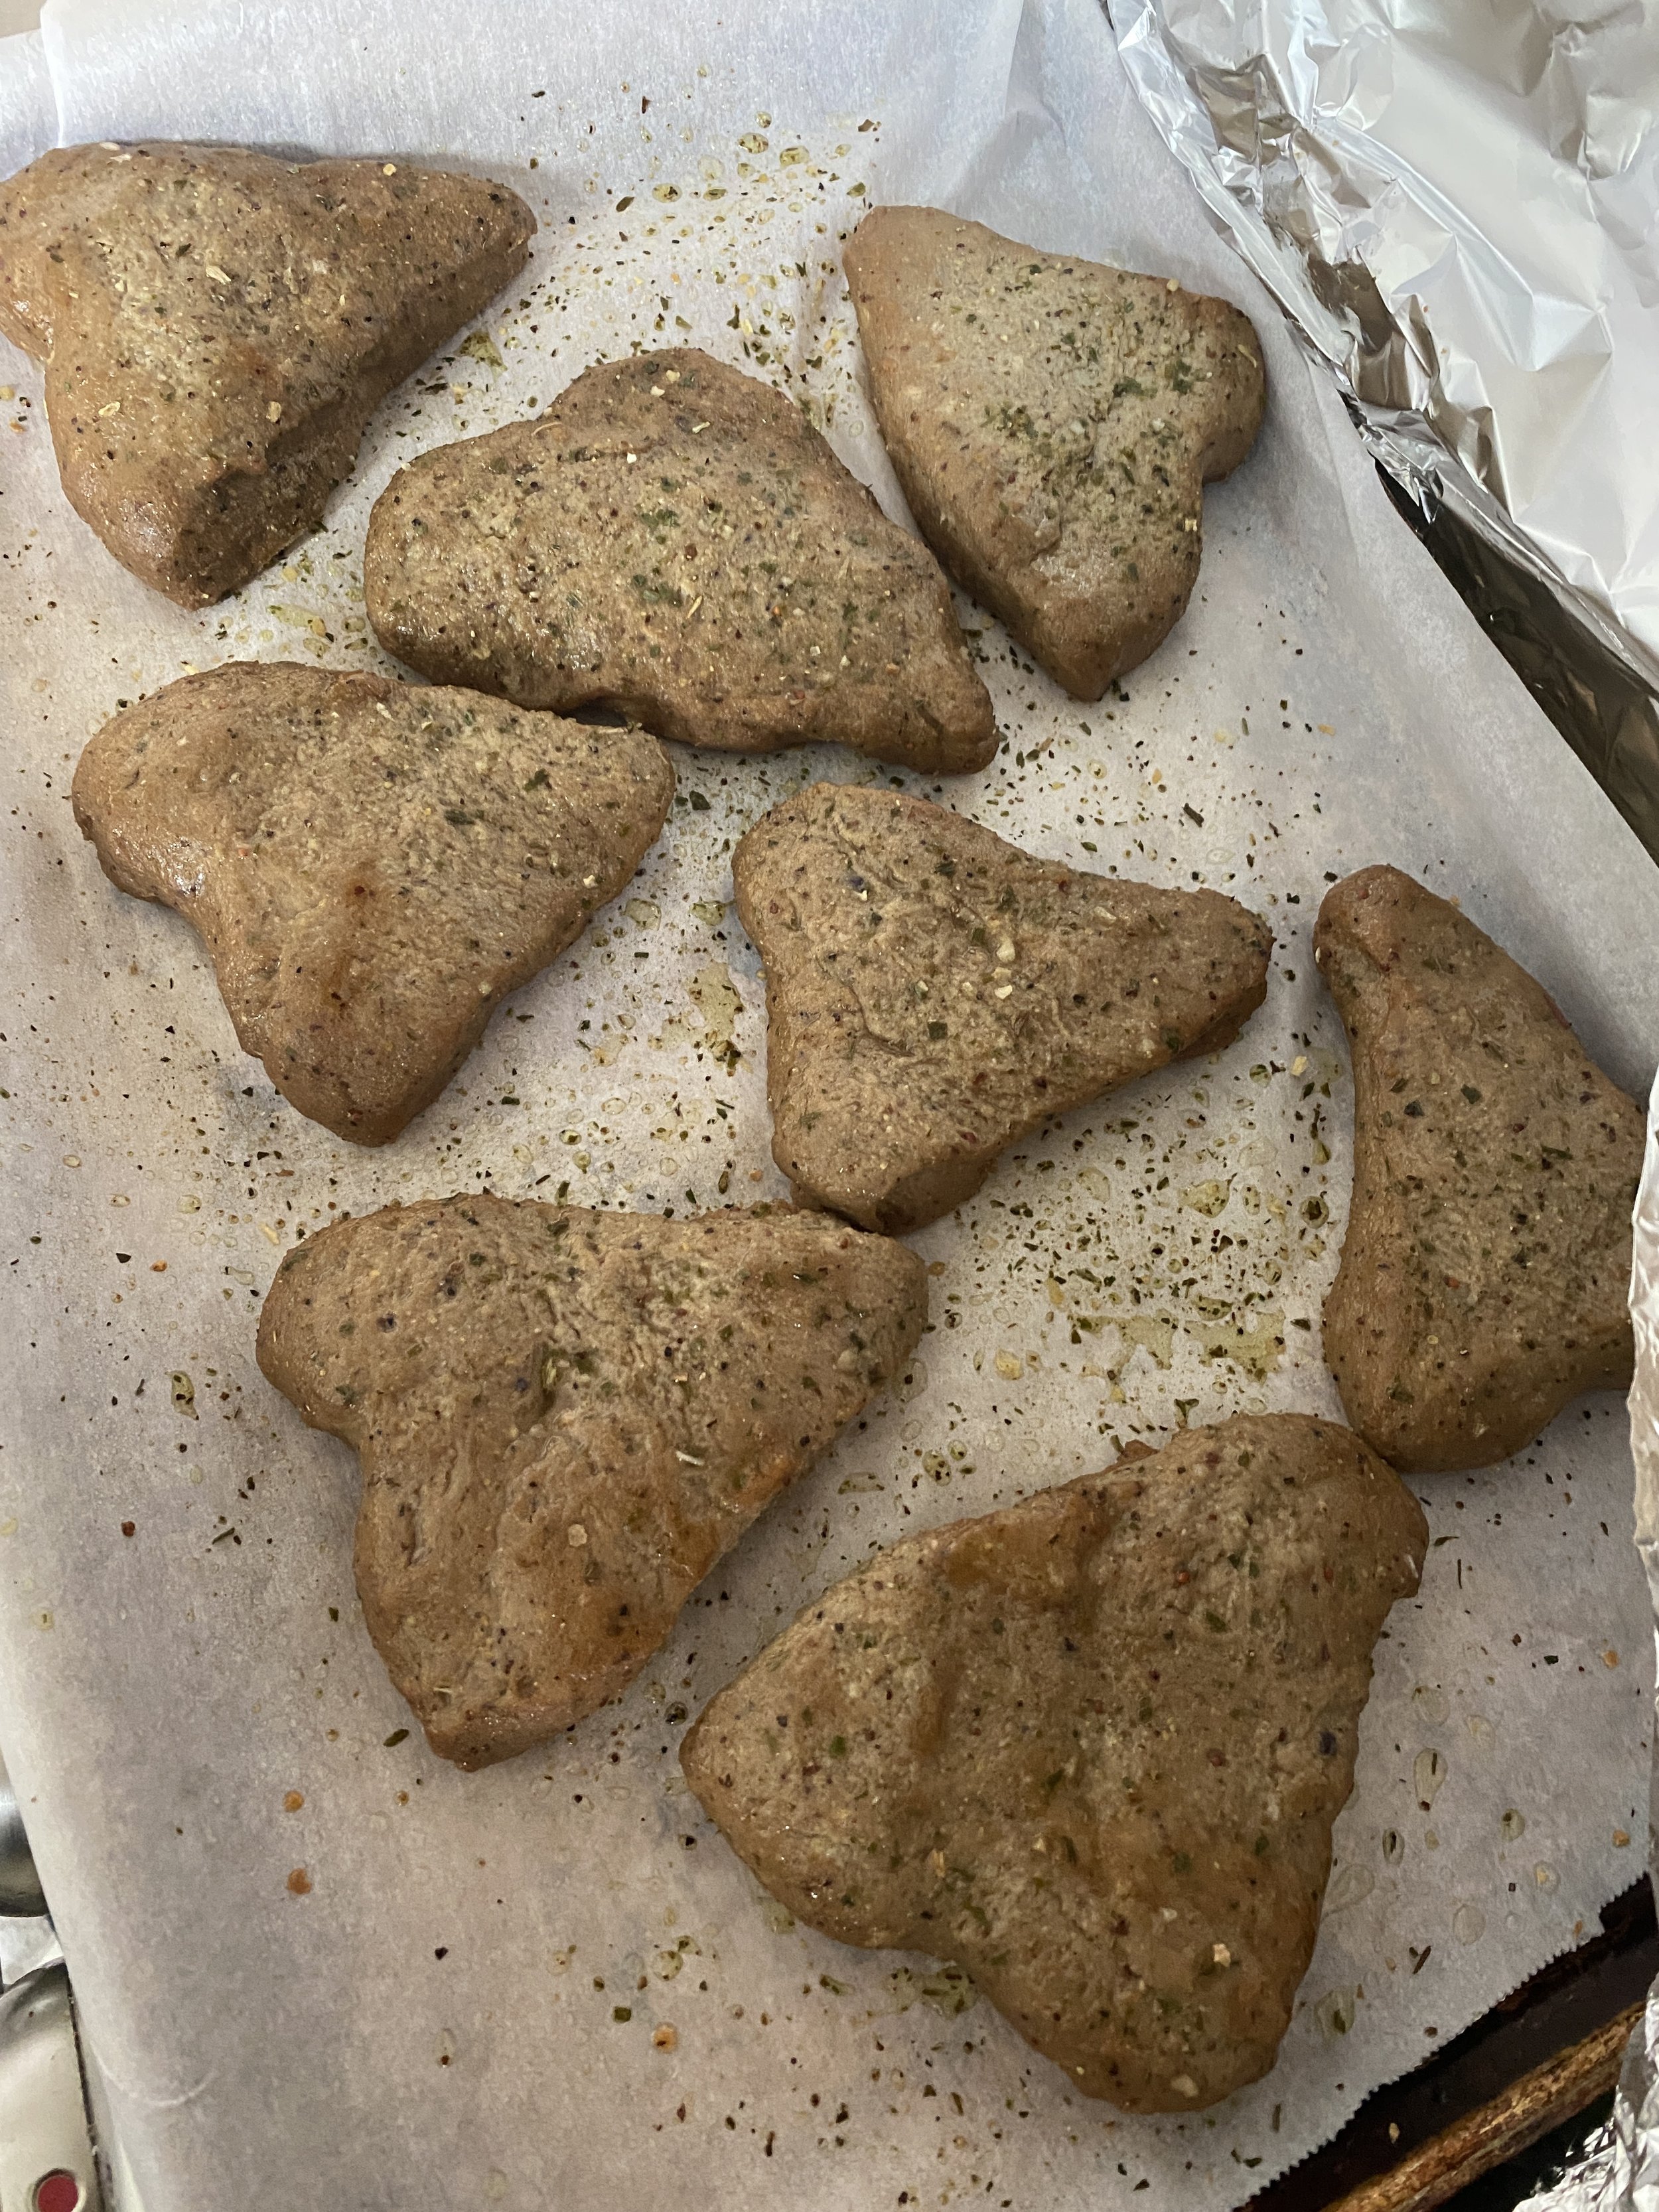
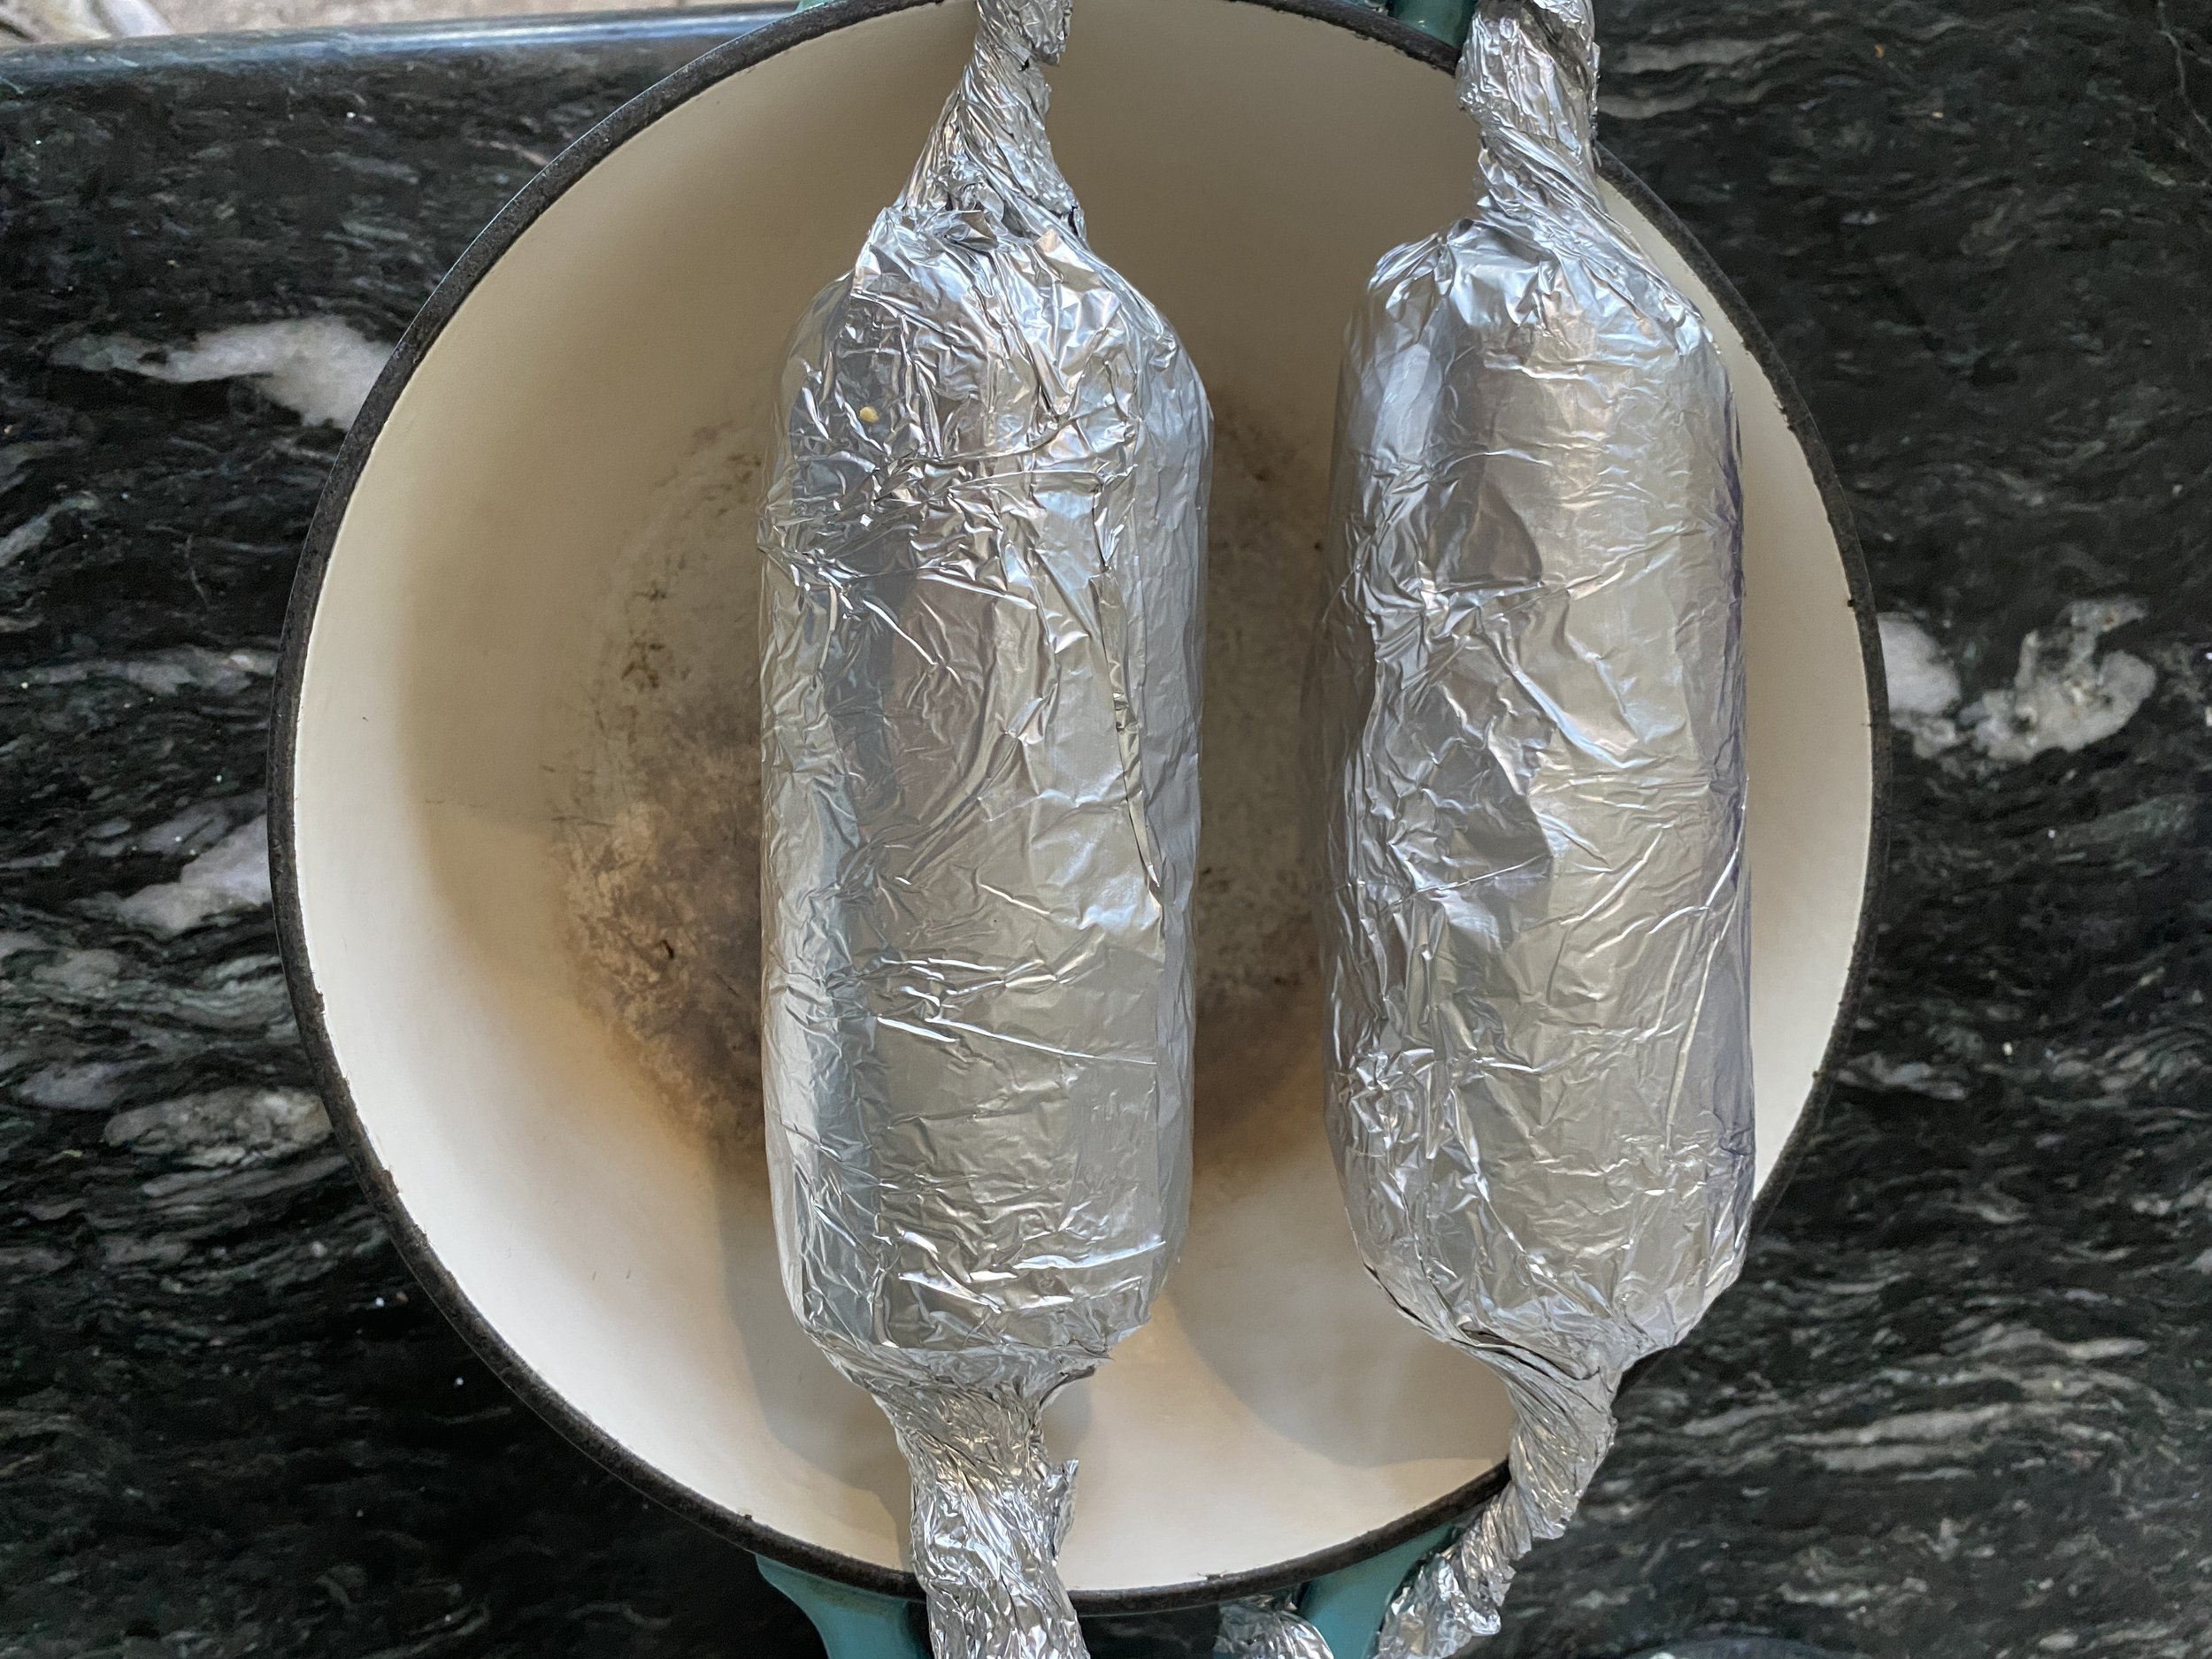
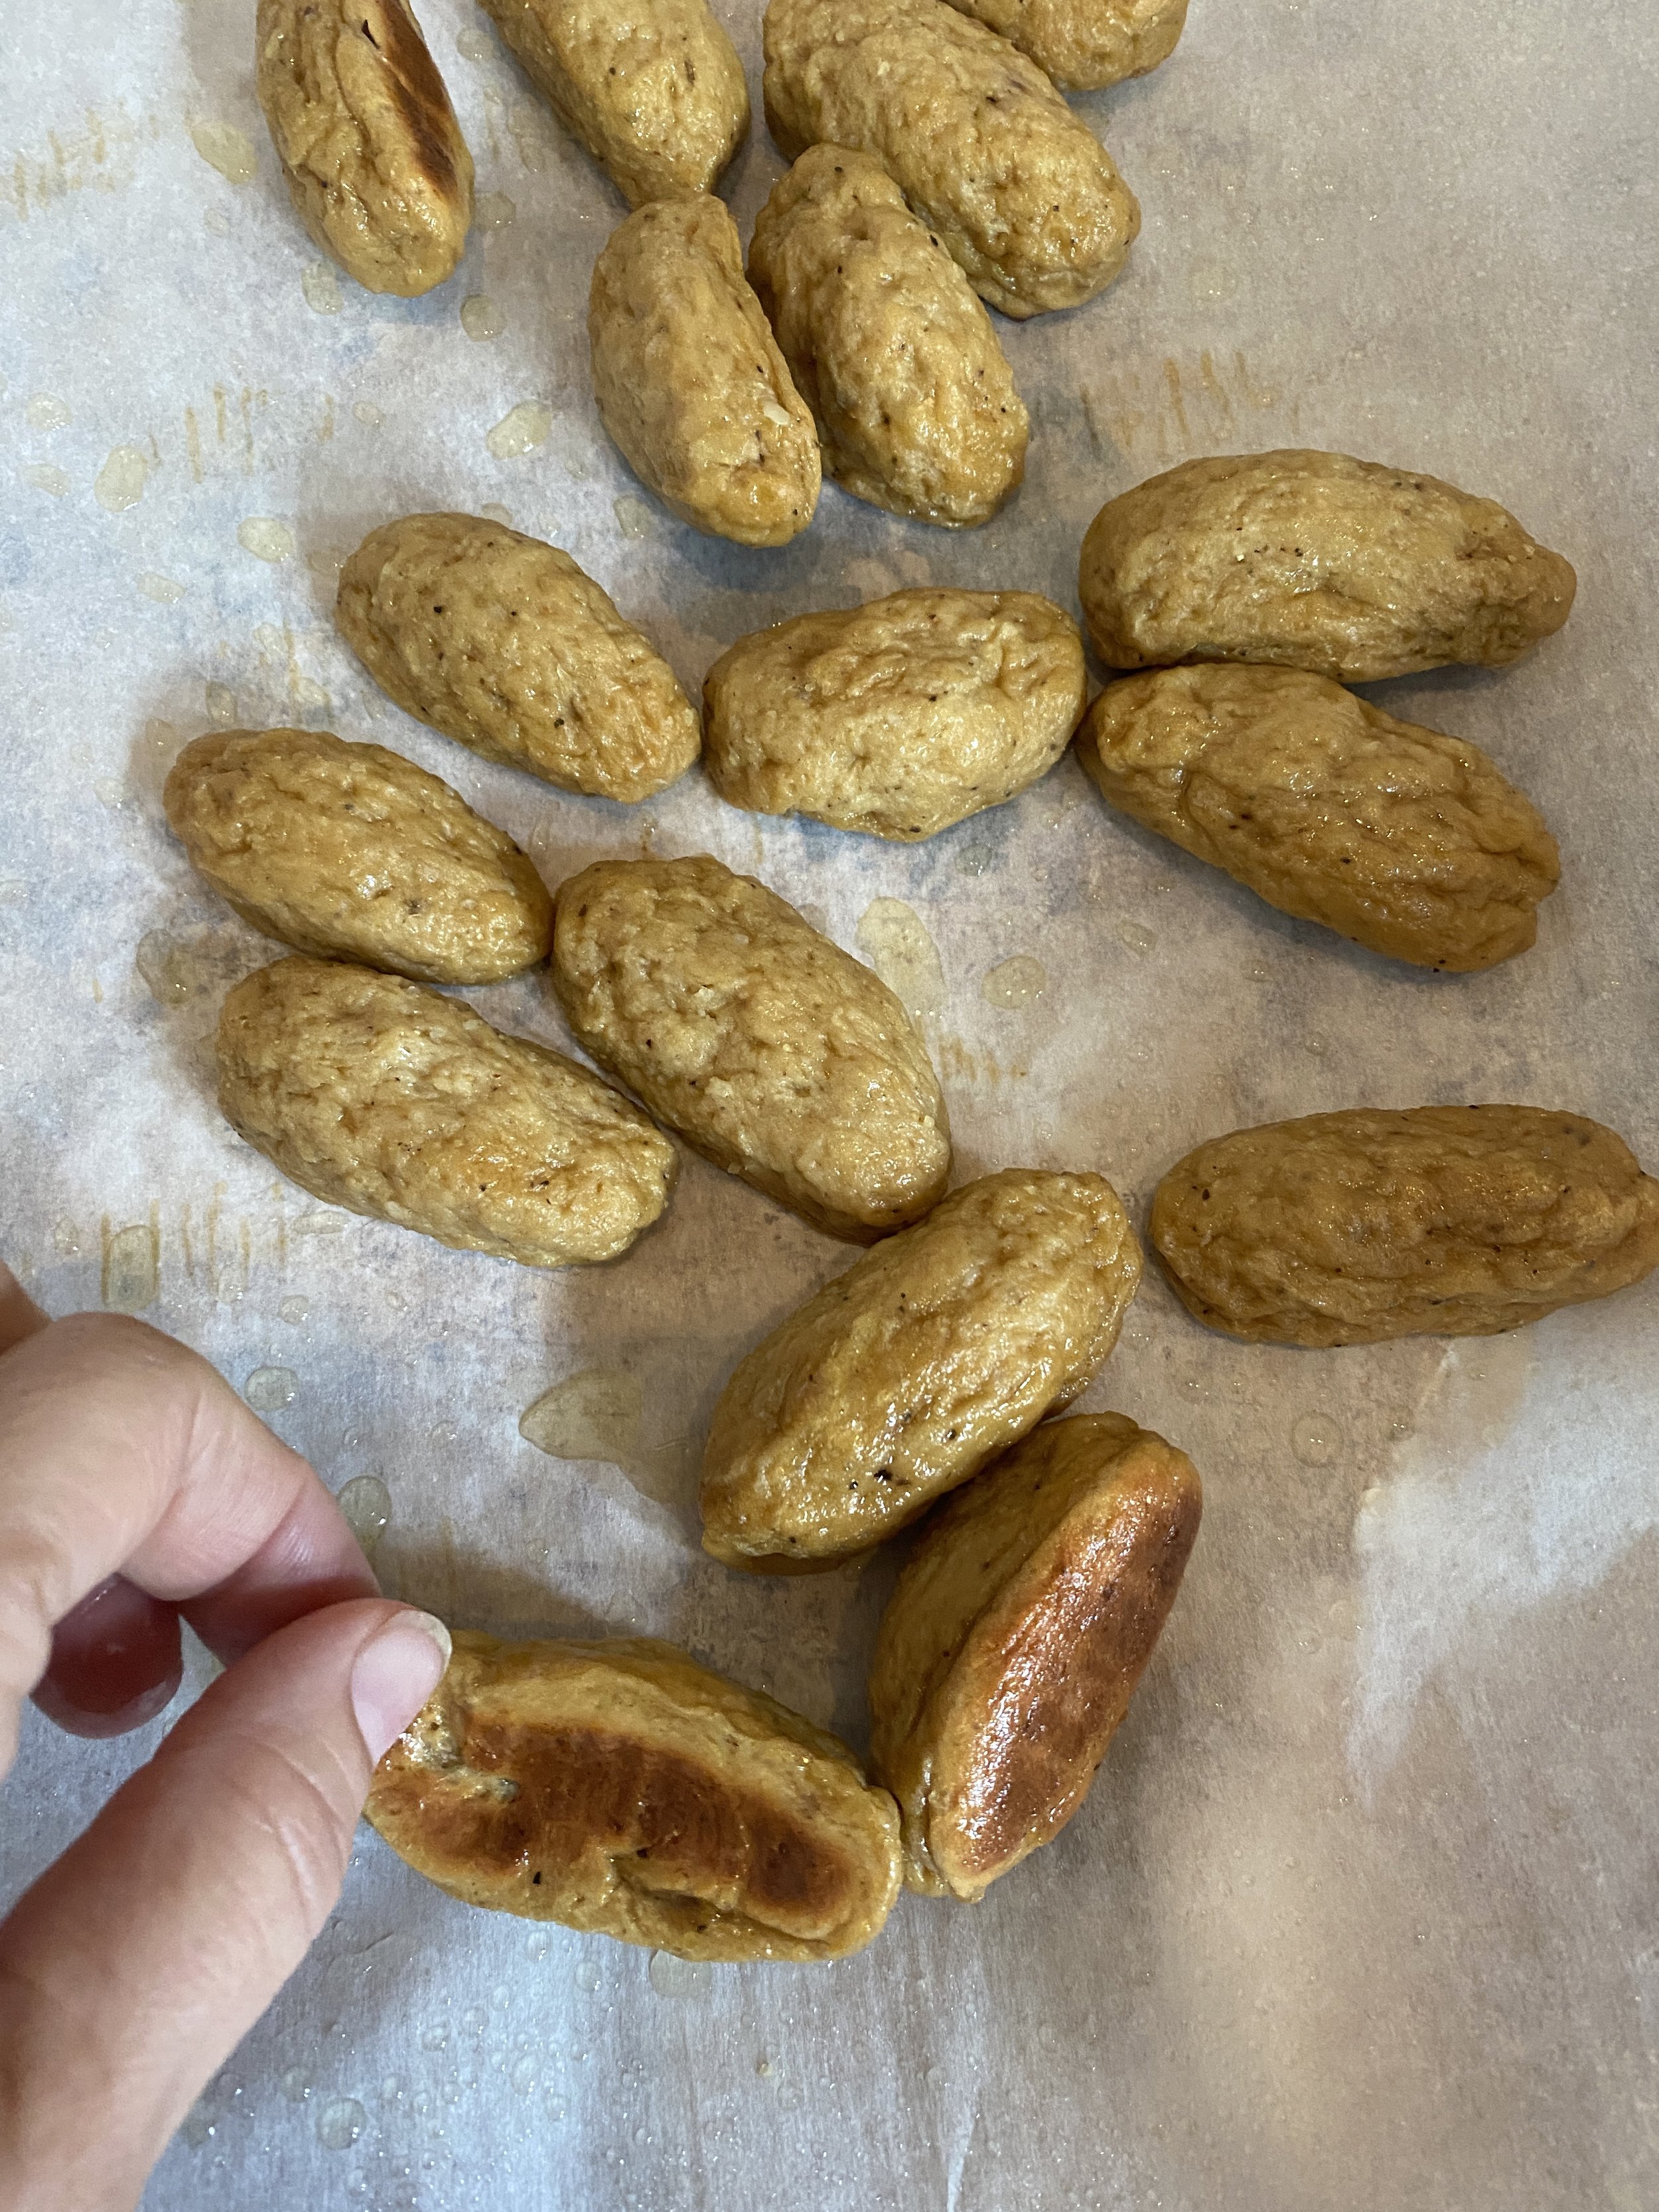
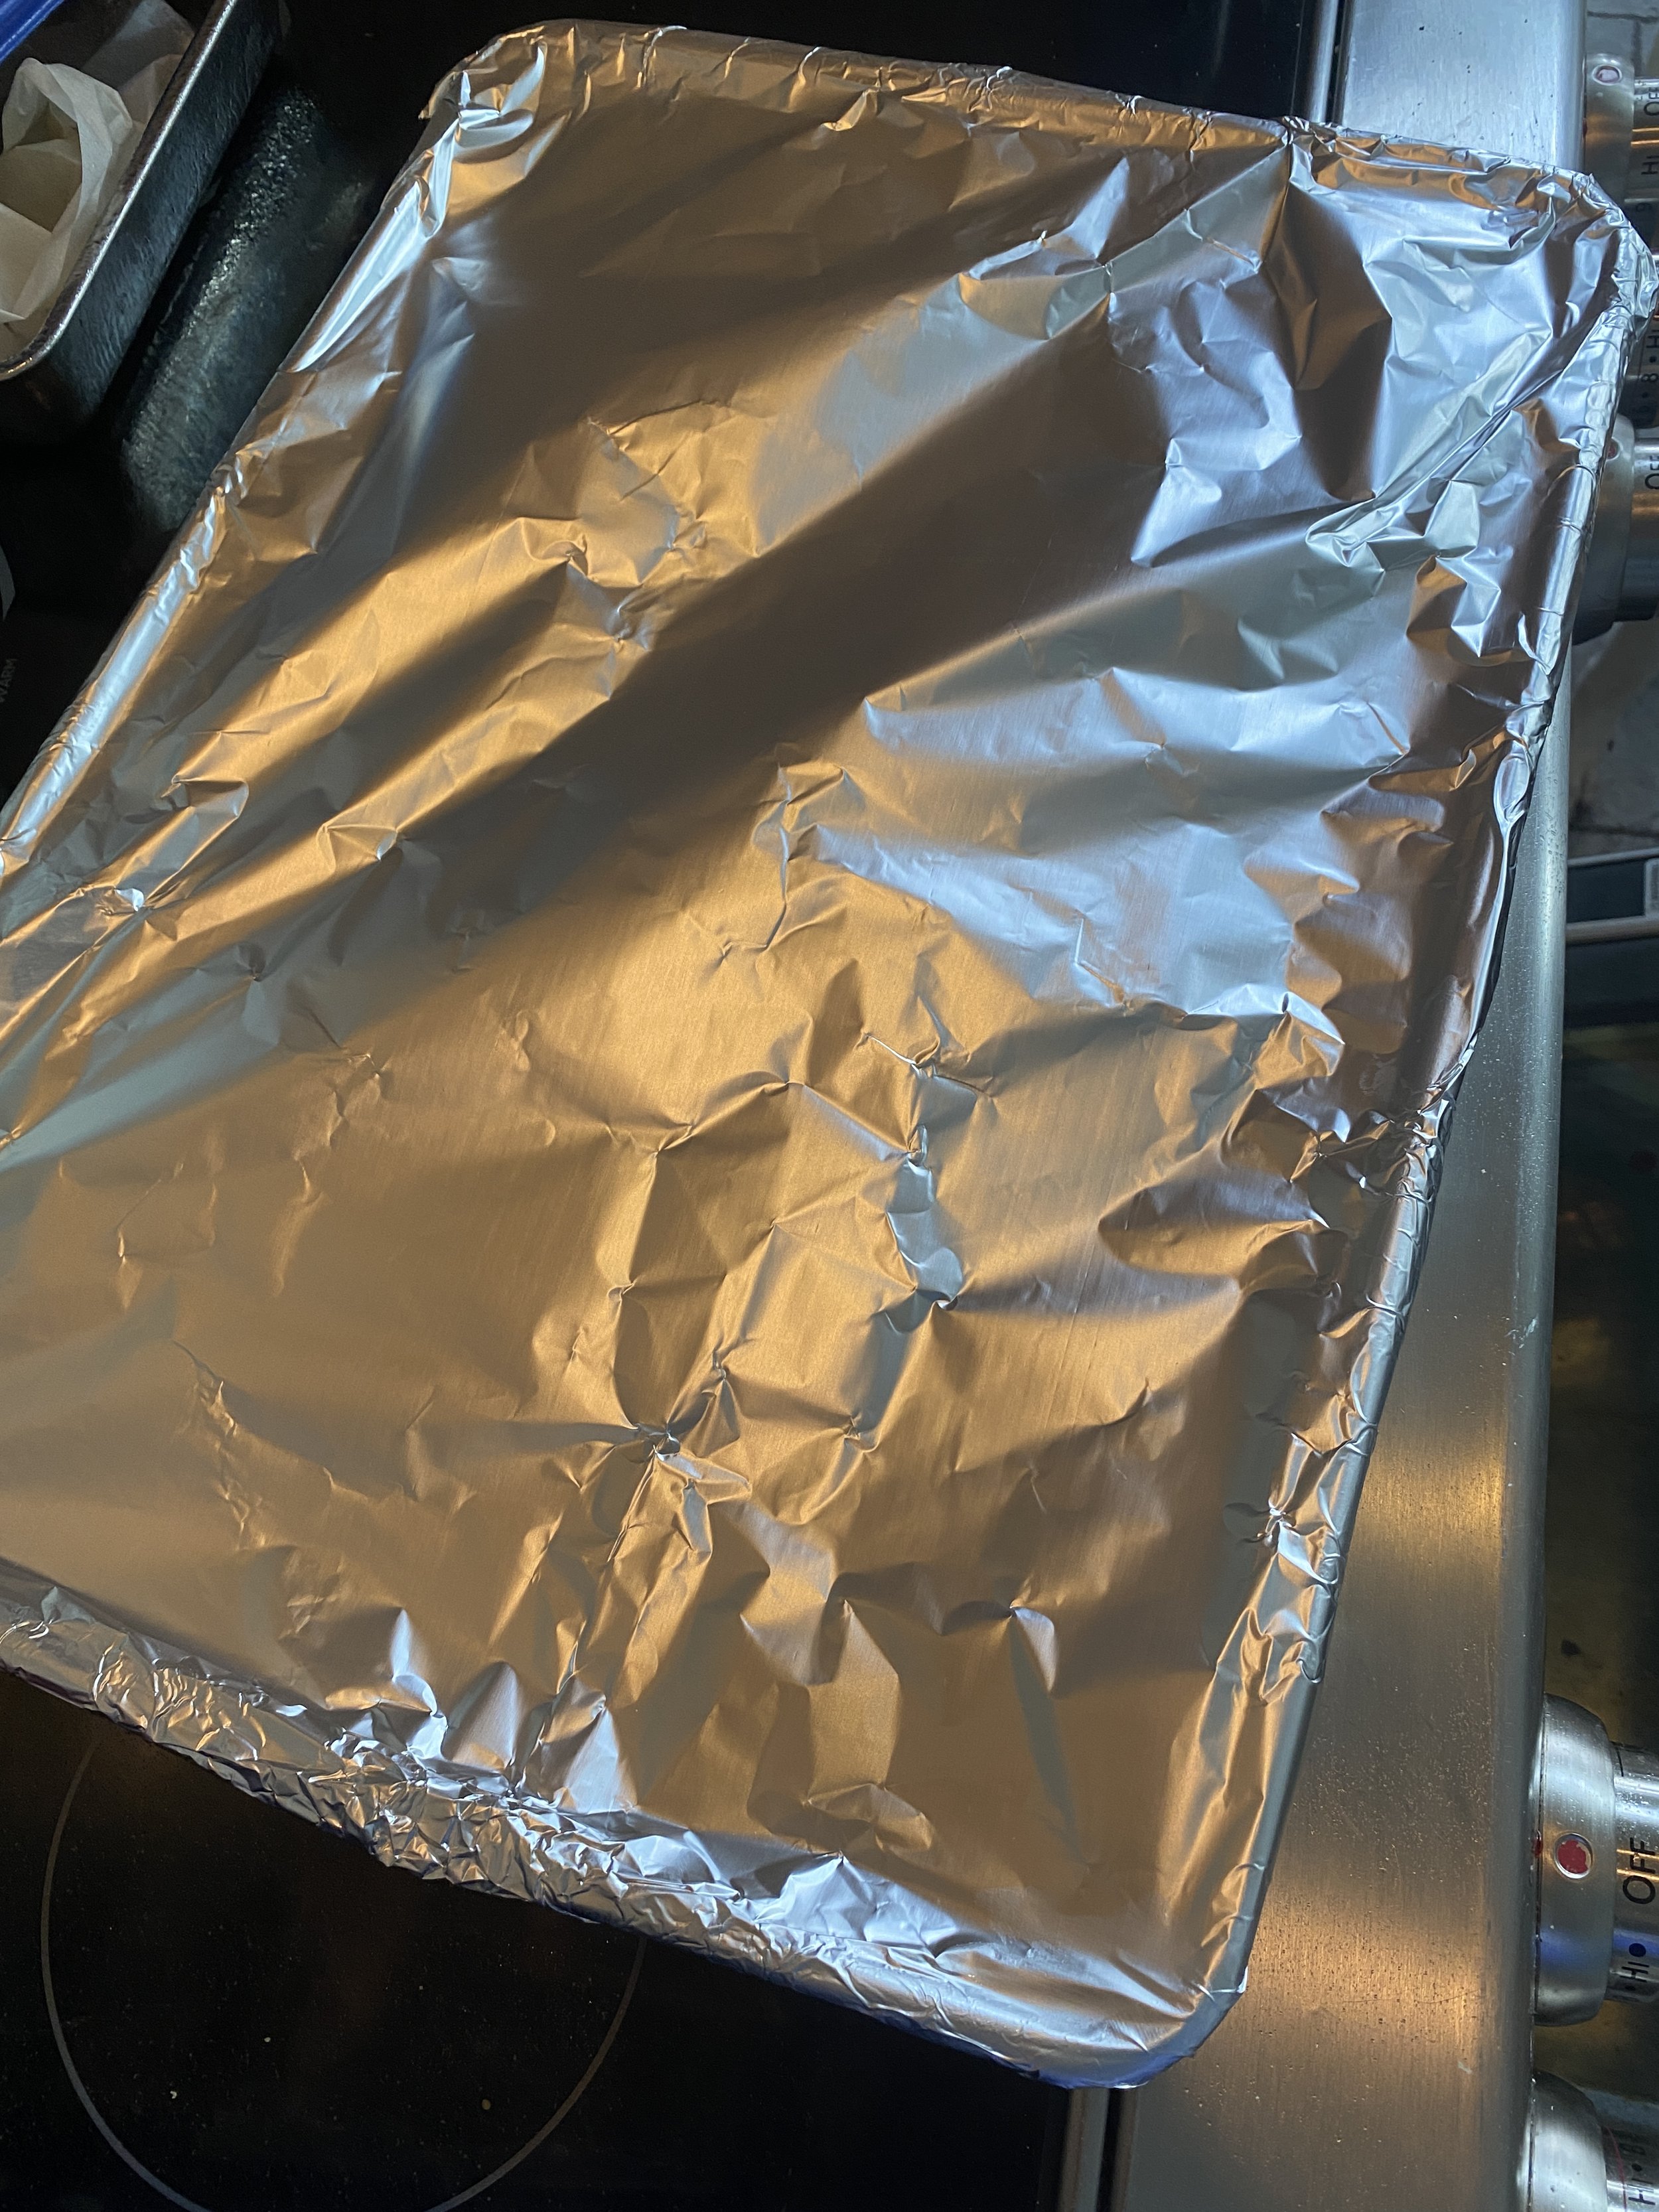
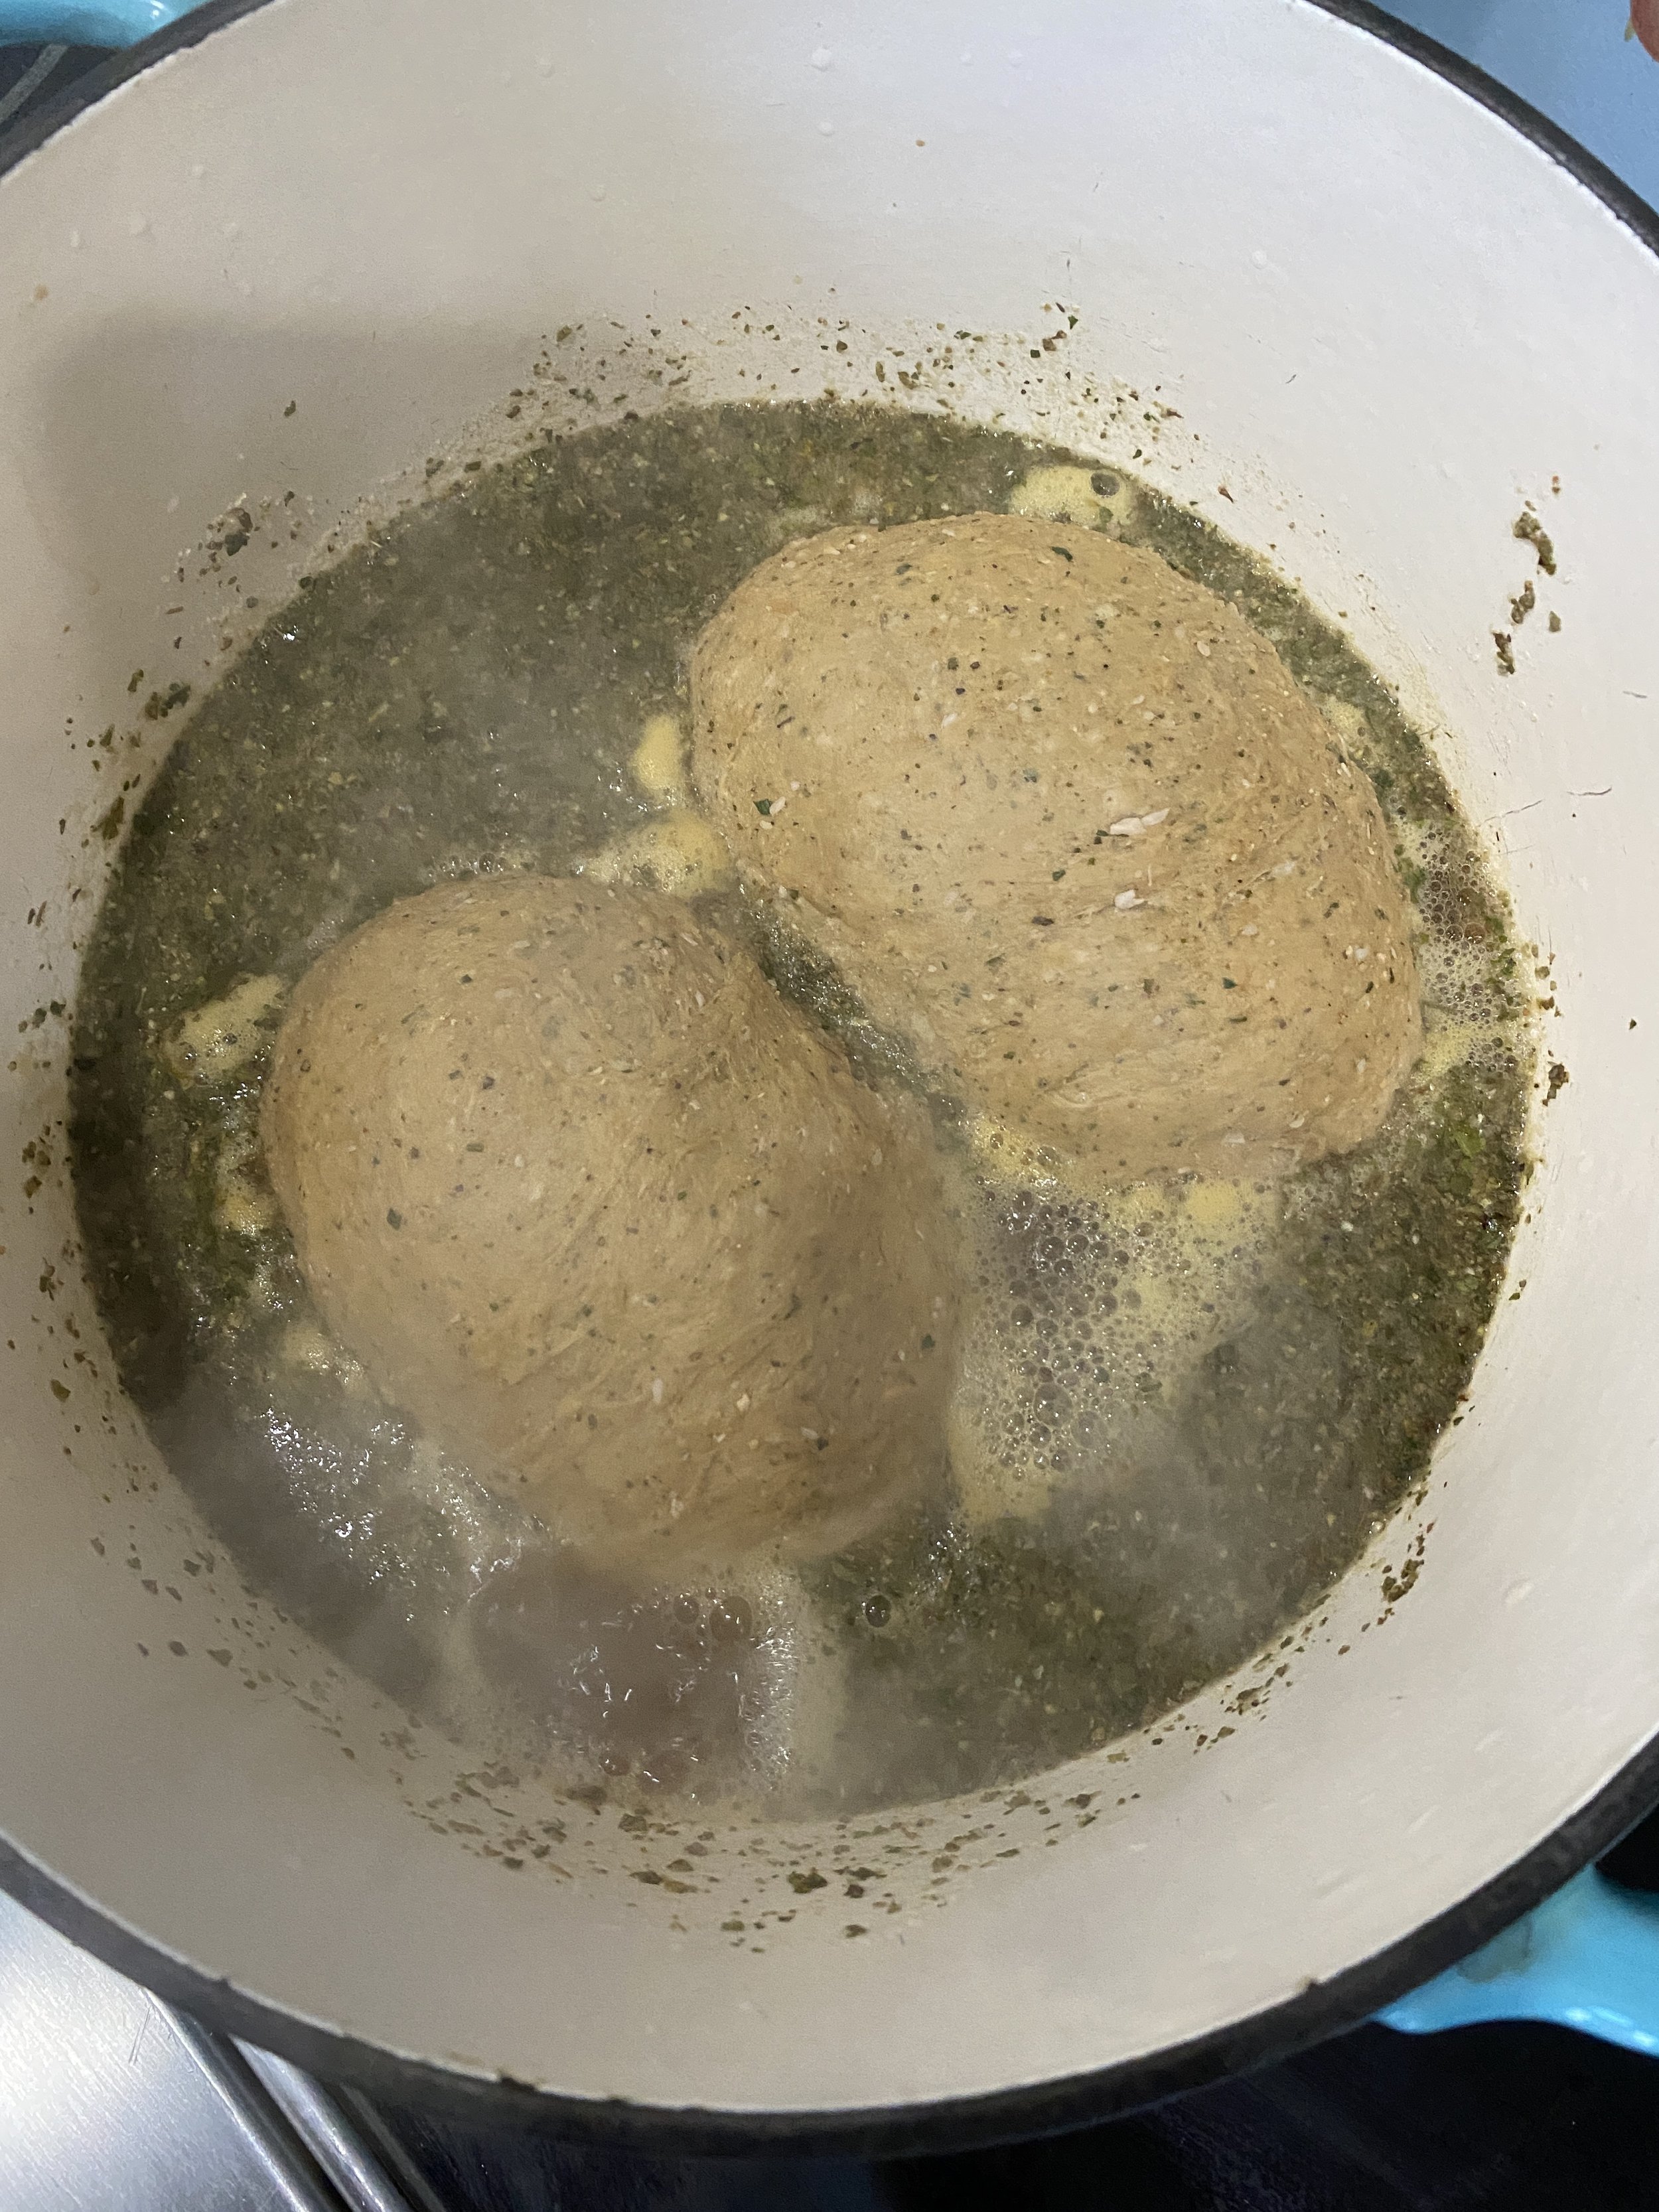
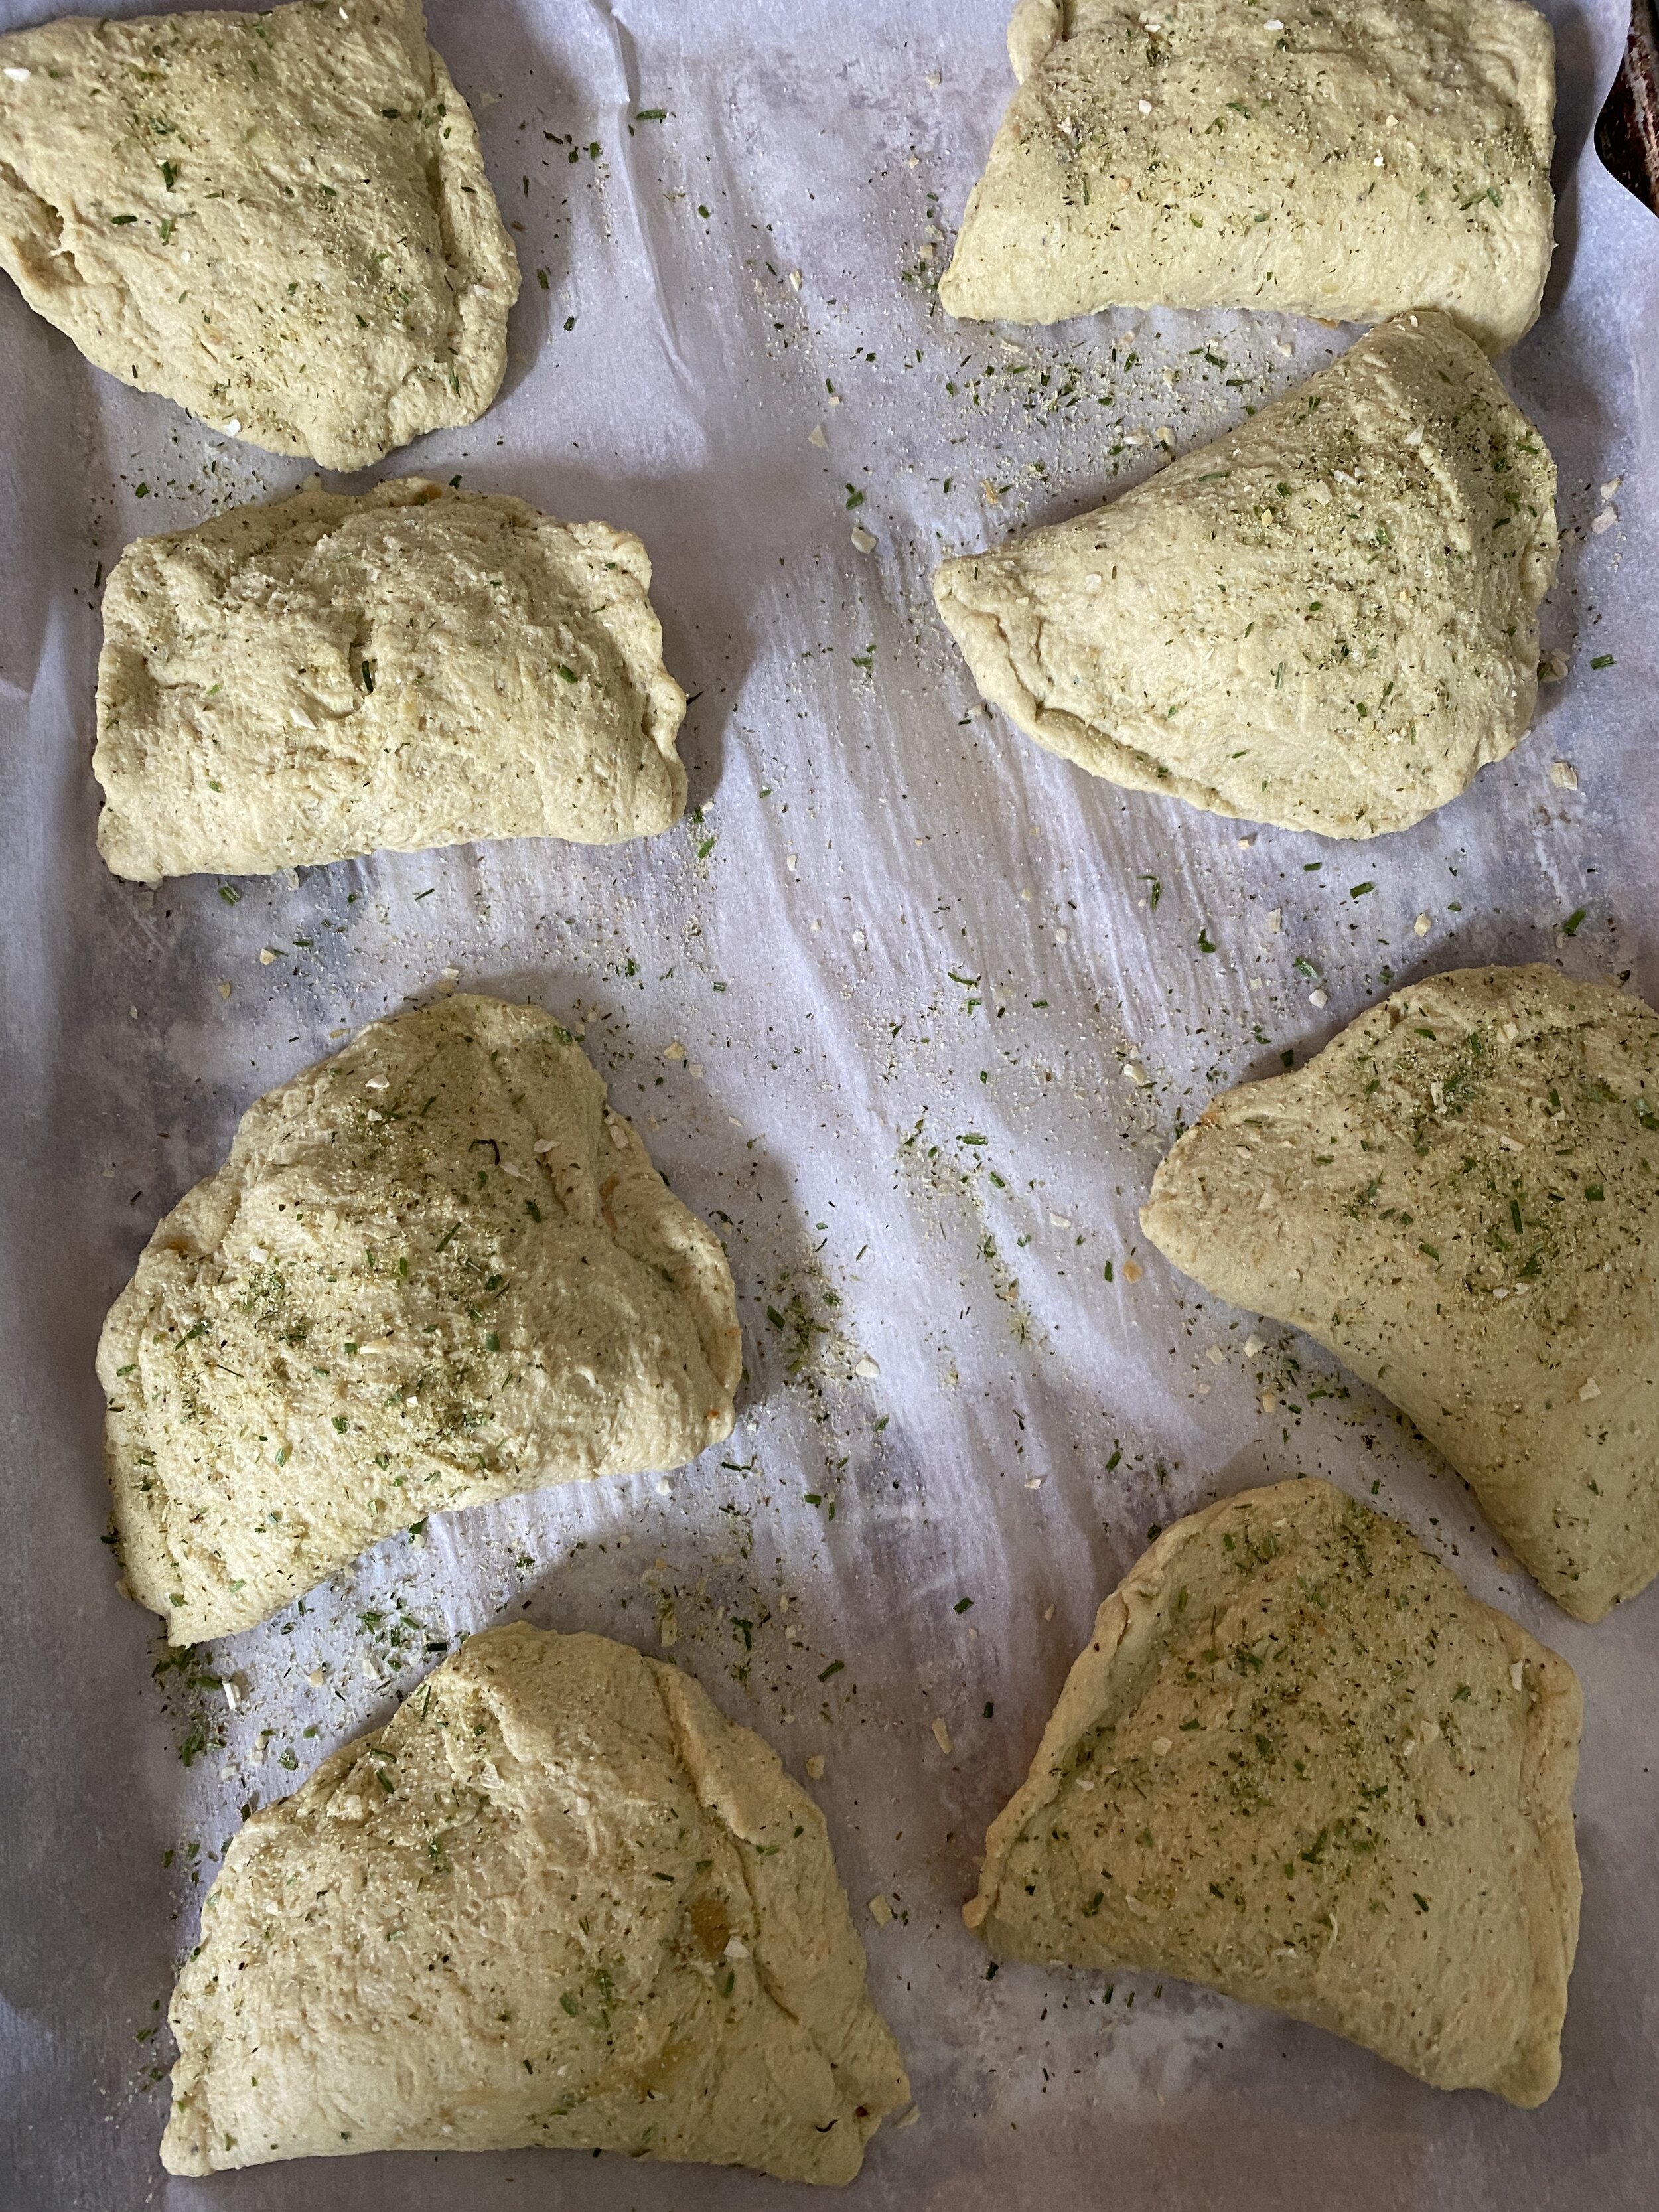
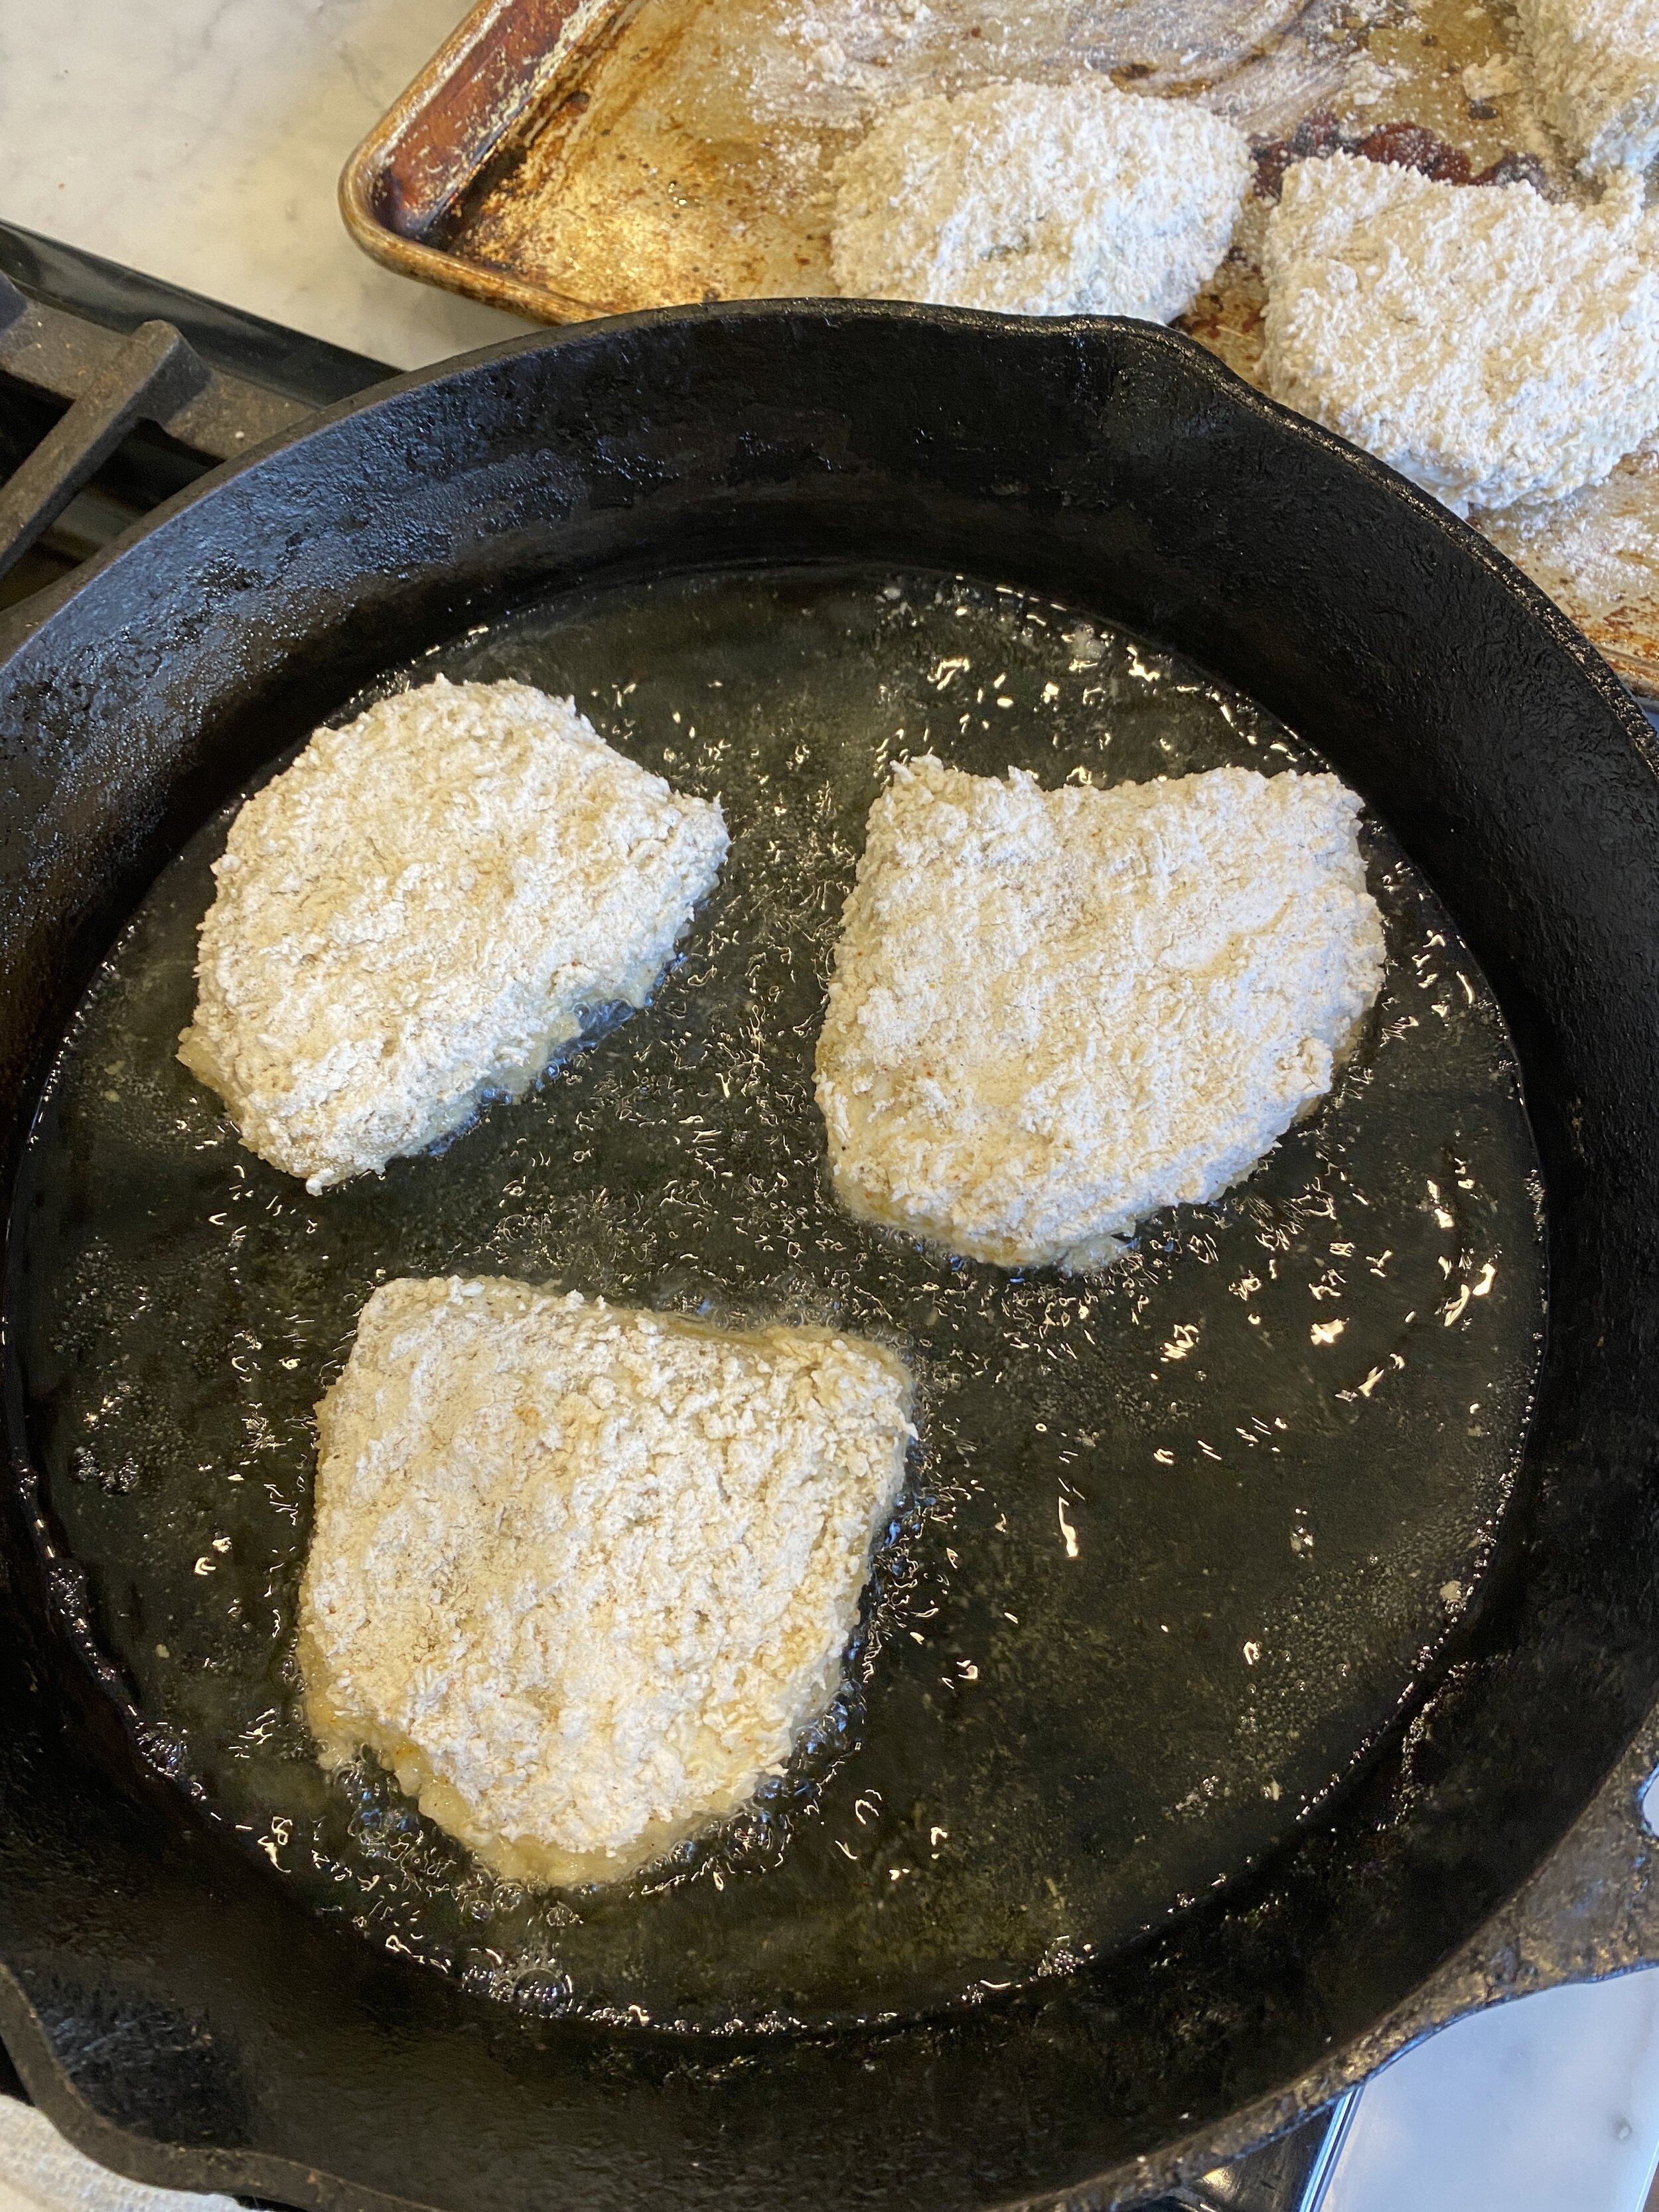
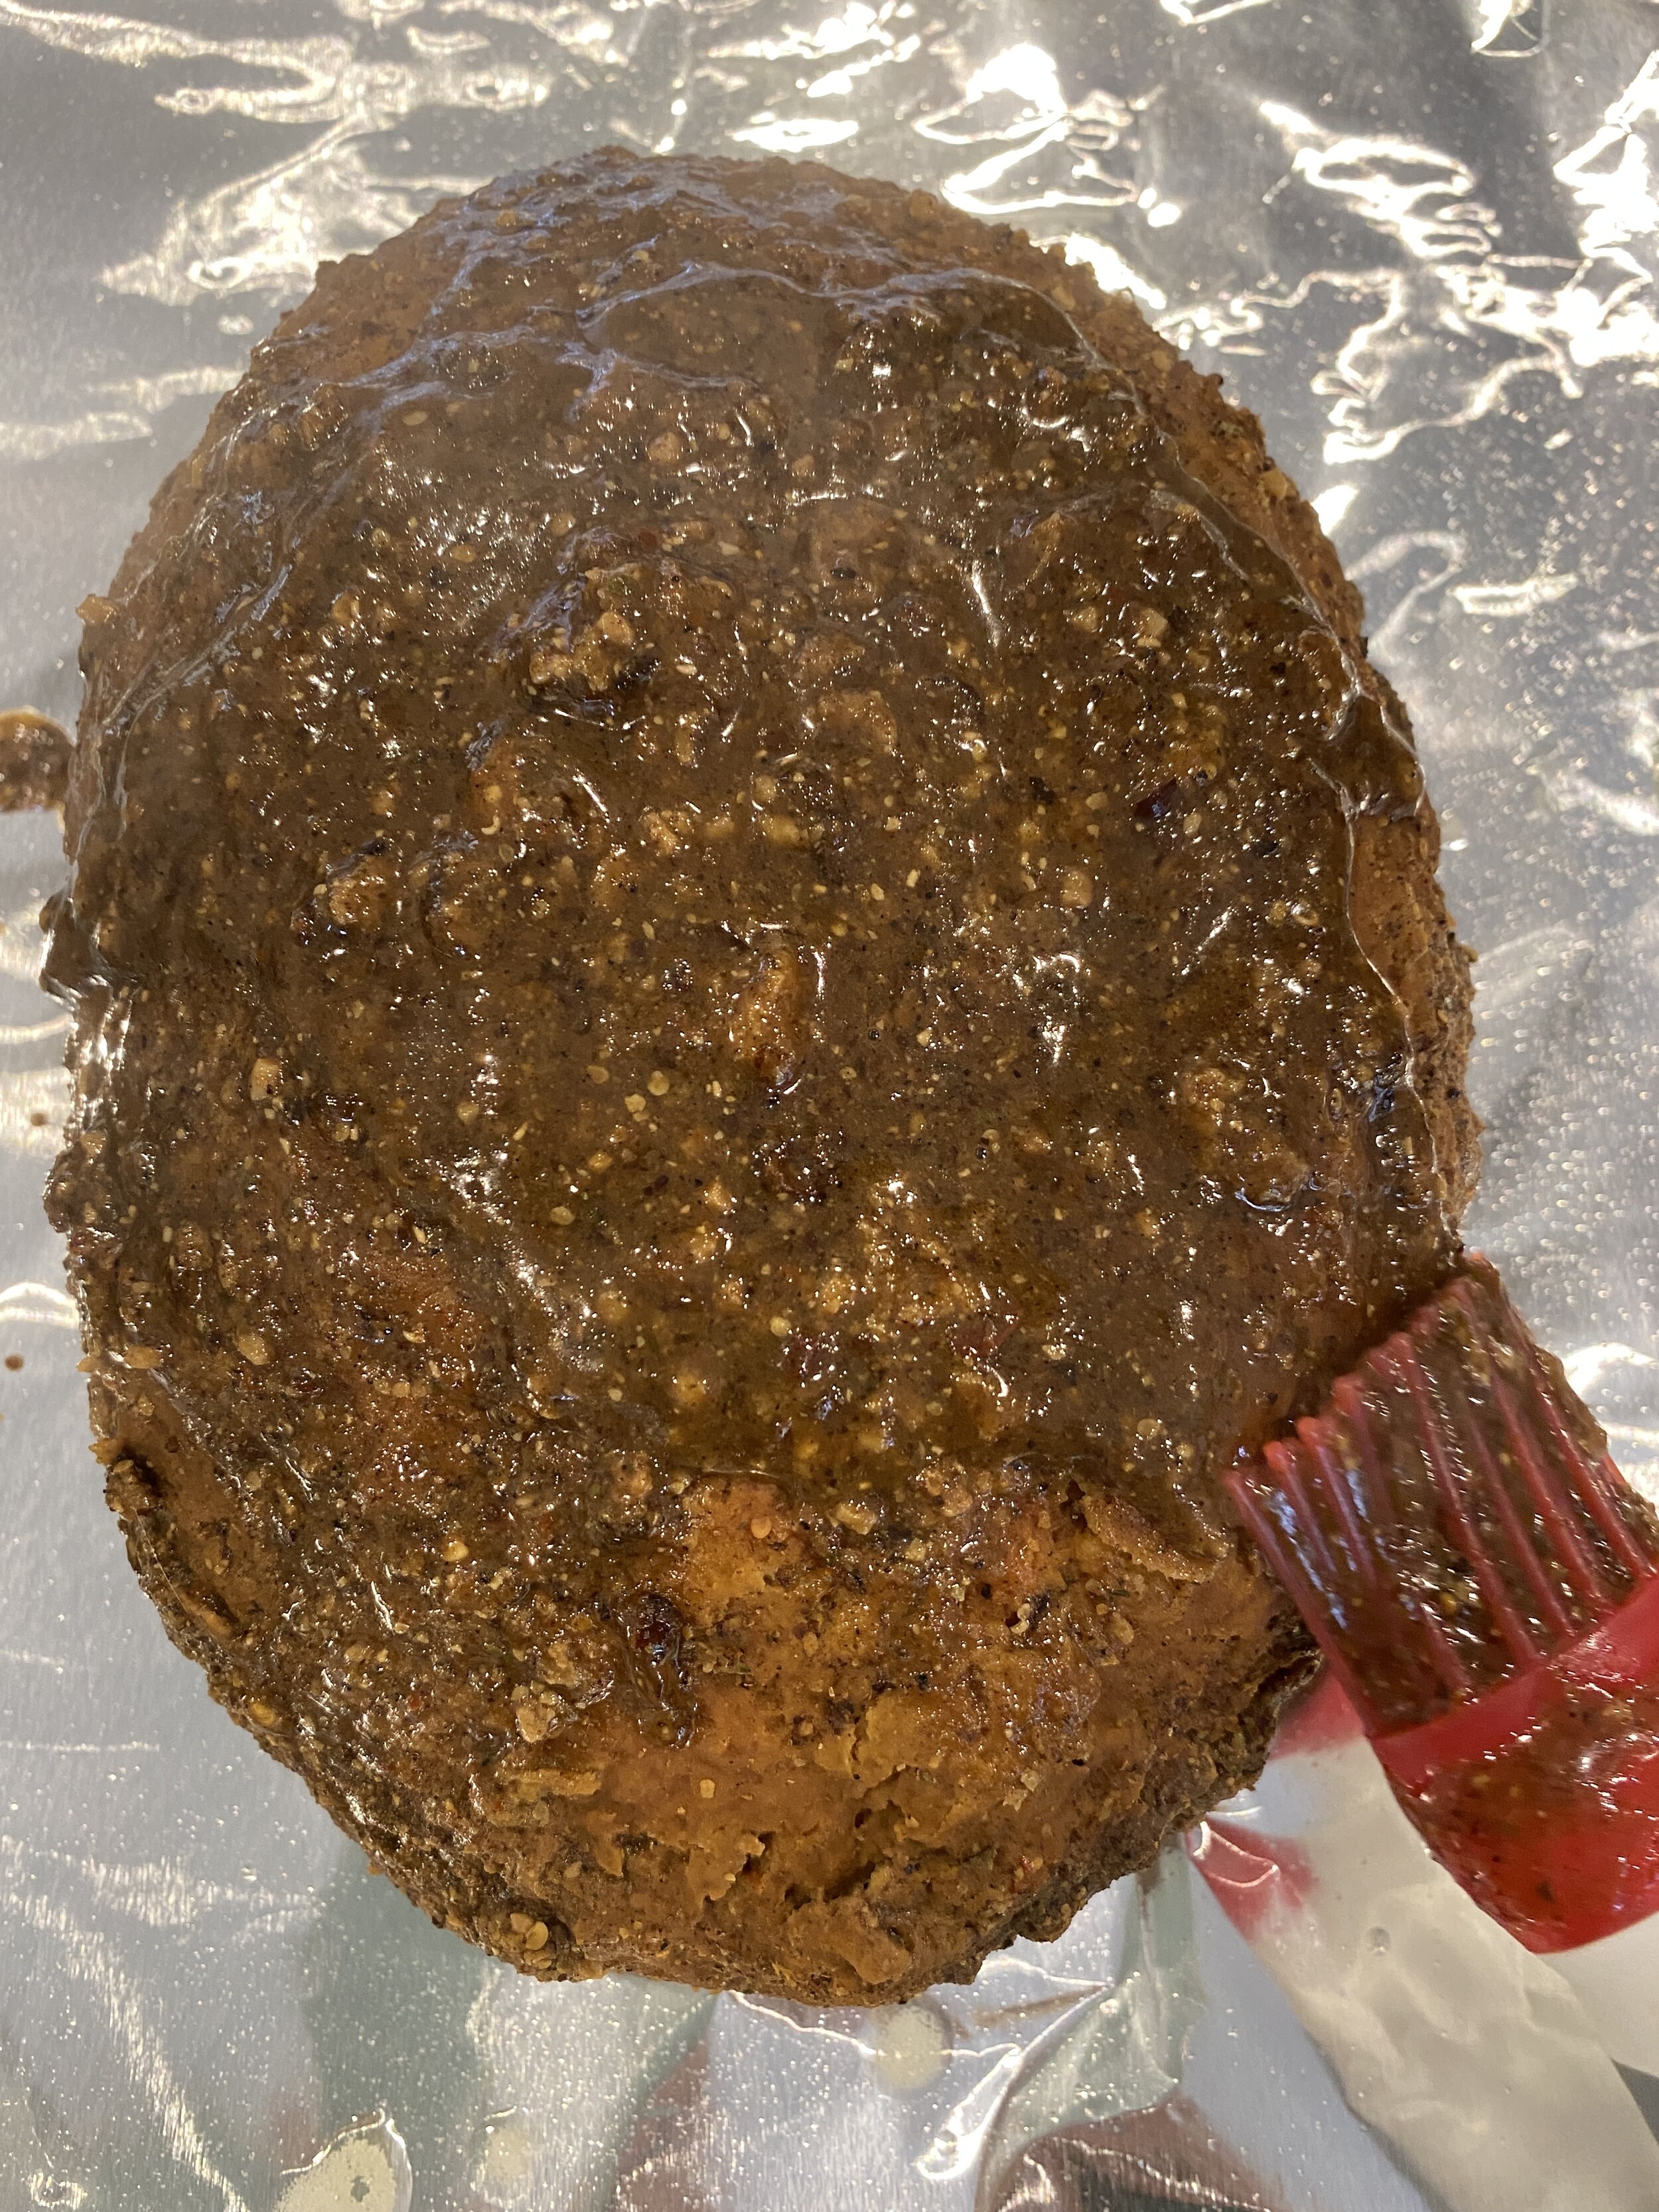
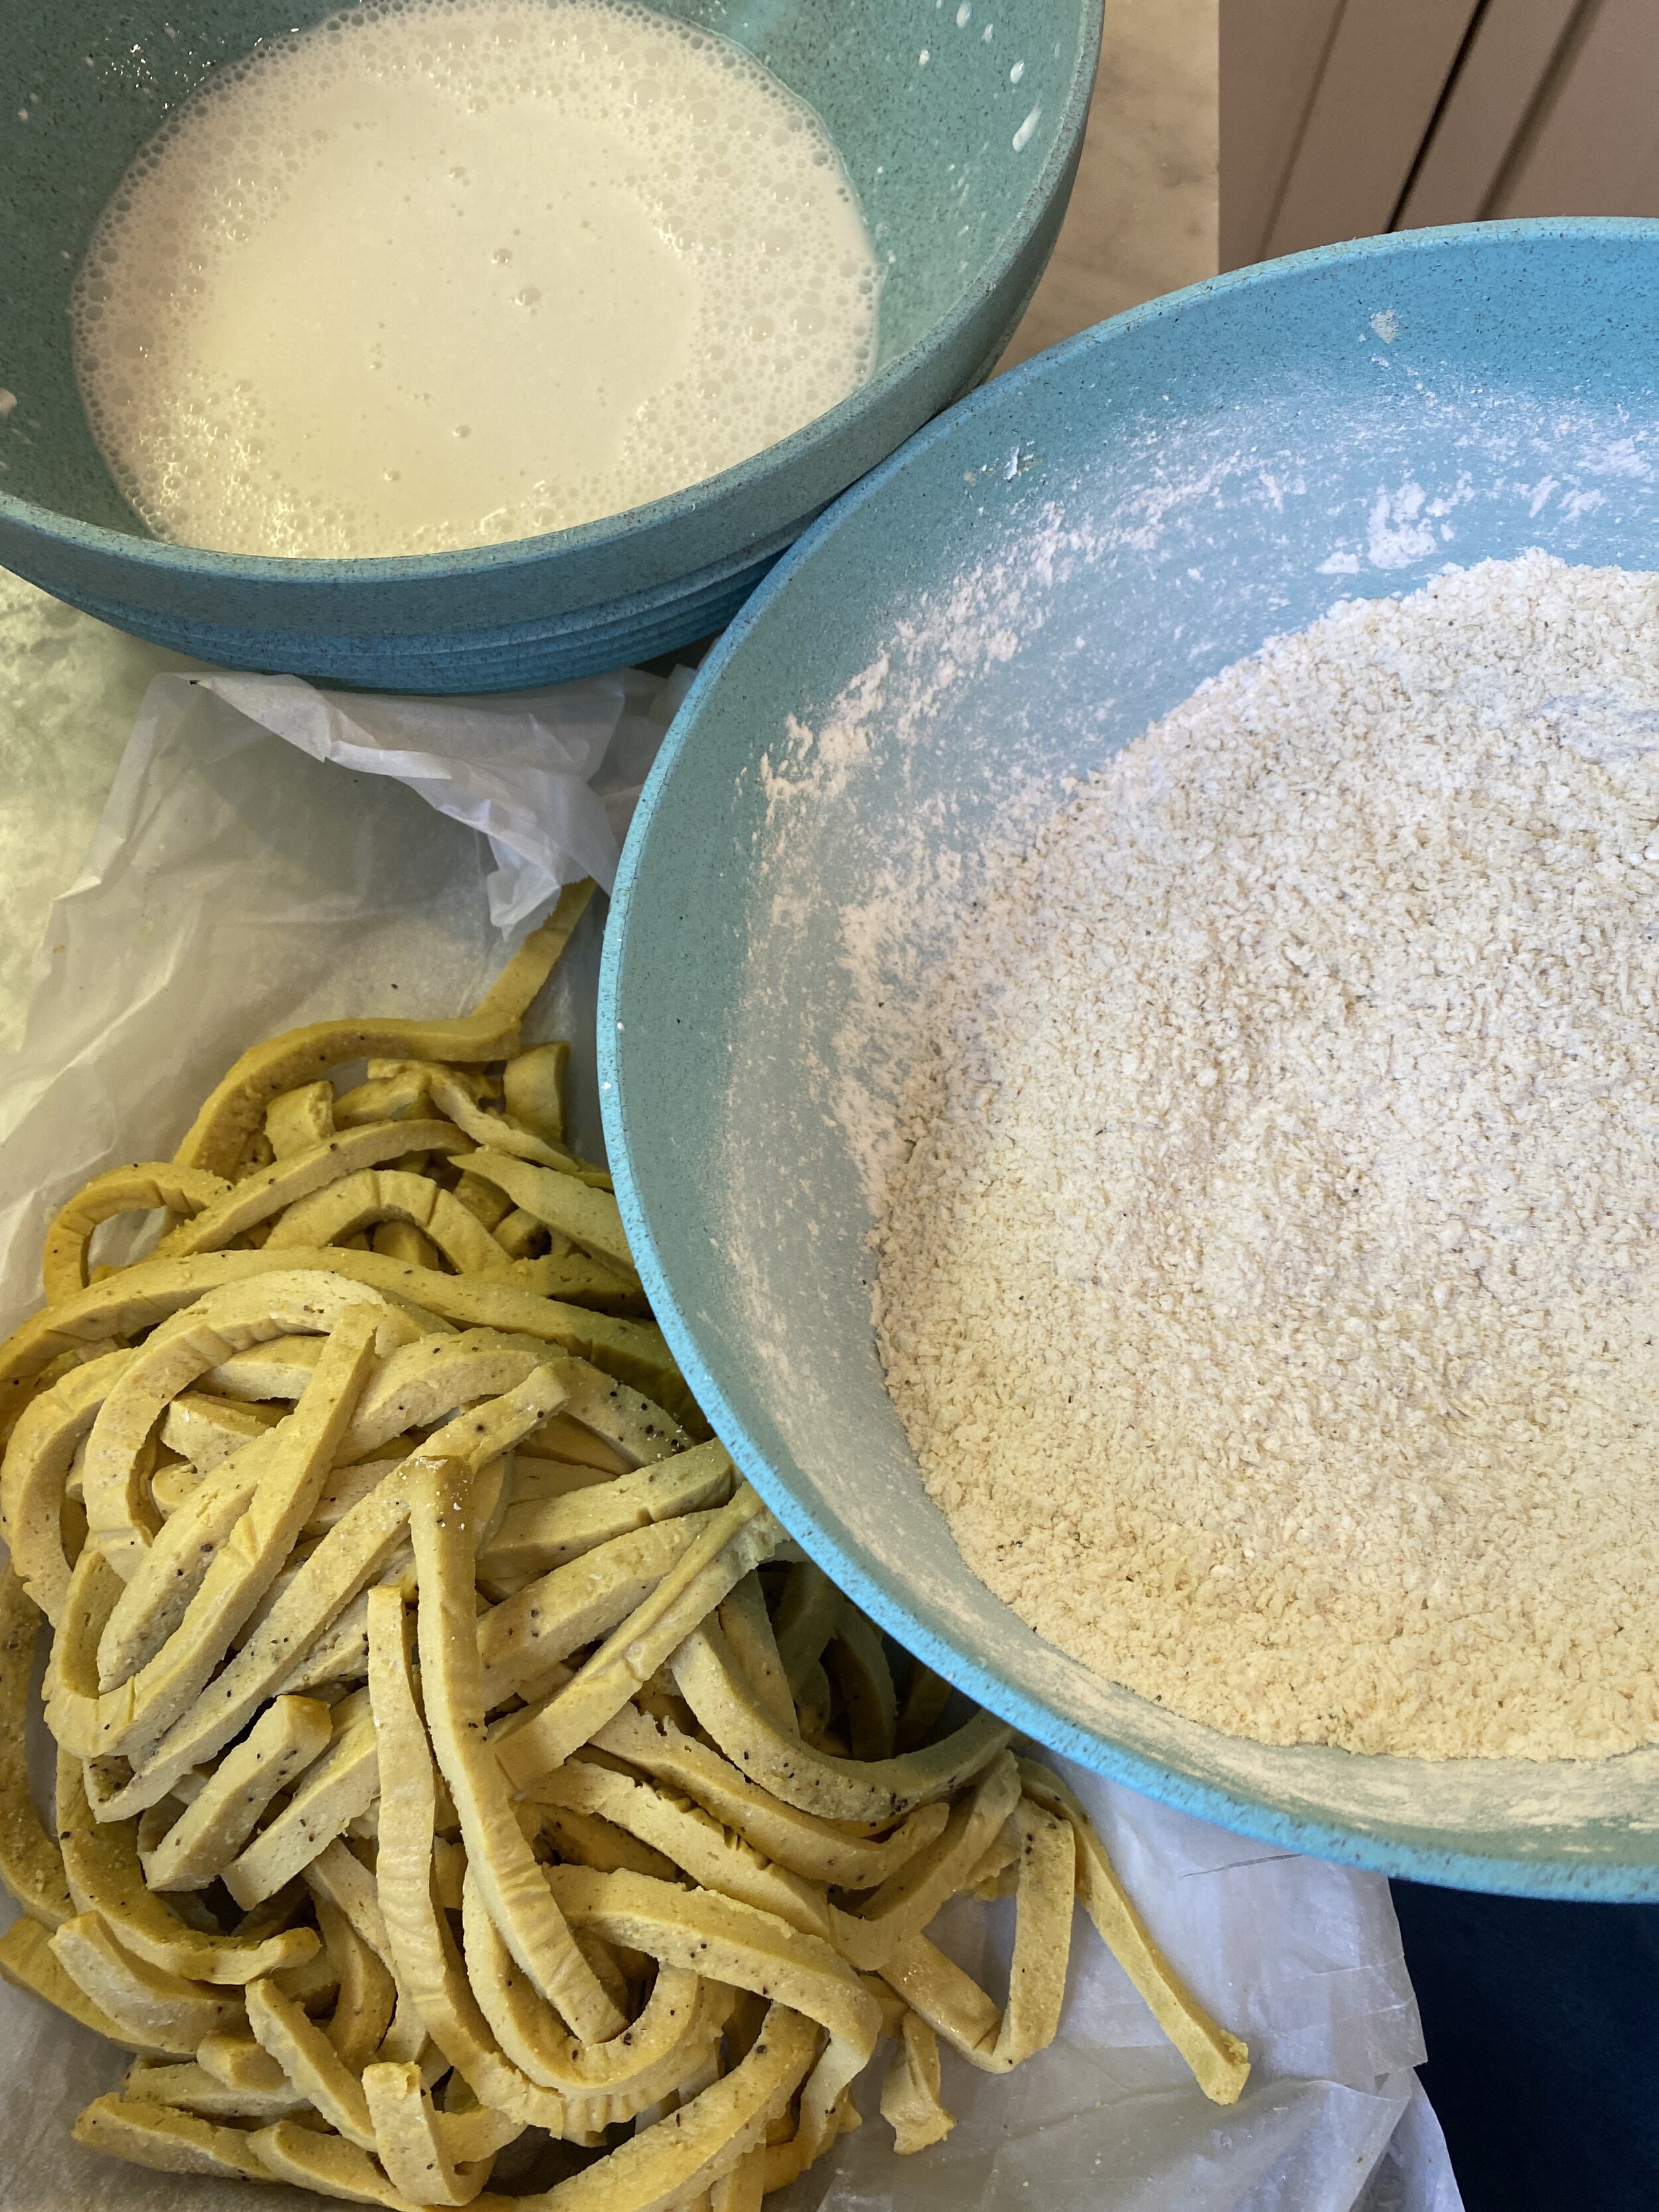
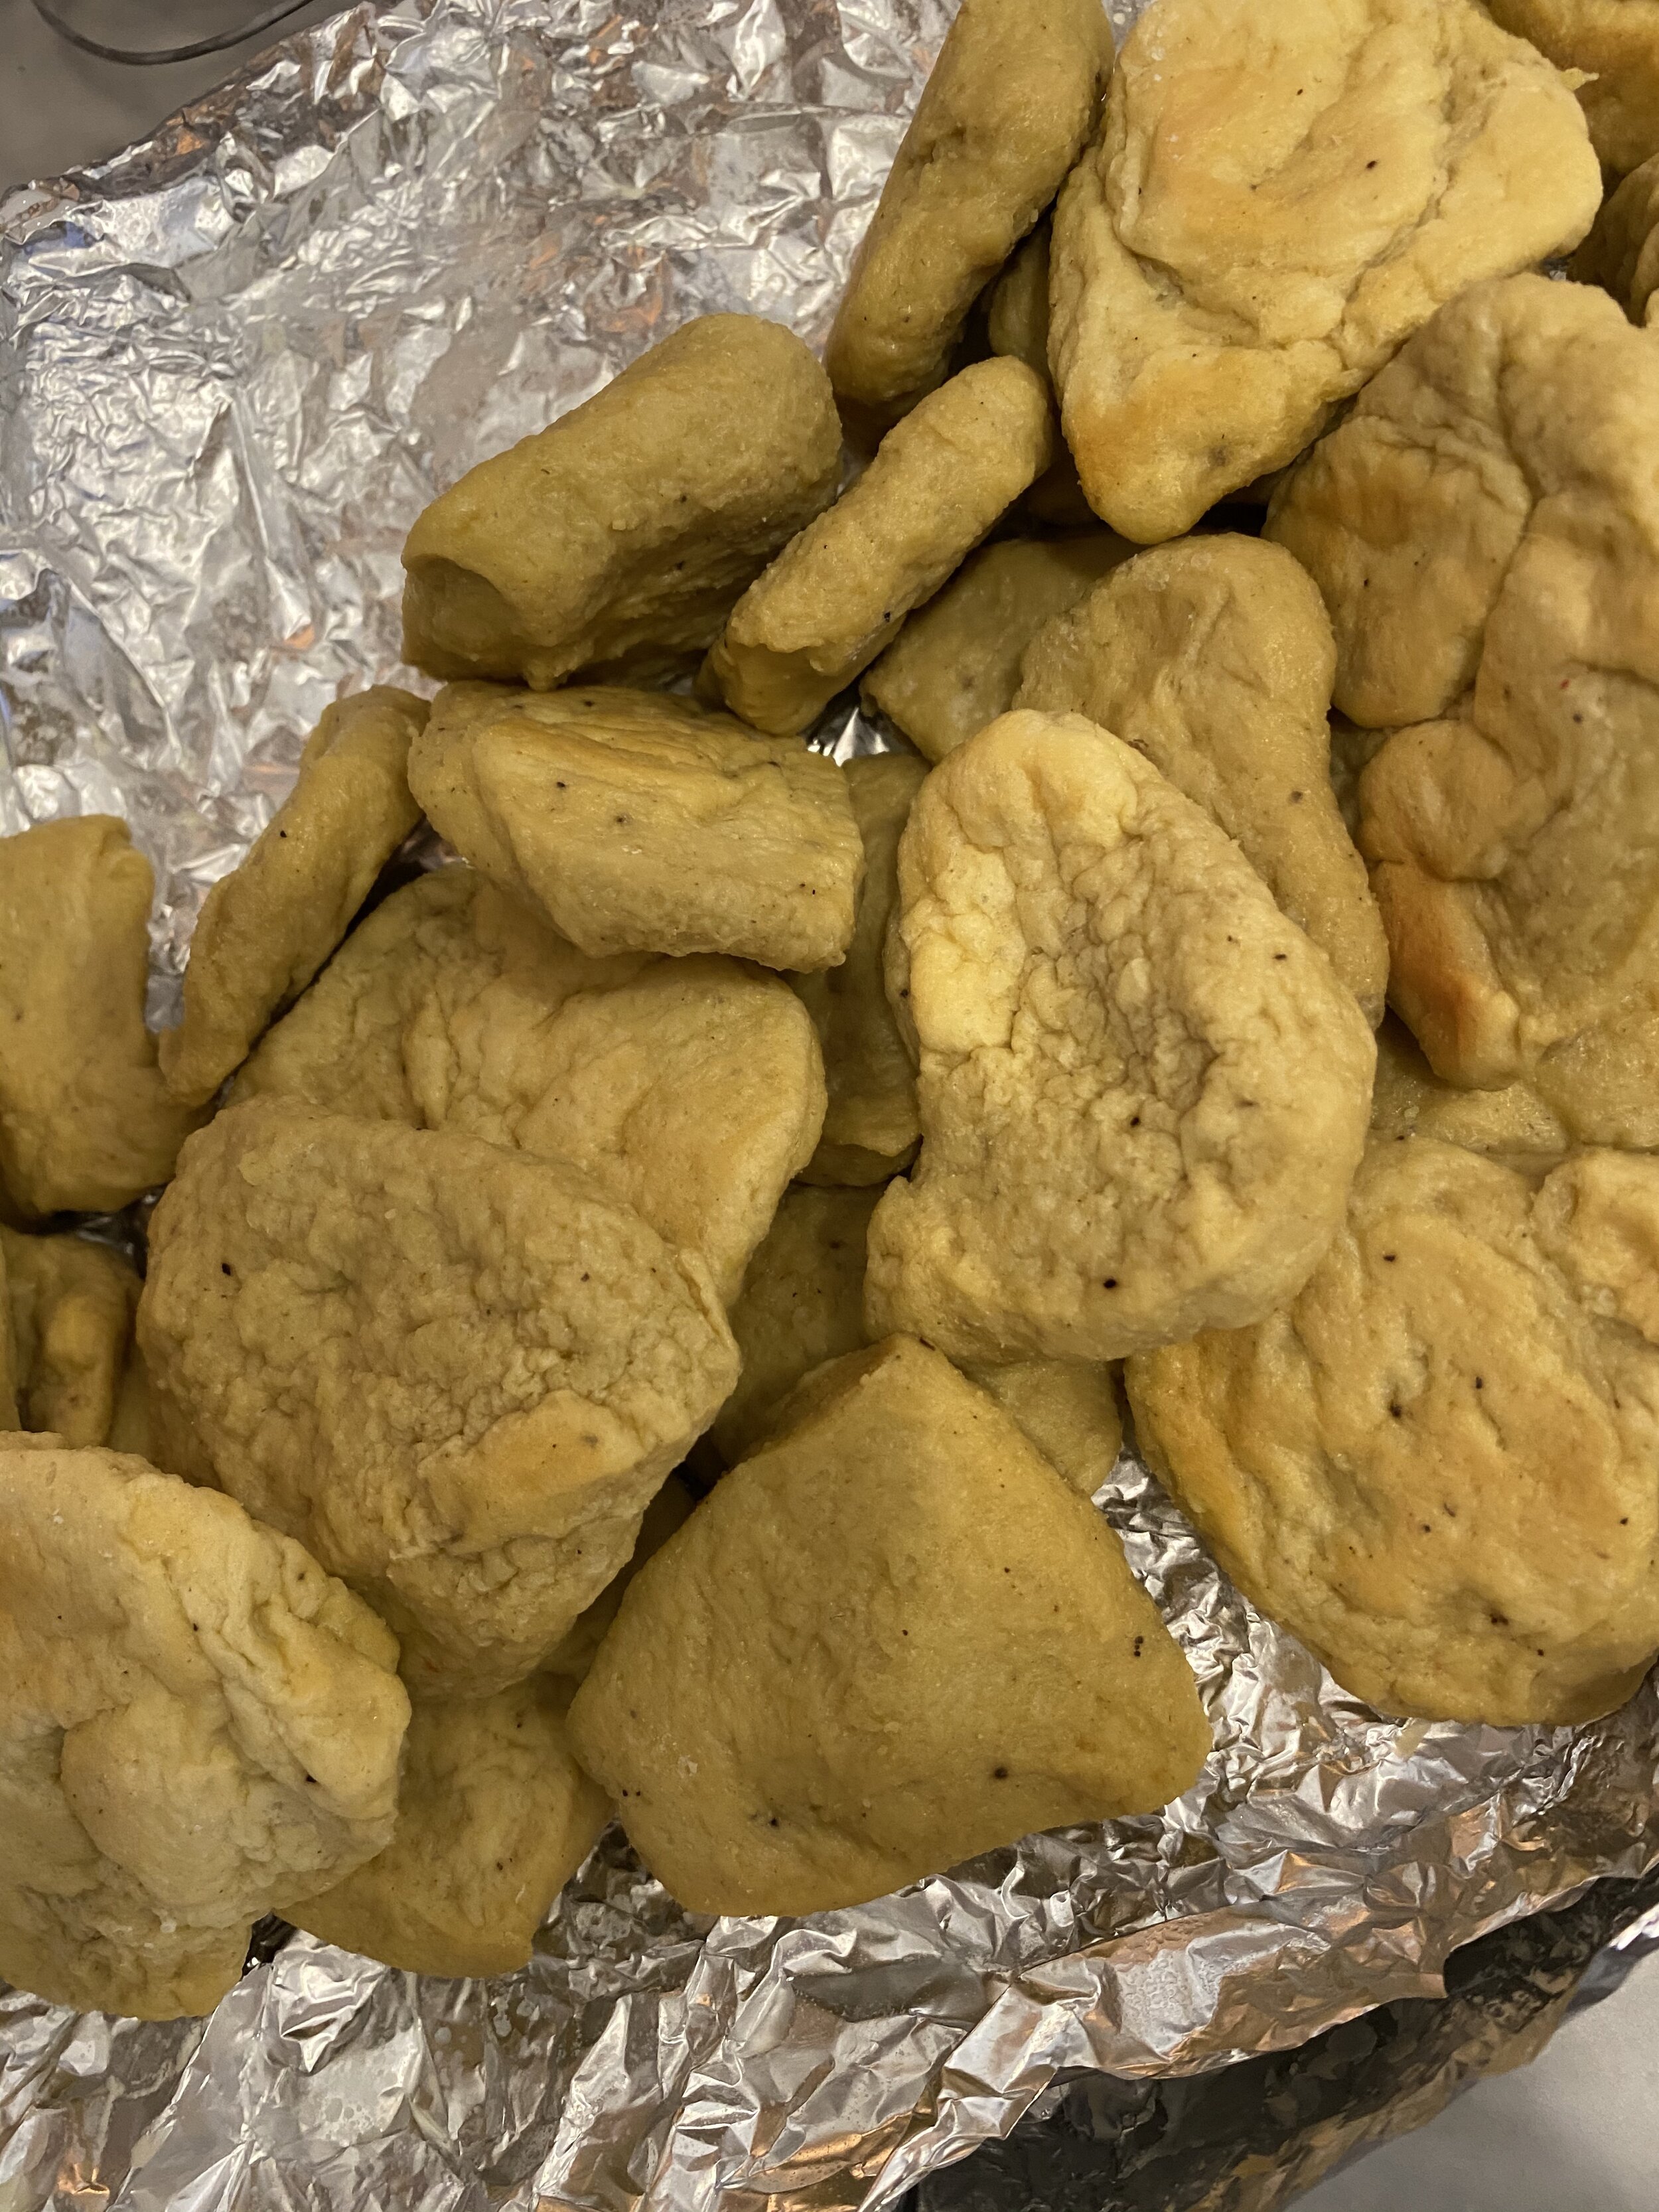
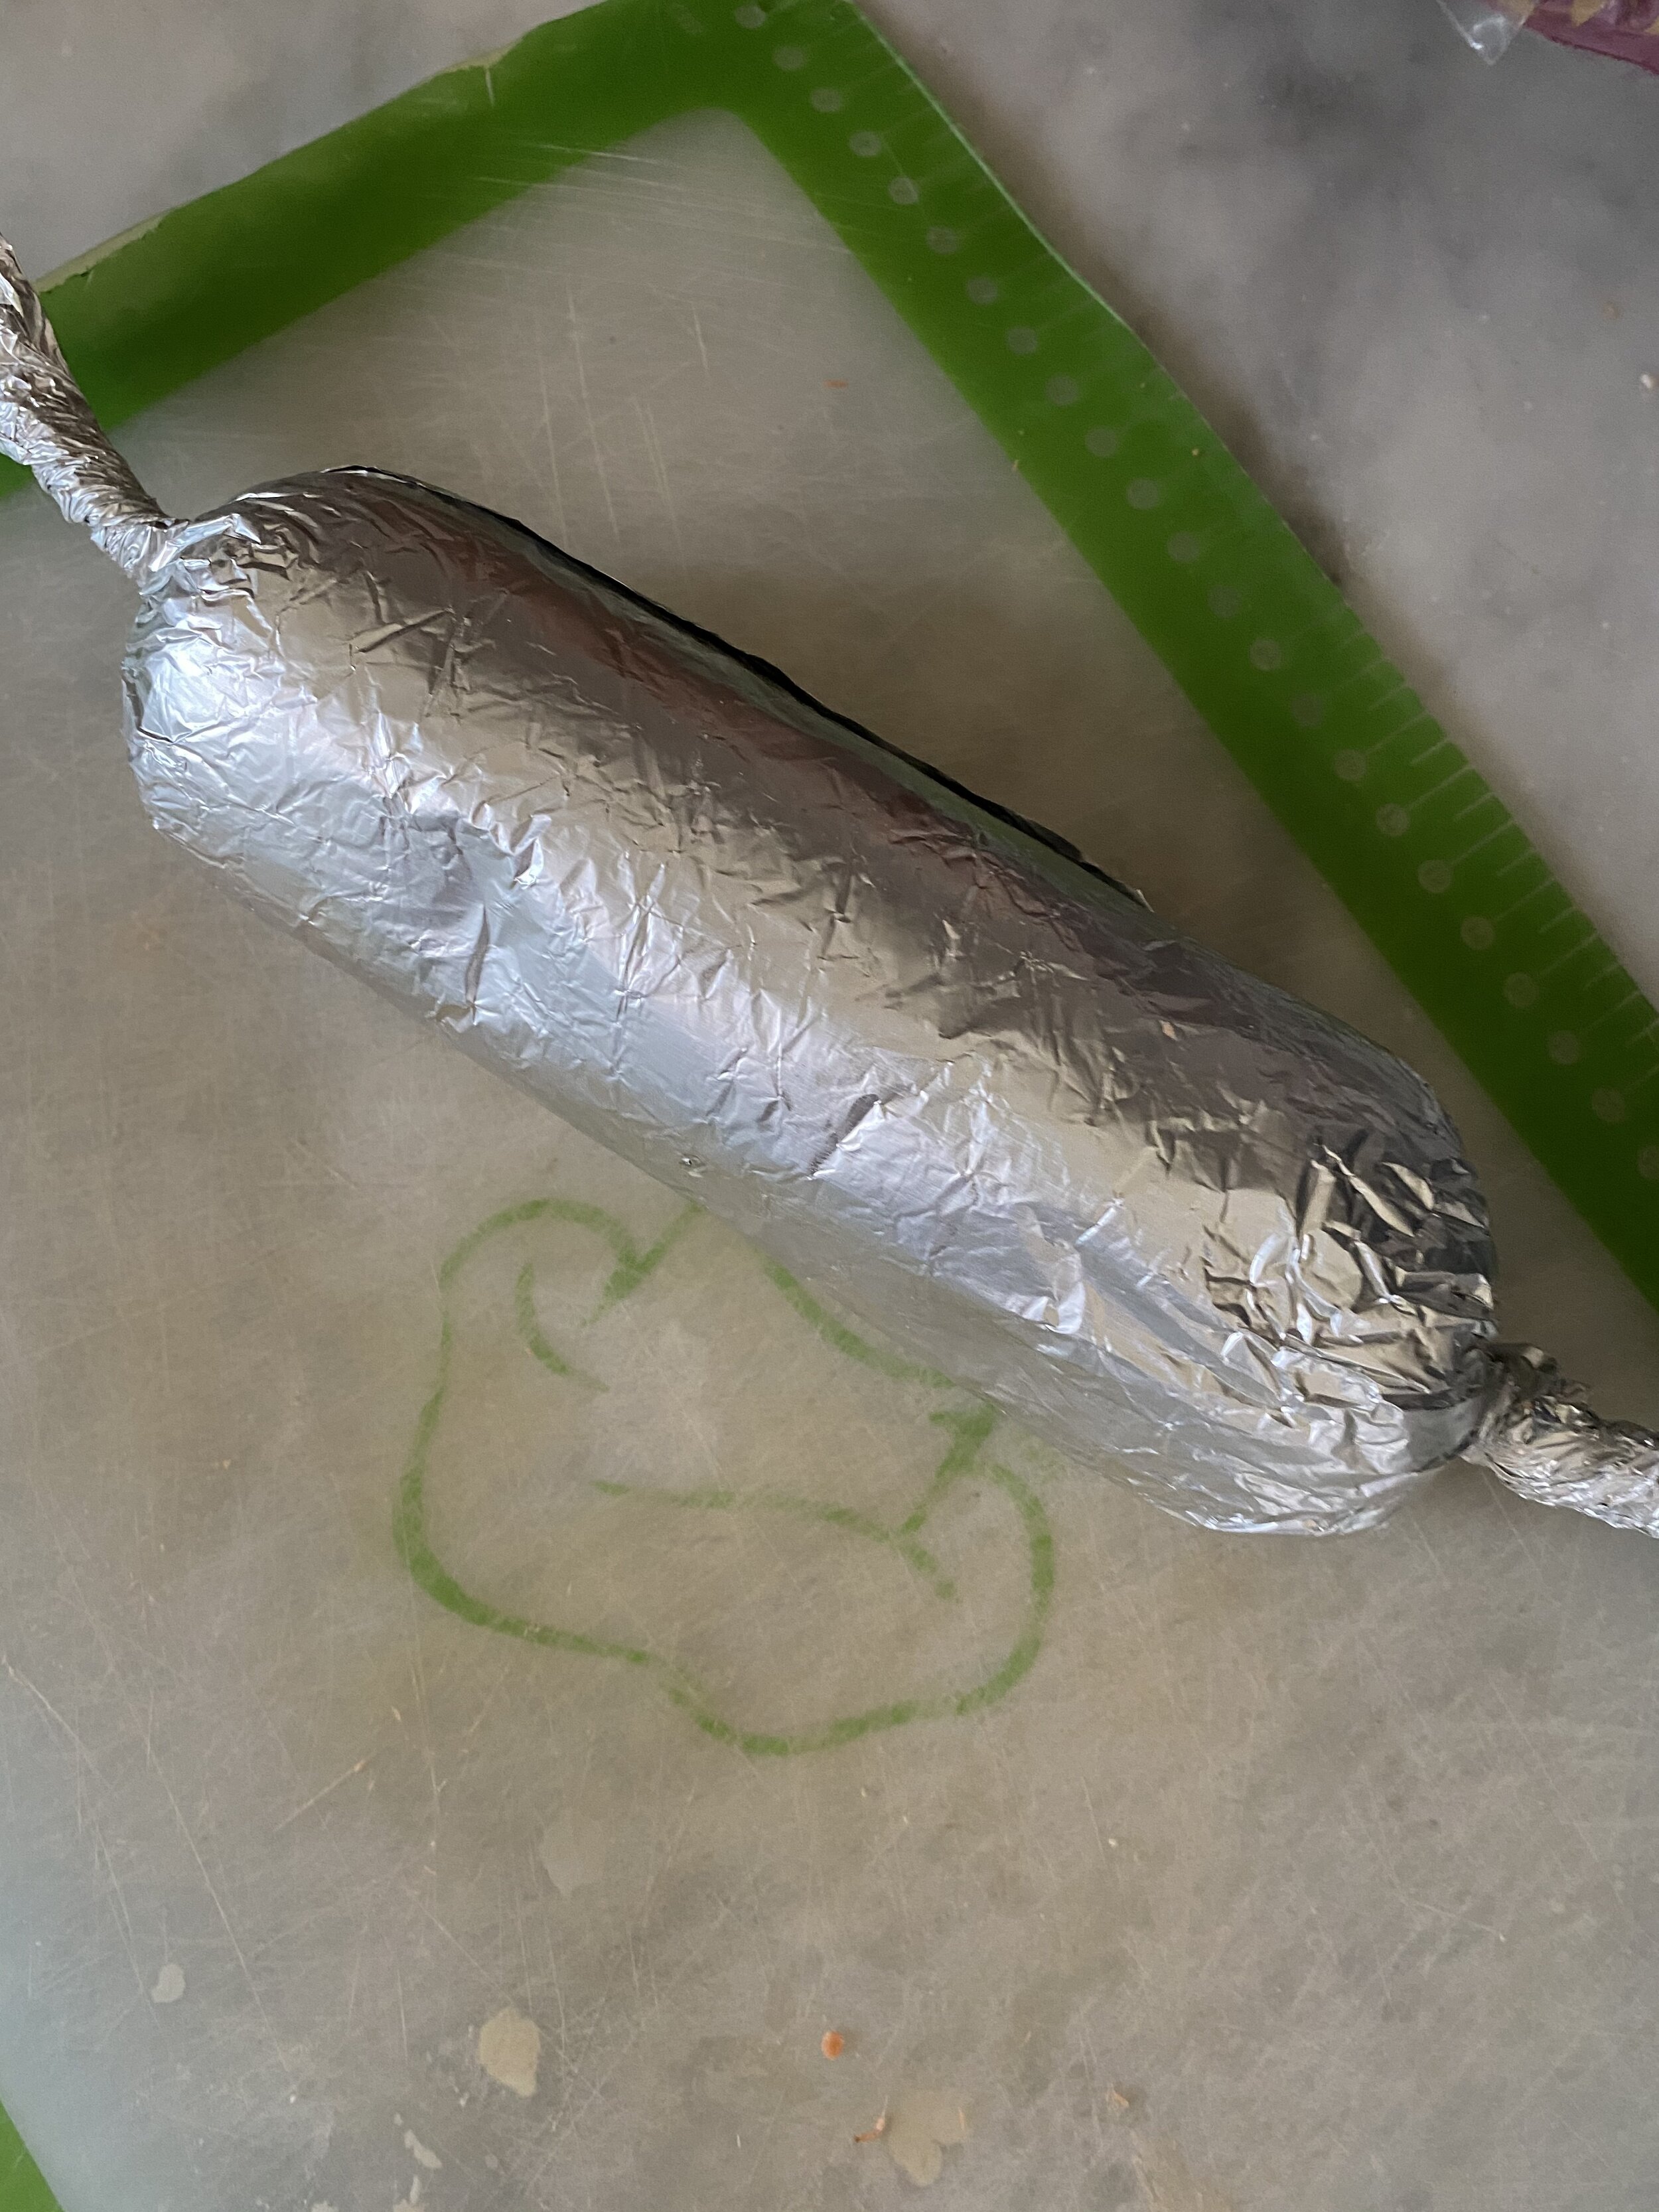
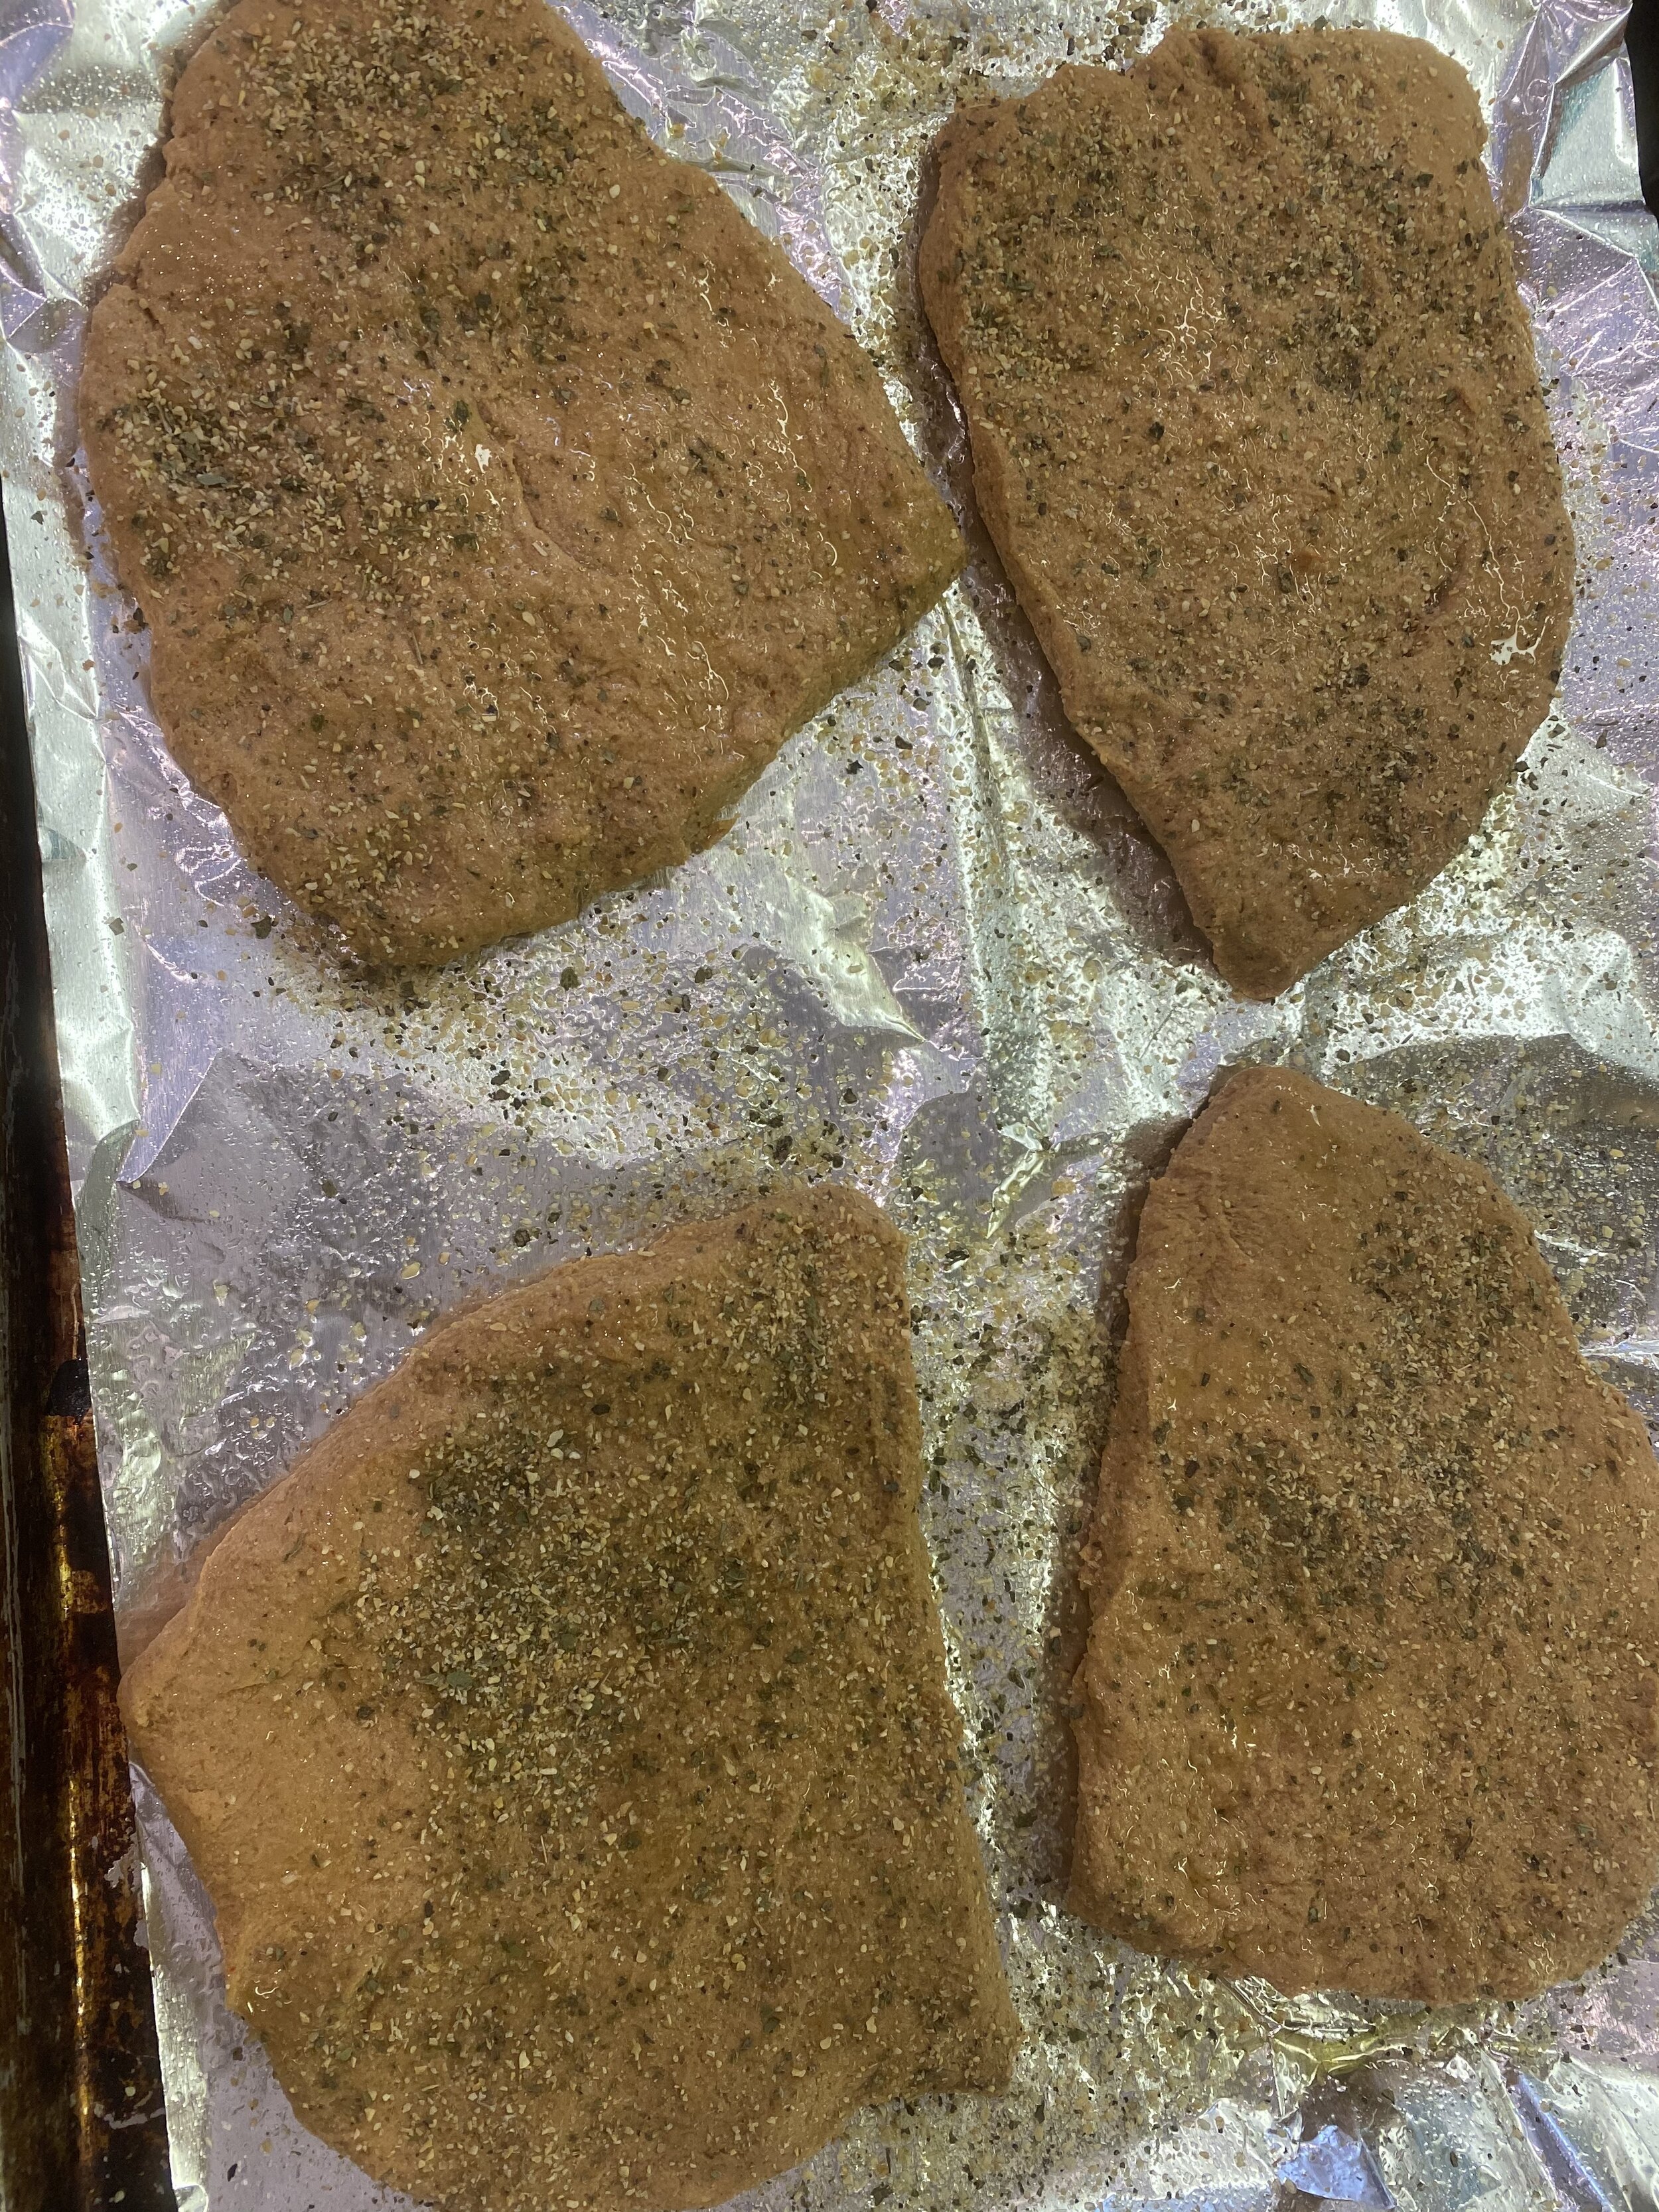
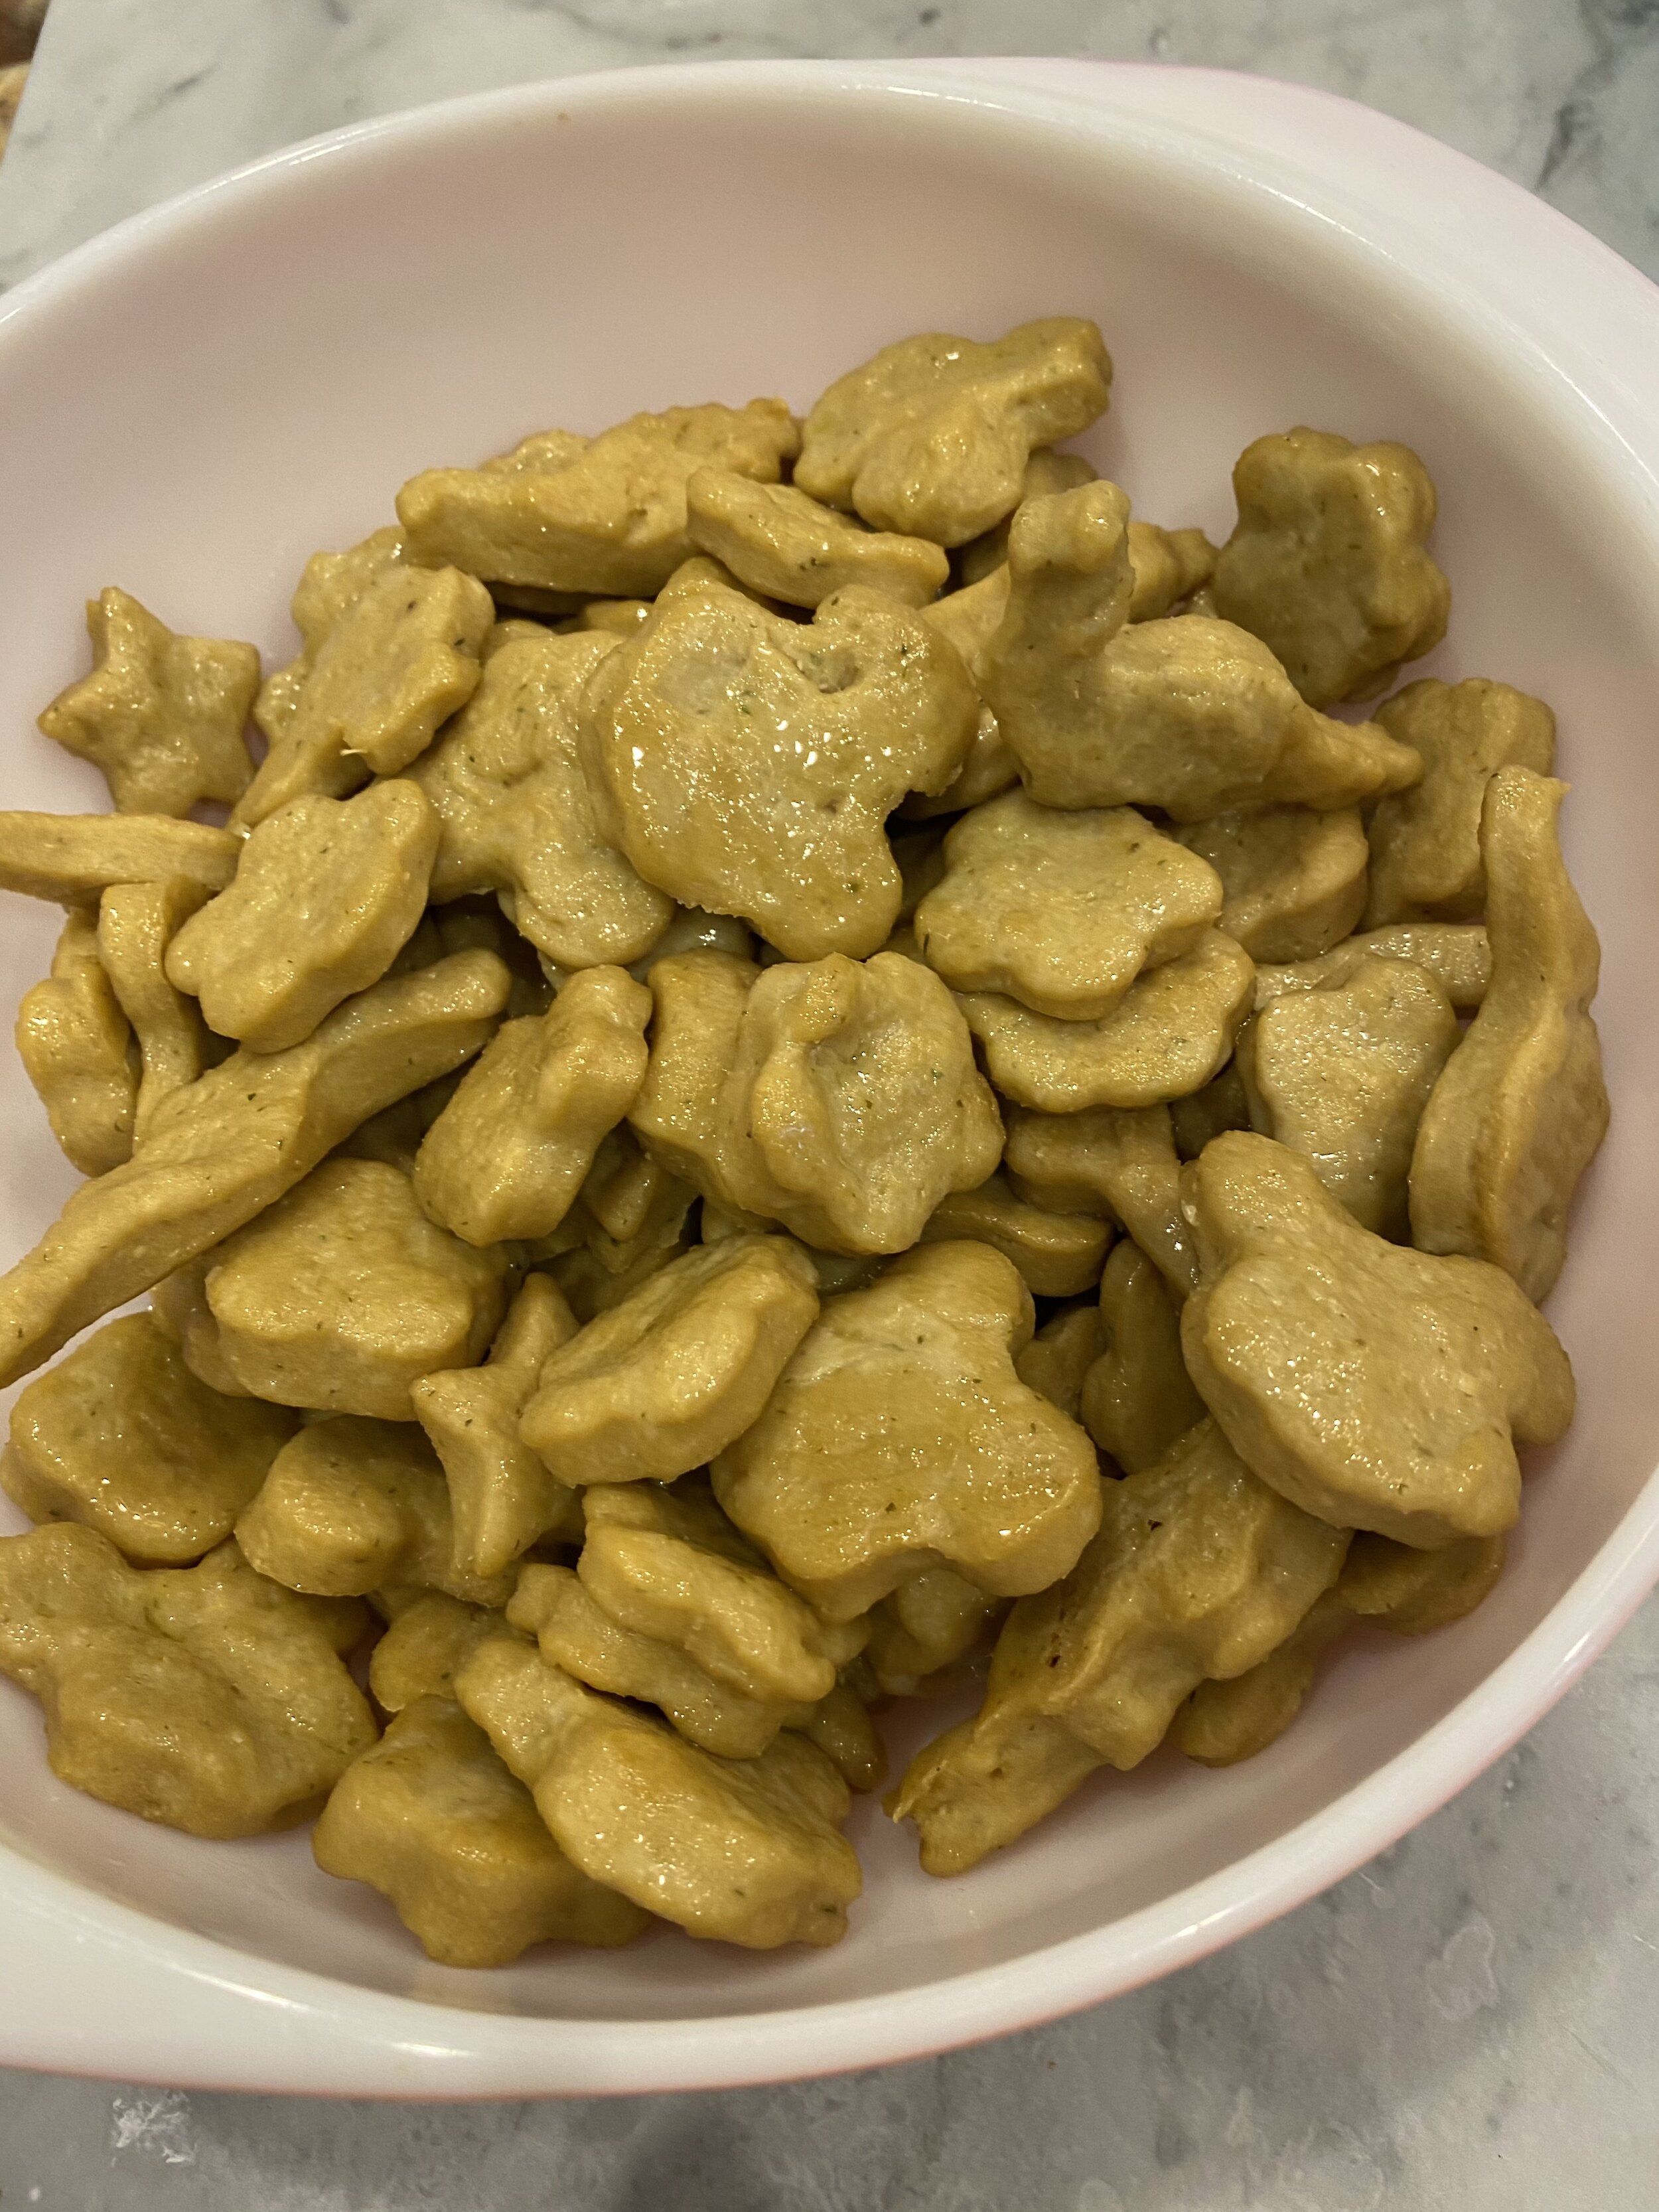
6. Lay a piece of parchment paper on top of a cookie sheet. Sprinkle the parchment in a steak blend seasoning. Lay the steak tips on the tray, give them a spray or brush with a little oil then roll them around in the seasoning. Take one or two large pieces of foil and cover the pan tightly with the foil.
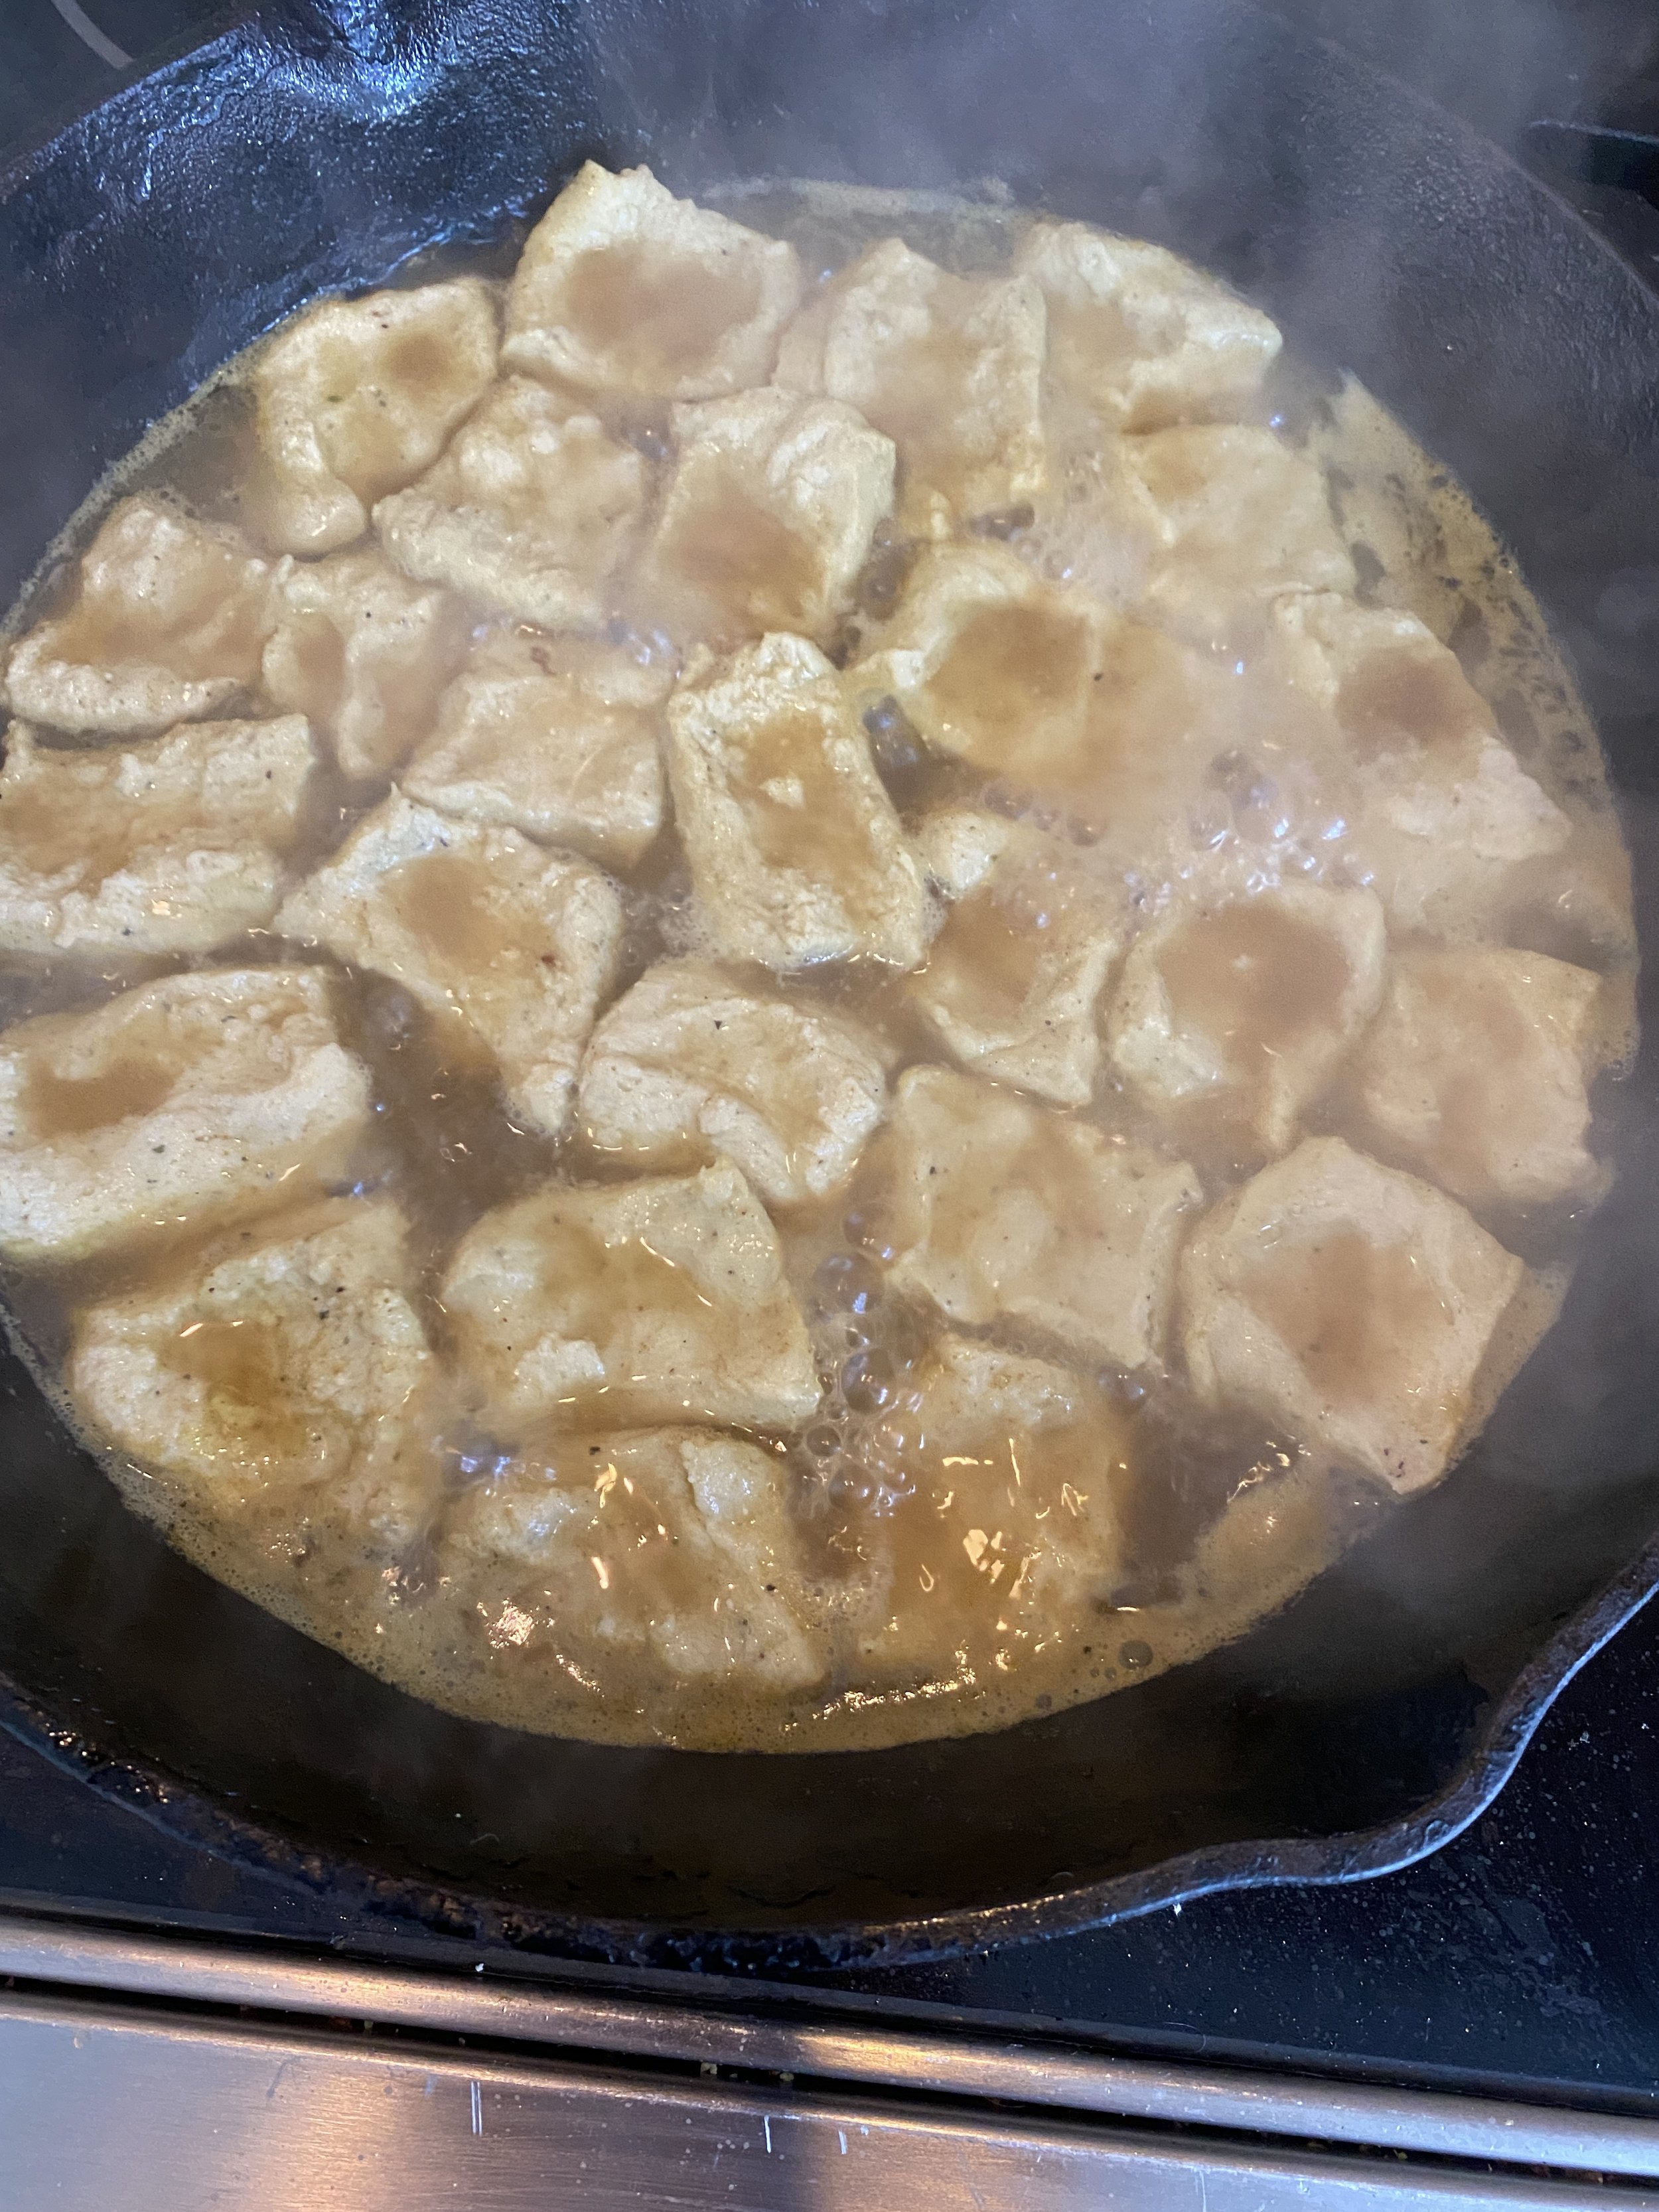
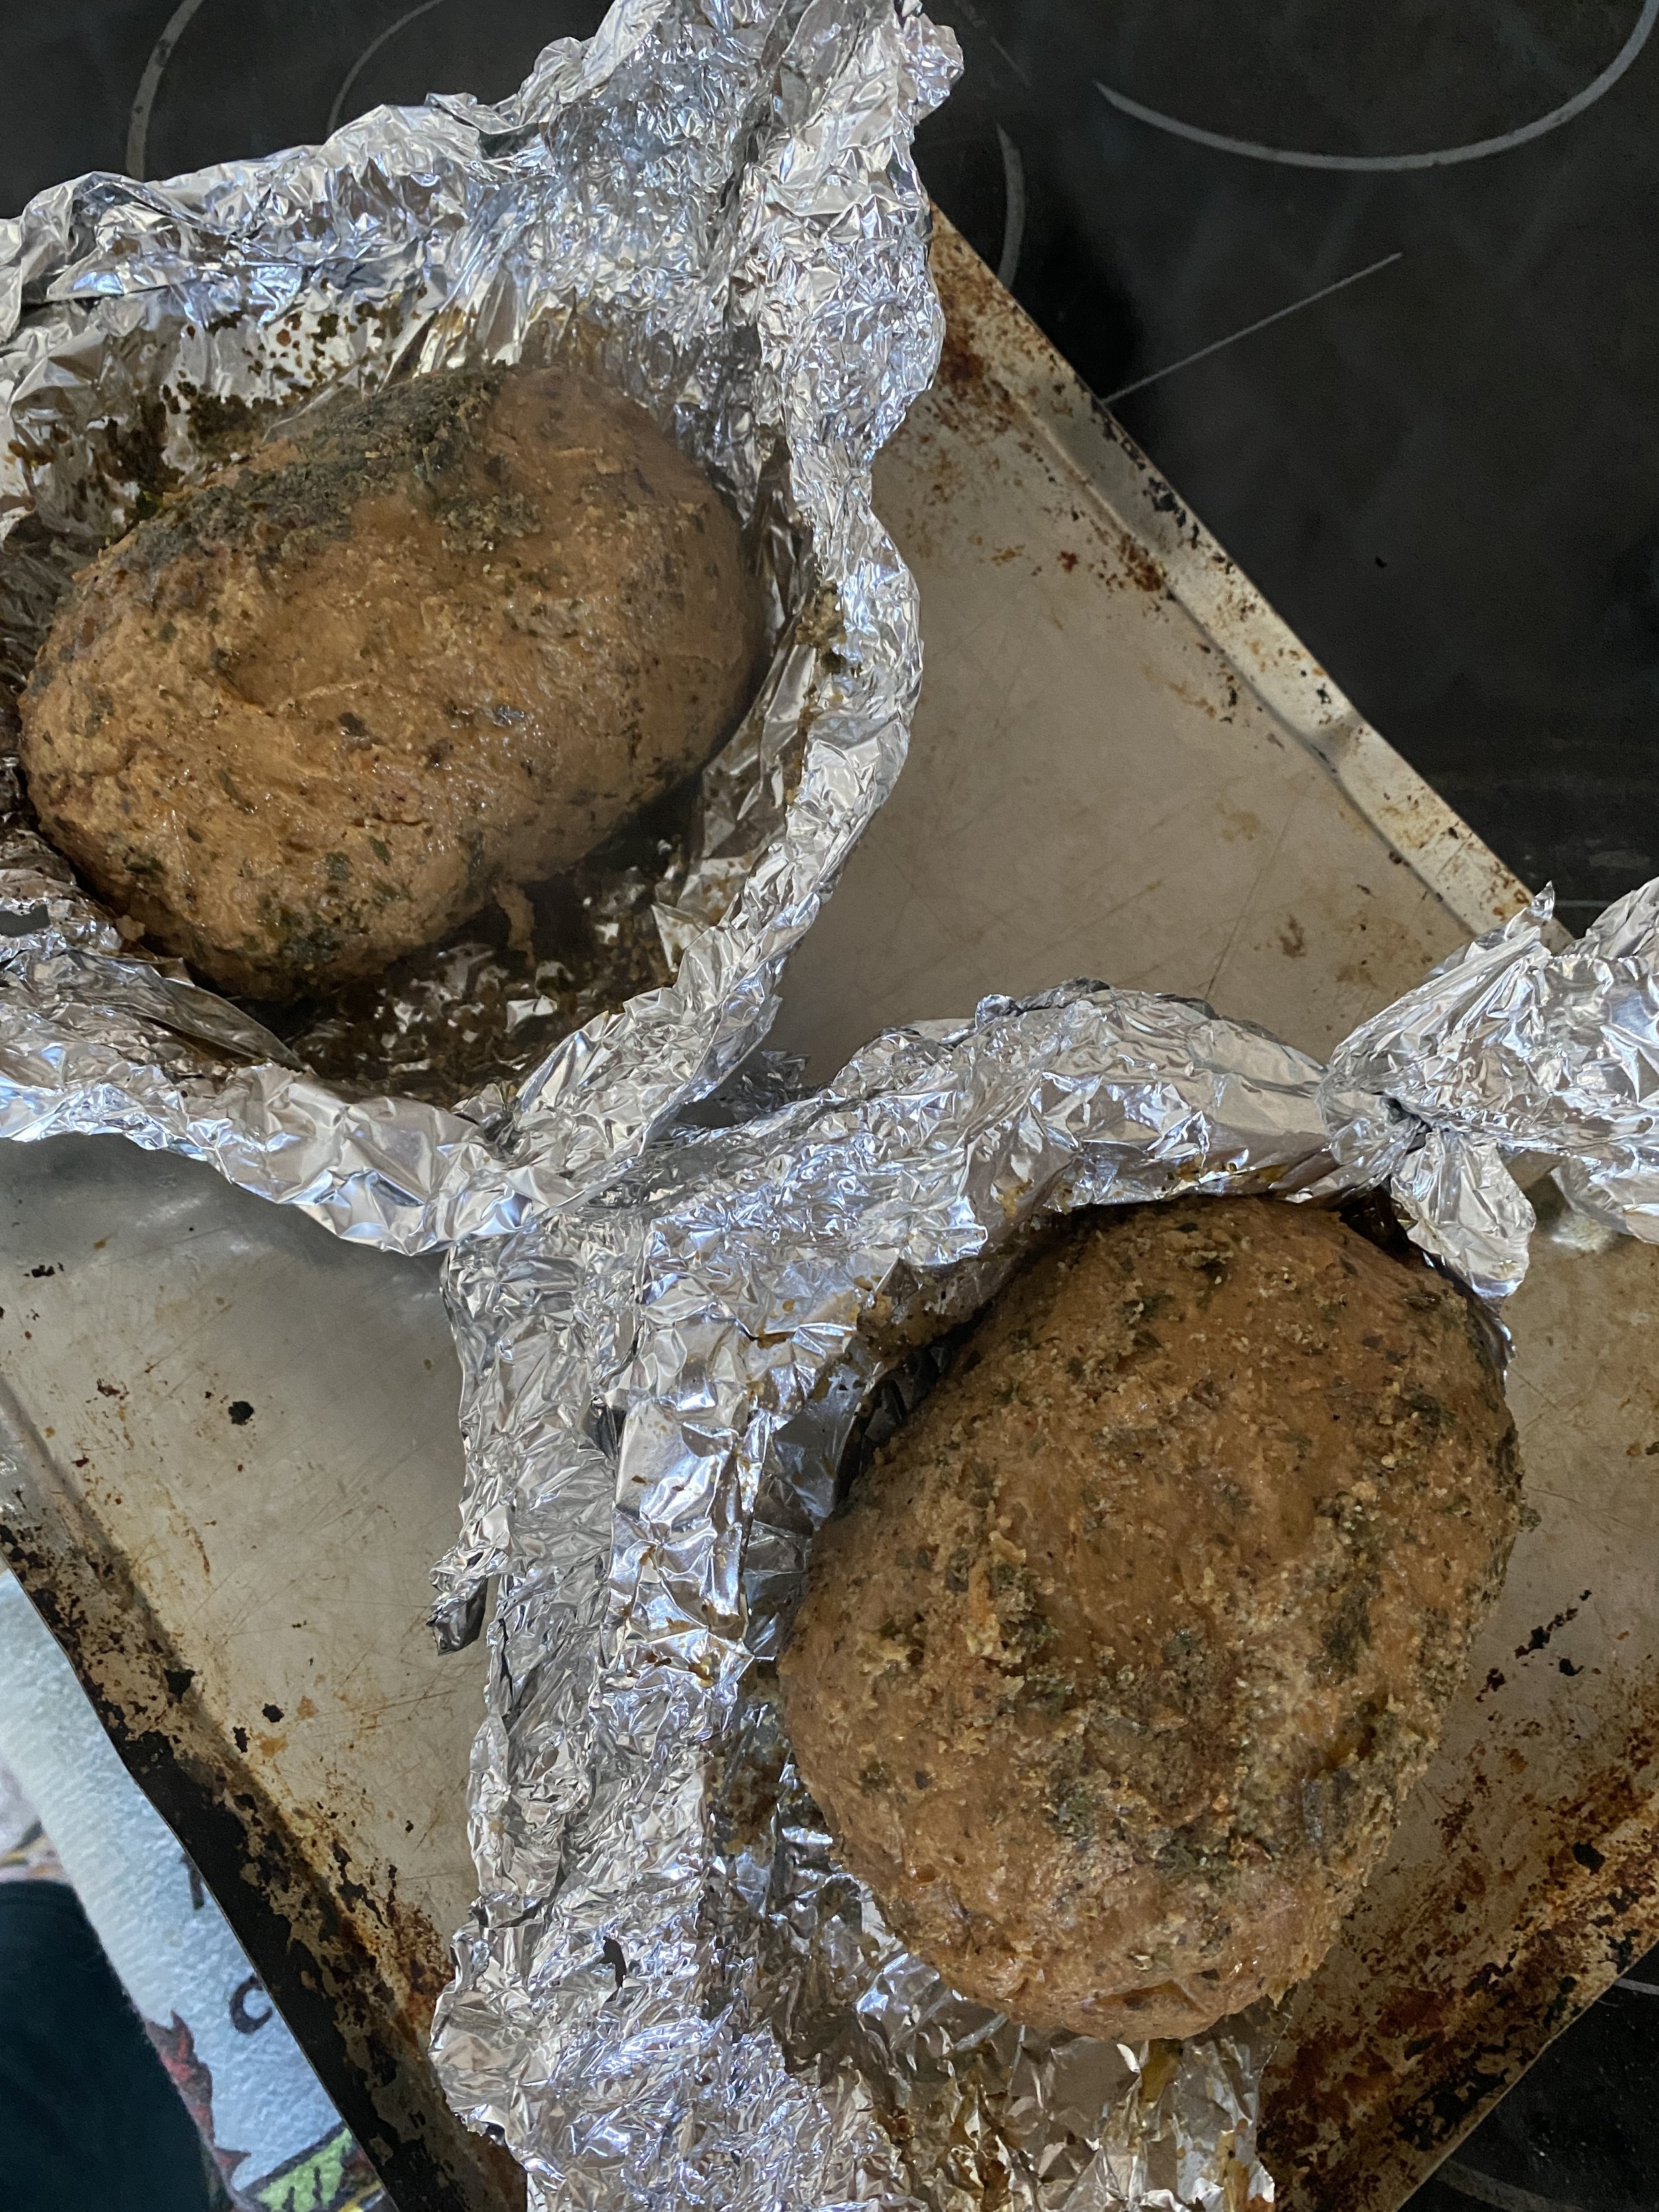
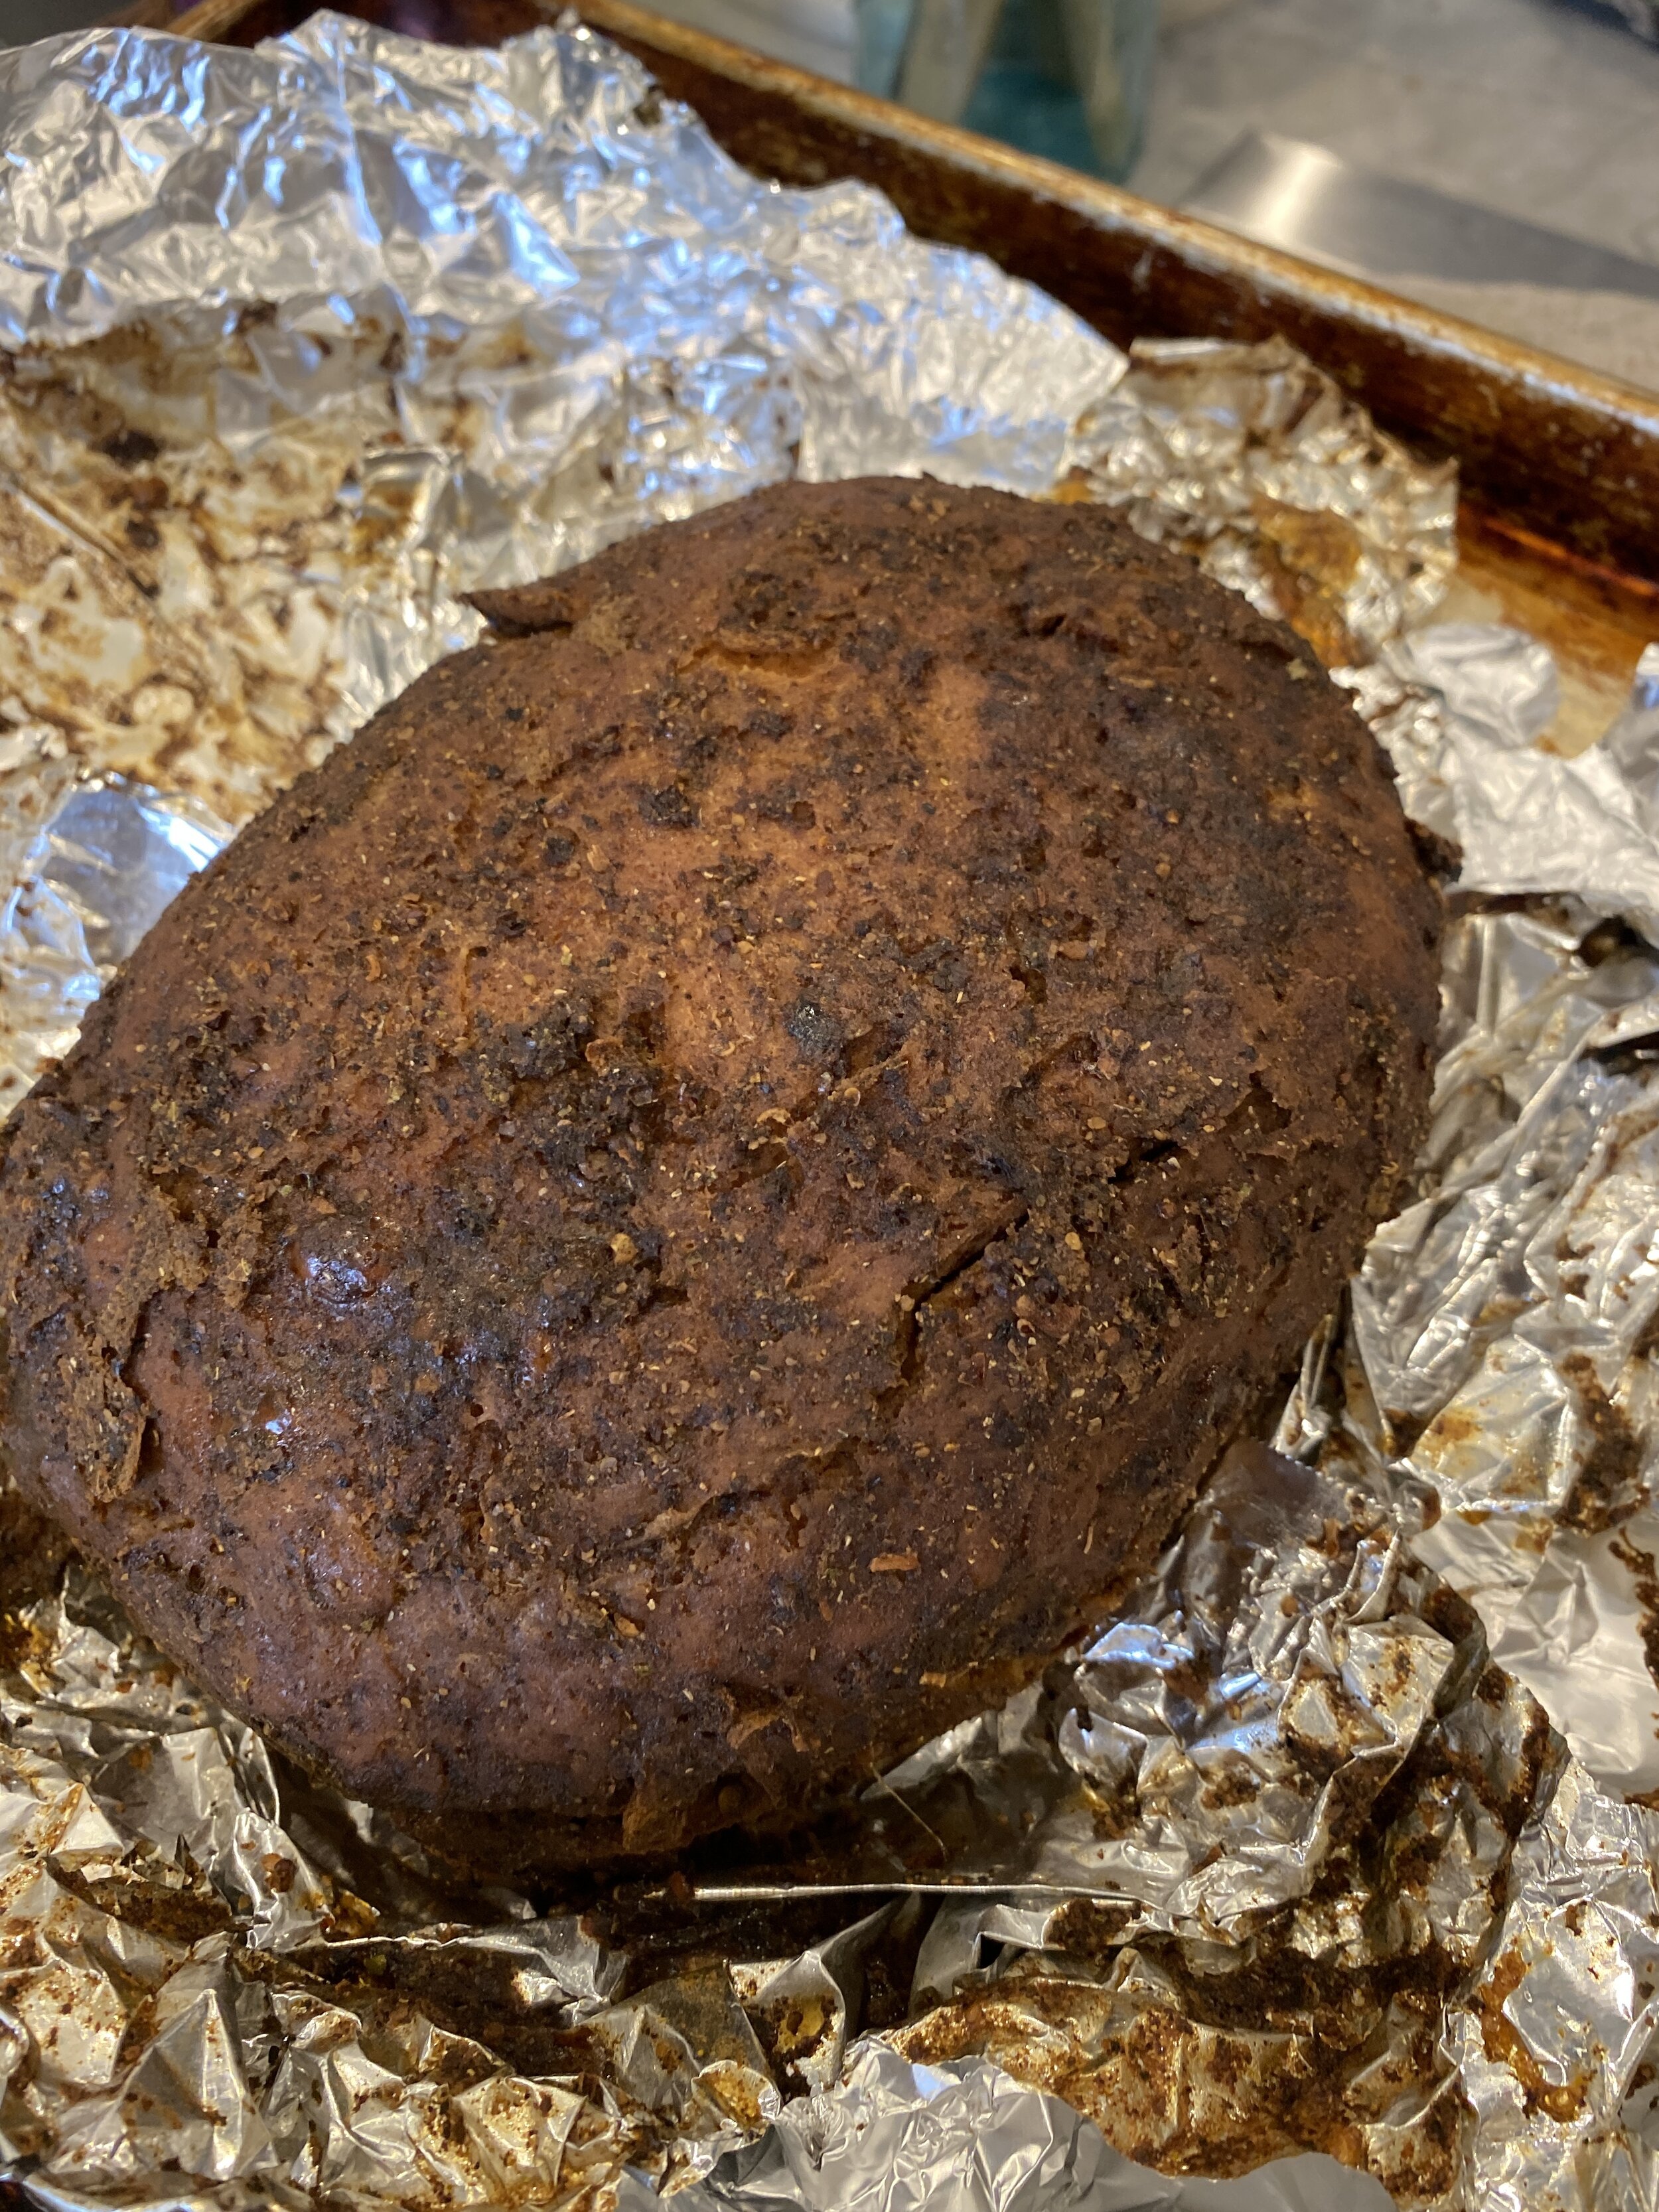
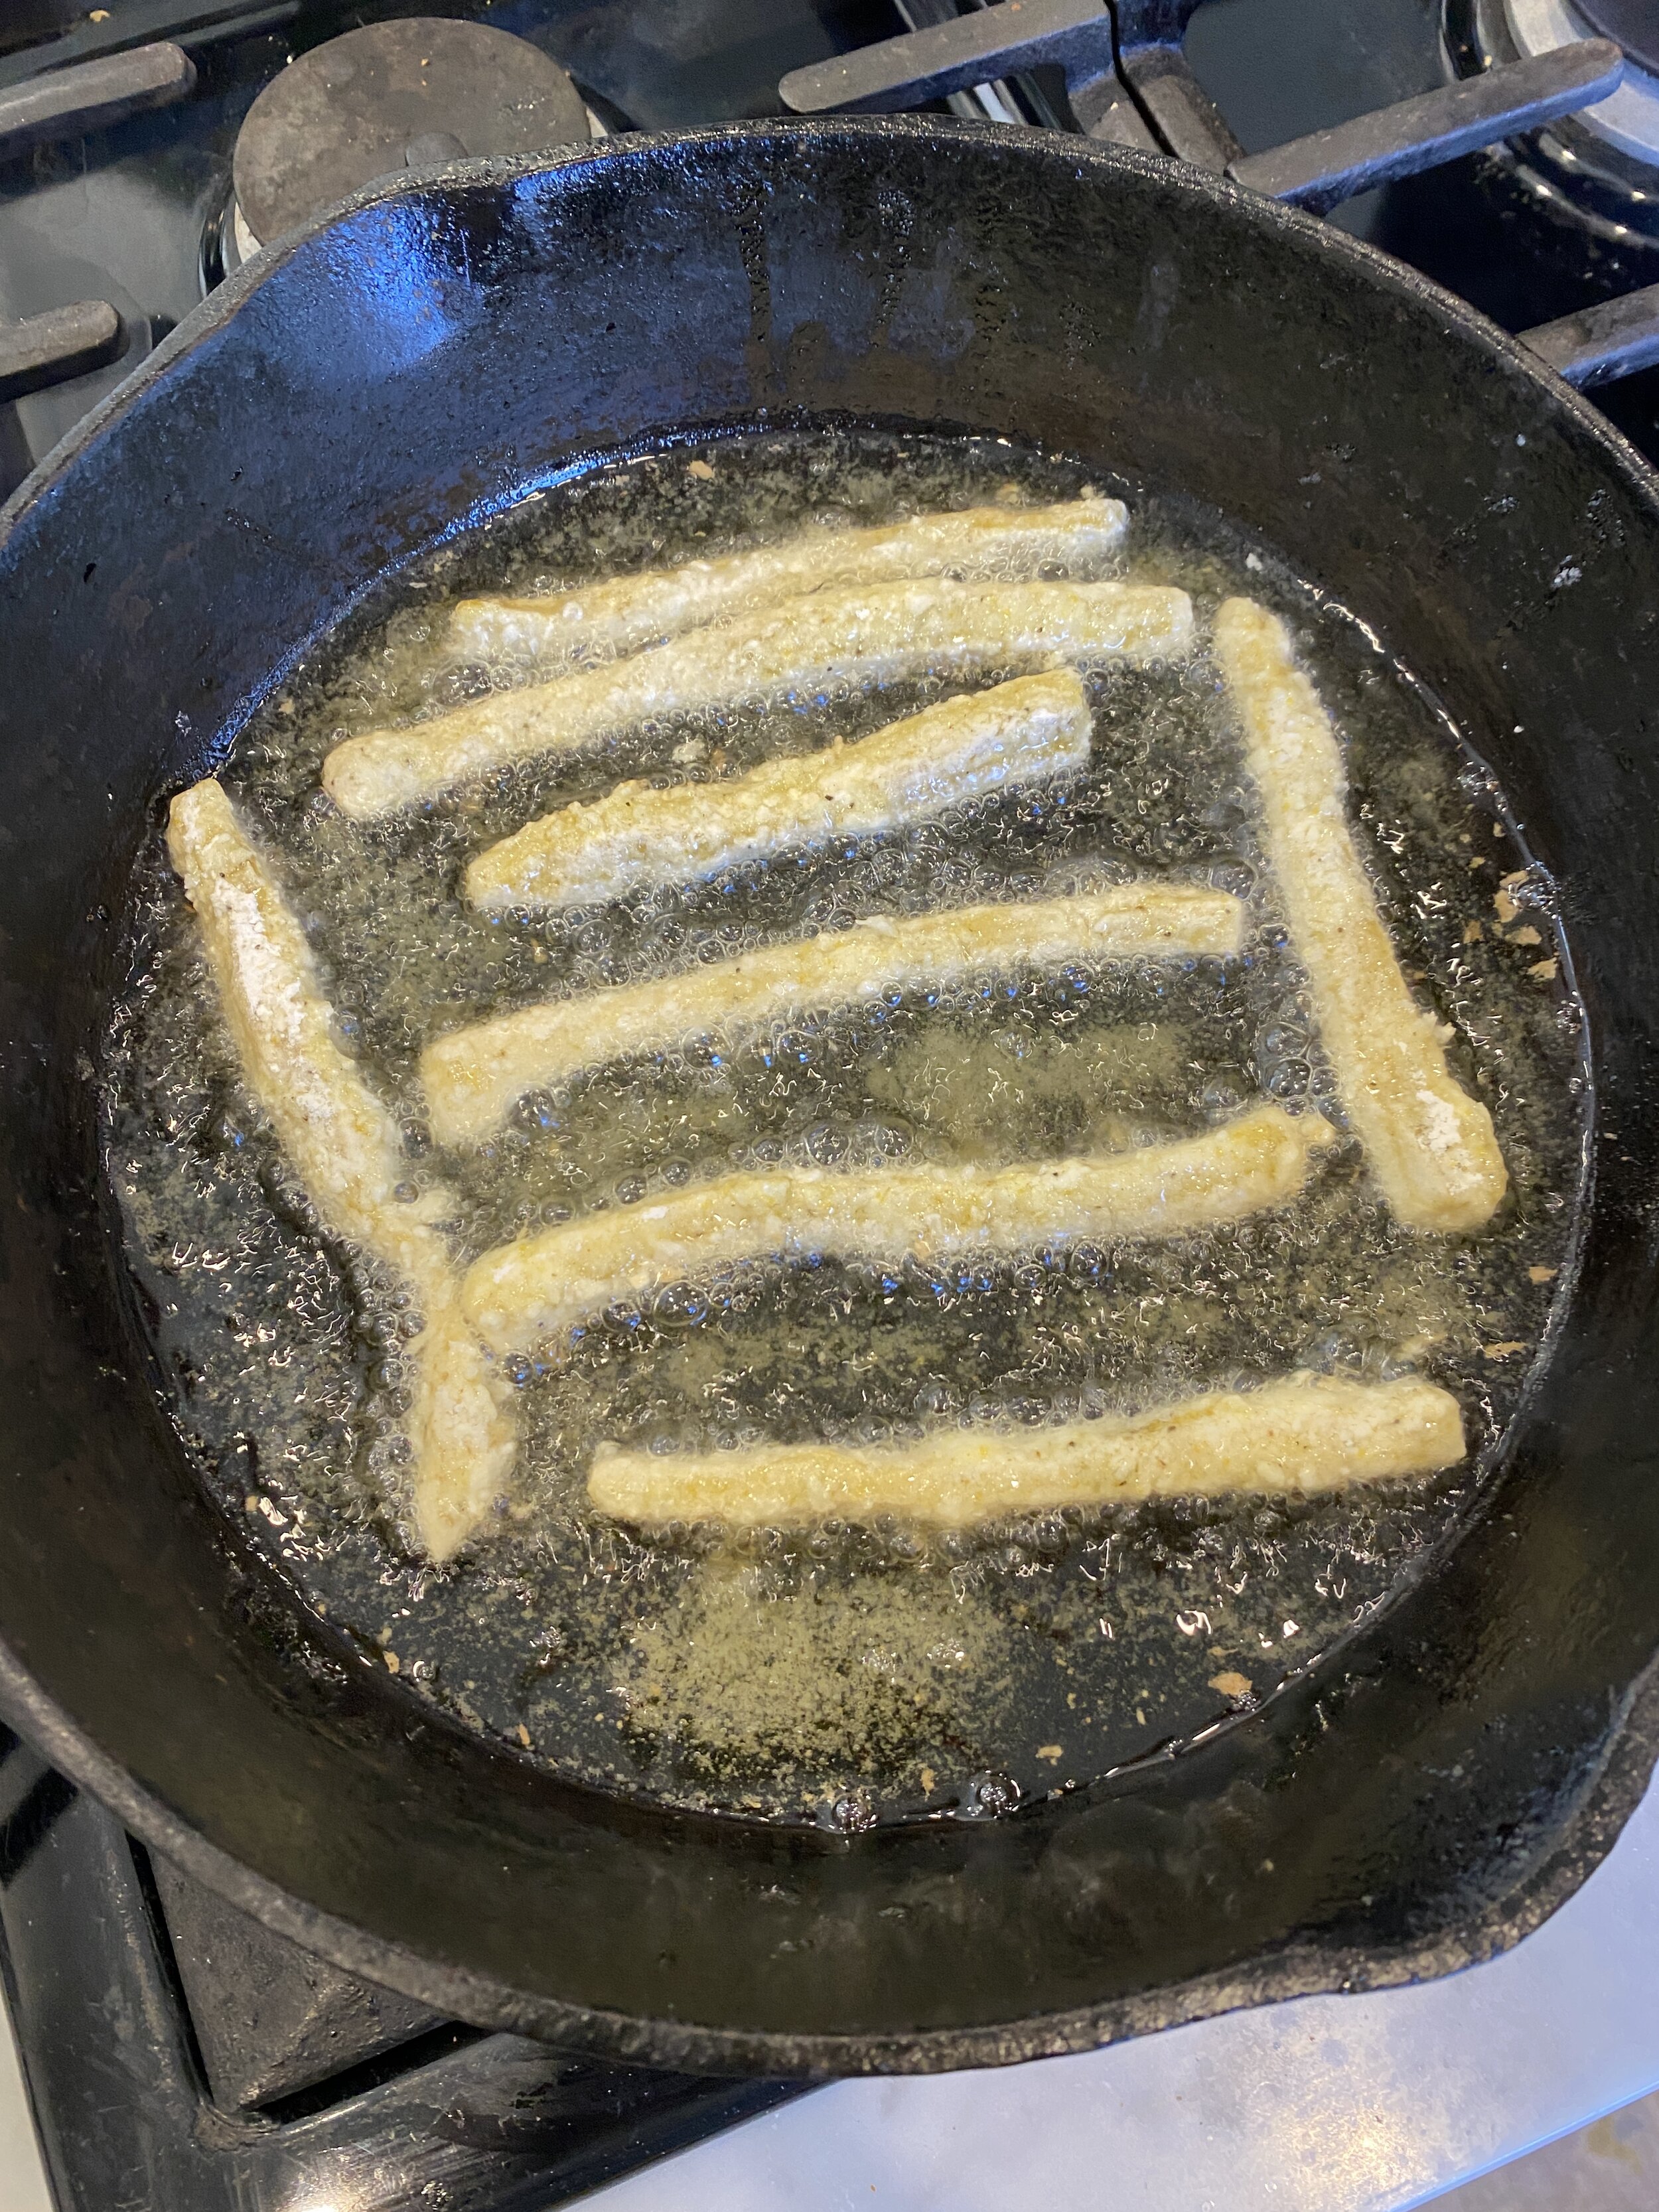
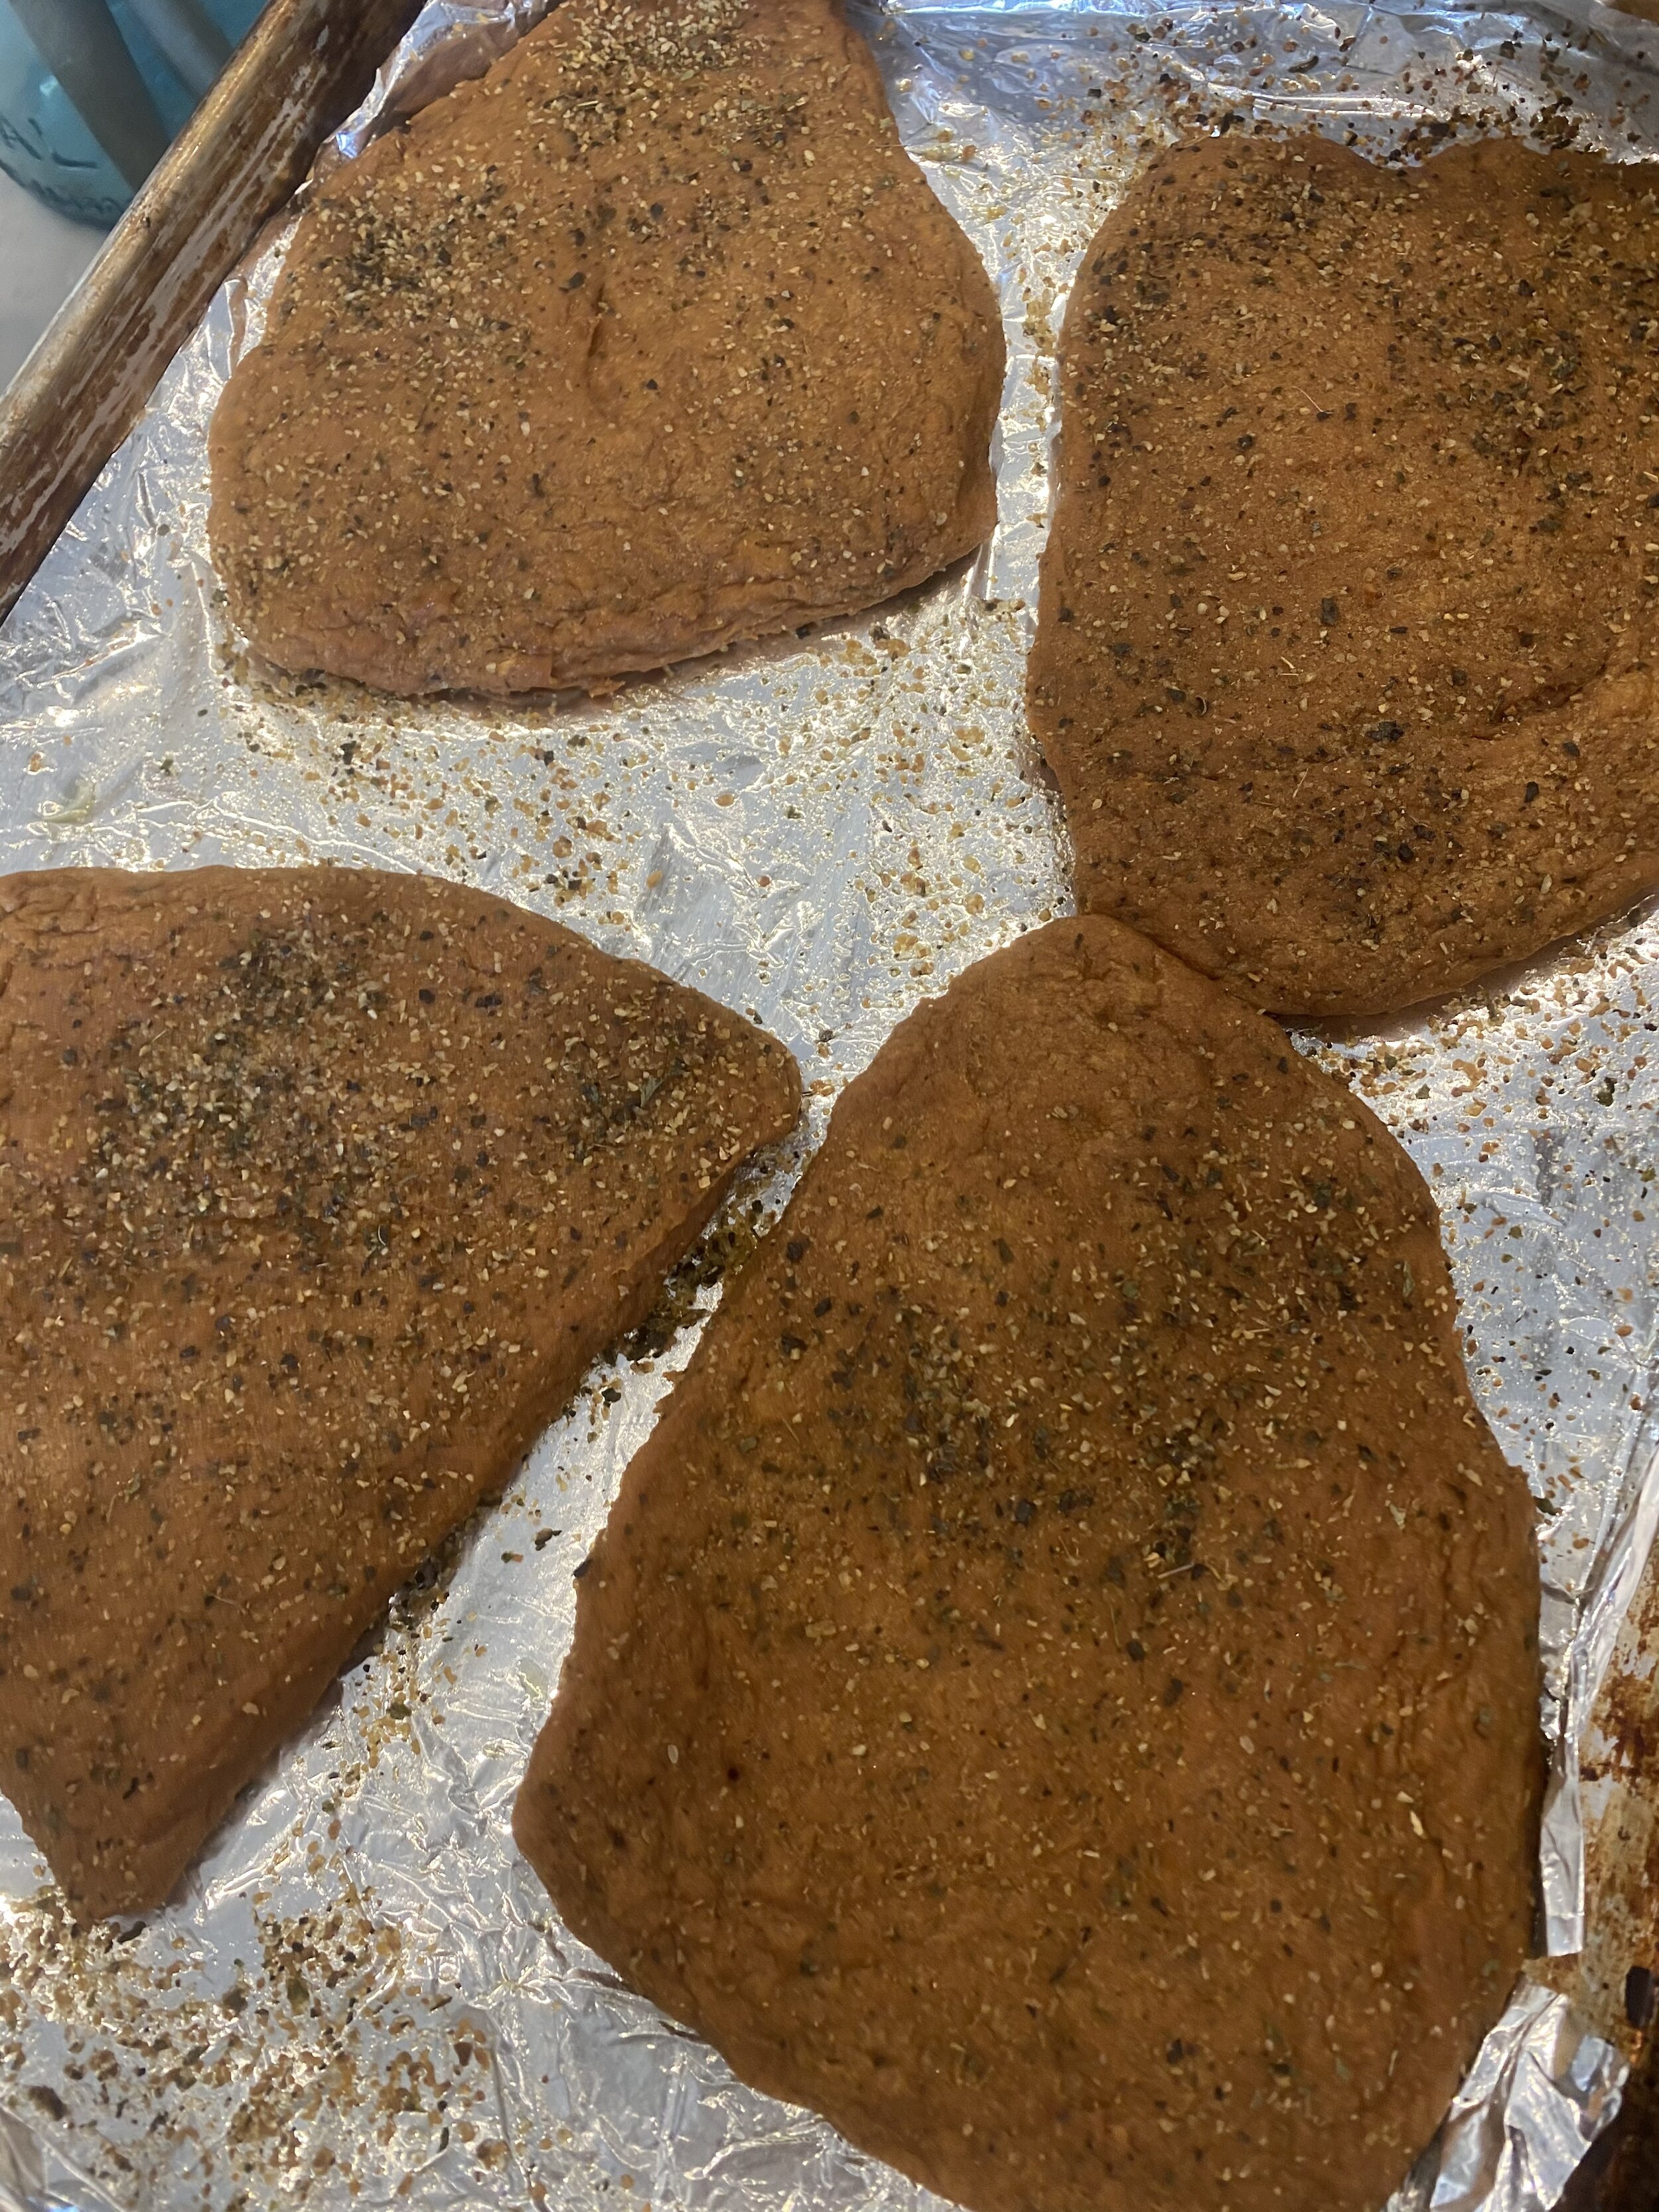
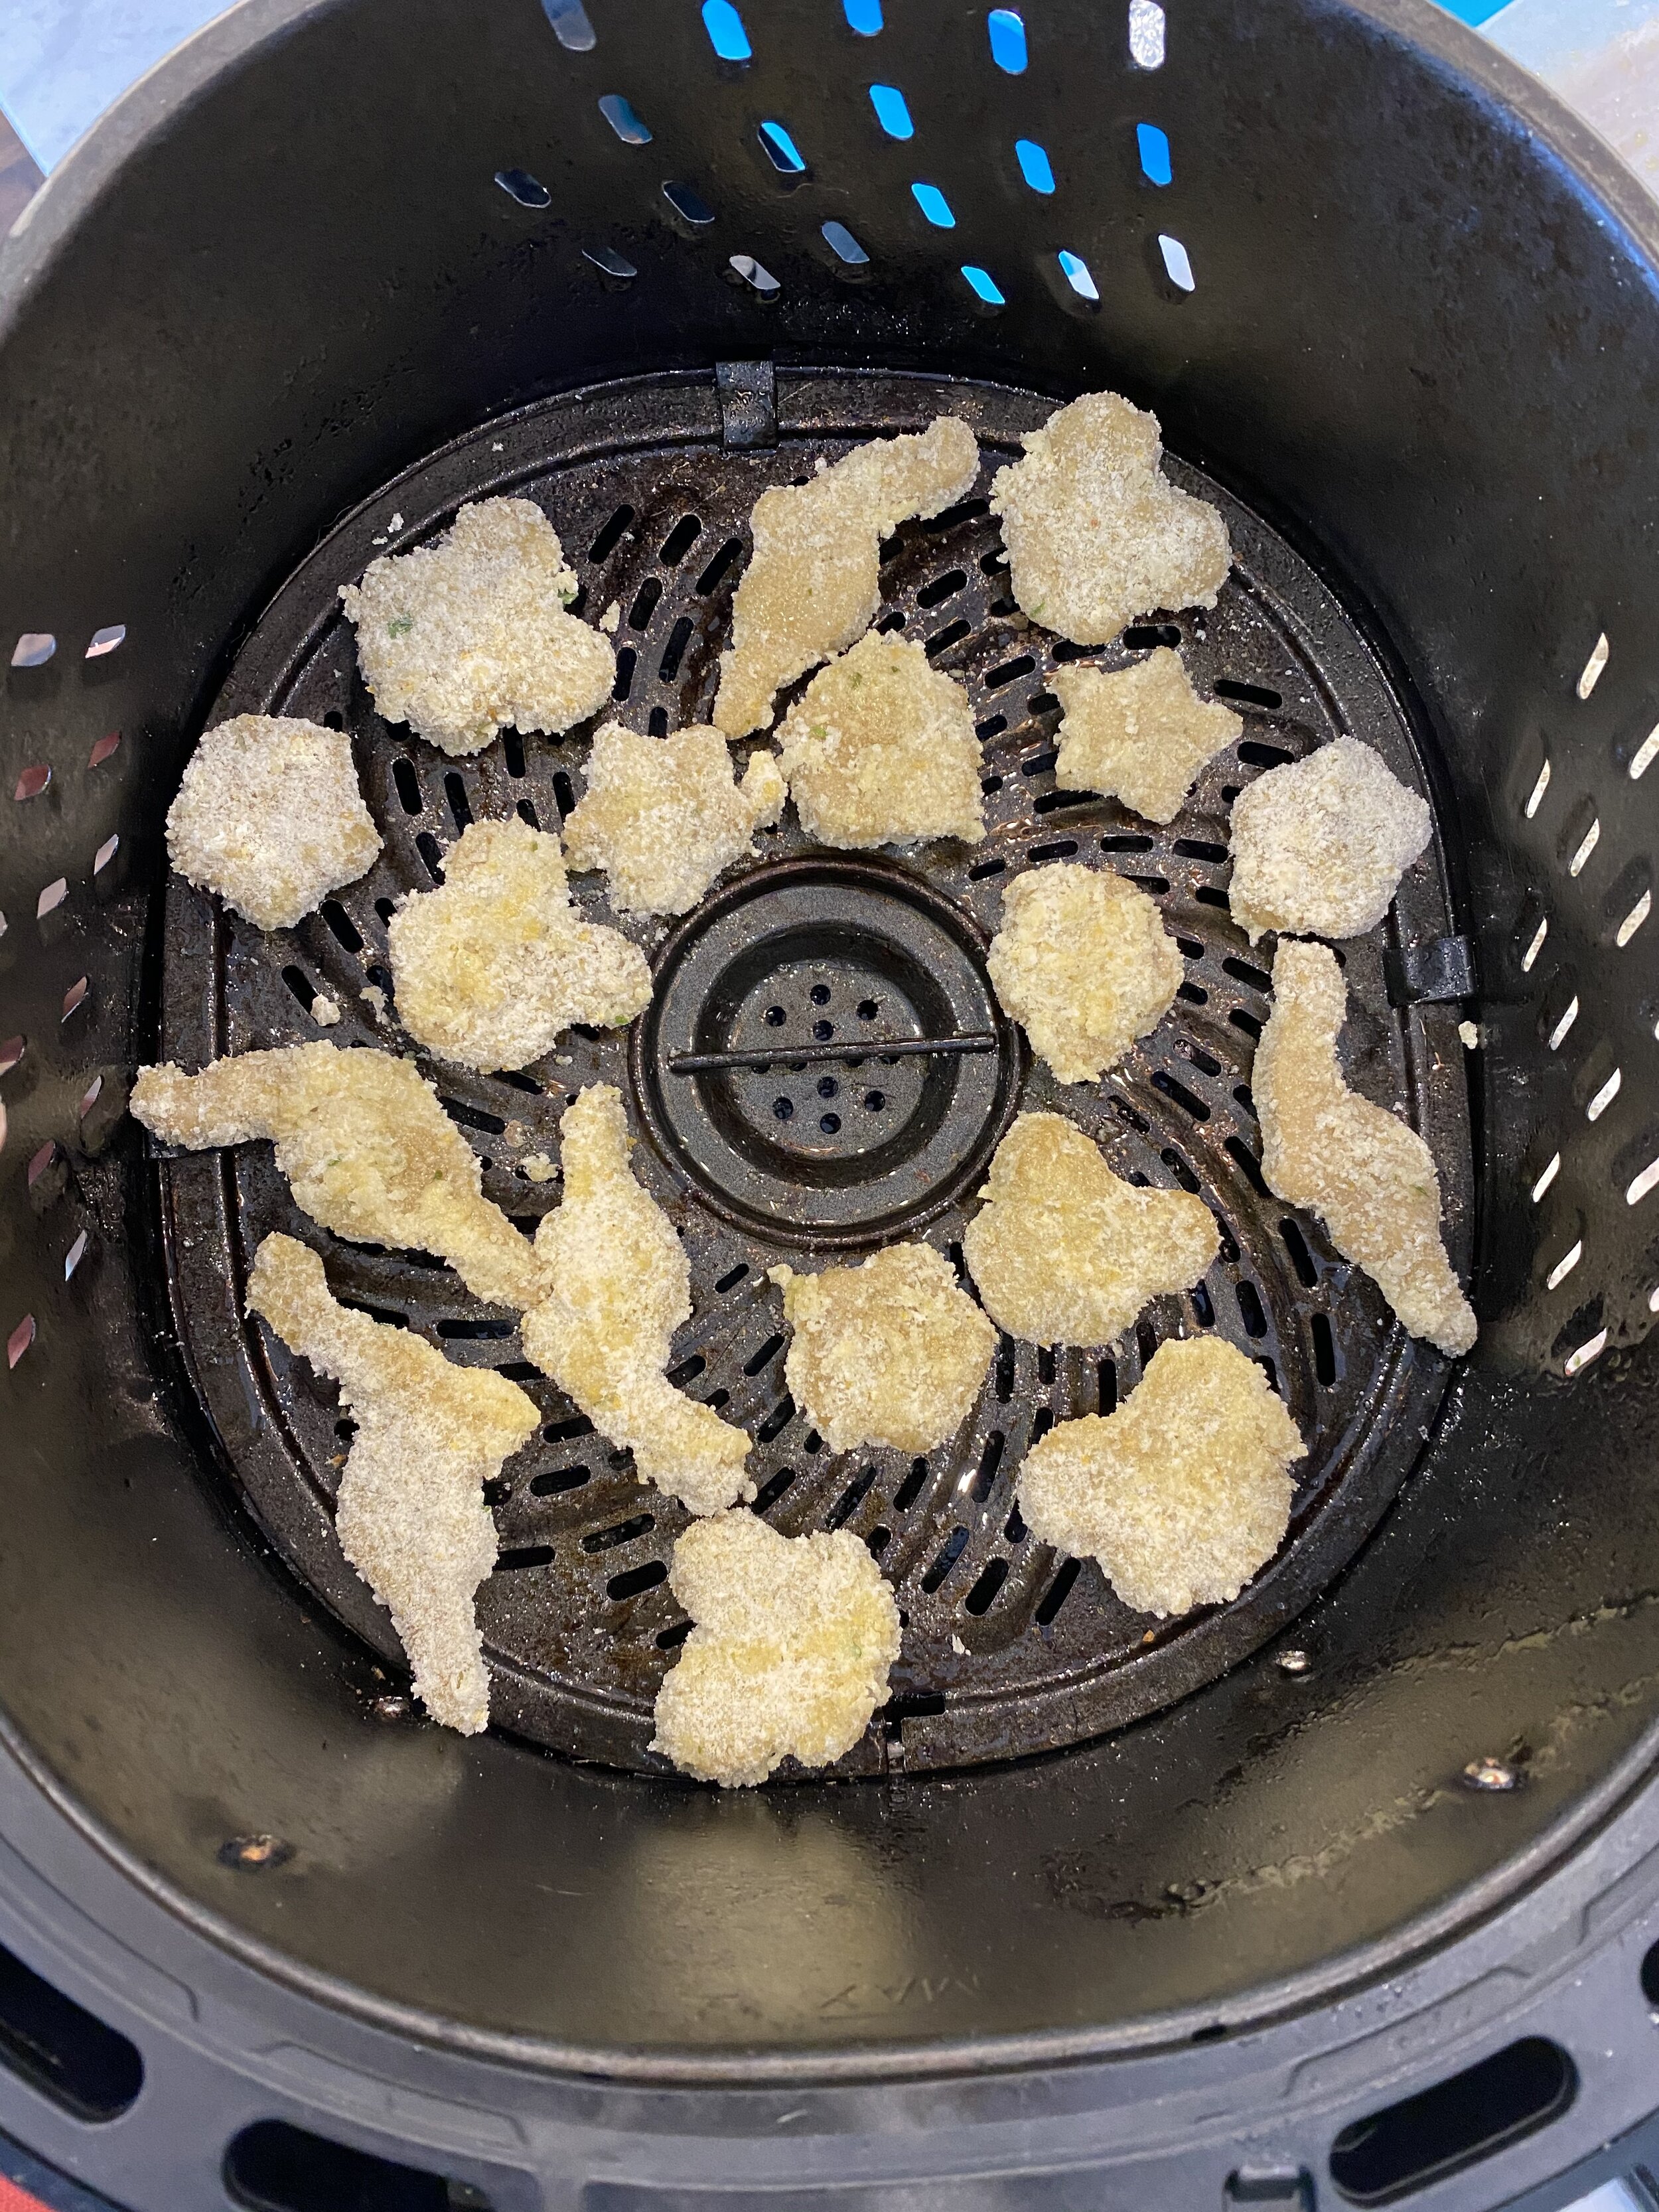
7. Place the baking tray on the middle oven rack. Bake the beef tips for 15 minutes covered. Carefully remove the pan and from the oven and flip the steak tips using tongs. Replace the foil and bake for another 15 or so minutes depending on your oven and how hot it cooks. (read trouble shooting tips above about oven temp and oven thermometers)
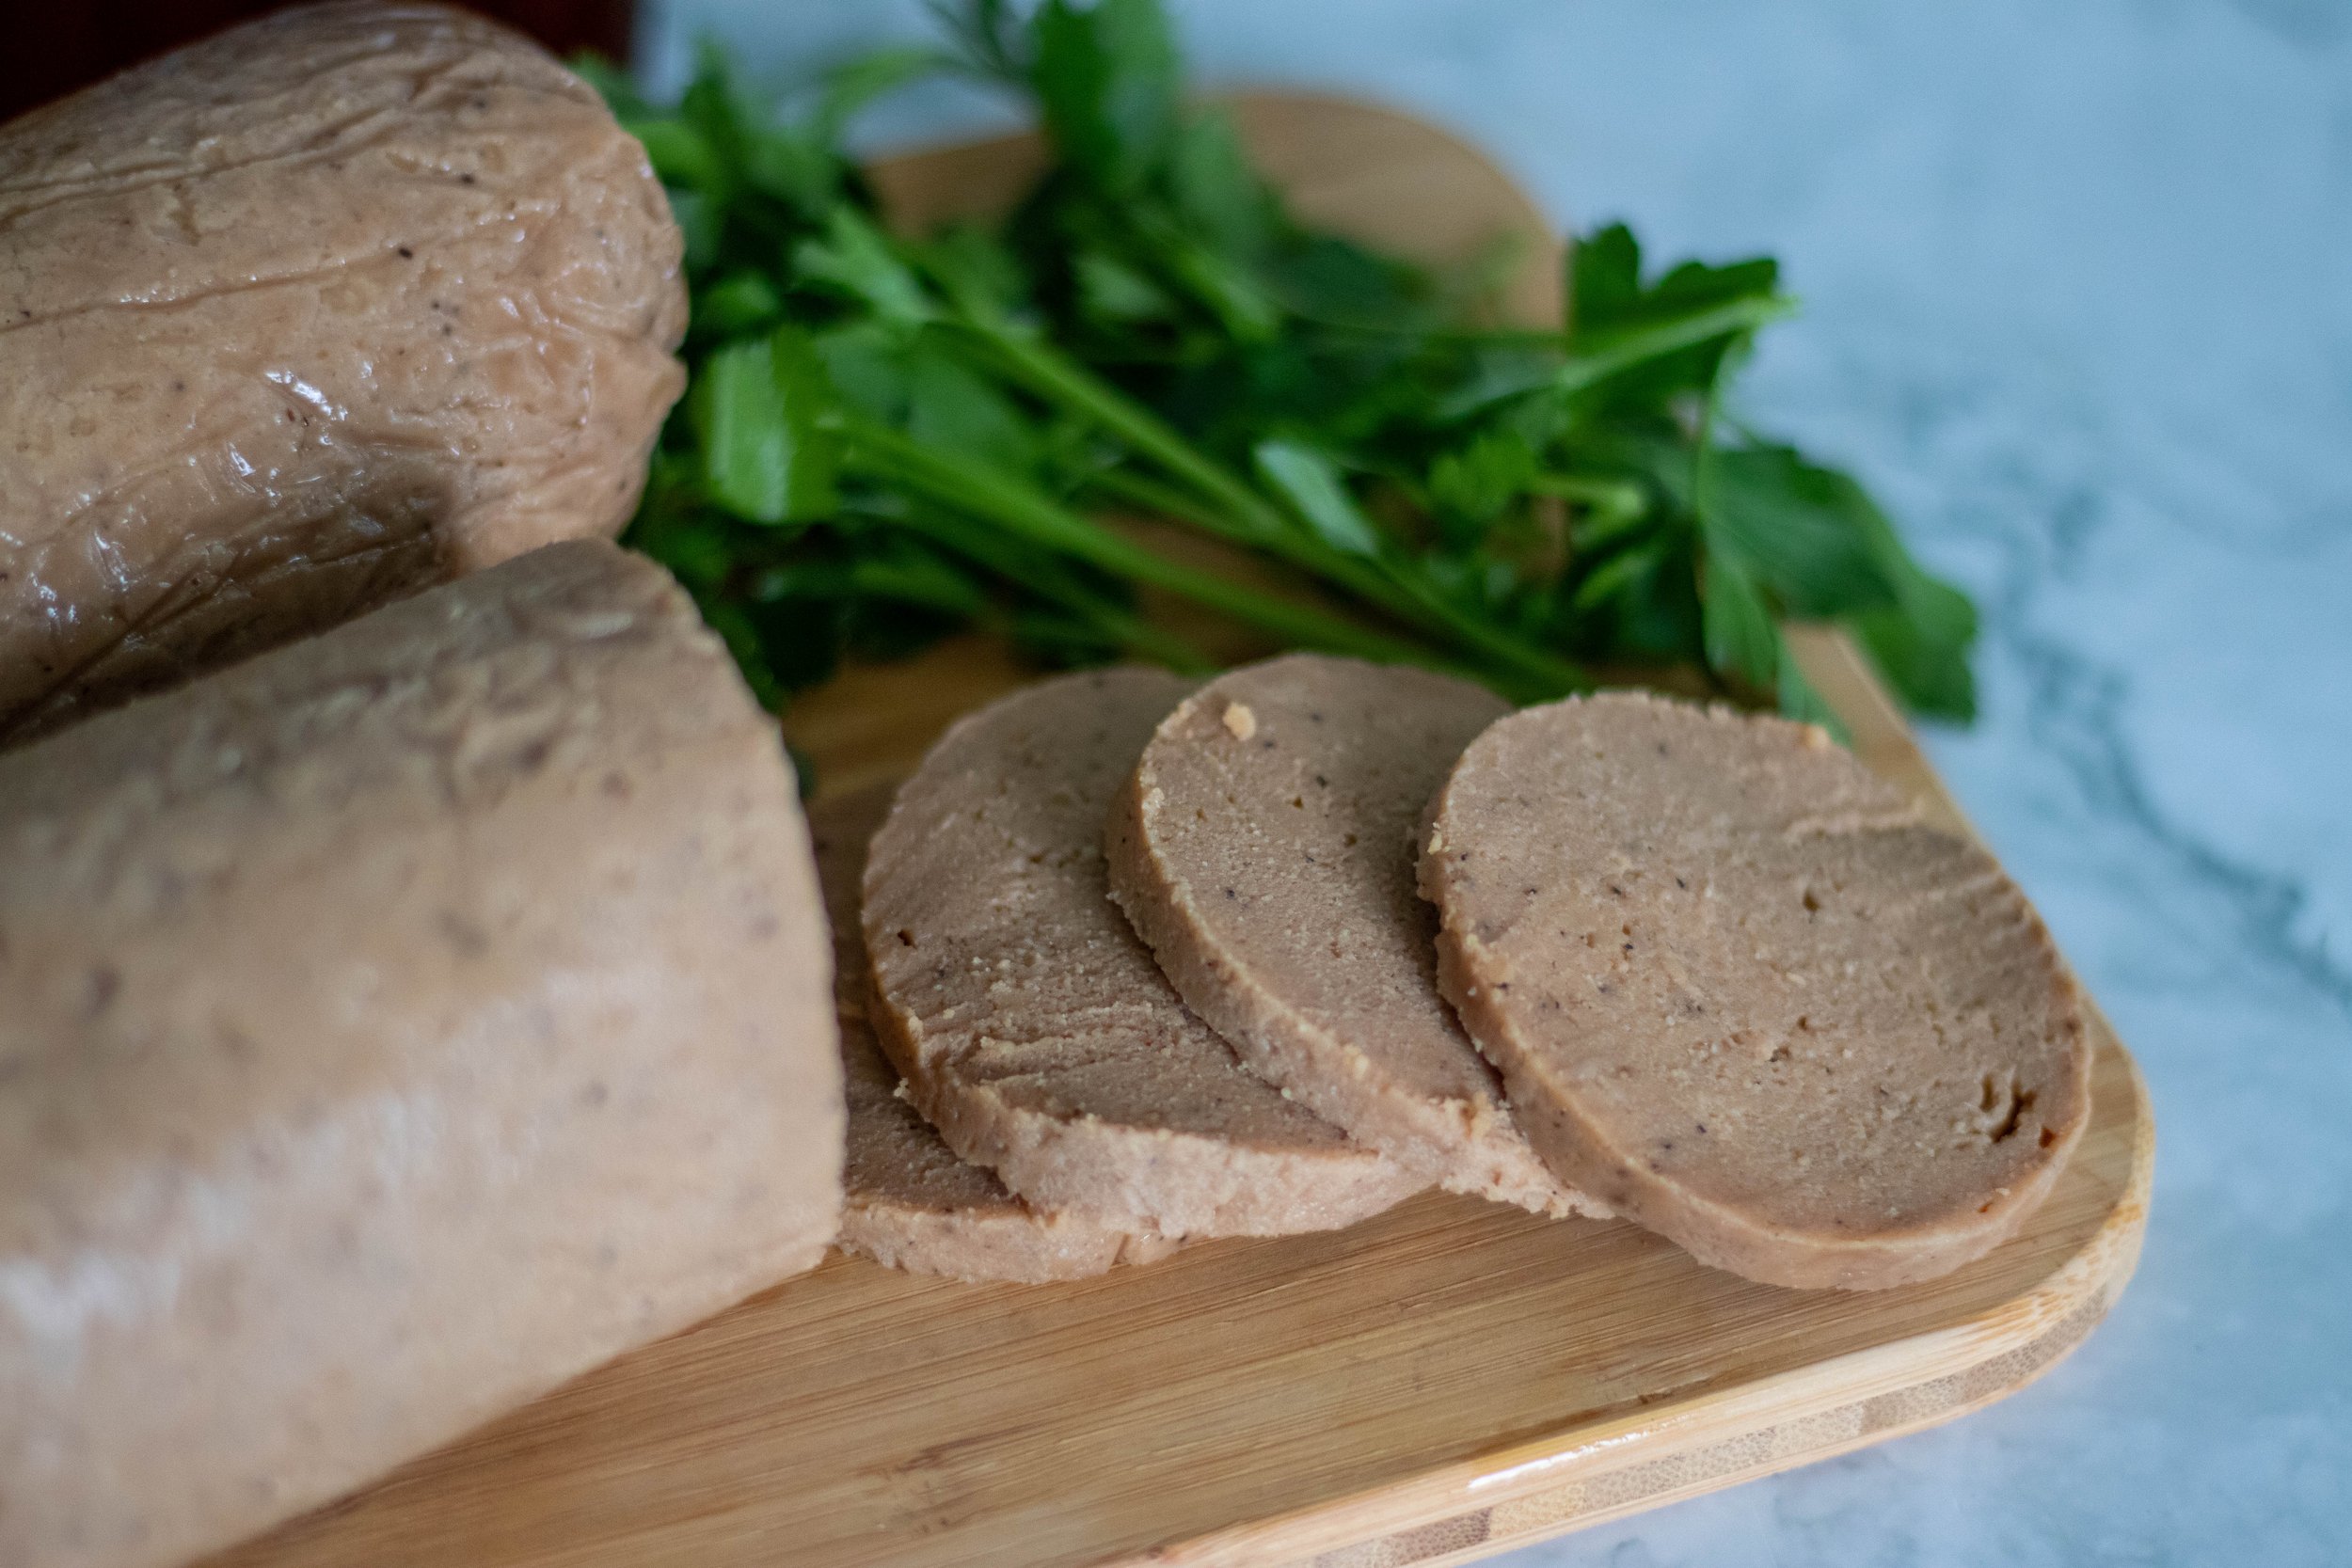
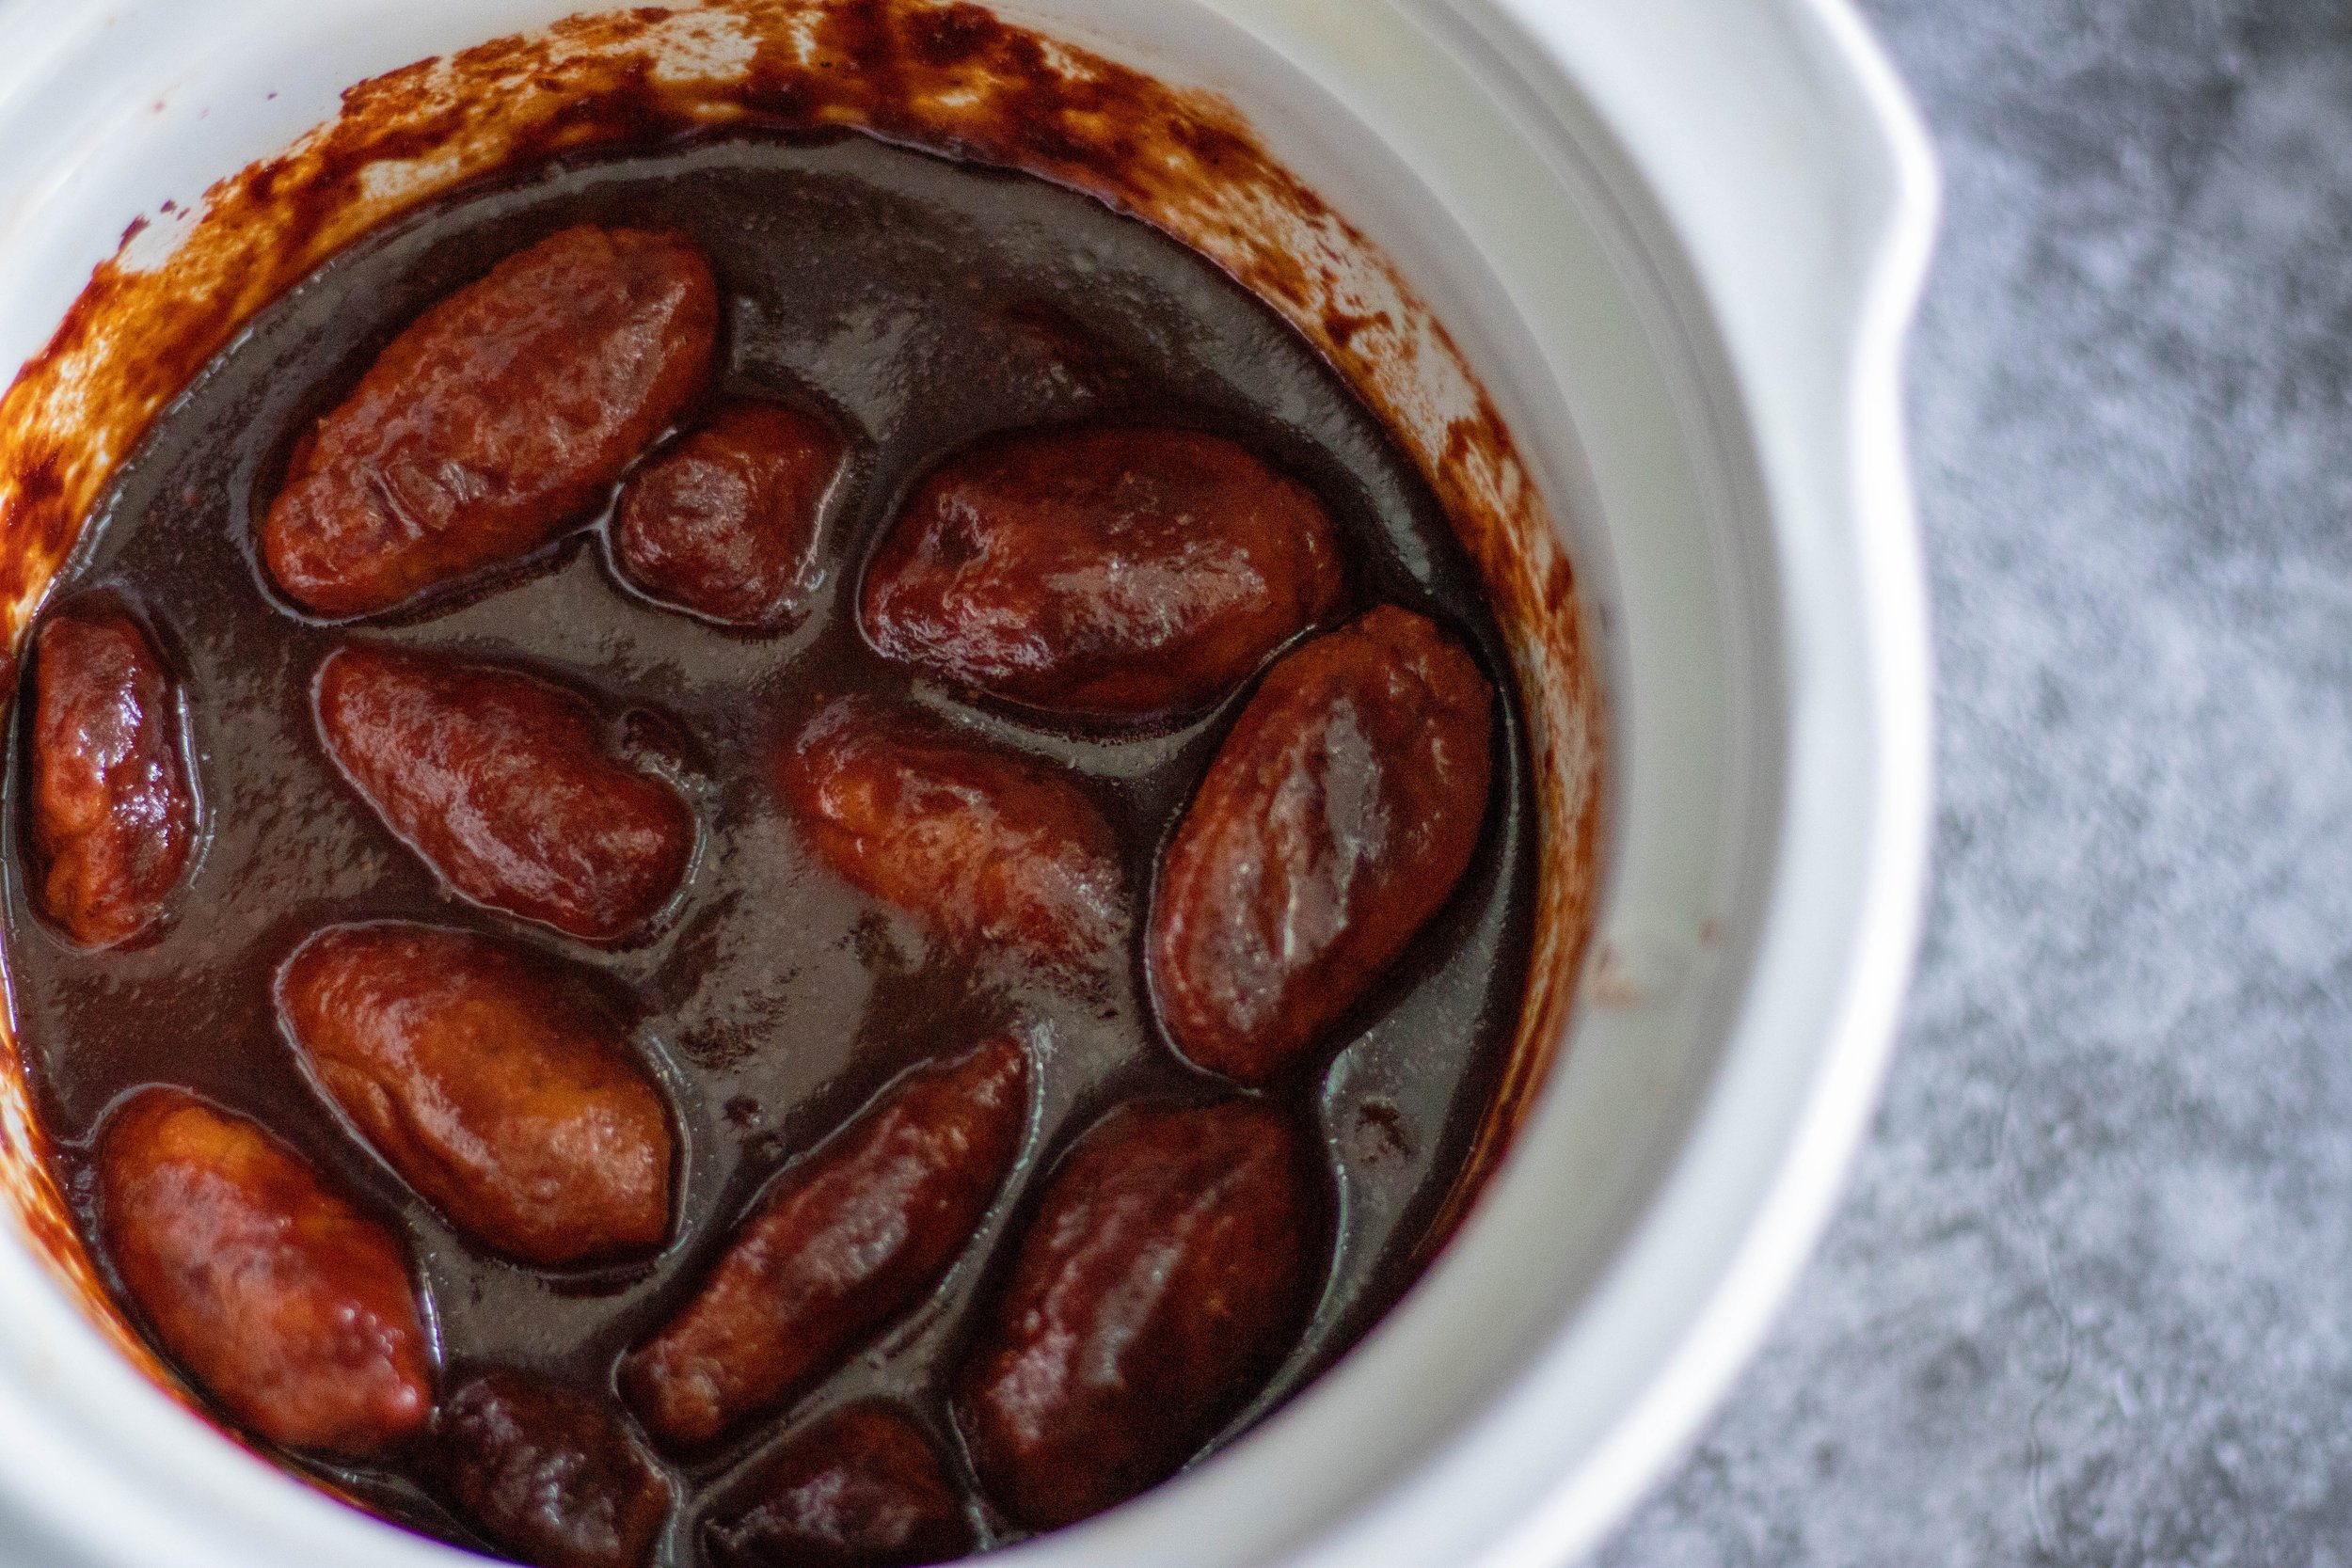
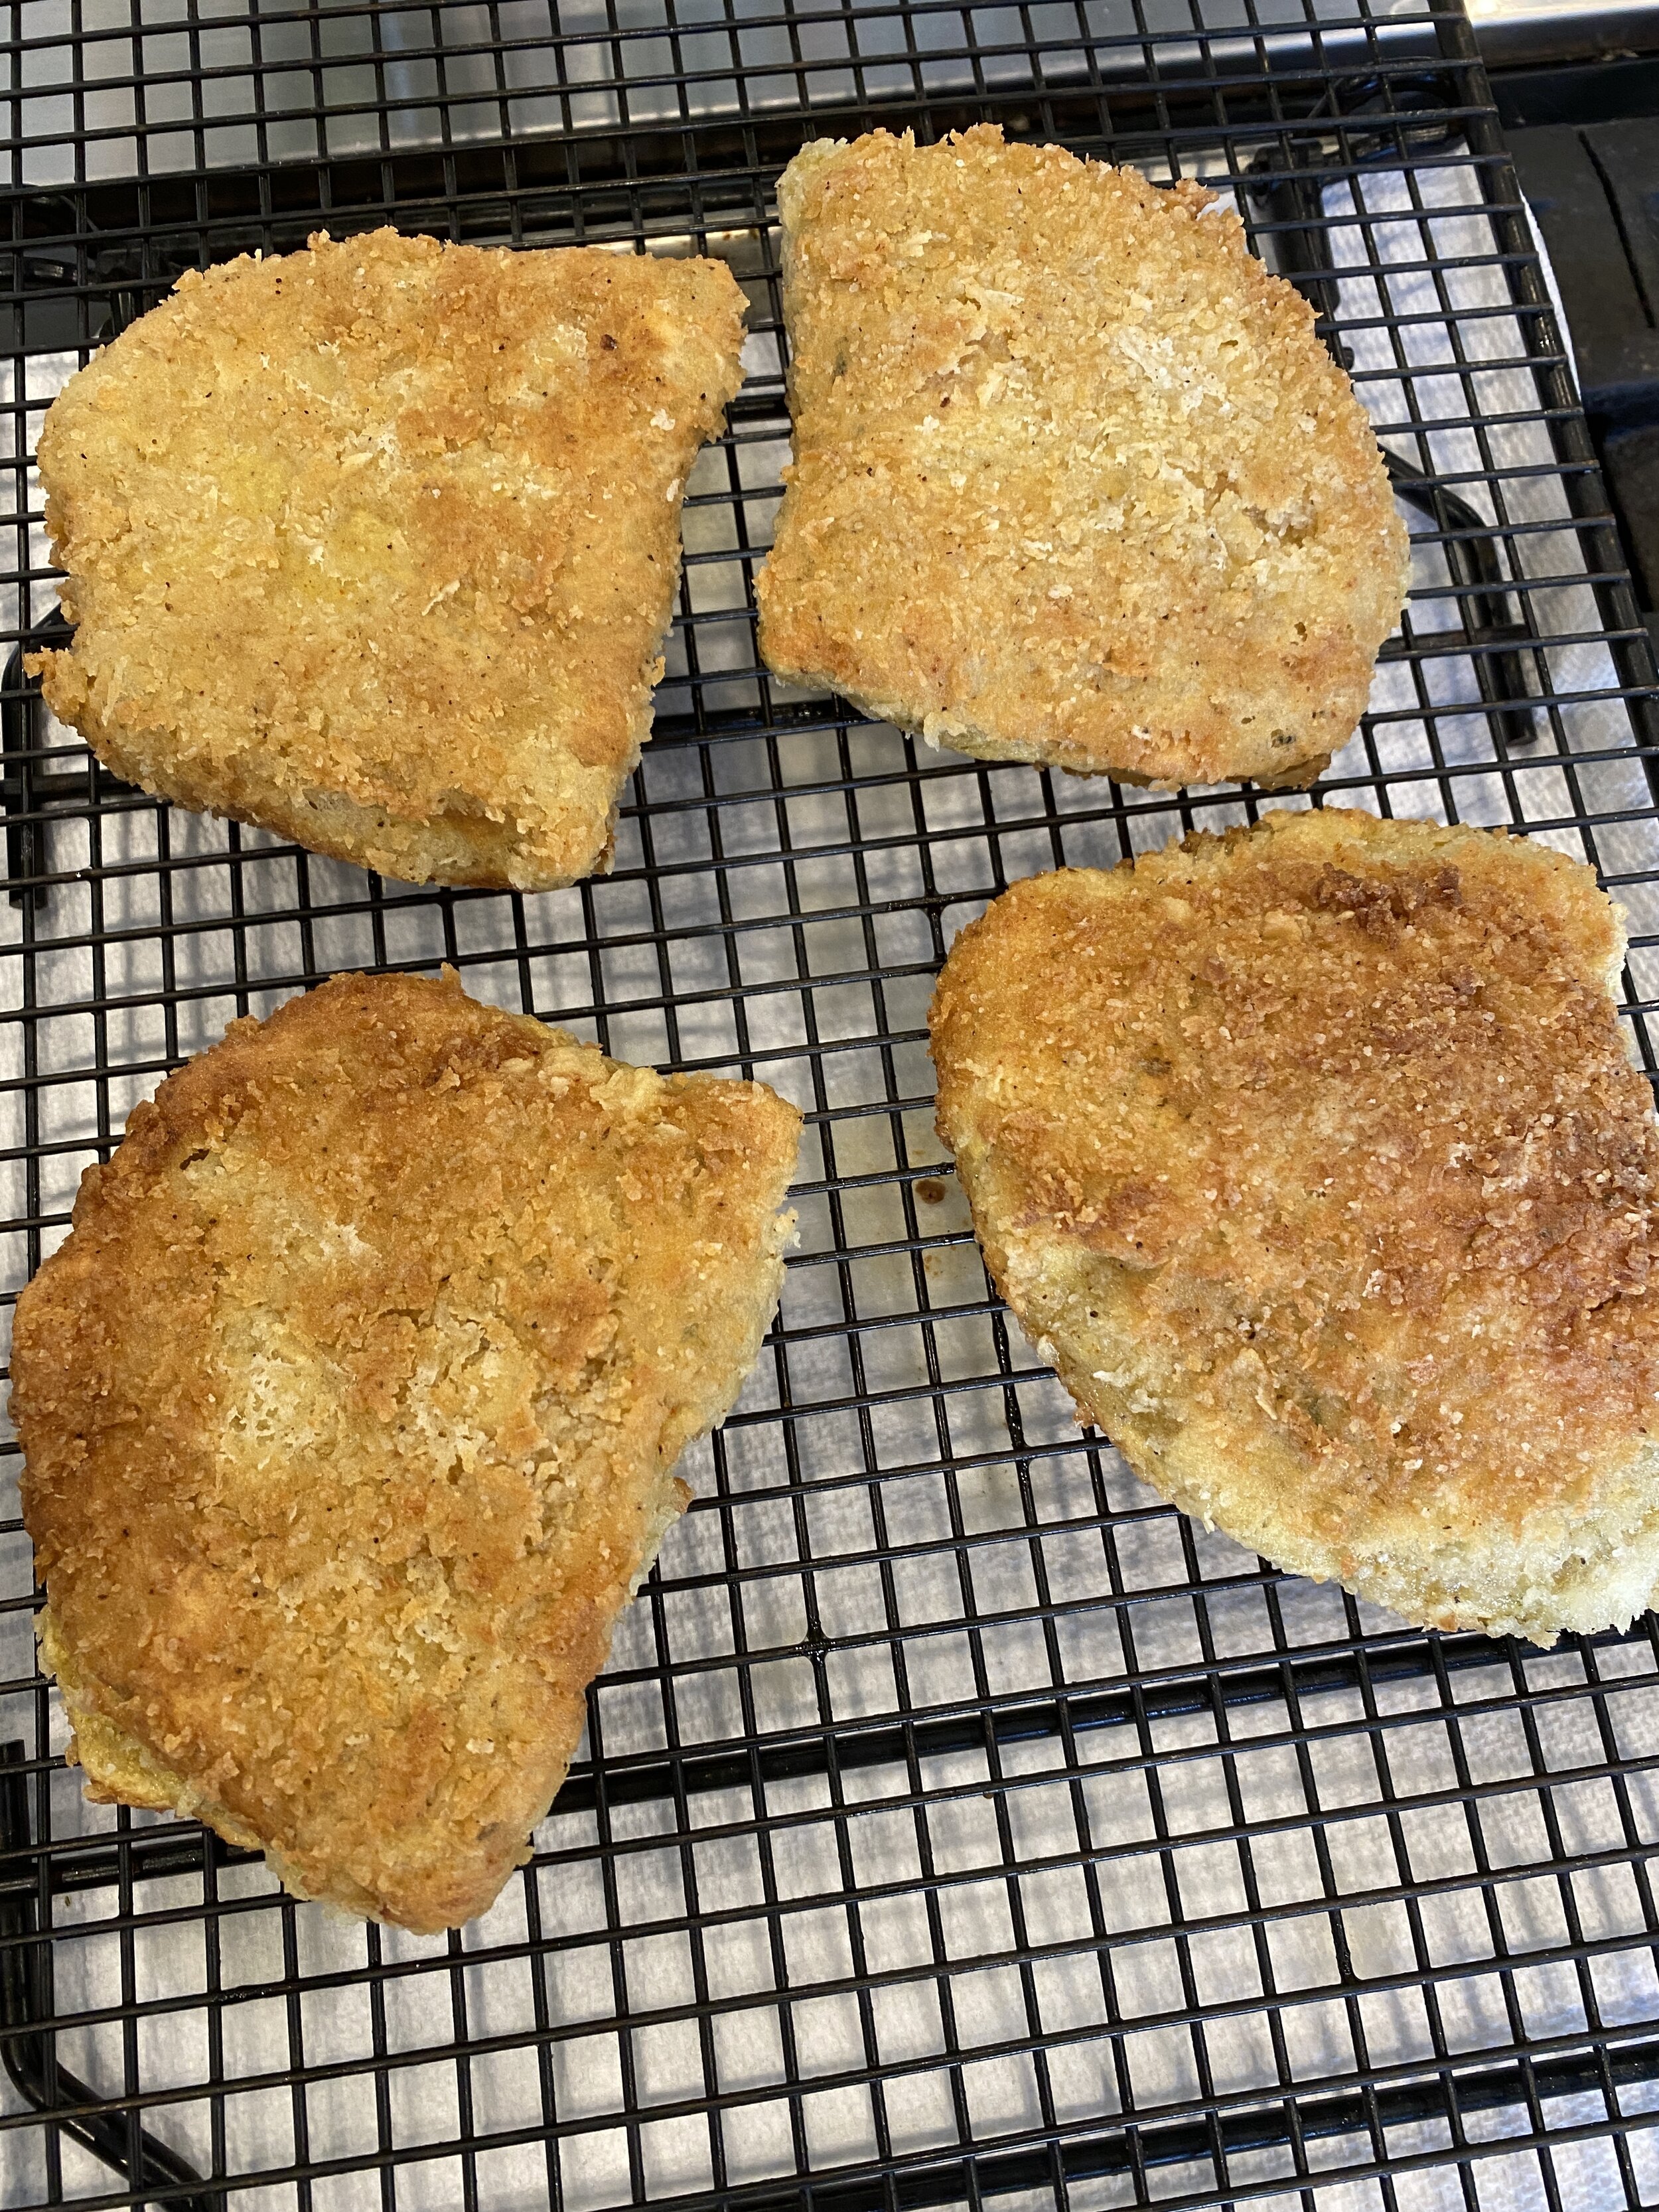
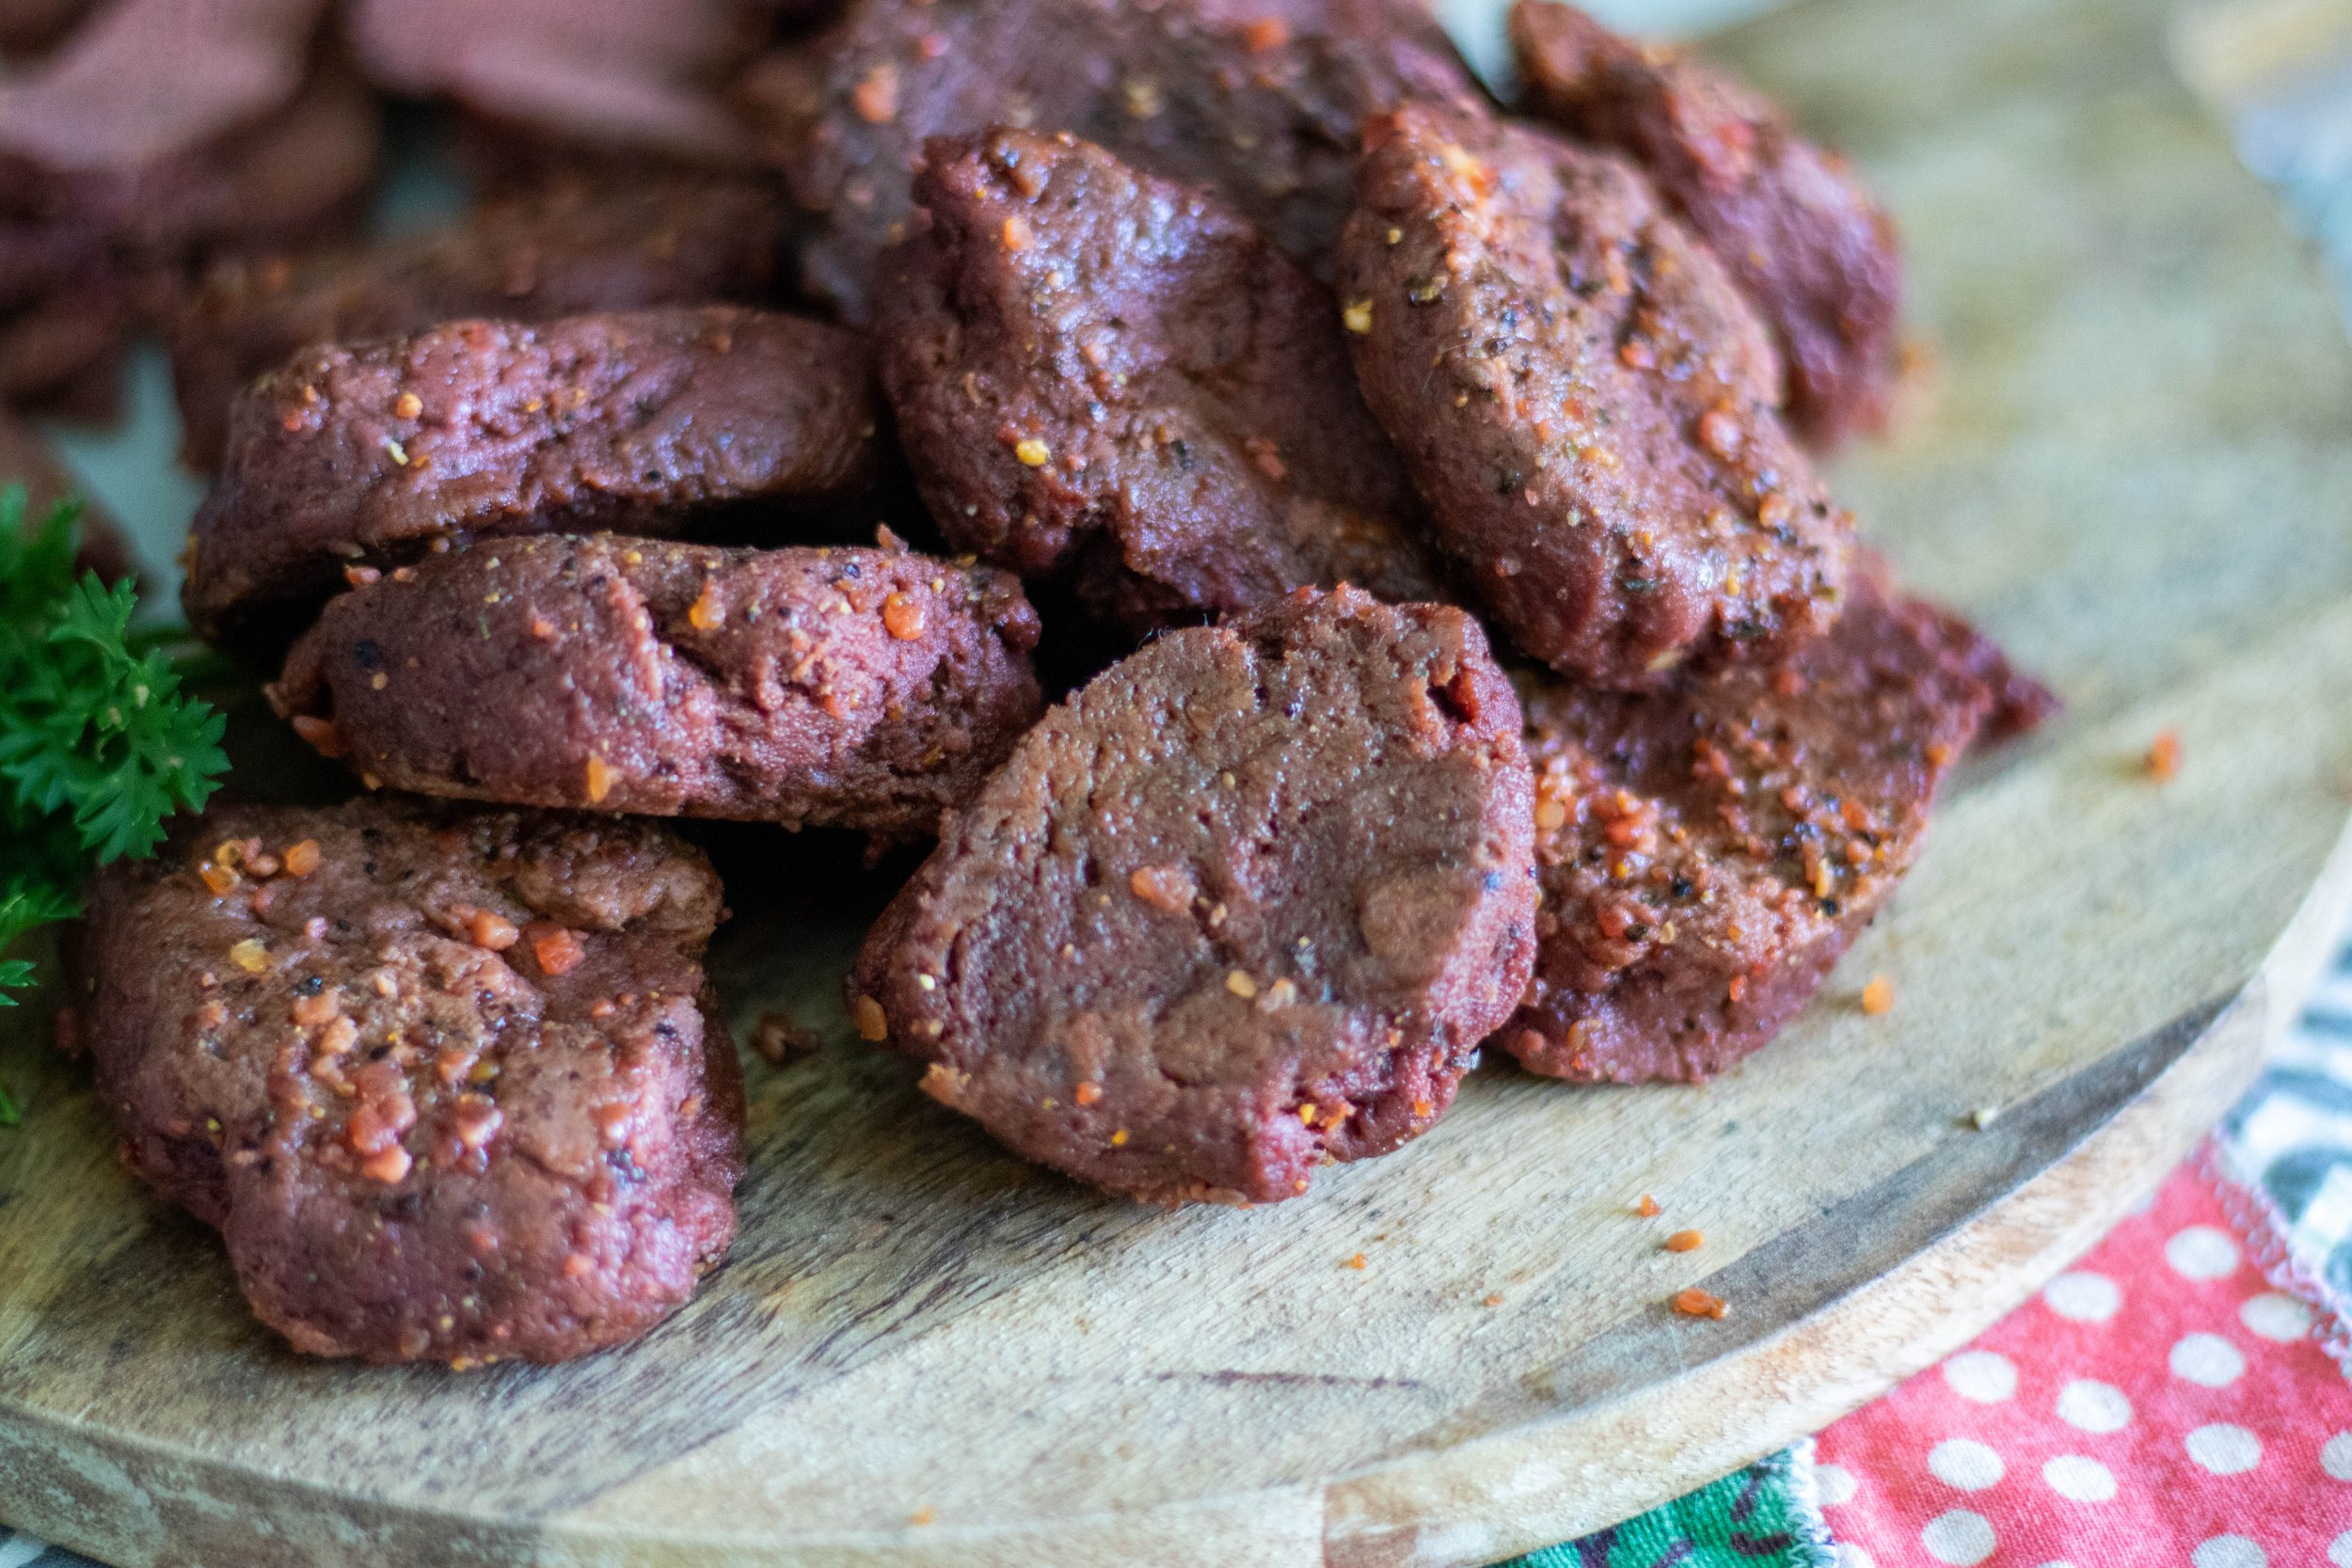
8 .Remove the vegan steak tips from the oven and allow to cool at room temp. Once they have cooled place the baking sheet in there fridge or you can transfer the vegan steak tips to a storage container. Allow the vegan steak tips to cool for AT LEAST 5 HOURS. Seitan MUST rest for the texture to develop. It will seem soft or spongy before you let it rest. I prefer a full day rest but because these pieces are fairly small, a 6-8 hour rest will work. You can freeze the vegan steak tips for up to 6 months in an airtight container or freezer bag once I has cooled.
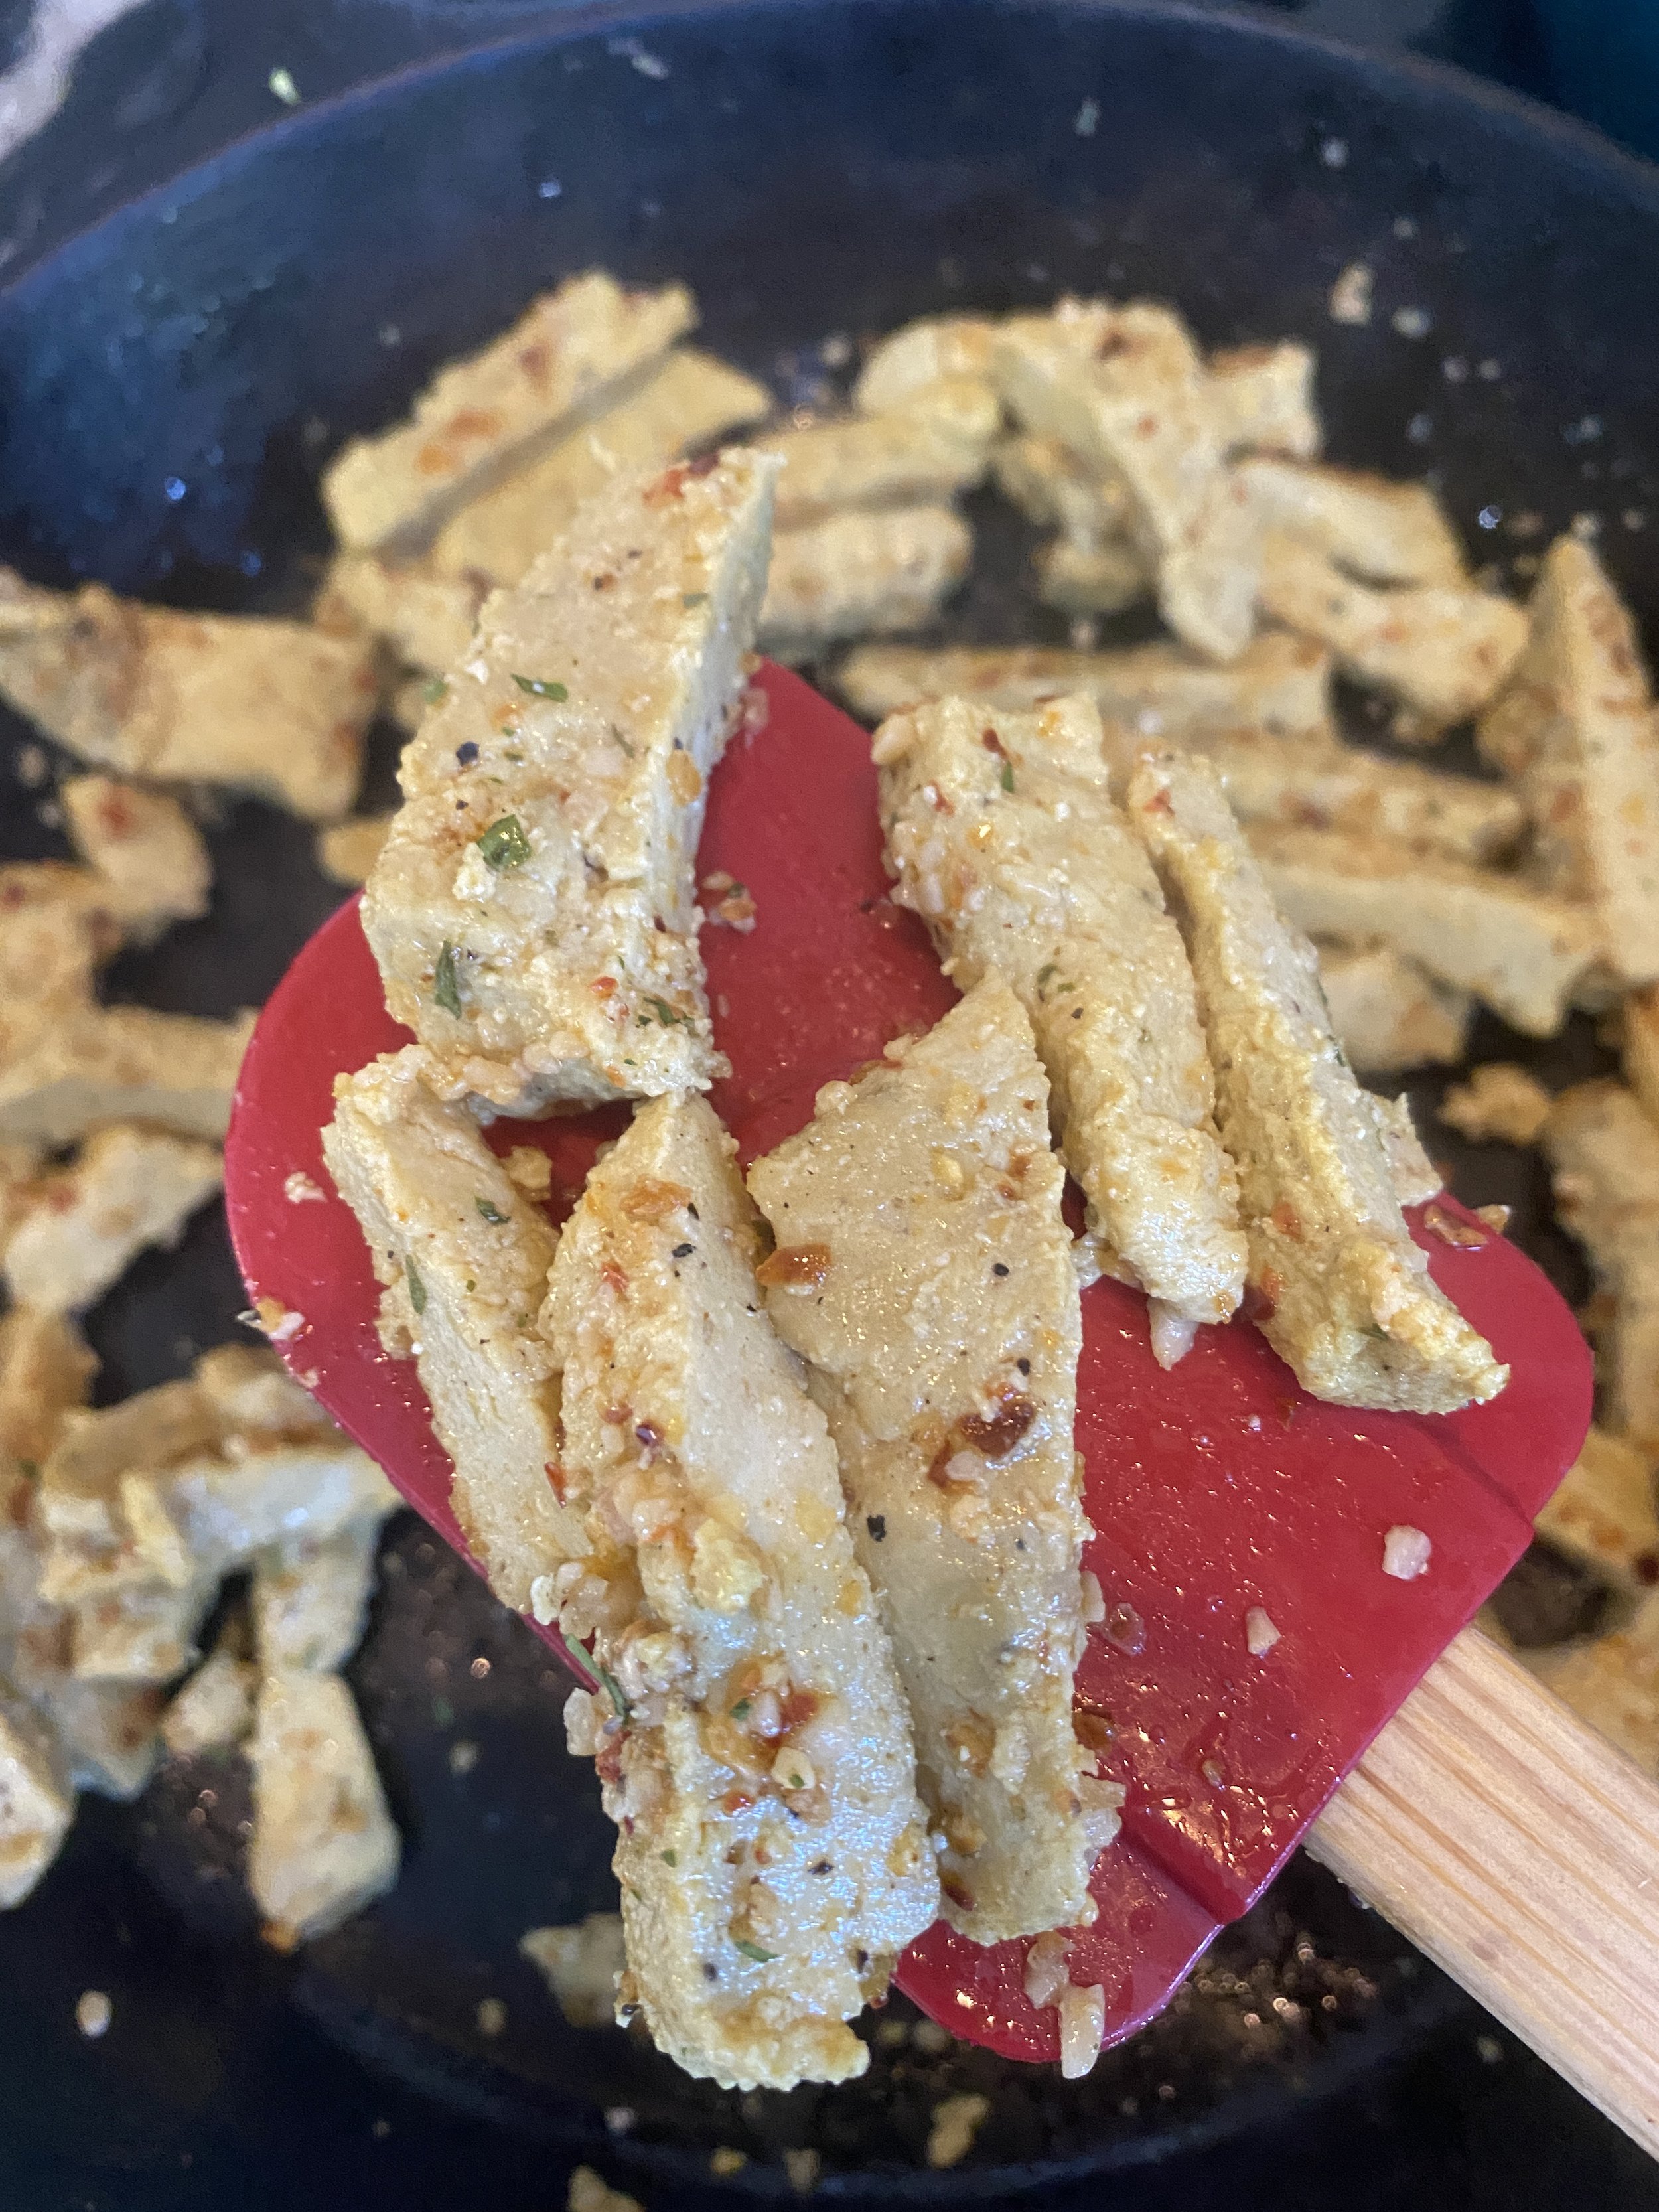
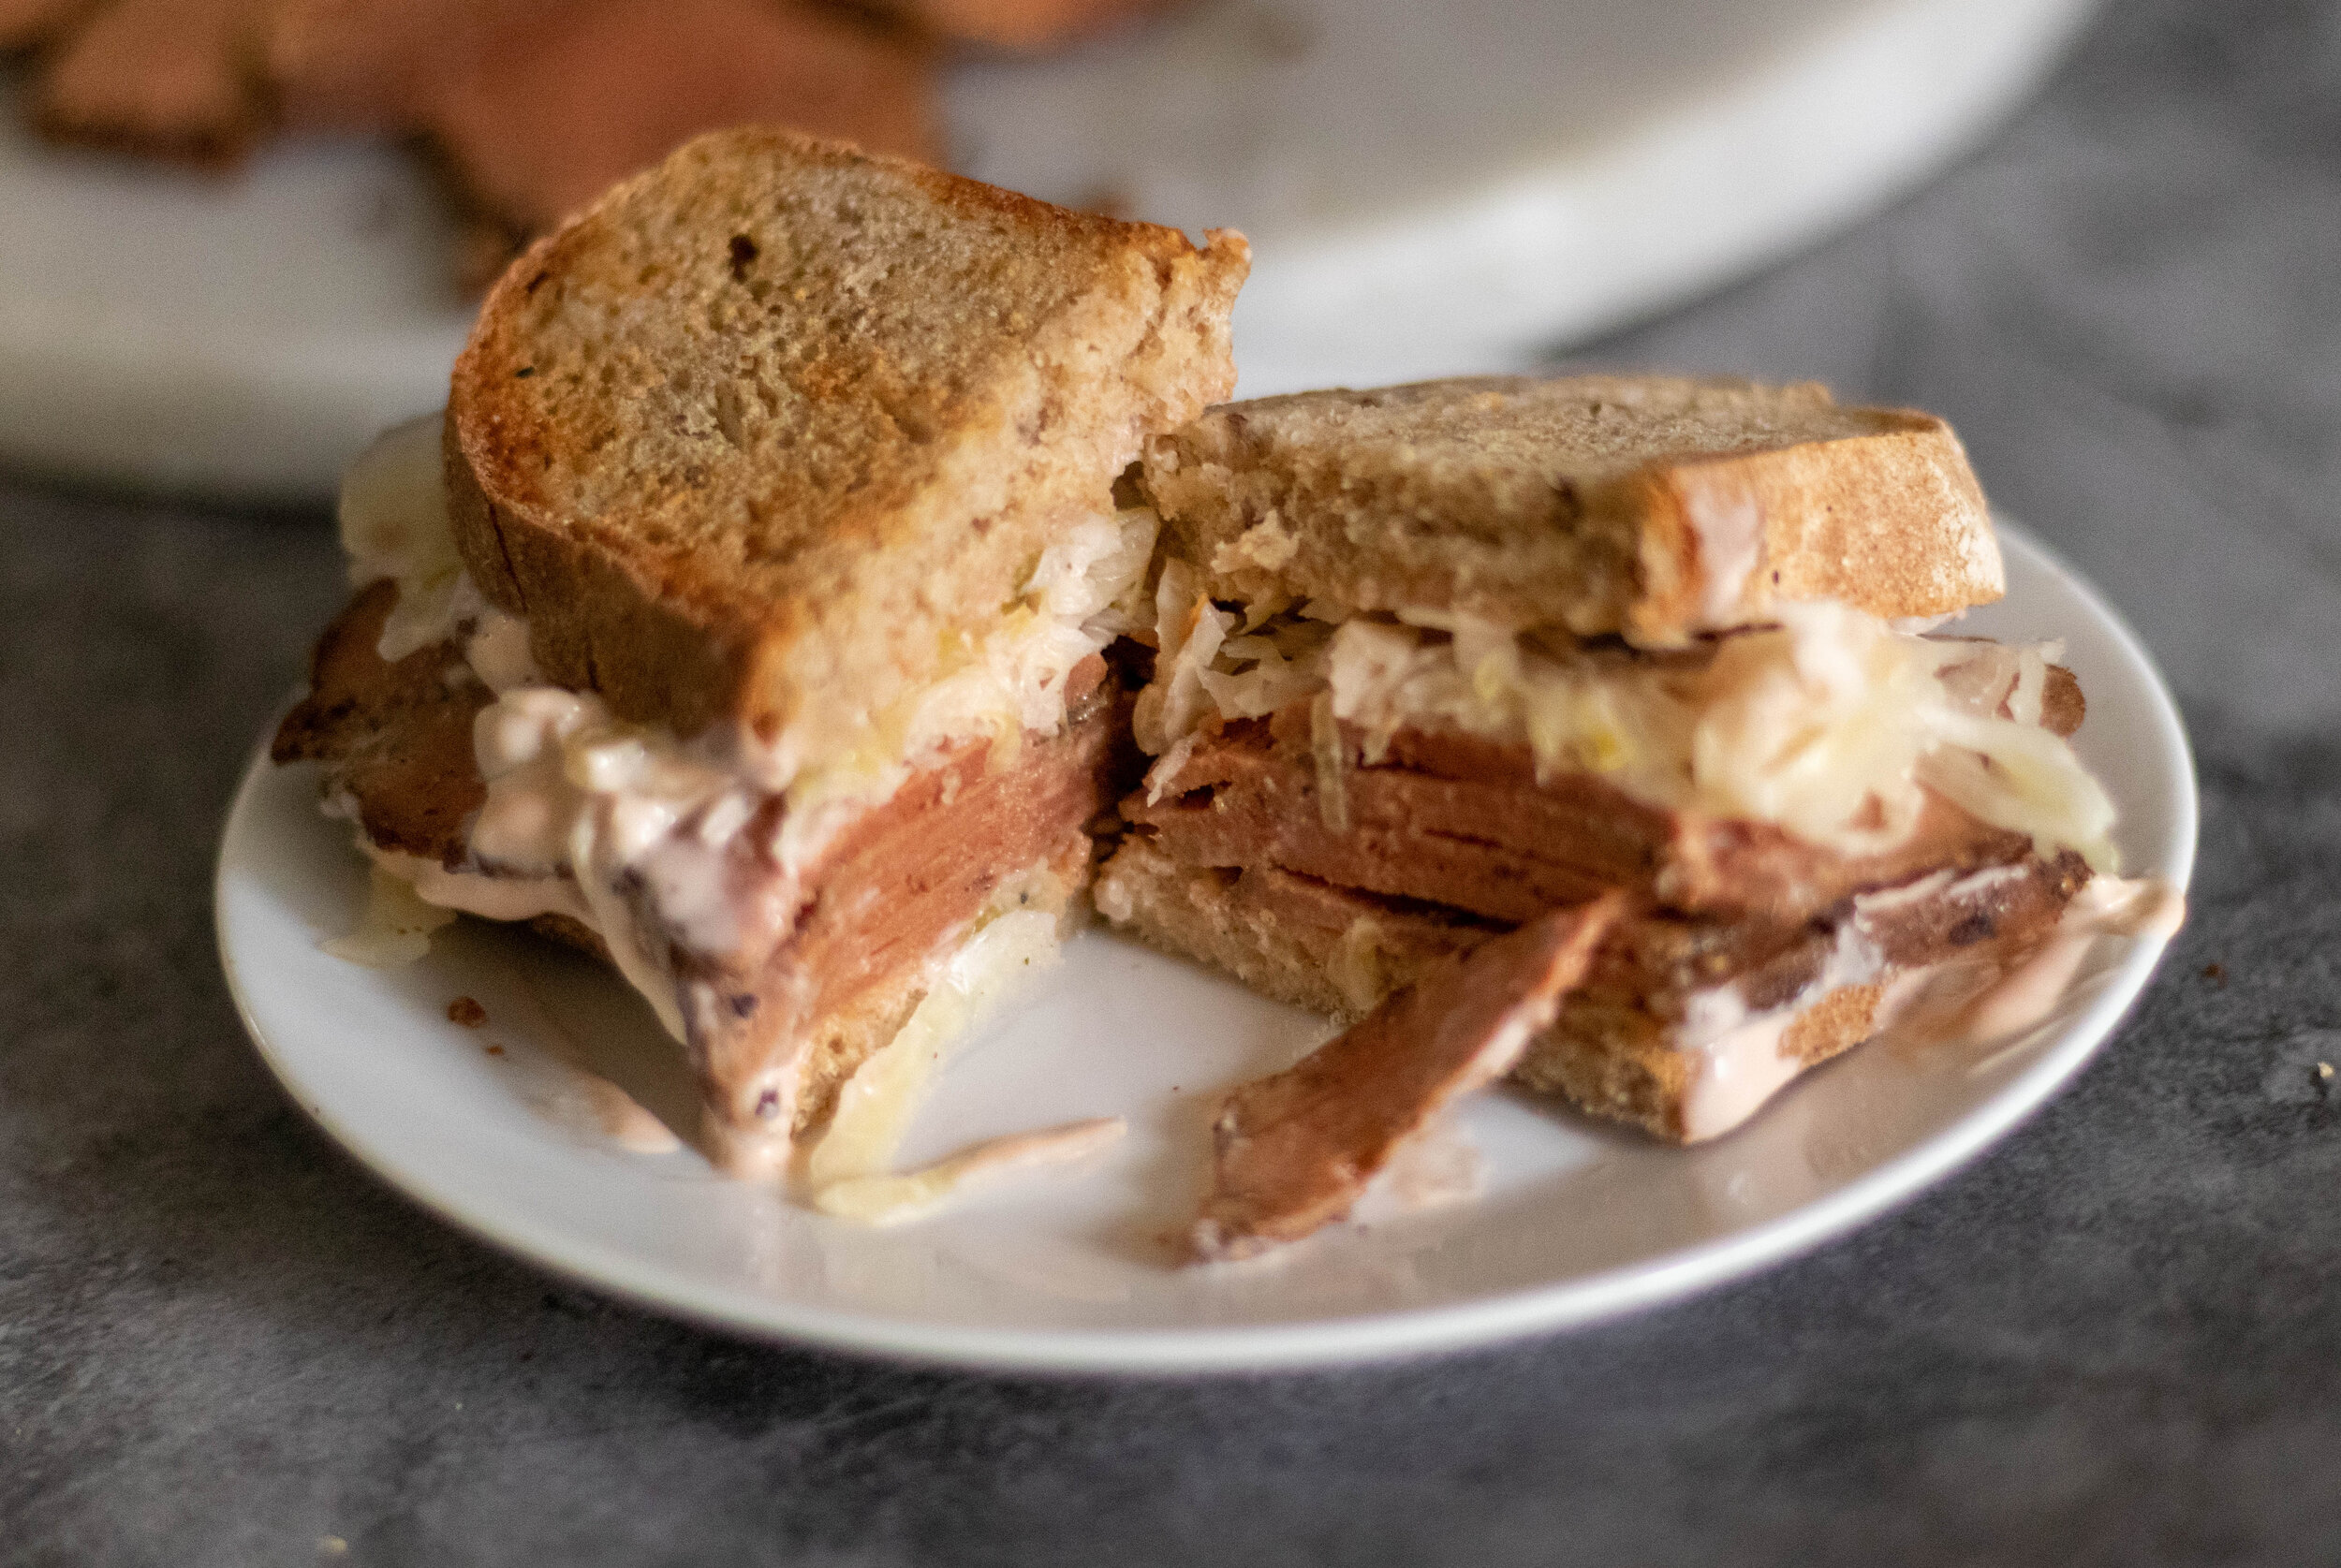
9. Use vegan steak tips in any recipe calling for steak or beef tips. Fajitas, tacos, kabobs, sandwiches , beef stroganoff, soups or stews, pizza topping , whatever!
If you like this recipe, then try these: