Hot diggity dog, y’all.
I love a good vegan hotdog. That said, I have not found many vegan hotdogs that I would consider “good.”
I won’t go name dropping any specific brands here, but if you have ever tried to grill a store-bought vegan hotdog, you may have noticed they can be a little rubbery, and just plain weird.
I am a big fan of Beyond brand sausage, and that is our normal BBQ go to, but they ain’t cheap when feeding a family of 6 and they also are not a hotdog…..they are sausage…..and sometimes you just want a chili slaw dog.

So I finally decided I had enough of subpar vegan hotdogs, and it was high time I just made my own.
Y’all, its not hard to make your own vegan hotdogs! It just takes a pack of super firm tofu, some vital wheat gluten, a few pantry staples, and a little patients.
If you have made any of my deli meats you know how easy they are. These vegan hot dogs are close to that easy. They just take a little more time to wrap up so they can steam and keep their shape.
I know a lot of people have feelings about foil. But because these hot dogs need to steam and keep their shape, foil is in order here. If you are anti foil, you can bake them in a covered dish, but they will NOT hold their shape and the texture isn’t as good as if they were wrapped and steamed. You have been been properly warned.
So, if you have yet to find a vegan hotdog you dig, then try your hand at making your own!! They are pretty easy to make, with fairly easy to get ingredients, and in my opinion (and even my picky kids opinions) they are really pretty tasty!
Hot diggity (vegan) dog!!

INGREDIENTS:
I have some notes for trouble shooting this recipe at the bottom of the page. Be sure to give them a read!

16 oz package of super firm tofu, the kind that is vacuum sealed in little water
1 and 1/2 cups vital wheat gluten
1/3 cup yellow onion
1/4 cup sauerkraut (just the cabbage, not the juice)
1/4 cup nutritional yeast
2 tablespoons tapioca or corn starch
3 tablespoons ketchup or tomato sauce
2 tablespoons neutral flavored oil
1 tablespoonNo Beef Better Than Bouillon, or vegan beef bouillon powder
2 teaspoons liquid smoke
1 teaspoons ground coriander
1 teaspoon dried mustard
1 teaspoon paprika
1-2 teaspoon garlic powder
2 teaspoons onion powder
1 1/2 teaspoons sugar
1 teaspoon salt
1/2 teaspoon black pepper
a few tablespoons water if needed

INSTRUCITONS:
Preheat oven to 350 degrees
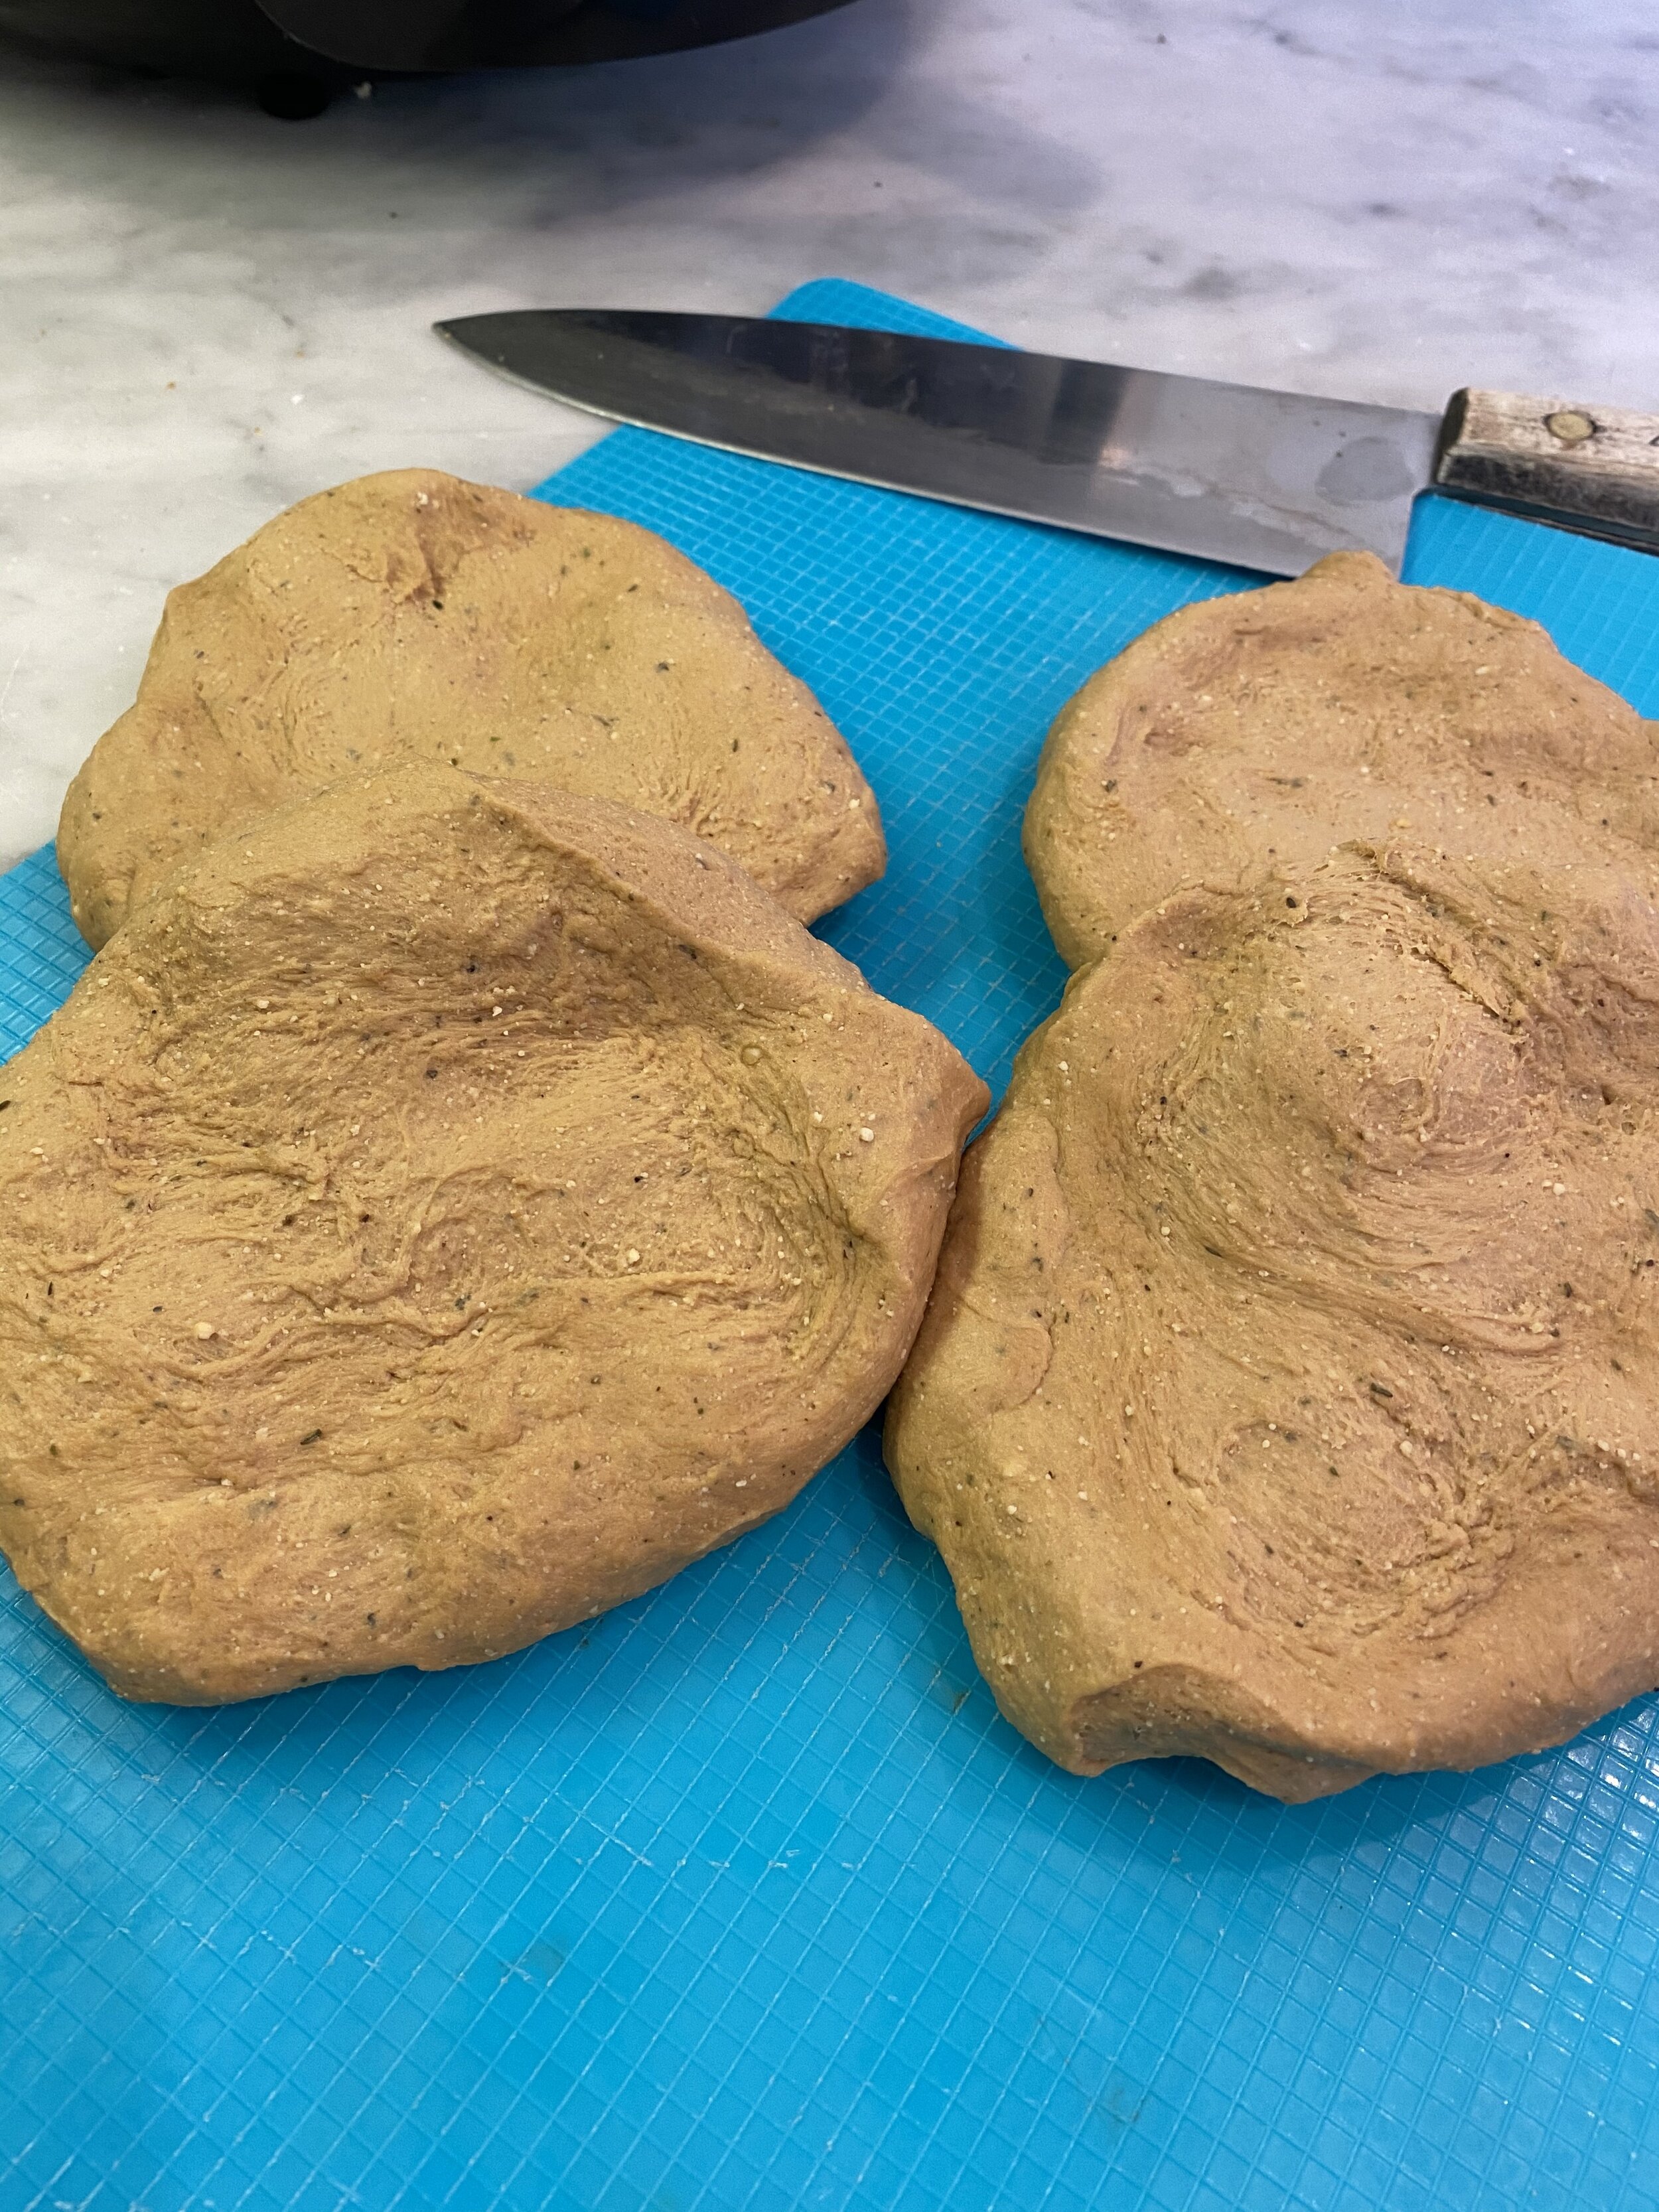
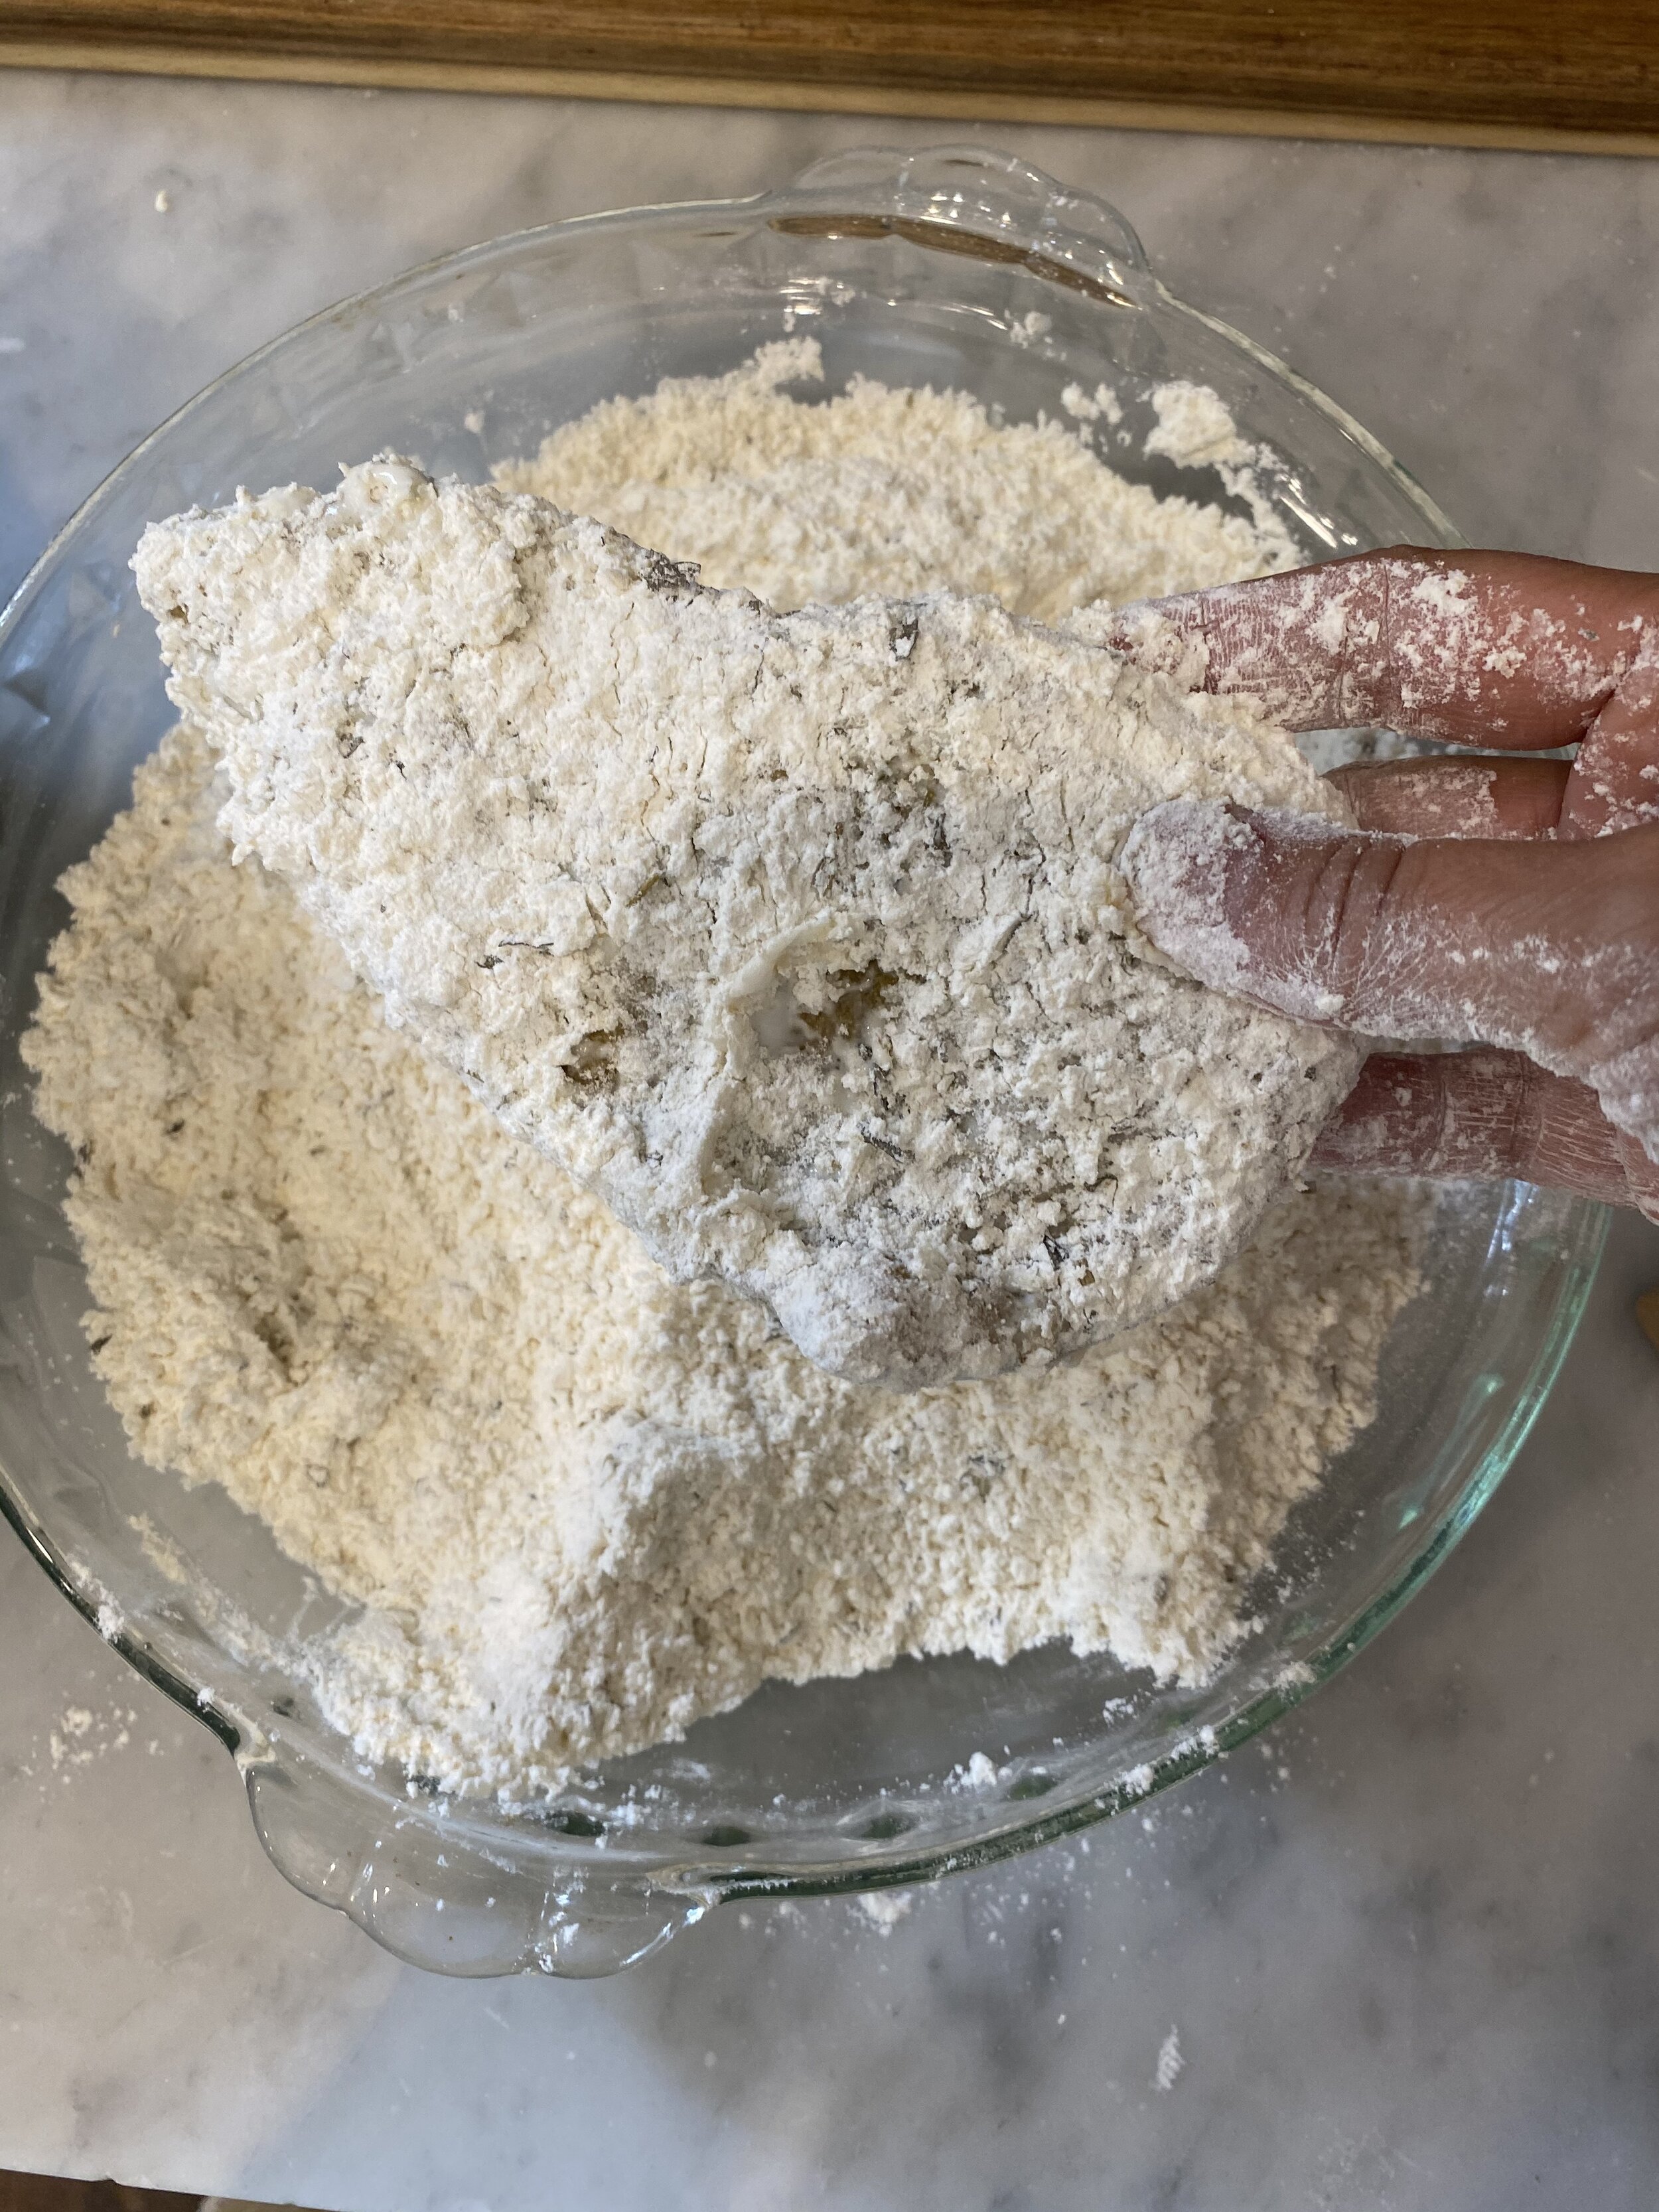
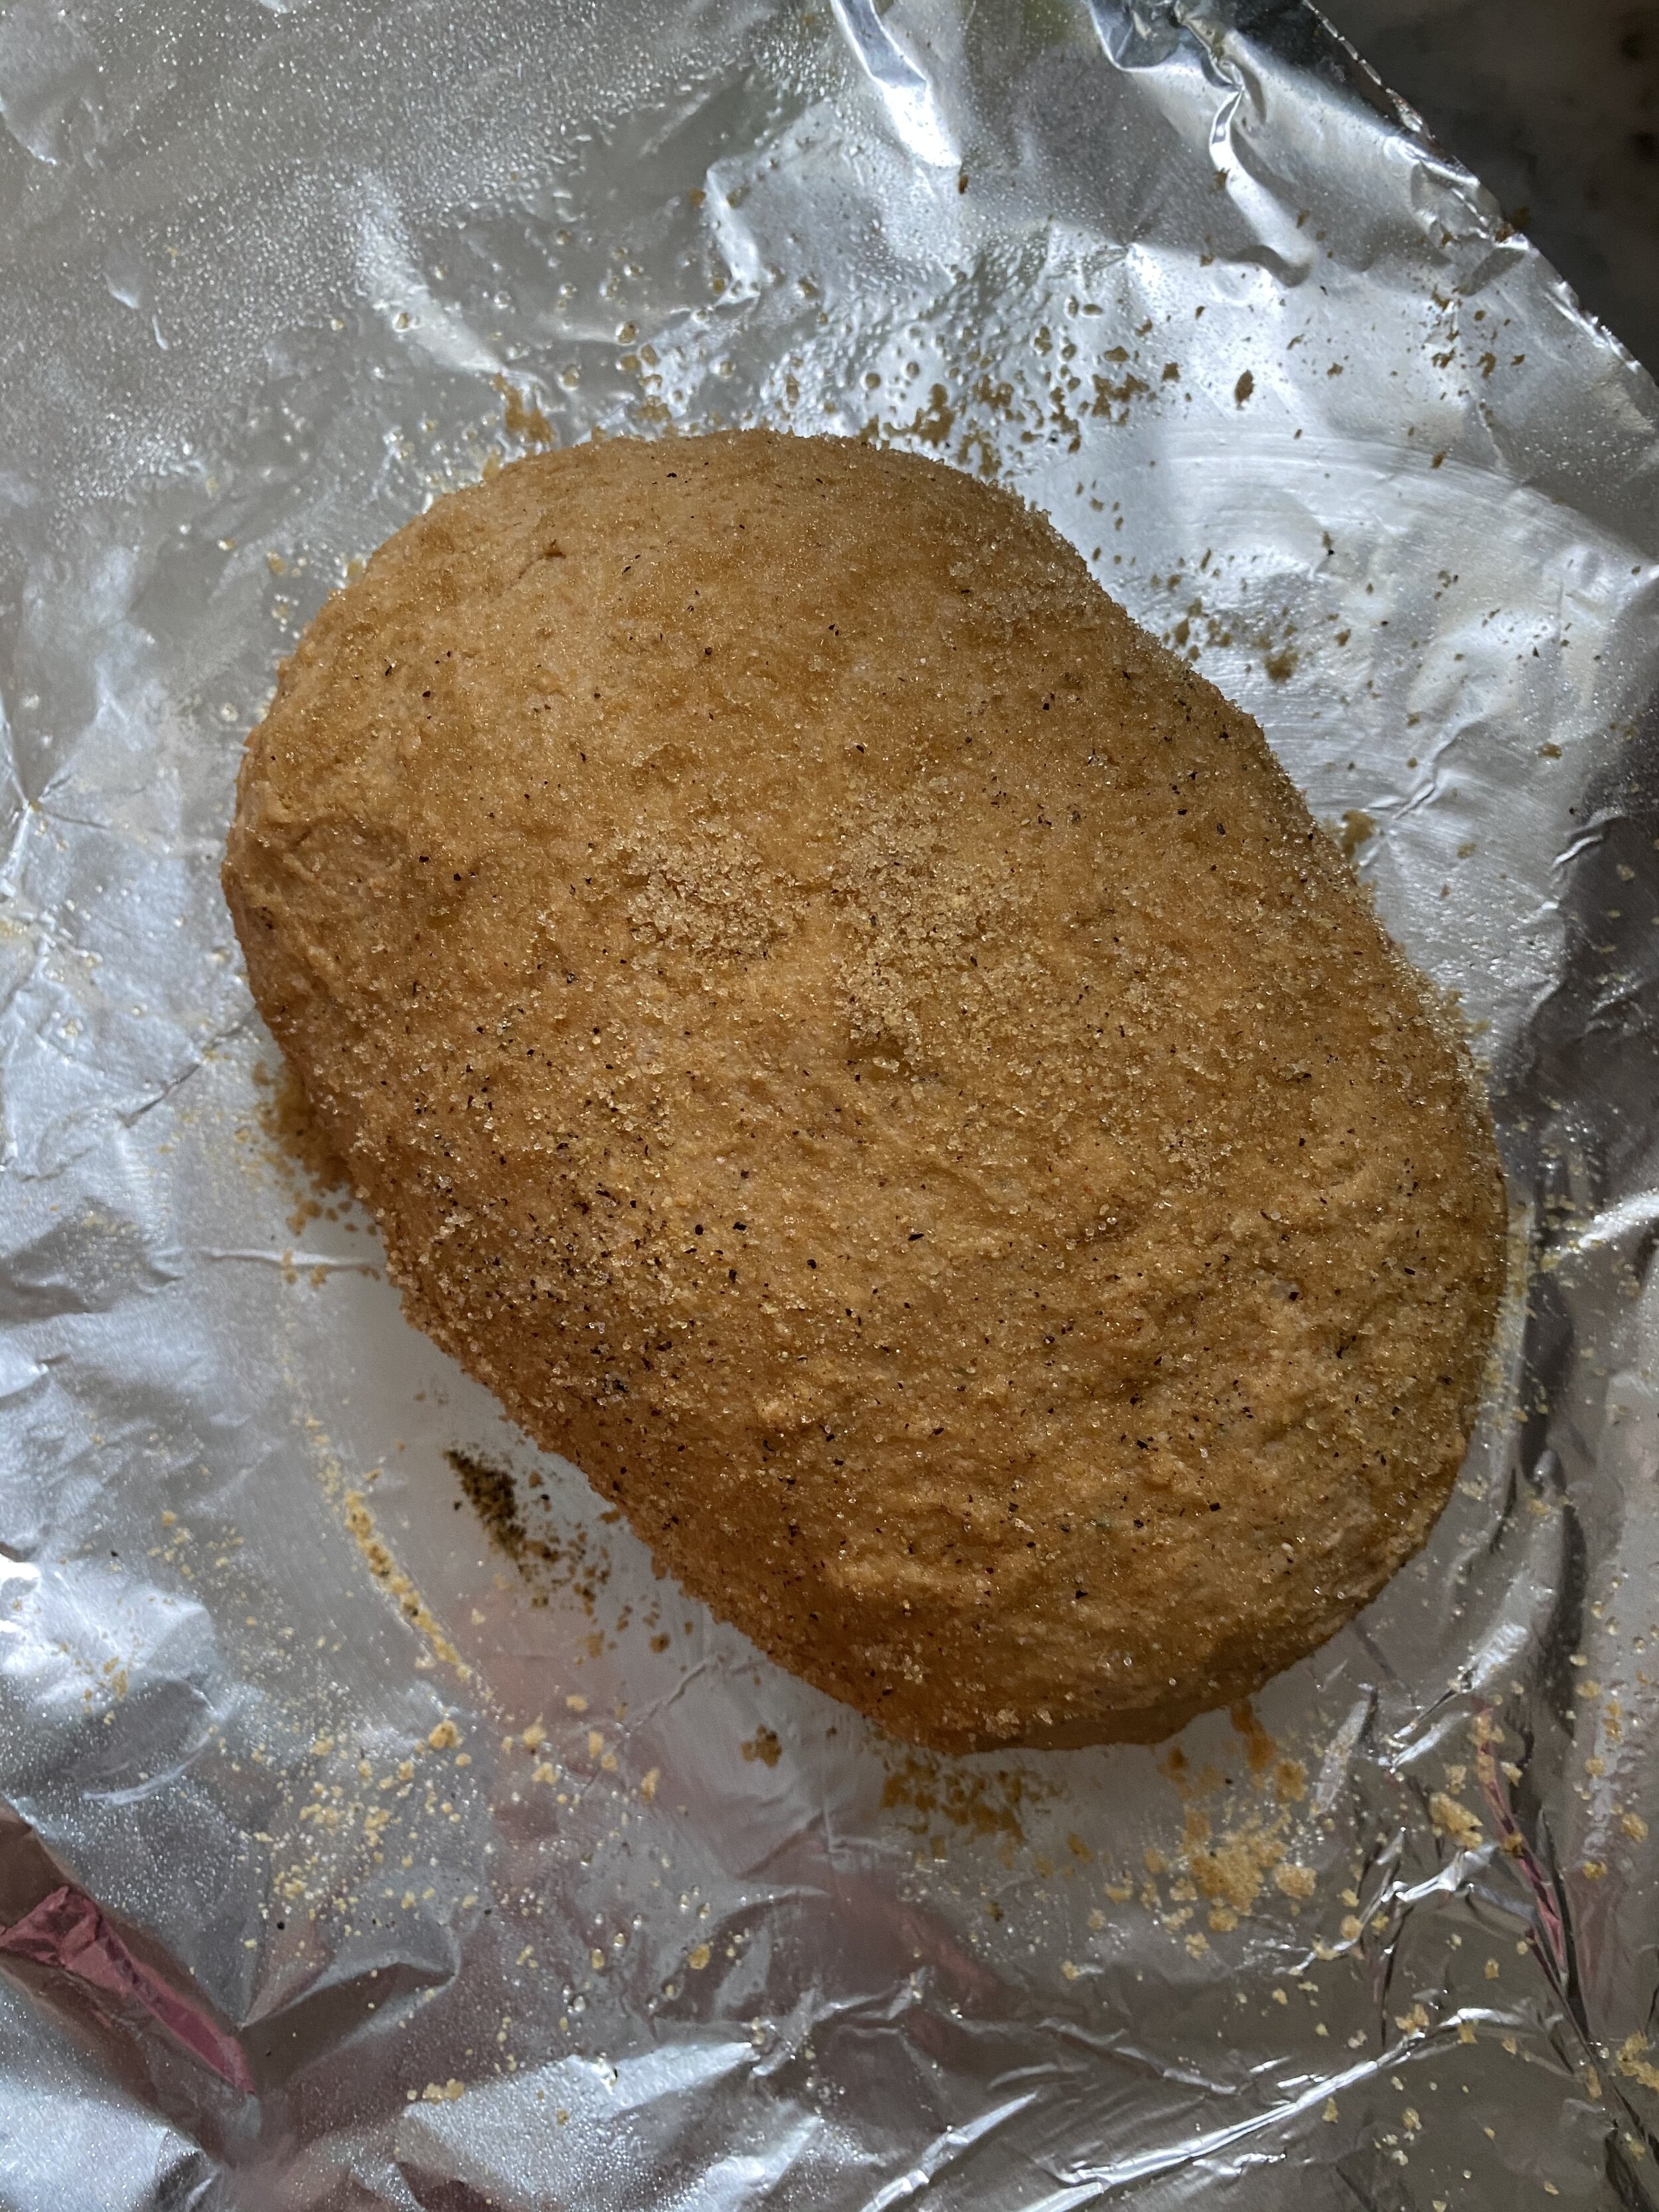
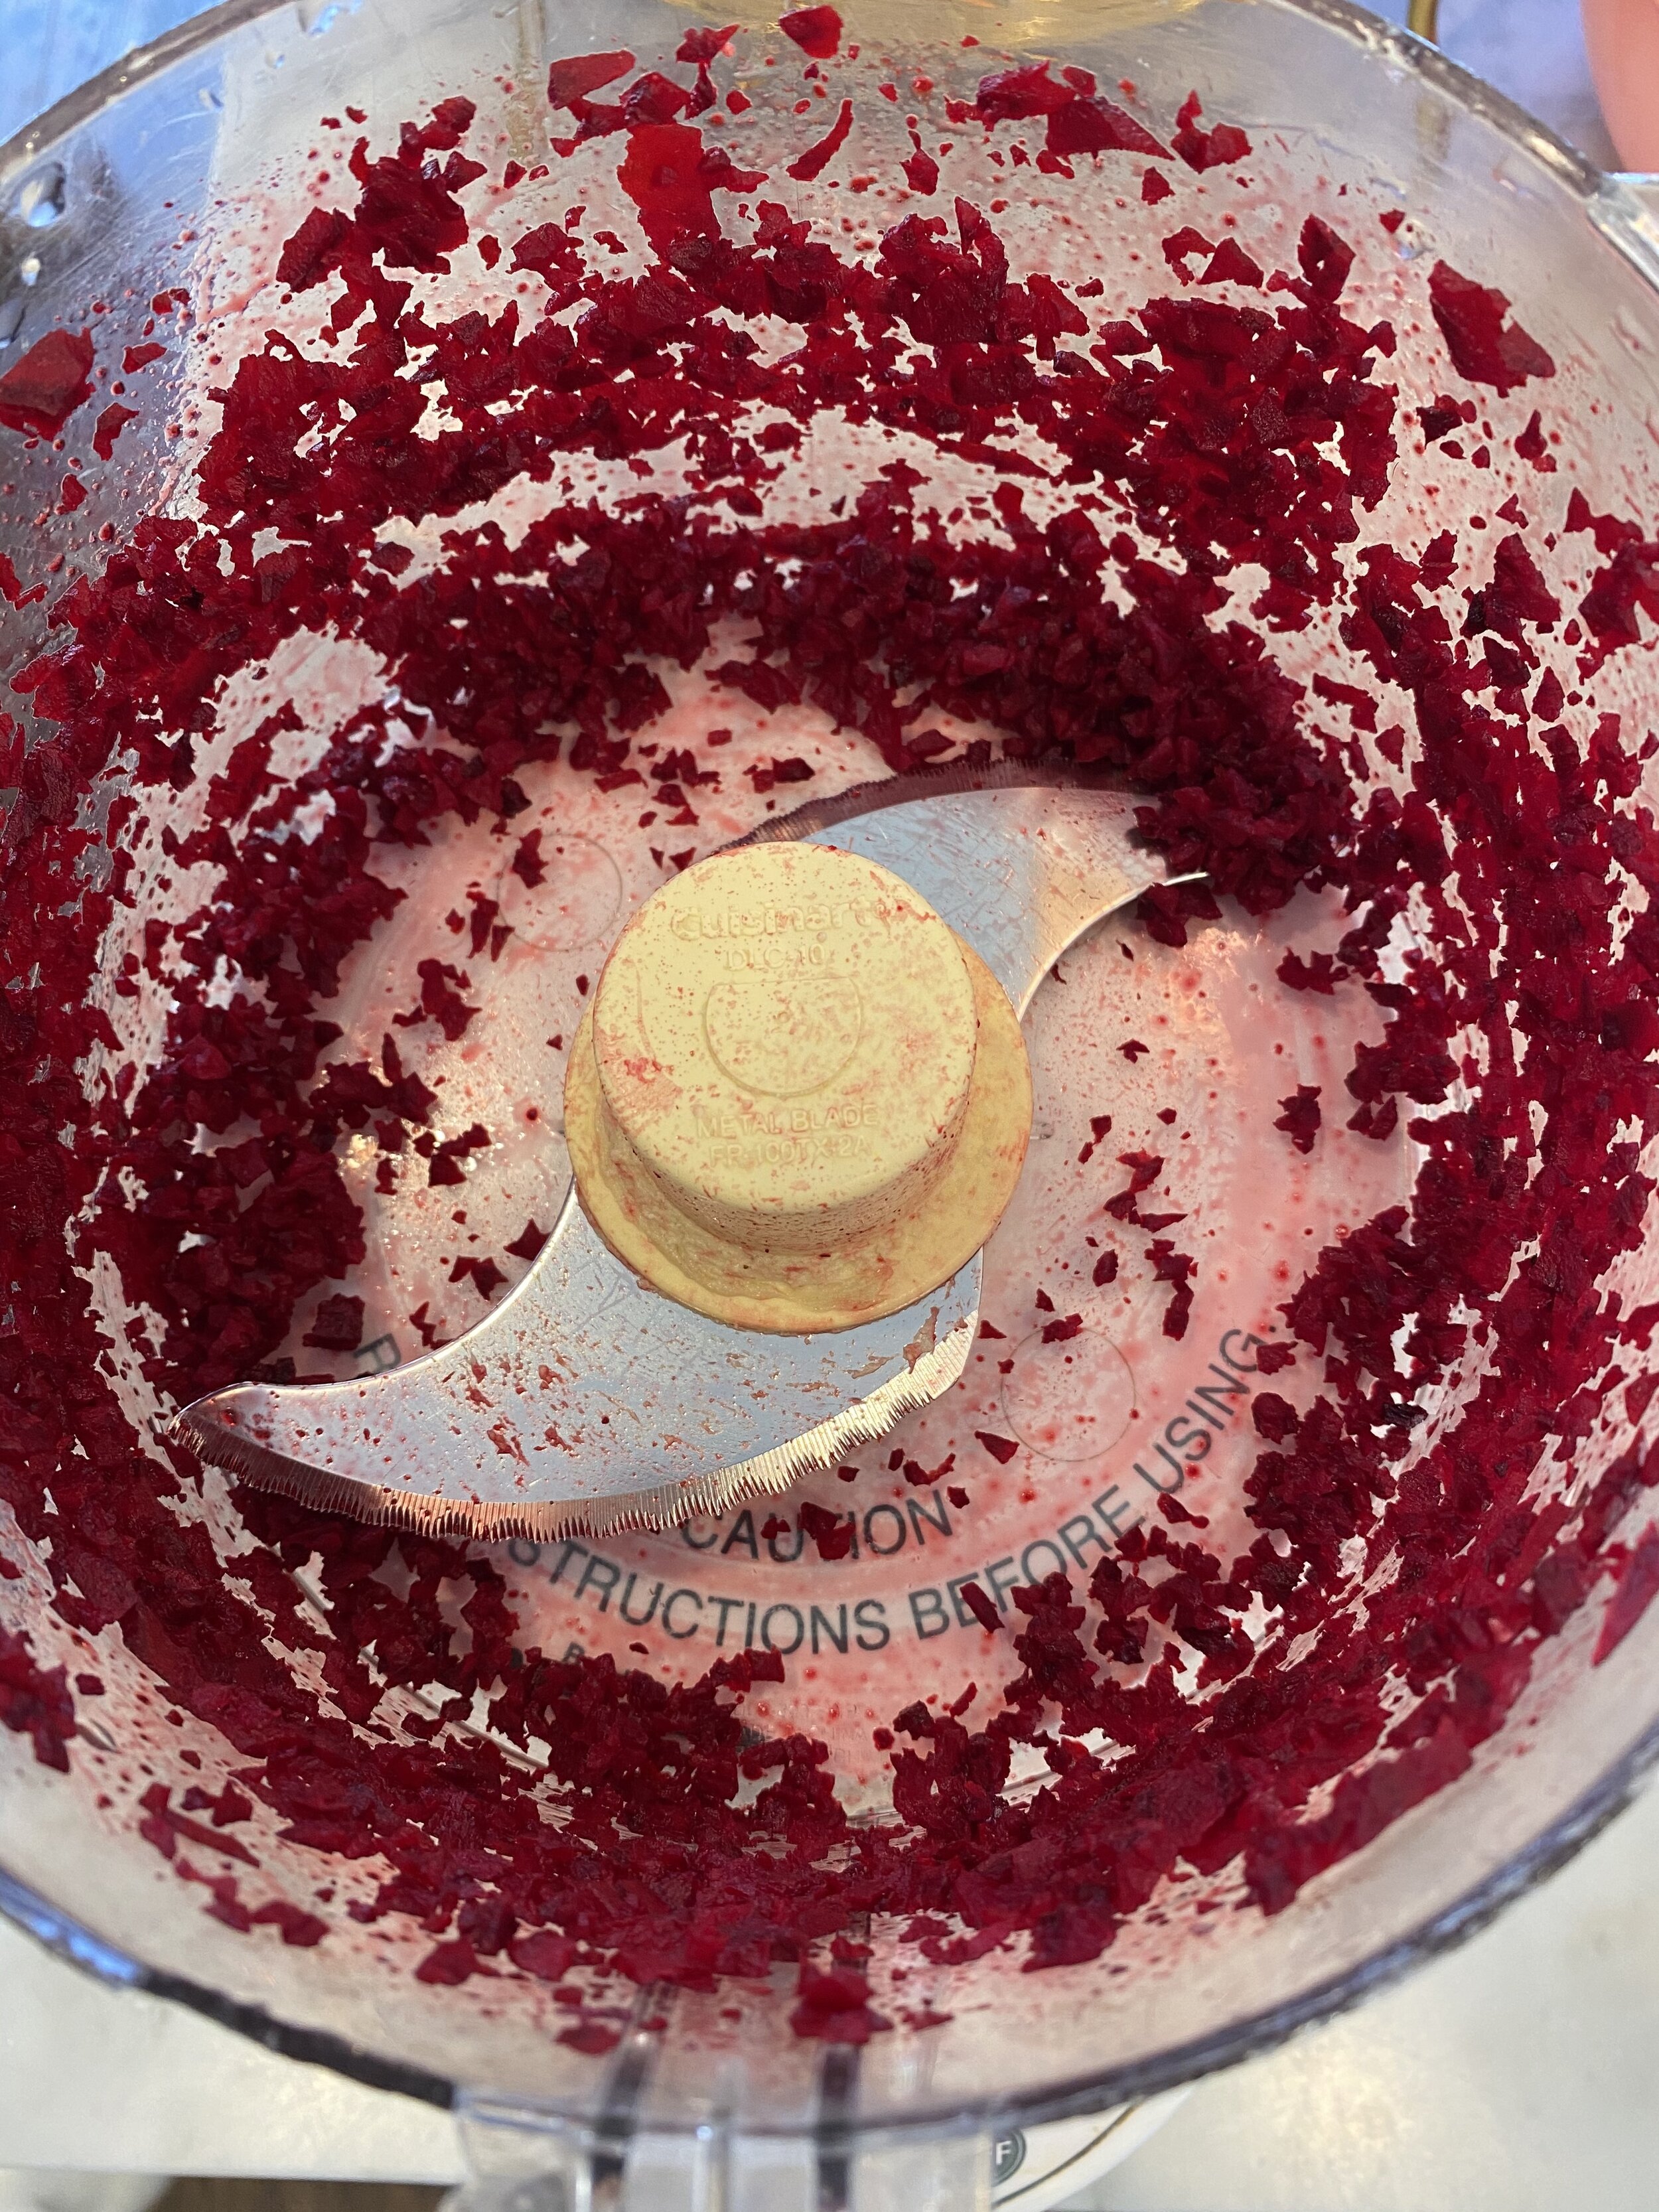
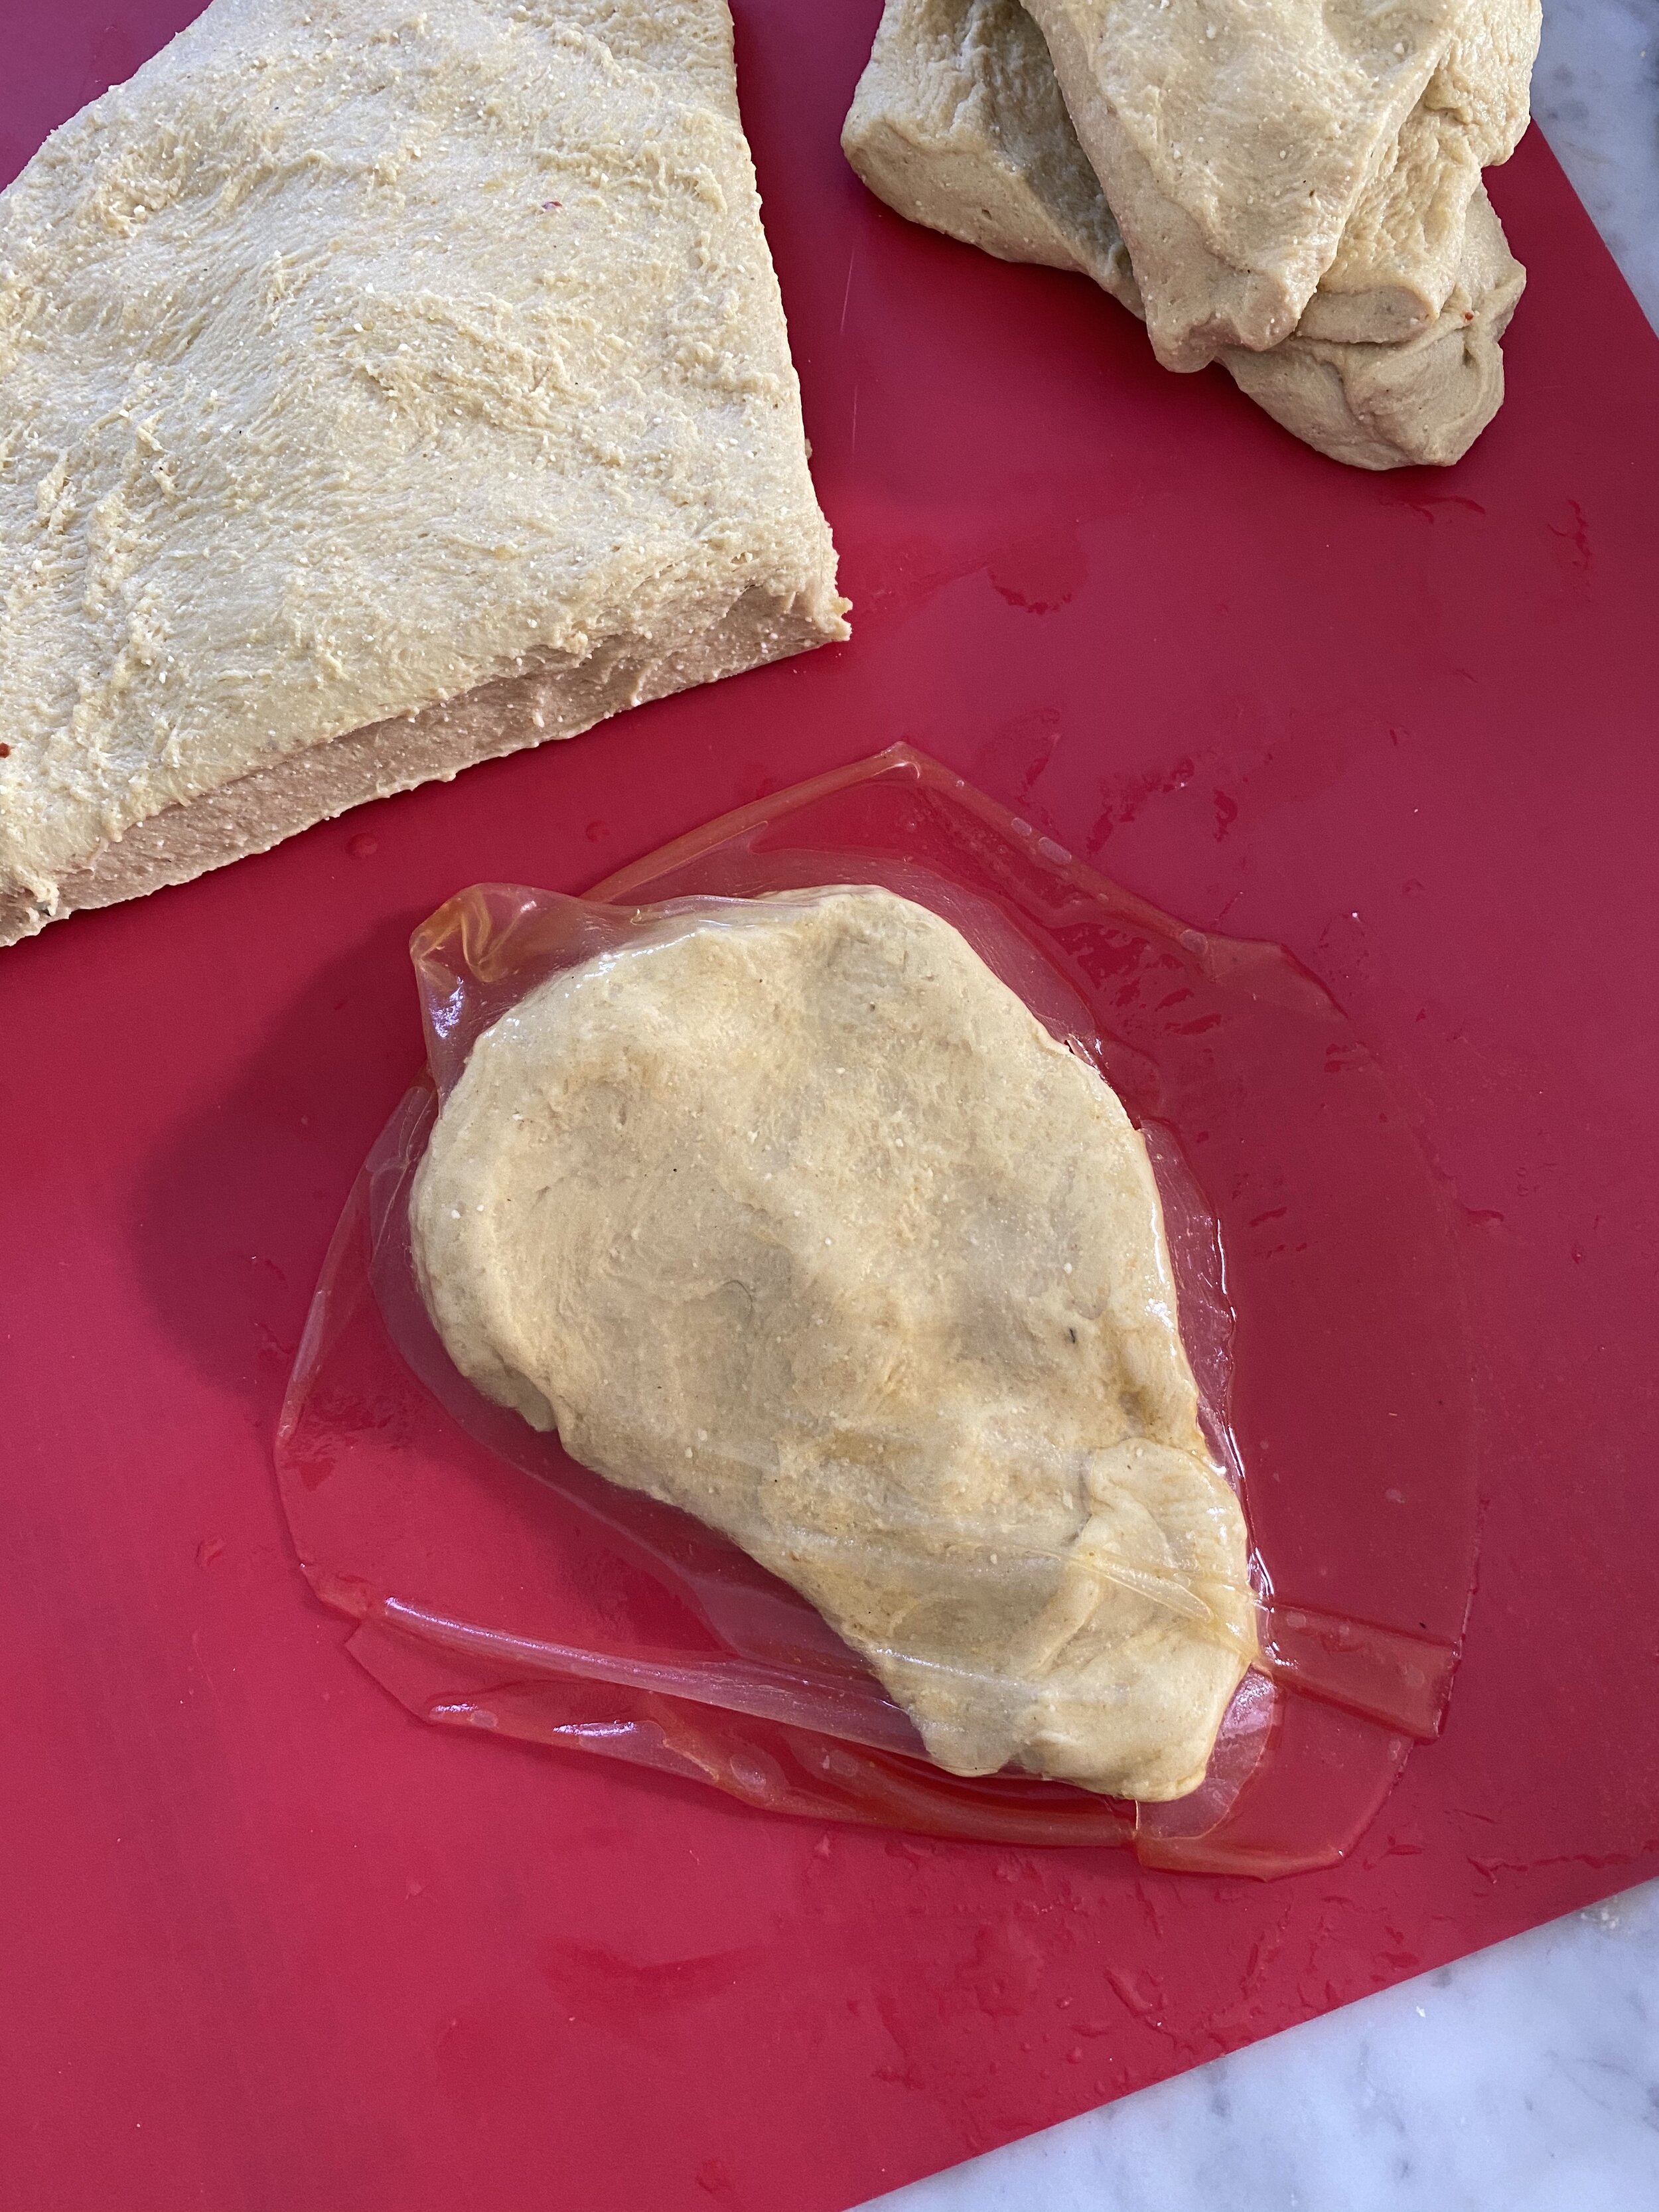
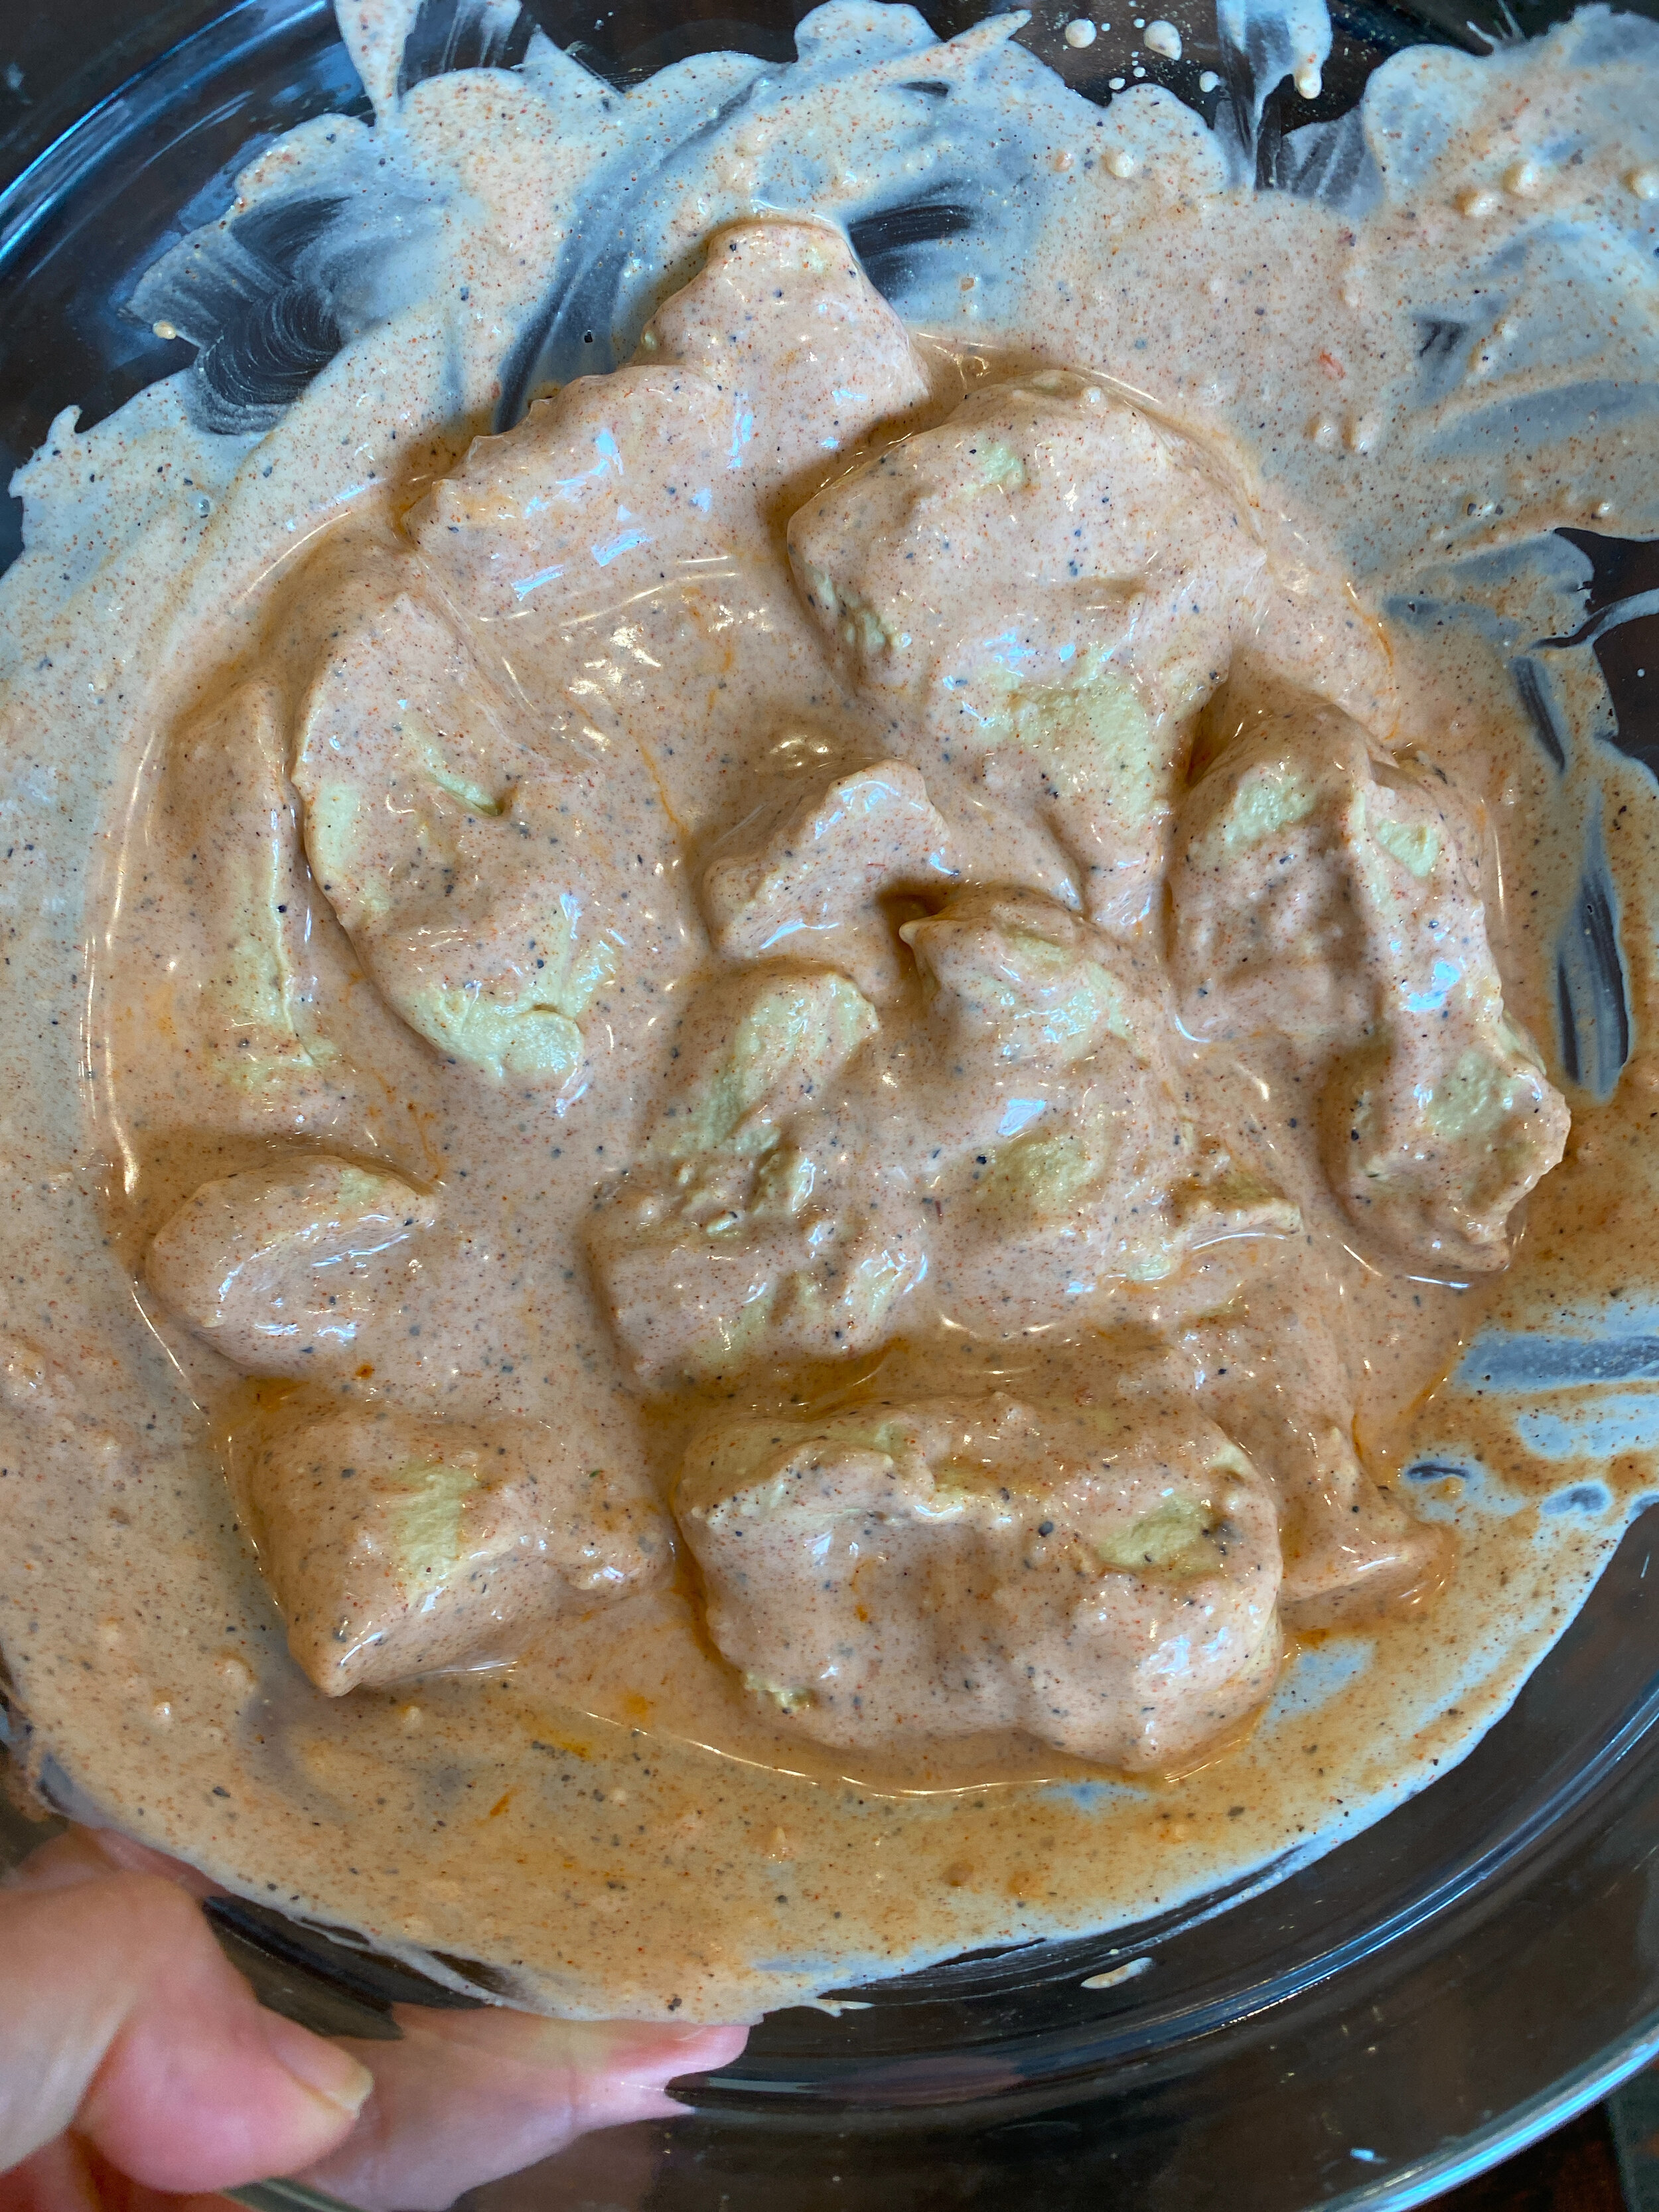
Dice the onion. Break up the tofu and place it into a food processor with the regular metal blade along with the onion and sauerkraut. Run the processor for around a minute until the tofu and onion are broken down.
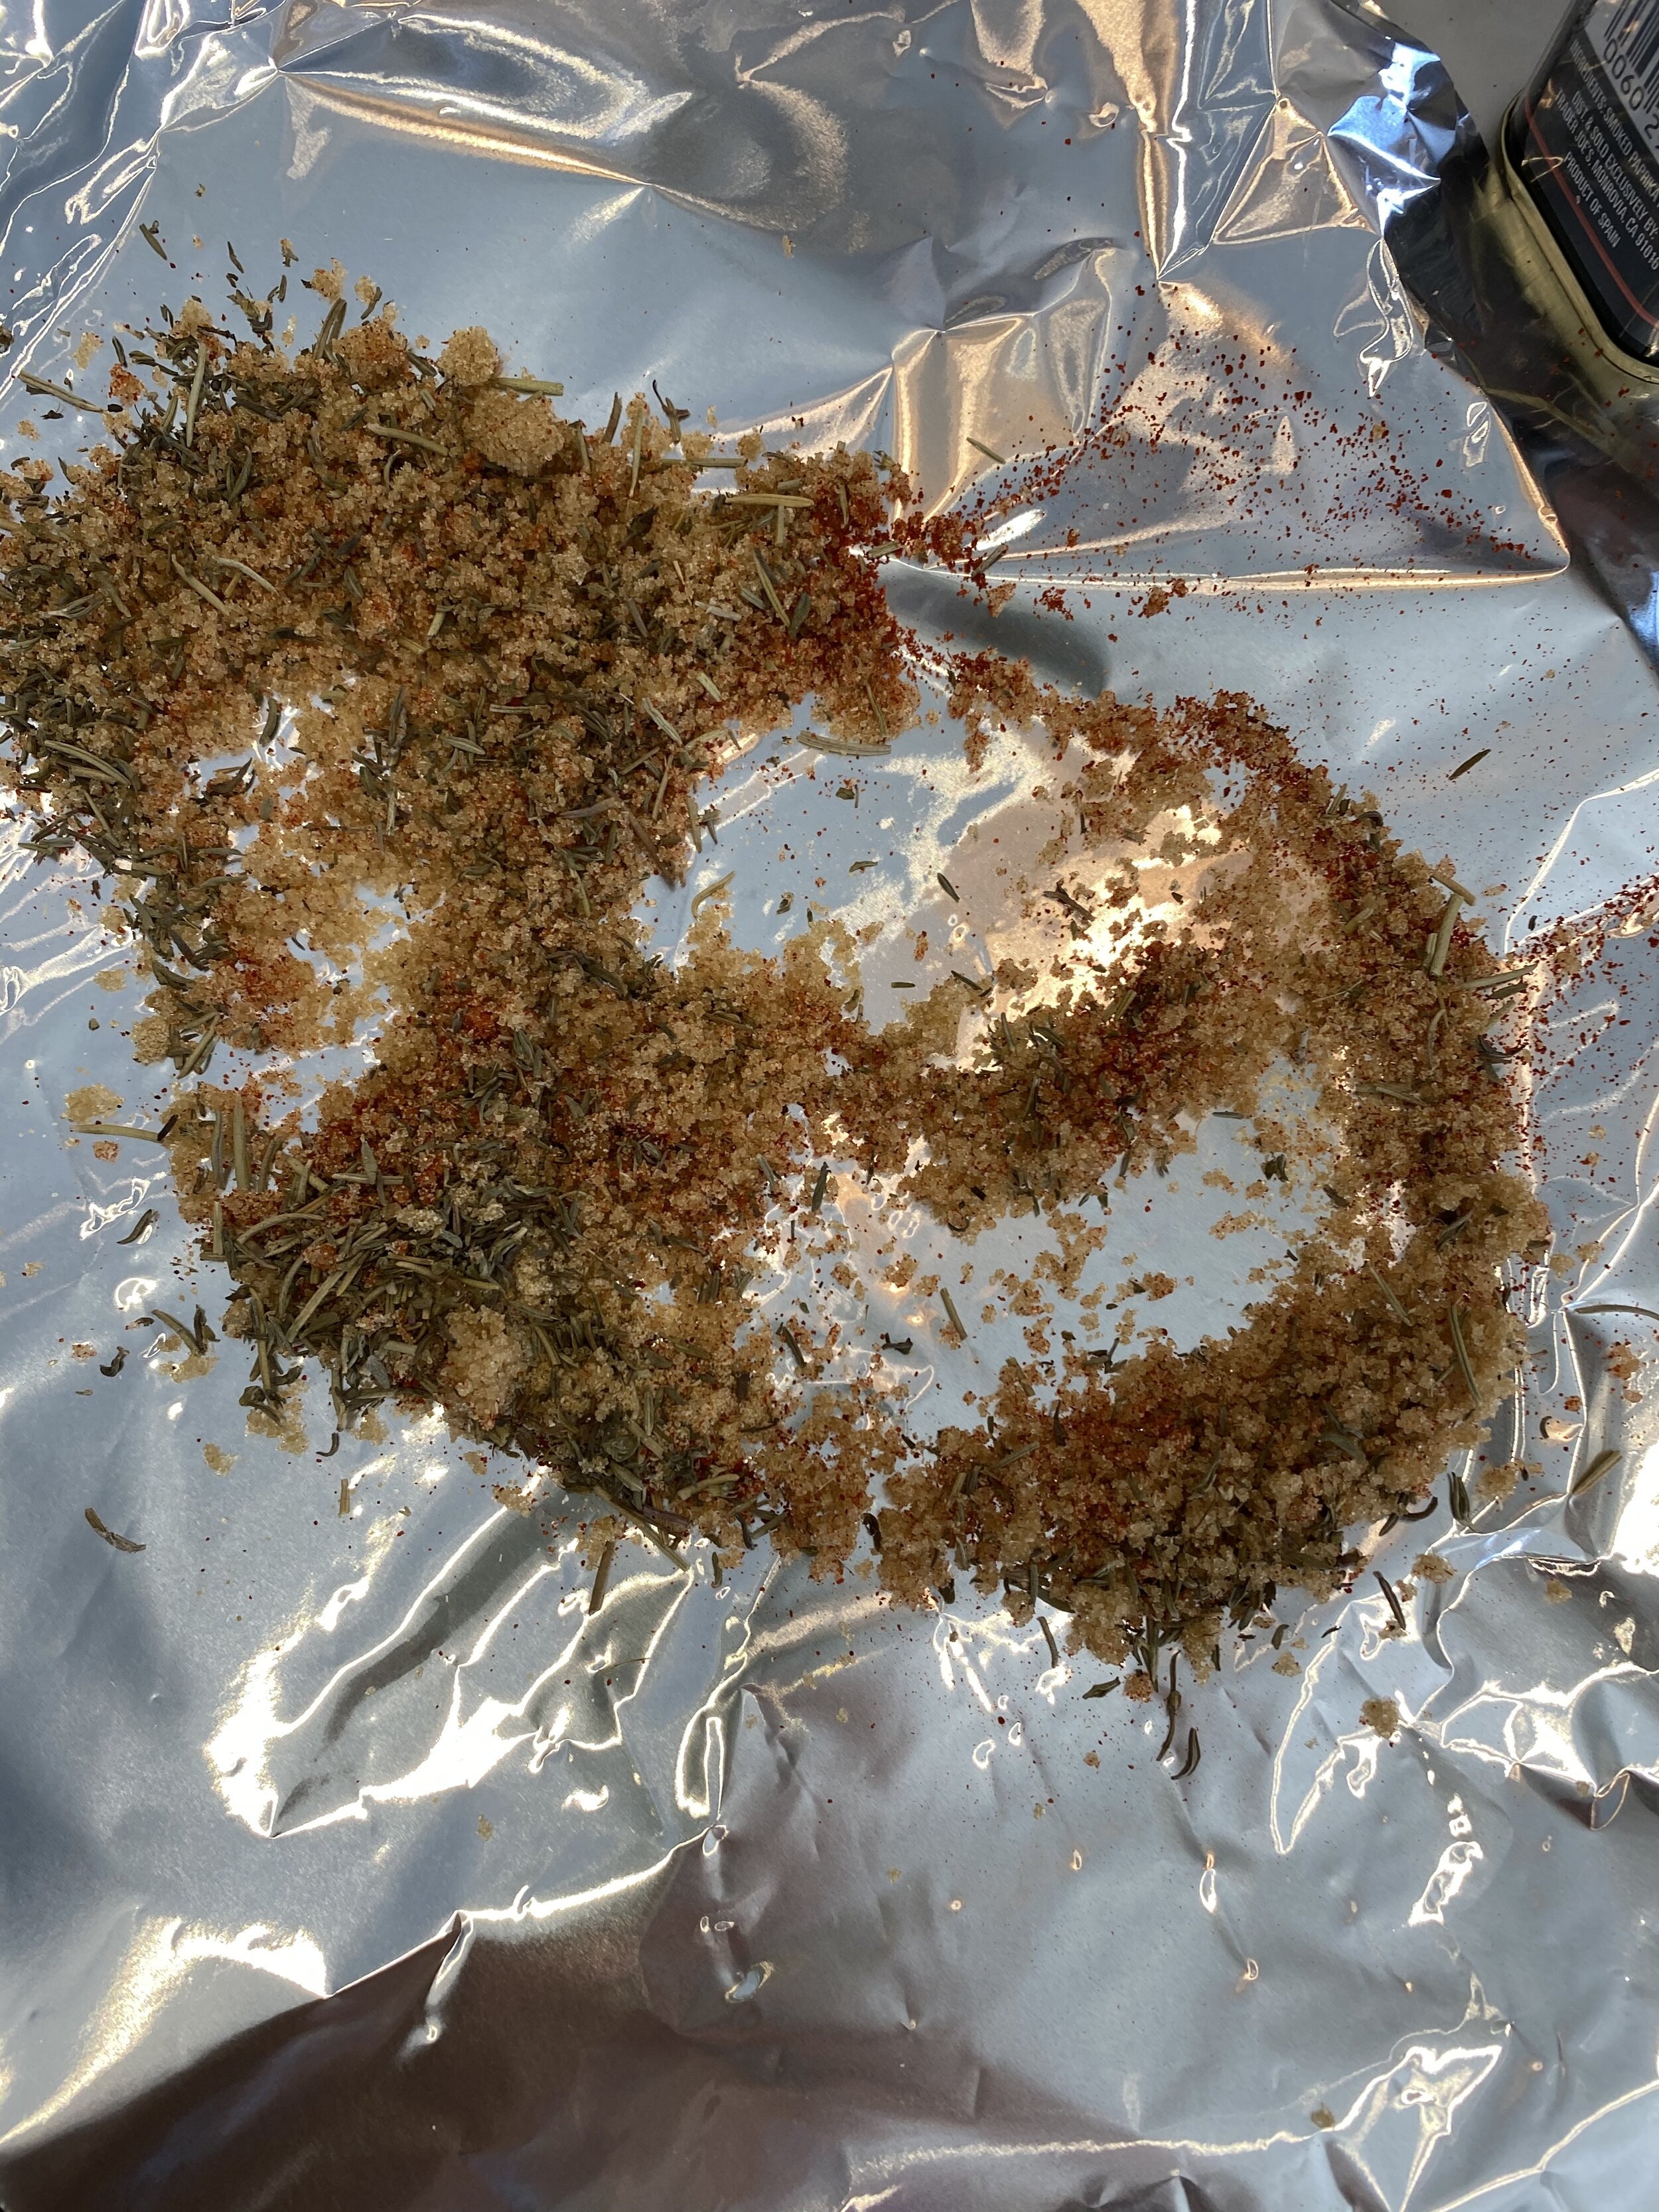
Add all of the remaining ingredients and let the food processor run for a couple of minutes. You want the mixture to form a dough. Letting the processor run will help knead the dough. We want this seitan to be firm so we need it to knead for a bit. If you dough seems a bit too dry, you can add a few tablespoons of water, just don’t add too much more!
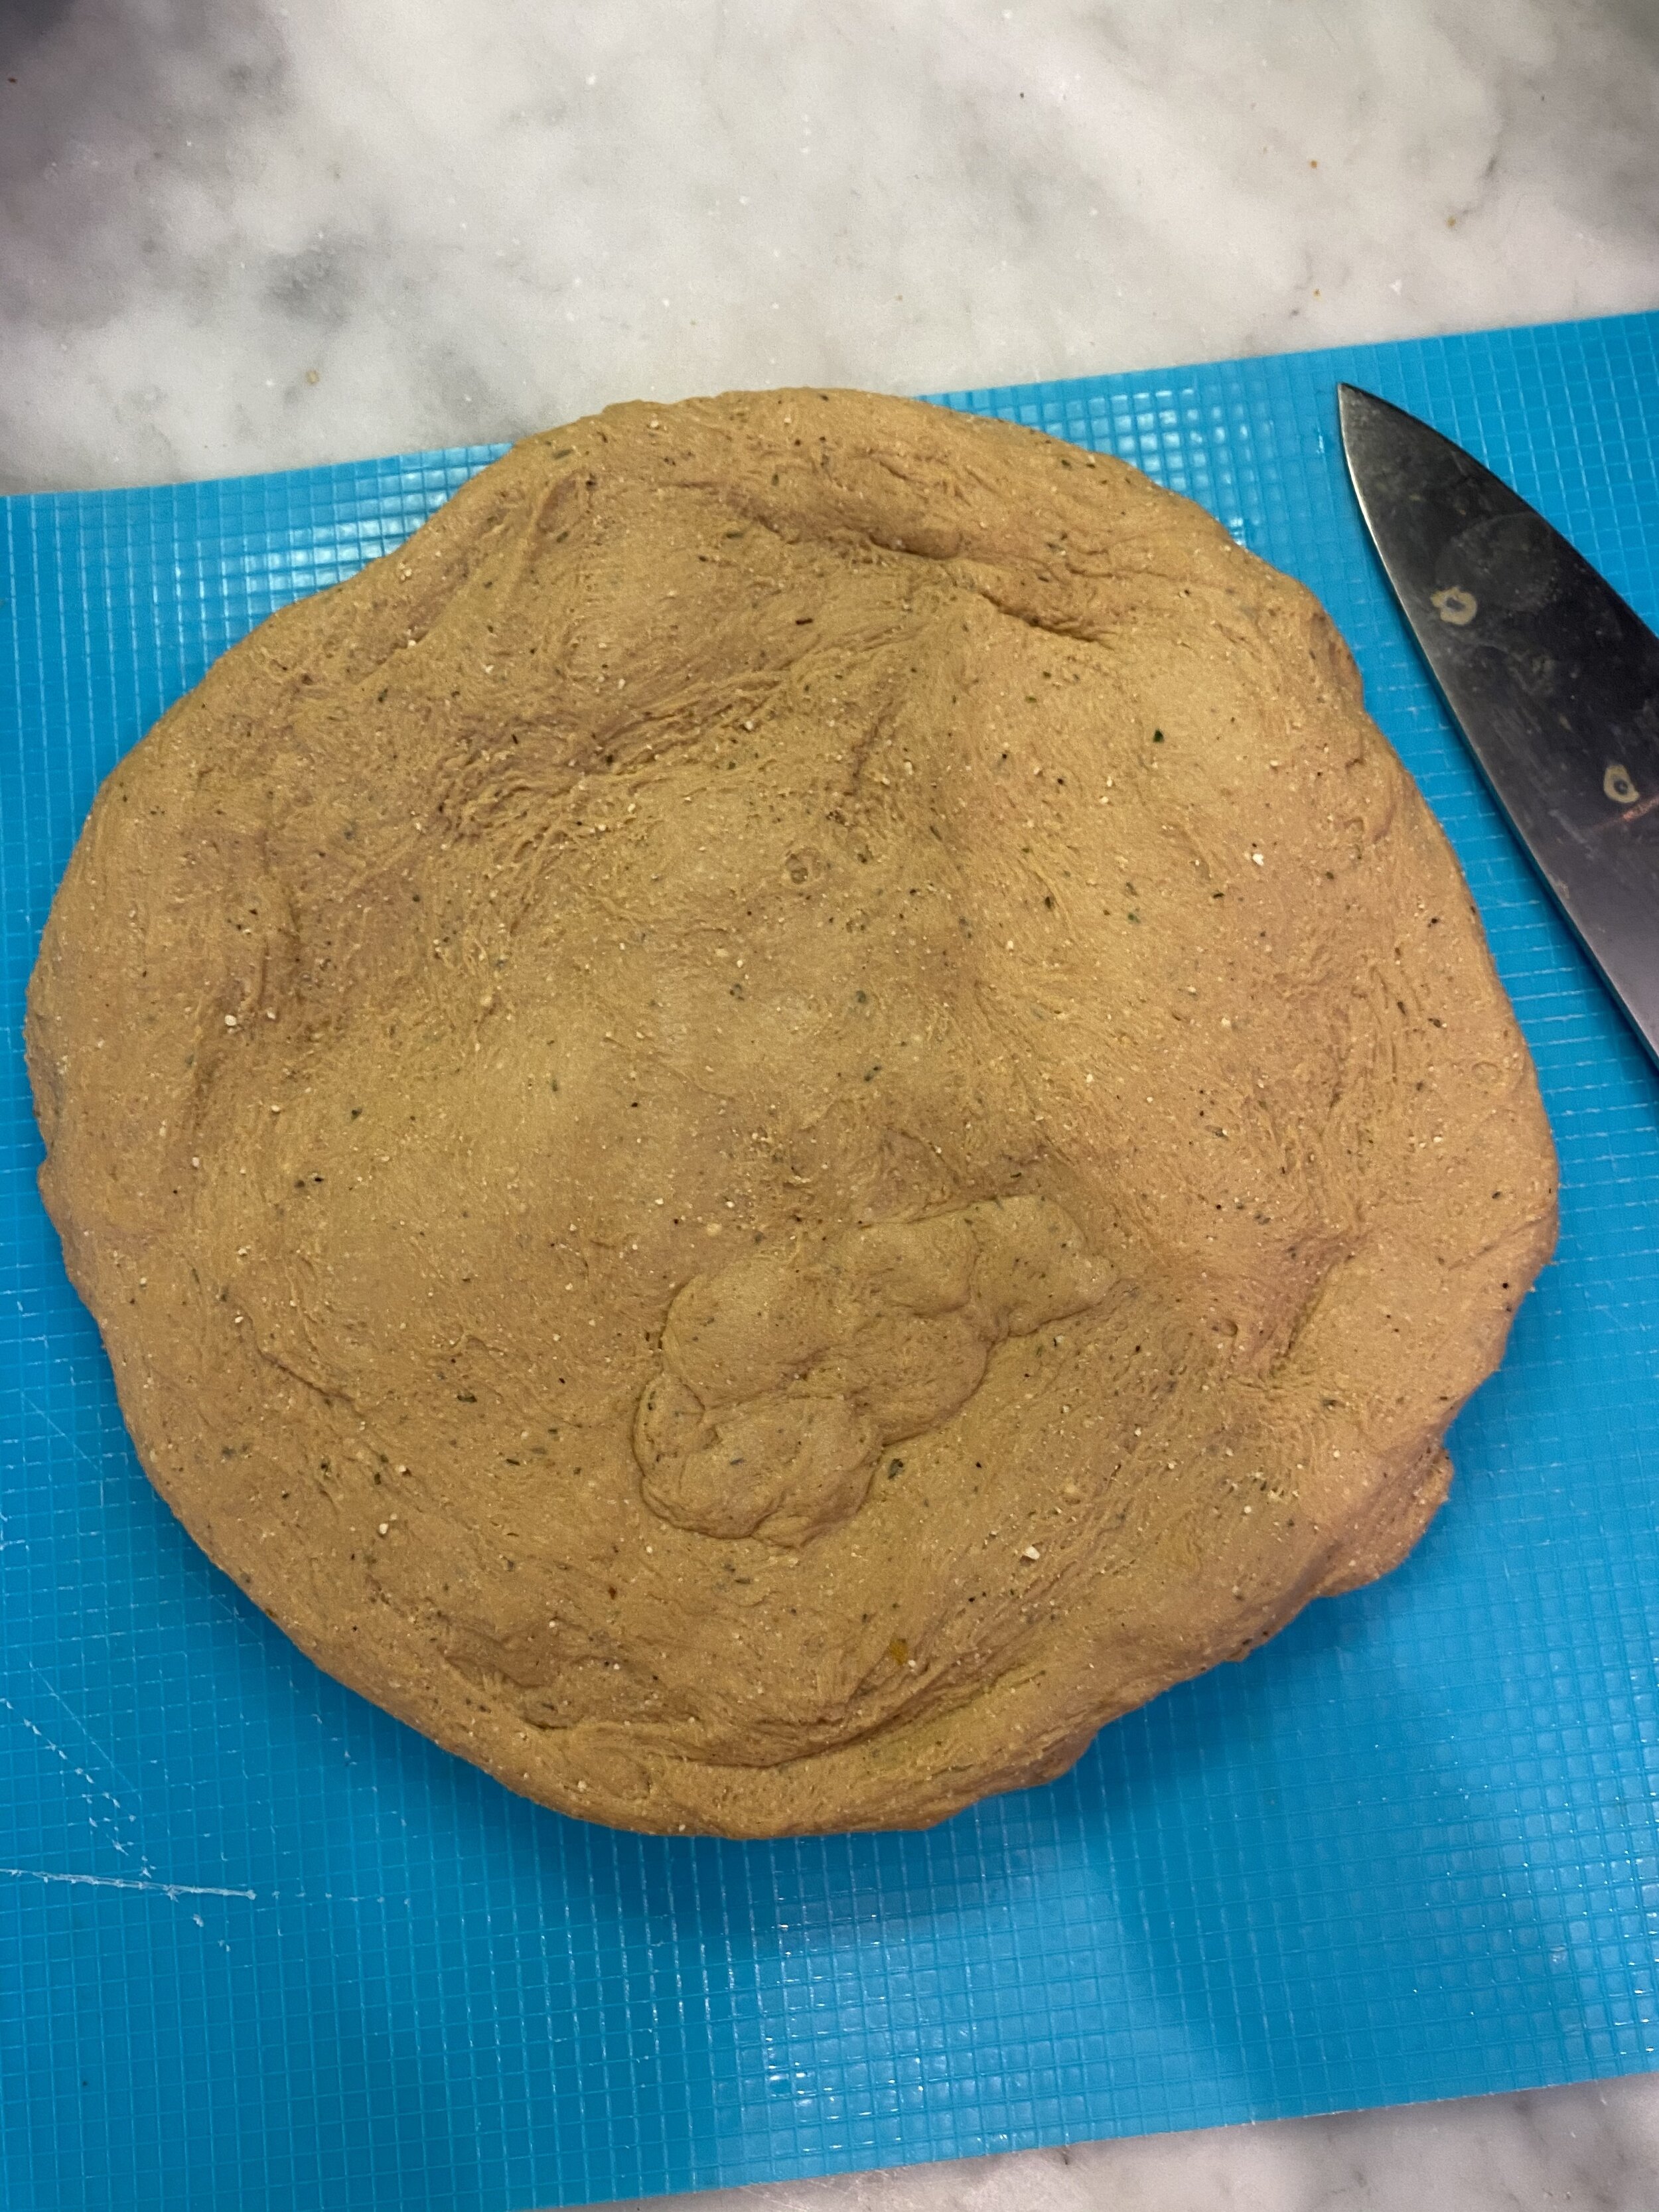
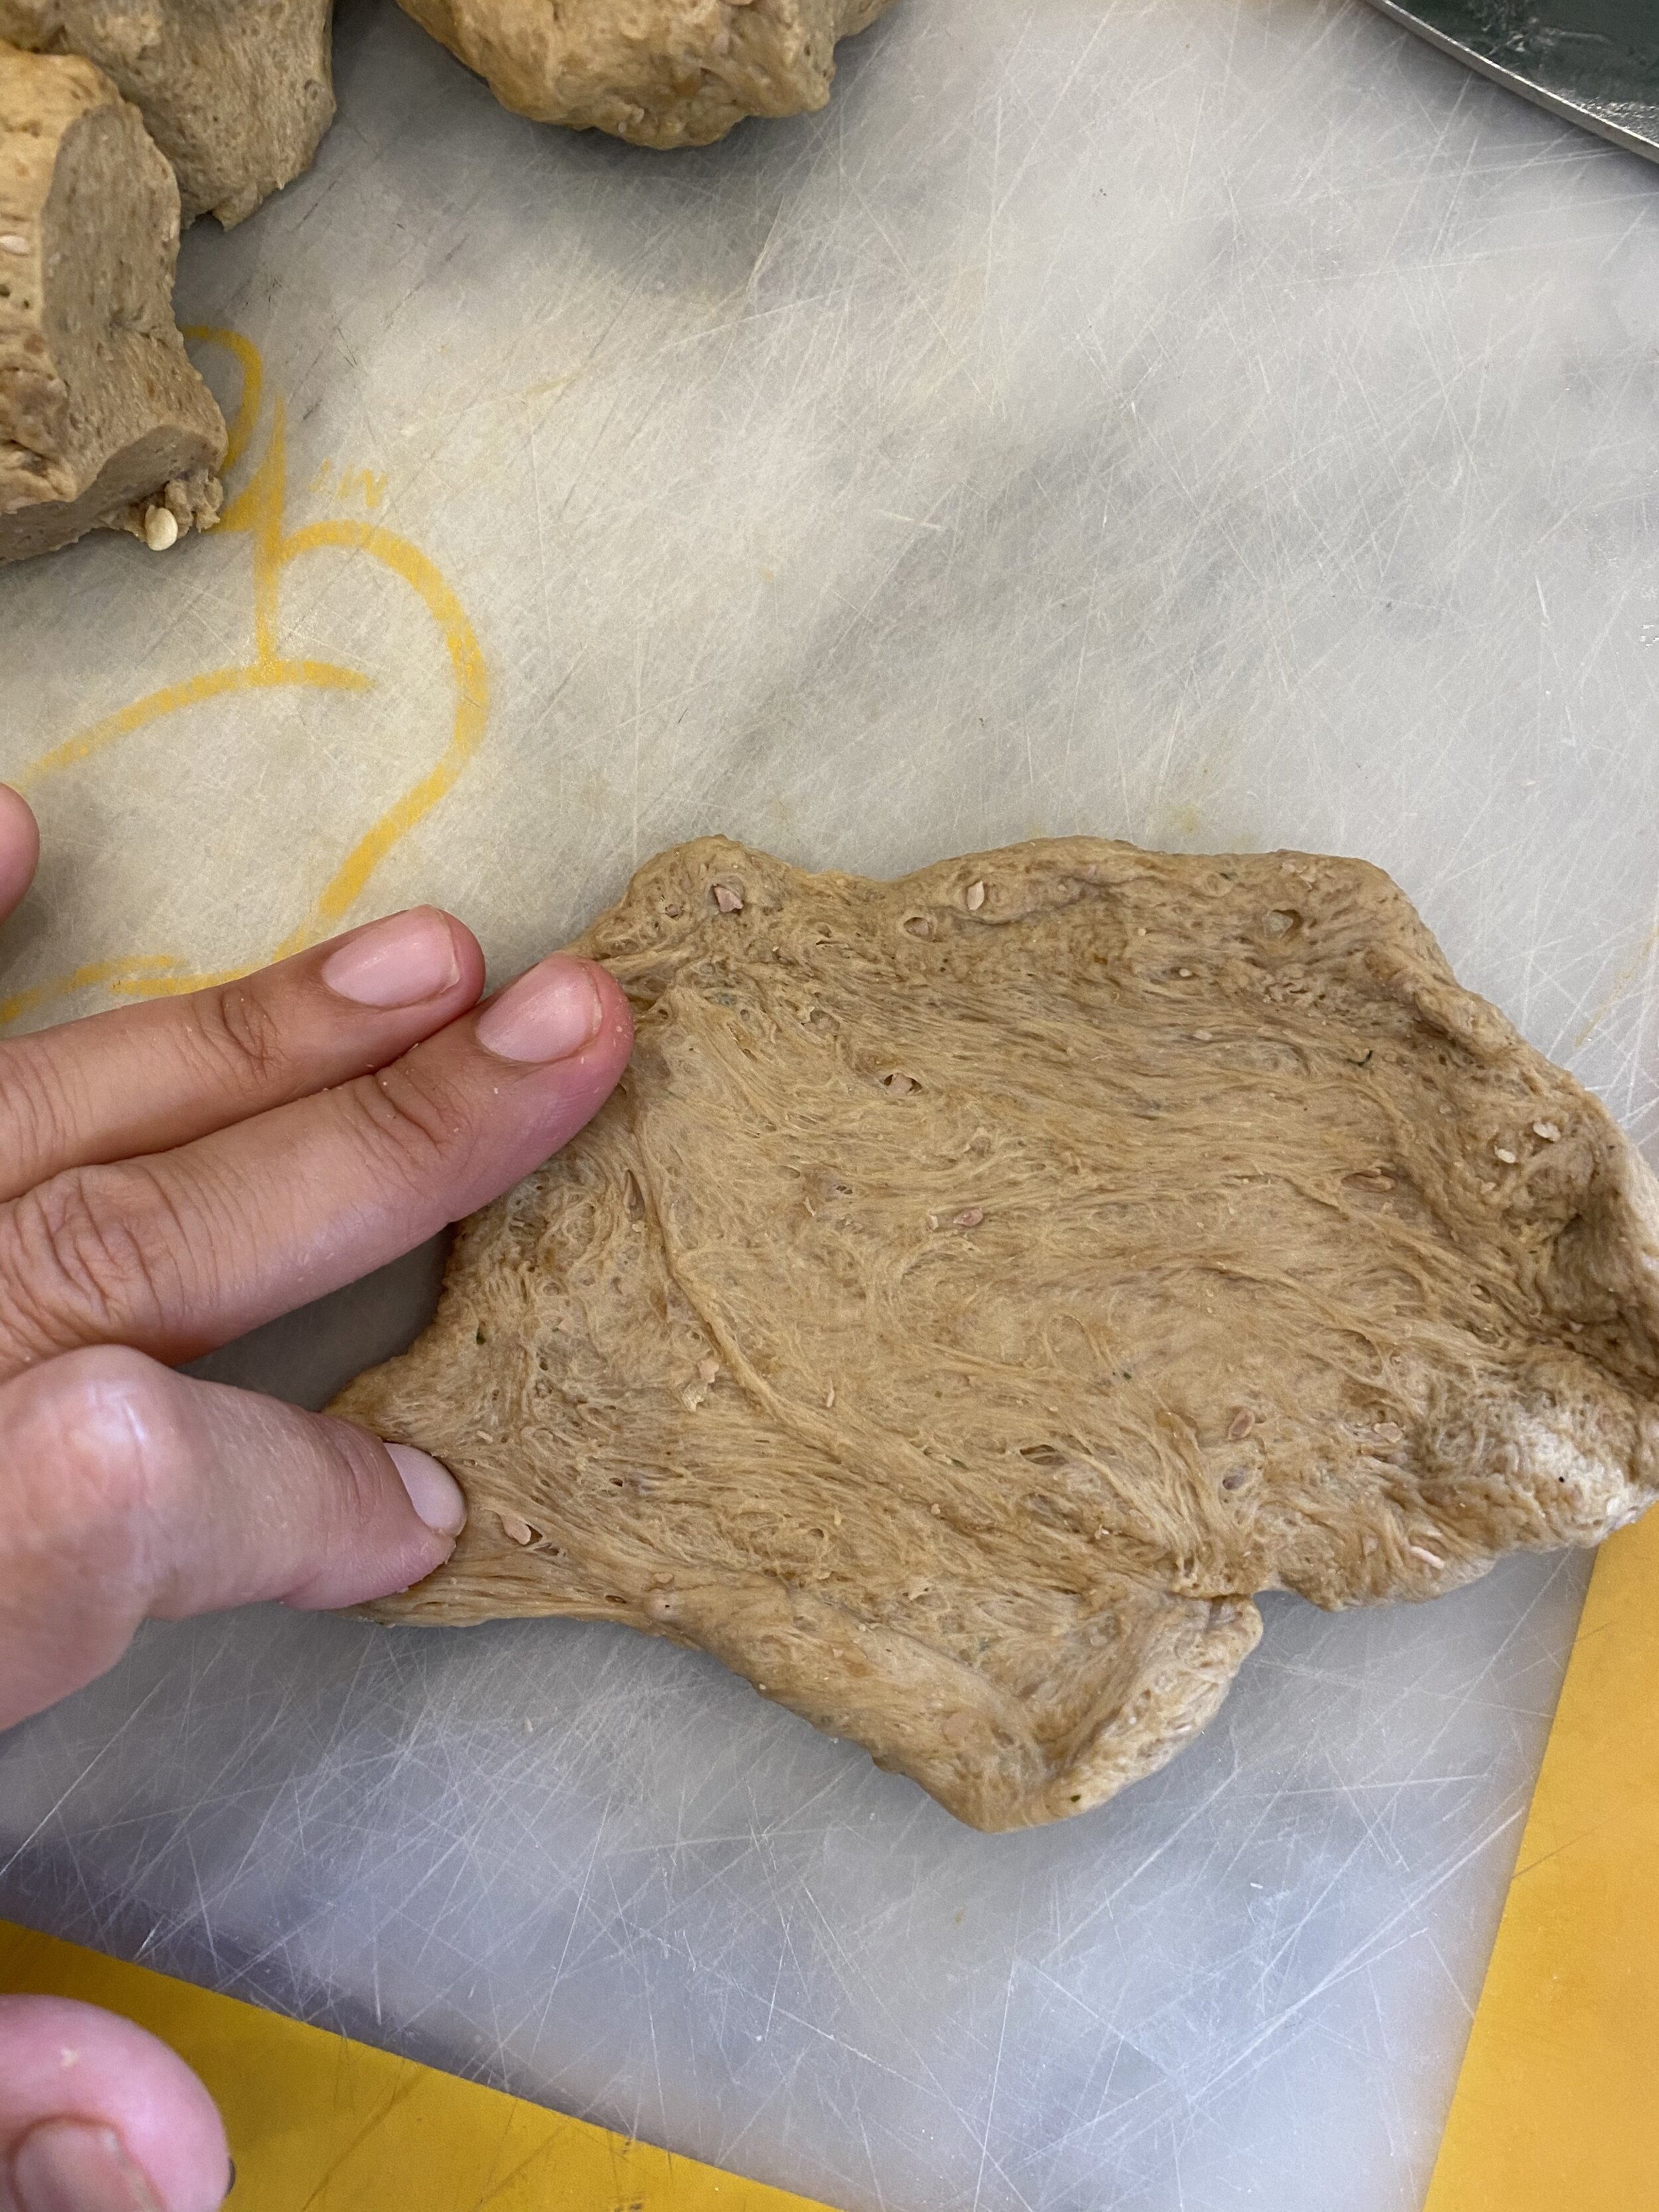
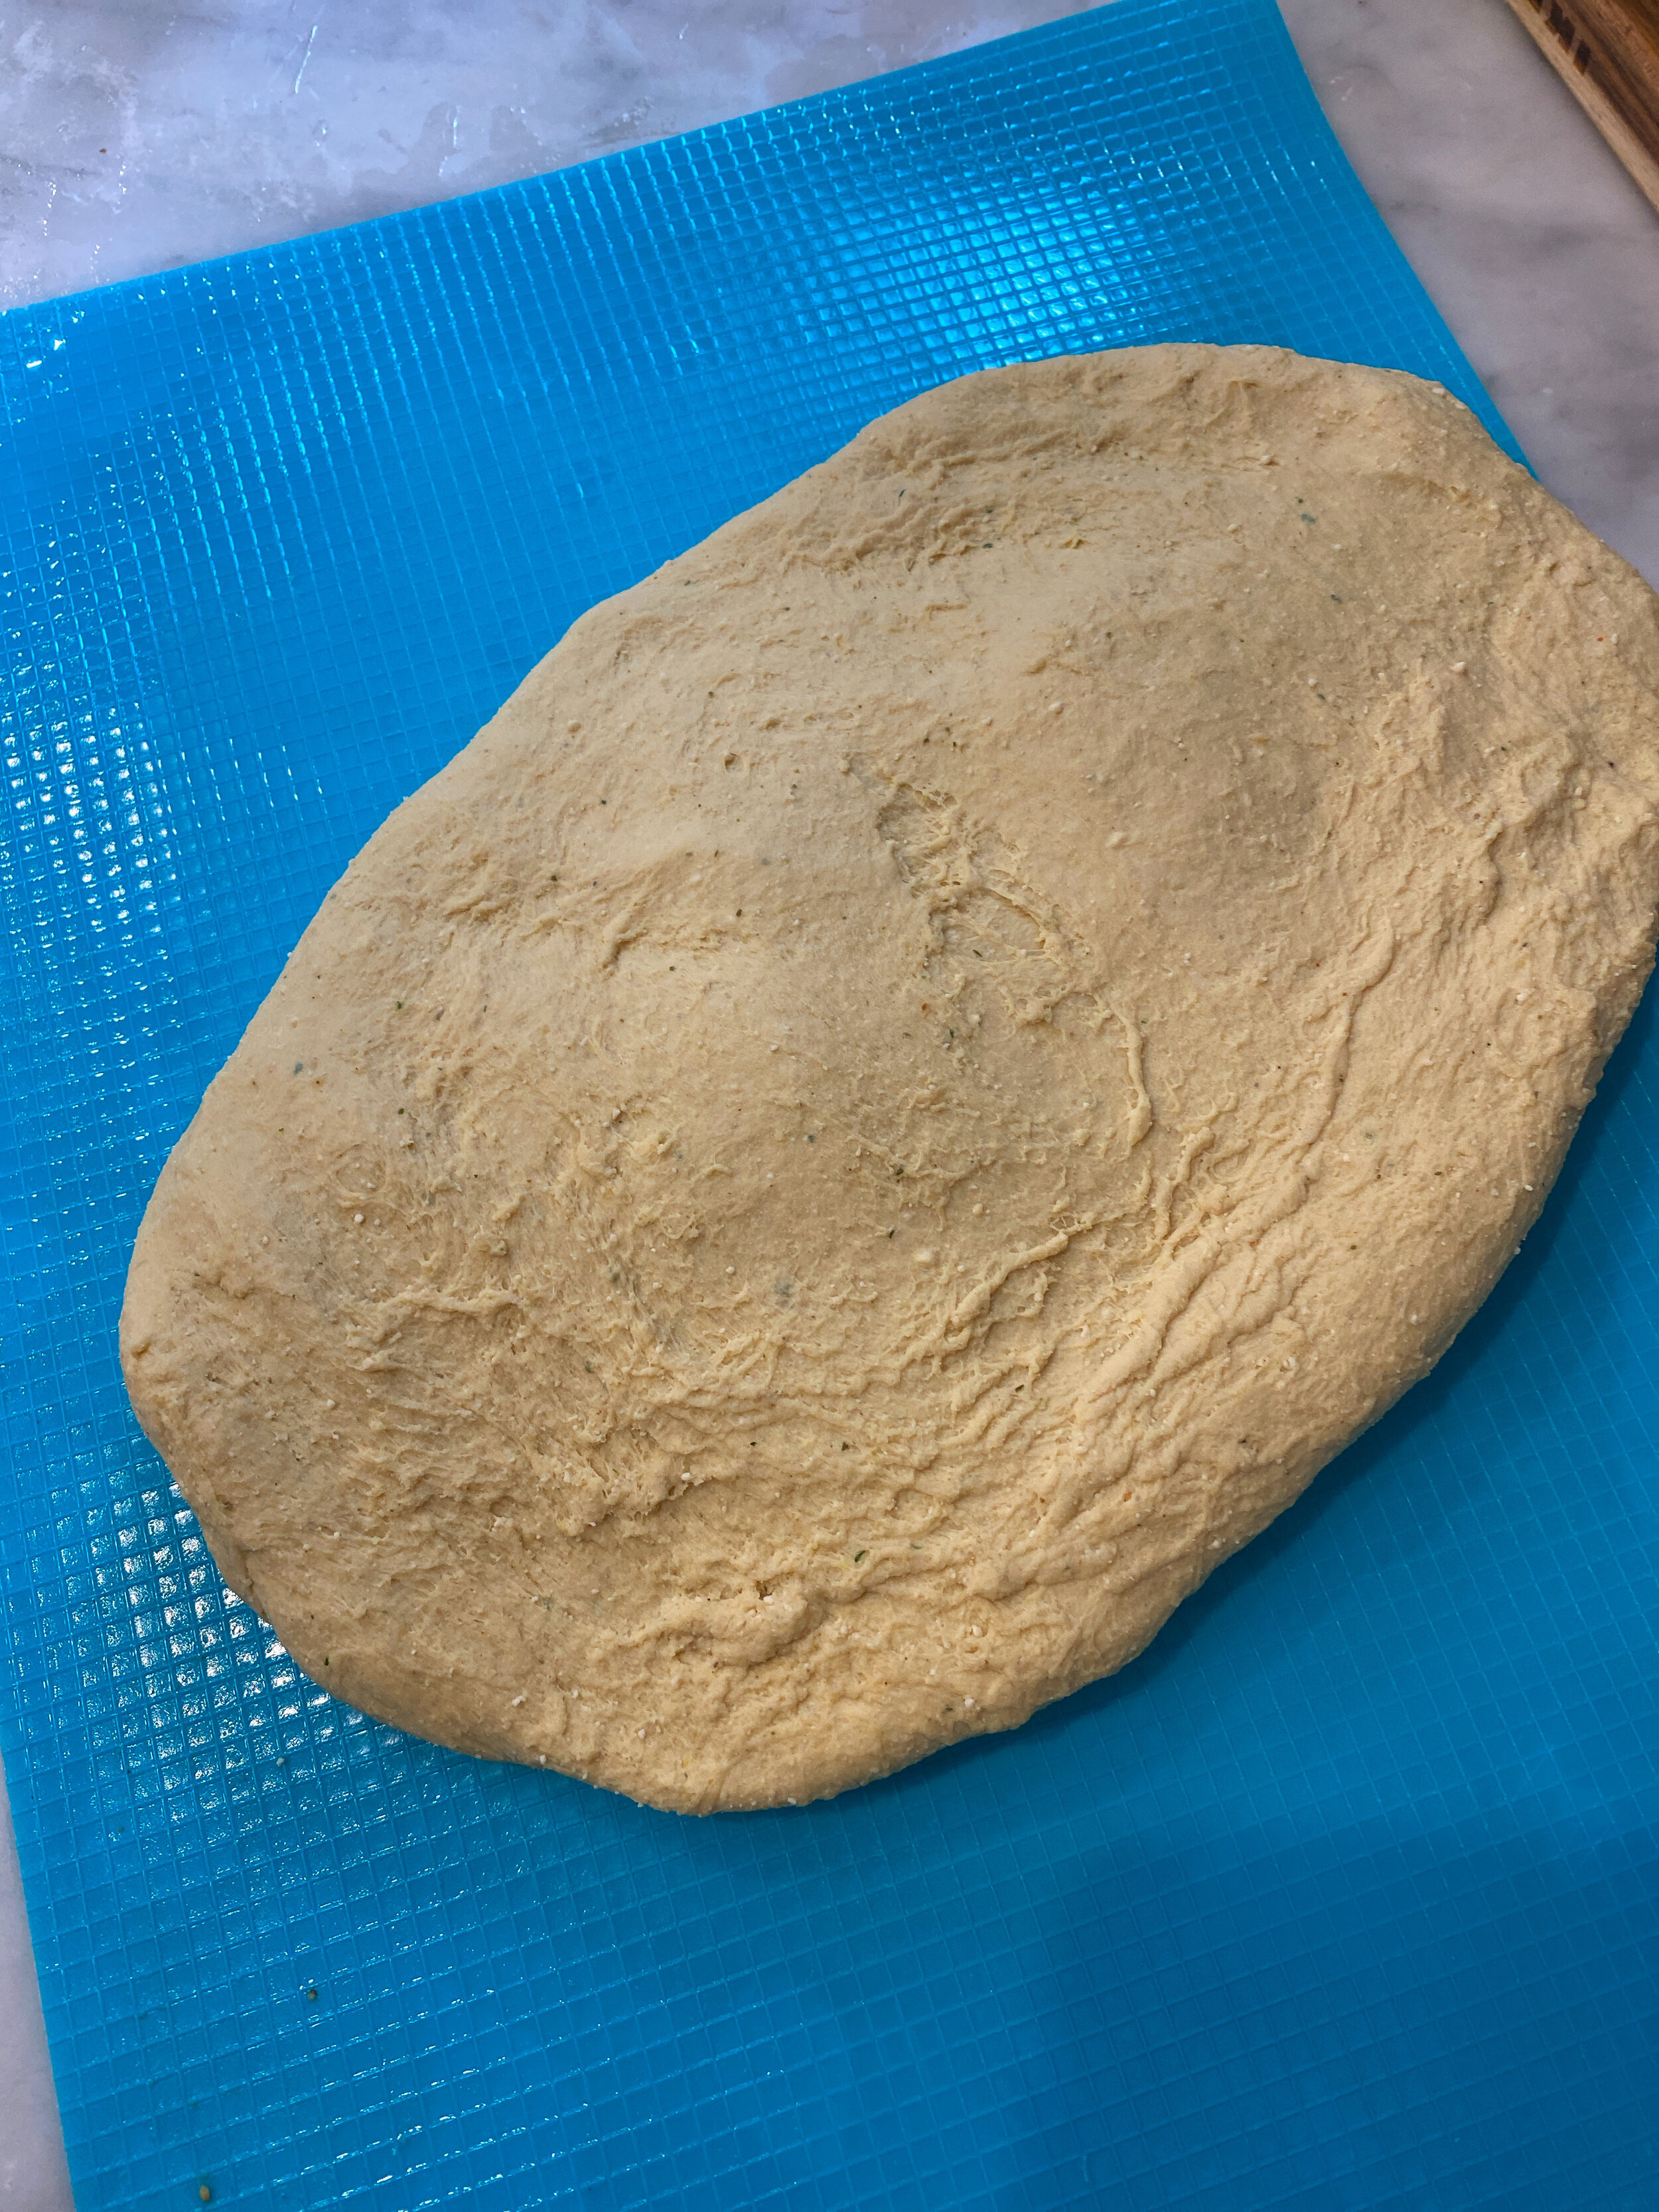
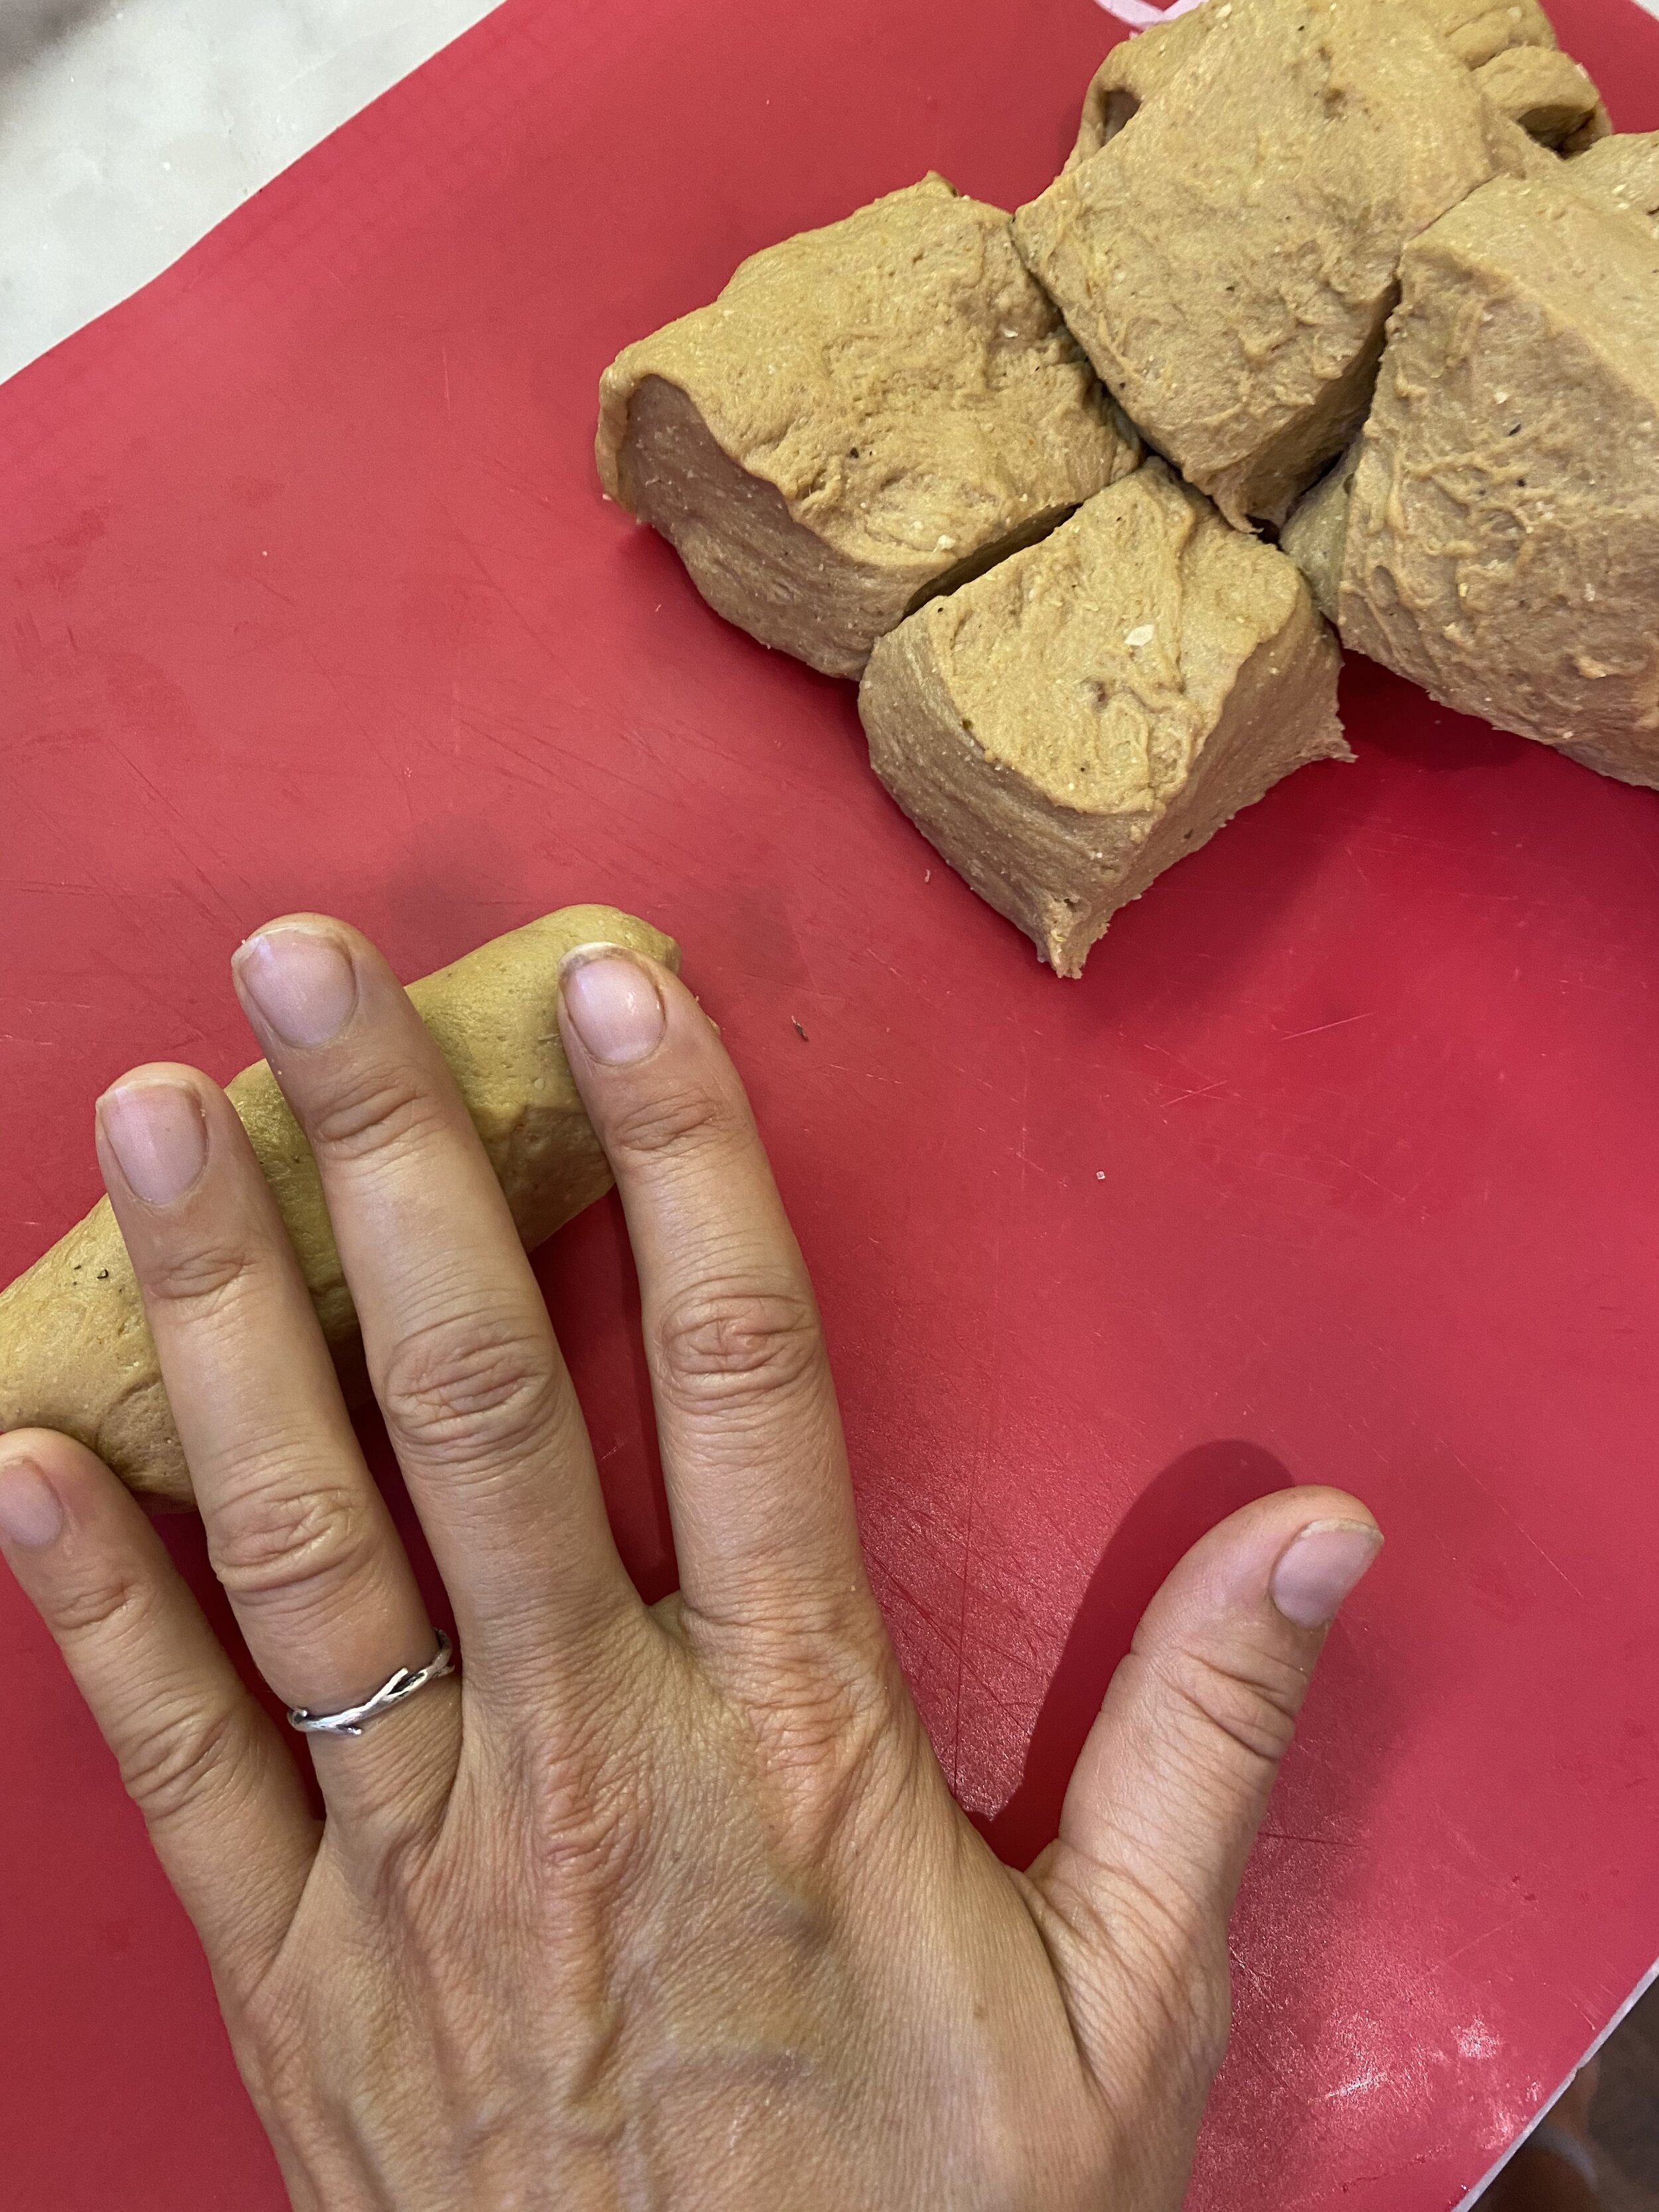
Once you have a smooth but firm dough, remove it from the food processor and place on a clean counter. Knead the dough with your hands for about a minute, forming a kind of rectangular shaped loaf with the dough.
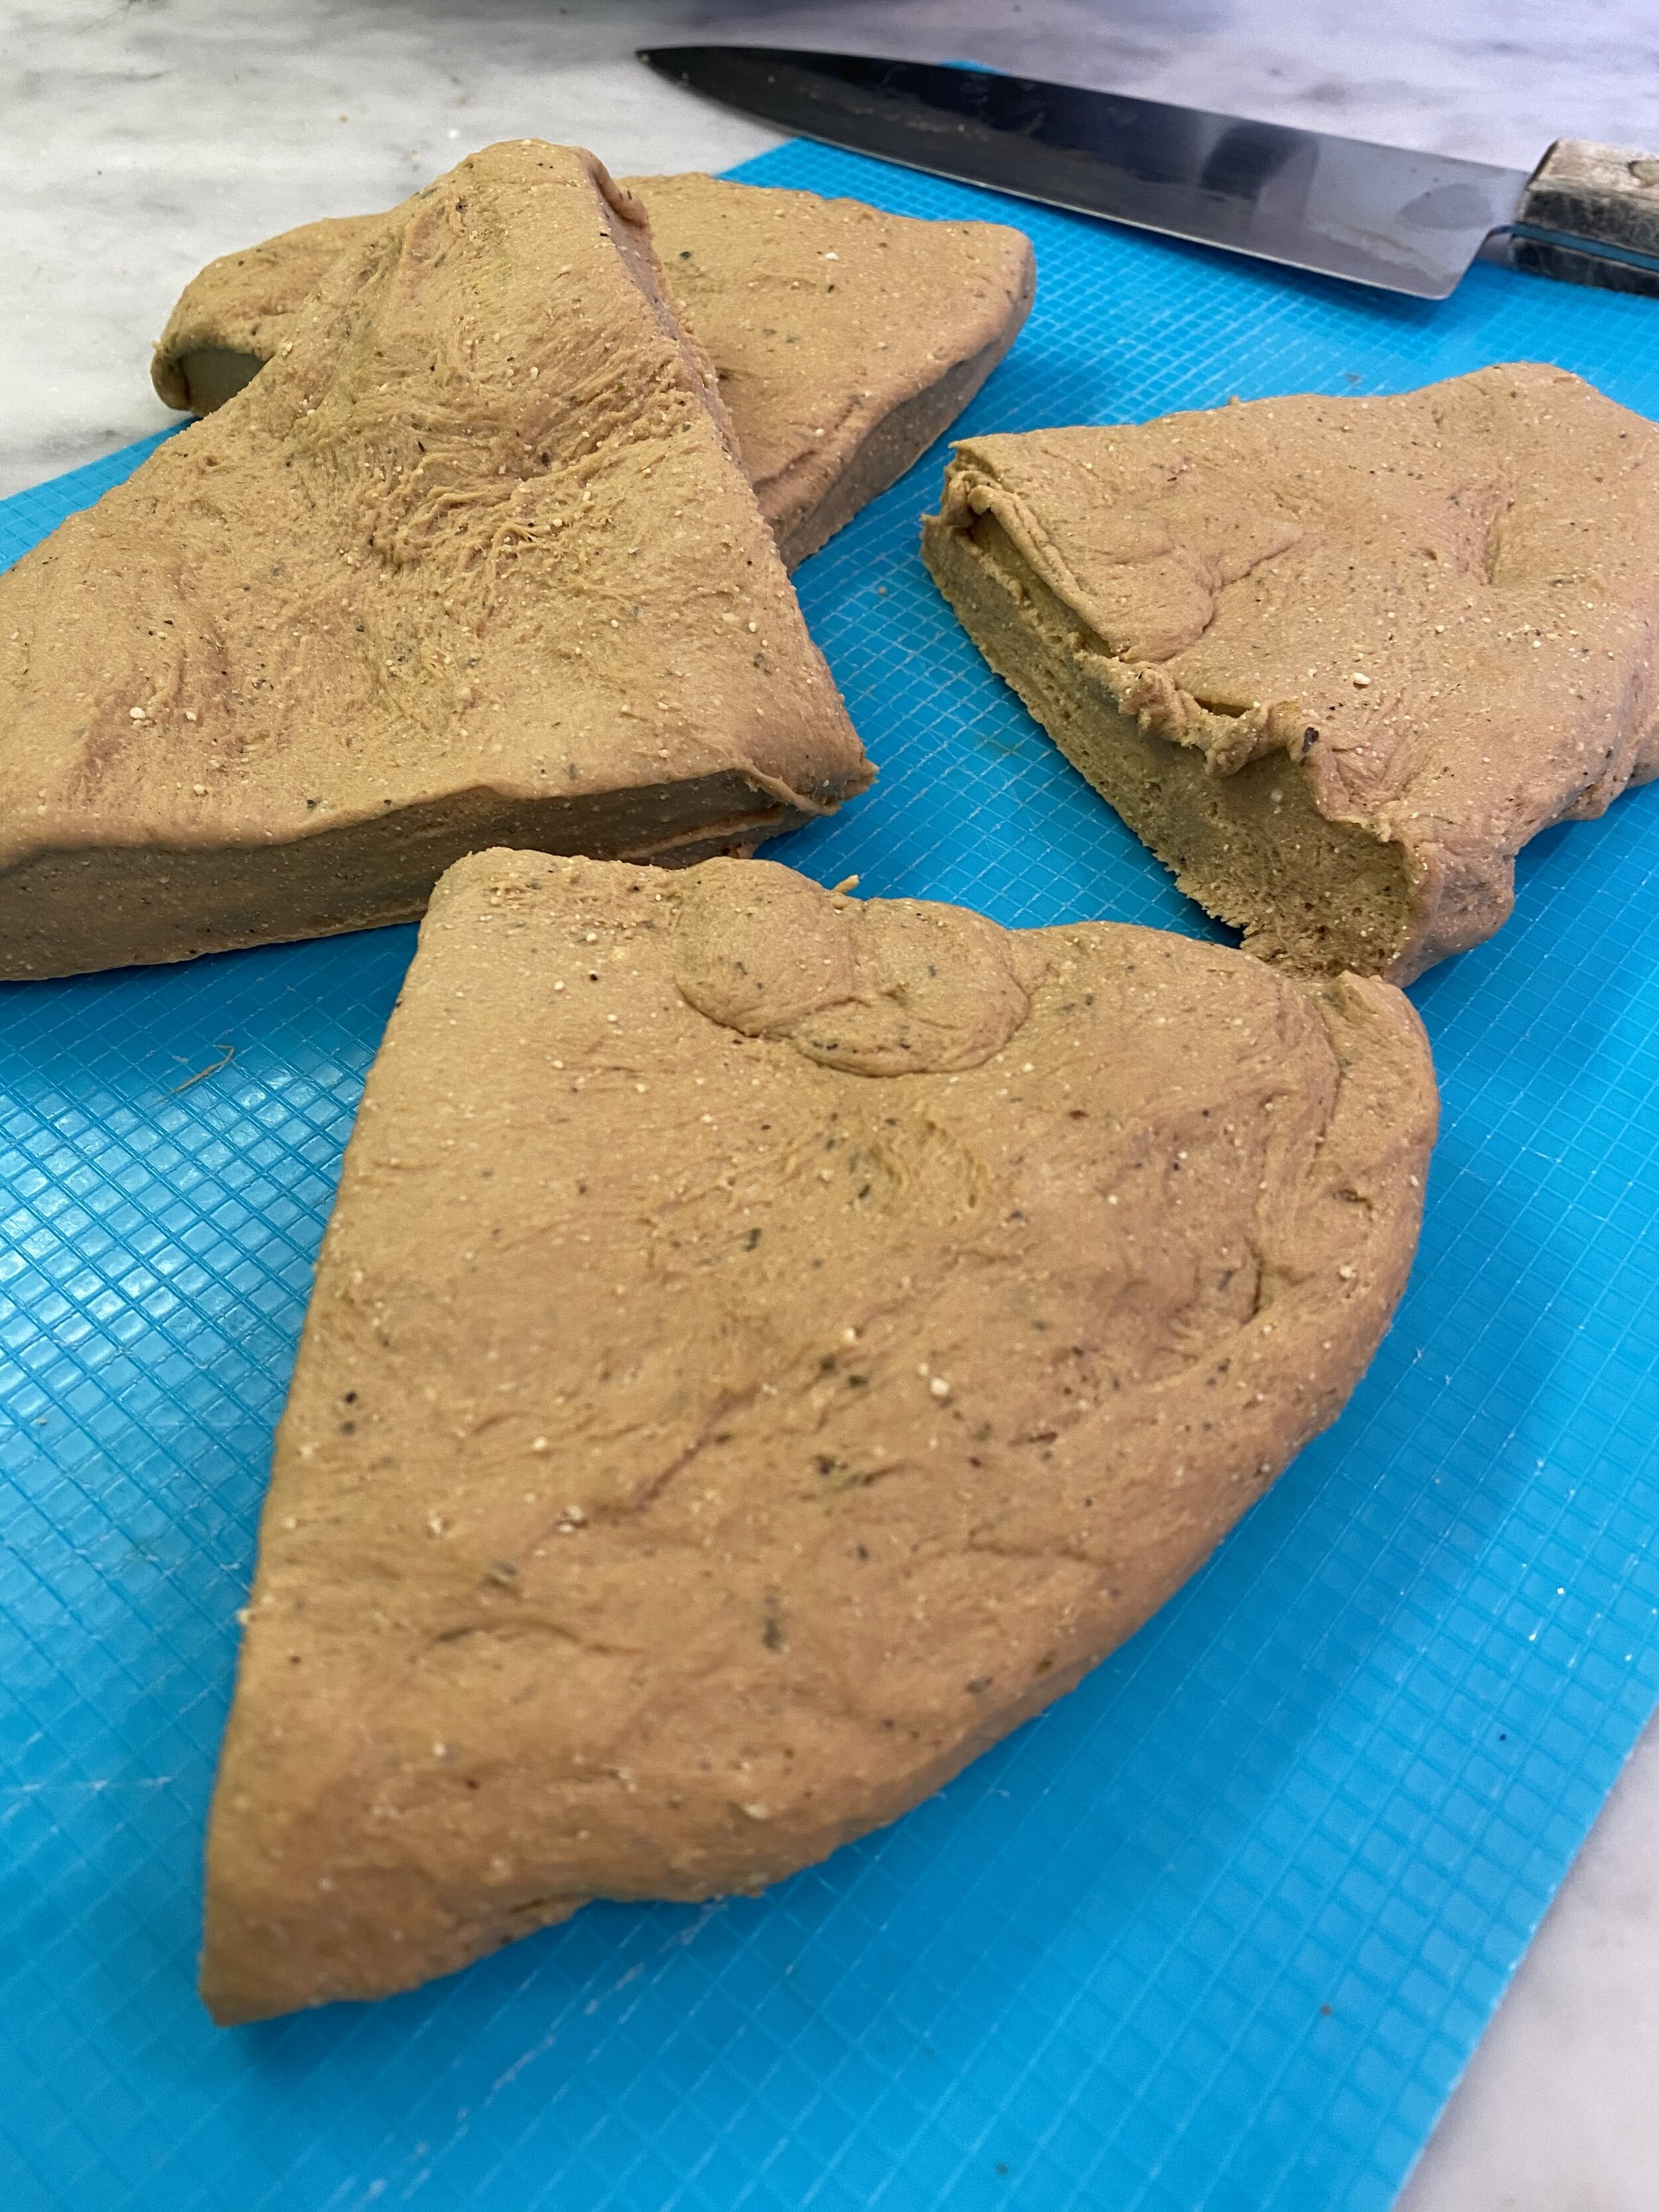
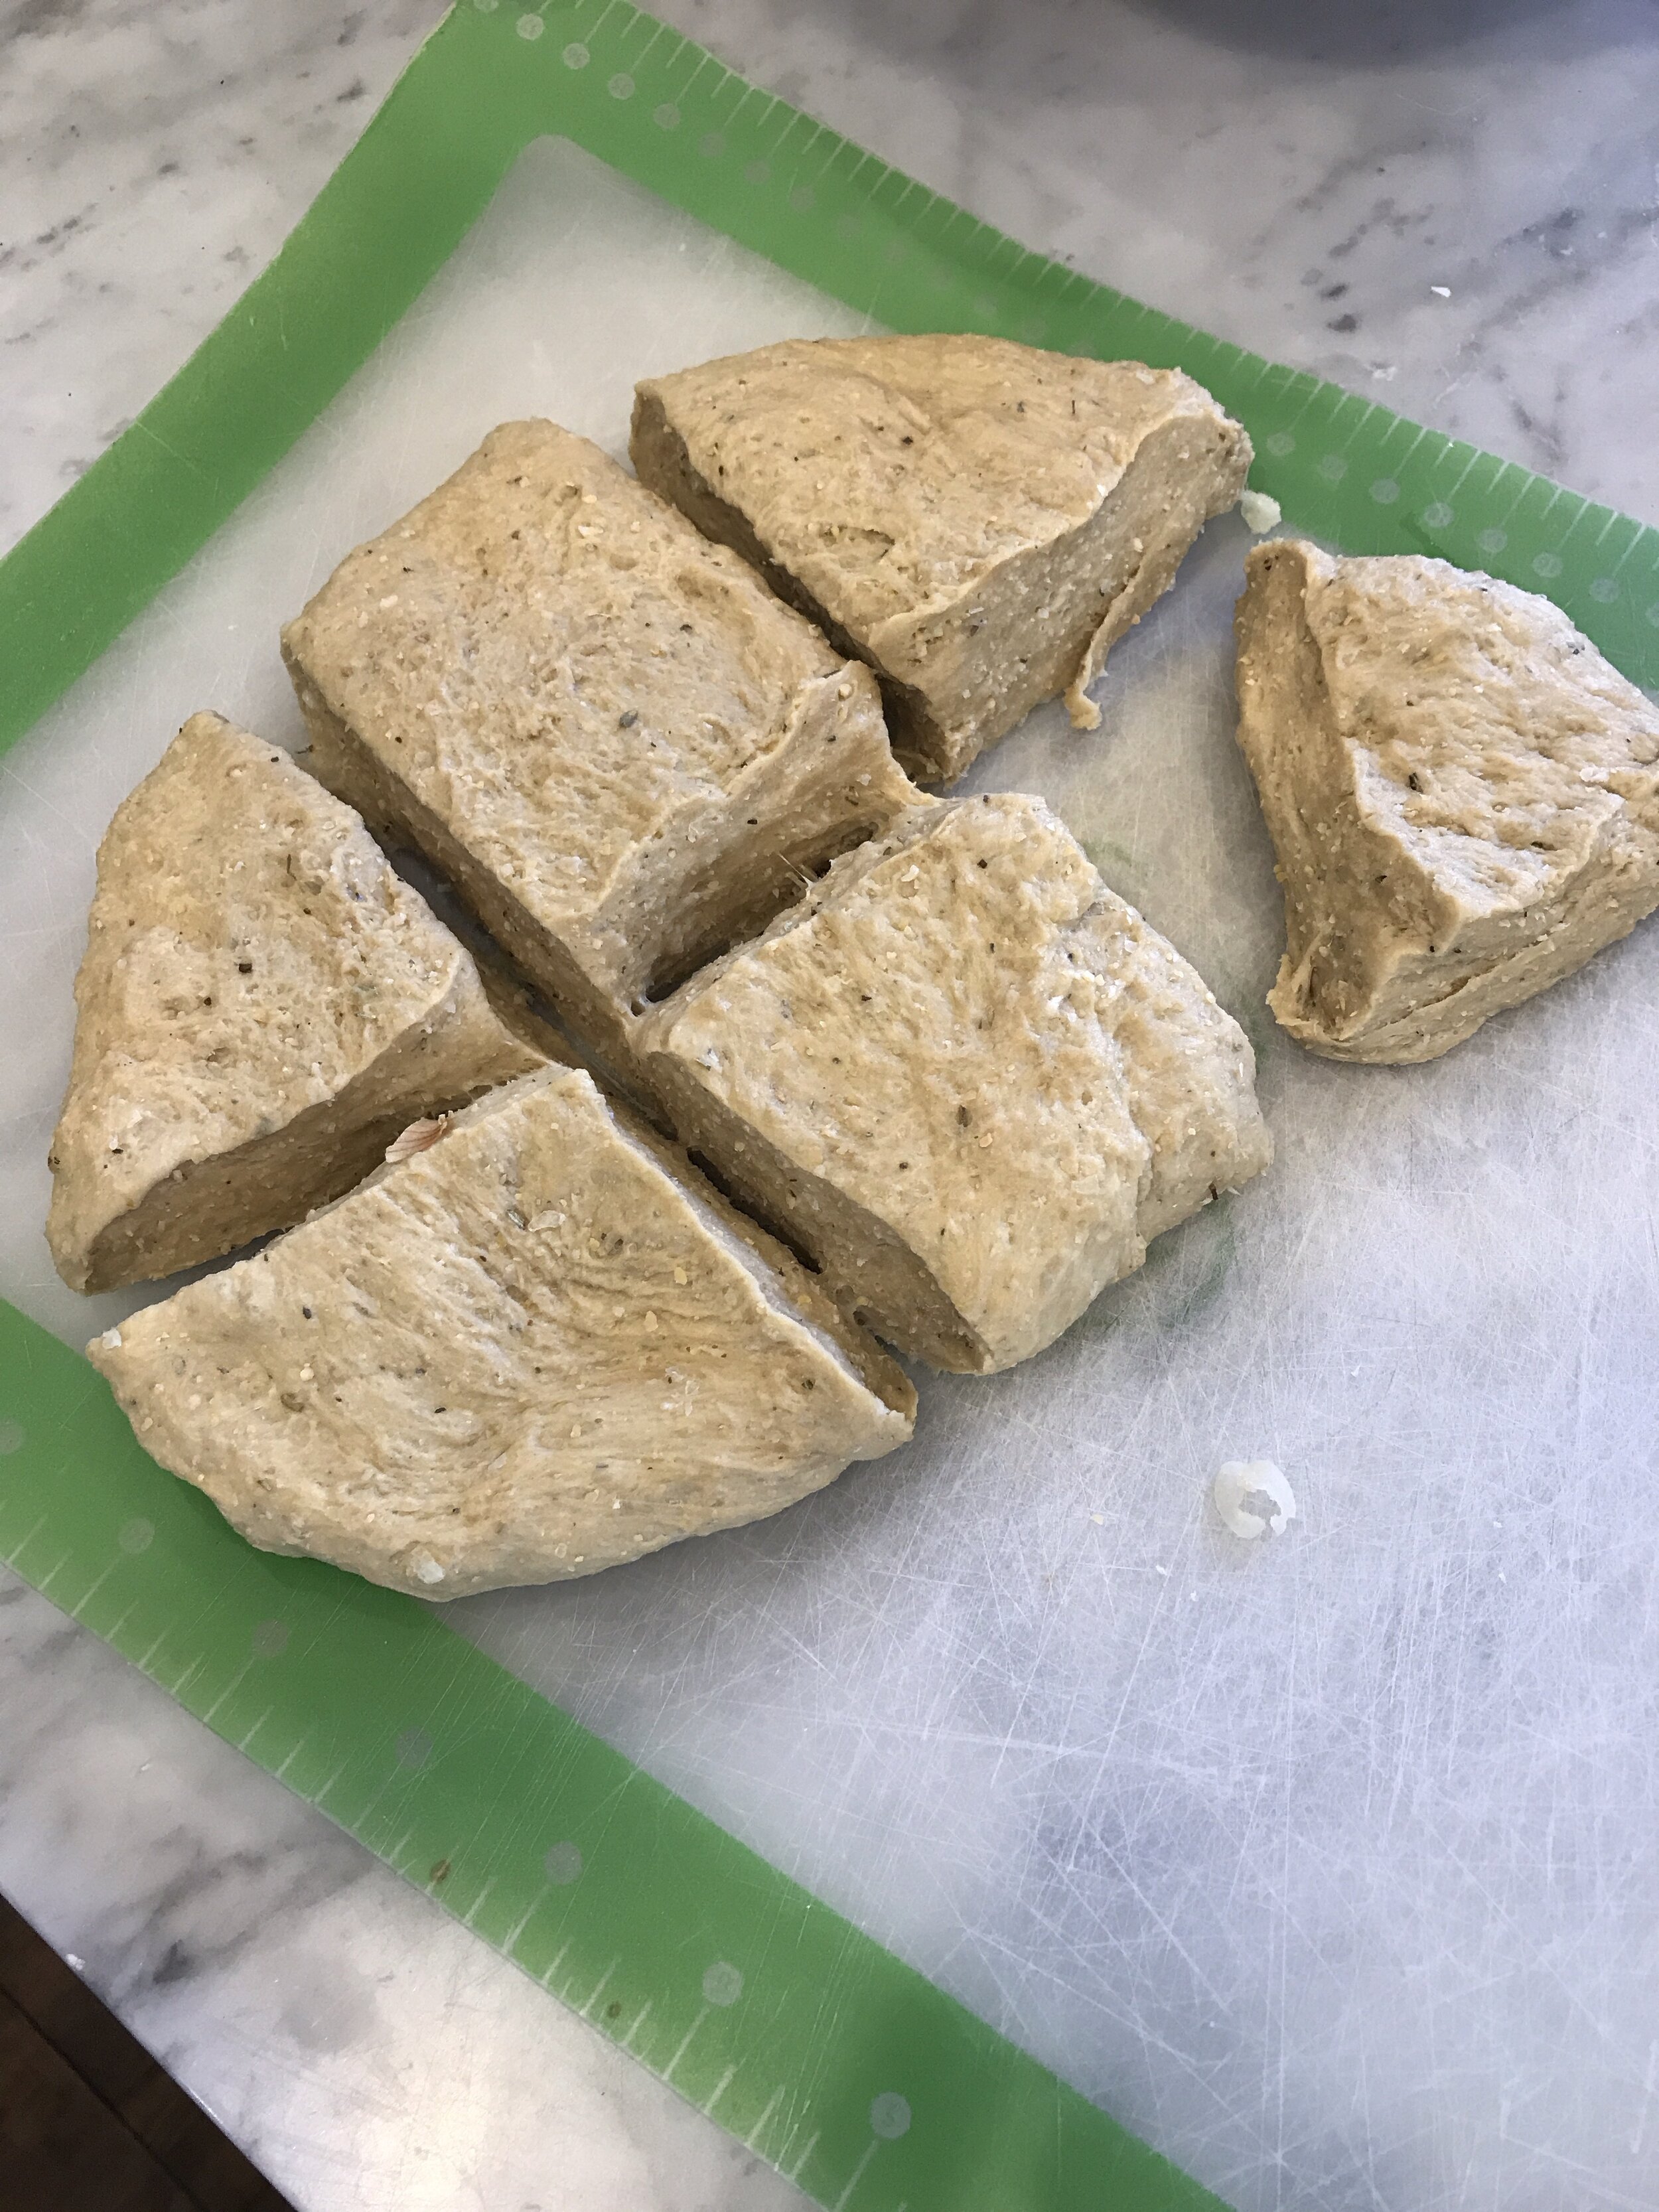
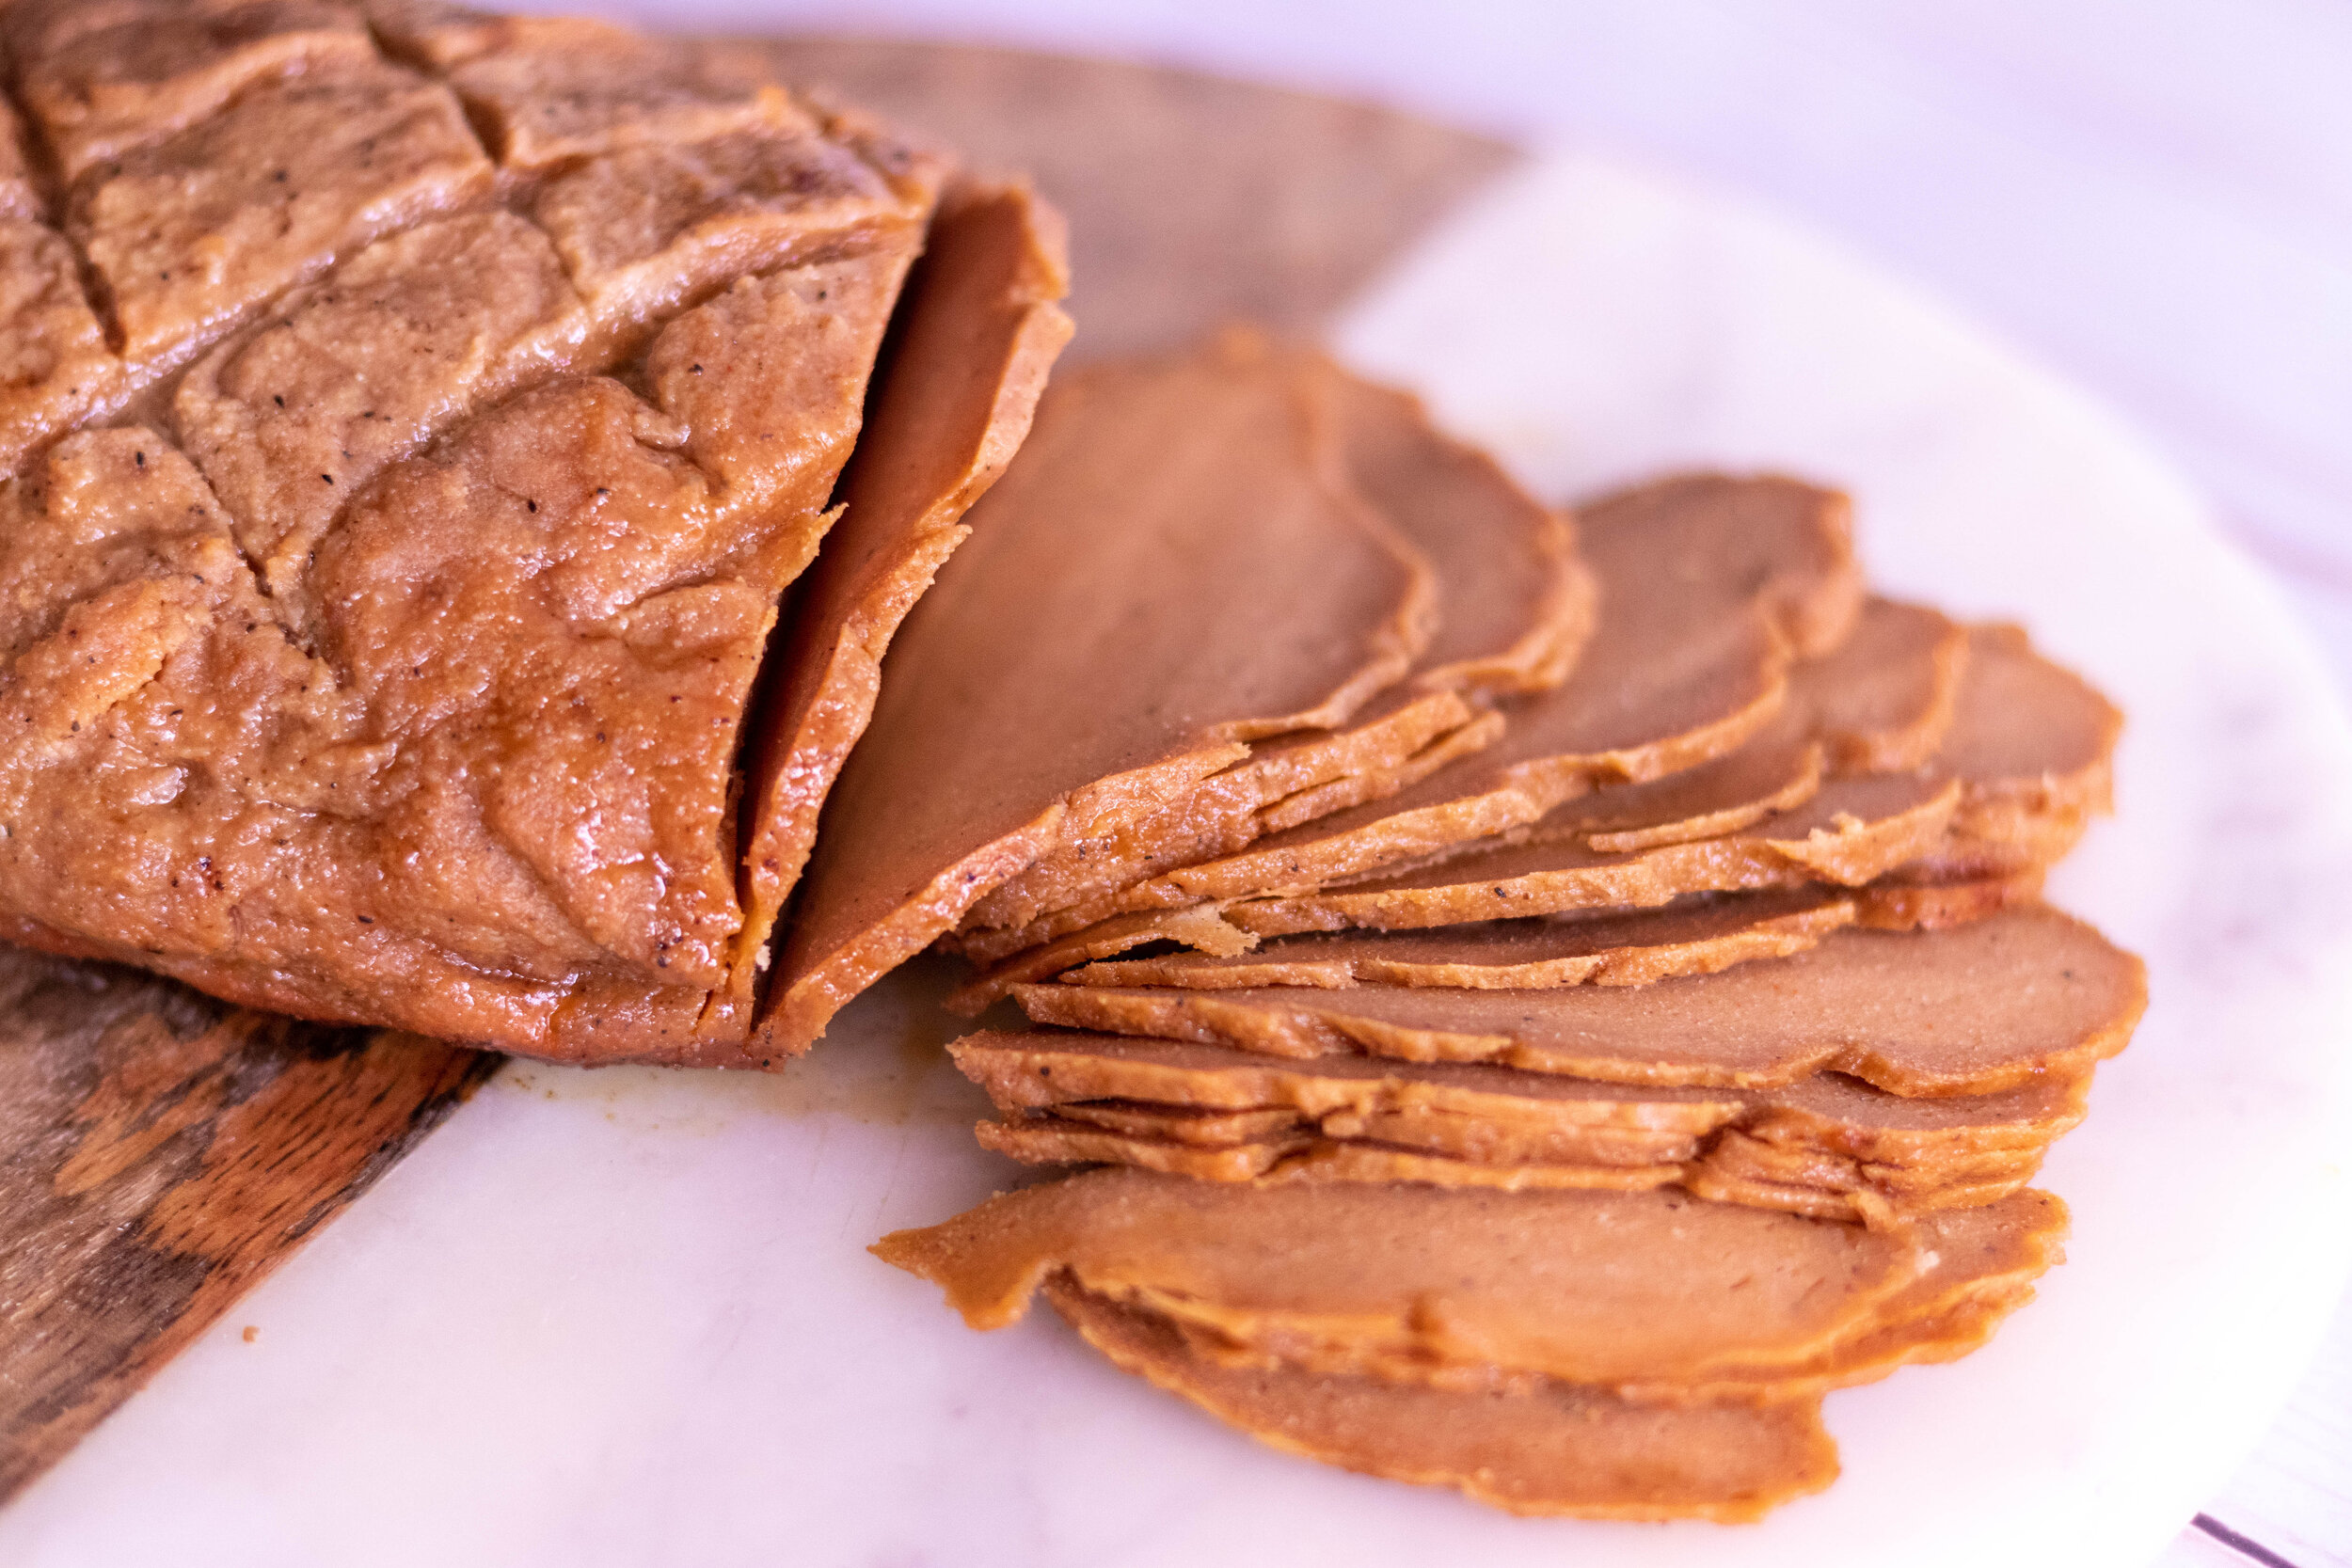
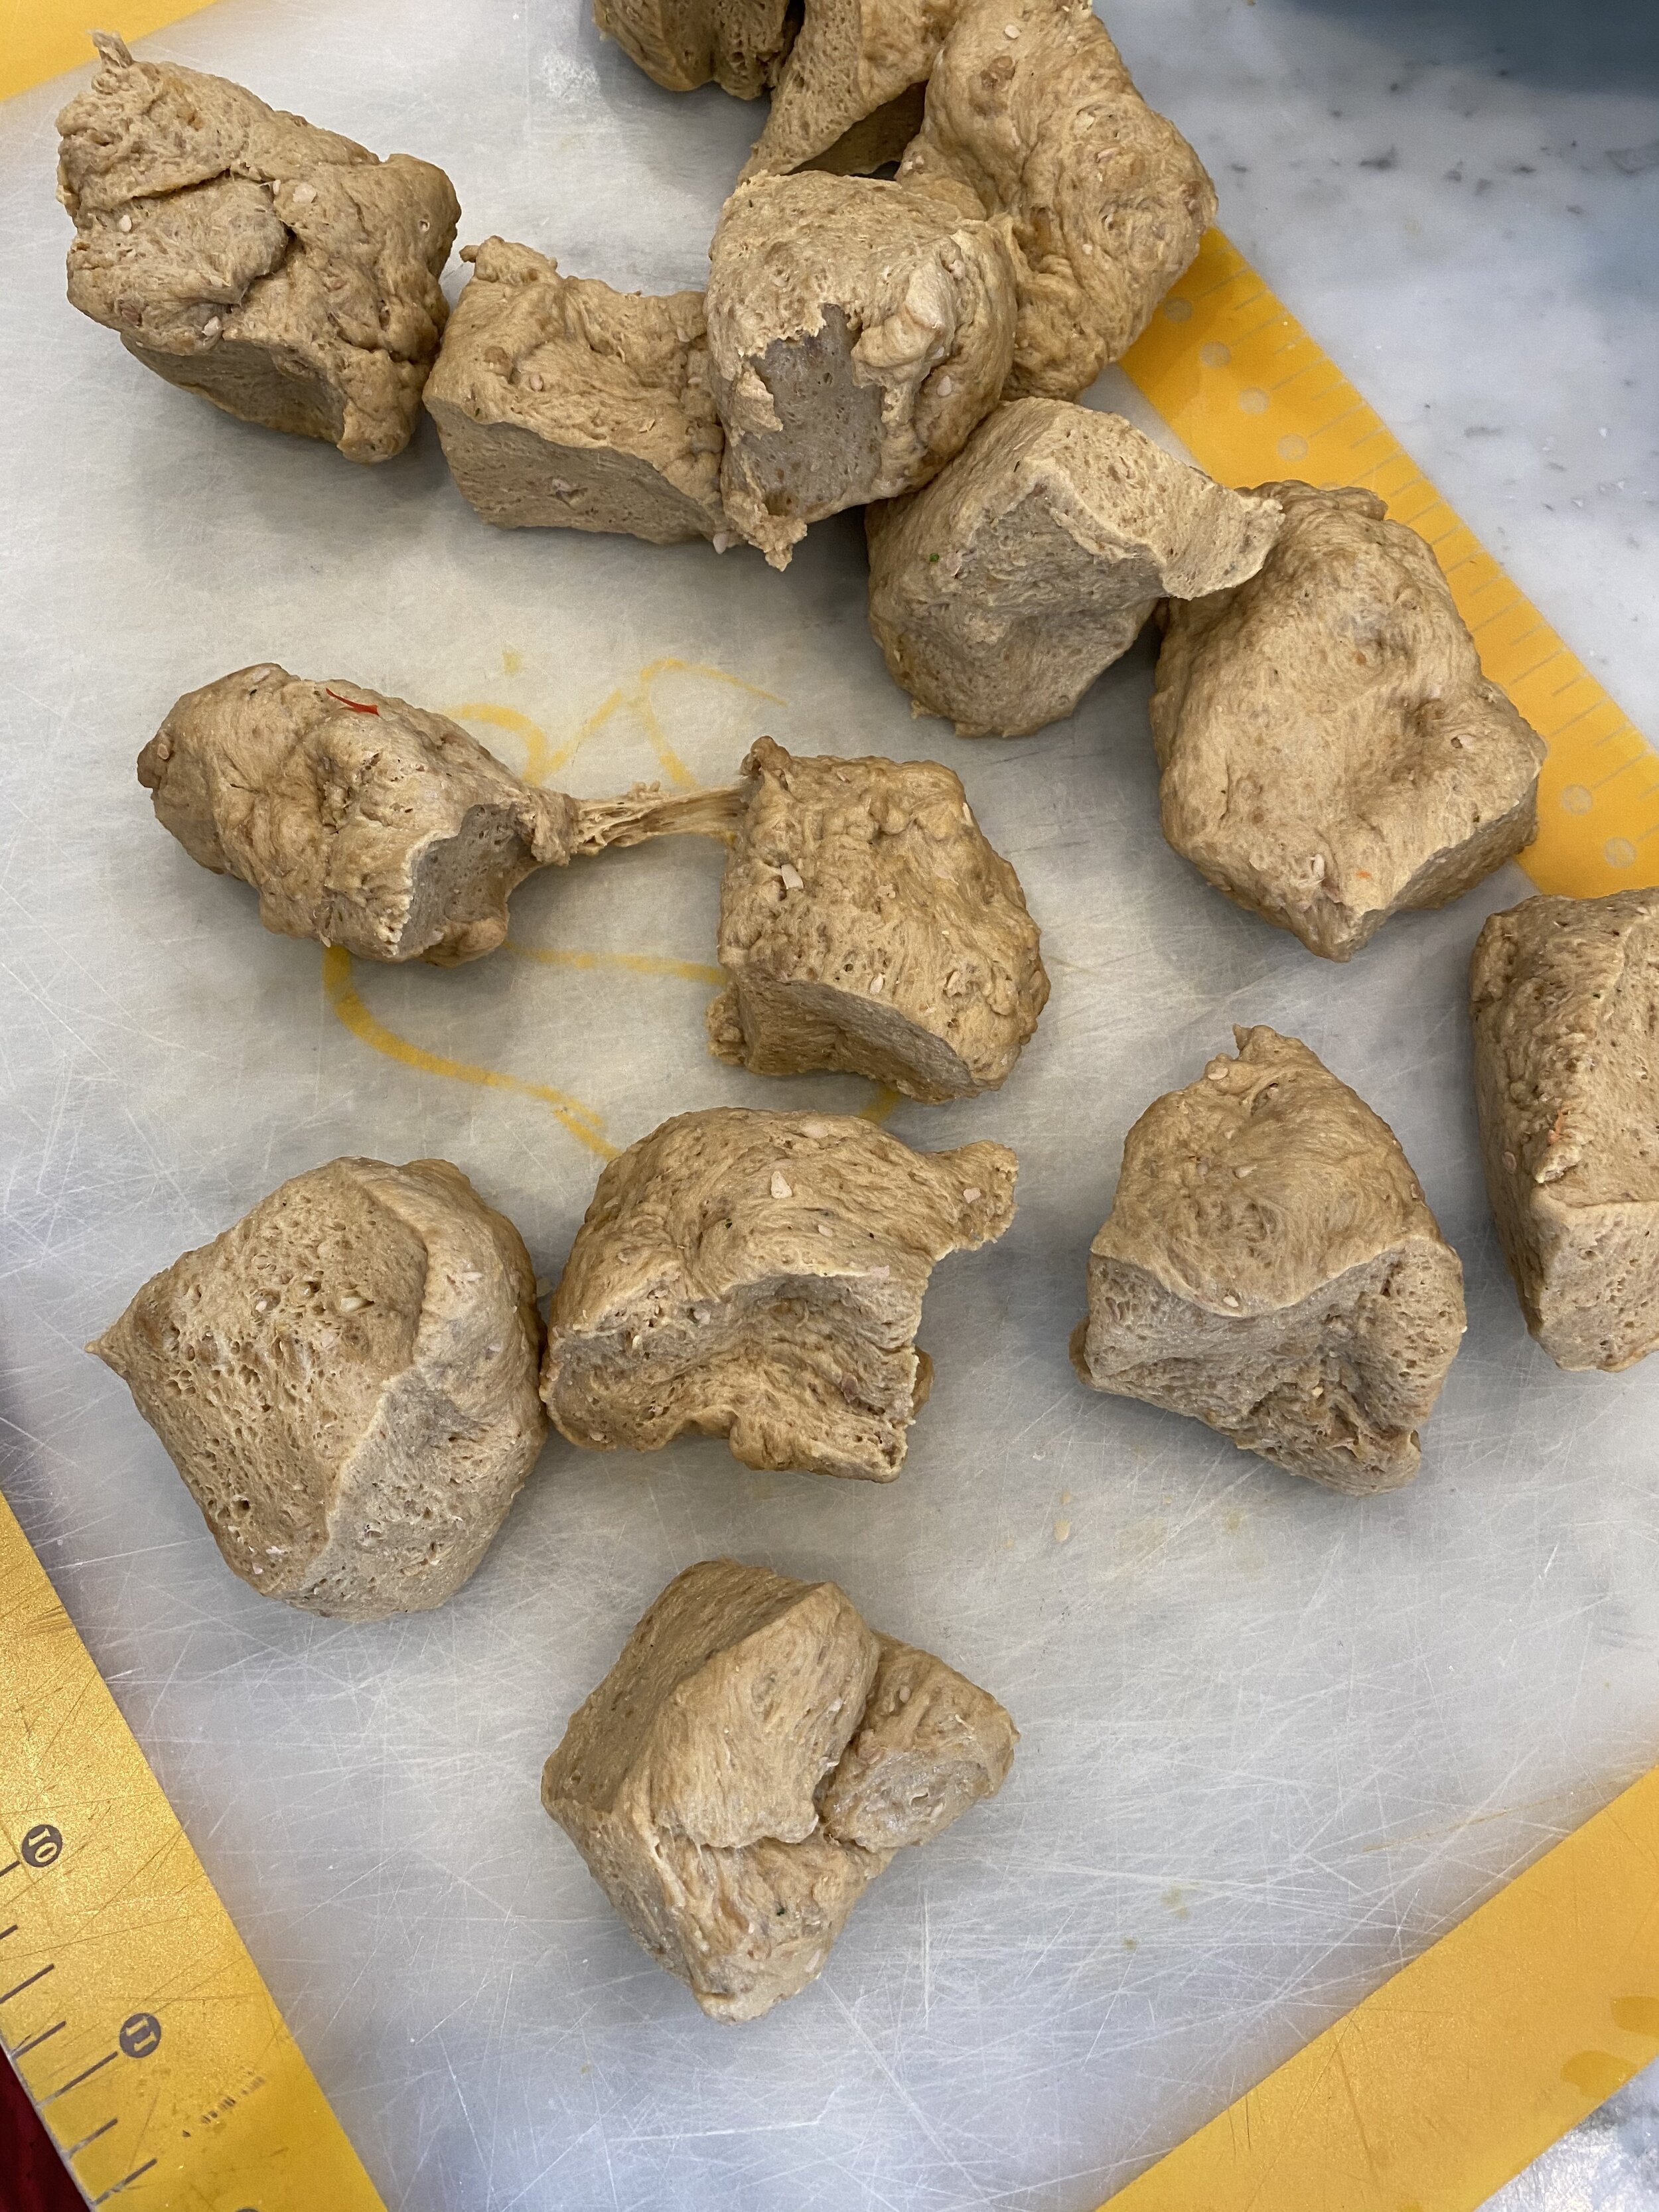
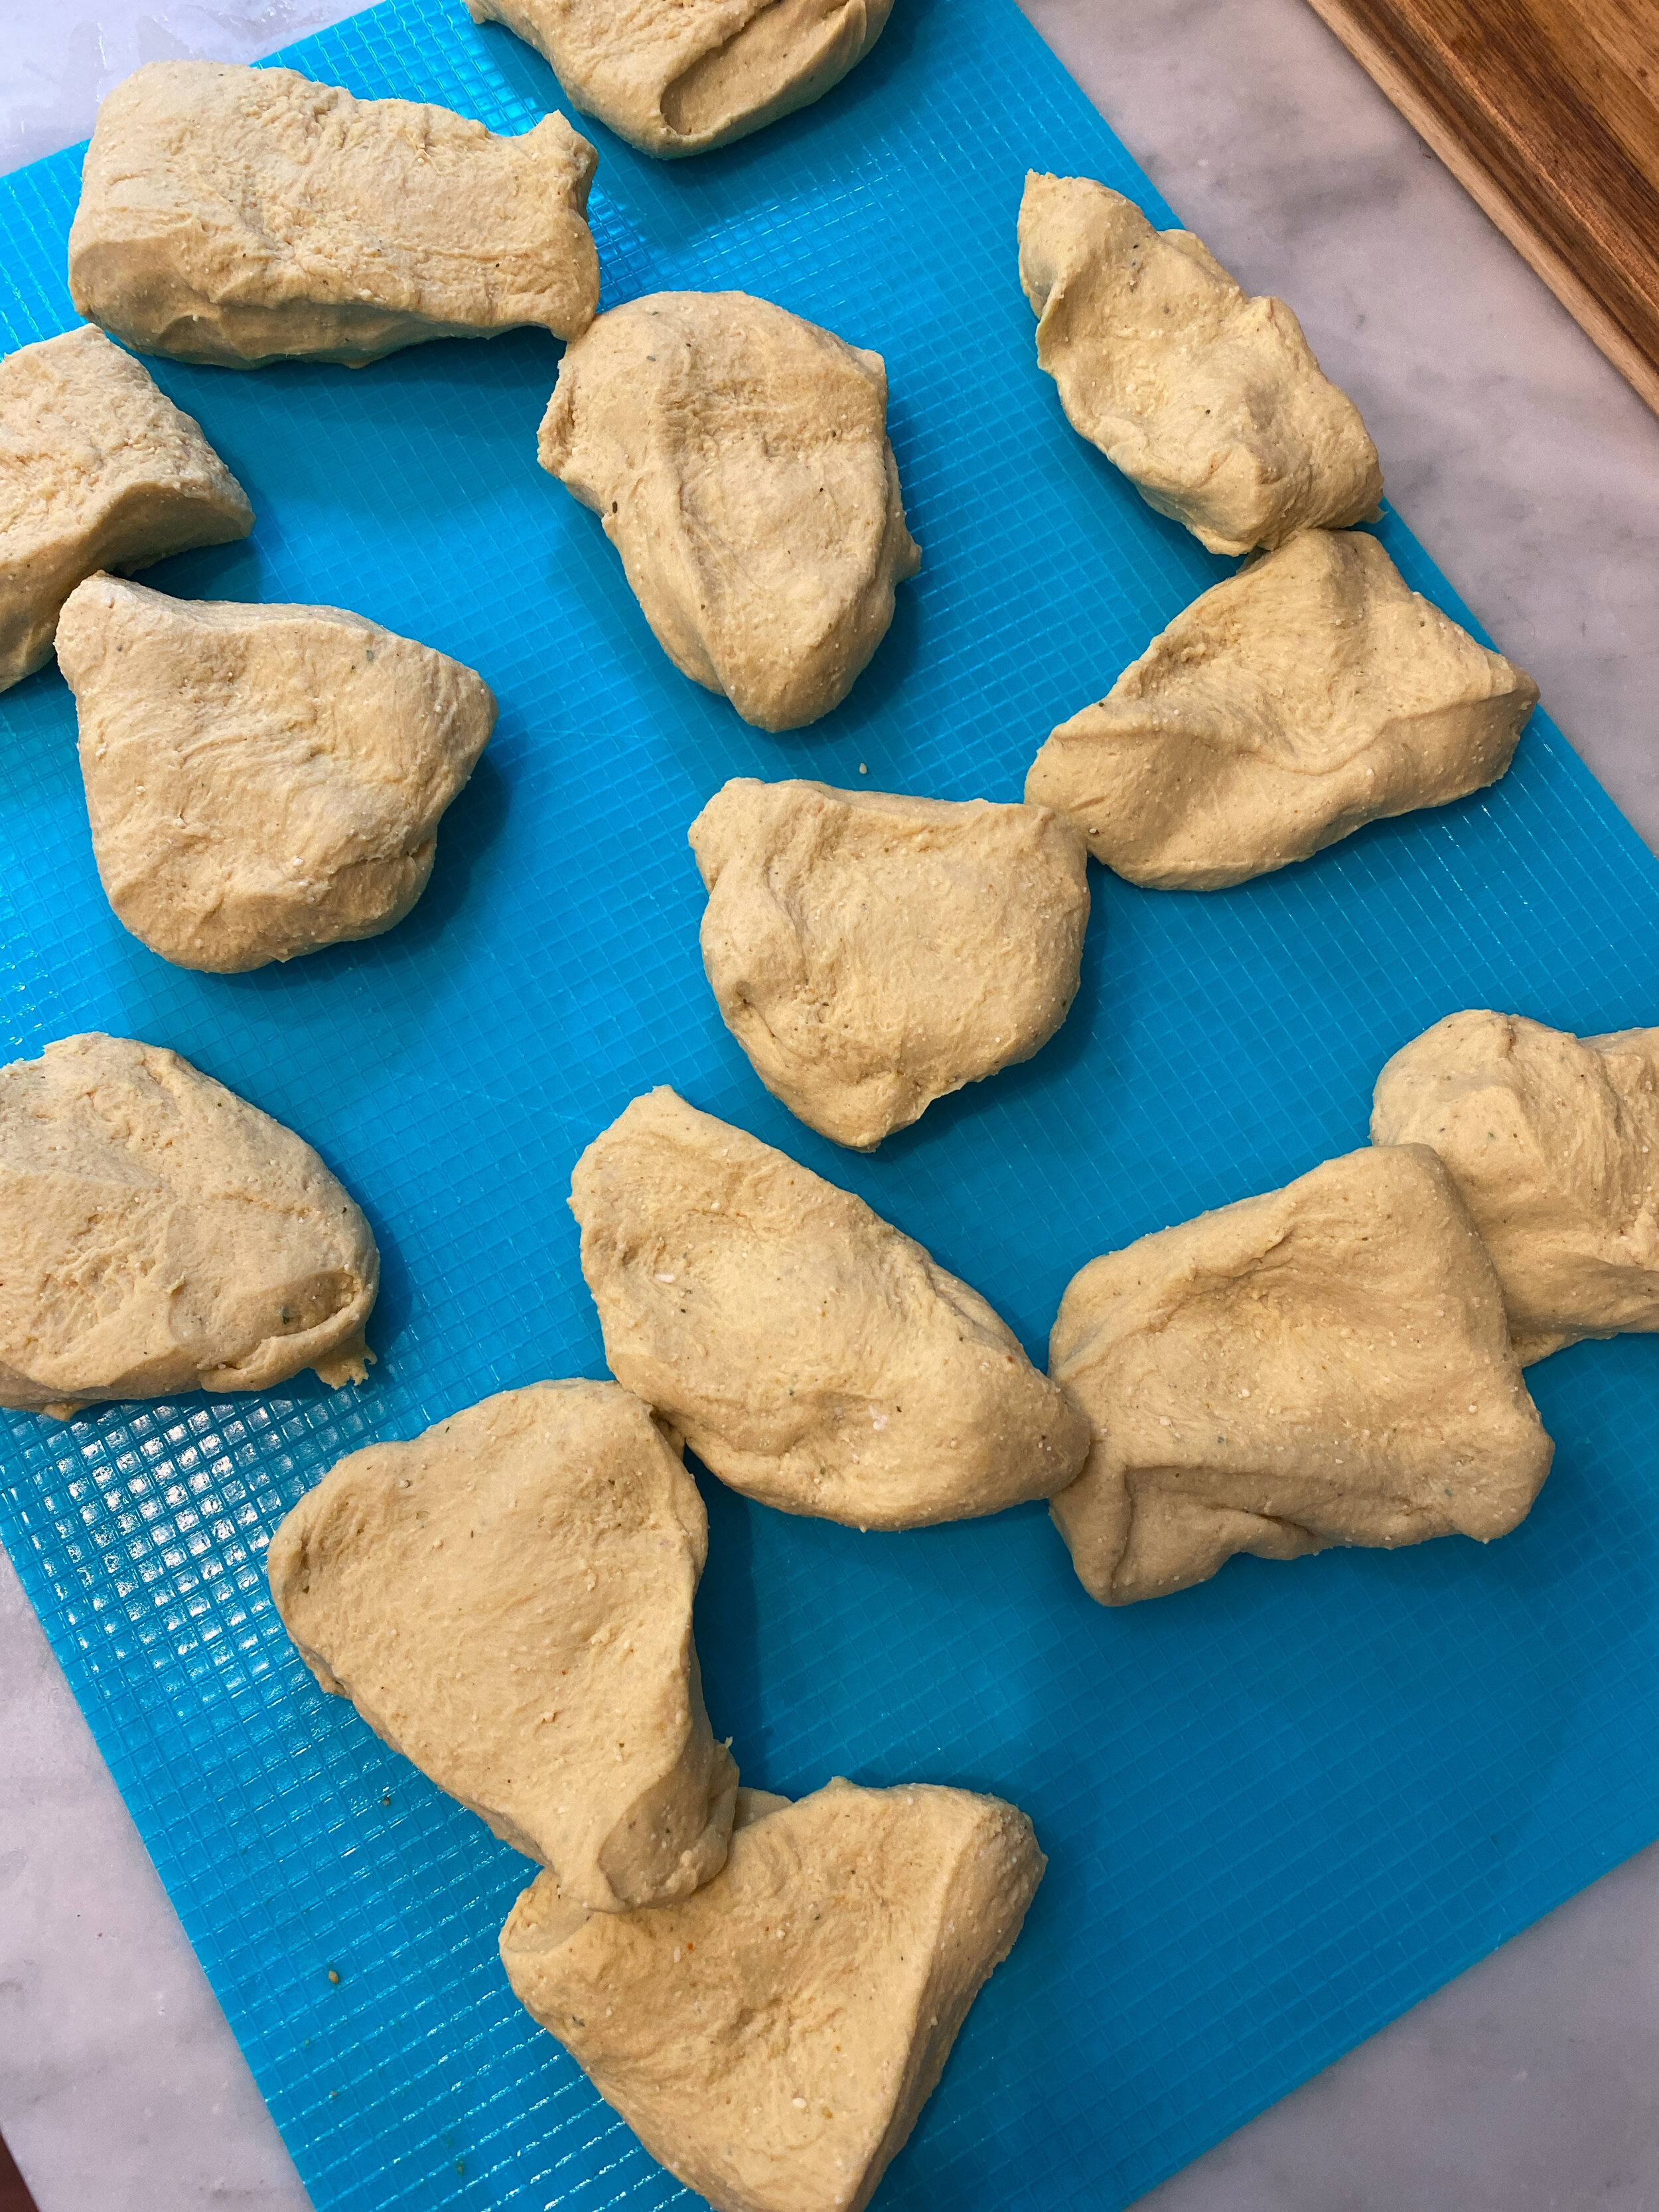
Evenly divide the dough into about 16 pieces. If you want larger hot dogs you can divide it into 12 or 14 pieces.
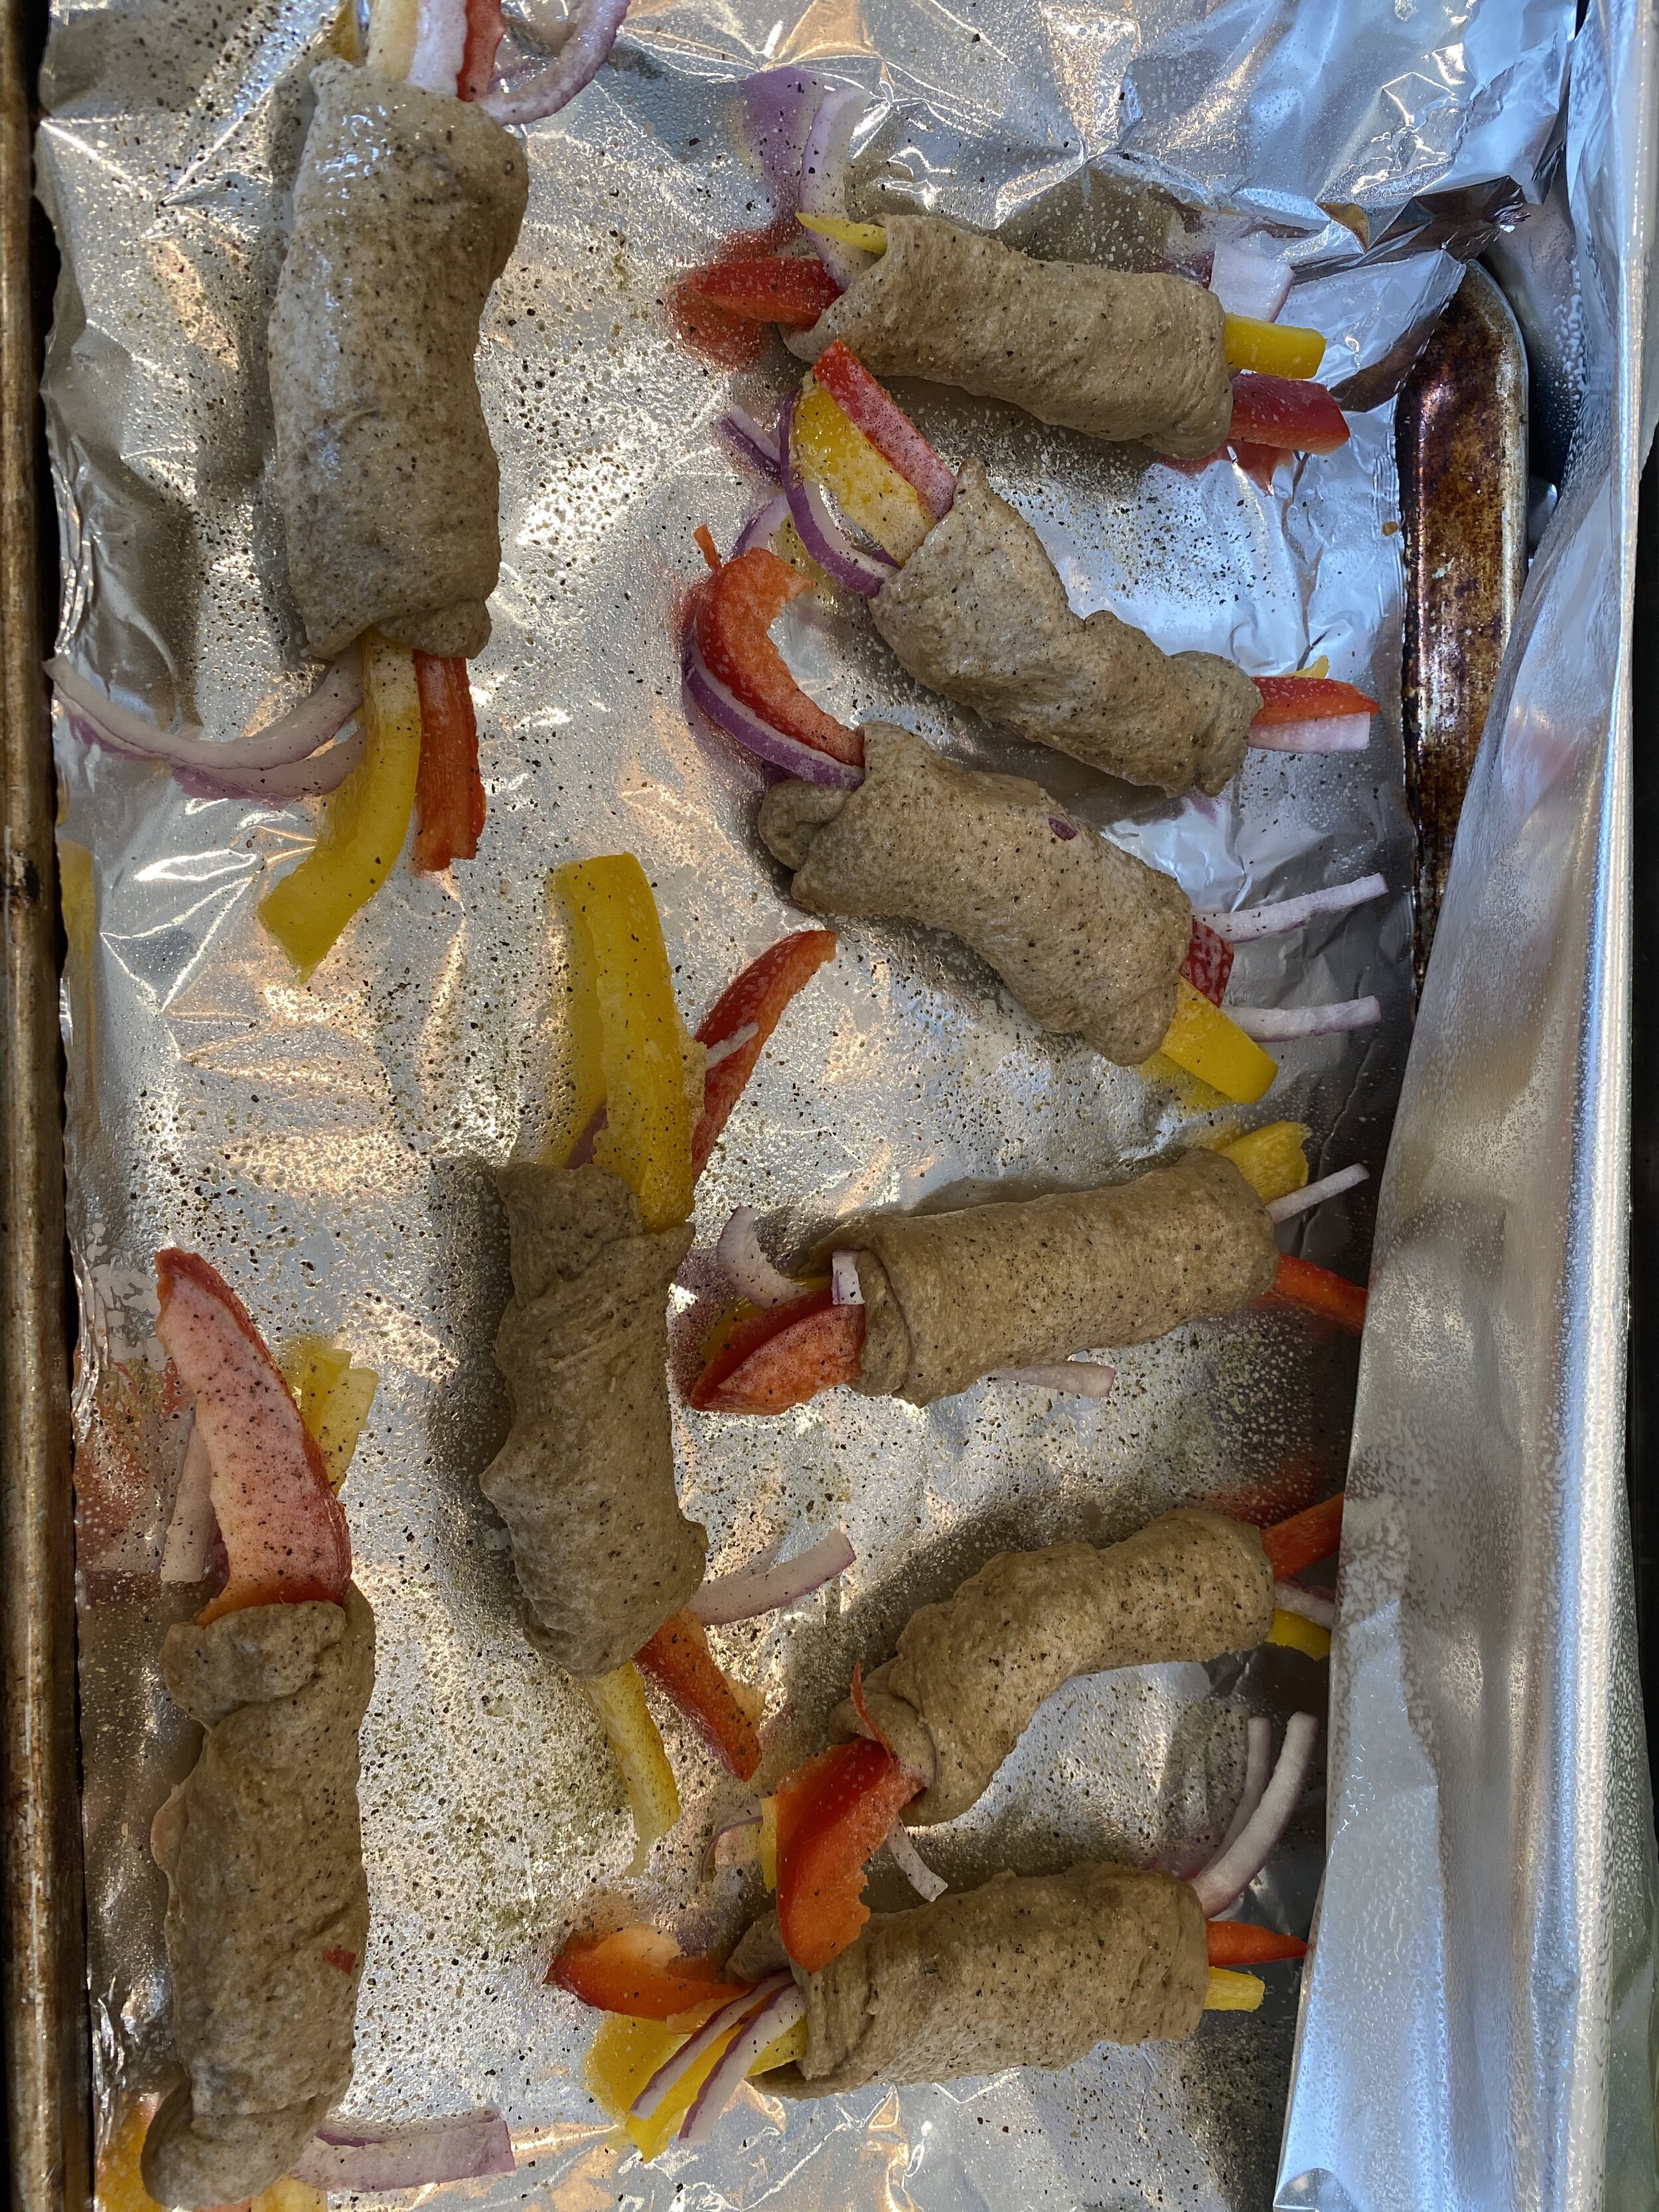
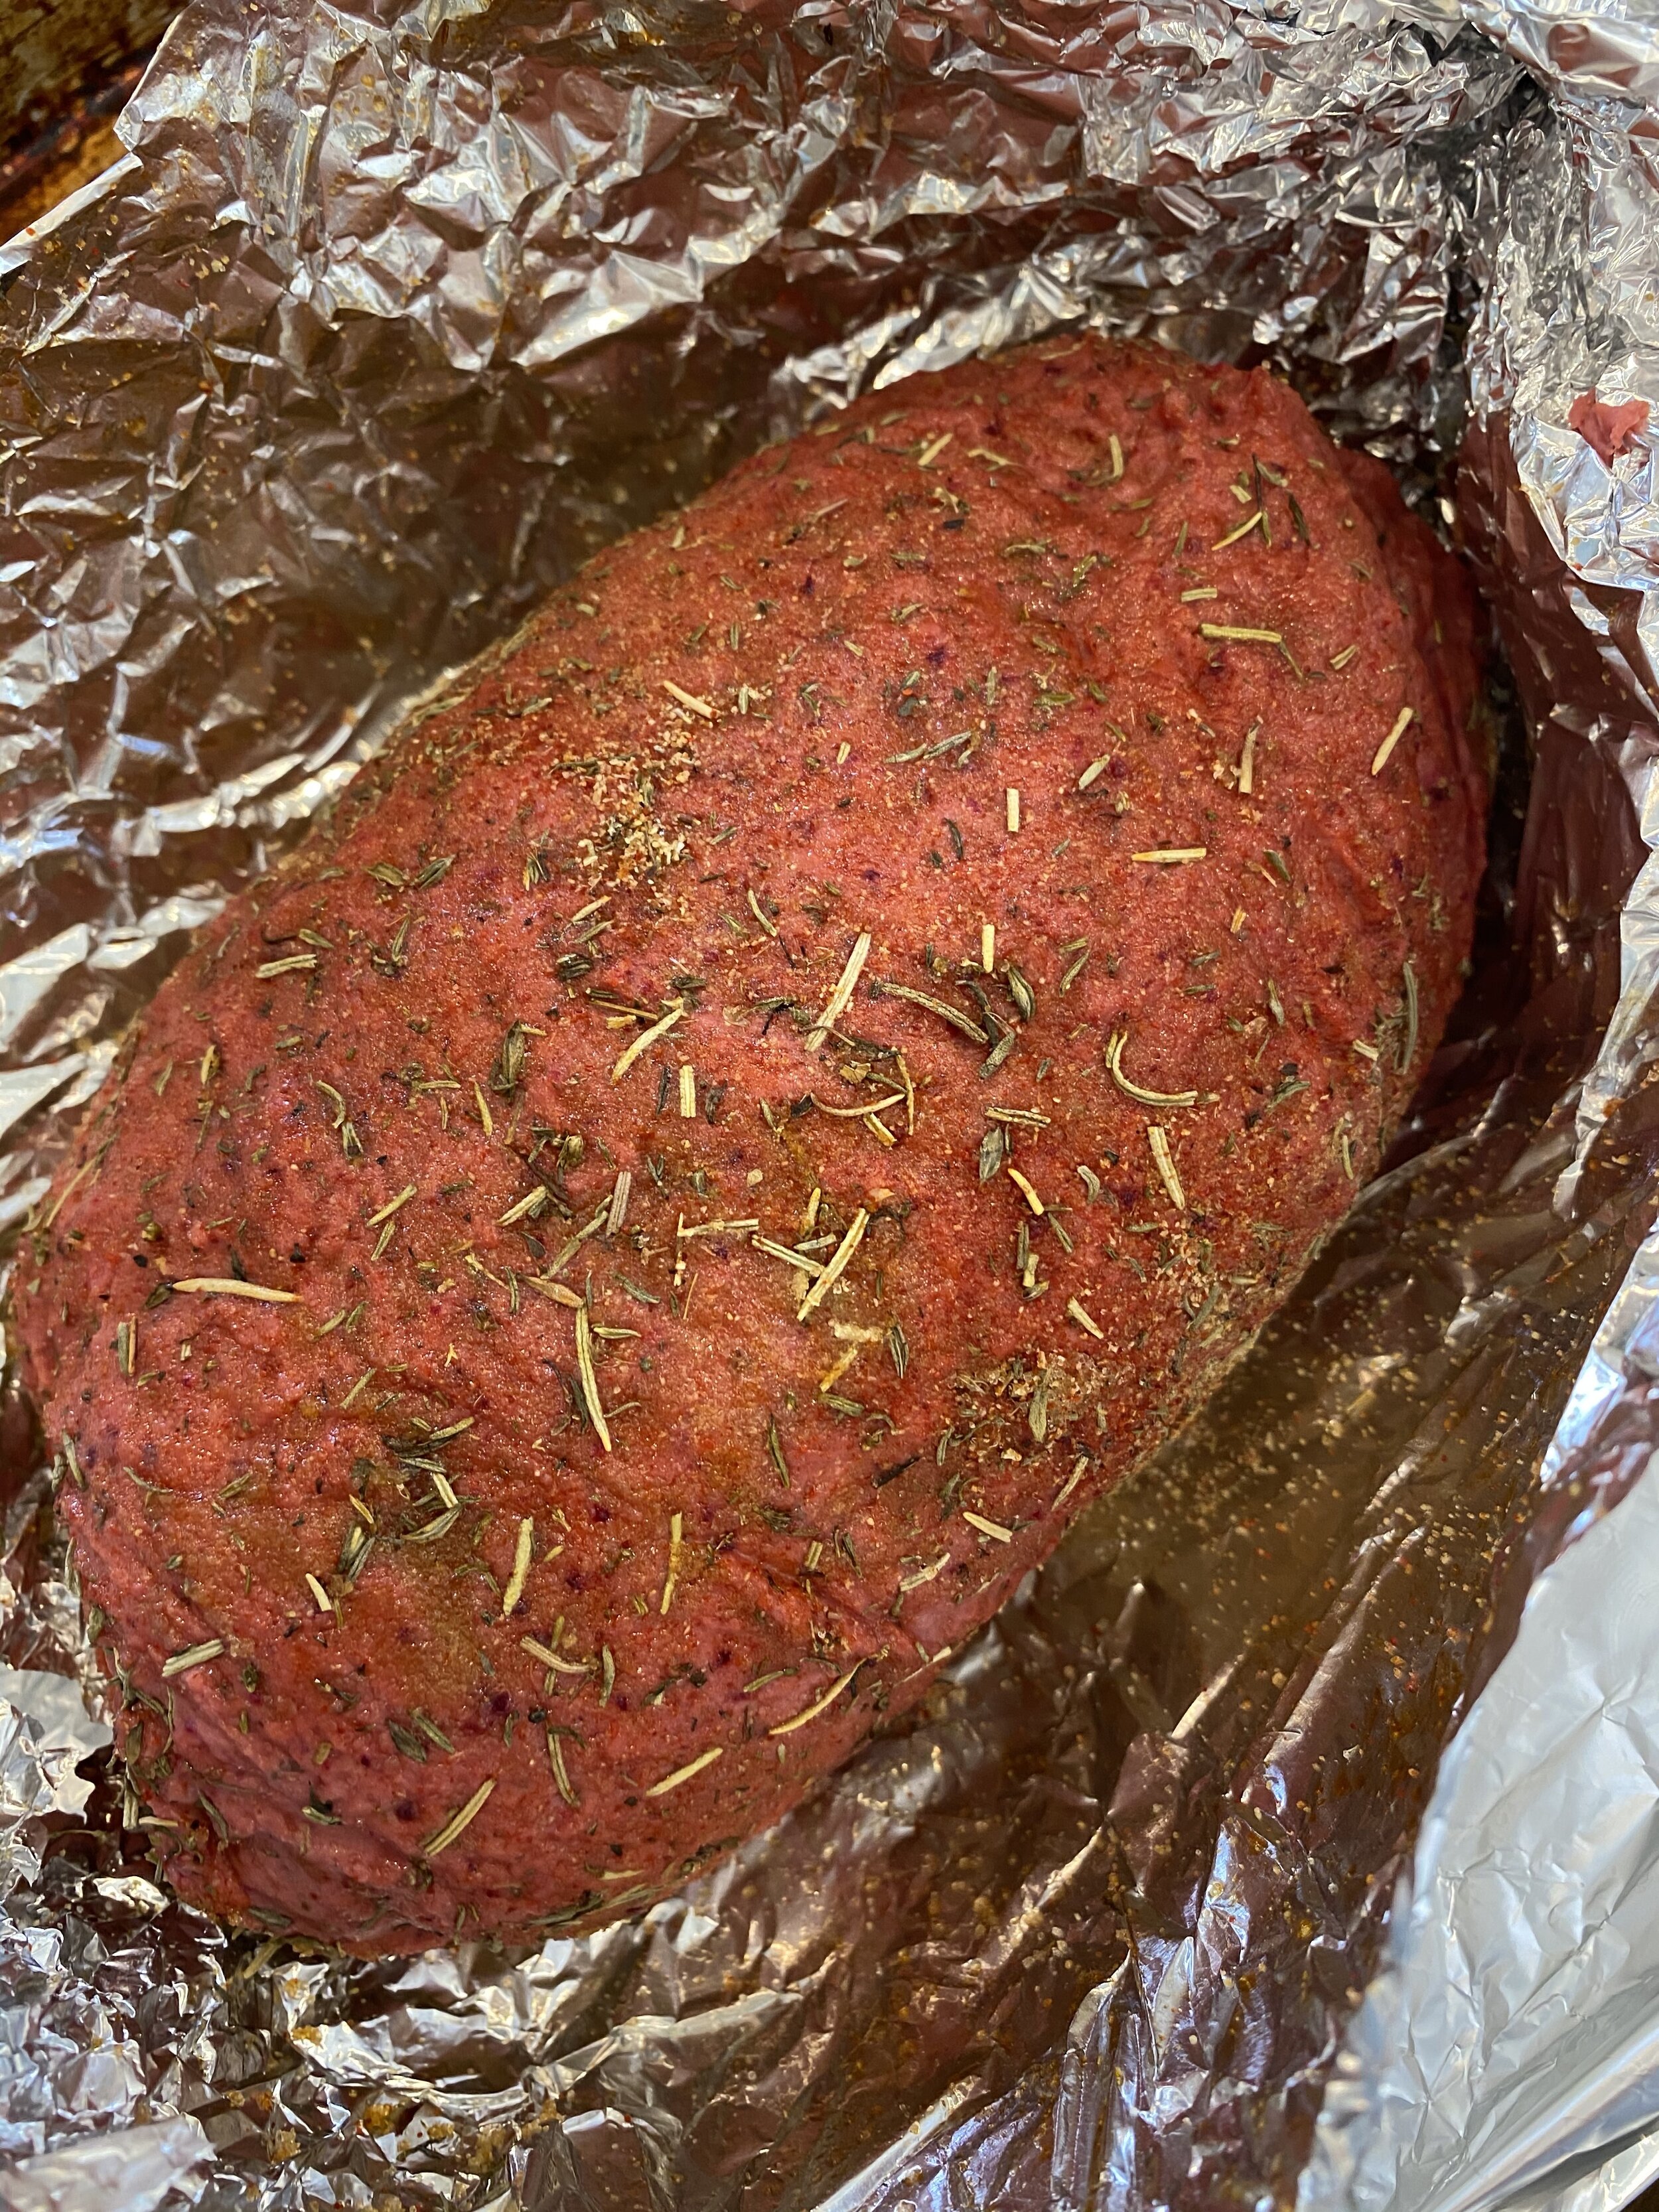
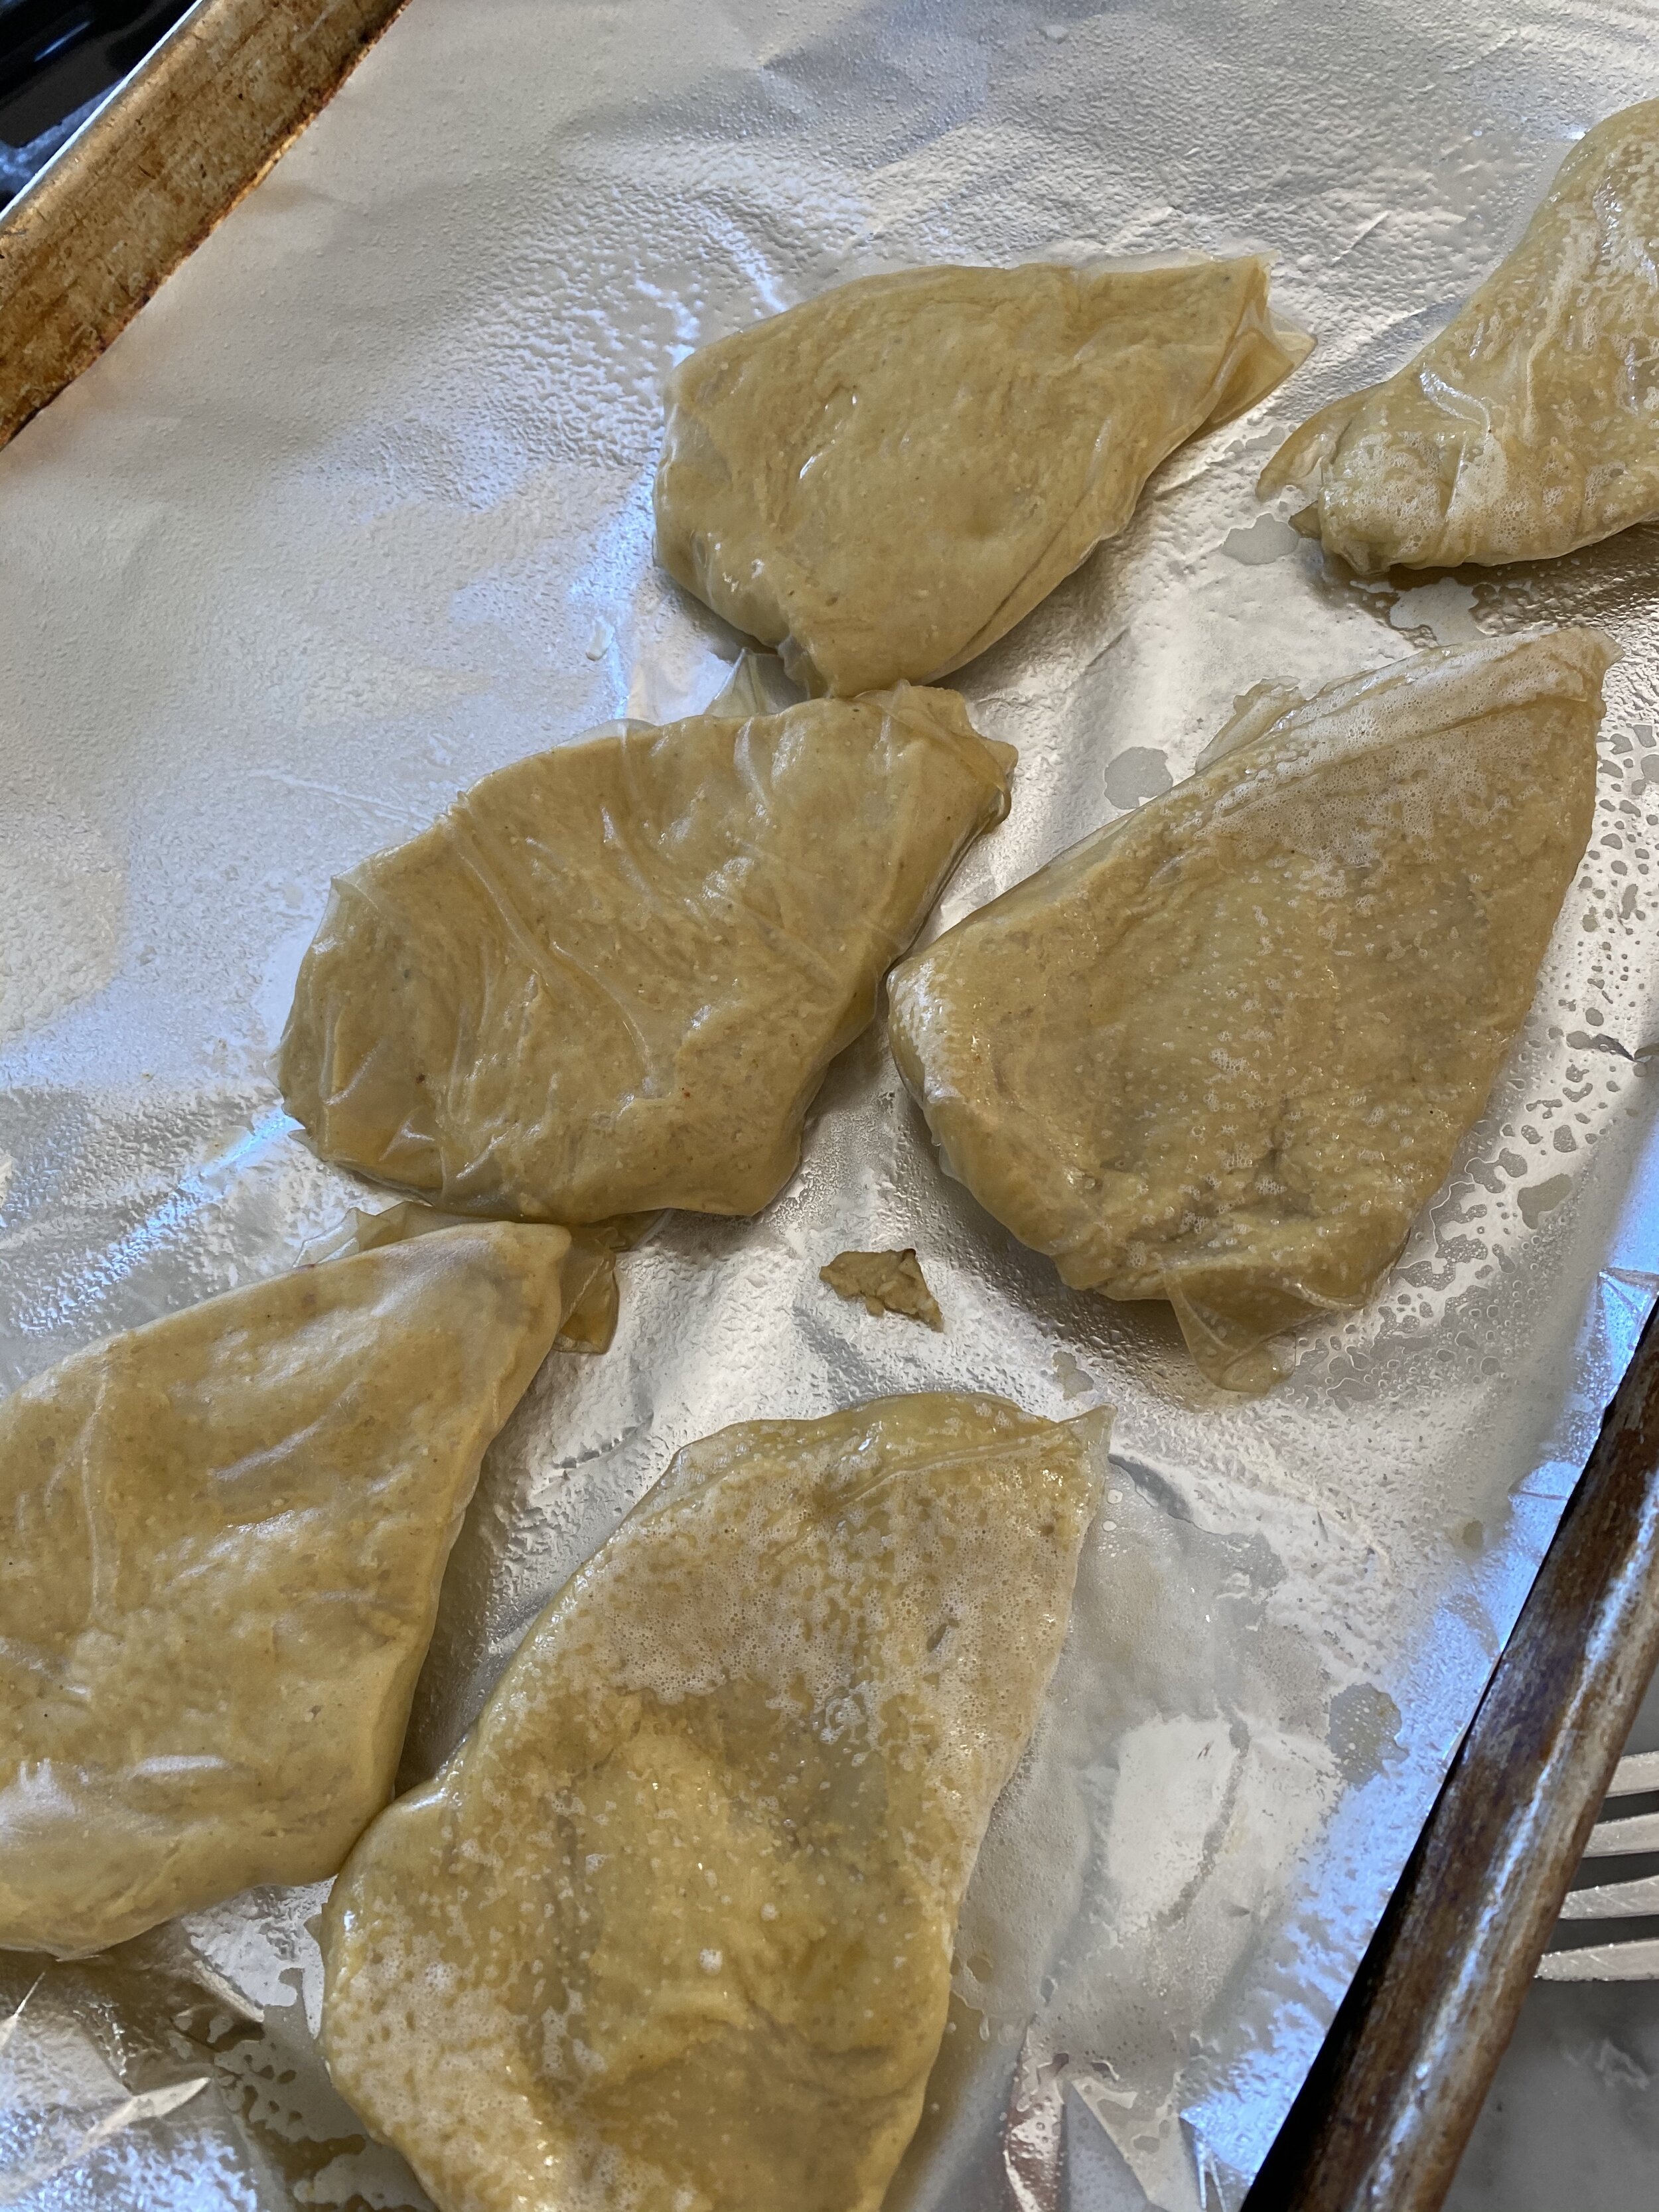
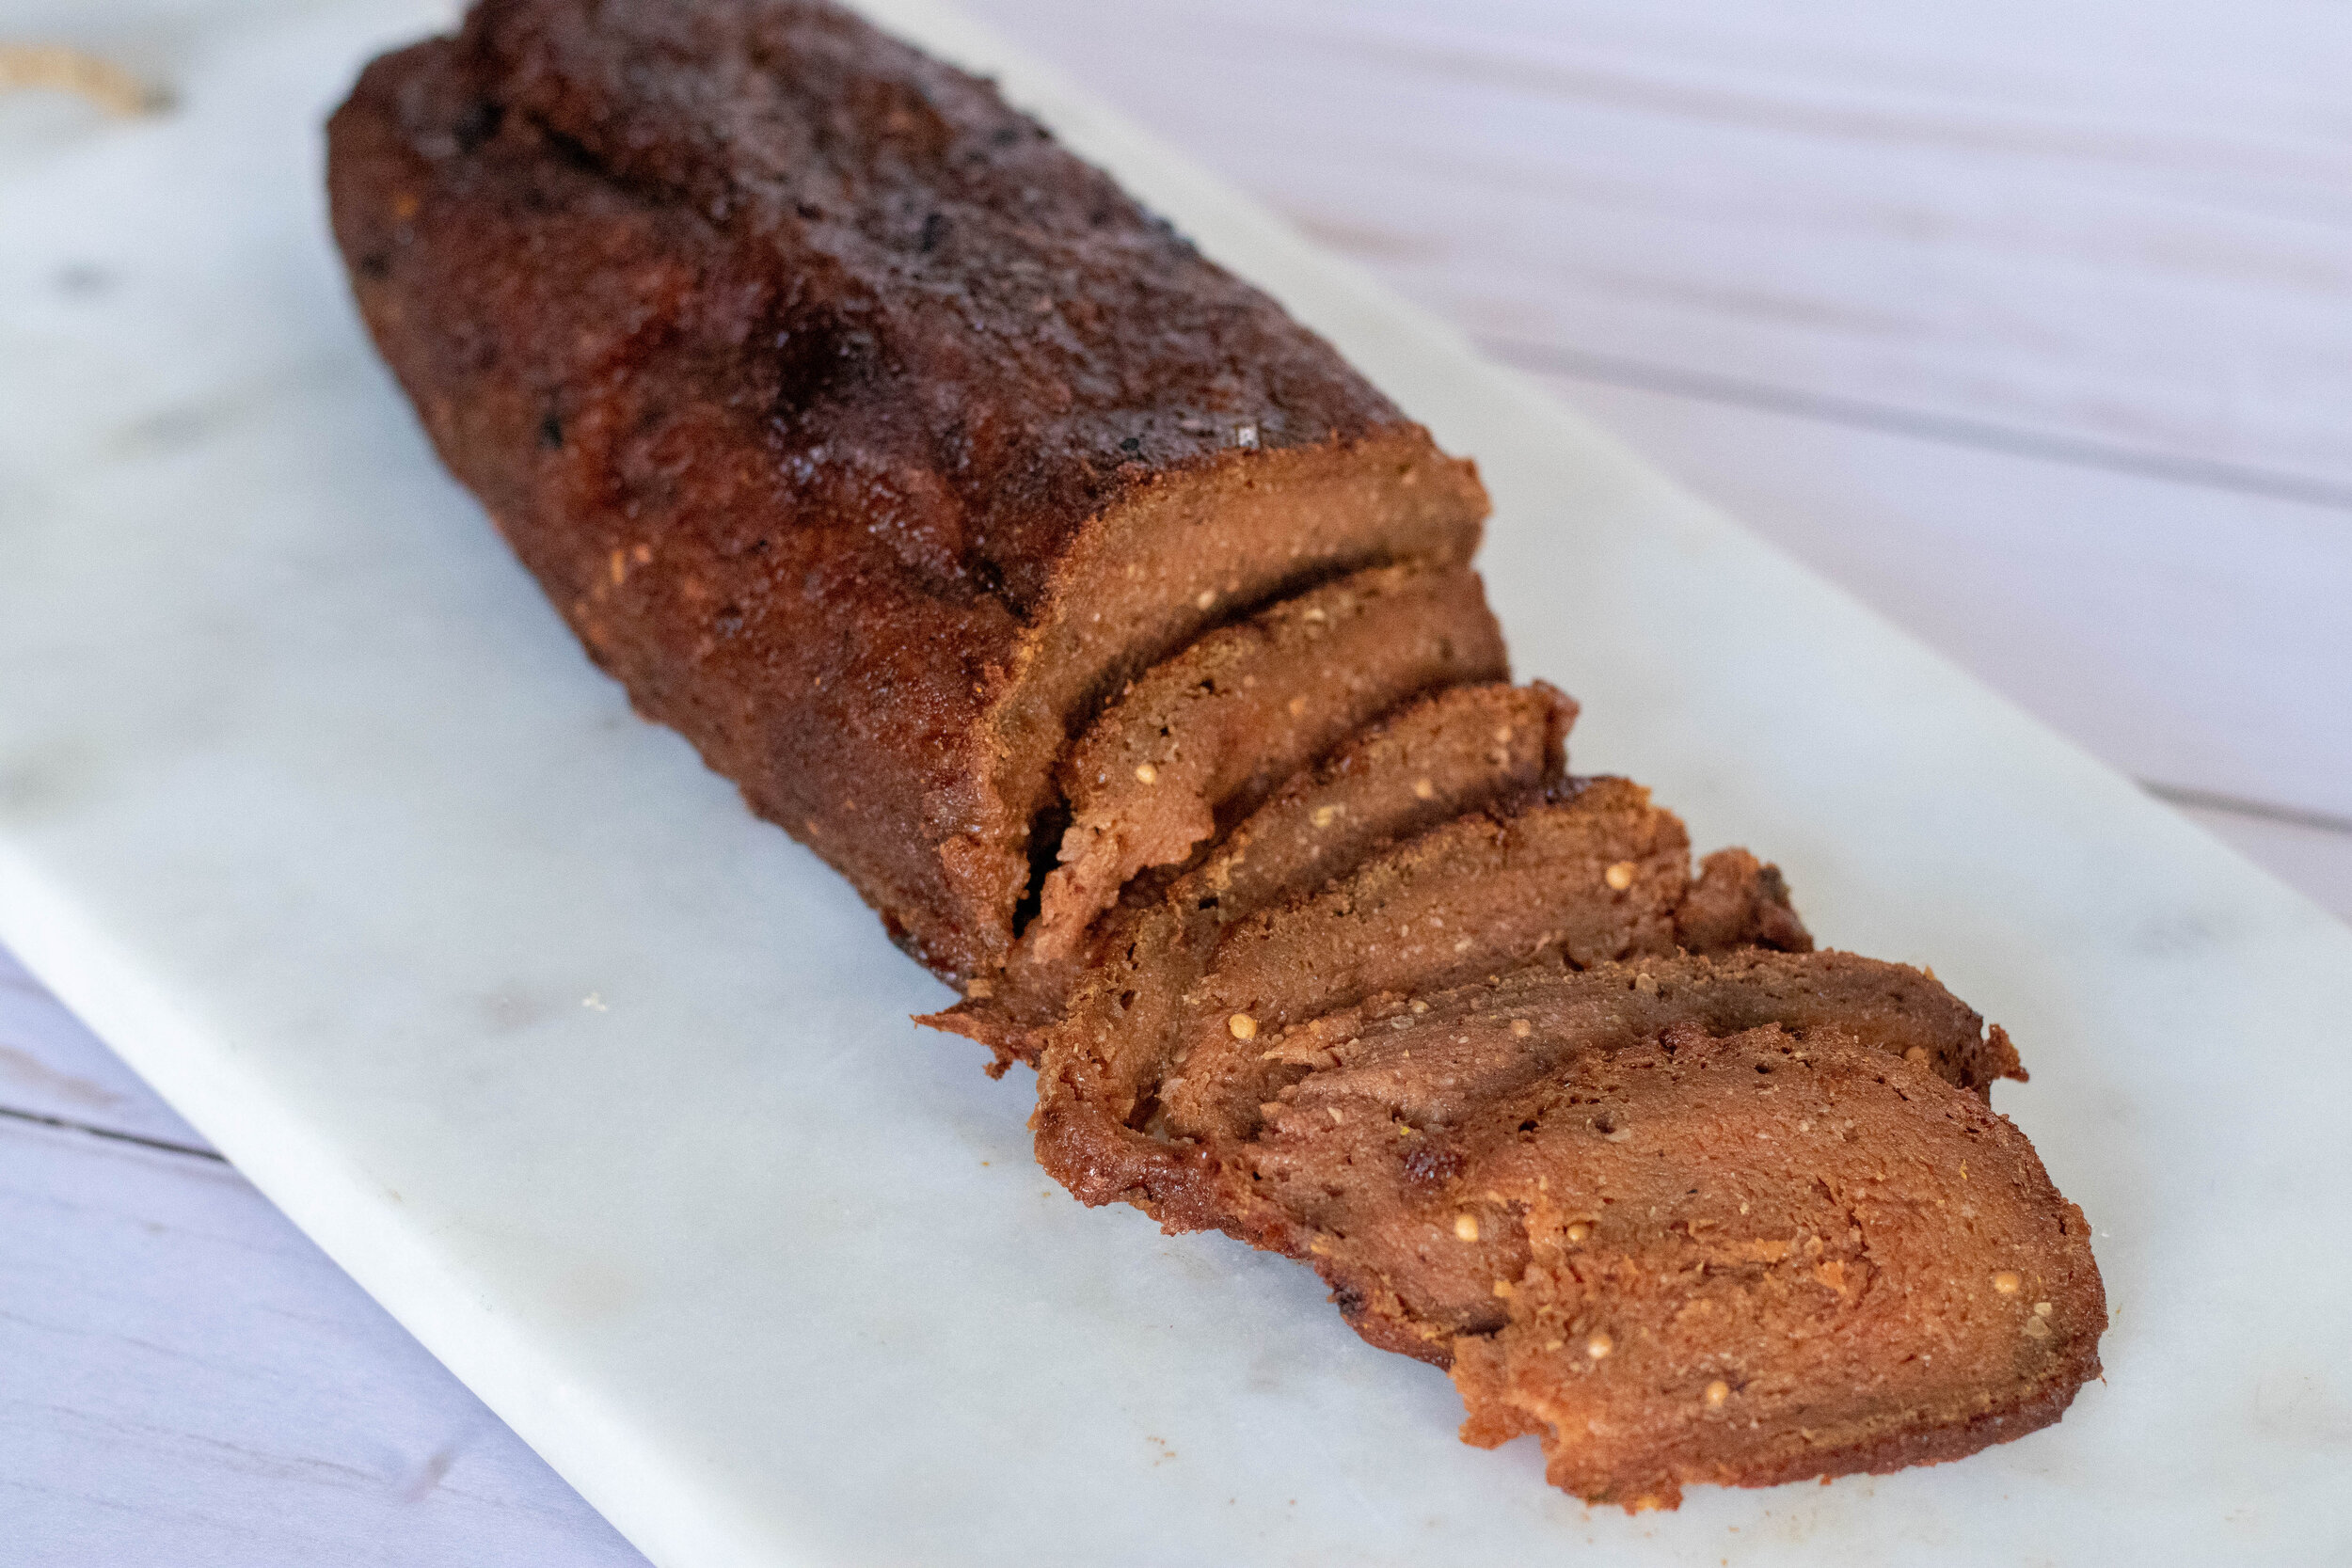
Using your hands shape the dough into a hot dog shape. Smooth the dough out by rolling it out on a clean cutting board or counter top. Repeat with remaining pieces of dough.
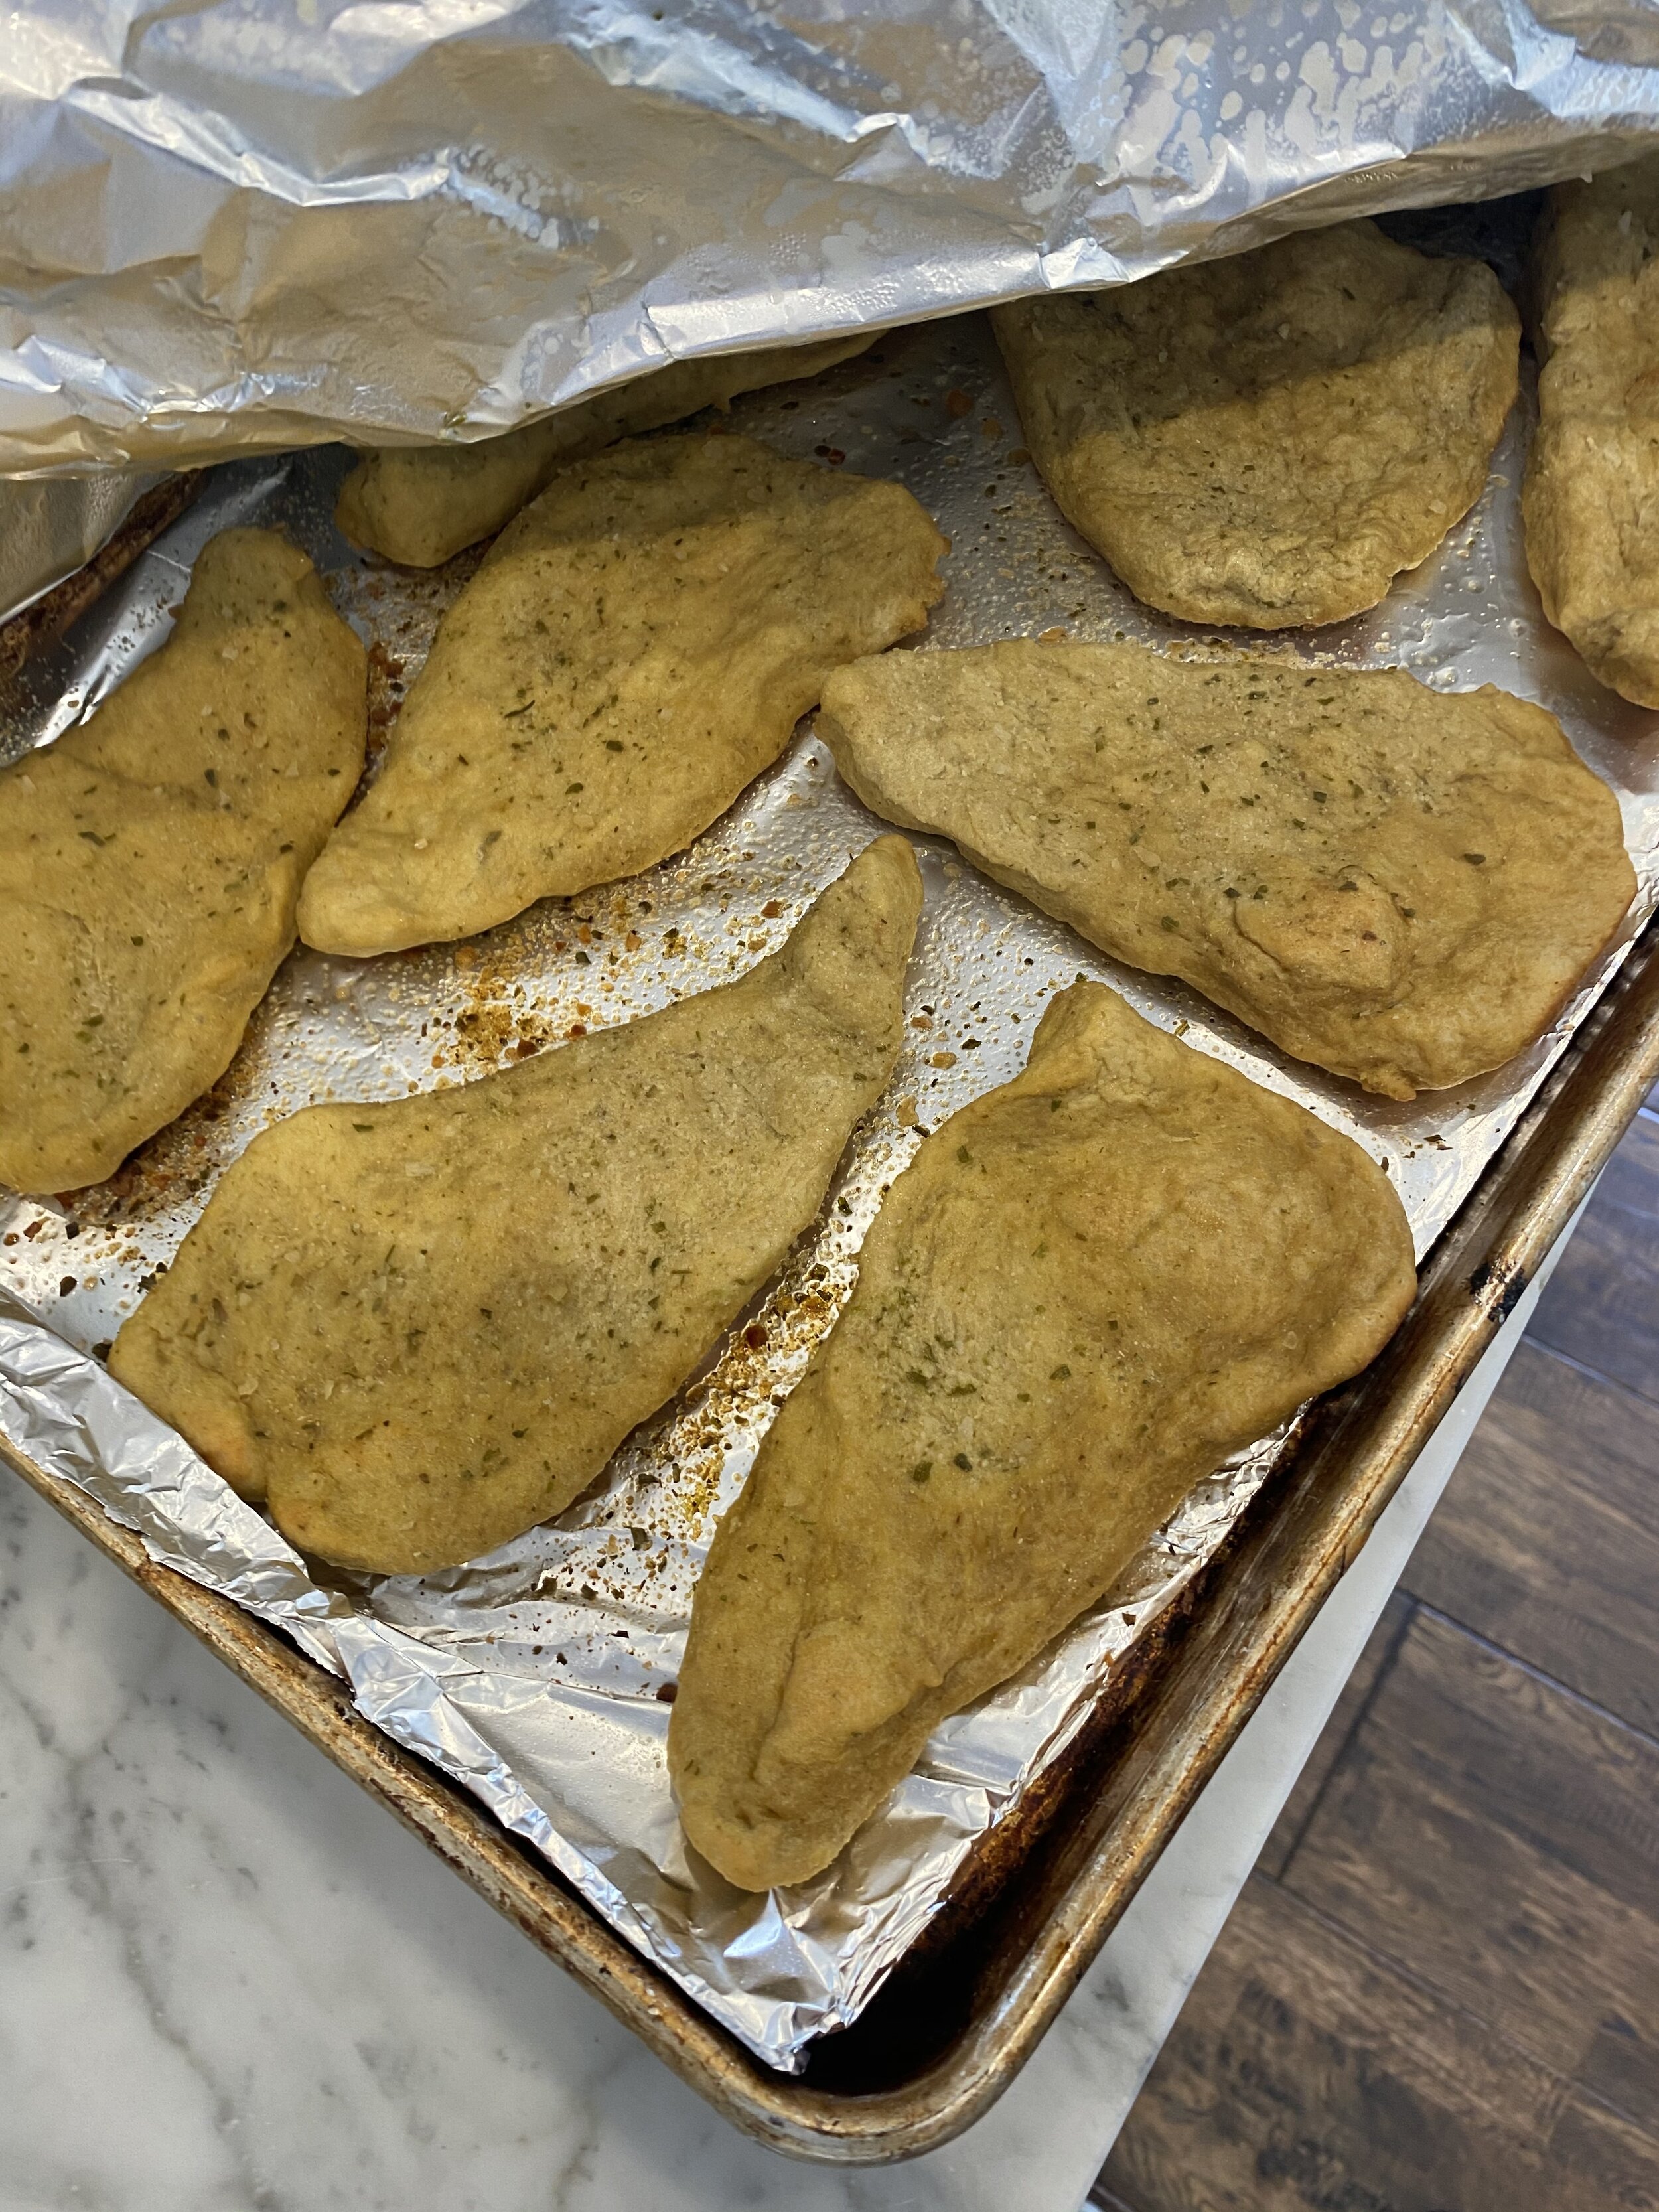
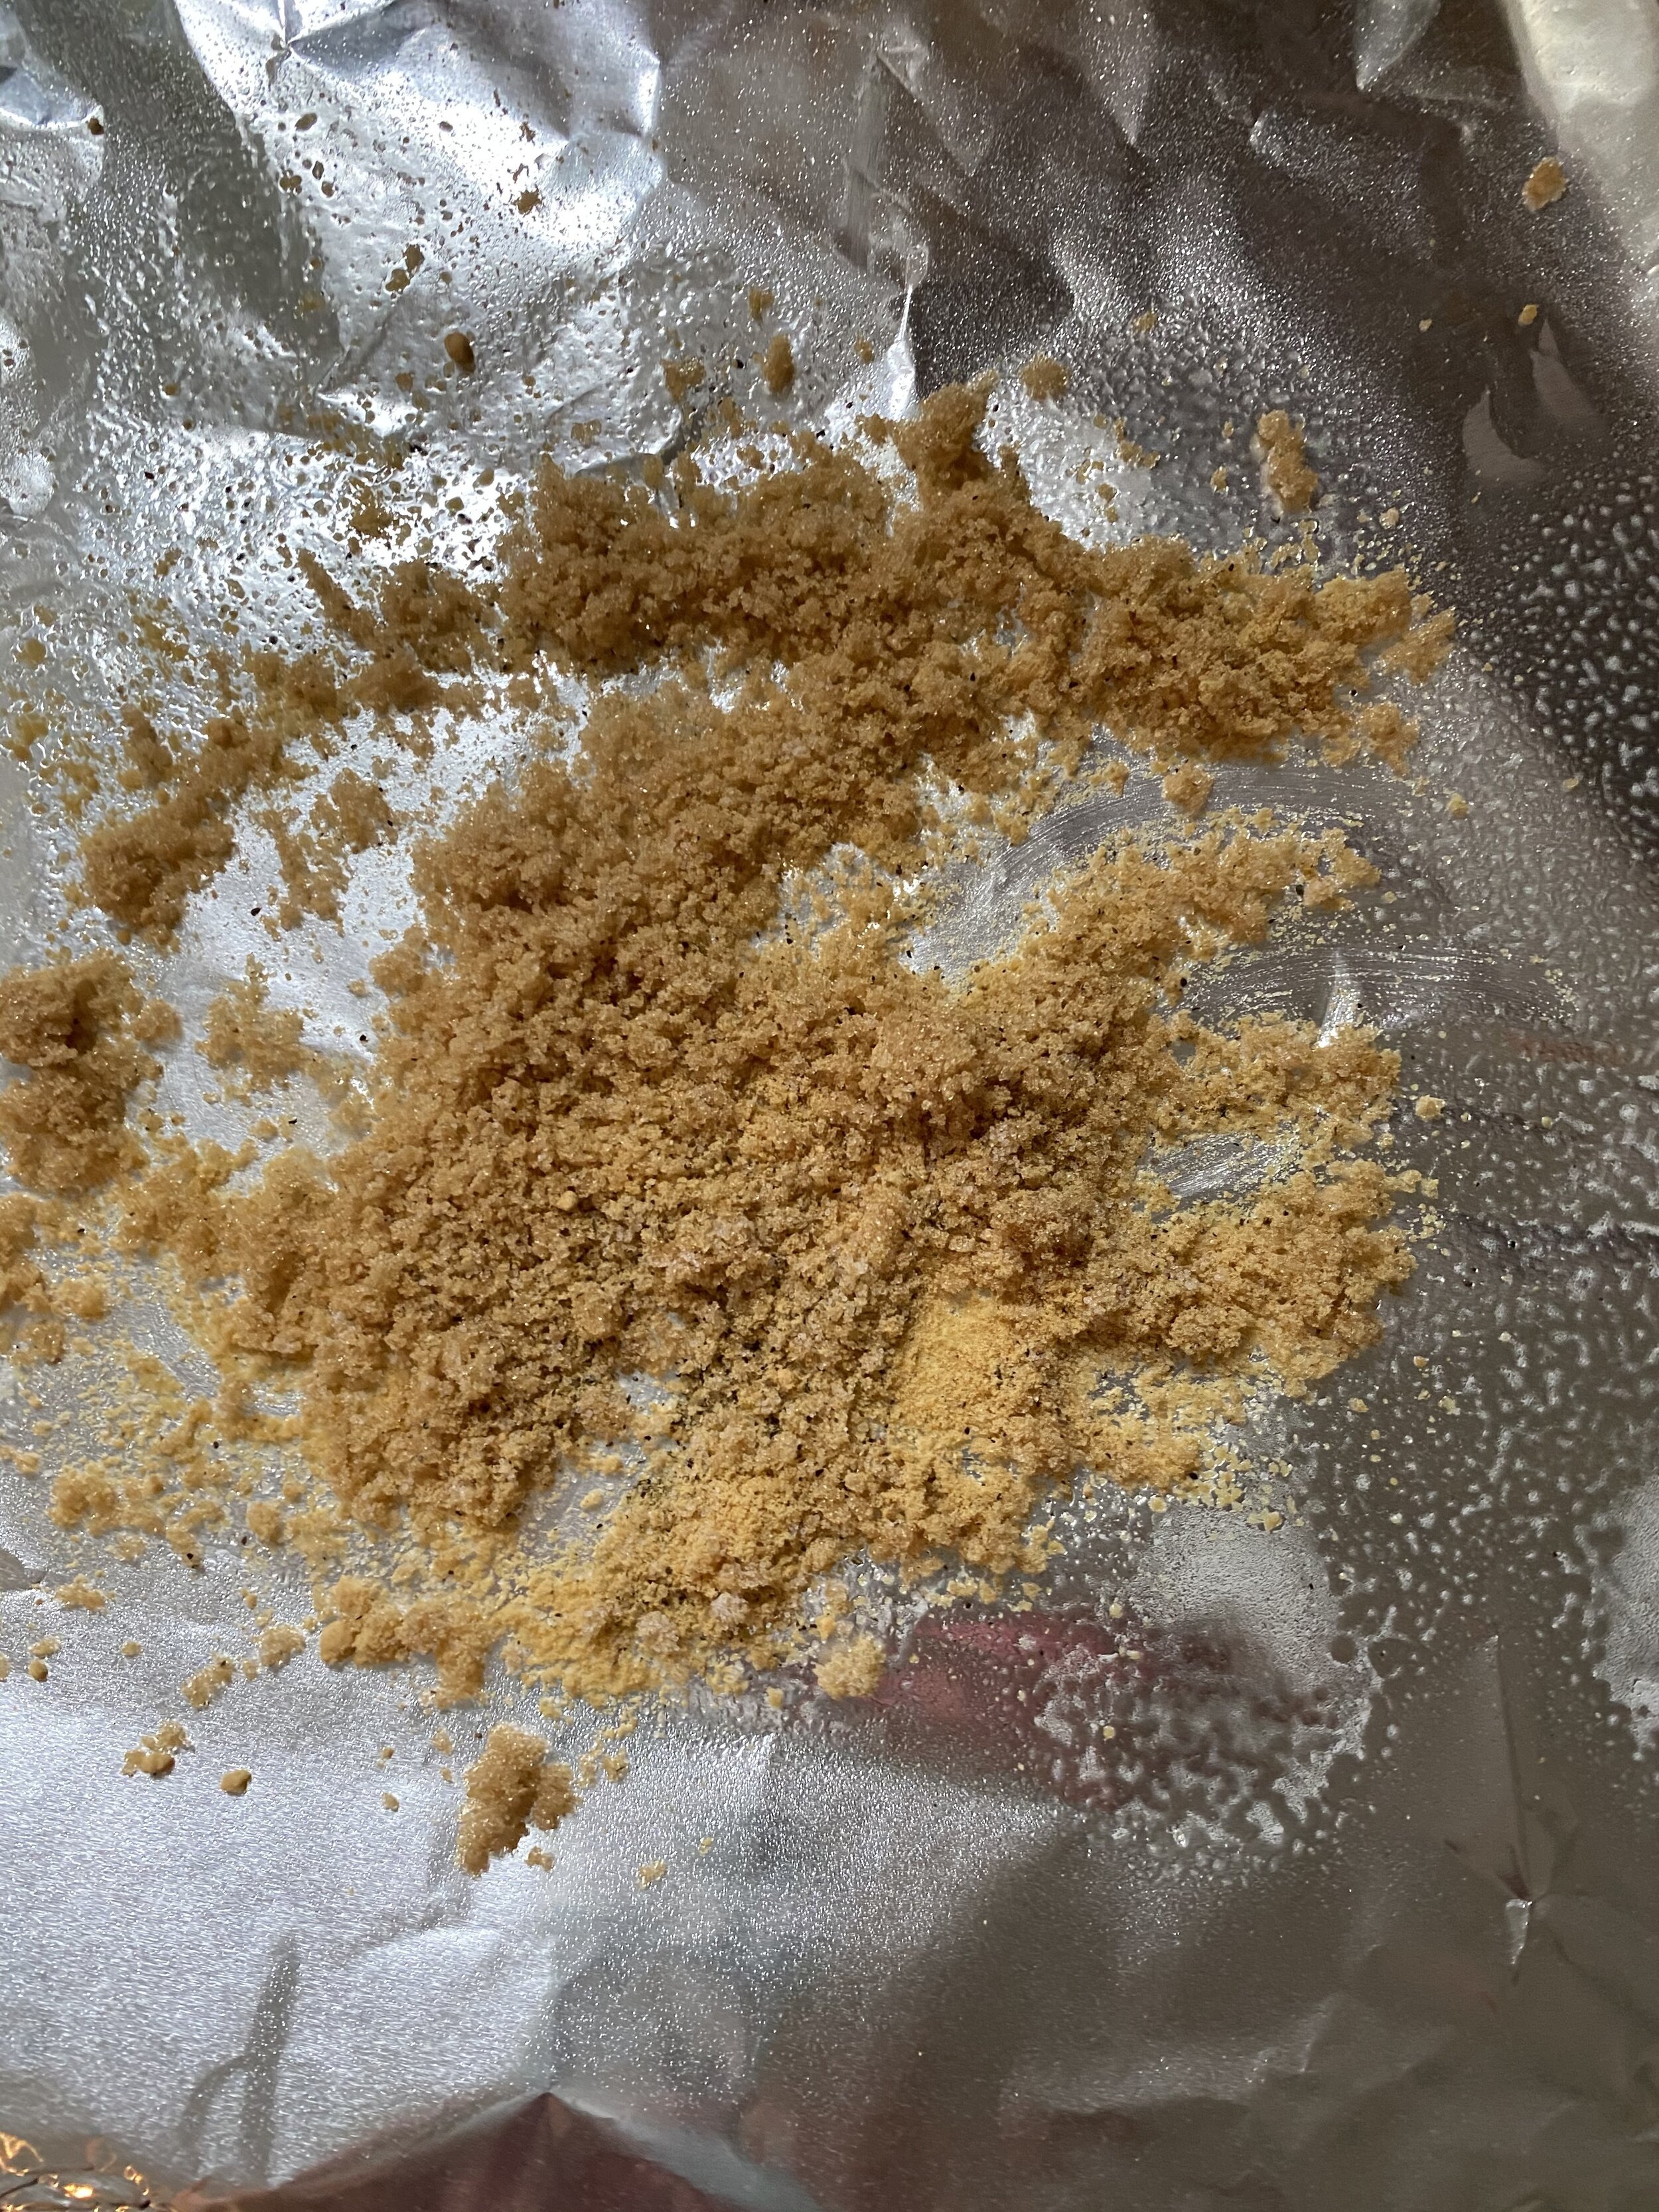
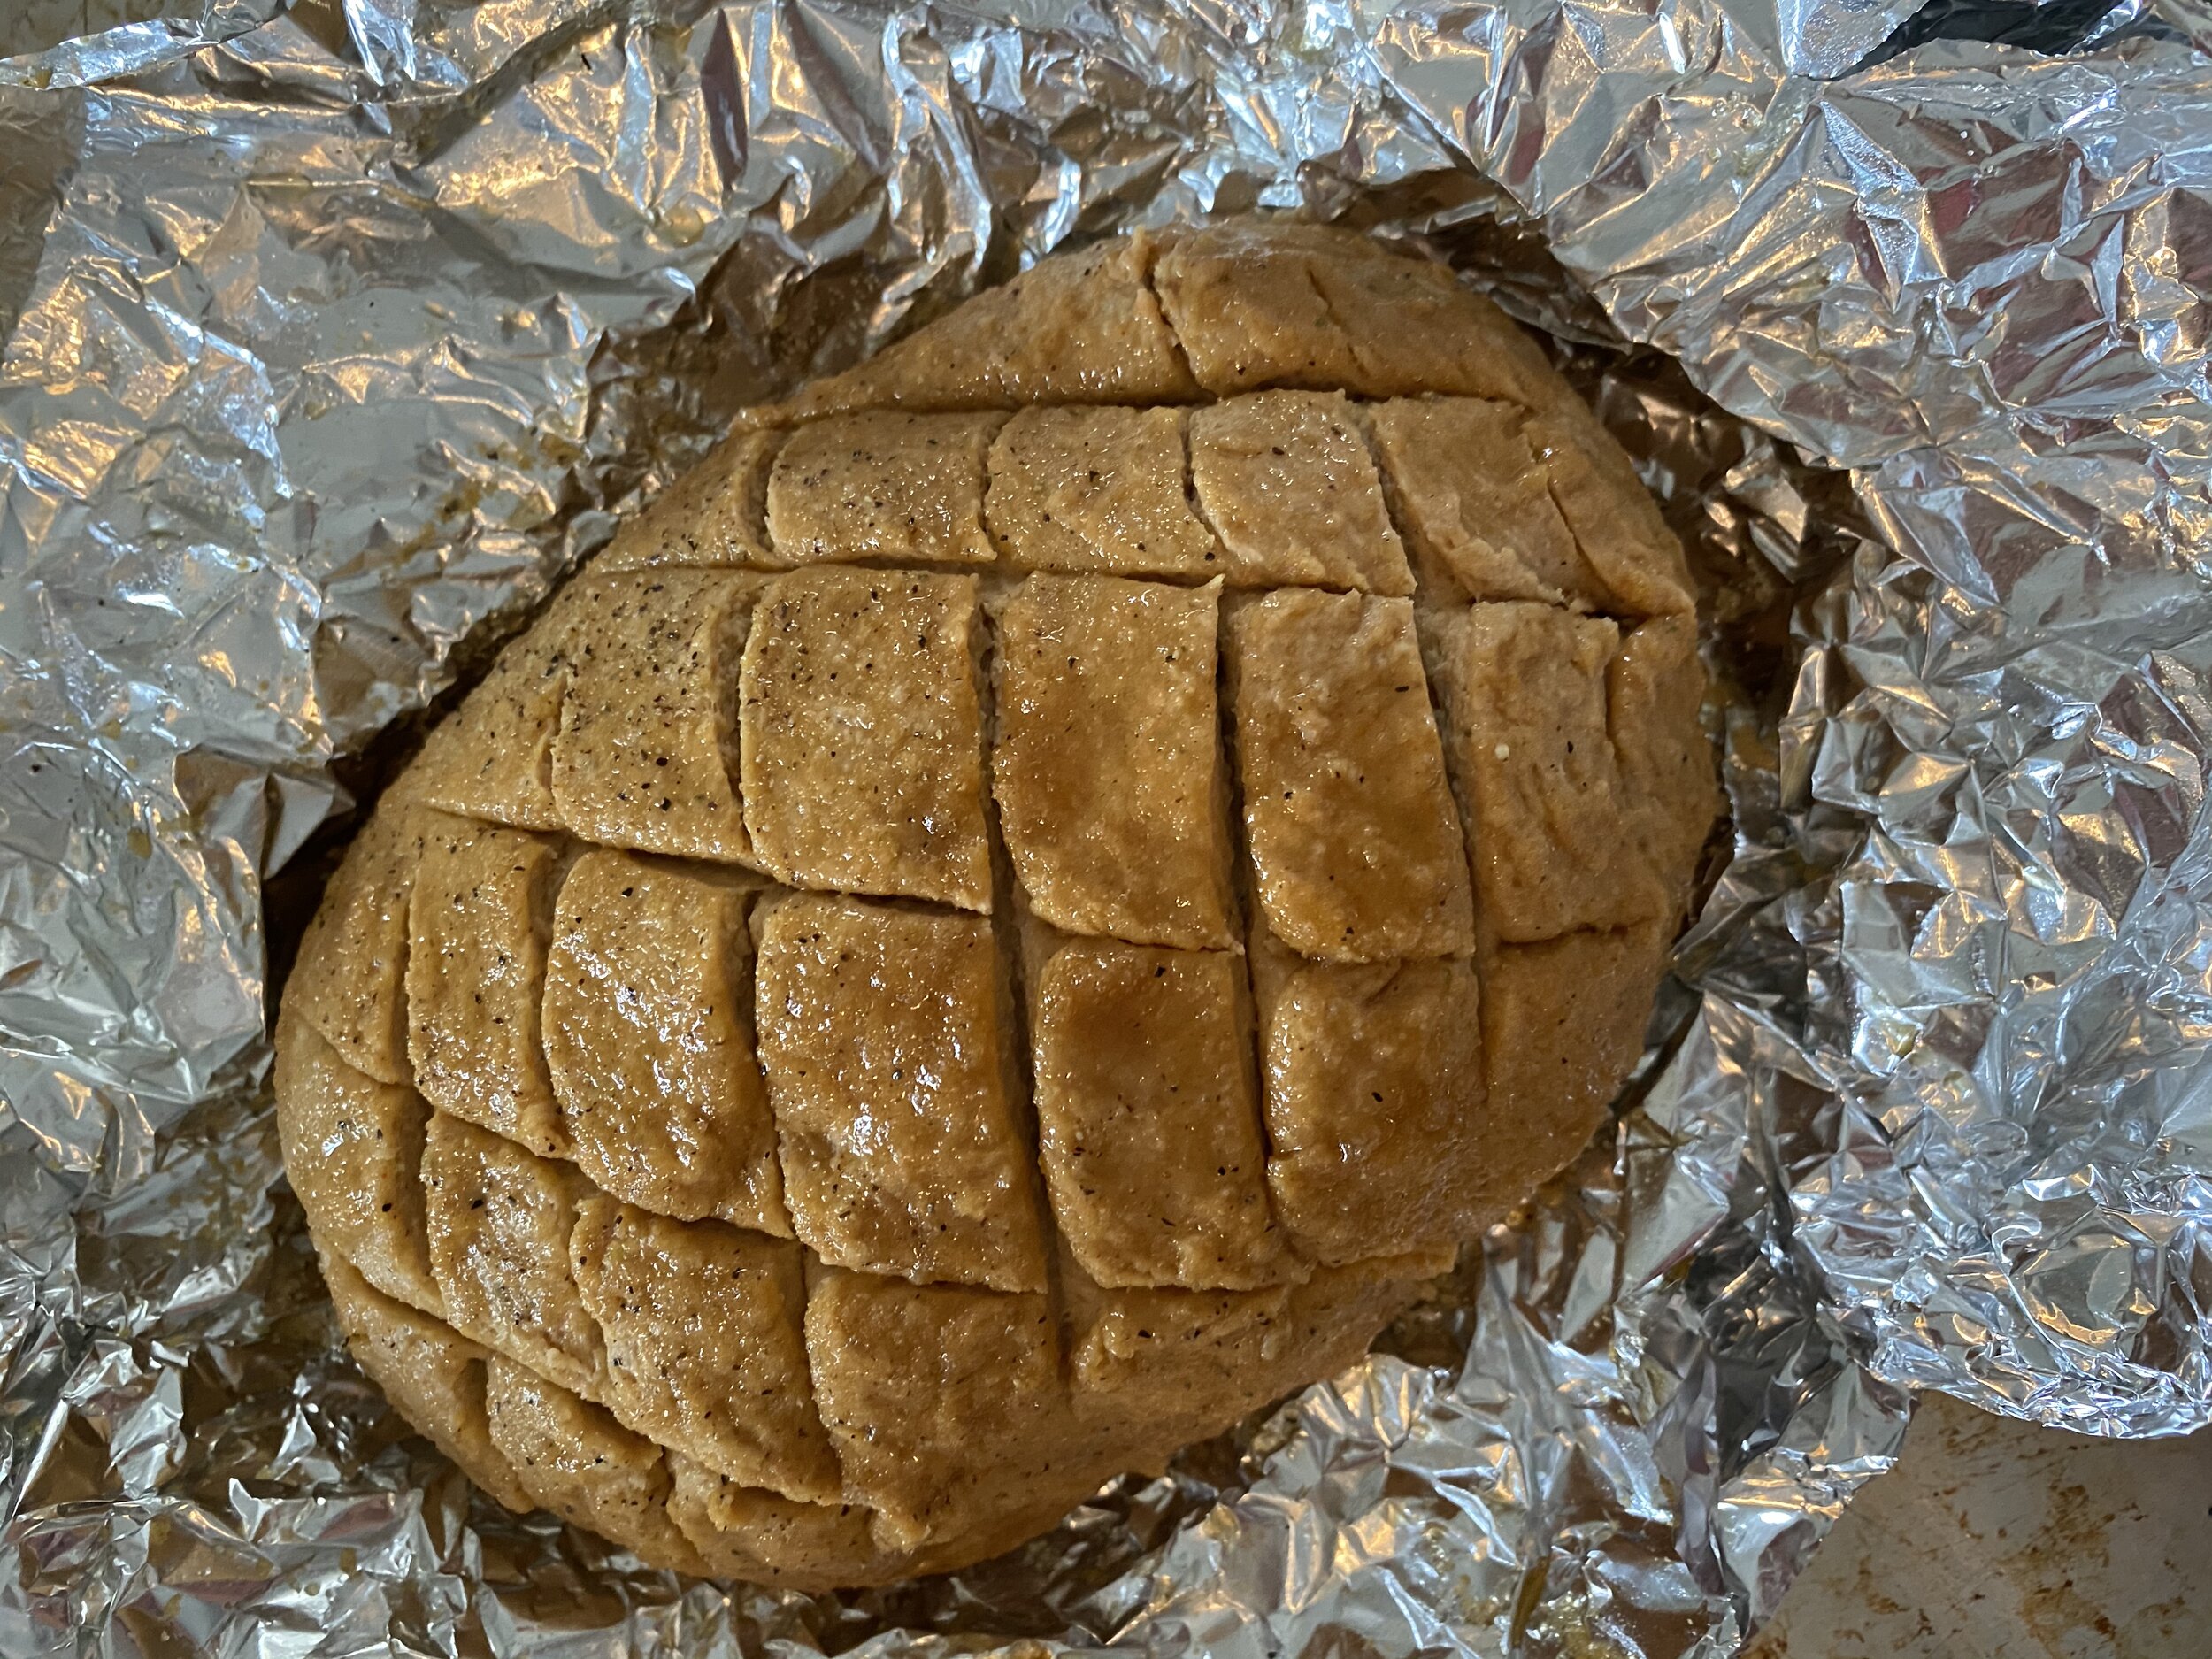
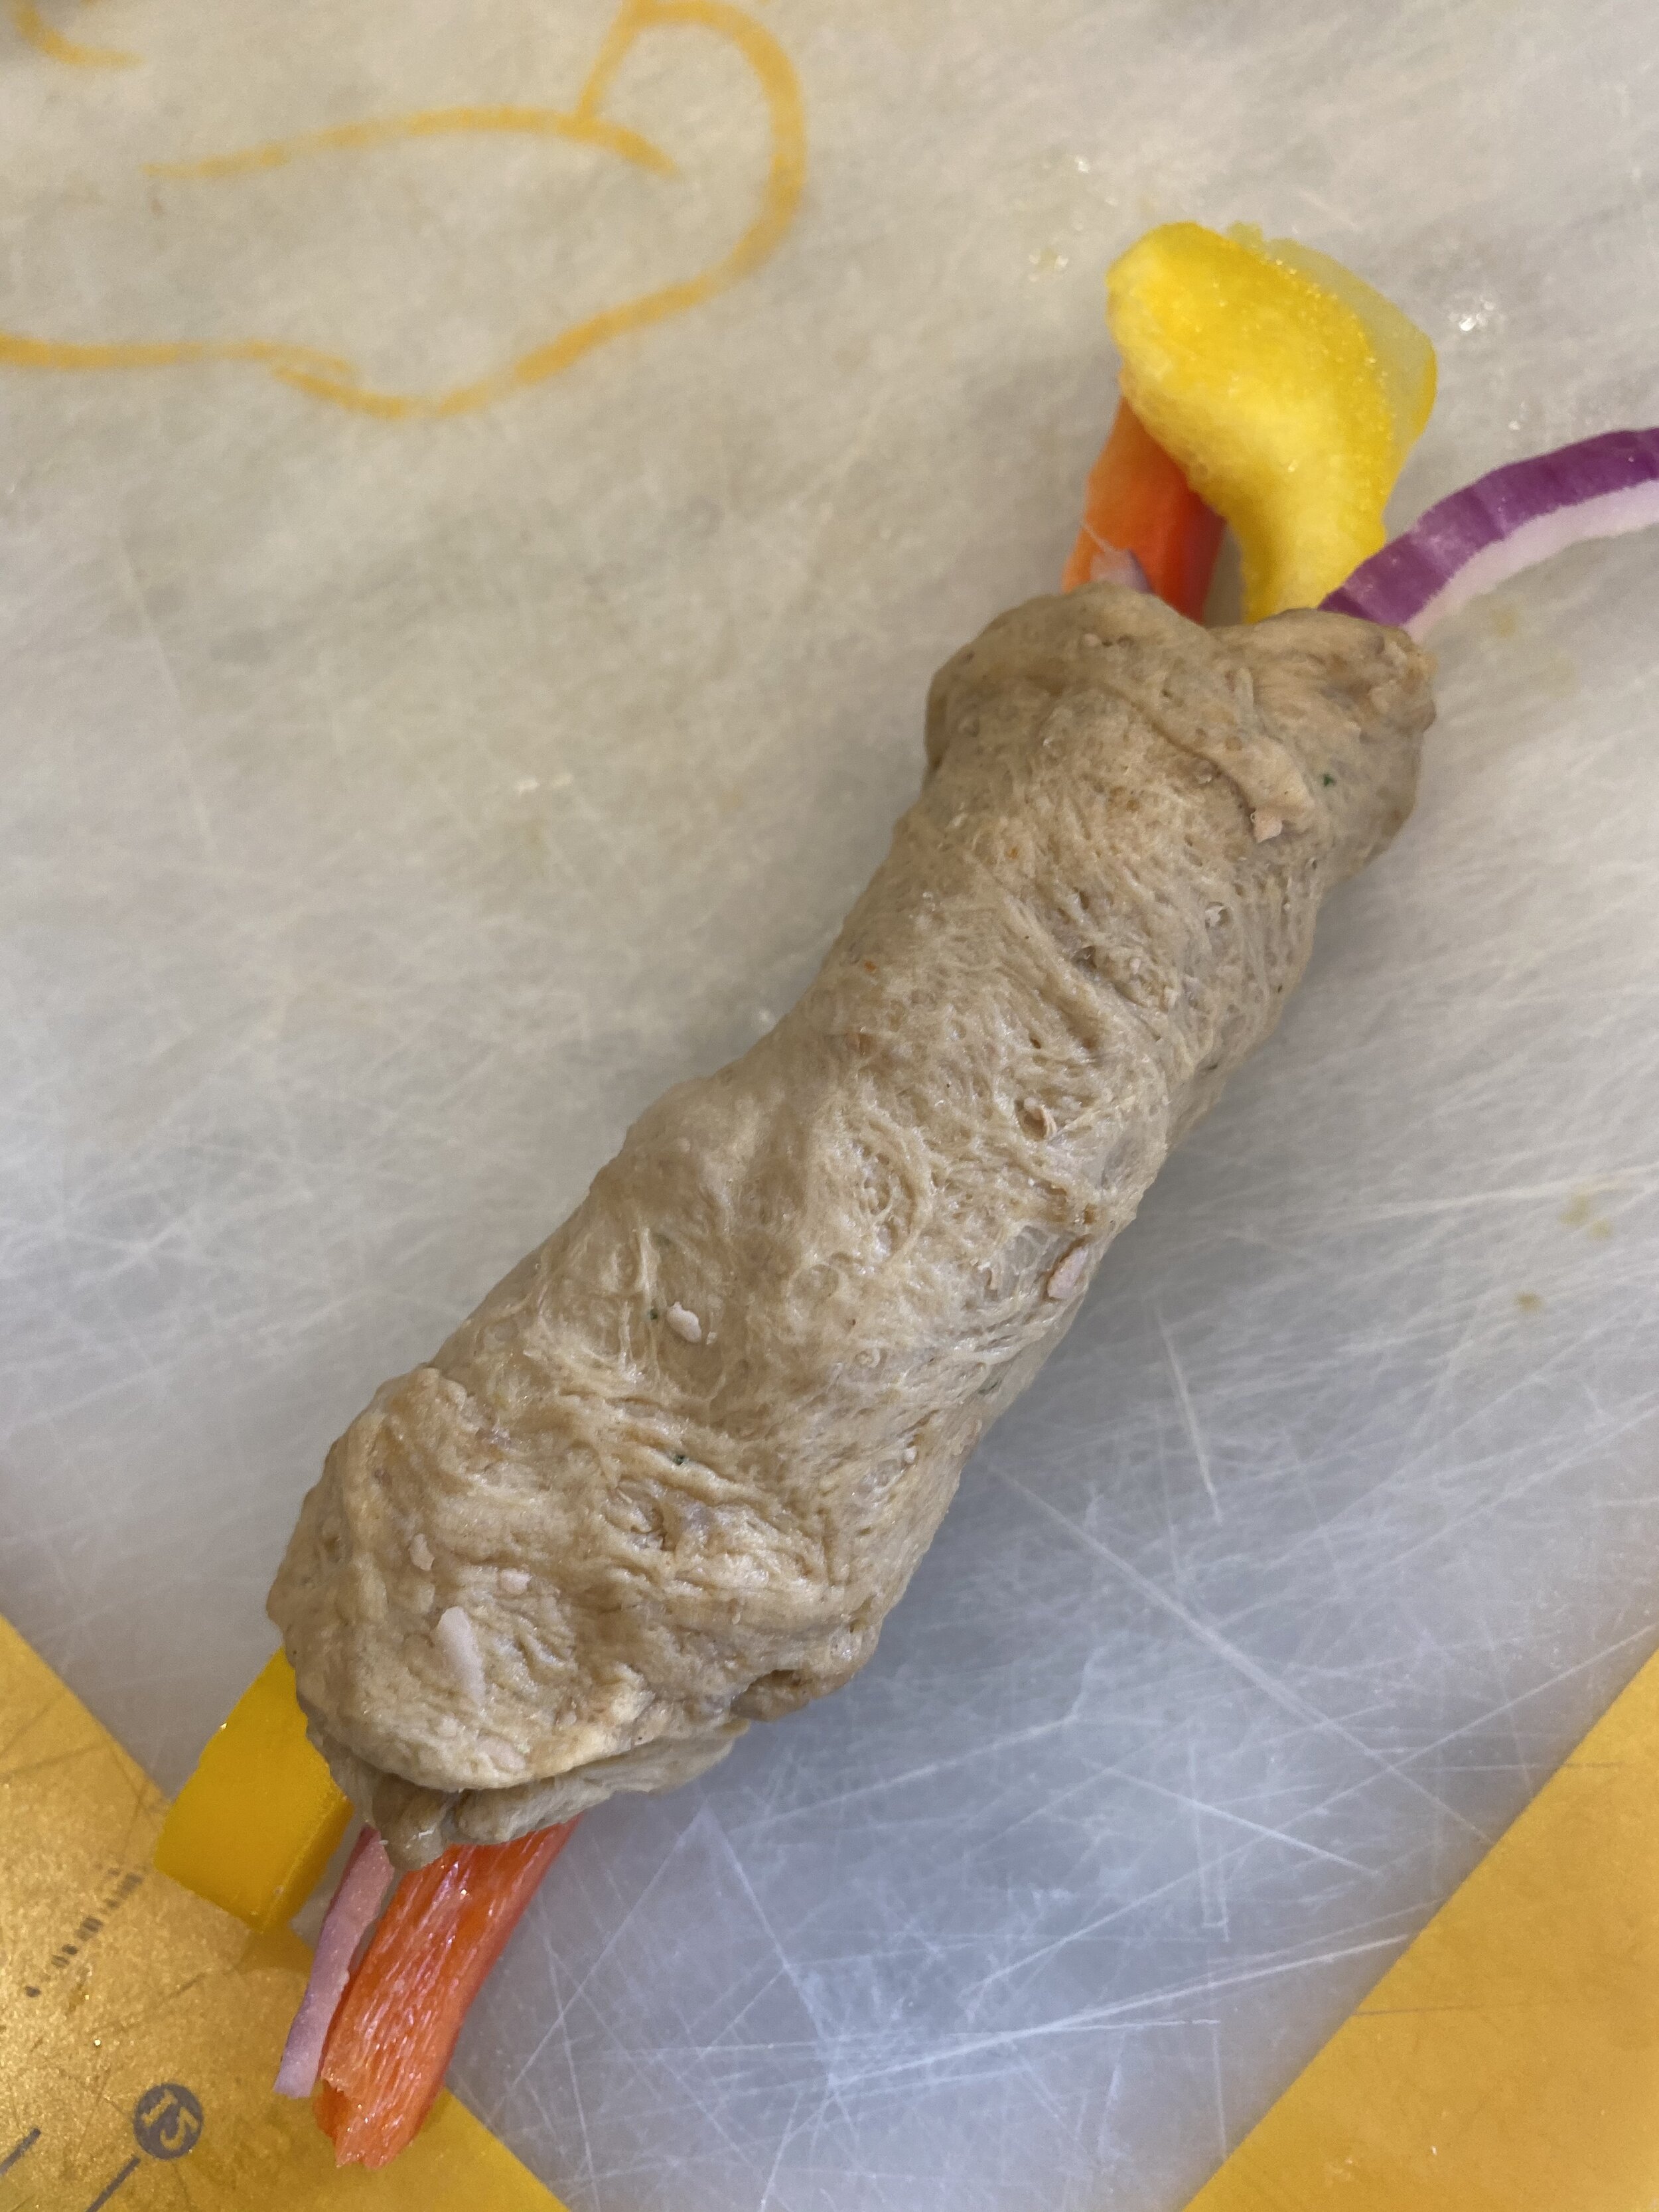
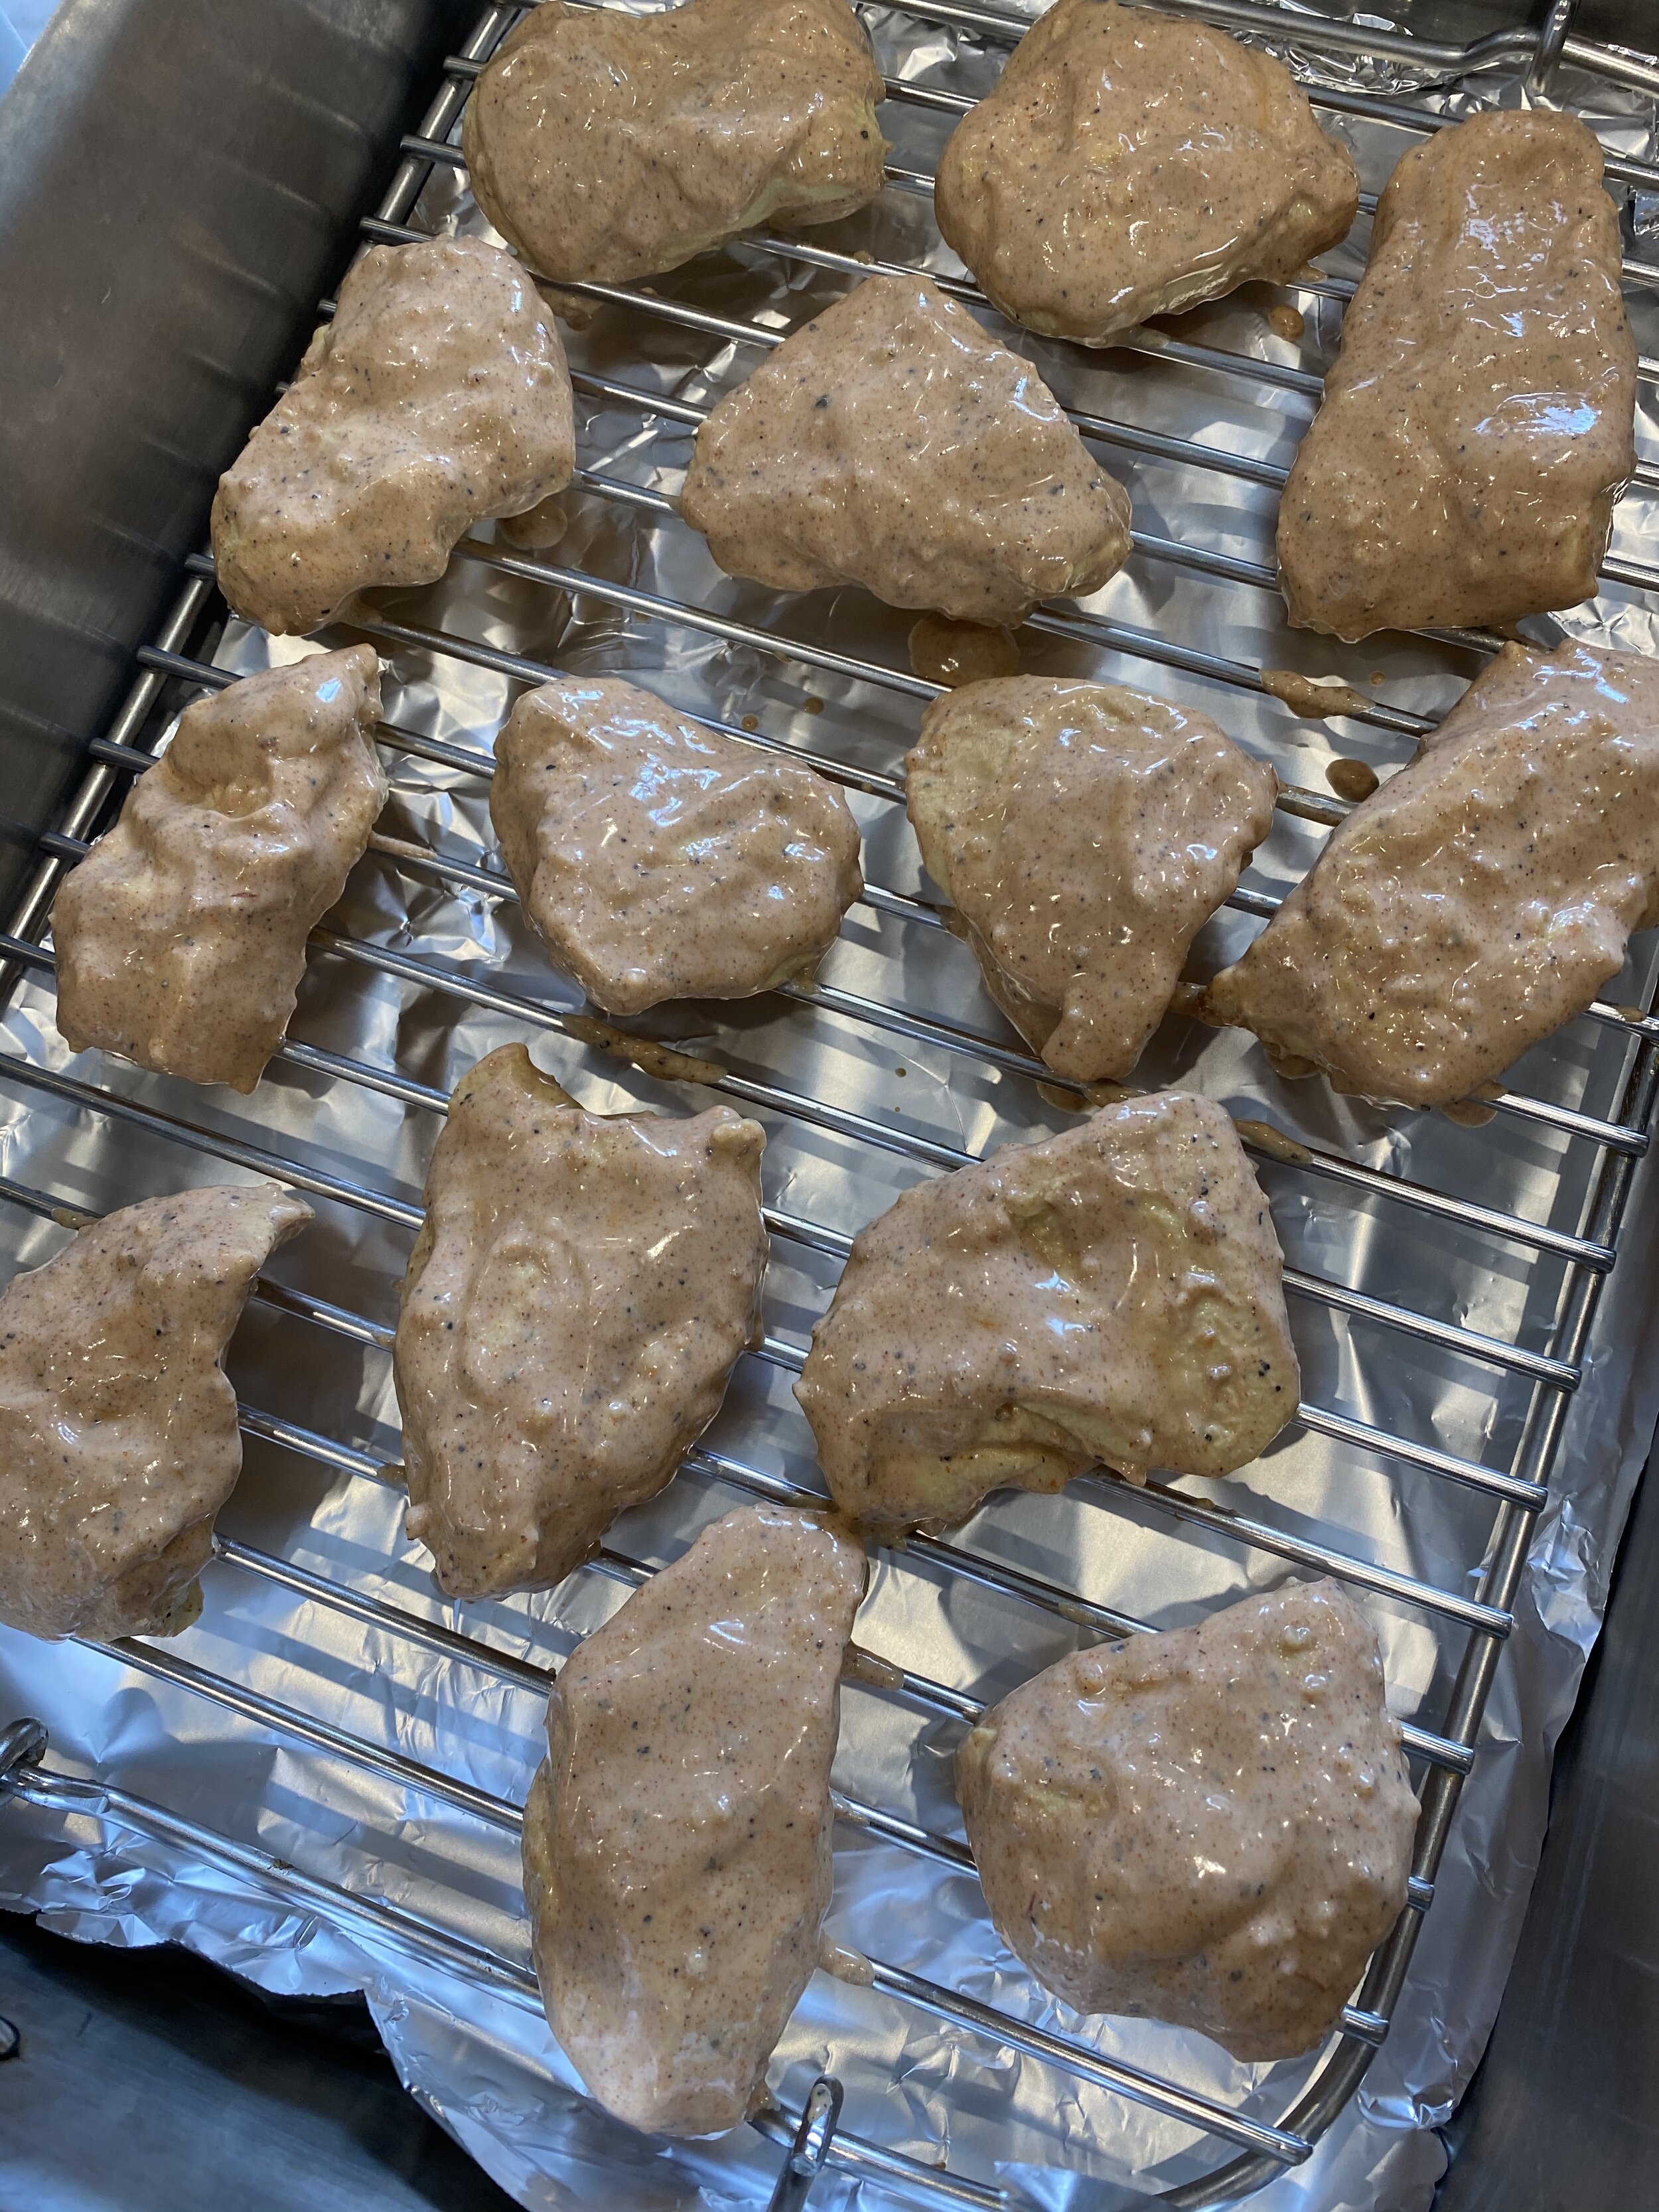
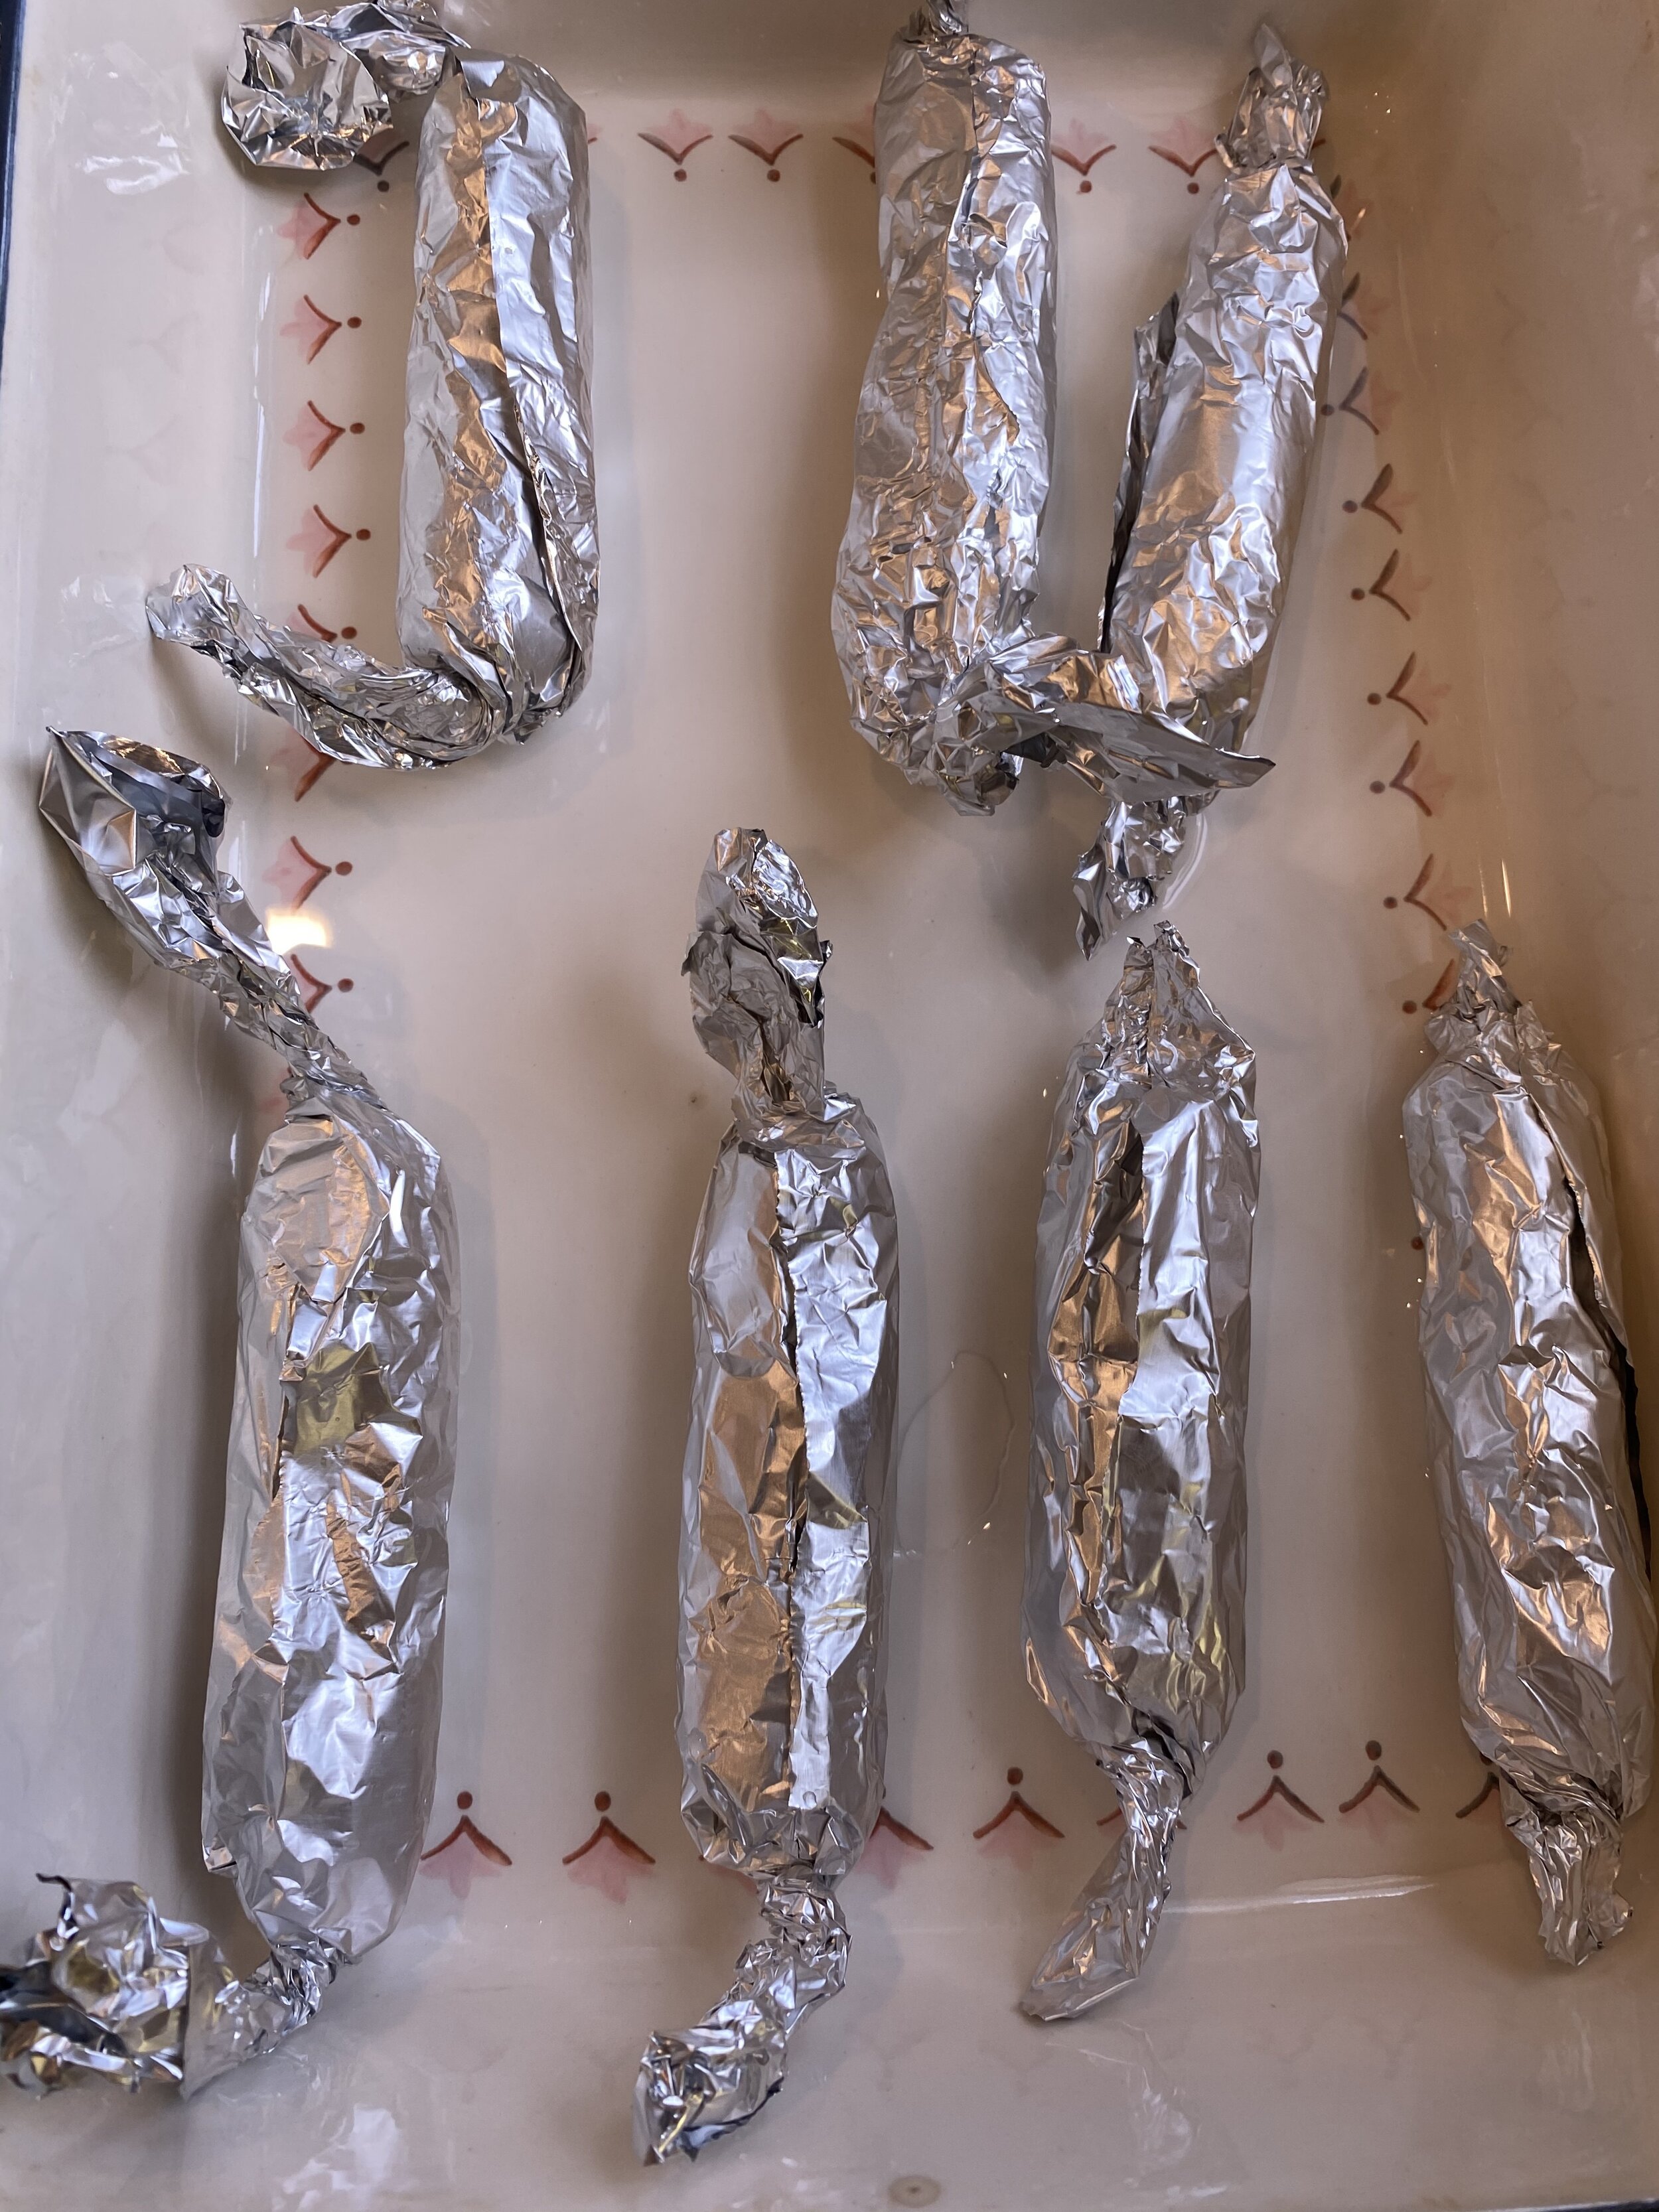
Wrap each hotdog in a piece of foil that has been sprayed with a light mist of oil. Lay the hotdog at one long end of the foil and roll it up, twisting the ends tightly. Make sure the foil is smooth. If there are a lot of wrinkles in the foil it will cause creases in the hotdogs.
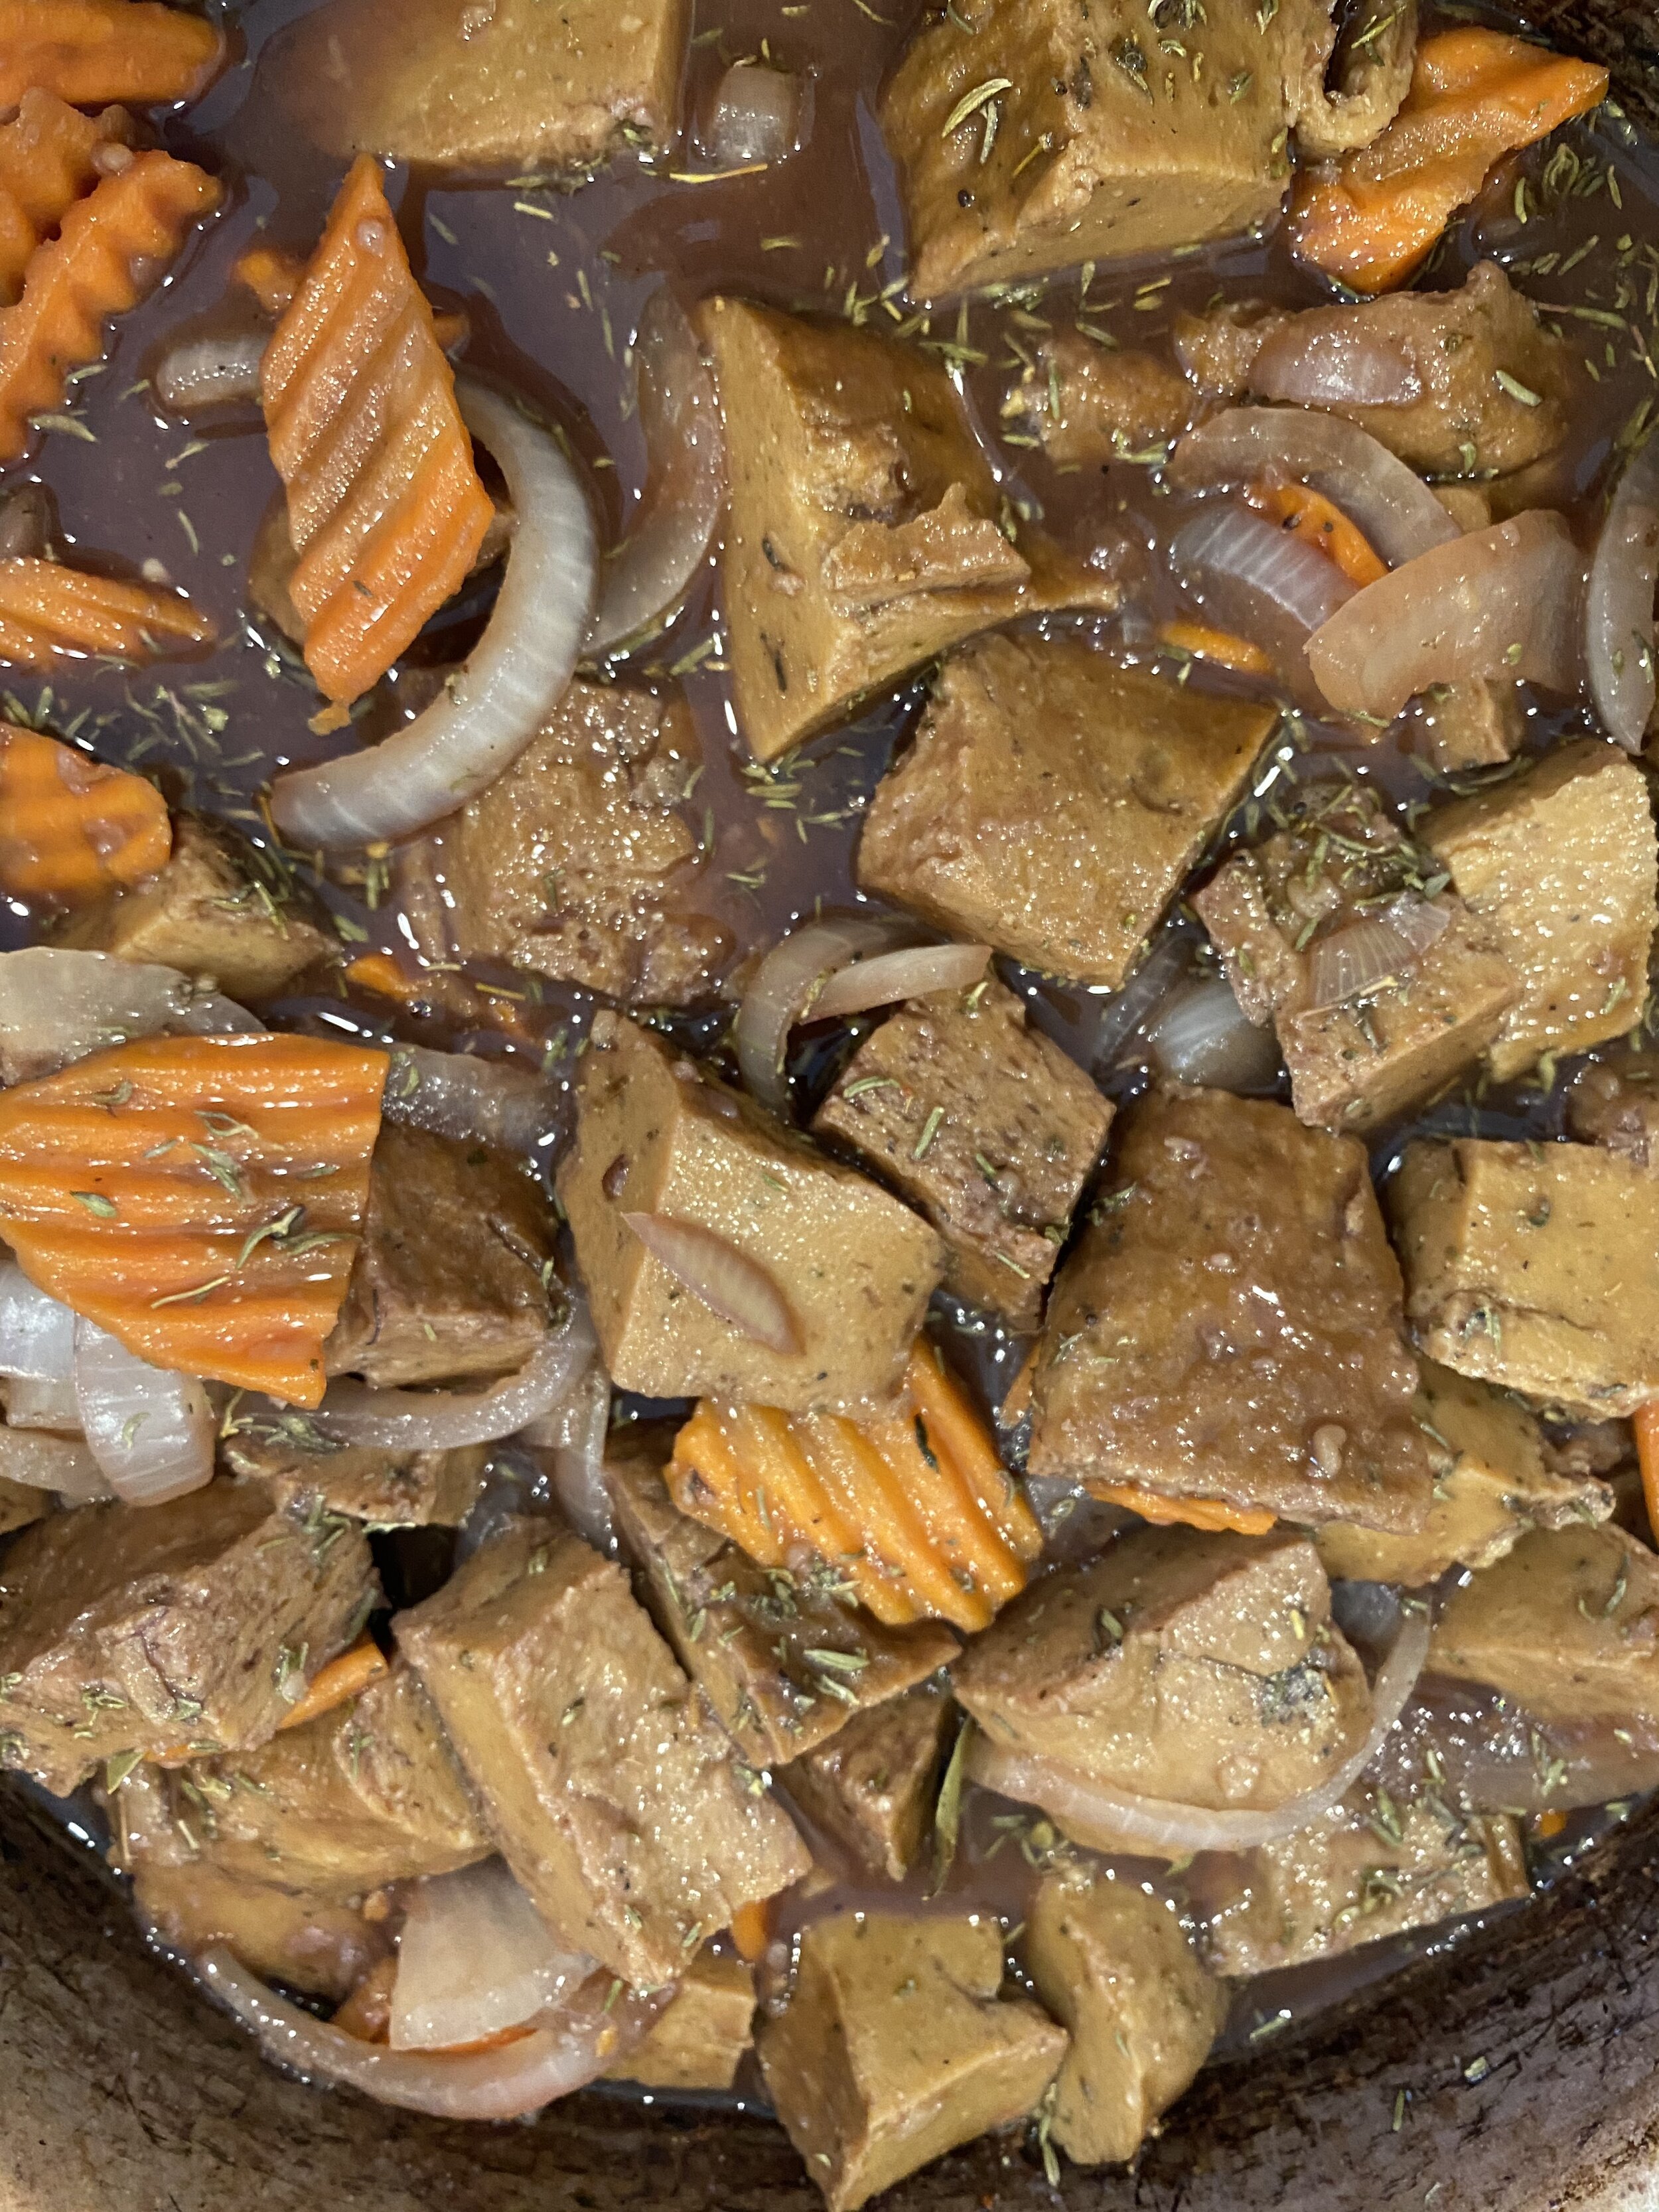
Place the foil wrapped hotdogs seam side up in a 9x13 baking dish (you will need 2 baking dishes to fit all the hot dogs) fill the bottom of the dish with about half an inch of water ( this is why the seam side needs to be up on the foil, you don’t want water getting into the foil!)
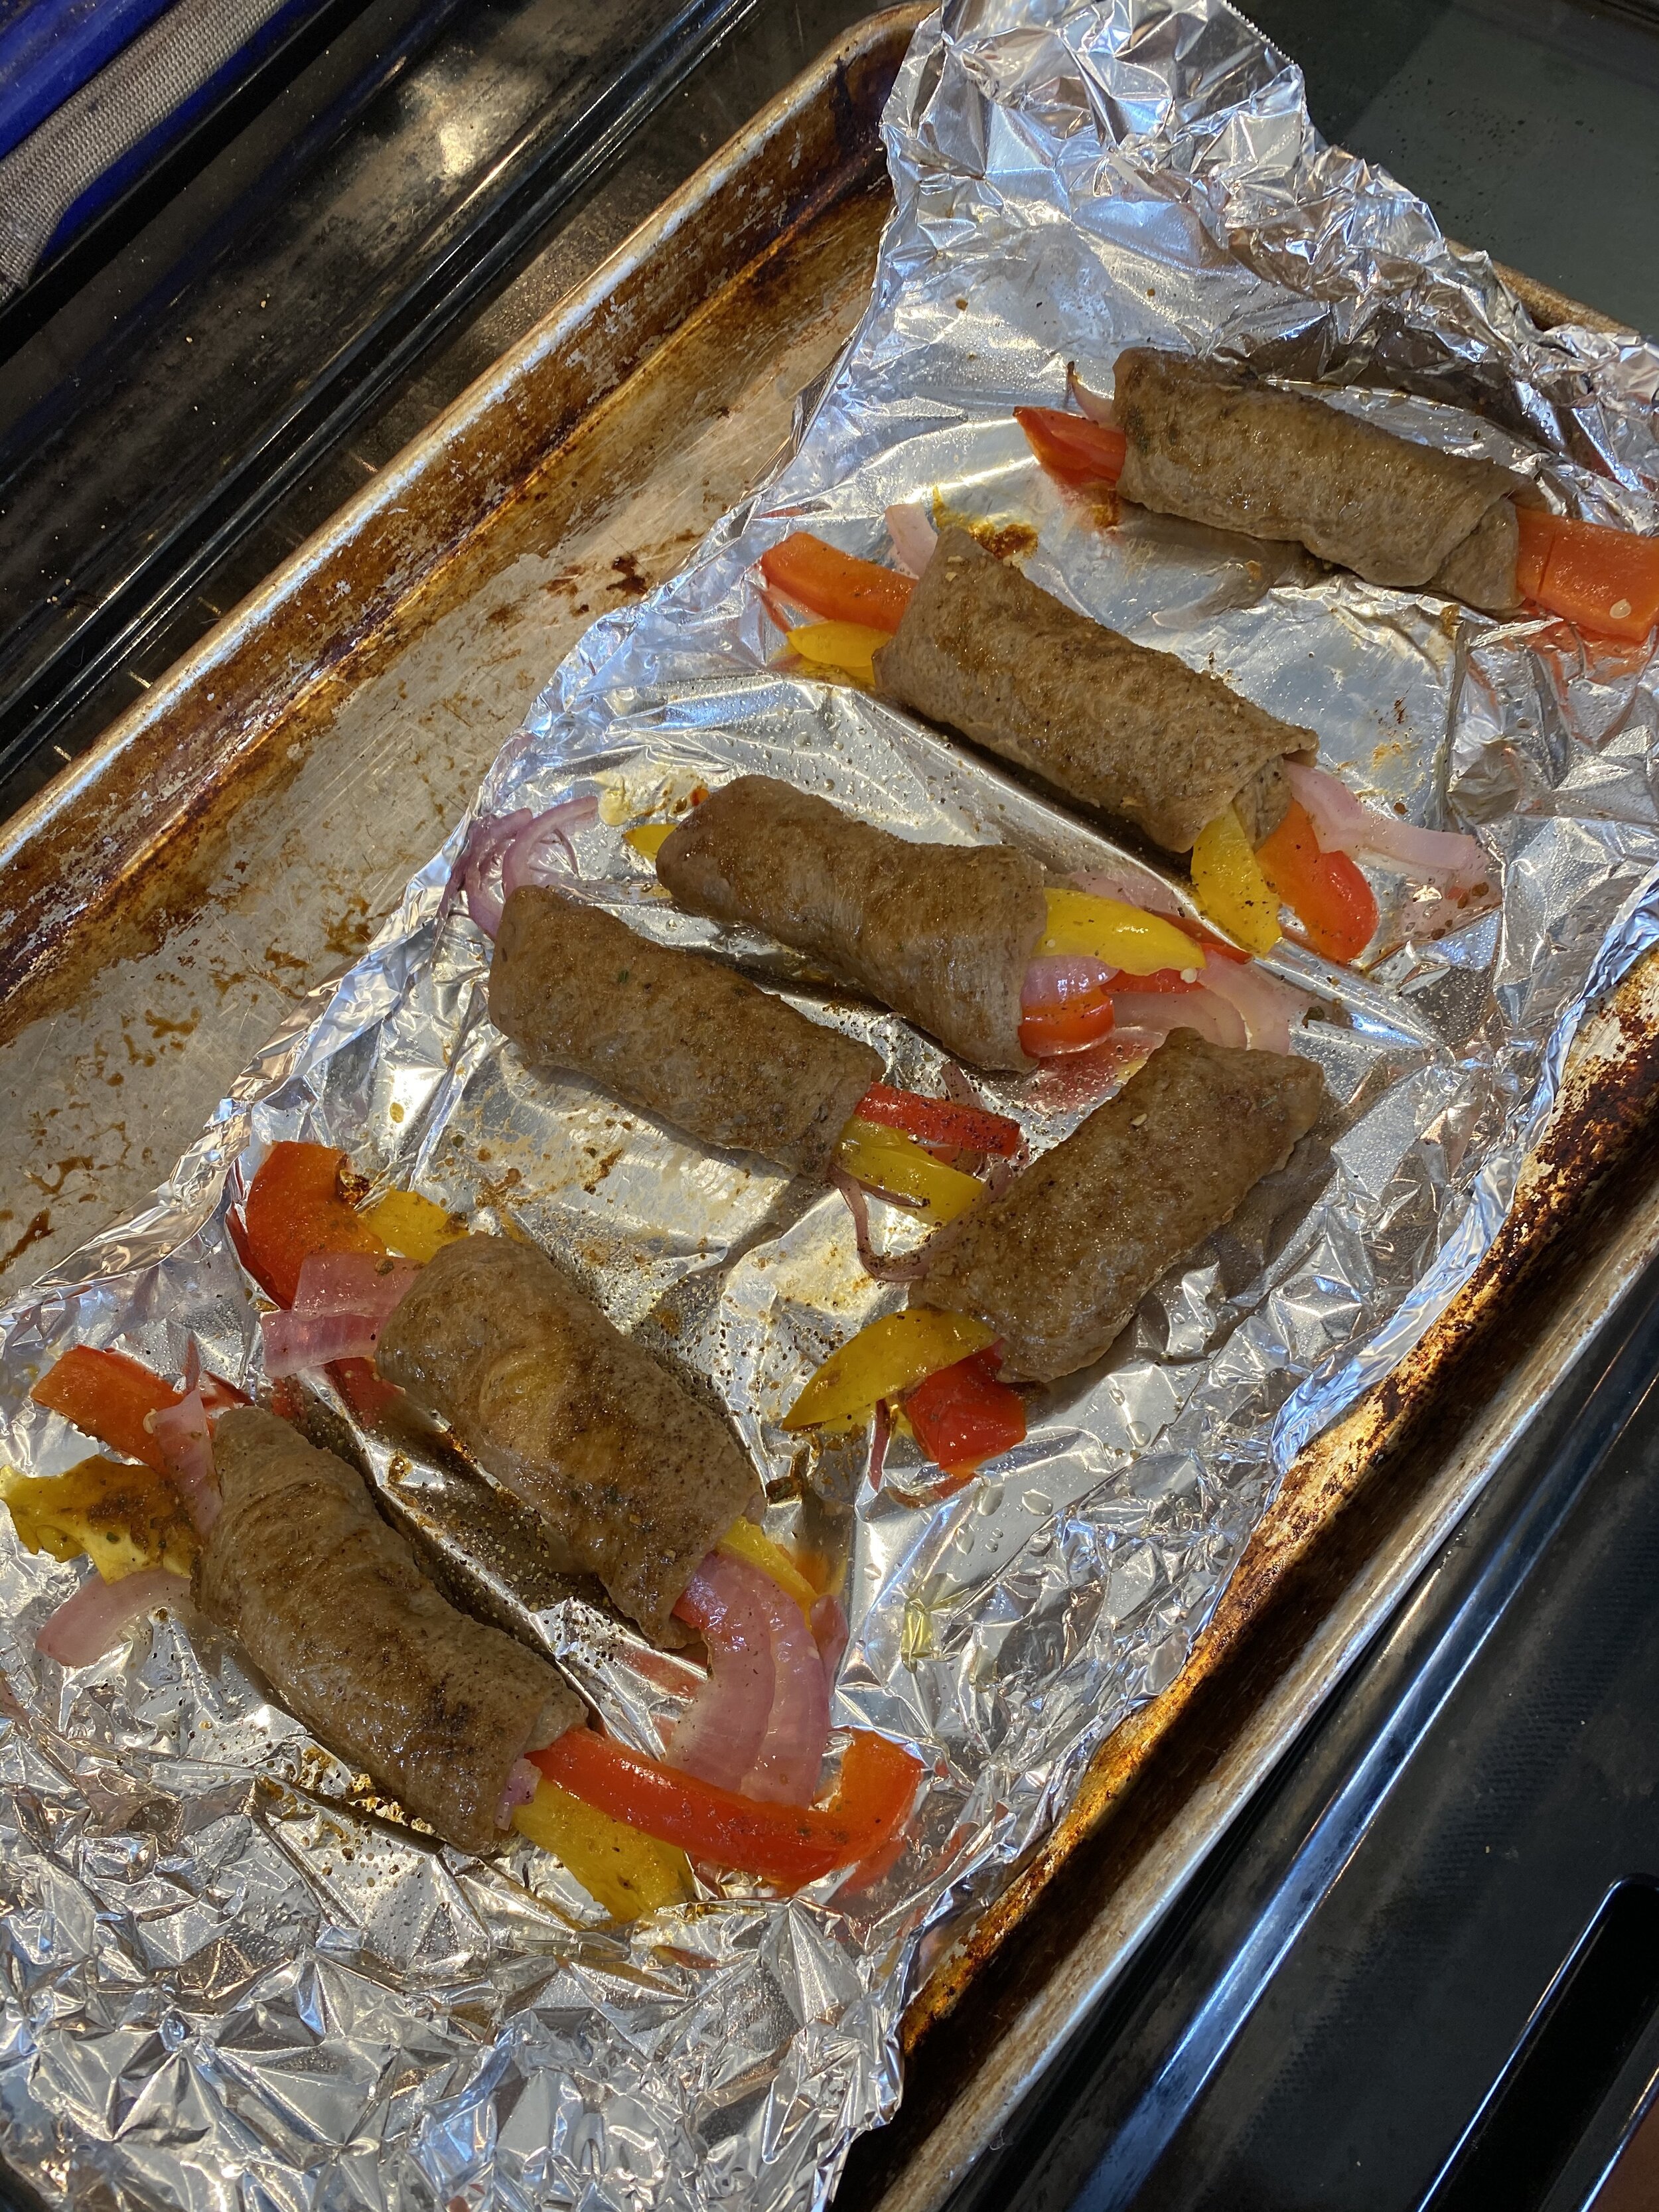
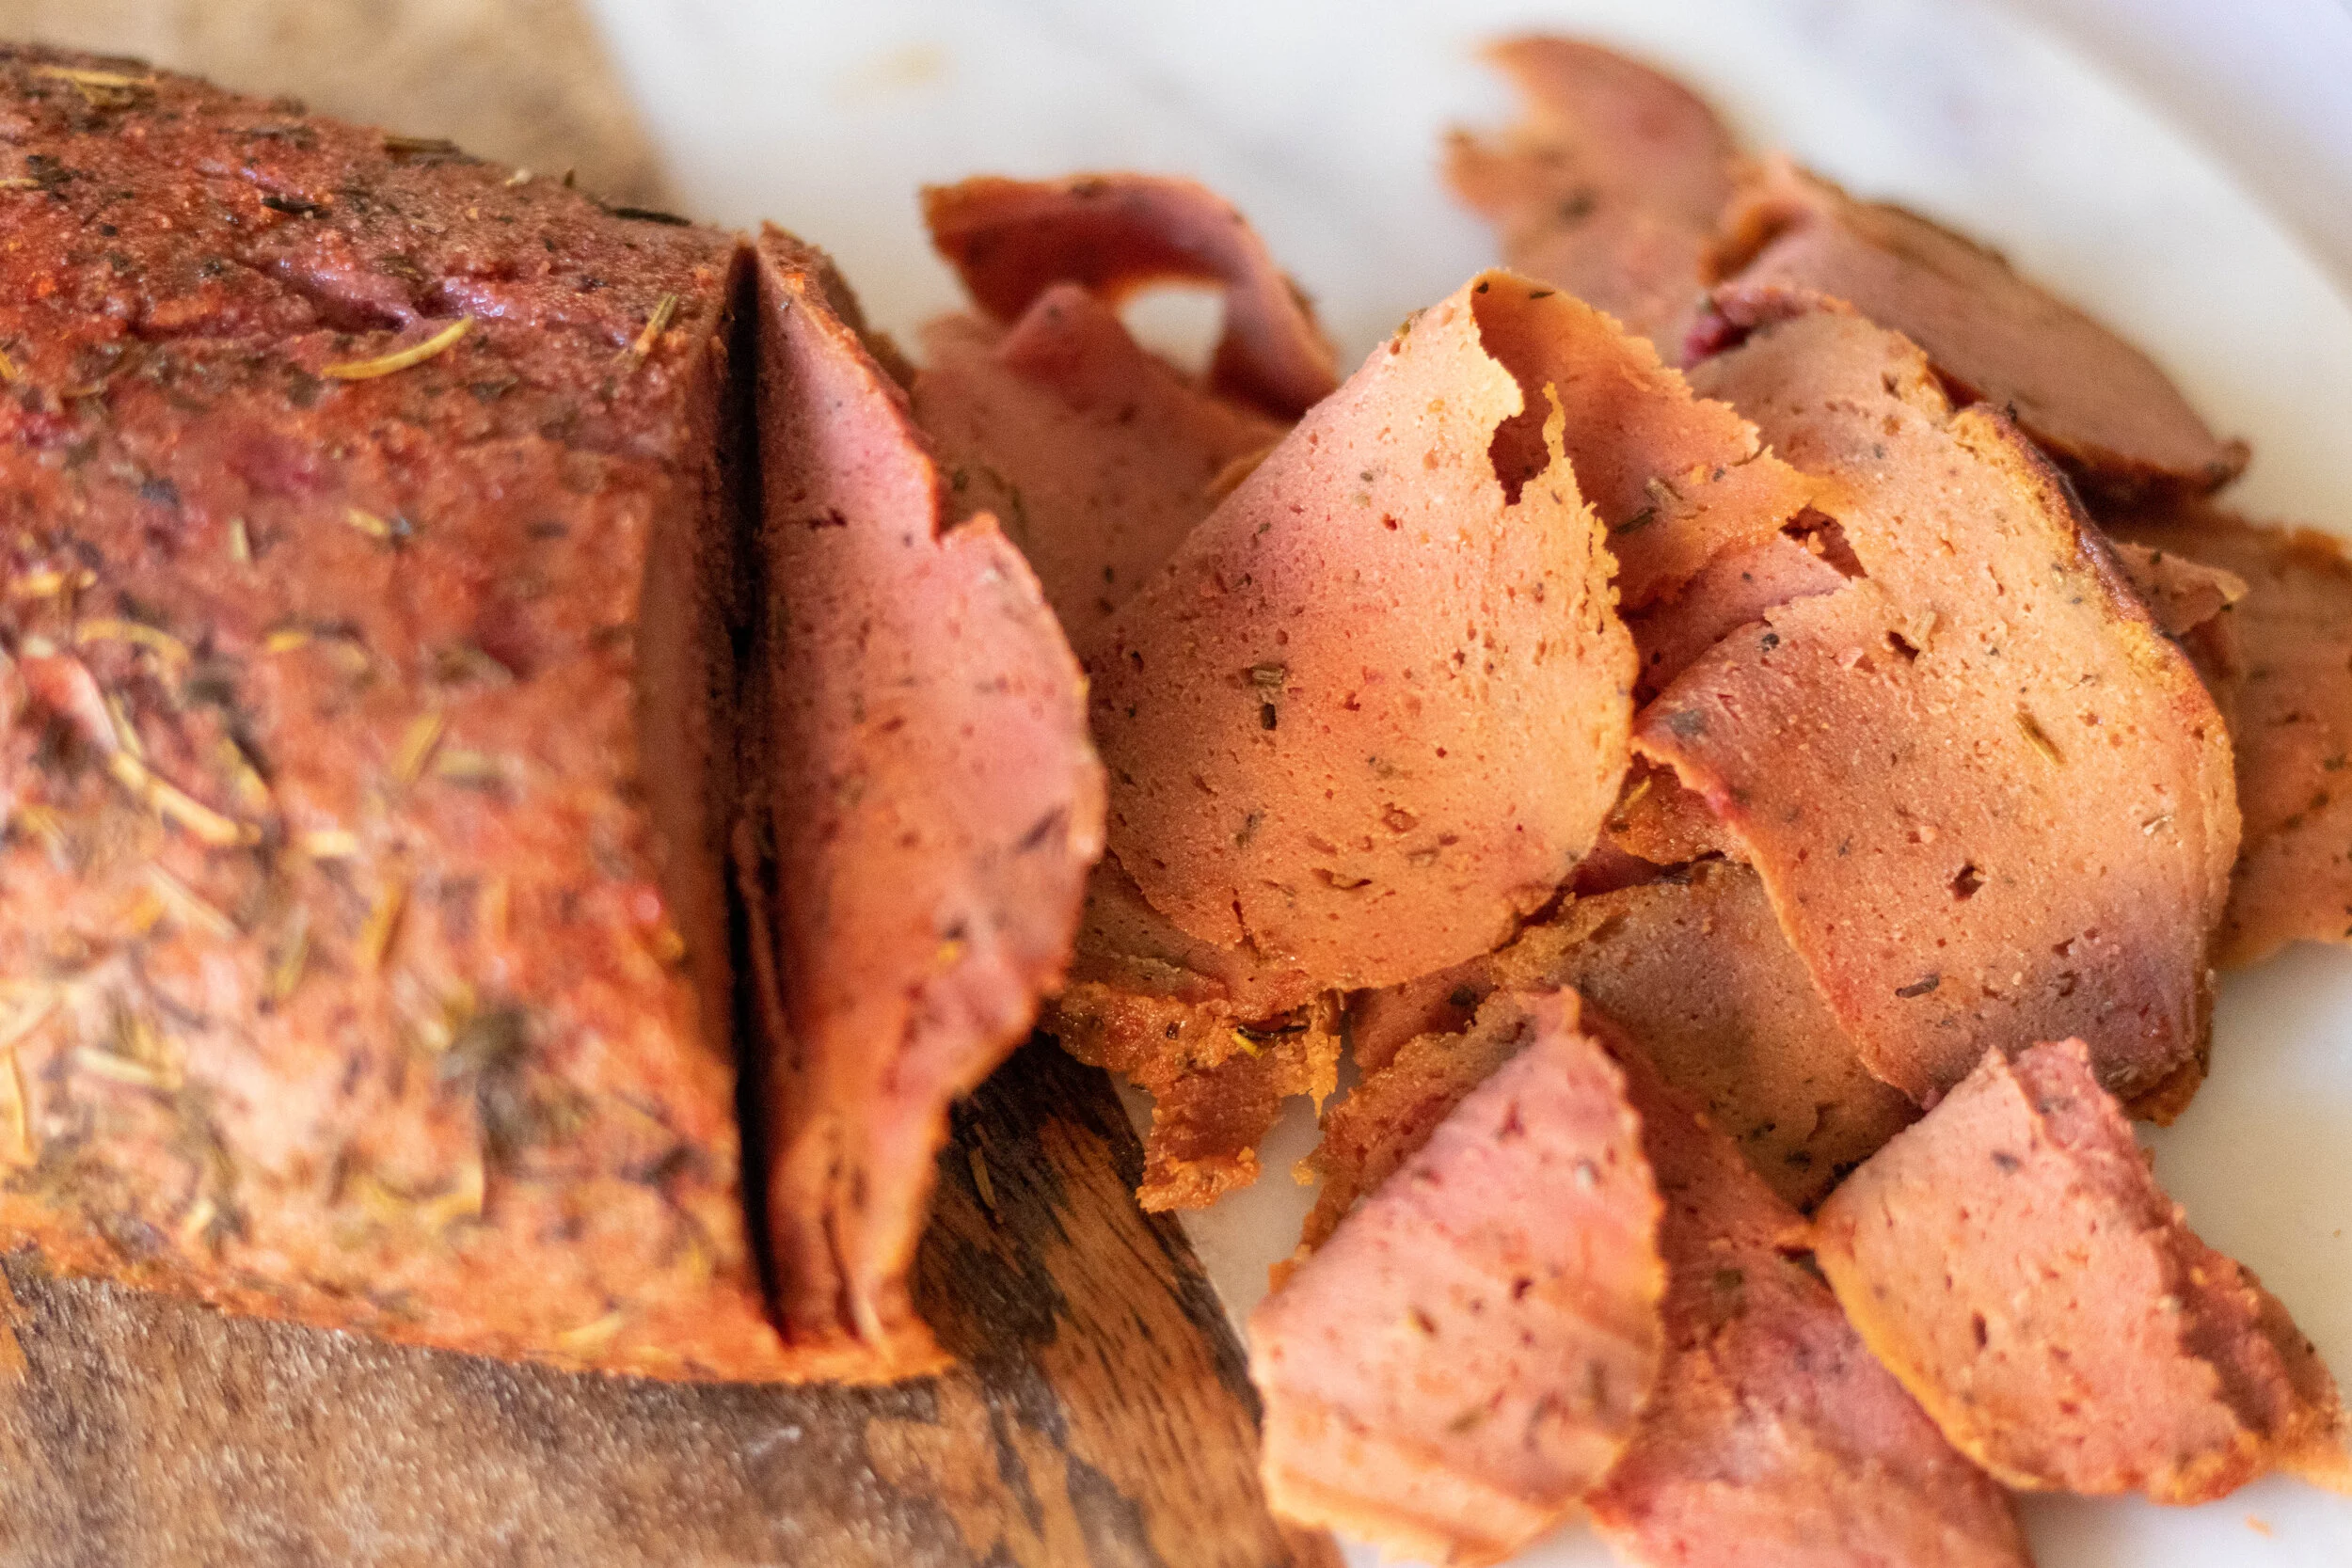
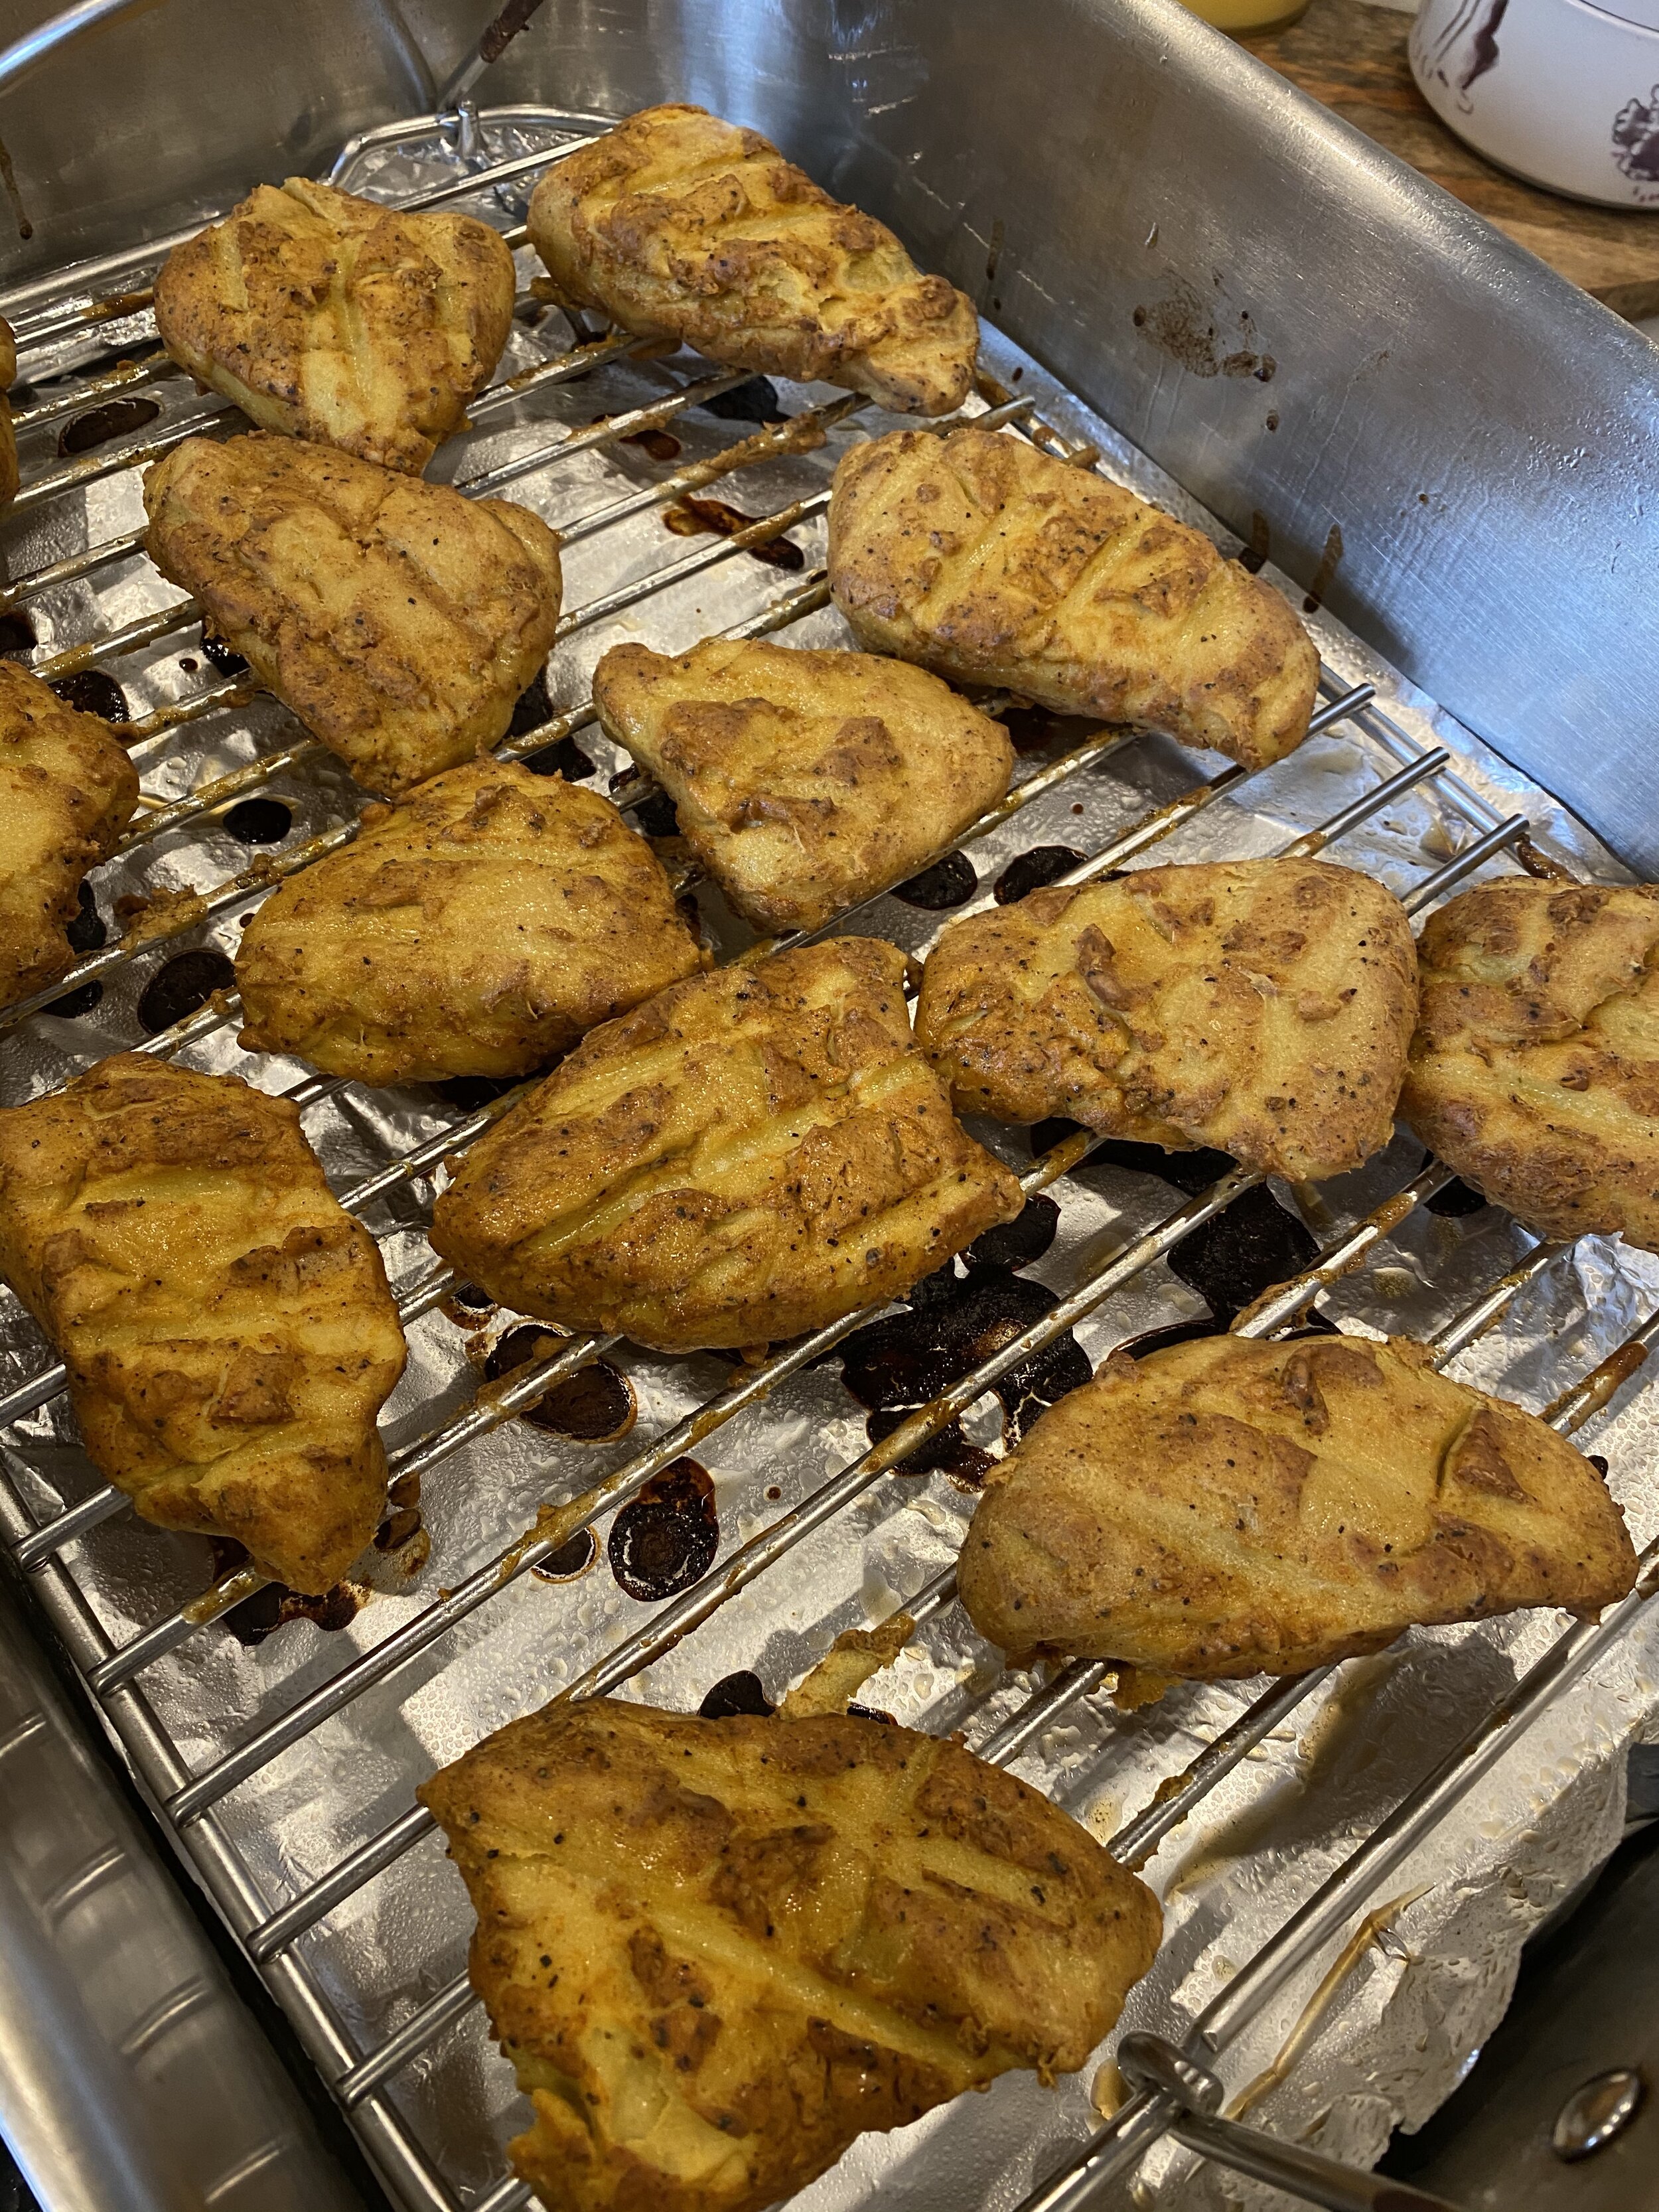
Place the pans in the oven and bake wrapped for 30 minutes.
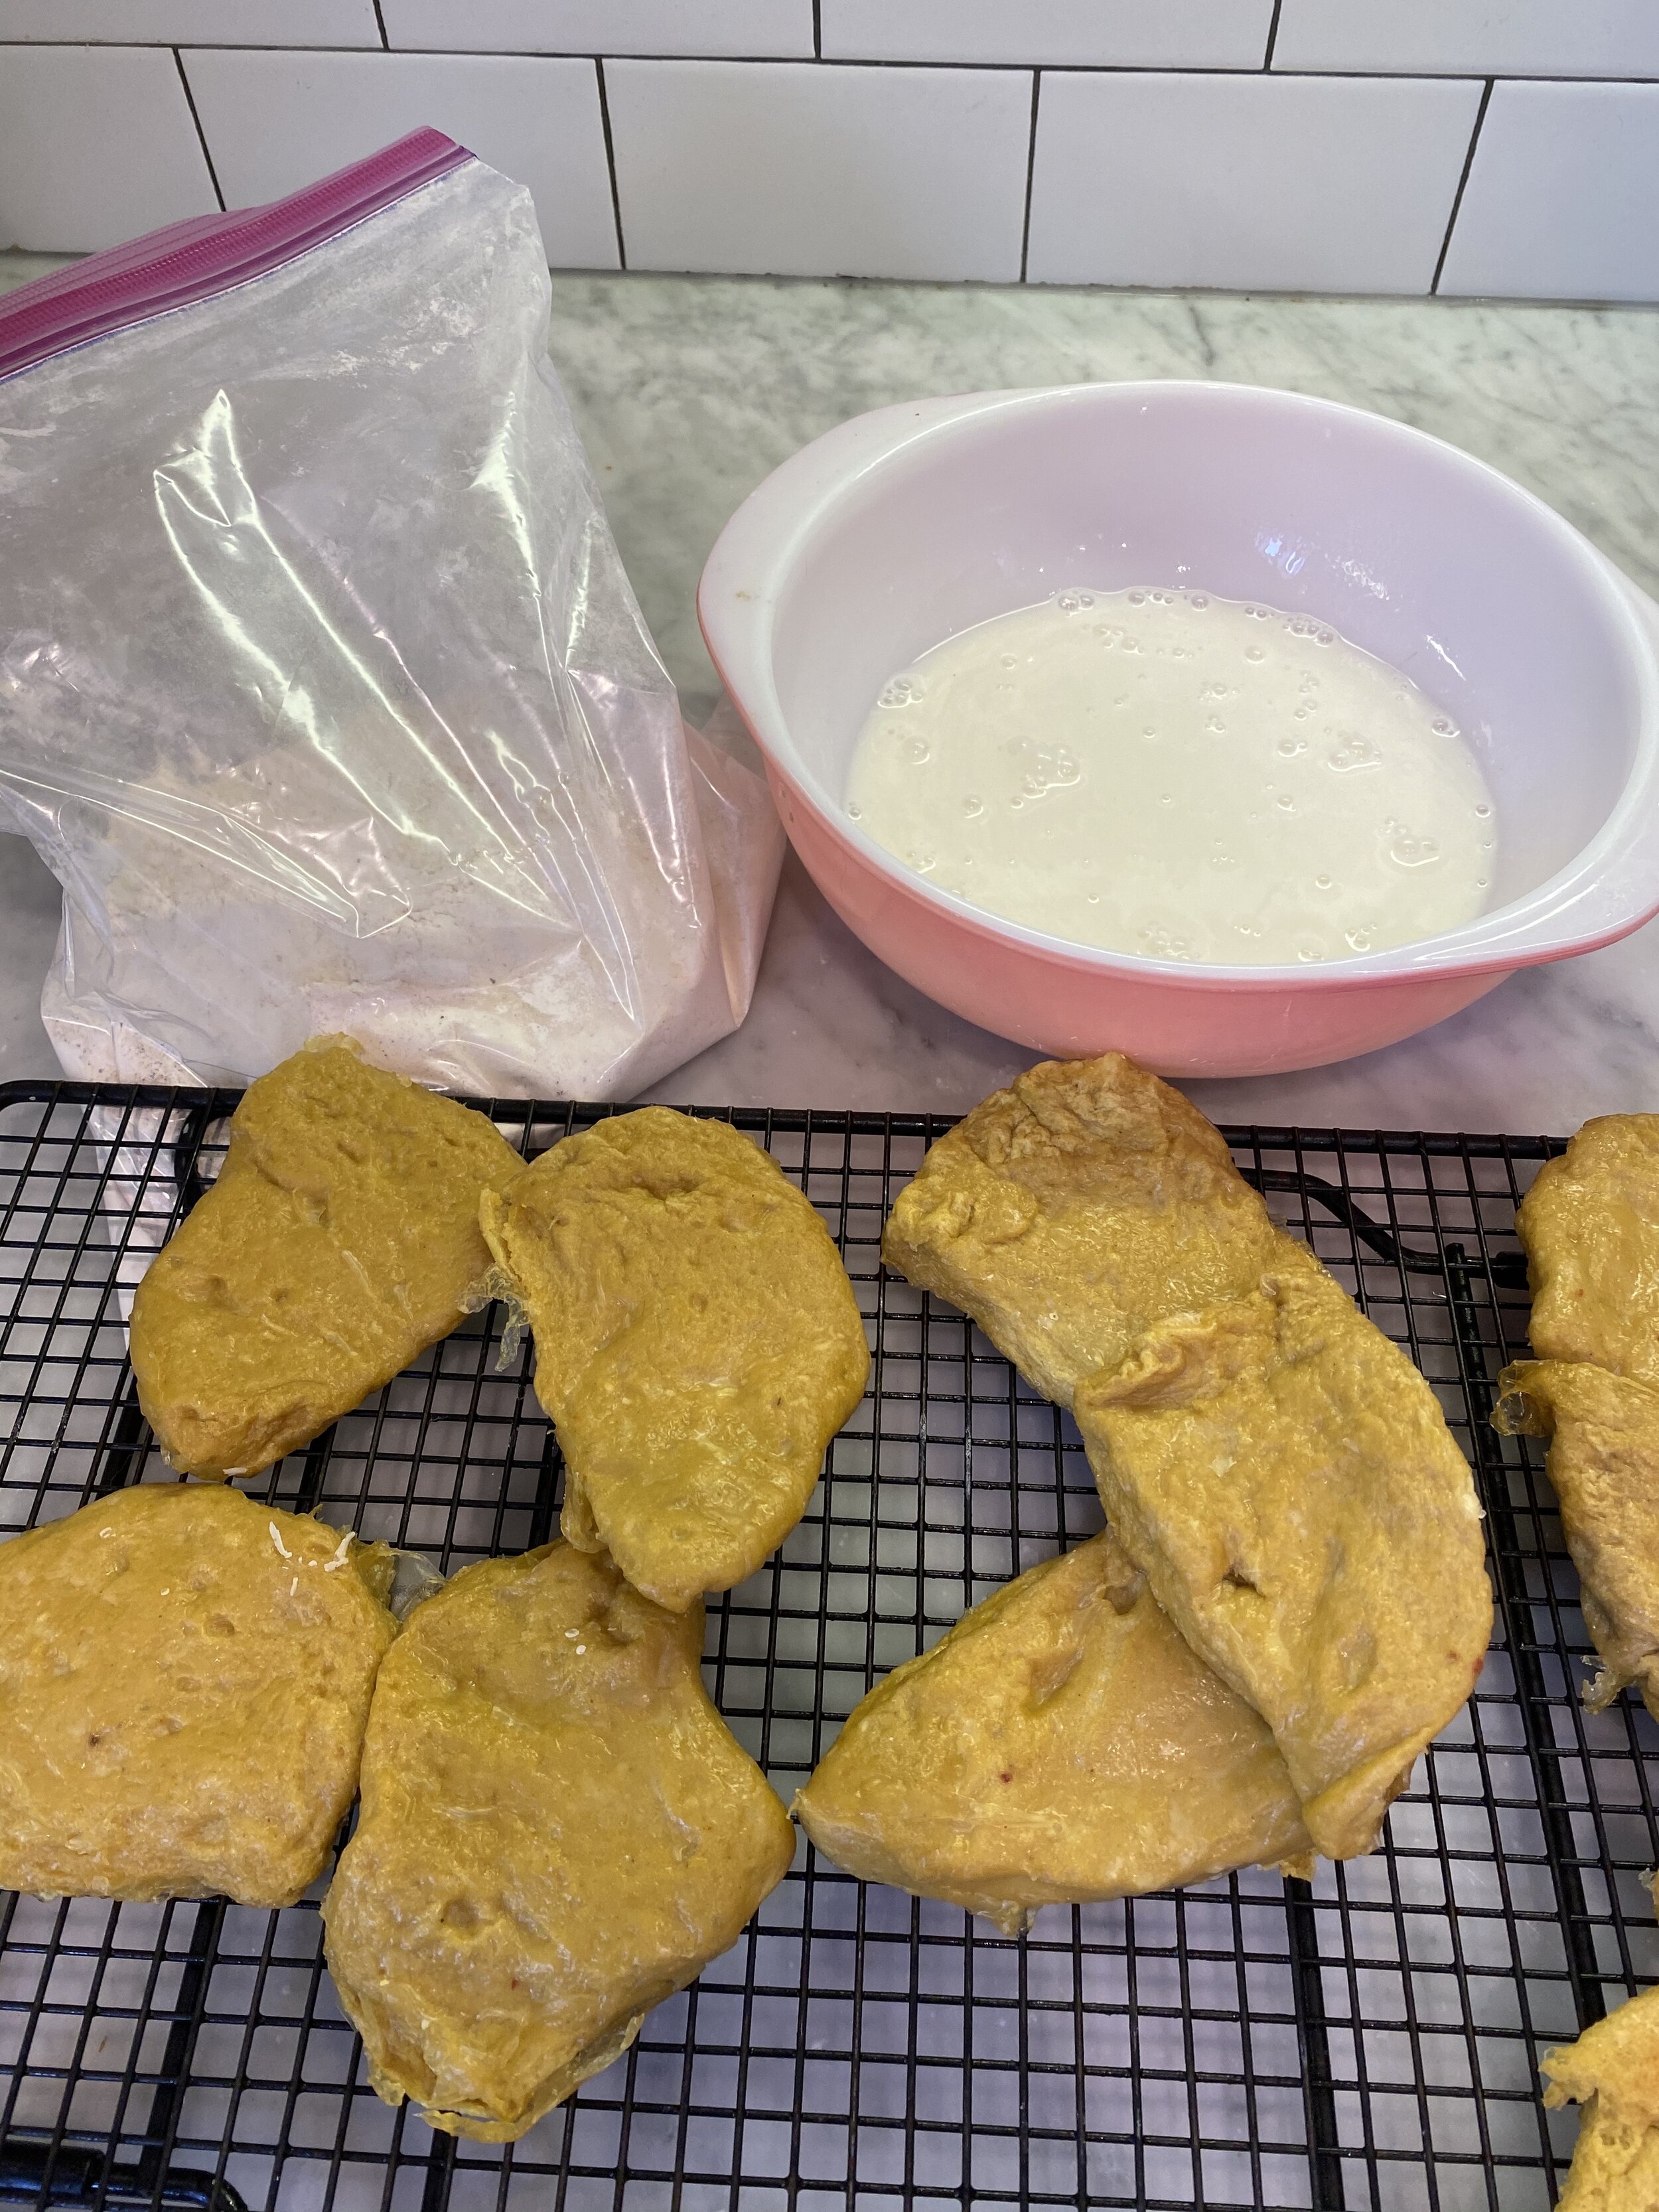
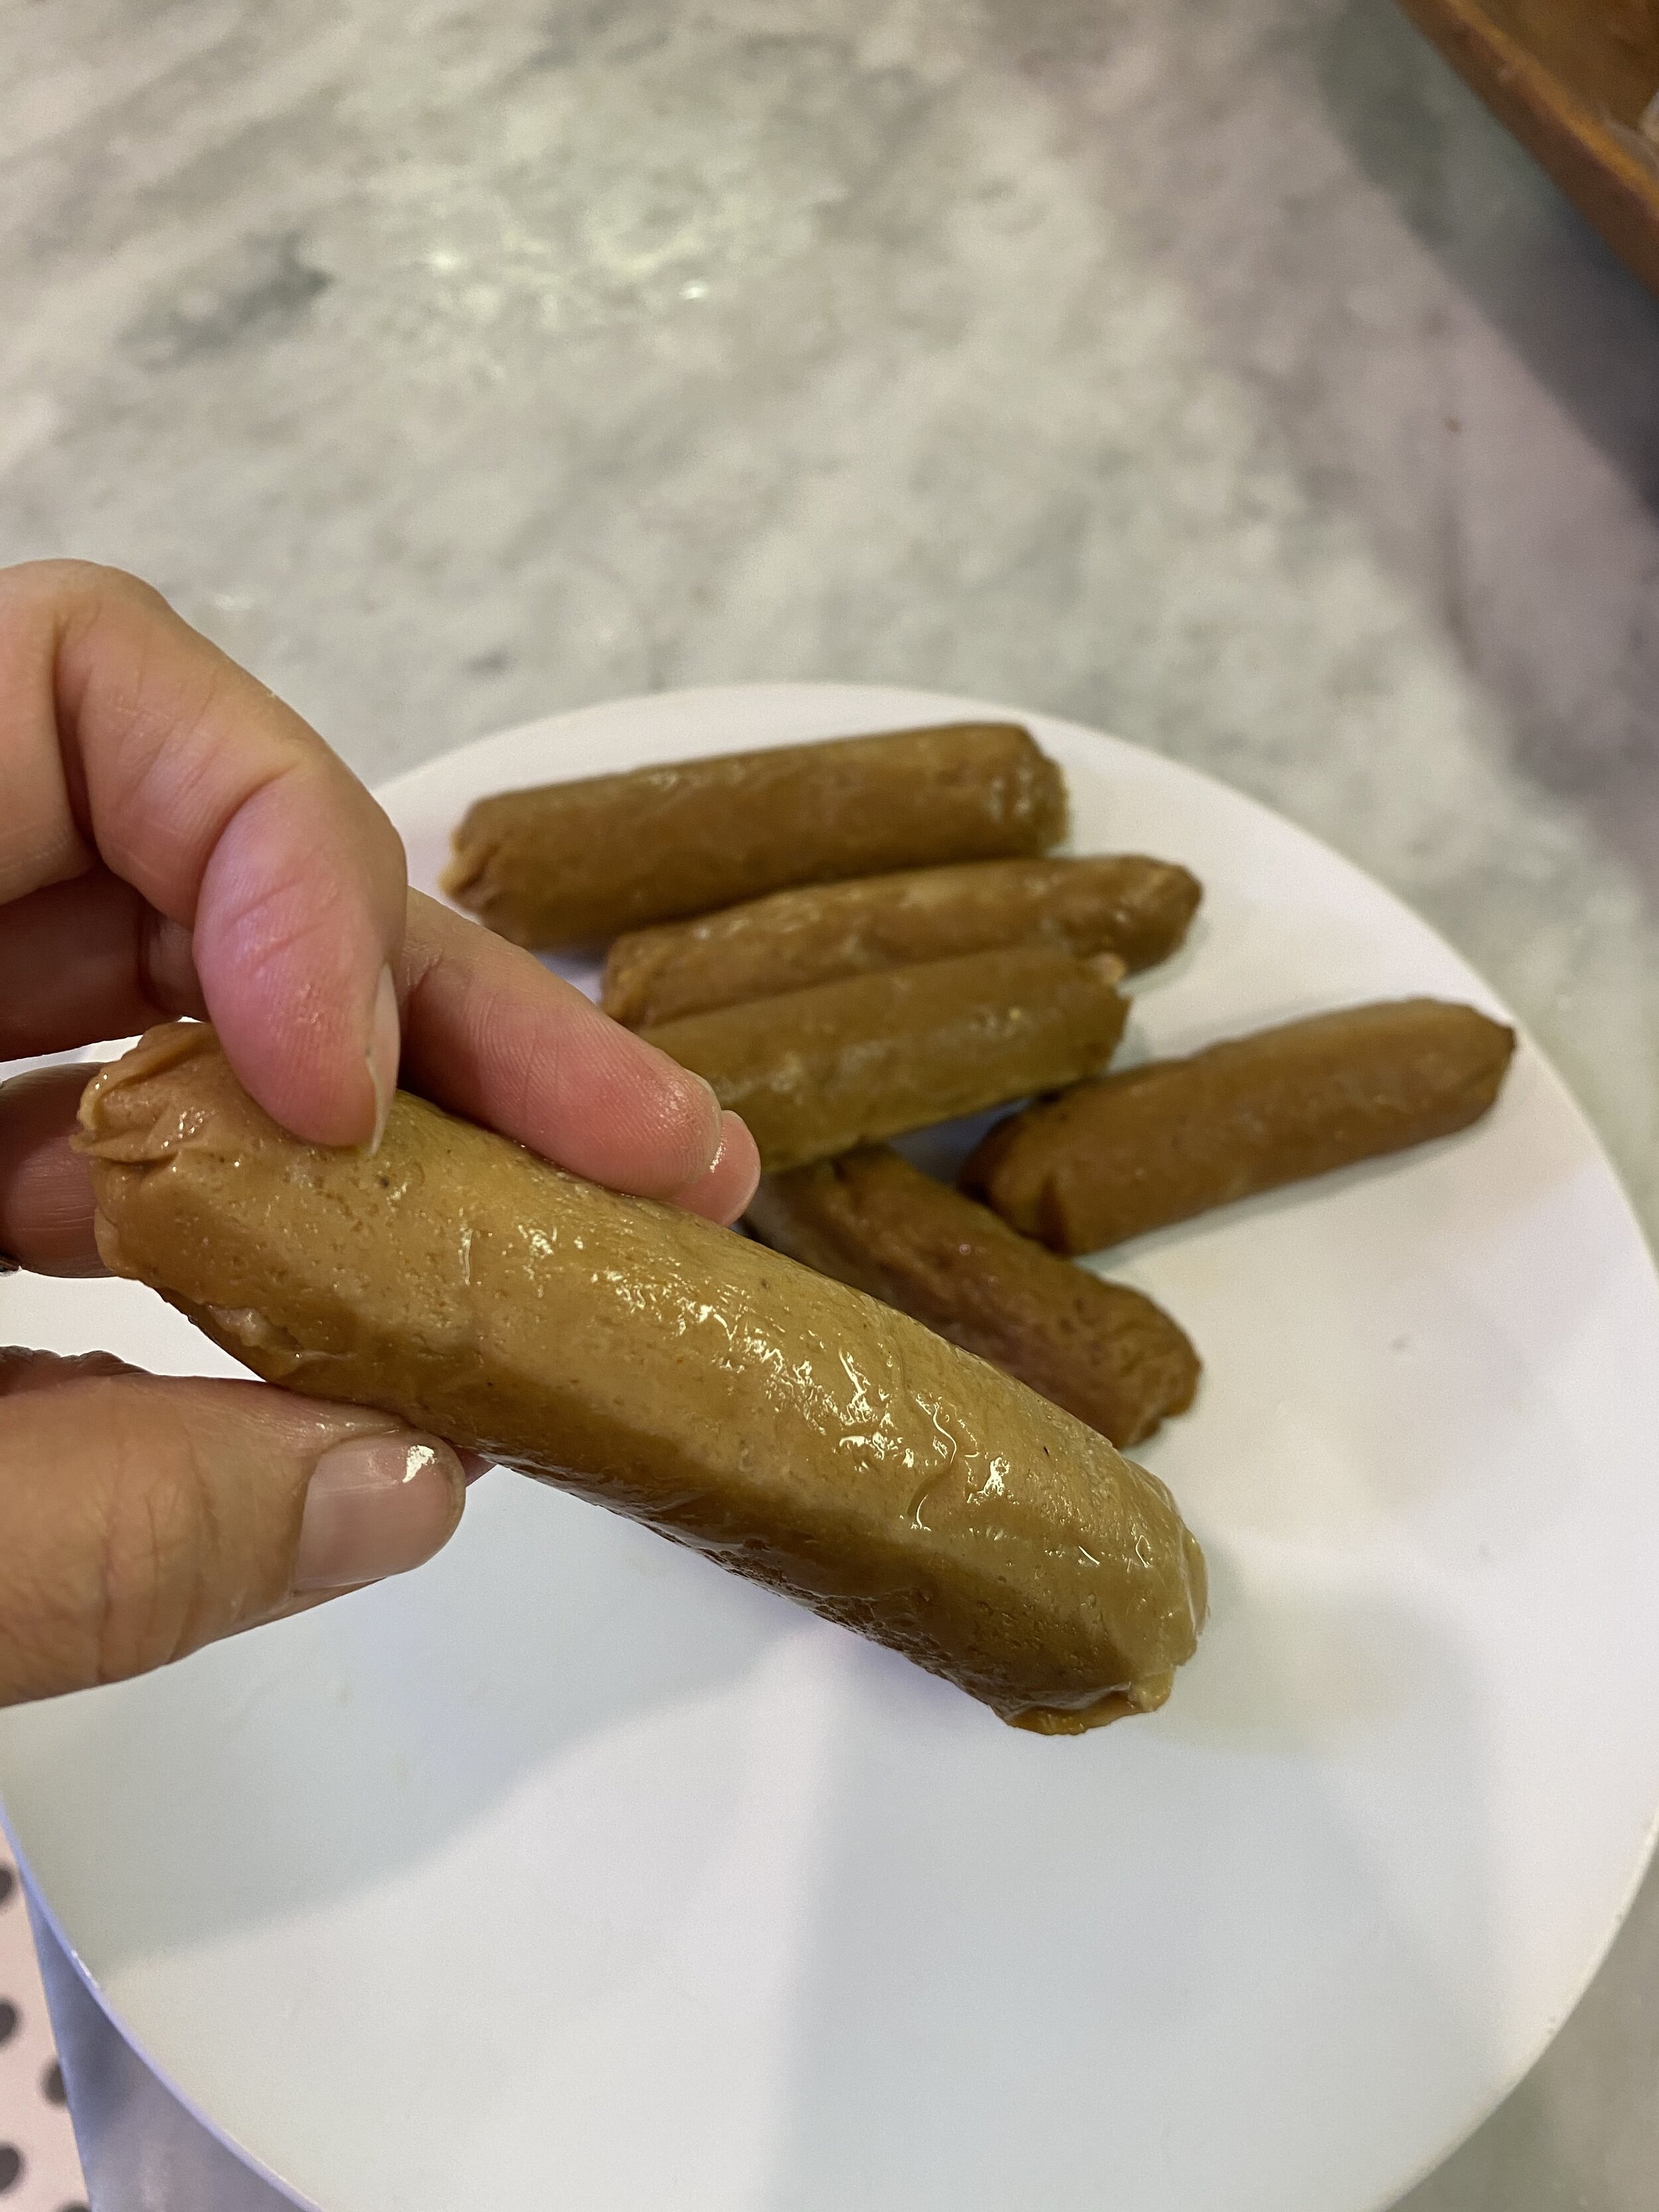
Carefully remove the hotdogs from the oven but leave them in the foil. Pop them in the fridge to rest and firm up still wrapped in the foil for at least 5 hours. So if you want these for dinner, bake them up in the morning or the day before.
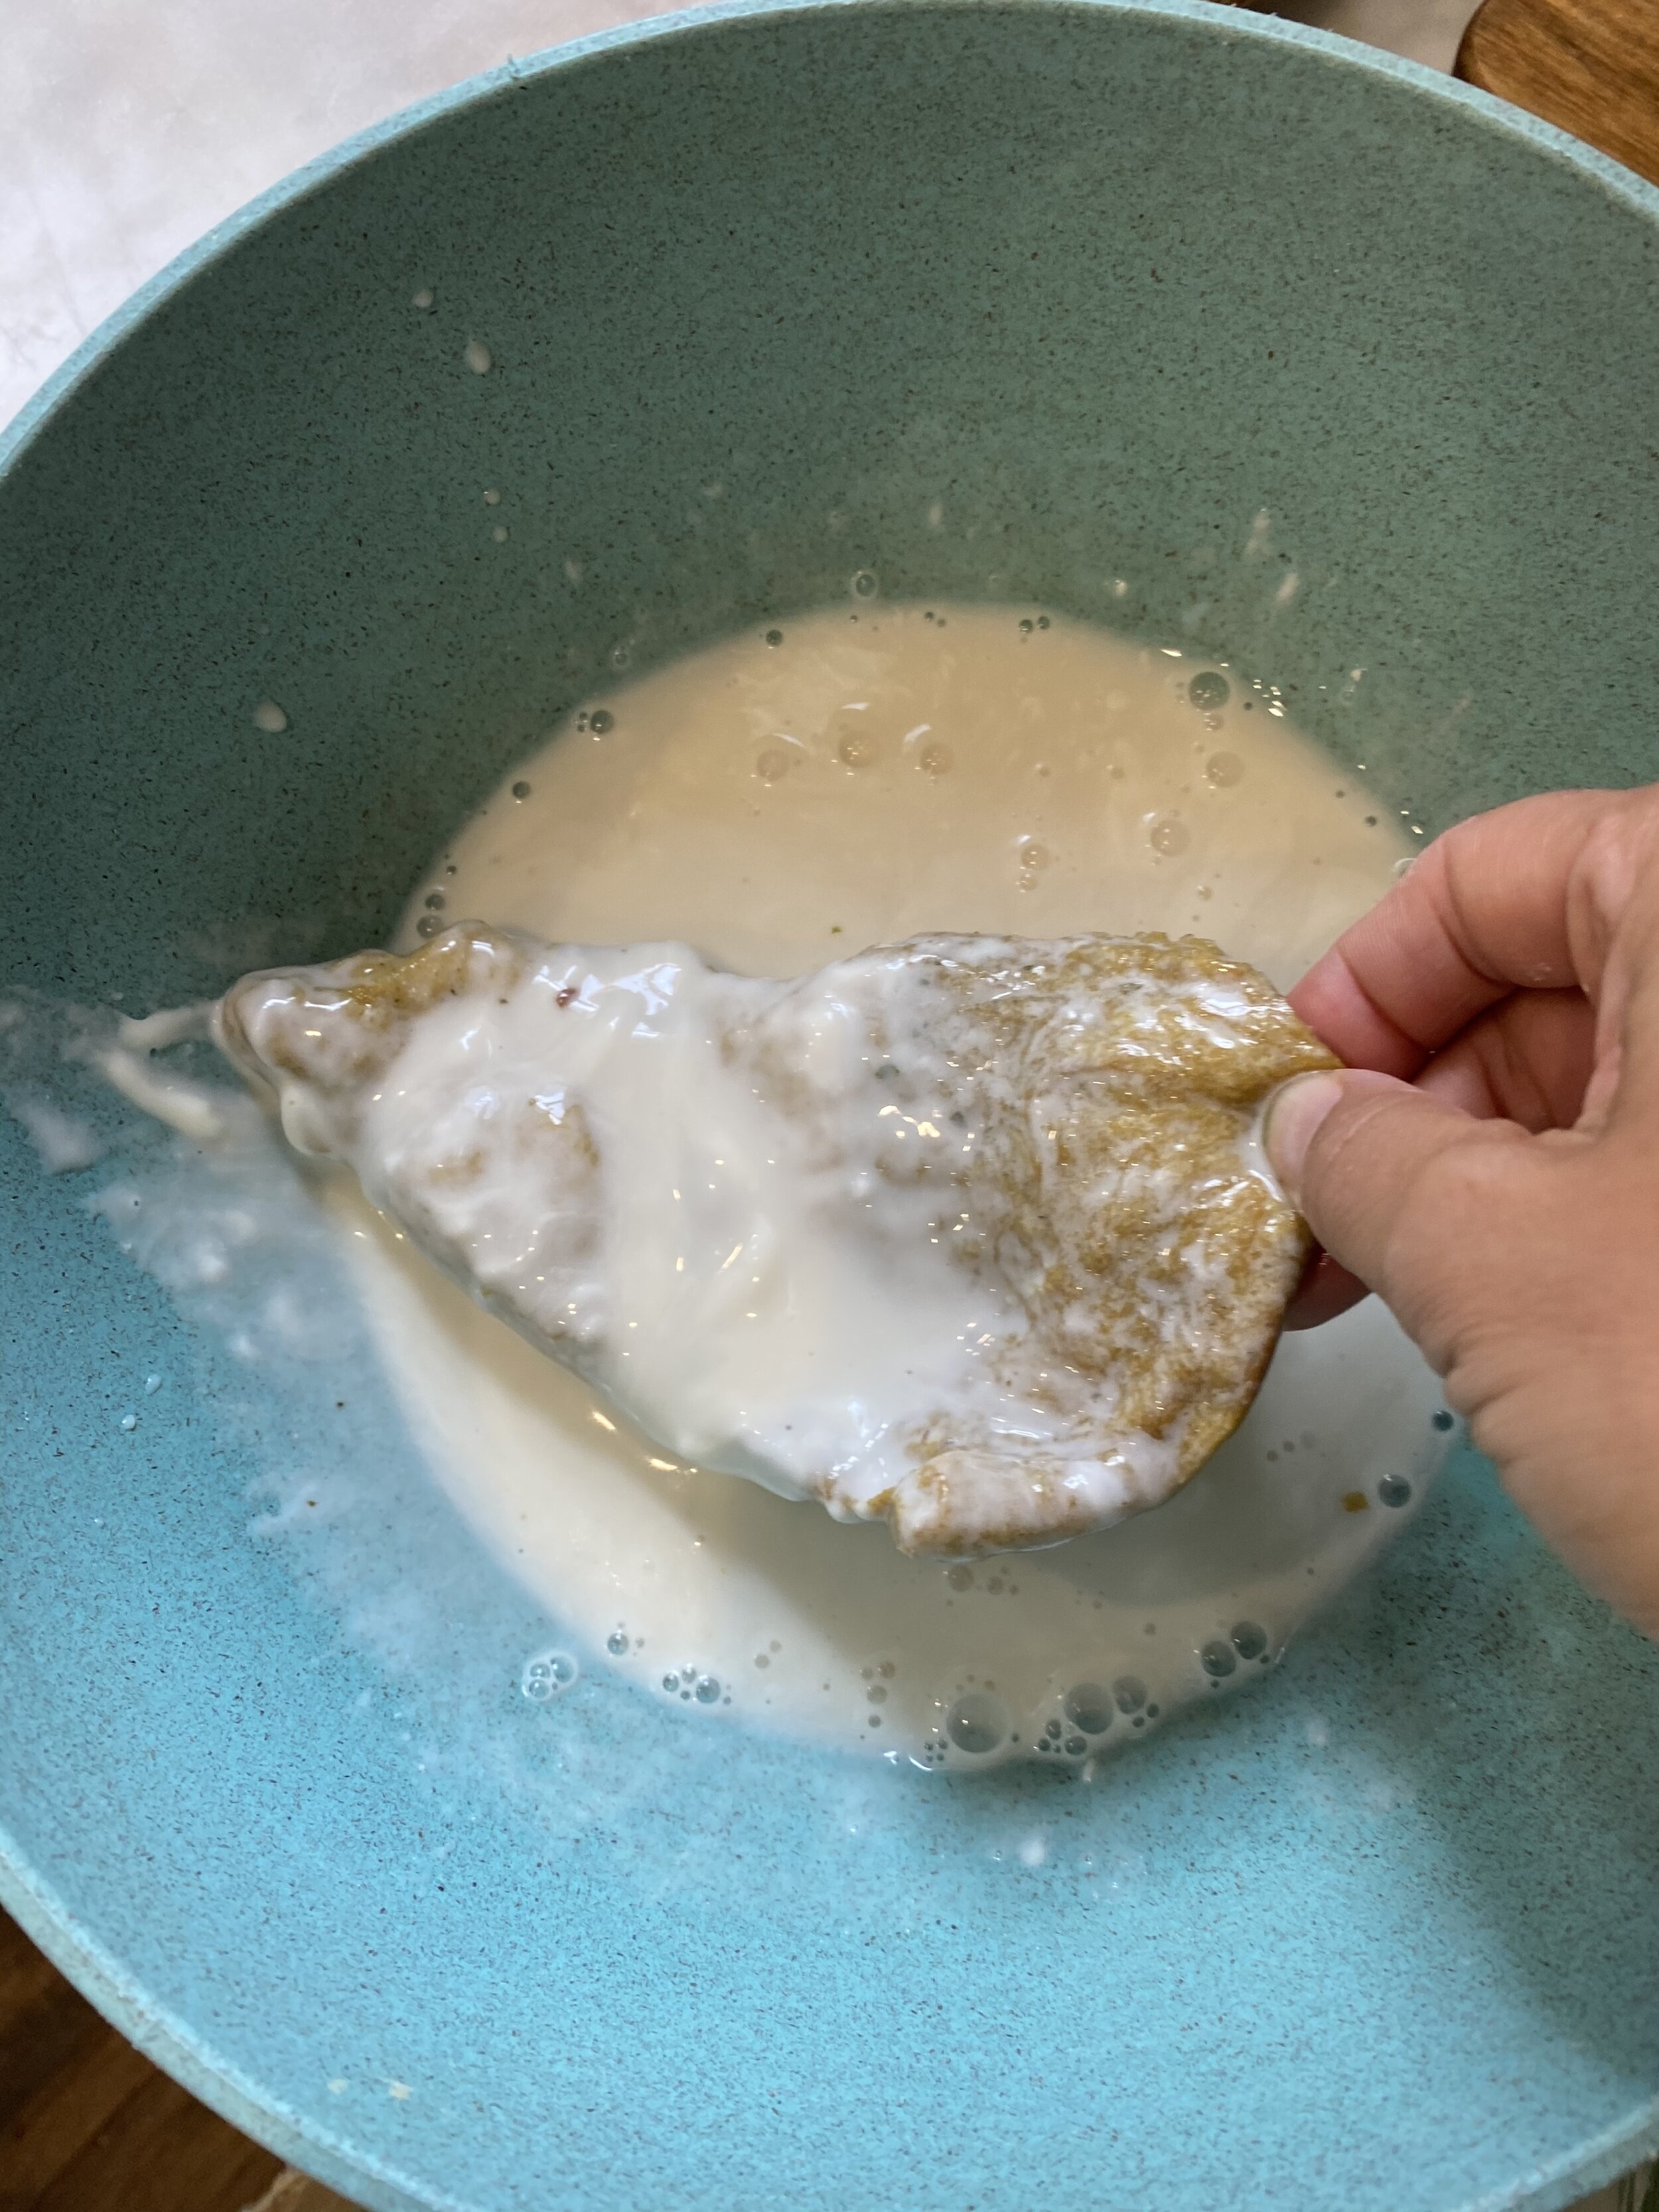
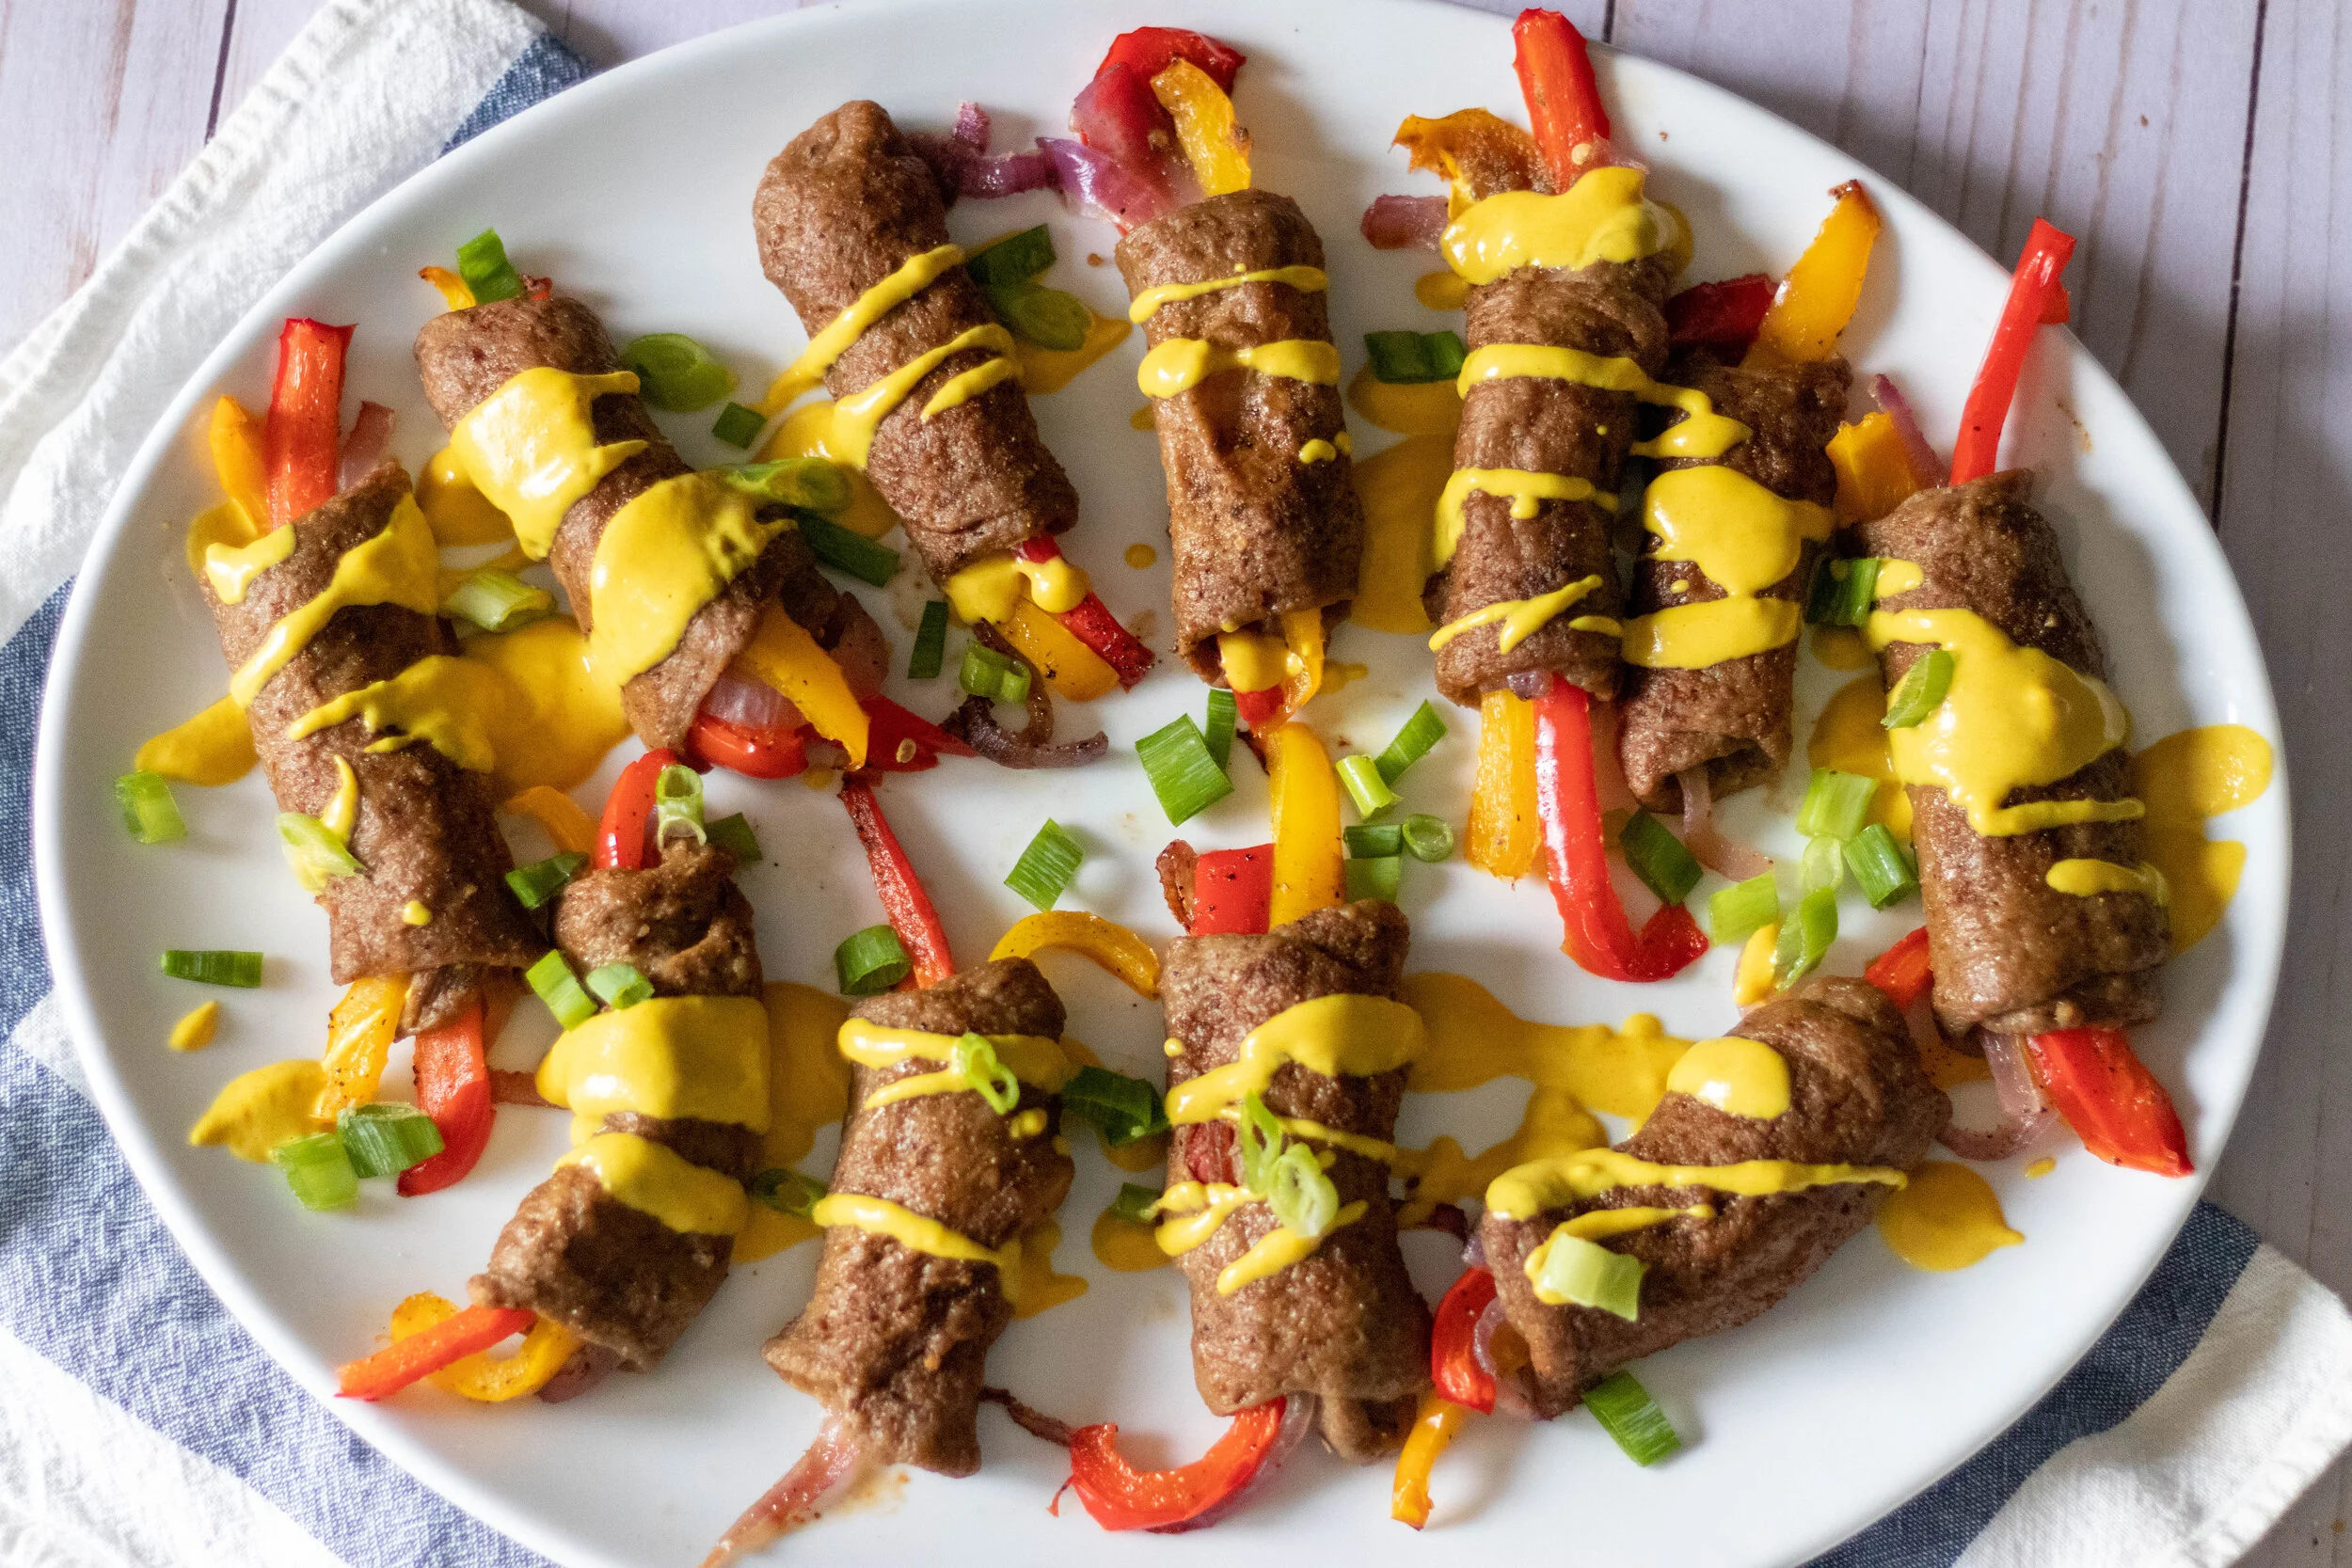
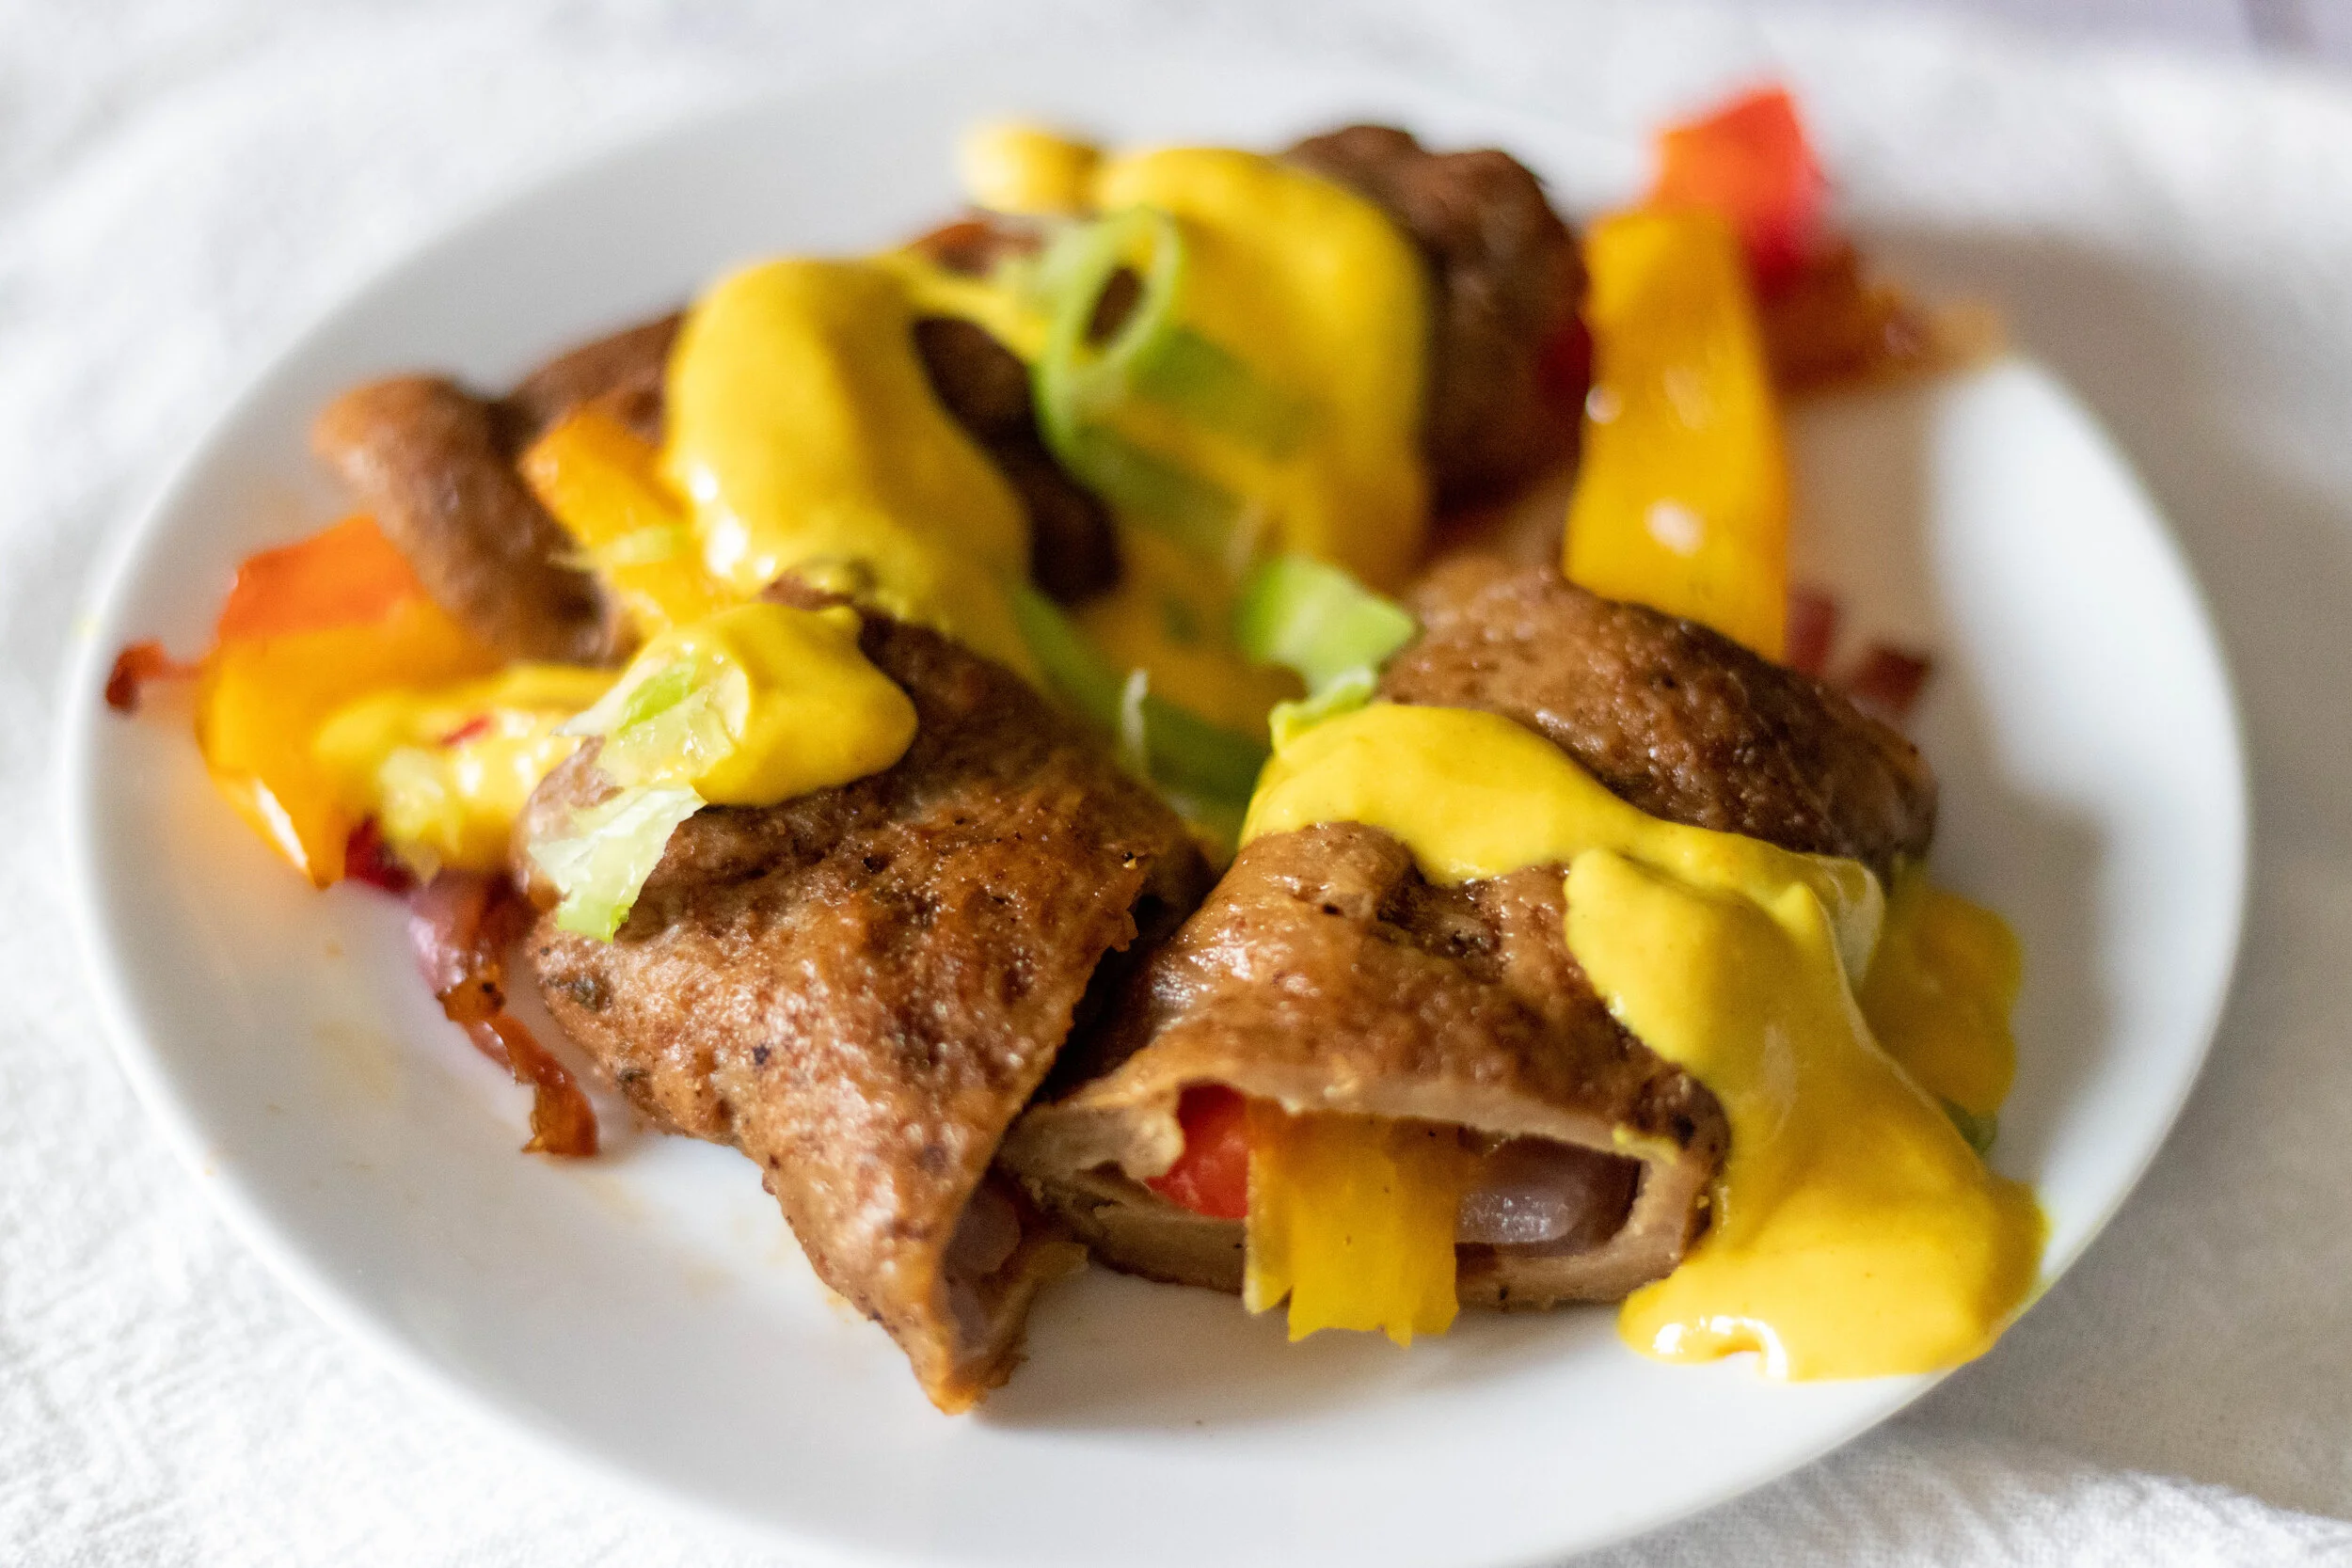
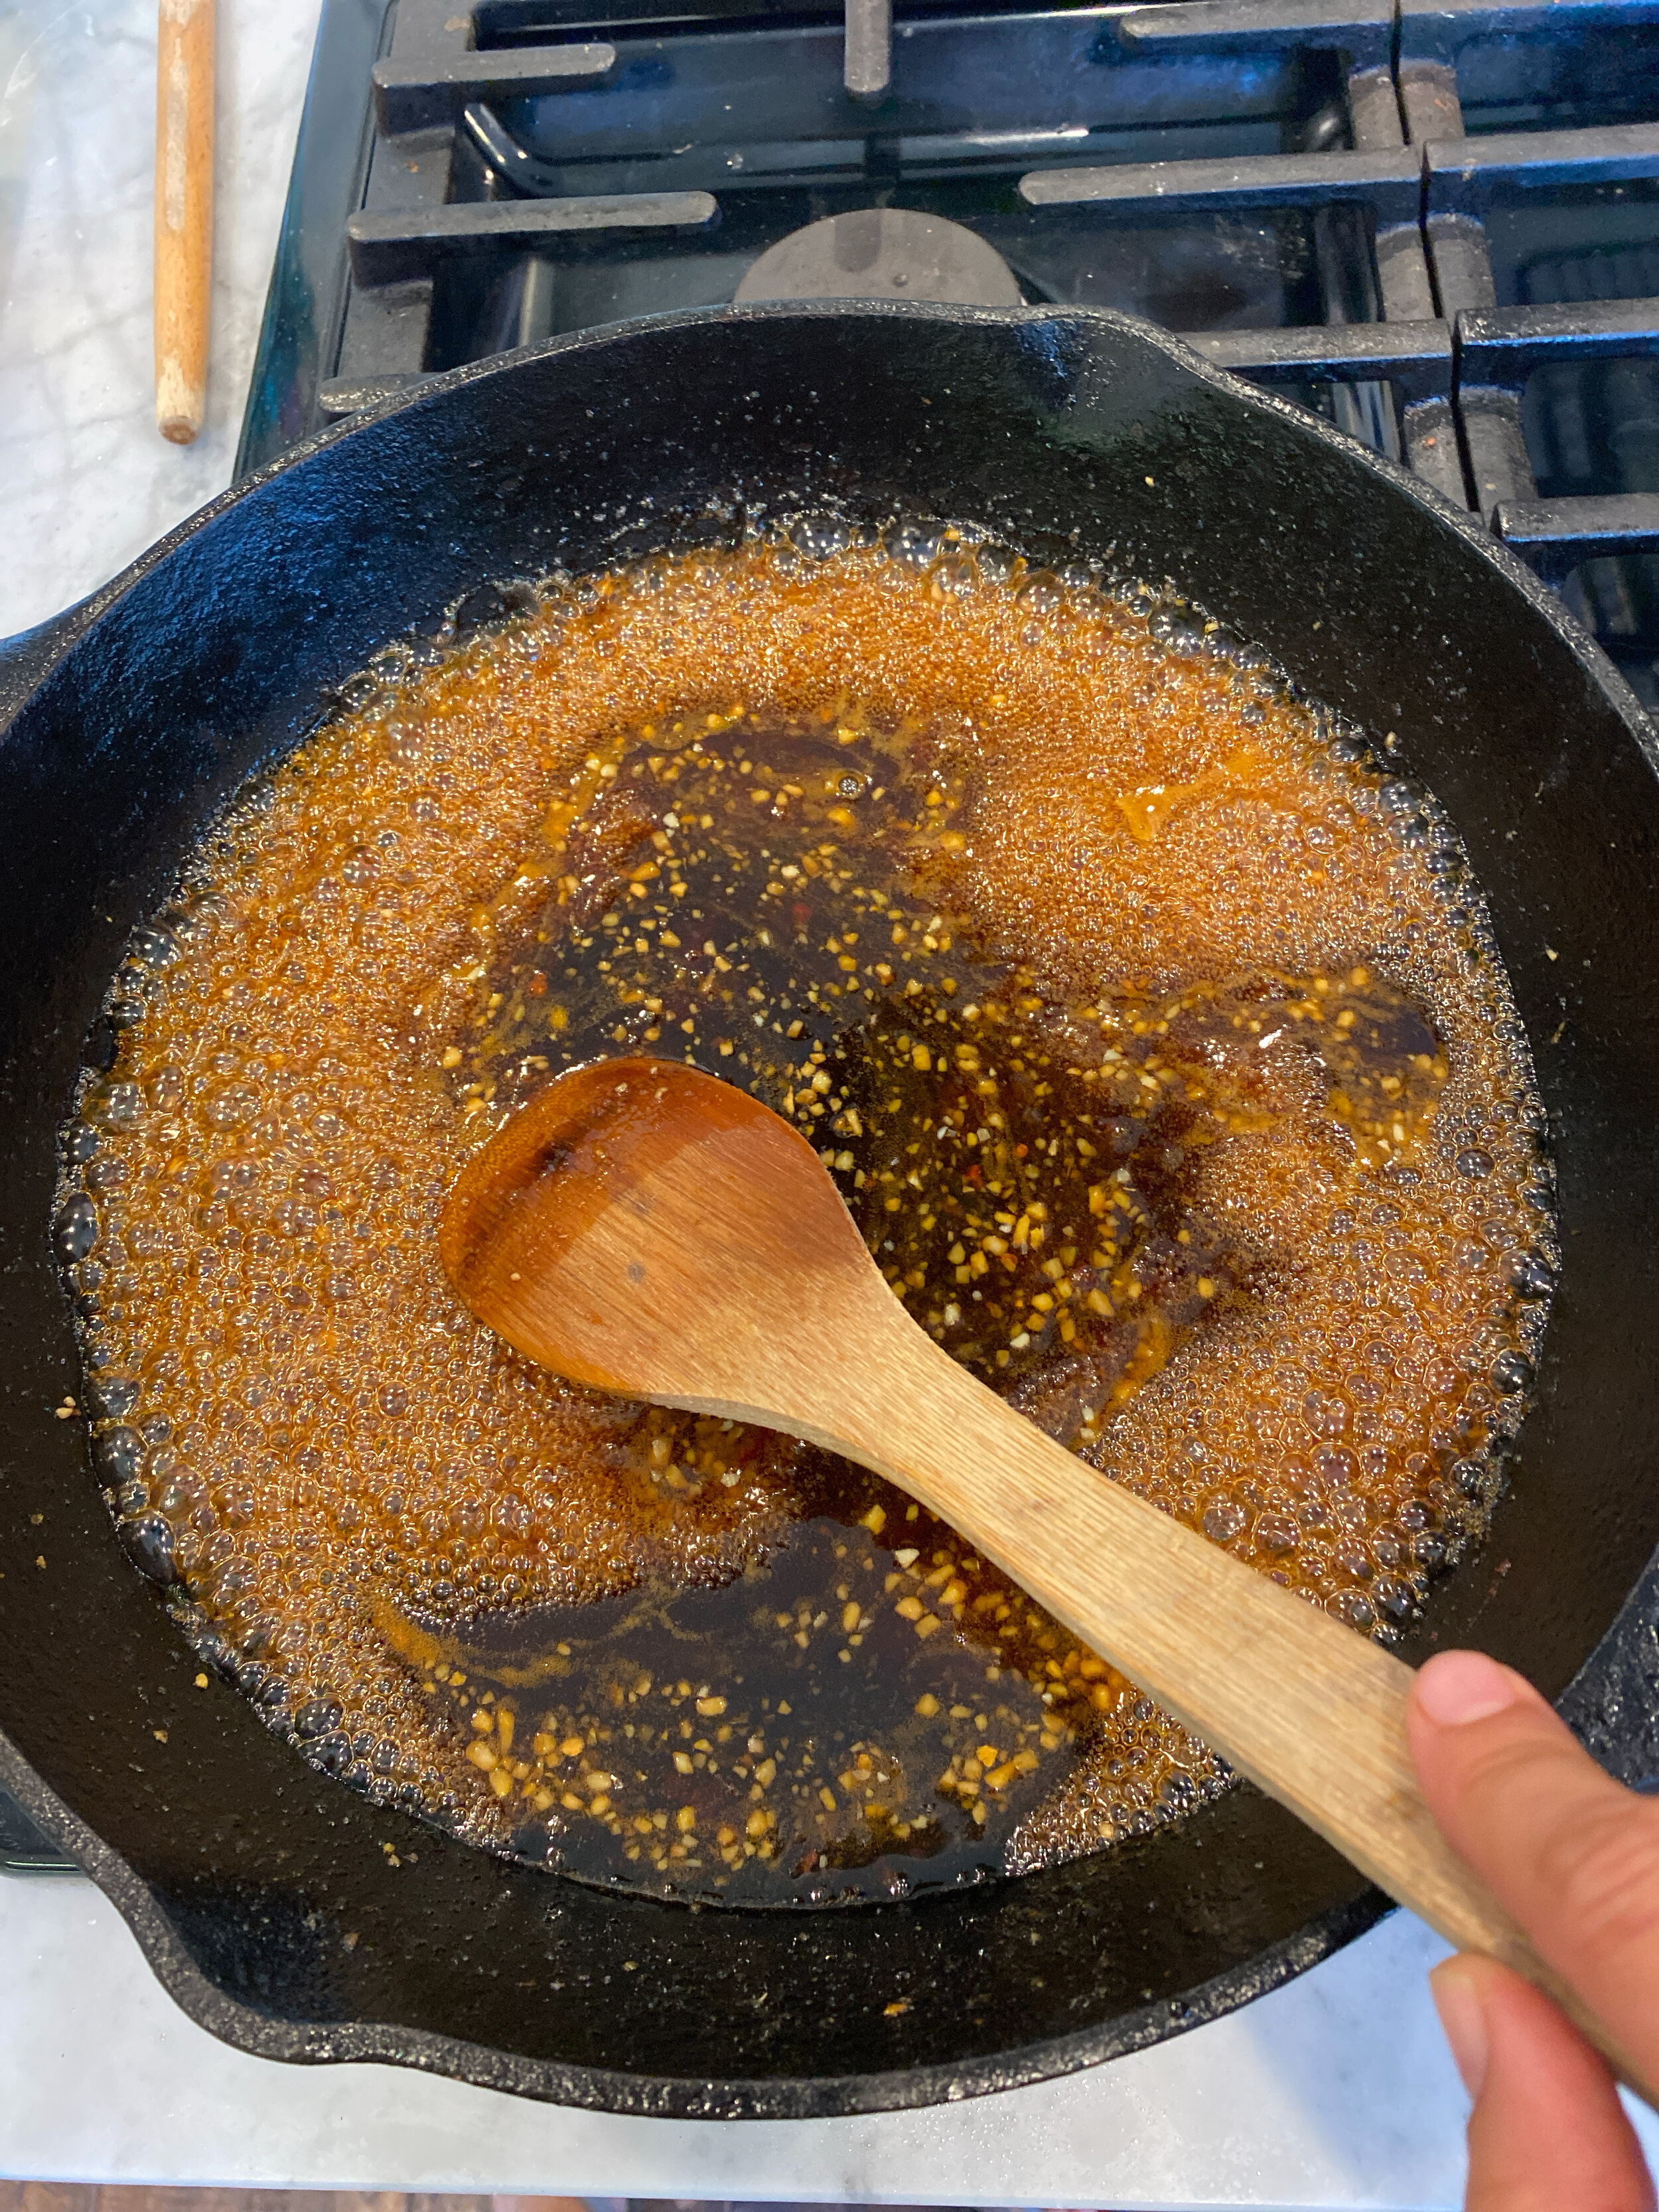
You can heat the hot dogs on the grill, in a pan, in the oven or boil them to serve. If you cook then a pan on the stove or on the grill, make sure to give the pan or grill a good spray so they do not stick. These got dogs will freeze well for up to 6 months or refrigerate for up to 10 days in an airtight container.

NOTES:
*I experimented with cooking methods for these hotdogs. I tired cooking them wrapped in foil, and I also tired baking them on a pan just covered in foil. Cooking the hotdogs unwrapped did not yield a desirable shape or texture. Wrapping them in the foil may seem tedious, but it actually does not take very long.
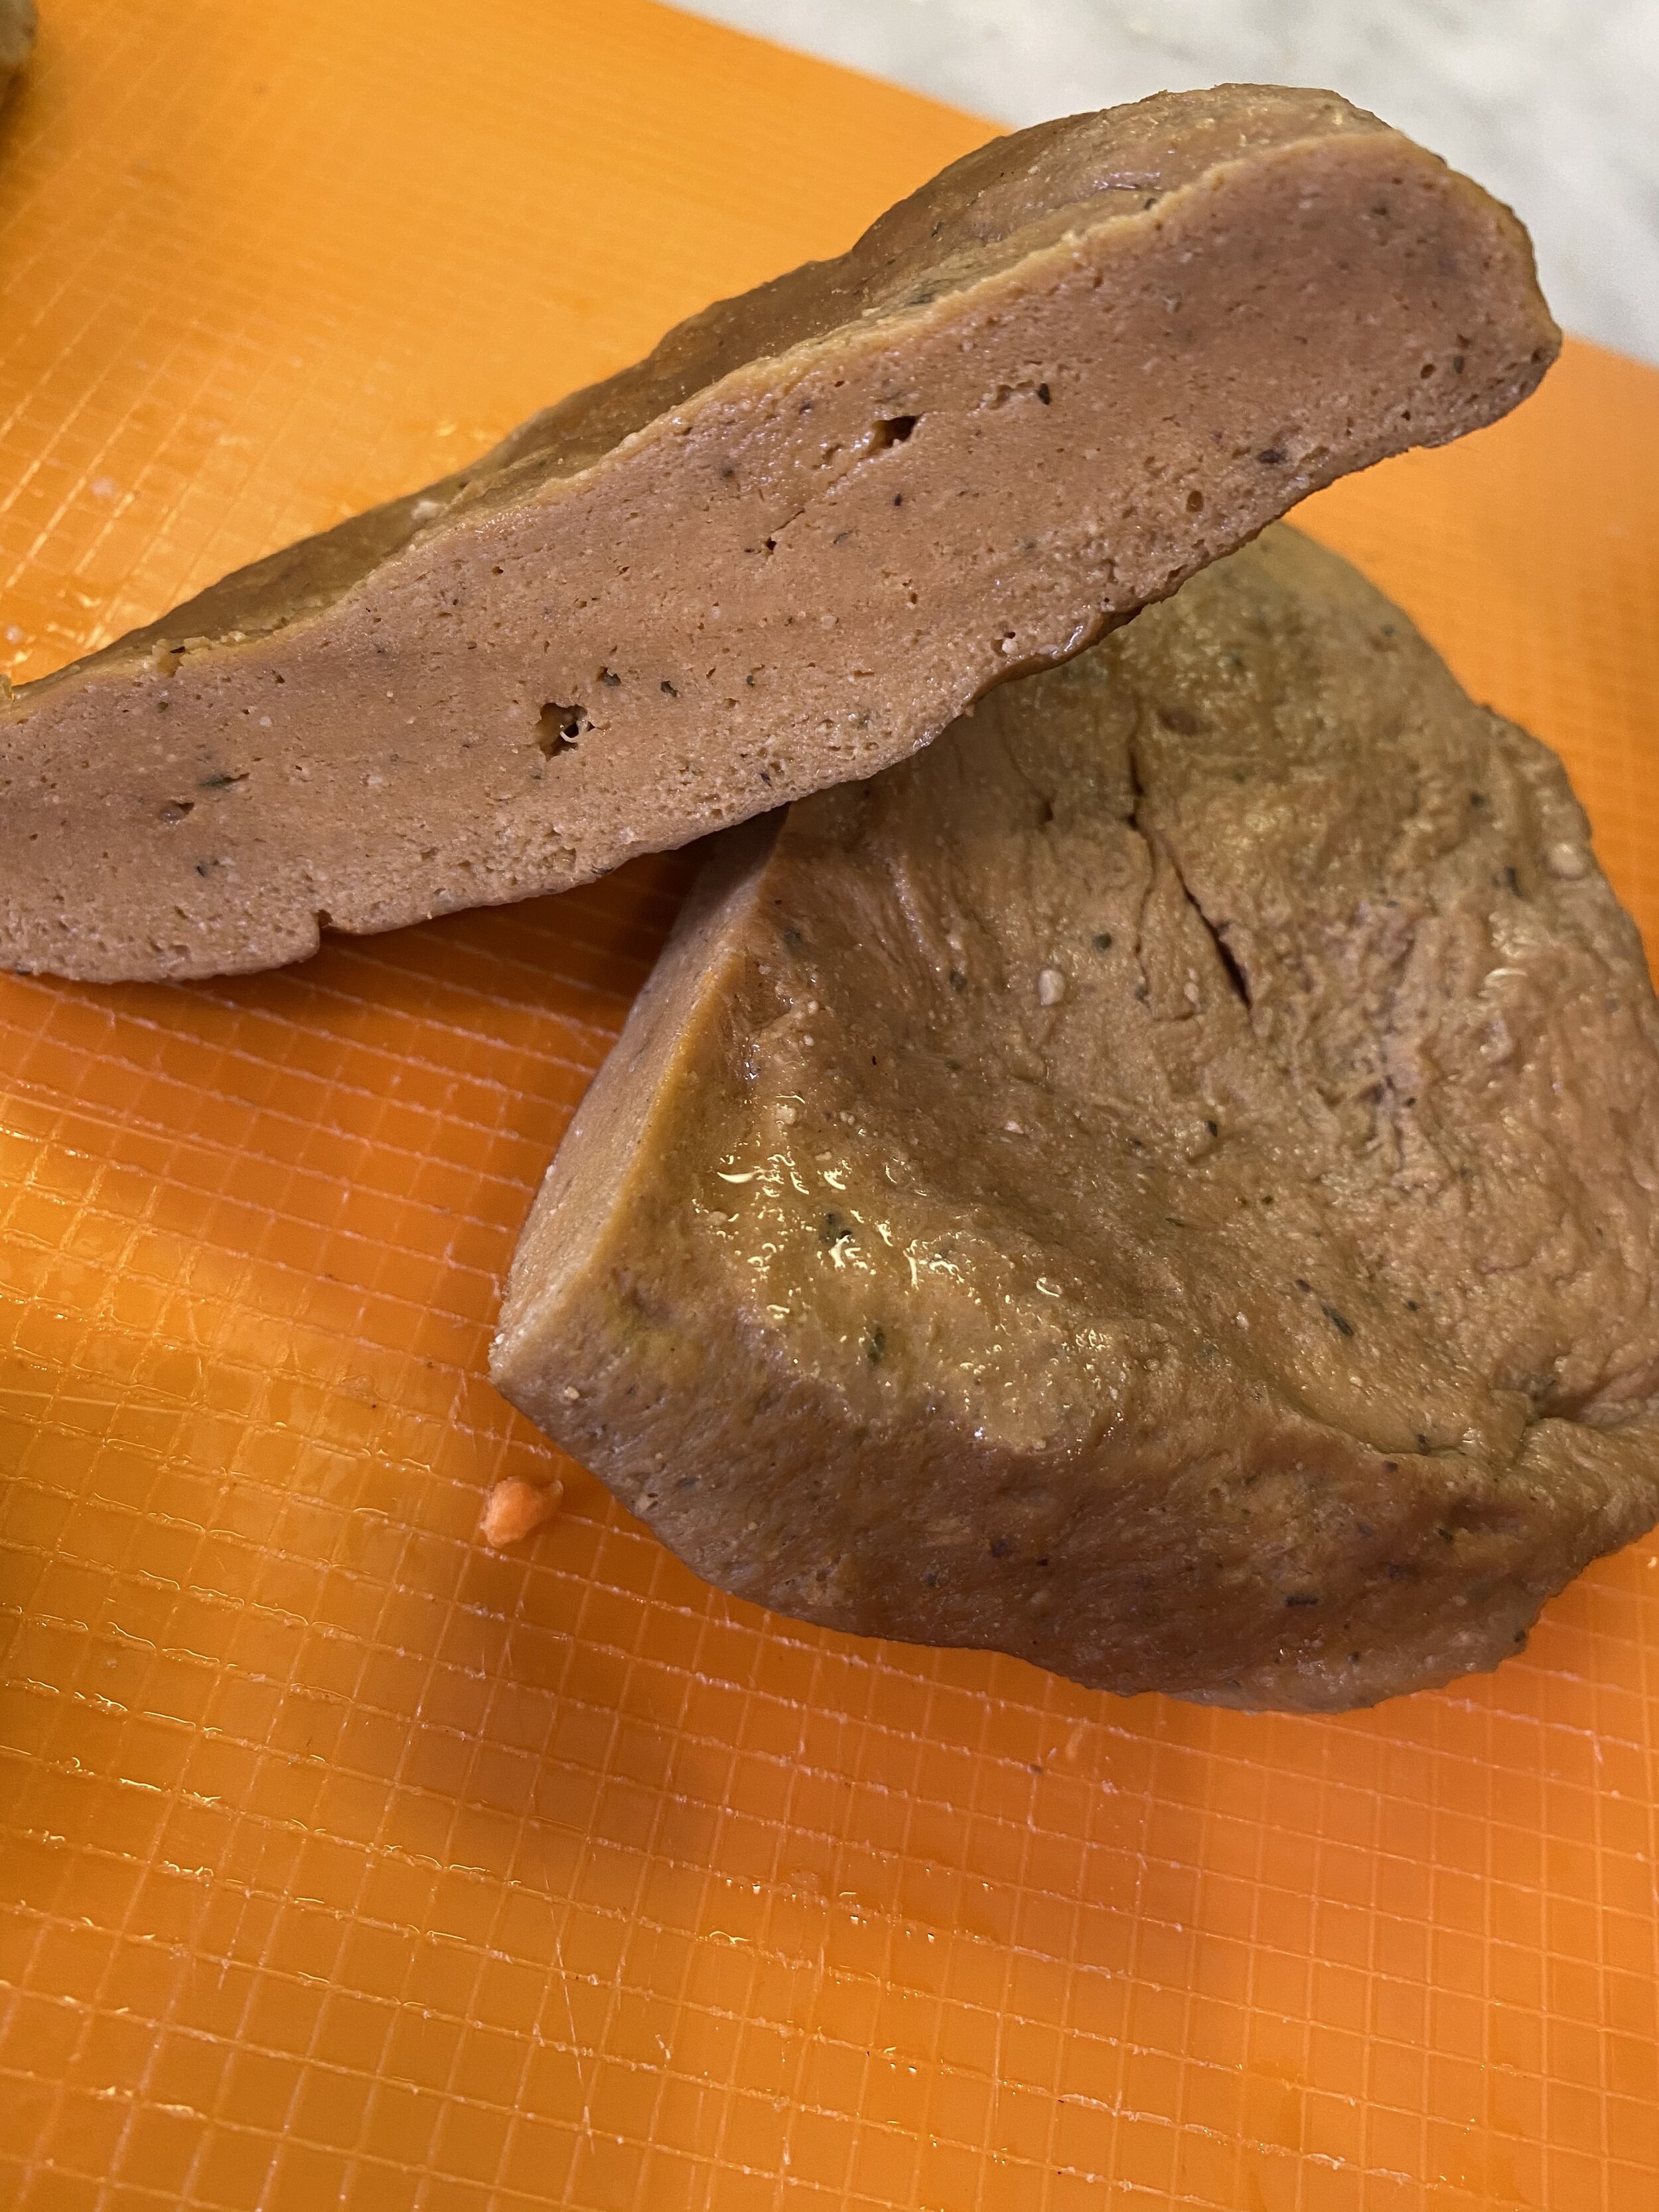
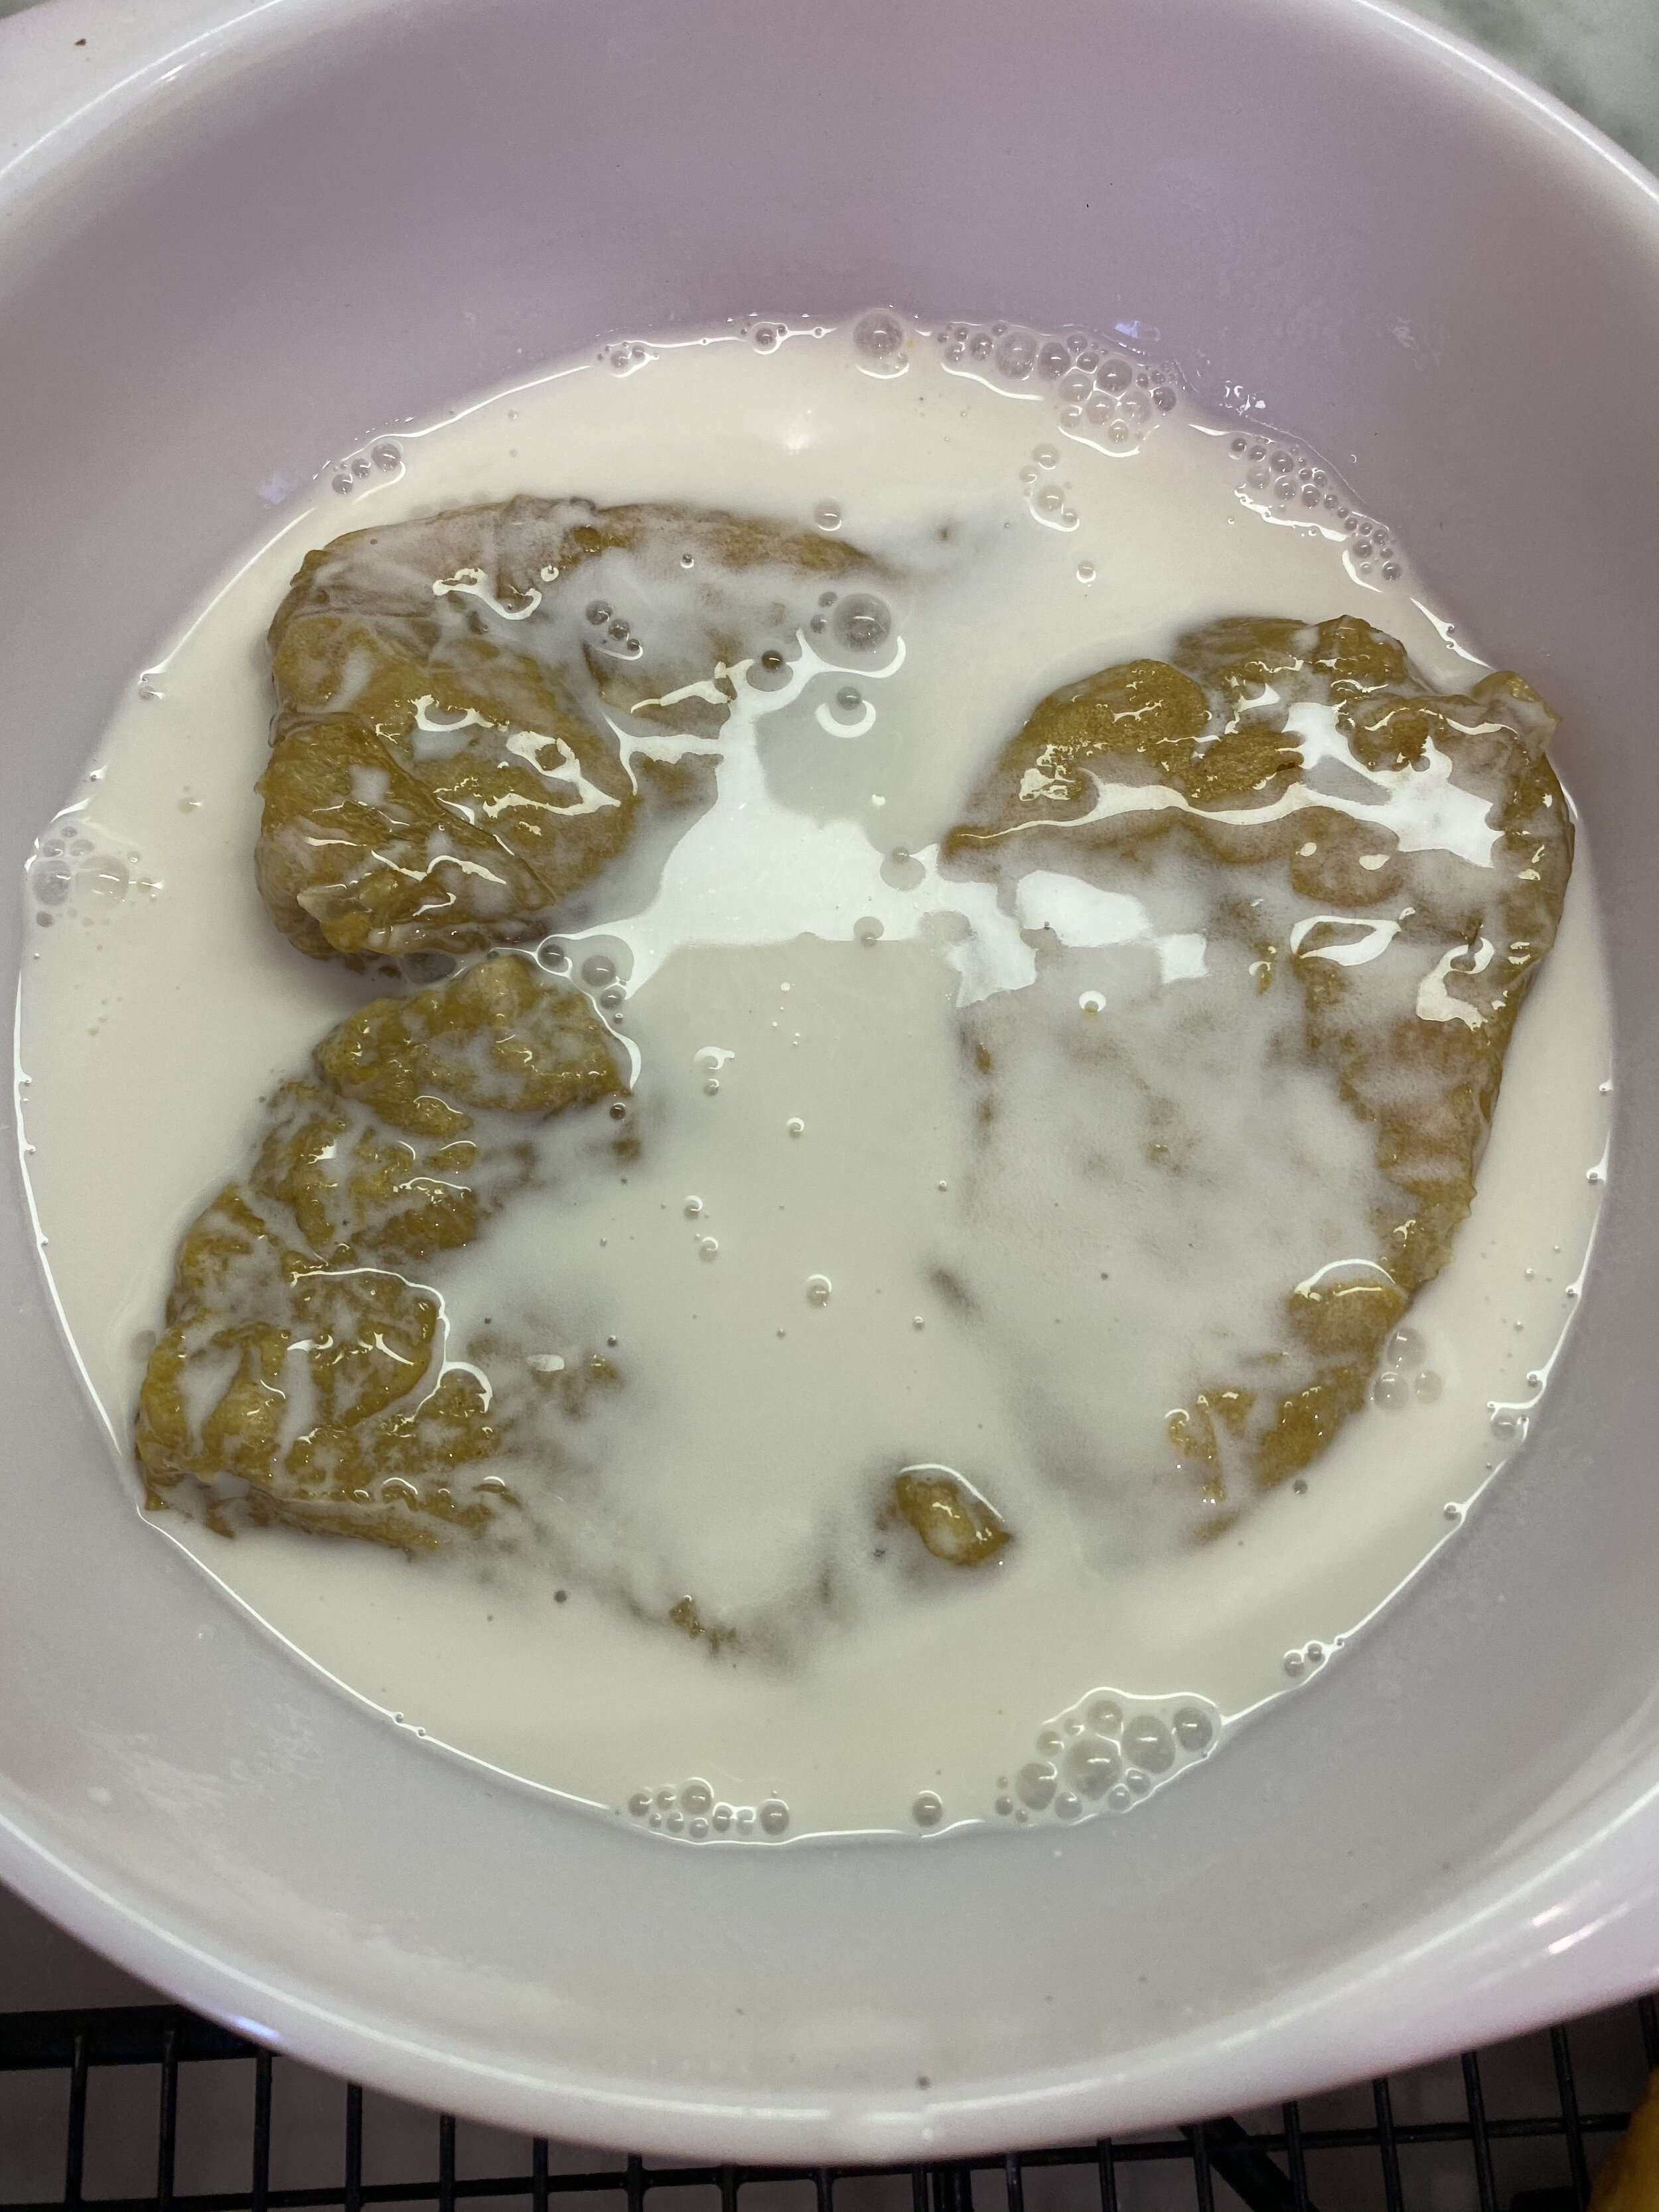
*I use SUPER FIRM TOFU that is vacuum sealed and not sitting in a tray of water. If you can not find this tofu and use extra firm, then you will need to press as much liquid from the tofu that you can. It will still work but the texture is still much better when you use the super firm.
*If you hotdogs come out bread like, or have little holes in them, your oven likely cooks hotter than what it registers. You can get an oven thermometer or bump the temp down 10-15 degrees the next time you bake. Because these hotdogs stay wrapped the whole time in a water steam bath, they are less likely to have this happen. If it does happen you may also need to knead the dough more the next time.
*When I say let the hotdogs rest, I mean it. Seitan NEEDS TO REST or you are likely not going to be pleased with the texture. Don’t email me if you bite right into one right away and the texture is weird…..the hotdogs MUST REST. Good fake meats come to those who wait..or something like that :)
If you like this recipe, then try these: