So here is the truth. I have never in my life eaten a Milk Bar anything. BUT, I have always wanted to.
I have seen countless friends post pics of delicious looking Milk Bar cakes and cookies. I have seen the mixes in the grocery store, and every part of me has dreamed of a vegan version of their sprinkle filled original birthday cake.
I mean I love sprinkles, and funfetti was my go to box cake pre vegan.
And here is another thing, I LOVED BOXED CAKE AND CANNED ICING before going vegan. I can bake from scratch and am pretty good at it. My daughter is a crazy amazing baker. But sometimes I just crave artificial tasting, buttery, boxed cake.

So this year for my mother-in-laws birthday we sent her a Milk Bar cake. She is not vegan and she has not had a birthday cake in like 20 years or something crazy like that. So we sent her one because Milk Bar delivers their famous cakes all over, with just a couple days notice, even to the middle of nowhere mountain towns with no local bakery to order from.
My oldest daughter was like “hey why cant we get a cake” and I was like “umm they are nowhere close to vegan, or allergy friendly, but why don’t I just try to make one.” At which point I had committed to this venture and also expect it to be a total failure. I have veganized a lot of recipes with success but when I dug into this one I got scared!

For starters I used the Boston Girl Bakes recipe for reference. She explains EVERYTHING so well and with great detail. I strongly suggest you read through what she has to say about this famous cake. I obviously had to make several changes since I am making the vegan version. But I followed her advice as closely as I could while making the necessary vegan changes.
I had to test several ideas to get this Milk Bar Vegan Cake right. Now remember, I have not had an original Milk Bar Cake to compare it to, so I had to rely mostly on pictures and descriptions online to see that mine was close, and then I shared samples with friends who HAVE EATEN the famous sprinkle cake, and got their feedback. Even my “failed” attempts were so delicious. The tricky part for me was getting the crumb right and I think the combo of starch eggs and aquafaba did the trick and also making sure you use CAKE FLOUR. I used a high protein flour in my first attempt because I didn’t have any cake flour and thought I might not really matter, IT MATTERS, A LOT!!!
If you have never heard of Milk Bar or seen this or any of their other desserts then let me help educate you at least on this particular cake. You NEED this cake in your life. I PROMISE!
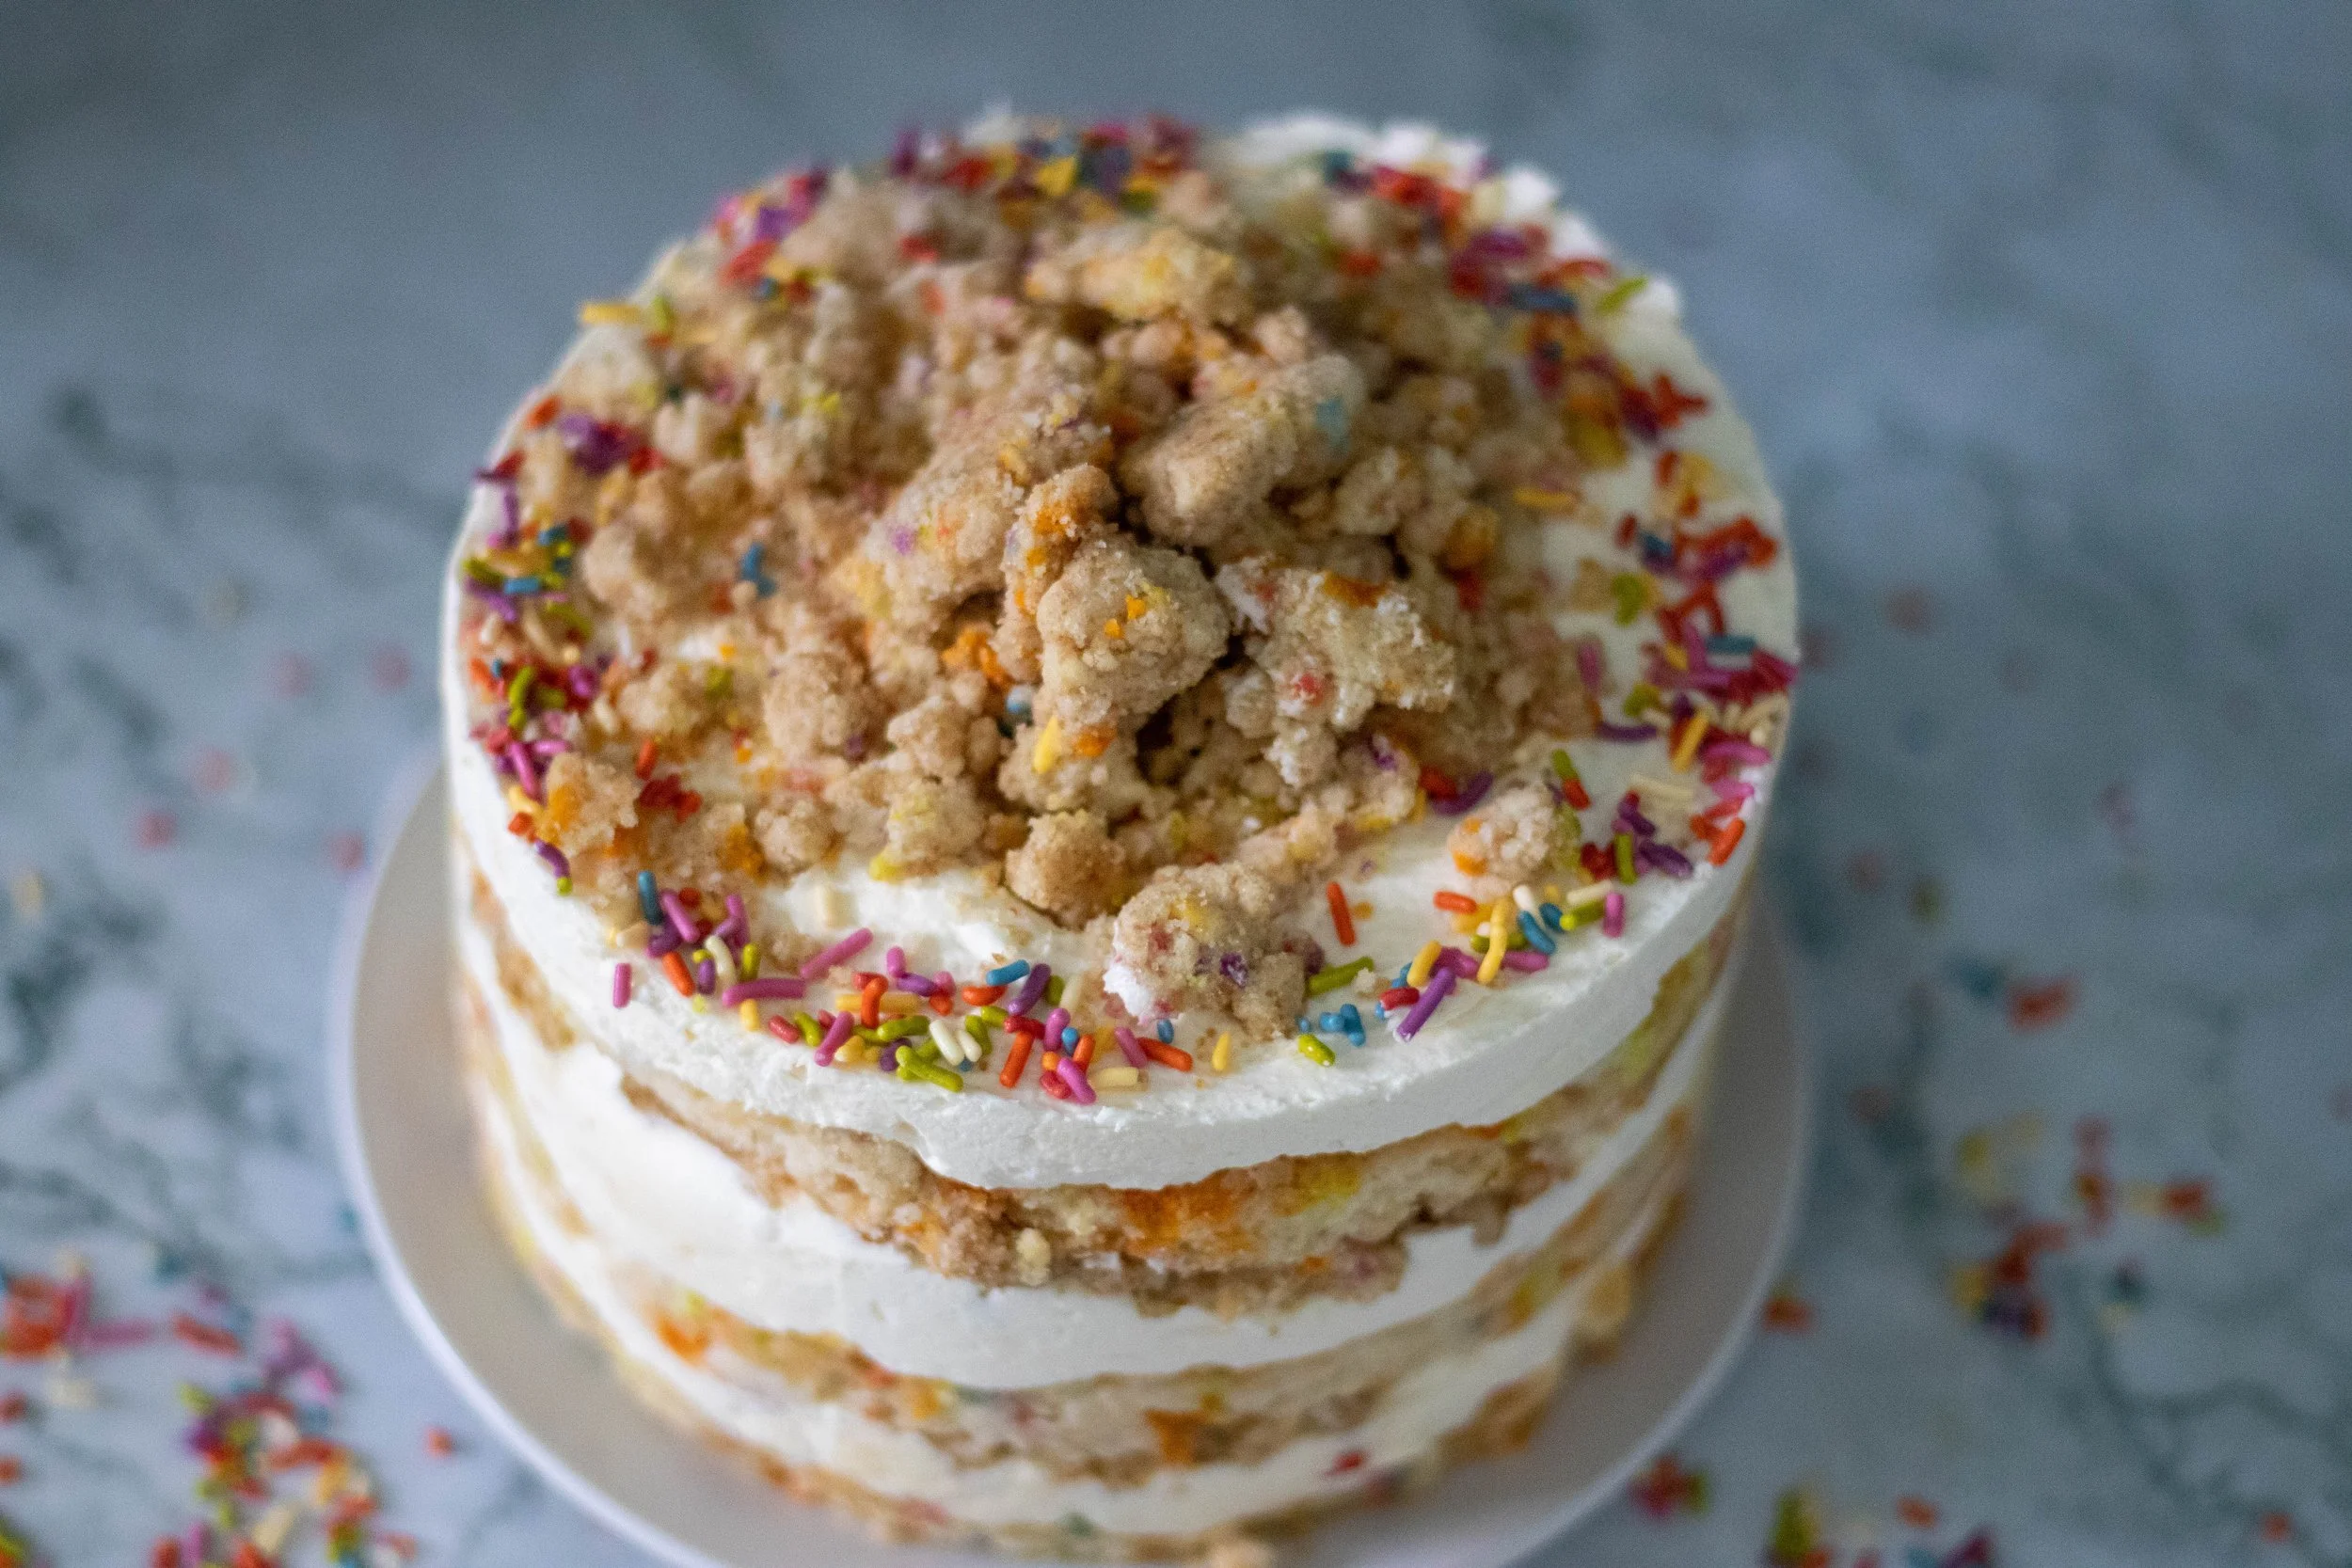
The Milk Bar is a bakery that started in New York. There are locations all over now and you can order online. You can also buy their mixes in Target stores. Their Sprinkle Birthday Cake is like a boxed funfetti cake on steroids. The cake is light and fluffy and buttery and packed full of sprinkles. The frosting is my new favorite buttercream. Seriously I will be using this as the base of all my future butter creams. And then there are the CRUMBS. The perfect little crunchy cake crumble crumbs you bake separately, and put between every layer of cake. I could make a double batch of just the crumbs to snack on and be one happy lady.

The cake calls for clear vanilla extract…so artificial vanilla flavor, and this is the magic of this cake. You NEED TO GET THE CLEAR VANILLA!! It’s important not to skip this part. This is what gives you that boxed vanilla flavor!! The cake originally calls for glucose syrup but I just doubled my corn syrup and believe that works just fine.
You also have to have a cake ring and some acetate to form the cake. I ordered mine together on amazon. I feel like now that I am not intimidated anymore about using a cake ring, I will be using it a lot. It is so much fun to use!! Stacked cakes for everyone from here on out!!
And there you have it, my best effort a veganizing the classic Milk Bar Sprinkle Birthday Cake.
So if you are like me and dreamed of a day this cake was vegan, or you have never heard of Milk Bar and this cake, trust me when I say I think you will love this vegan milk bar sprinkle birthday cake. And really, no need to wait for a birthday to make it. Everyday is worth celebrating with sprinkles!

INGREDIENTS:
You will need the following for this recipe:
6 inch cake ring and acetate cake collar
10x15 sheet pan, jelly roll pan
Clear vanilla extract
For the Cake Crumbs:
1/2 cup granulated sugar
1 1/2 tablespoons brown sugar
3/4 cup cake flour ( cake flour is a must for this recipe)
1/2 teaspoon baking powder
1/4 teaspoon salt
2 tablespoons vegan rainbow sprinkles
1/4 cup grapeseed or canola oil
1 tablespoon clear vanilla extract ( this is an important ingredient, don’t substitute with real vanilla extract)
For the Cake:
4 tablespoons vegan butter. (I used Trader Joes block of butter. I recommend a vegan butter block or Follow your heart. Not all vegan butters are created equal)
1/3 cup vegetable shortening ( I use Spectrum)
1 1/4 cup granulated sugar
3 tablespoons brown sugar
2 tablespoons tapioca starch mixed with 6 tablespoons water
2 tablespoons aquafaba ( liquid from a can of chickpeas or white beans. We are not using the whipped version, rather just the liquid this time)
1/2 cup oat or almond milk
1 teaspoon apple cider vinegar
1/3 cup grapeseed or canola oil
2 teaspoons clear vanilla extract
2 cups cake flour (I used Swans Down)
2 teaspoons baking powder
1/4 teaspoon salt
1/4 cup plus 2 tablespoons rainbow sprinkles, divided
For the Frosting:
16 tablespoons vegan butter
1/2 cup vegetable shortening
4 oz vegan cream cheese (I used Trader Joes brand)
4 tablespoons corn syrup
2 tablespoons clear vanilla extract
3 cups powdered sugar
1/4 teaspoon salt
1/8 teaspoon baking powder
1/8 teaspoon lemon juice
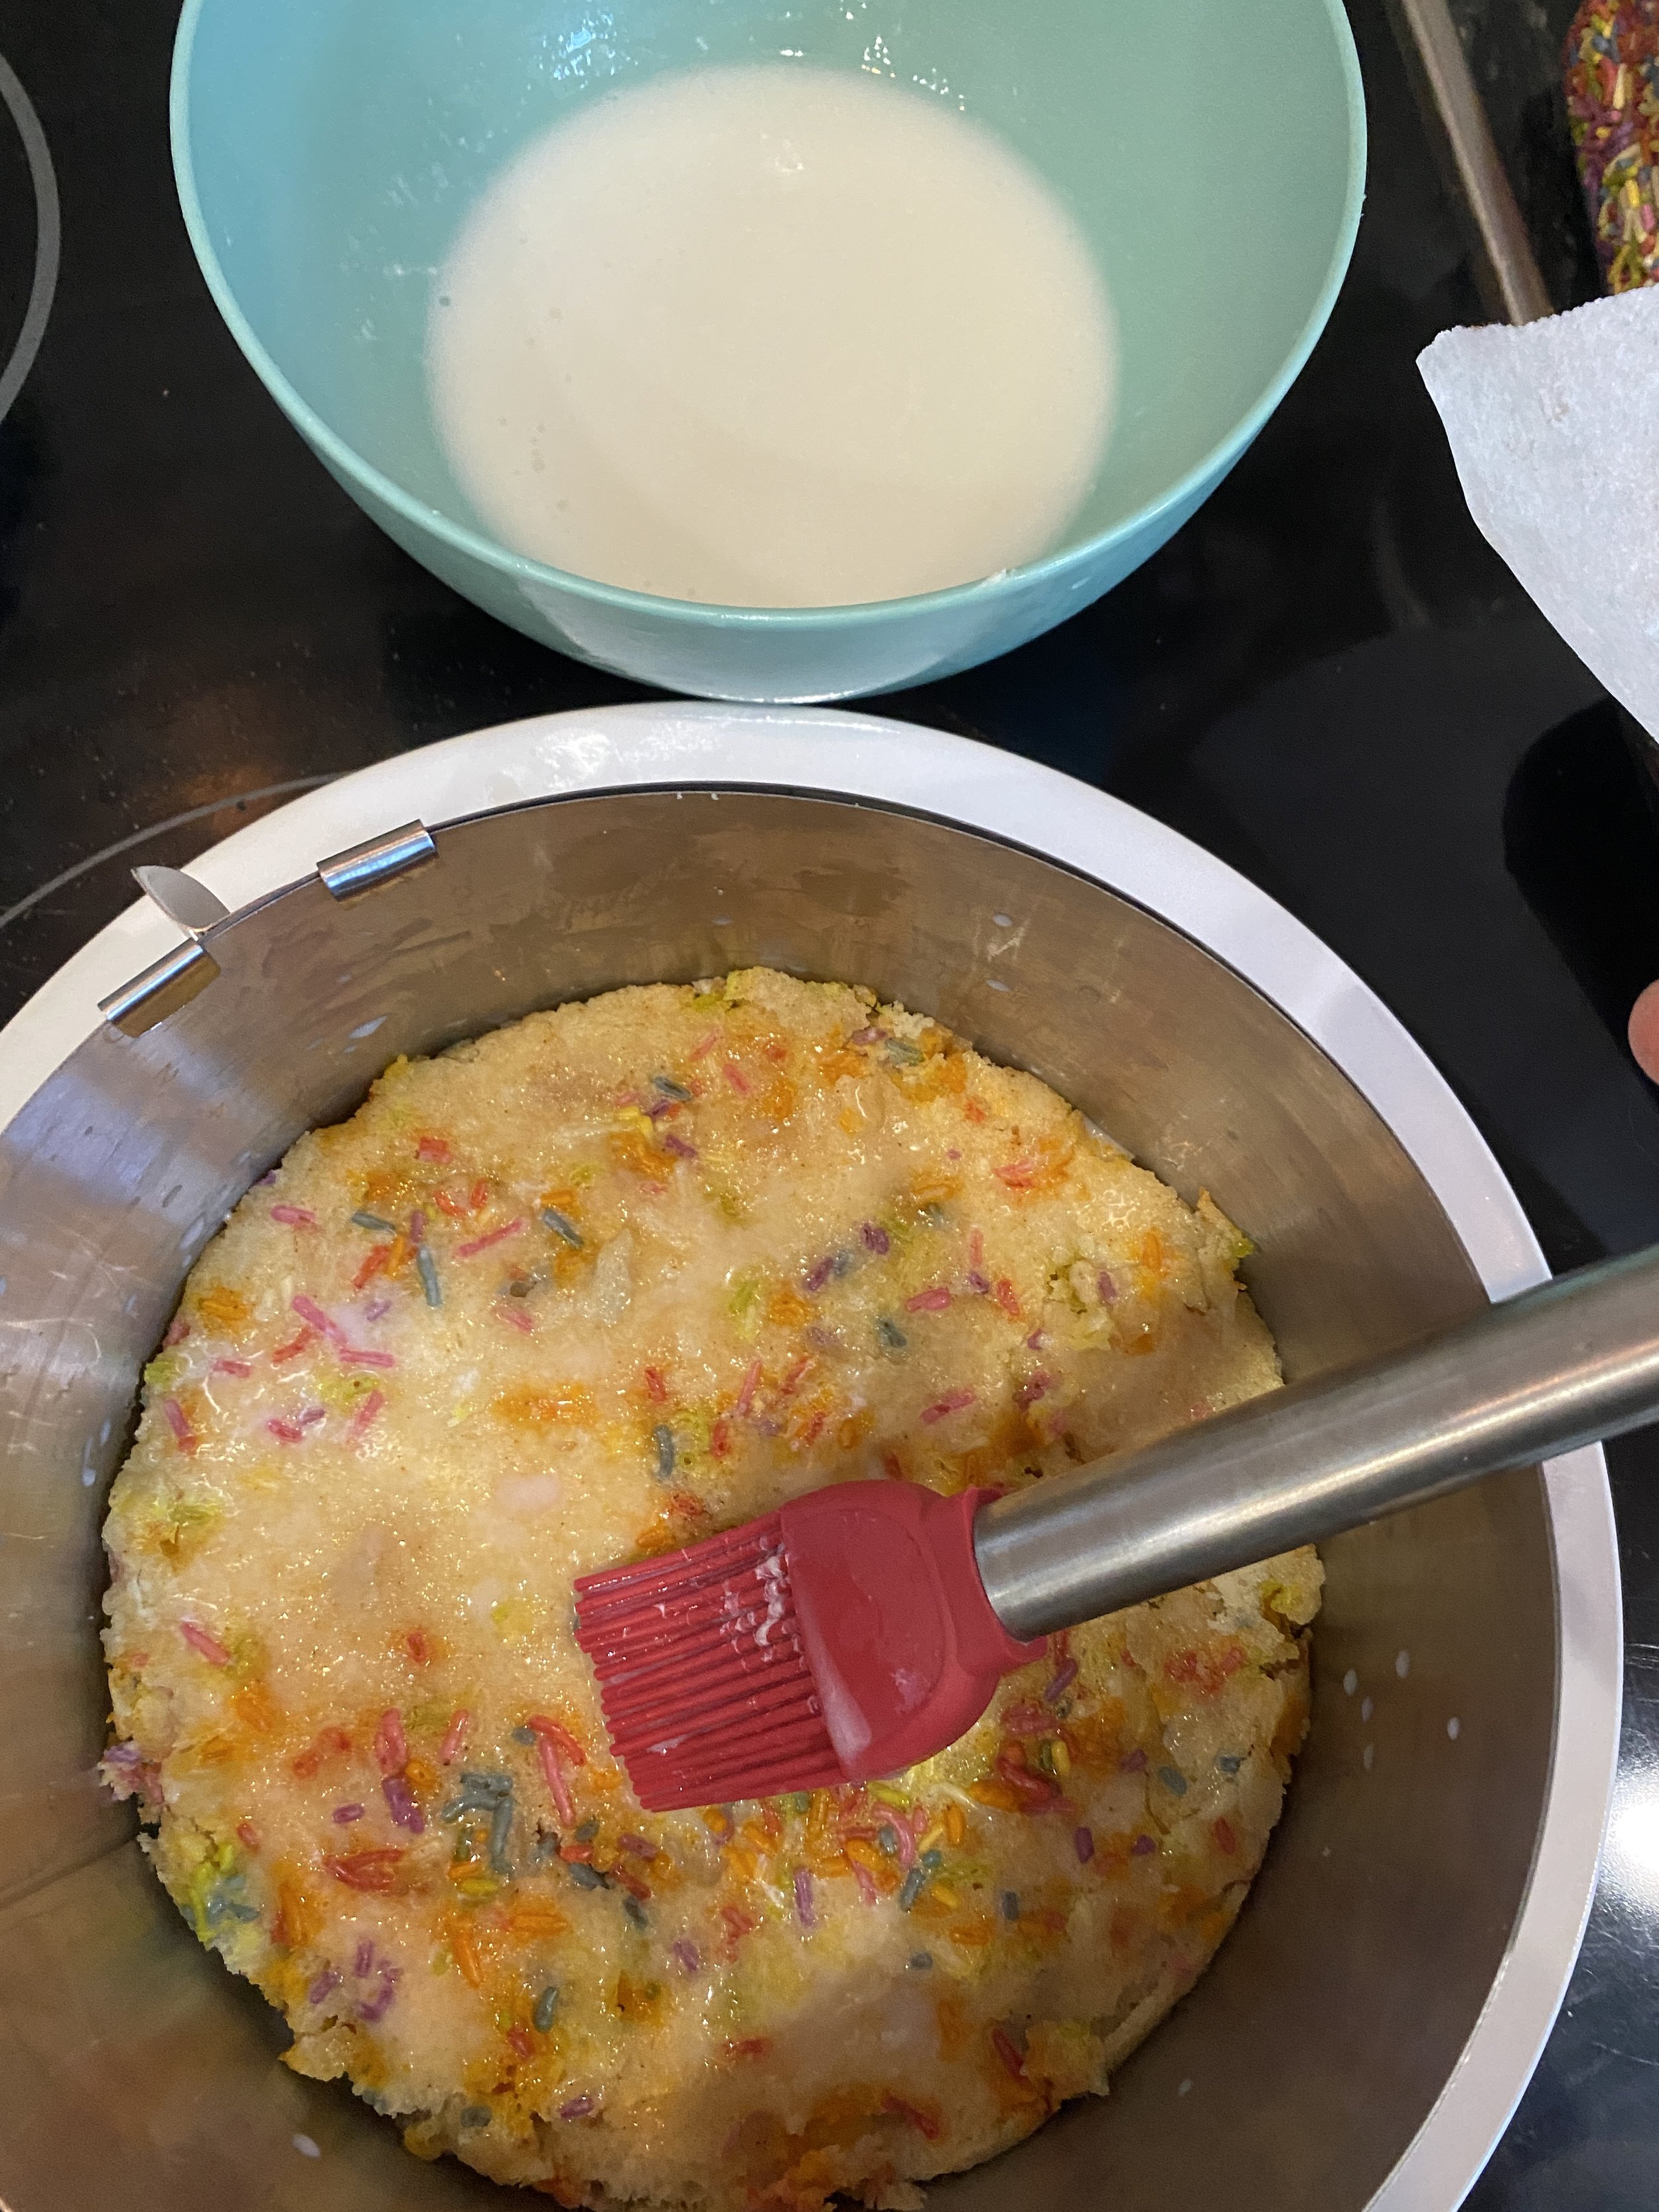
For the Cake Soak:
1/4 cup almond or oak milk
1 teaspoon clear vanilla extract
INSTRUCTIONS:
For the Cake Crumbs:
preheat oven to 300 degrees
Add all of the dry ingredients to a bowl of a stand mixer ( I have been using a Hauswirt for the last year and am in love after having my one year old kitchen aid break and not being able to get a replacement in the pandemic) and mix until combined. Add the wet ingredients and mix just until clusters form.
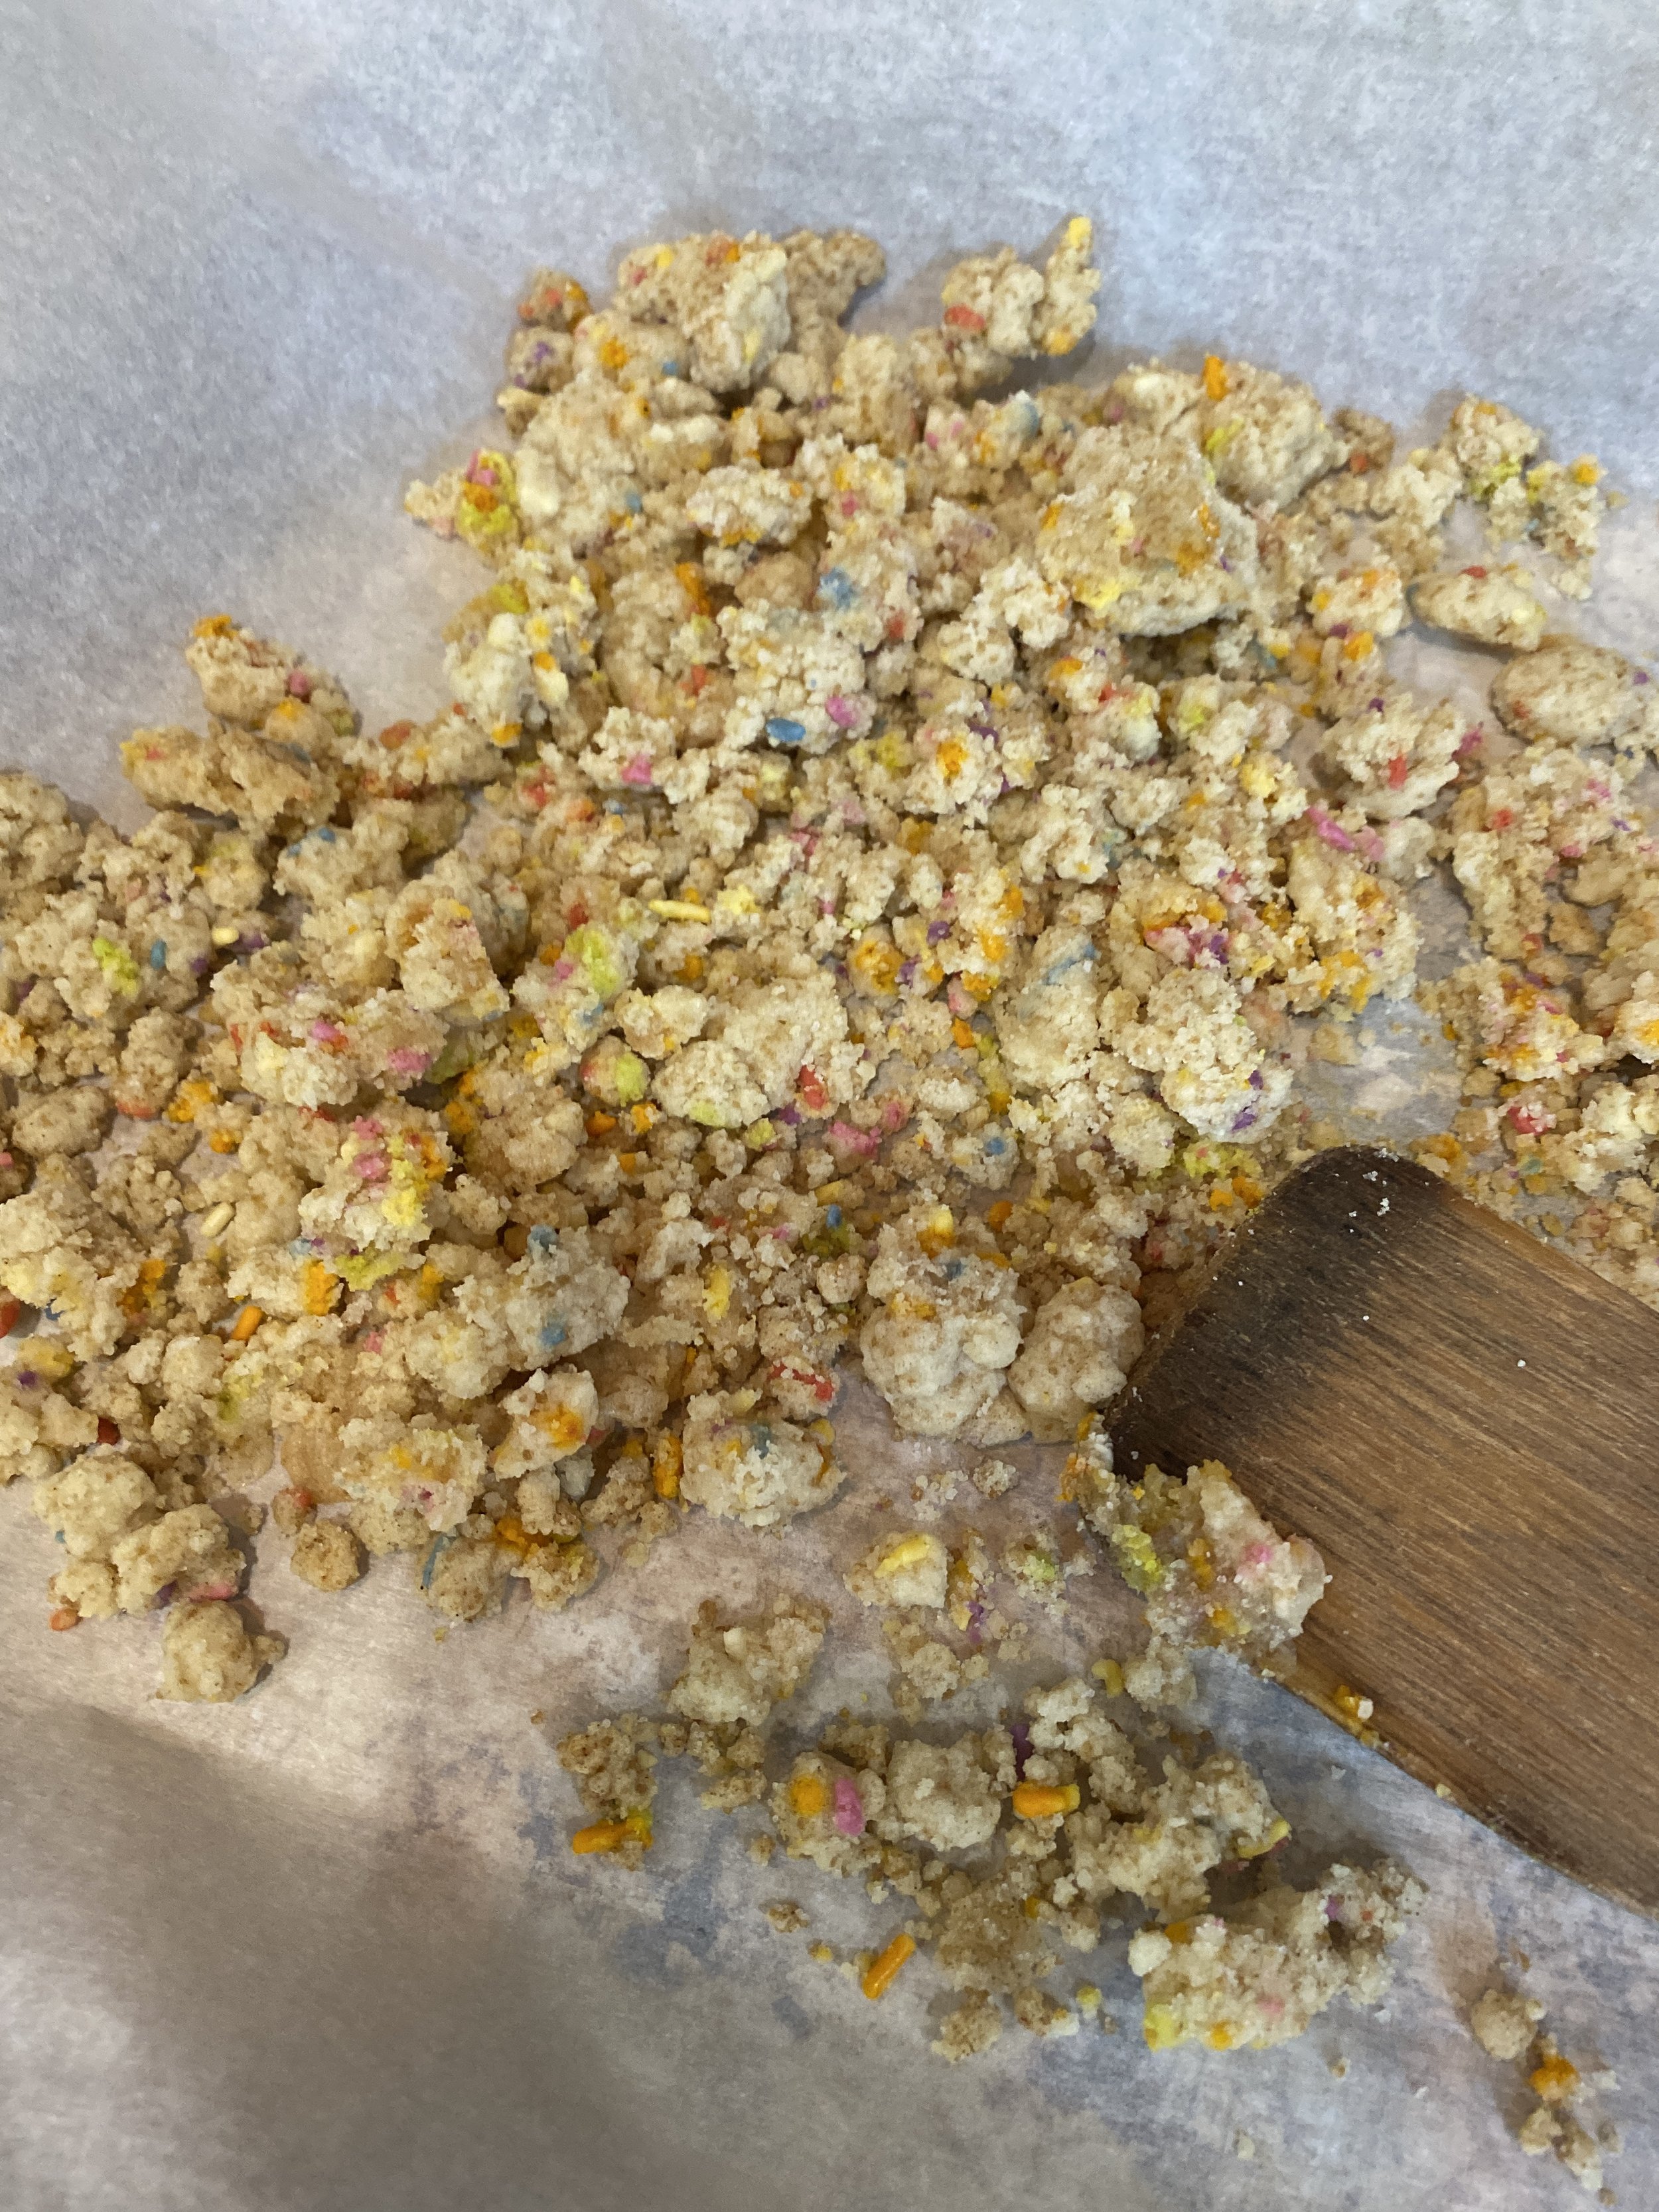
Line a cake sheet with parchment paper. Pour the cake crumb clusters onto the pan and spread them out.
Bake for 20 minutes. Halfway through the bake, use a wooden spoon to break up the chunks a bit.
The crumbs will still seem a little soft when you take them out of the oven but they will harden more as you allow them to cool. You can make these ahead of time if you like, just store them in an airtight container at room temp. And try not to eat them all before you get around to using them (I had to bake a second batch for snacking)
For the Cake:
preheat oven to 350 degrees
In a small bowl combine milk, vinegar, oil, and vanilla.
In a medium bowl whisk the flour, baking powder, salt, and 1/4 cup of sprinkles.
In the bowl of your stand mixer, combine the butter, shortening, and both sugars. Using the paddle attachment, mix on medium high for 2 to 3 minutes until the butters and sugars are creamed together. Scrape down the sides of the bowl and add the tapioca starch mixed with water, and the 2 tablespoons of aquafaba. Mix on high for 3 minutes. Scape down the sides of the bowl again.
On low speed, slowly pour in the milk mixture. Once the mixture is all in the bowl, increase the speed to high and allow to beat for 5 minutes. This step is important so make sure you let it mix that entire 5 minutes. Scrape down the sides of the bowl again.
On low speed once again, slowly add in the flour mixture and mix only unit the batter has come together. Do not overmix!! Use a rubber spatula to scrape the sides and make sure the flour on the very bottom got mixed in.
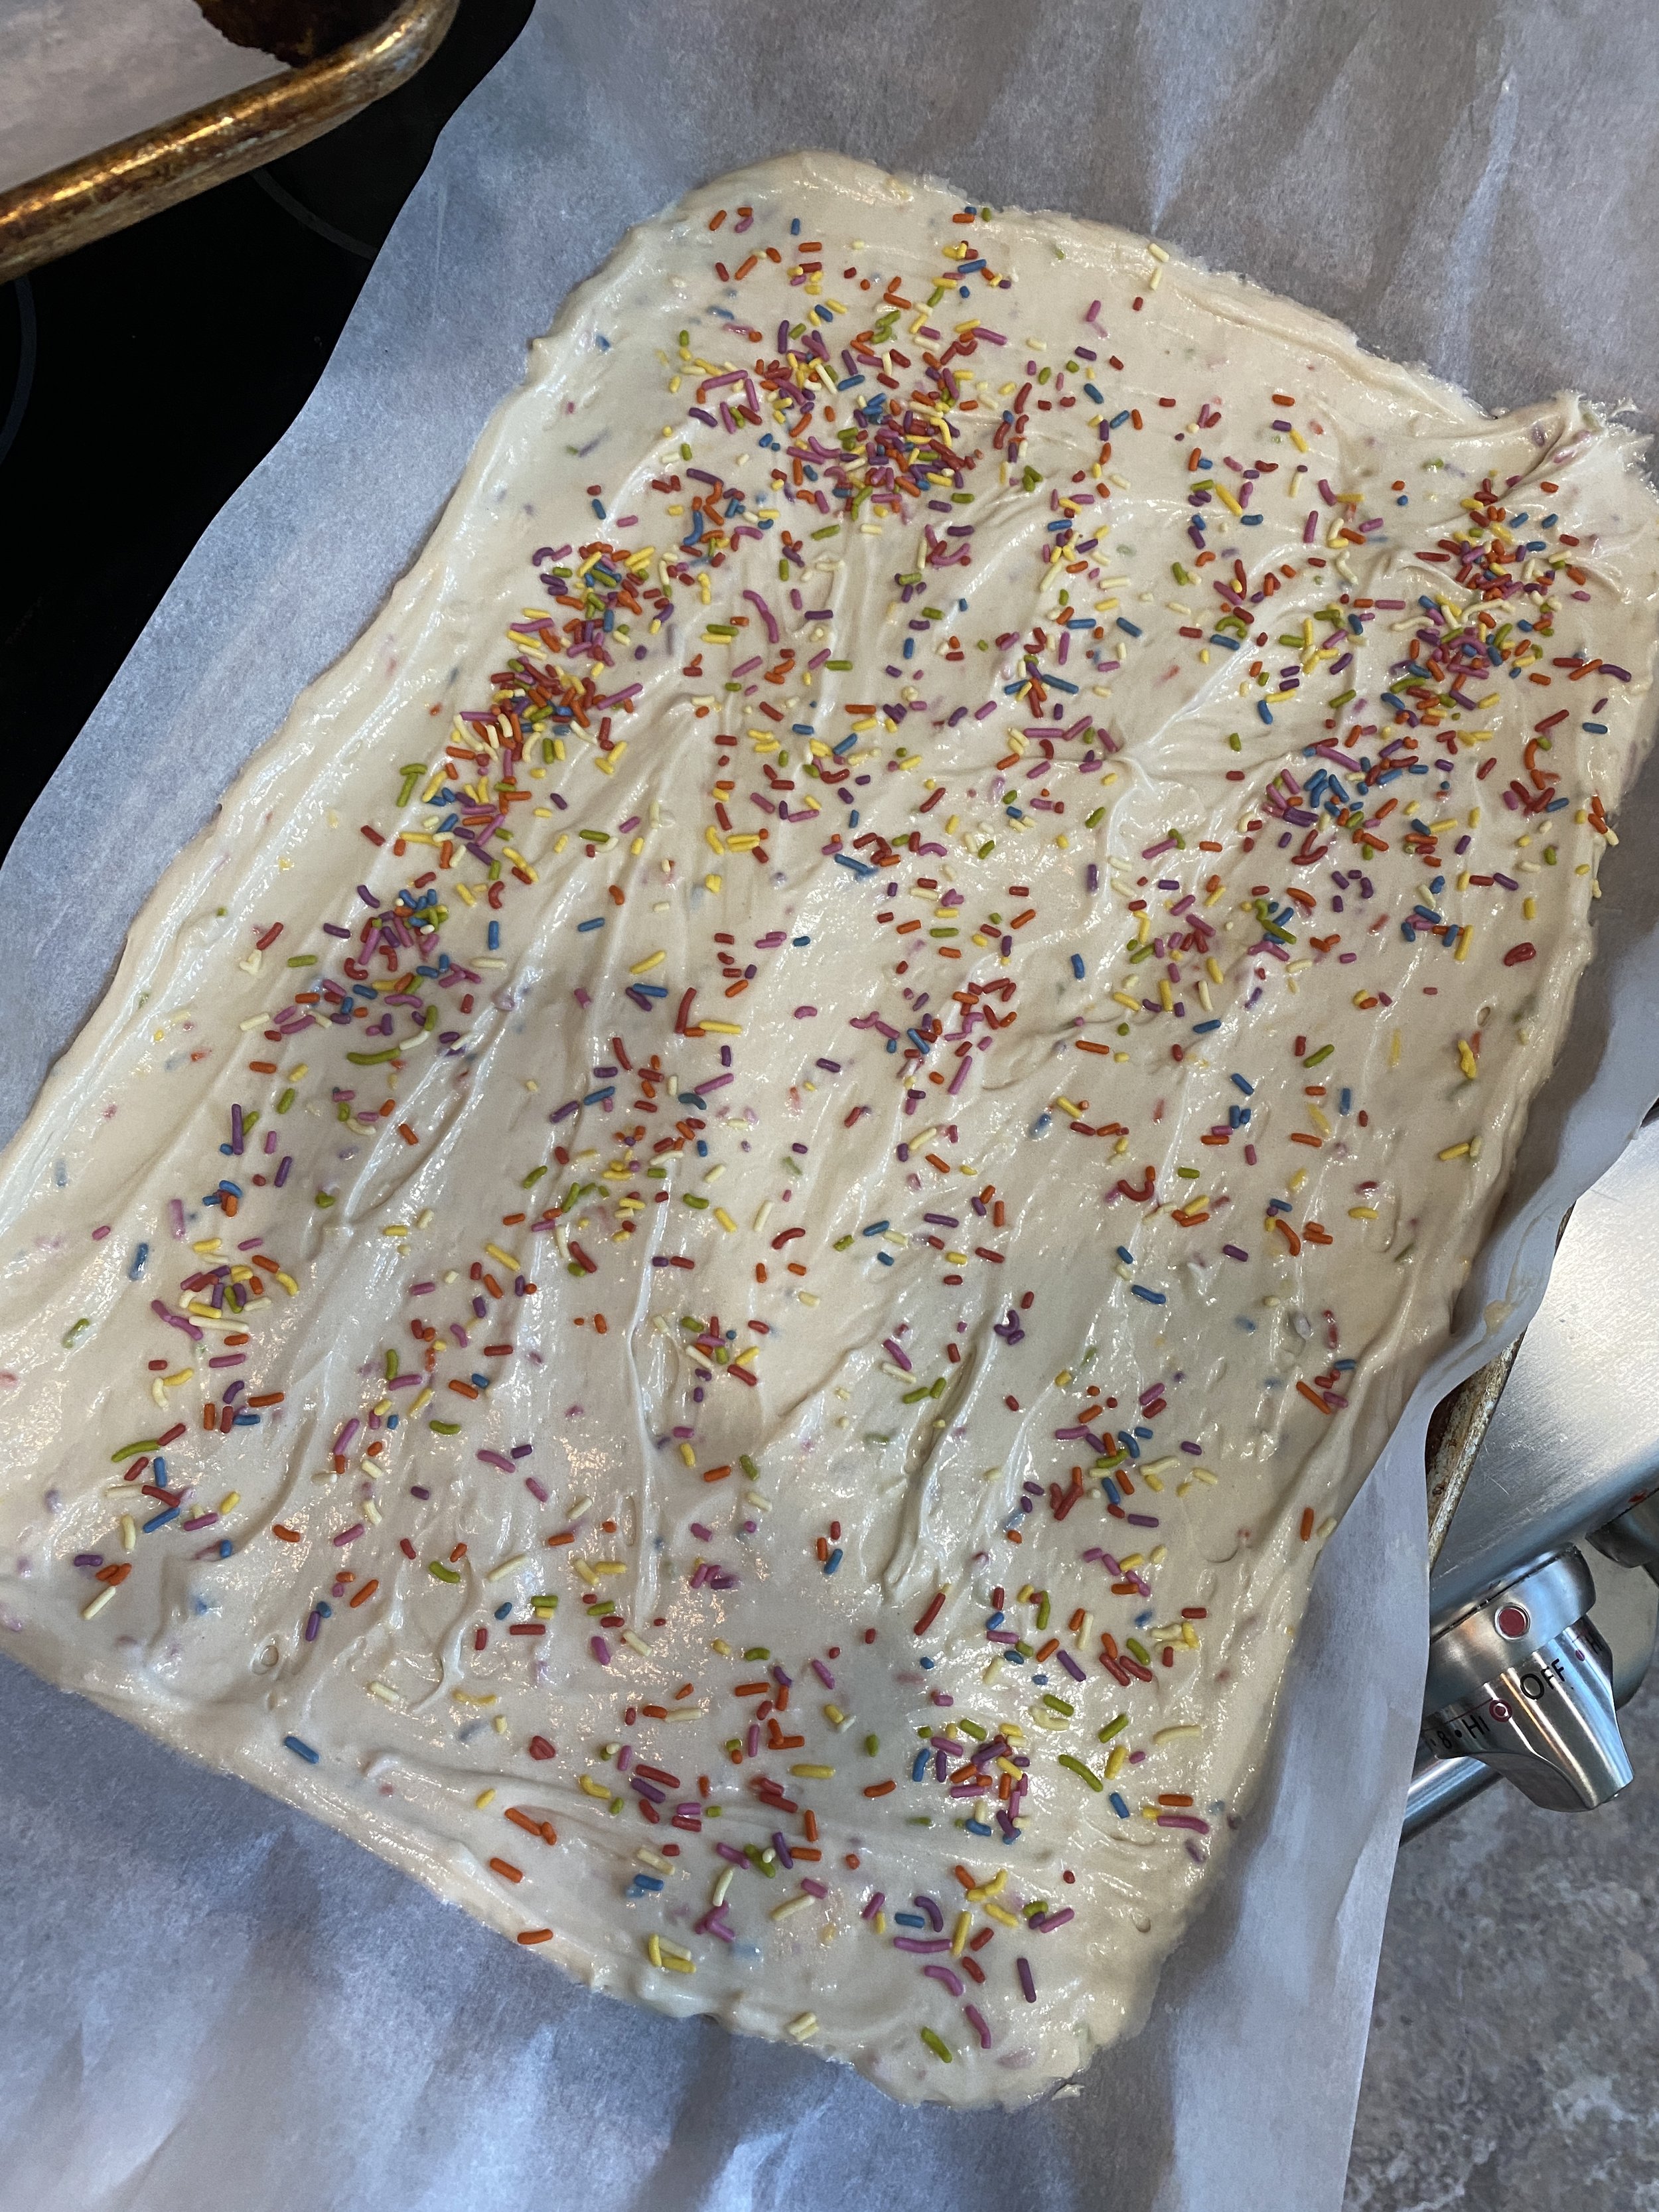
Cover your 10x15 jelly roll pan in parchment paper and evenly pour the cake batter over the pan. You may need to use a spatula to even out the batter. Cover the top of the batter with the remaining 2 tablespoons of sprinkles and kind of press them in.
Bake for about 30 minute or until a cake tester or tooth pick inserted in the middle comes out clean.
Remove cake from oven and place the pan on a wire cooling rack.
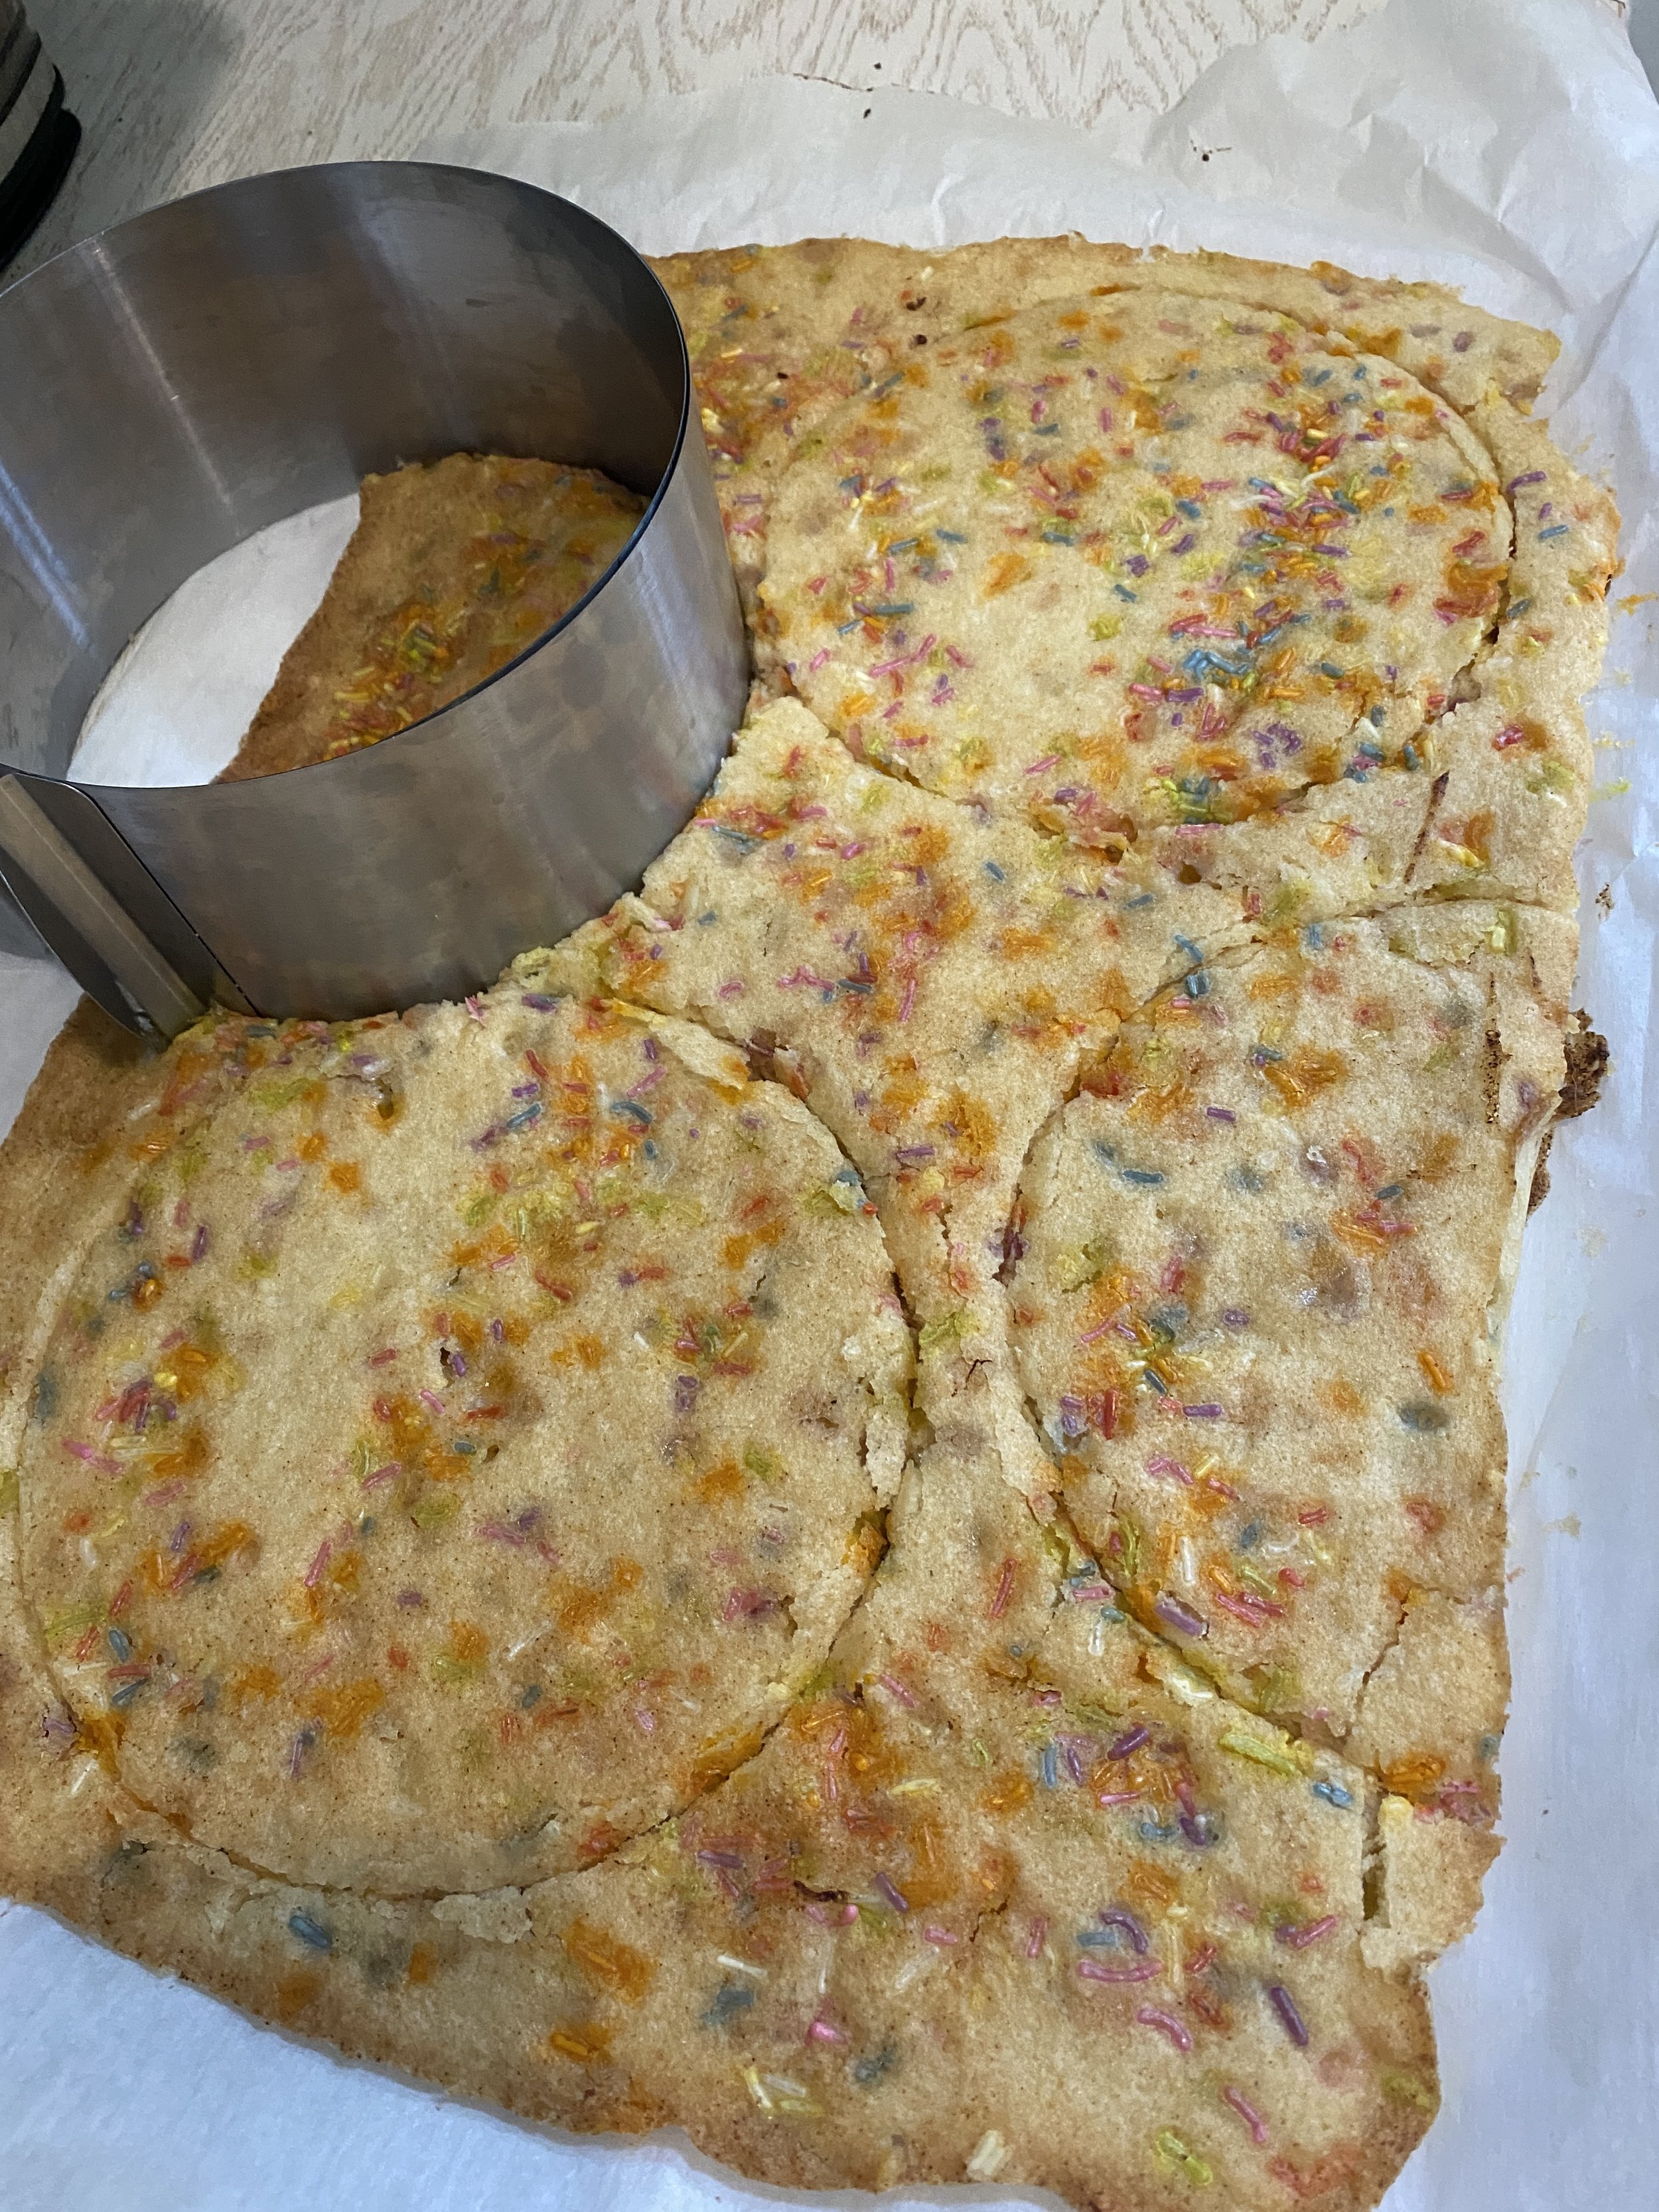
Once the cake has completely cooled, use your cake ring to press 2 full circles, and 2 half circles from the sheet cake. (look at pictures above to see how to do this) There will be plenty of cake scraps leftover. Seriously y’all, these are “snacking scraps” not waste. Not one crumb of this cake was “wasted” in my house.
For the Frosting:
In the bowl of your stand mixer add the butter, cream cheese, and shortening. Beat for a few minutes until creamy, fluffy, and smooth. No lumps. Scrape down the sides of the bowl.
Add the corn syrup and mix another minute or 2, until the mixture is silky and kind of shiny.
In a bowl, whisk the powdered sugar with the salt, and baking powder. I do this to help if there are any clumps in the sugar. Just put it all in a bowl and whisk it good to mix it all up and break up any sugar clumps.
Add the mixute to the mixer along with the lemon juice and mix on medium speed a few minutes until the frosting is creamy and smooth.
Build the Cake:
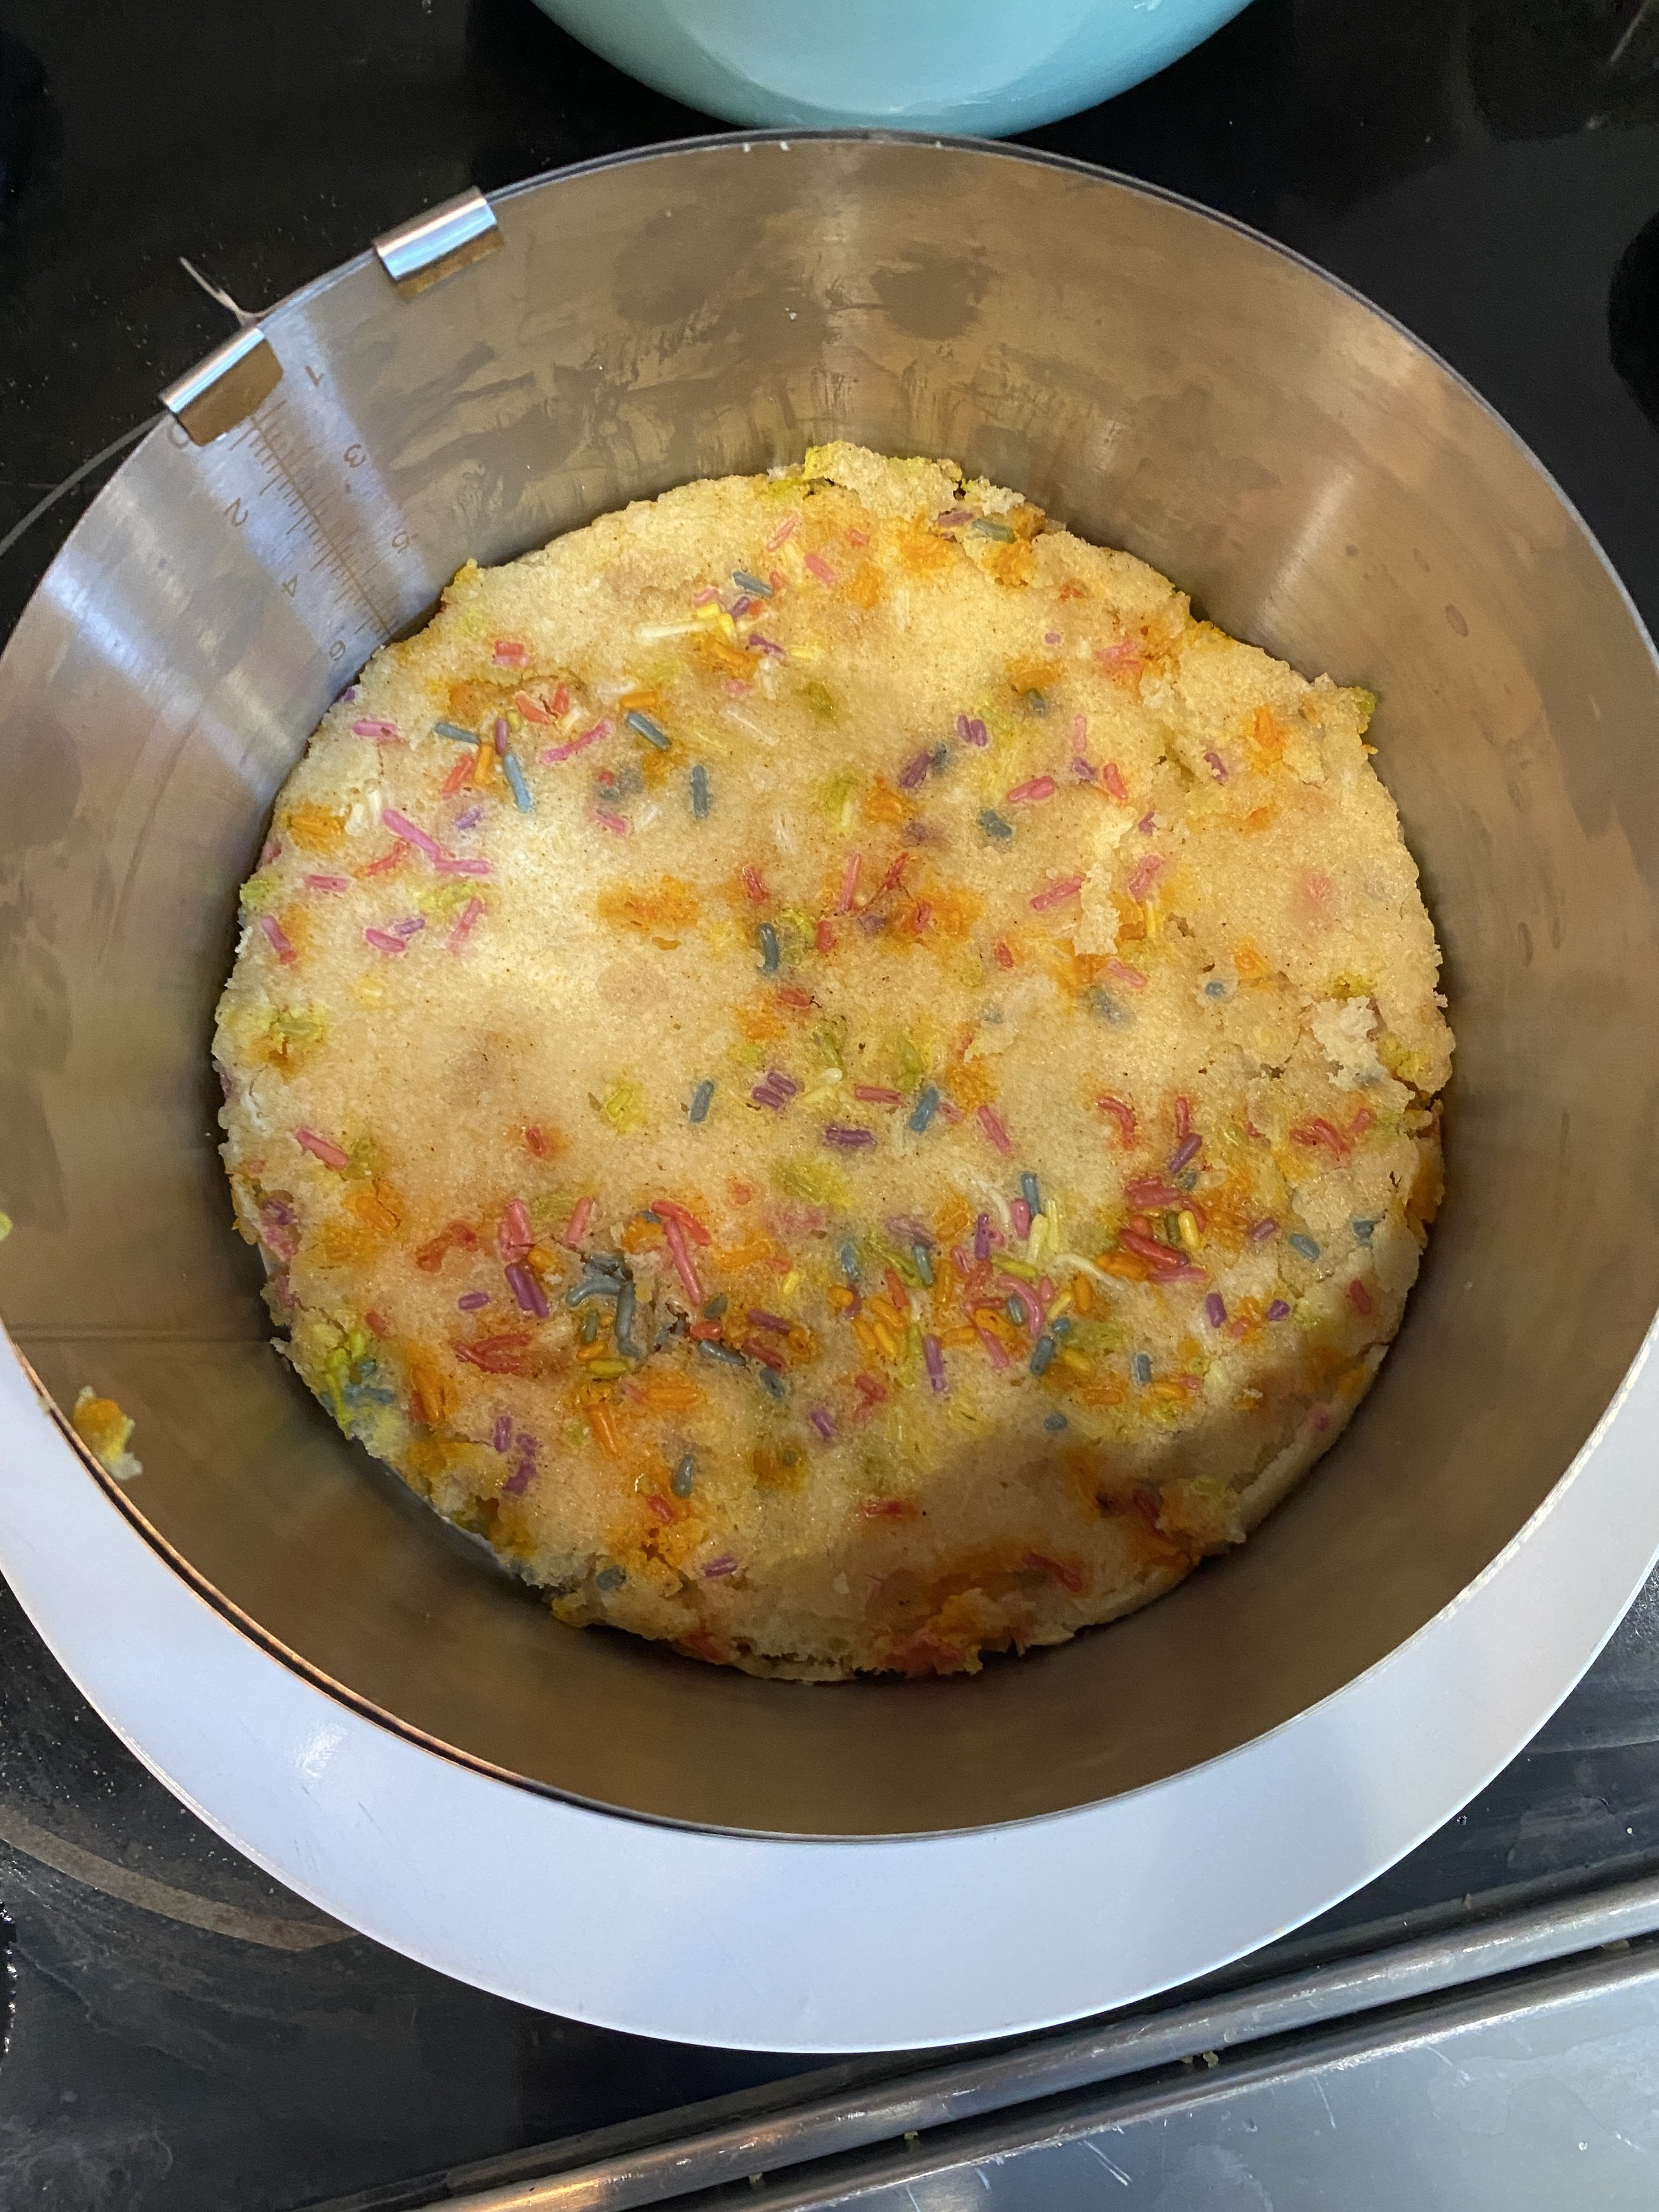
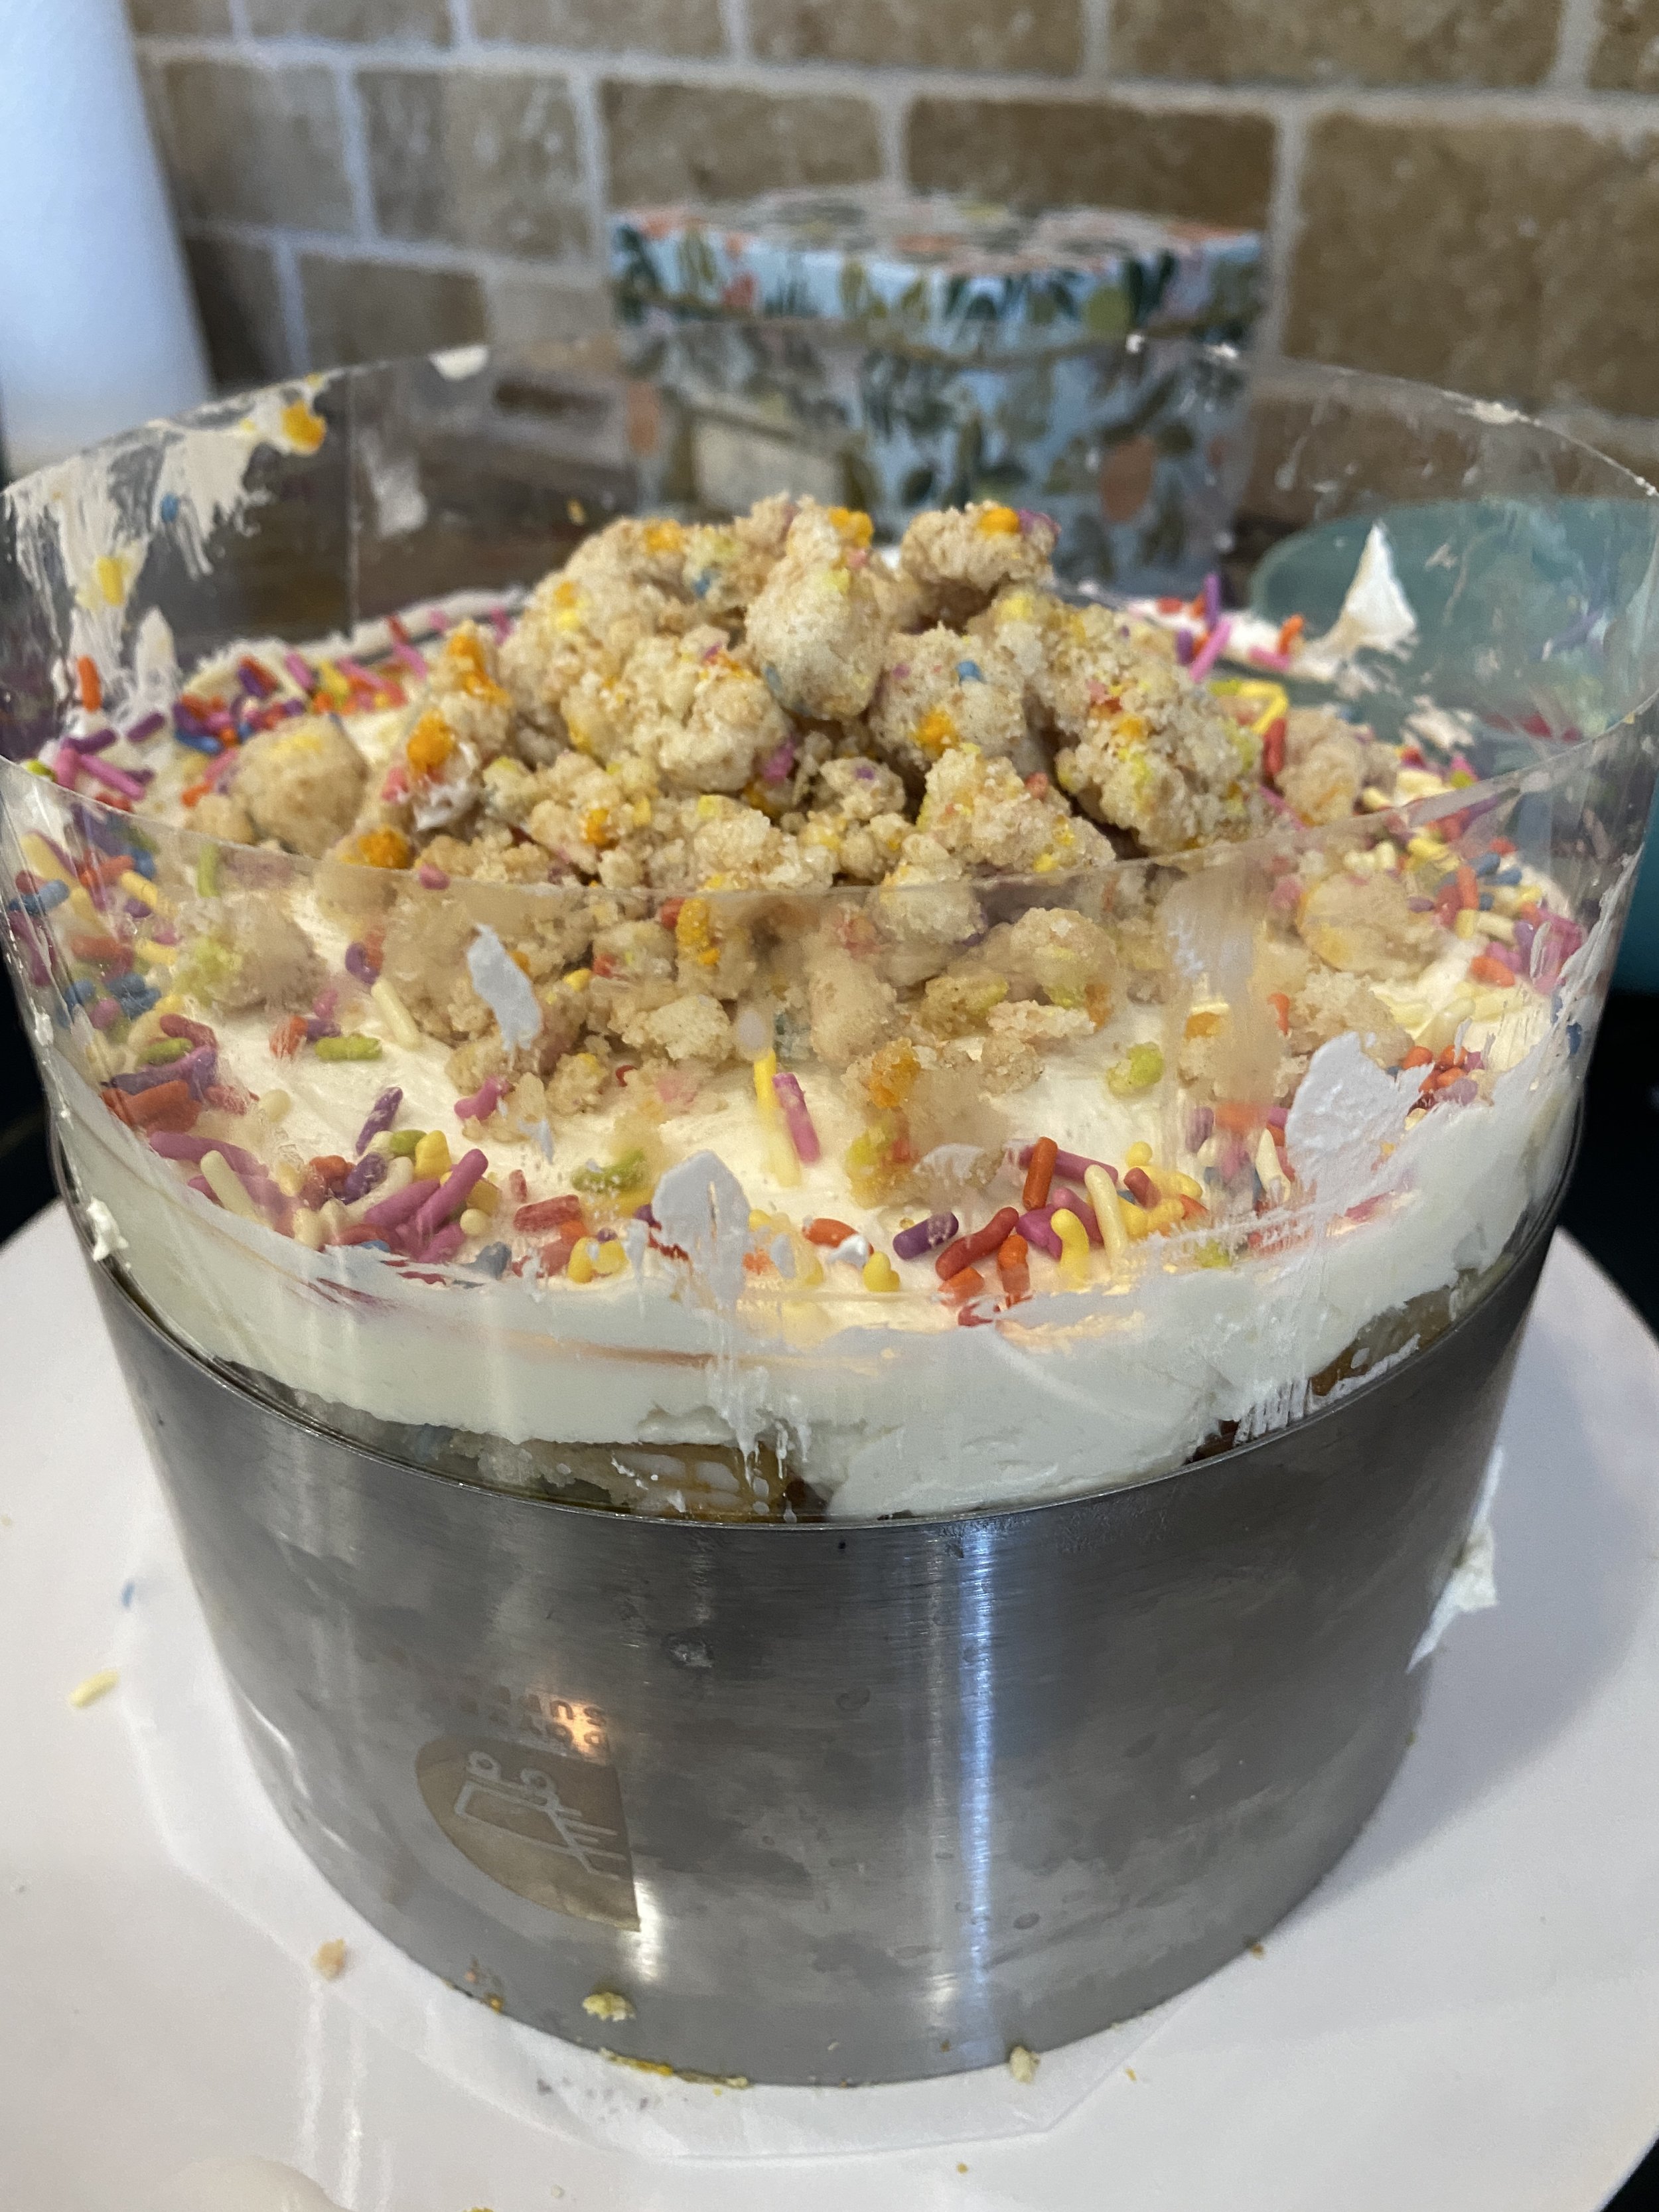
Set your cake ring set to six inches if it is one that adjust. Some are adjustable so if yours is, get it to the right size. Cut a circe or parchment the same size as you cake ring. Place the parchment on a cake board or plate and place the ring in the center. Unroll and cut a piece of acetate cake collar big enough to wrap around the ring. Fit the acetate inside the ring. It should stick up higher than the cake ring!
Place one of your full circles of cake in the bottom of the ring. Brush the cake with 1/3 of your milk soak.
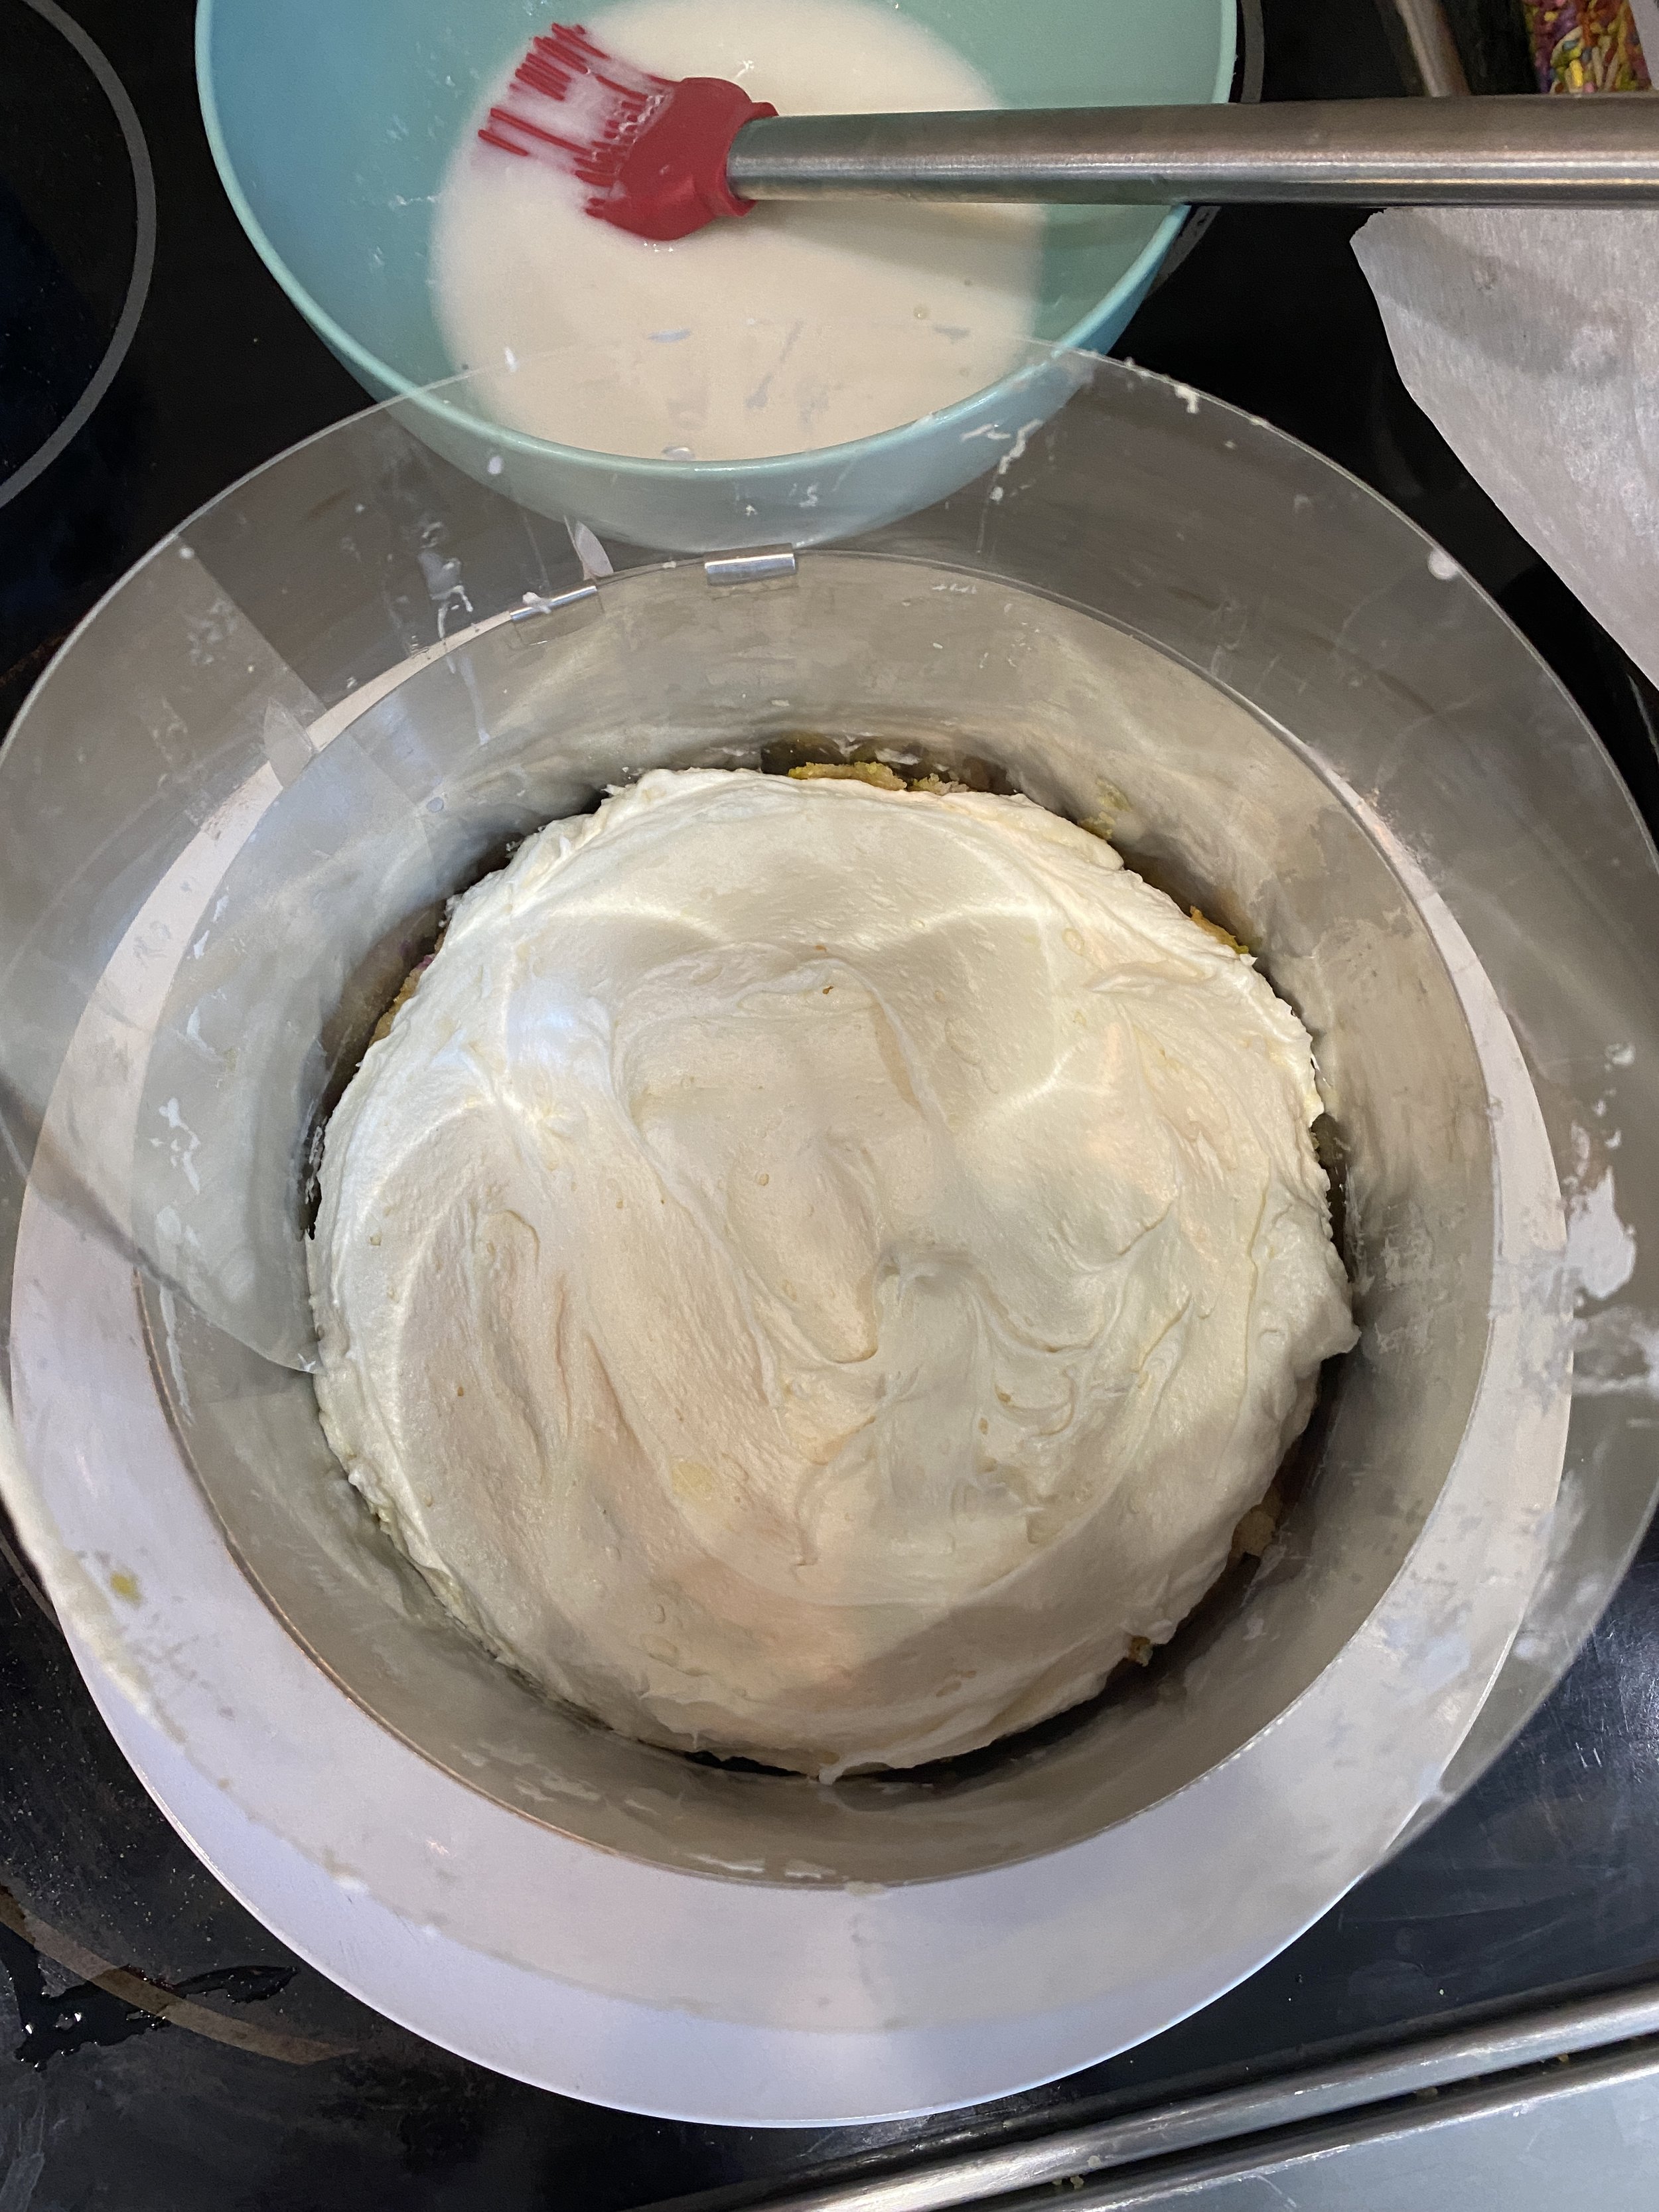
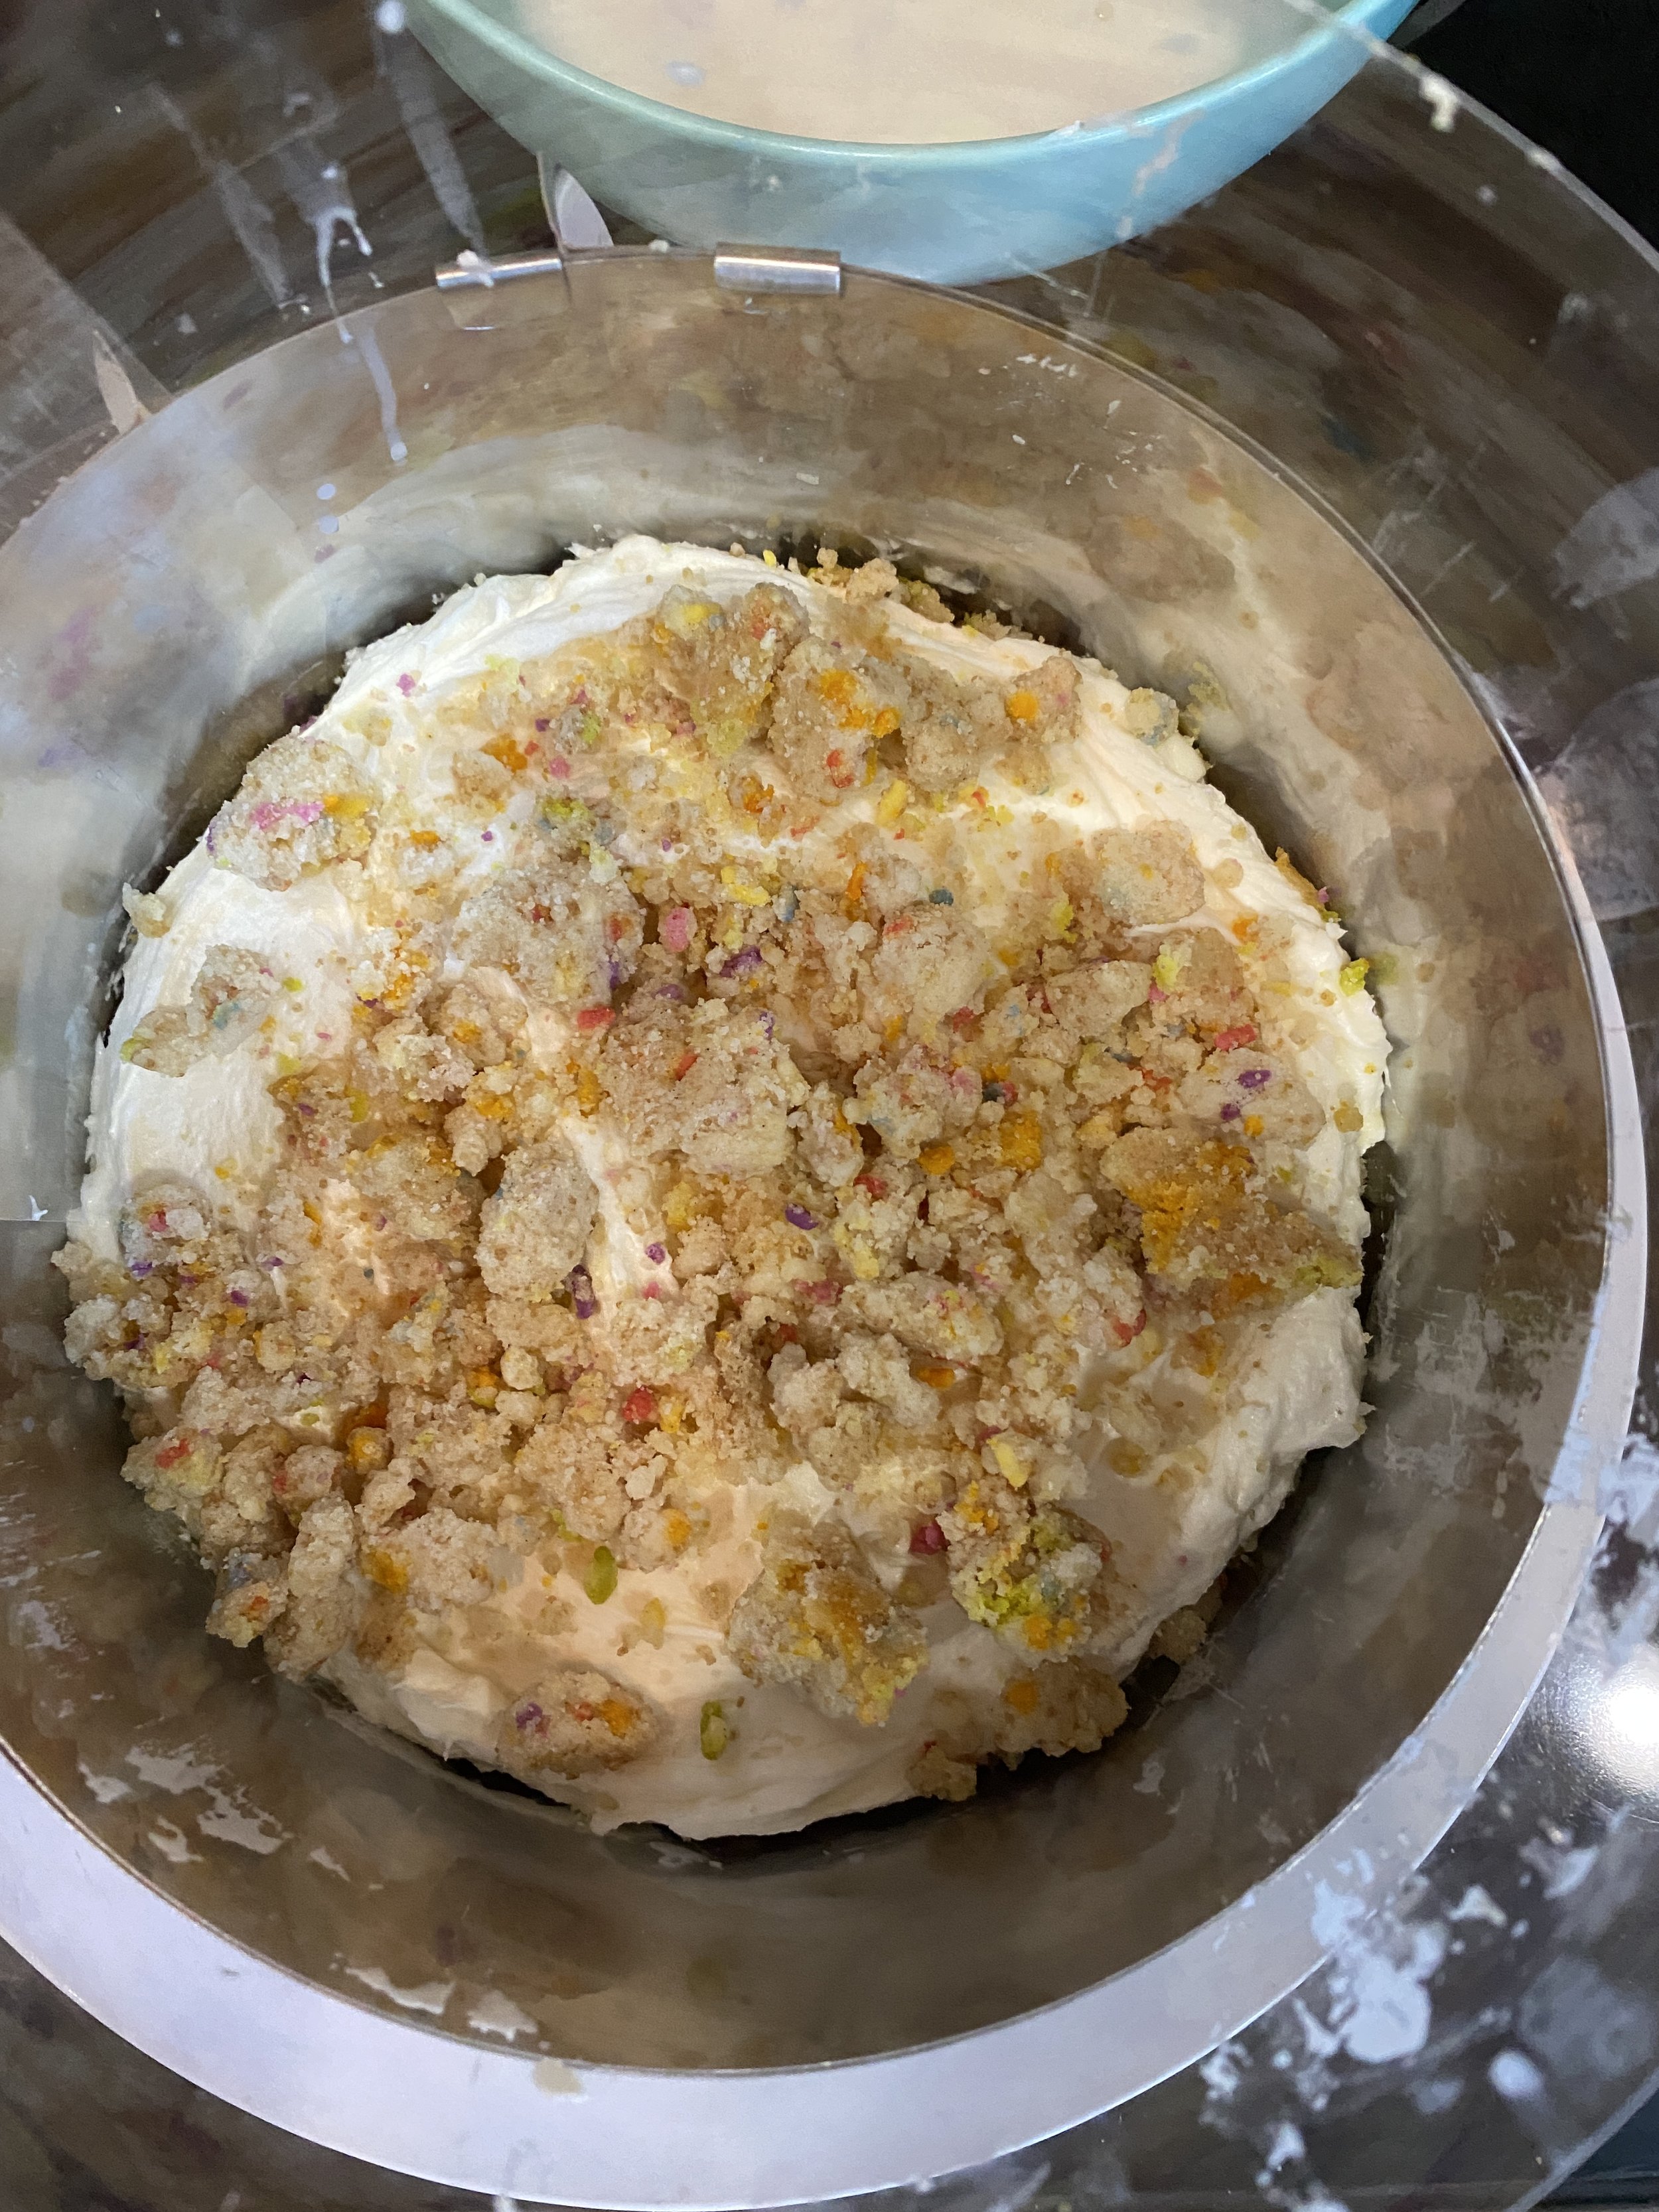
Divide up the frosting into thirds. I just kind of eyeball it in bowl and cut through it with my rubber spatula to give me an idea of how much to scoop up. Put 1/3 of the frosting onto of the cake. Use an offset spatula to evenly spread the frosting over the cake. Add 1/3 of the cake crumbs evenly over the frosting and kind of press them down into it a bit!. Repeat this process this time using the two cake halves to make a whole circle for you middle layer. Then repeat with the last layer, this time instead of spreading the cake crumbs out, I like to pile them up in the middle and sprinkle more rainbow sprinkles around the edge.
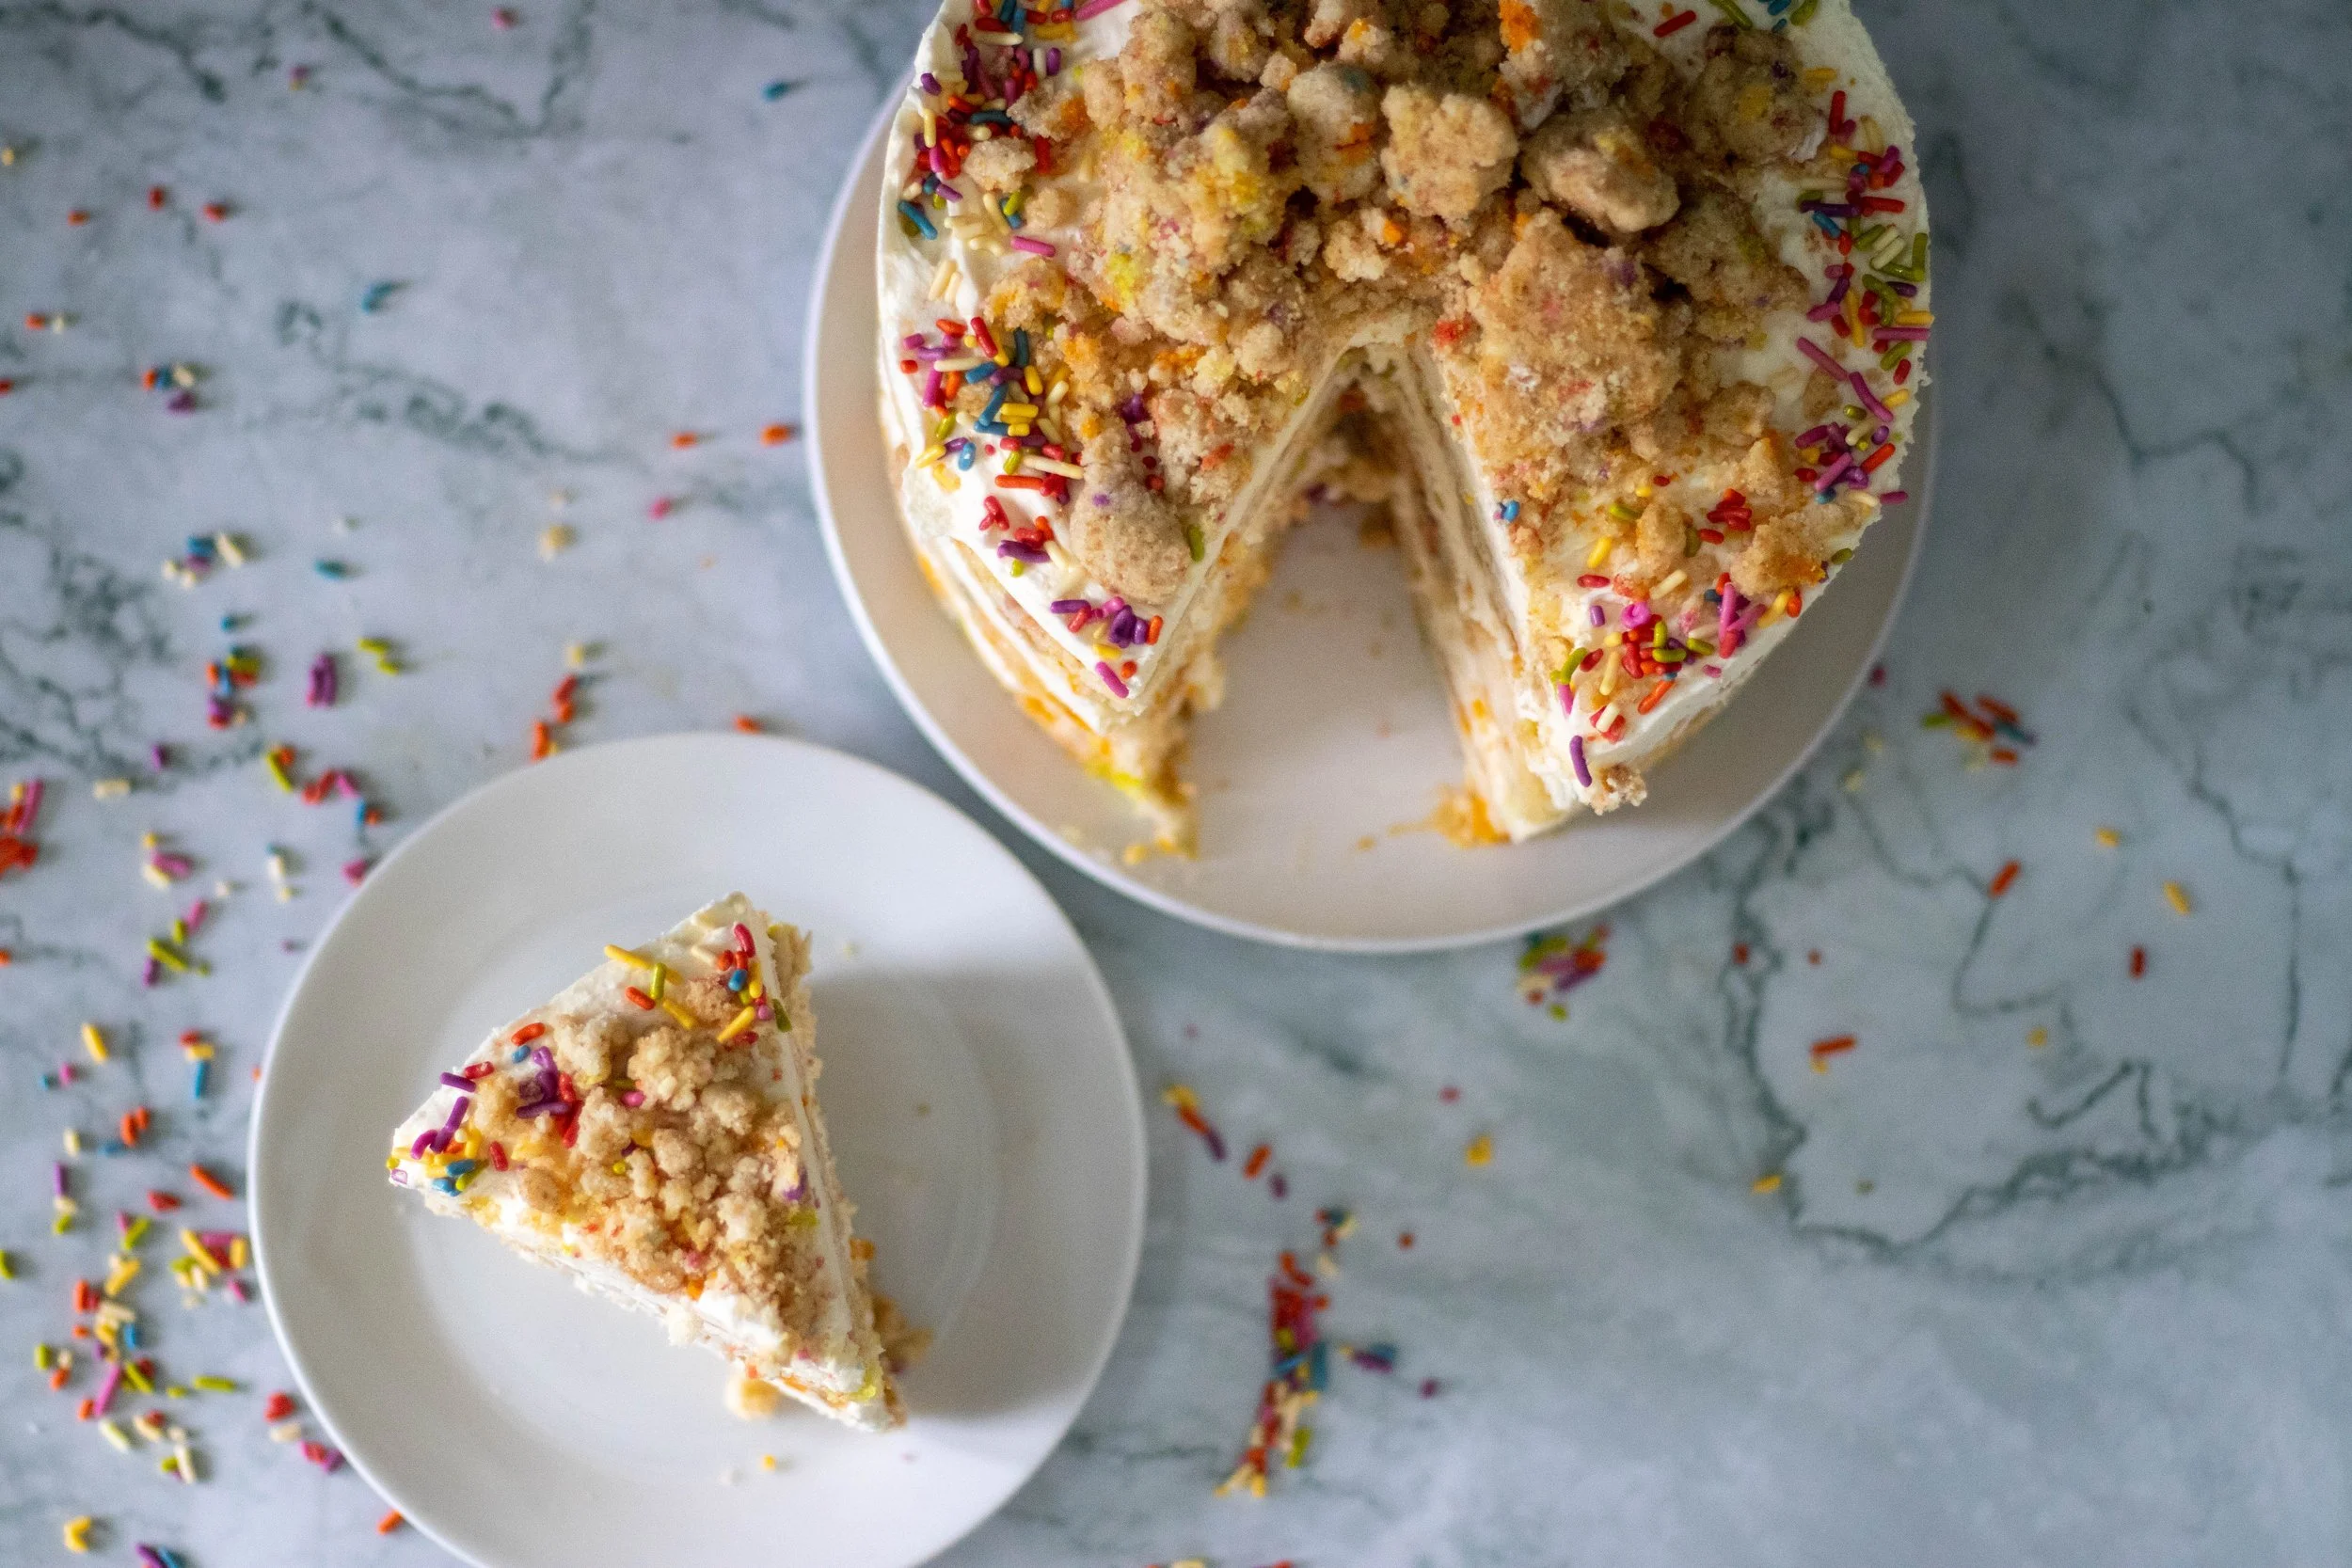
Place the cake in the freezer for at least 12 hours (these are instructions I read on the original recipe) This is going to help everything set up and stay put. When you are ready to serve, thaw the cake in the fridge for 3 hours. Remove the cake ring and gently peal off the acetate. Slice and serve. Store cake in the fridge covered in plastic wrap or in a cake carrier for up to 5 days. You can keep the cake frozen for up to 2 weeks.
** Again, I have just tried to turn the original recipe into a vegan version. I have researched why for example you would add baking powder to the frosting and can not find a good answer (I predict some of y’all will ask the same question) But I could not find anything to really clarify that would have been done. If you have any insight on this I would love it! I have never seen a recipe use baking powder in a frosting so it is definitely a new concept to me.
If you like this recipe, then try these: