My kids have missed out on a lot of foods their friends regularly eat. The joys of being raised vegan.
I don’t regret any decisions we have made regarding our kids diets, but I do often feel a little guilty that they don’t have the slightest clue about so many odd culture foods that most teenagers are eating their weight in.
Like Burger King’s Chicken Fries.

Two of our 4 kids already have one foot out the door headed to college, and are driving. What they eat when they are out with friends or at college is their decision. As they have gotten older we have allowed them make decisions regarding their diets. I mean you have to let them grown up and think for themselves. What they eat at this point is up to them (when they are out and about on their own, with their own money) We can only hope that most of what we taught them sticks…you know go out into the world, make good choices, don’t eat real chicken fries, please!!!
That all said, I do try and recreate the foods they see and wish they could eat so they don’t feel totally deprived. I mean they are homeschooled and vegan often causing the to feel like the odd man out, but its not like we are raising them on lettuce, green juice and air. I like to fry things.
Again I am 100% aware that nobody “NEEDS” chicken fries in their lives, but my kids were very curious recently when we went through the Burger King drive thru on a road trip to visit their Grandparents.
I mean really, I find it genius. I LOVE fries. Like LOOOOVE them. And I am pretty into a vegan chicken nuggets, too. So turning vegan chicken into a crunchy, little dippable, stick of fried goodness was super appealing to me.

So I deiced as soon as we got home I was making some vegan chicken fries. This way my kids would feel like they were getting a weird drive thru junk food like everyone else, but I can sleep at night knowing it is a much healthier alternative (minus the whole deep fried part) and hopefully it’s things like vegan chicken fries that will help them continue on this diet path when they are on their own, knowing you can veganize just about any food you want!
Y’all, they were a hit with everyone in the house. Including the 4 year old who currently lives off blueberries and edamame pretty exclusively these days. She LOVED them, and at this point her loving anything new is a huge triumph!
Can you air fry these you may ask? Sure you can! I actually popped a batch into my air fryer as I was pan frying a batch for comparison. I actually air fry my vegan chicken pretty often. It is obviously healthier and normally faster. This time was the exception to that rule. They did NOT fry faster in the air fryer! I had finished 2 batches in my frying pan and the ones in my air fryer were still not really golden and crispy.
That is not to say its a bad choice for frying them. I was frying them at 400 and after 5 minutes they still were not done. I suggest giving them a spray of oil and turning them once or twice until they are golden brown if you choose to air fry them!
However you decide to fry them, I am pretty sure you, and maybe your whole family will love these vegan chicken fries. And If you do have kids, they can know the joy of weird American fast food creations without having to actually eat meat. And hopefully once they are adults, that will keep them on a vegan path. Fingers crossed!
INGREDIENTS:
1 block super firm tofu (16 oz) the kind that is vacuum sealed in not much water
1 cup vital wheat gluten
2 -3 teaspoons No Chicken Better Than Bouillon, or any vegan chicken flavored bouillon powder or seasoning
1 teaspoon garlic powder
1-2 teaspoons onion powder
1/2 teaspoon sage
1/2 teaspoon rosemary
2 teaspoons liquid smoke
2 tablespoons tapioca or corn starch
1/4 cup nutritional yeast
2 tablespoon neural flavored oil
1/2 to 3/4 cups water
1 teaspoons salt
*I used high protein tofu in a vacuum sealed package and this what I strongly advise using. It is much firmer than regular firm tofu and has less moisture and a more chewy texture. If you opt to use regular firm tofu you will need to press it first and remove as much liquid as possible. You may need to adjust the amount of water in the recipet as well. Add the water last, adding just enough to accomplish a firm dough but pliable dough.
THE COATING:
1/2 cup vegan sour cream or unsweetened plain vegan yogurt
1 1/4 cup unsweetened plant milk
1/2 cup corn or tapioca starch
1 1/4 cup all purpose flour
2 cups panko bread crumbs (make sure they are vegan, many are. not, I use Trader Joes)
2 teaspoons onion powder
1 teaspoon garlic powder
2 teaspoons of your favorite all purpose seasoning (I use Cavenders all purpose greek)
Oil for frying (I use grapeseed oil)

CHICKEN INSTRUCTIONS:
Preheat oven to 350 degrees
Break up the tofu and place it into a food processor with the regular metal blade. Run the processor for around a minute until the tofu is broken down.
Add all of the remaining ingredients and let the food processor run for a couple of minutes. You want the mixture to form a dough. Letting the processor run will help knead the dough. We want this seitan to be firm so we need it to knead for a bit. If you dough seems a bit too dry, you can add another few tablespoons of water, just don’t add too much more! I start at 1/2 cup and work from there.
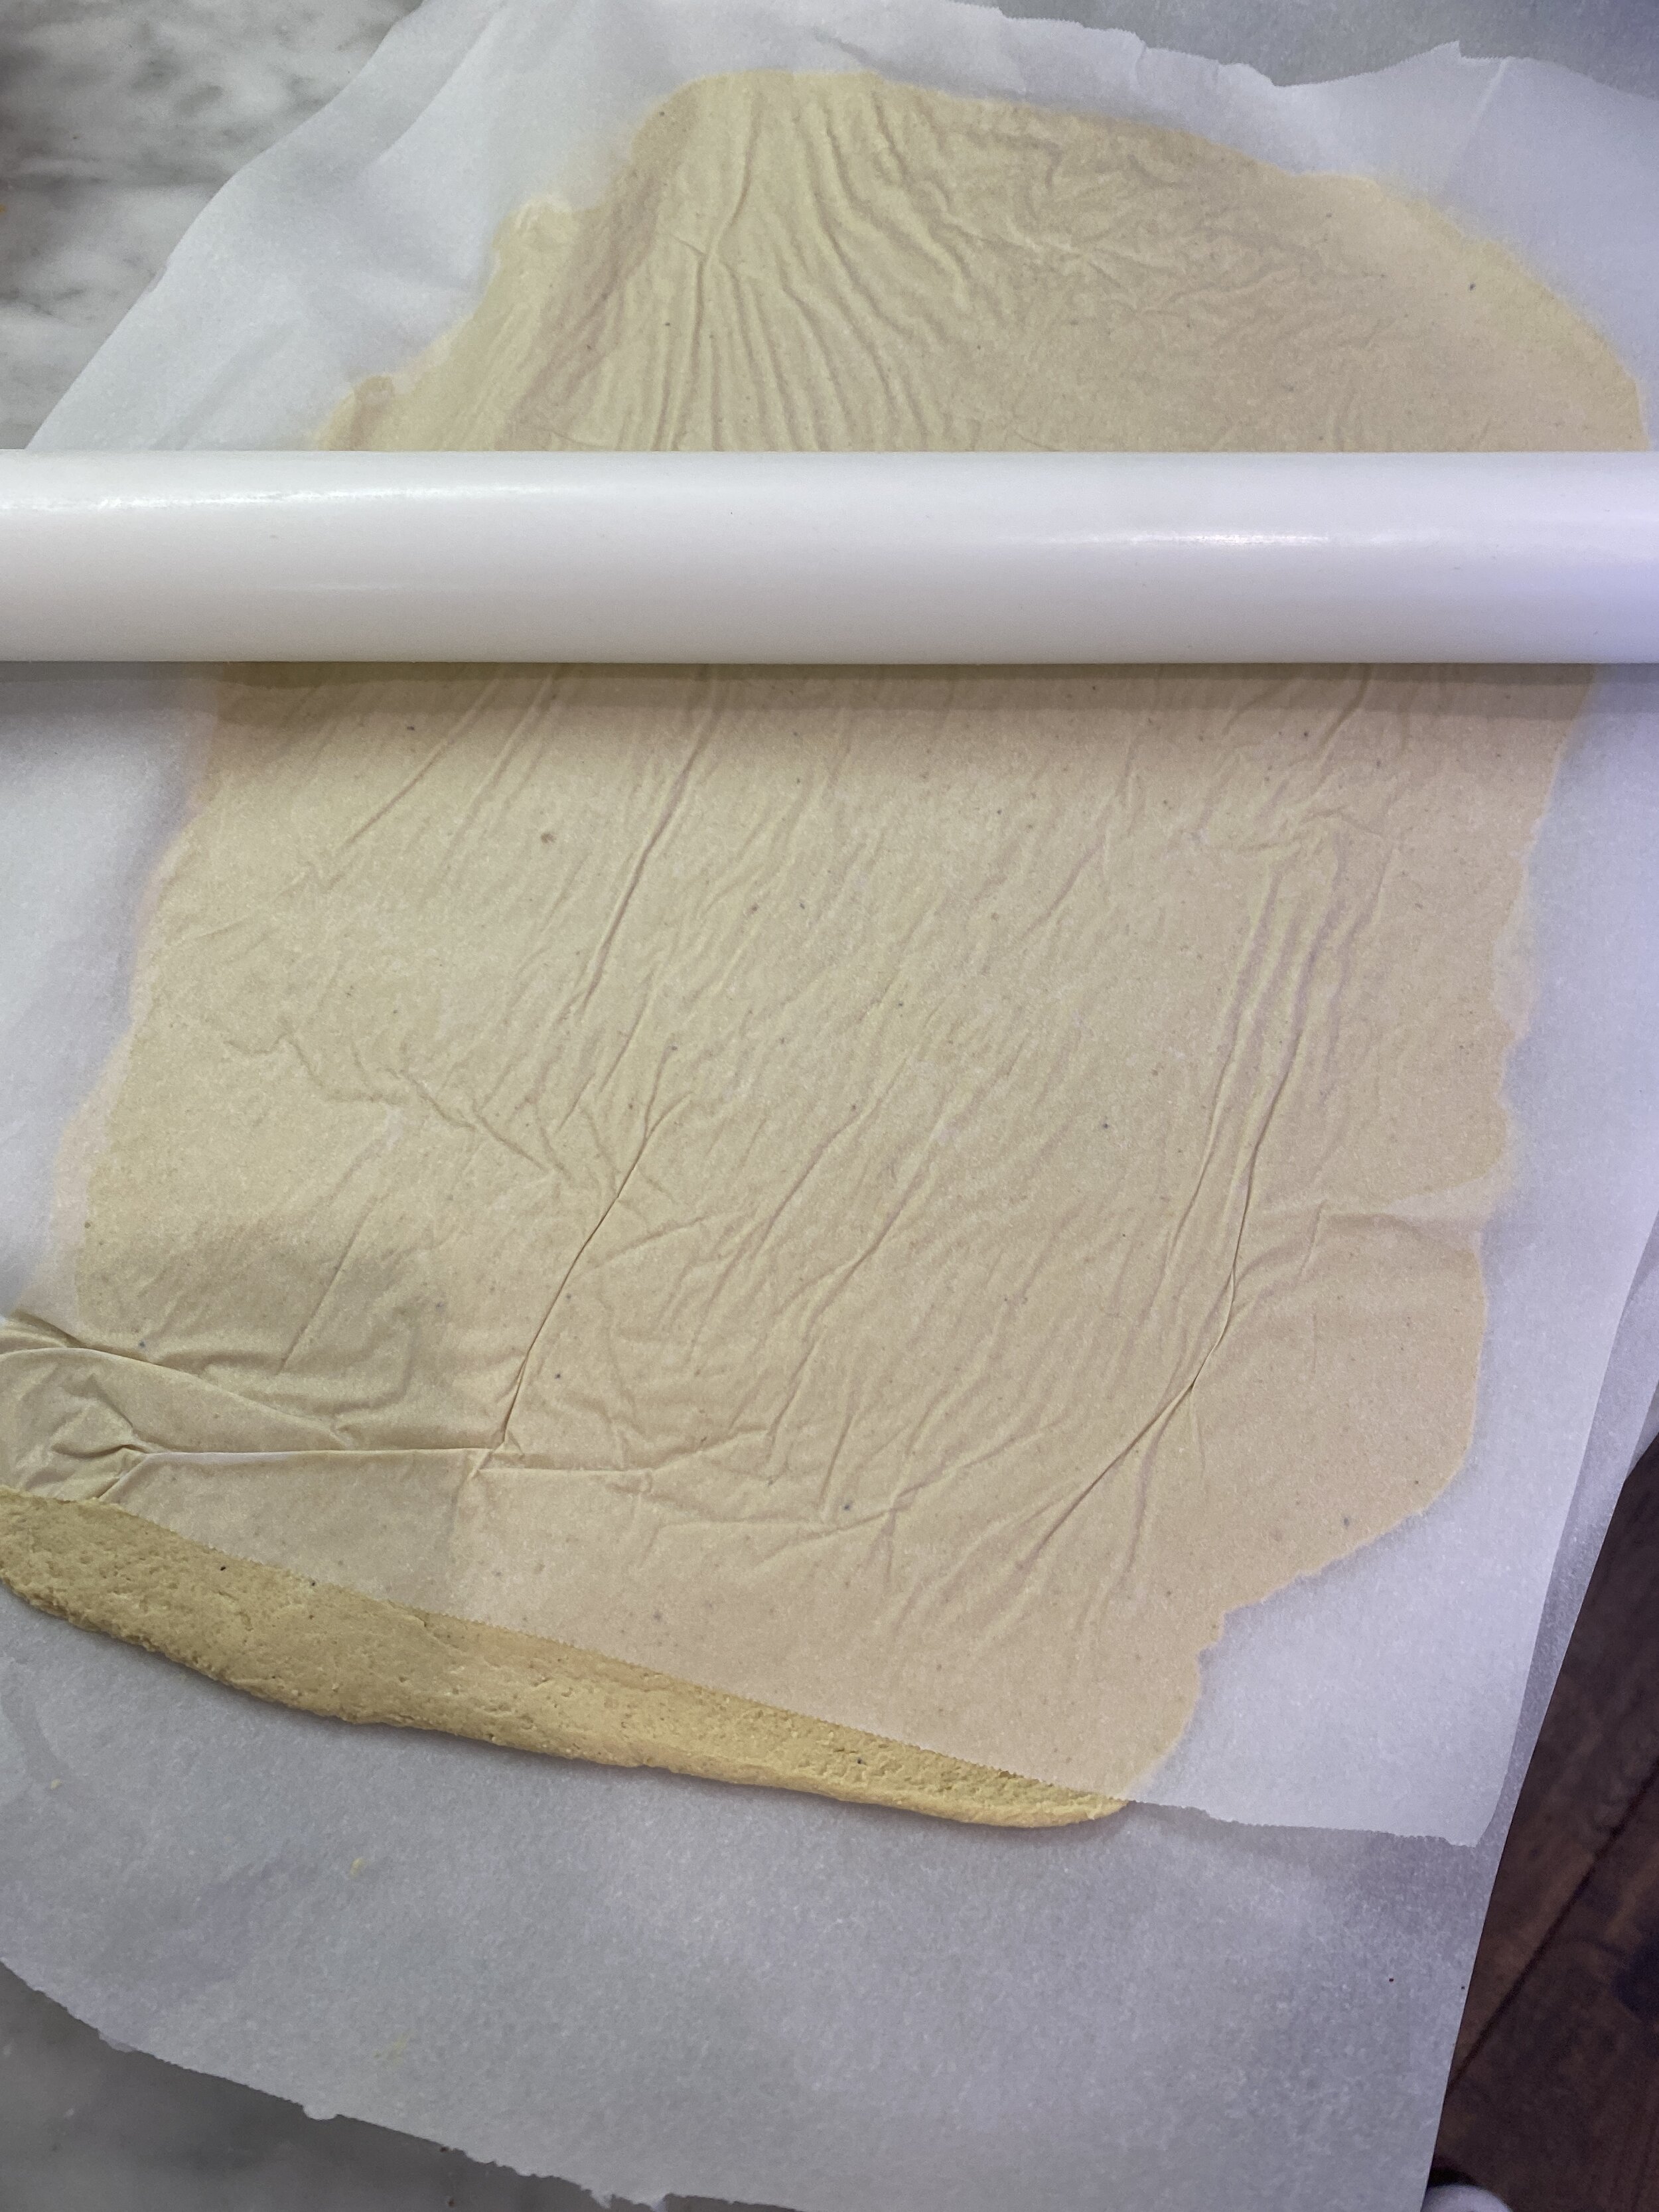
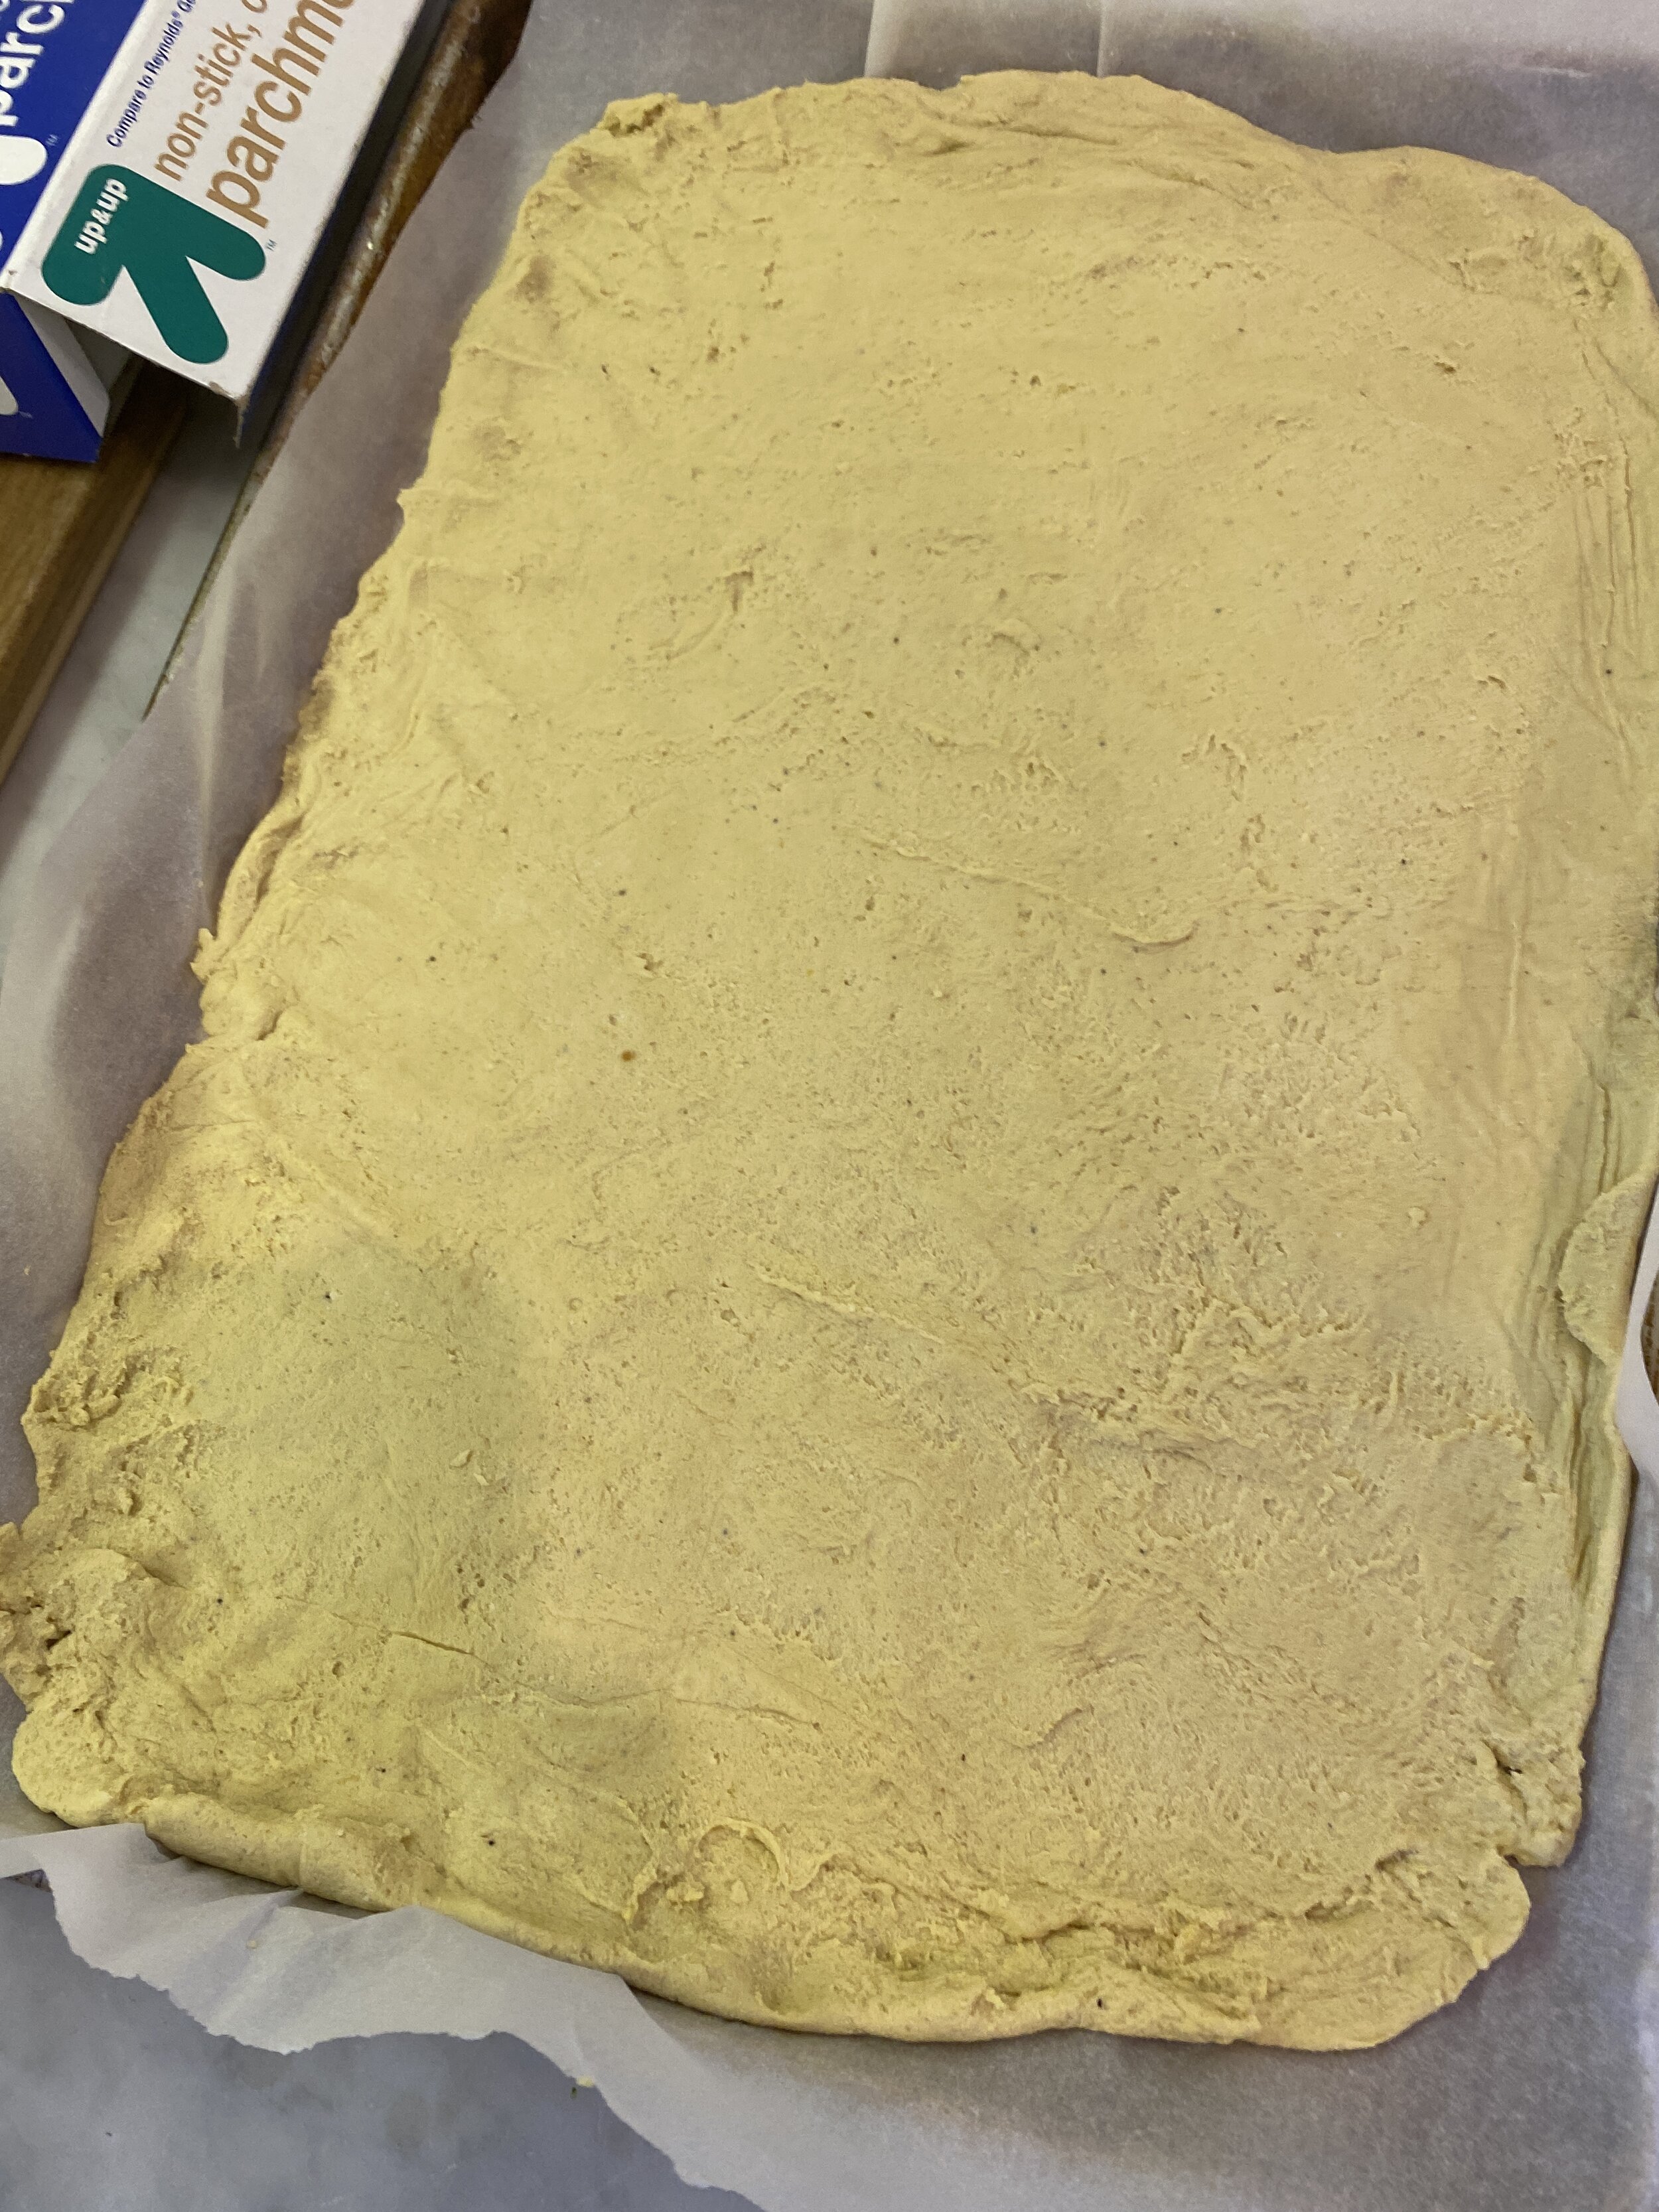
Once you have a smooth but firm dough, remove it from the food processor and place on a clean counter. Knead the dough with your hands for about a minute. Begin pressing the dough out flat into a rectangle shape. Place the rectangle on a pieces of parchment paper around 12x16 inches. I like to spray the top with a little oil and place a piece of parchment paper on top, using my hands I press the dough out and then take a rolling pin and roll it out until I have a 12x16ish inch rectangle. This just helps the dough not stick on your hands and helps you get it pressed out more easily. (see pictures below for the process)
Using the parchment paper pick up the dough rectangle and transfer it to a large cookie sheet. Sprinkle the top with any all purpose seasoning you like. Cover the pan tightly and completely with aluminum foil creating a seal. The goal is to let the seitan steam inside the foil.
Bake for 25 minutes. Remove from oven and allow to cool at room temperature for about half an hour then transfer to the fridge and allow the seitan to rest for 3-4 hours. This seitan is really thin so a 3-4 rest is normally enough for it to cool down and firm up! You must, MUST let the seitan rest! If you don’t, the texture will not be as firm as it needs to be!
** If your seitan has little holes in it and looks like bread, it is pretty likely your oven is cooking hotter than it is registering. You can get an oven thermometer to check this or you can reduce the oven temp by 25 degrees the next you bake it.


FRYING INSTUCITONS:
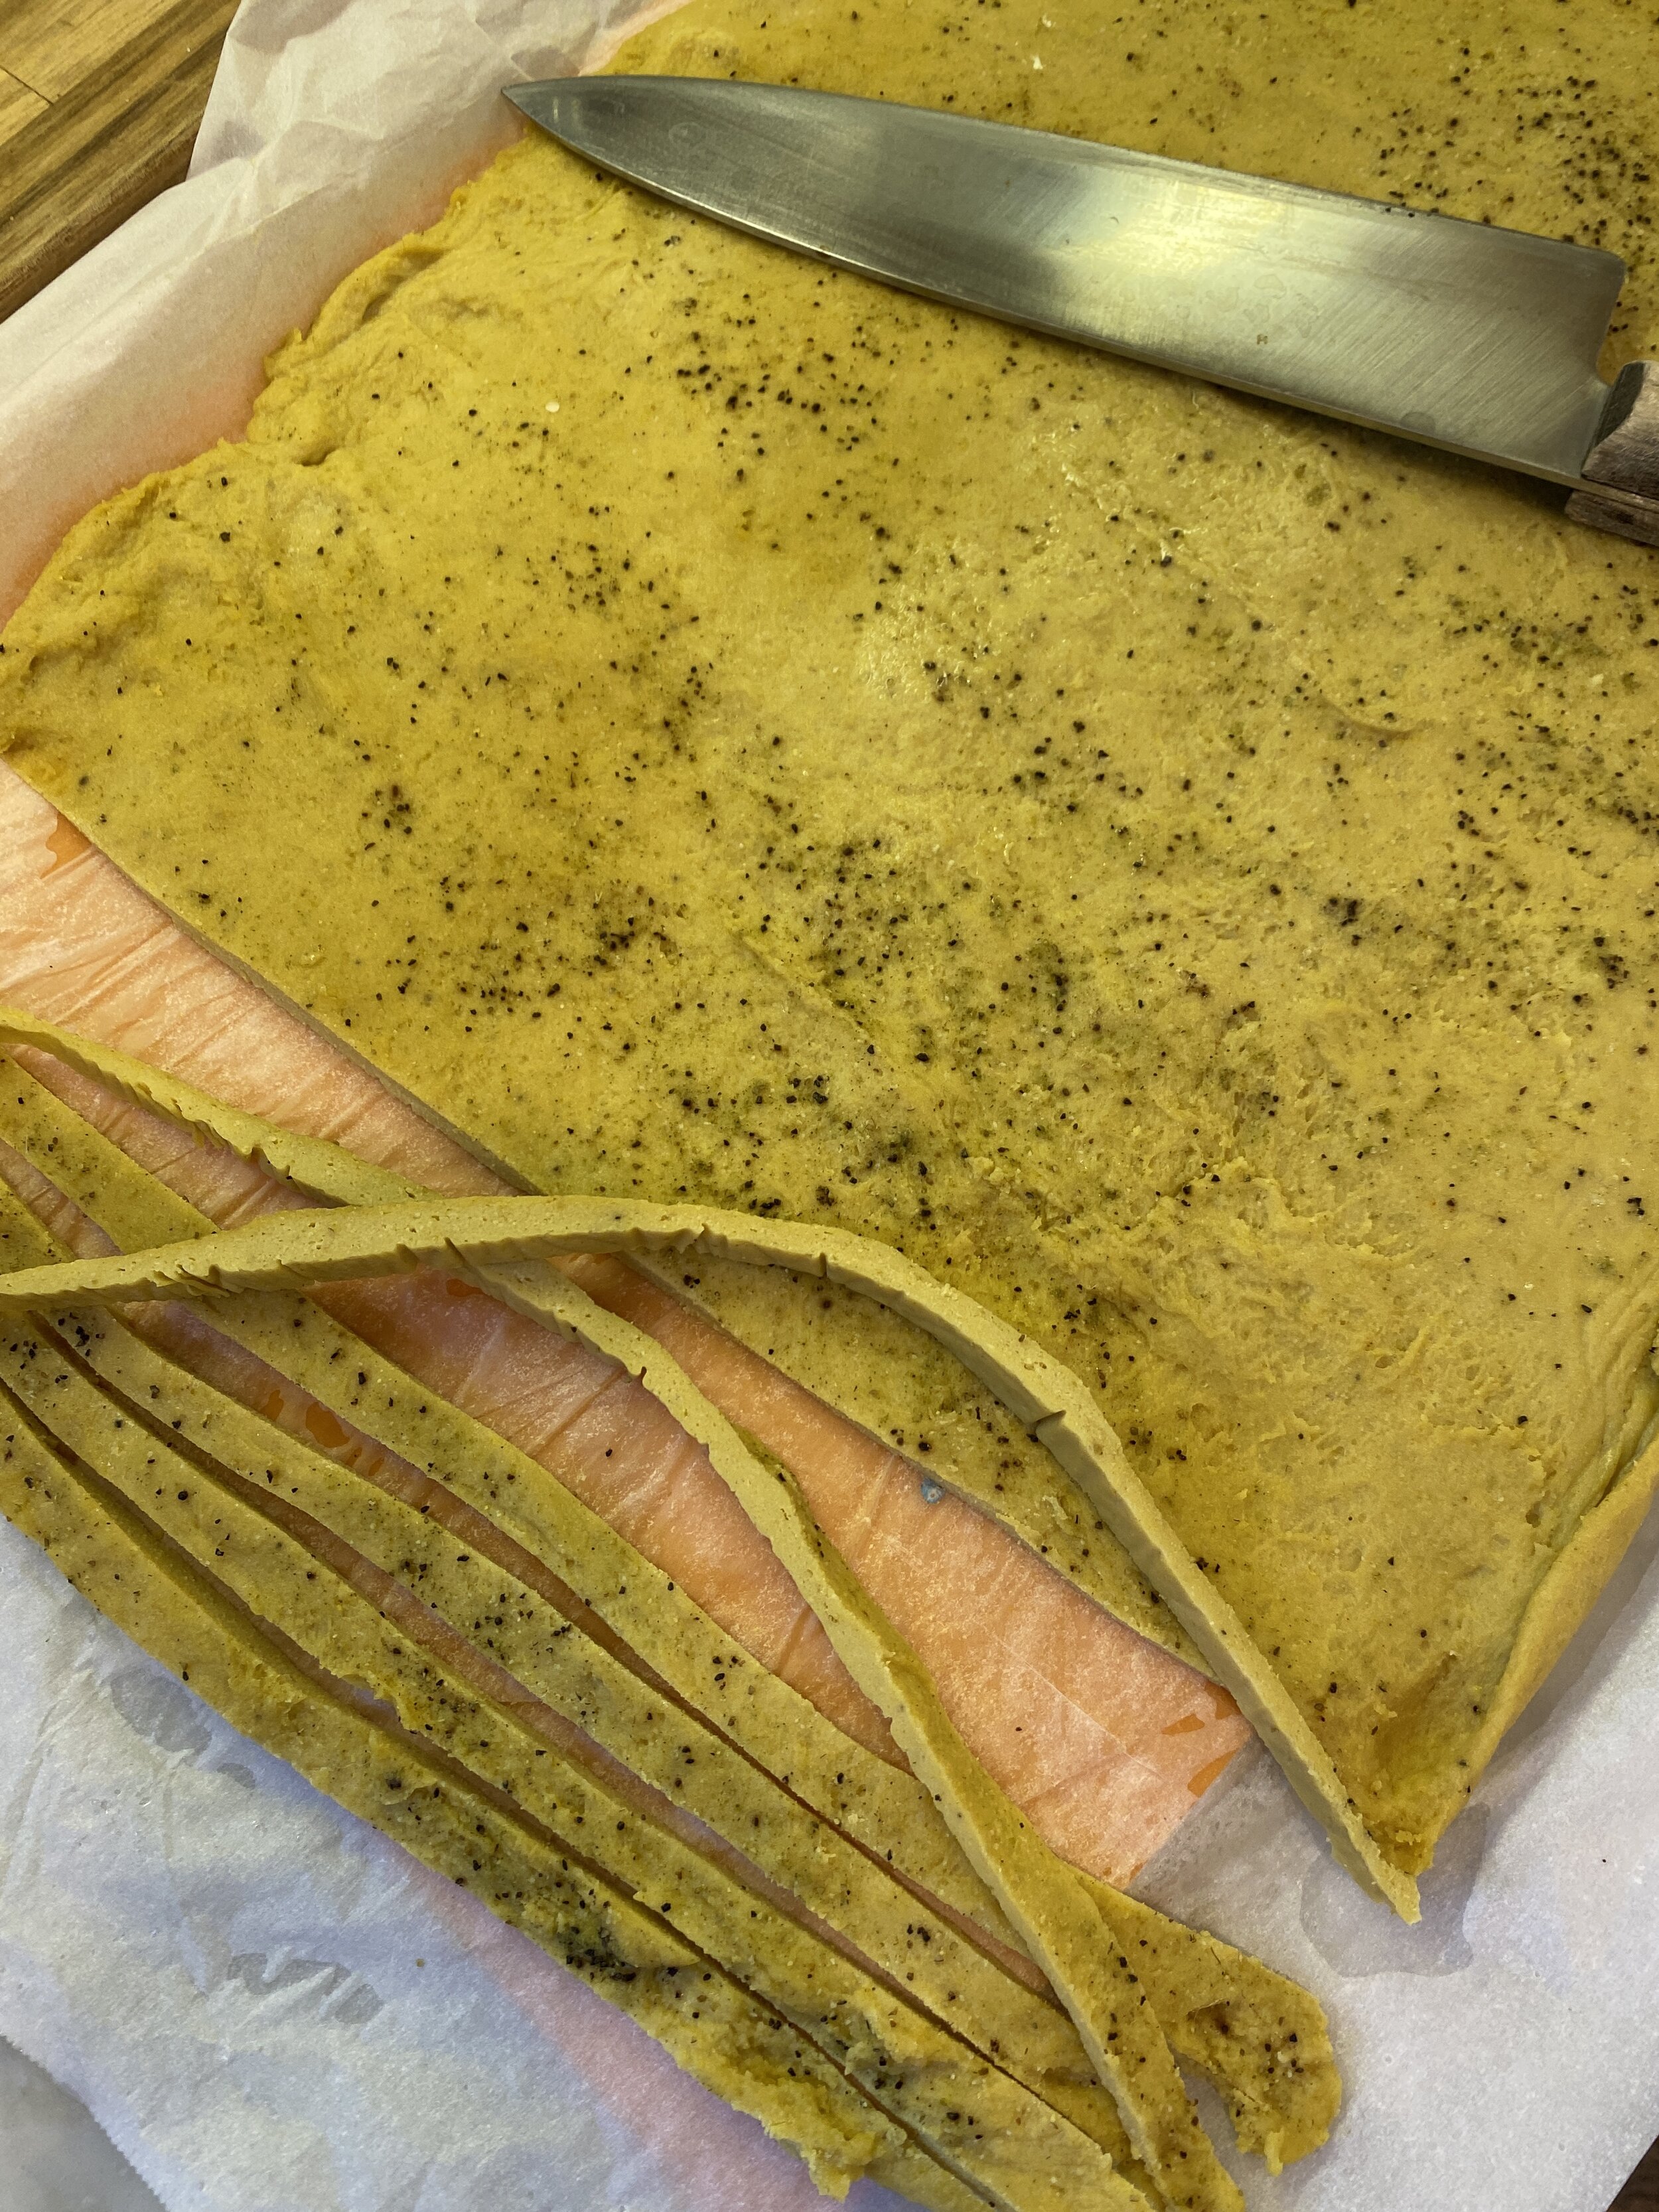
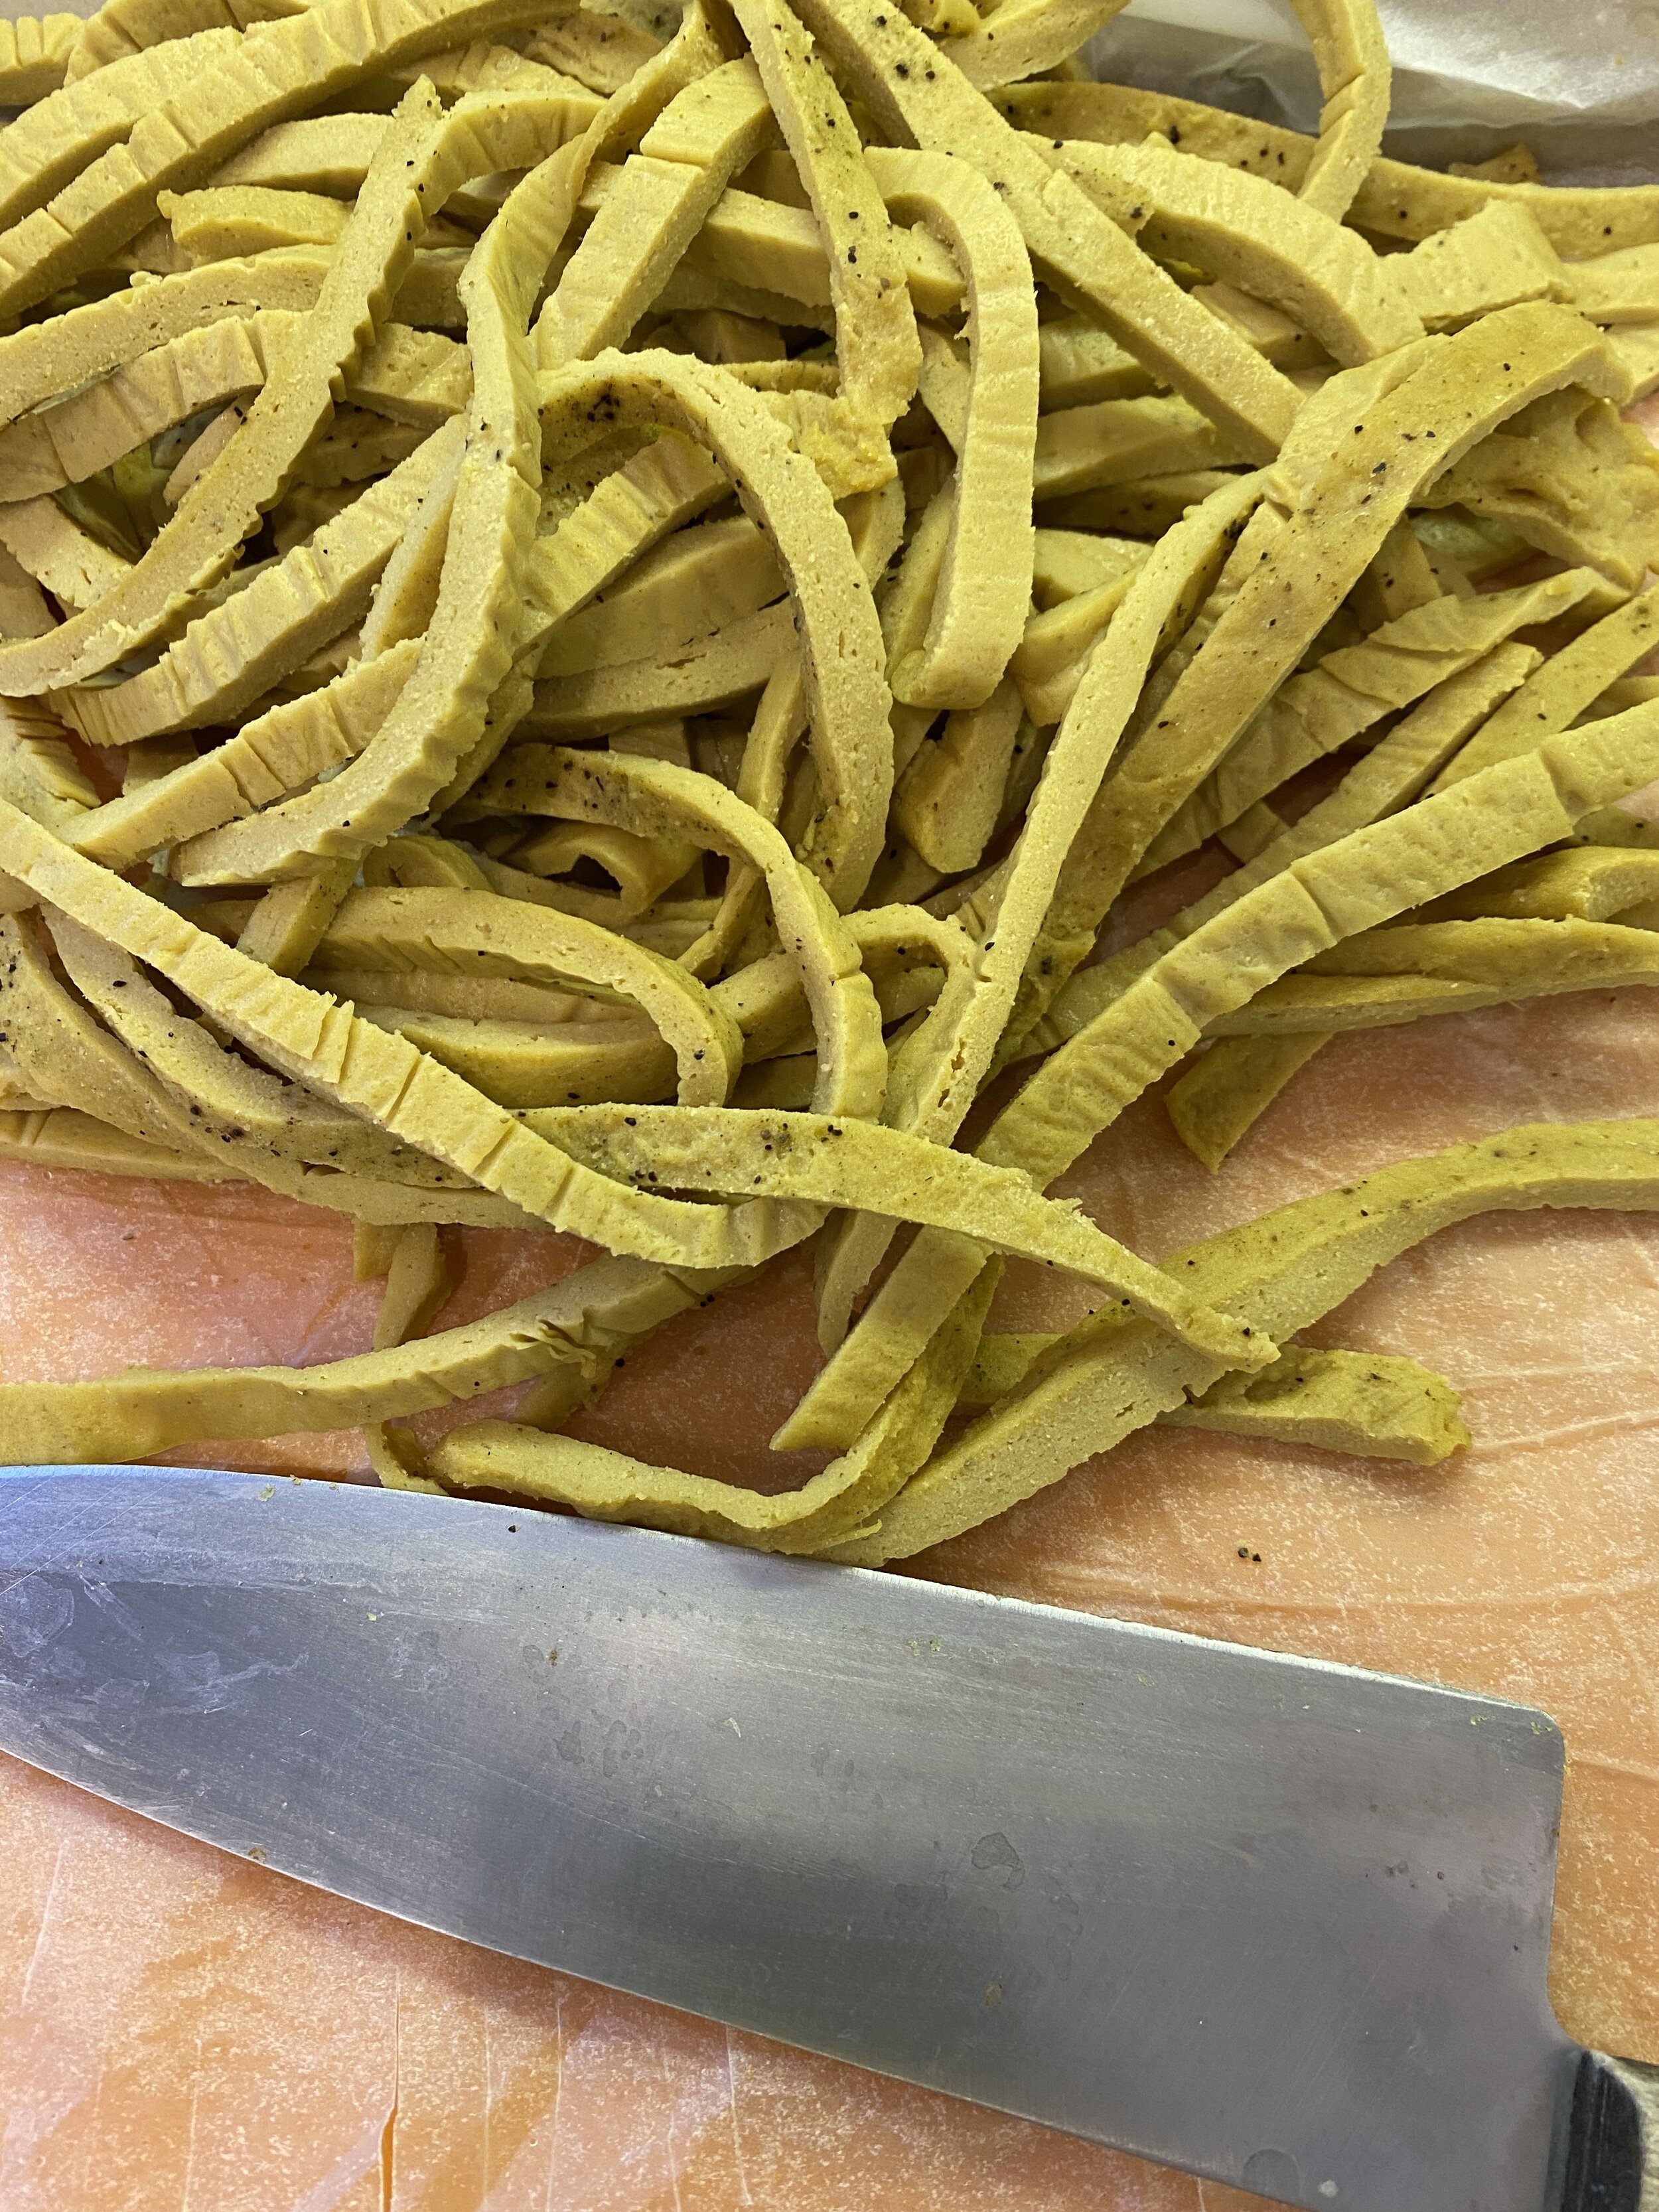
Once the dough has rested and has firmed up, remove from the fridge, and place on a cutting board. Begin at one end of the rectangle and cut 1/8 inch strips all the way across. Next, cut each strip in half. The goal is to cut the dough the size of a long fry.
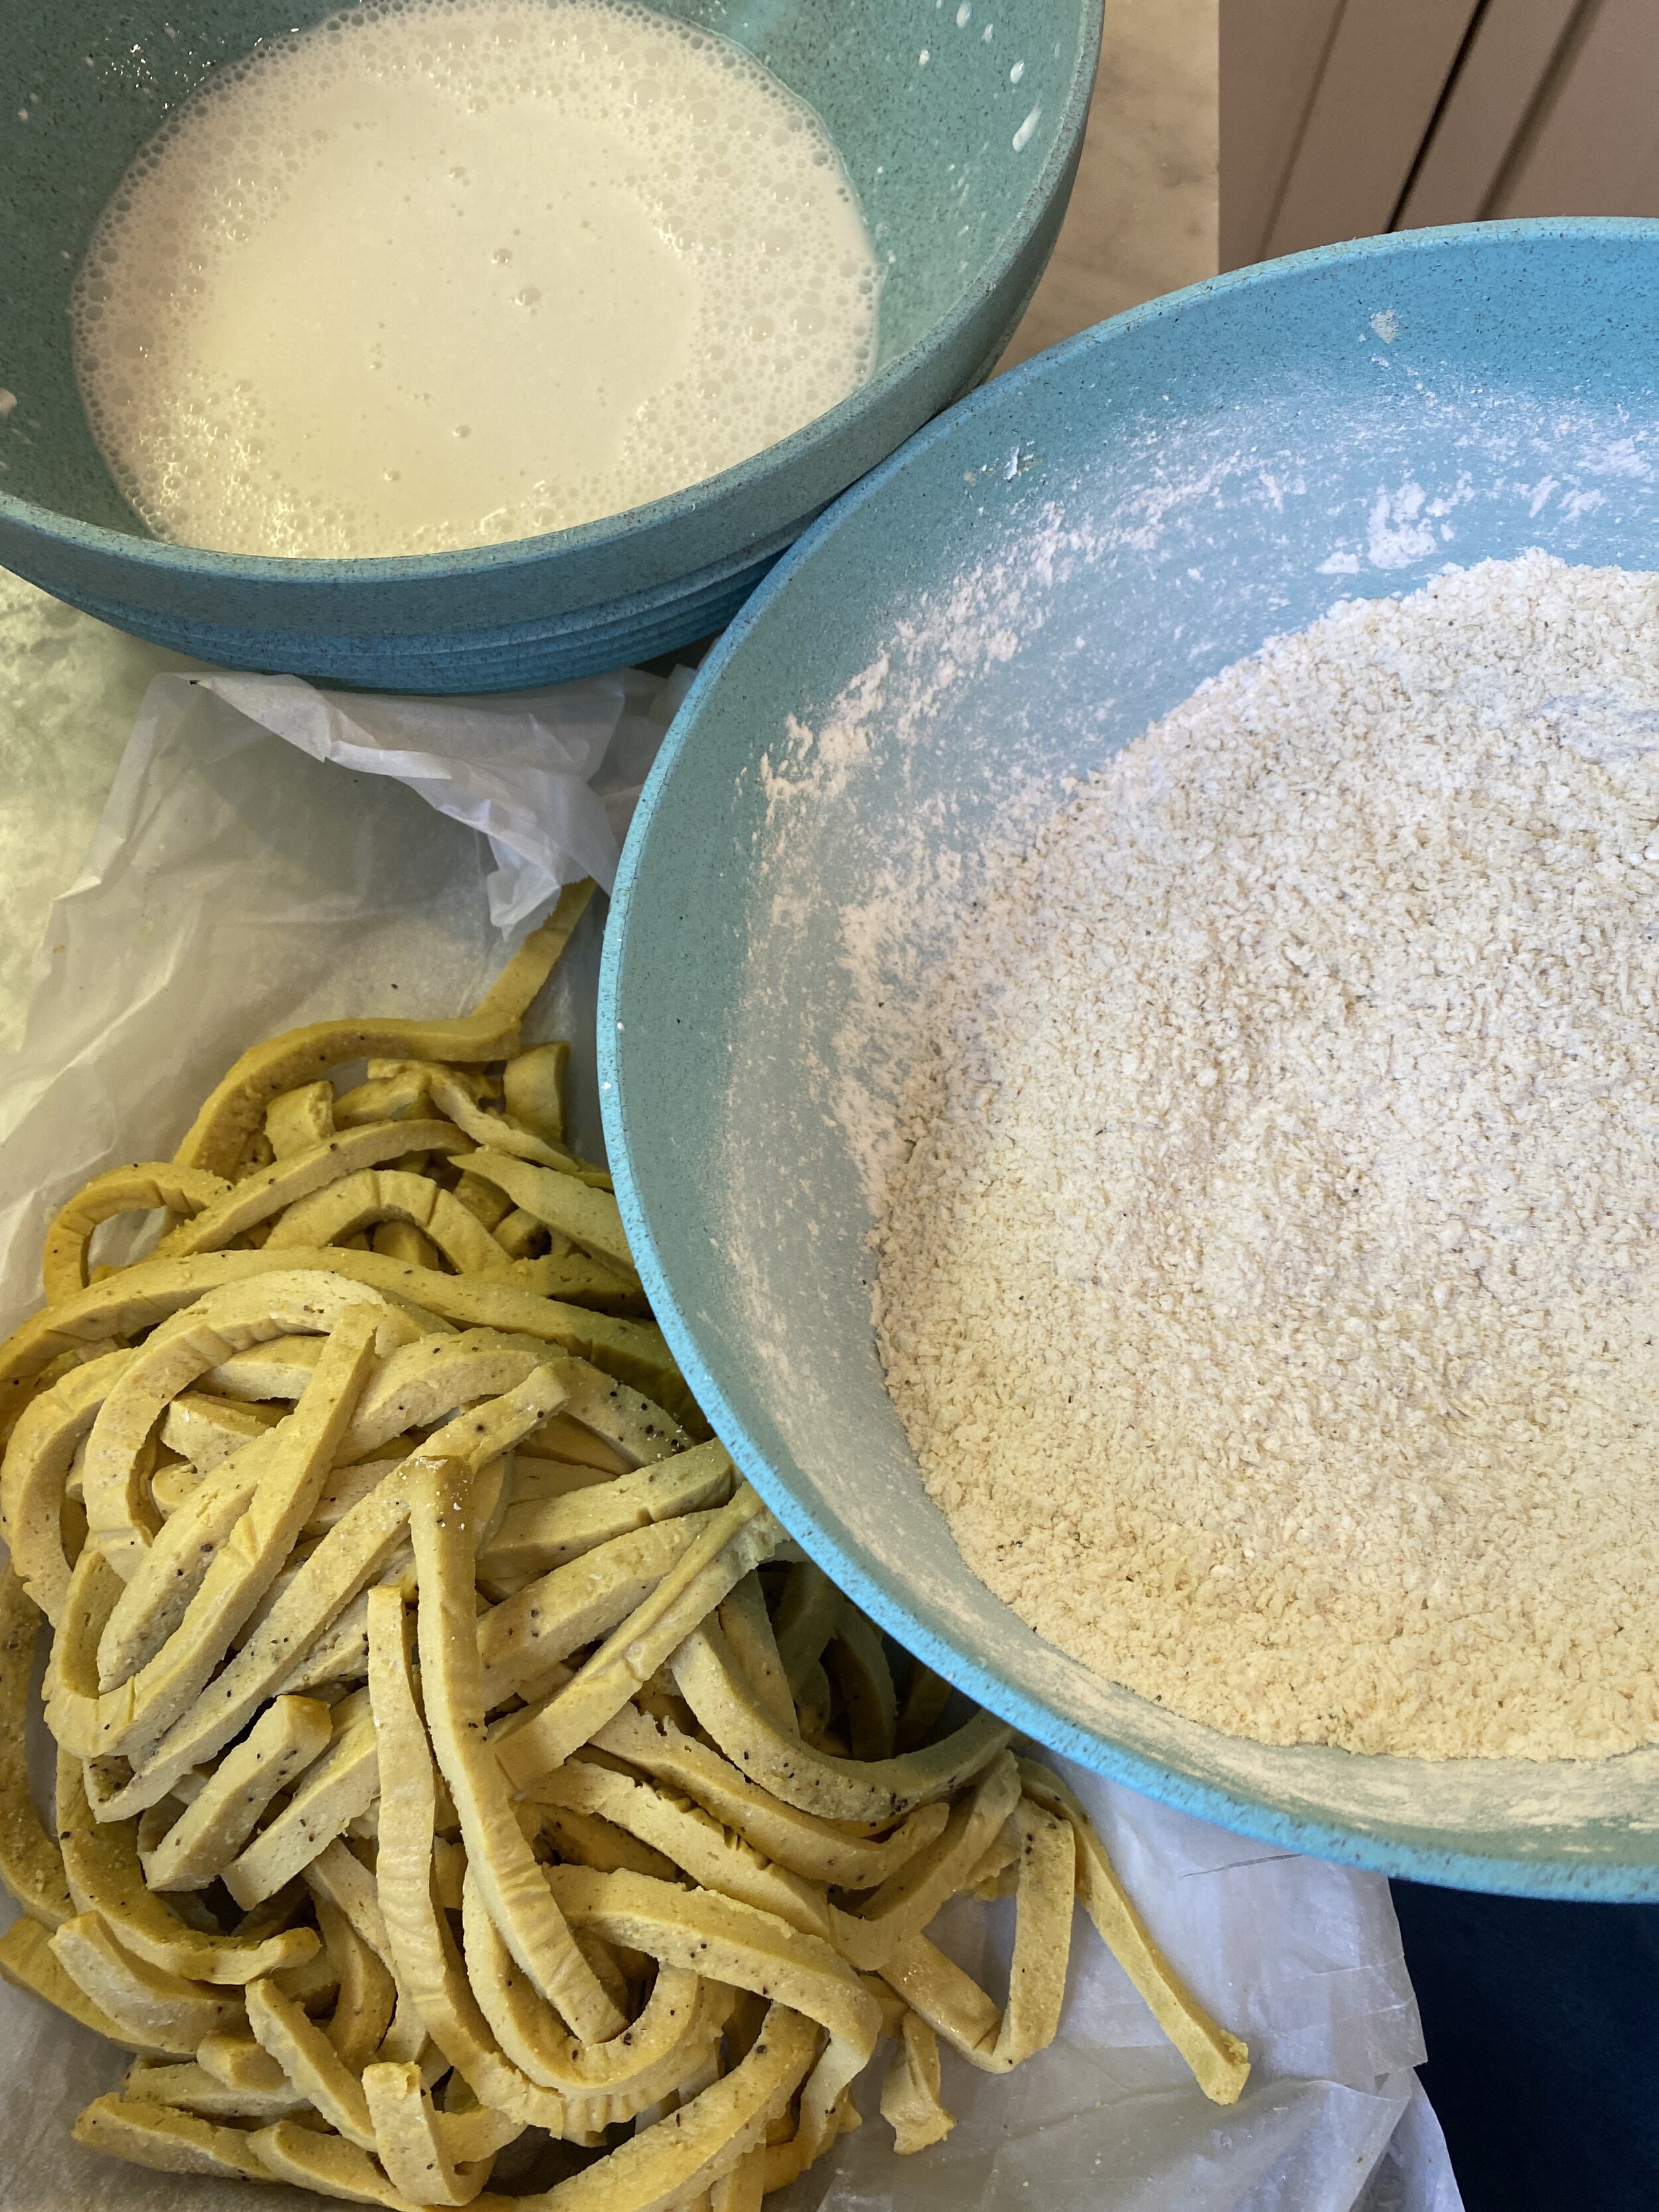
In a medium sized mixing bowl whisk the plant milk with the sour cream or yogurt. In another mixing bowl, combine the flour, starch, panko and seasoning.
First dip the fry into the wet mixture, then into the flour mixture, pressing the dry mix into the seitan to make sure it’s well coated.
Heat several inches of a neutral flavored oil in a deep skillet. Bring the oil to 350 degrees. If you do not have a thermometer you can place a chop stick into the oil touching the bottom the pan. If little bubbles form around the tip of the chop stick then the oil Is ready.
Place a wire cooling rack on top of a paper towel lined baking sheet near the stove.
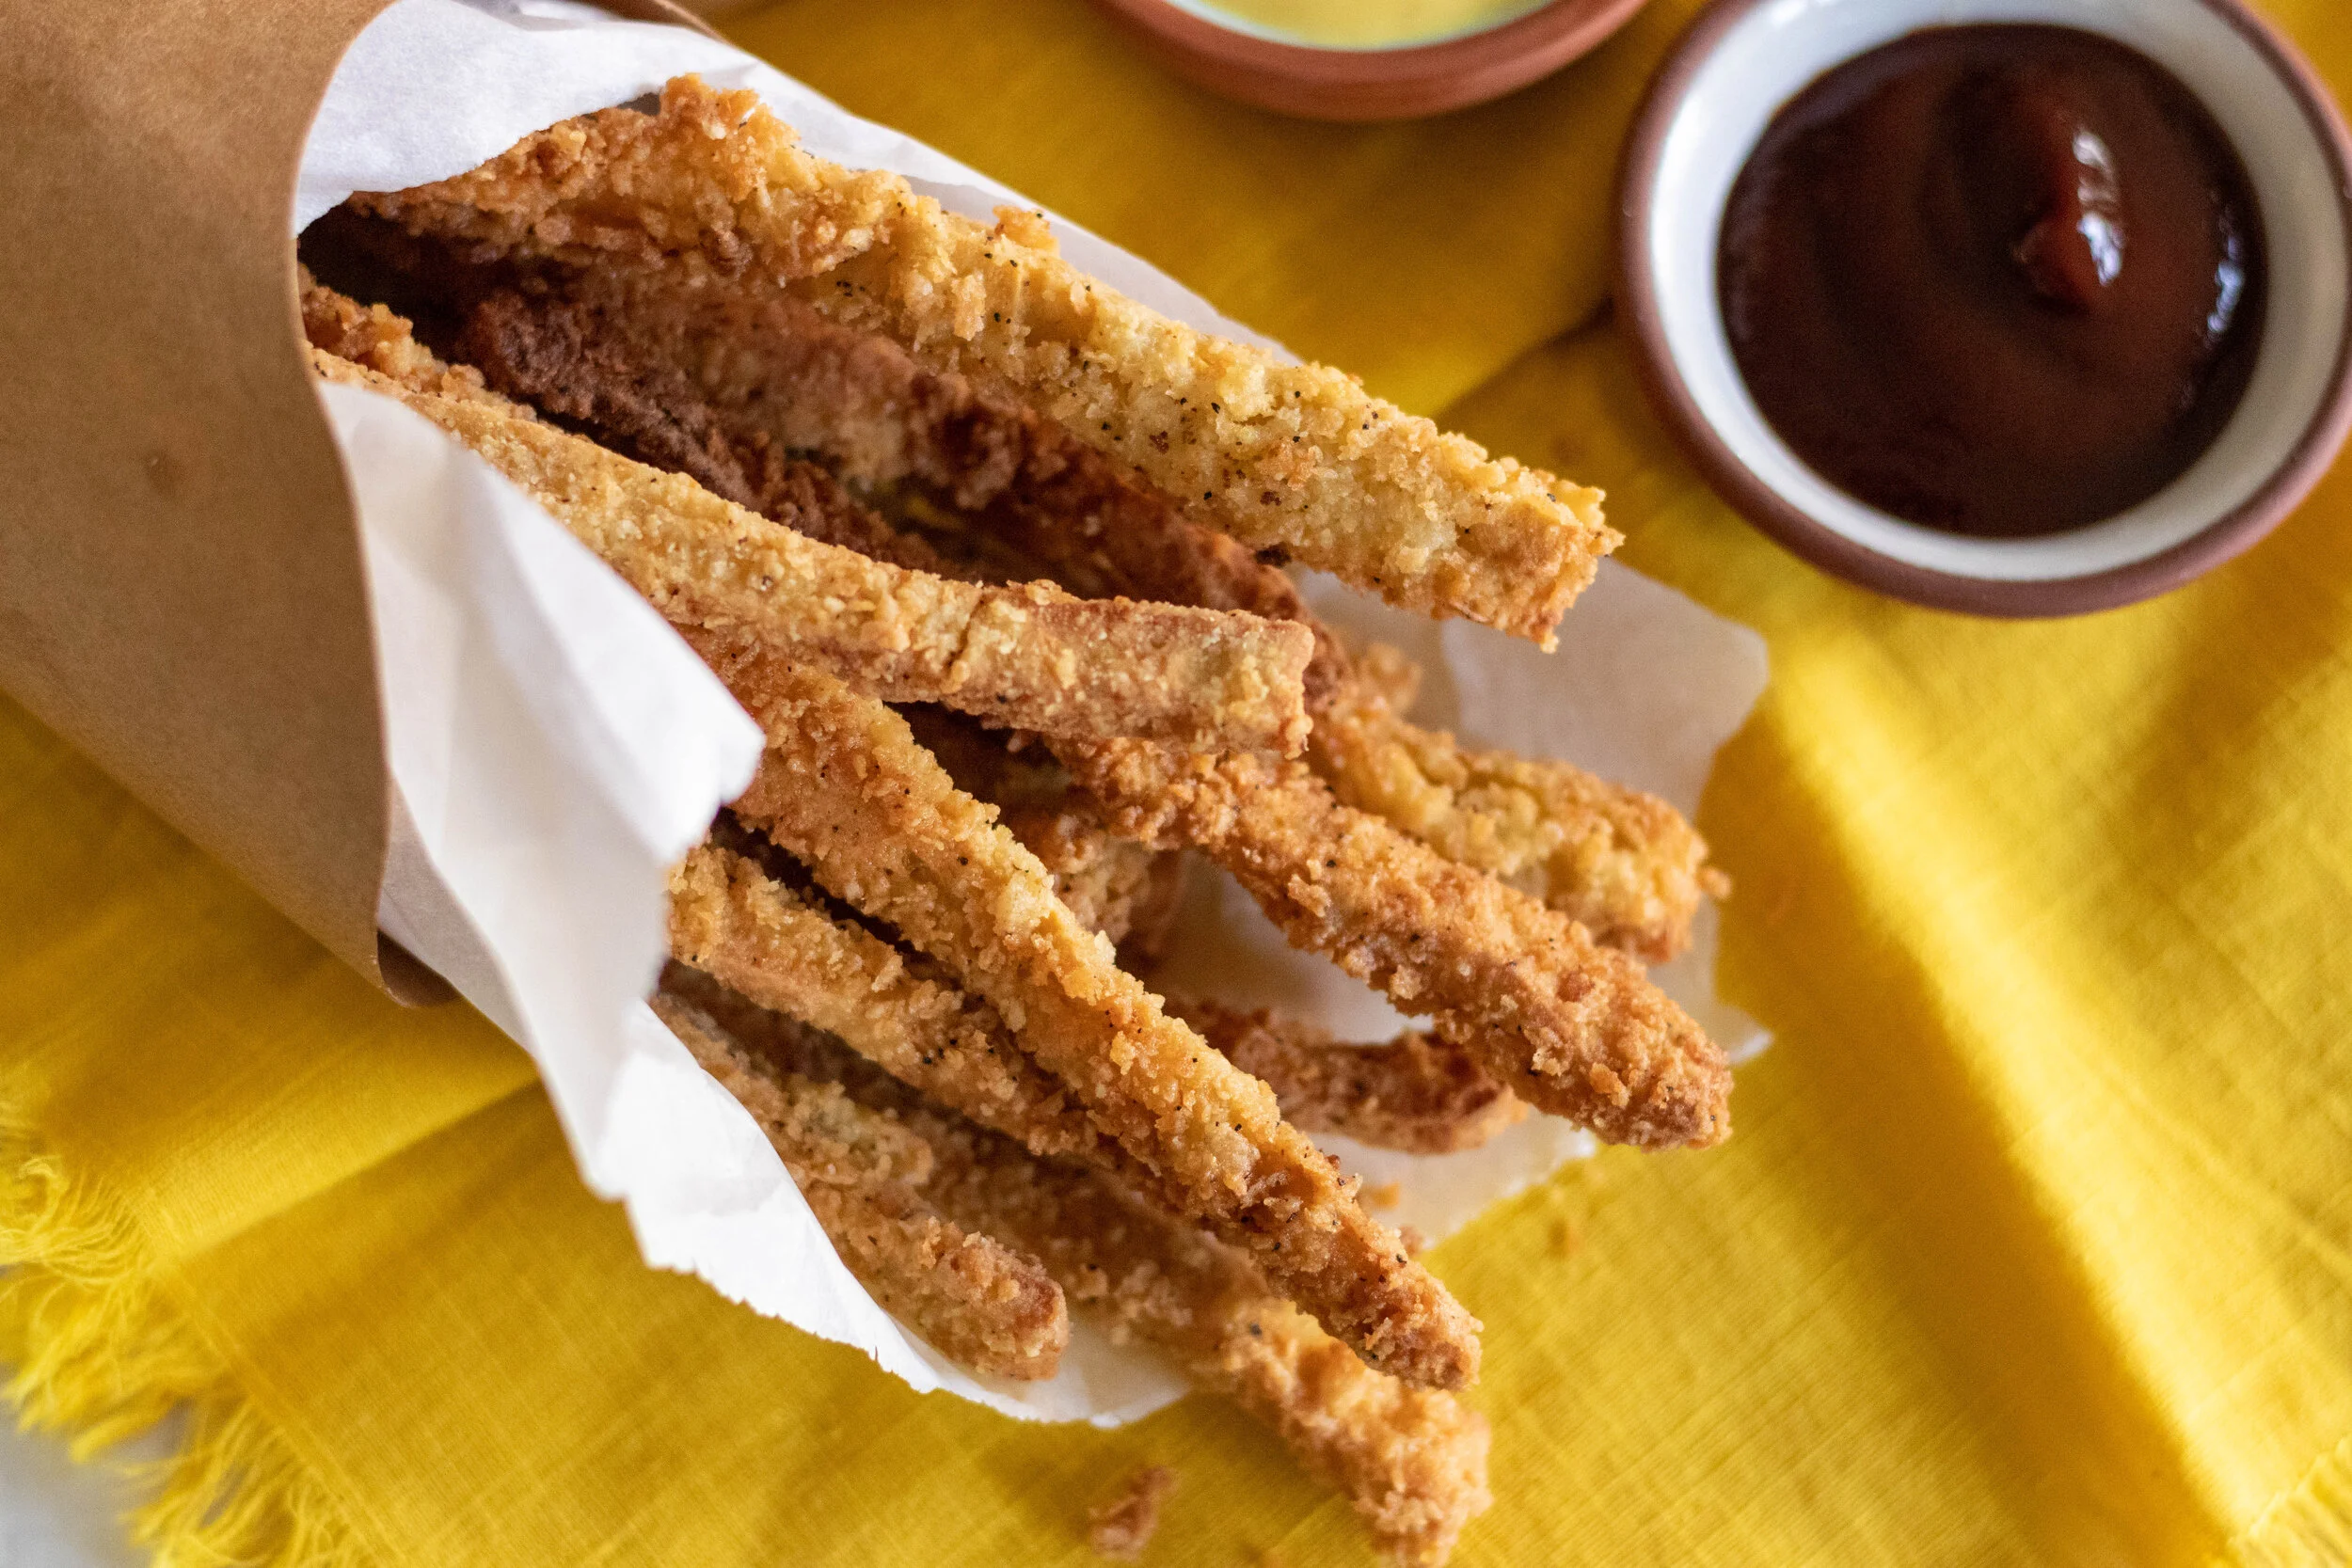
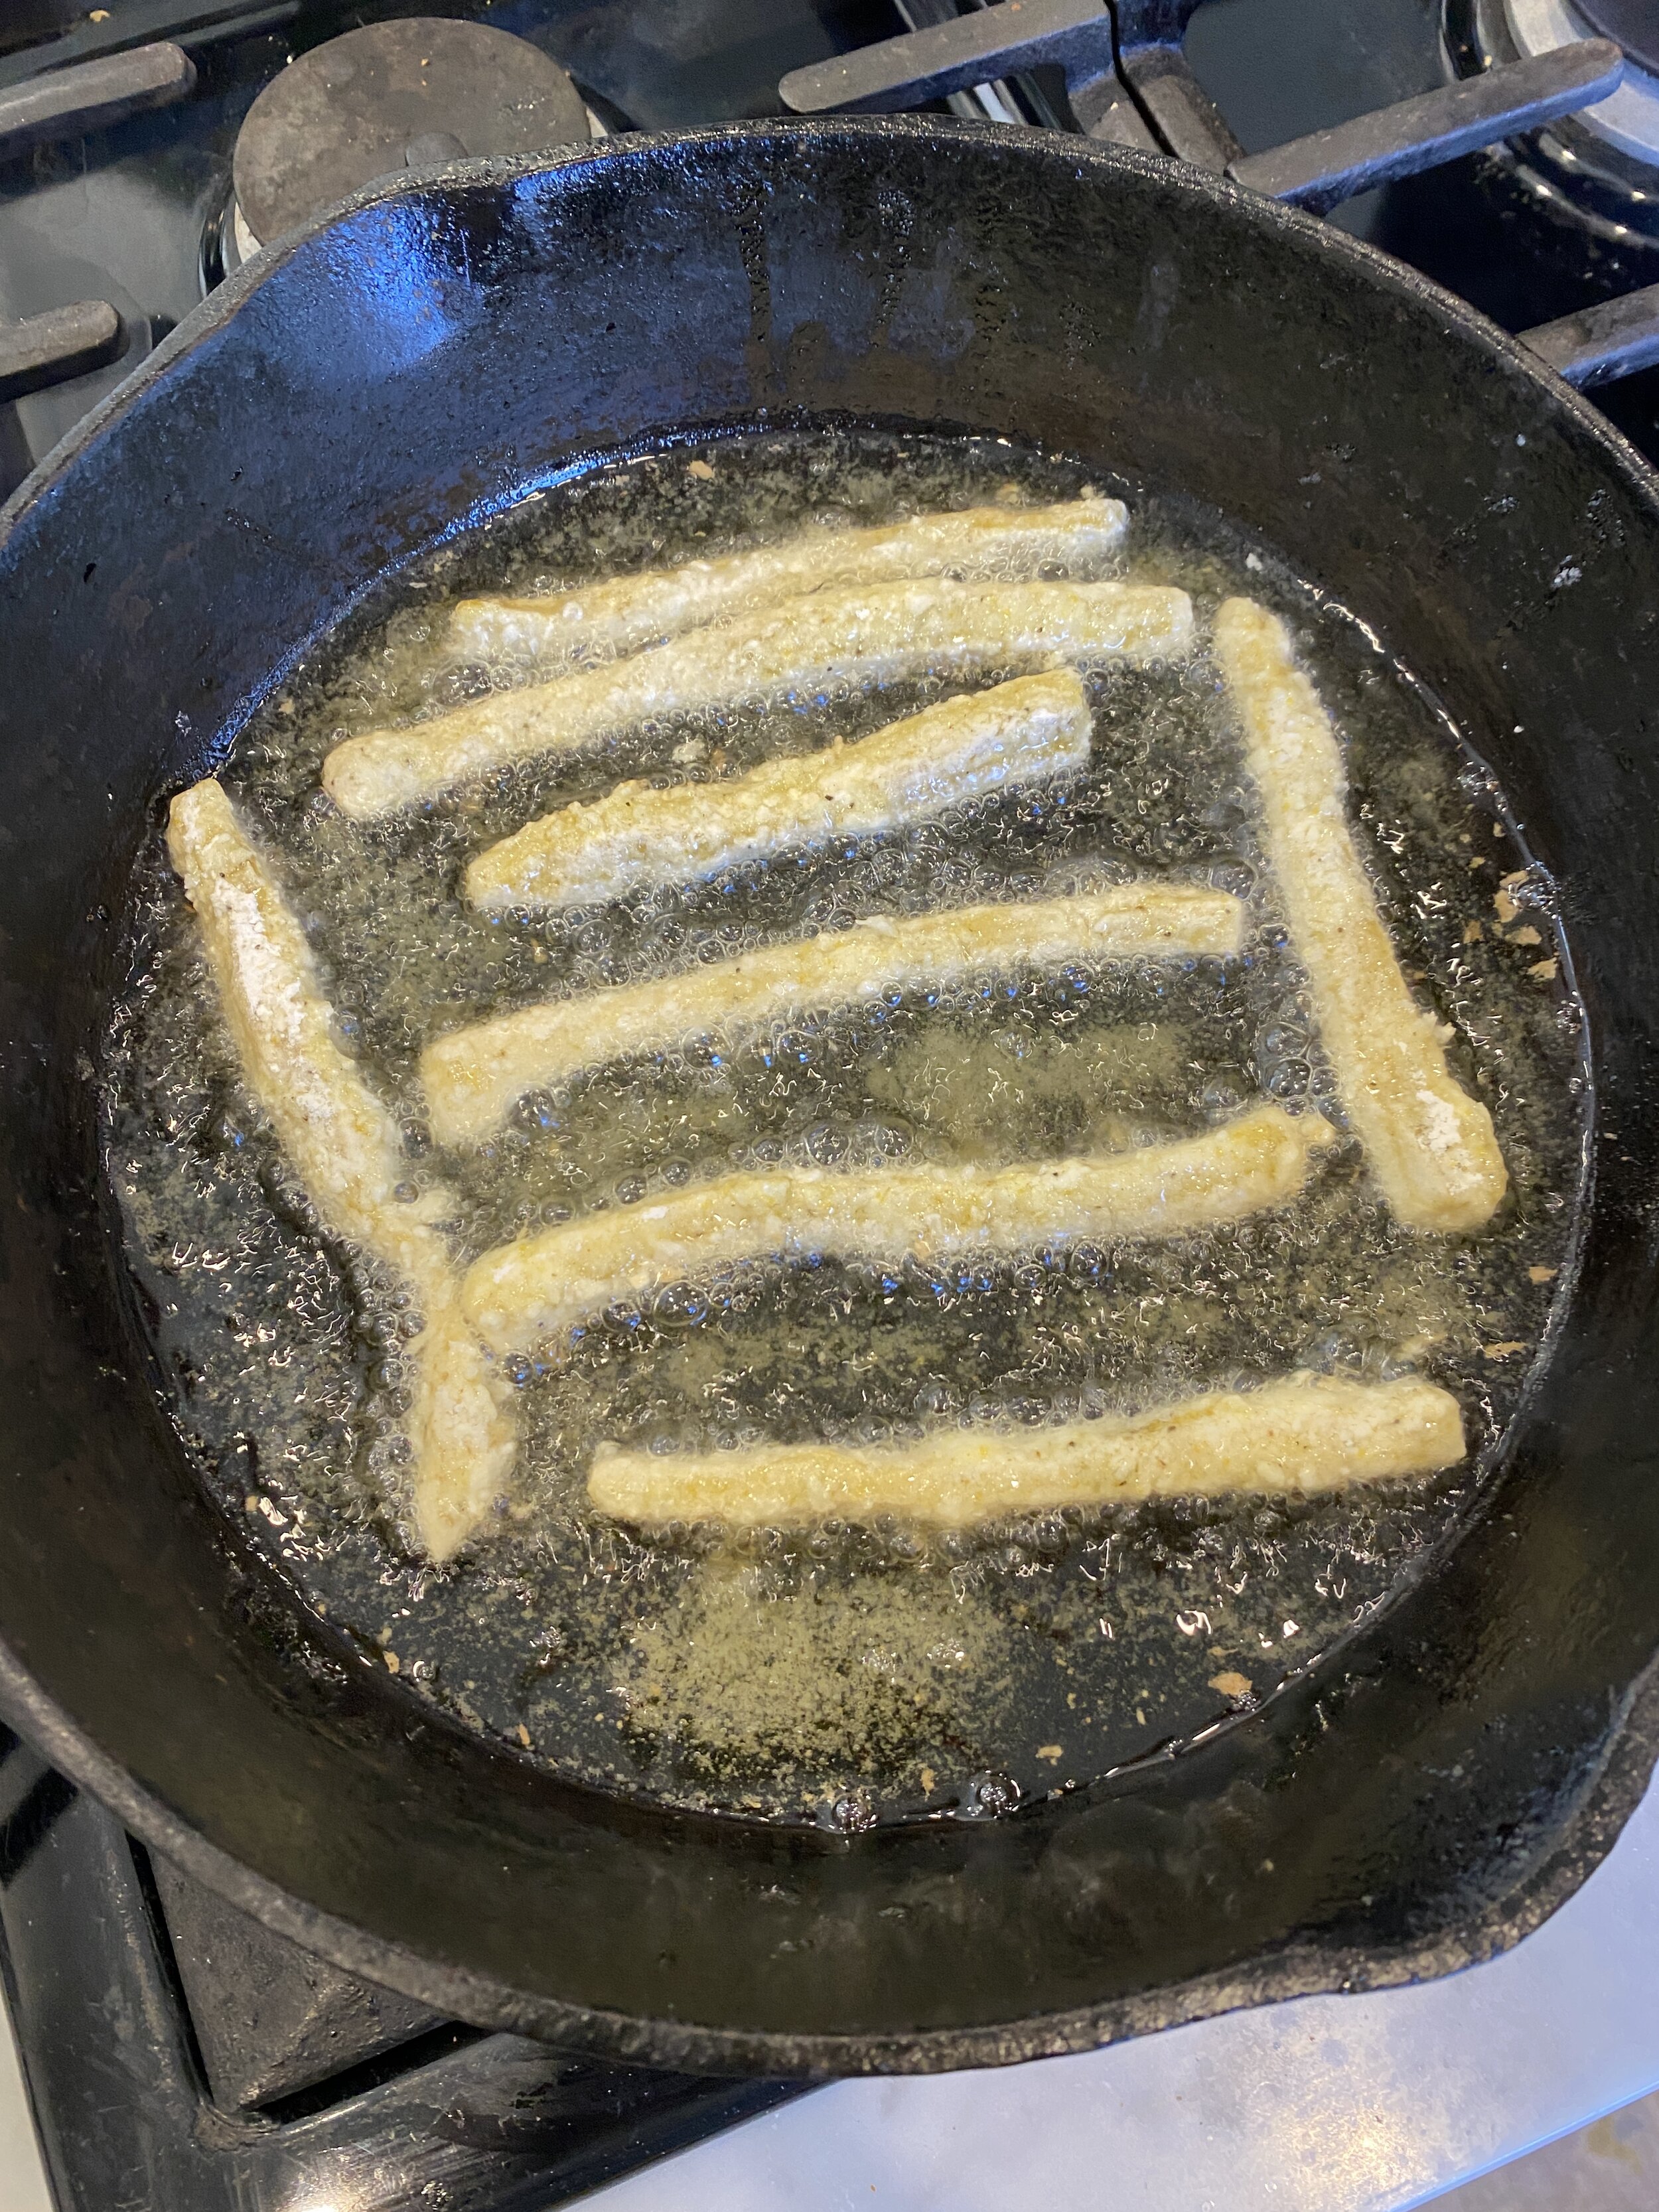
Add some of the coated fries to the oil in batches. Use some metal tongs to help straighten out the strips, and making sure not to over crowd the pan! These vegan chicken fries cook up REALLY fast and only need a minute or two per side! They are done once they are golden brown and crisp. Place finished fries on the cooling rack to allow excess oil to drip off while you fry the remaining vegan chicken fries.
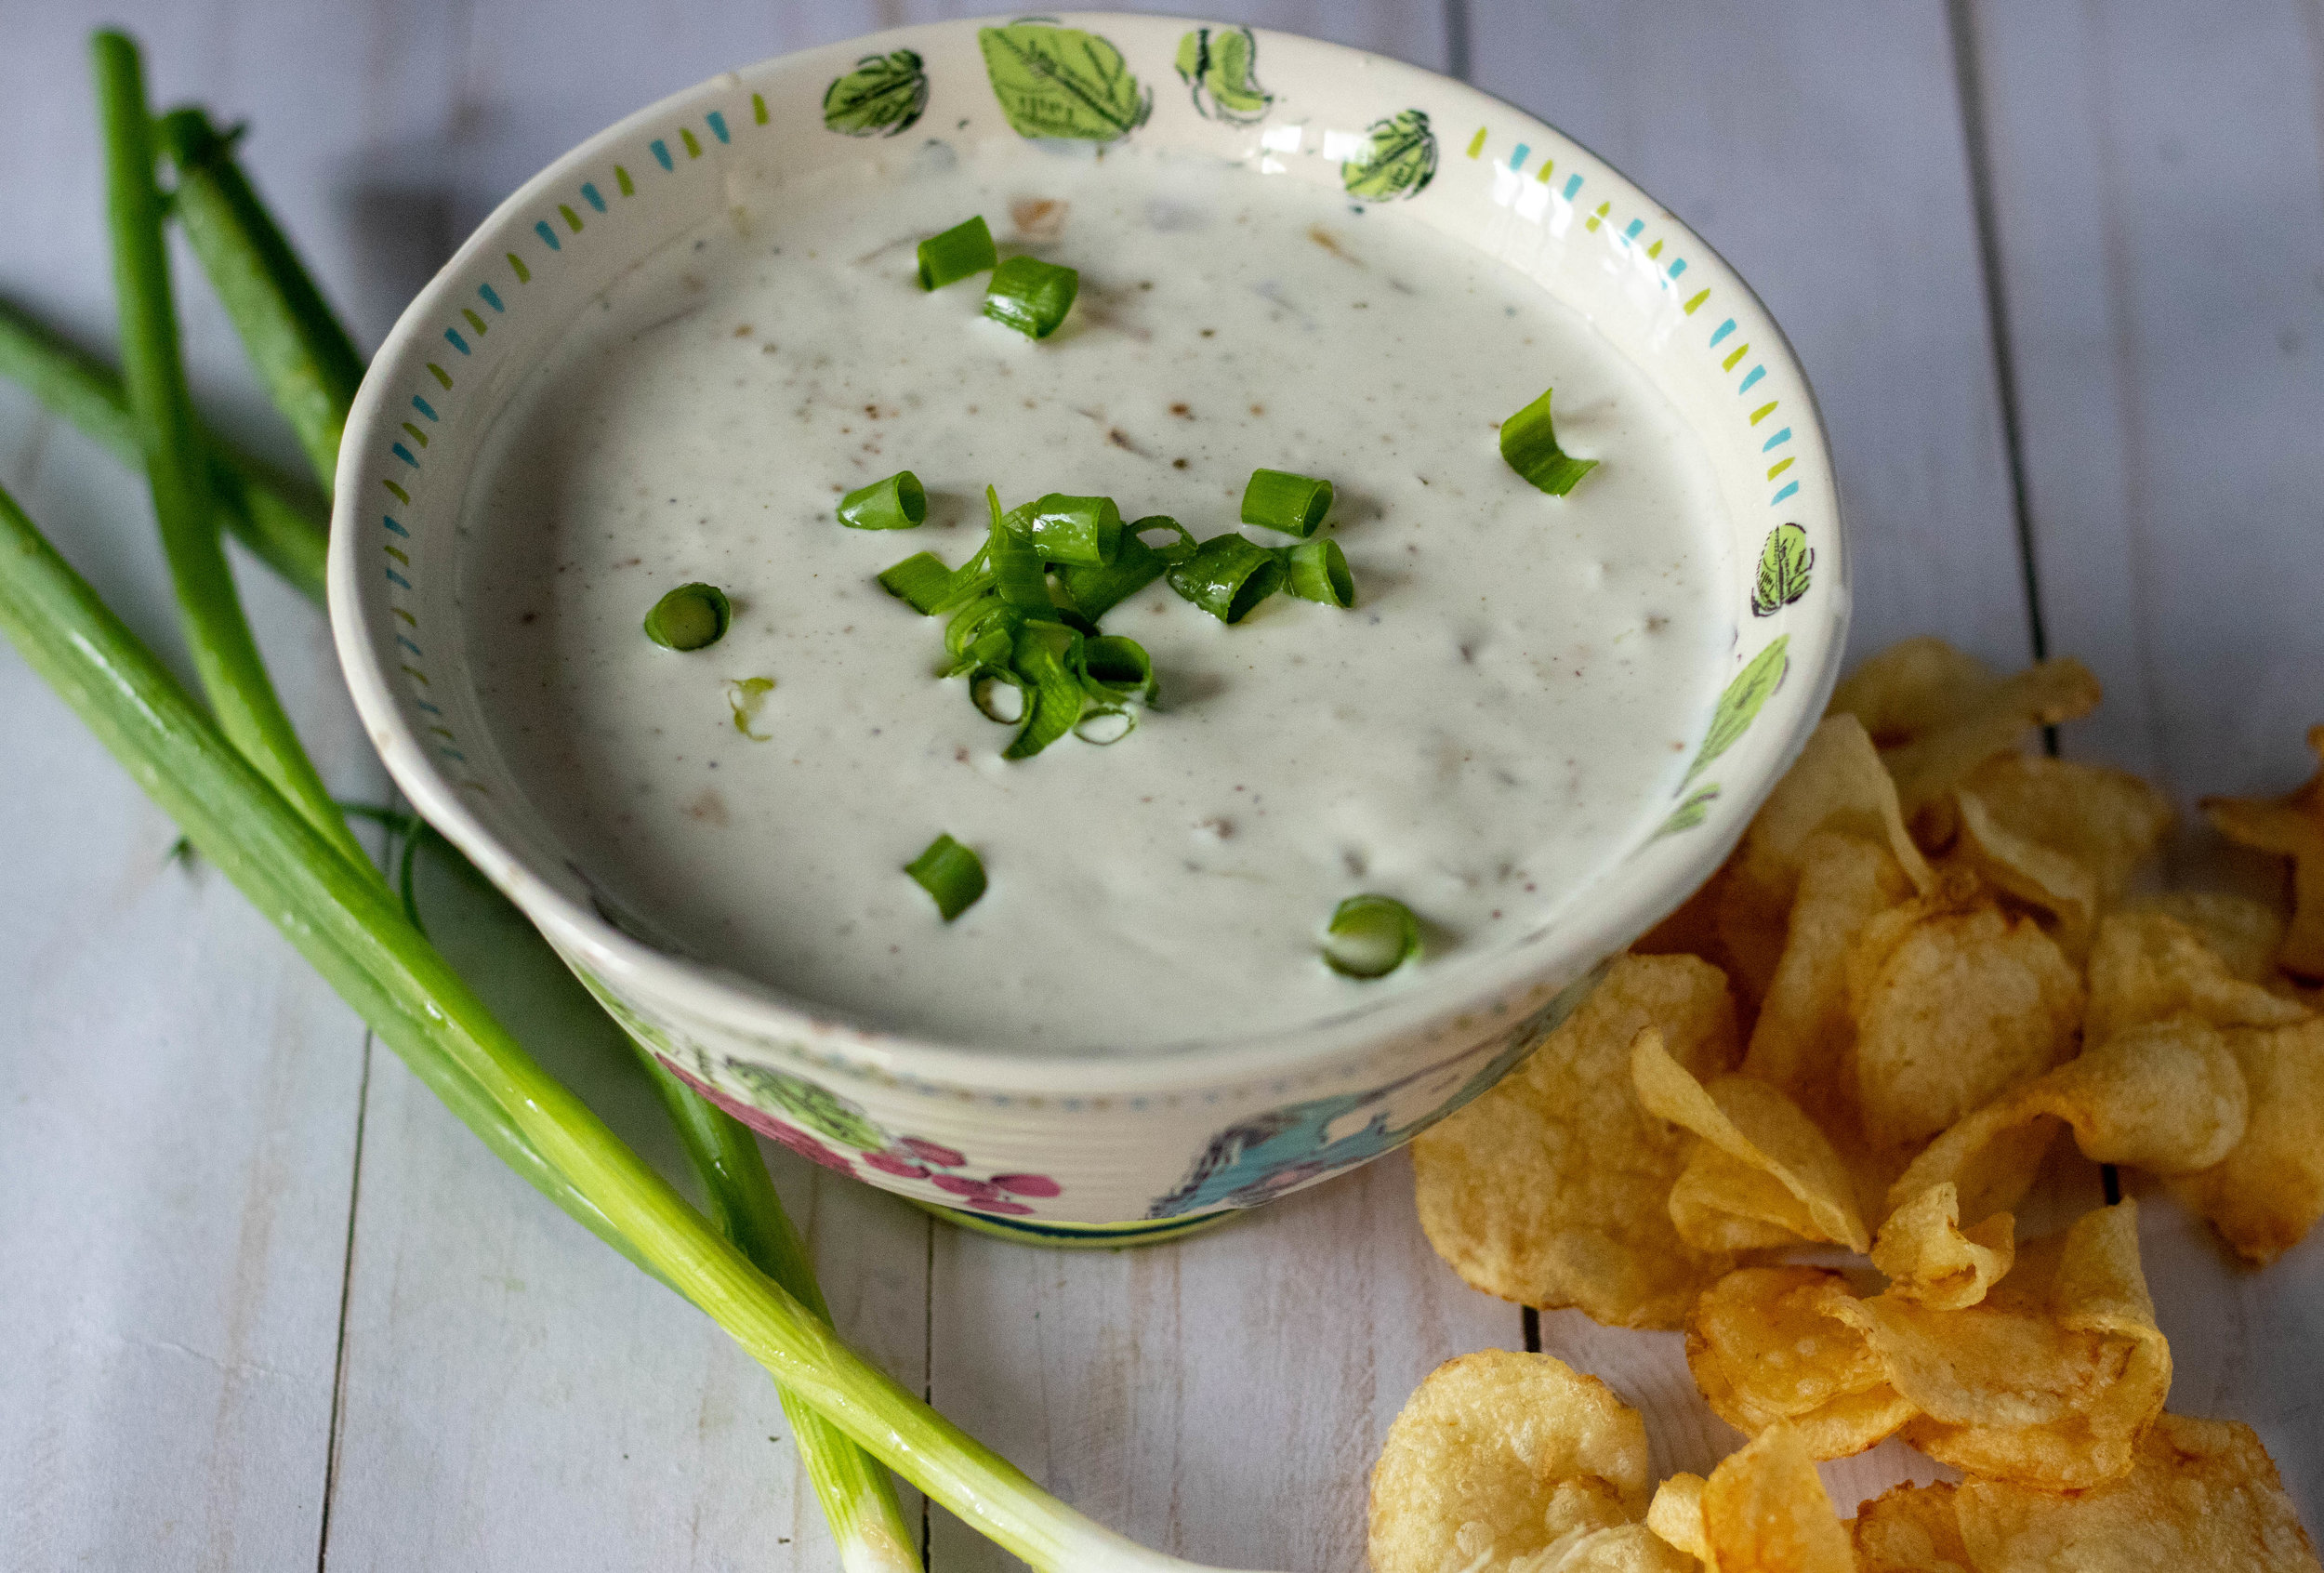
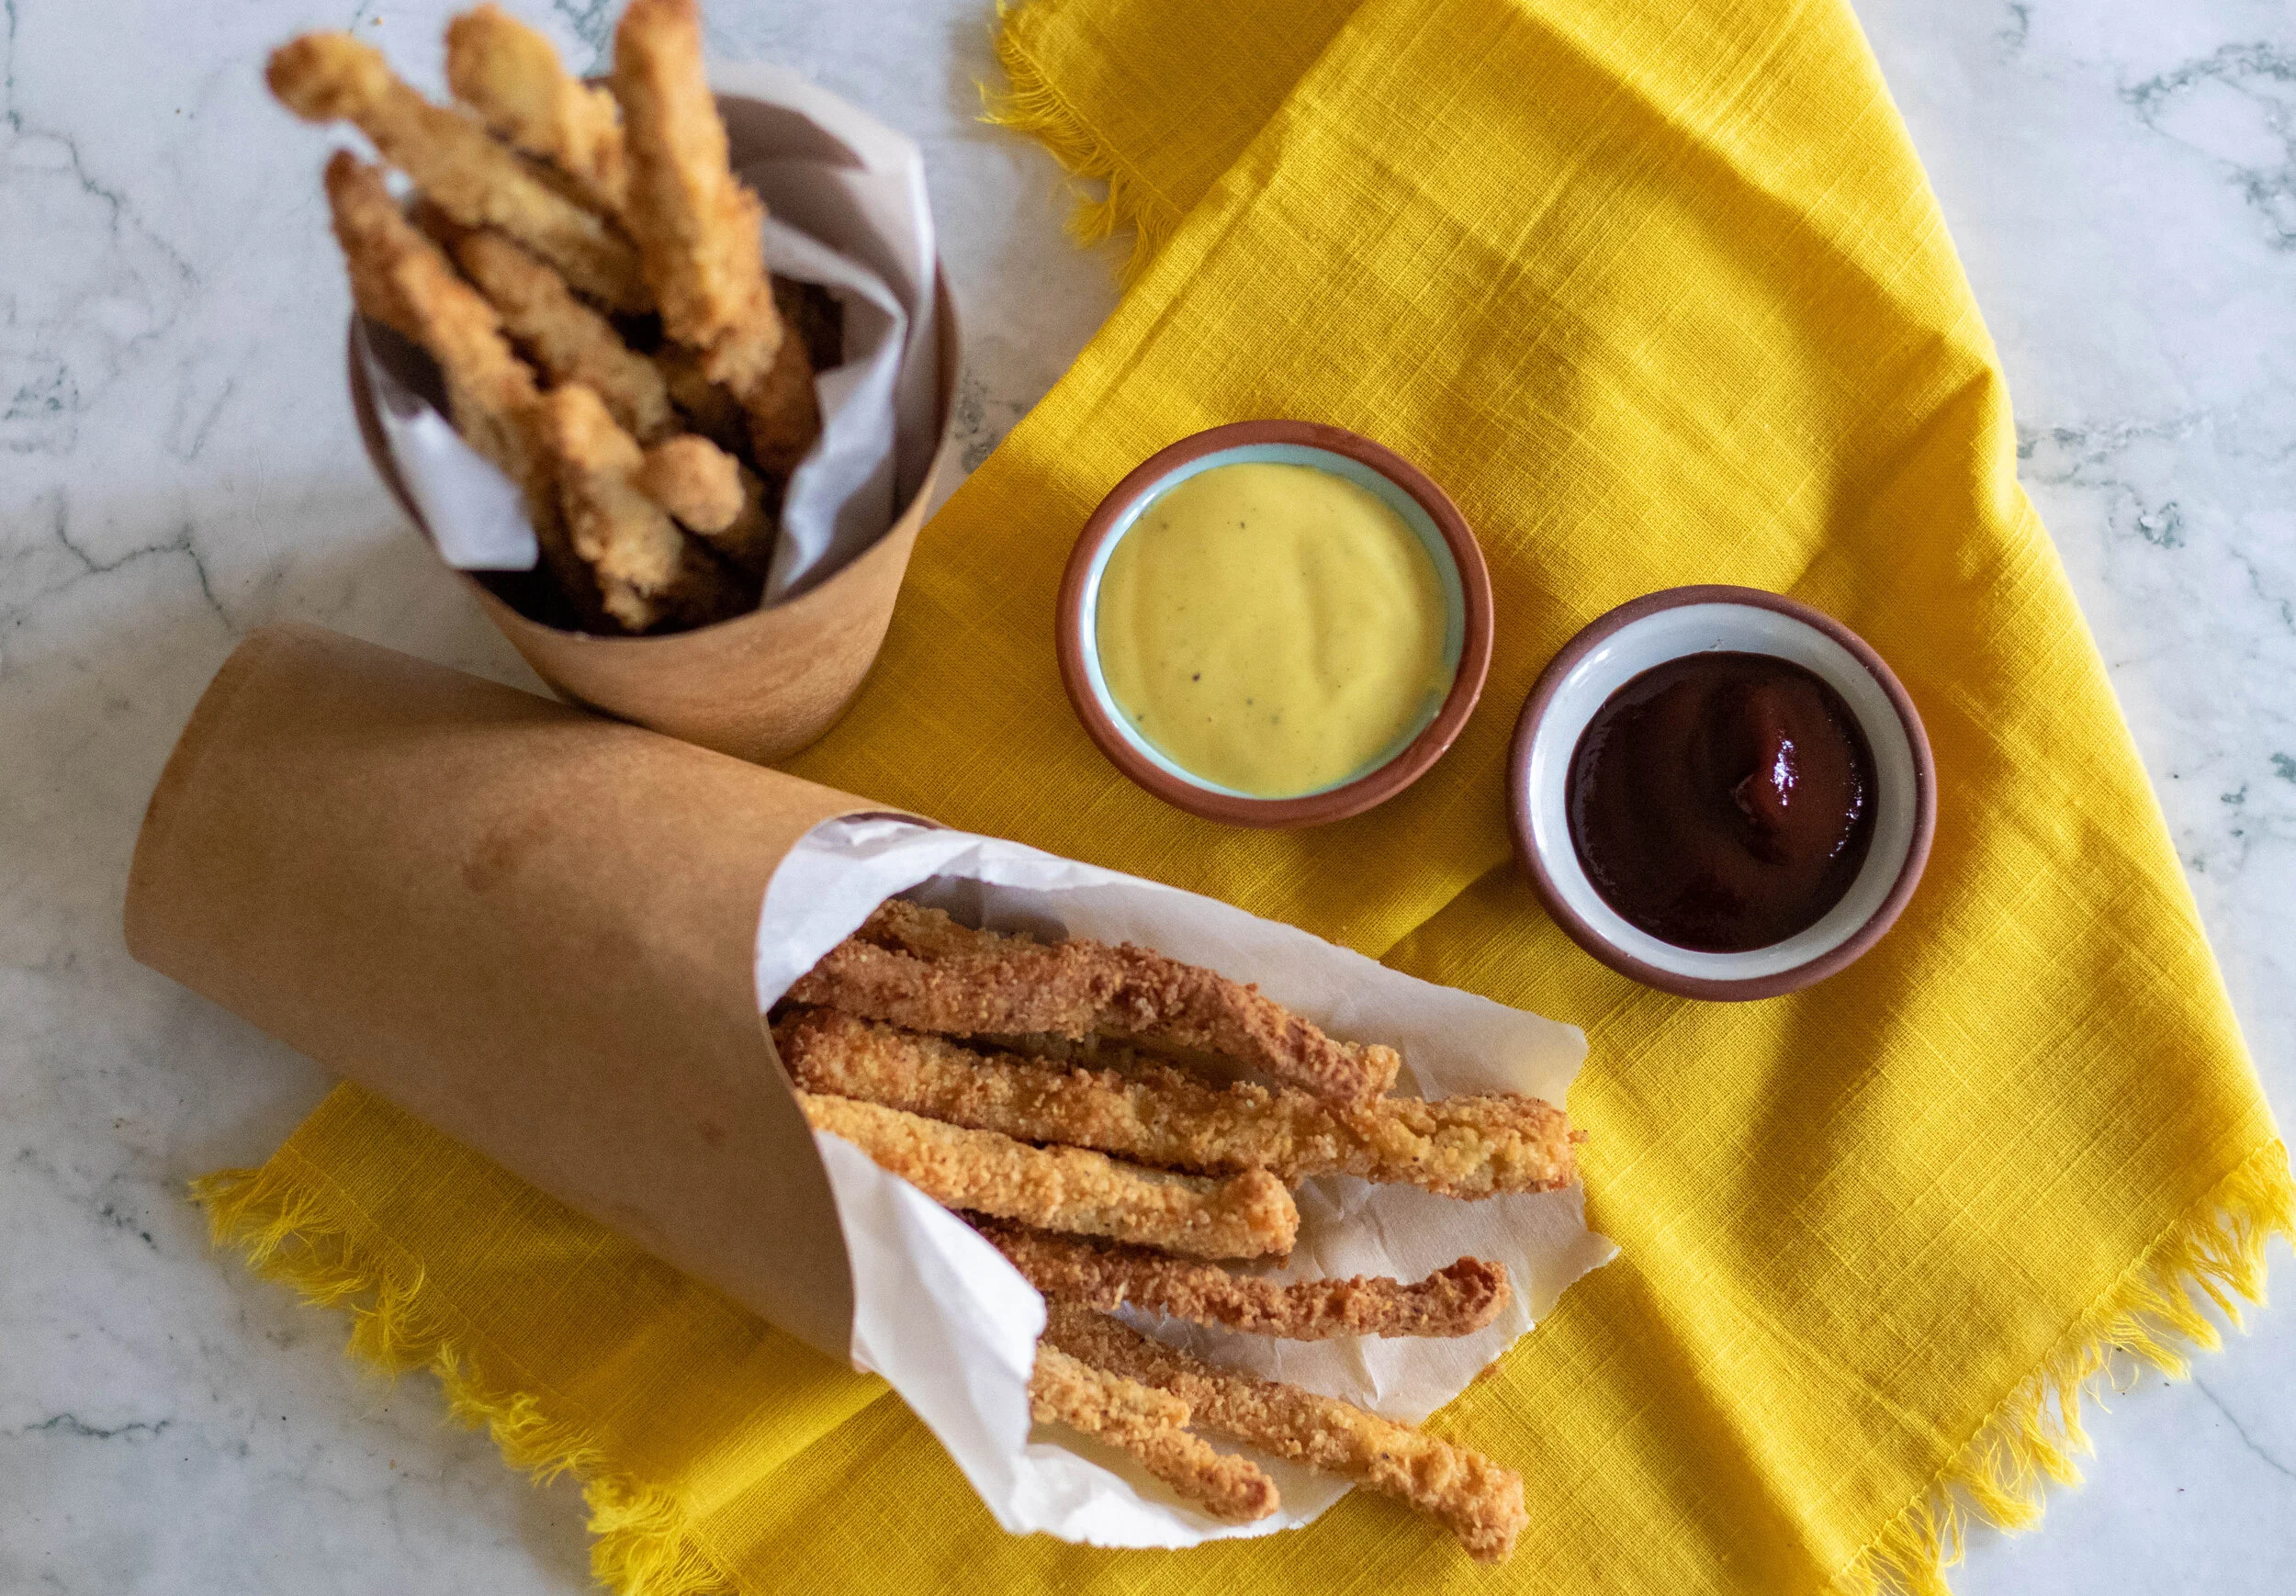
Serve with your favorite dip on the side.
If you like this recipe, then try these: