vegan cheddar

Vegan Ham and Cheddar Scones

vegan ham and cheese scones

Scone, or biscuit? I guess it depends on where you live!

But here in the United States this is a scone. Denser than a biscuit (not to be confused with a biscuit that we call a cookie) but still buttery and delicious.

I typically bake sweet scones but recently came across a non vegan recipe for some savory ham and cheese scones, and could not wait to create a vegan version.

My vegan ham recipe is one of my families favorite seitan recipes I make, so I knew the next time I baked up a super easy vegan ham, I needed to save some of it for these scones! This ham is SO easy. Seriously! Even if you have never made seitan once in your life, this recipes is so super easy. I works well for deli slices, or sliced thick for ham steaks, or cubed up for salads, or diced finely for recipes like these vegan ham and cheese scones!

vegan ham and cheese scones 2

You can use store bought cheddar shreds or make homemade. Homemade vegan cheese is actually easier to make than you may think and I have around 40 cheese recipes on the site to choose from. You could make a spicy cheddar, a smoky cheddar or even a spredable pimento cheddar for this recipe. All would be delicious. Or you can just buy whatever brand of premade vegan cheddar you like. My favorite brand is Follow Your Heart. It seems to melt the best out of any I have tried.

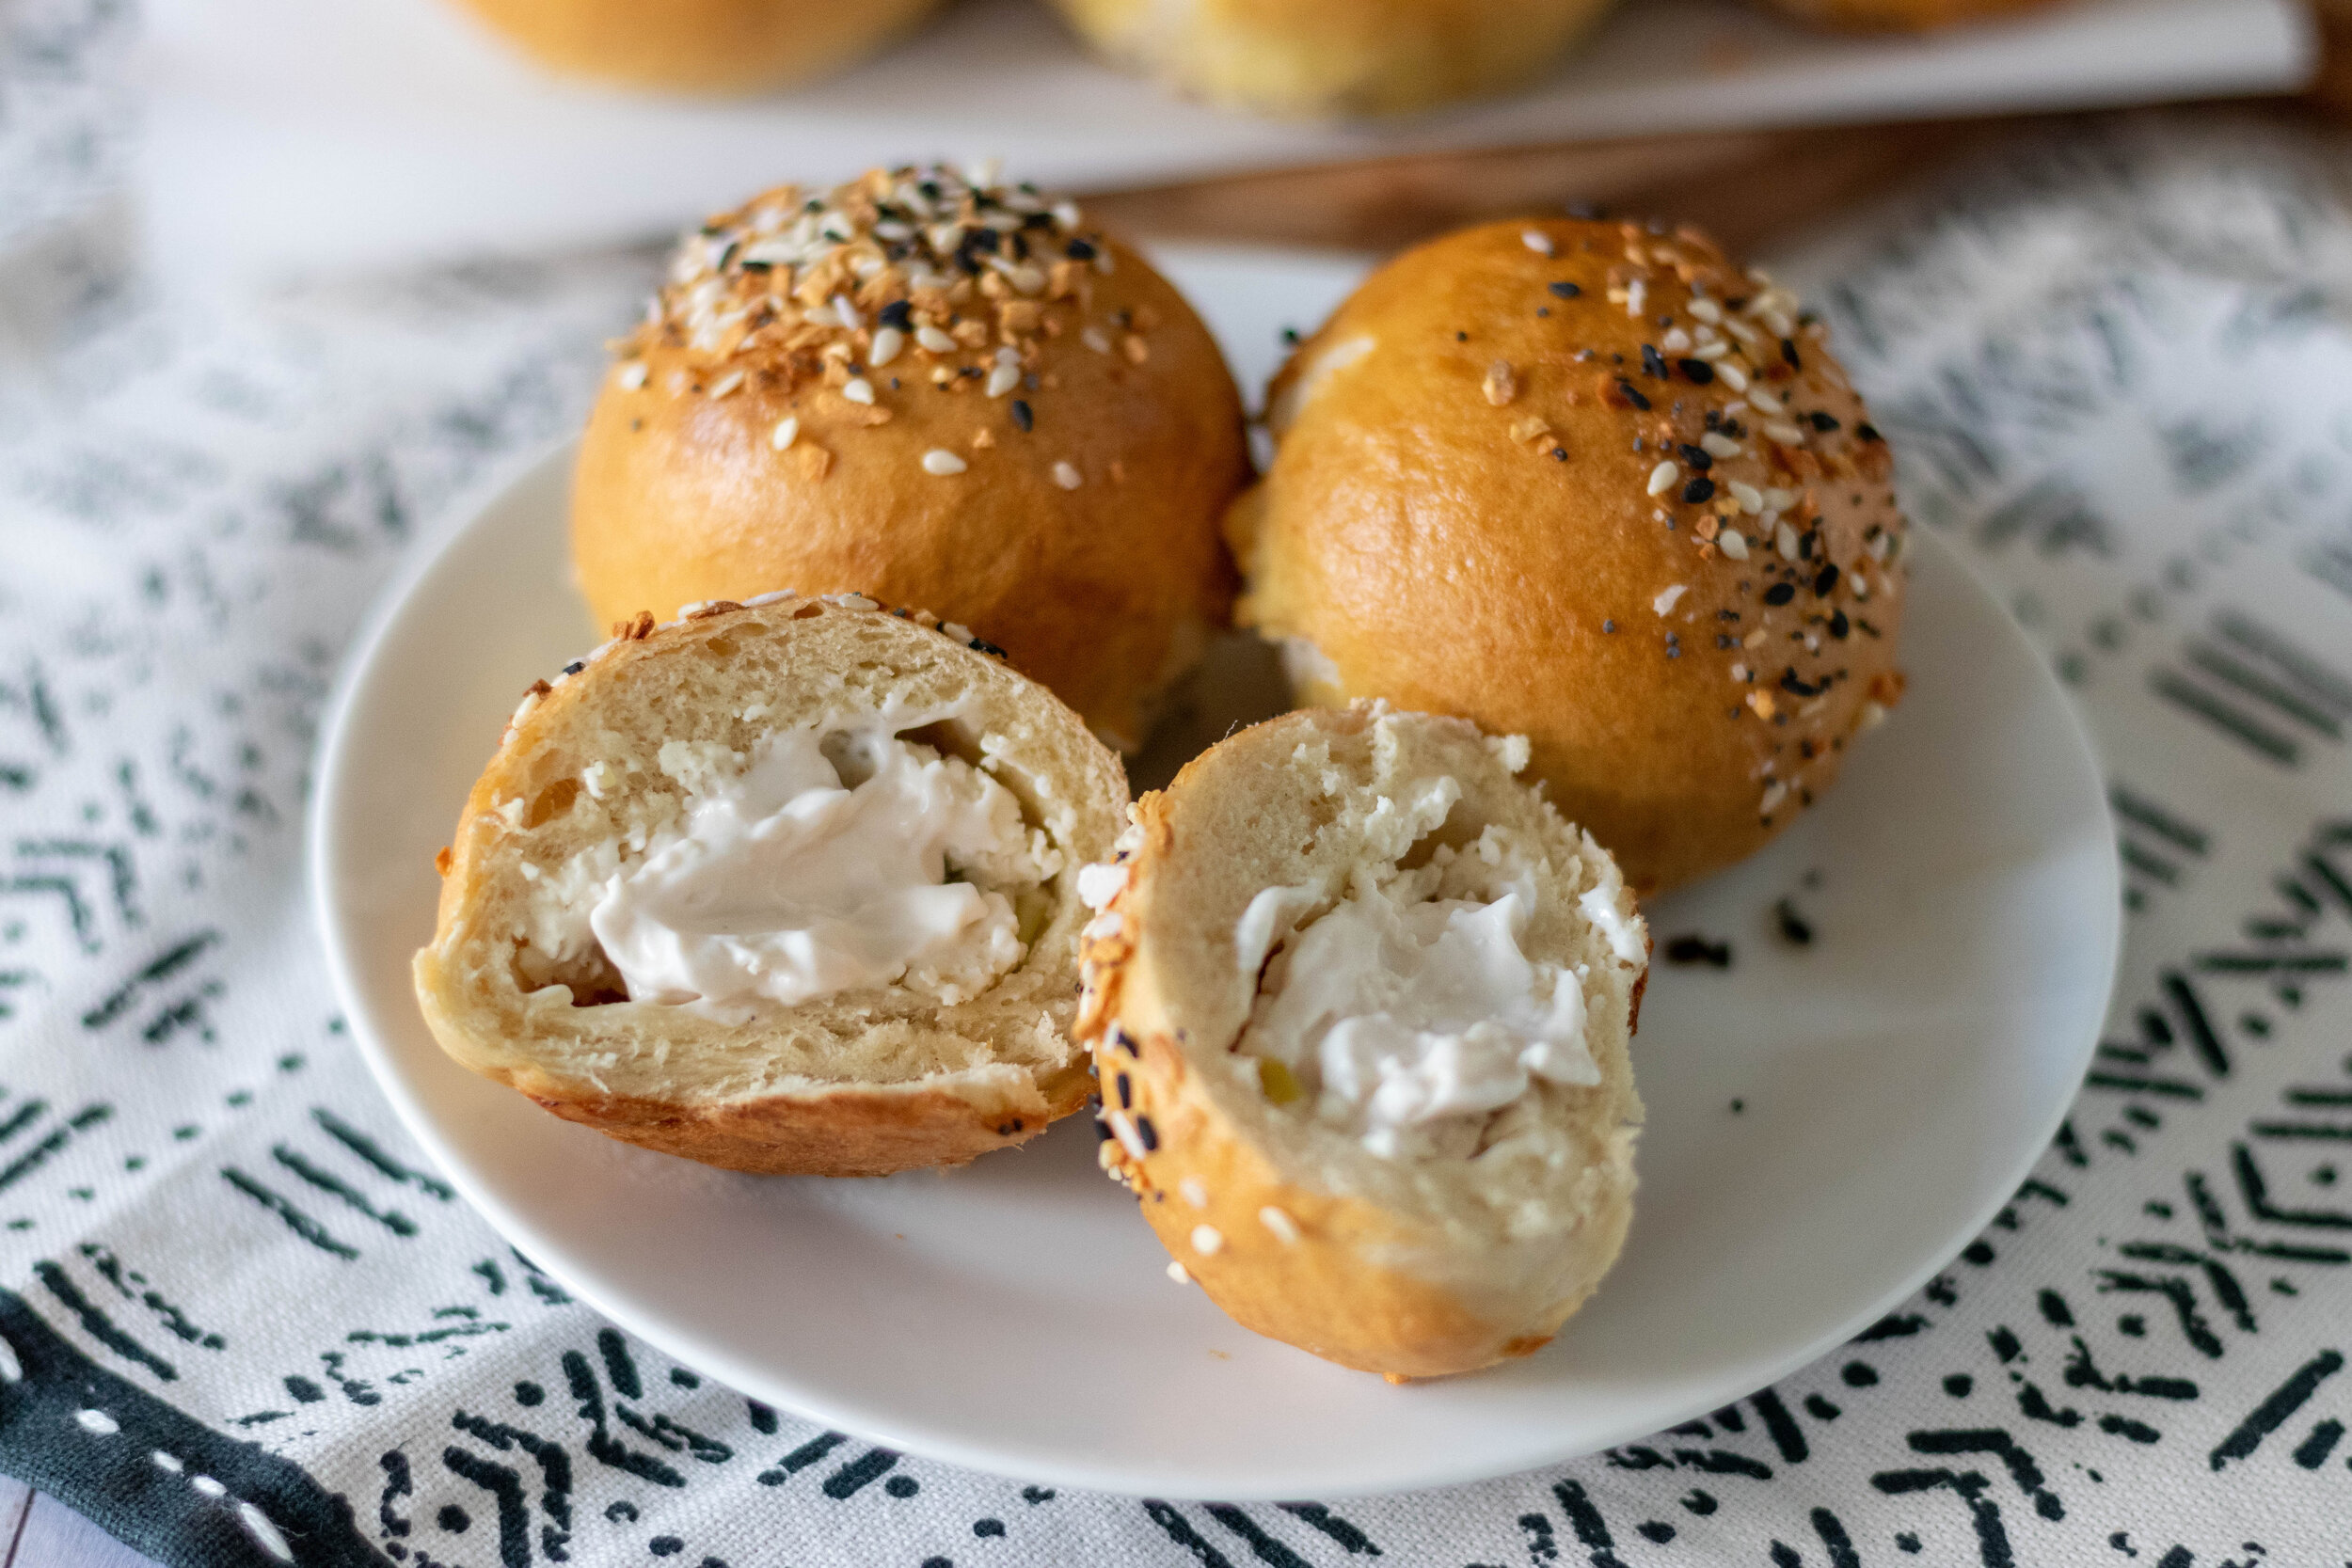
So combine that delicious vegan ham and vegan cheddar into a savory, buttery, scone, slathered in spicy and sweet pepper jelly, and oh my gosh y’all!! I will be making these things ALL THE TIME!!

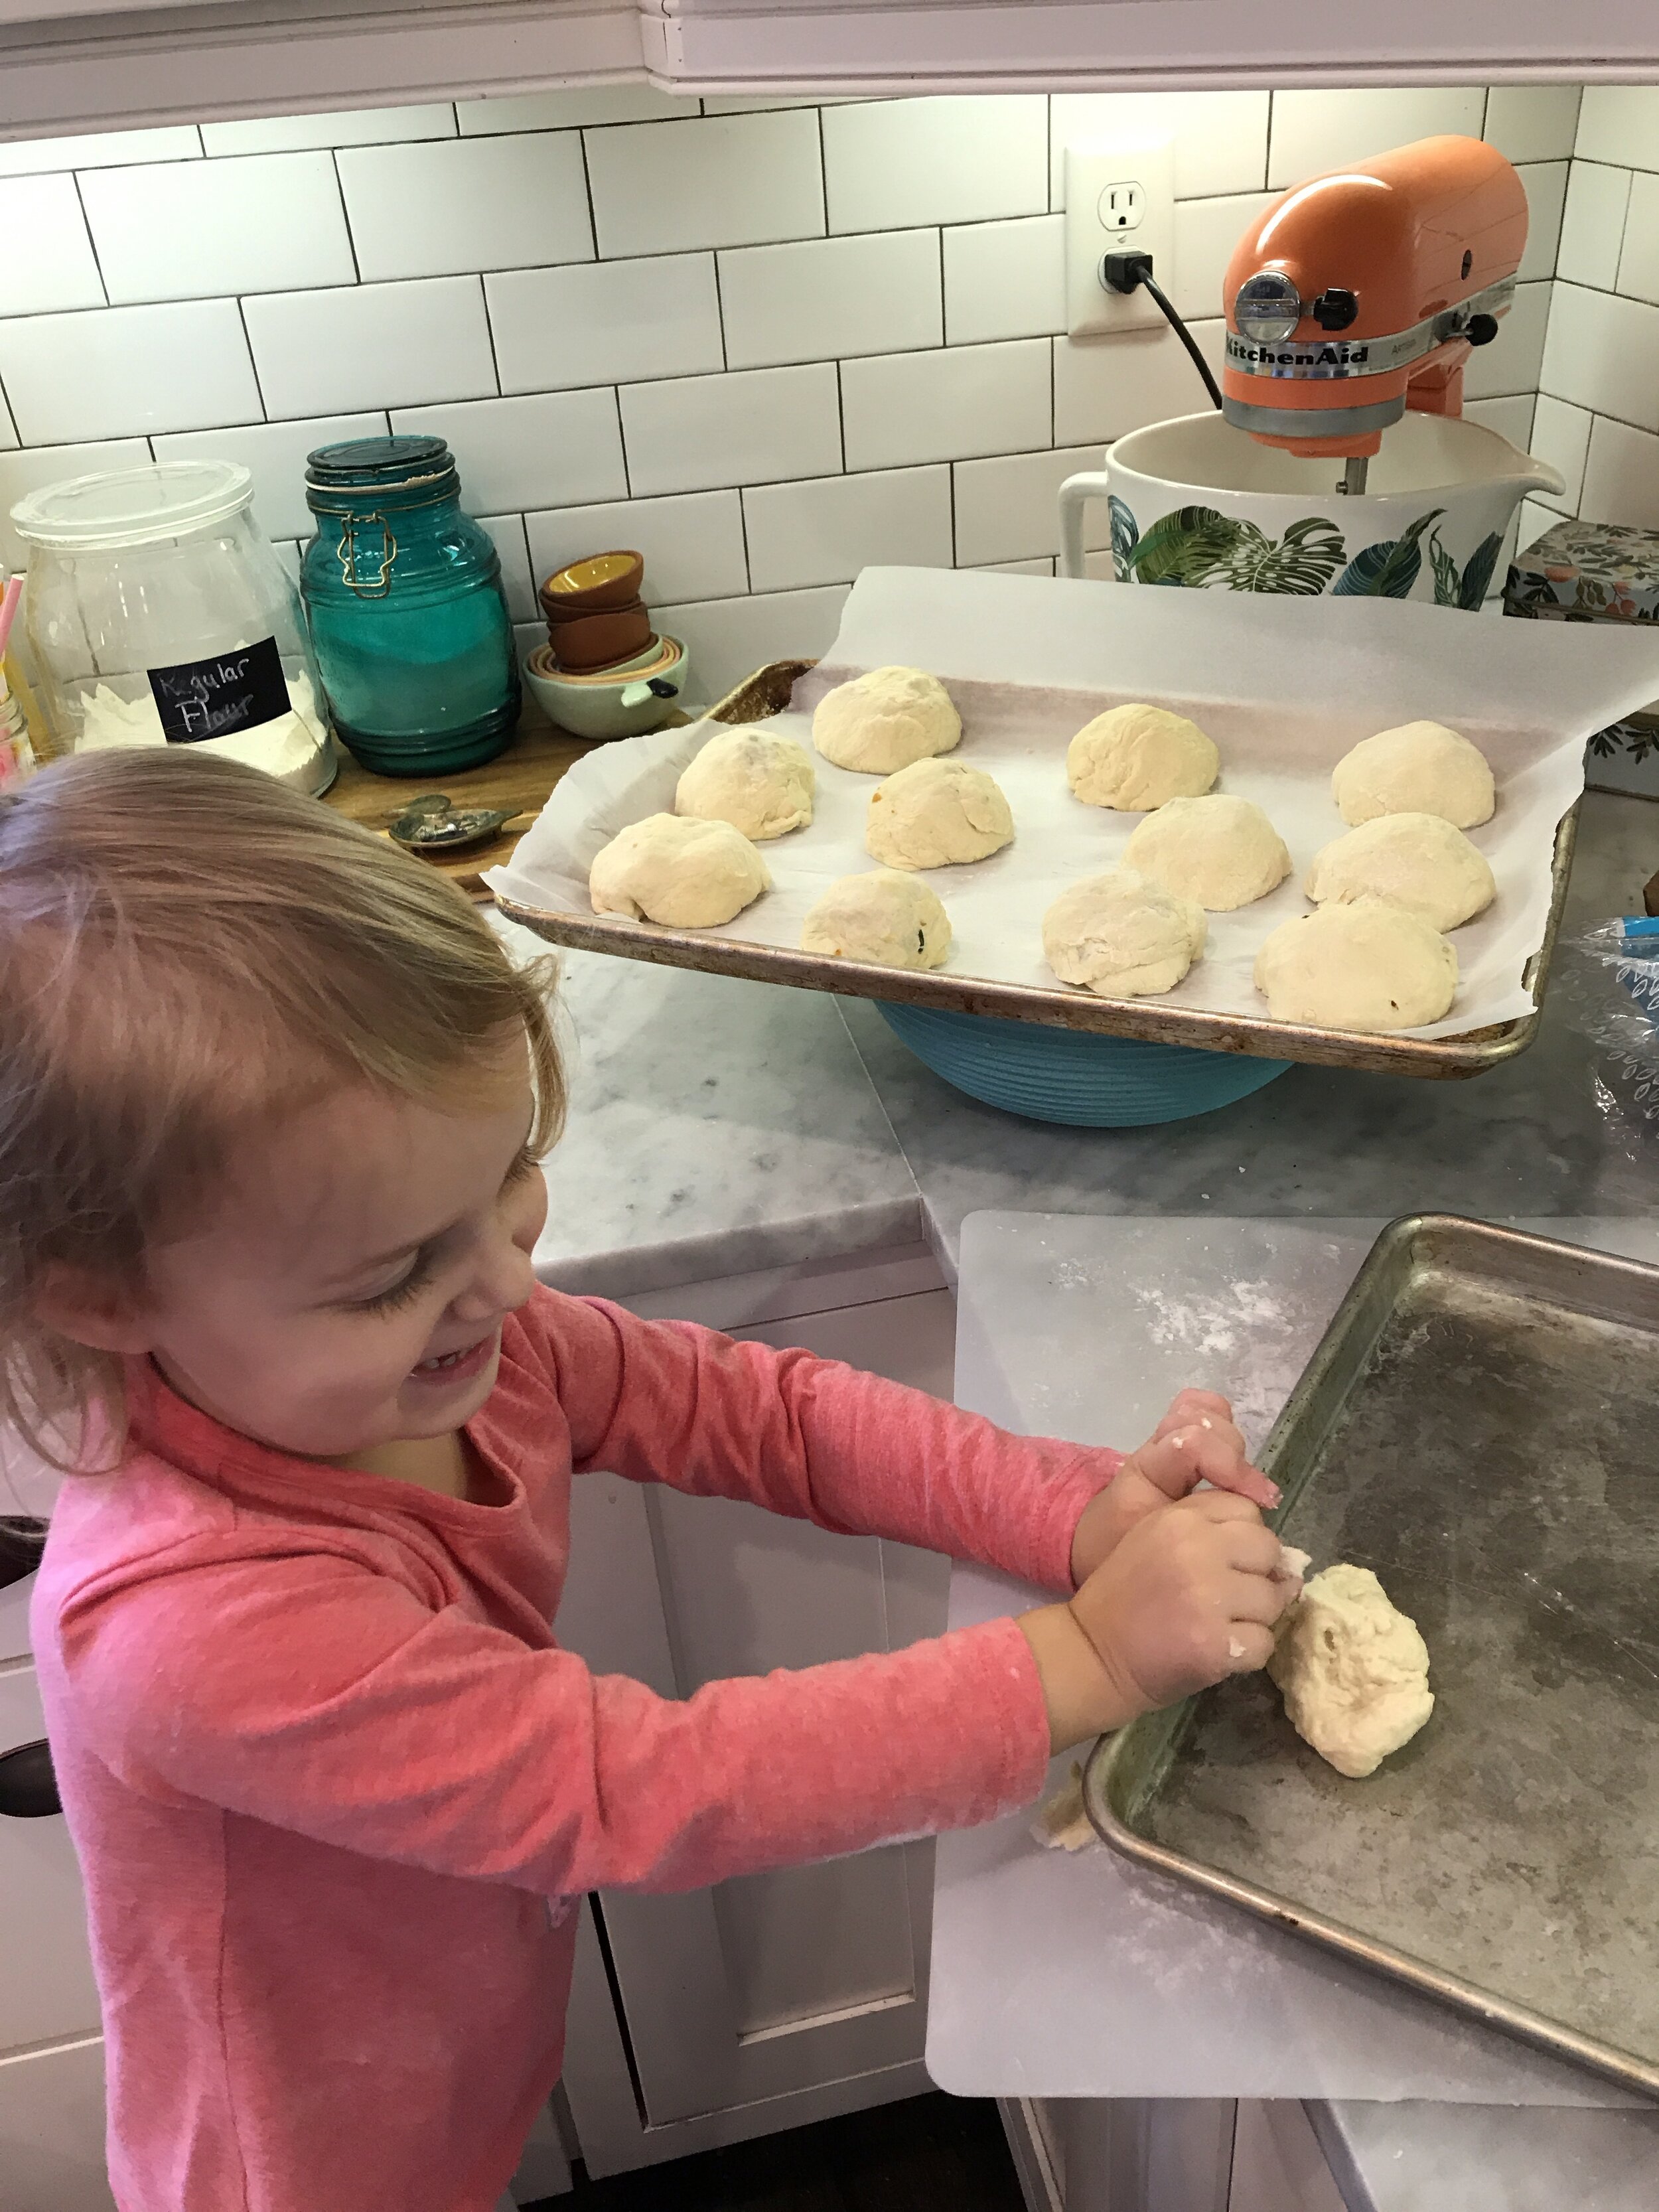
They mix up quickly and bake in about half and hour making them perfect for a weekend breakfast or brunch or even for weekday meal prep as an easy grab and go morning bite!

And really no matter what call these, scones, biscuits, some other name I have yet to hear, just make them. Who cares what you call them. I bet we can all agree on calling them flipping delicious!

IMG_2386.jpg

INGREDIENTS :

  • 2 cups of all purpose flour

  • 8 tablespoons vegan butter

  • 1/4 cup nutritional yeast

  • 1 teaspoon liquid smoke (optional)

  • 1 cup vegan sour cream

  • 1 starch egg (1 tablespoon corn or tapioca starch with 3 tablespoons water)

  • 1 teaspoon baking powder

  • 1/4 teaspoon baking soda

  • 1/2 teaspoon salt

  • 1 teaspoon garlic powder

  • 1 and 3/4 cups finely diced vegan ham

  • 1 and 1/2 cups vegan cheddar shreds

TOPPING:

  • 1 tablespoon softened vegan butter

  • 2 teaspoons maple syrup

  • 1/4 cup vegan cheddar shreds

  • dried parsly

INSTRUCTIONS:

Preheat oven to 400 degrees

  1. In a medium bowl, combine 1/4 cup of nutritional yeast flour, baking soda, baking powder, garlic, and salt. Mix well.

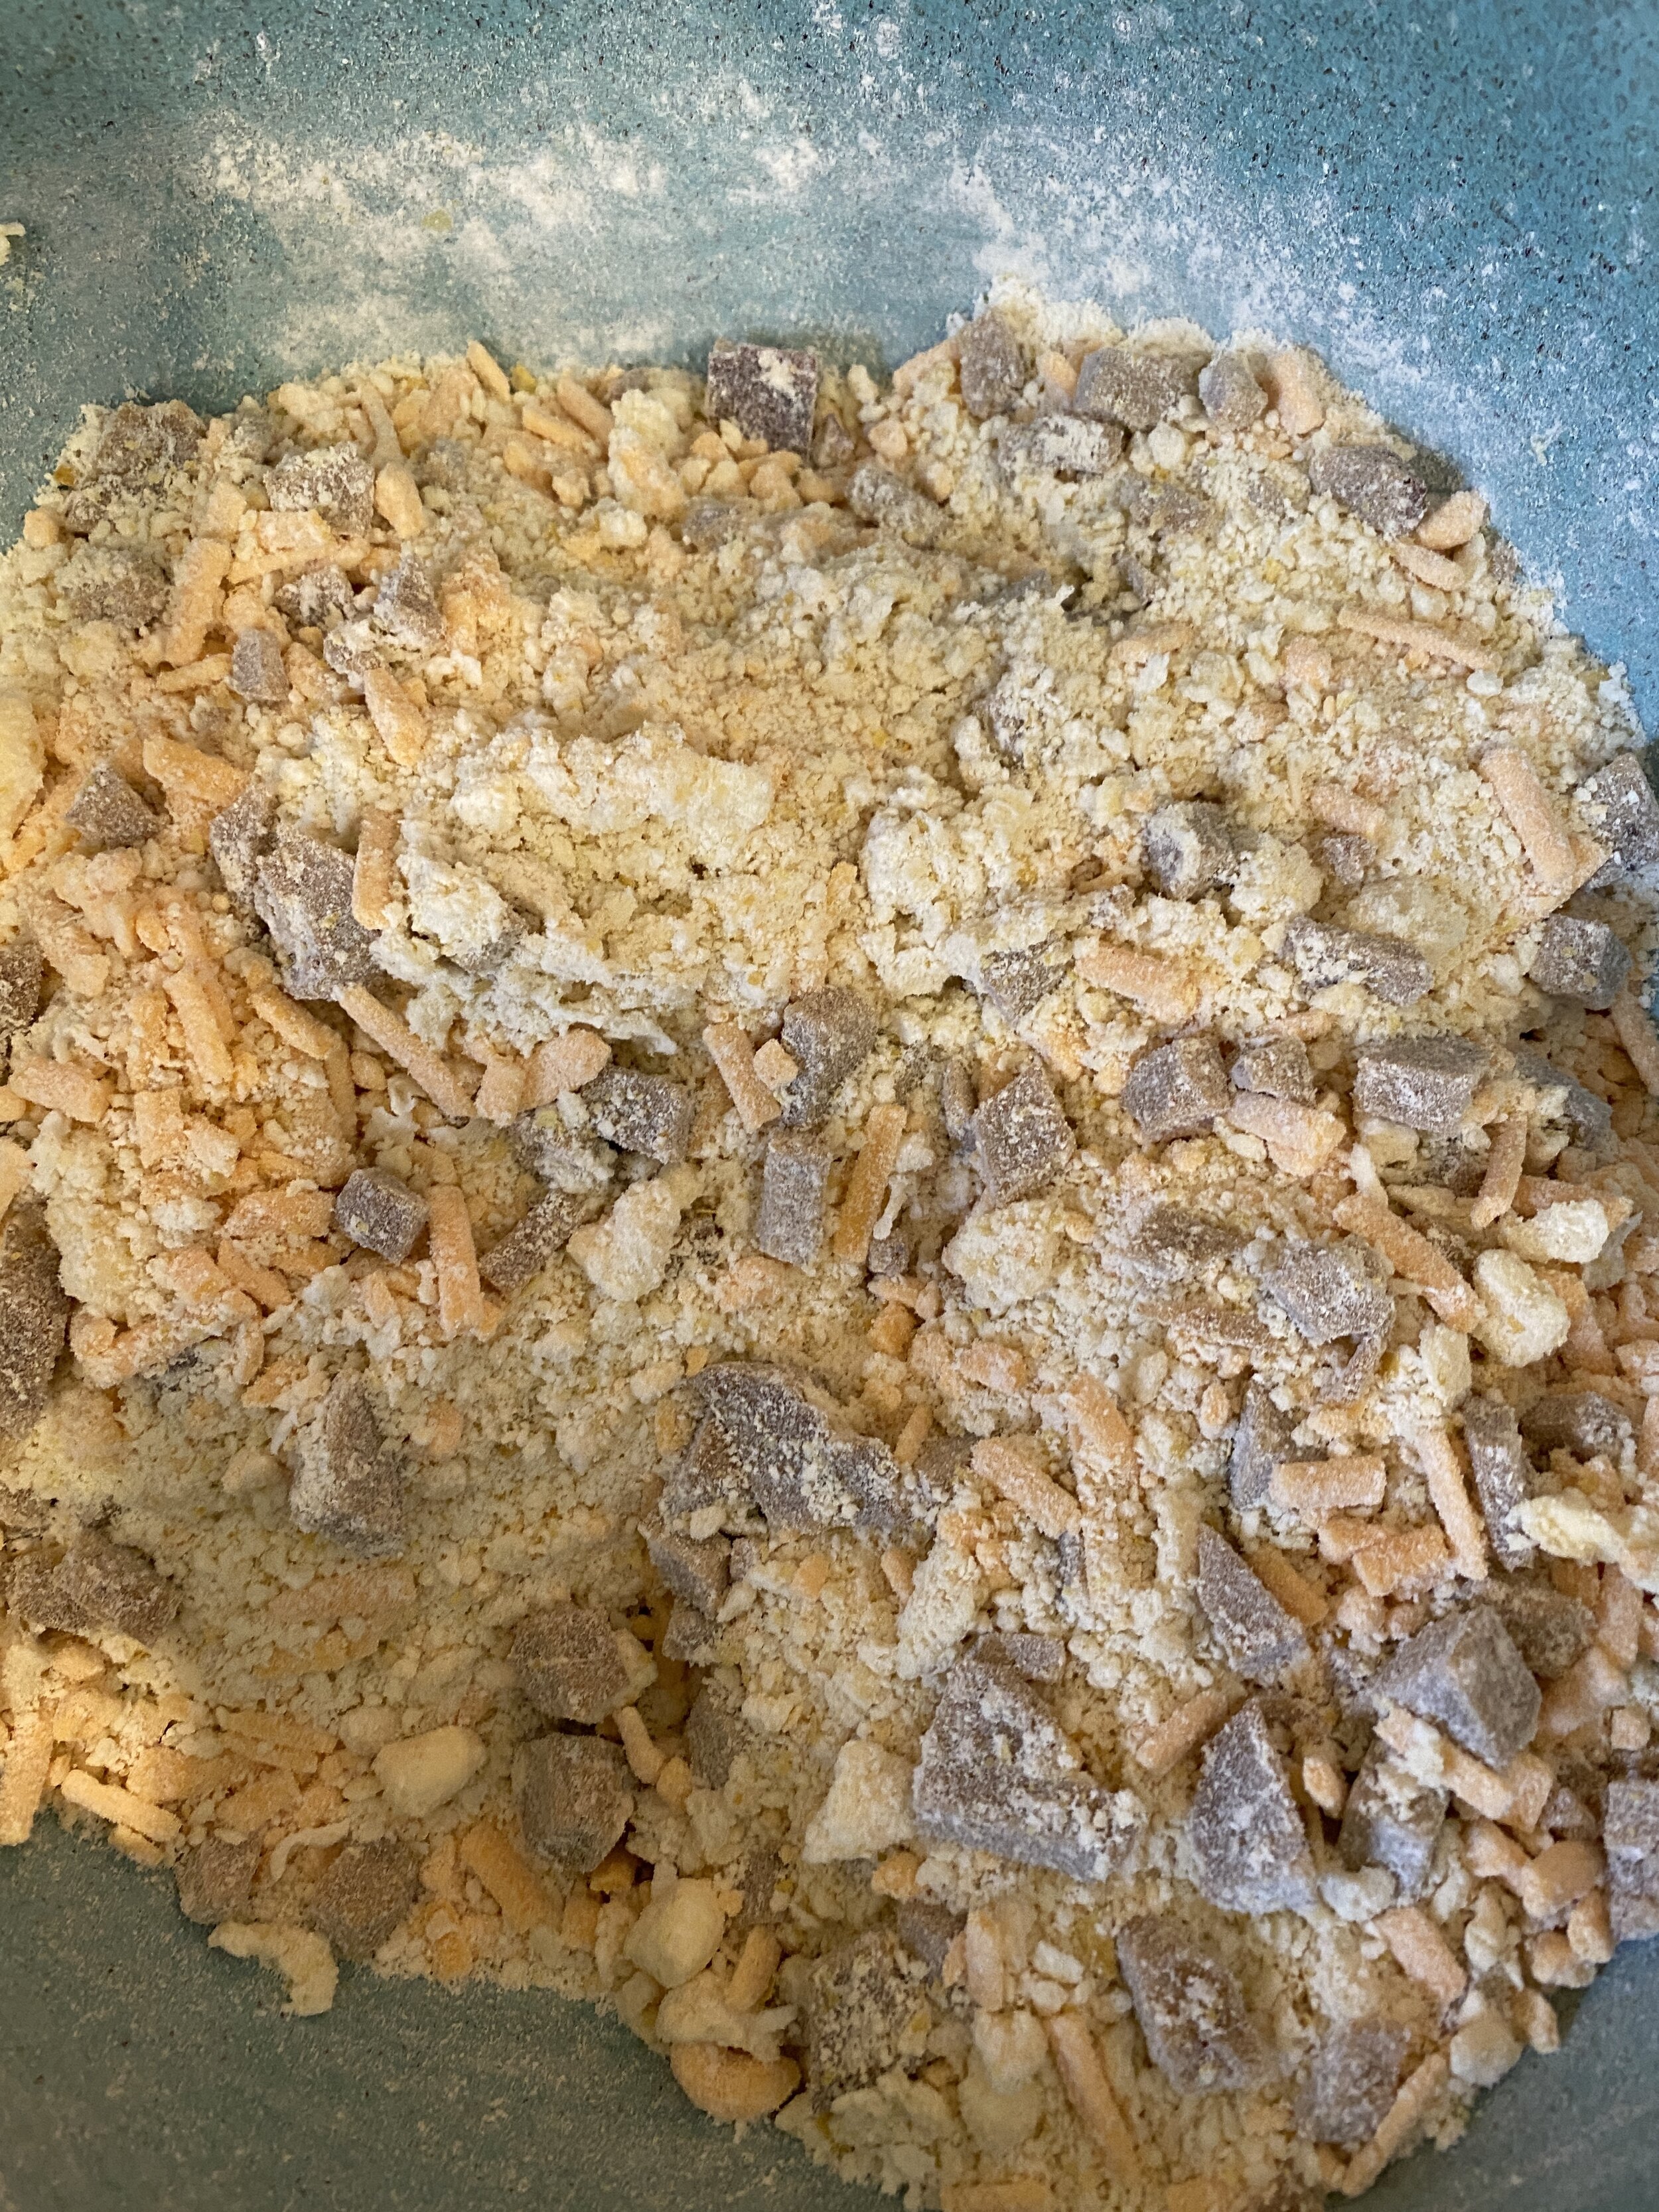
  2. Add the butter, and using your hands, work in the butter until the mixture seem coarse and sort of crumbly. Add the diced vegan ham and vegan cheddar shreds.

  3. Mix the starch and 3 tablespoons of water together and let sit for a minute.

  4. In a small bowl whisk the sour cream, liquid smoke, and starch egg.

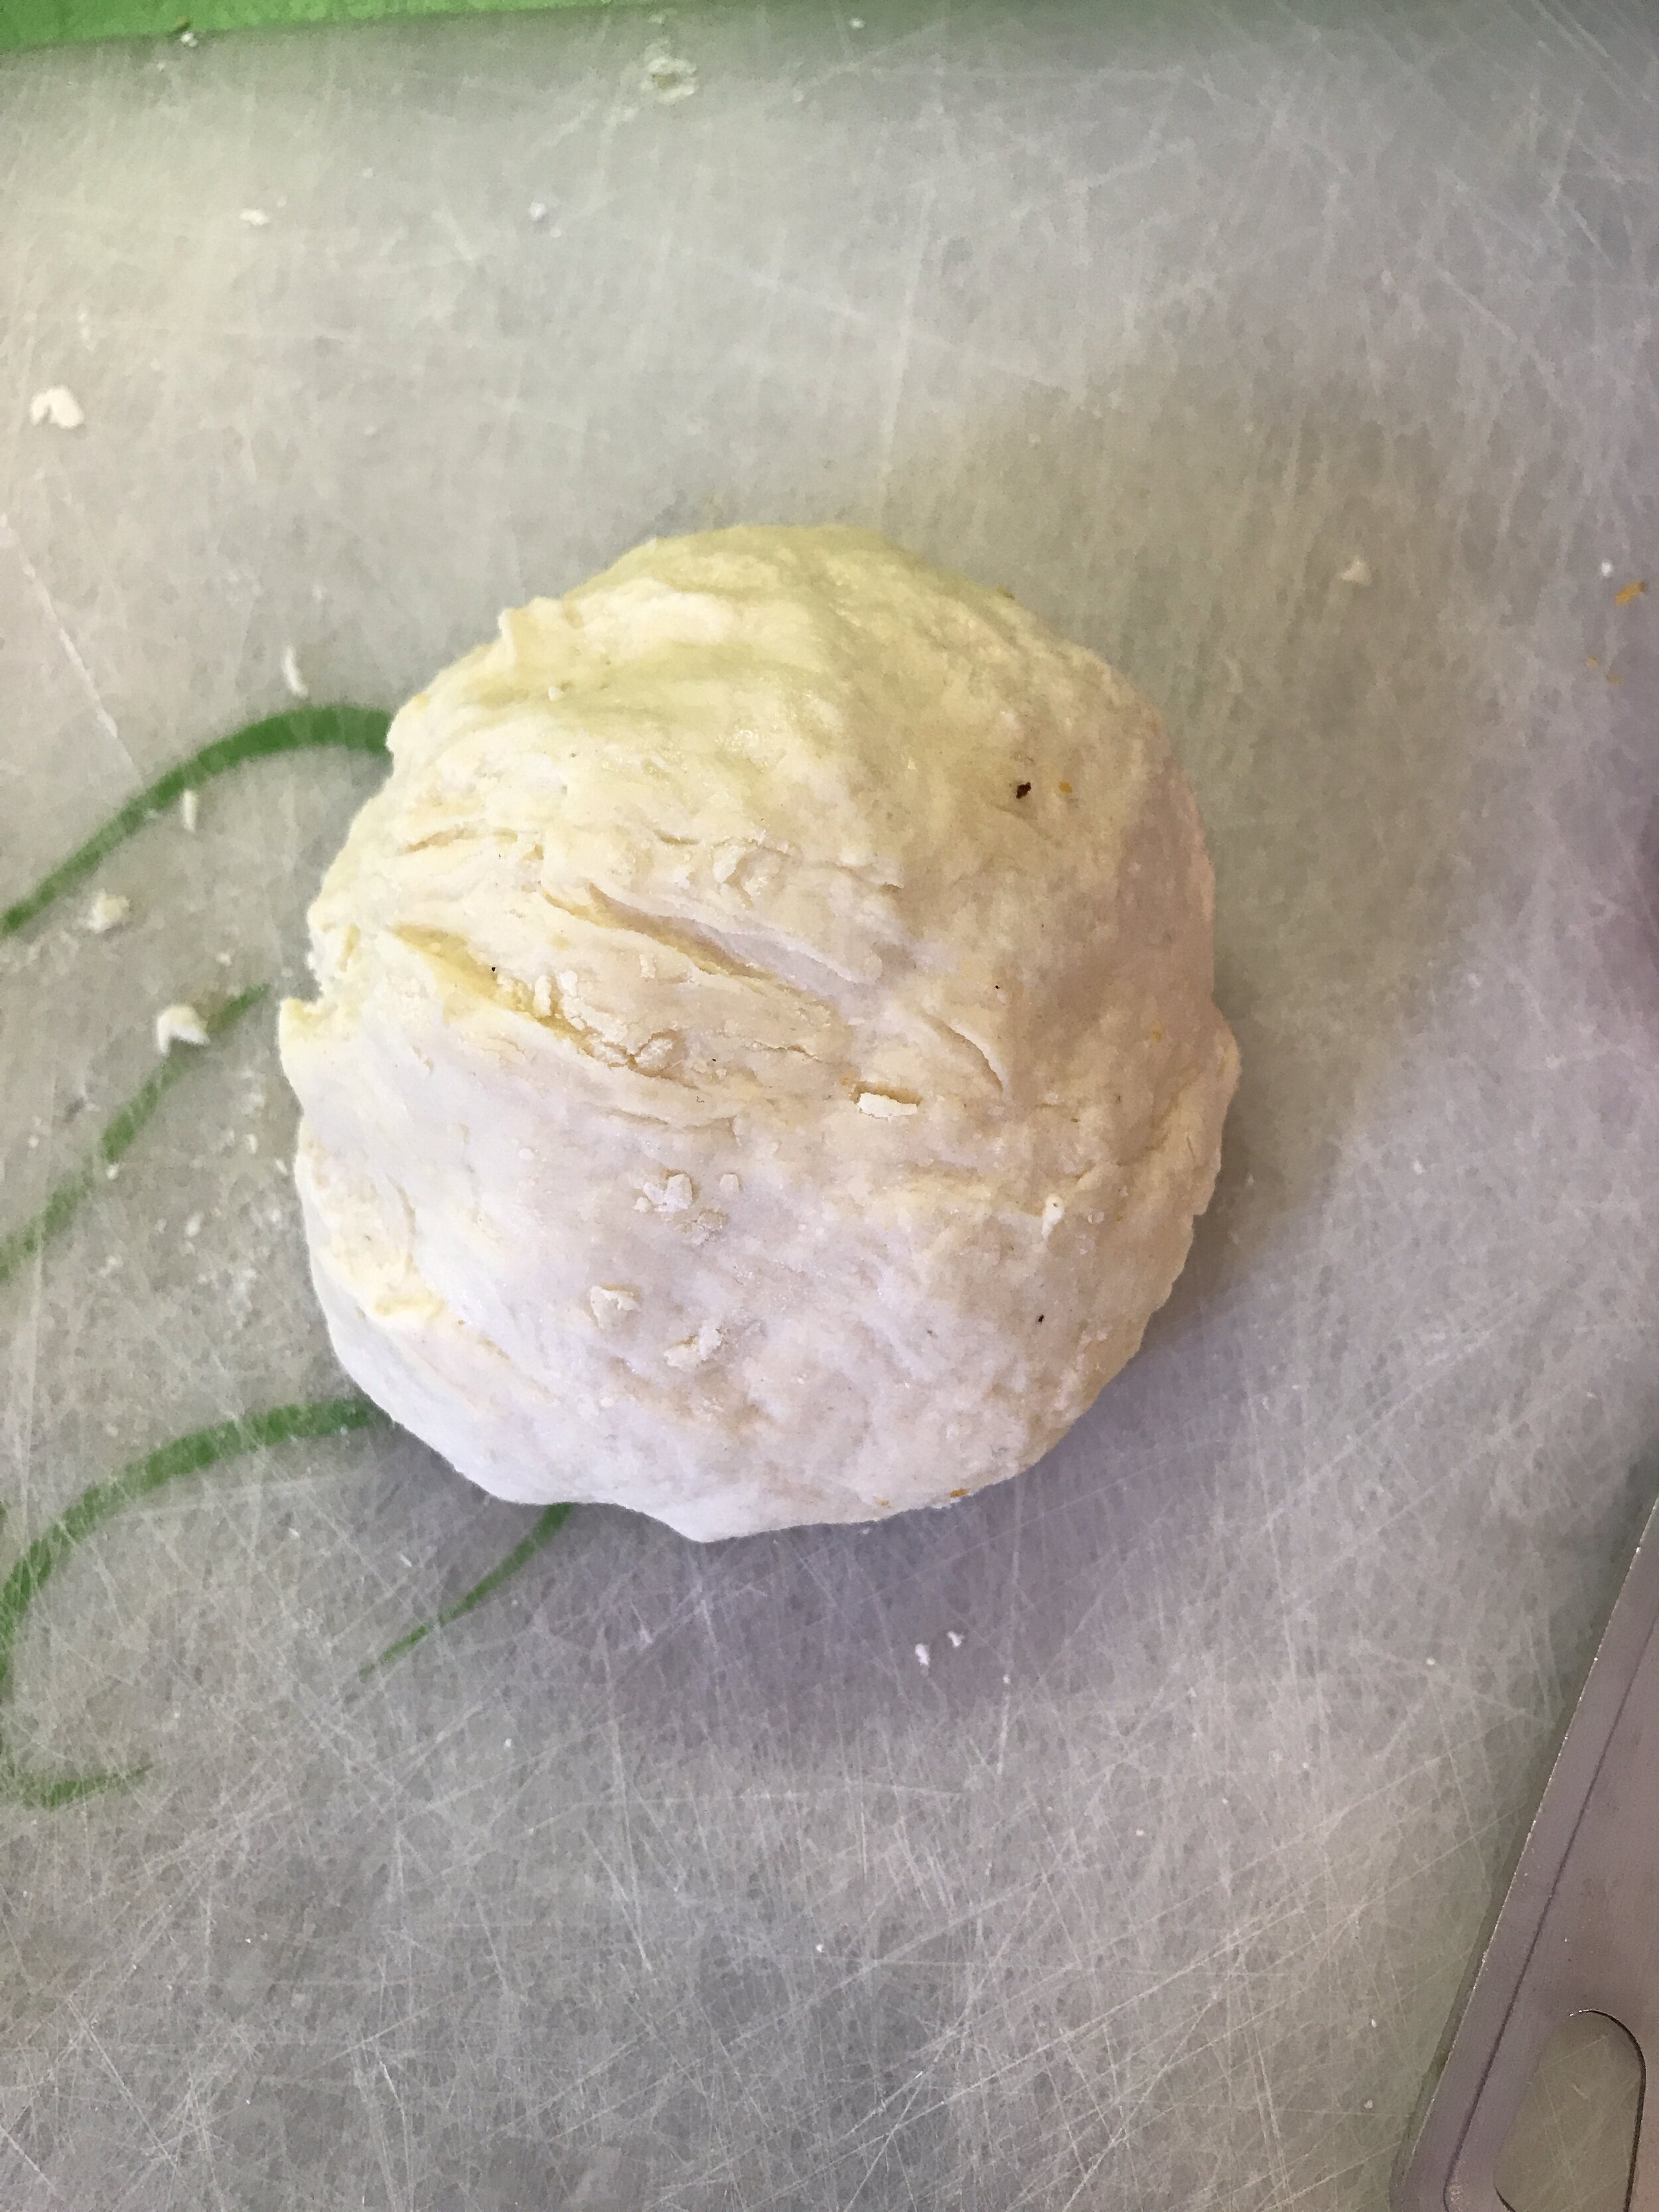
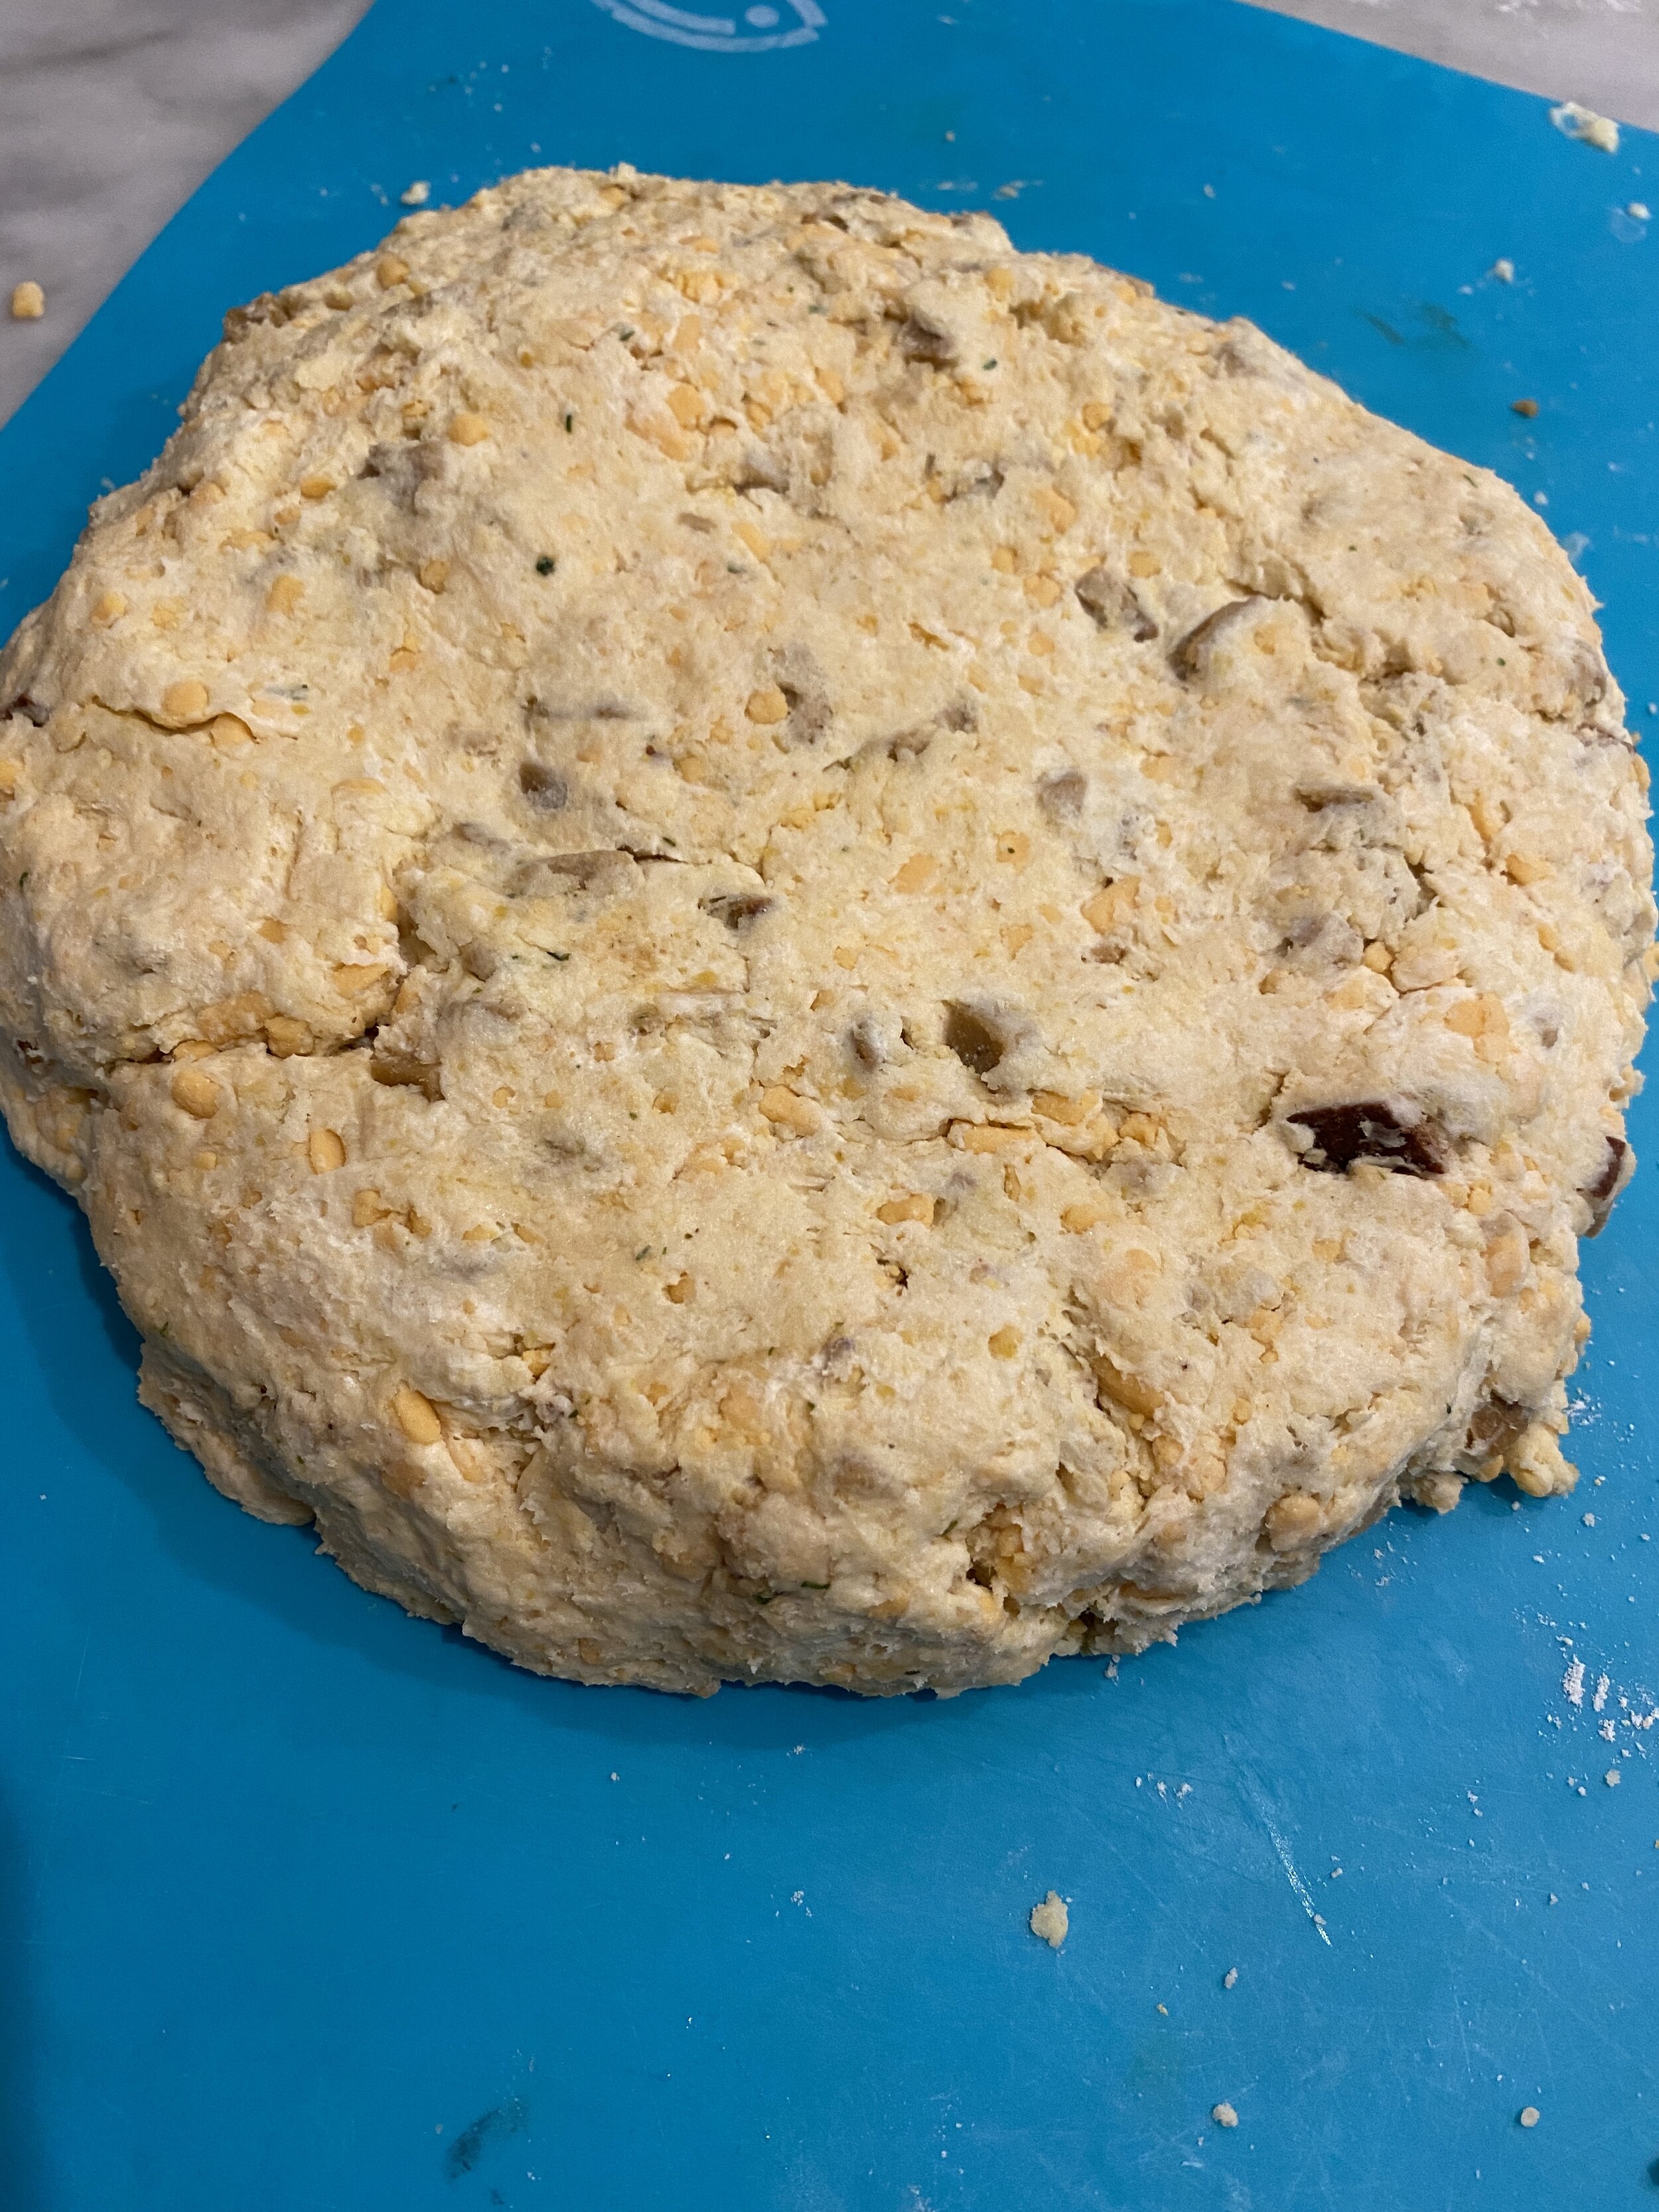
  5. Add sour cream mixture to the dry mixture, and stir until combined. Knead until the dough comes together. I used Tofuti brand sour cream which is super thick. I you use a brand that is thinner it may change the consistency of the dough. If you dough seems to be on the wetter side then add a few more tablespoons of flour.

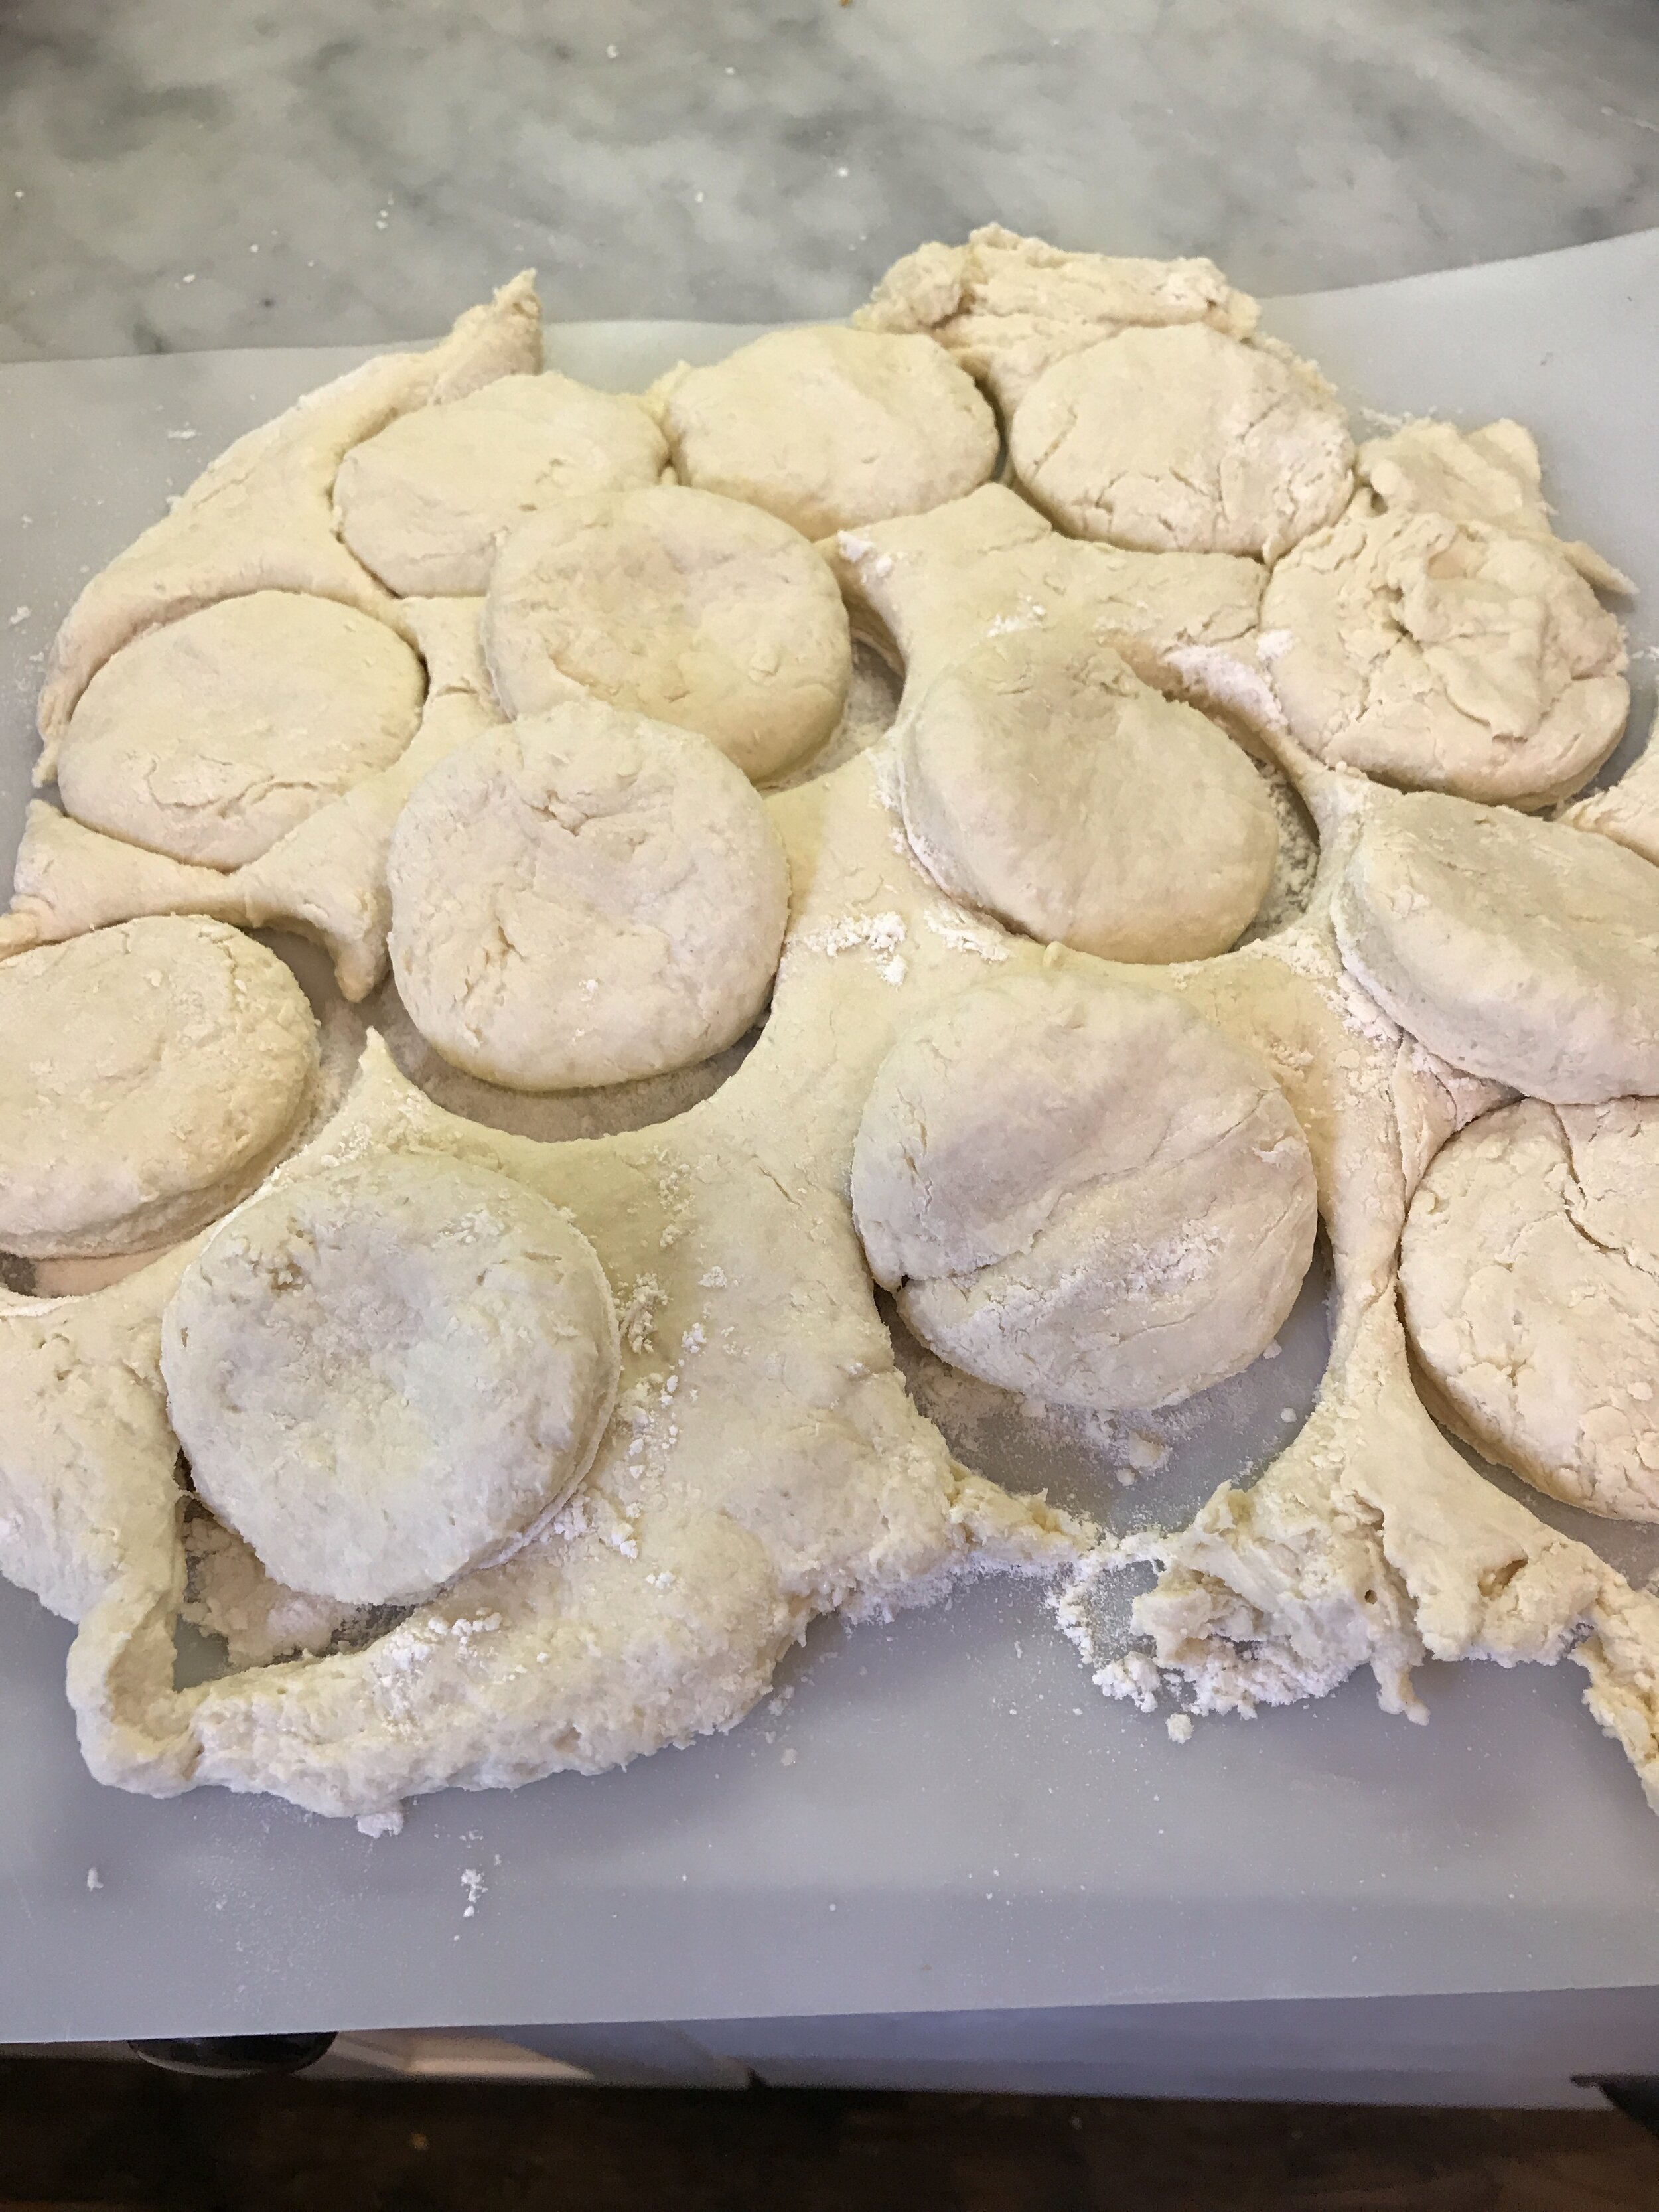
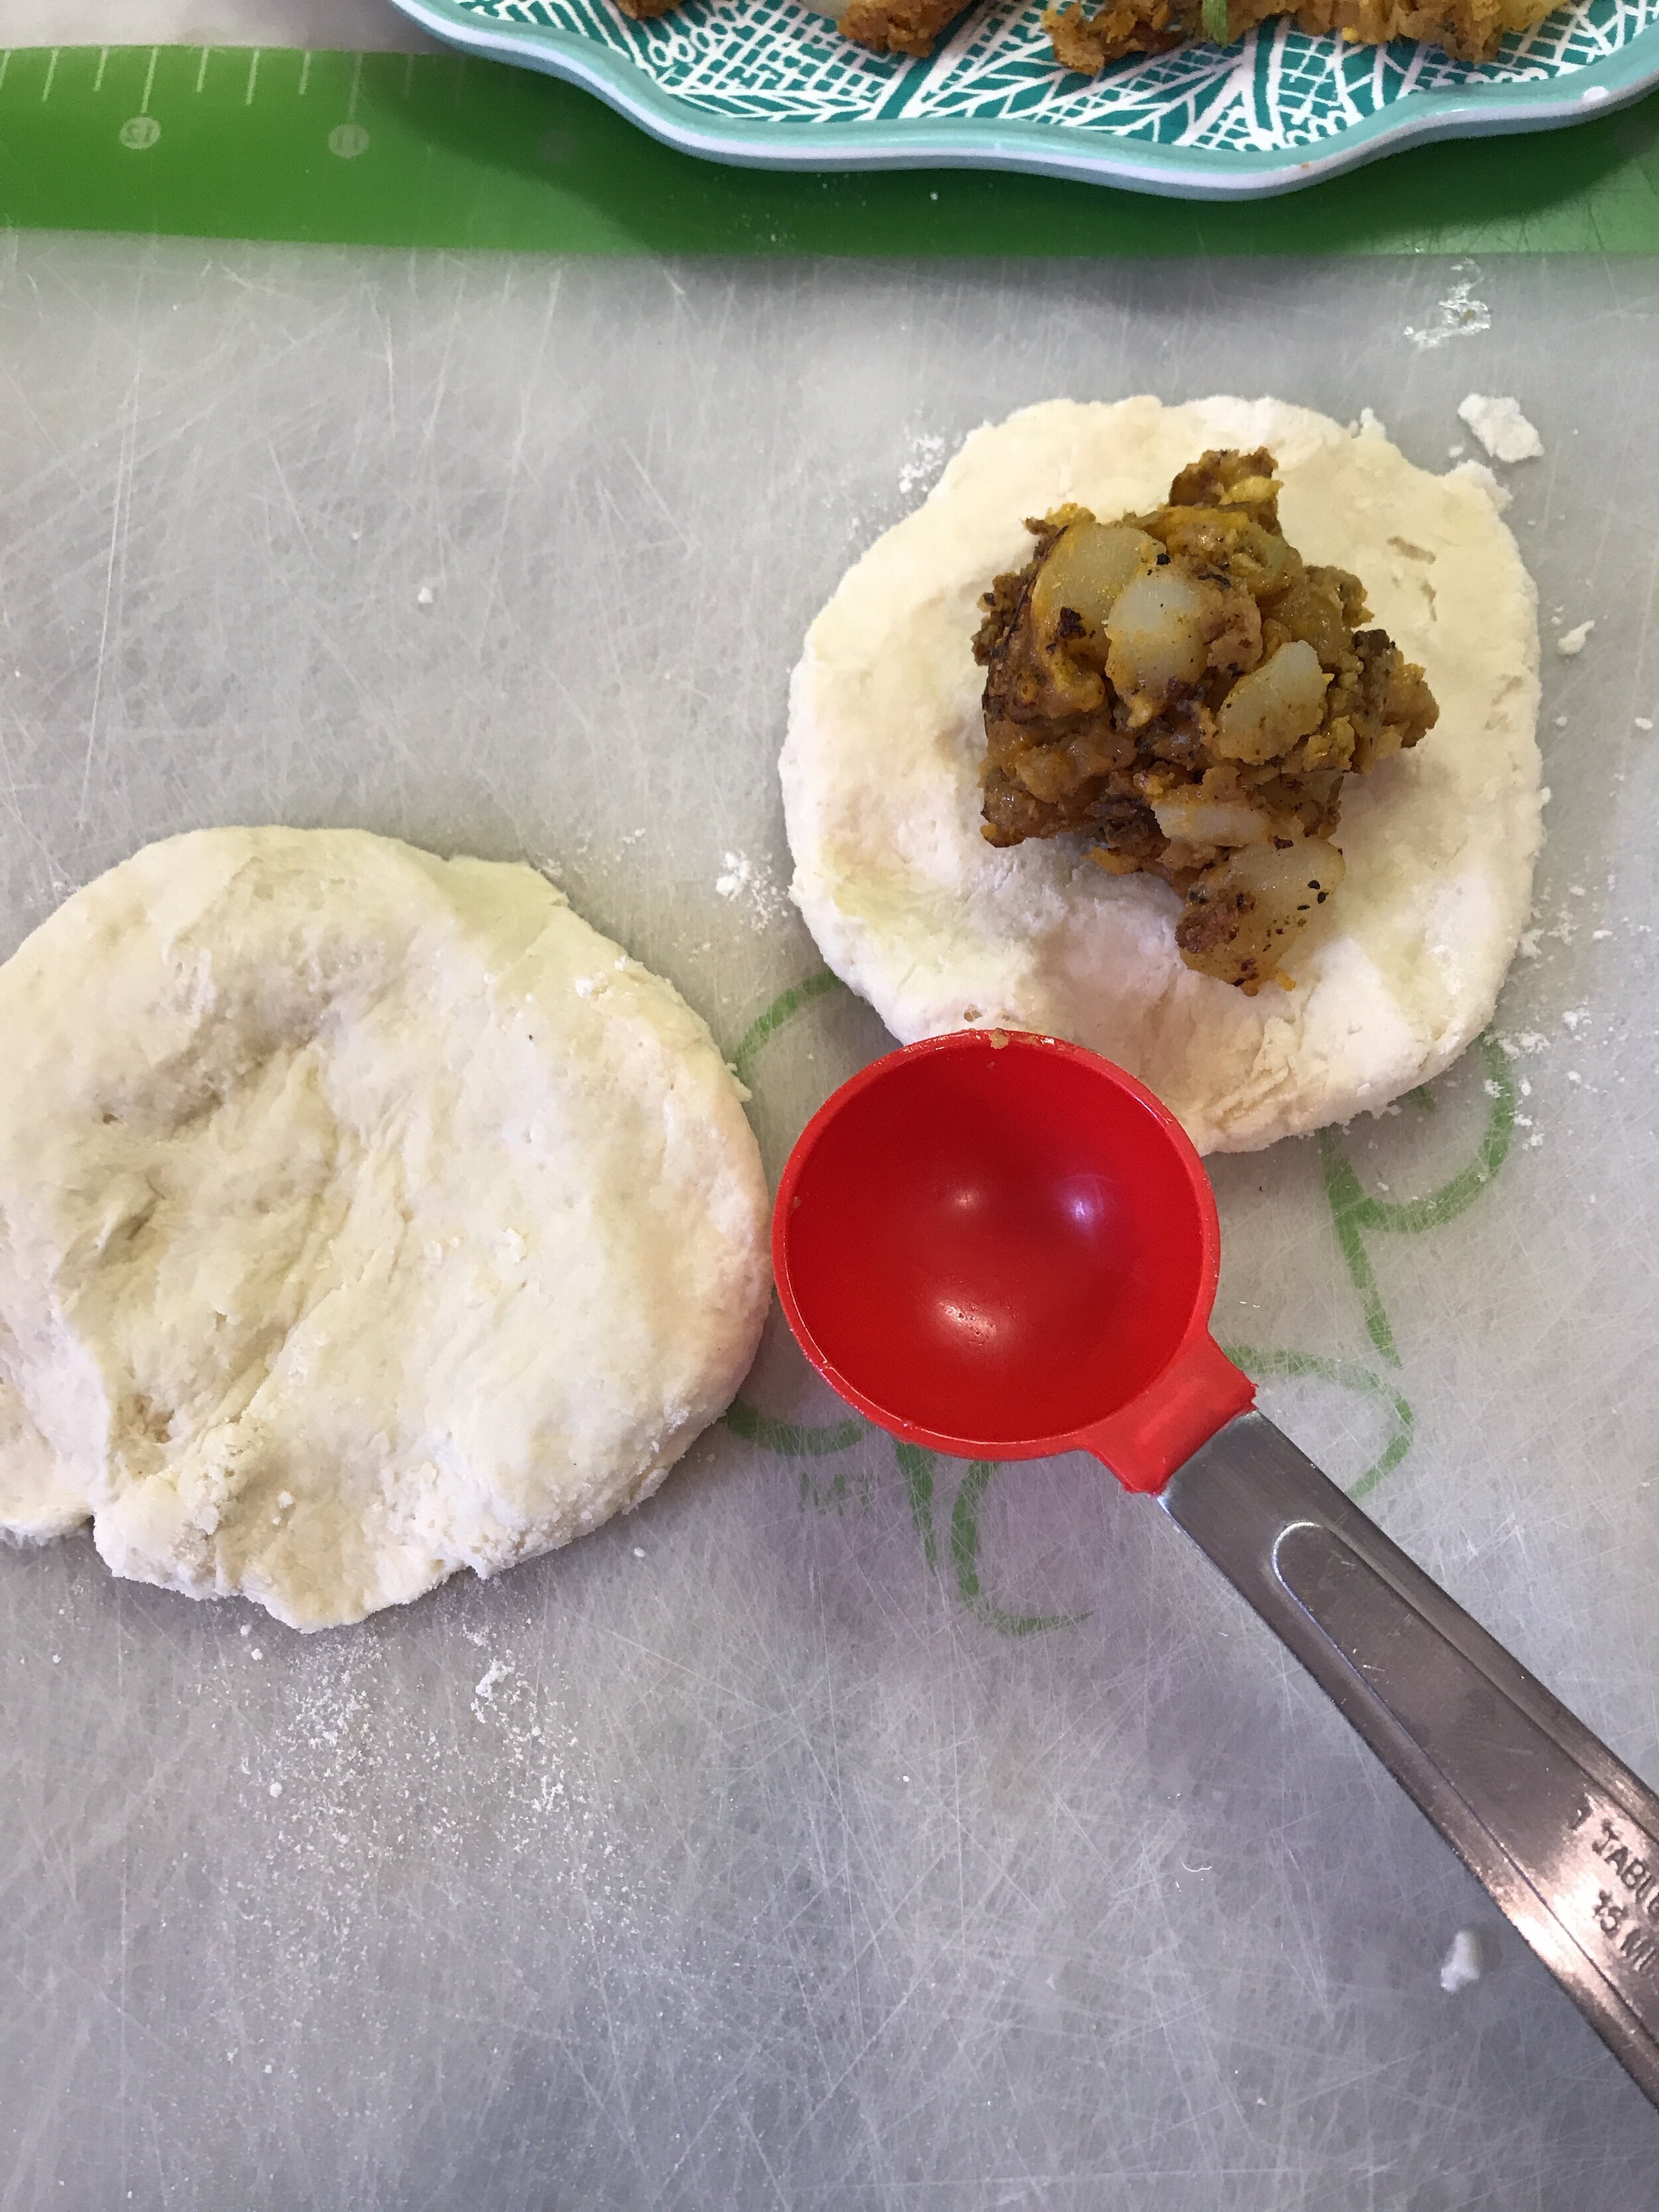
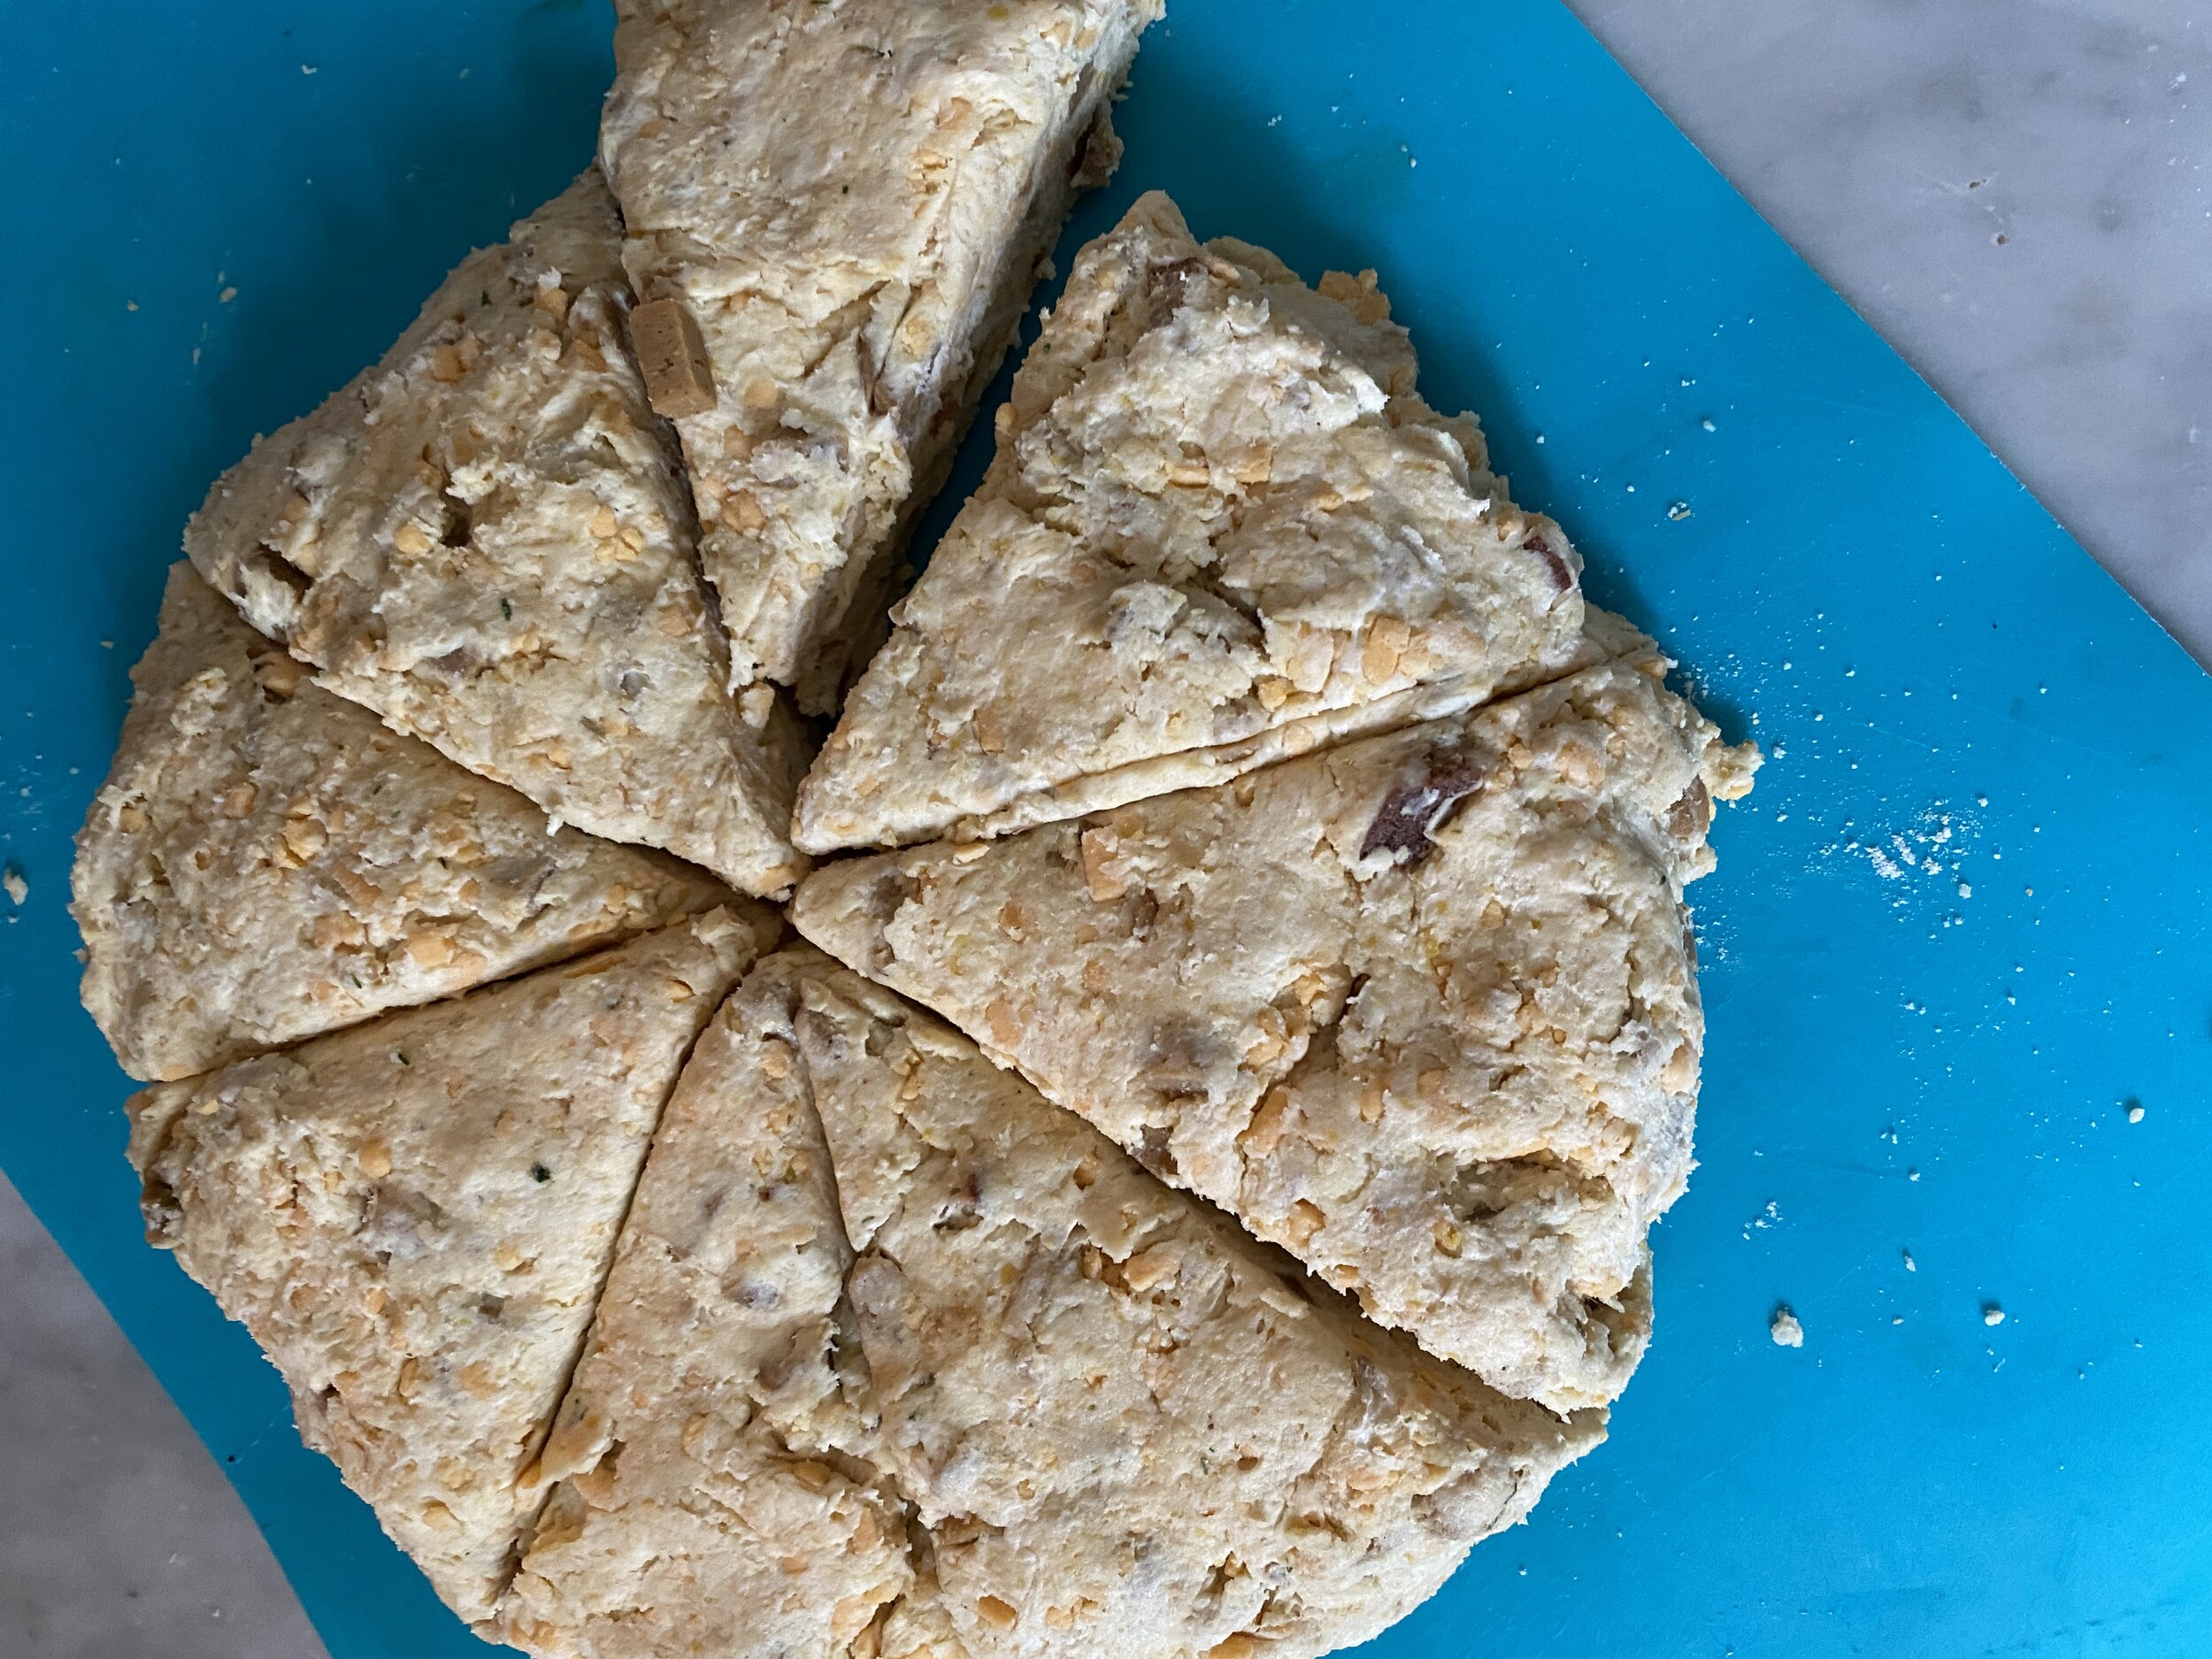
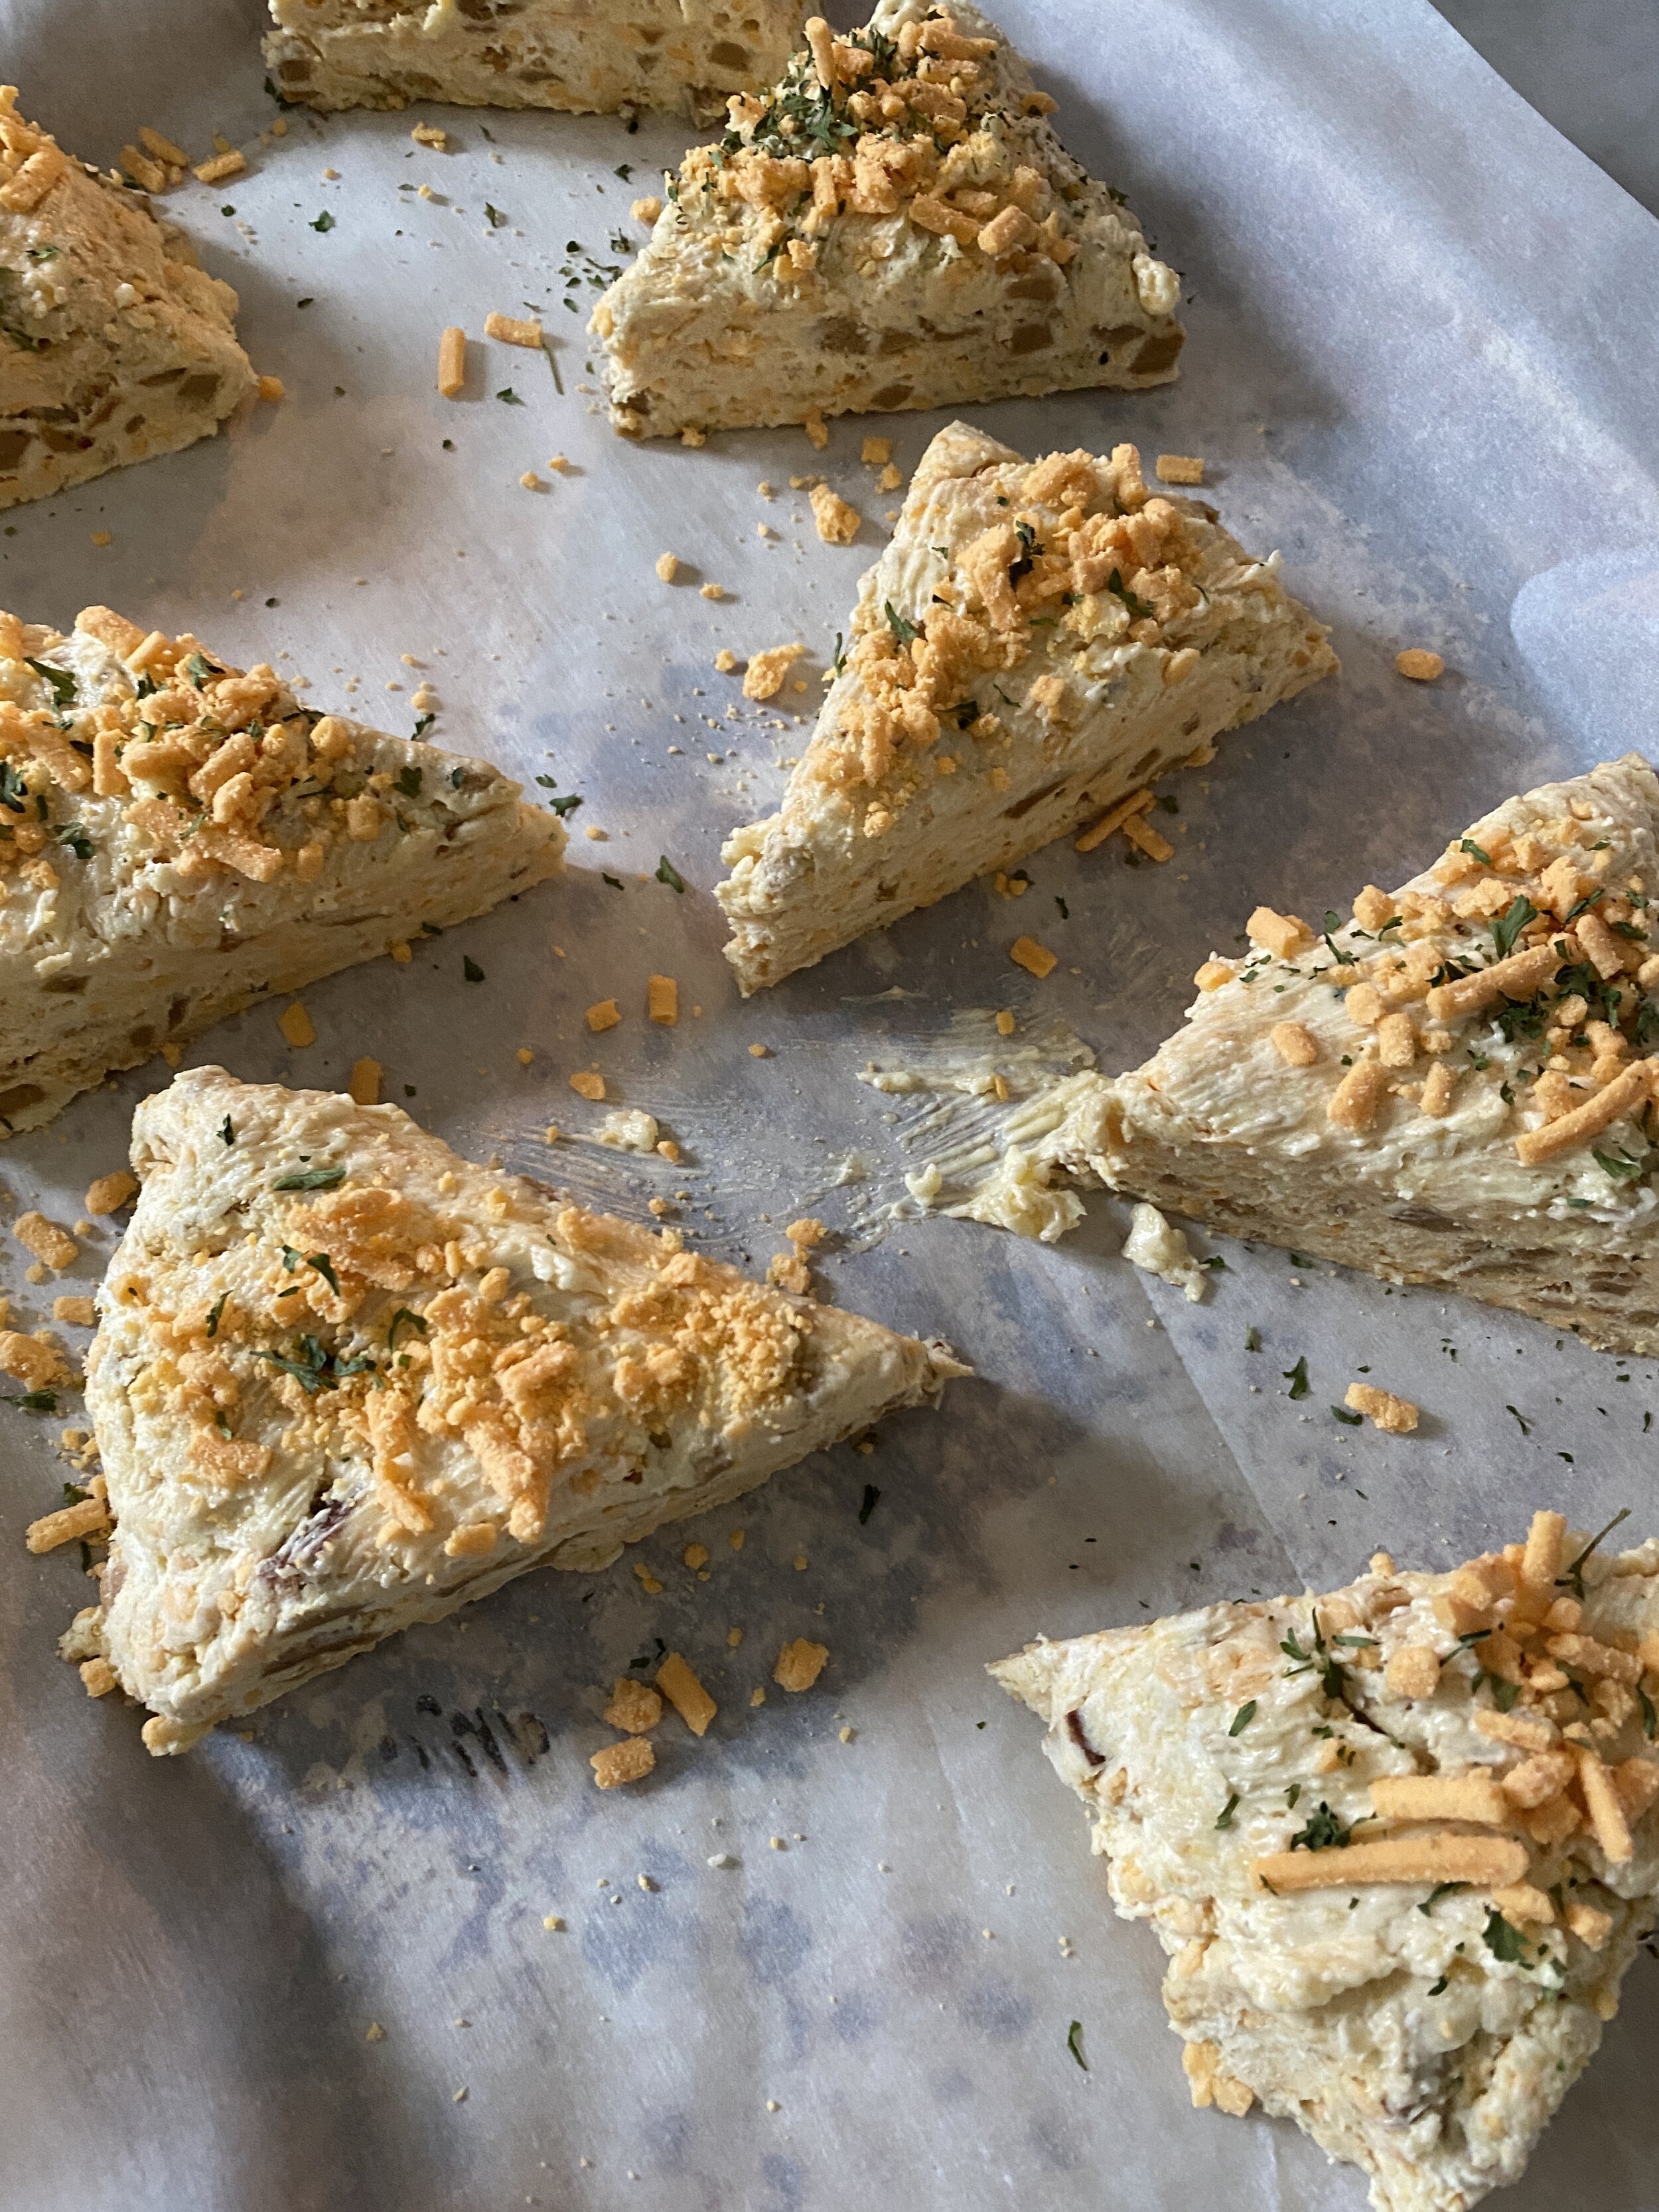
  6. Once it has come together, form a disk with the dough about 7-8 inches wide, and 3/4 of an inch thick. Cut the disc into 8 equal triangles. Place scones onto a parchment paper lined baking sheet. Mix the softened butter and maple syrup together, and brush the tops of the scones with the mixture. Sprinkle with the 1/4 cup fo cheddar shreds and some dried parsley for color.

  7. Bake for about 30 minutes or until the scones are cooked through. Bake times will vary depending on your oven.

  8. Allow scones to cool a bit before serving.. Serve as is or with some pepper jelly or apricot jam.

  9. Store in an airtight container at room temperature.

IMG_2397.jpg

Vegan Cheese, Bacon, and Jalapeño Stuffed Bread

IMG_8524.jpg

Bread, check.

Vegan cheese, check.

Vegan bacon, check.

A little spice, check.

To sum it up, this is a perfect meal in my opinion.

I love carbs, I love vegan cheese, I love bacon, and I love a little pepper spice to top it all off.

I recently saw a similar thing done, but it was not vegan. But like most things, you can easily make it vegan and not be left out of the stuffed cheesy bread party. I mean anything they can make we can make vegan these days.

I started with a loaf of artisan bread and sliced it up to create little pockets for the filling. Then mixed up the vegan cheesy, gooey, filling and piped it right in. Easy peasy. Then sprinkled some more vegan cheese on it and baked it right up until it was bubbly, and gooey and crispy and ready to shove in my face.

I actually made this for lunch for my kids and had leftovers the next day, but I think it would work well for a party, or movie night snack as well.

IMG_8535.jpg

If you are not into vegan bacon you could always slice up some vegan pepperoni and dip the bites into some marinara! Then it would basically be pizza bread. I mean come on! I would eat that all day. I would dip it just they way it is in marinara because I love red sauce.

You can buy some vegan cheeses at the store or check out the site from homemade versions of all the cheeses you need to make this vegan stuffed cheesy bread.

And if you are not a fan of spice, leave out the peppers. You do what you want to do here. Your bread, your rules.

IMG_8529.jpg

INGREDIENTS:

  • 1 round artisan bread loaf, store-bought or homemade

  • 10-12 slices vegan bacon, I used lifelight

  • 1 (8 oz) container of vegan cream cheese, or 8 oz homemade

  • 1/2 cup vegansour cream

  • 1-2 teaspoon minced garlic

  • 1 teaspoon onion salt

  • 3 tablespoons vegan mayo

  • 1 cup shredded vegan cheddar cheese

  • 1 cup shredded vegan mozzarella cheese

  • 1 jalapeño seeded and finely diced

INSTRUCTIONS:

Preheat oven to 400 degrees

  1. Finely dice the bacon and cook it unit crispy in a small skillet. Let it cool.

  2. Cut the round bread loaf in a cross hatch pattern as deeply as you can without cutting through the bottom. I suggest using a sharp serrated knife. Place on a baking sheet lined with parchment paper.

  3. In a medium bowl mix the garlic, cream cheese, mayo, sour cream, bacon, jalapeños, and half a cup of each shredded cheese.

  4. Fill a piping bag, or zip lock bag with one corner tip cut off, with the cheese mixture. Pipe the mixture into each opening you cut in the bread, making sure to try fill each gap fully with the mixture.

  5. Sprinkle the top of the bread with remaining shredded cheese.

  6. Bake on the middle rack for 20- 25 minutes or until all of the cheese is gooey, bubbly, melty. Garnish with extra pepper slices and bacon if you like.

If you like this recipe, then try these:

IMG_8531.jpg

Vegan Breakfast Stuffed Biscuits

Vegan Breakfast Stuffed Biscuits

So one thing I love about Instagram is all of the food inspiration I find each and every day.

Recently I ran into a picture of the most delicious looking stuffed biscuits that my Insta friend Denise posted!

I was instantly intrigued and knew I wanted to make something like what she posted. I believe she used an accidentally vegan canned or pre-made biscuit, but I knew I could just use our easy vegan biscuit dough and have something similar and probably super delicious!

I also knew I wanted to add potatoes, sausage, and Just Egg. I just happened to have a bottle of Just Egg in the fridge so used it. I would love these just as much with tofu scramble if Just Egg wasn’t close at hand. So use whatever egg substitute you have and prefer. You can also skip the sausage and add vegan bacon or no vegan meat at all. You could add sautéed veggies to the scramble if you are more into a veggie /egg breakfast! Use your imagination!

My entire family really loved these vegan breakfast stuffed biscuits which was an extra win. I can make a batch of these on a Sunday and have them in the fridge to reheat throughout the week for a quick and filling breakfast for the kids! They are a nice little hand held breakfast that are perfect for grab and go, and can easily be taken along for your morning commute.

Like a hot pocket and breakfast biscuit sandwich got married and had the most perfect breakfast baby!!!

And if you are not feeling like mixing up a homemade batch of biscuits, you could always use a pre-made like Denise. But seriously, I can’t encourage you enough to give the homemade a try…but no judgment if you choose pre-made. Sometimes we just need to do what’s easy and convenient!

No matter how you stuff these breakfast biscuits, let’s all give Denise a big THANK YOU for the inspirational idea!!! I know my stomach is super thankful for this one!!

IMG_6267.jpg

INGREDIENTS

  1. 1 batch southern bisucits

  2. 1/2 tube lifelight sausage or any other vegan sausage you prefer

  3. 1/2 bottle Just egg, or 1/2 batch Tofu Scramble

  4. 1 cup cubed russet potatoes

  5. 1/4 cup vegan cheddar cheese shreds

  6. salt and pepper to taste

  7. 2 teaspoons neutral cooking oil

  8. optional: 1-2 teaspoons Kala Namak, black salt (it is sulfur salt that taste like egg)

INSTRUCTIONS:

preheat oven to 425 degrees

  1. Heat a large skillet over medium heat. Add a few teaspoons of neutral oil along with the diced potatoes. Allow the potatoes to cook until they are beginning to crisp and you can poke fork through them.

  2. Add the sausage to the pan along with the potatoes and allow it to cook through.

  3. Finally add the Just egg or tofu scrabble along with salt and pepper to the potatoe sausage mix and allow it to cook though. Sprinkle the cheese over the top of the mix and allow it to melt. Let the mixture cool.

  4. Prepare the biscuit dough according to instructions. Using a 1 and 1/2 to 2 inch biscuit cutter, cut the biscuits. Take two biscuits and flatten them out a bit.

  5. Using a 1 tablespoon measuring spoon, scoop out the potato and Just egg filling into the center of one biscuit. Lay the other biscuit on top and press the edges together. Tuck the pressed edge under the biscuit to form a sort of ball. Repeat with remaining dough and filling until it is all used up ( you may have a bit of filling left, I just ate with a spoon, happily, while I waited for the biscuits to bake)

  6. Place the biscuit on a baking sheet with some space between them and place on the middle rack of the preheated oven. You can brush some vegan butter on the tops mid bake if you like and sprinkle with dried parsley, but it’s optional.

  7. Bake for around 15-20 minutes (depends on the oven) or until the biscuits are browning and cooked through.

If you like this recipe, then try these:

IMG_6272.jpg

Coconut Milk Cheddar Cheese Shapes

IMG_0286.jpg

I love experimenting with different vegan cheese flavors and bases. I really love using coconut milk because it’s easy and affordable.

I am often asked if these cheeses have a strong coconut flavor and the answer is, not really. I always used refined coconut oil which has little to no coconut flavor at all, and all of the spices and other ingredients in the cheese mask the flavor of the milk very well.

I also love making my kids easy and healthy snacks that are a allergy friendly alternative.

What kid doesn’t love to get to play with their food, and with these vegan cheddar shapes it 100% encouraged.

You can make any shape you like using whatever cookie cutters you happen to have on hand.

You can also easily mold this cheese in small bowls and slice or shred it for any recipe calling for cheddar cheese.

Agar powder is simply a vegan gelatin made from seaweed and can be found at Asian markets or online.

It sets up once it cools off but will melt once you heat it.

So don’t be afraid to make your own dairy free cheese!! it’s so easy , cheap and actually really delicious. And in this case, pretty fun too!


INGREDIENTS:

  • 1 can full fat coconut milk

  • 2 tablespoons agar powder

  • 2 teaspoons light miso paste

  • 2 tablespoons lemon juice

  • 1 teaspoon salt

  • 1/4 cup plus 1 tablespoon nutritional yeast

  • 3 tablespoons tapioca starch

  • 1 teaspoon turmeric

  • 2 teaspoons smoked paprika

  • 1/4 cup refined coconut oil


COOKING INSTRUCTIONS:

  1. In a food processor or high speed blender, add all of the ingredients EXCEPT the milk, and agar.

  2. Pulse a few times to mix it all up.

  3. Now add the milk, and agar to a medium sauce pan and bring to a boil. Reduce heat and simmer until mixture thickens to the constancy of a thin pudding. This only takes a few minutes.

  4. Add the milk mixture to the ingredients in the food processor, and mix for about a minute. The mixture will quickly begin to thicken as agar begins to solidify at room temperature.

  5. Transfer to the mixture to a 9x13 pan, or high sided baking pan.

  6. Allow the cheese to harden in the refrigerator uncovered for about an hour.

  7. Once the cheese is set, cut shapes using your favorite cookie cutters. You use the scrap pieces for tacos, soups and chili, on salads, whatever! It will also remelt, so you could use it in quesadillas, nachos, or any other recipe that calls for melty cheese.

  8. Store in an airtight container in the fridge for up to a week.