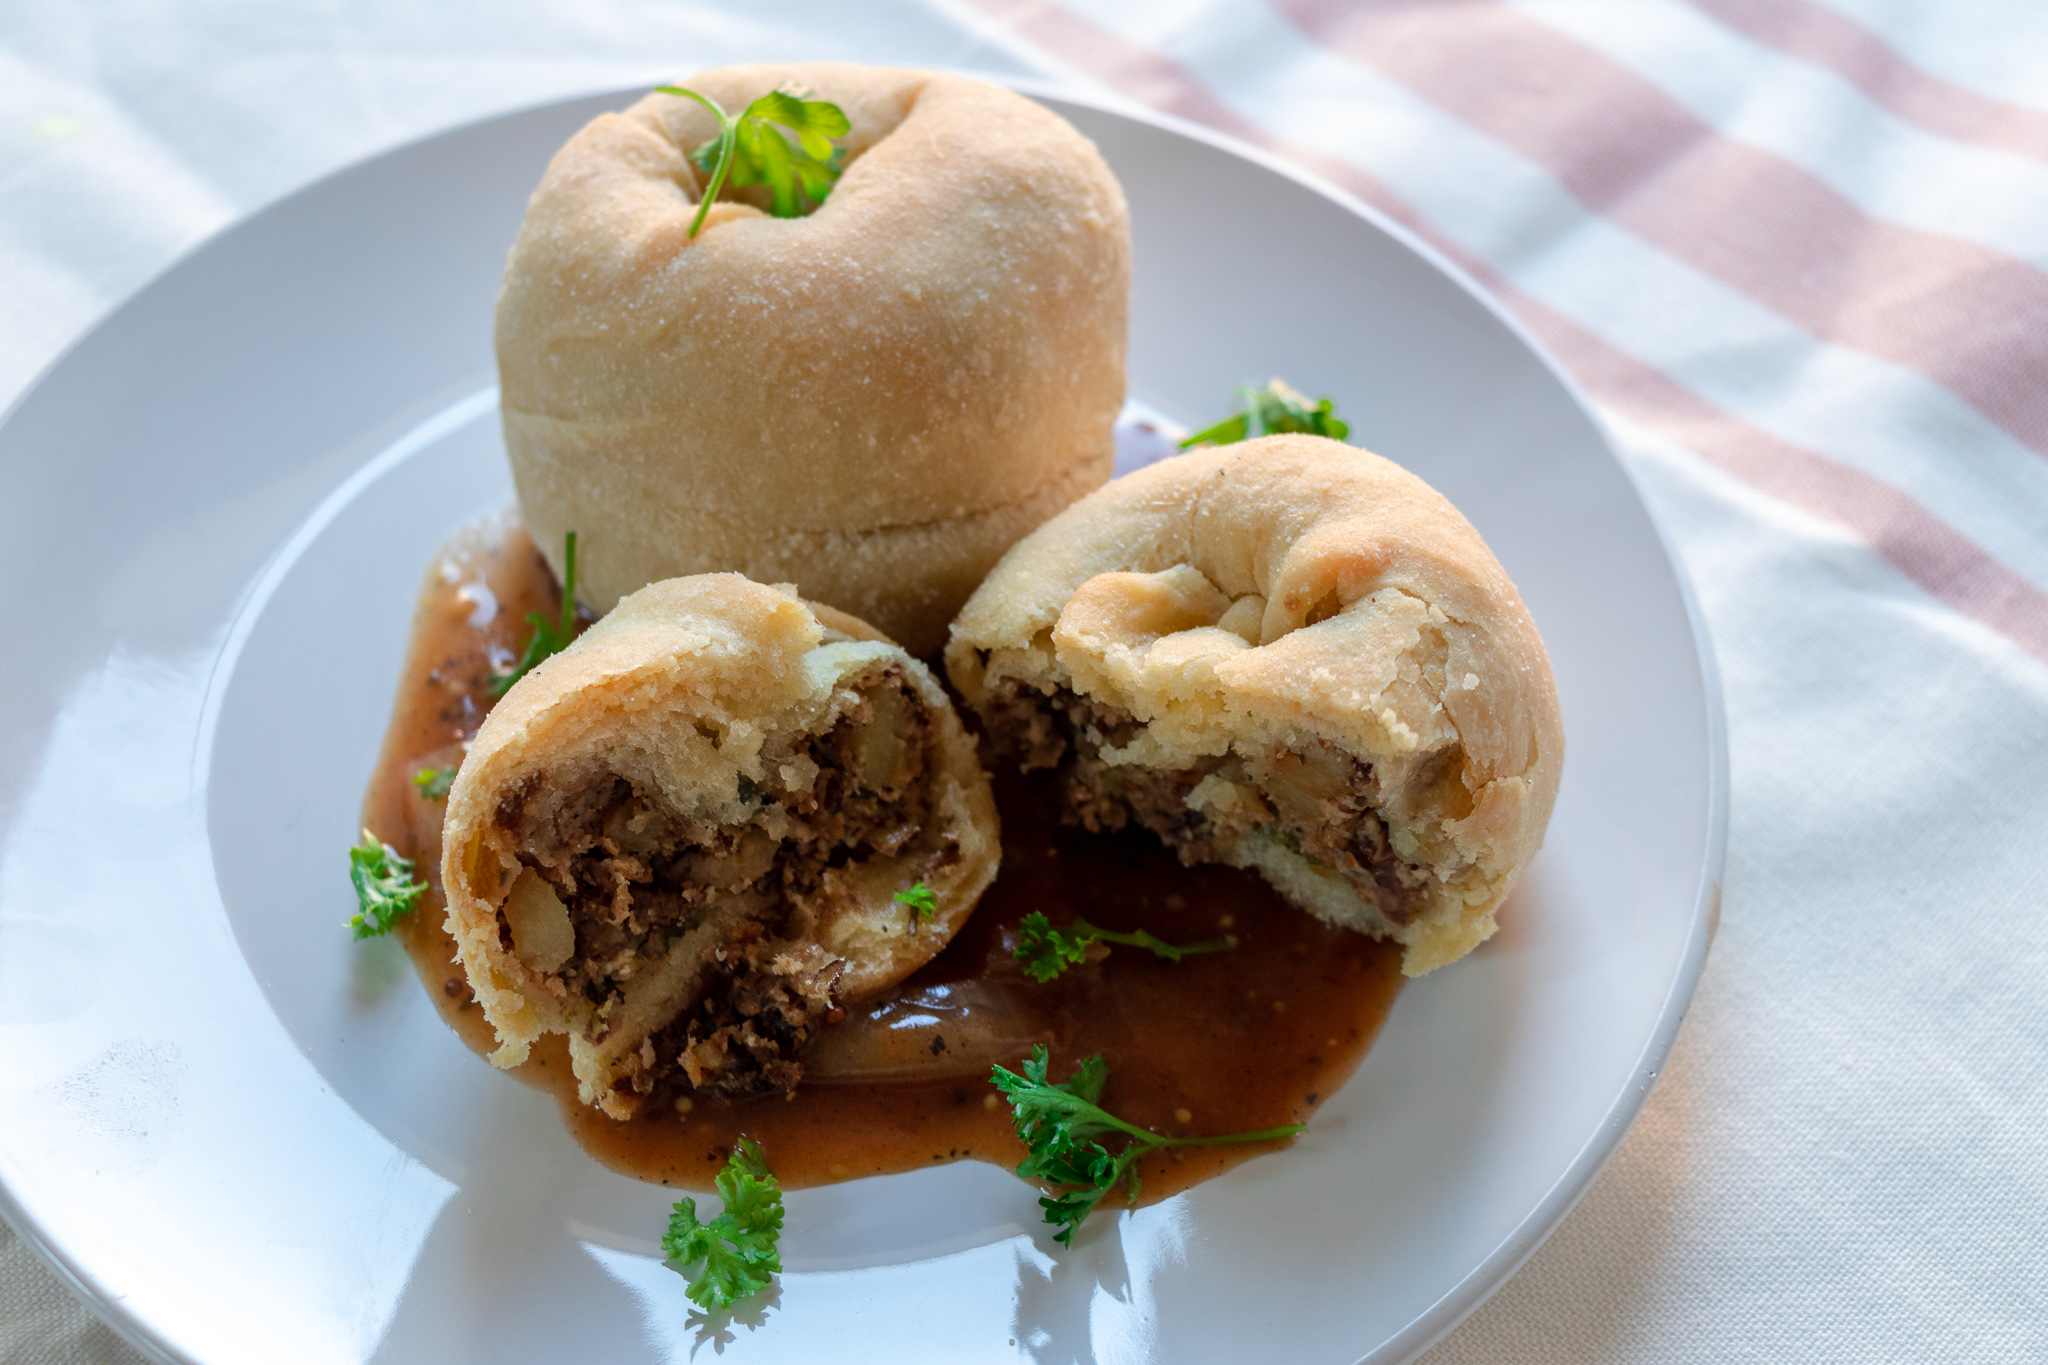
If you have had knish then you know just how delicious they are, and if you haven't, I promise you won't be disappointed. Knish originated as an Eastern European Jewish street food. Traditionally filled with mashed potatoes and minced meat, these days you can them filled with just about anything. Once again, I am southern, so I take every opportunity to smother almost everything in gravy, giving this traditional dish a southern twist. Feel free to omit the gravy! They are just as good without!
INGREDIENTS:
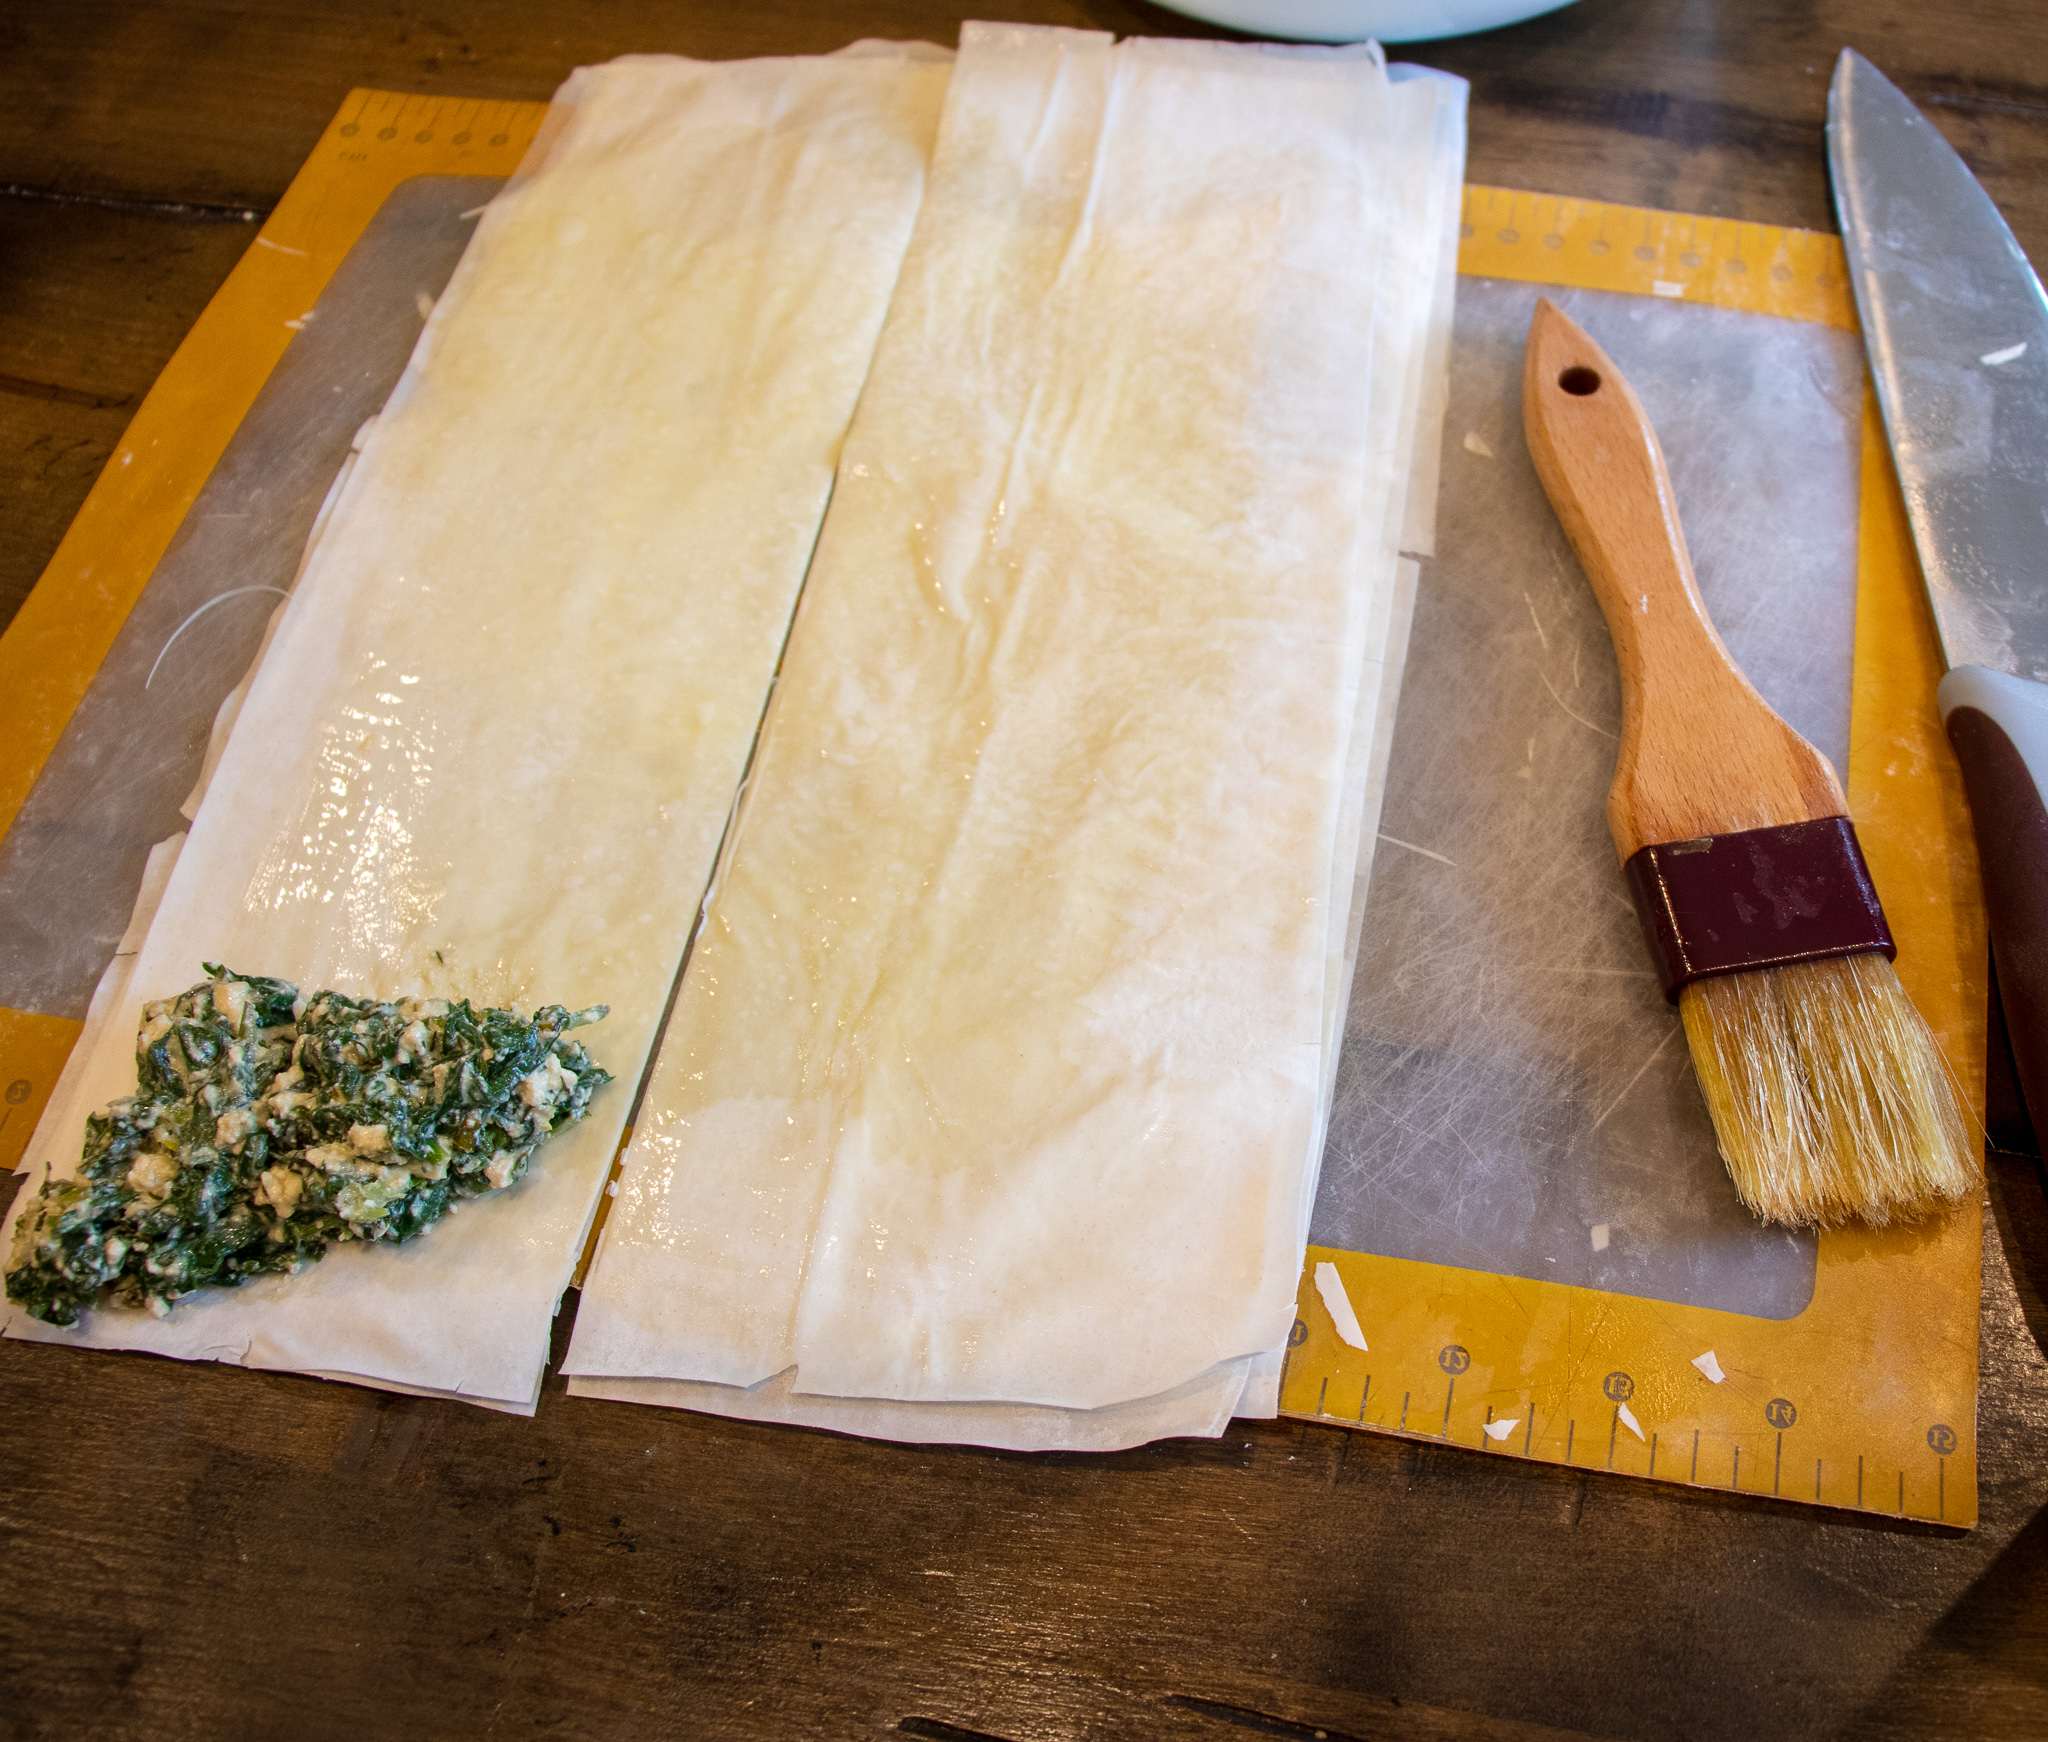
The filling
- 2 medium potatoes, peeled and diced
- 1 bunch of washed and trimmed kale, chopped
- 1 small onion, diced
- 1/4 cup copped roasted red peppers
- 1 teaspoon minced garlic
- 1 teaspoon salt
- 1 teaspoon dried thyme
- pepper to taste
Knish dough
- 2 1/2 cups all-purpose flour
- 1 teaspoon baking powder
- 1/2 teaspoon table salt
- 1 flax egg
- 1/2 cup oil, I use grapeseed, but you could use vegetable or even coconut oil
- 1 teaspoon apple cider vinegar
- 1/2 cup water
- vegan butter for brushing
Brown onion gravy
- 3 cups of water
- 3 tablespoons all purpose flour
- 1 small onion, diced
- 1 teaspoon minced garlic
- 2 teaspoons reduced sodium Better Than Bouillon
- 1 tablespoon tomato paste
- 2 teaspoons dijon mustard
COOKING INSTRUCTIONS:
Knish Dough
- First prepare the dough by mixing the dry ingredients together in large bowl.
- In a smaller bowl mix the oil, water, vinegar and flax egg together, then add to the dry mix.
- Work the dough with your hands until it is well combined.
- Kneed the dough for a few minutes, just until smooth.
- Place dough back into the bowl, and cover with plastic wrap.
- Pop it in the fridge for one hour to rest.
The Filling
- Bring potatoes to boil in a large pot, and cook until you can poke a fork through them.
- Drain potatoes, and set aside in a bowl.
- Reheat the pot you used to boil the potatoes, adding a teaspoon of oil, begin sauting the onions and garlic. Once they are translucent, add the kale to the pot and allow to cook until wilted, and tender. Remove from the heat.
- Return the potatoes to the pot with the onions, and kale, and mash with a hand masher, or use an electric hand mixer.
- Mix in the roasted red pepper, and seasoning to the mash and allow to cool.
Making the Knish and gravy
pre-heat oven to 350 degrees
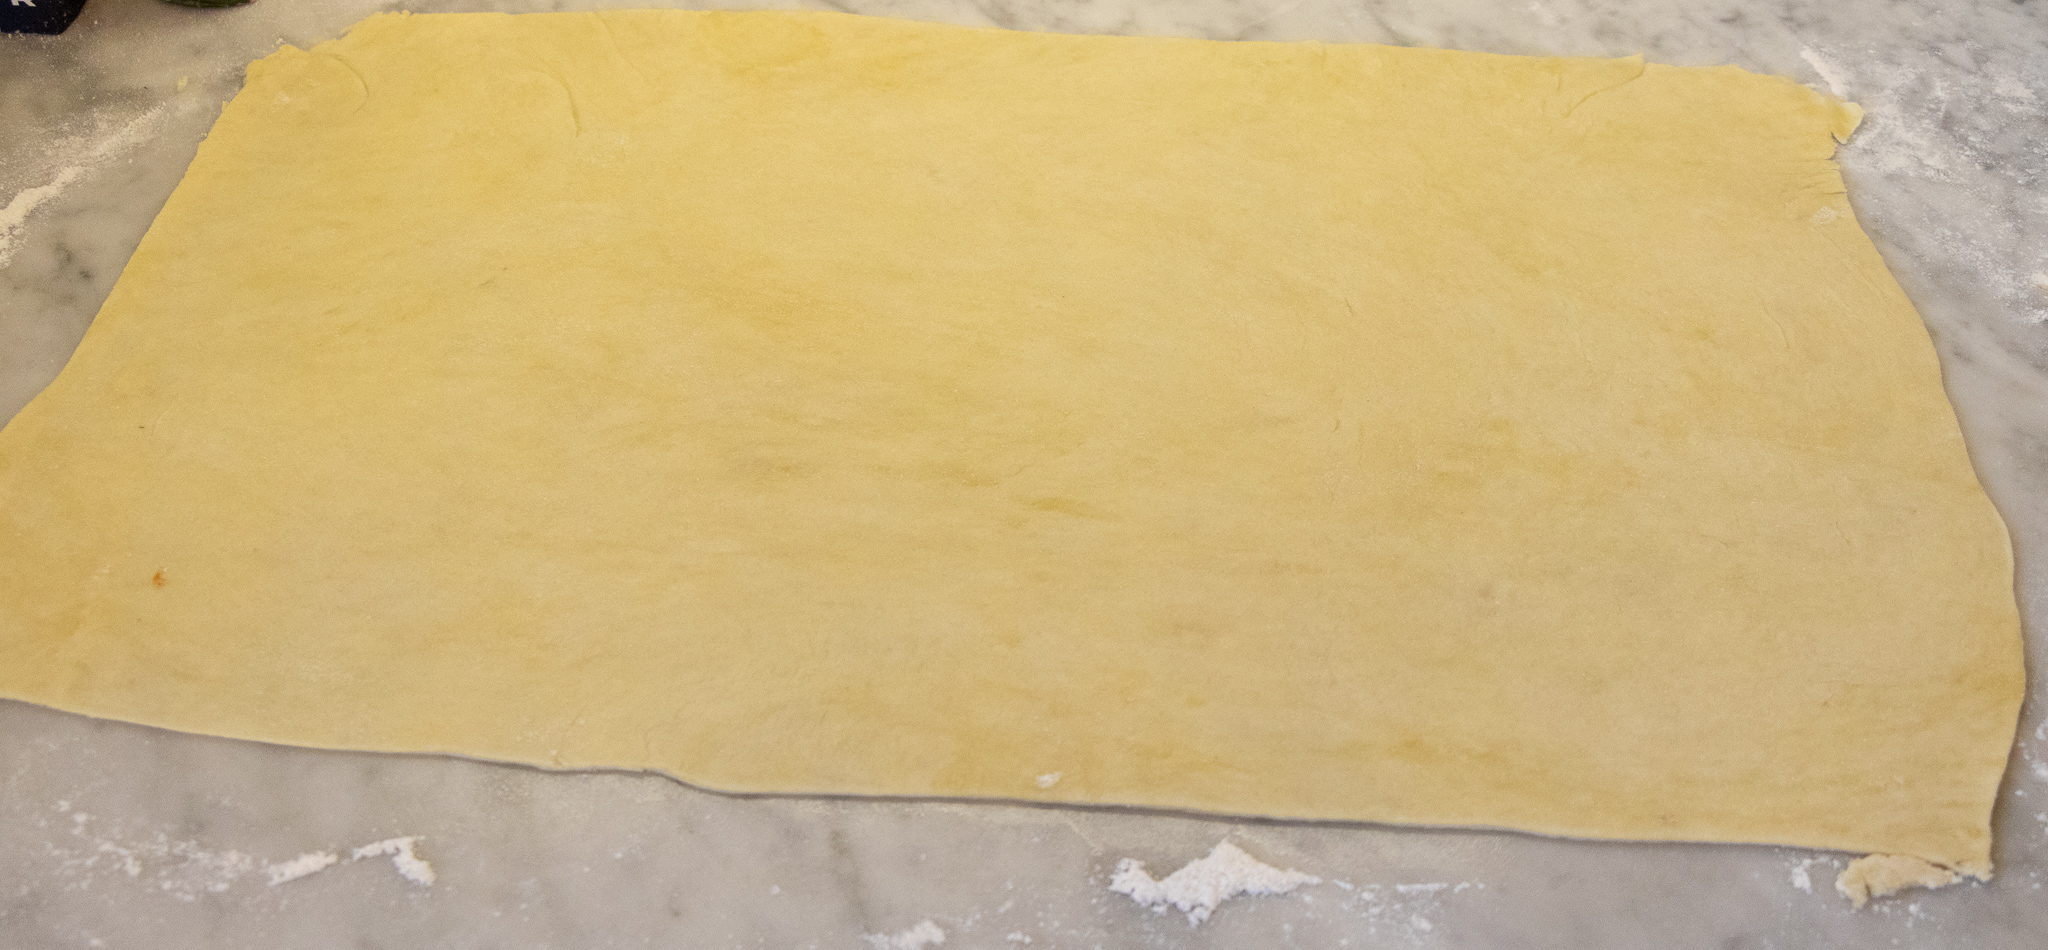
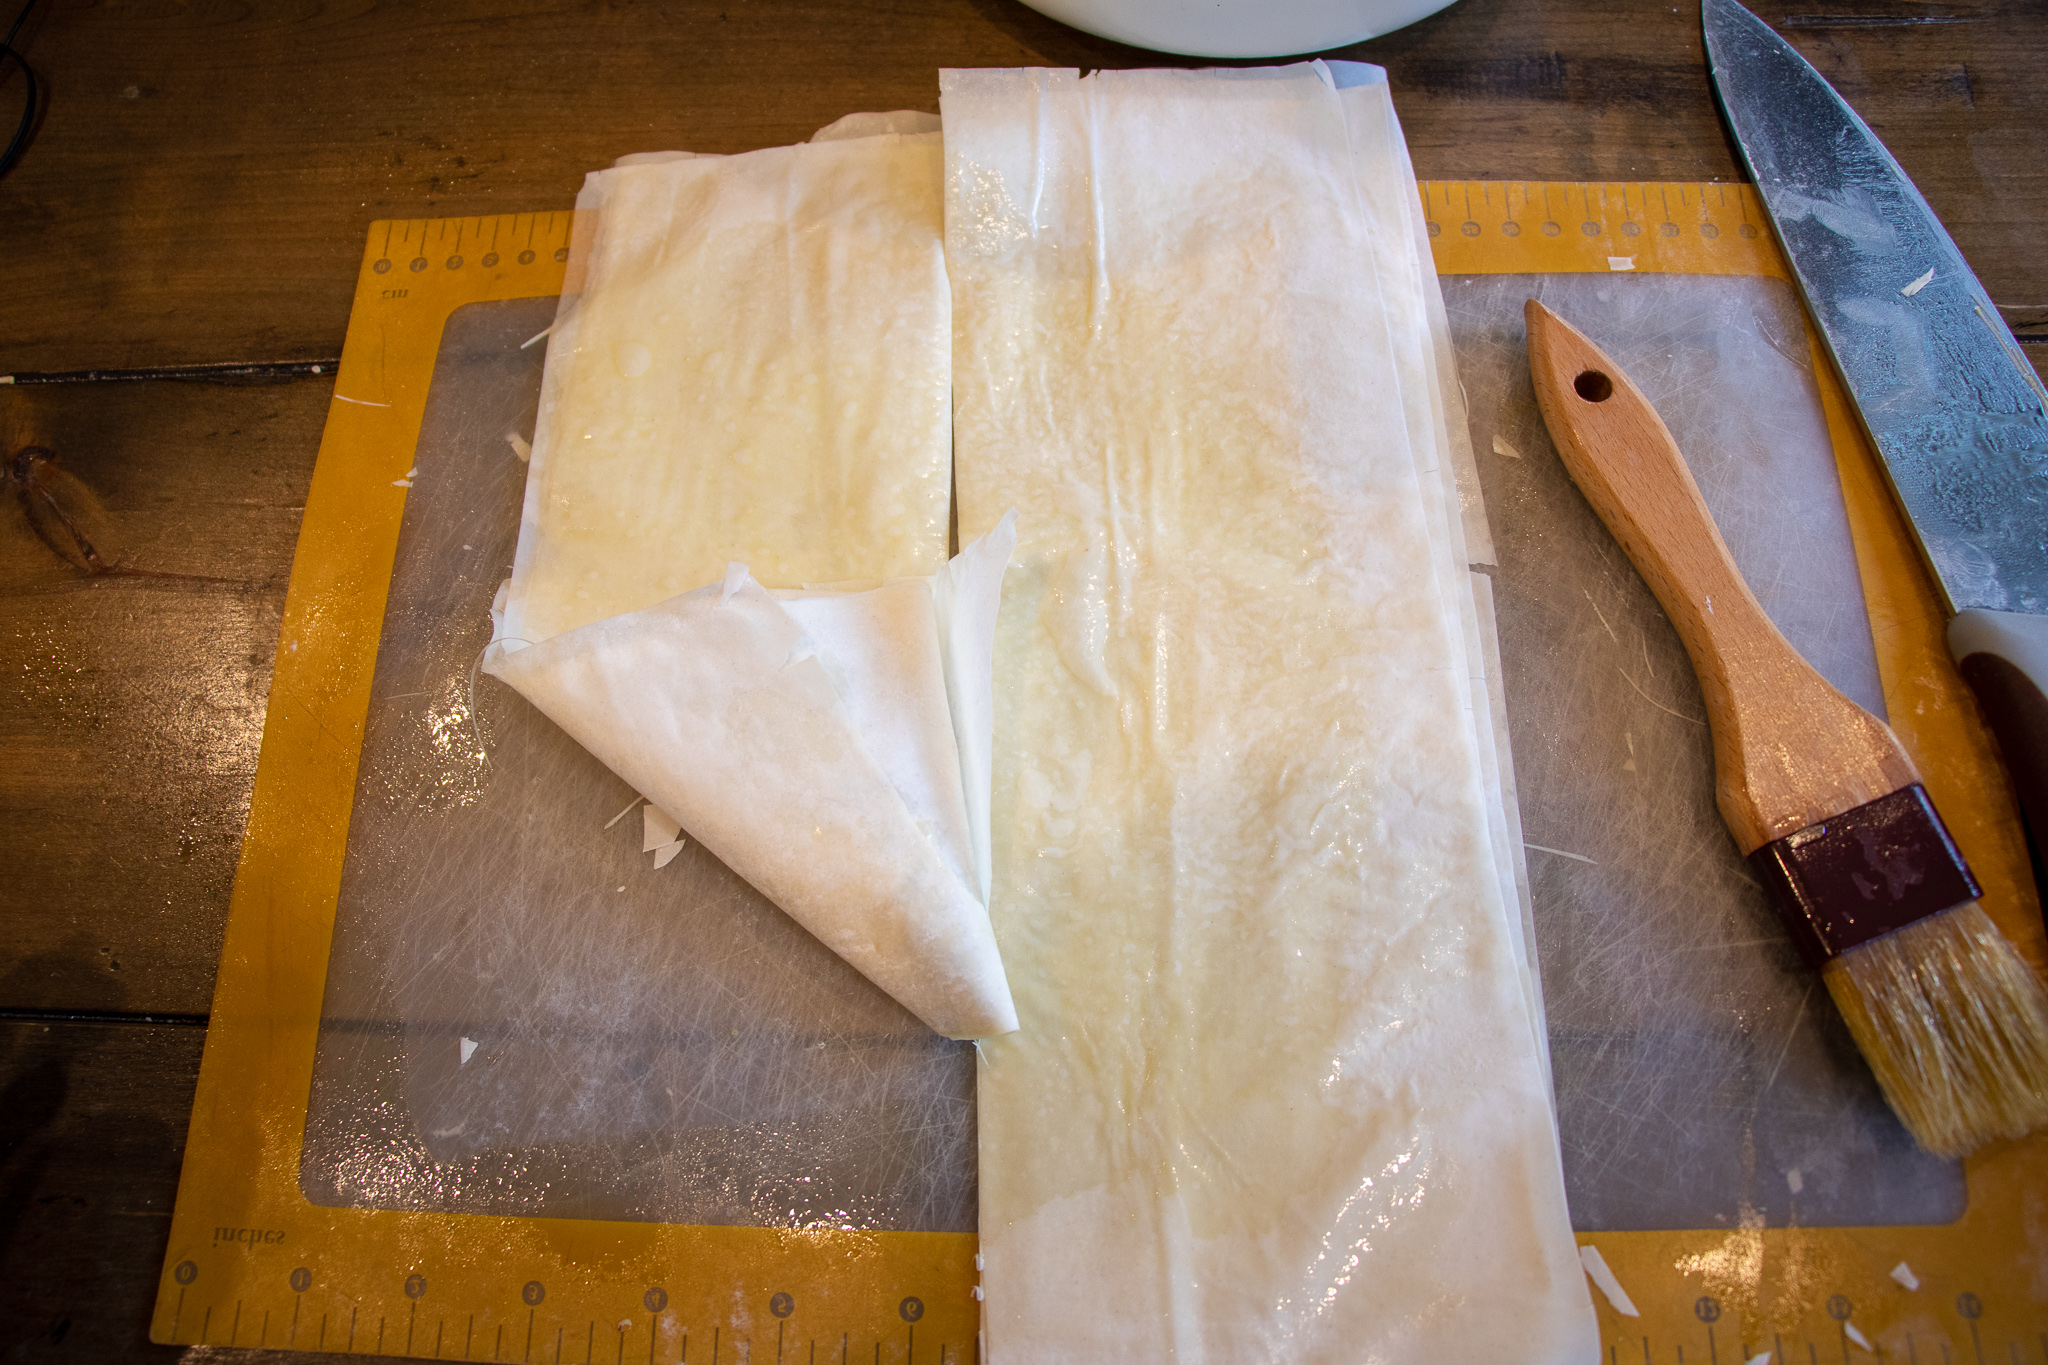
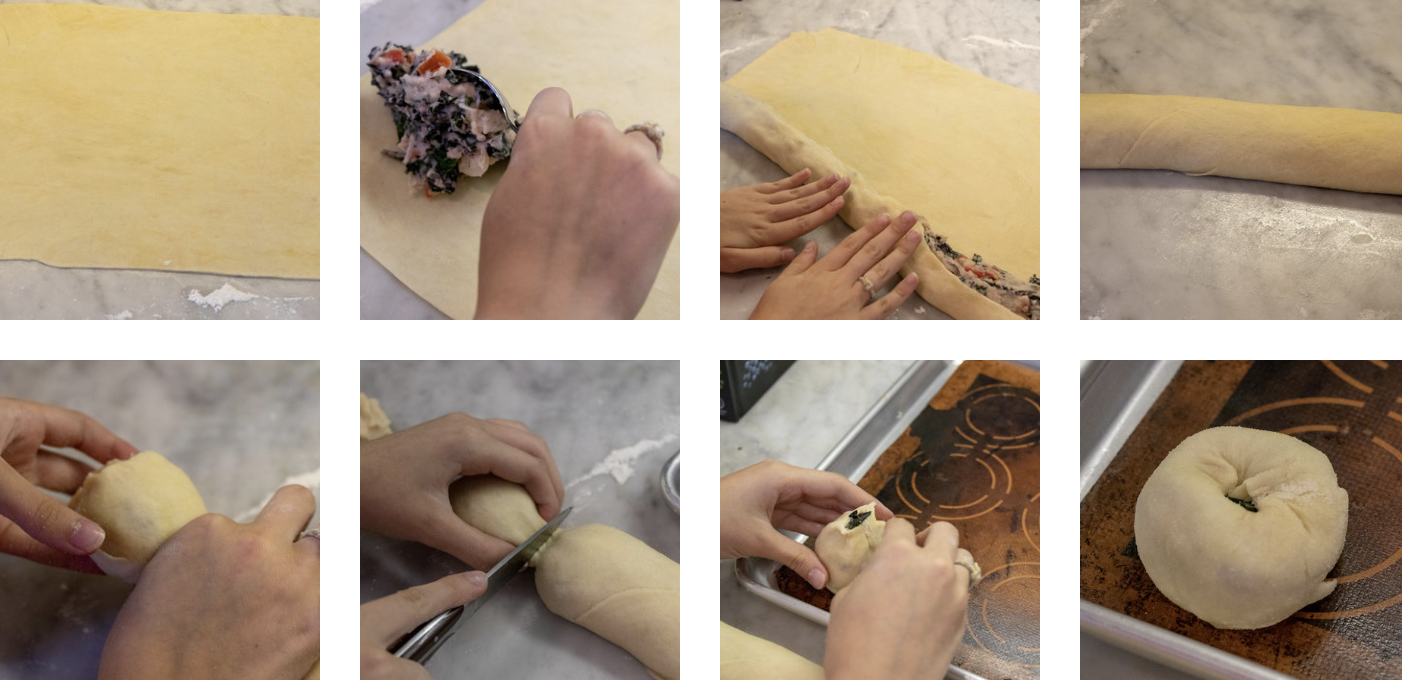
- Remove dough from the the fridge and roll it out on a big floured surface (a counter top works best, you need a lot of room) into a large rectangle. The dough should be about a 1/4 inch thick. It's ok if you cannot get it into a perfect rectangle, you can trim up the edges with a sharp knife to even it out. You can save the scrap dough and roll it back out, adding any left over filling you may have to yield a few more knish.
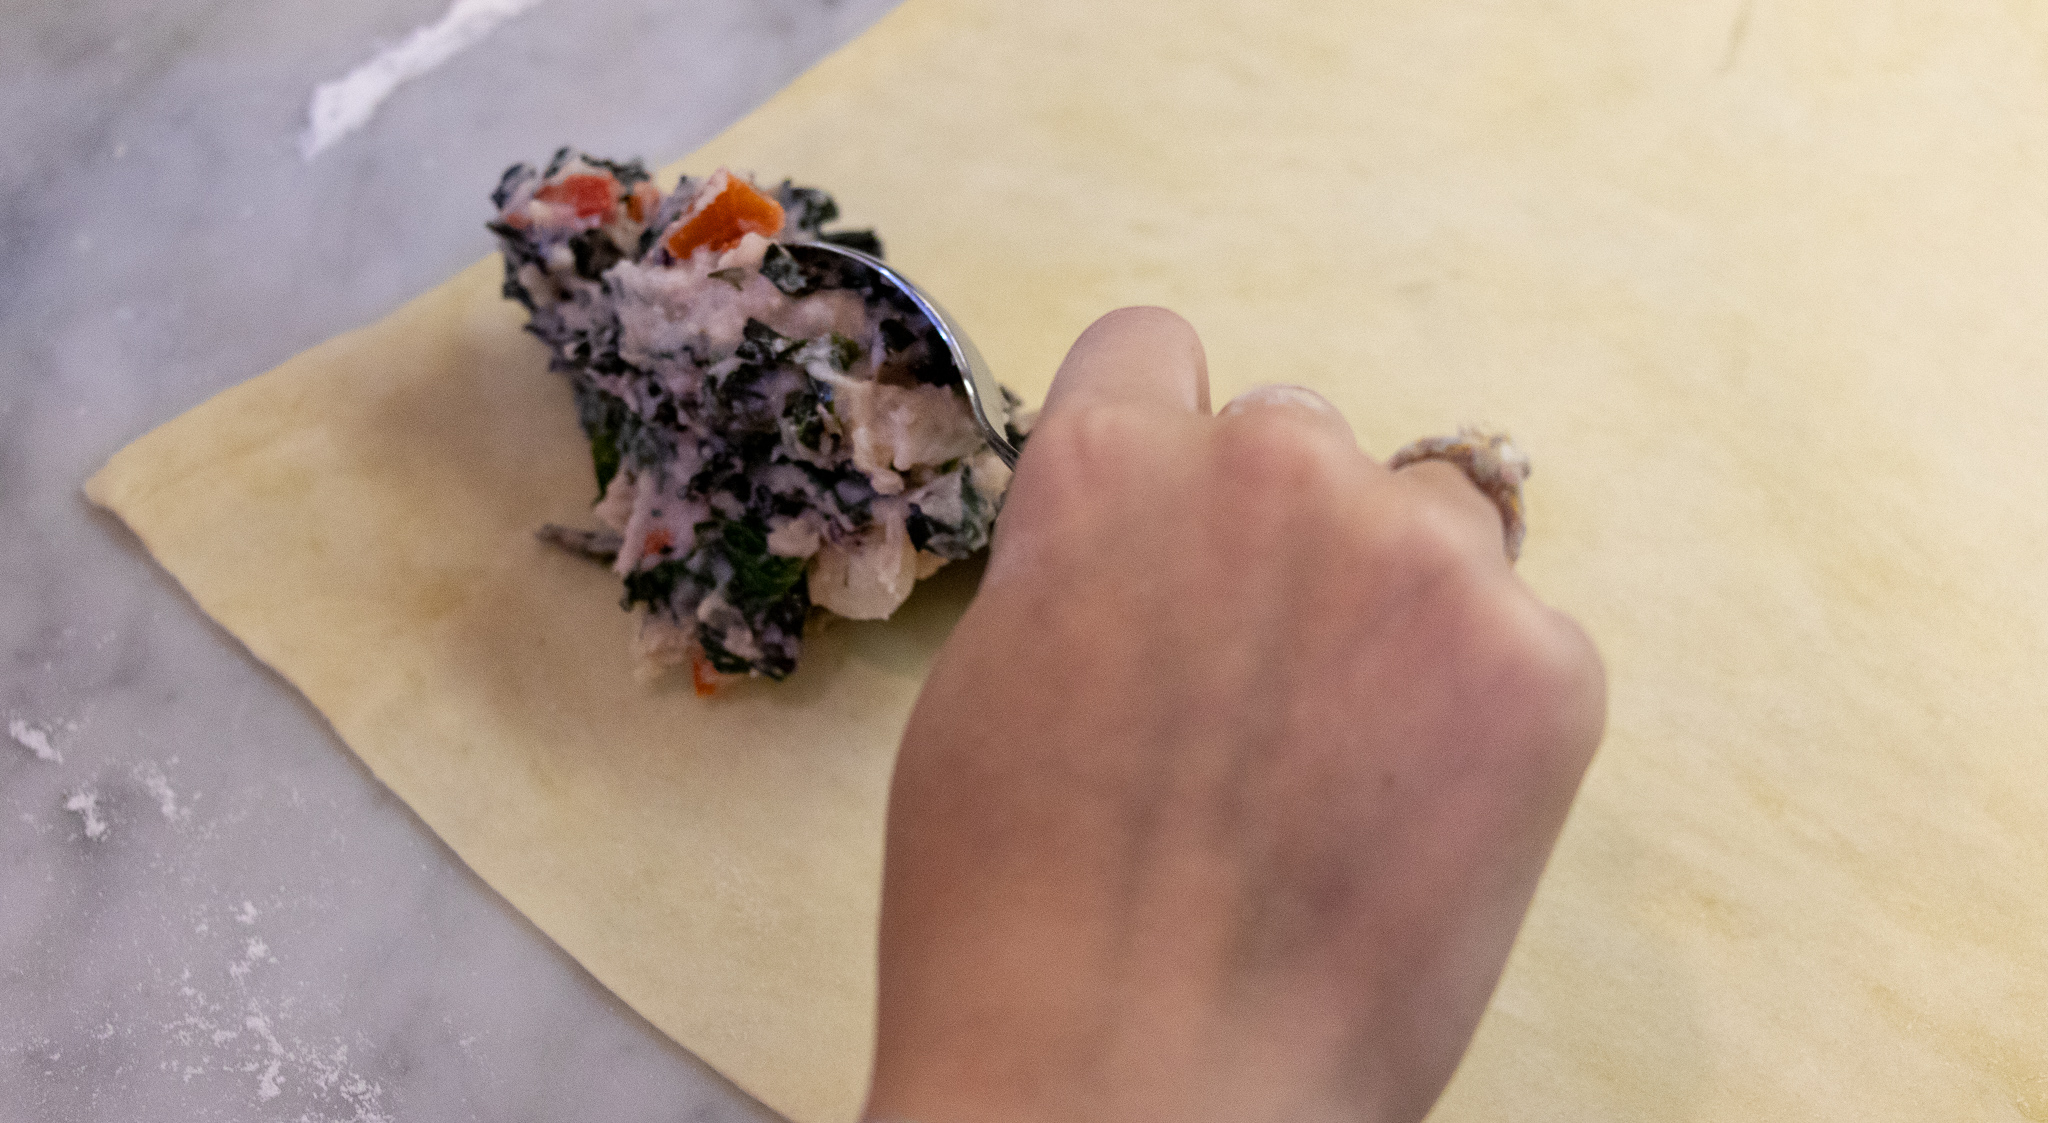
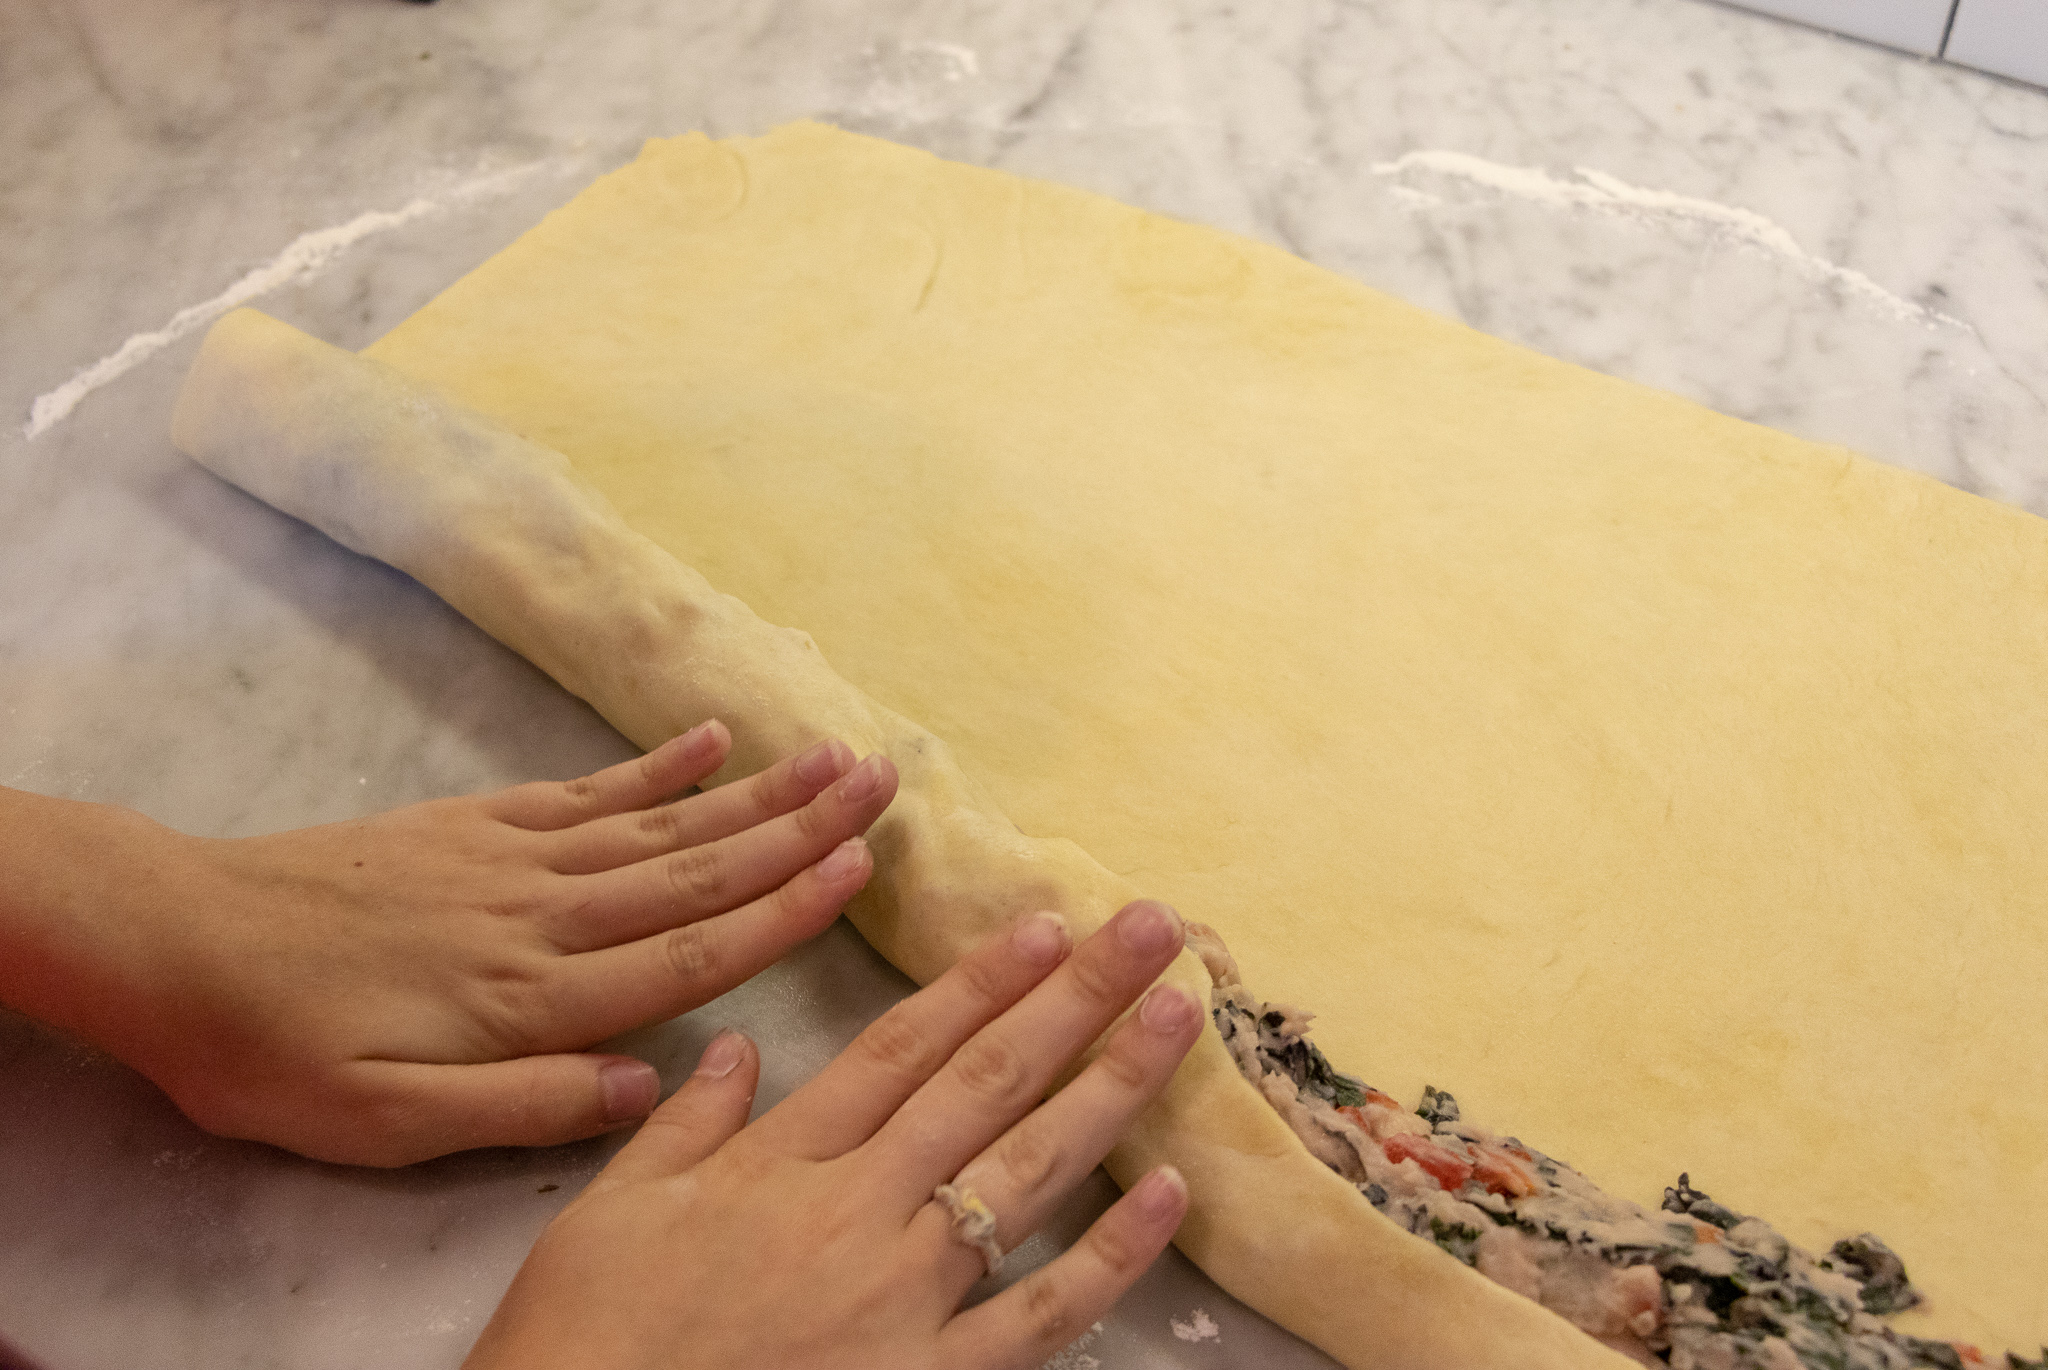
- Now at the edge of the dough closest to you, form a log 2 inches wide by 1 inch thick (give or take) with your filling, the length of the dough.
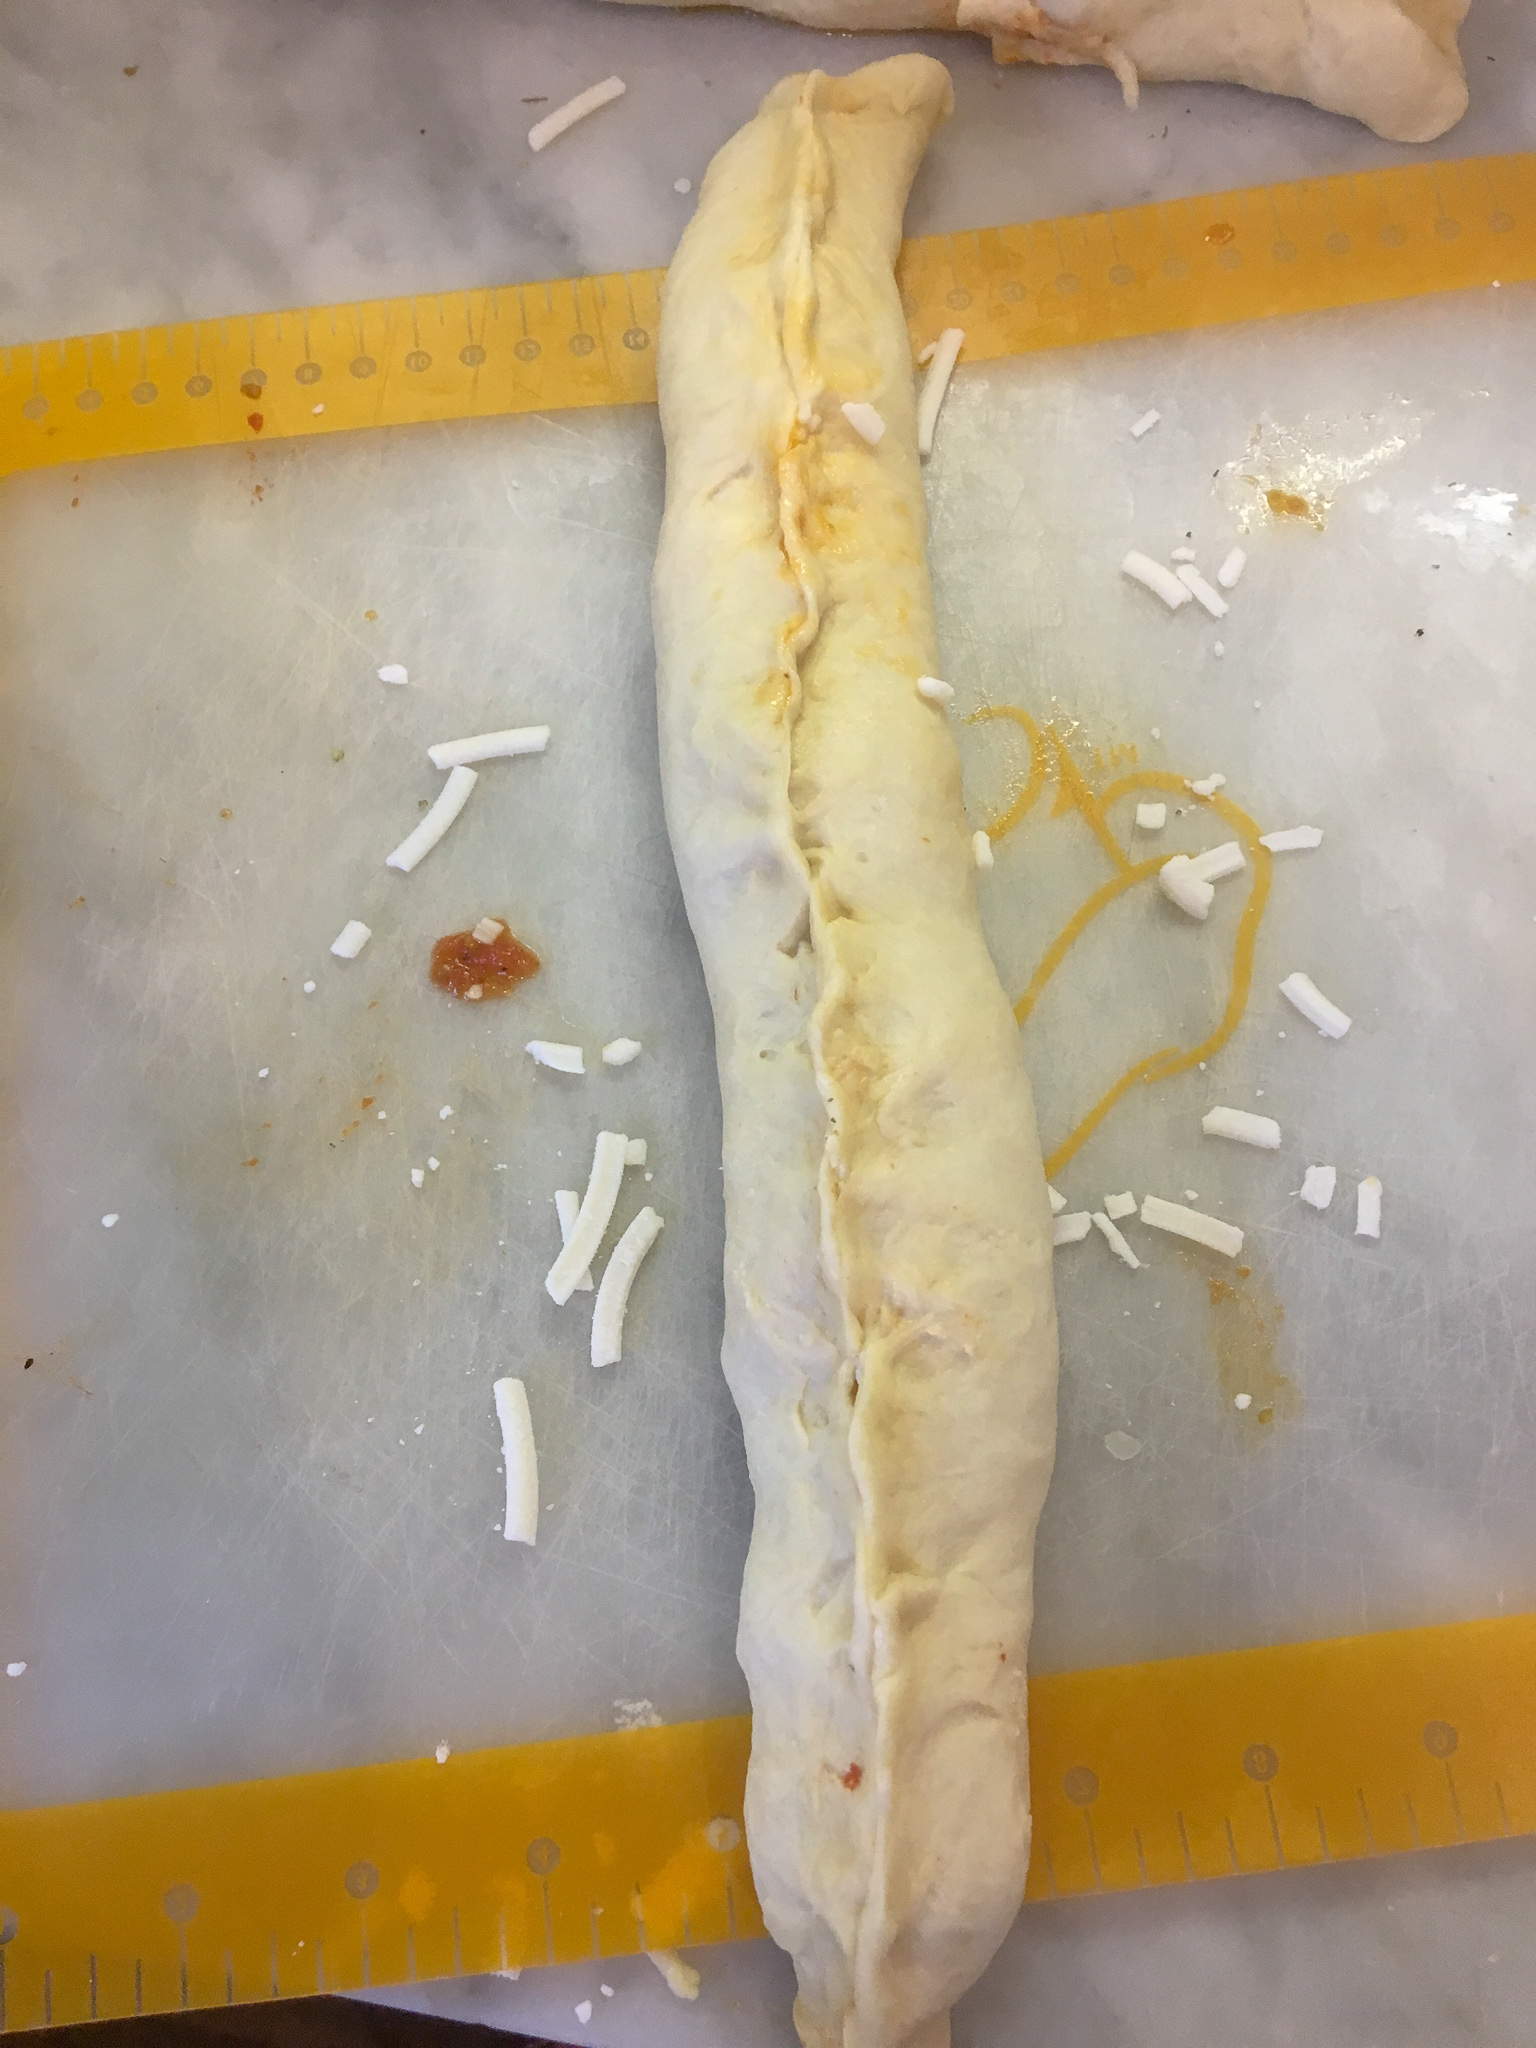
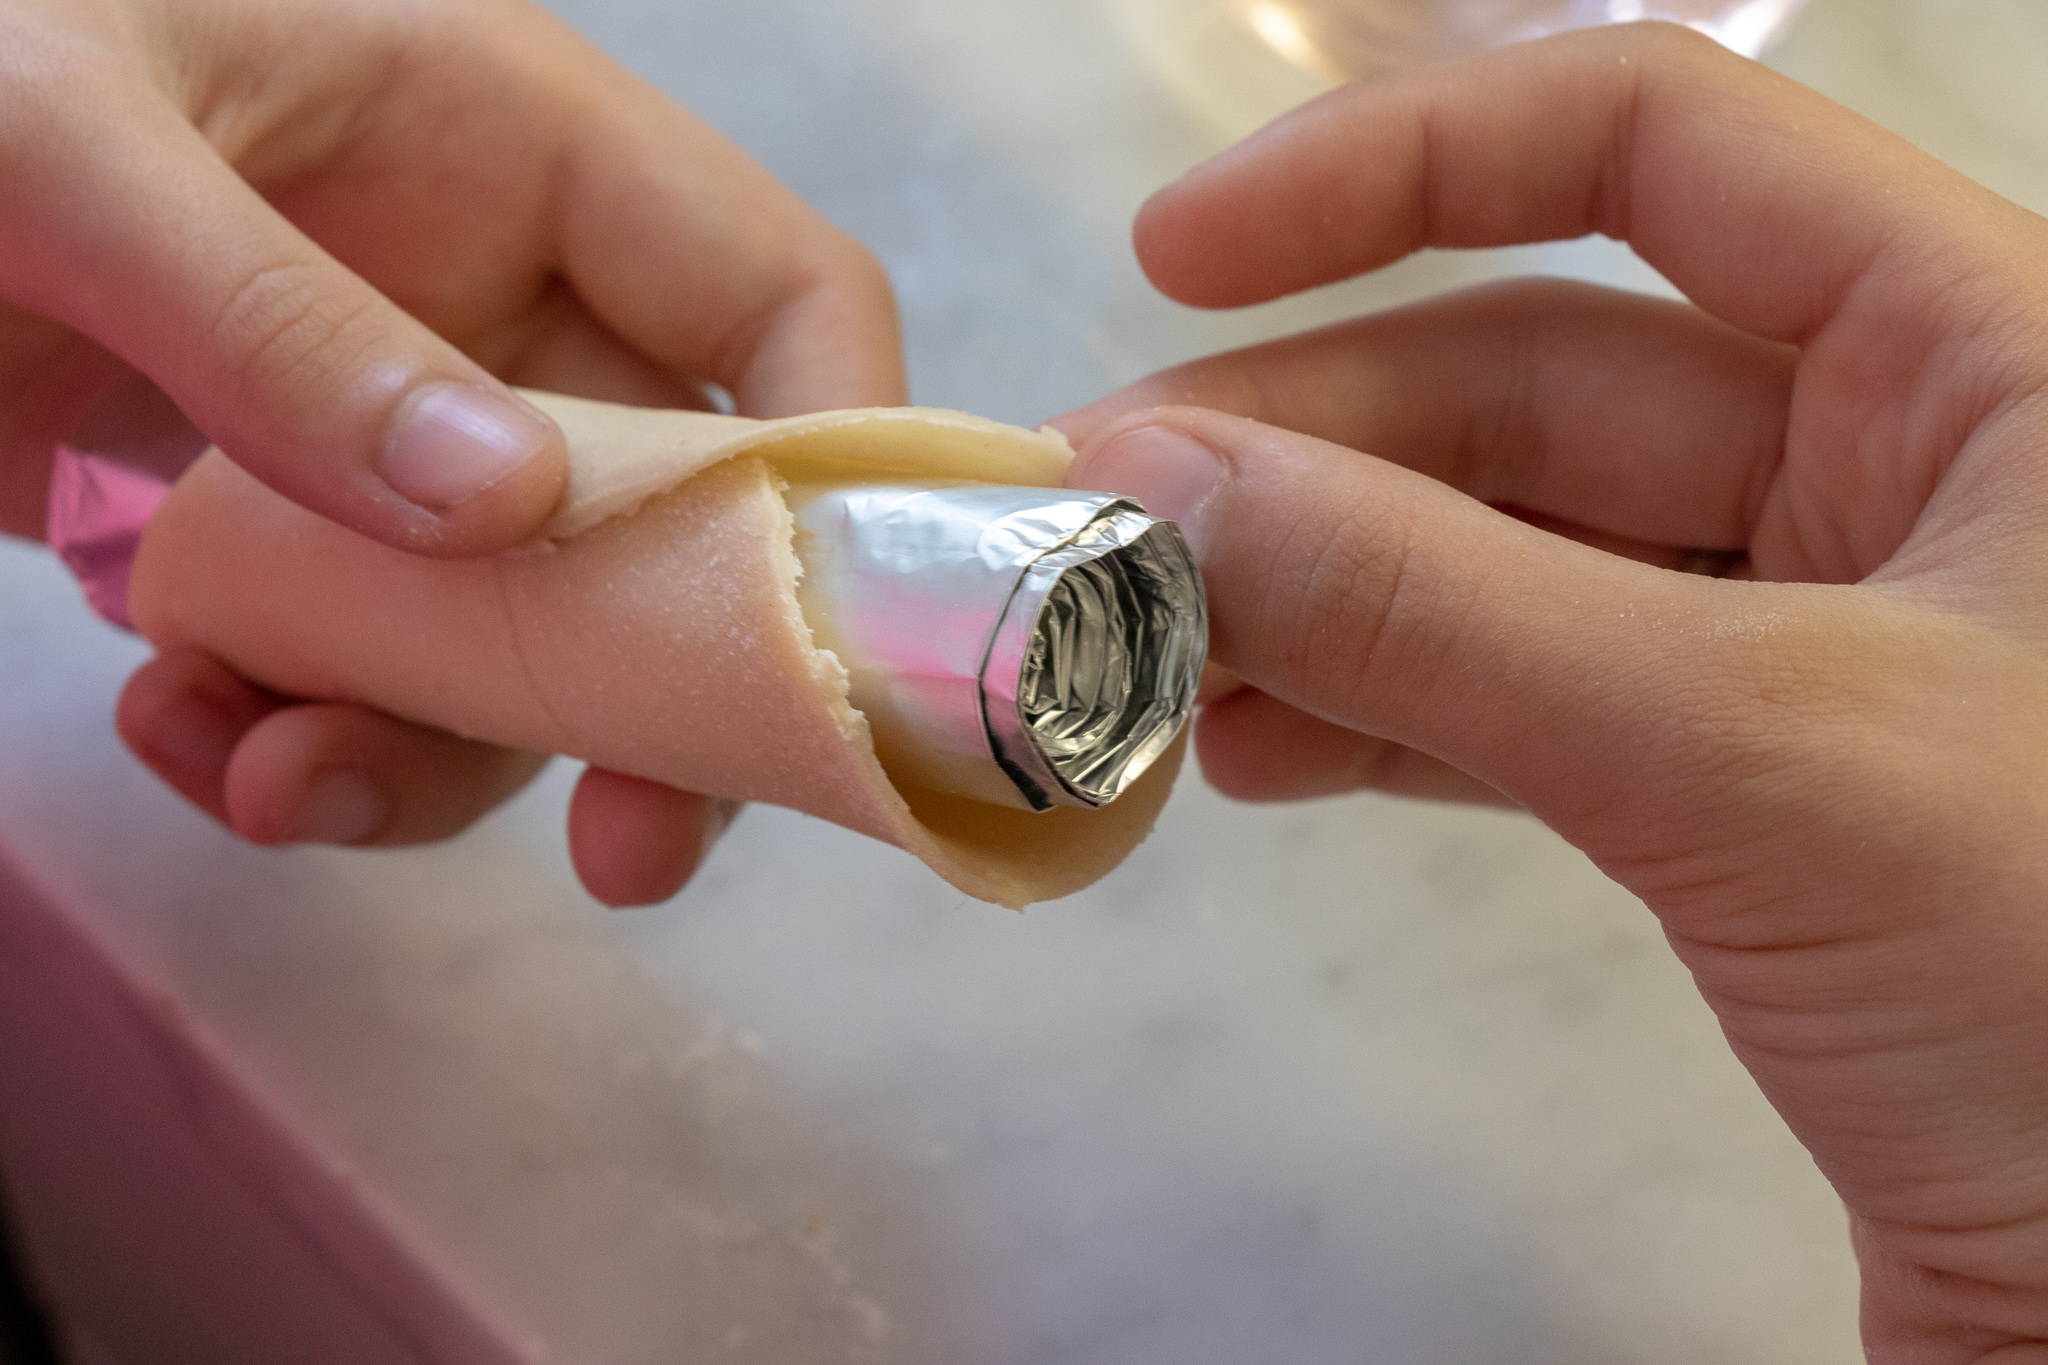
- Once all of the filling is in place, start rolling the dough (starting on the filling end) trying to get the roll as tight as you can, without having the filling squish out the ends. Before you come to the end, brush some water along the edge of the dough to help seal the seam.
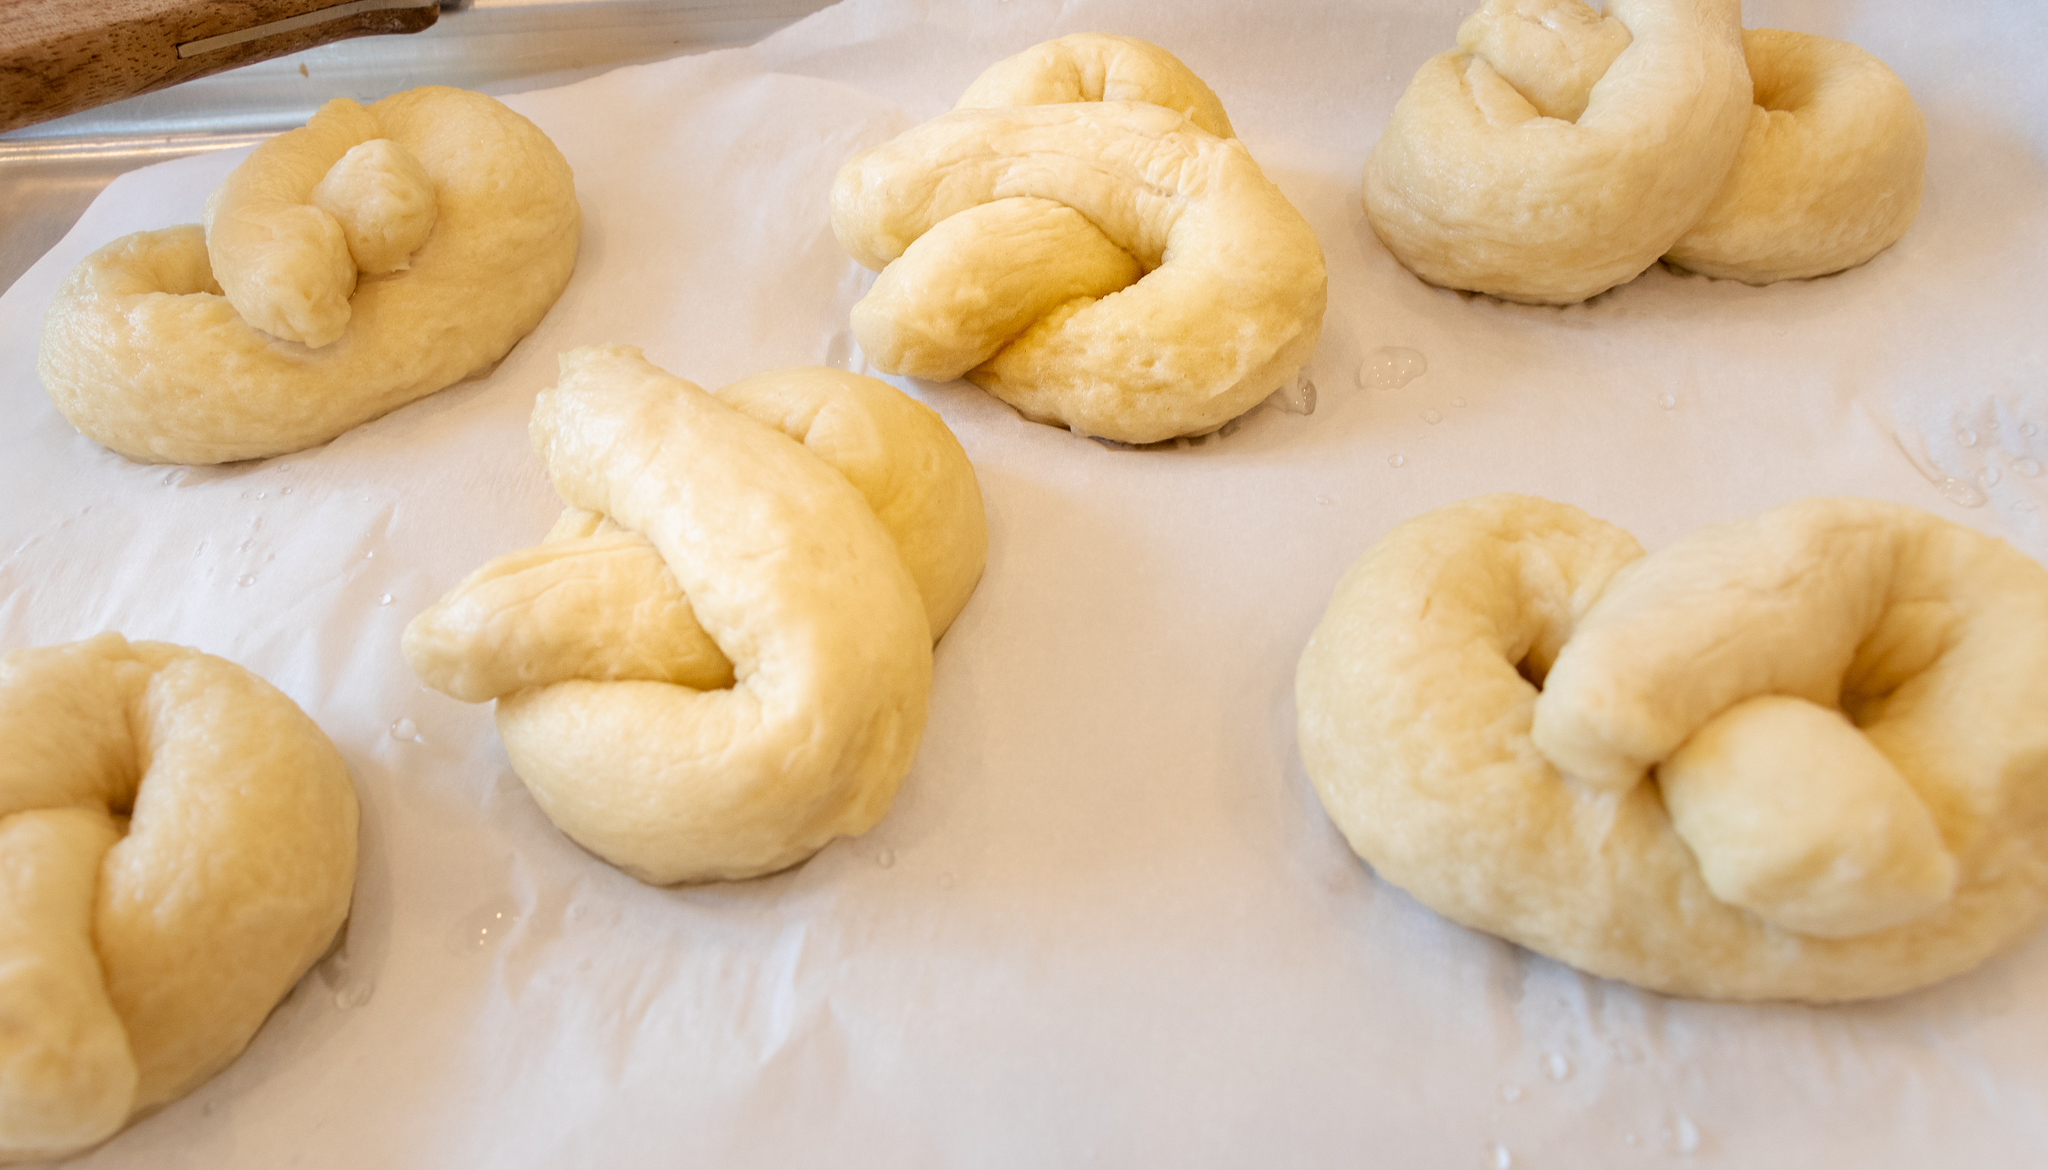
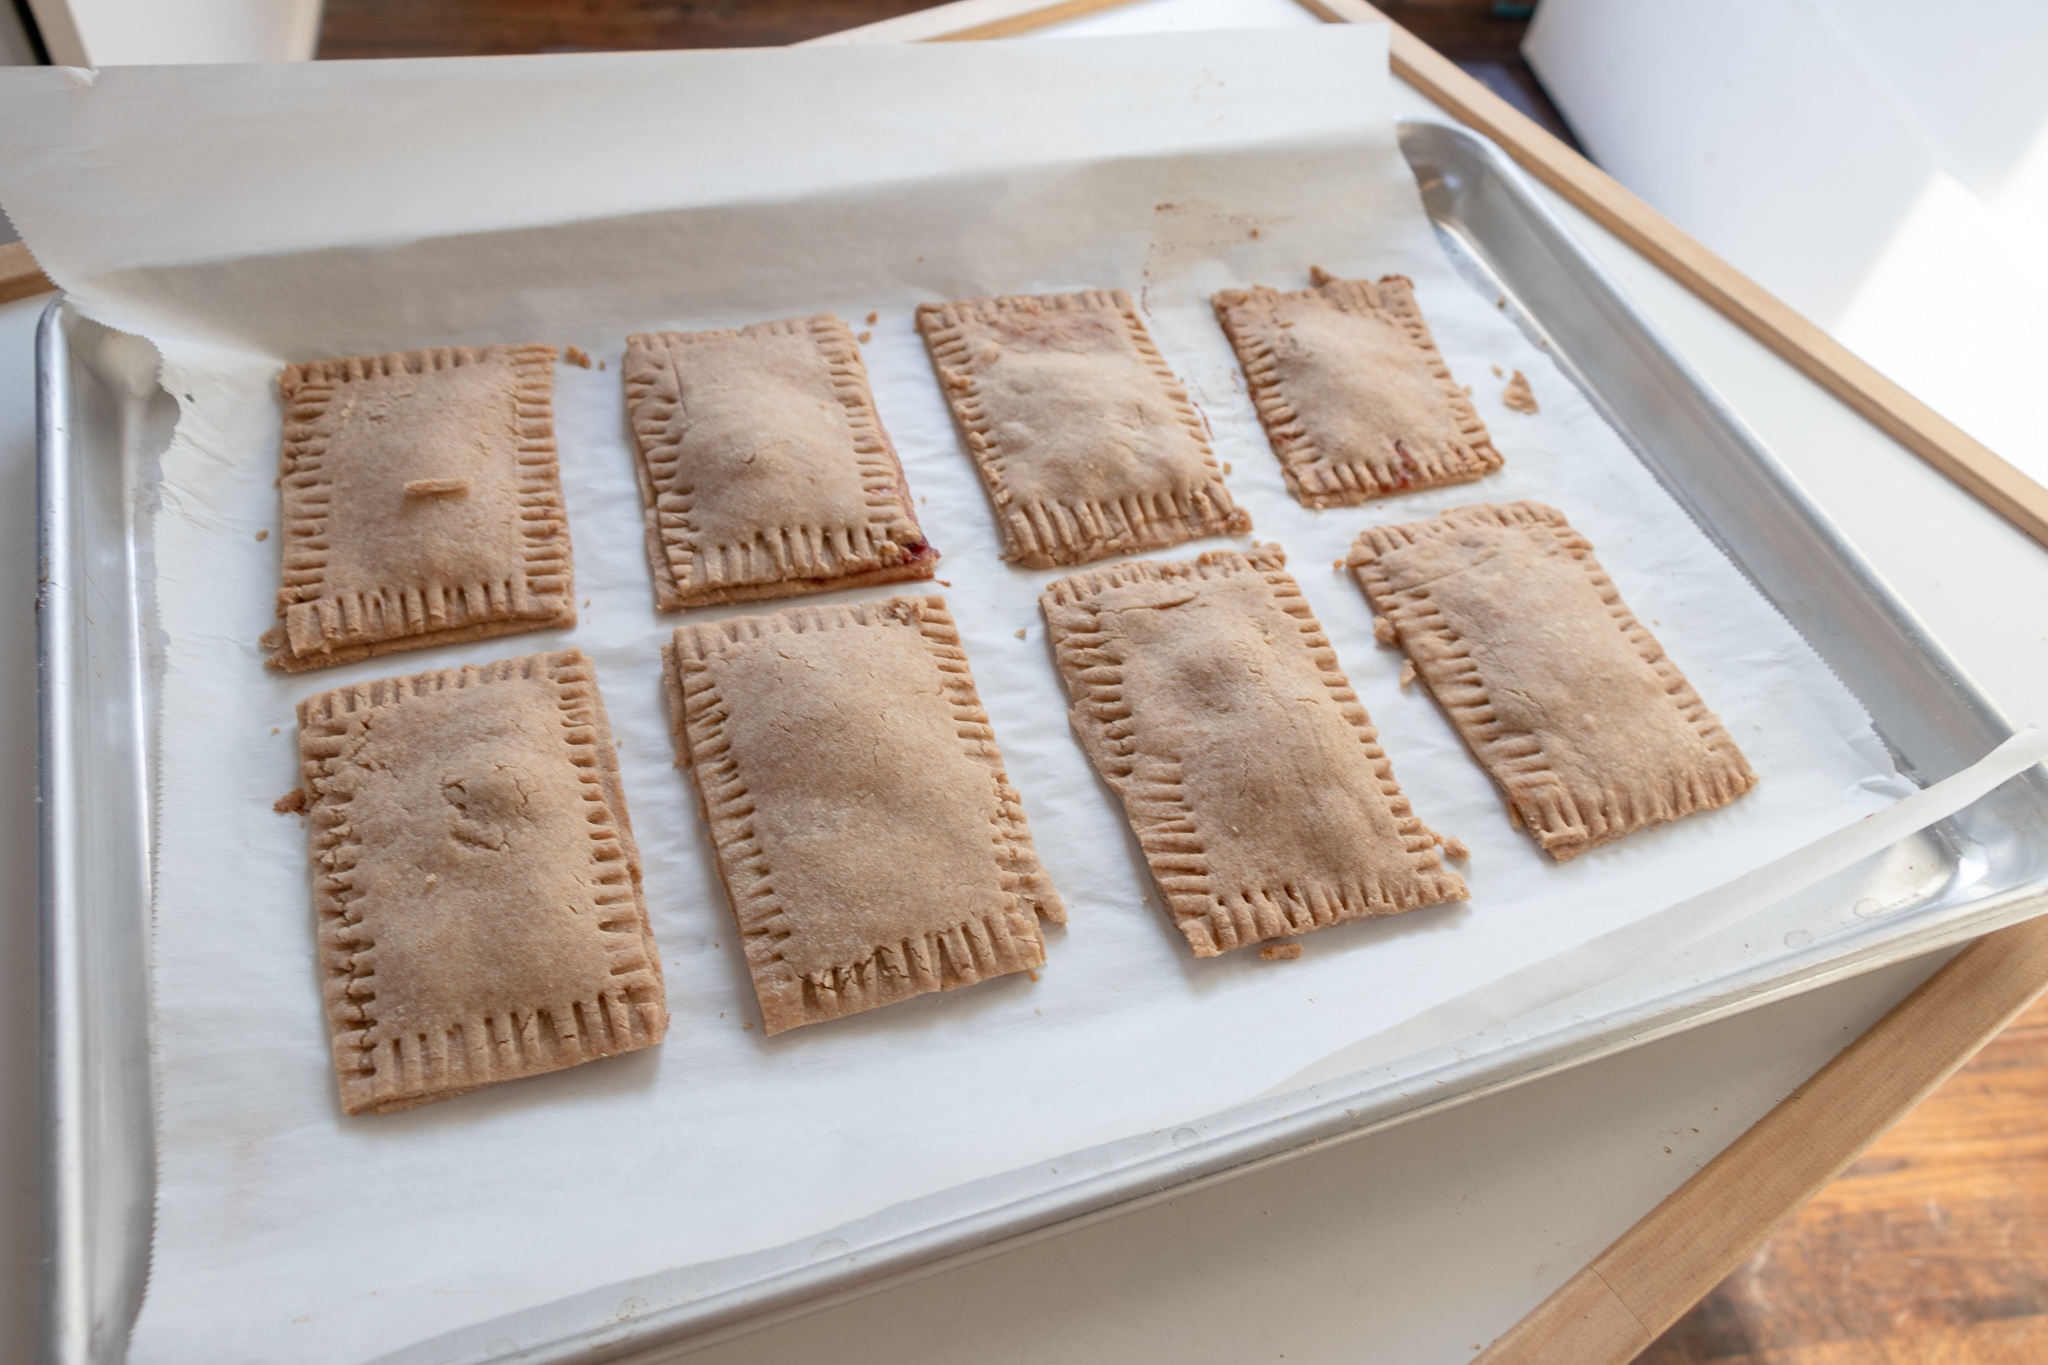
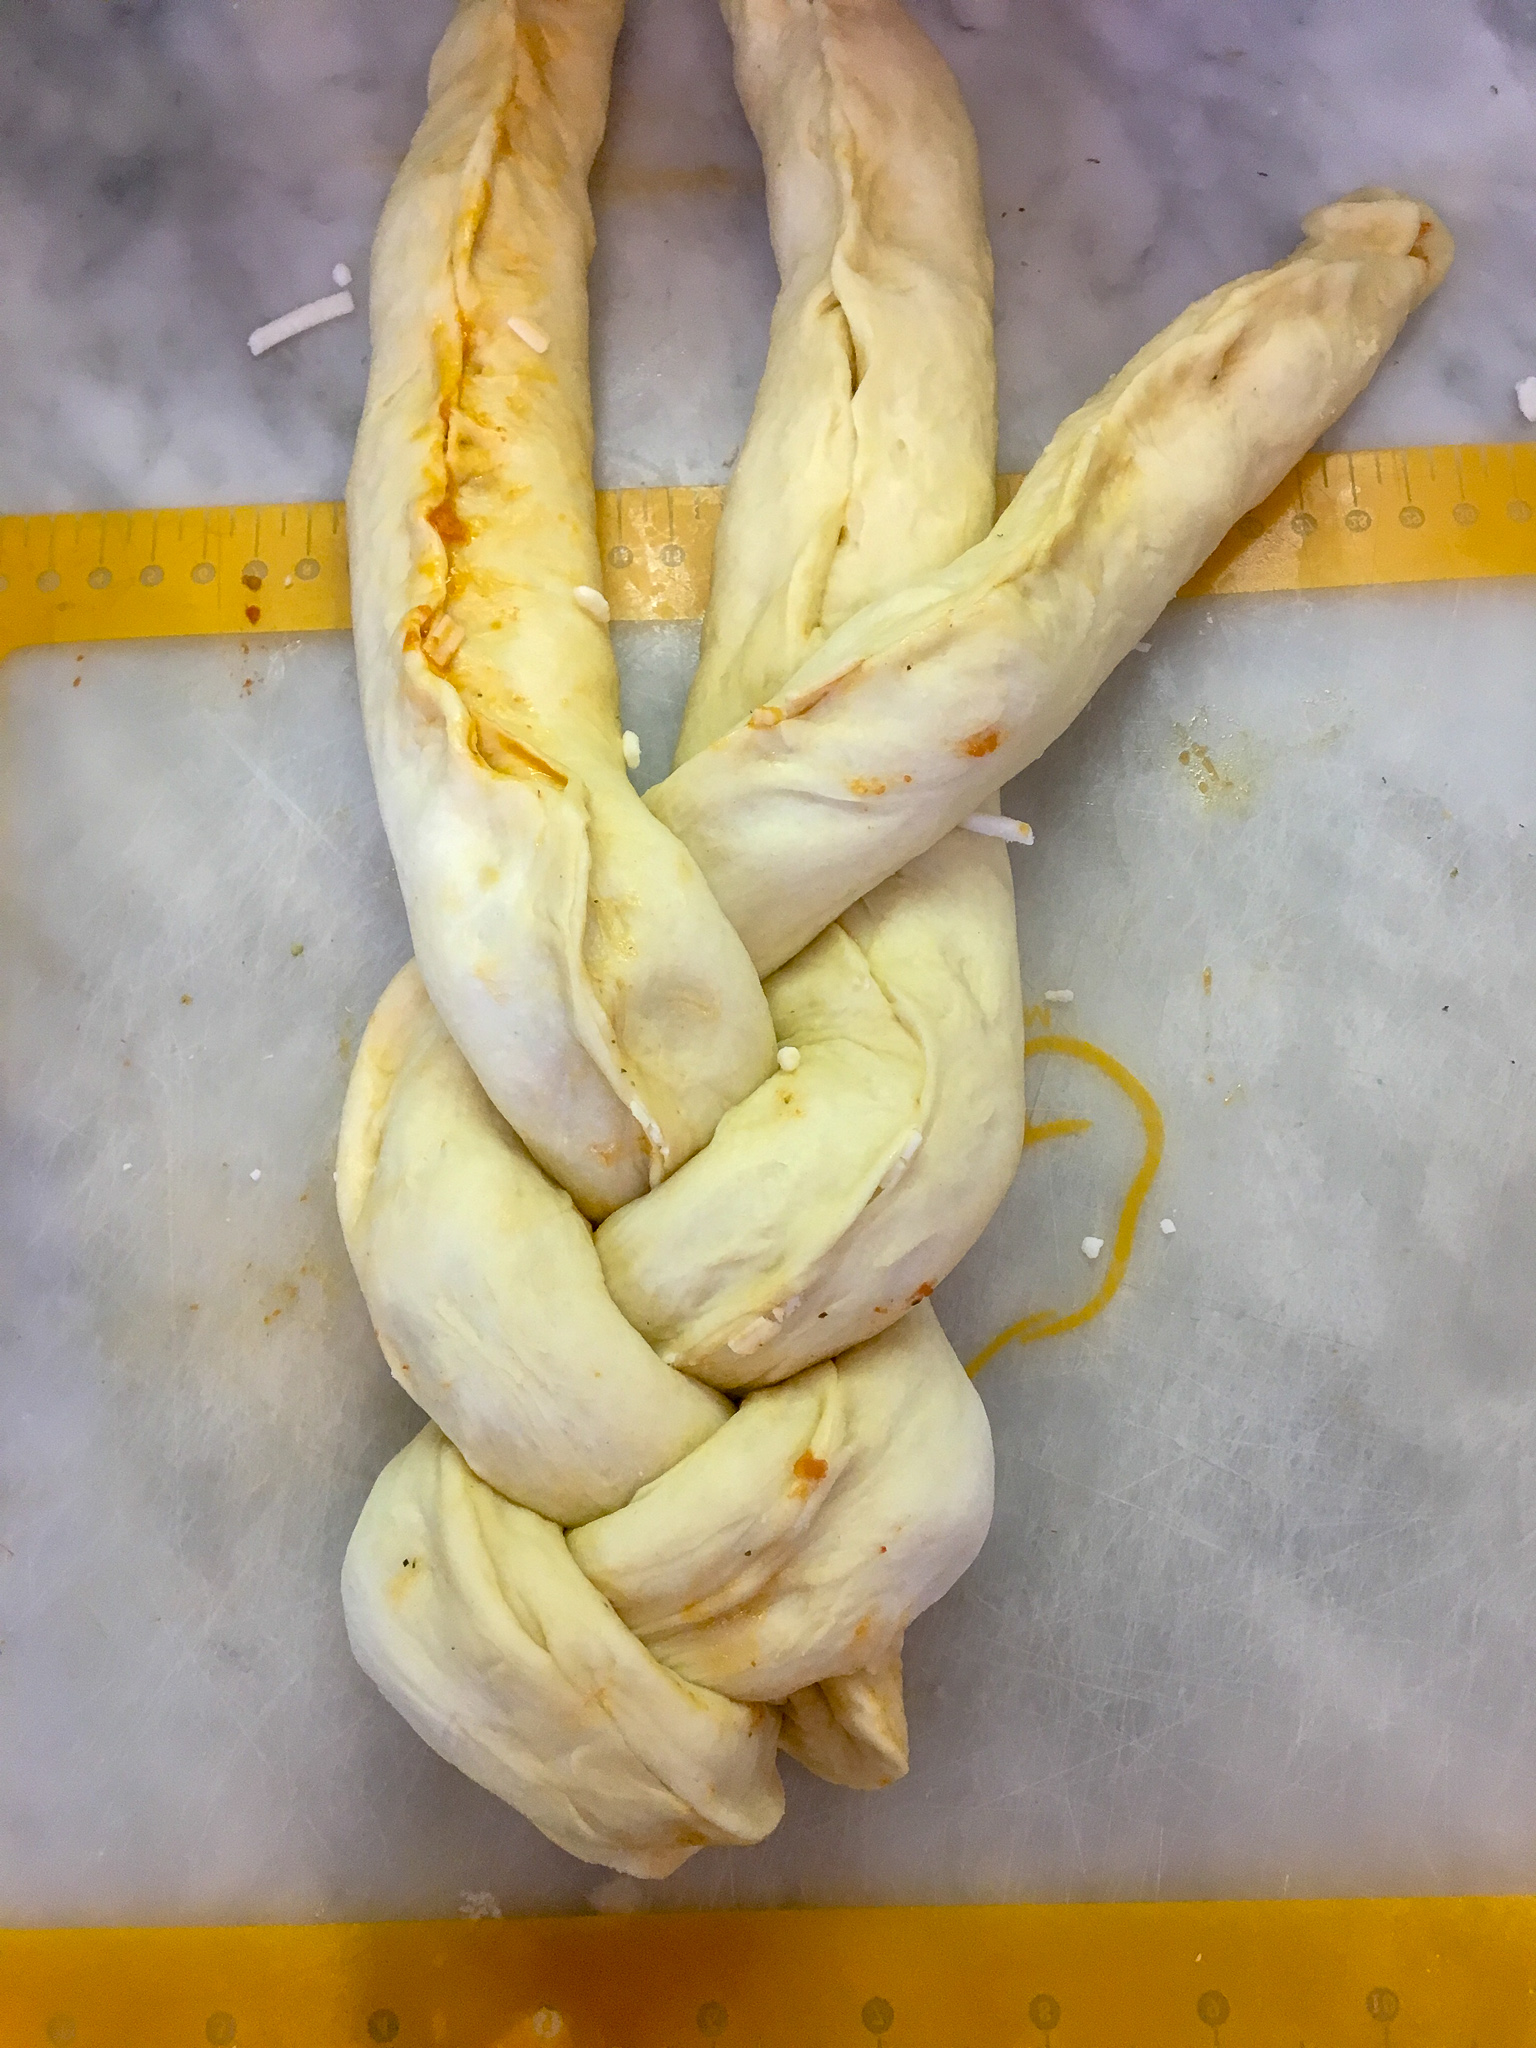
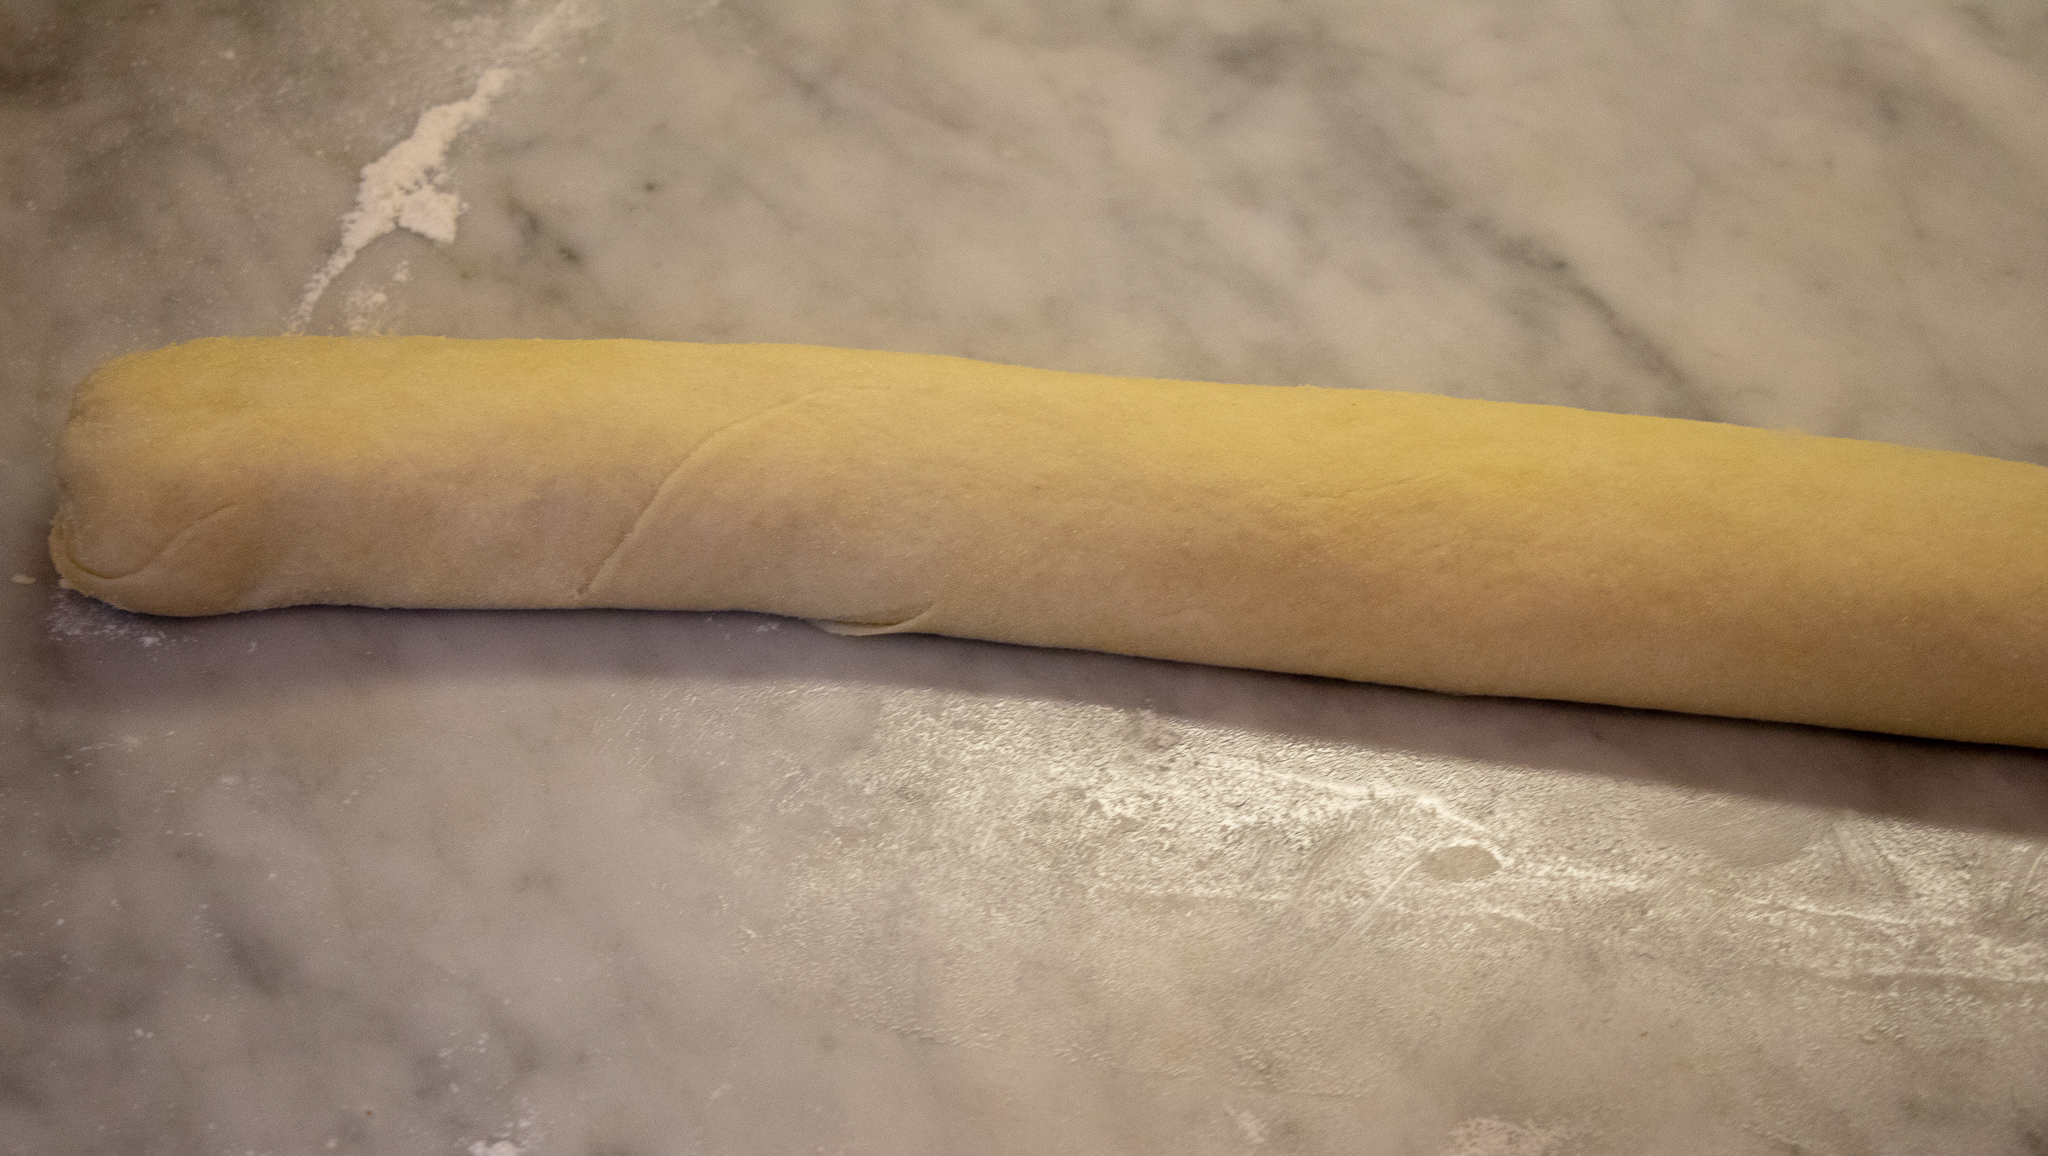
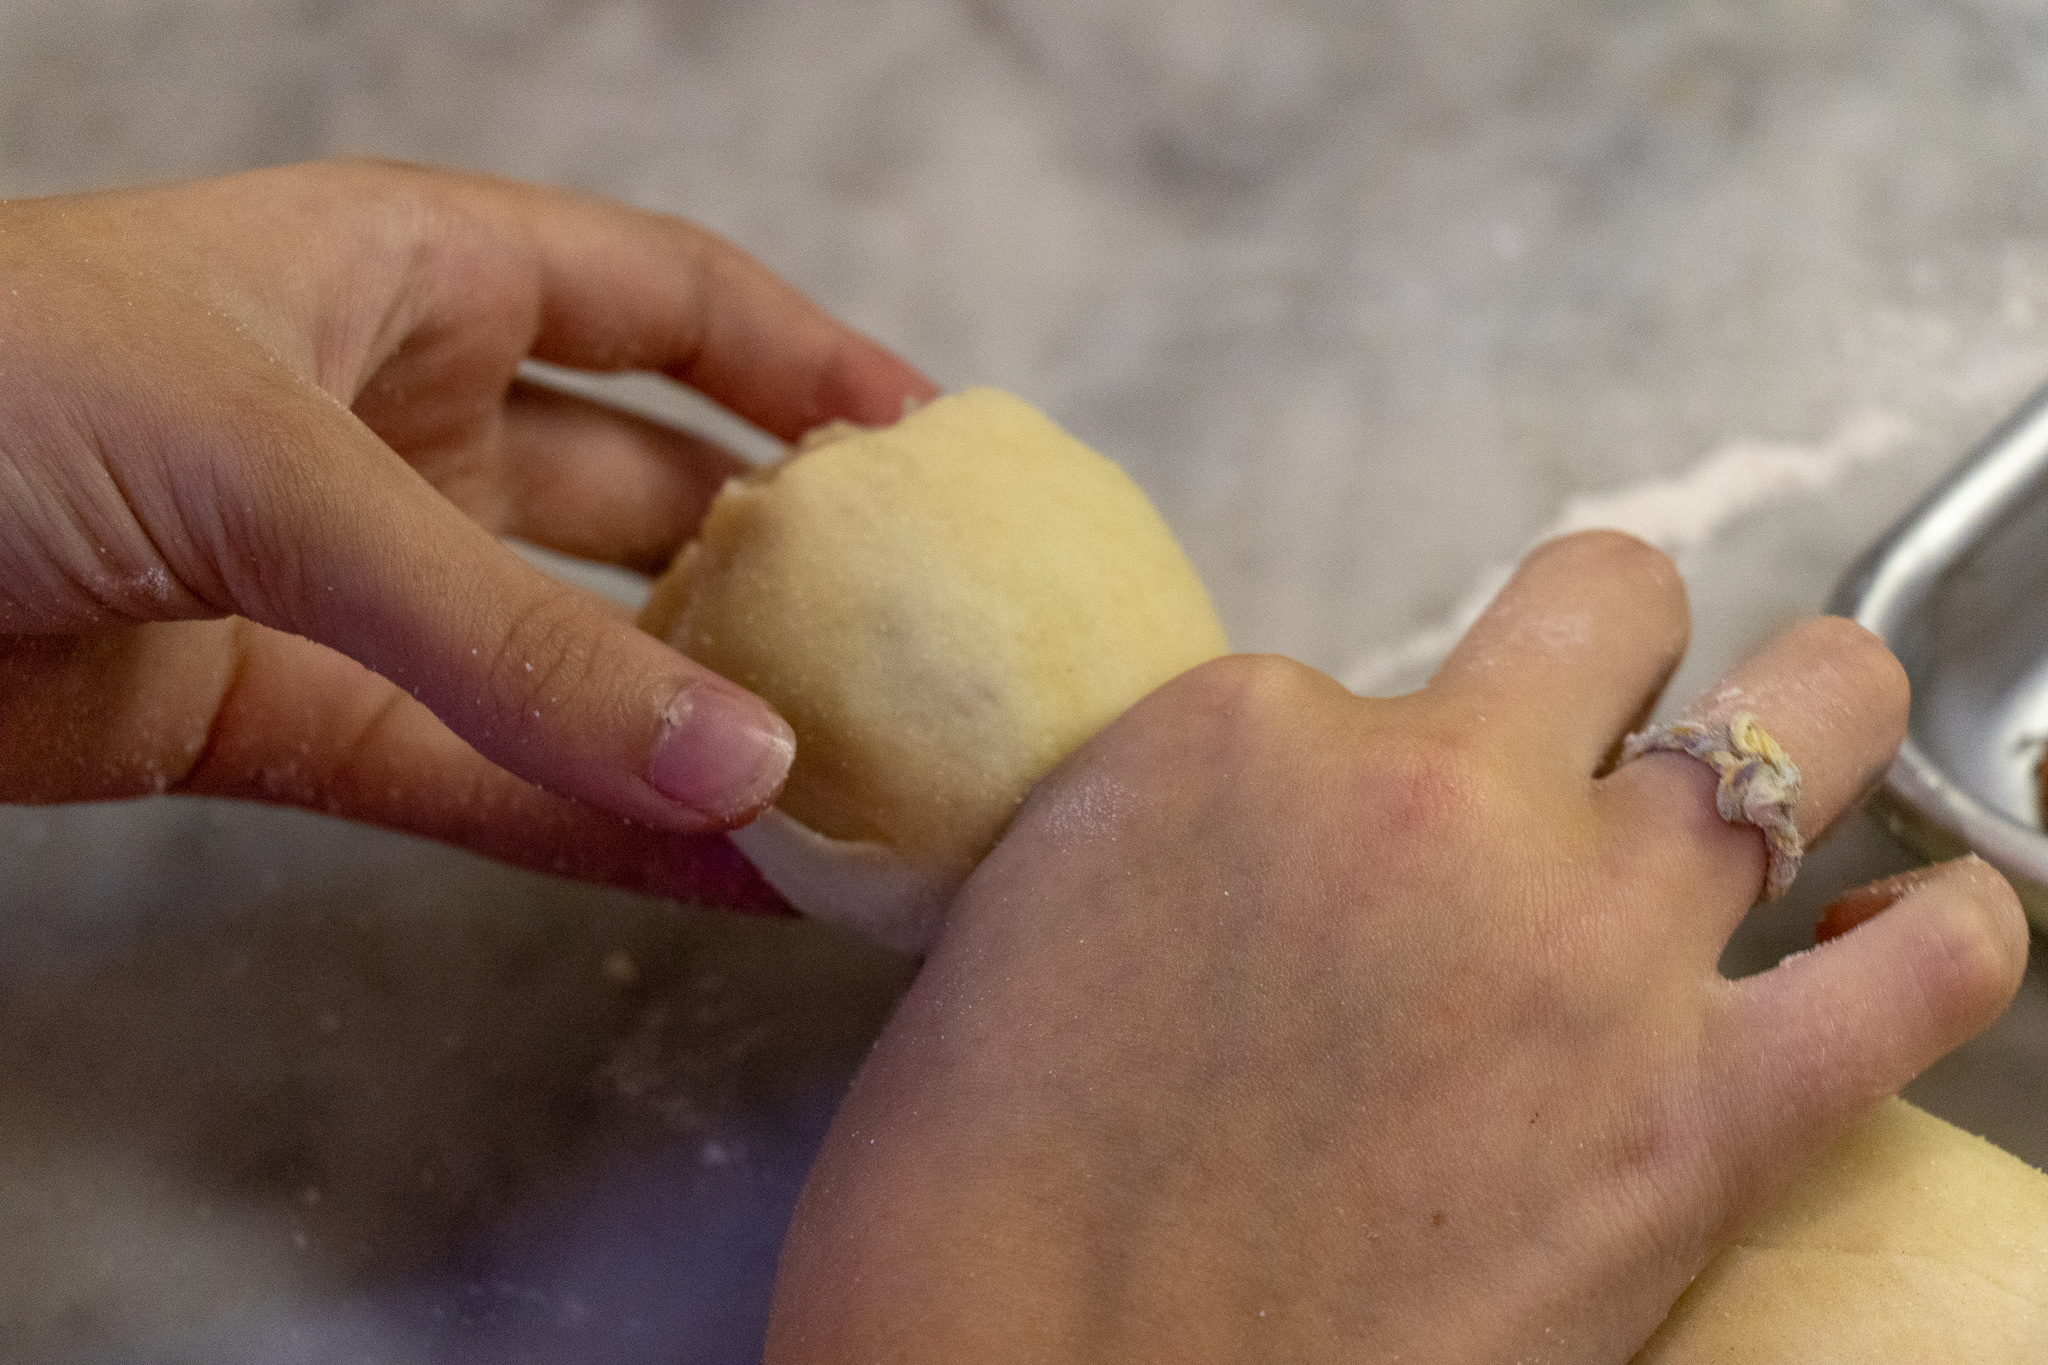
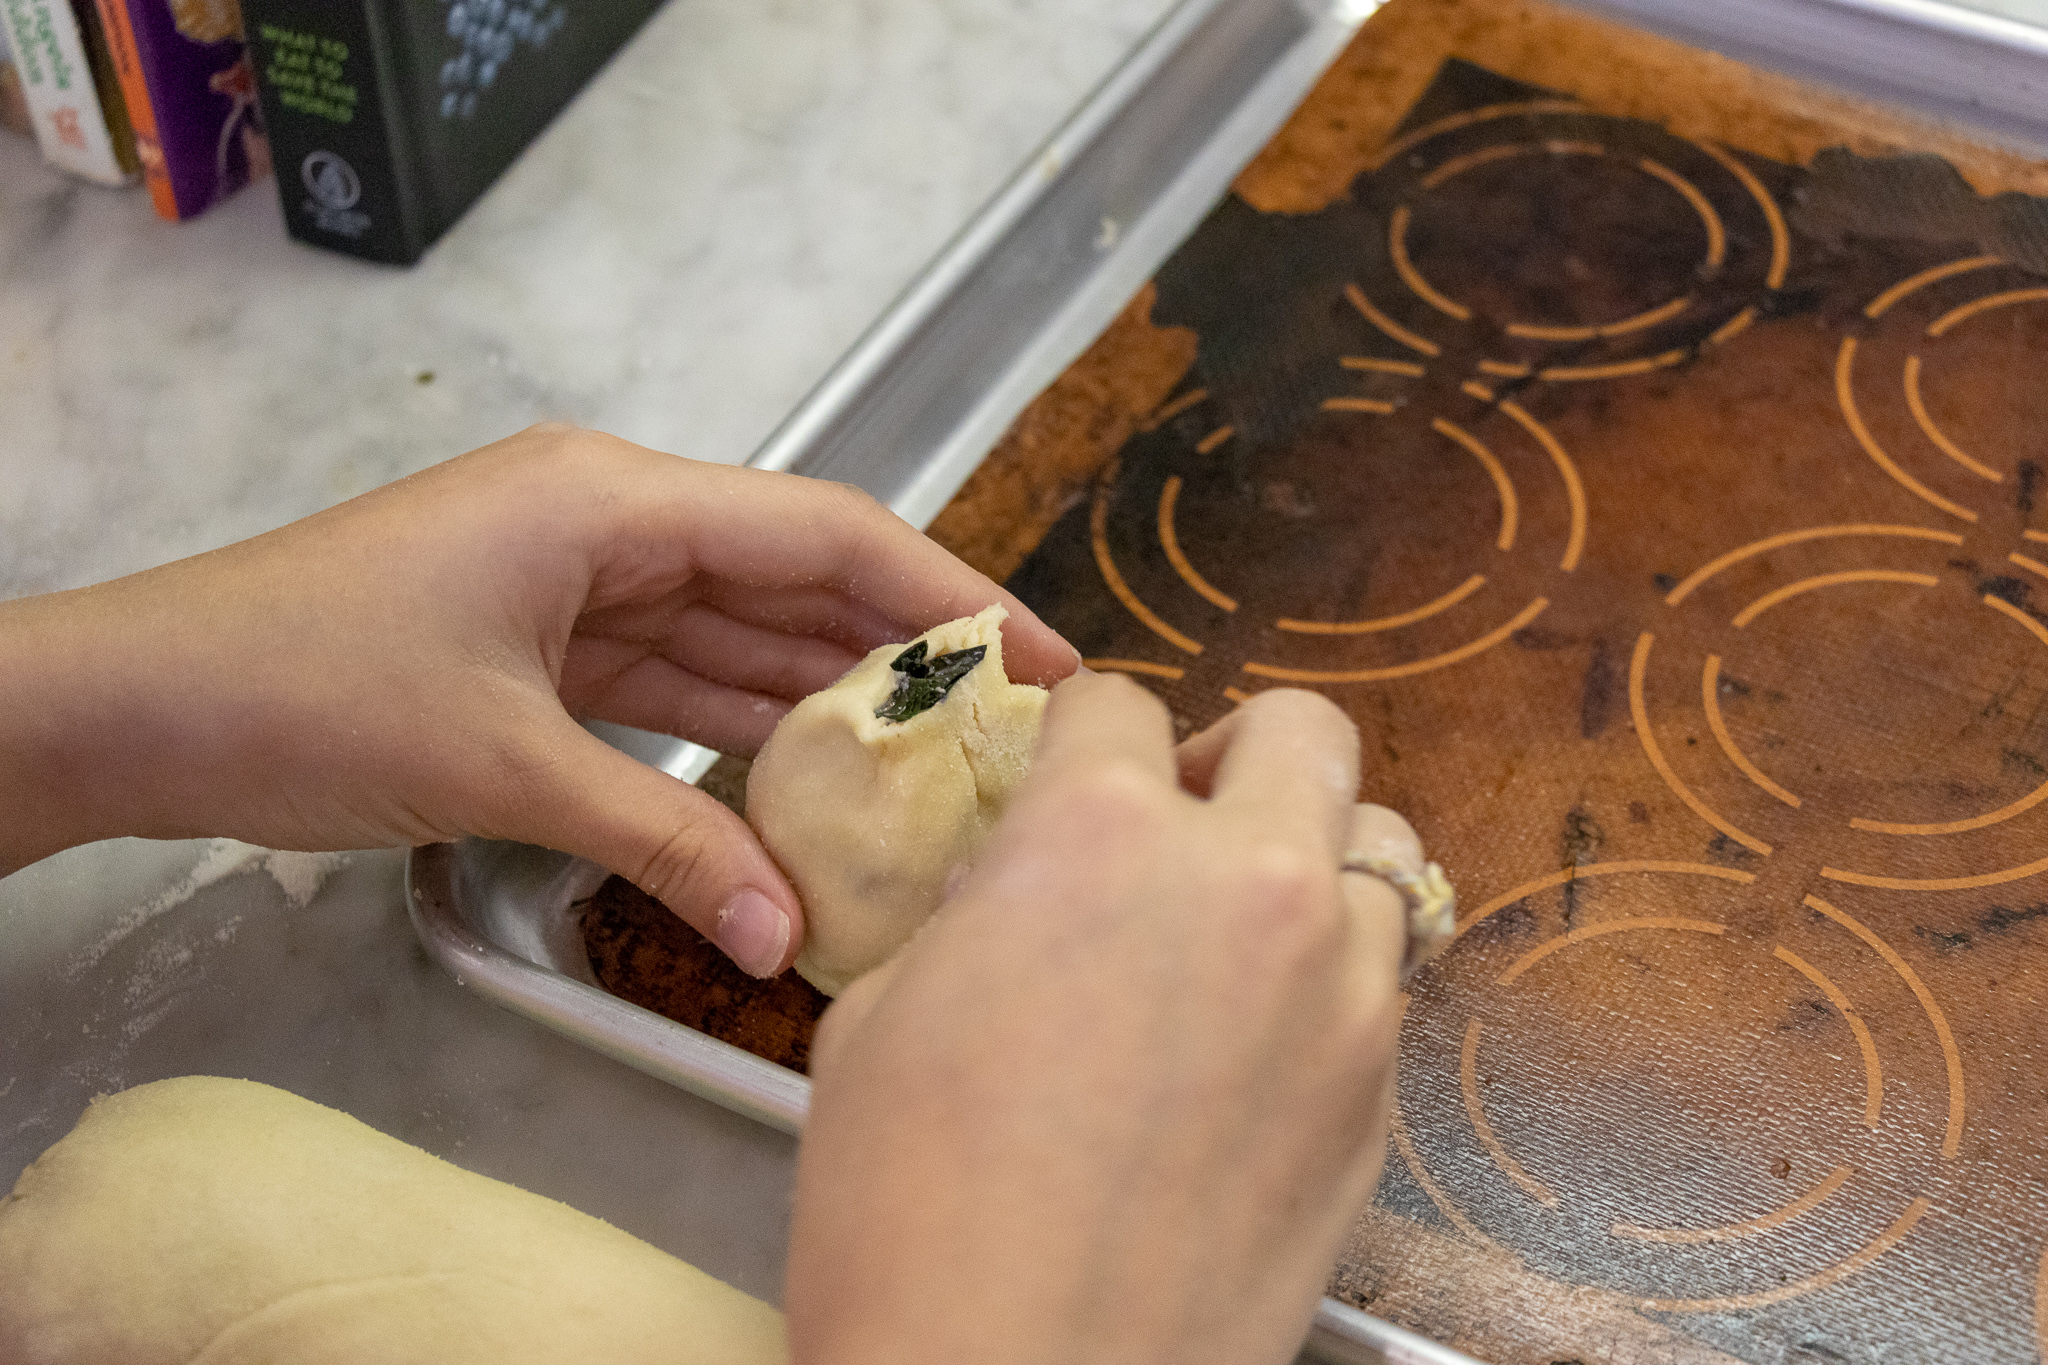
- You now have a long log of dough. Starting at either end of the dough, measure in about 3 inches from the end and pinch, then twist the dough. Cut the dough on the twist, and place twist side up on a parchment-paper-lined baking sheet. Take your finger and poke the twist down into the center of the knish. Repeat with the remaining dough. You will get about 8 knish depending on the length of your original dough rectangle , and how big you make each knish. You may have some scrap dough, and extra filling that you can use to make a few more, as well.
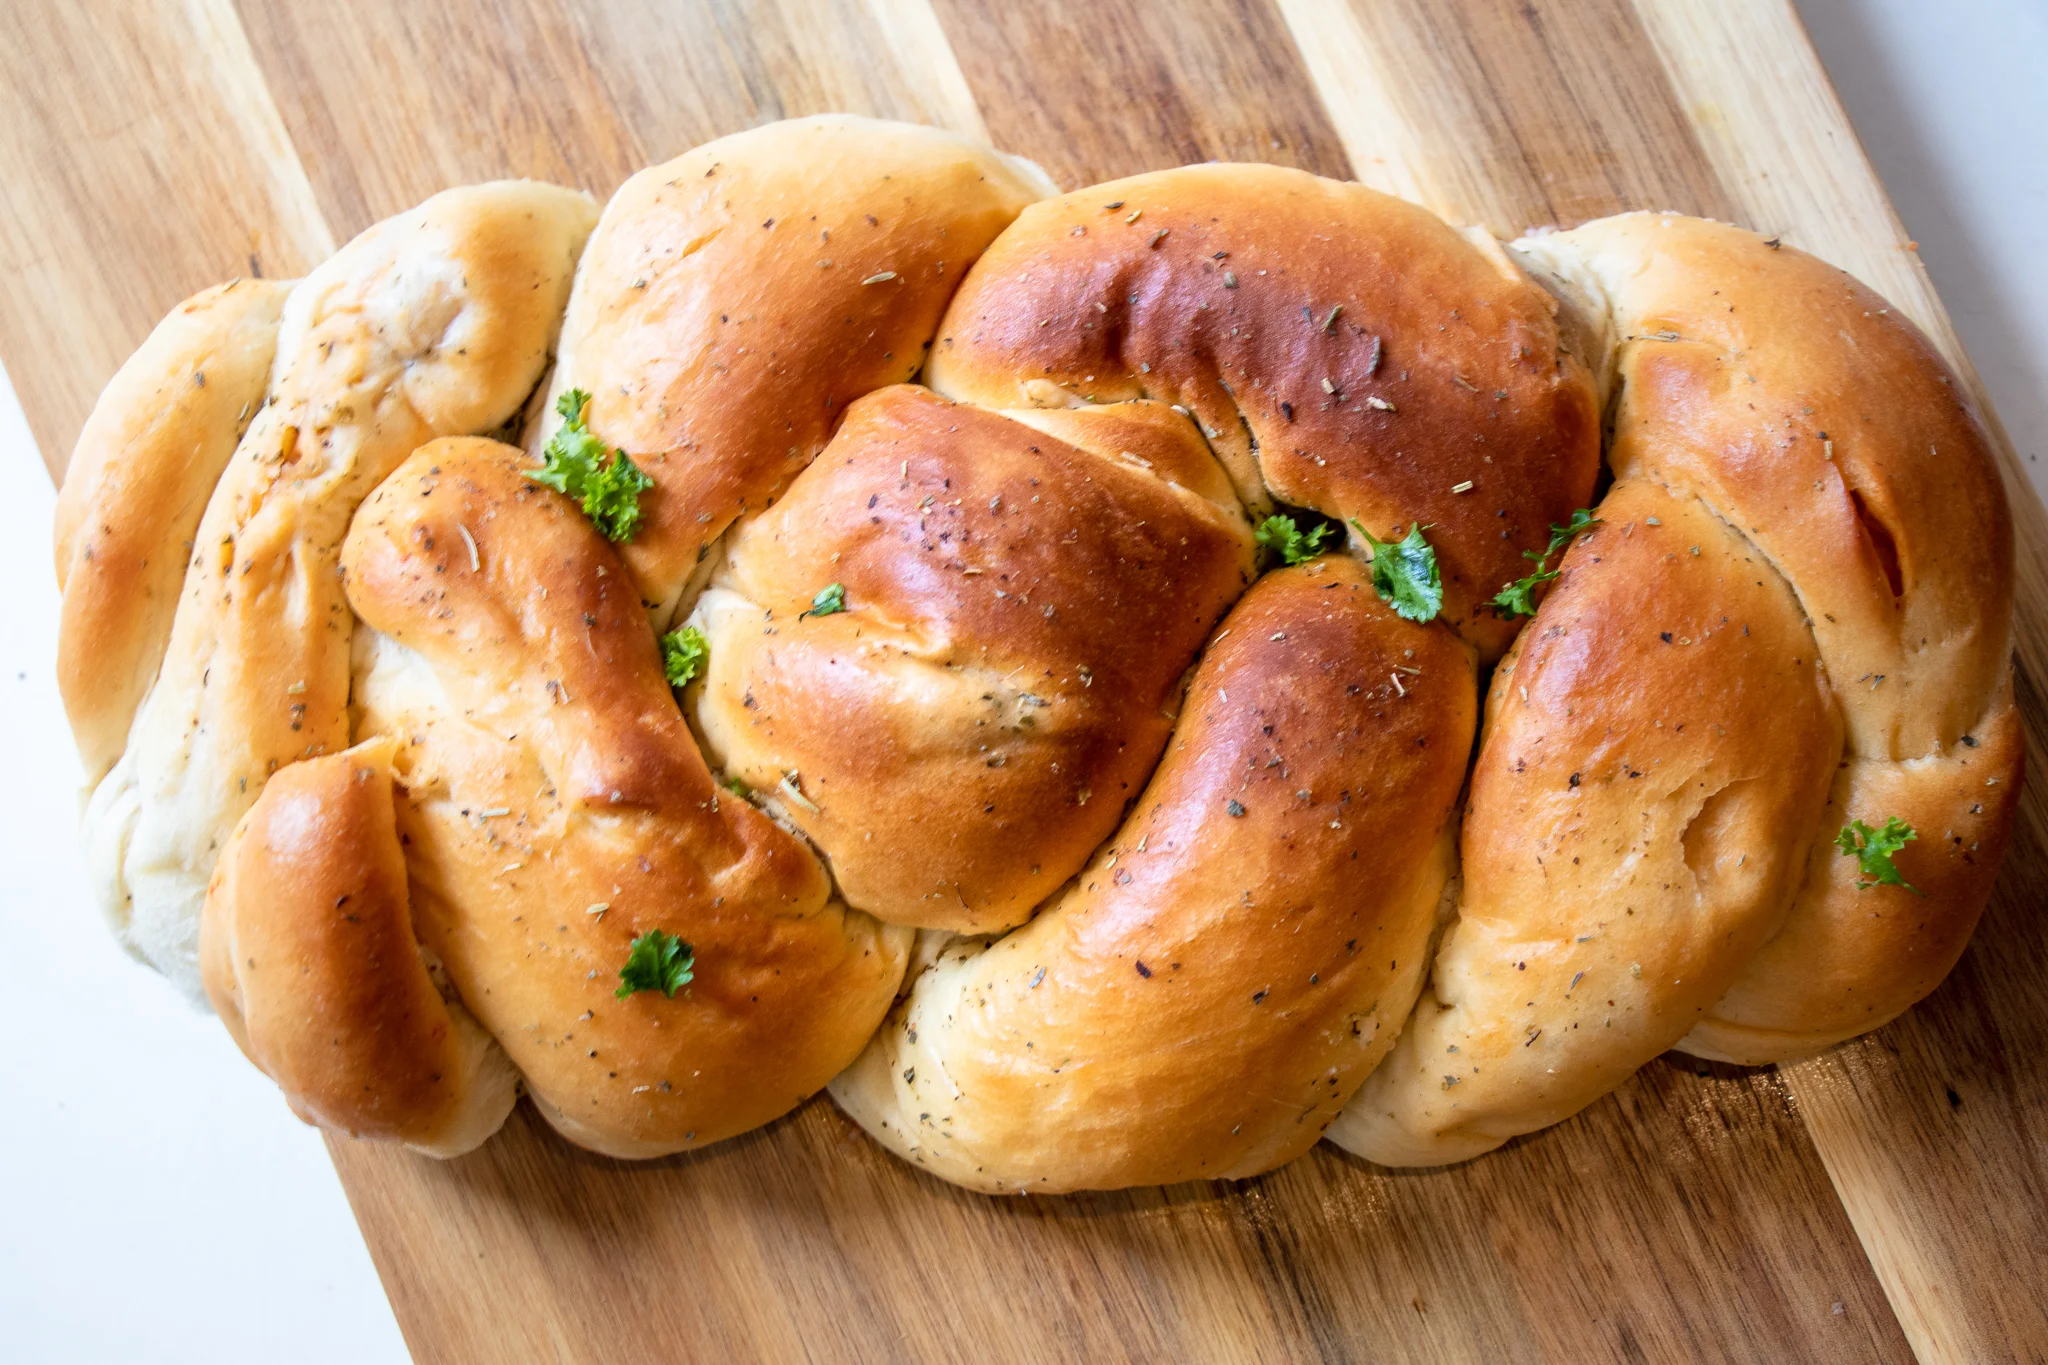
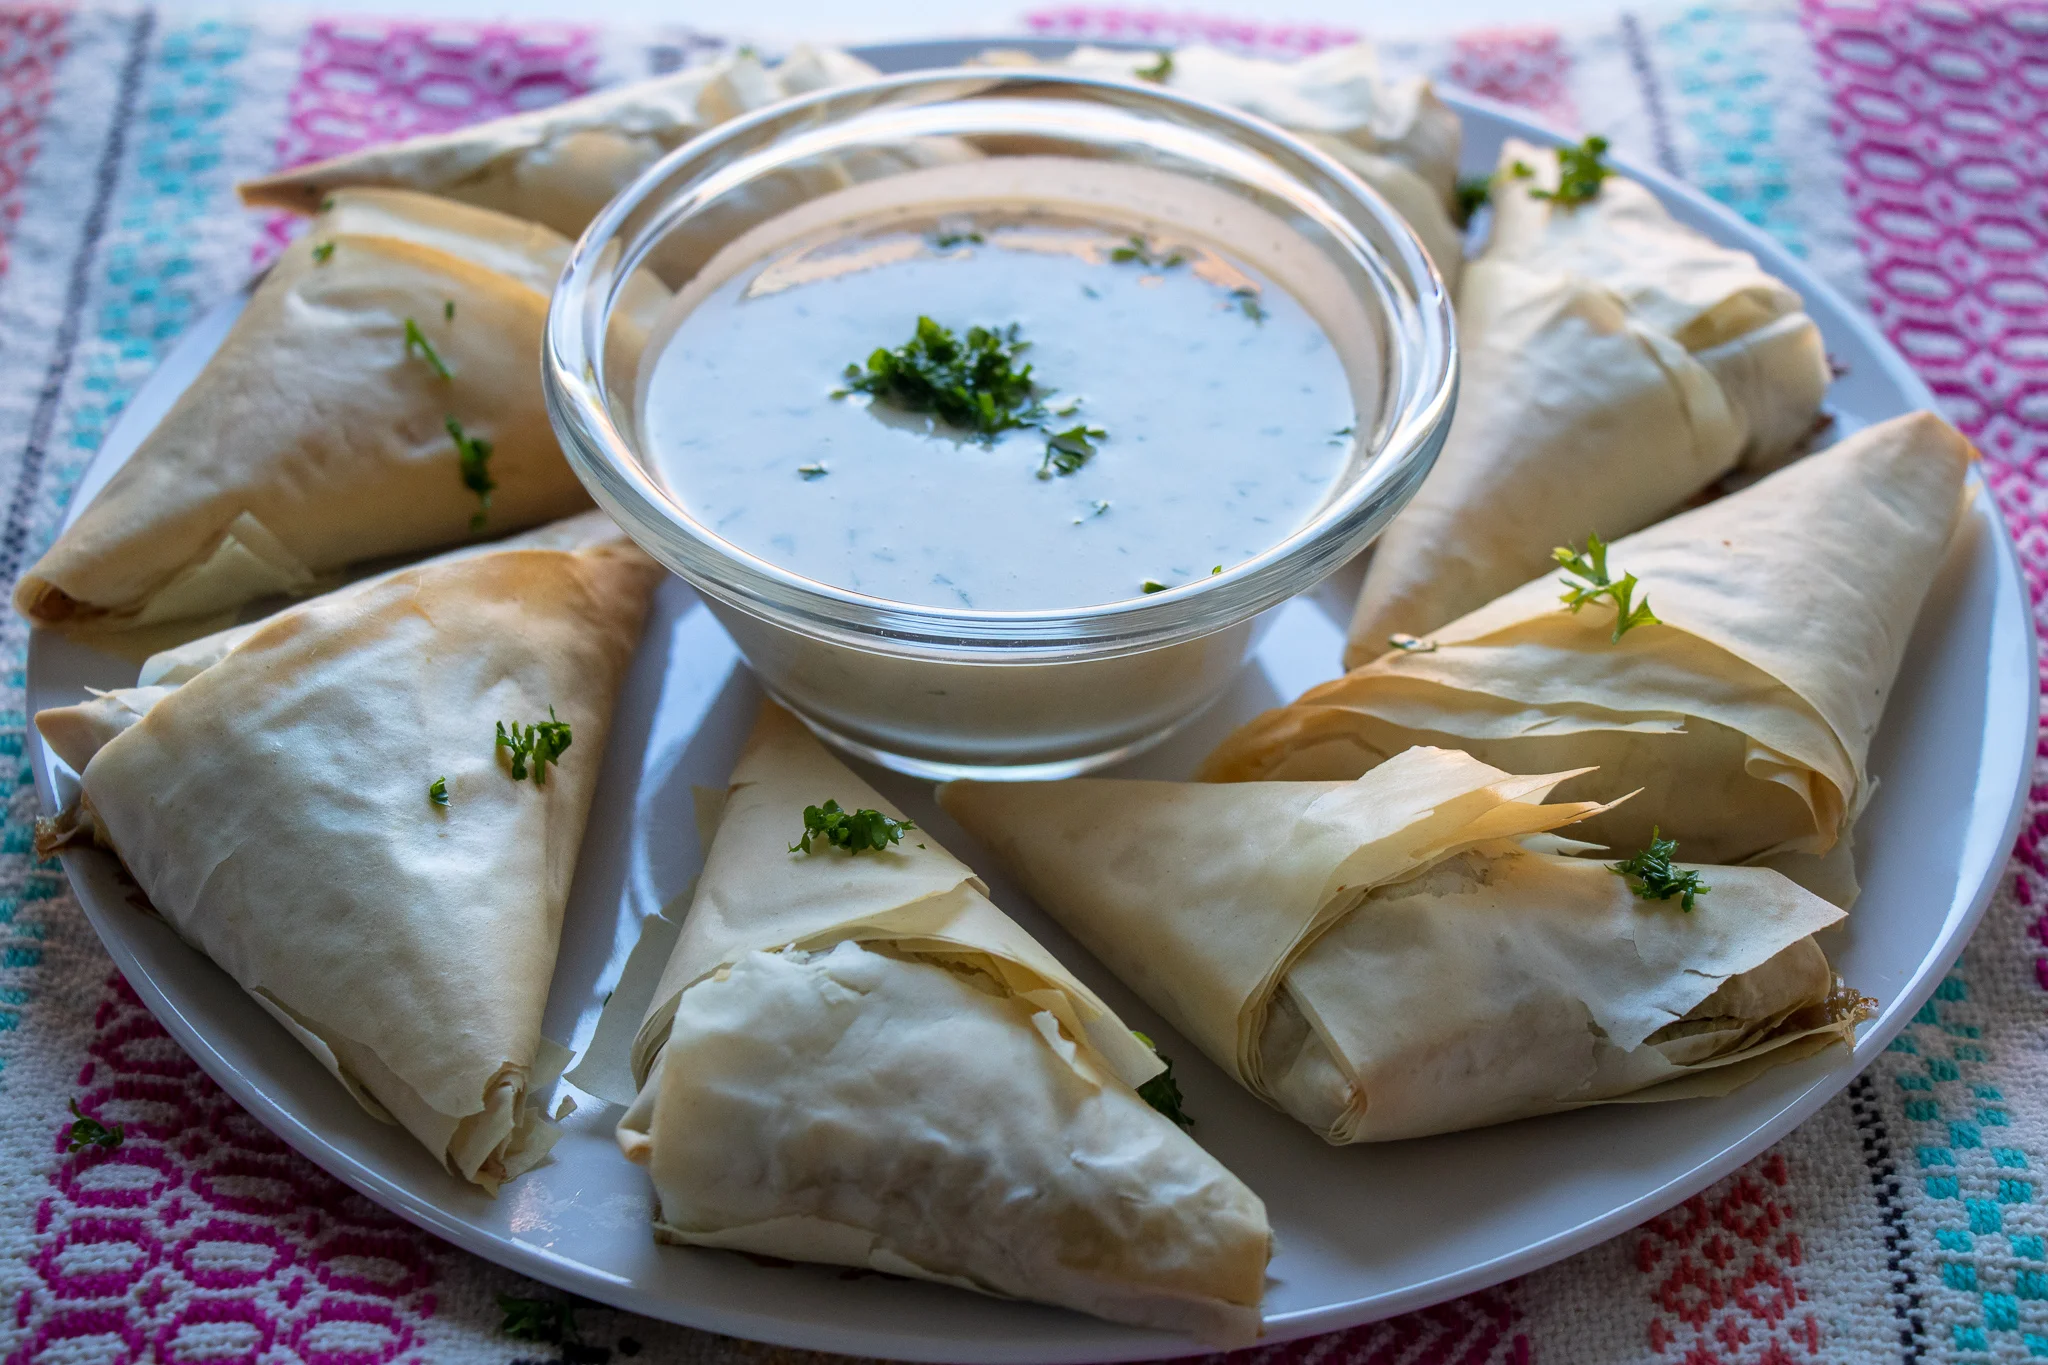
- Brush the tops of the knish with some vegan butter and bake for 30 - 35 minutes. You can brush some more butter on mid bake if you like. This will help the knish brown a little better.
- As the knish are baking, prepare the gravy by sauteing the onions and garlic in the same pan you used for your filling, with a few teaspoons of vegan butter over medium heat. Once the onions are translucent, sprinkle on the flour and stir, letting it cook for a few minutes. Whisk the water, Better than Bouillon, tomato paste, and mustard together, then add to the pan. Reduce the heat to low, add salt and pepper, and let simmer, stirring regularly, until the gravy begins to thicken.
- Once knish are done, you can top with the gravy, and garnish with some fresh parsley.
The knish freeze and reheat really well. We often make a double batch, and freeze half. They should be good in the freezer for up to one month.