I have mentioned before I have a lot of kids.
I mean not a lot, just 4, but to some people that seems like shocking number.
To us it’s the perfect number!
That said, kids like kid food, no matter how mature their palates are because they have been forced to eat a multitude of fancy vegan things. I mean, I am in my kitchen all day creating recipes and they eat whatever I make, with few complaints…..well everyone except the 4 year old that is.

That said, sometime the kids, even our teenagers, just want a plate of dinosaur or Mickey Mouse shaped chicken nuggets. Who can blame them. Thats is just plain fun!
So I occurred to me the other day (again sometimes I am extra slow with these ideas) that I should make our kids some vegan chicken nuggets. EVERY time we are at Costco and my kids see the “fun shaped nuggets” the lament wishing those were vegan…I mumble in agreement, and keep on moving.

But last week at Costco when I paused when passing the “fun nuggets” and a light bulb when off. We can just make our OWN homemade vegan chicken nuggets in any shape we want.
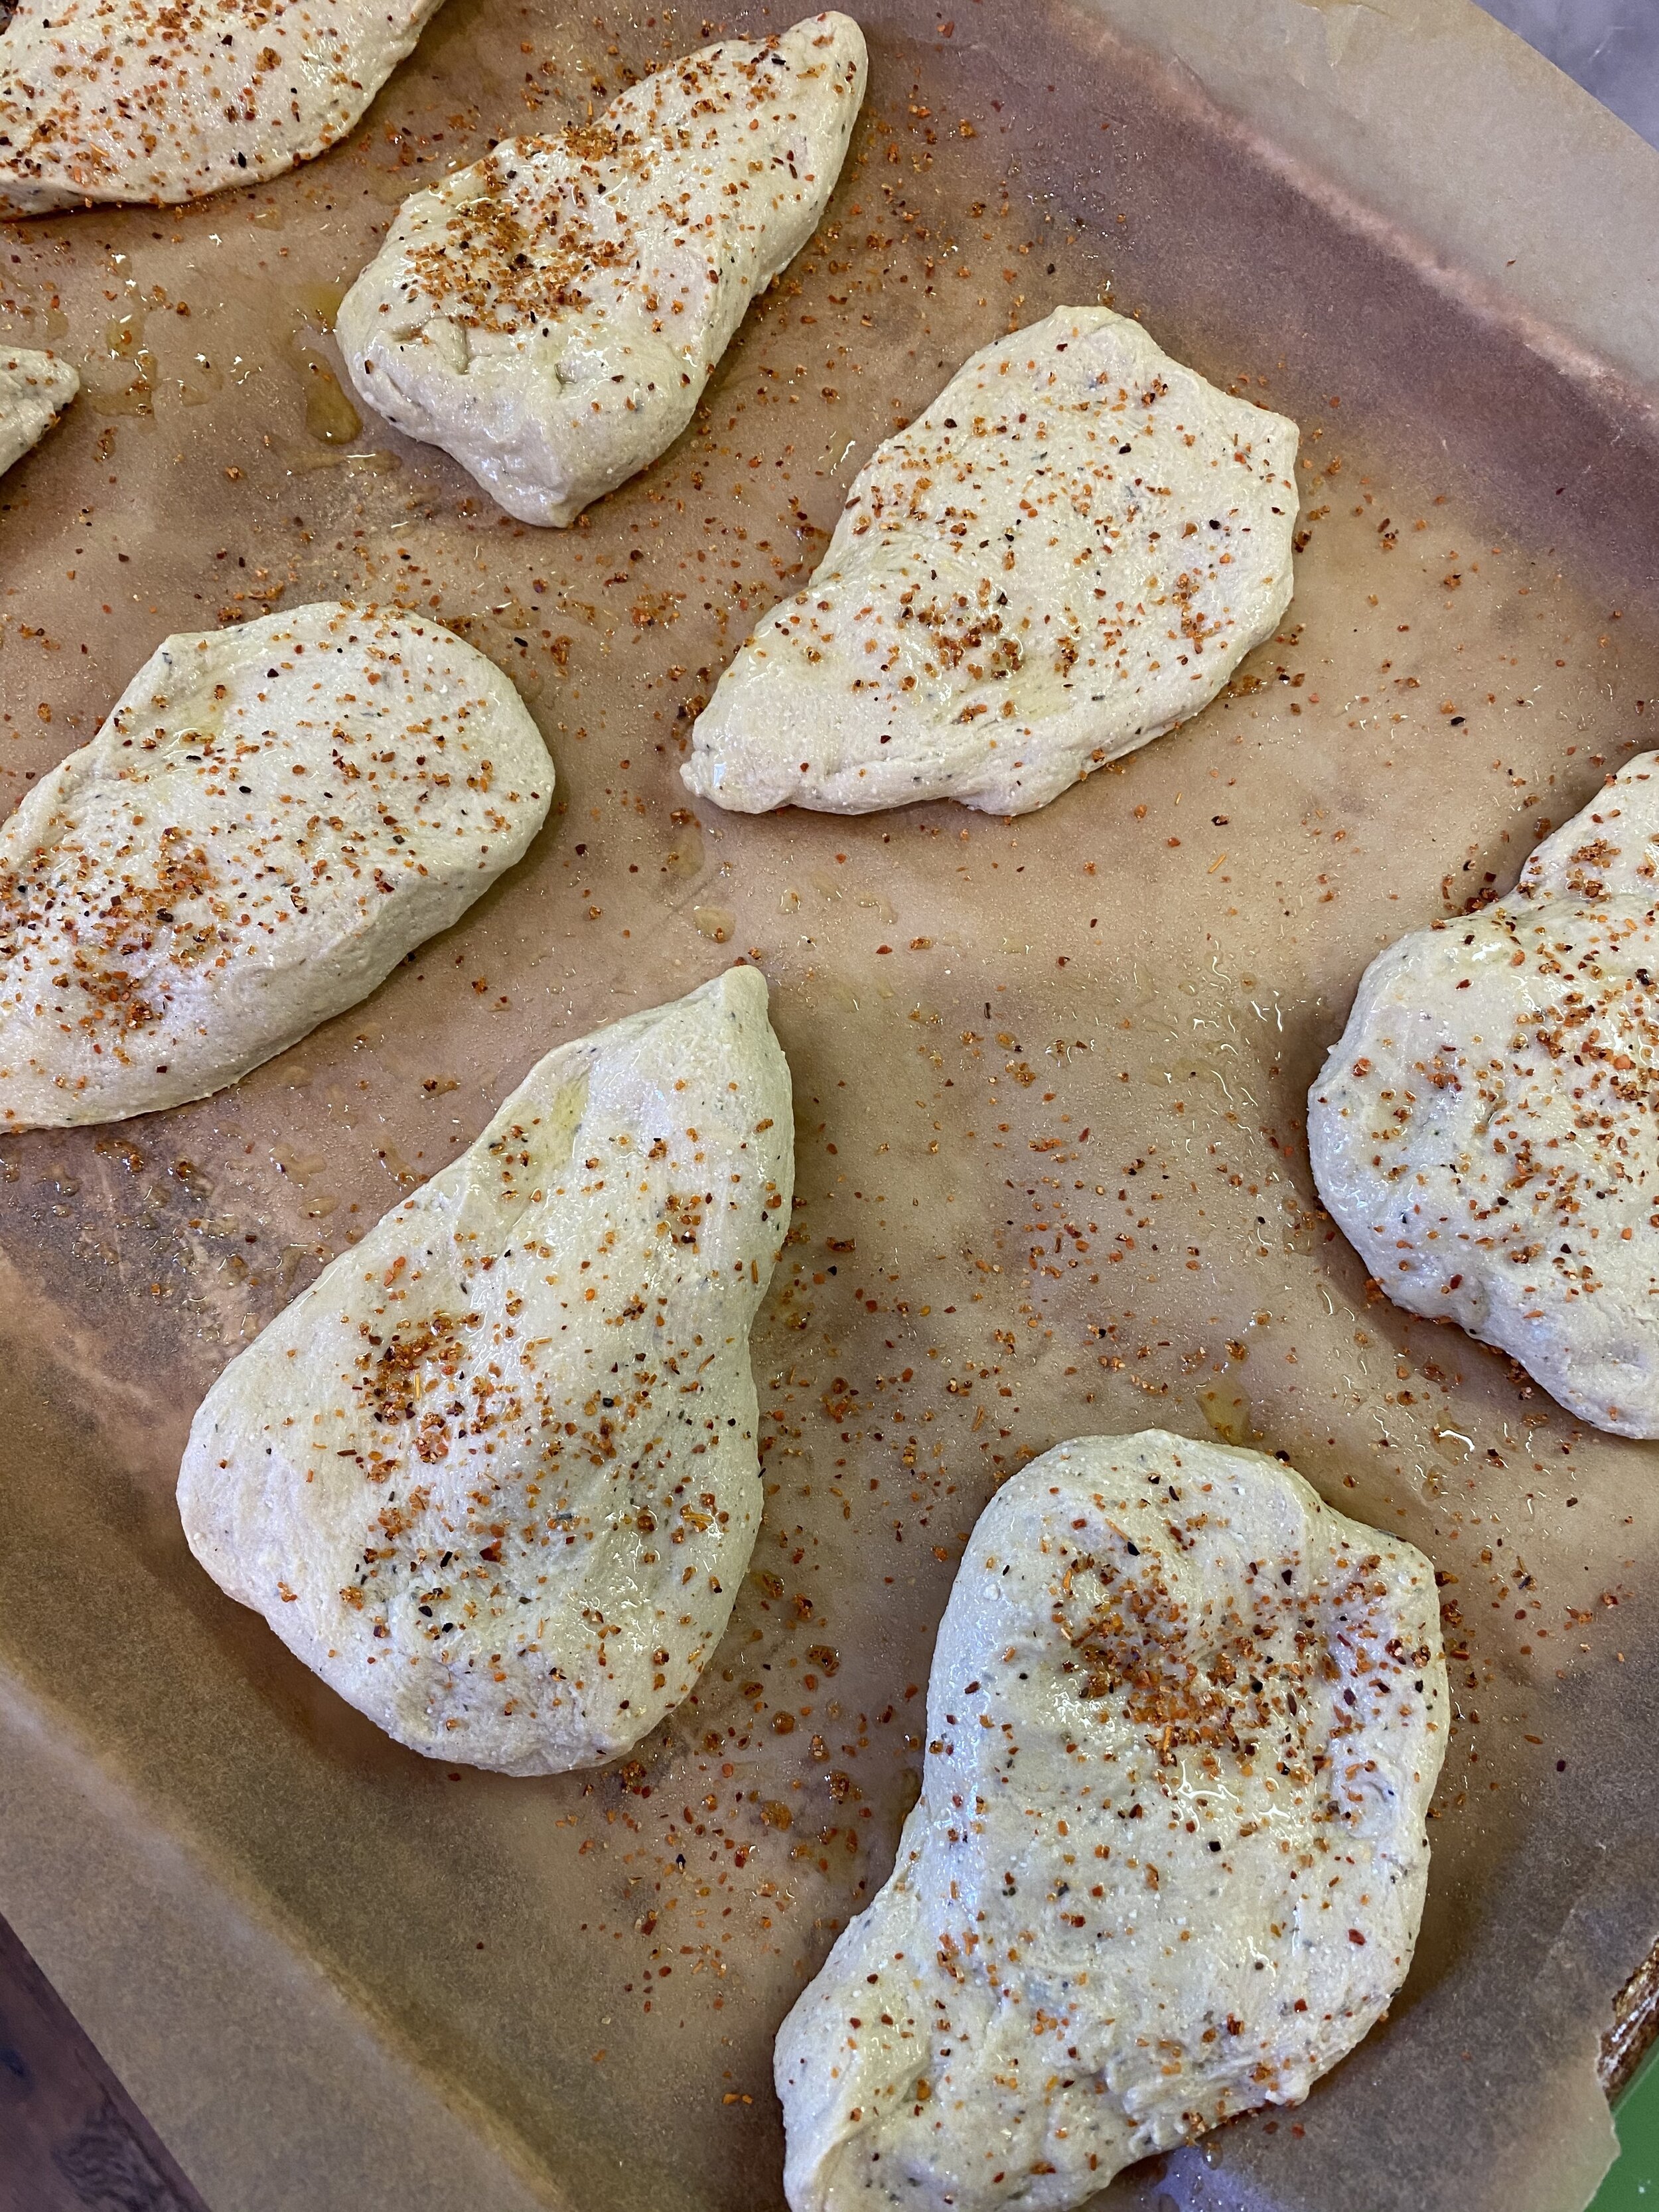
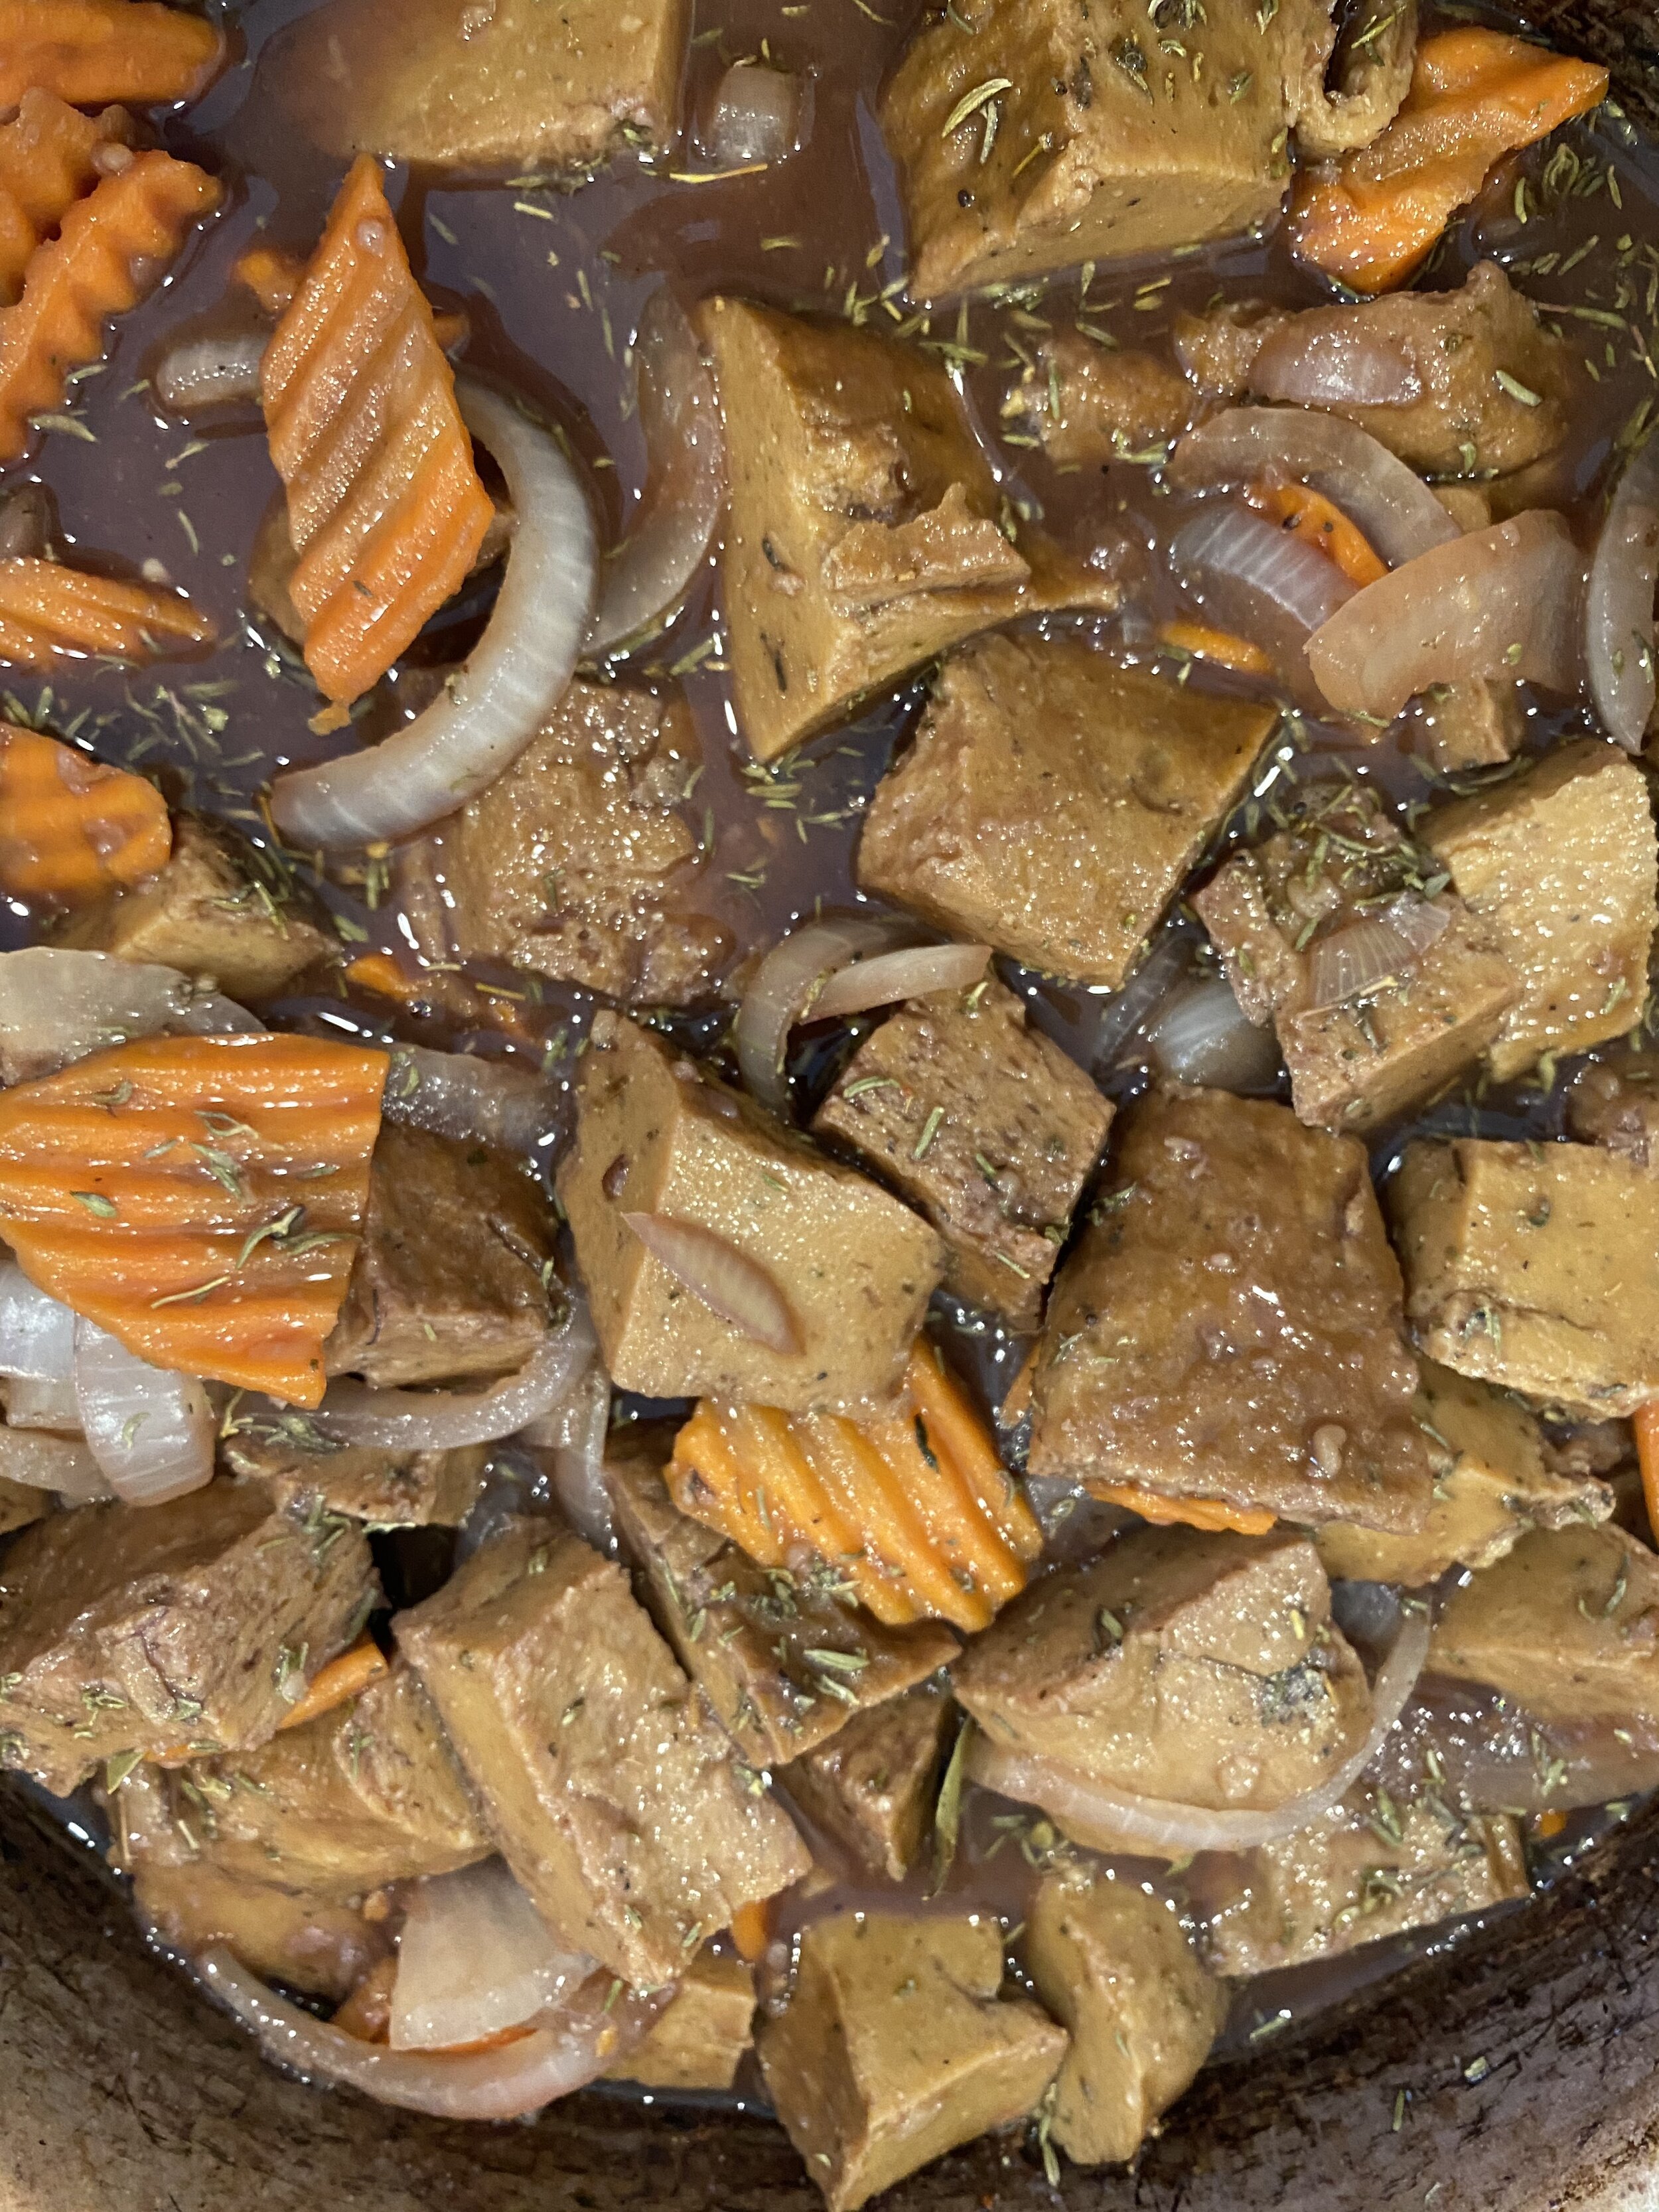
If you have made the 86eats easy baked vegan chicken breast, then you know it is an easy seitan recipe to bake up. These nuggets are the same base recipe, just a reduced cook time, and a shorter rest time…cause they are tiny!! So it doesn't not take as long for them to firm up. I also kept this dough a little bit softer so it would press out more easily for cutting the shapes. You don’t want too firm of a dough here because you want it to stretch to a pretty big rectangle.

If you have never made seitan a day in your life, I promise this recipe is as simple as mixing up and baking a super easy cookie recipe. Really!! Seitan is just a dough, and we just cutting and baking this dough into shapes. Then easily coating and baking them up. You don’t even have to fry these in hot oil!!
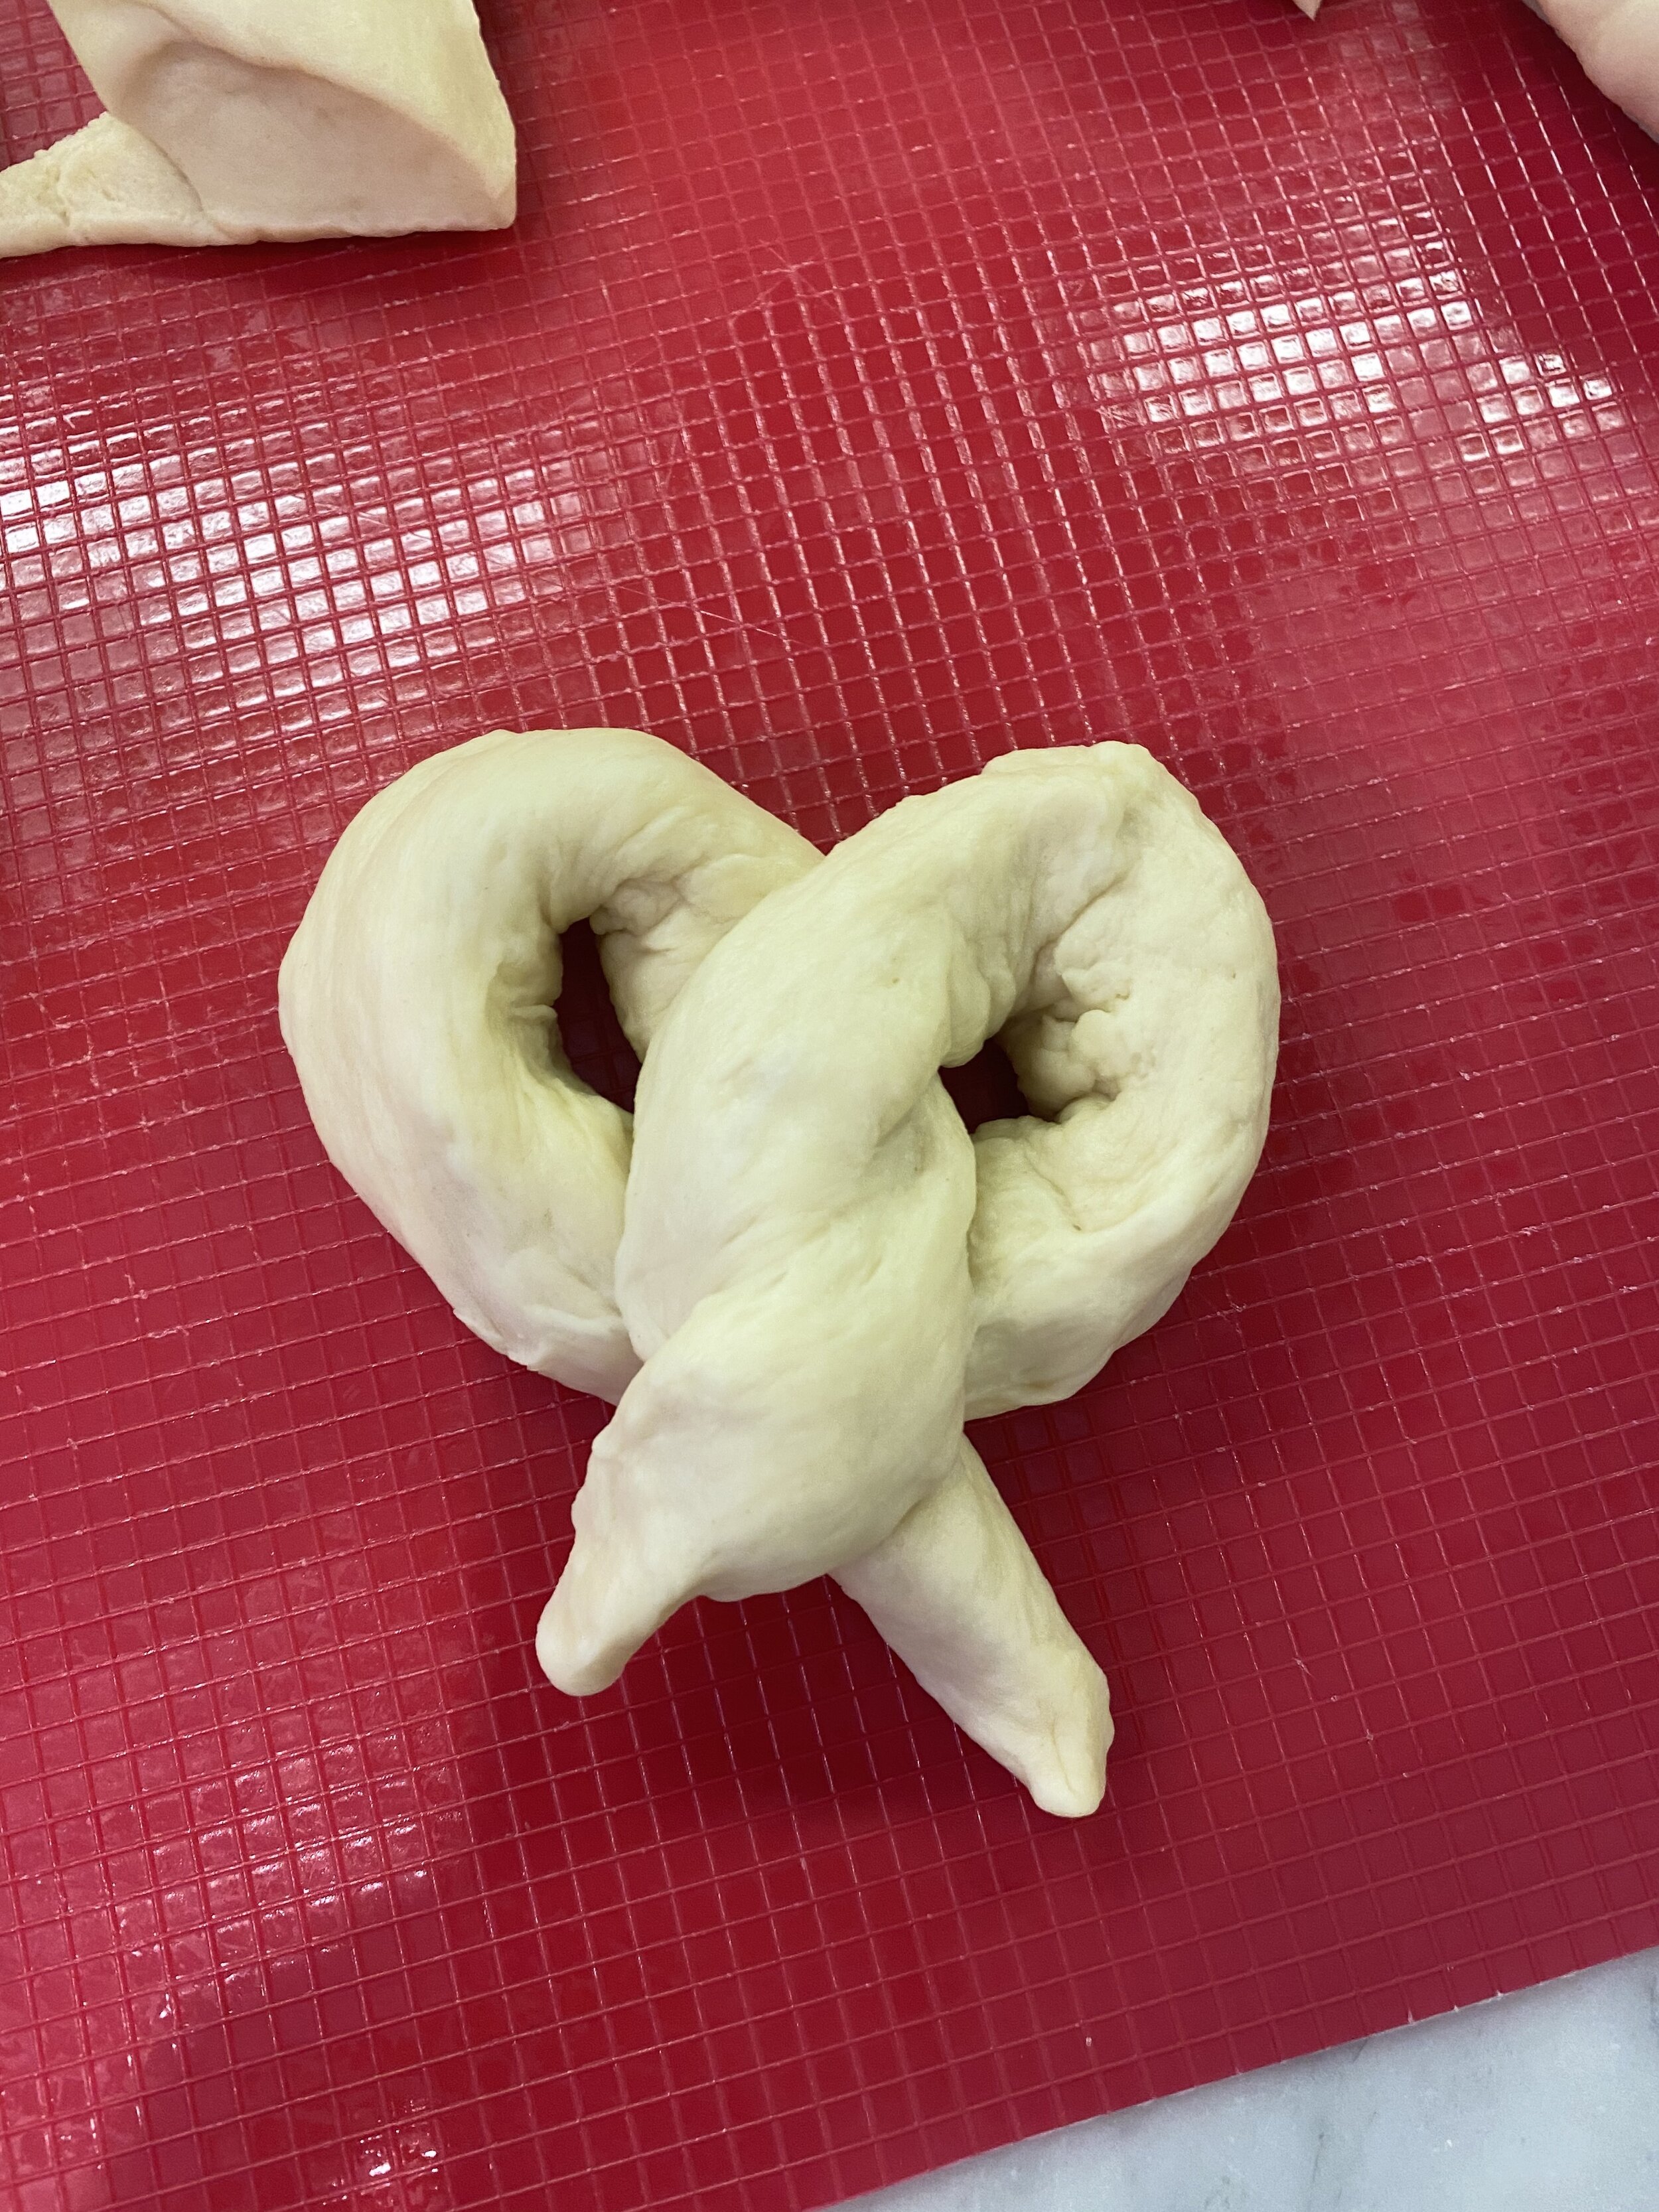
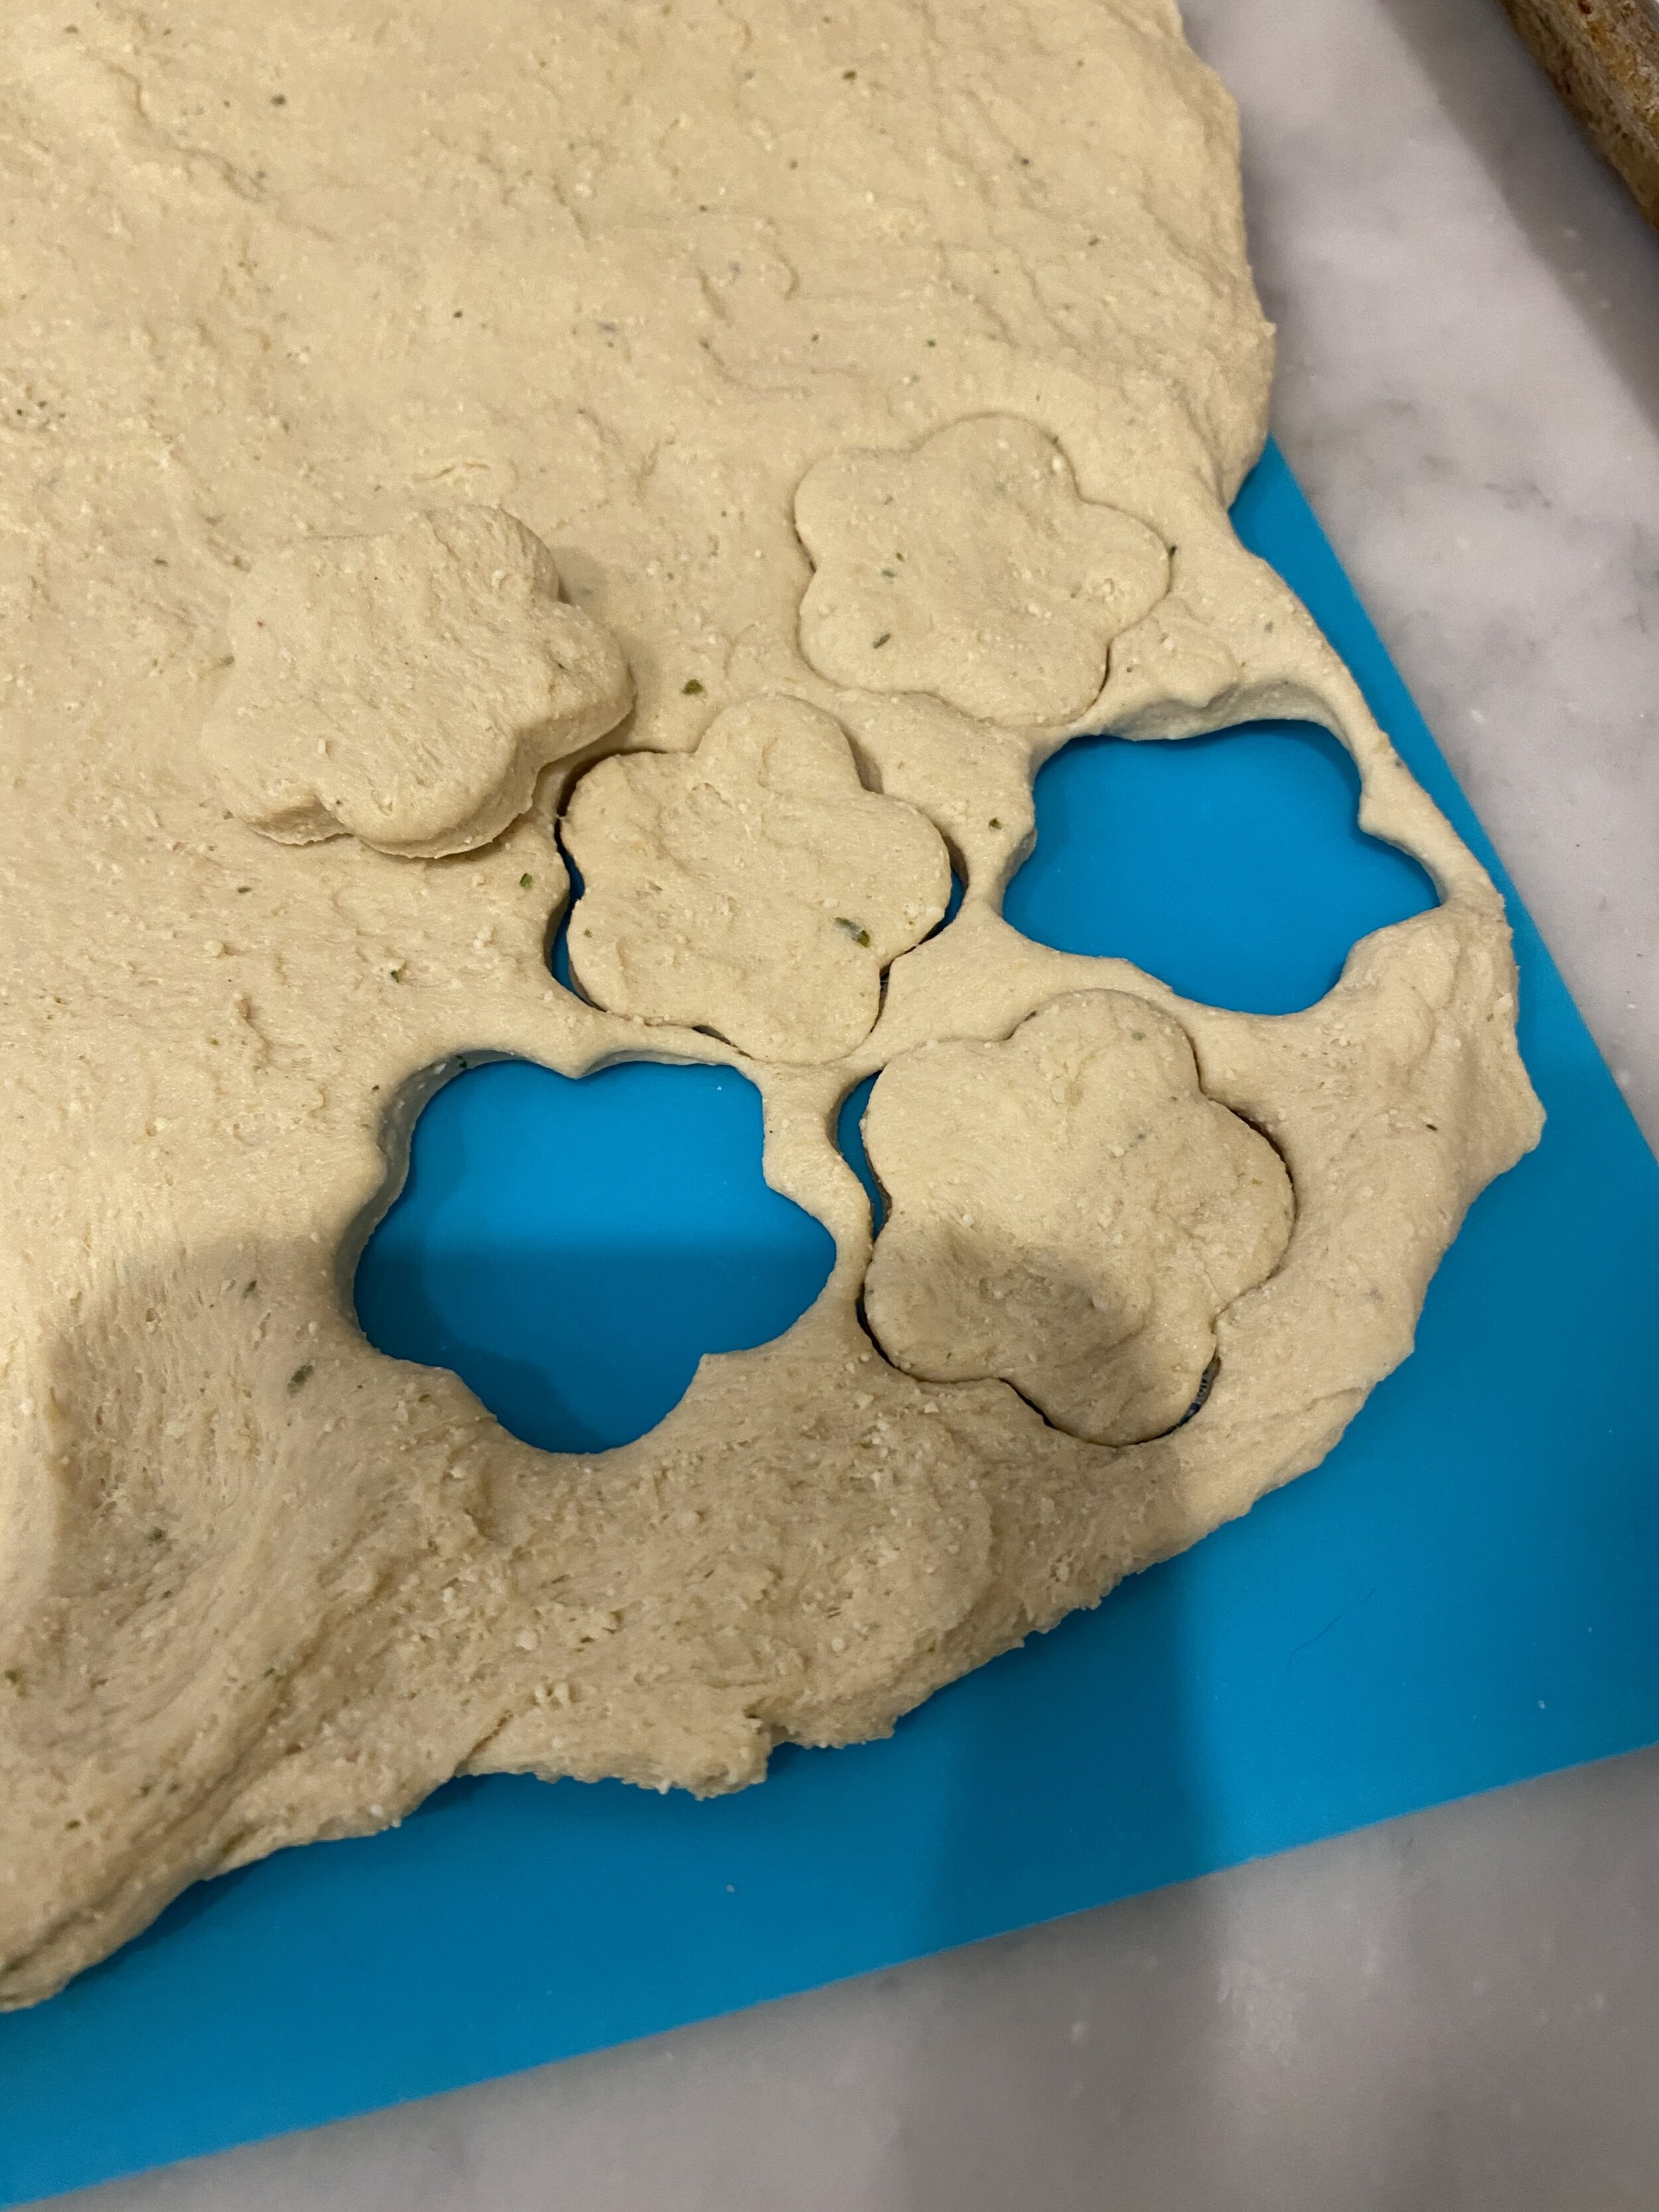
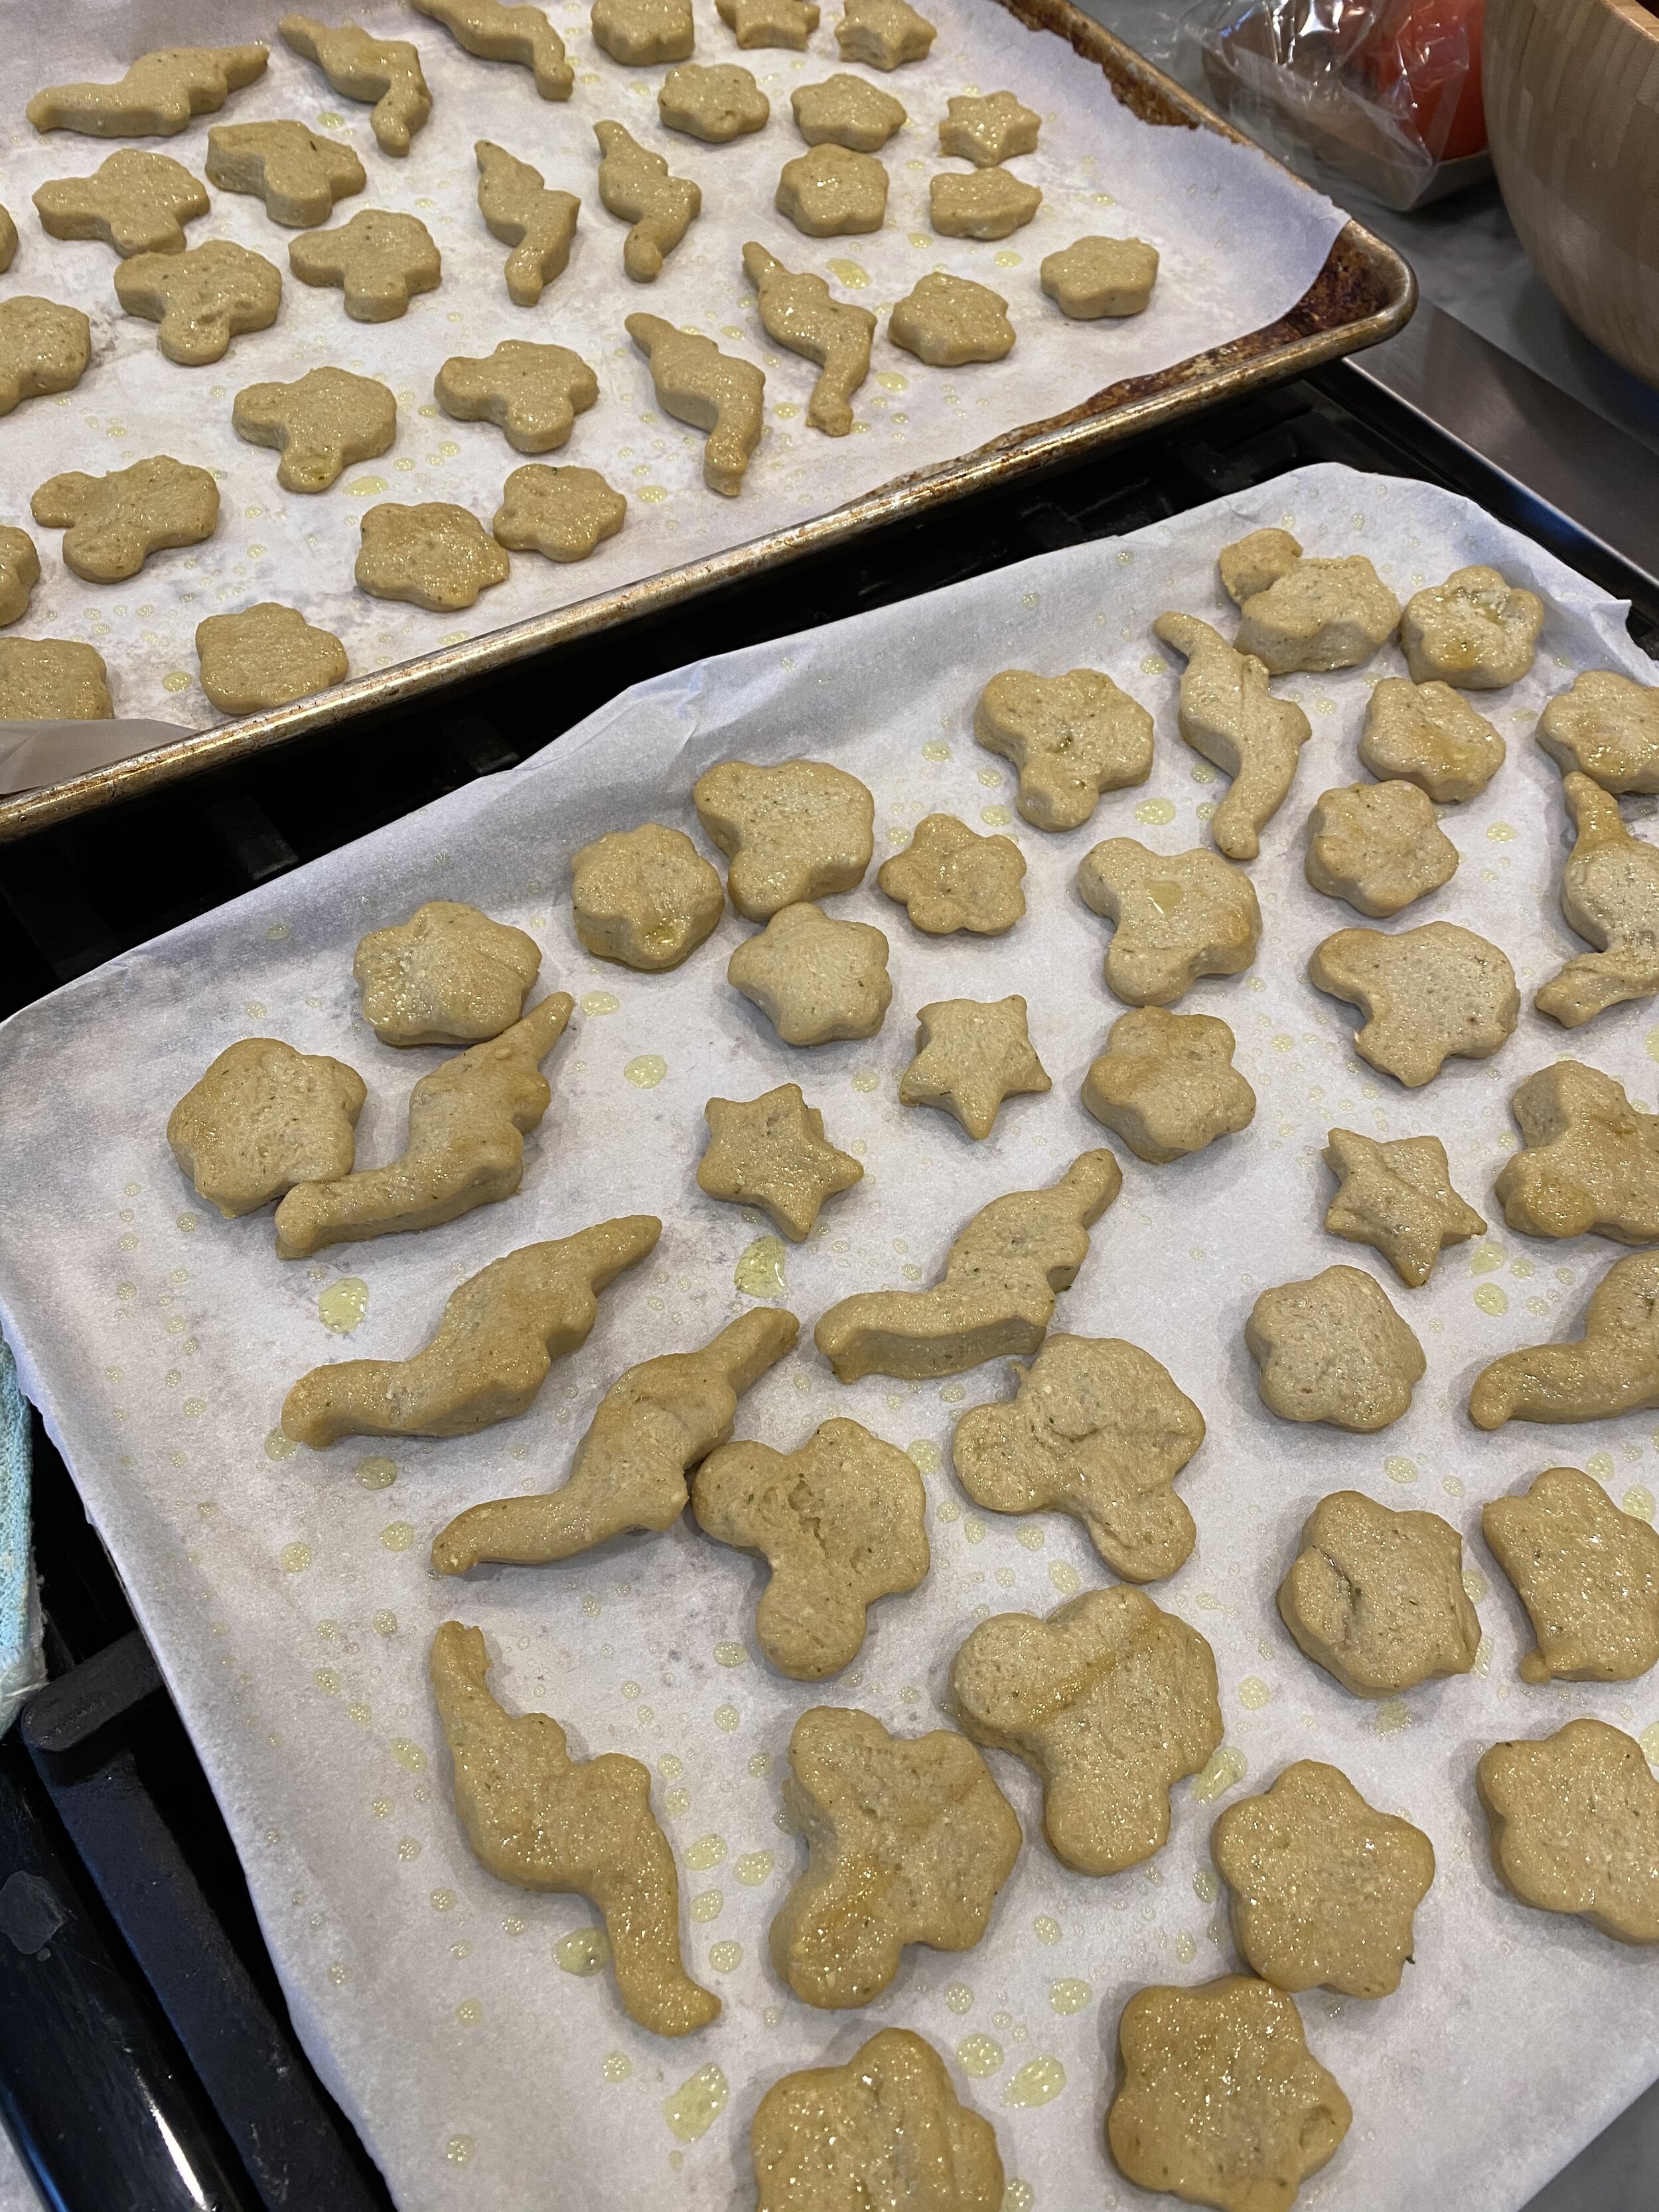
We have whole box of cute little cookie cutters we hardly ever use so this seemed like the the PERFECT use! Micky mouse, dinosaurs, hearts, stars, flowers. Everyone gets a nugget shape they are into.
My husband and myself include. We are in our 40s but a delicious fun vegan chicken nugget is not lost on us.
No worries if you don’t have fun shaped cookie cutters. You can just use a knife and cut them into little pieces of regular shaped nuggets. Or use a small round cutter and make them into a circle. Any shape will work.

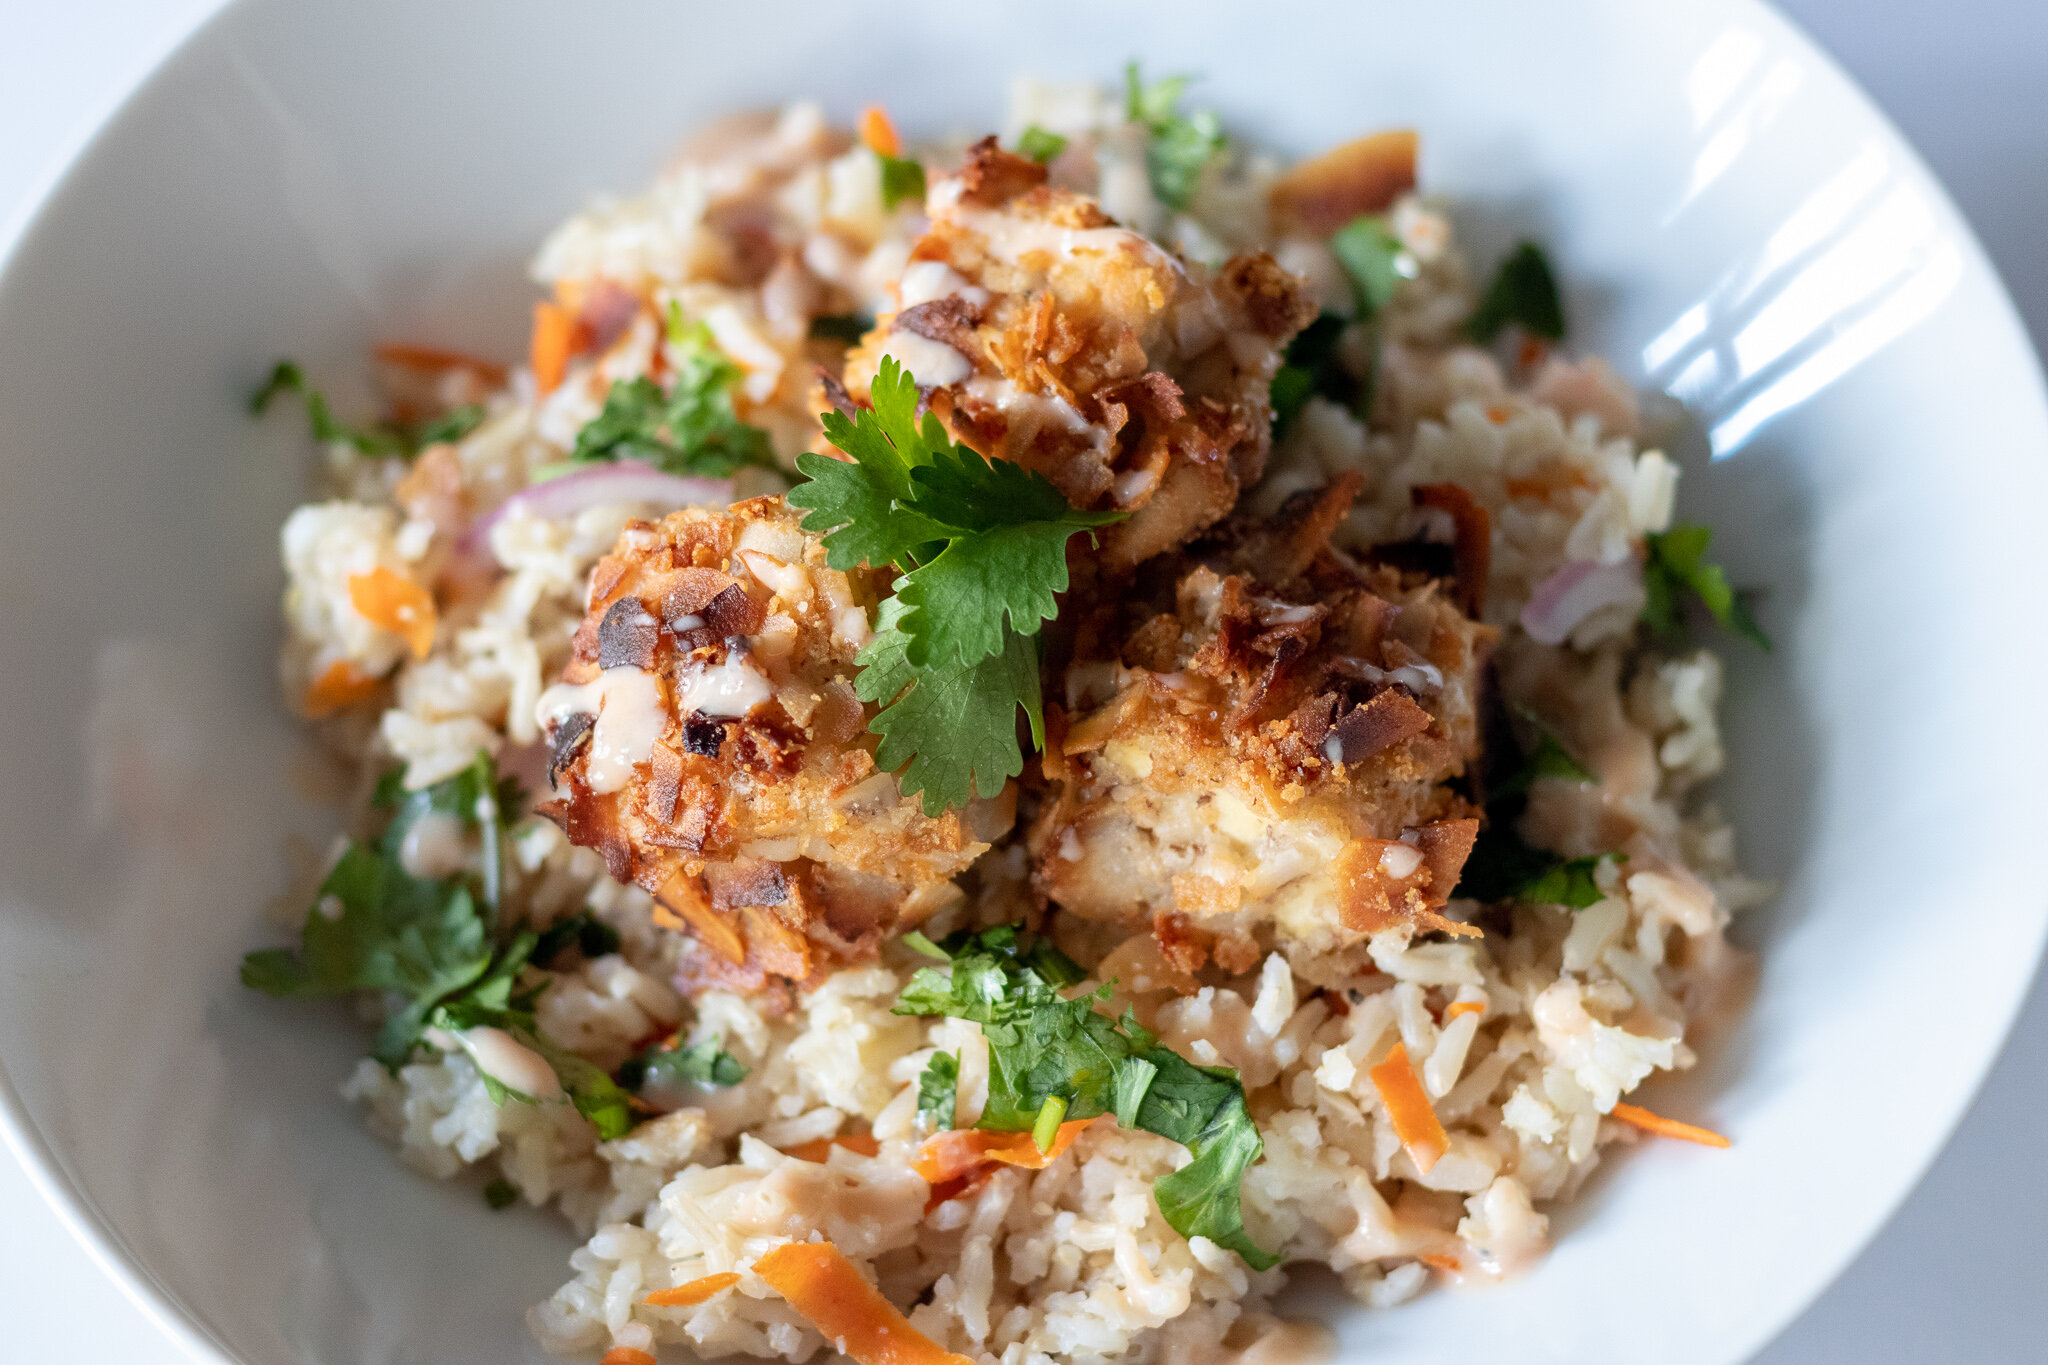
If you want to freeze these vegan chicken nuggets, since the recipe yields about a pound and half of nuggets, you can do a light bake or air fry with them, and freeze them for later use.
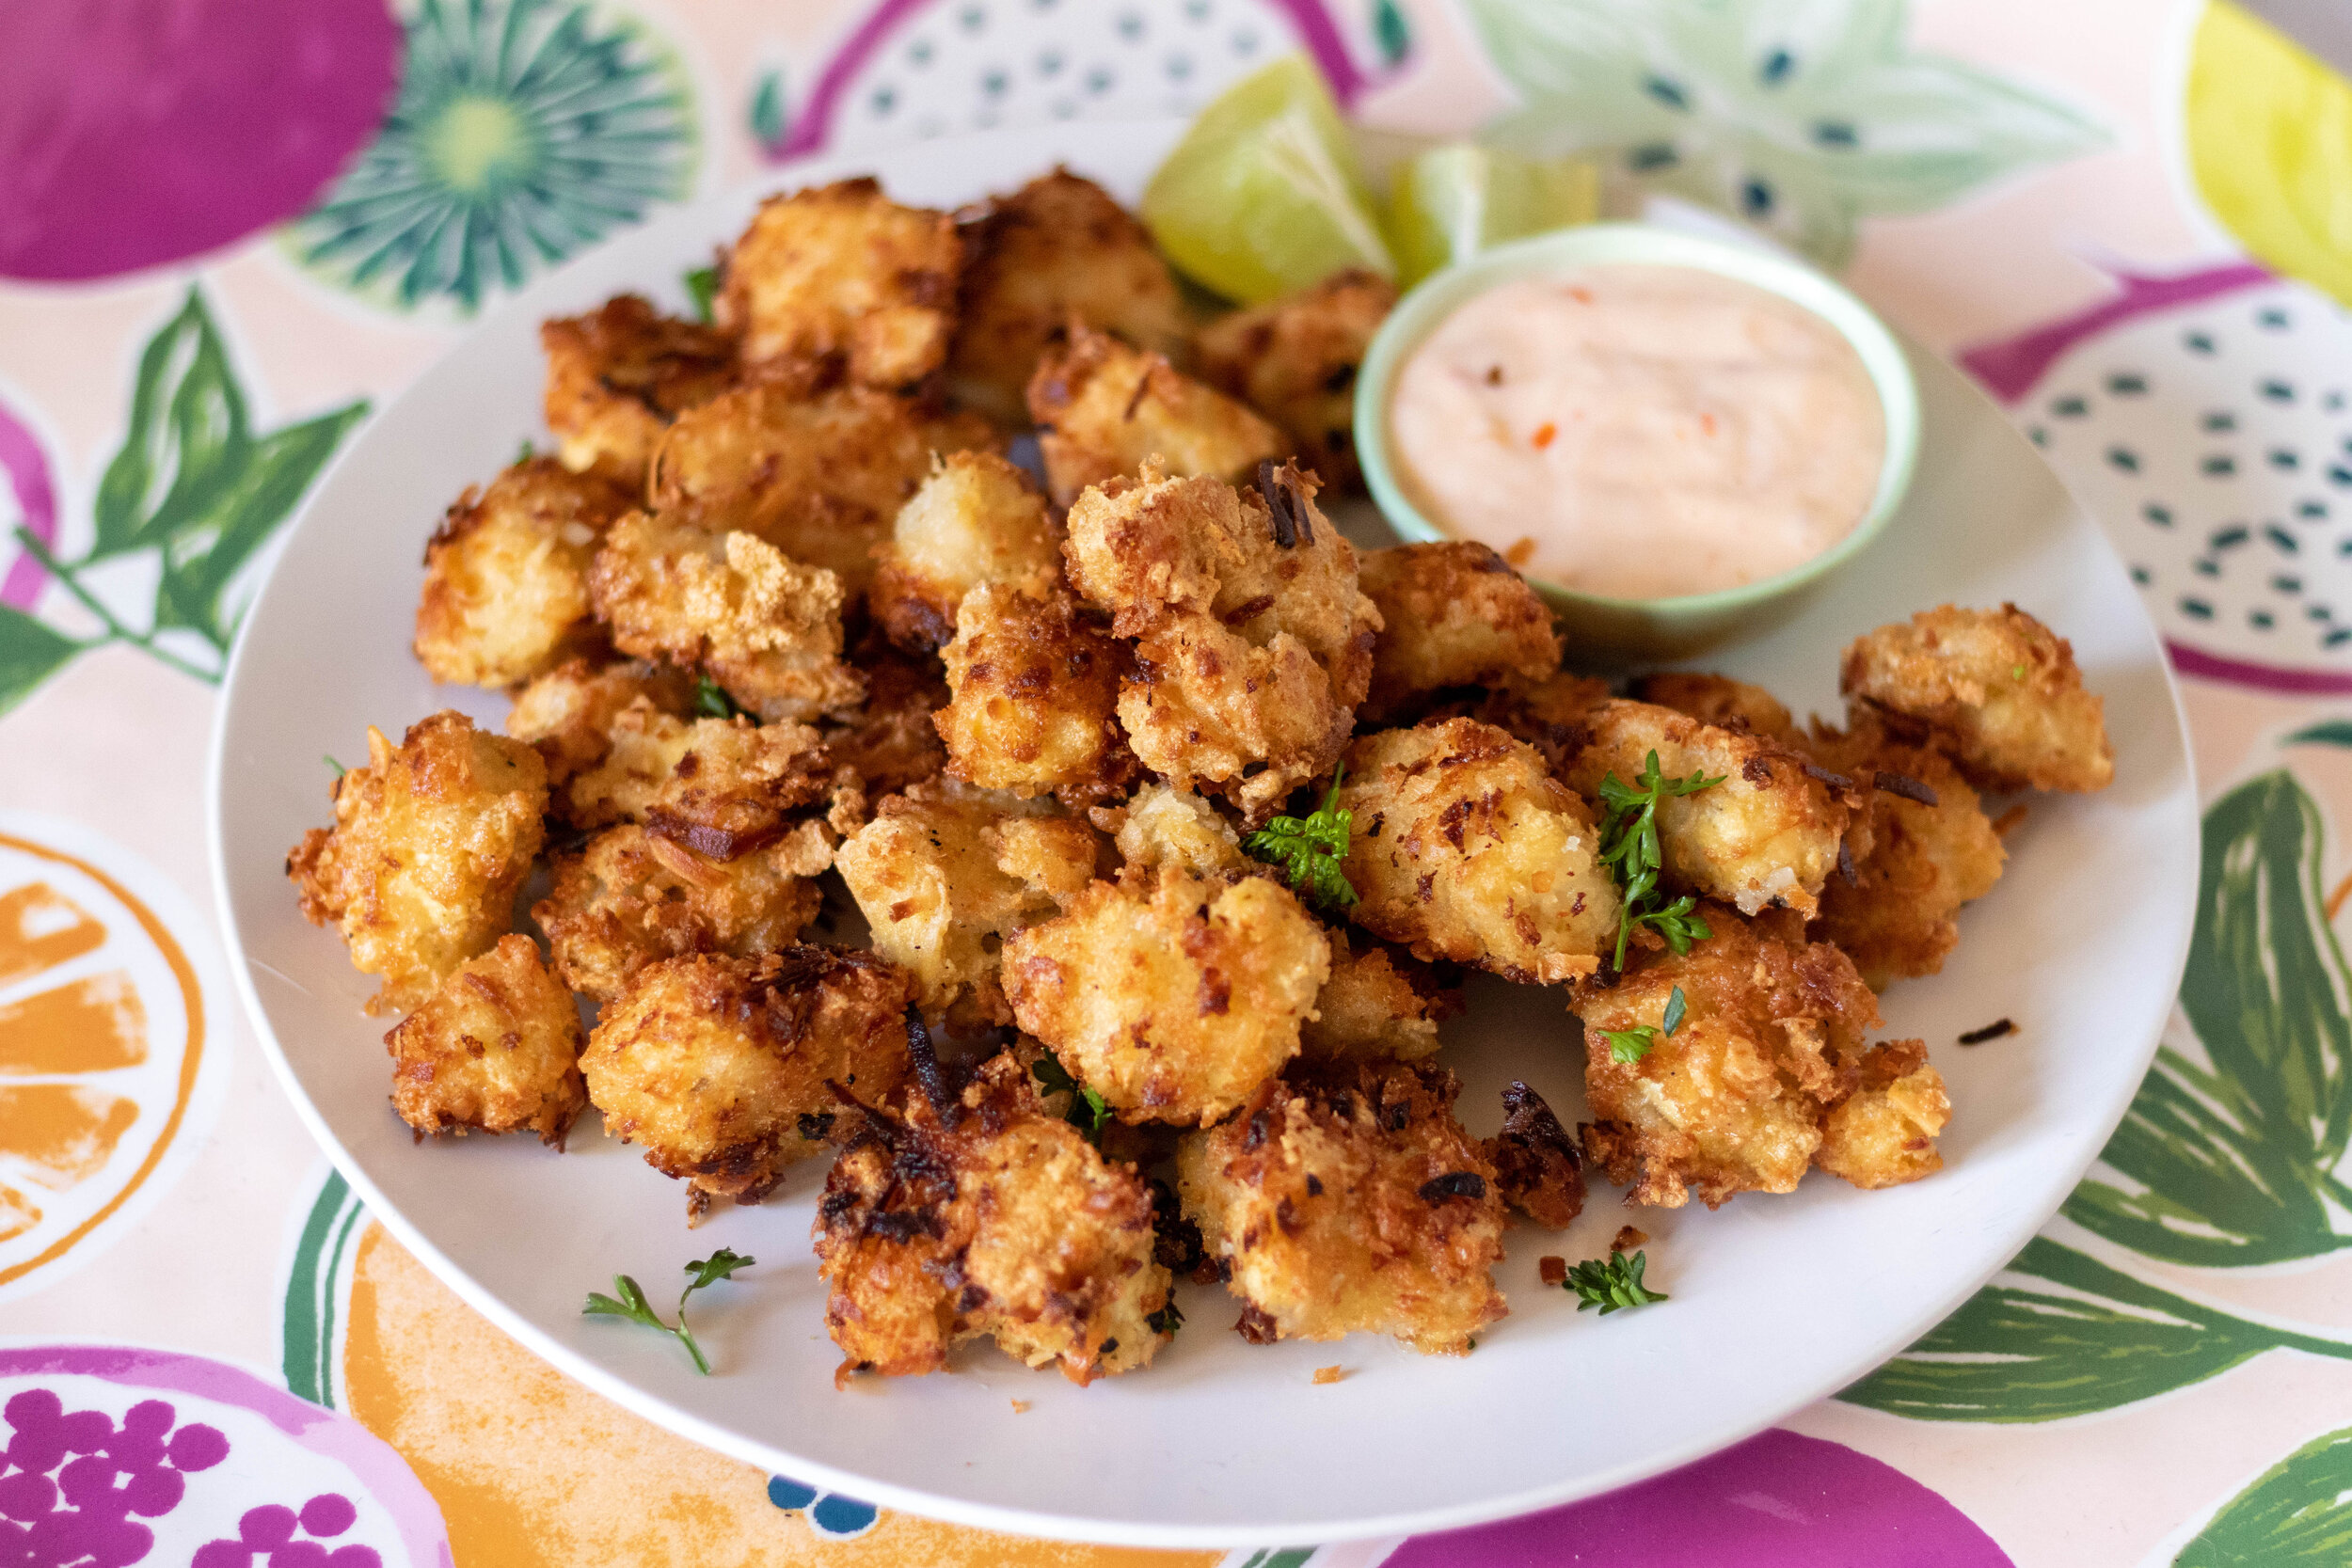
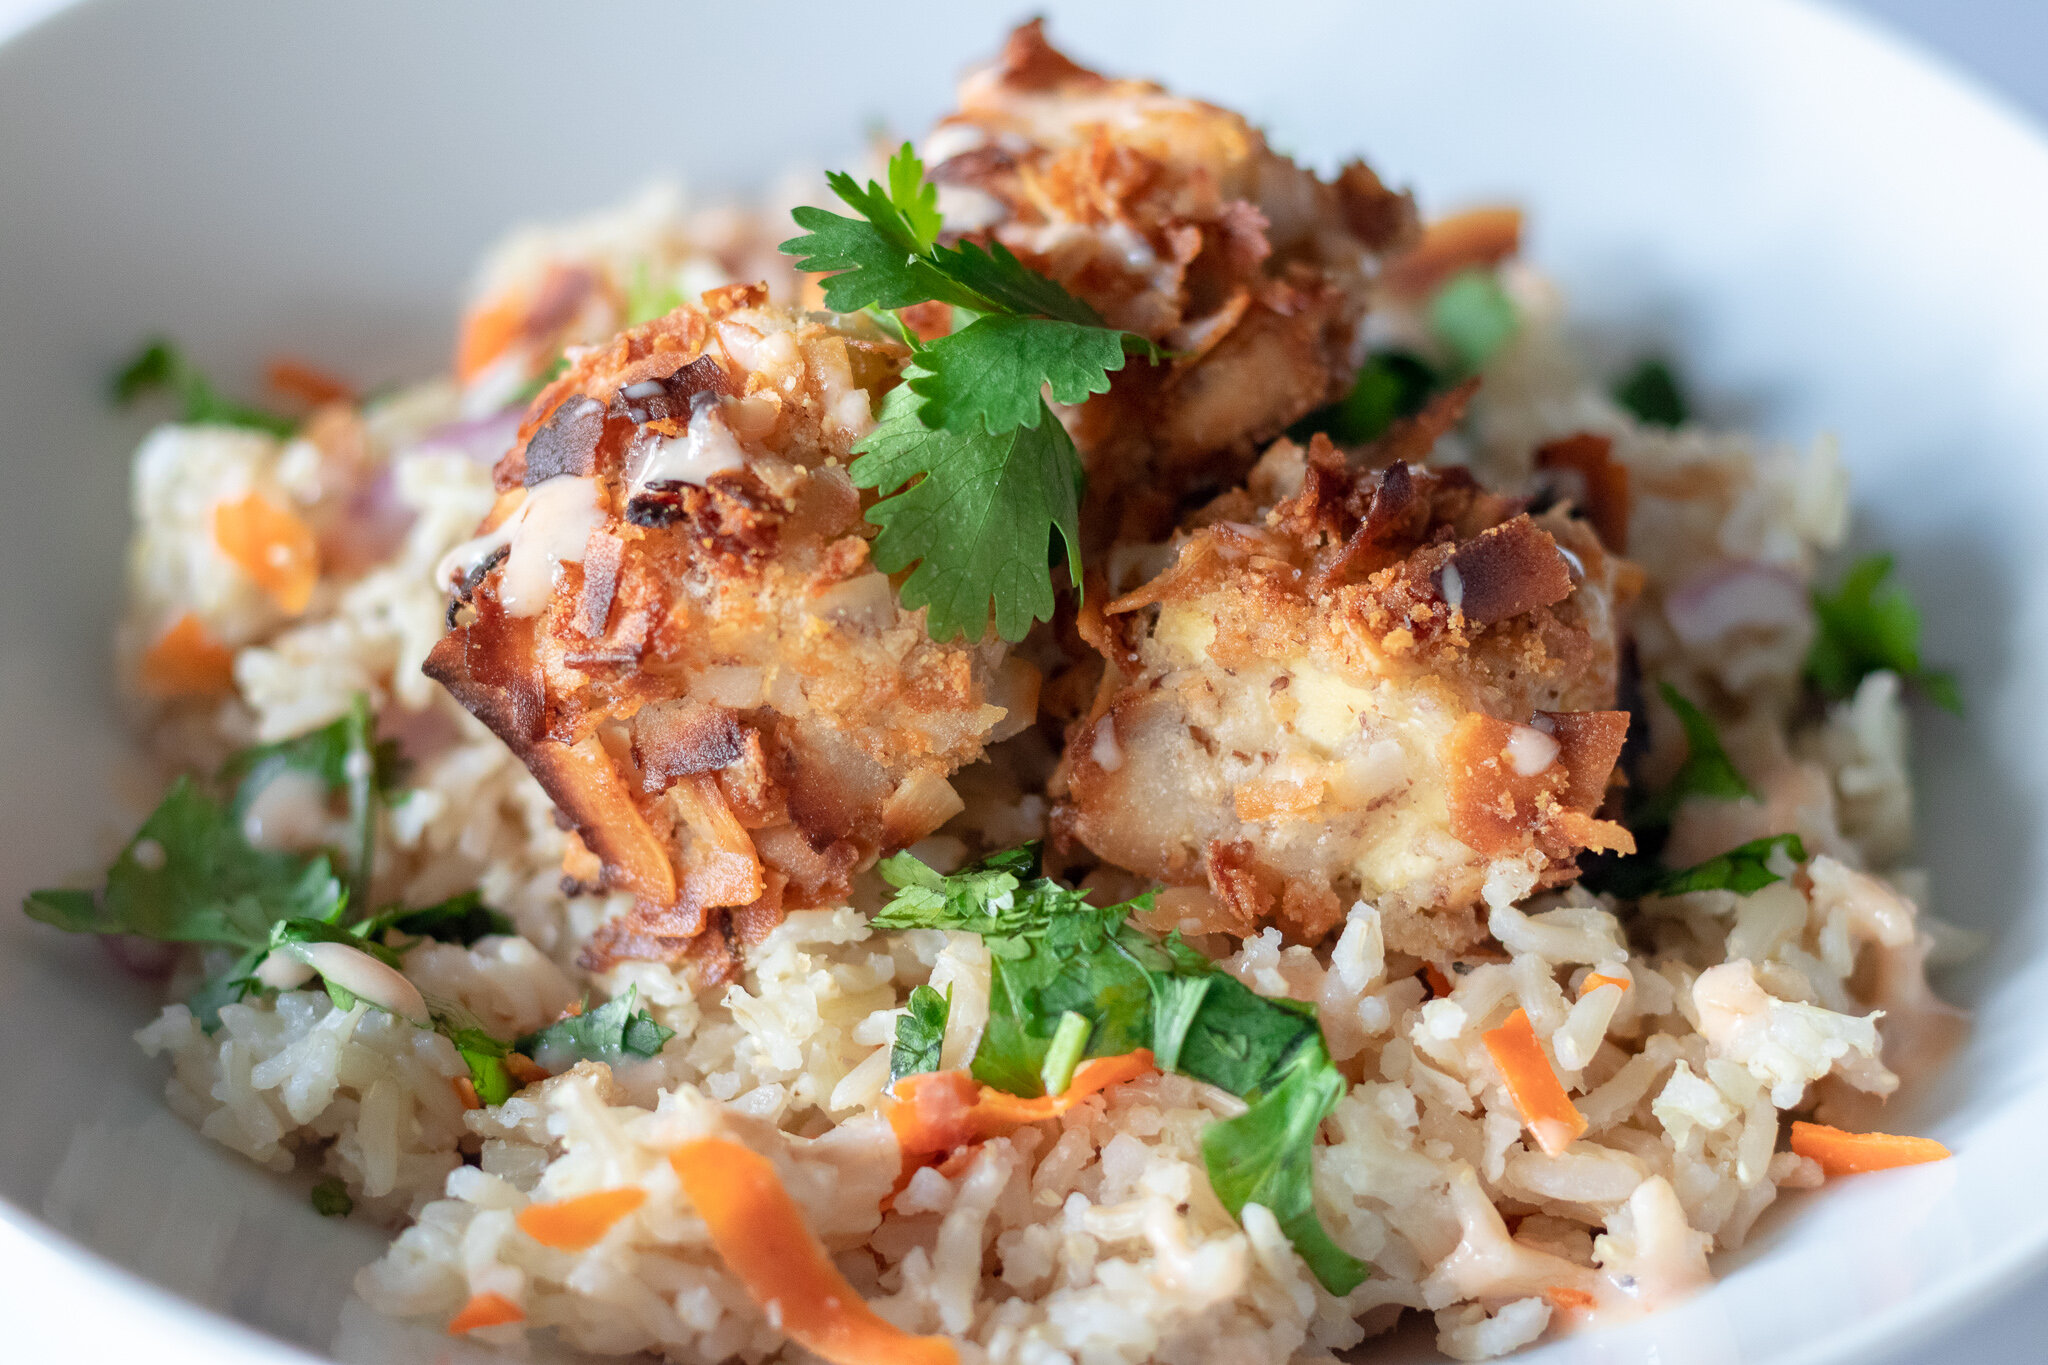
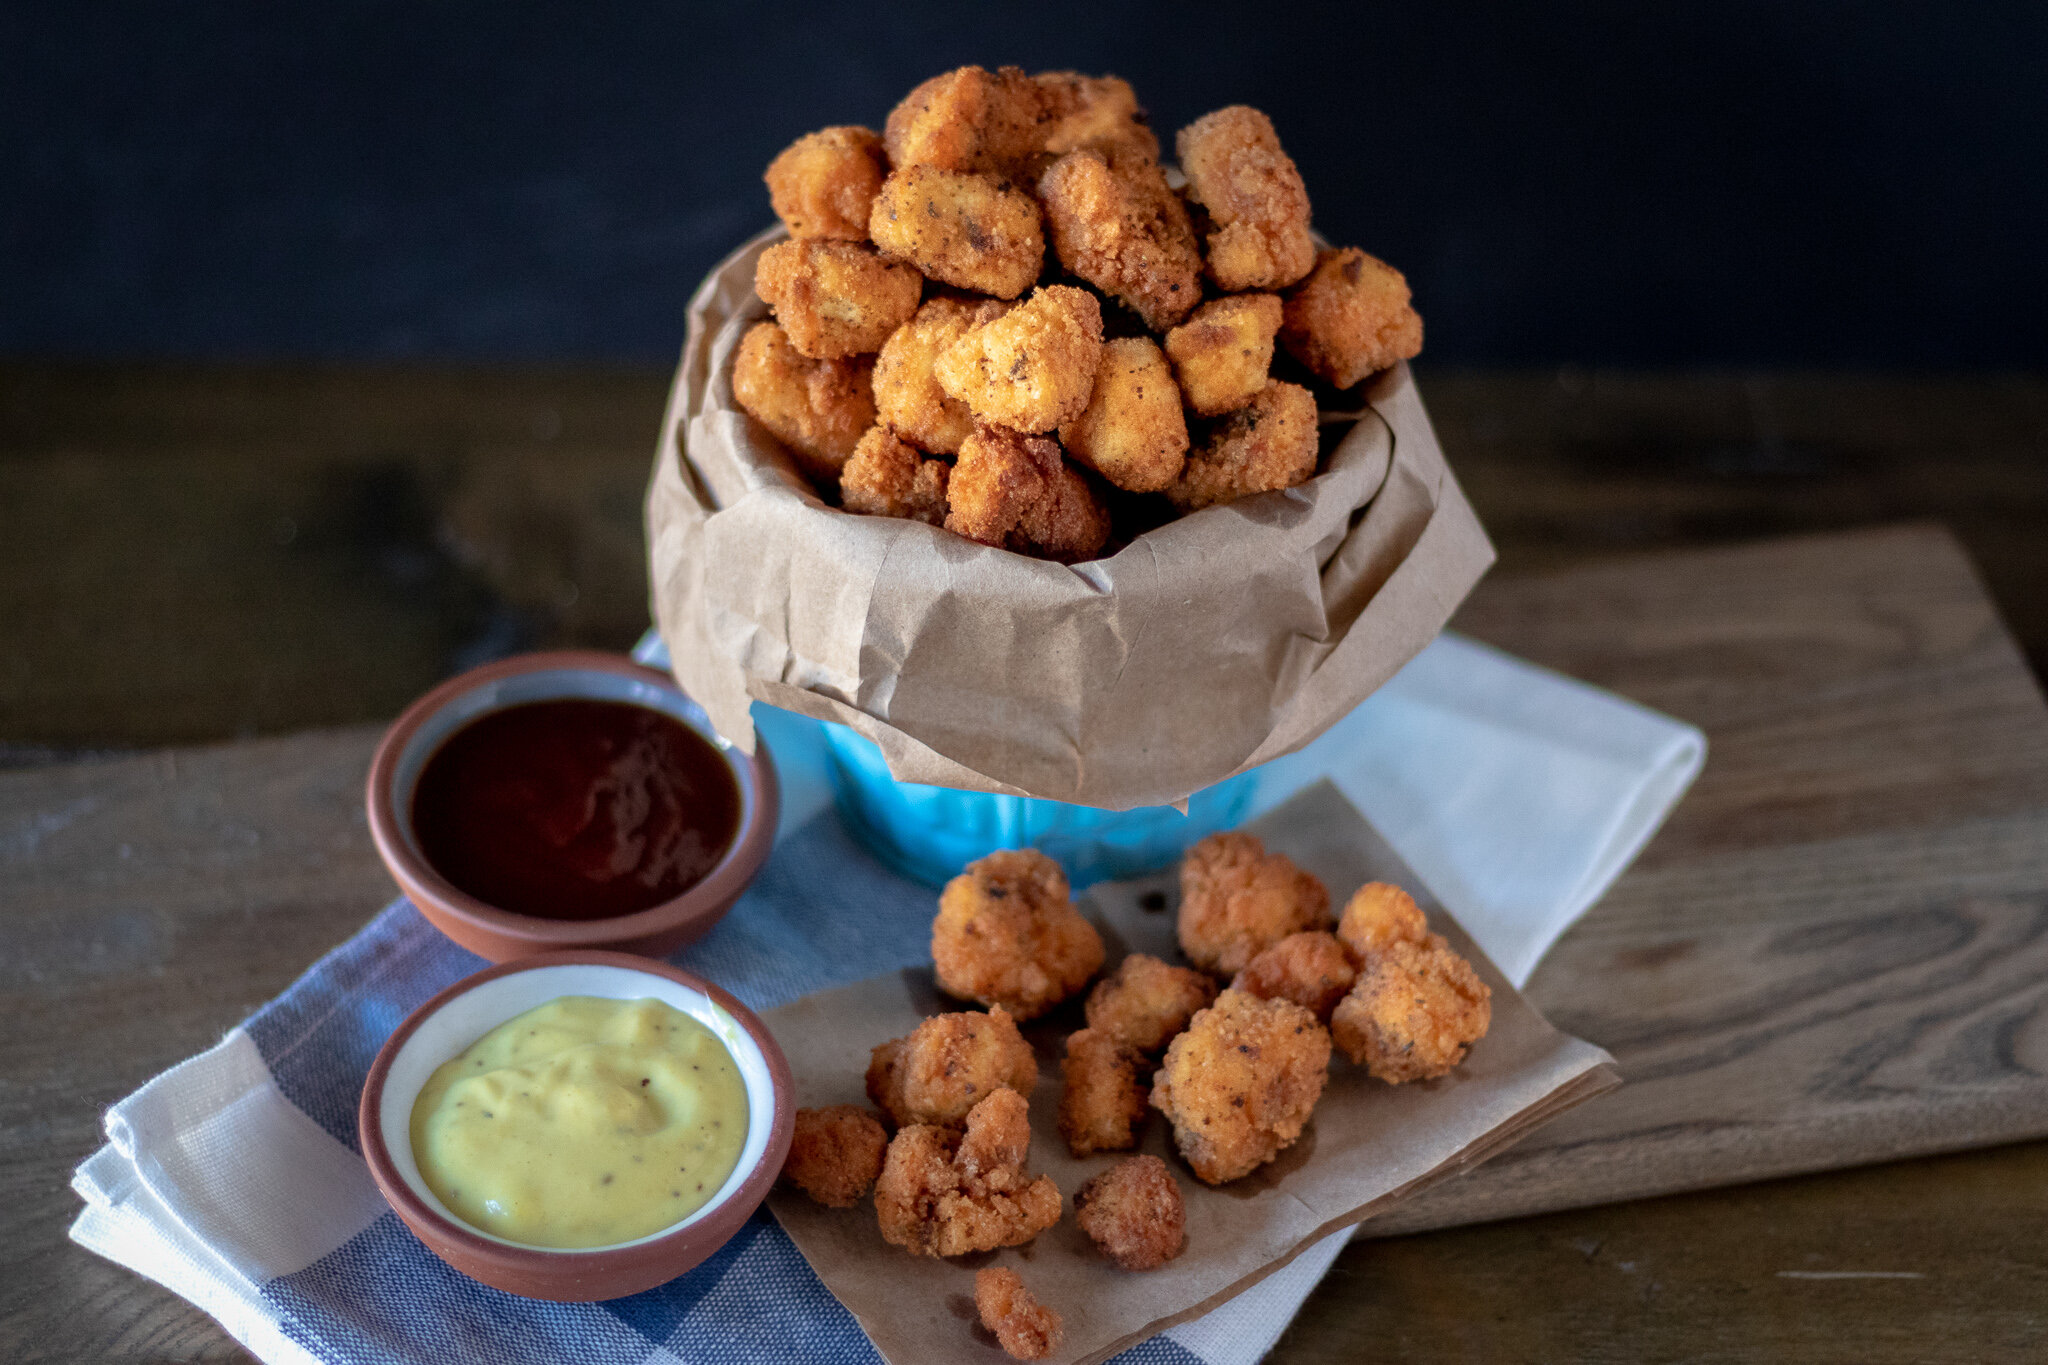
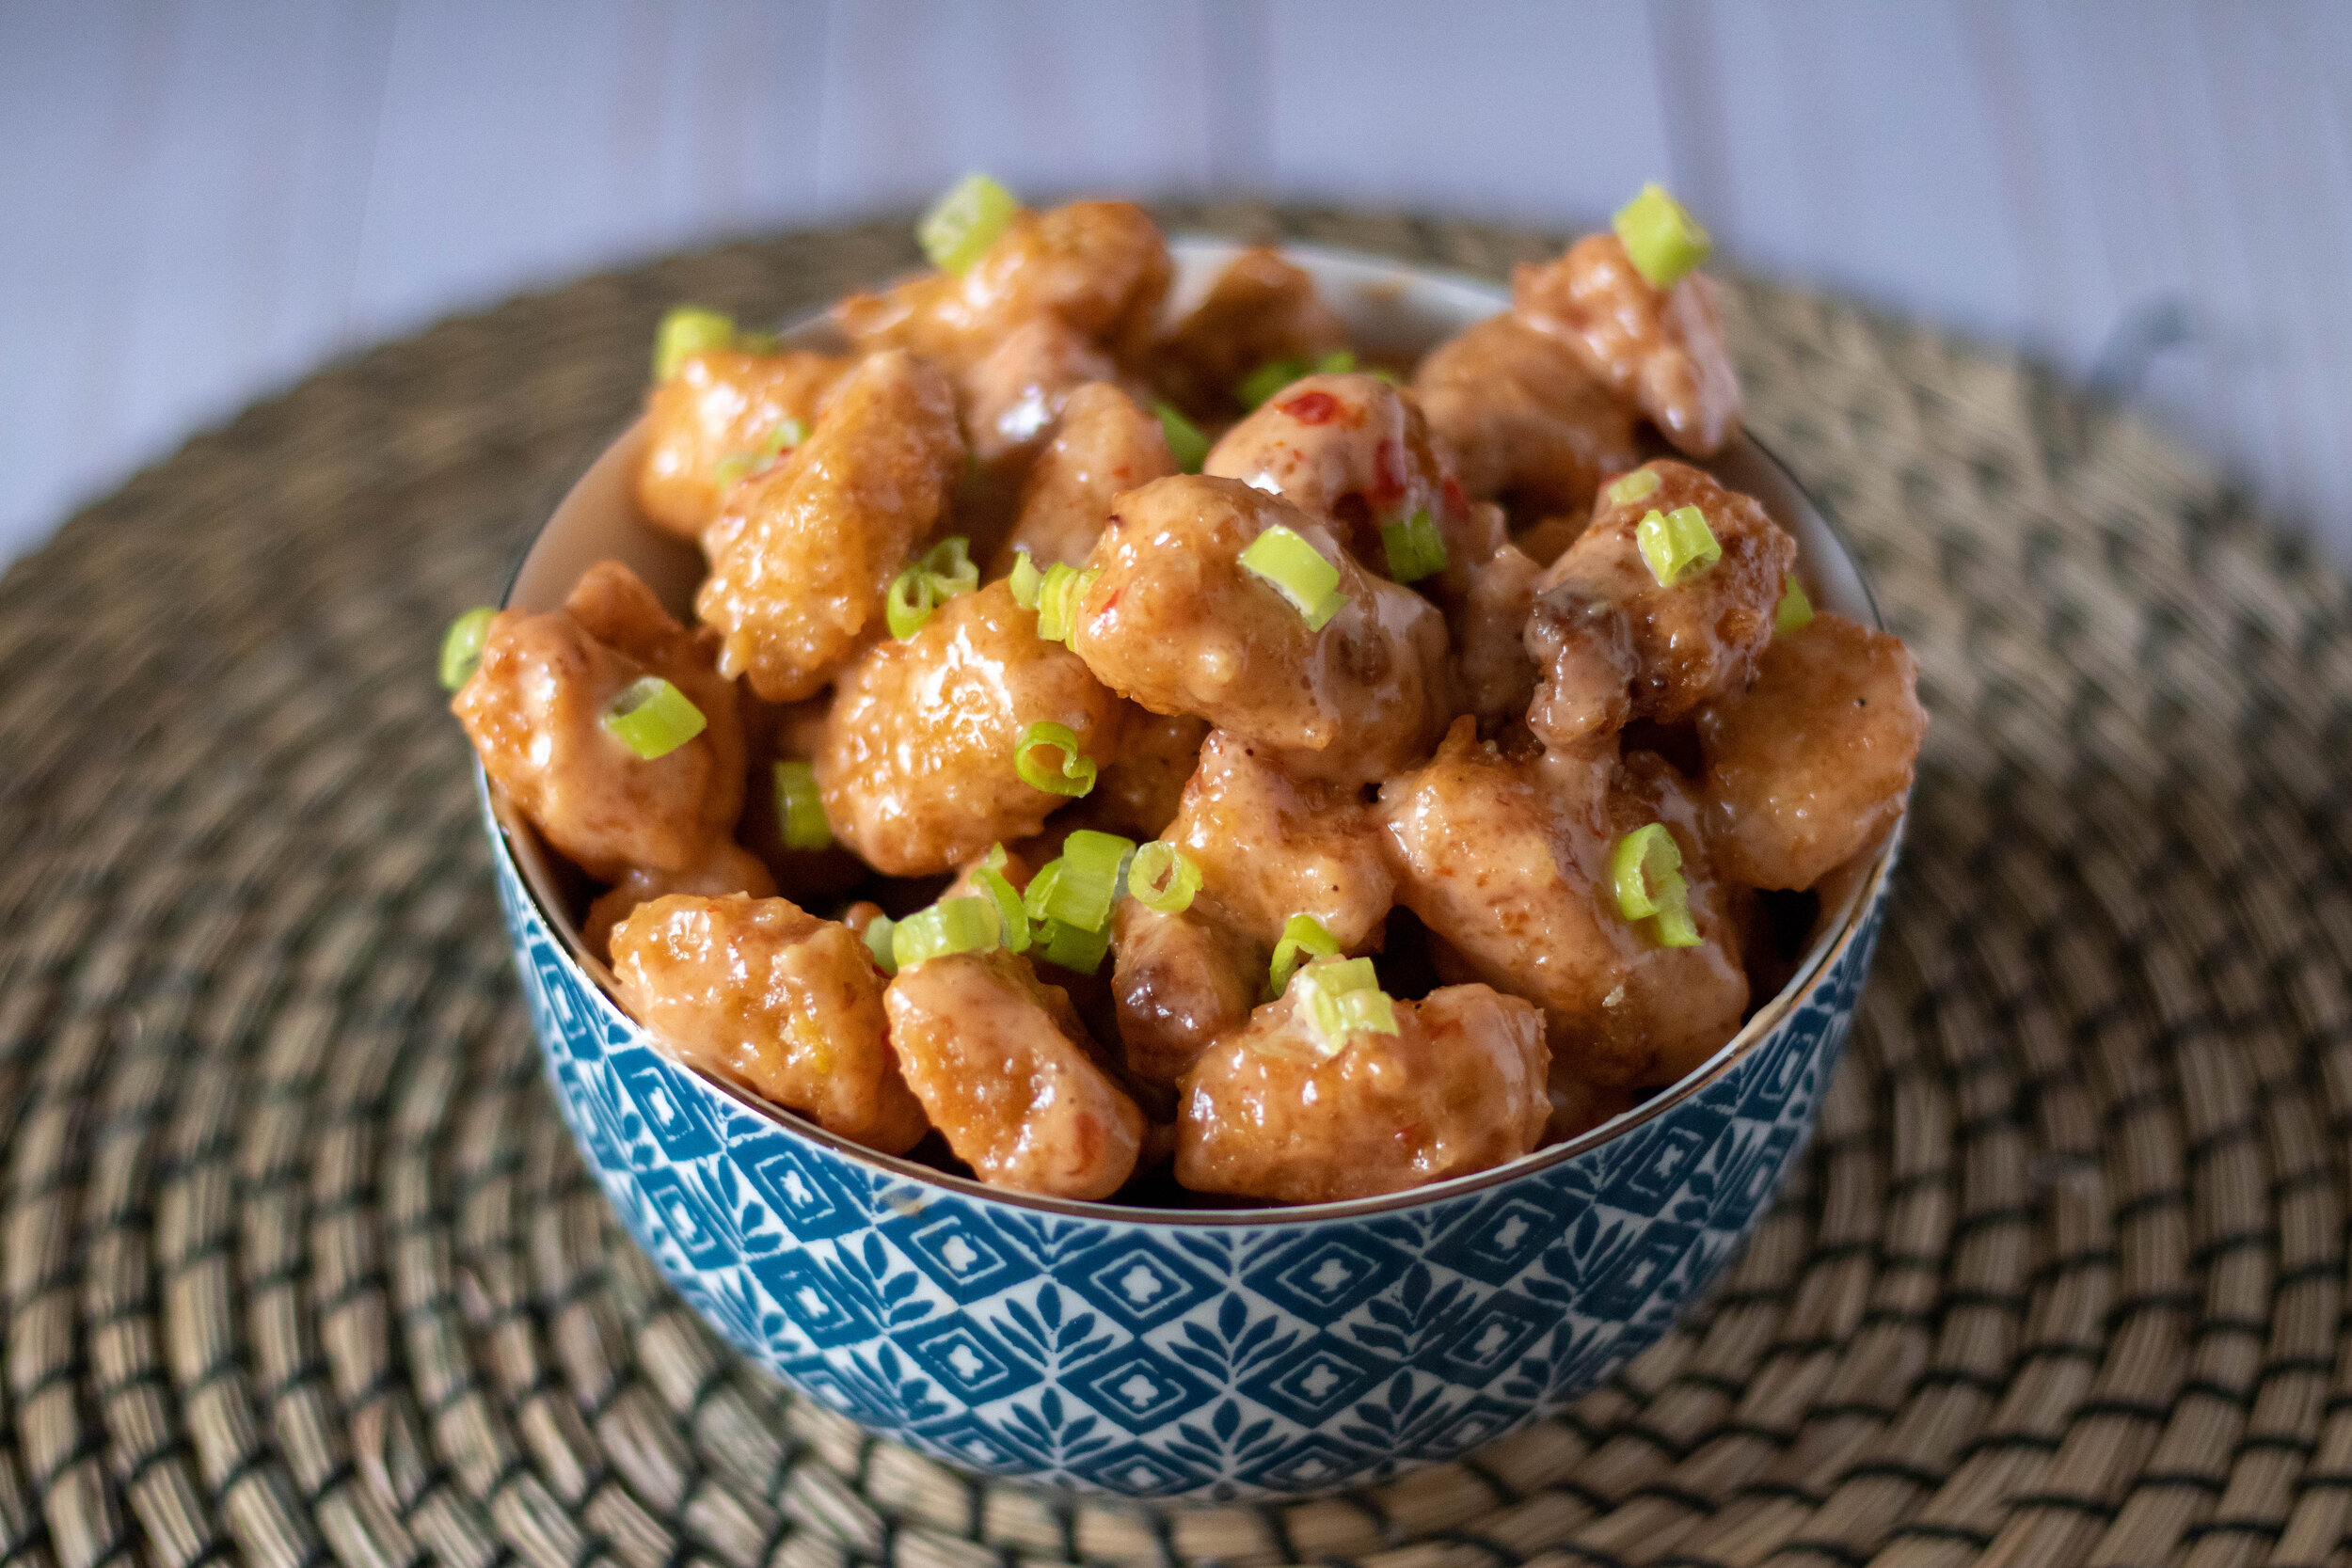
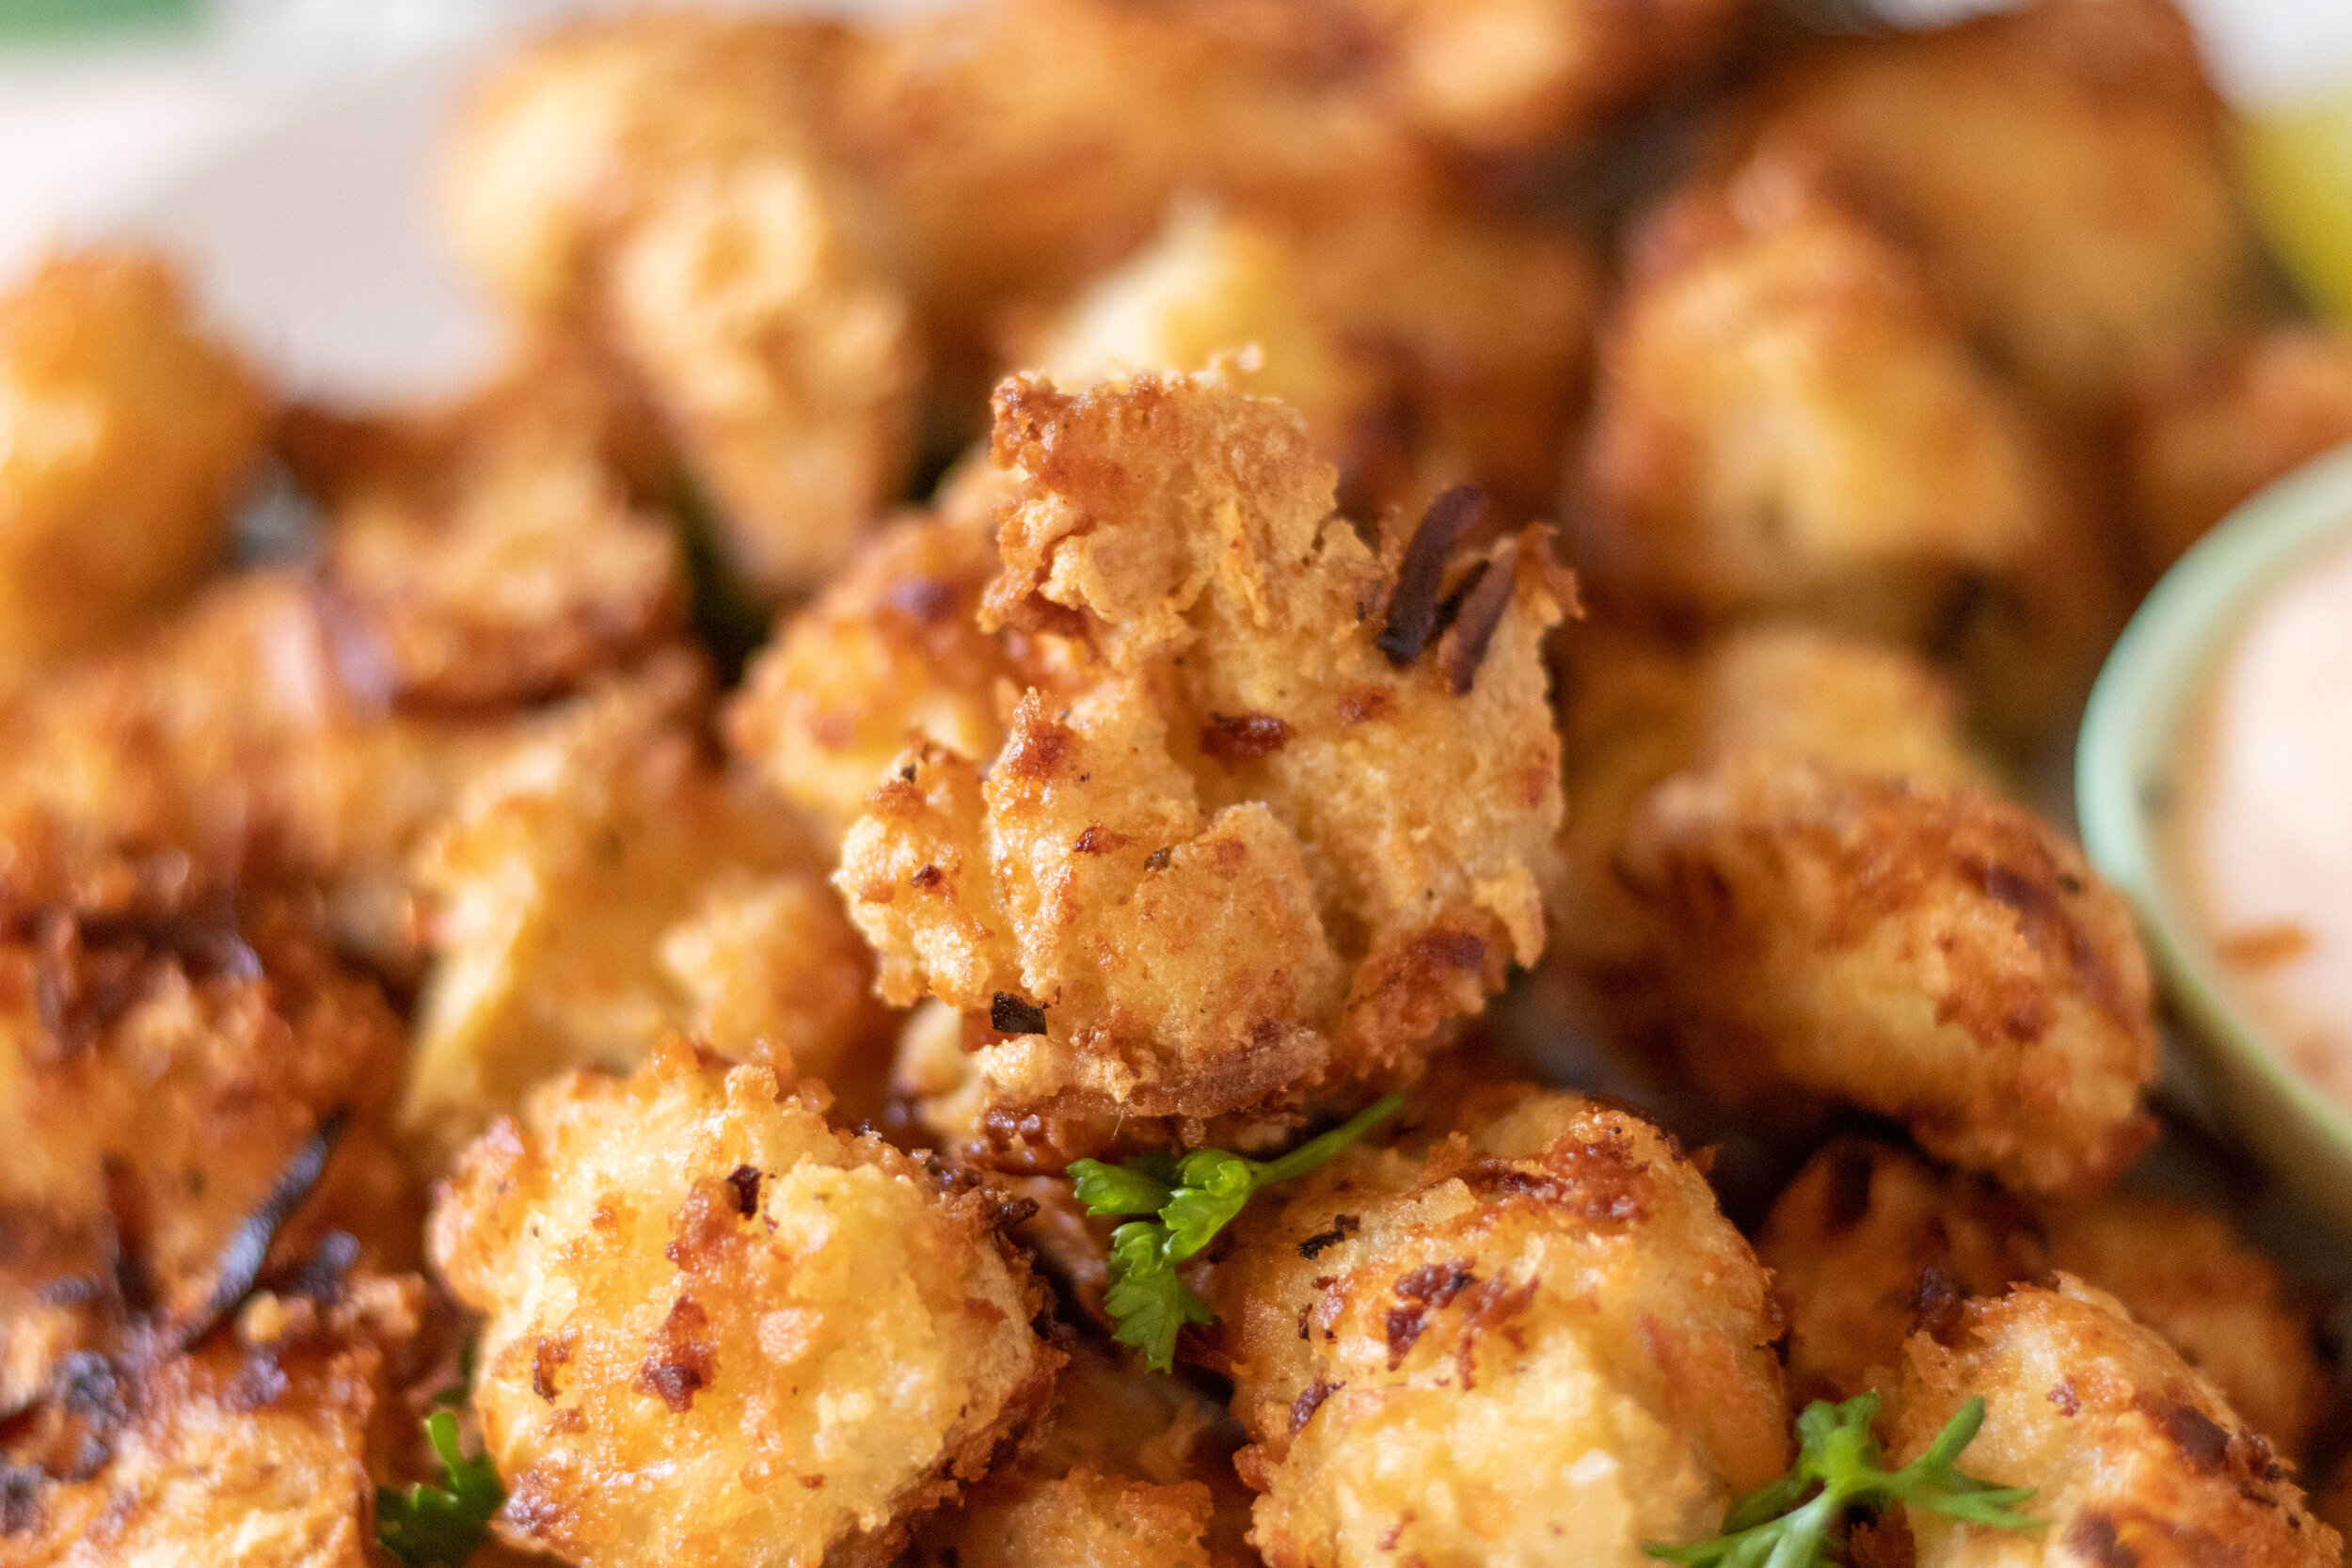
These nuggets are pretty convincingly chicken nuggety, super crispy, and delicious.
So if you or your kids have been craving or wanting some vegan nuggets in all the fun shape those “other guys” get to eat, just know its really easy to make them at home. And not only are they cute, they are pretty tasty. I ate enough of this batch to confirm I will be making them weekly, and freezing them for easy weeknight dinner or lunches!

INGREDIENTS:
1 block super firm tofu (16 oz) the kind that is vacuum sealed in not much water
1 cup vital wheat gluten
2 -3 teaspoons No Chicken Better Than Bouillon, or any vegan chicken flavored bouillon powder or seasoning
1 teaspoon garlic powder
1-2 teaspoons onion powder
1/2 teaspoon sage
1/2 teaspoon rosemary
2 teaspoons liquid smoke
2 tablespoons tapioca or corn starch
1/4 cup nutritional yeast
2 tablespoon neural flavored oil
1/2 to 3/4 cups water
1 teaspoons salt
THE COATING:
3 cups vegan bread crumbs ( I use vegan panko, but put them blender to make a finer crumb)
1/2 cup all purpose flour
1/2 cup tapioca or corn starch
1 teaspoon garlic powder
1 teaspoon onion powder
1 tablespoon nutritional yeast
1 teaspoon salt
1/2 cup vegan yogurt or sour cream
1/2 cup unsweetened plant milk
*I used high protein tofu in a vacuum sealed package and this what I strongly advise using. It is much firmer than regular firm tofu and has less moisture and a more chewy texture. If you opt to use regular firm tofu you will need to press it first and remove as much liquid as possible. You may need to adjust the amount of water in the recipet as well. Add the water last, adding just enough to accomplish a nicely formed dough.
INSTRUCTIONS:
Preheat oven to 350 degrees
Break up the tofu and place it into a food processor with the regular metal blade. Run the processor for around a minute until the tofu is broken down.
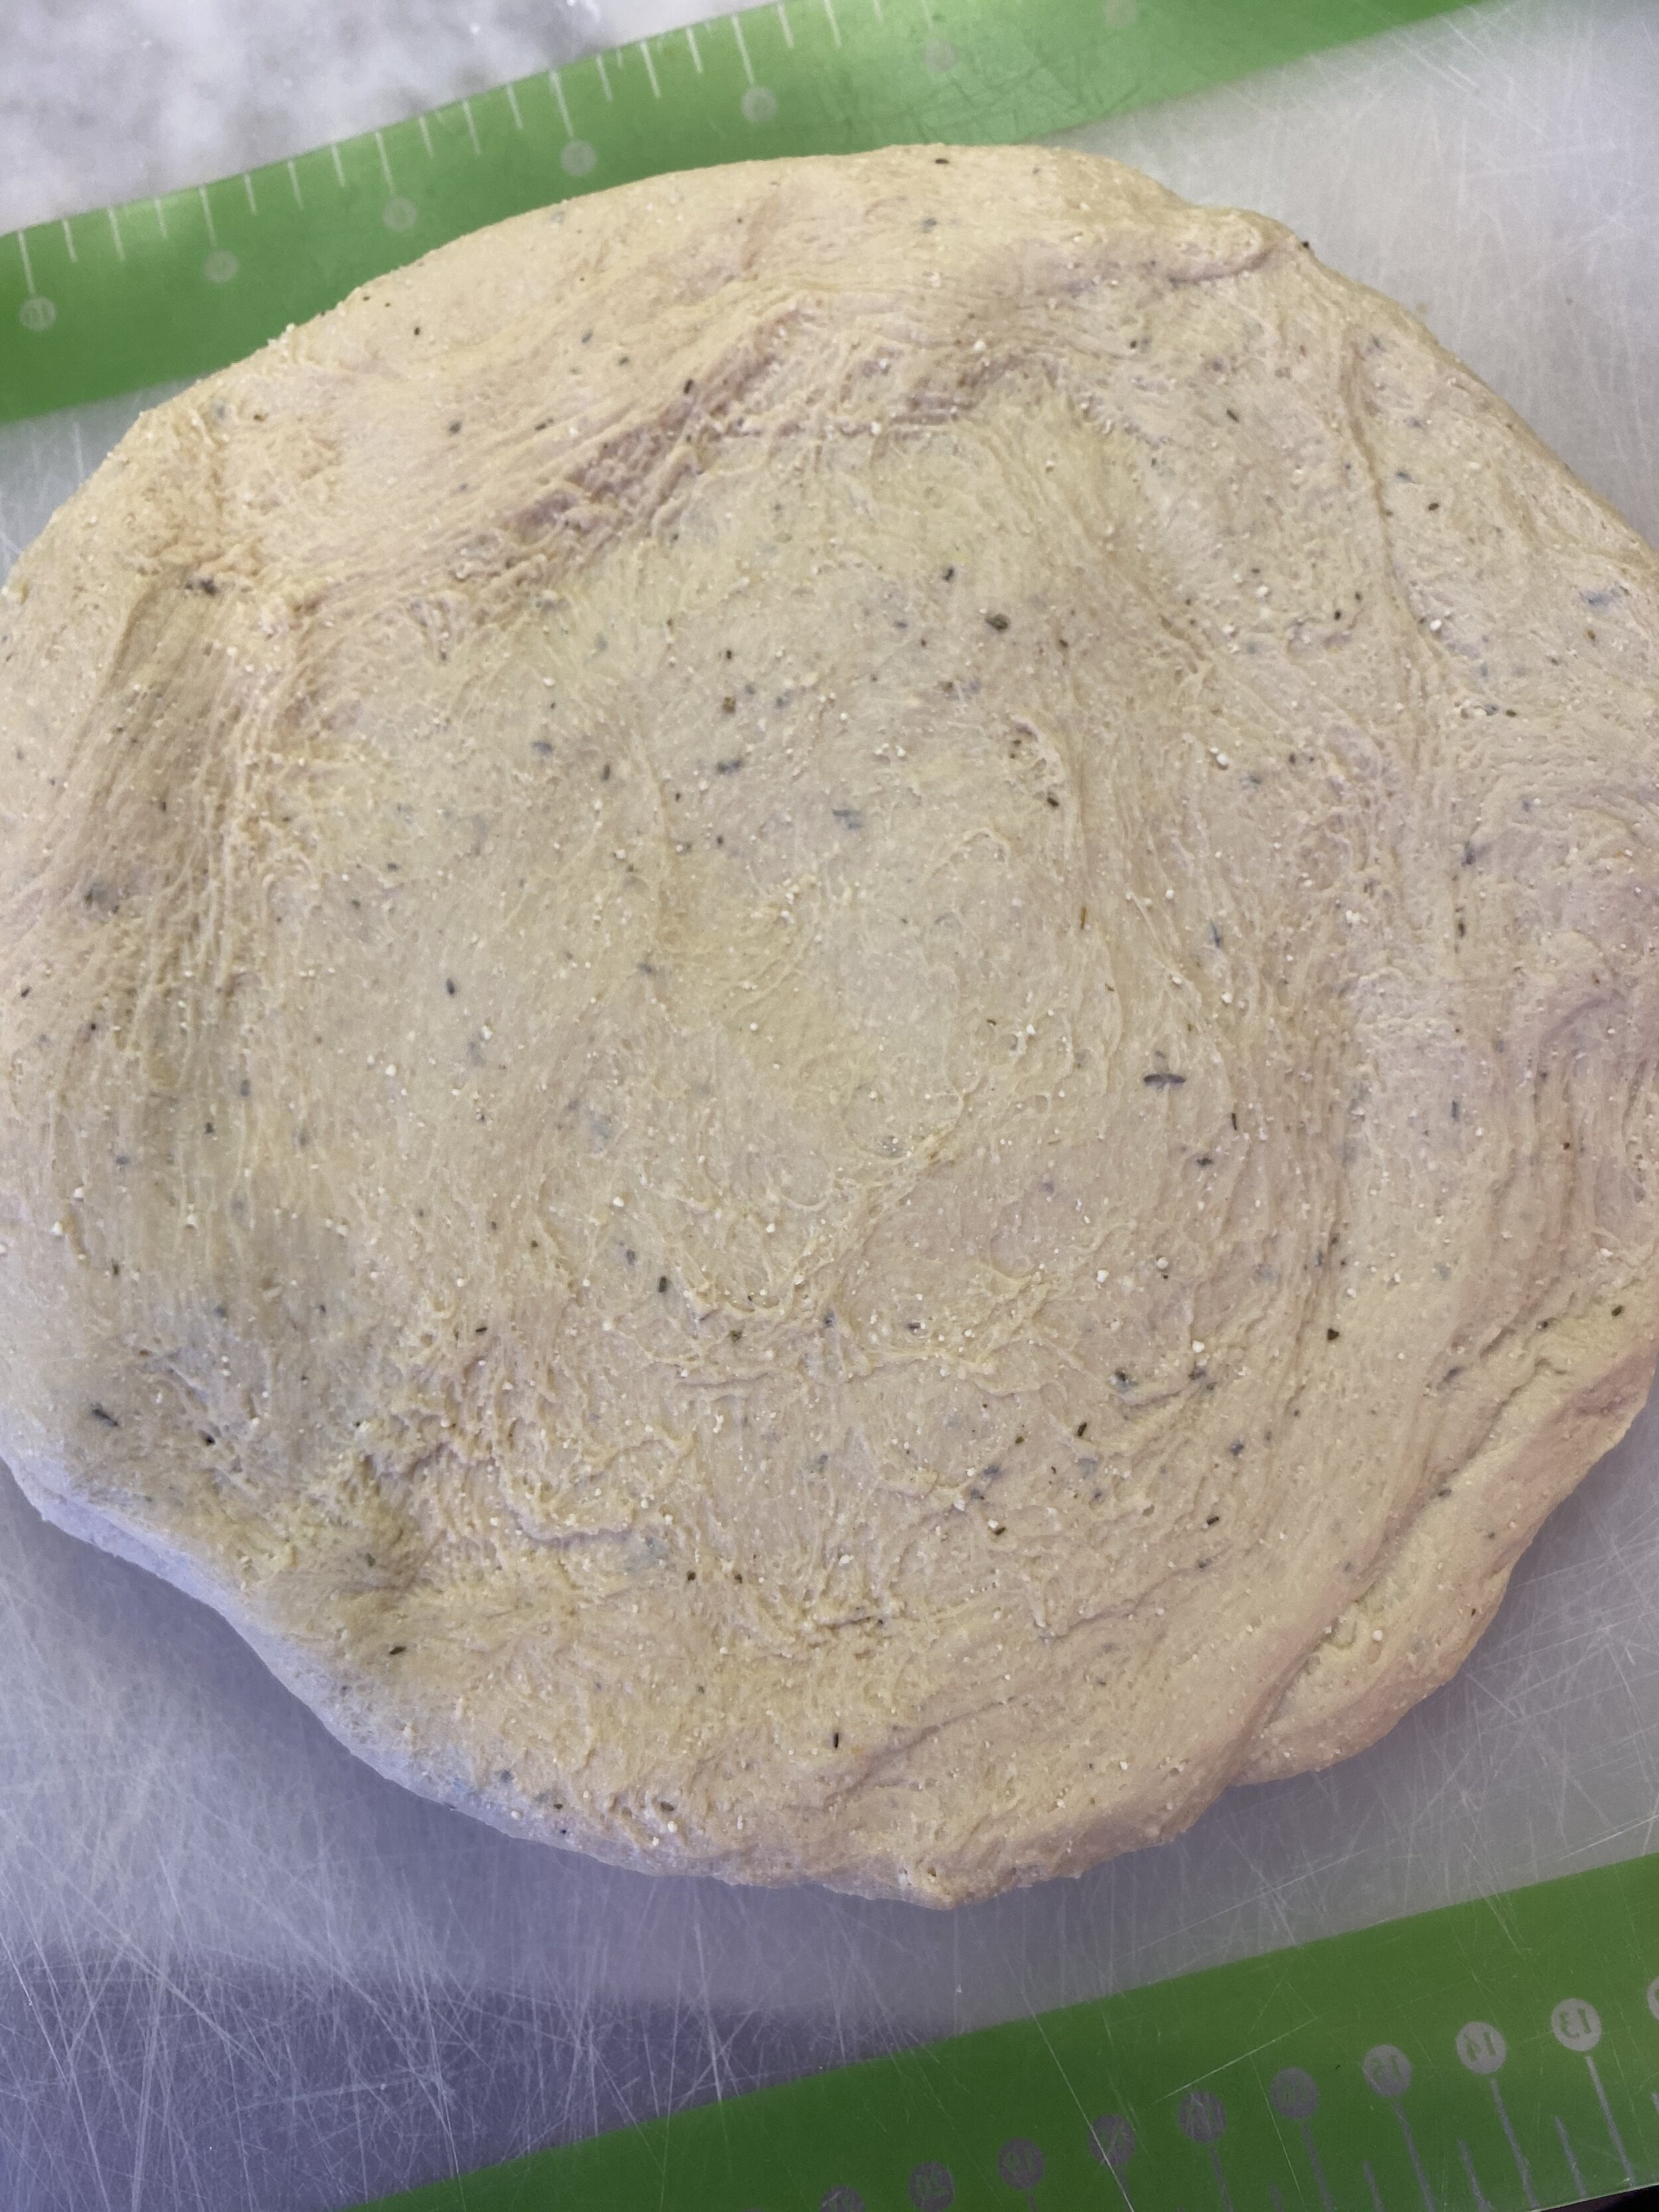
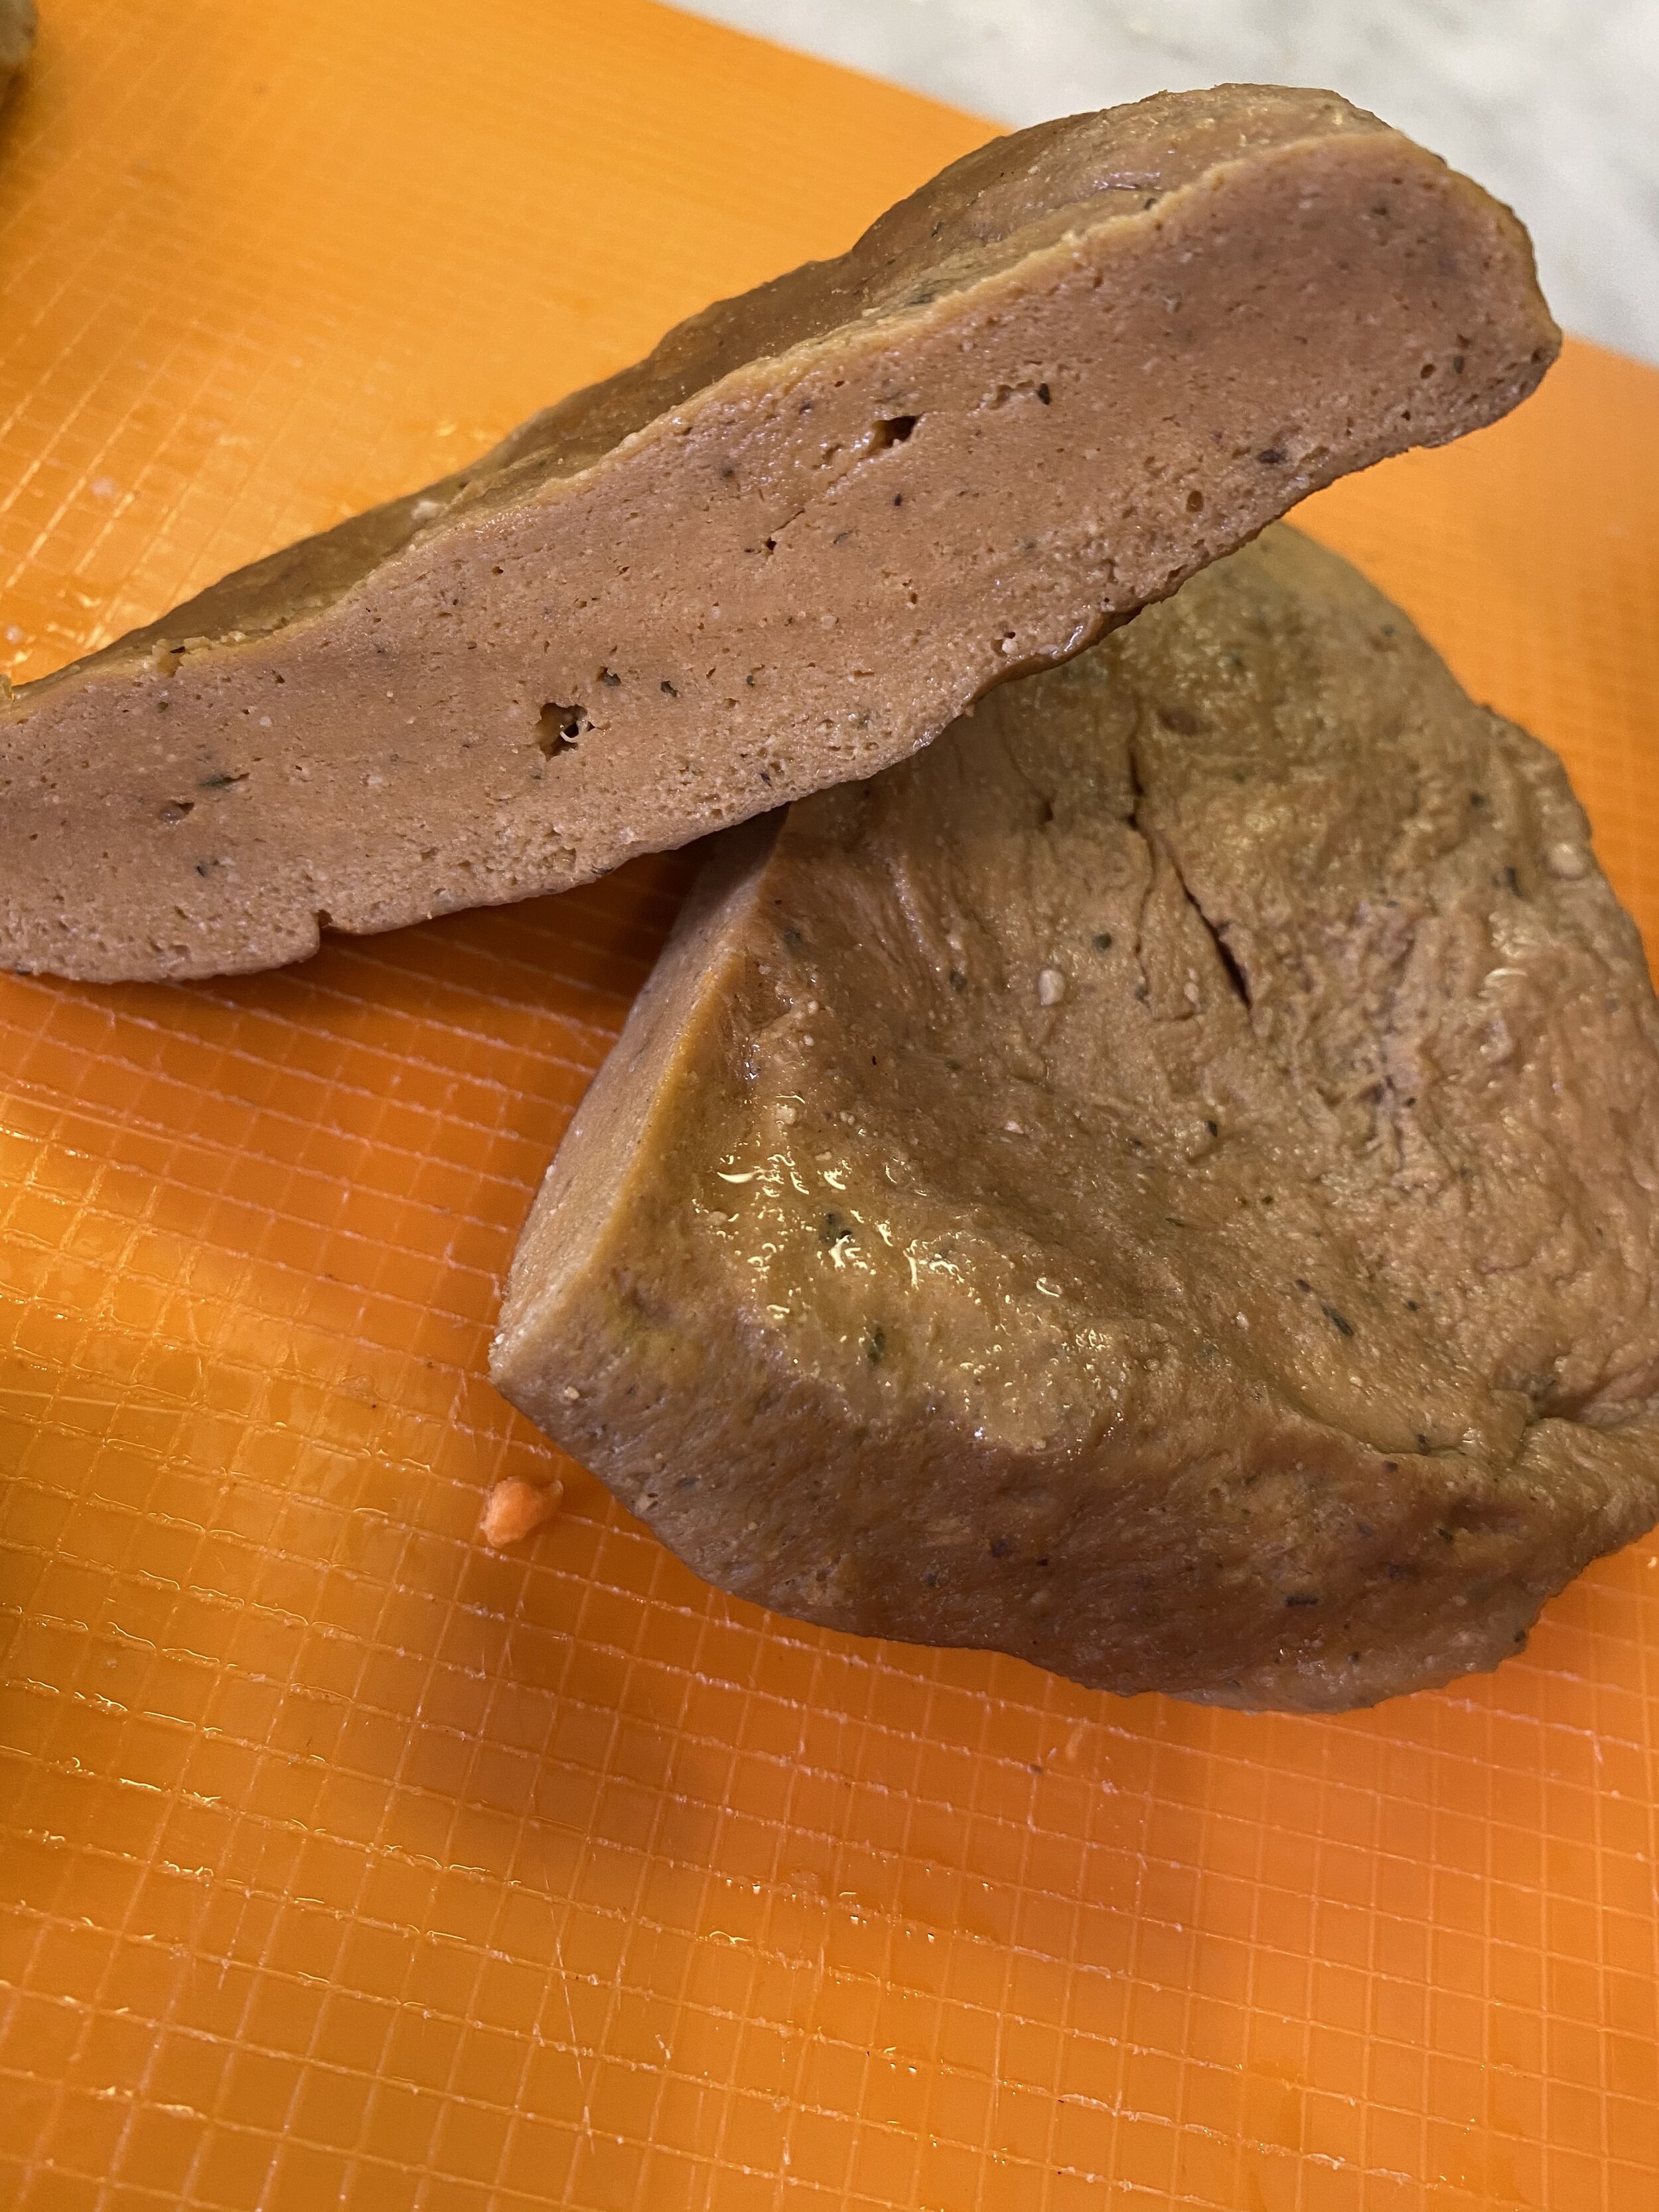
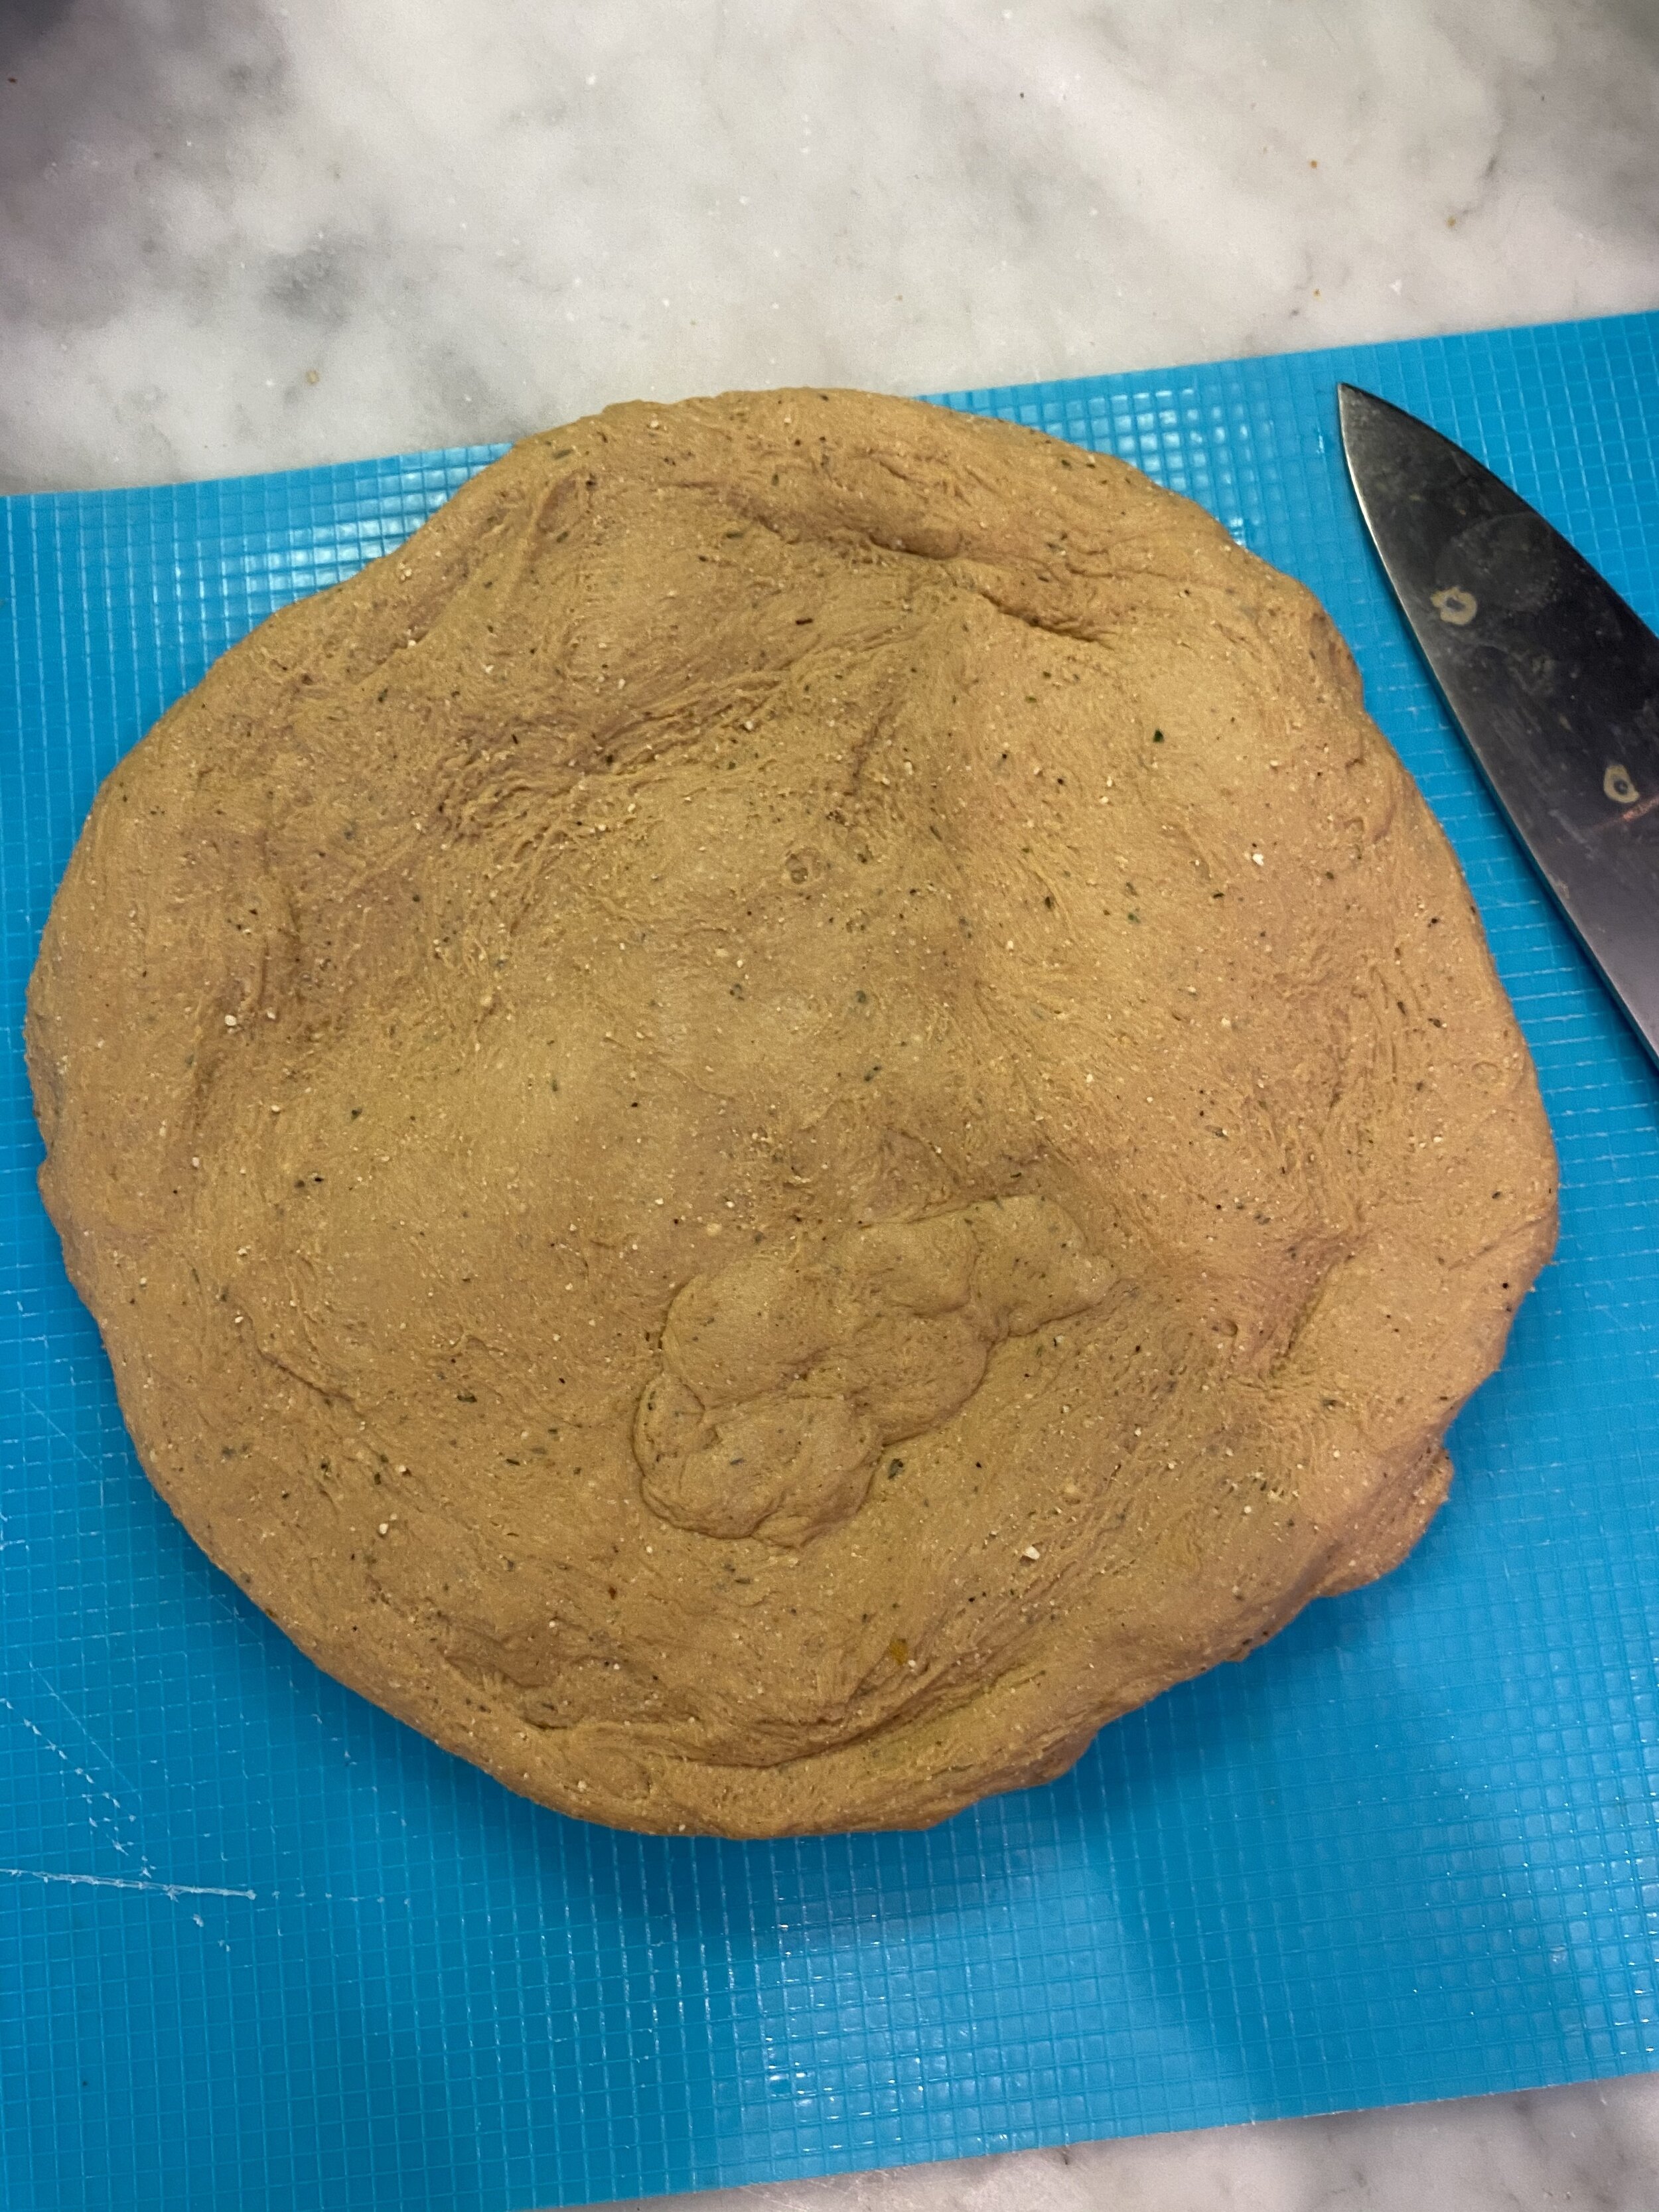
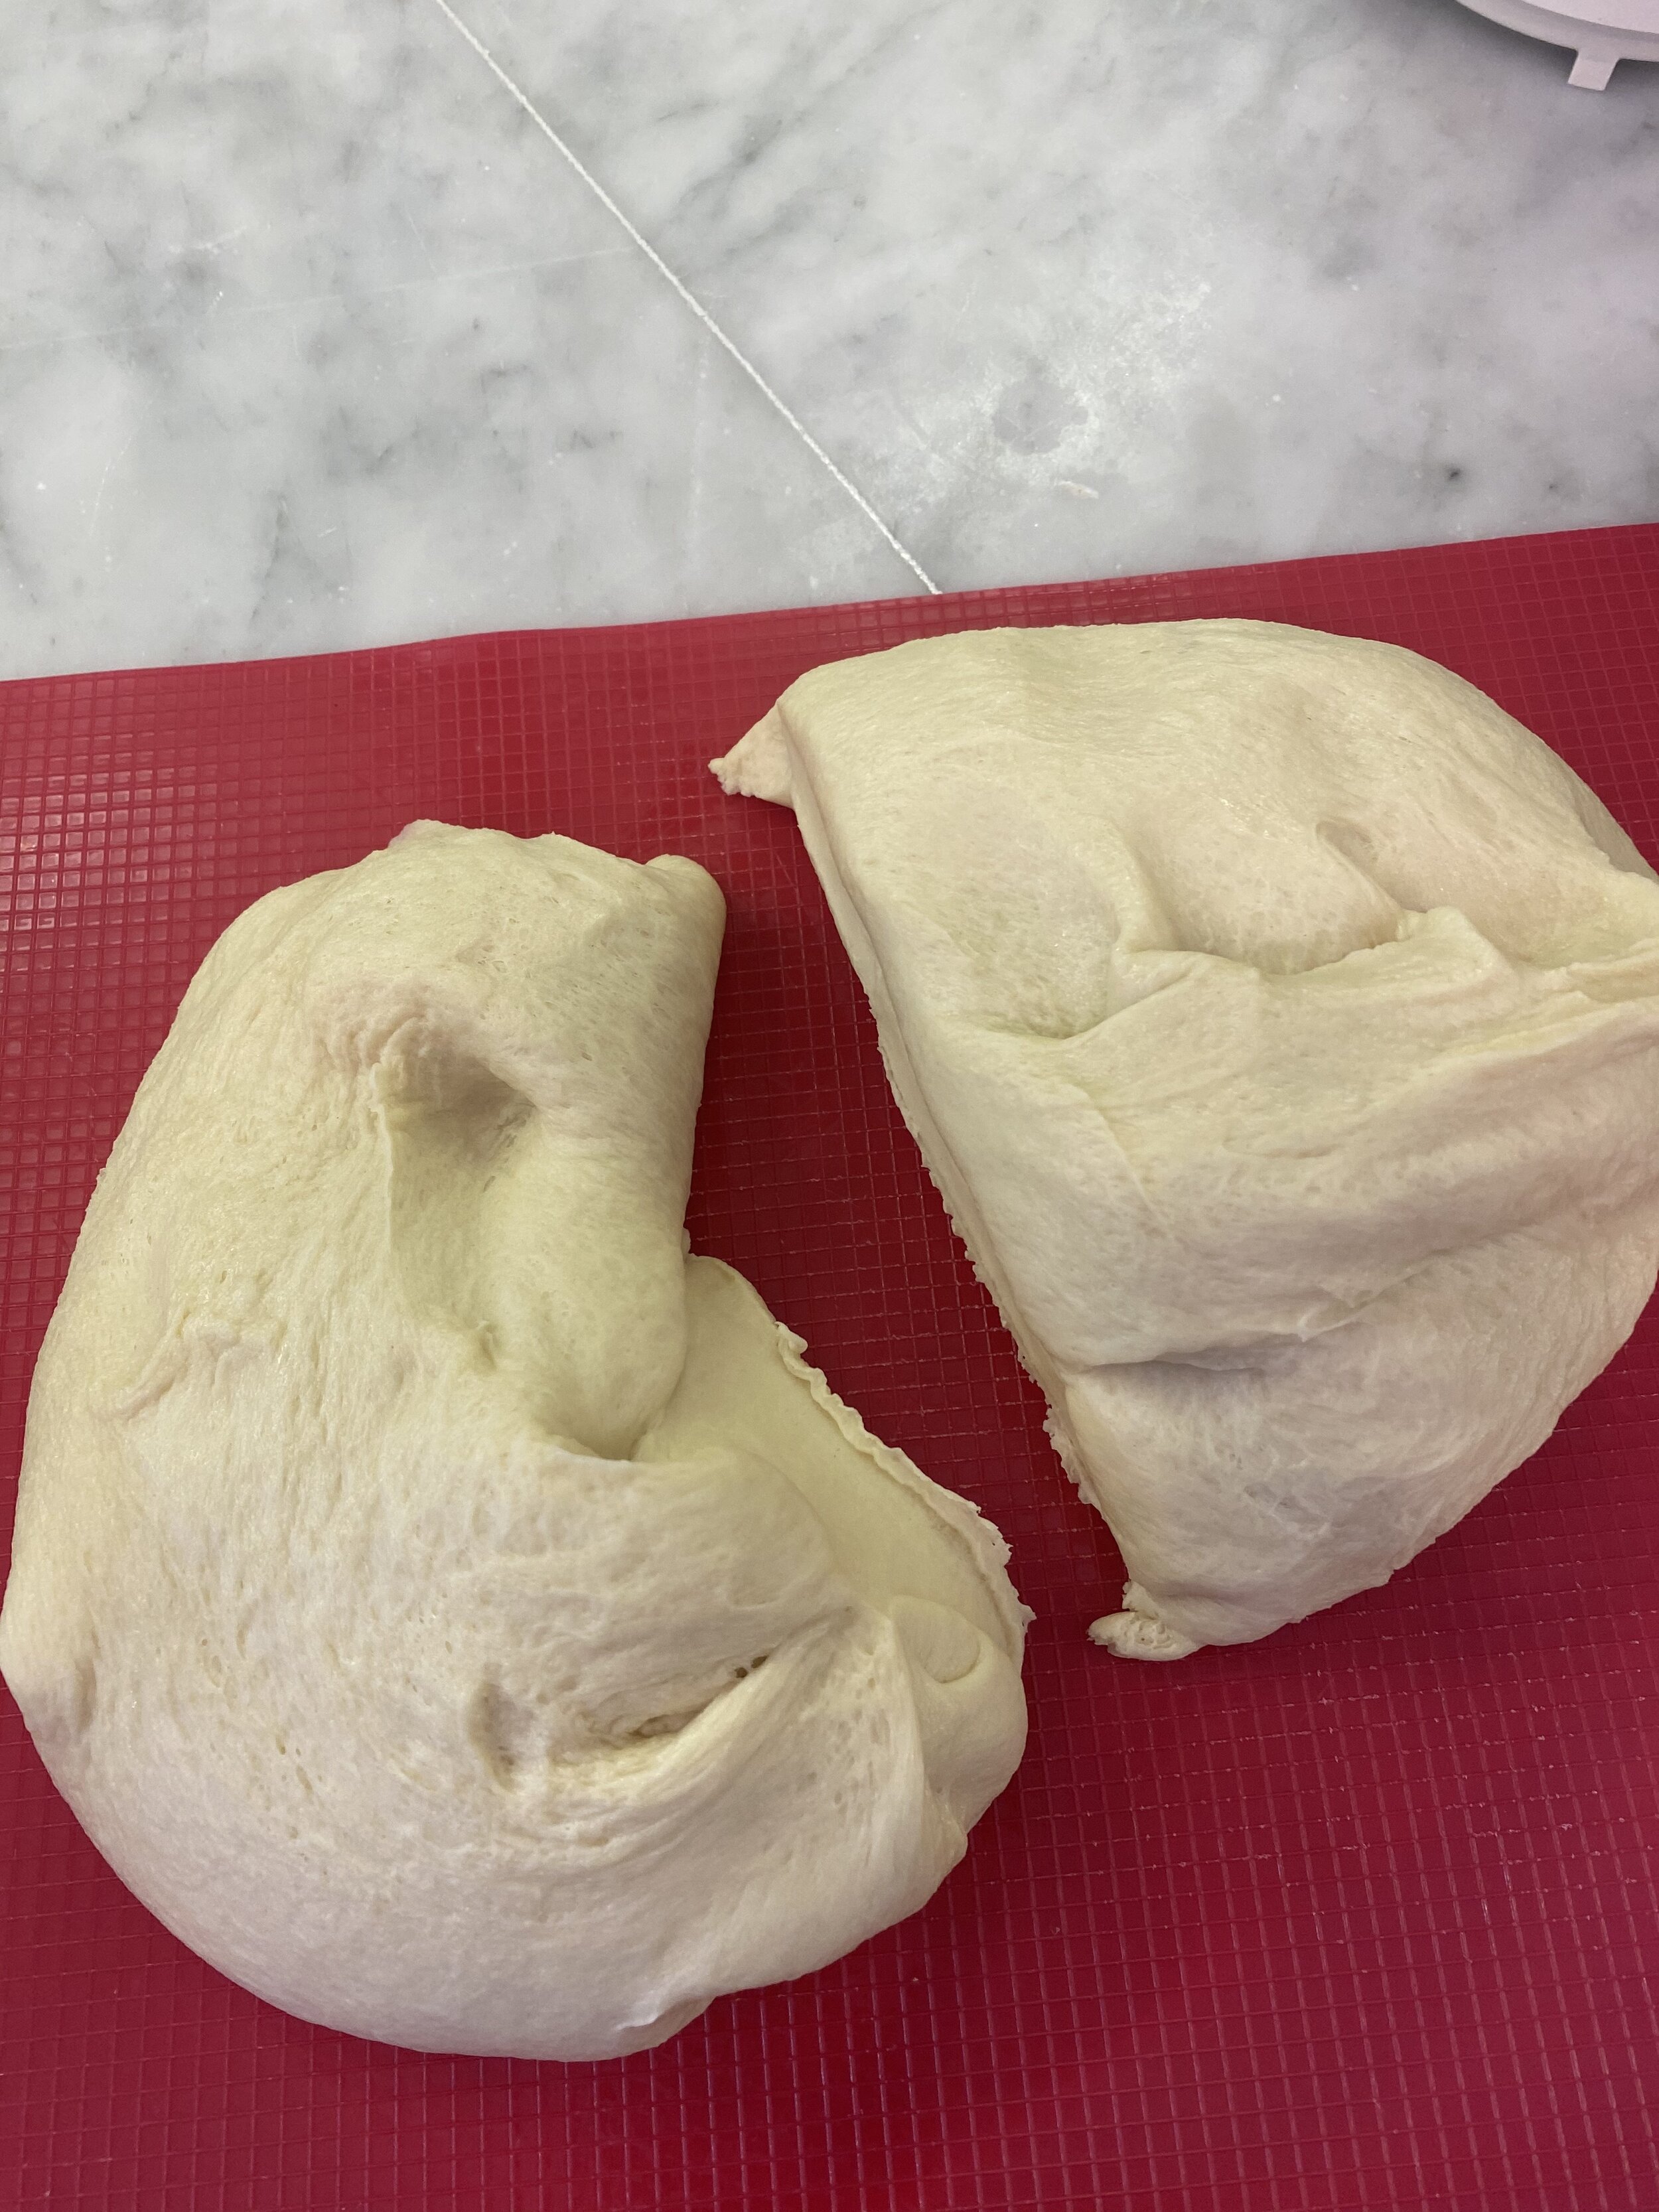
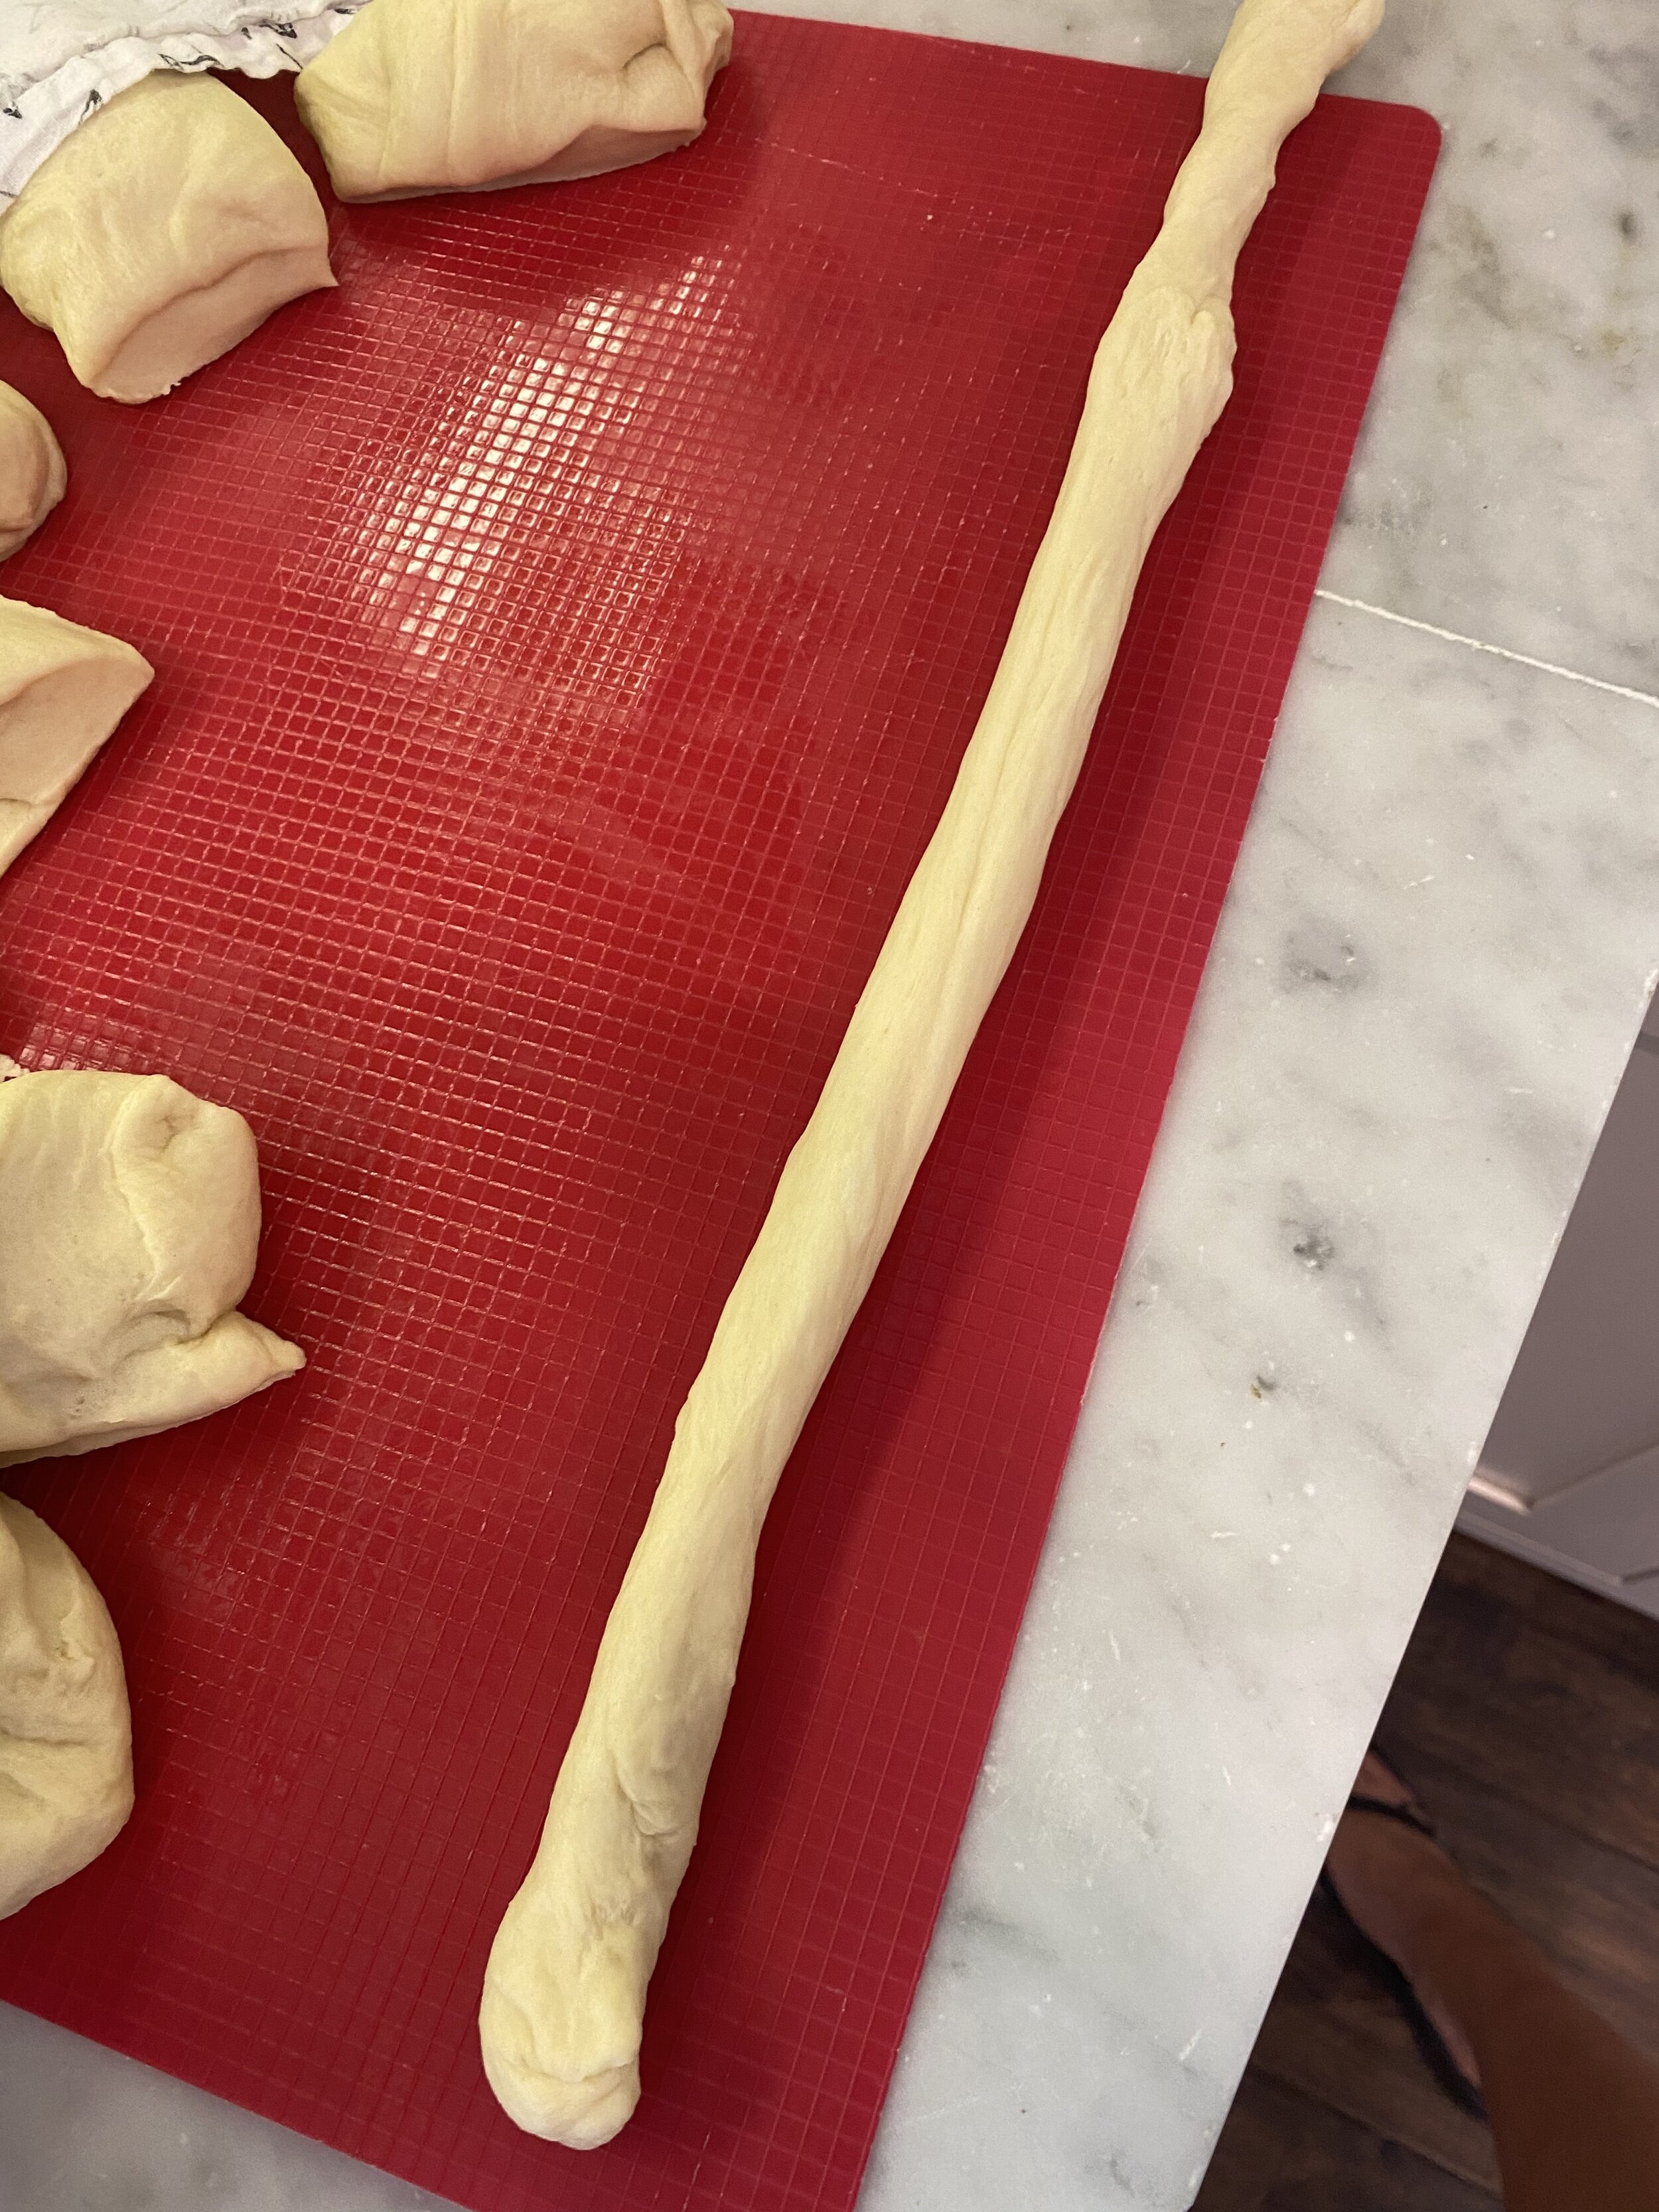
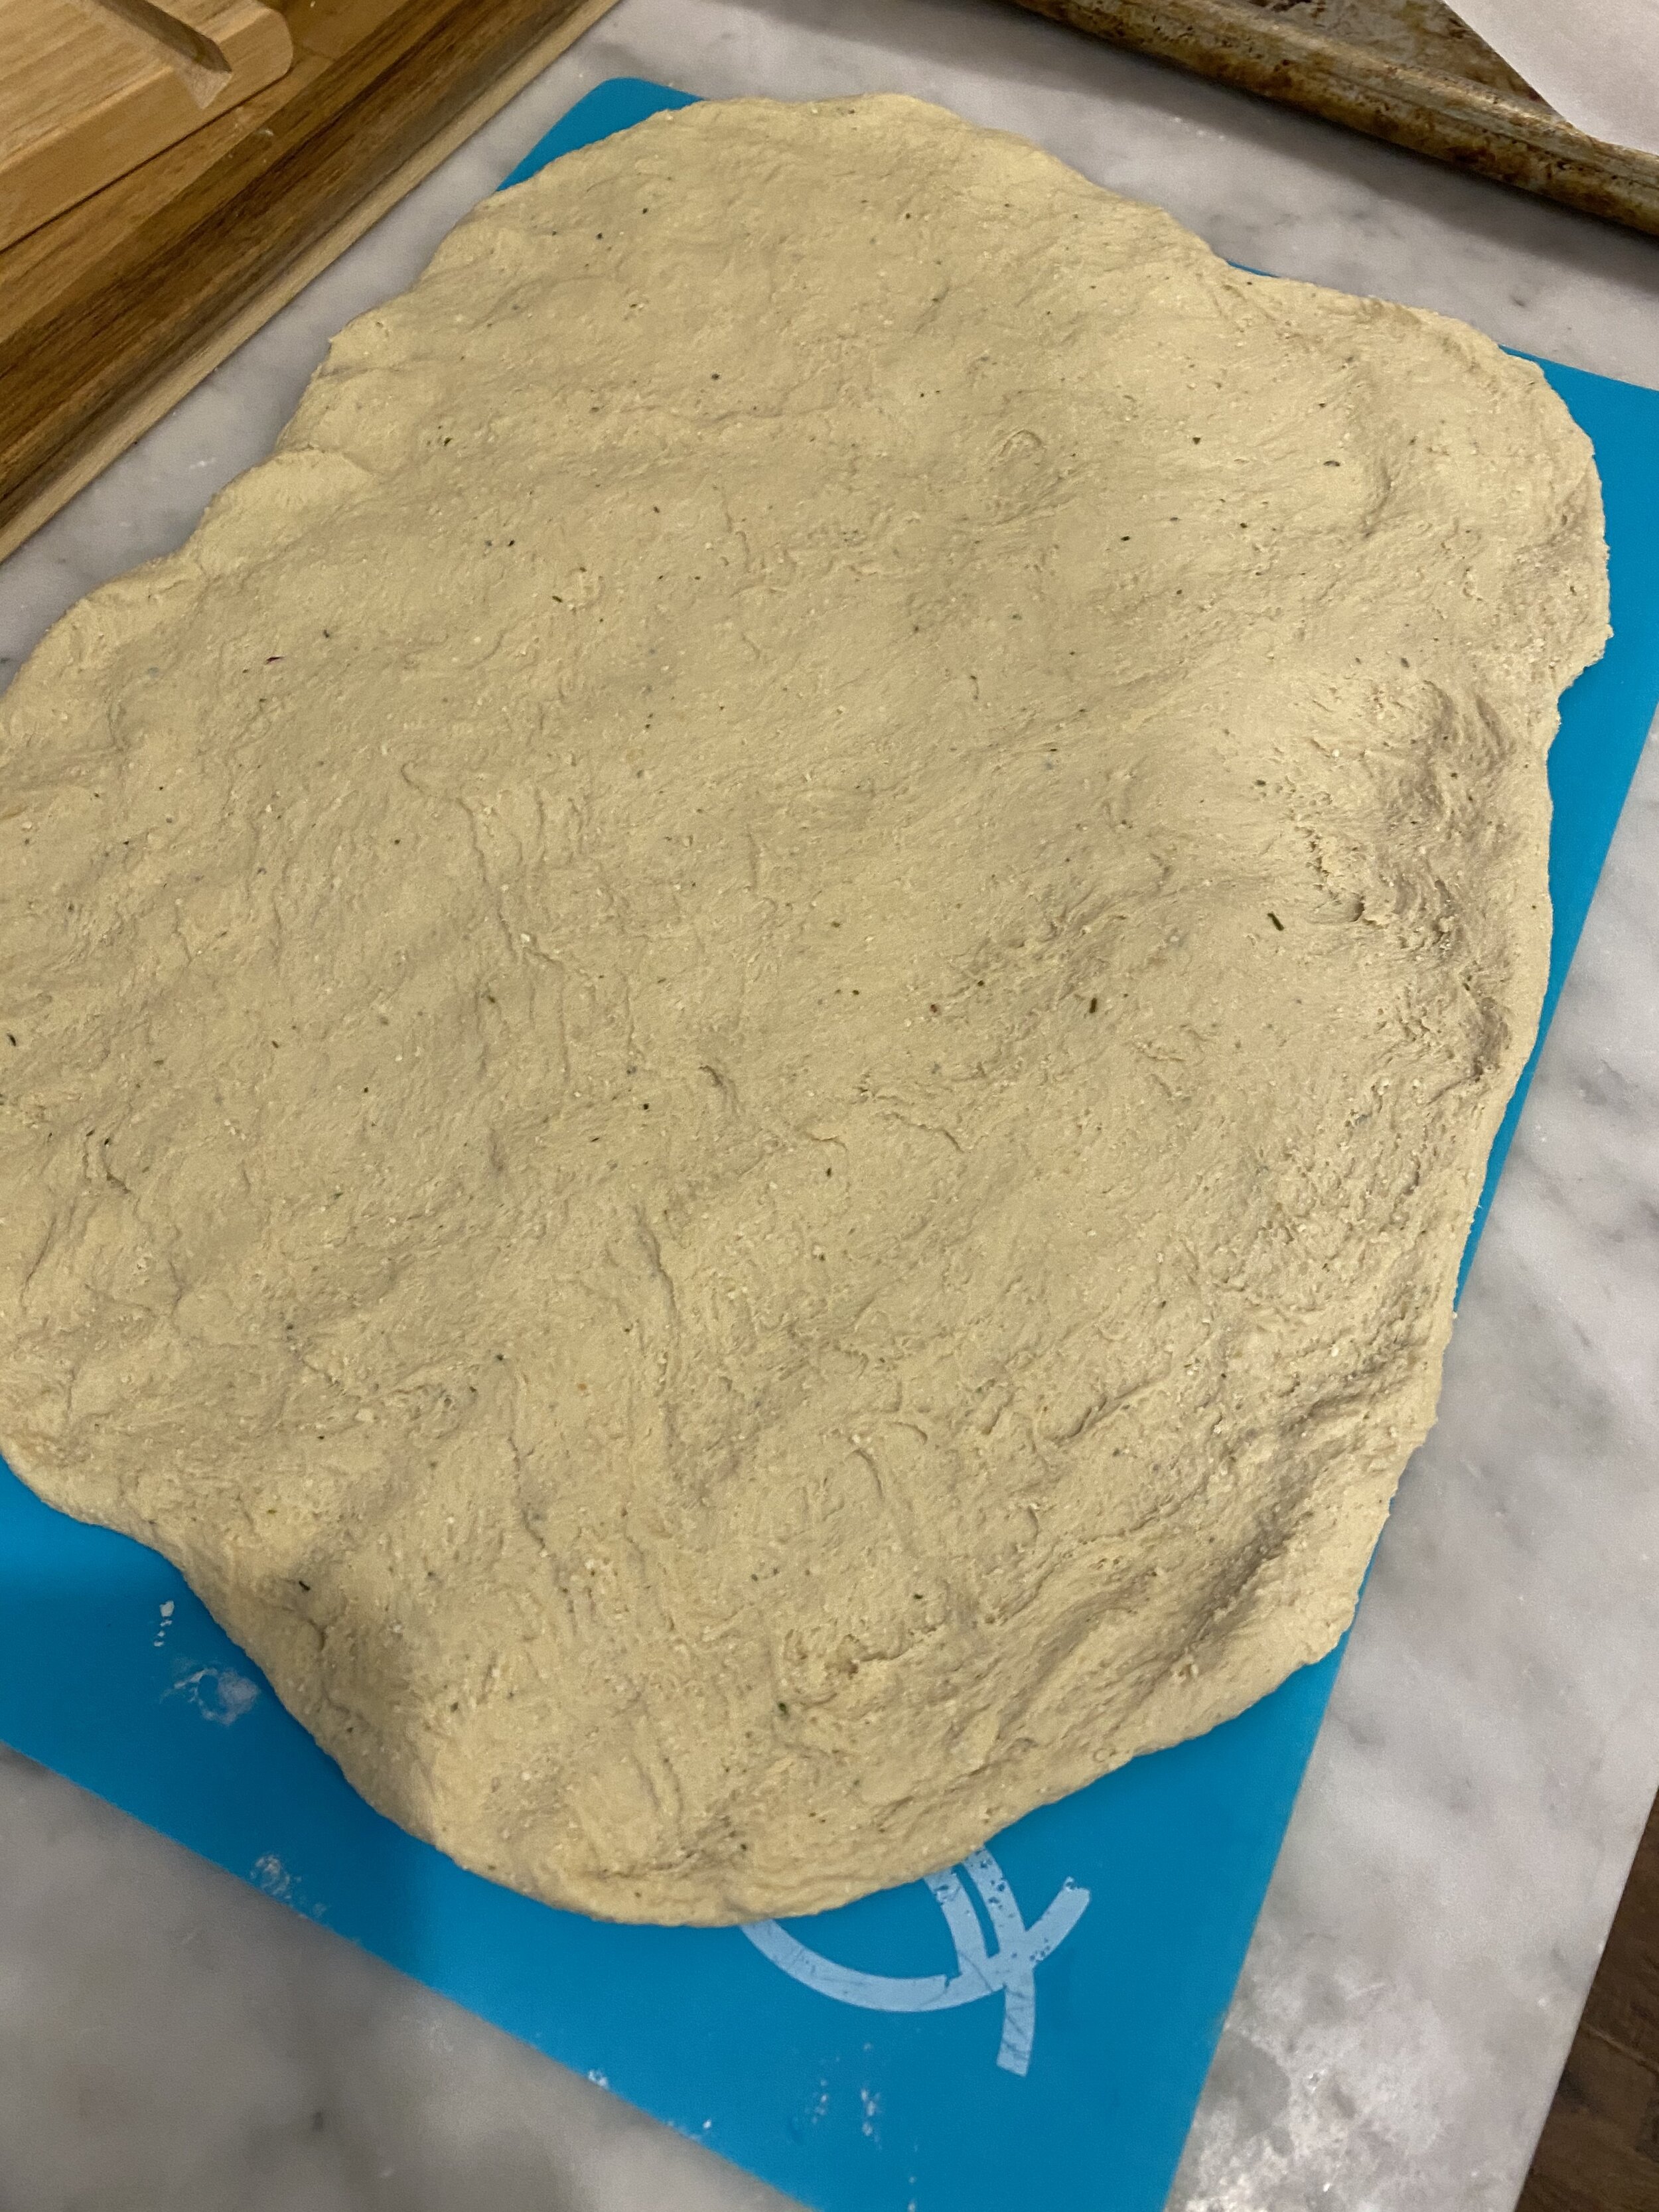
Add all of the remaining ingredients and let the food processor run for a couple of minutes. You want the mixture to form a dough. Letting the processor run will help knead the dough. We want this seitan to be firm so we need it to knead for a bit. If you dough seems a bit too dry, you can add another few tablespoons of water, just don’t add too much more! I start at 1/2 cup and work from there. This dough needs to be soft enough to press out into about 12 inch by 8 inch rectangle..so a little softer than the turkey breast dough if you have made that before.
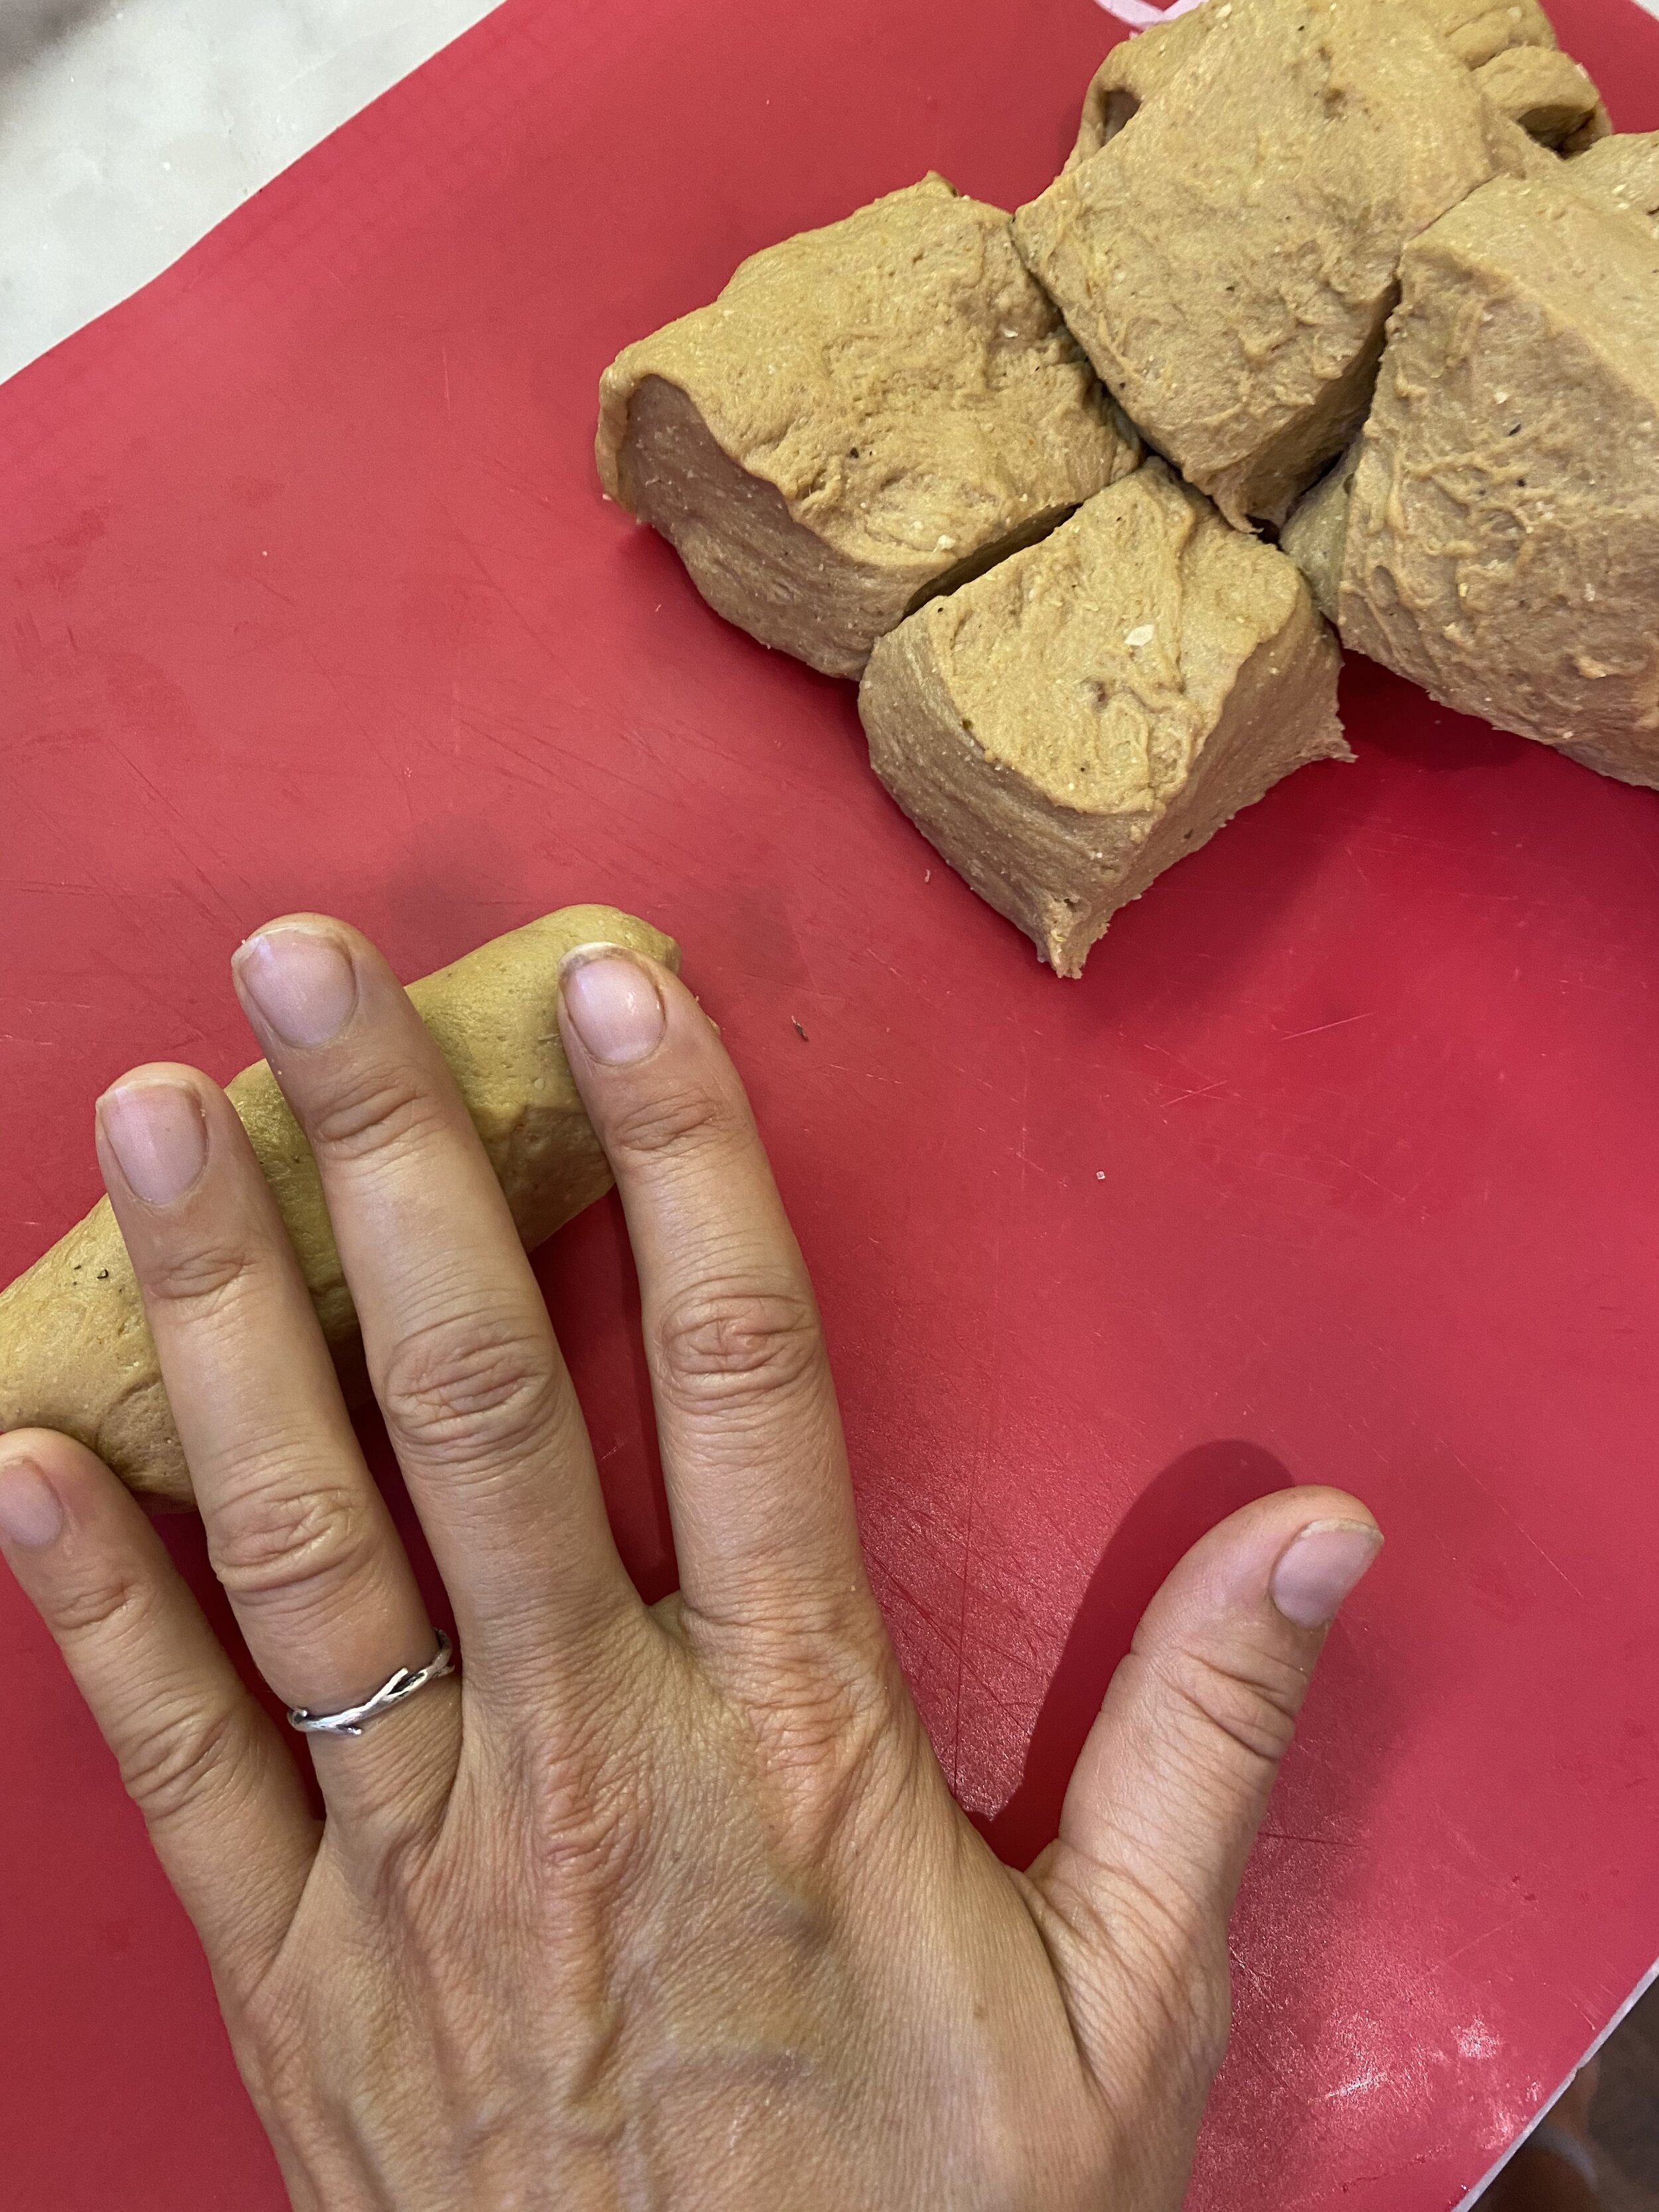
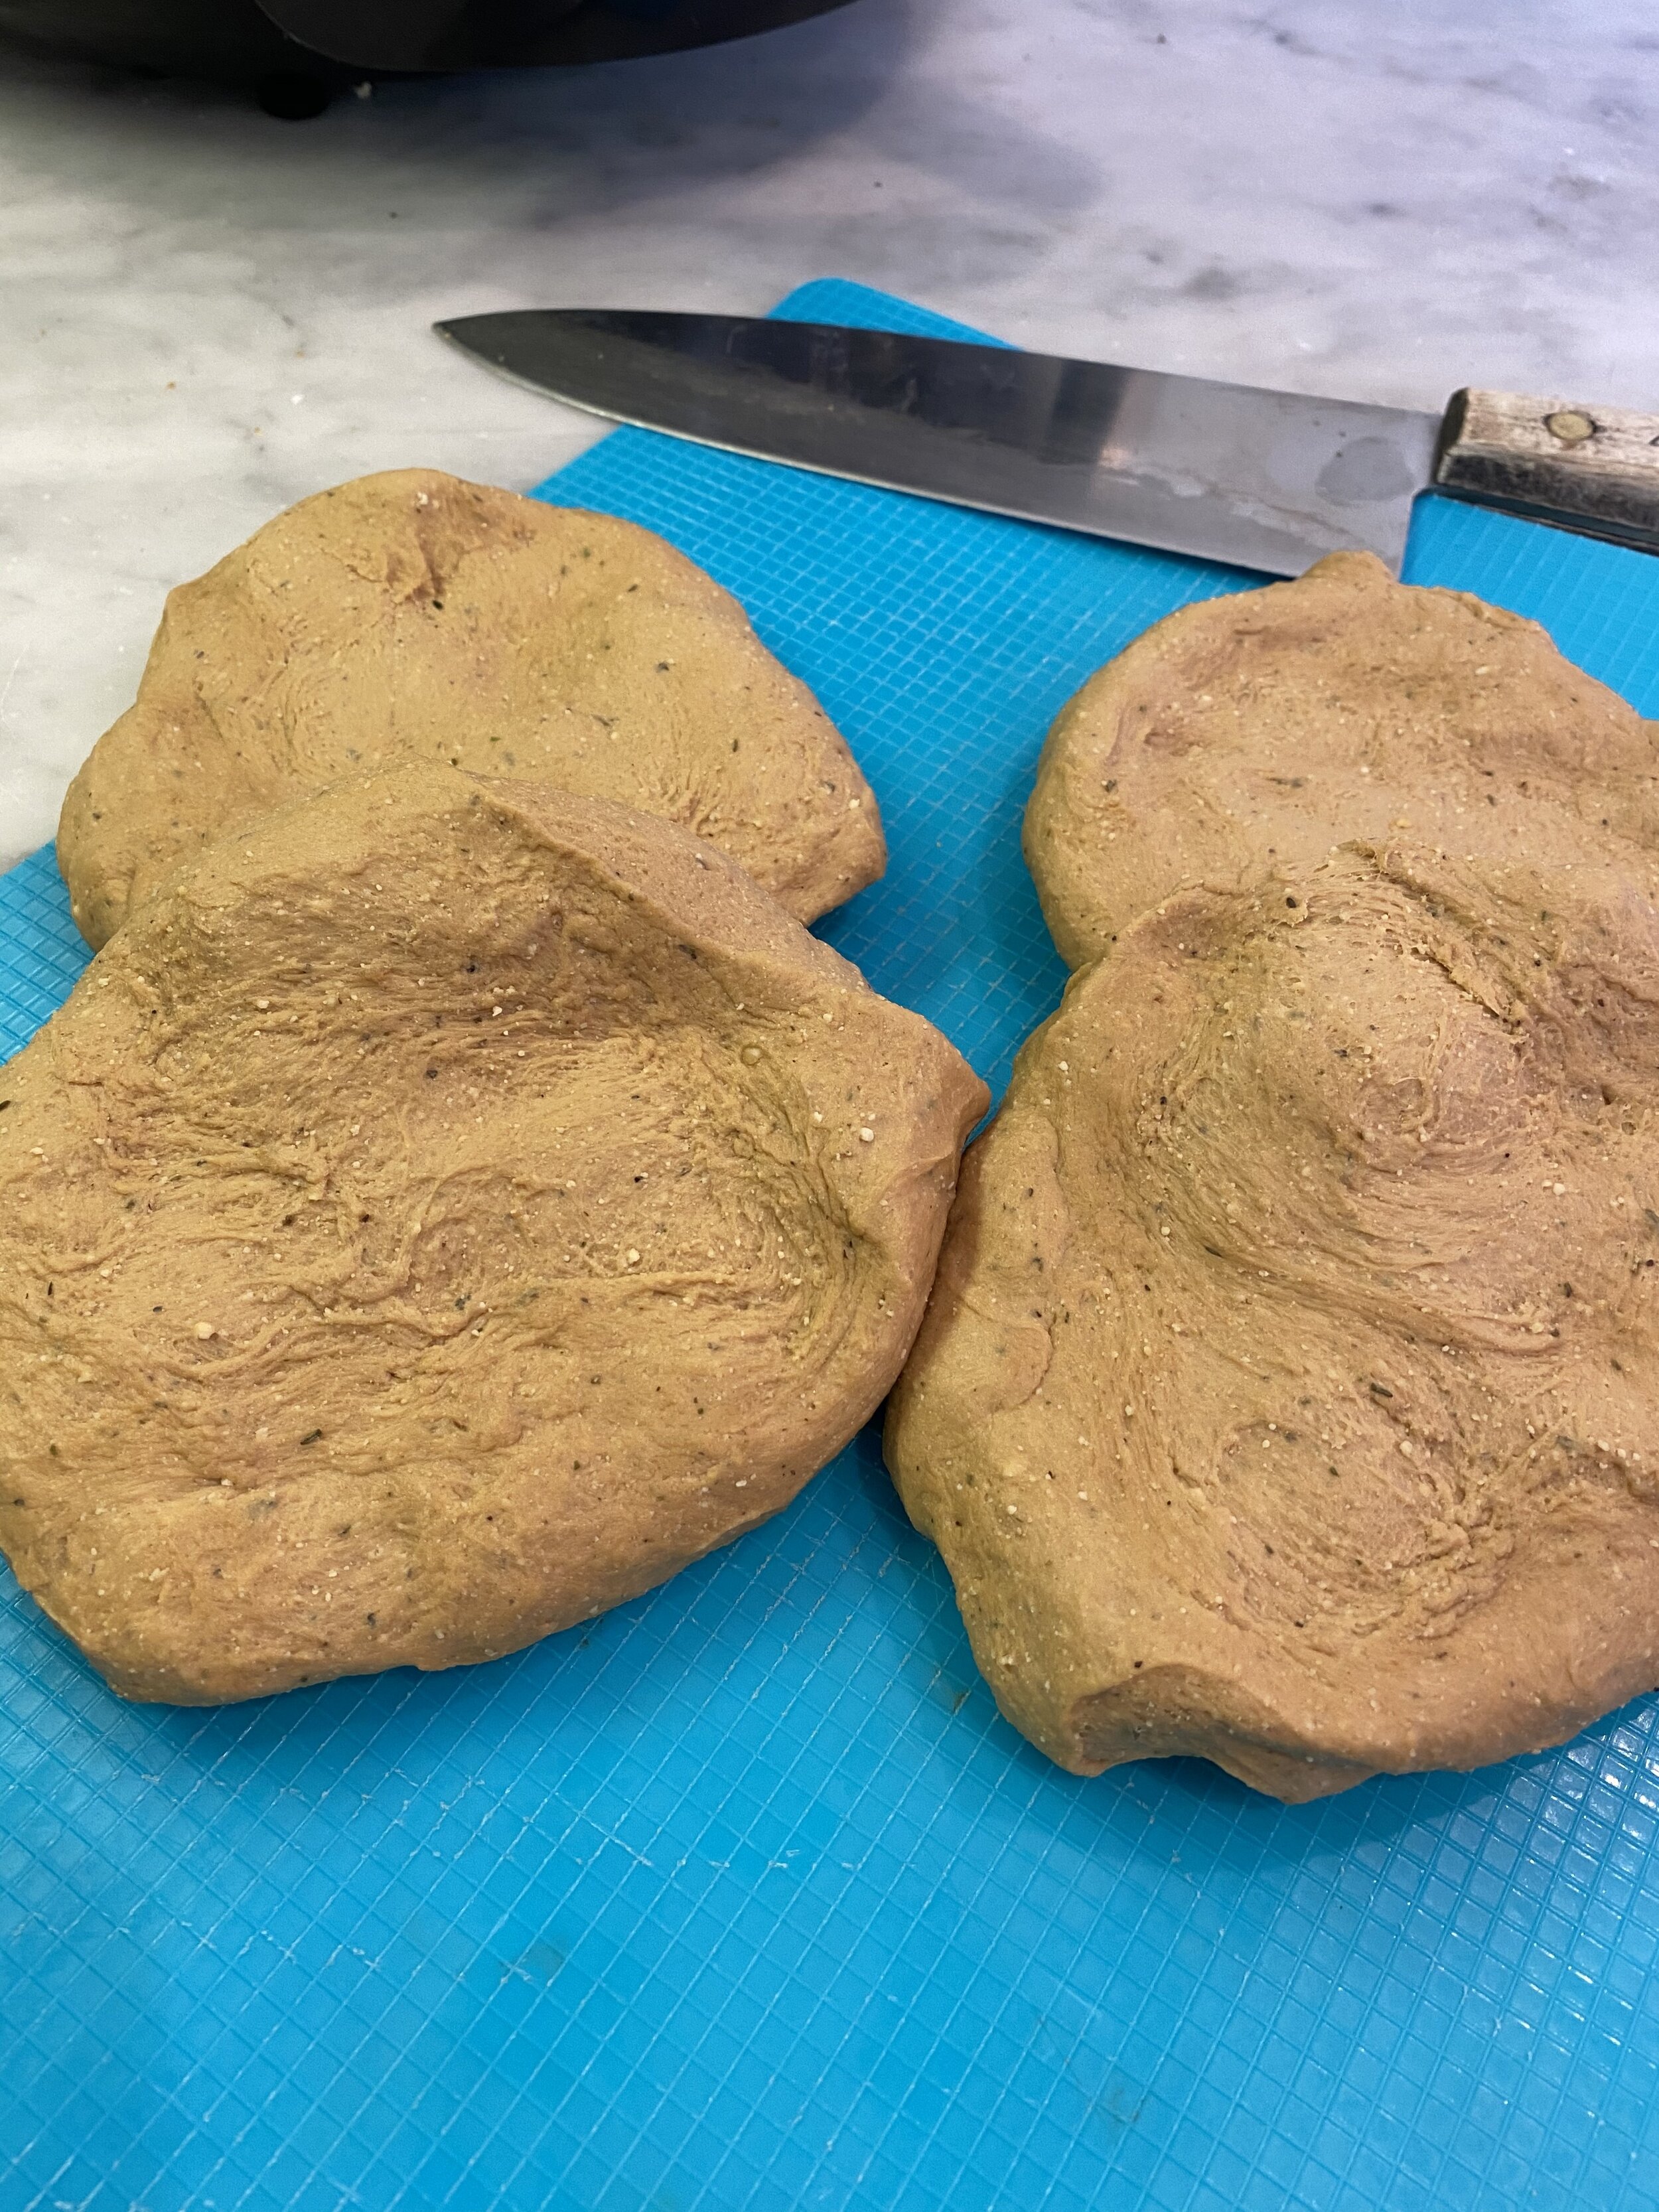
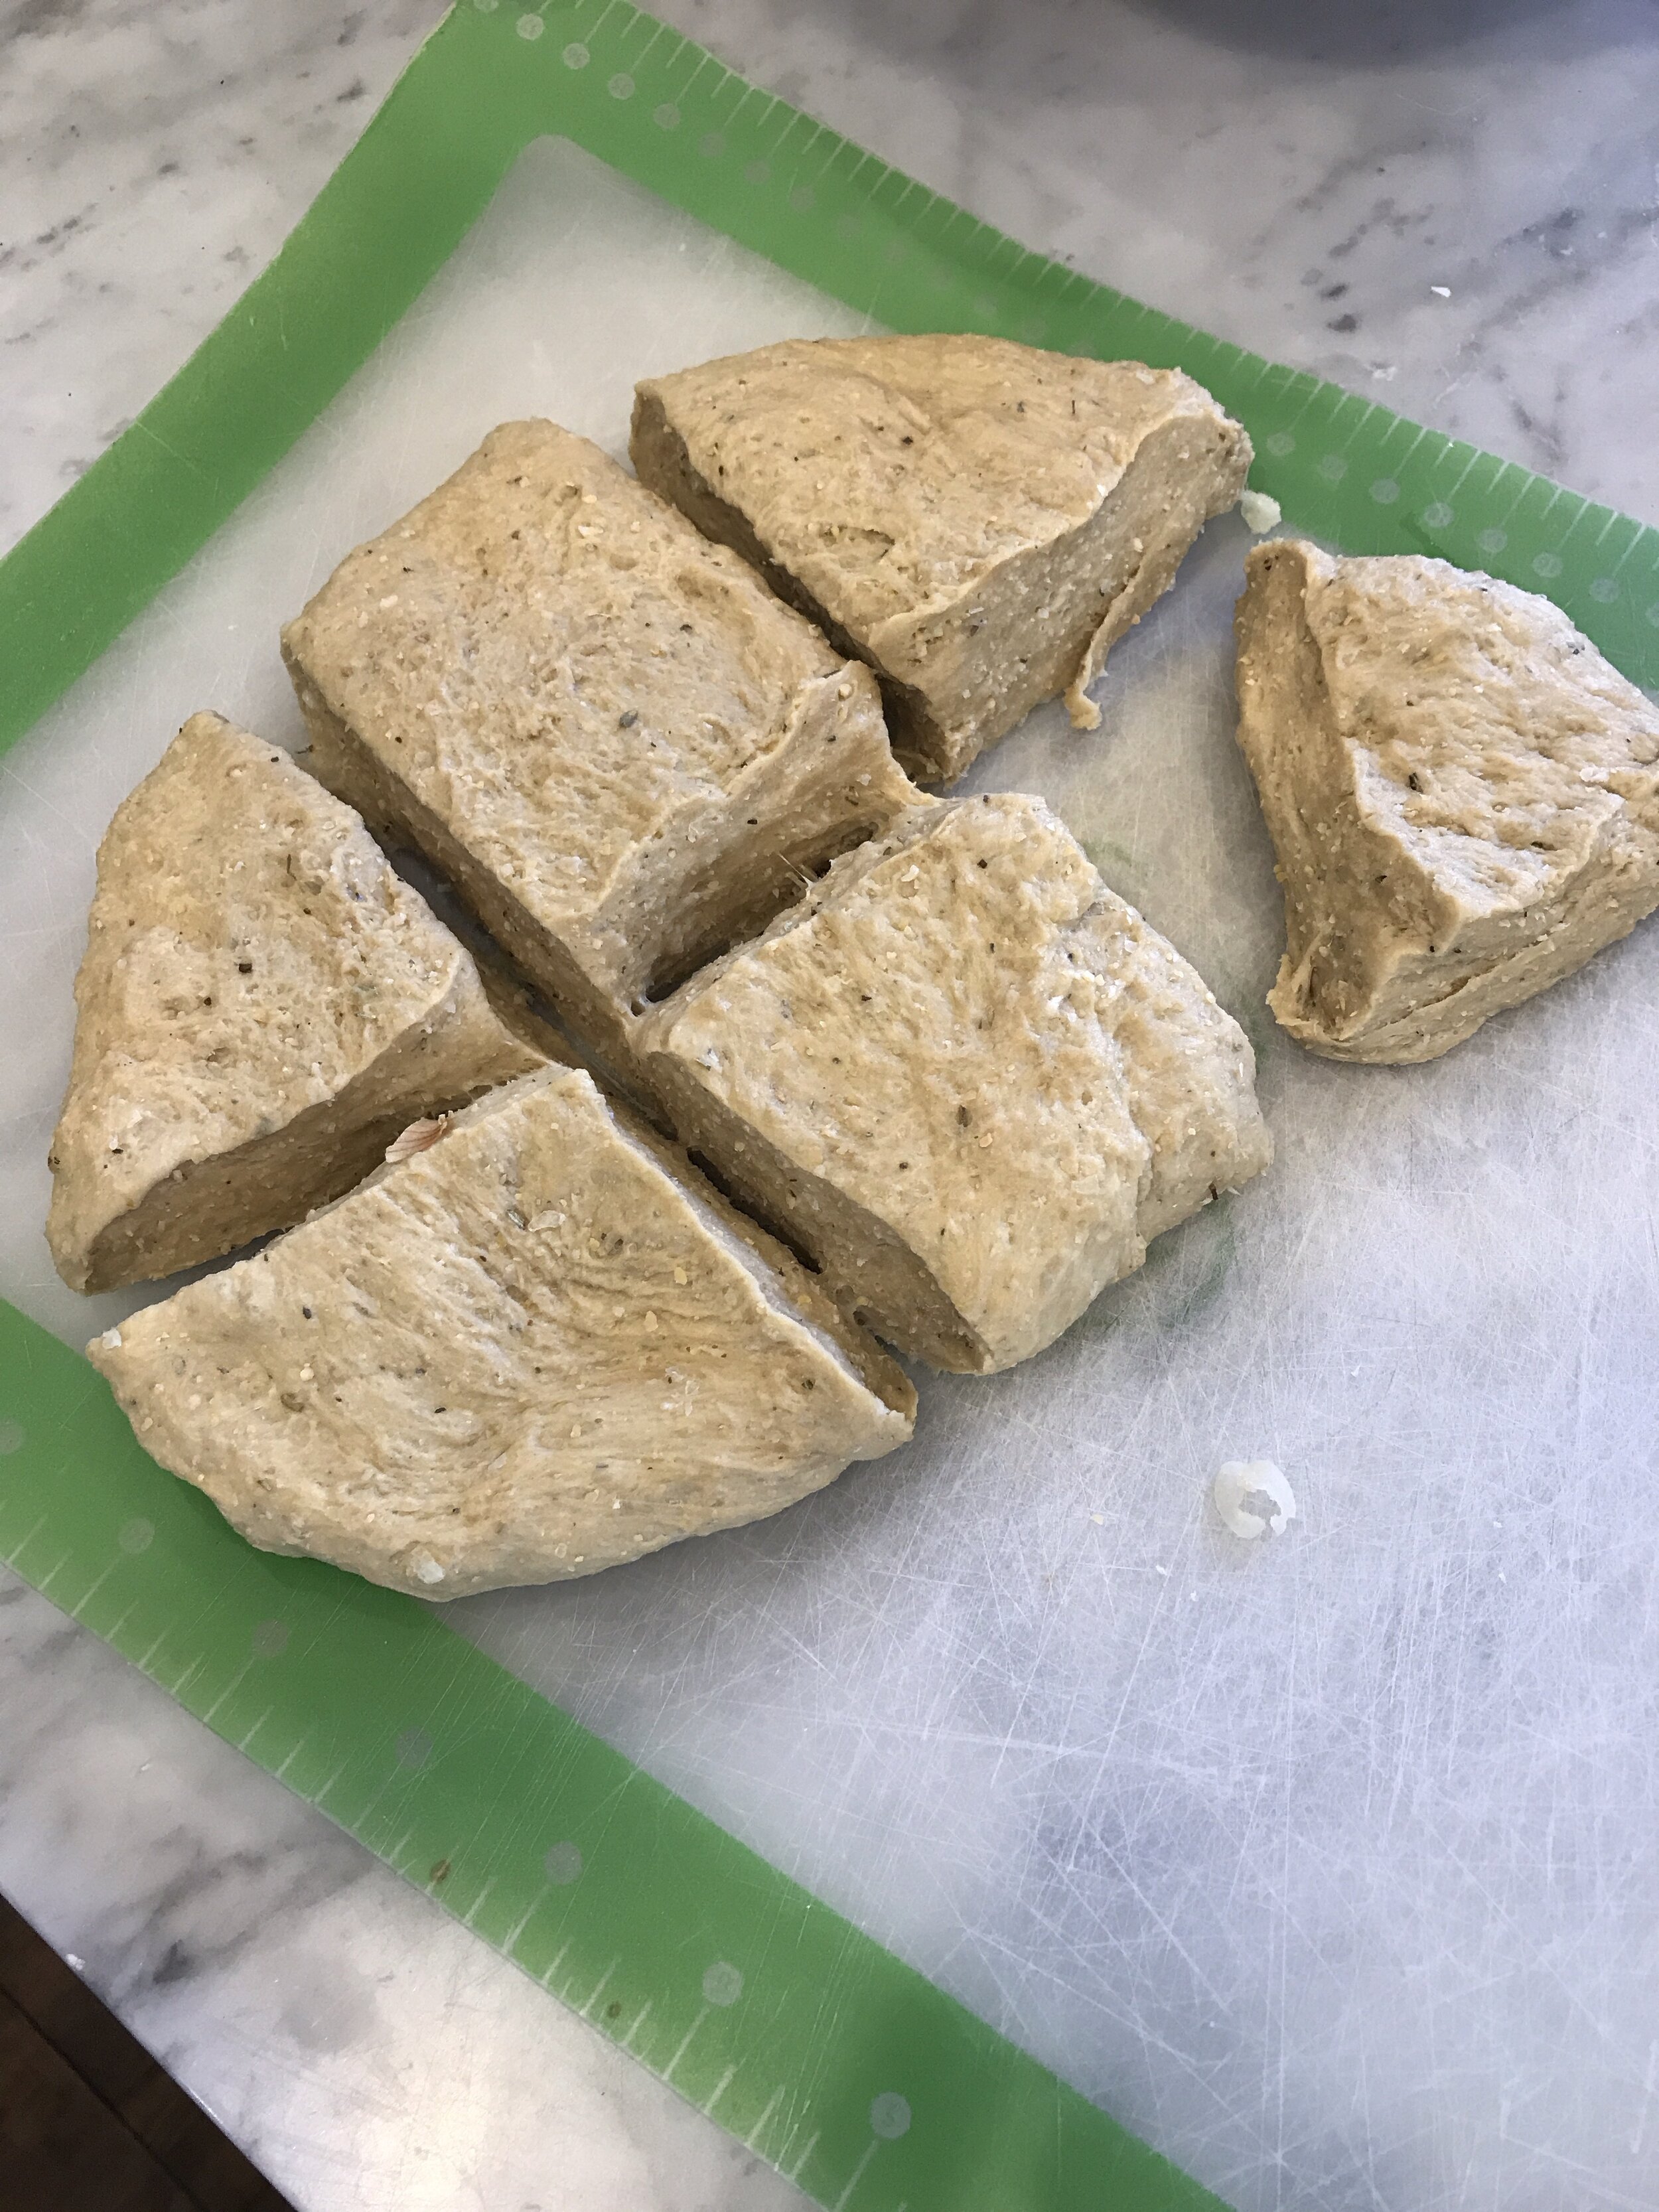
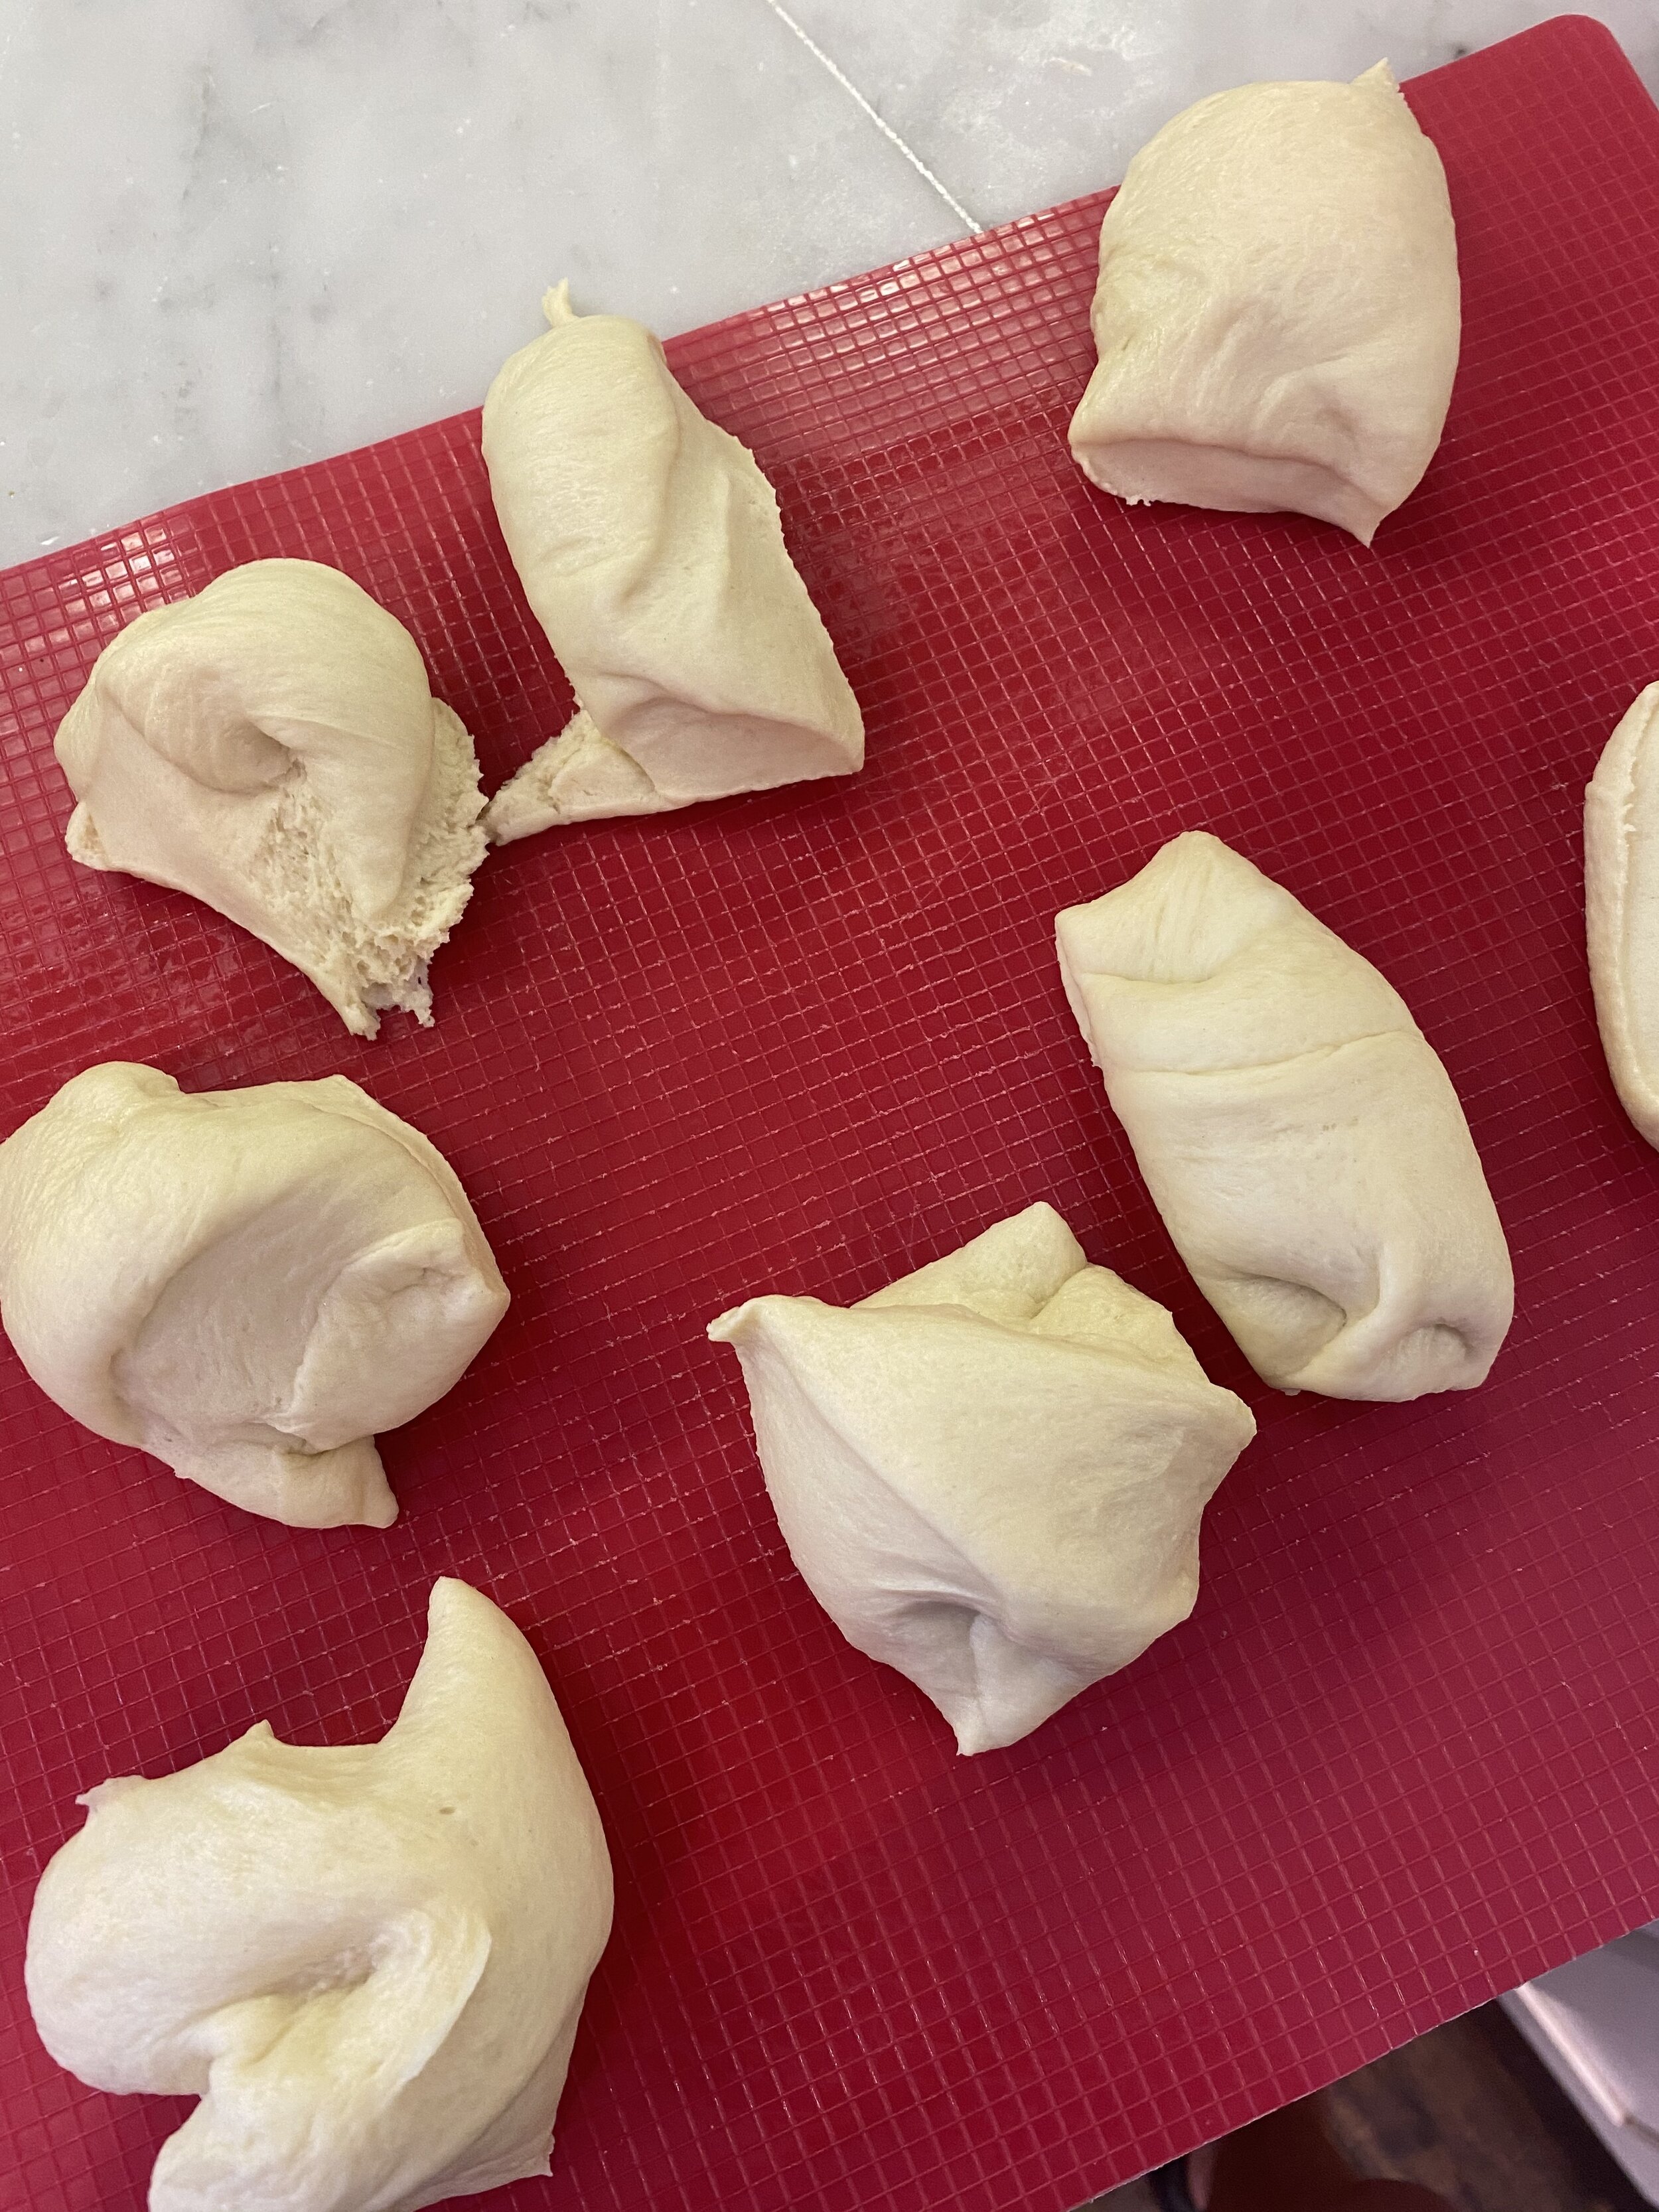
Once you have a smooth well formed dough, remove it from the food processor and place on a clean counter. Knead the dough with your hands for about a minute, forming a large rectangle, about 12 inches by 8 inches ( this is roughly the size of my cutting mat, so just press it out to roughly that size.
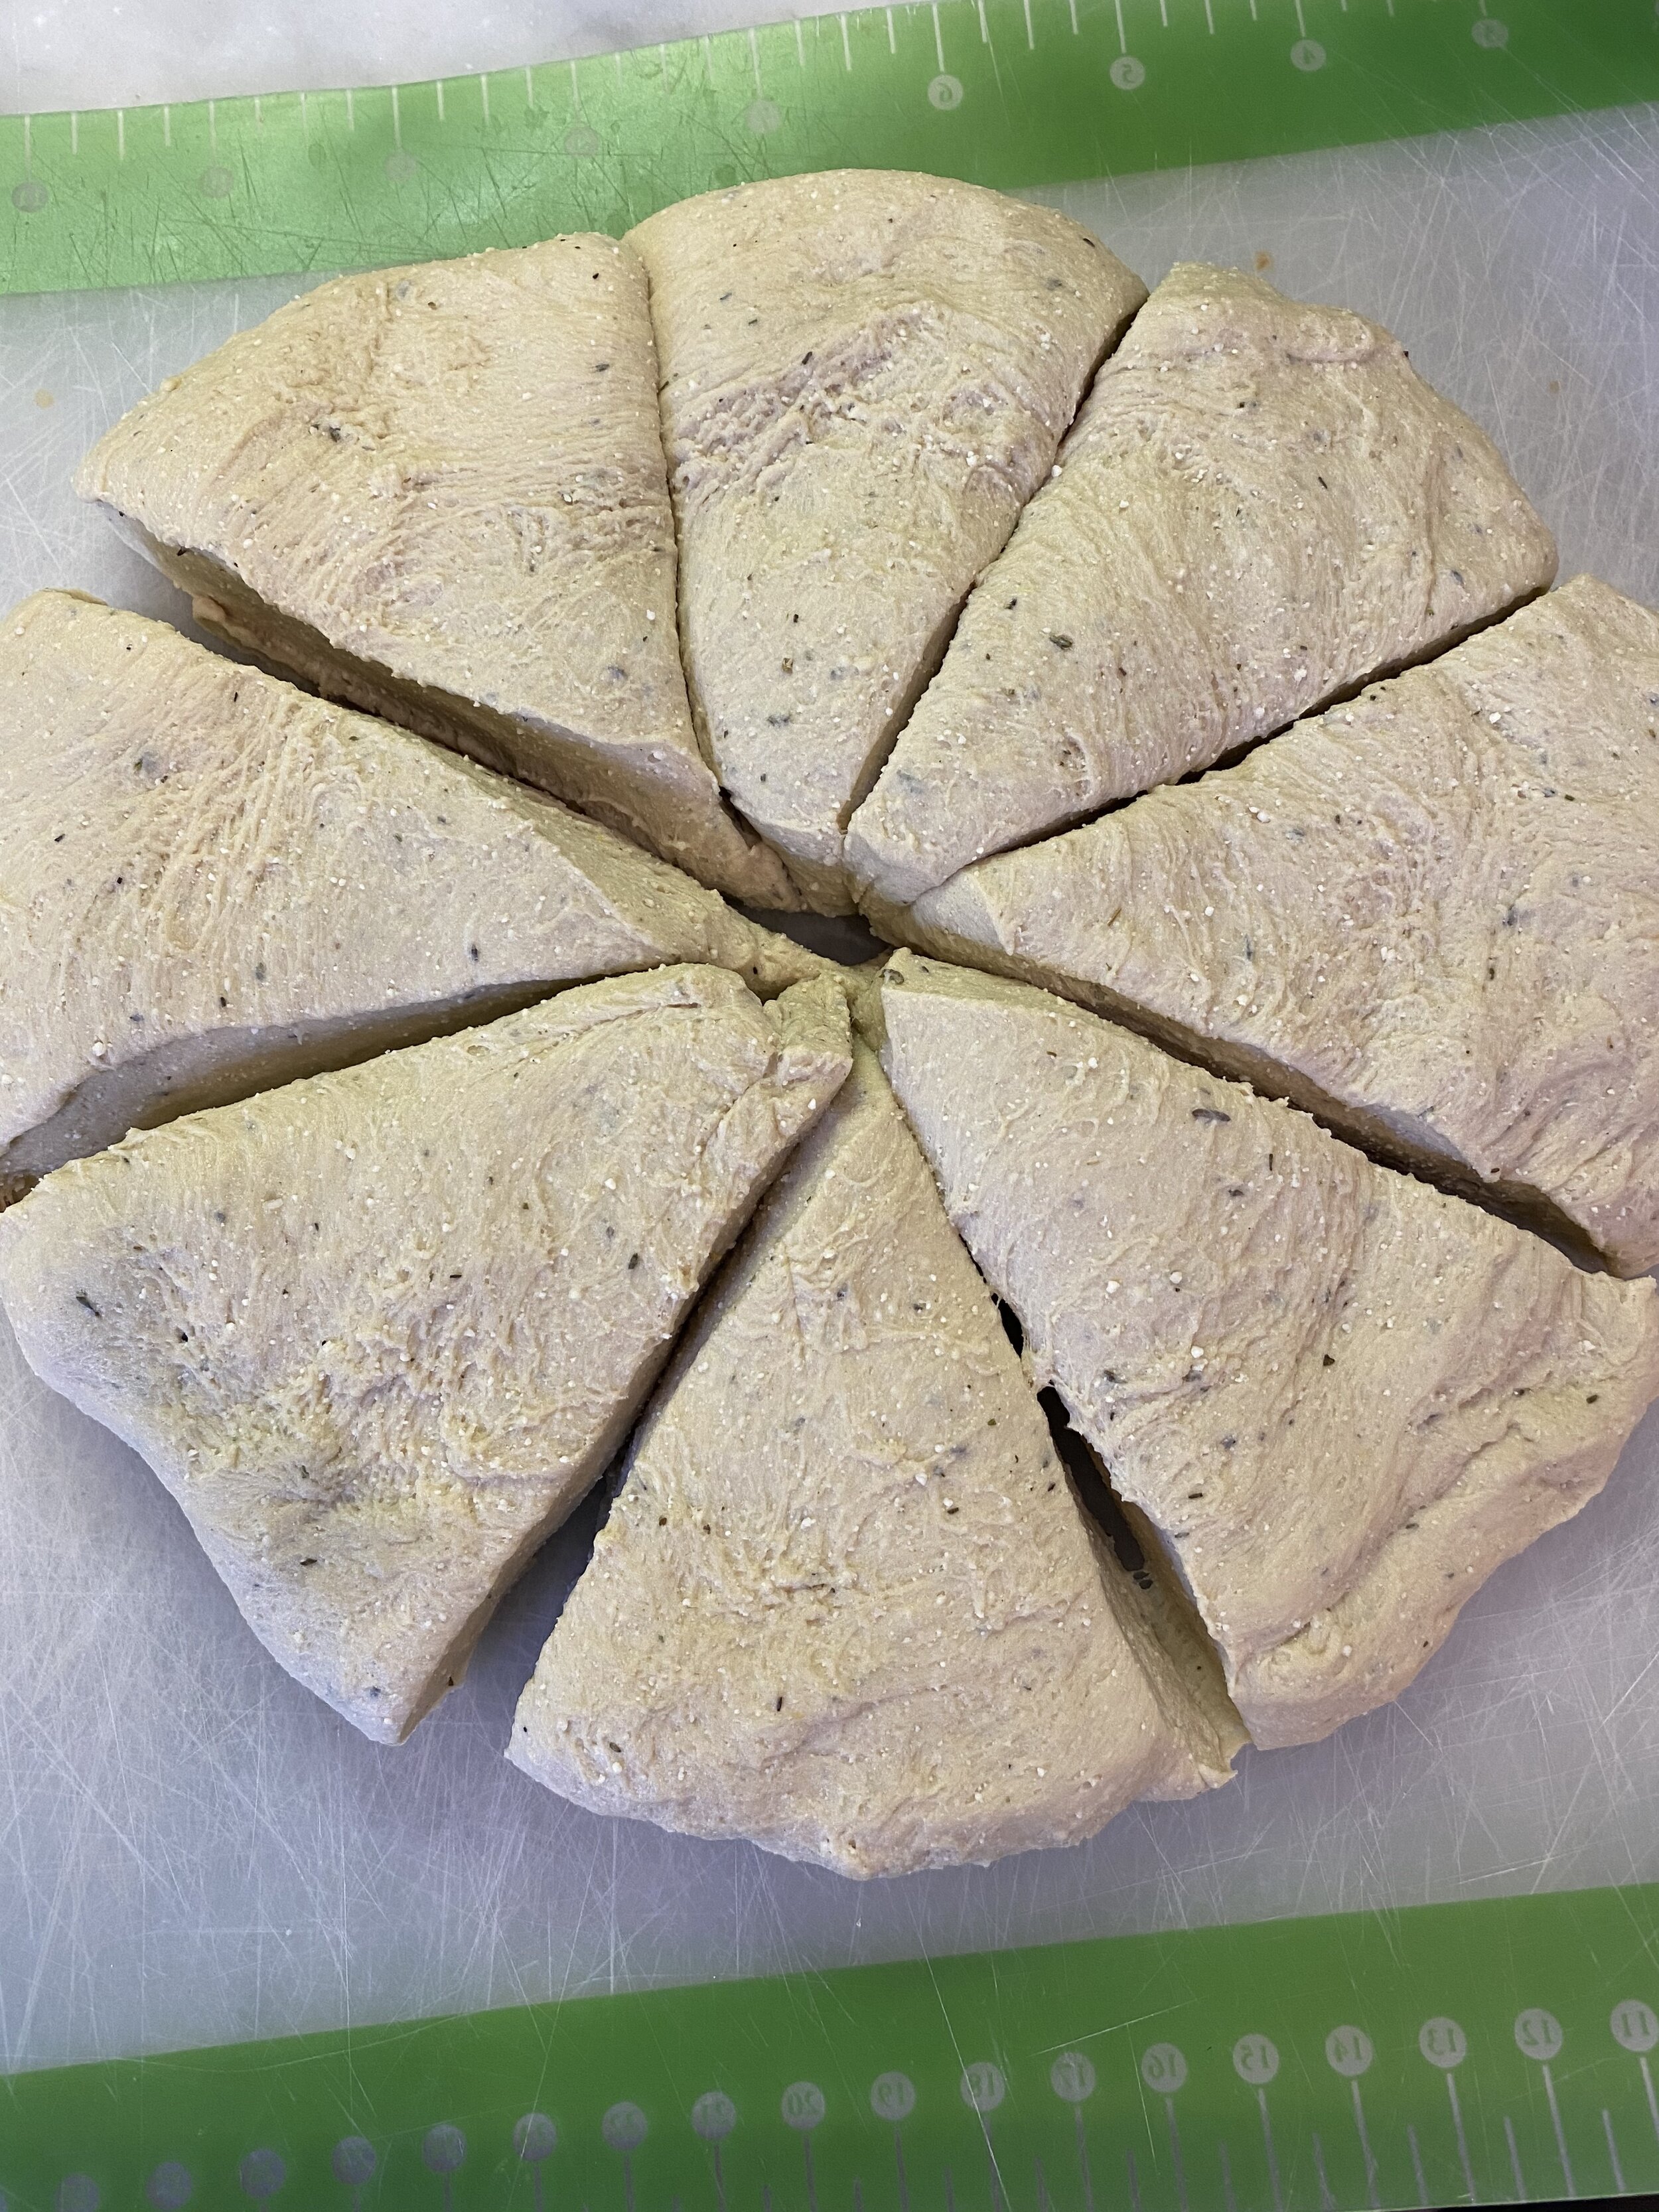
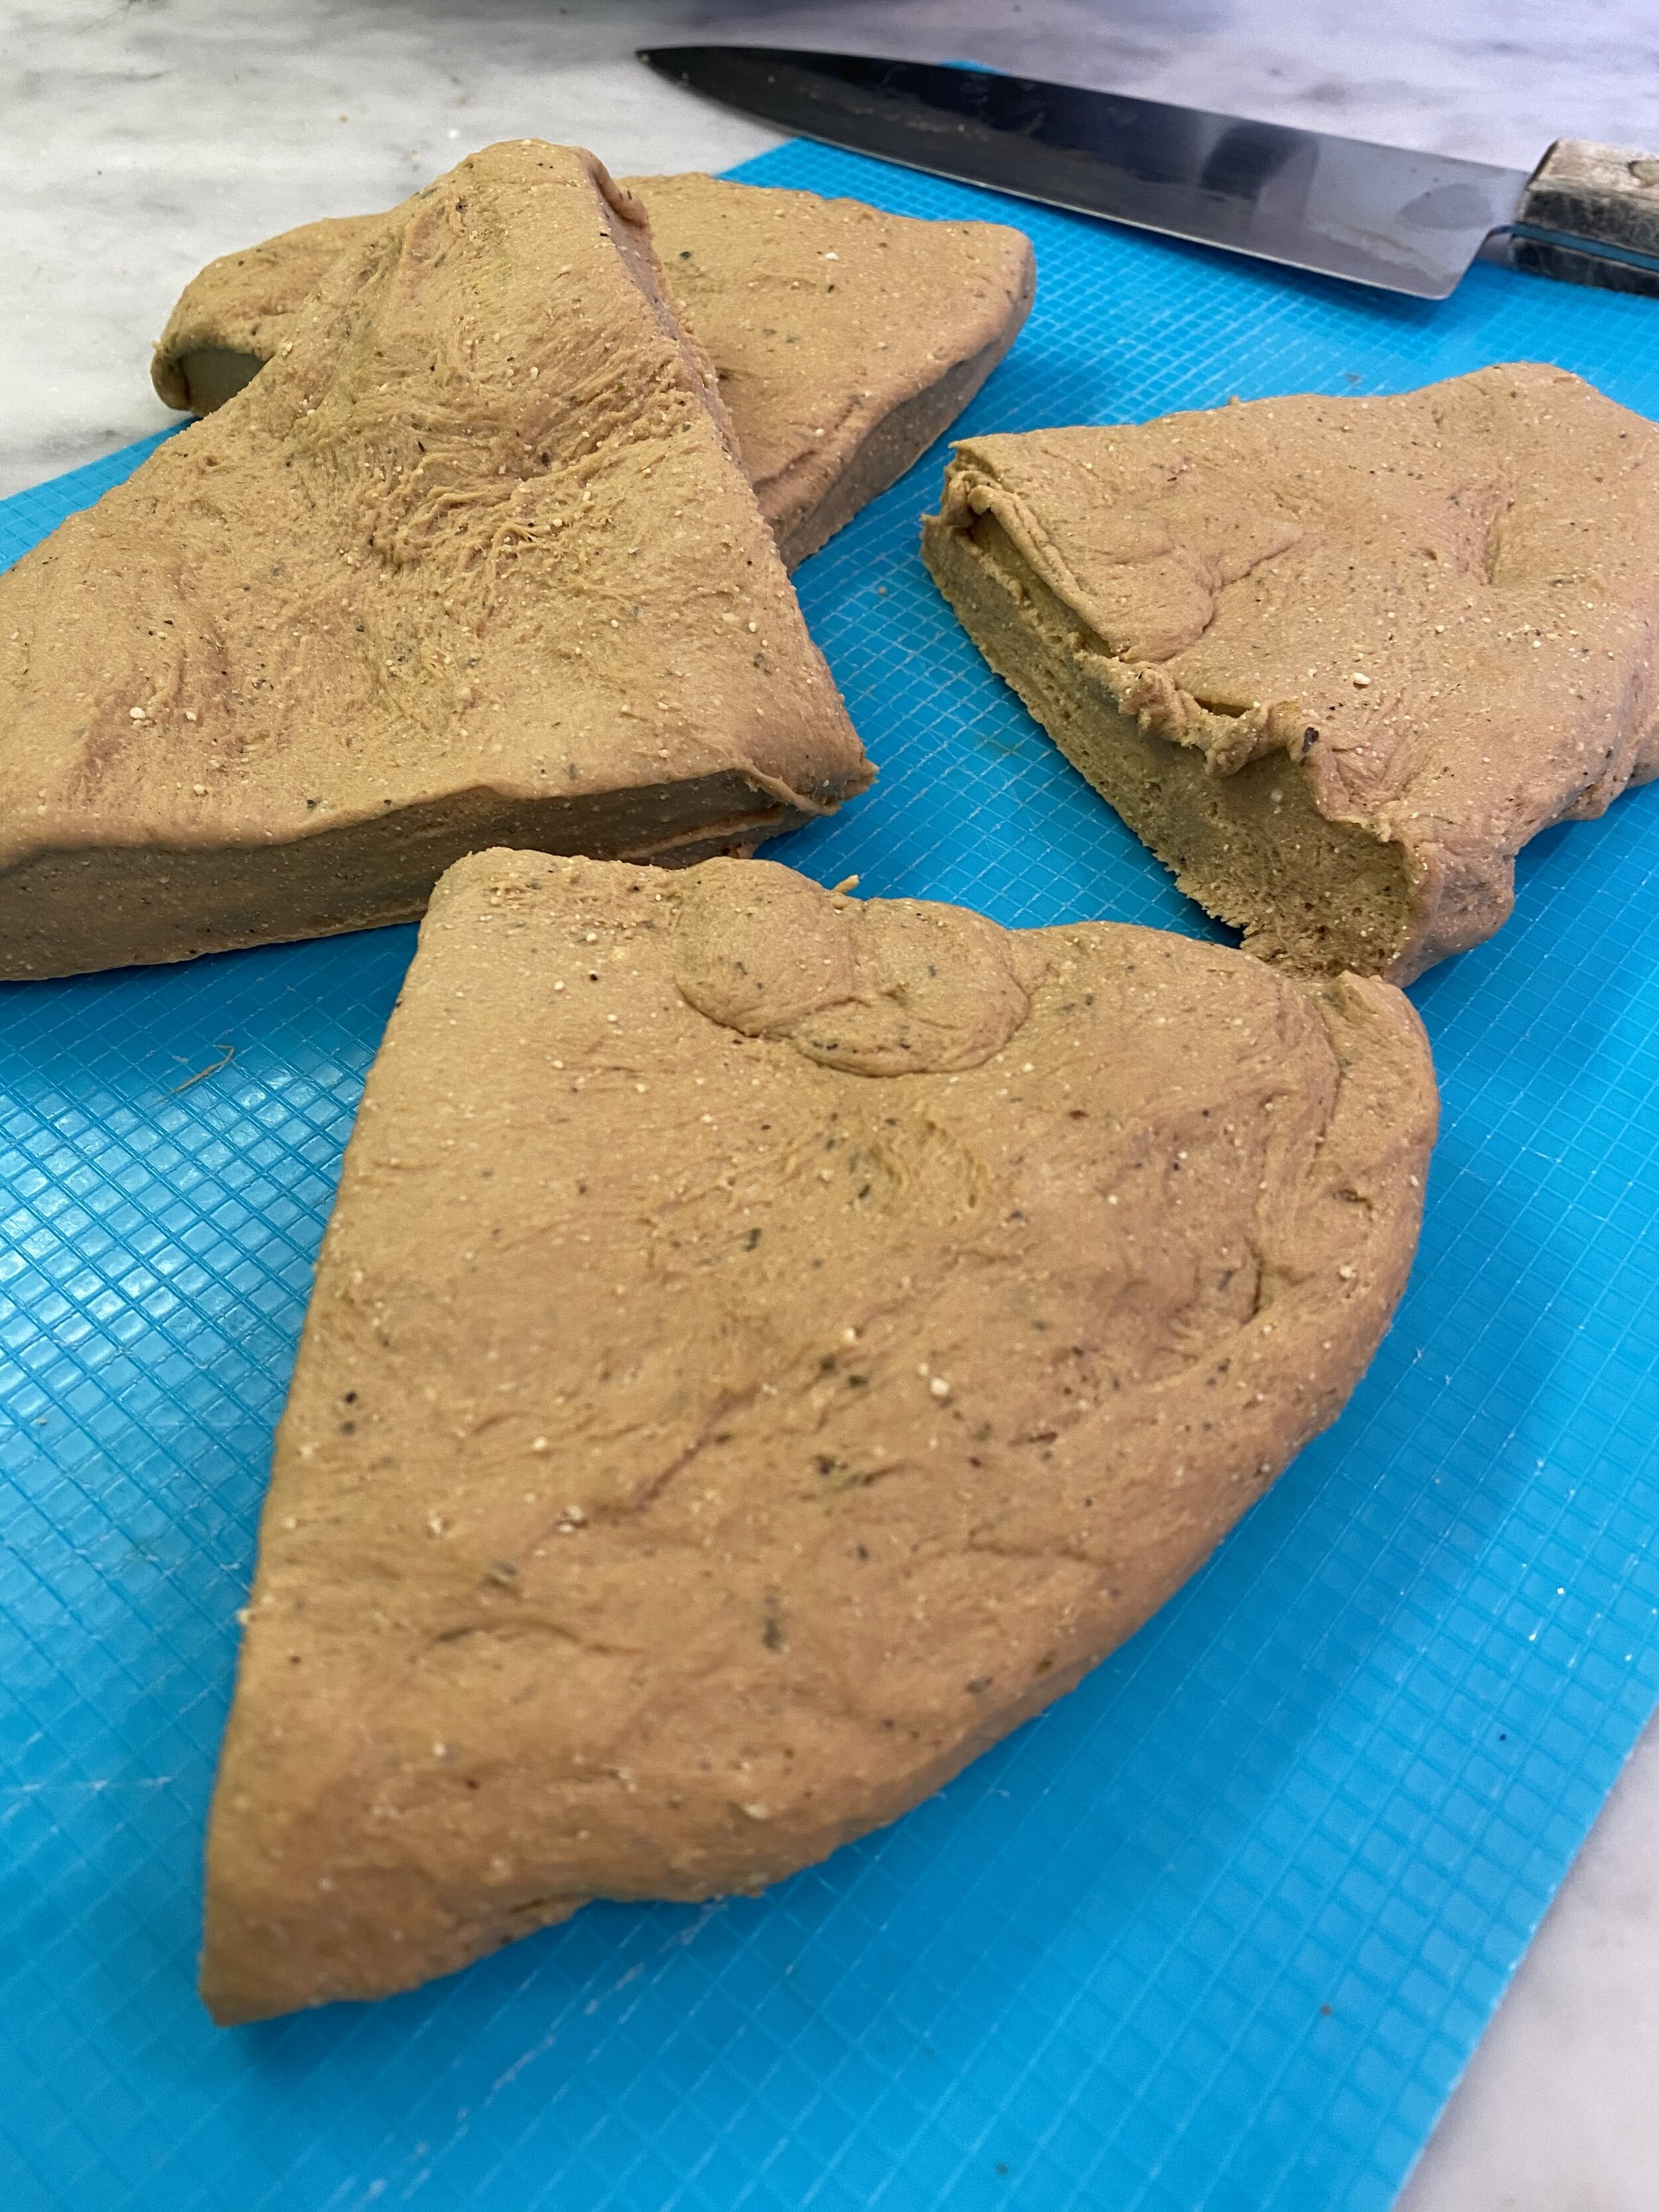
Using any cookie cutter shape you like, somewhere between one inch to two inches in size, begin cutting shapes from the dough. Repress out the scraps into another rectangle and continue until all of the dough has been used up.
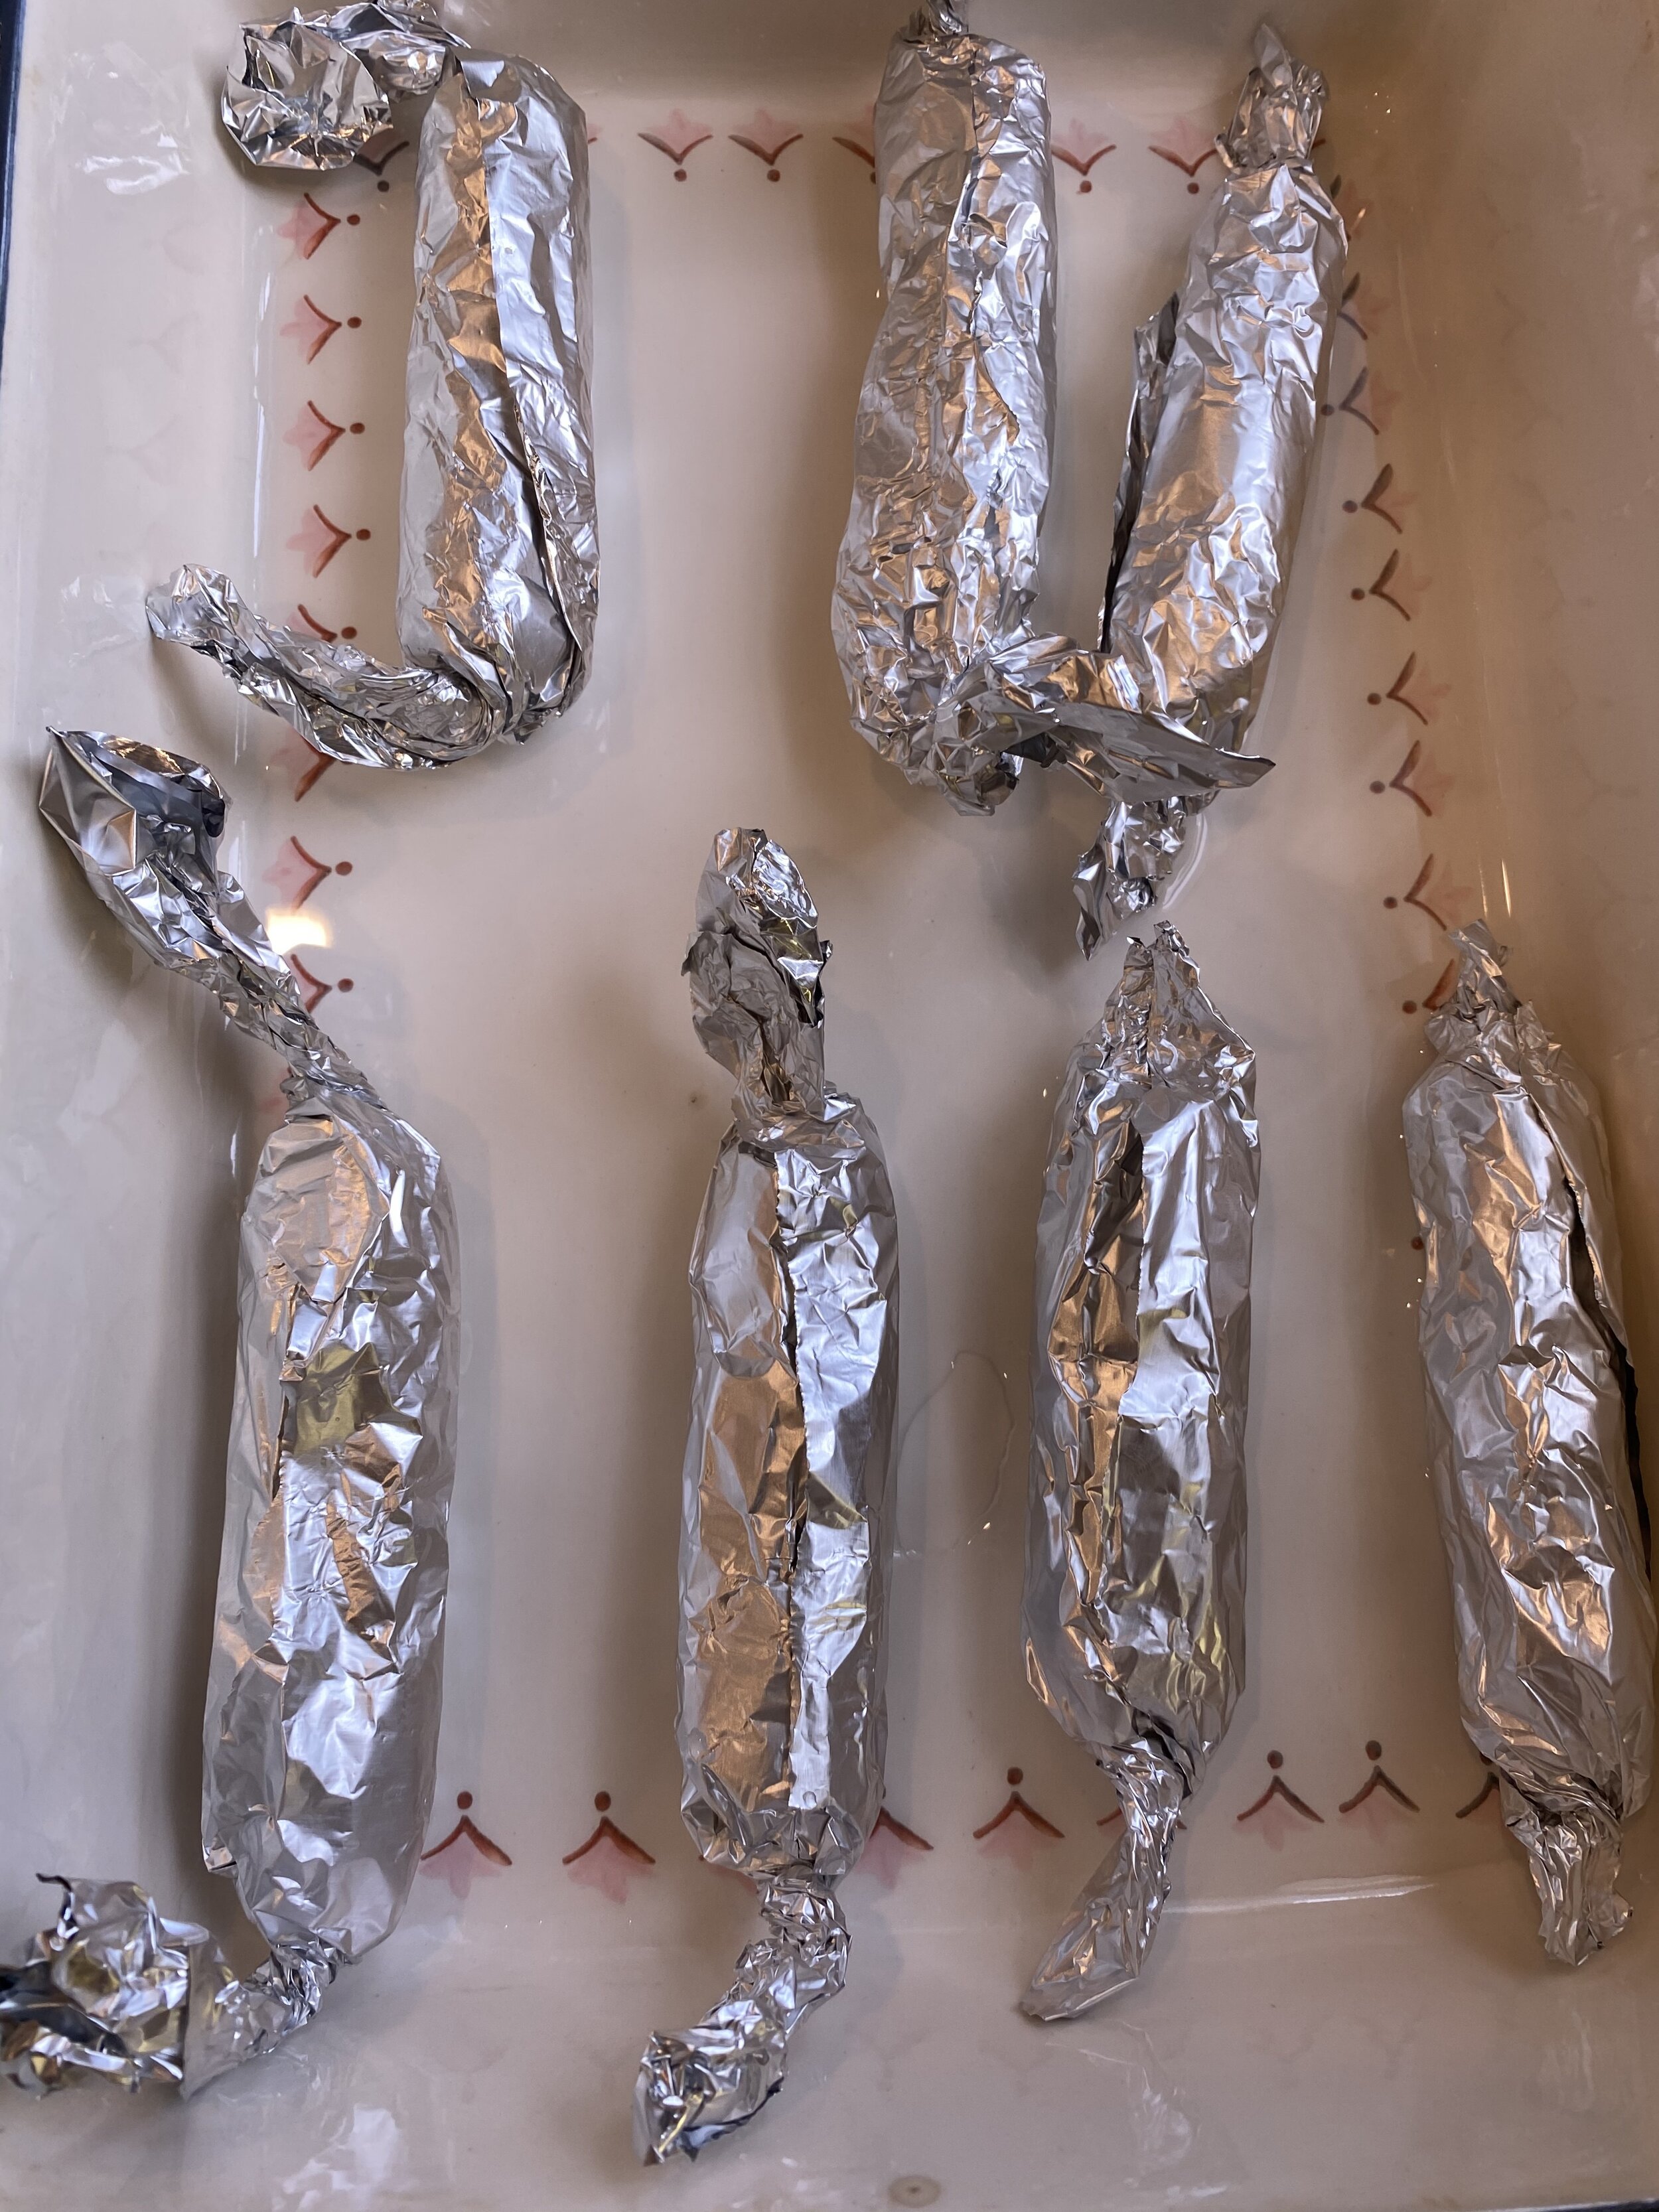
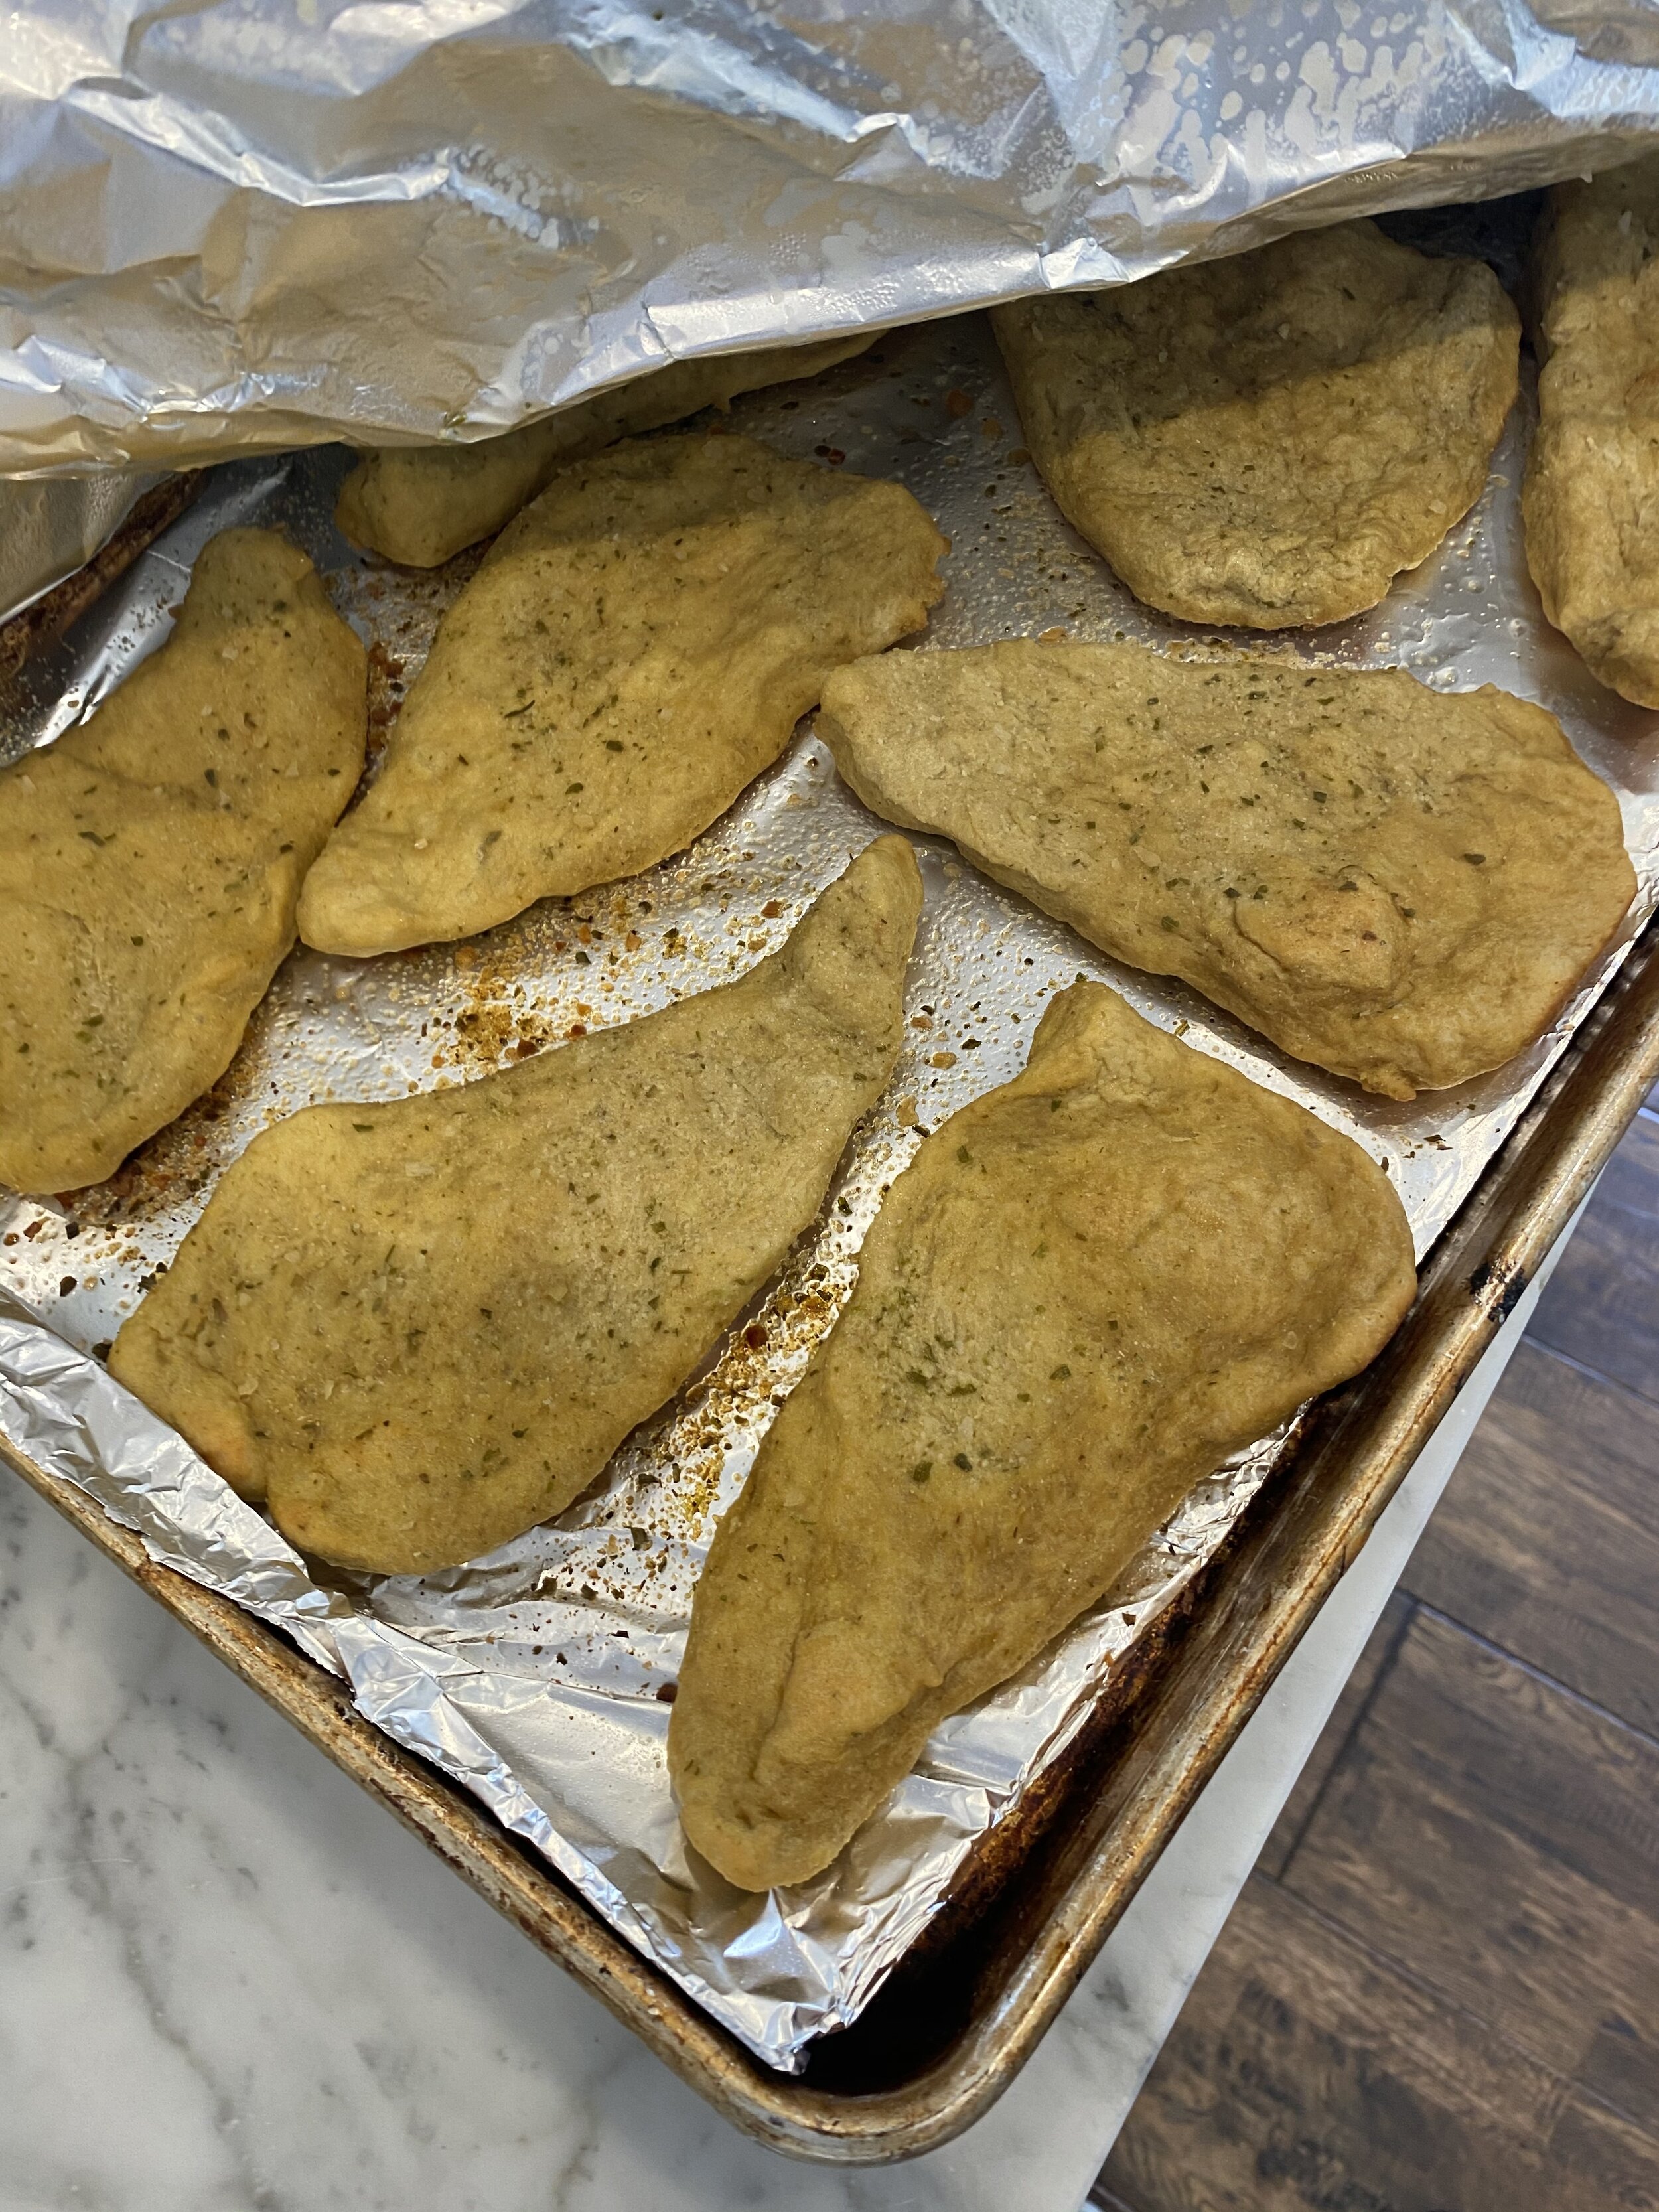
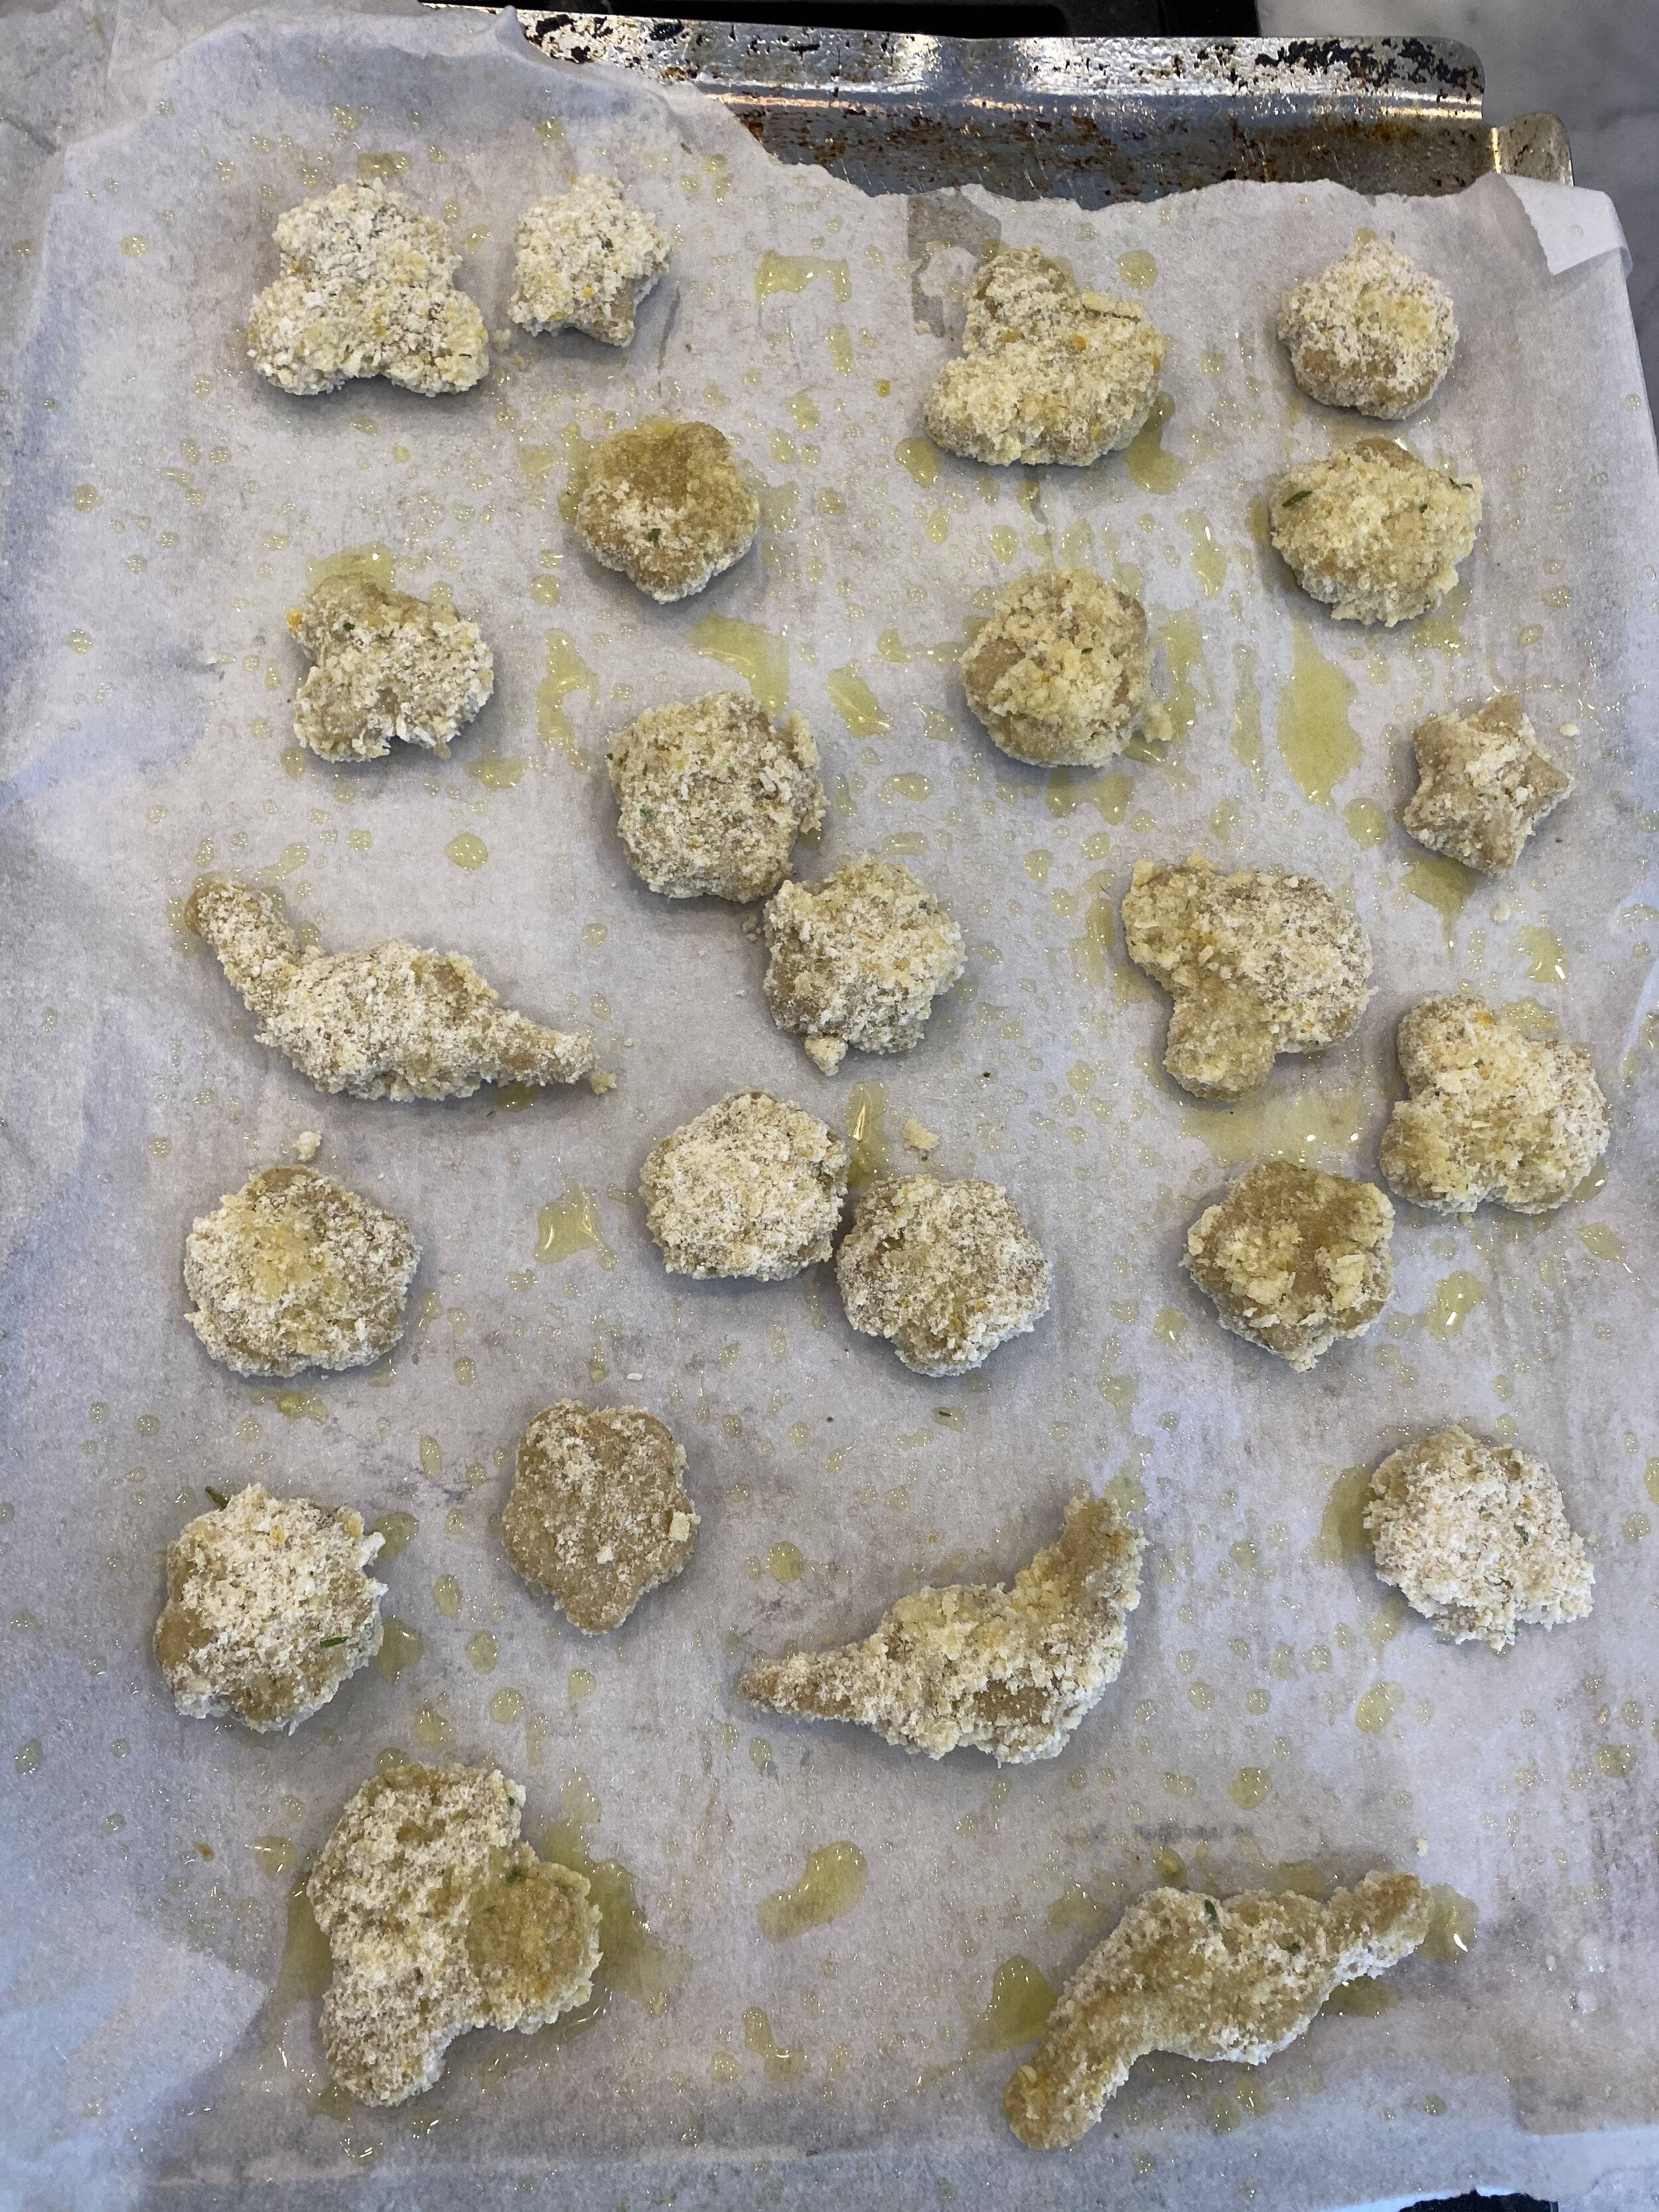
Line a baking sheet in parchment paper or foil, spray with oil. Evenly space out the seitan chicken pieces making sure they are not touching. They will expand as they bake. Spray the tops with oil and give them a sprinkle with any seasoning you like. Tightly cover the entire pan in foil, tucking the edges tightly around the edges of the pan. We want the seitan to steam inside the pan. Place the pan on the middle rack of the oven and bake for 20 minutes.
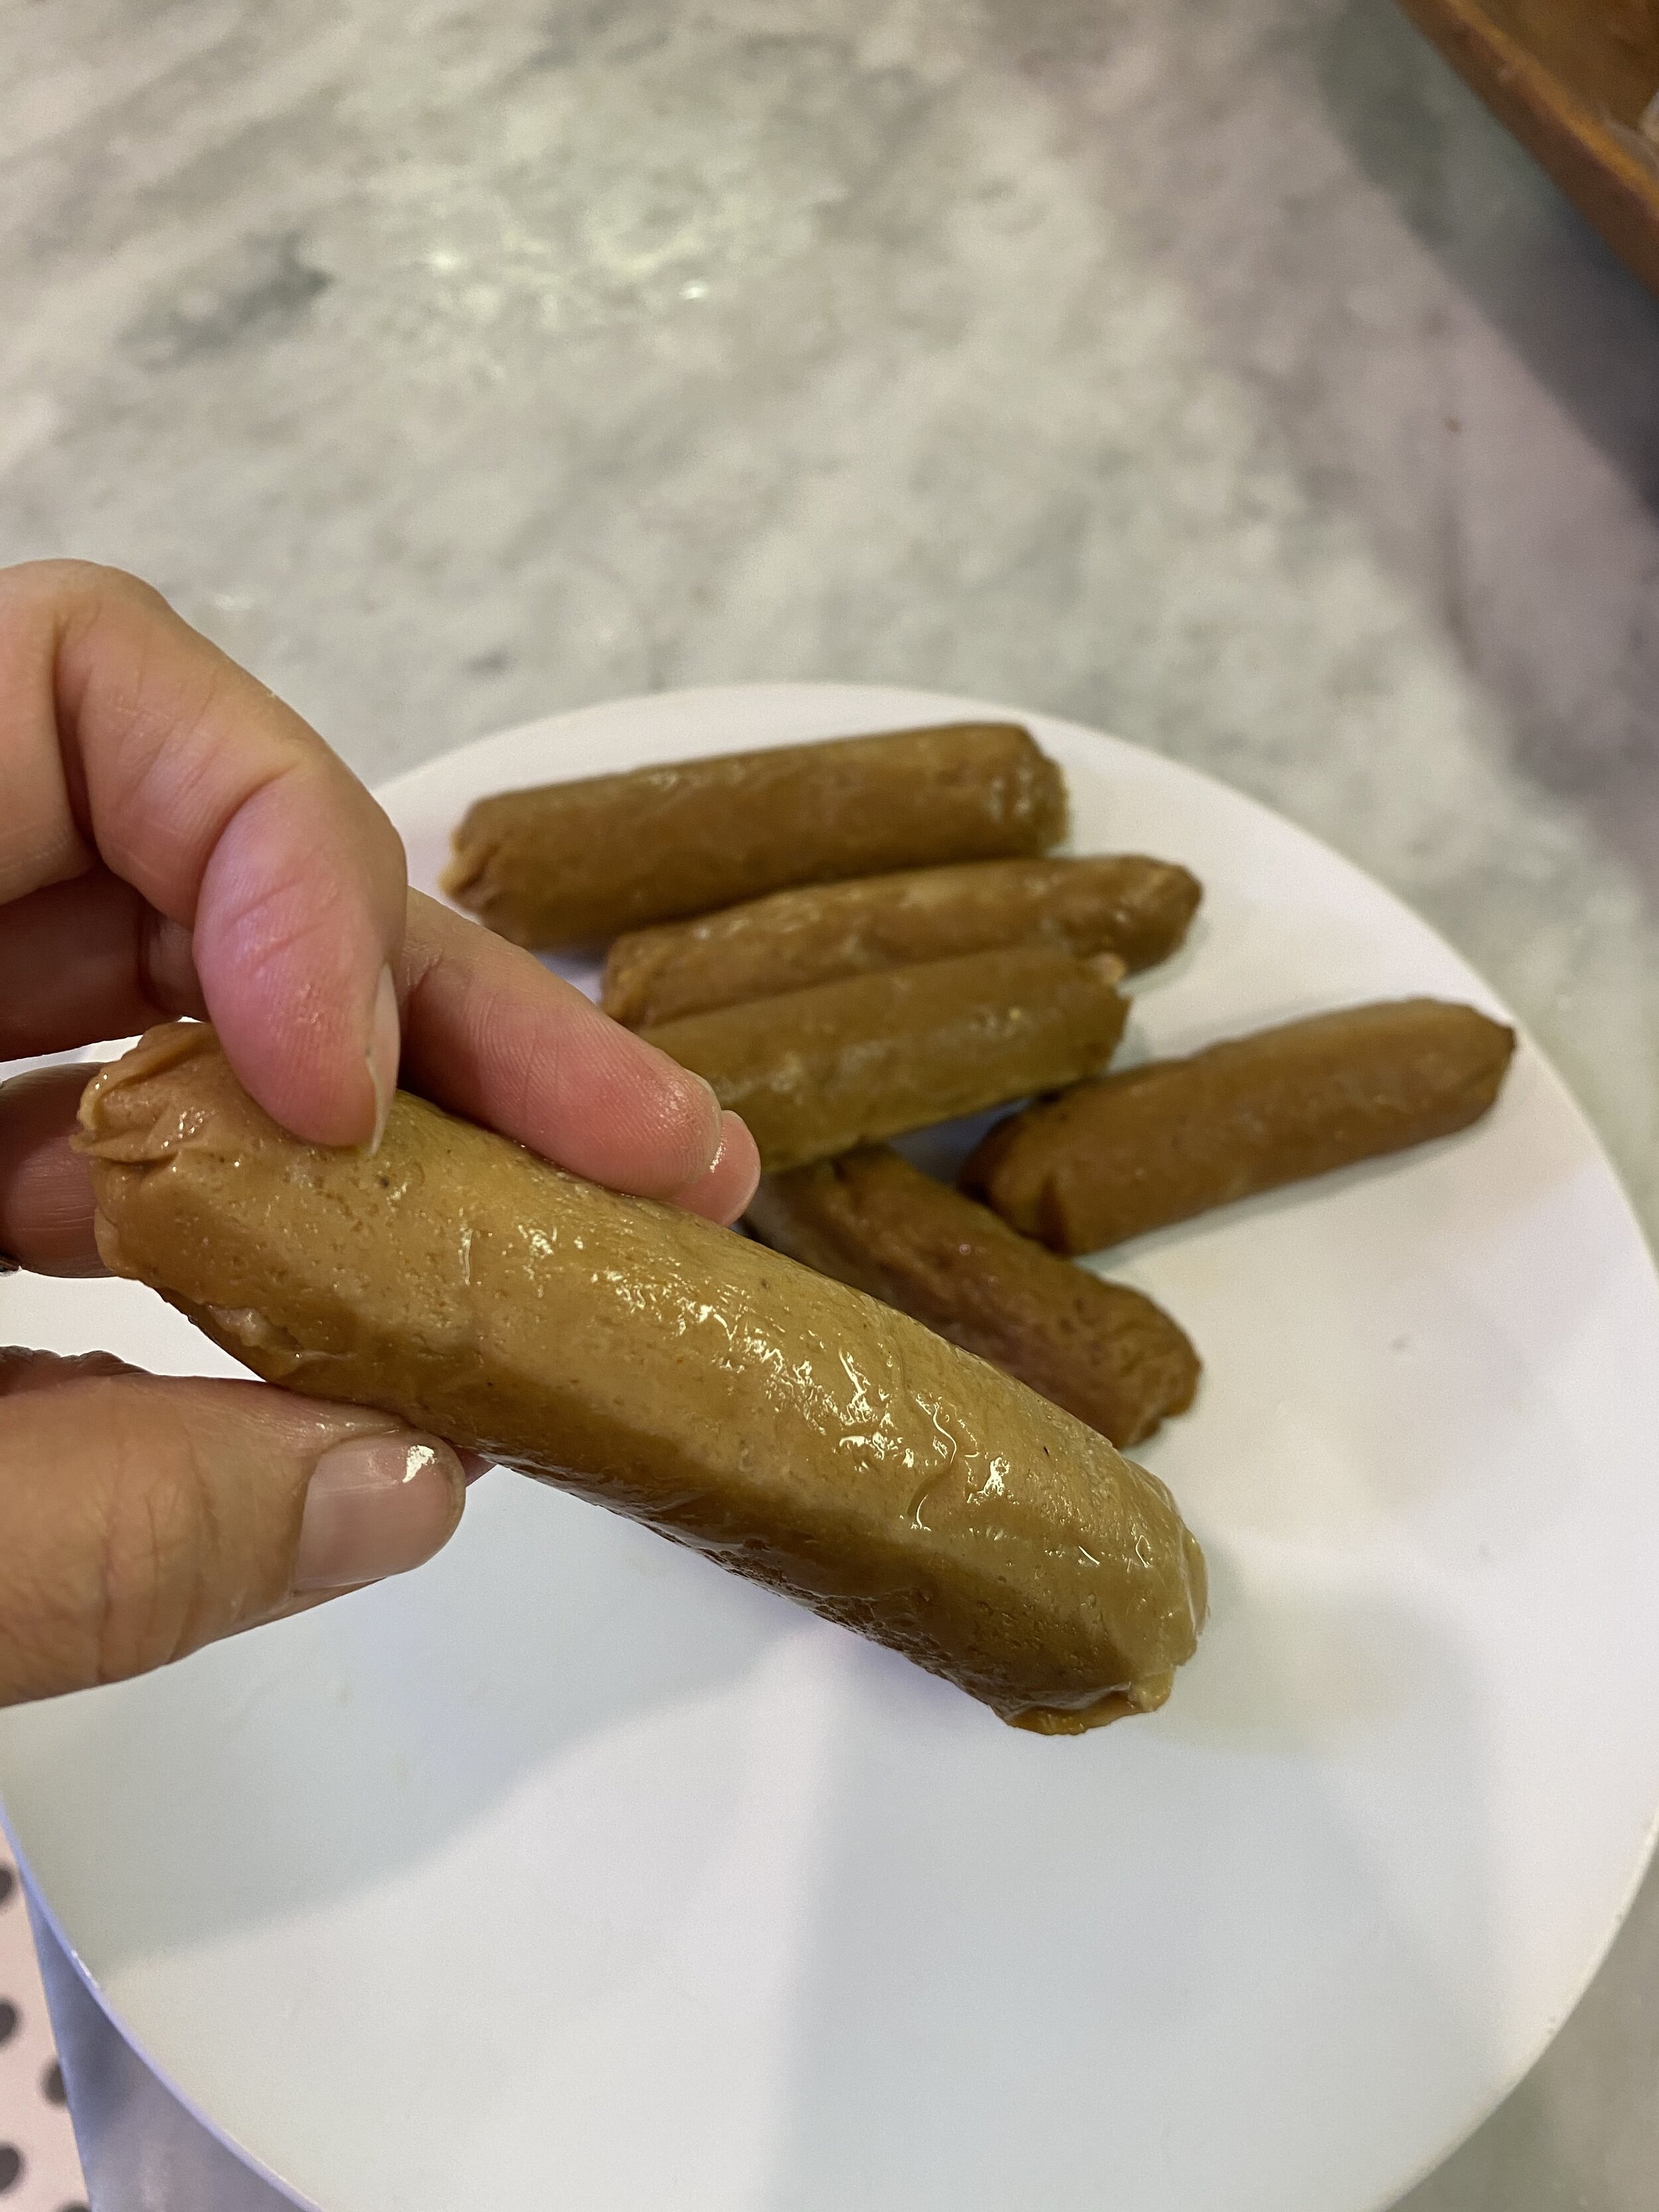
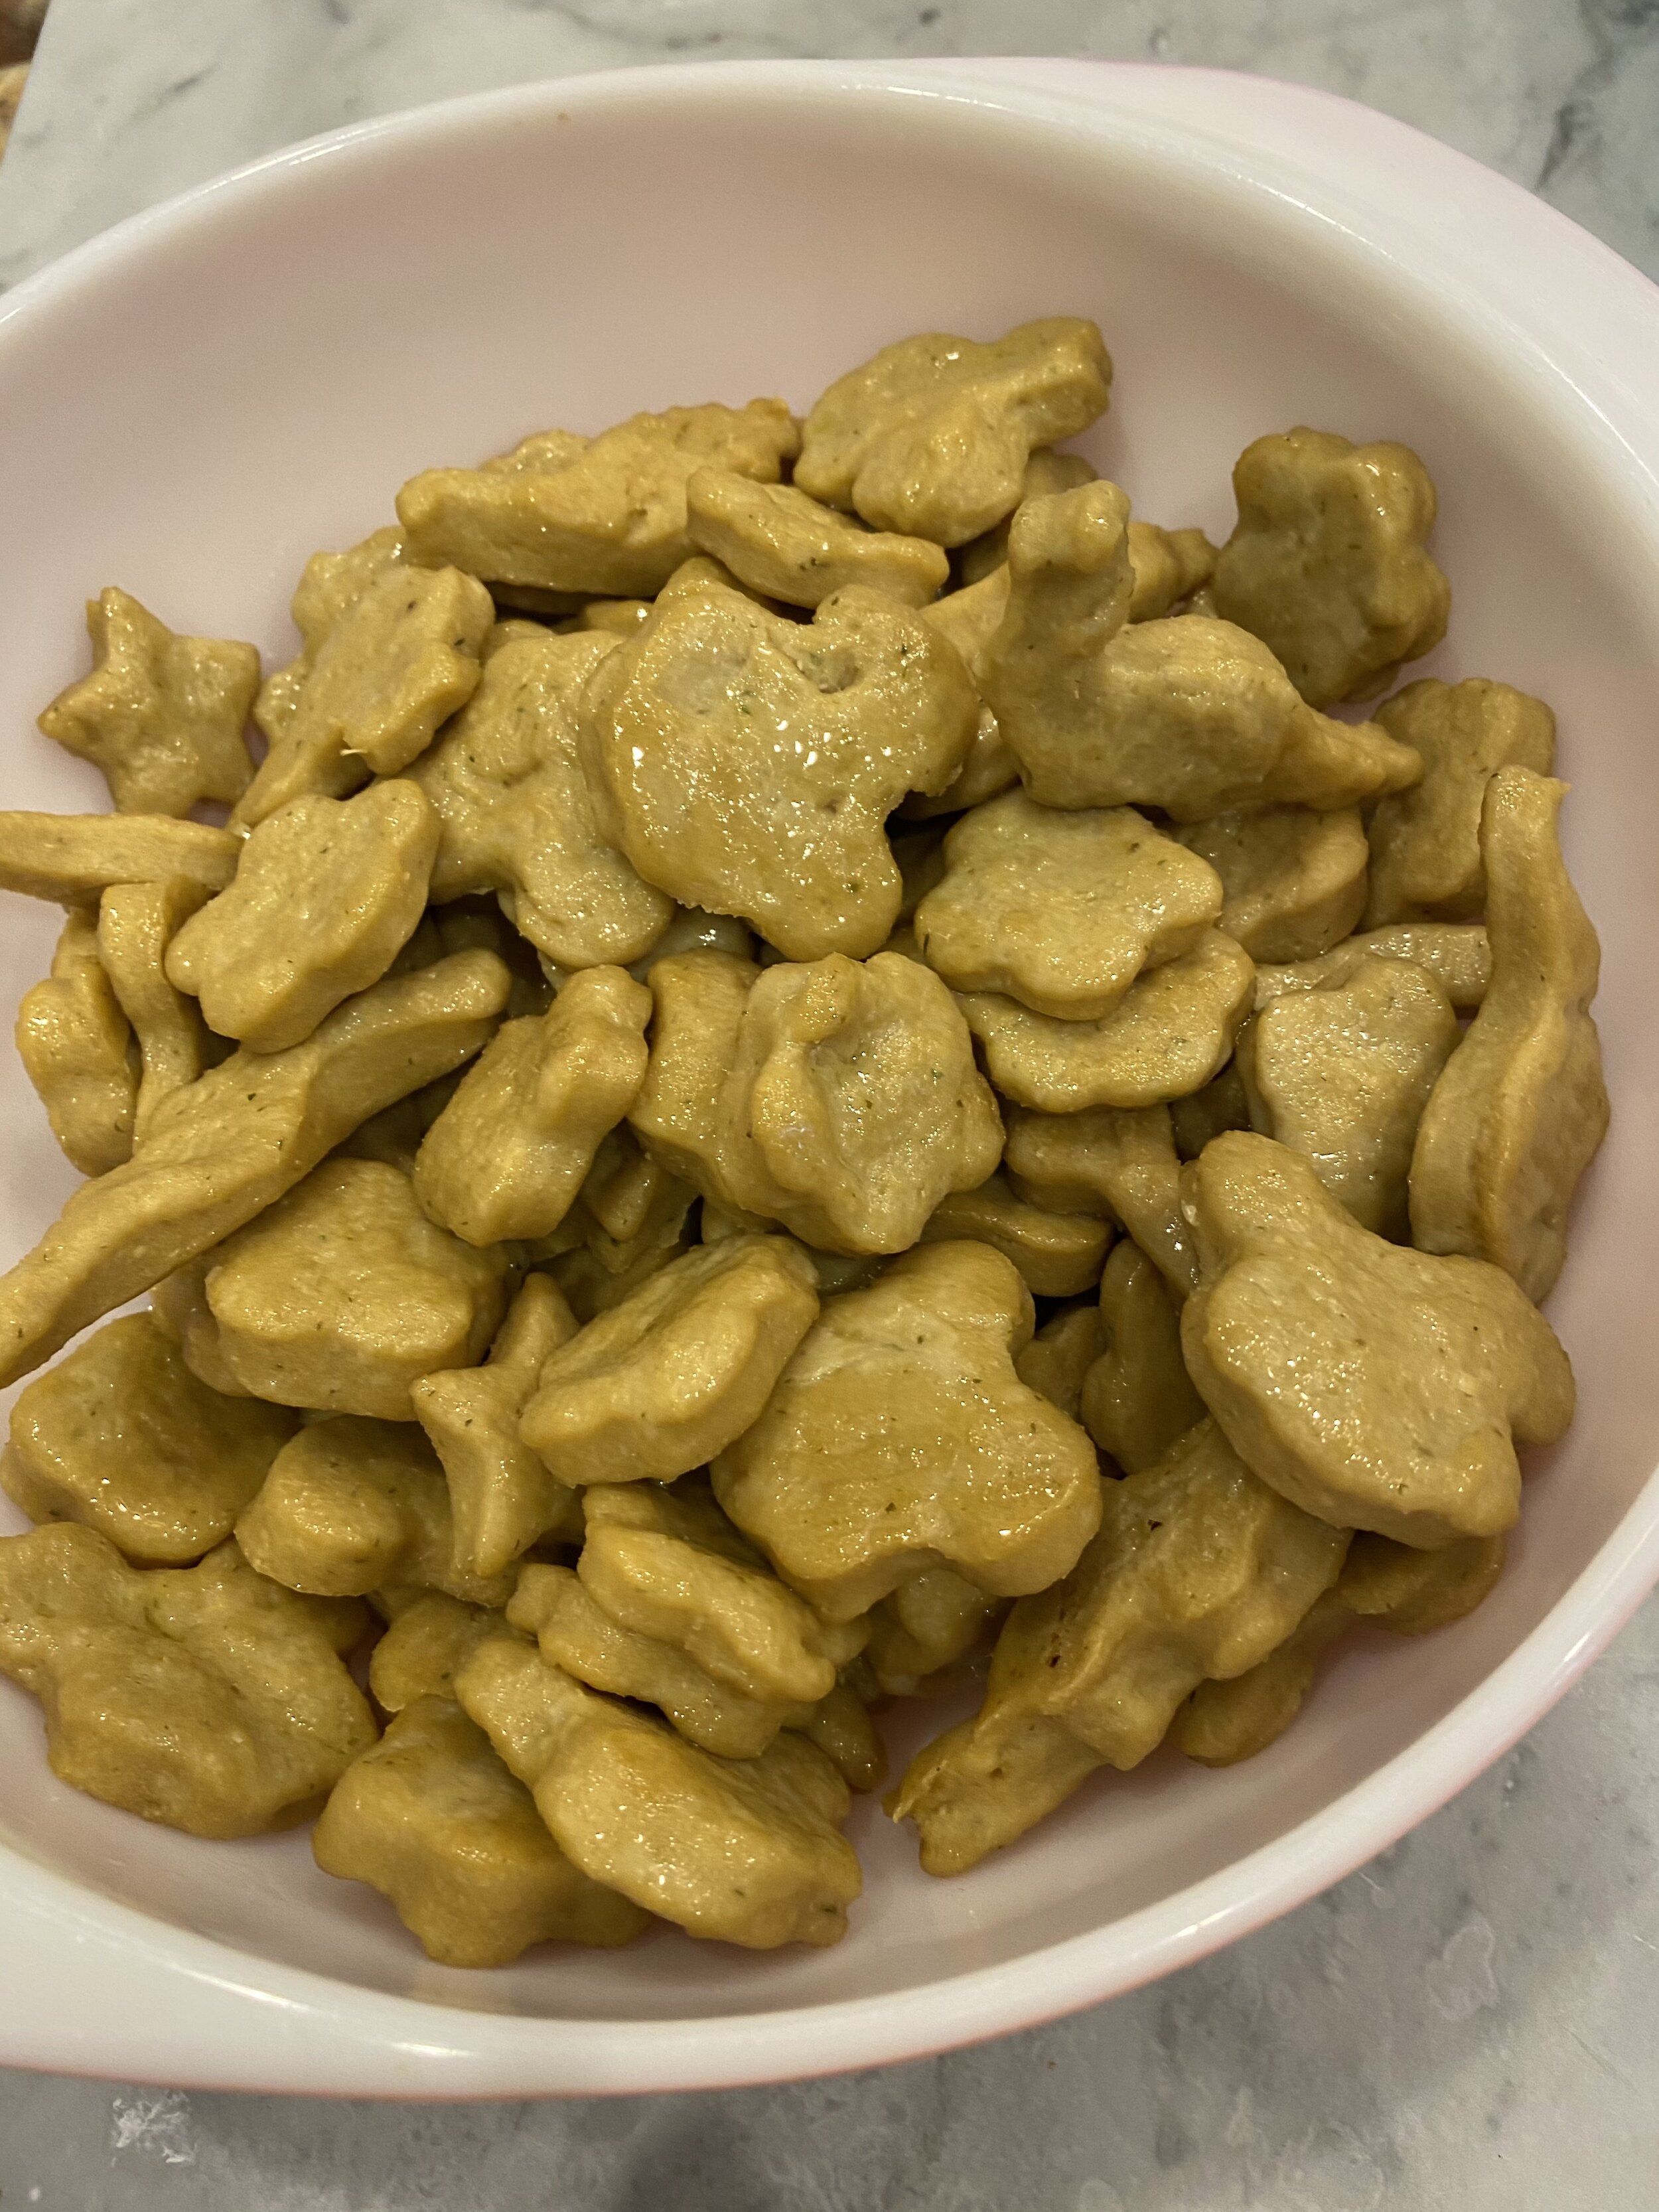
Remove the pans from the oven and remove the foil. Allow the vegan chicken nuggets to cool a bit then transfer the nuggets to a bowl or Tupperware container. Place the nuggets in the fridge for at least 3 hours to cool and rest. This rest time is important to get the vegan chicken nuggets to firm up and and have a texture similar to meat.
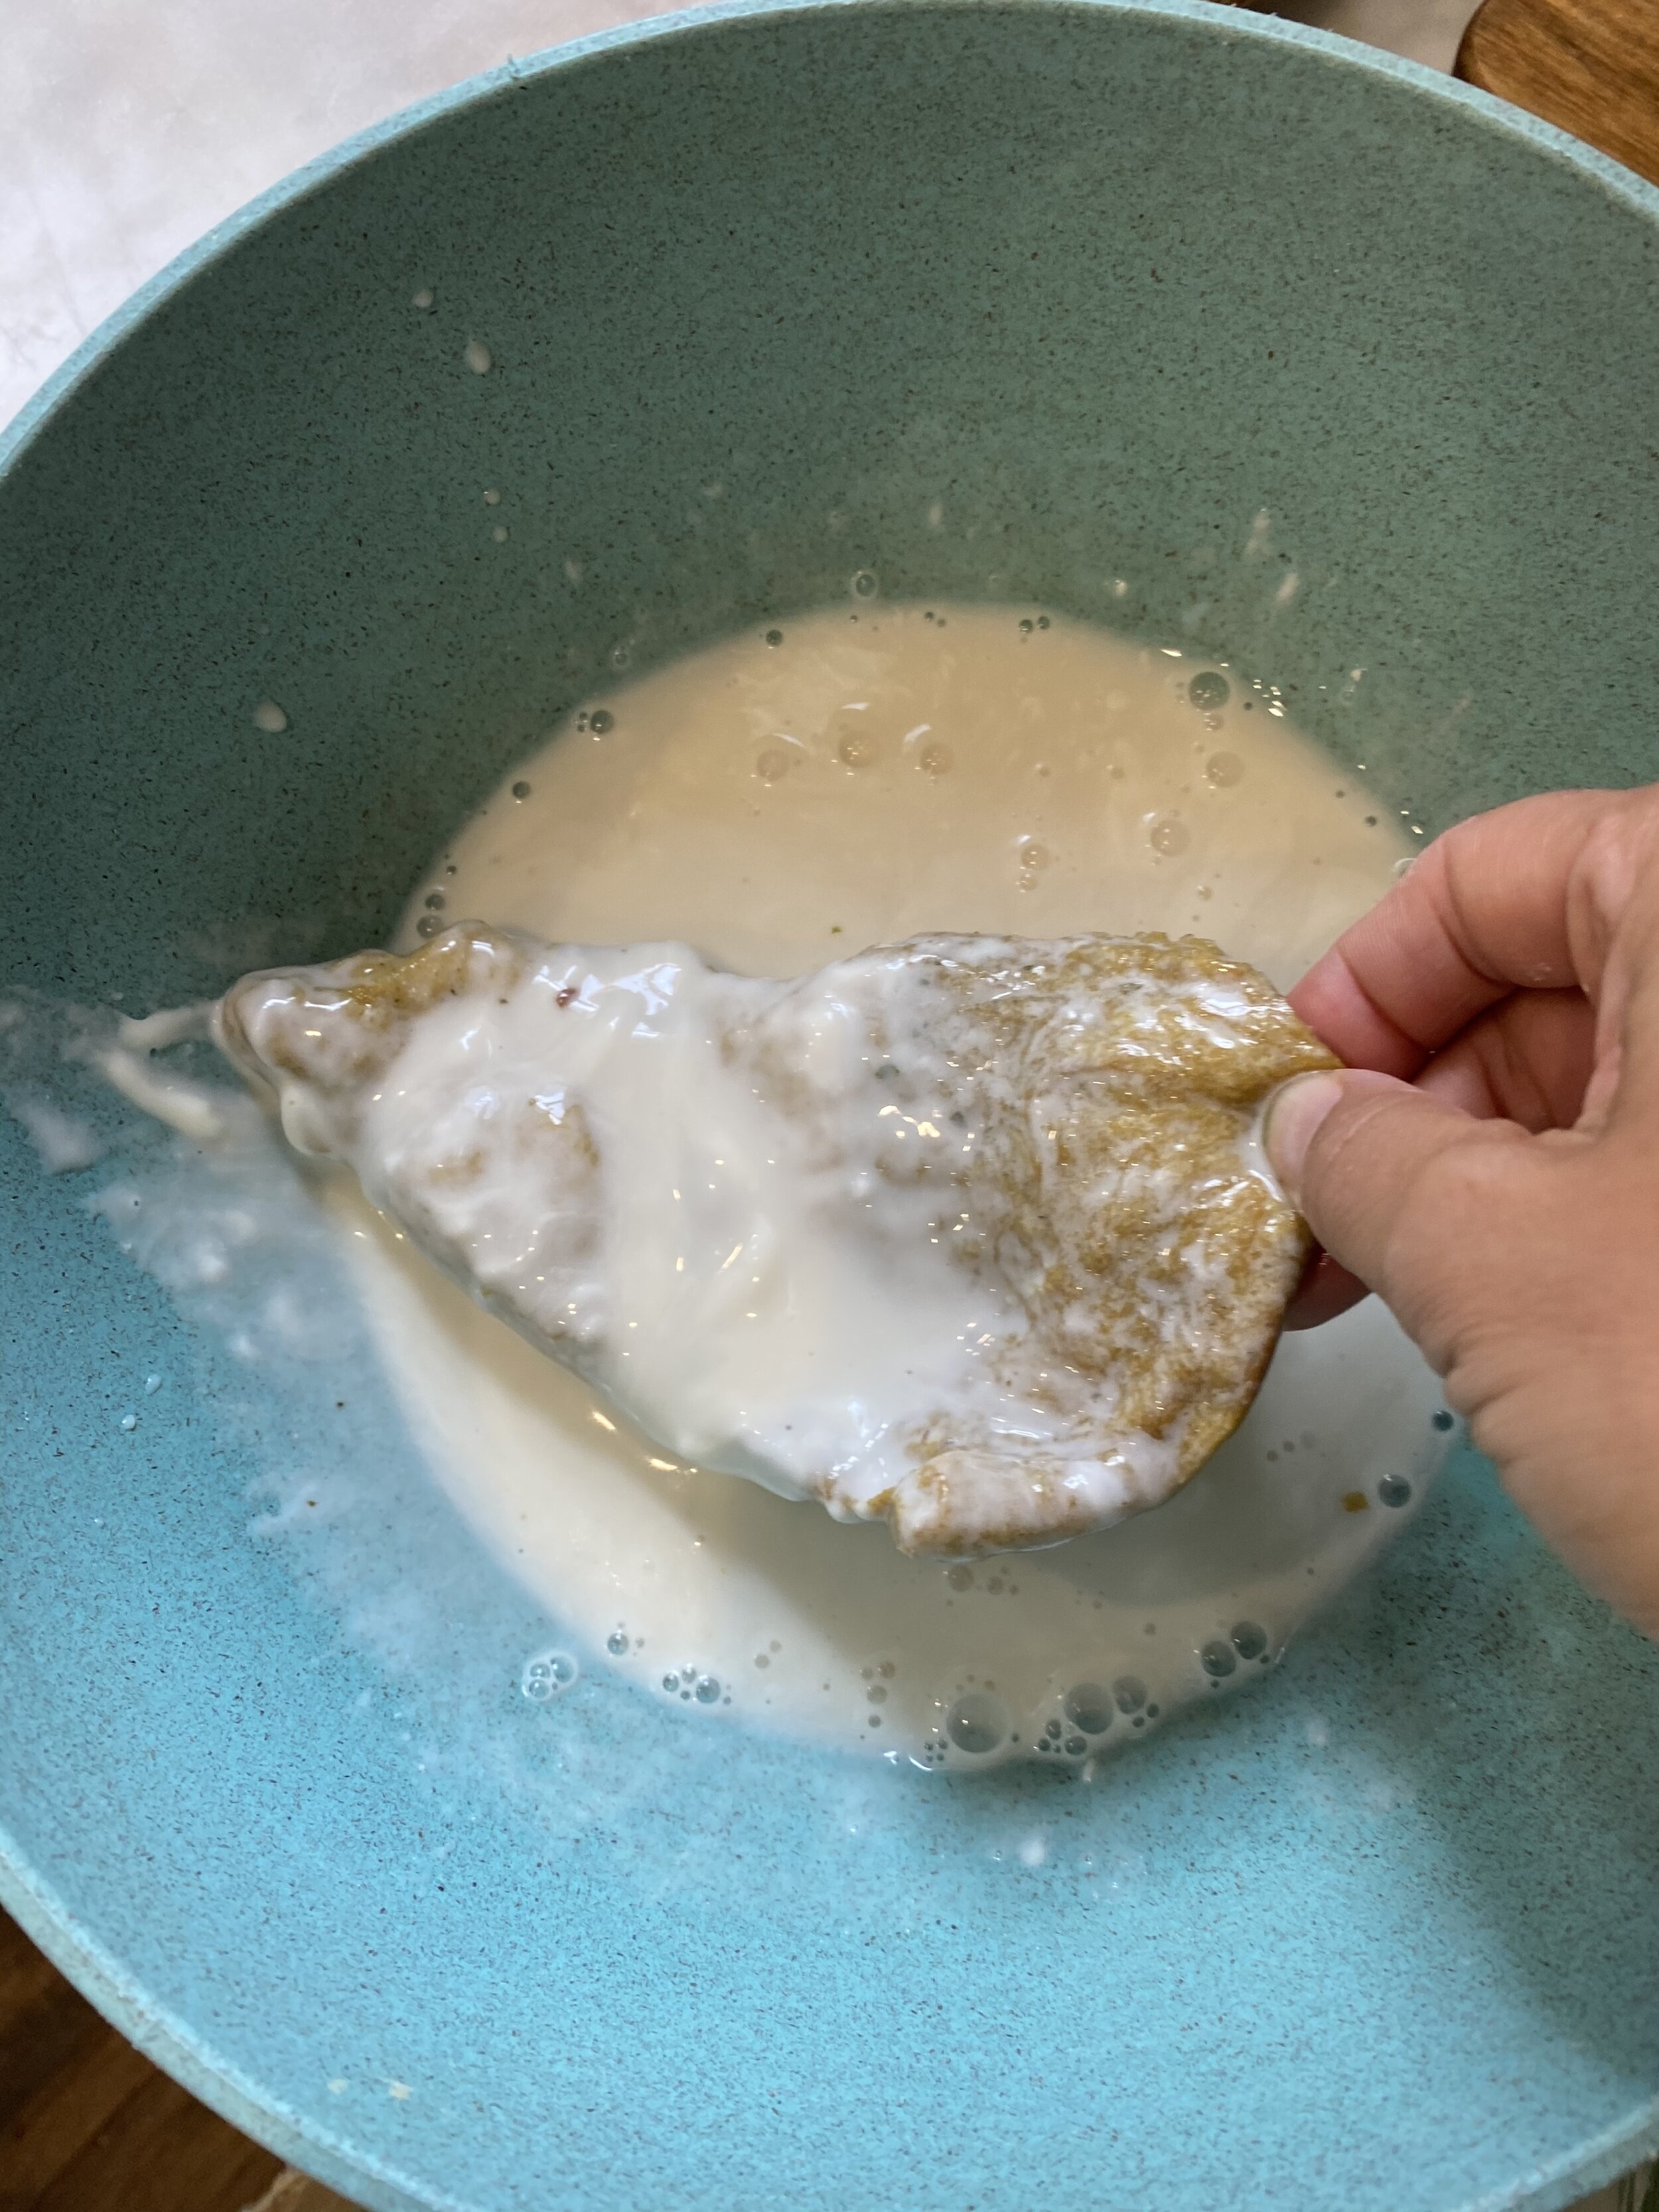
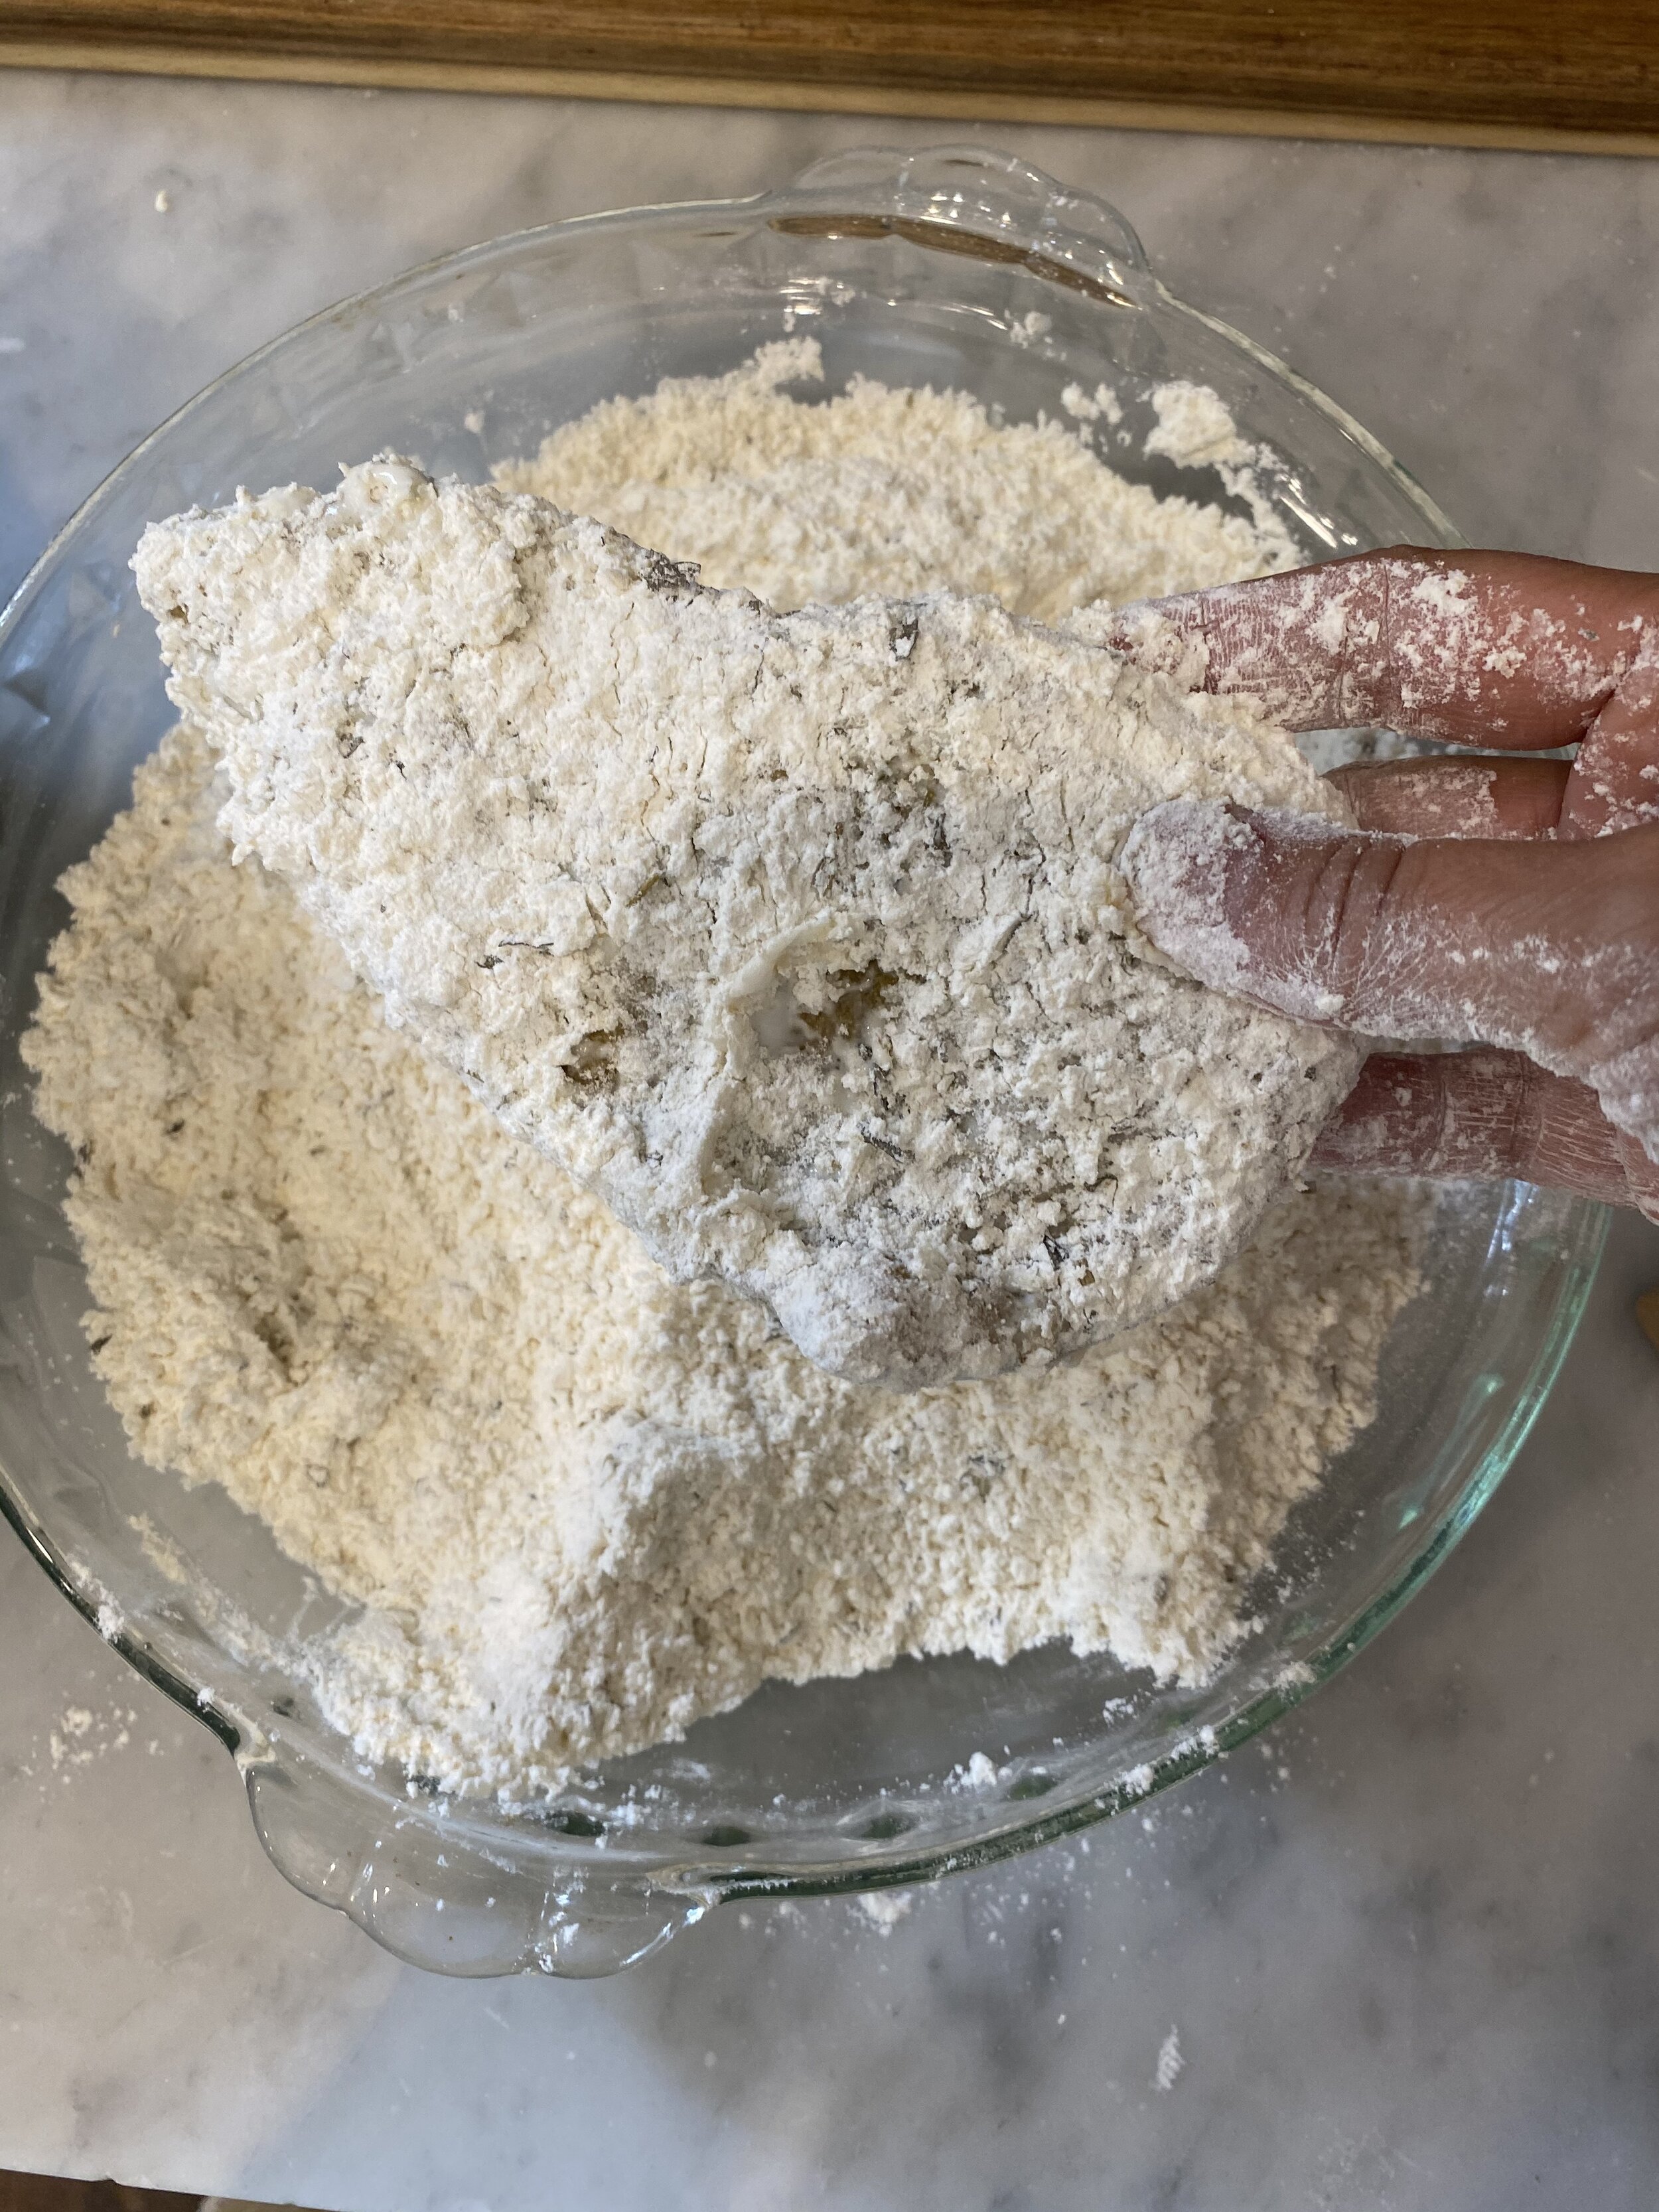
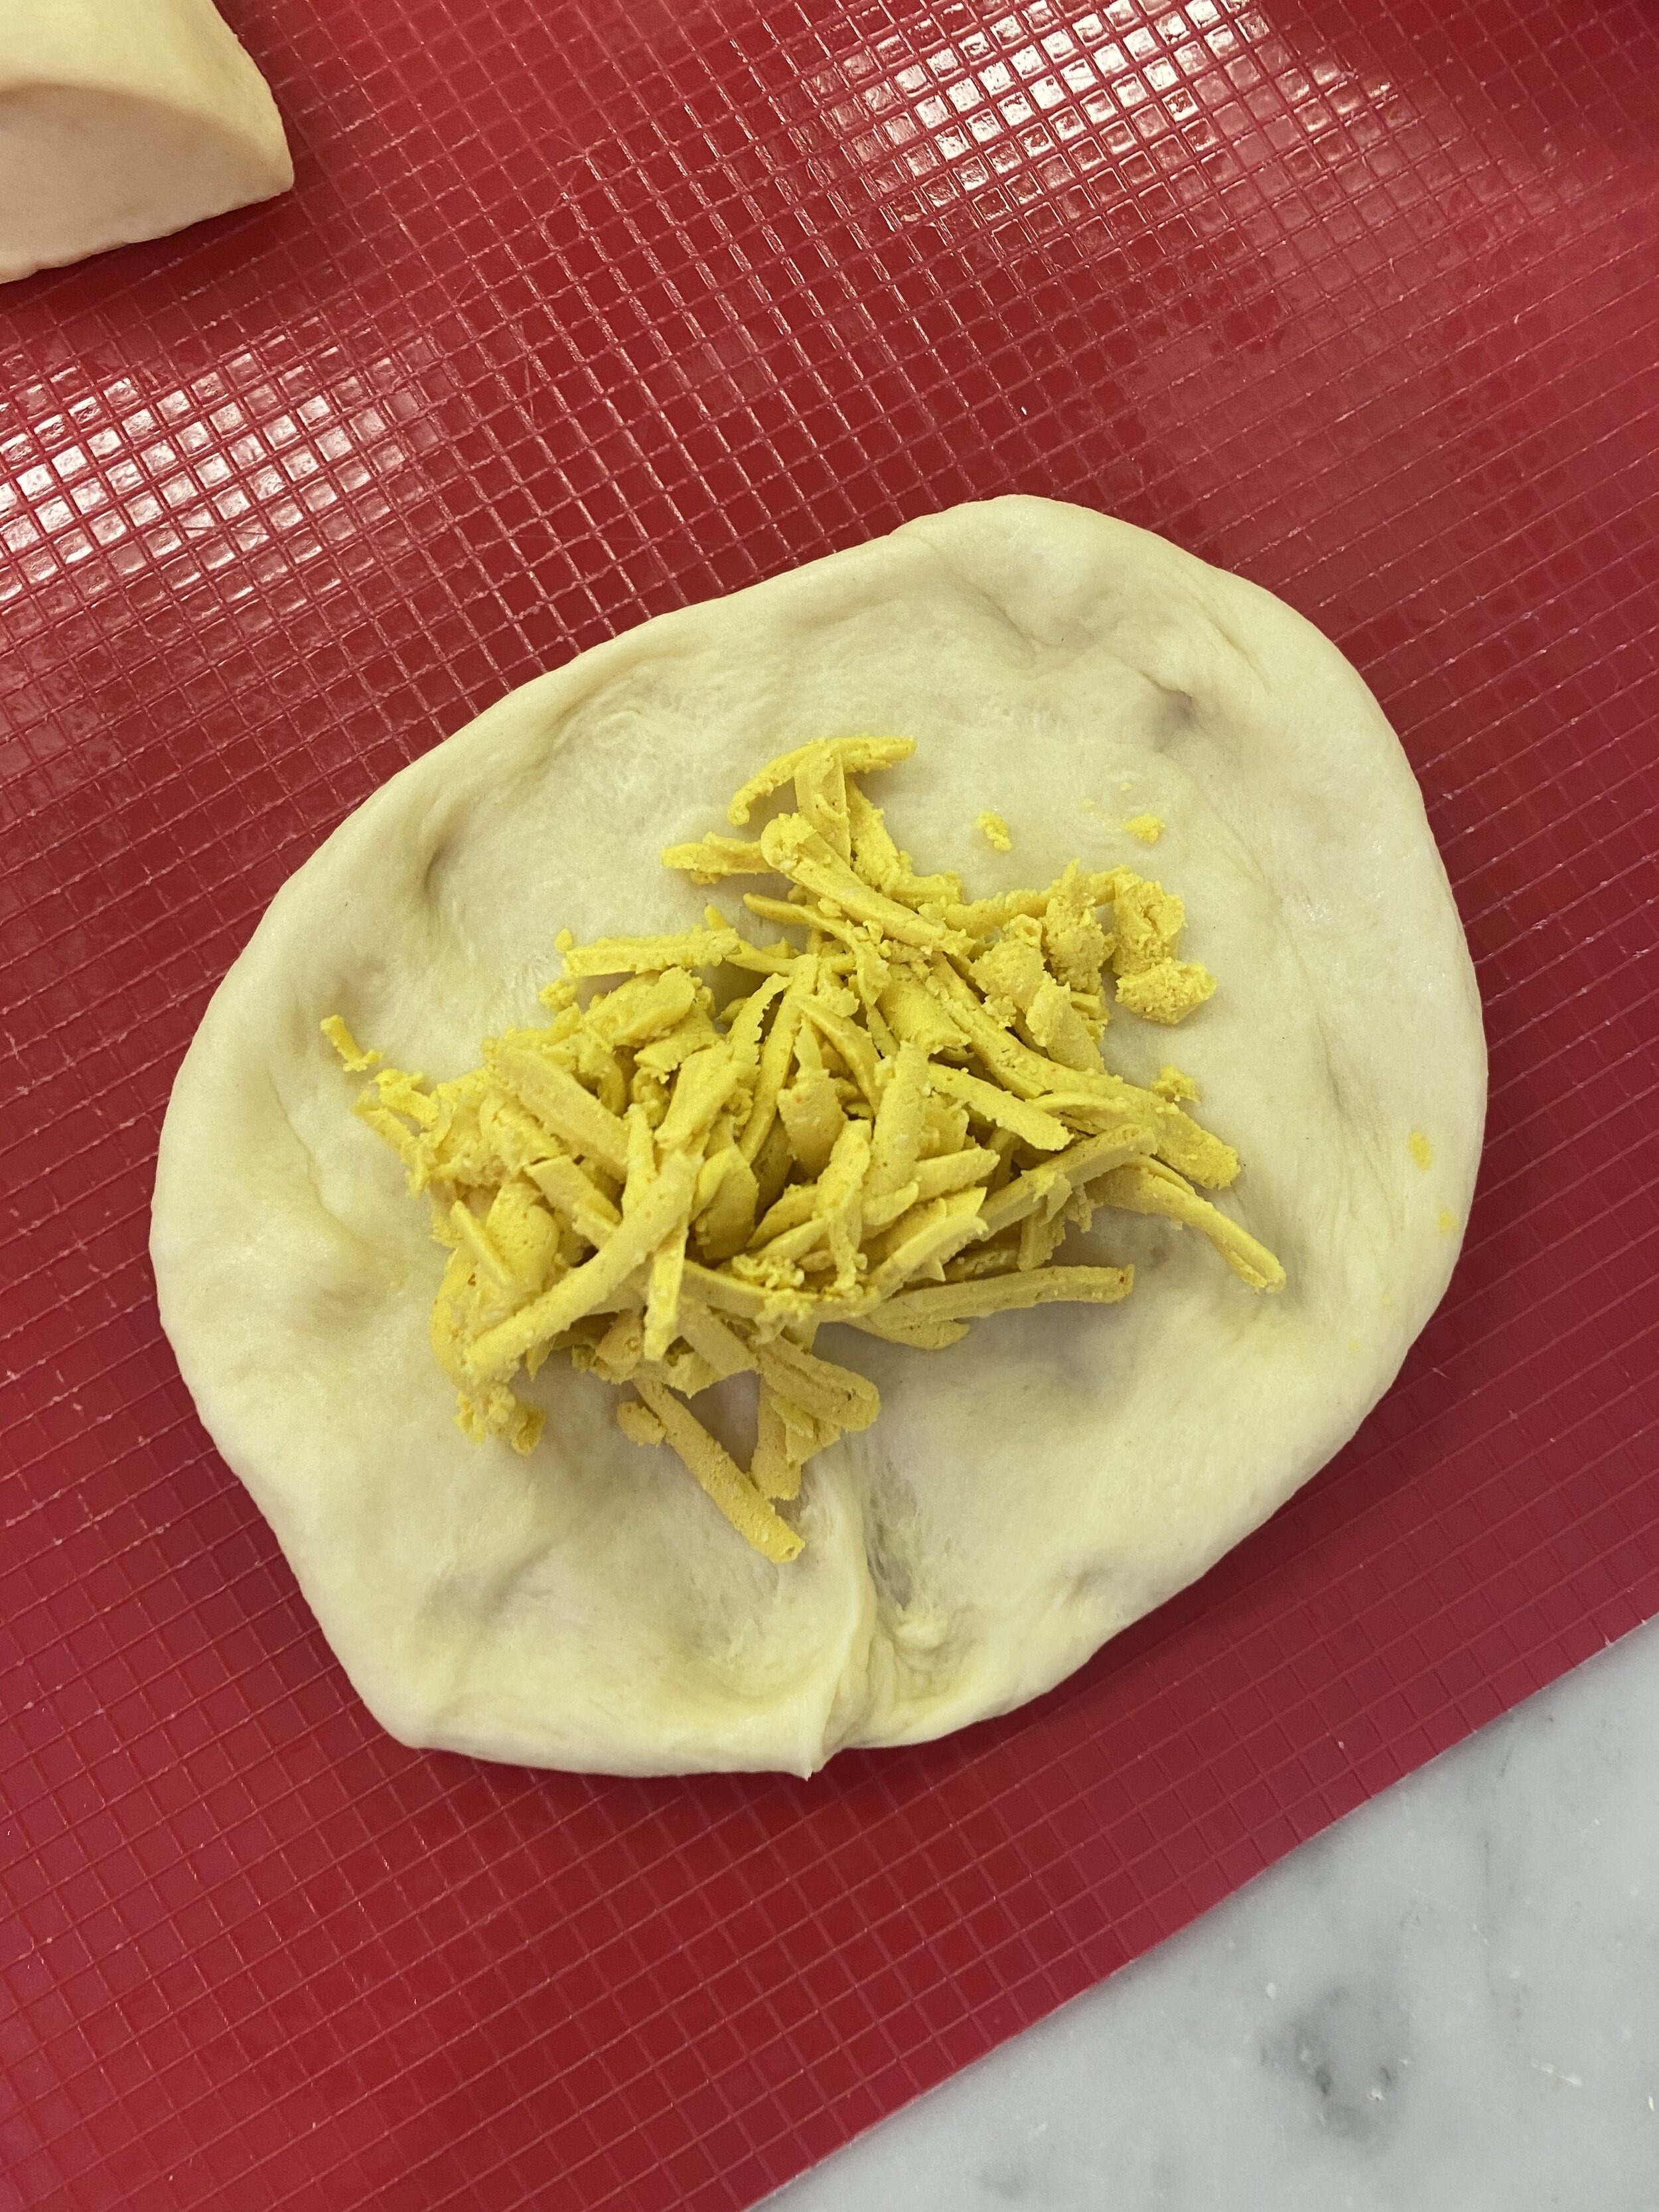
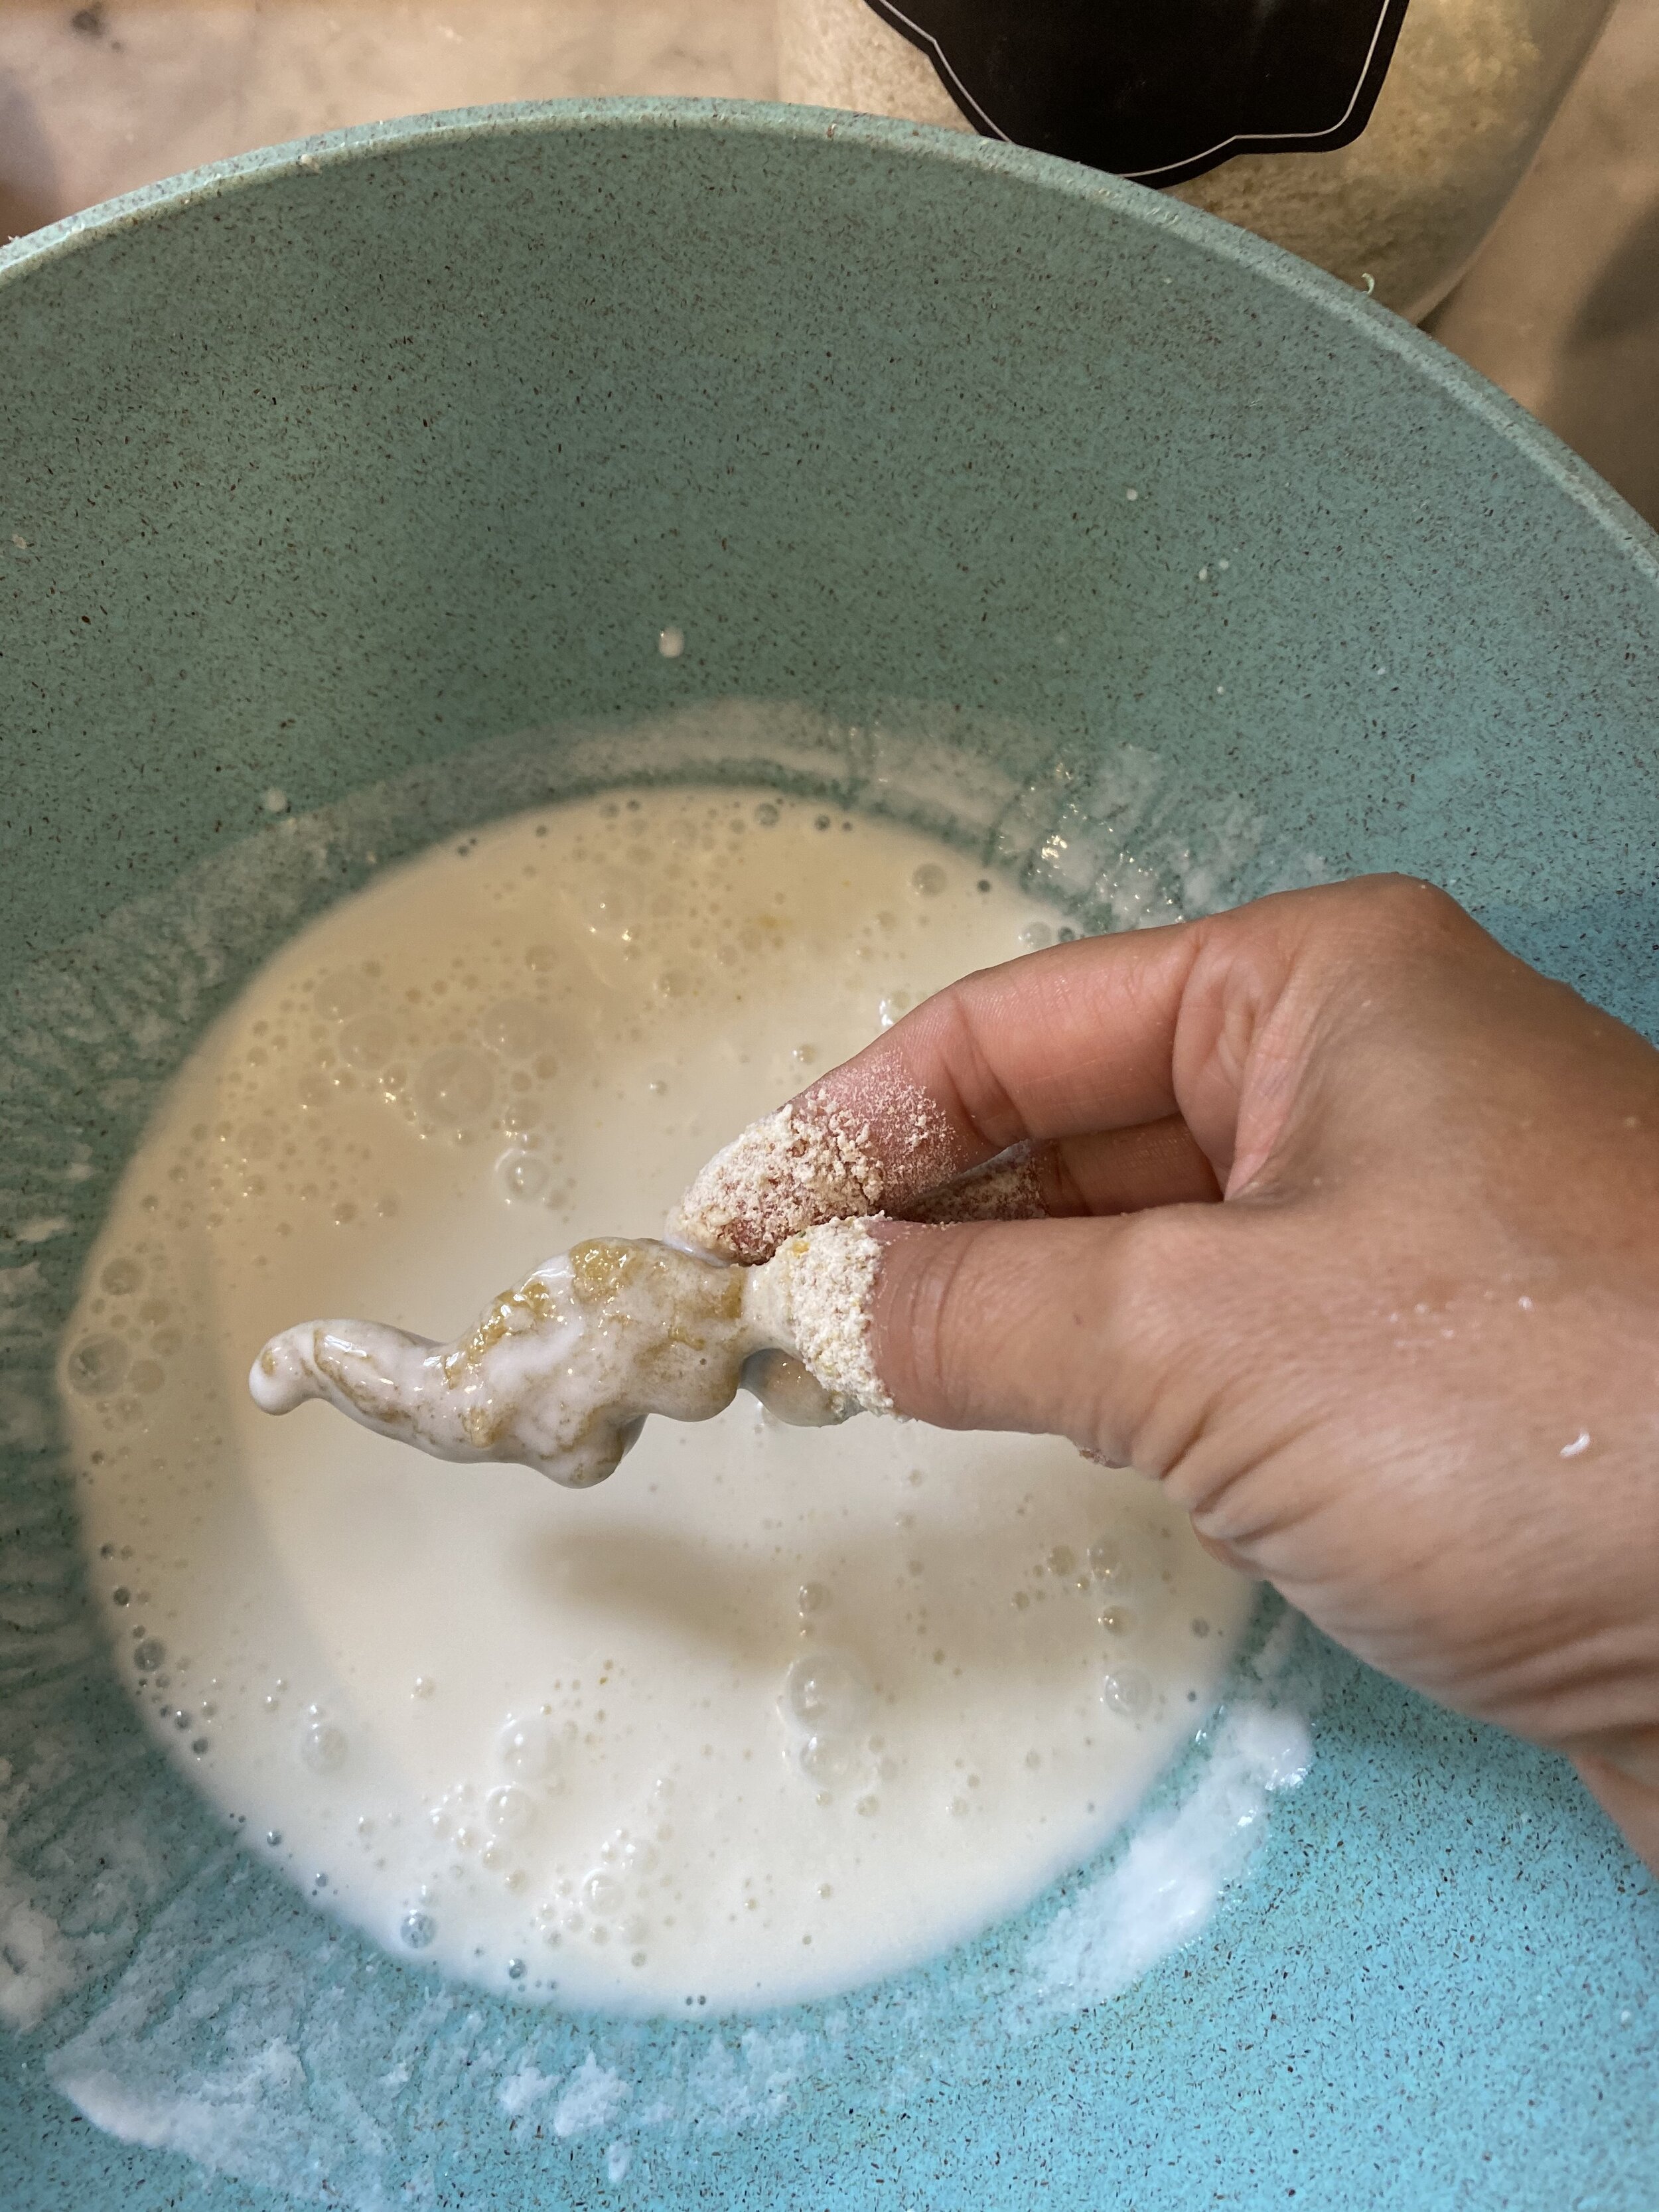
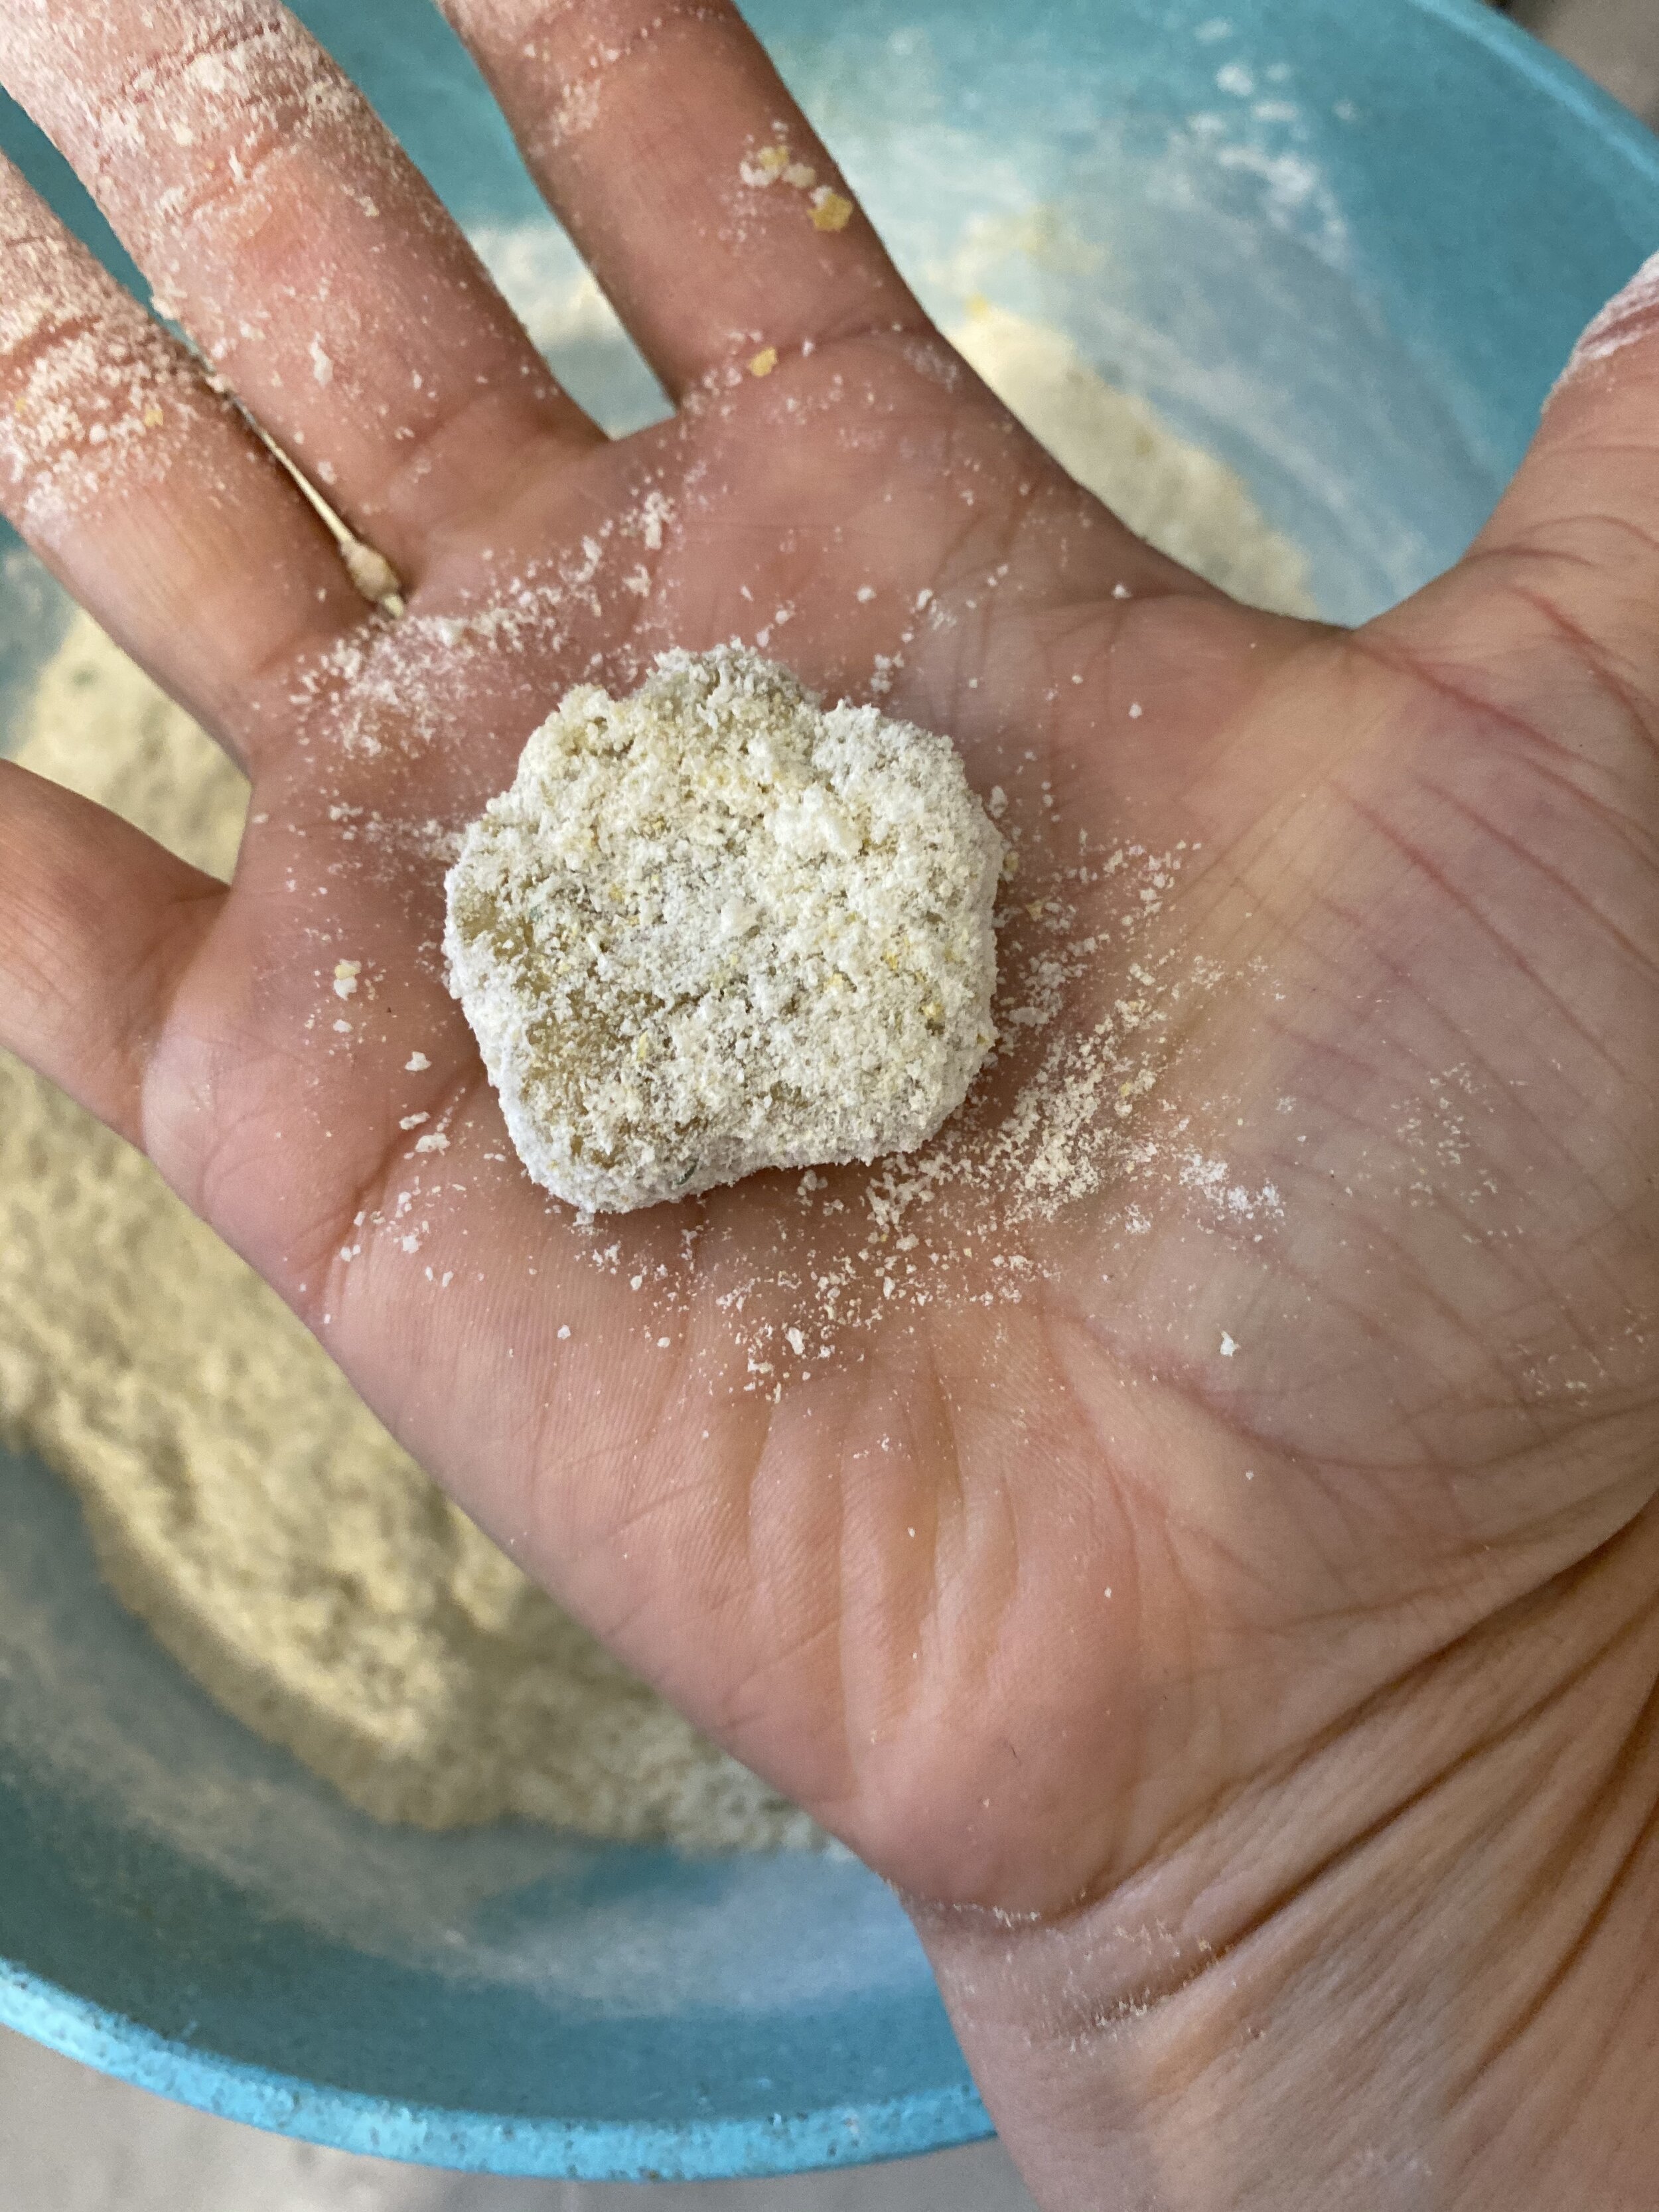
Once the nuggets have rested, prepare the coating but whisking the vegan yogurt or sour cream with the plant milk in a medium sized bowl or pie pan. In another bowl, add the 3 cups of bread crumbs, starch, flour, and seasoning. Store bought bread crumbs are mostly not vegan. They often have milk or eggs in them. I use vegan panko but pop them in my blender to get a fine crumb so it sticks better to the nuggets.
Start by dipping the vegan chicken nuggets first in the wet mixture ,then into the dry mixture, making sure to press the coating into both sides of the nuggets. You can either cook the nuggets in the oven or an air fryer.
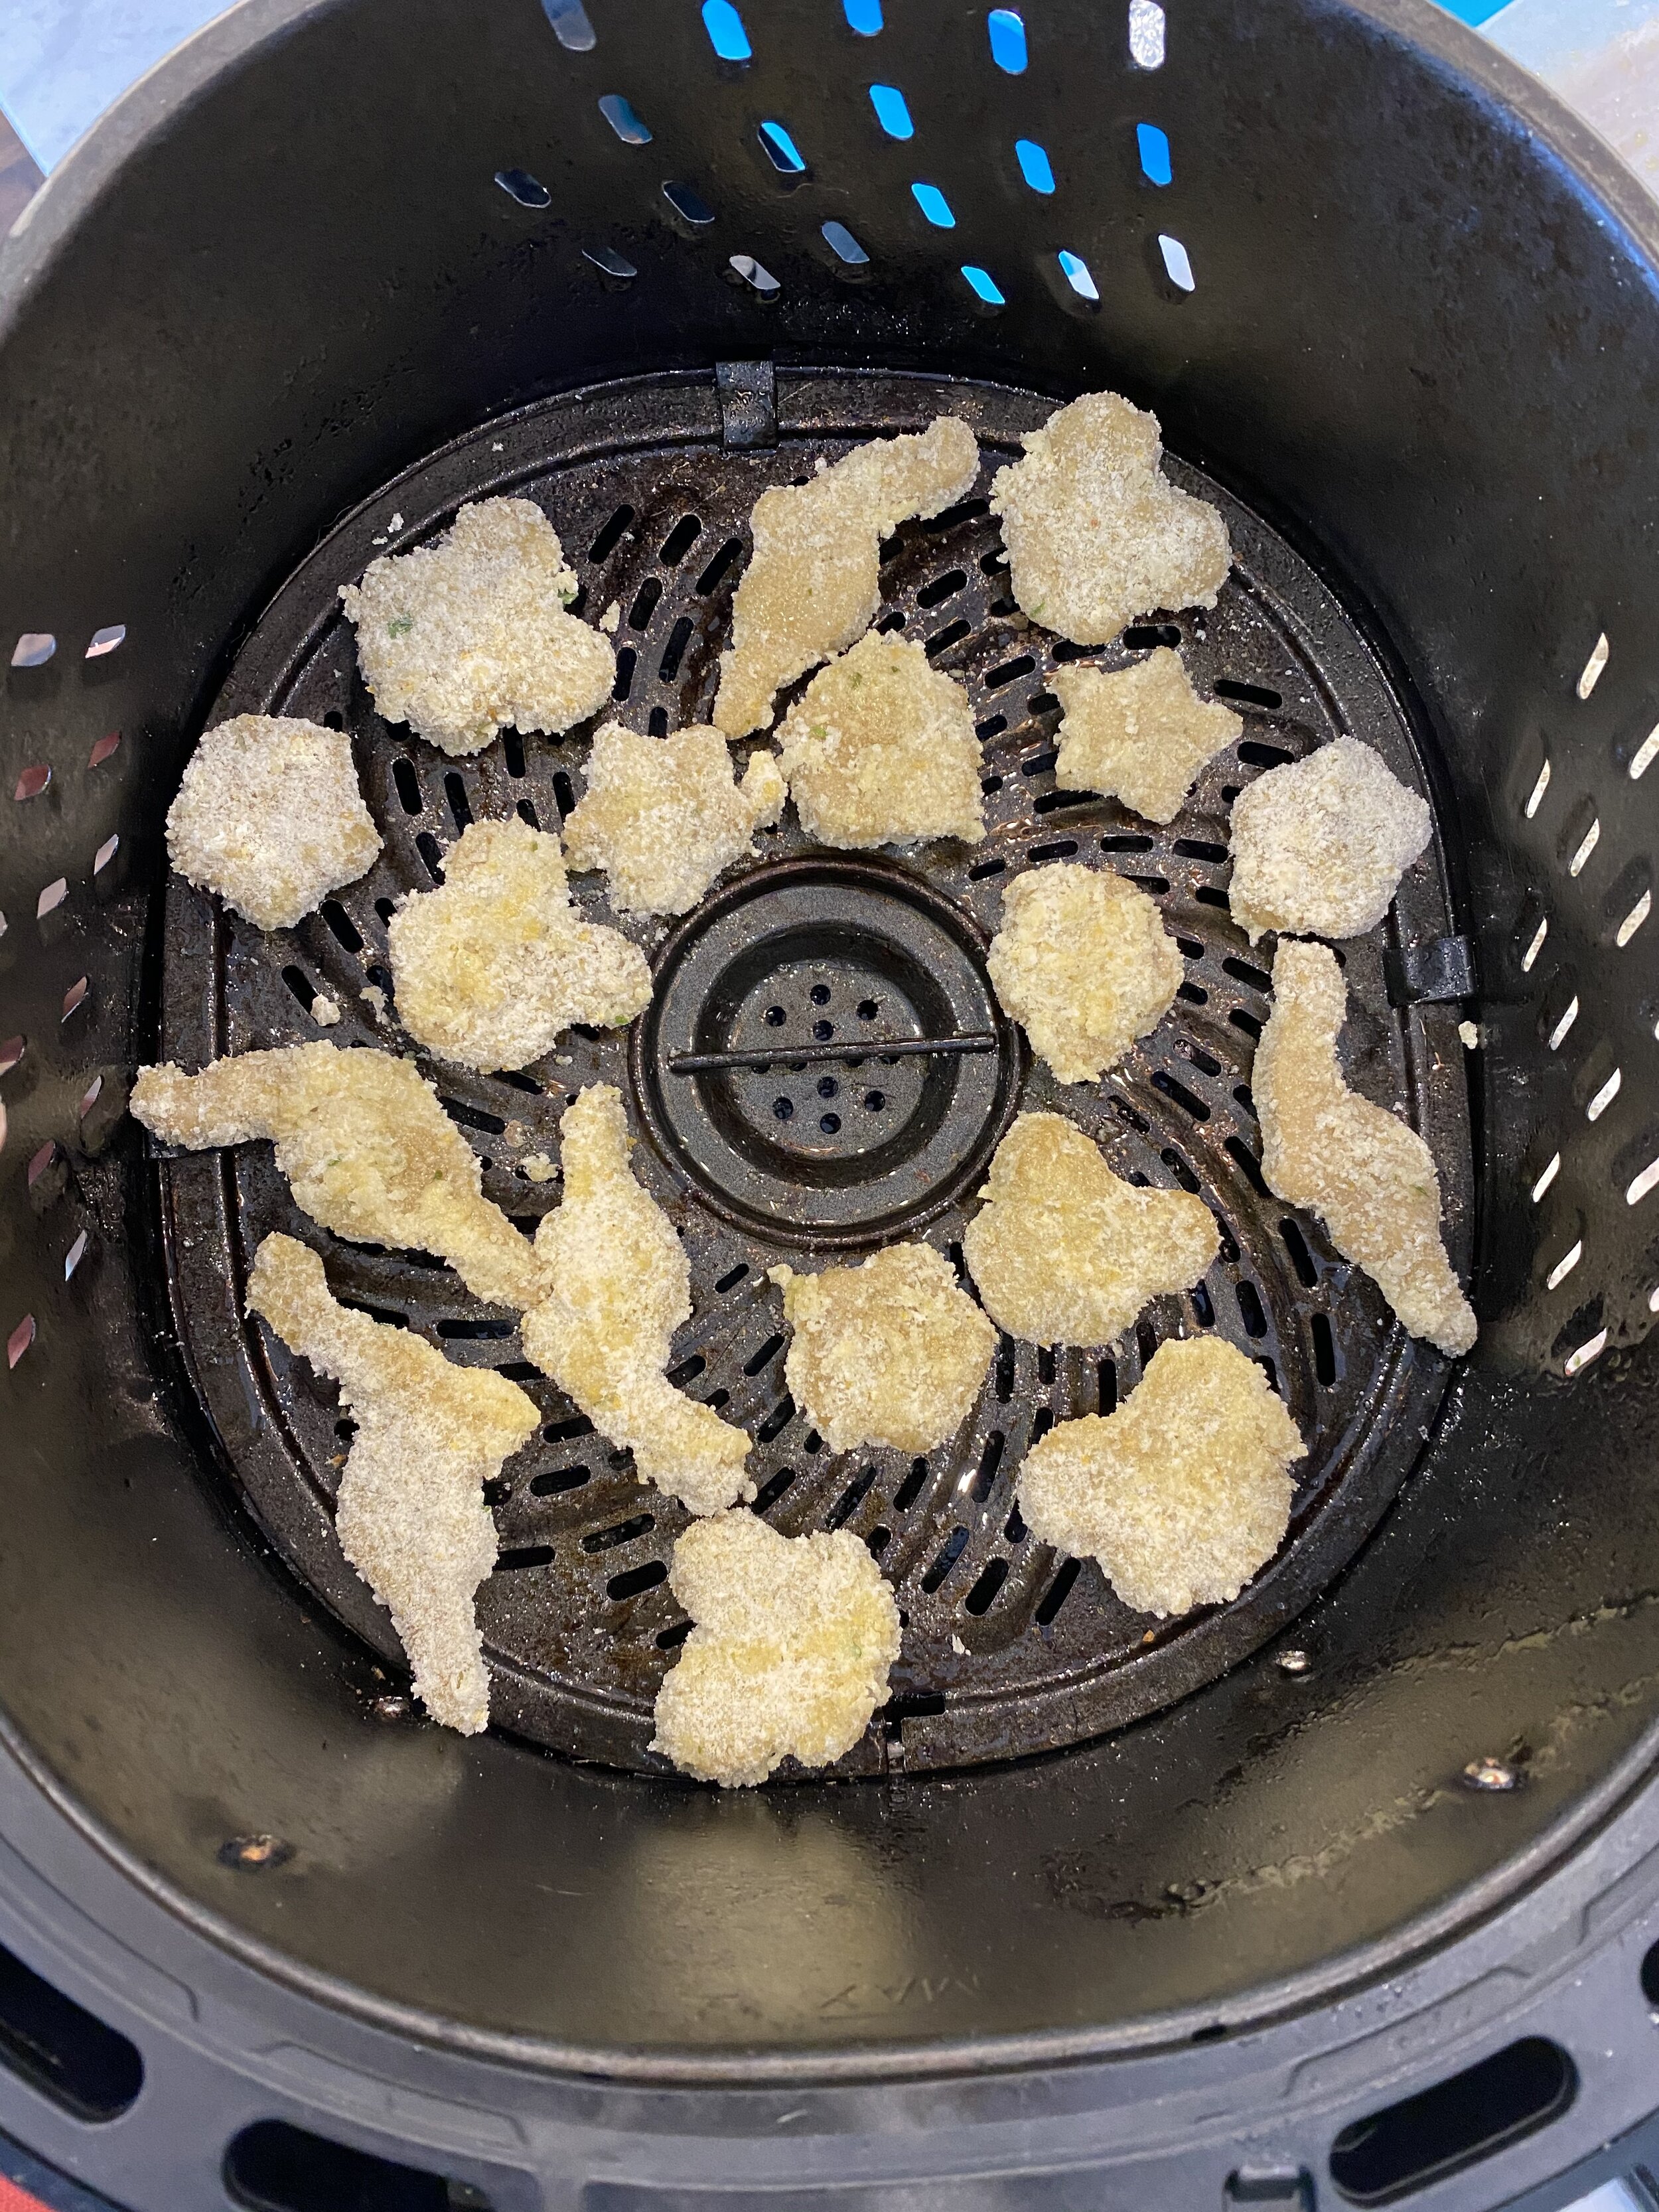
AIR FRYING THE NUGGETS: Place nuggets in a single layer in the air fryer and give them a light mist with some spray oil. Cook at 375 degrees for about 10-12minutes. Checking them a few times, and cooking them just long enough to get them to your desired crispness. The cook time just depends on your air fryer and how crispy you like your nuggets.
OVEN BAKING INSTRUCTIONS: Preheat oven to 400 degrees. Place nuggets on a baking sheet that has either been sprayed with some cooking oil, or is lined in parchment paper ( they want to stick otherwise.) Give the tops another spray and bake for about 10 minutes. After 10 minutes flip the nuggets using some tongs and bake another 5-10 minutes or until the nuggets are your desired crispness.
If you want to freeze these nuggets, I suggest a light bake. Just enough to lightly crispy the coating, then freeze them in an airtight container or zip lock freezer bag. Then when you are ready to reheat the nuggets, bake or air fry them as suggest above.
If you like this recipe, then try these: