yeast bread

Vegan Naan

IMG_7310.jpg

I think I have mentioned I live for carbs. A side of bread is my favorite part of dinner, always.

Naan might be on my top 5 favorite breads list, actually.

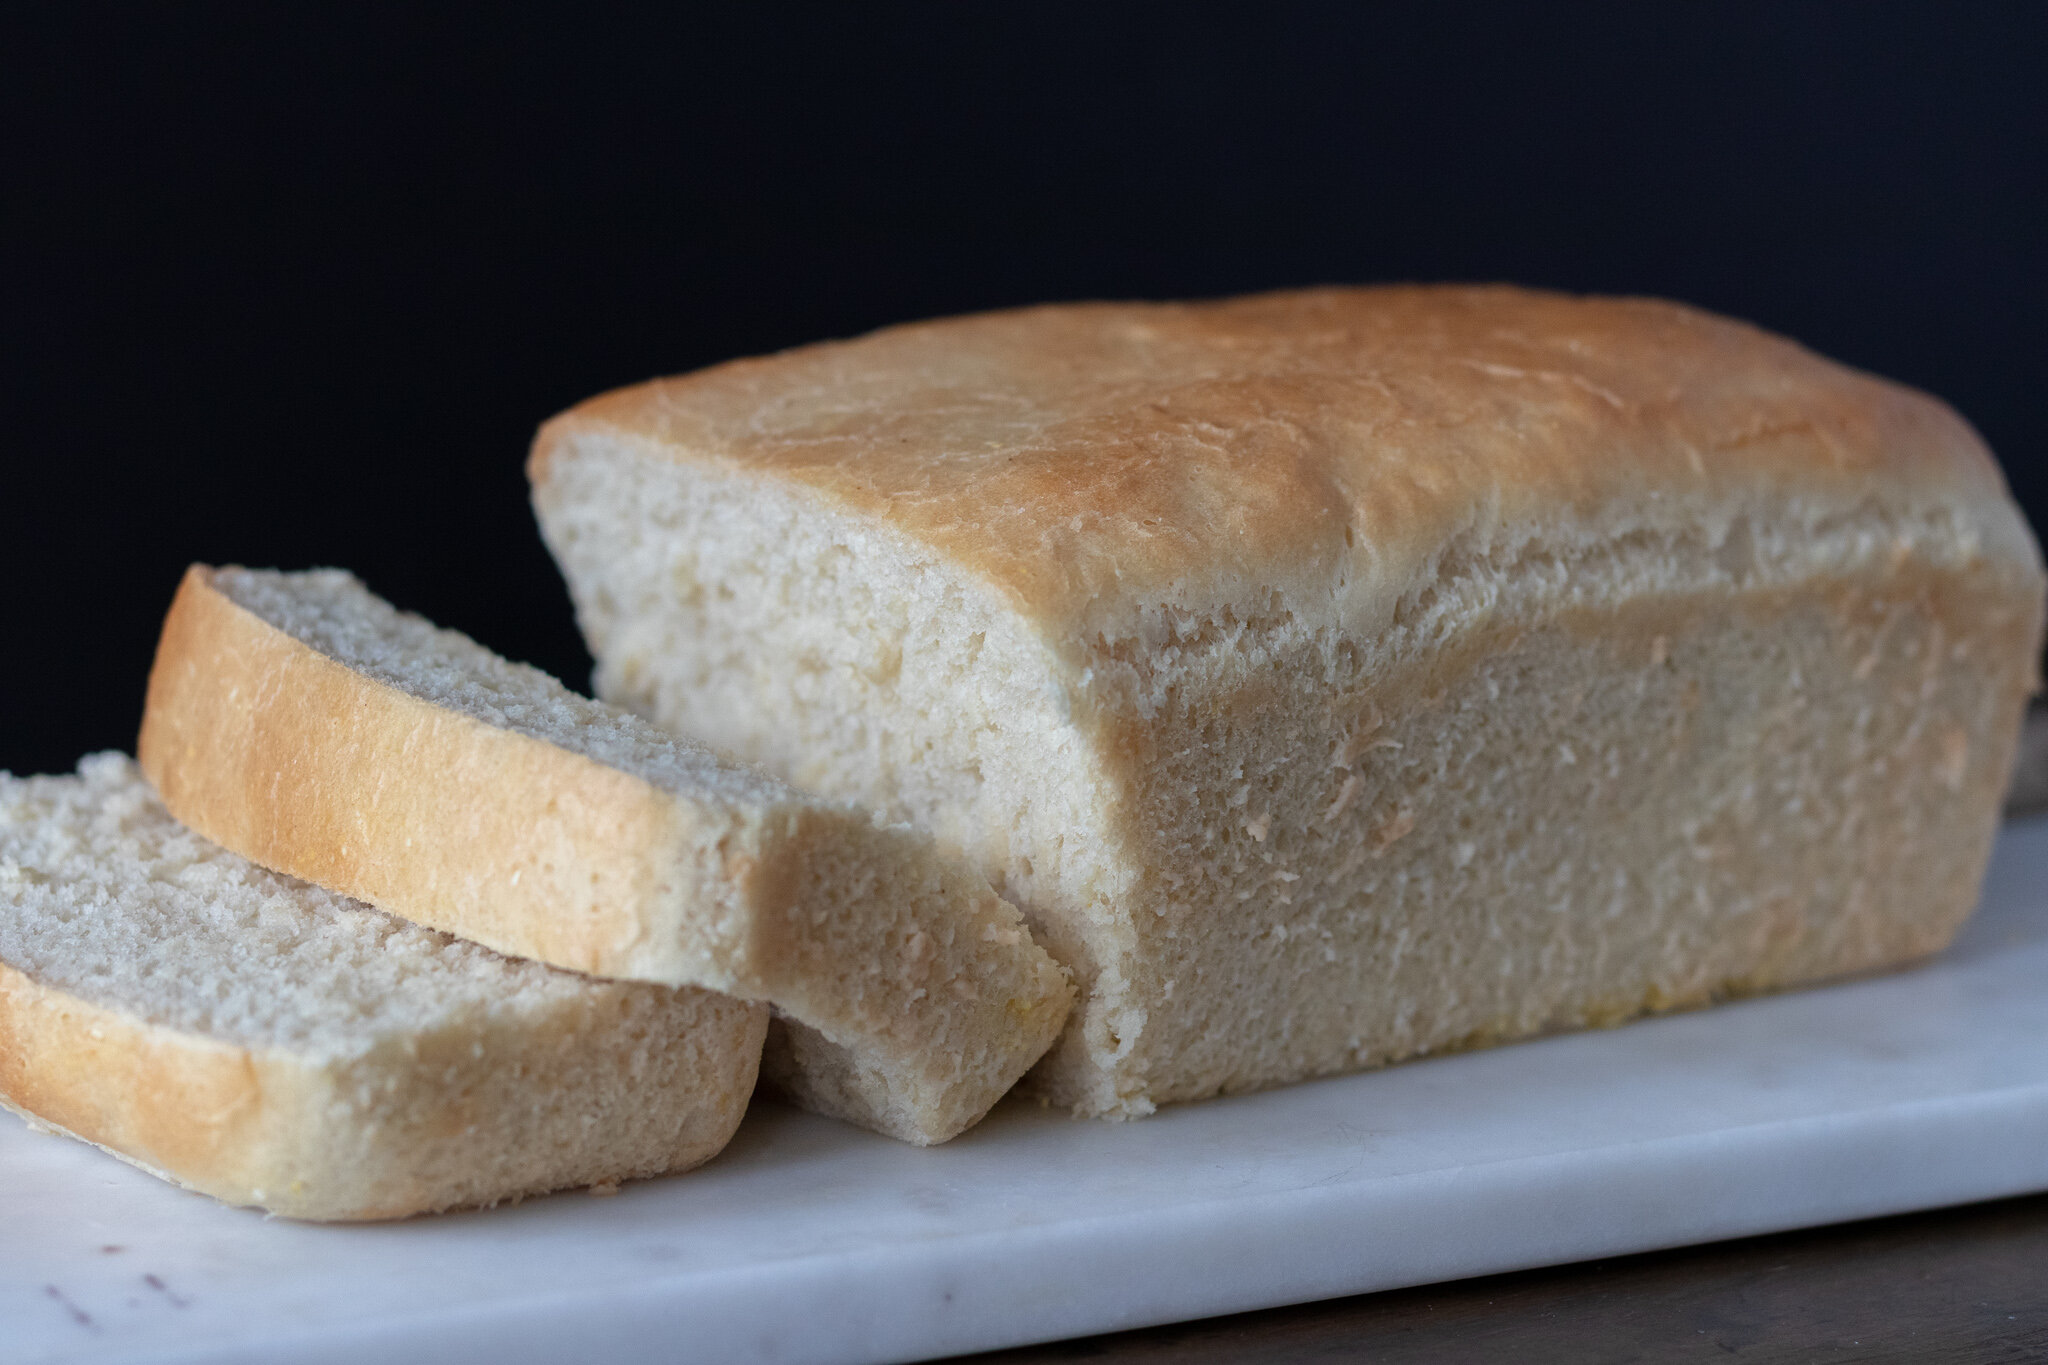
This recipe is basically yeast dough cooked in a pan with butter, and brushed with more butter. It’s crispy and soft and just perfect as far as I am concerned. Normally, naan is cooked in a tandoori oven, but since I am lacking said oven, a cast iron did the trick.

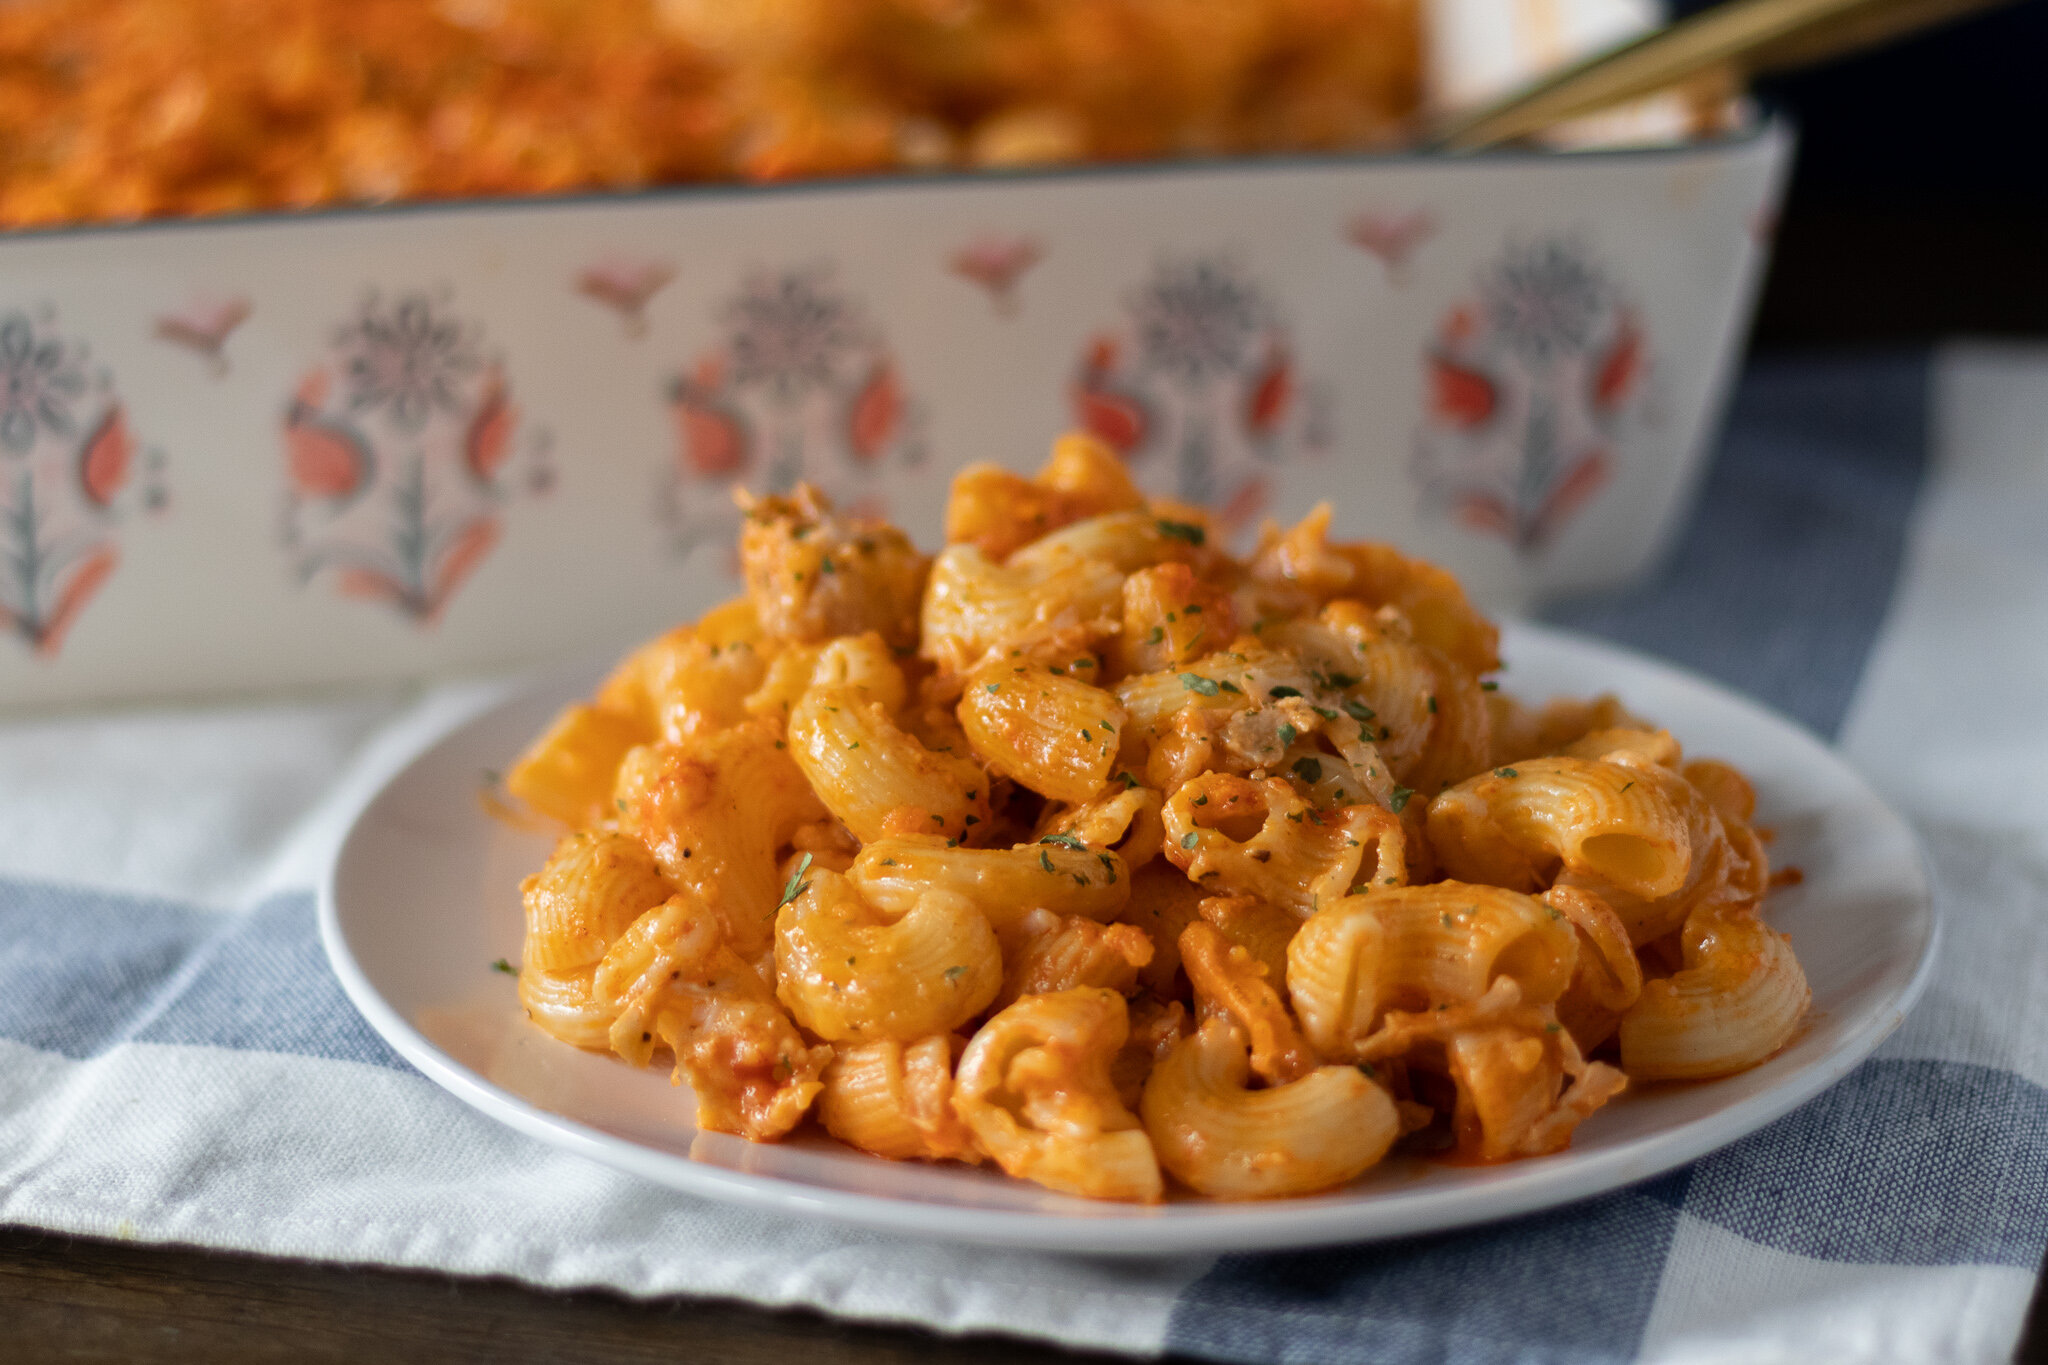
Also, I won’t even consider eating Indian food without a giant pile of vegan naan to go along with it!

Sadly, a lot of times naan is not vegan as it is made with milk , egg or yogurt. At least what I find pre-packaged in the store. So when you are vegan its best just to learn how to make it so you never miss out! Its actually not hard to make. In fact our 14 year old veganized this recipe and made what is in these pictures.

You do have to make a yeast dough but it is an easy yeast dough. You can use a stand mixer or mix and knead by hand. You do have to wait for the dough to proof, which is just how yeast bread works, but you don’t have to wait for it to bake since you fry it up in a pan!

You don’t have to being making Indian cuisine to make vegan naan! Since it is a flat yeast bread, it also makes a really good pizza base. You can fry up a batch of this naan, then use the pieces throughout the week to make quick and easy vegan pizzas! If you have kids you know these are the kind of recipes that are golden.

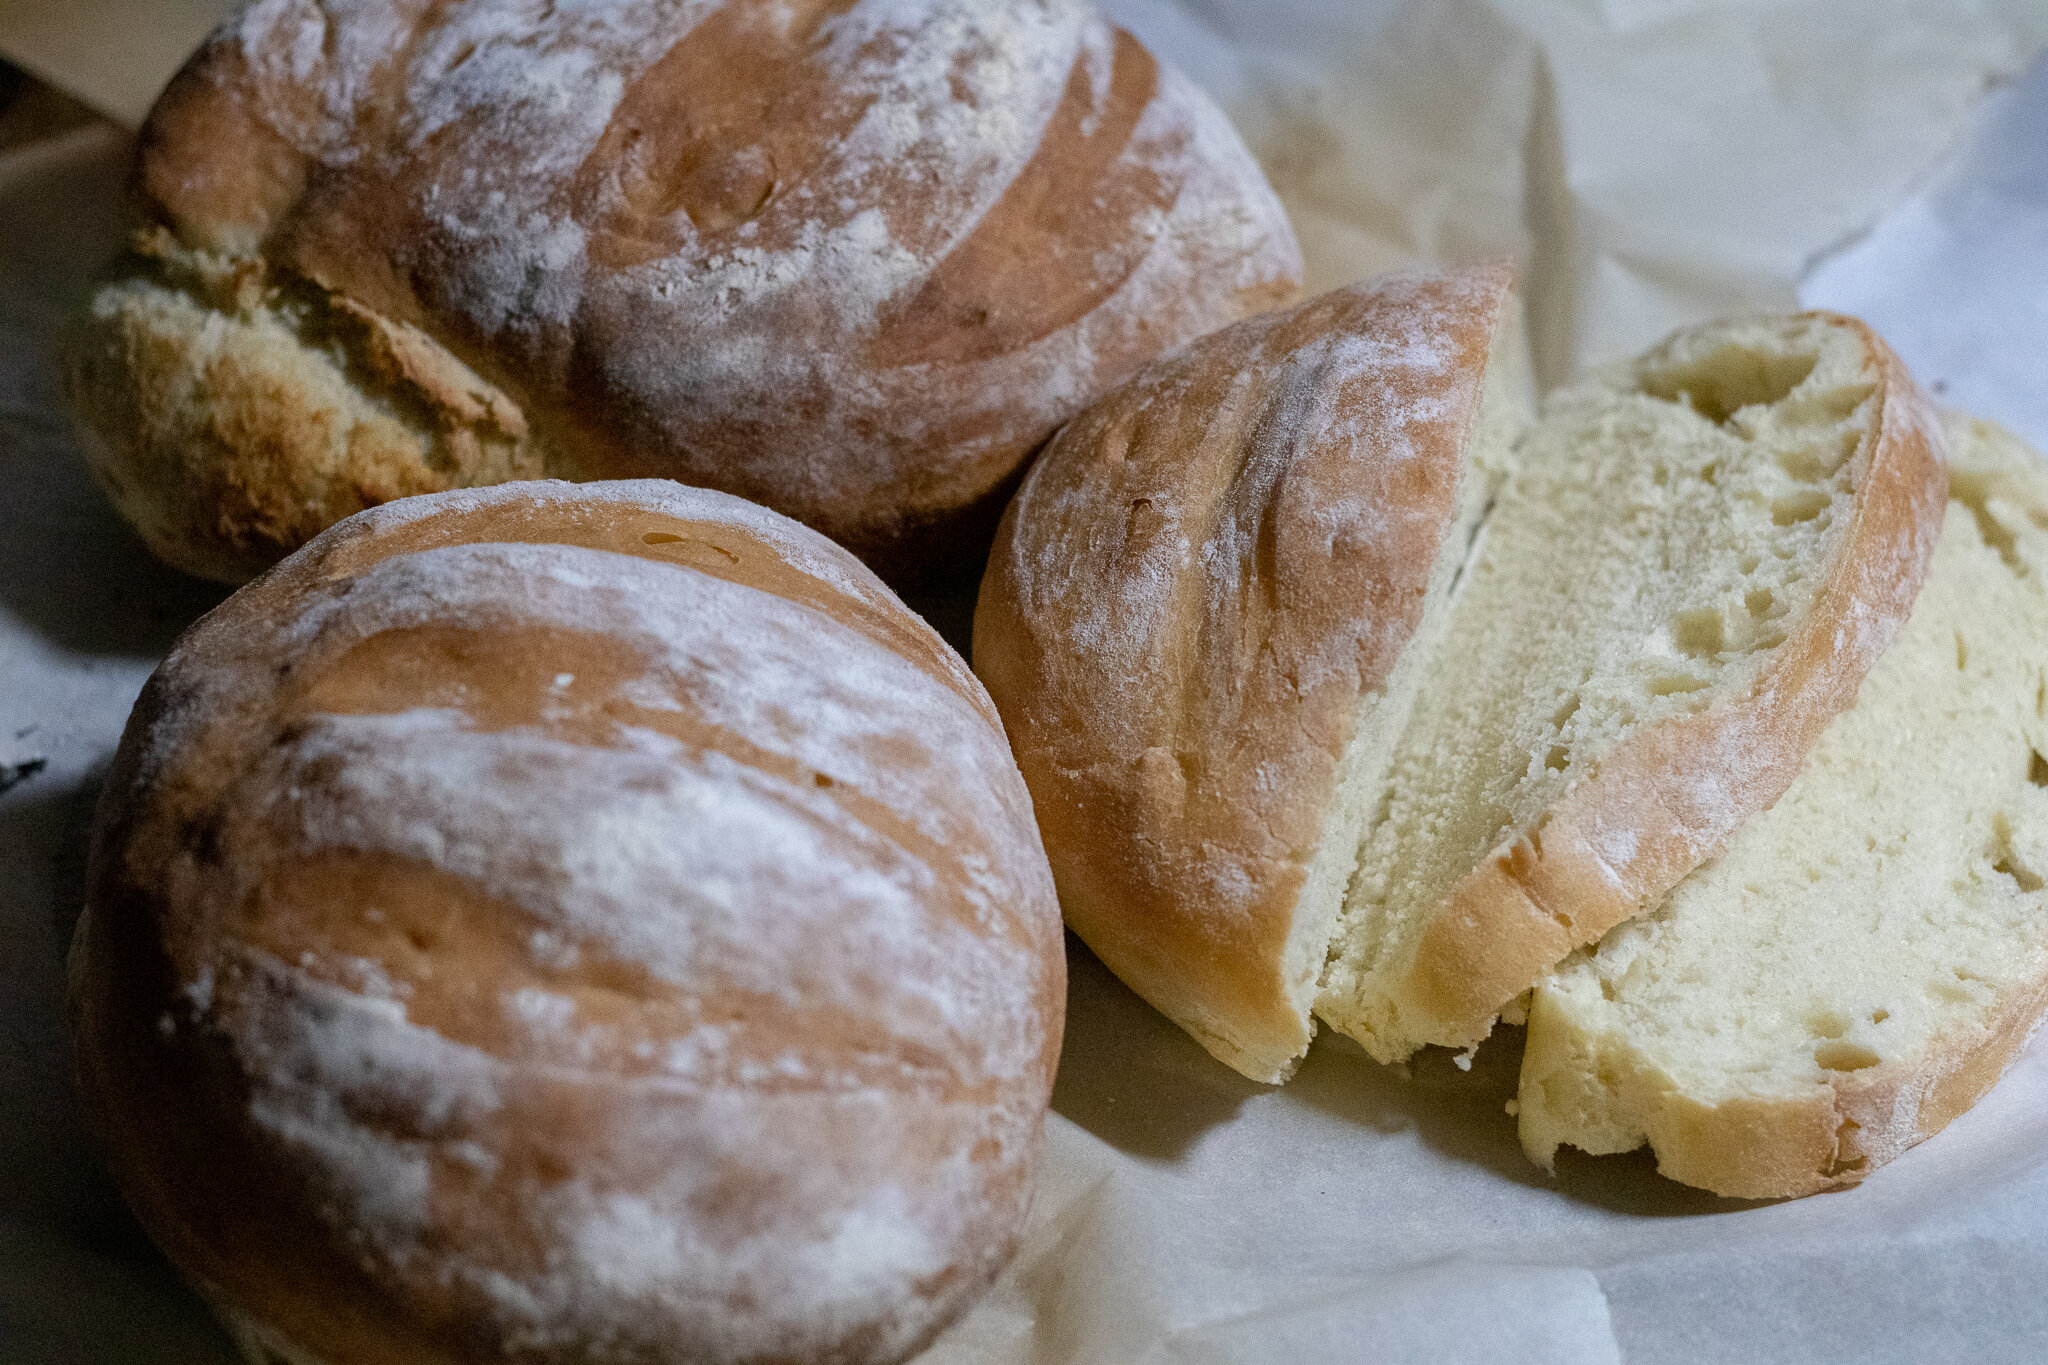
You can also use this vegan naan for sandwiches, eat at it with breakfast, or just eat it on its own because any dedicated carb lover knows, bread can stand alone. It is perfect and needs no help from other food!!

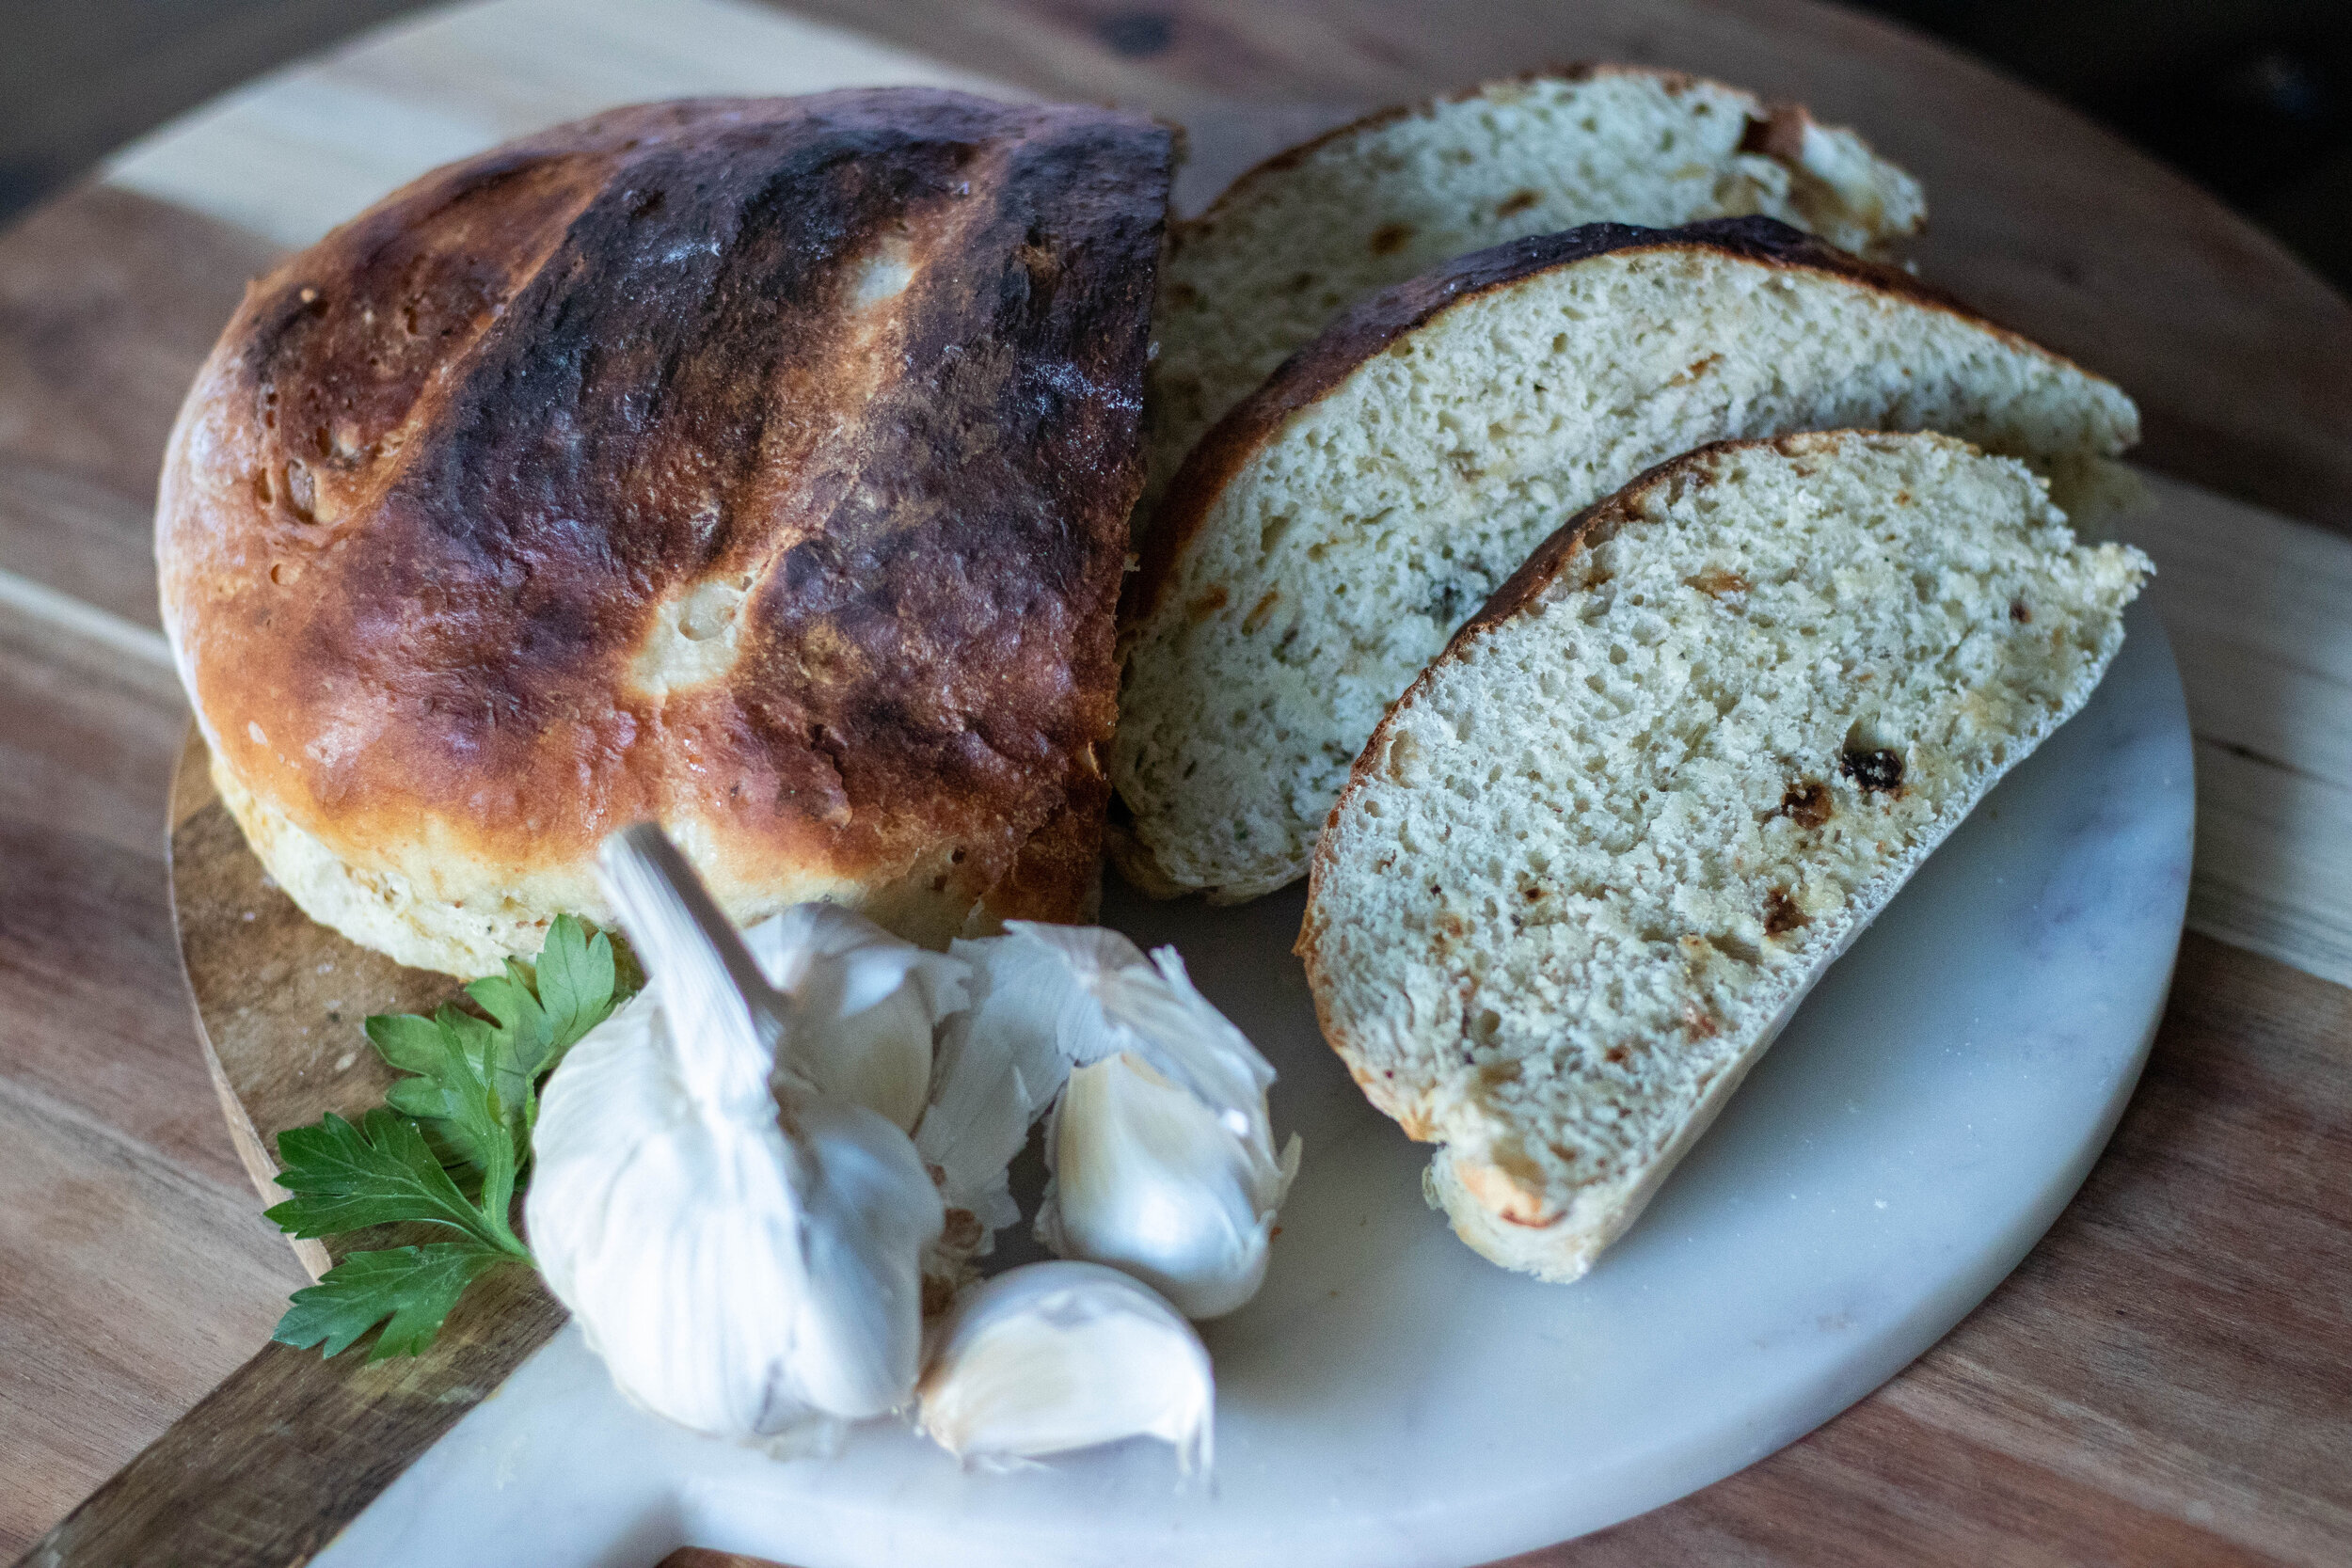
You can make this vegan naan plain or you can brush it with garlic butter or any spices you make like. It’s really versatile and oh my gosh, it’s so good!

So go, make vegan naan, then make it again, and again, and again, because it is so delicious, pretty easy, and the perfect food!

IMG_7311.jpg

INGREDIENTS:

  • 1/4 cup warm water. Around 110 degrees

  • 4 cups all purpose flour

  • 1 tablespoon sugar

  • 2 1/4 teaspoon dry active yeast

  • 3/4 cups room temperature vegan milk. I suggest almond or oat

  • 3/4 cups vegan plain unsweetened yogurt

  • 3 teaspoons salt

  • 1/4- 1/2 cup melted vegan butter

INSTRUCTIONS:

  1. In a medium sized bowl add warm water, yeast and sugar. Let the mixture sit for about 10 minutes or until the top is nice and foamy and frothy. If it does not get very bubbly or frothy, your water could have been too hot and killed the yeast. If that happens, start over.

  2. Whisk the flour and salt together in bowl of your stand mixer or in a large bowl if mixing by hand.

  3. Add the milk and yogurt to the yeast mixture and whisk until combined. Add the mixture to the flour. If using a stand mixer, let mix with the bread hook on medium speed for just a few minutes until the dough has formed and is smooth. If mixing in a bowl, mix all ingredients until combined. Turn the dough onto an clean floured surface and knead by hand for 4 or 5 minus until the dough is smooth.

  4. Place dough in a lightly oiled bowl and cover with a damp kitchen towel or plastic warp. Place the bowl inside a tuned off oven for one hour, or until the dough has doubled in size.

  5. Once dough has doubled, remove from the bowl and place on a clean floured surface. Press the dough out and cut 12 equal sized pieces and roll them into a ball.. You can just eyeball this or use a kitchen scale. I eyeball it.

  6. Roll each ball out into an oval-ish shape that is about 1/4 of inch thick and about 6 inches wide.

  7. Heat a large skillet (I like to use a cast iron) over medium heat. Brush the dough with melted butter and cook on piece of naan at a time until bubbles form in the dough. Flip and cook on the other side until golden brown. It should only have to cook a few minutes on each side. Repeat with remaining dough.

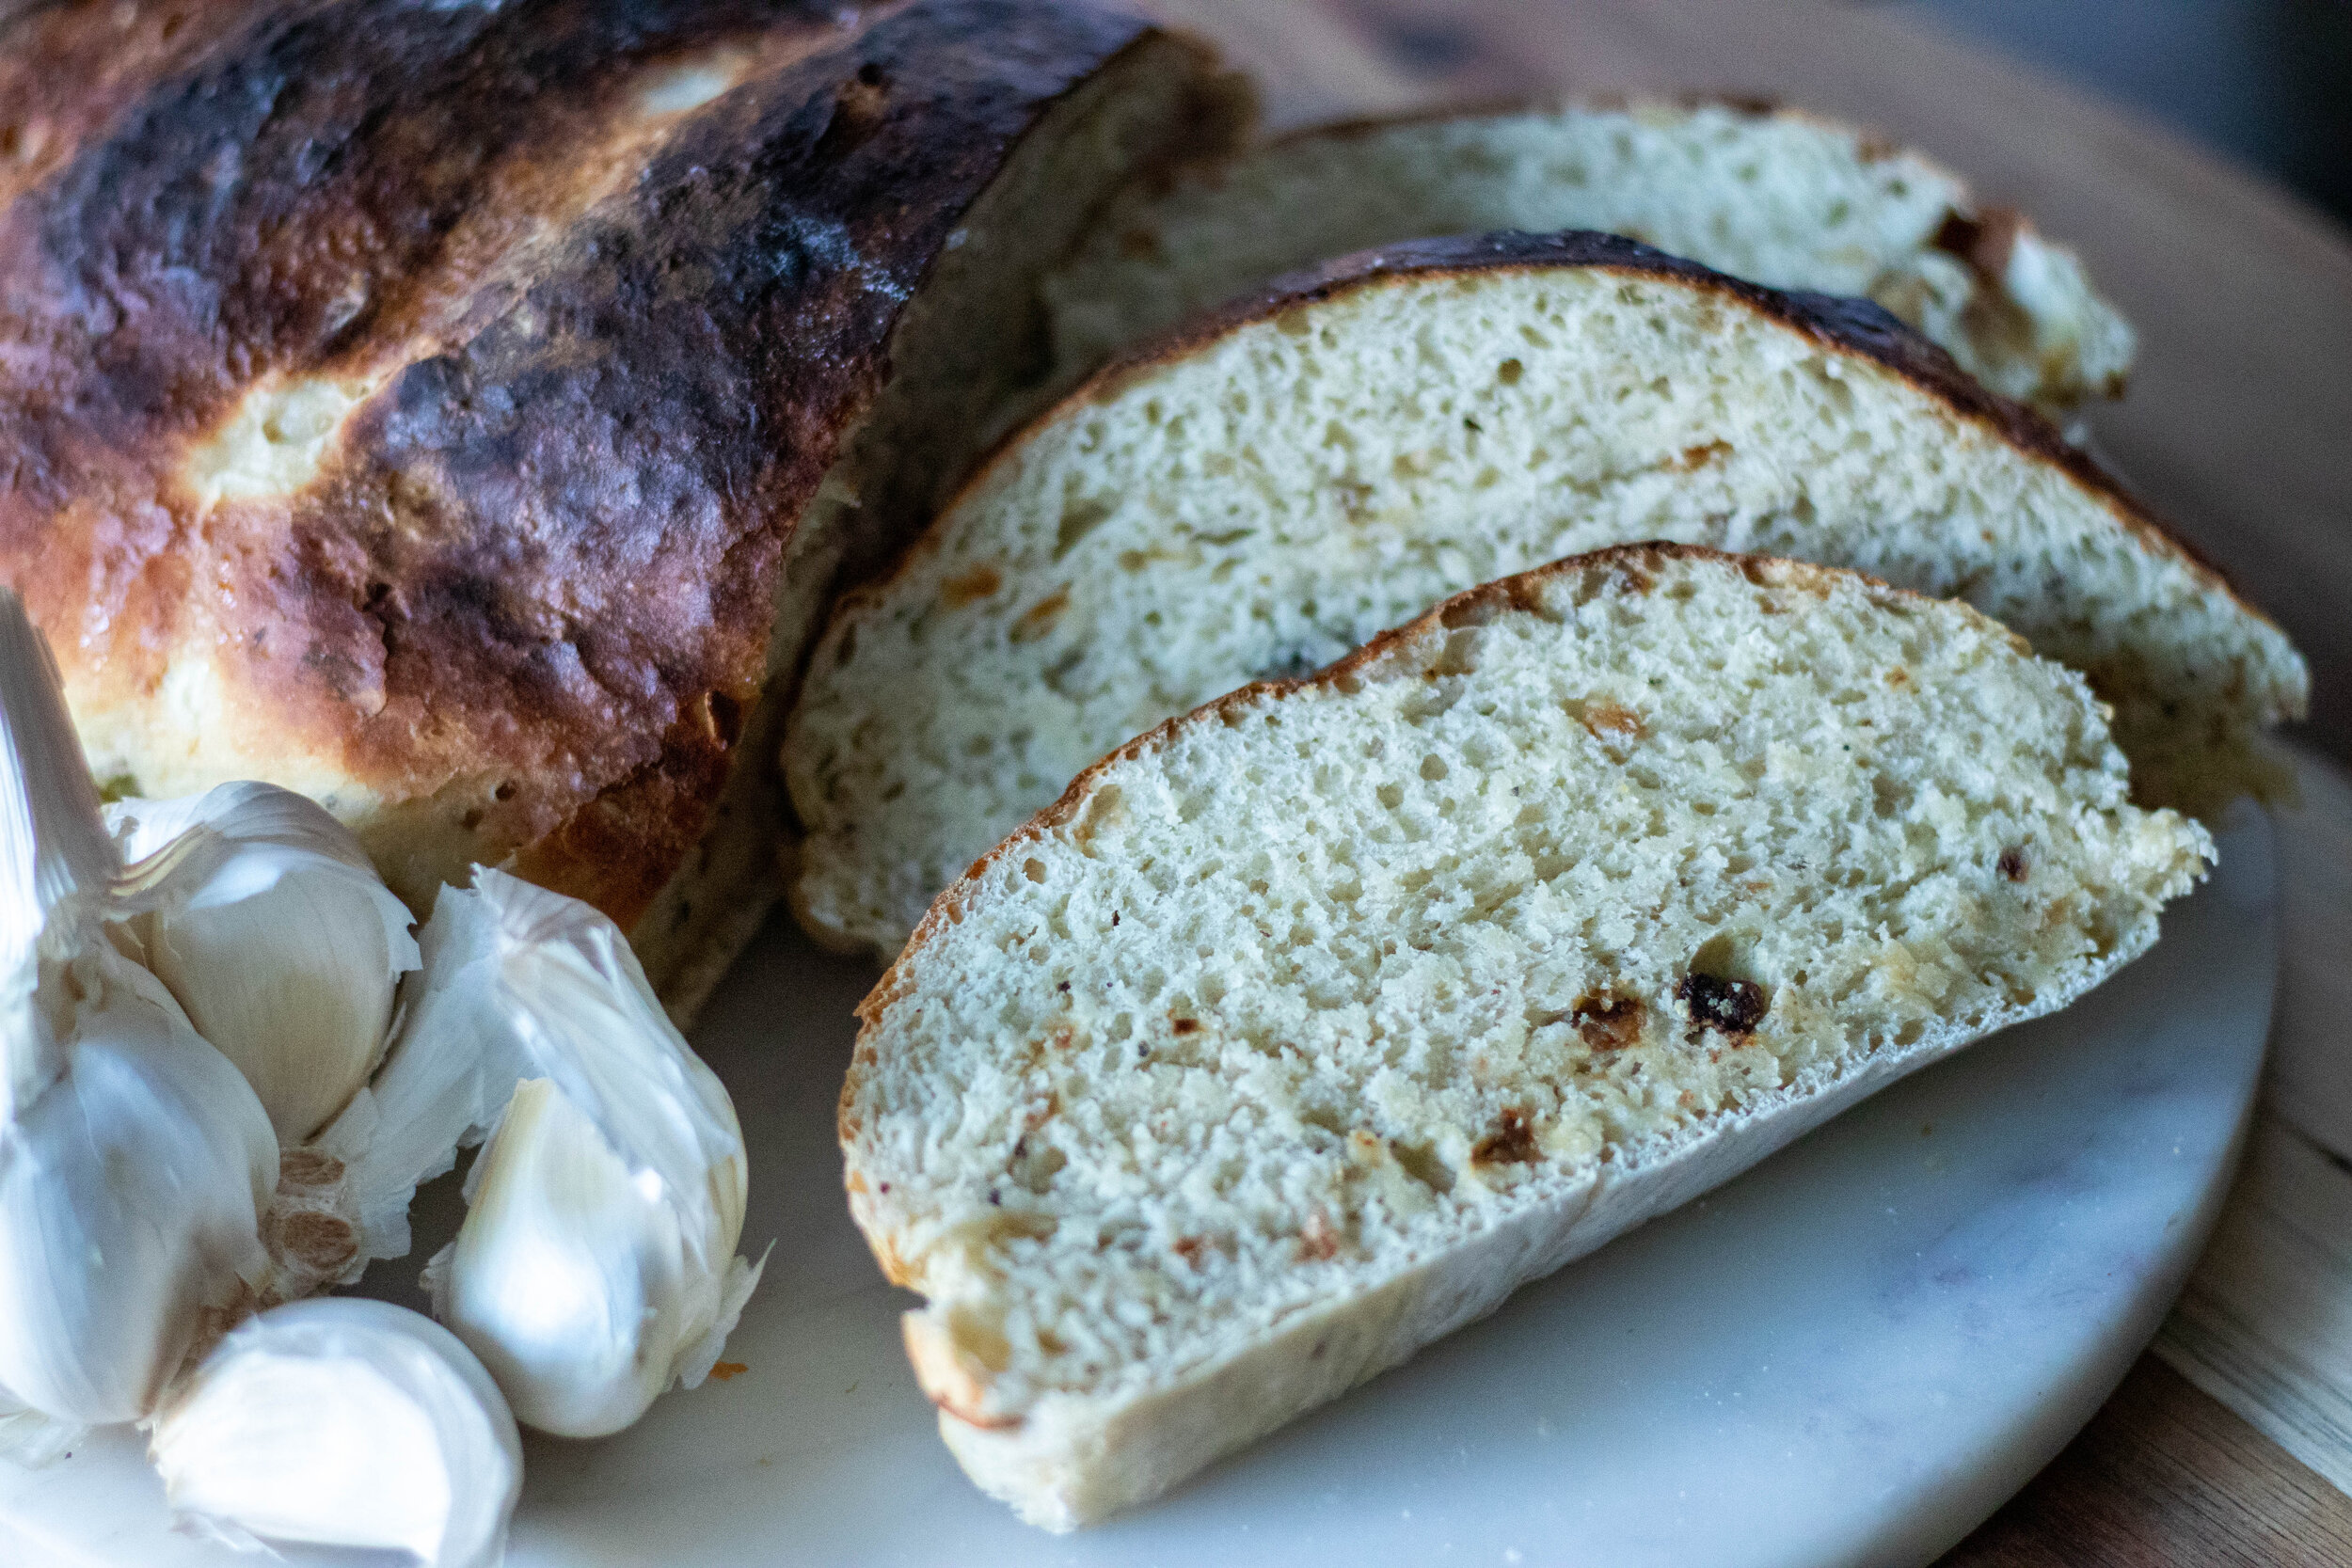
  8. If you would like garlic naan you can add a few teaspoons of minced garlic to 1/4 cup melted butter. Brush finished naan with garlic butter to serve, or serve as is.

If you like this recipe, then try these:

IMG_7316.jpg

Easy Vegan Bread Bowls

Easy Vegan Bread Bowls

Carbs, carbs, glorious, delicious, most perfect food. Oh how I love you!

If I am going to eat soup, I want bread.

If I am going to eat pasta, I want bread.

Don’t even think of showing me a meatball and not also giving me some bread.

I LOVE bread. I LOVE carbs. Plain and simple, and I don’t even feel a little bad about it.

So bread bowls are just about the smartest bread food there ever was. It’s a bowl…..and it’s bread.

It’s bread that is actually made to hold your food. Ummmm, it does not get much better than that.

Listen, don’t be intimidated by bread making. It’s actually super easy and will save you a ton of money! It also makes your house smell really good, so that is an added bonus. This recipe is pretty basic, and pretty close to our artisan bread recipe, just shaped into bowls!

You can make this right in a stand mixer, but if you don’t have one, no worries, you are just gonna get yourself a little workout!! The bonus is you will burn some calories kneading the dough, so don’t have to feel badly about all the carbs you are about to cram in your face.

If you are at loss for what to serve up in these beautiful bowls, head over to our soup category under recipes for tons of ideas, or fill themwith our classic macaroni and cheese , or be a little extra and fill them with Spinach and Artichoke Mac and Cheese. Carbs inside of carbs, with an added bonus of CHEESE!!!

Spaghetti in a bread bowl???? Yes, yes and YES! We like to pile up Beyond Meatballs inside of these beauties and cover them in our all purpose cheese sauce. Like a meatball sub but totally better!!!

So get to bakin, then you can decide with you want to fill these bread bowls with. There are no wrong answers. I think next time I bake some I will use one as a quaso bowl. That way when its all gone, I can just eat the gooey, cheesy, bread.

Carbs for life!

Easy Vegan Bread Bowls

INGREDIENTS:

  • 6 1/2 cups all purpose flour

  • 1 1/2 tablespoons dry active yeast

  • 3 cups hot water

  • 2 tablespoons sugar

  • 2 tablespoons neutral oil

  • 1 tablespoon salt


INSTRUCTIONS

  1. In large bowl add hot water around 110 degrees. I just run my tap water until it is nice and hot, if you get the water too hot it will kill the yeast. Add the yeast and sugar and let sit for about 10 minutes, or until it is frothy and bubbly at top.

  2. If using a stand mixer, attach the bread hook. Add the flour, salt and oil. Once the yeast mixture is ready add it to the bowl. I like to use a large spoon to fold everything together before starting the mixer. It cuts down and flour flying everywhere and making a huge mess. (live and learn.) Turn the mixer on medium speed and allow the dough to mix for about 5 minutes. If it seems too sticky and wet and isn’t forming a dough ball, add some flour a few tablespoons at a time. If it seem too dry and isn’t coming together, a little water a few tablespoons at a time. You want a soft dough but not so sticky you can not handle it.

  3. If you do not have a stand mixer, combine all ingredients in a large bowl as stated above and mix well. Once all of the ingredients are incorporated turn the dough out to a clean floured surface and knead by hand for 5 minutes. Again the dough should be soft but able to handle without it being too sticky.

  4. Once dough has been kneaded, form it into a ball place it in bowl that has been lightly coasted in oil. Cover the bowl wth a kitchen towel or plastic kitchen wrap and place in the oven, turned off, or on the bread proof stetting if you have one. Allow the dough to double in size. The amount of time will vary depending on weather and temperature but should take between 30 to 45 minutes.

  5. Once the dough has doubled in size, turn it out onto a clean, floured surface. Divide the dough evenly into 6-8 pieces, depending on how big you want your bowls. Form each each piece into a round ball shape. Place the dough balls on a parchment lined baking sheet at least three inches apart. I like to use 2 baking sheets just to avoid over crowding and to prevent the bread bowls from sticking together as they bake. Pop the baking sheets back in the oven for about 20 minutes. After 20 minutes remove from oven.

  6. Preheat oven to 500 degrees.

  7. You can mix a few teaspoons of maple syrup with 1/4 of water and brush the tops of the bread bowls before baking to help them brown. I like to sprinkle mine with coarse sea salt. You can also sprinkle them with sesame seeds, or even everything bagel seasoning. You can also leave them plain.

  8. Place the baking sheets into the oven and reduce heat to 425 degrees. Bake the bread bowls for 10-15 minutes or until the tops are browning and the bread bowls sound hollow when you tap them.

  9. Remove from oven and allow to cool completely before storing in an airtight container until use.

To use the bowls, cut the tops with a sharp knife and hollow out the inside. Fill with soup, stew, spaghetti, meatballs, Mac and cheese, or whatever you like.


Easy Vegan Bread Bowls

If you like this recipe, then try these:

Vegan Beyond Meatball Filled Bread Bowls

Vegan Beyond Meatball Filled Bread Bowls

Roasted Garlic and Herb Artisan Bread

Roasted Garlic and Herb Artisan Bread

I love the smell of fresh bread baking, so tend to bake bread often. This bread in particular is so simple and yields 2 nice big loaves. I like to bake some up on the weekend and have fresh bread throughout the week. You can also easily freeze the loaves you don’t use for later.

We decided to add herbs and fresh roasted garlic cloves to the dough for a perfectly savory, flavorful, quick and easy artisan bread. If you are new to bread baking, this recipes is so simple, so don’t be afraid to give it at try. Once you start baking your own bread, there is no turning back!

You can either peel your own garlic (warming it’s a lot) or look for a bag of pre-peeled fresh garlic cloves in the produce section of you local grocery store. I can always find the 6oz bags and just to make it simple, I roast and add the whole bag. Roasting the garlic gives it a sweet flavor that is perfect for this bread.

For the herb blend we used Herbs de Provenc , which is just a blend of herbs including lavender, and I am a huge fan. if you don’t have any on hand, feel free to use whatever combo of herbs you like that will compliment the garlic. Thyme, rosemary, parsley, oregano, sage, fennel, whatever you are feeling! Or you can just use the garlic and noting else if you prefer. I promise it will still be delicious!

Don’t let bread baking intimidate you. Its actually very easy and this bread is one of the easiest! Nothing beats the taste and smell of fresh baked bread. Its far less expensive to bake your own as well so really you can’t lose.


Ingredients:

  • 7 cups all purpose flour, plus extra for dusting

  • 2 packets dry active yeast (or 5 teaspoons)

  • 3 cups of warm water , around 100 degrees Fahrenheit

  • 1 tablespoon salt

  • 2 teaspoons Herbs de Provence

  • 6 oz of peeled garlic cloves ( I buy a 6oz bag or already peeled cloves in my produce section)


Instructions:

  1. Heat oven to 400 degrees. Place the peeled garlic cloves onto a baking sheet and pop them in the oven on the top rack for 15-20 minutes or until the garlic begins to brown and becomes fragrant. Allow to cool while you prepare the dough.

  2. In the bowl of your stand mixer, or if mixing by hand, in a large mixing bowl, combine yeast, warm water, salt and flour, herbs, and garlic cloves. There is no need to allow the yeast to proof. If using a stand mixer, attach the dough hook and mix the dough for a few minutes. You do not have to allow it to knead for long. It will be a little stickier that other bread doughs you may have made. You may have to sprinkle the dough with a little extra flour to pull it out of the bowl. If mixing by hand, stir with a wooden spoon or your hands until the ingredients are well combined, then turn the dough out onto a clean, floured surface. Knead dough by hand for a few minutes.

  3. Form the dough into a ball (again you may need a little flour on you hands to do this) and place it in a large, lightly greased bowl. Cover with plastic wrap and place in a warm place to allow the dough to rise, and double in size. This should take about one hour. I typically place mine inside of my oven (tuned off or set to a bread proof setting if you have one)

  4. Once the dough has doubled in size, divided it into two equal pieces. The dough will be sticky so you will need to dust it, and your hands in extra flour to be able to handle it. Holdng a portion of dough in your hands, form a ball while rotating the dough, pulling and tucking the dough to the underside of the ball to stretch the dough on top. The top should be smooth and even, while the underside will not be so pretty. It does not have to be perfect, you are just trying to make a nice smooth oval shape out of the dough. Dust more flour on the top, and using a sharp knife make three slashes across the top of the dough. The flour will make it easier to cut through the sticky dough. Place the finished dough on a piece of parchment paper on top of a cutting board. Repeat with the other 2nd portion of dough.

  5. Preheat your oven to 450 degrees with one rack in the center of the oven, and one rack at the bottom. Place a few baking sheets, or baking stones in the oven as it heats. You need to be able to fit the three loaves on whatever pans you choose, so keep that in mind. On the bottom rack place a shallow baking pan or jelly roll pan. It just needs to be deep enough to hold 1 cup of water.

  6. Once the oven is done heating, carefuly slide the dough and parchment paper off of the cutting board, onto the heated pans. Then carefully add 1 cup of water to the pan you placed on the bottom rack of the oven. Quickly close the oven. The steam from the water will help crisp the bread.

  7. Let the bread bake for about 30 minutes. Once it is browning on top, and sounds hollow when you tap the top, it’s done.

  8. Allow the loaves to cool. You can freeze the bread in a large freezer bags if not using right away.

IIf you like this recipe, try these:

 
Roasted Garlic and Herb Artisan Bread Sliced