

I am pretty sure in my lifetime I have eaten more heart shaped boxes of chocolates than I care to share with you.
I LOVE cream filled, caramel filled, nugget filled, nut filled, jelly filled, chocolates. Seriously, my husband will attest to this fact, and he will also tell you I am the kind of person who will take one bite out of each one, like a jerk, so that they are from the point on property of ME, and so no one else will want them (I’m not proud of this, but it is what it is.) You know what I am talking about. You take a little bite out of one and realize its not your fave and move on, but once all the good ones are gone you will go back to those less tasty chocolates, out of desperation.
But, what if you made your own chocolates full of your most favorite flavors, AND they were vegan! Well my friends it’s actually really simple! You just need a candy mold, some vegan chocolate, and a few things for the fillings.
I wish I could take full credit for these sweet little master pieces, but it is actually our 13 year old, genius of a baker daughter ,Peyton, who brought us to this magical place of homemade chocolates! I will however take full credit for eating more of these candies than anyone else in our house.
So this Valentine’s Day (or any ol random day) whip up a batch of these for someone you love, like, simply tolerate, or even for yourself.
And if you don’t want to make them yourself, get one of your kids to do it while you watch reruns of the Office with your feet up, sipping on some coffee (I’m just daydreaming at this point) xoxo
Ingredients:
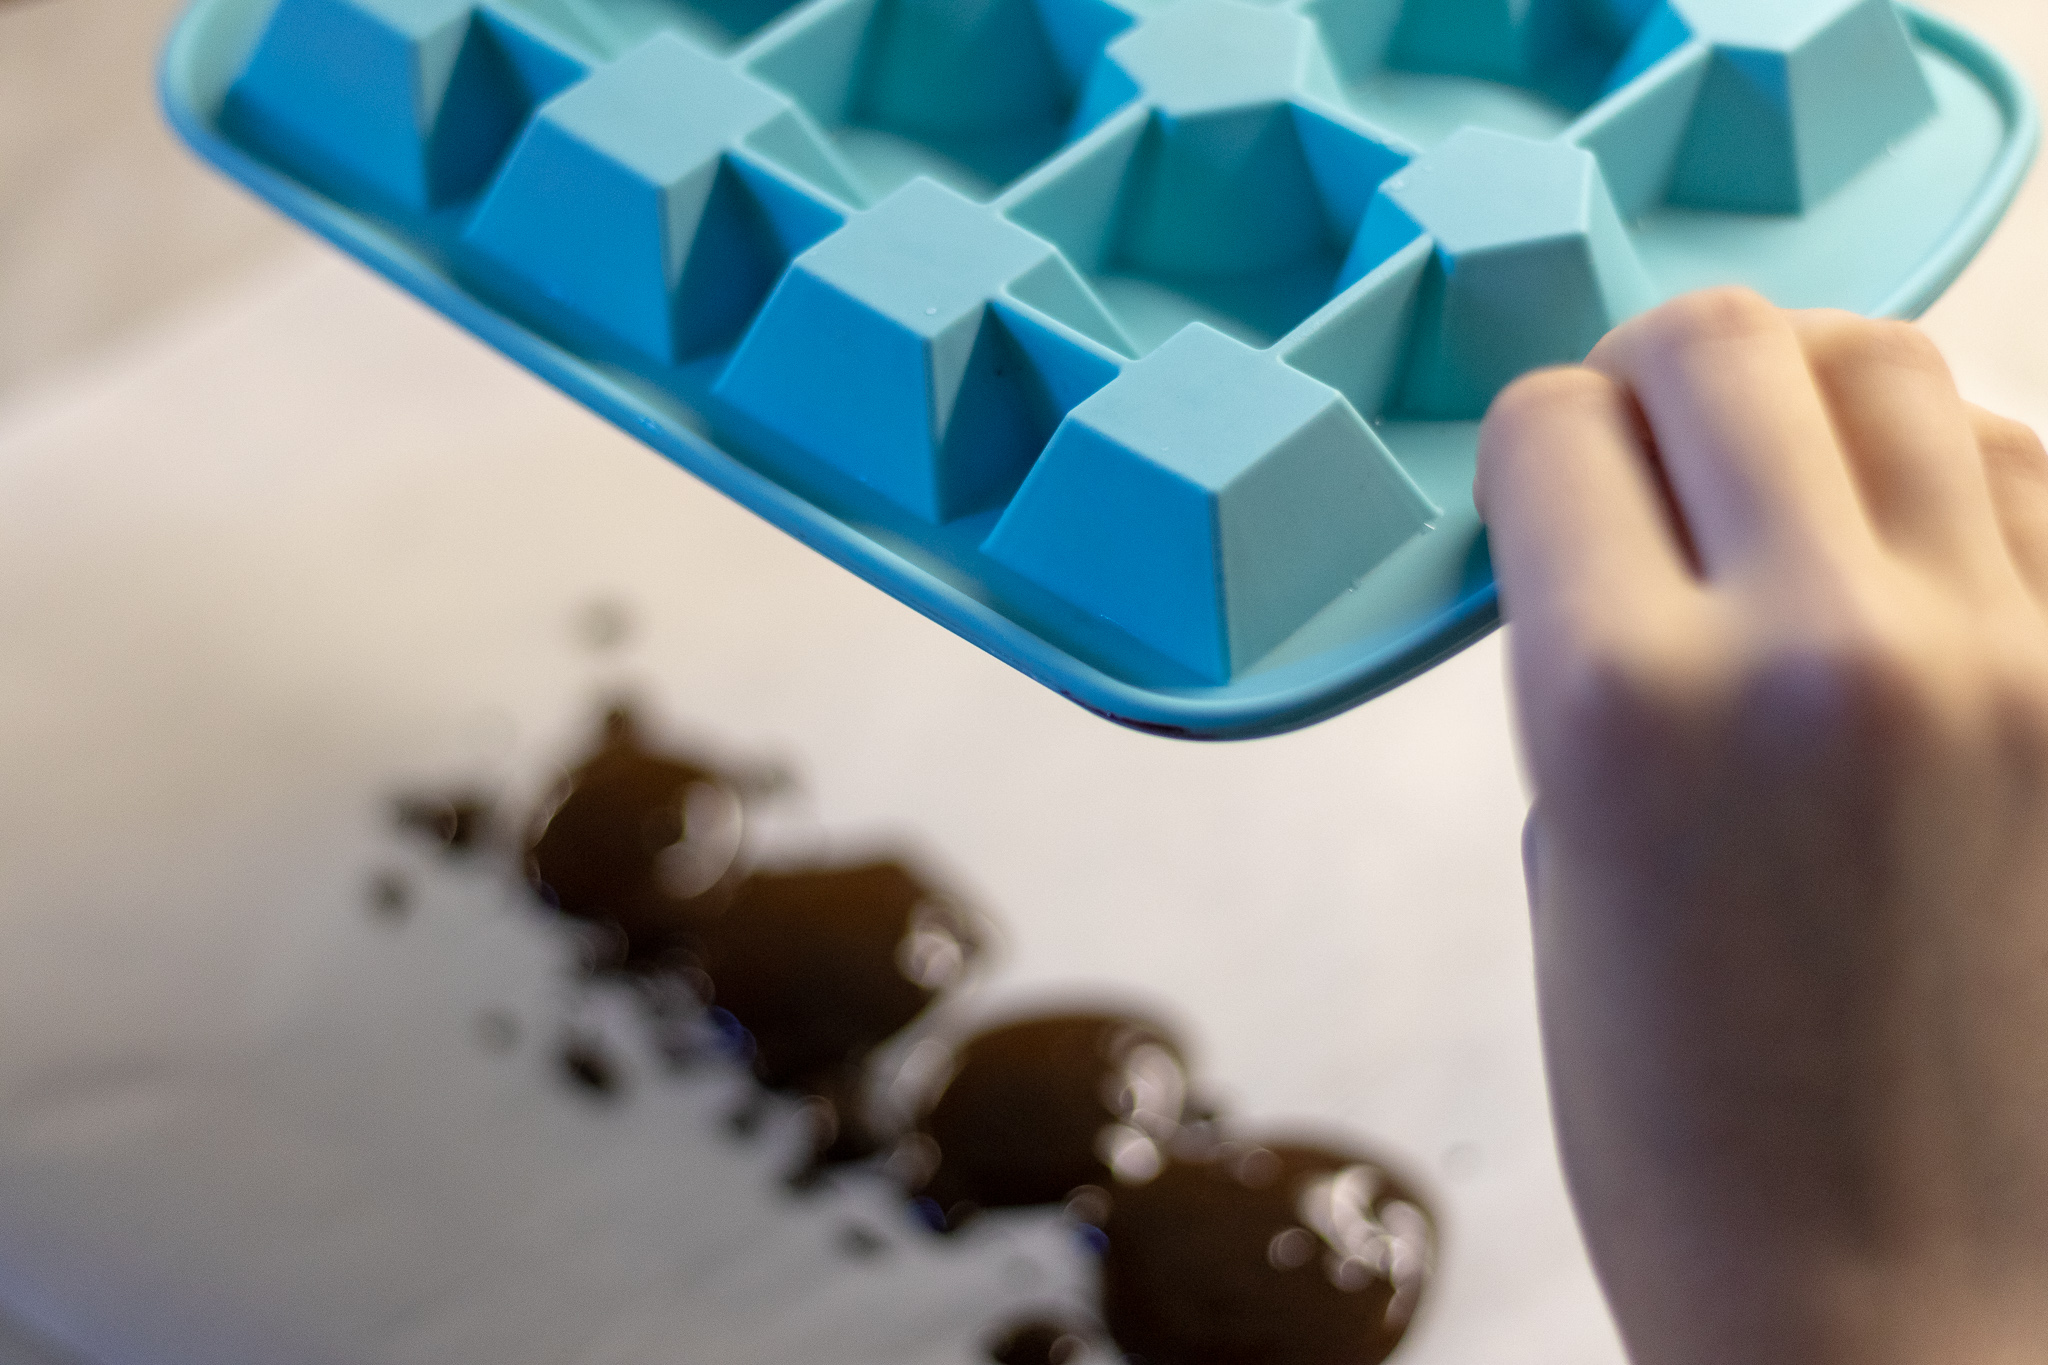
You will need candy molds for this recipe. You can use any candy molds you like, but we have found the hard molded plastic molds work better than the silicon. The silicon molds tend to cause the candies to crack when you attempt to remove them from the mold.
1 cup chopped dark vegan chocolate or vegan chocolate chips
1 teaspoon coconut oil
Strawberry cream filling:
1 1/2 cups powdered sugar
1 large strawberry, mashed up
2 tablespoons softened vegan butter
2 tablespoons light corn syrup
Maple cream filling:
1 3/4 cups powdered sugar
2 tablespoons maple syrup
2 tablespoons softened vegan butter
2 tablespoons light corn syrup
Carmel filling:
2/3 cups white sugar
3 tablespoons water
1 tablespoon corn syrup
7 tablespoons oat milk or canned coconut milk (these milks are thick and work well for caramel)
1 tablespoon of vegan butter
pinch of salt


Instructions:
Start buy getting set up: You will need a nice big piece of parchment paper or a silicone mat. Line up your candy molds next to the parchment paper or mat.
Place the chocolate and coconut oil in a microwave safe dish. Microwave chocolate for 30 seconds at time, stirring each time, until all of the chocolate has melted.
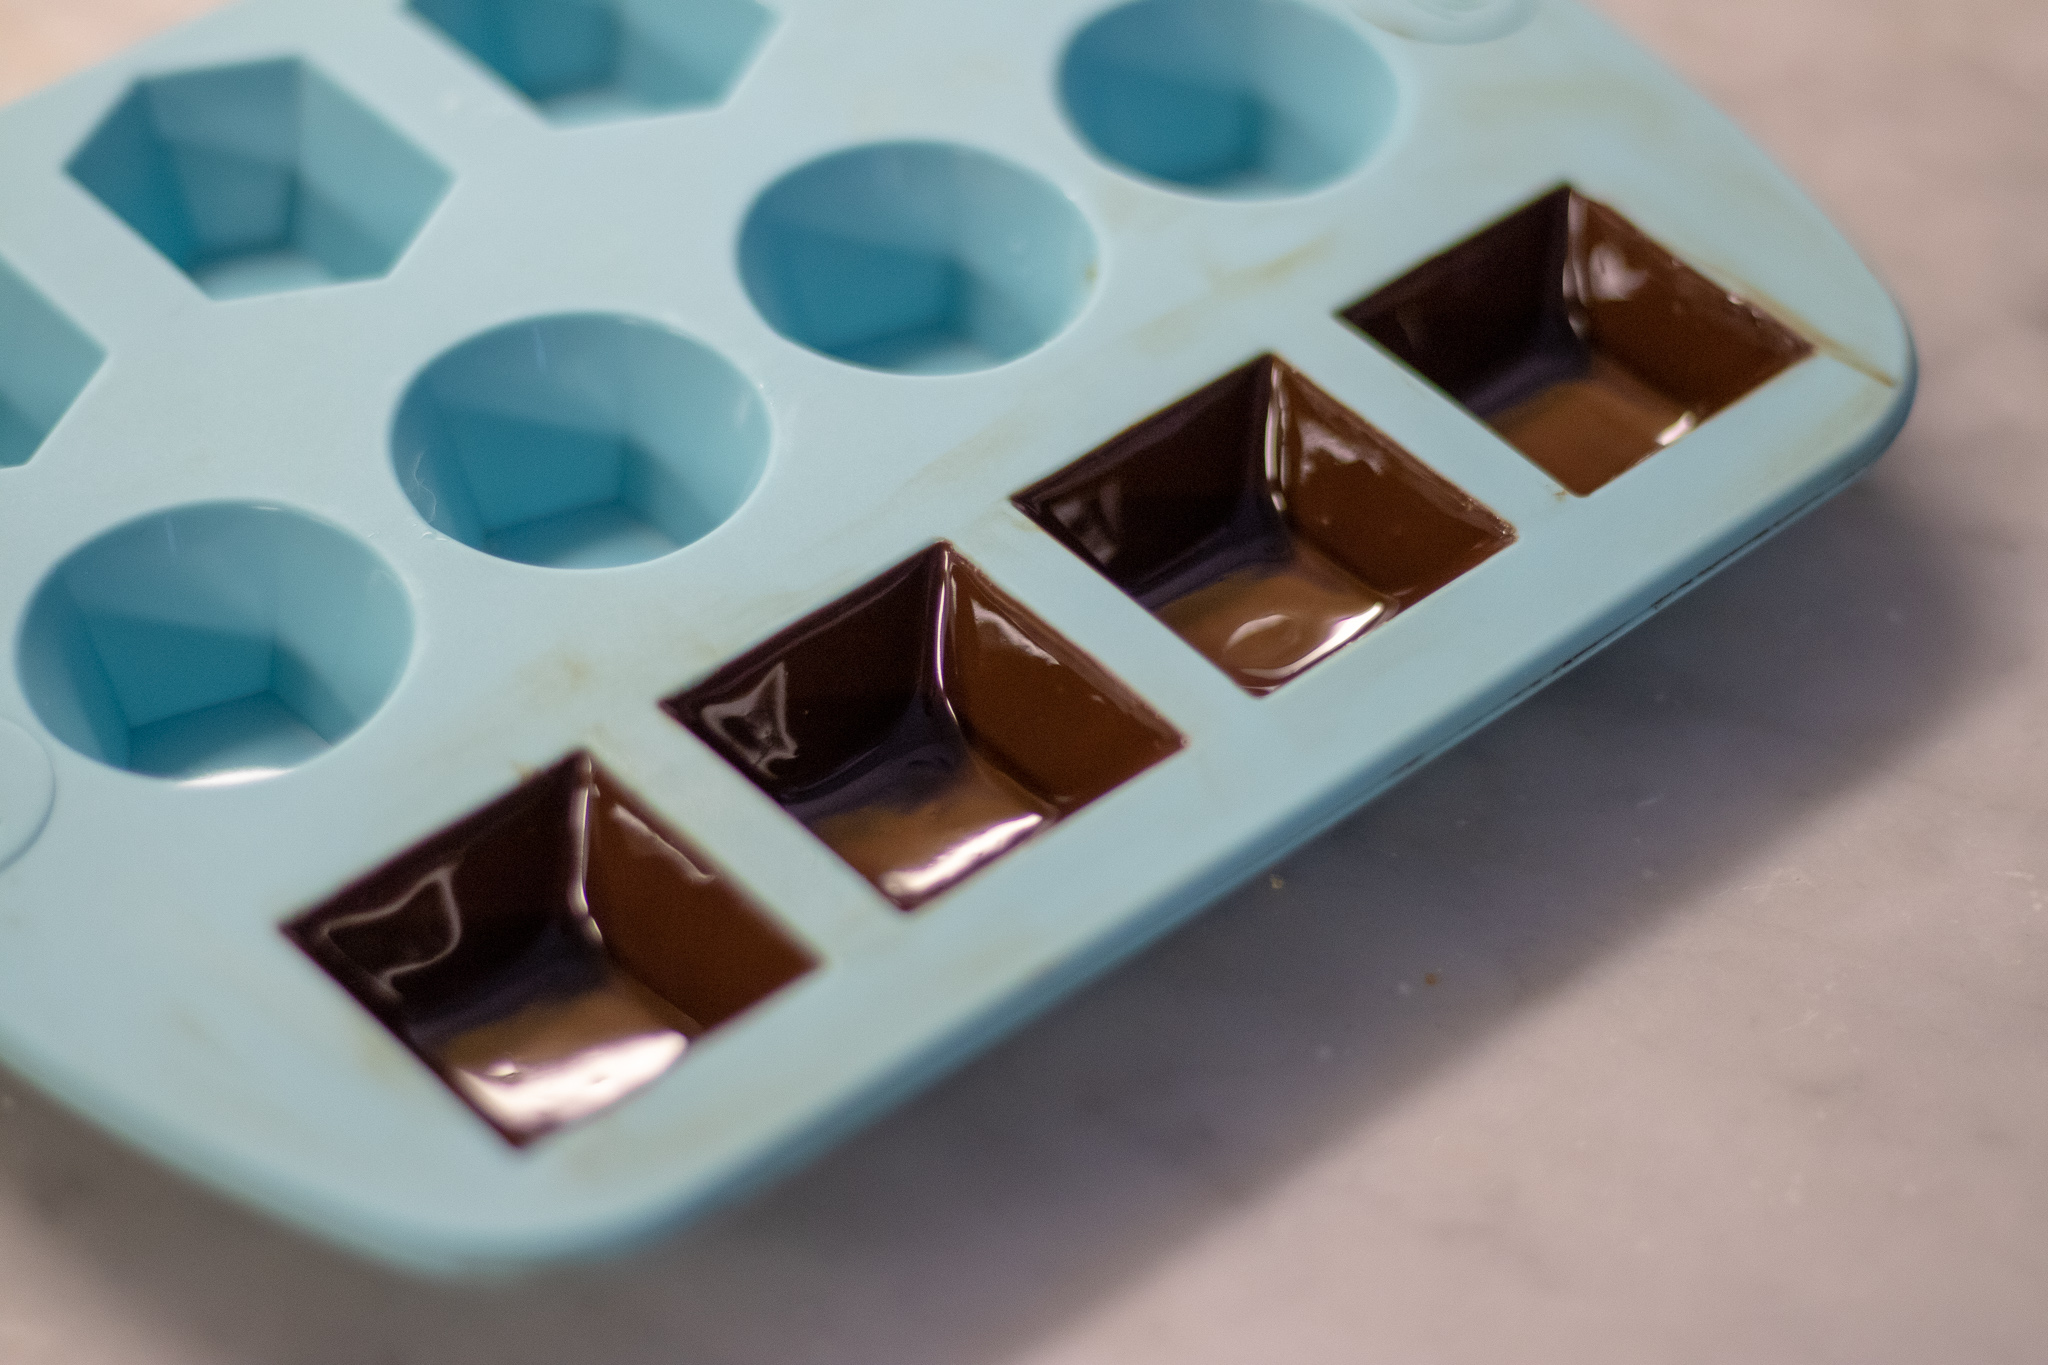
Coating the molds: Pour a small amount of melted chocolate into each mold and spread the chocolate up the sides. Tap the molds on the counter to remove any air bubbles, then turn the molds upside down onto the parchment paper so the extra chocolate drips out (see pictures above.) Pop the molds in the fridge for 10 - 15 minutes or until the chocolate has set. Prepare filings while molds set.
For the strawberry and maple filling: Mix all of the ingredients for either filing in a bowl until nice and smooth, and there are not more powdered sugar lumps. If making strawberry, first mash the fresh strawberry with a fork in the bowl before adding the other ingredients.
For the caramel filling: In a small sauce pan add white sugar, corn syrup, water, and stir. Place pan on the stove top on medium heat. DO NOT STIR THE MIXTURE ONCE IT IS ON THE STOVE. Allow the mixture to simmer until golden brown. Once the mixture has reached golden brown, remove from the heat and carefully stir in the butter and milk. The mixture tends to bubble up a lot once you add the butter and milk, so be careful not to burn yourself. Once everything is well combined, pour caramel into a bowl and allow to cool.
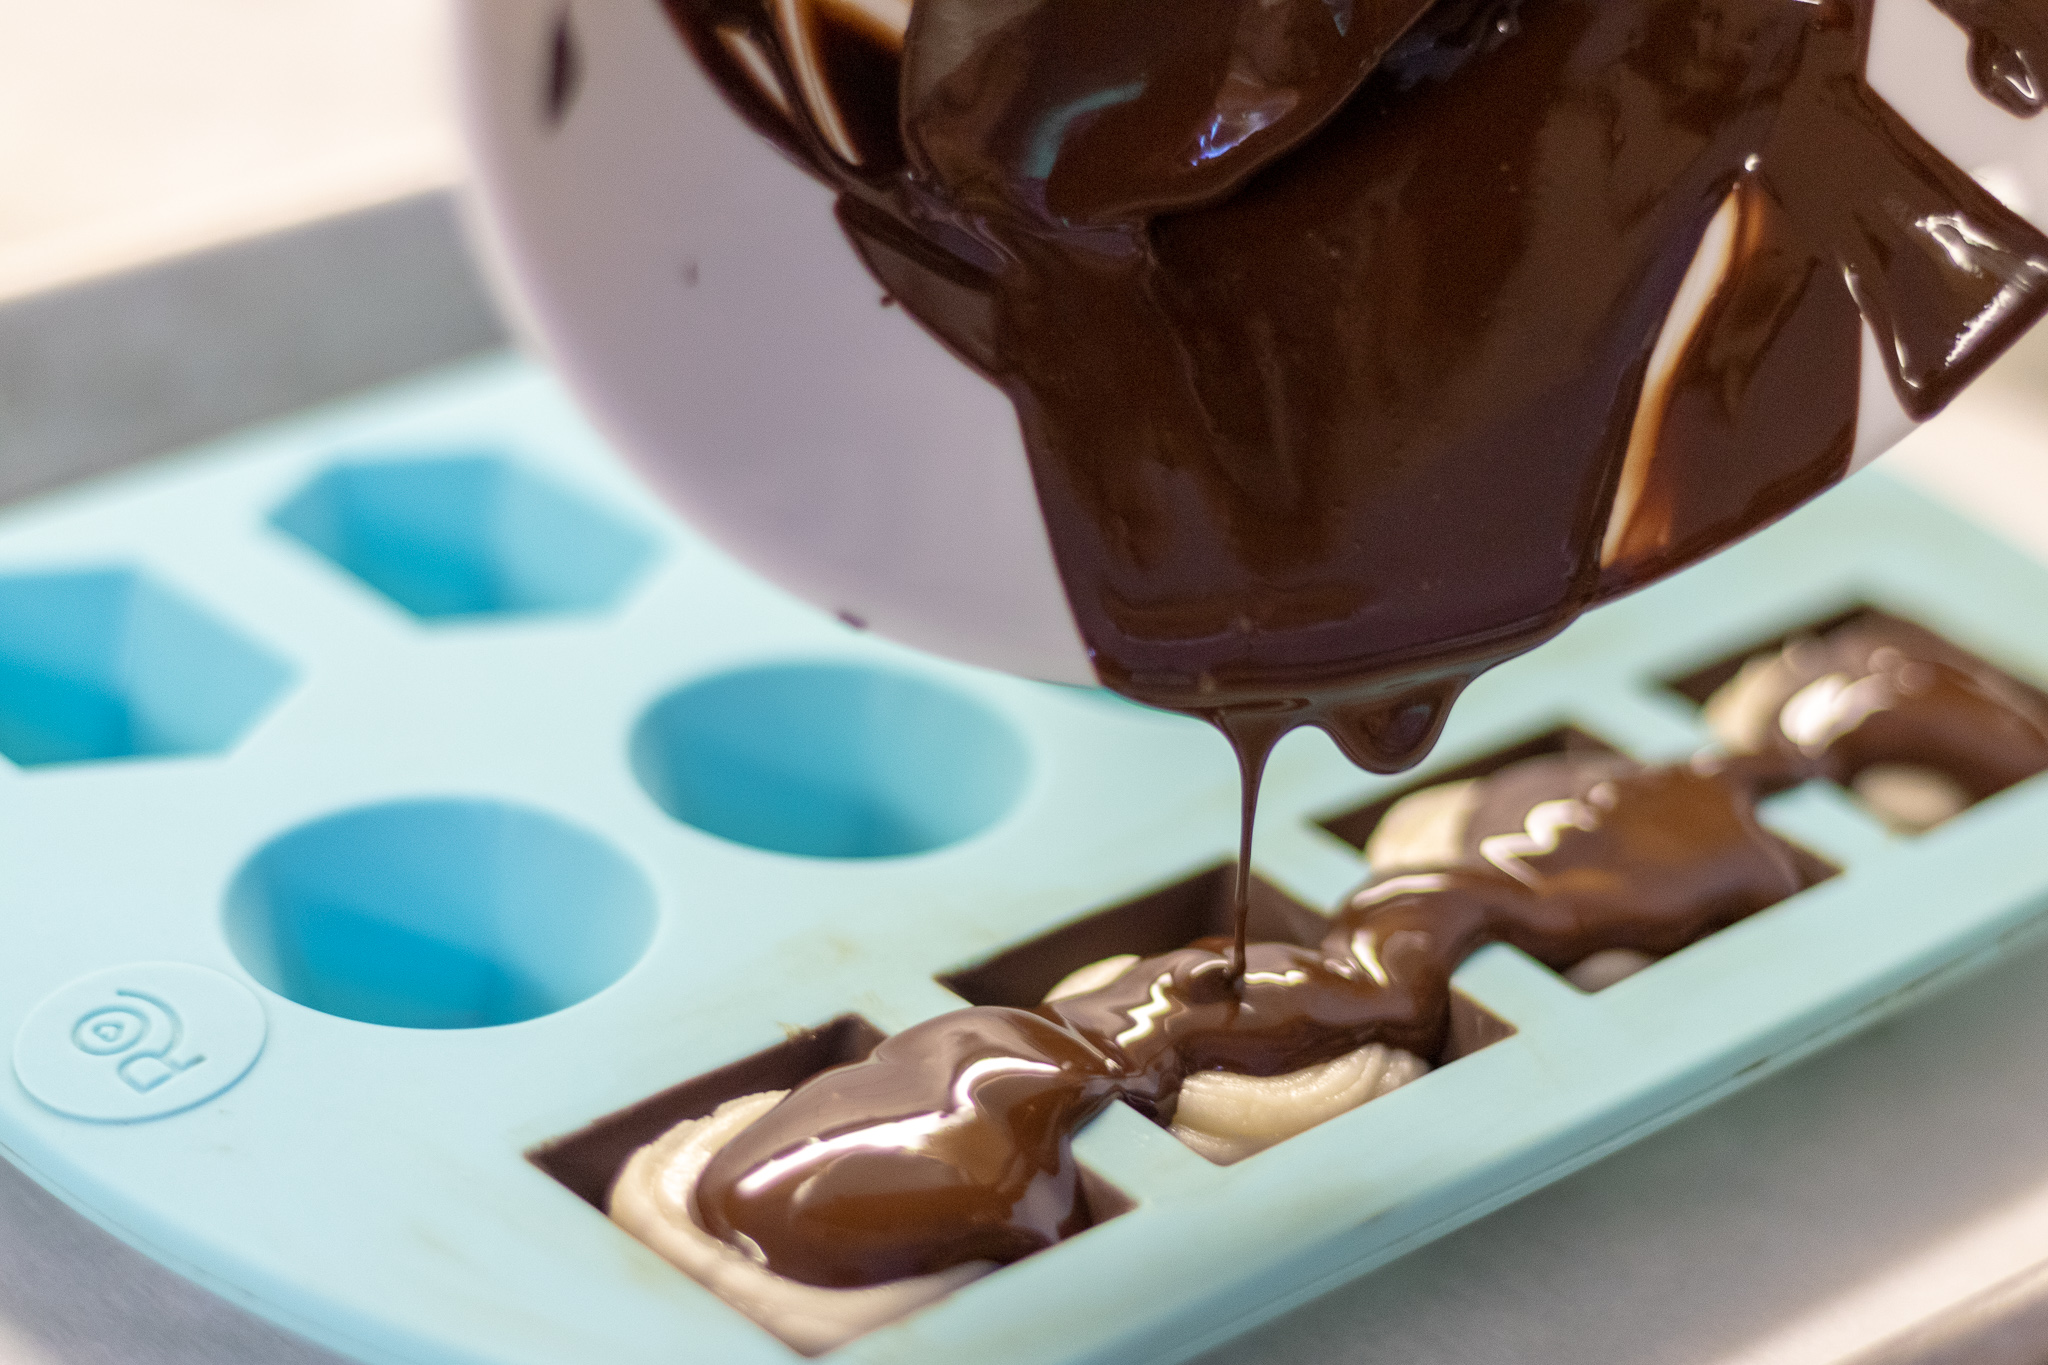
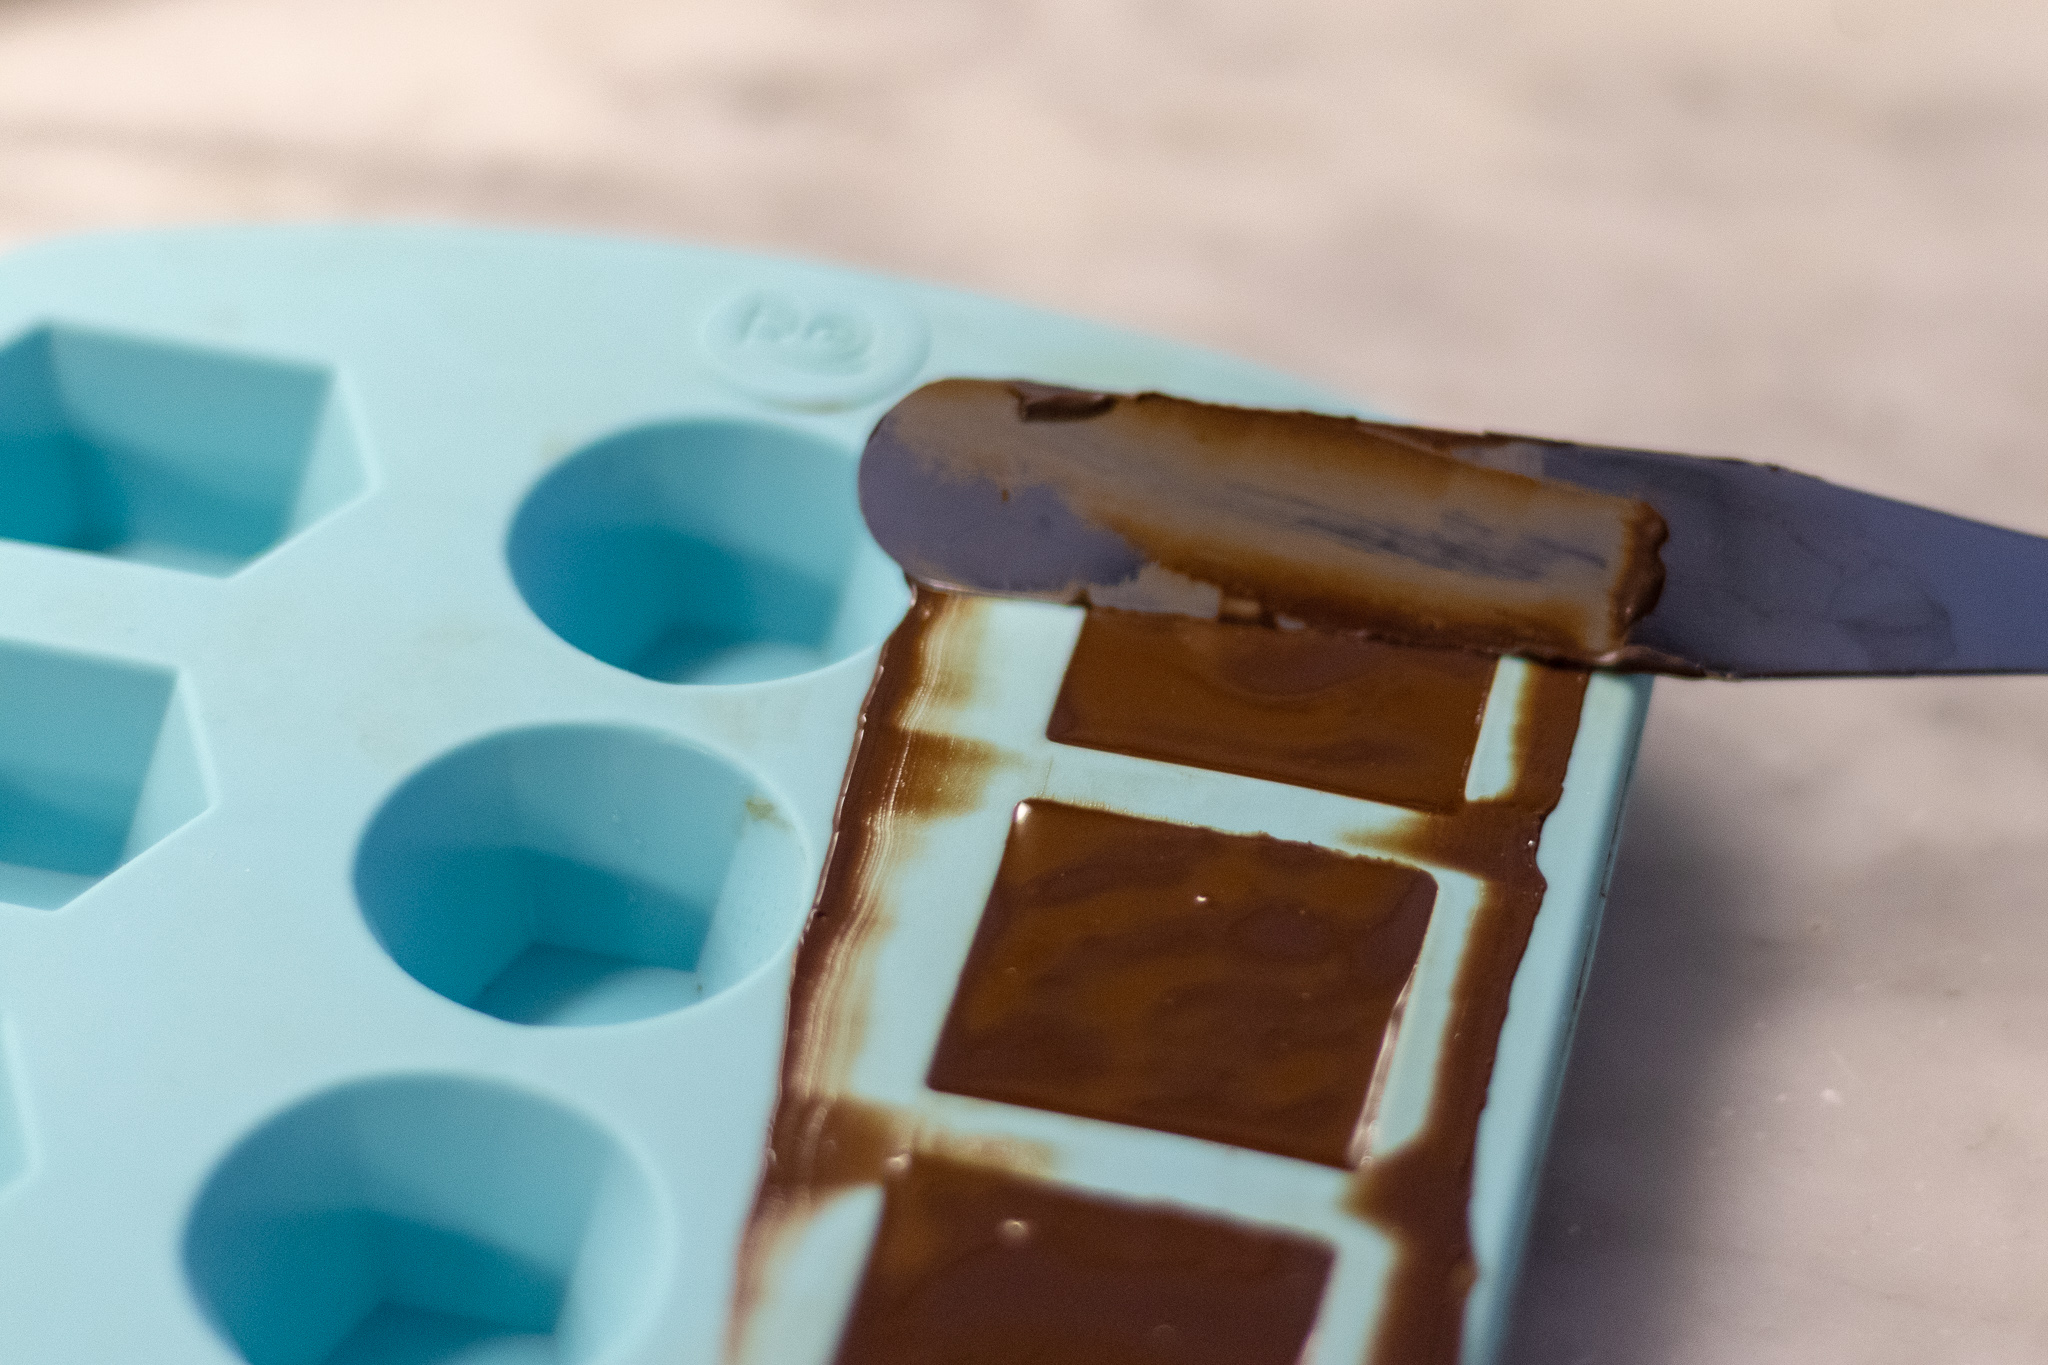
To fill the molds: Pipe or scoop filling into the centers of the chocolate coated molds, leaving enough room around the sides and the top to cover the candies in chocolate. Reheat the chocolate until it has melted. Pour melted chocolate over the filling all the way to the tops of the molds. Once all of the molds are covered in chocolate, run a cake scraper, or butter knife across the top of the candy tray to remove the excess chocolate. Pop chocolates back in the fridge until the chocolate is hard and set. Turn over your mold and tap to remove the chocolate (if using the hard mold) or if using a silicon mold, gently peel the mold away from the candies and remove.
Store leftover chocolates in the fridge. (They get a bit melty if they sit out too long and its warm inside your house, so I always just keep them in the fridge)
This recipe will fill 2 - 3 molds depending on the size of the mold. There is normally leftover filling which we refrigerate for a later batch. The cream fillings will keep in the fridge for several weeks. You may need to melt more chocolate depending on how many candies you are making, as well.


