Hanukkah

The Old Fashioned Gelt Digger

old fashioned gelt digger 1

I love the holidays, and from time to time I enjoy a nice cocktail!

My all time favorite cocktail is an old fashioned.

Bourbon is my drink of choice, and an old fashioned is my favorite way to partake.

Recently I learned that chocolate whisky is a thing! And I got really, really, really excited….oh the possibilities!

I had to track some down in our town but found some Ballottin Original Chocolate Whisky at Total Wine.

I had been wanting to create a signature Hanukkah cocktail for a while and was racking my brain for an idea. Blue was the obvious choice but truth be told I am not a blue cocktail kind of gal. I really don’t like overly sweet drinks and pretty much steer clear of all unnaturally colored cocktails.

Like I said, I am a bourbon girl.

old fashioned gelt digger 2

So my next thought because we are taking Hanukkah here, went to gelt. Which then went to chocolate, which led me to this new amazing discovery of chocolate whisky, and a lightbulb went off!!

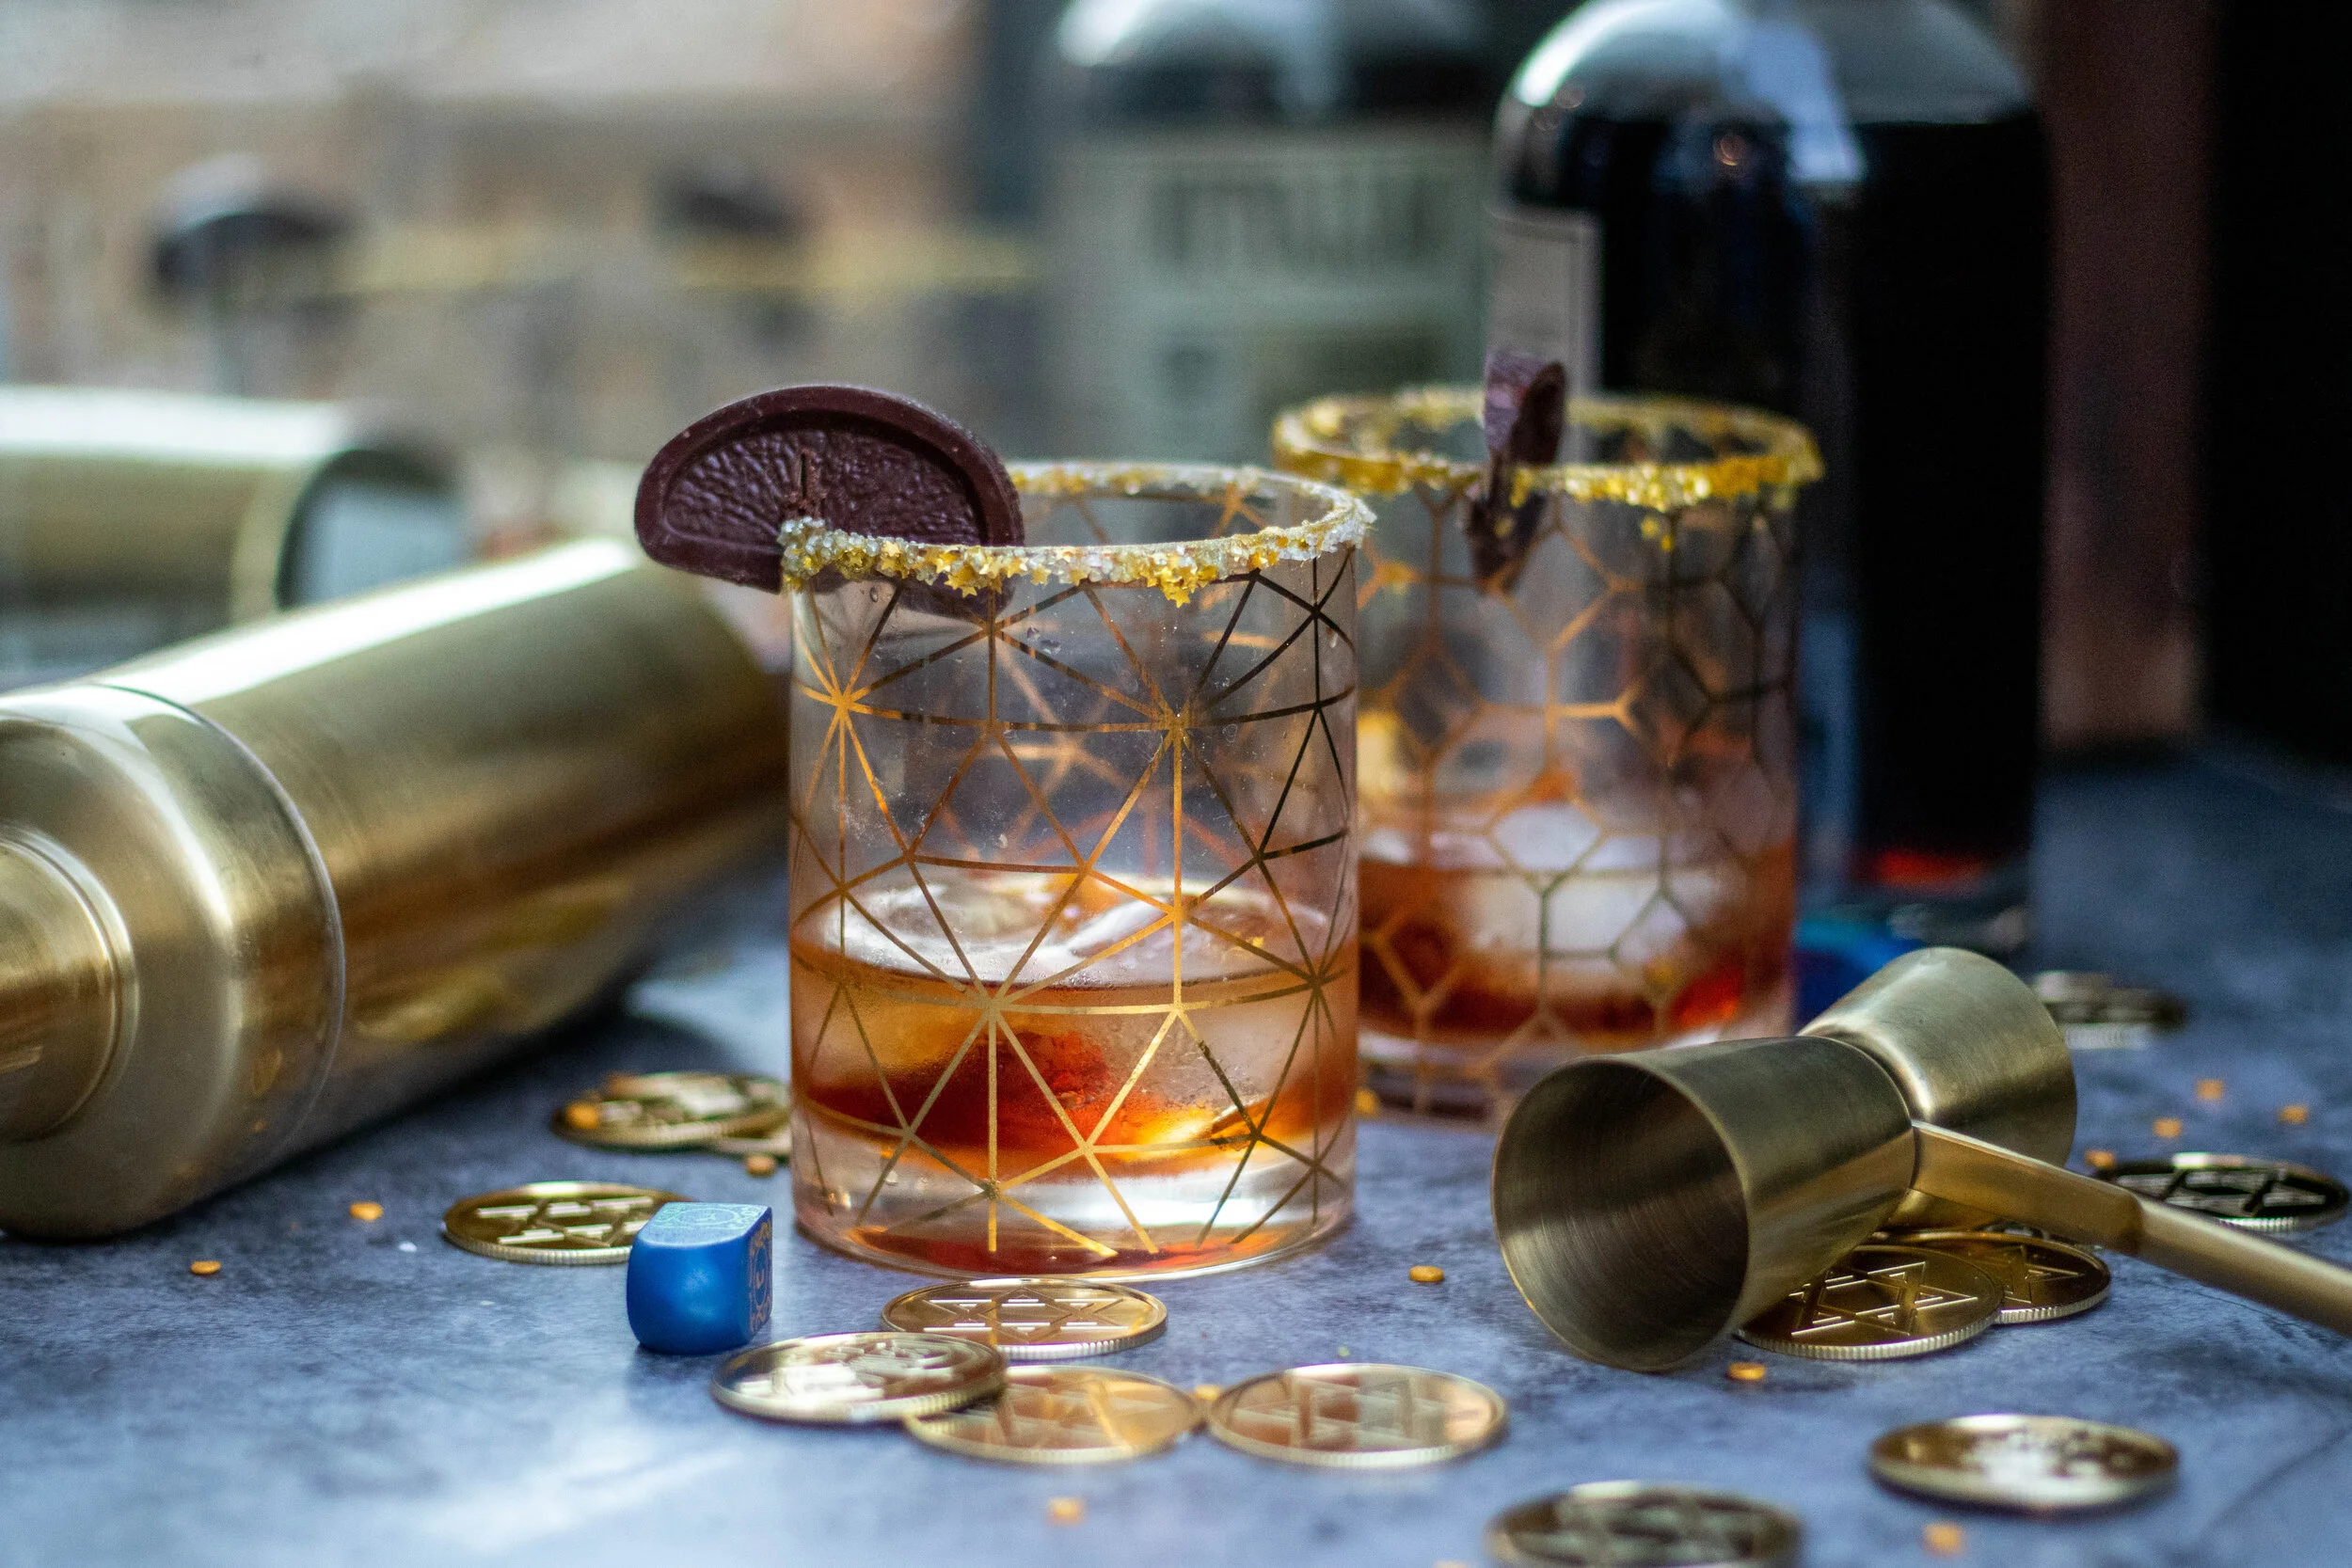
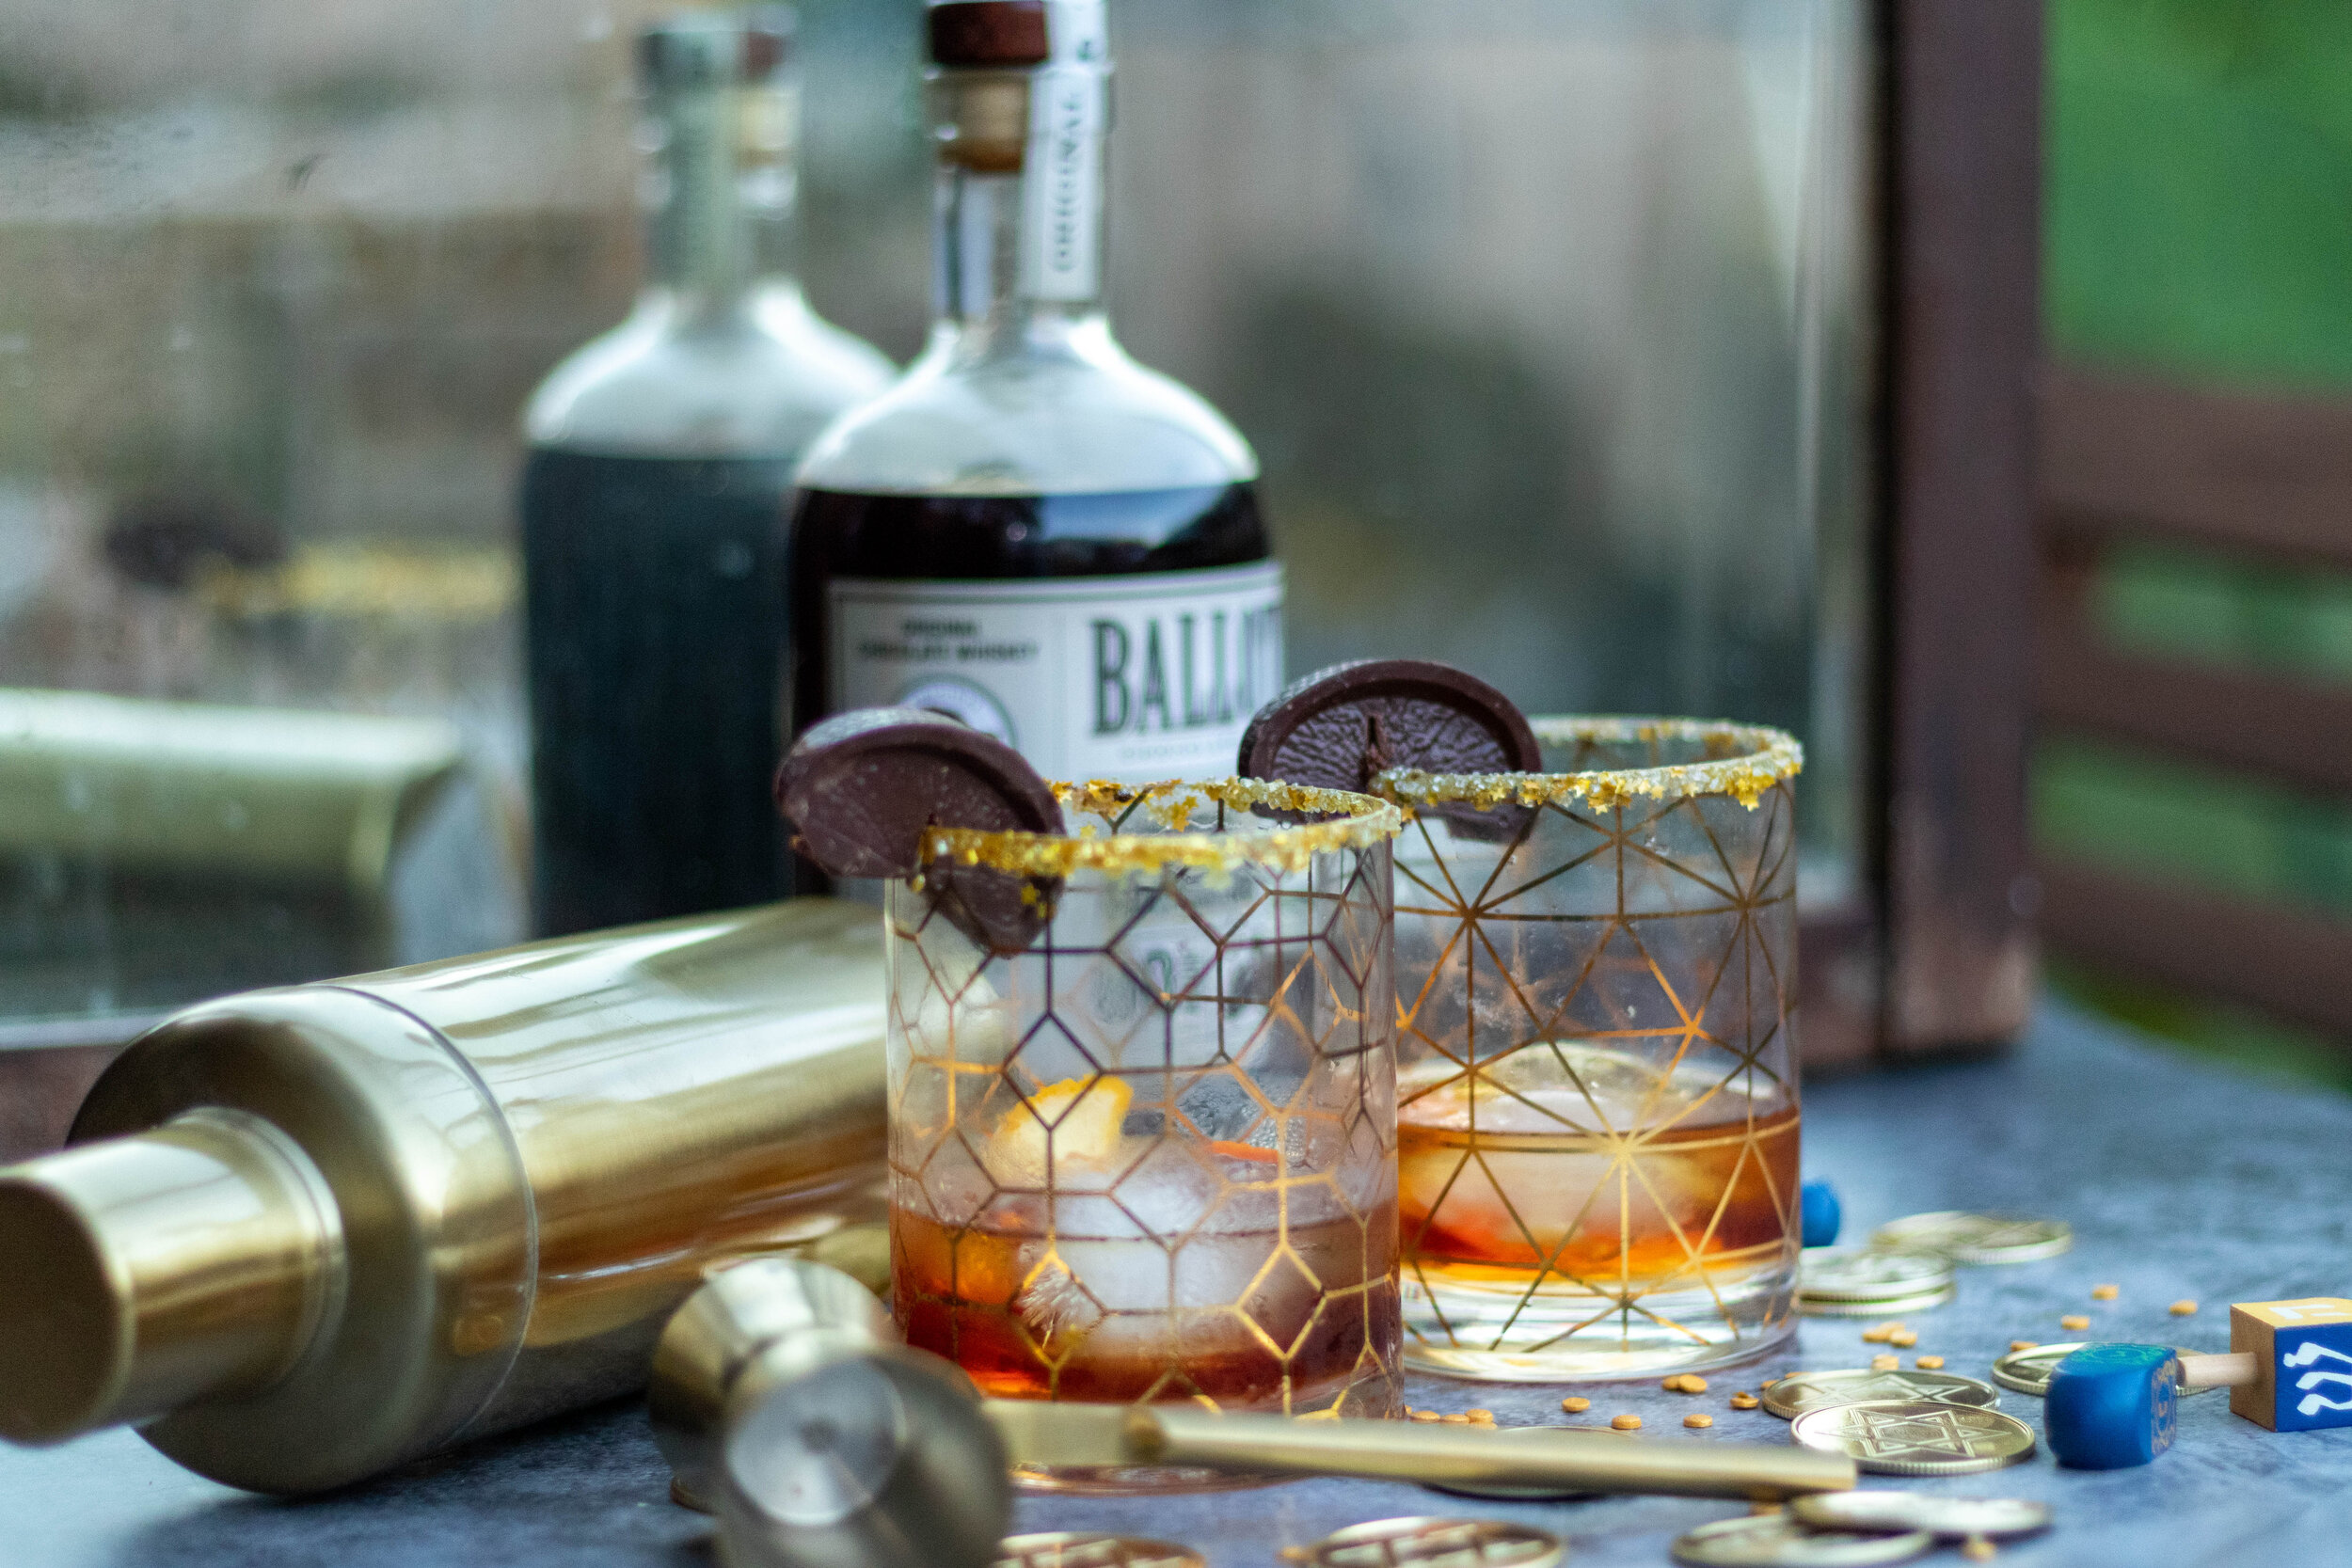
And that my friends is how the Old Fashioned Gelt Digger was born.

I have a big love for all things chocolate orange and so it only made sense to add chocolate to and old fashioned.

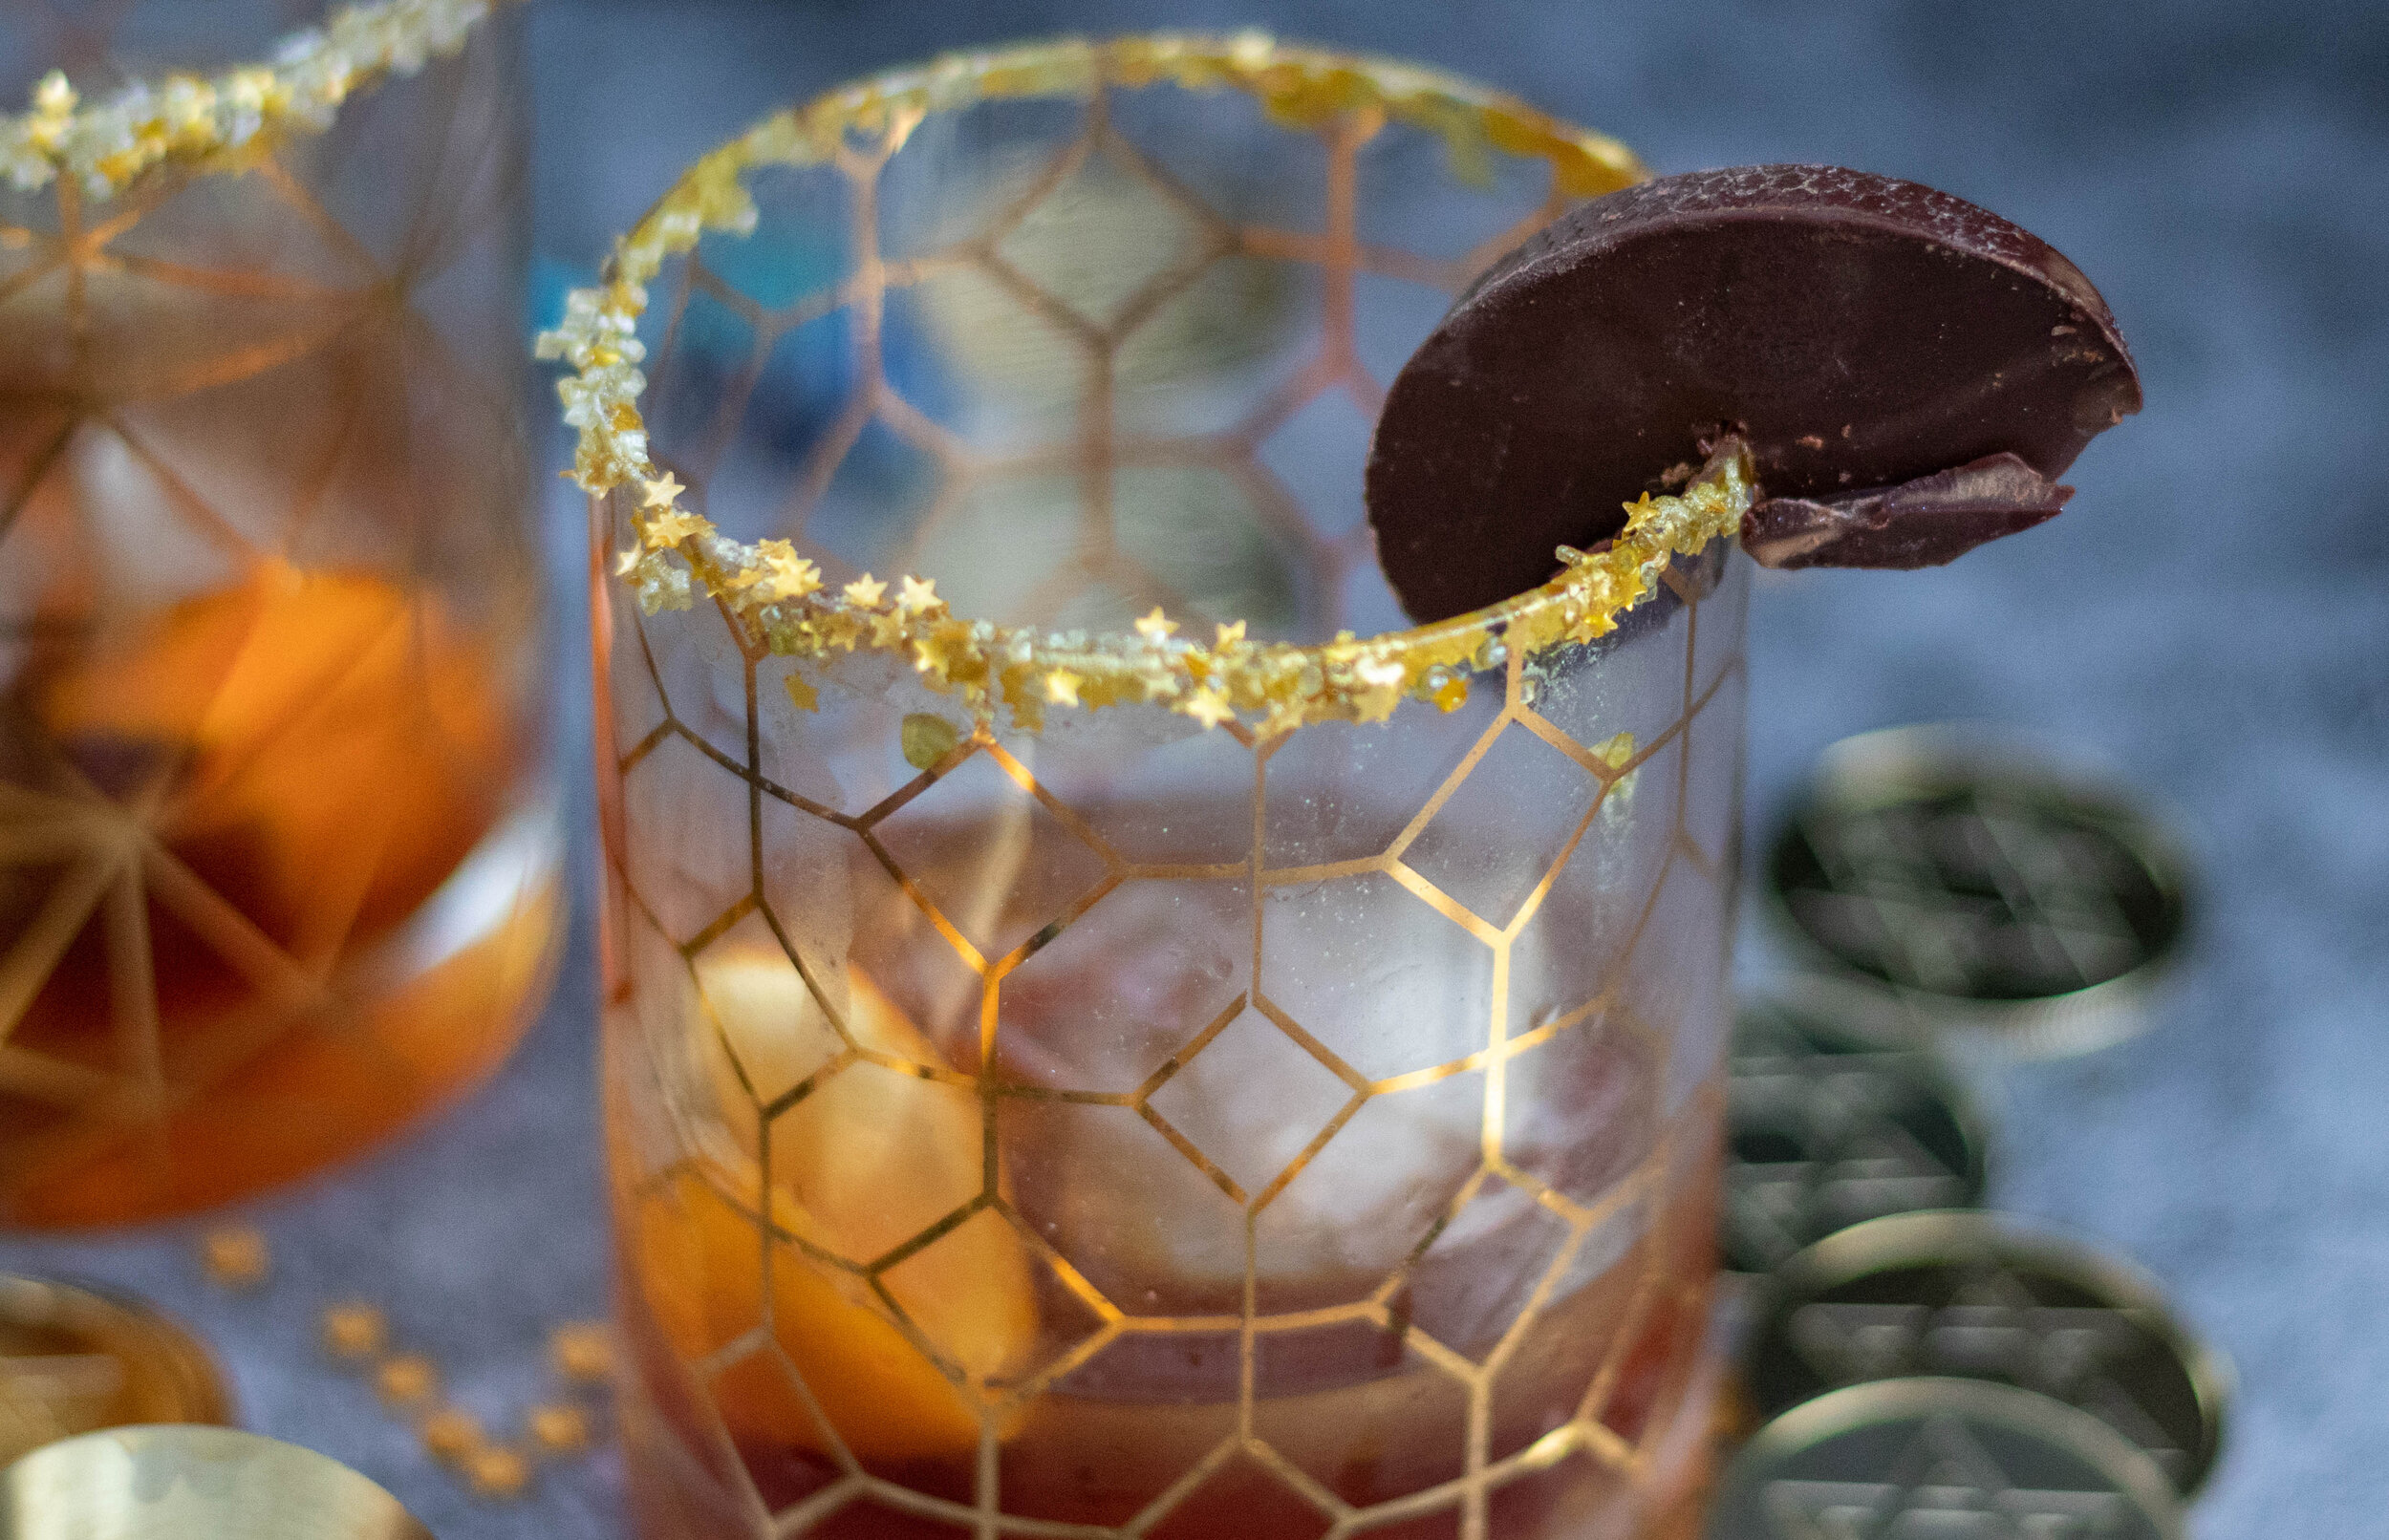
This drink is also pretty. I like pretty drinks, and since this is in honor or Hanukkah, it needed to be sparkly! And because we are talking gelt here, it needed to have some shiny gold in it as well. After all it is called a gold, I mean GELT digger. It’s in the name.

There are lots of brands of vegan sprinkles out there these days. I am a fan of Fancy Sprinkles has going on with lots of fun vegan metallics! They have gold and silver hex shapes, stars, and prism dusts, and so many other fun sprinkles. Wiltons peal dust (except pink) is always a safe choice as well. Also, coarse raw vegan cane sugar could work just as well or vegan sanding sugar for a bit of sparkle.

I used Ovation Dark Chocolate Orange slices (found them at Walmart) for my garnish because I could not track down vegan gelt. It does exists! Just not locally for us. But you can order vegan or allergy friendly gelt from several places online!

Would I still drink this old fashioned sans the glitter and gold? Yes, yes I would. Thank you for asking. Would I dare serve it at Hanukkah or even New Years Eve without some sparkle? No, absolutely not! I am a fancy souther lady after all, and have my standards.

So if you are looking for a fun Hanukkah cocktail, or even a tasty New Years Eve or “anytime really” cocktail, and you love bourbon, you must try and Old Fashioned Gelt Digger..and if you don’t Hanukkah and want to call it an Old Fashioned Gold digger, I won’t be made at you. But it’s way less funny!

Cheers y’all!

old fashioned gelt digger 3

INGREDIENTS:

  • 1 oz chocolate whisky (we used Ballotin Original Chocolate)

  • 1 oz rye bourbon (we used Bulleit Rye)

  • 2 teaspoons simple syrup ( 1 cup sugar and 1 cup water boiled until sugar has dissolved. Allow to cool and store in fridge)

  • 3 shakes orange bitters

  • Orange peel and Vegan Chocolate orange slice or chocolate gelt coin to garnish

  • Gold or silver vegan luster dust/pearl dust , sprinkles or sugar for the rim

old fashioned gelt digger 4

INSTRUCTIONS:

  1. Fill a shallow bowl with a little simple syrup. Add some sprinkles, and sugar to a small plate.

  2. Dip the rim of a whisky glass in the simple syrup, shake off the excess. Dip the rim of the glass in the plate of sprinkles/ sugar to coat.

  3. Add ice to the glass then pour the chocolate whisky and bourbon over the ice.

  4. Shake in some orange bitter and stir in simple syrup.

  5. Add a twist of orange peel.

  6. If you want to add a chocolate orange slice or vegan chocolate gelt to the rim, run a sharp knife under really hot water for minute. Once the knife blade has heated up, wipe the water from the blade and carefully sort of saw into the chocolate making a wedge large enough to sit on the rim of the glass. The hot knife will melt the chocolate as you cut into it. Be careful not to saw in too hard, it will break the chocolate.

If you like this recipe, then try these:

old fashioned gelt digger 6

Vegan Jelly Filled Donuts

IMG_0234.jpg

Jelly donuts are almost just as easy to make a regular glazed donuts.

The only extra ingredient you need is the jelly.

Our family makes jelly donuts every year for Hanukkah, and I often think to myself that I should really make them more often, because they are so delicious! You can use whatever jelly or jam you like, just make sure the consistency is smooth enough to pipe into the donuts.

We often pick blueberries in the summer and freeze several bags. I particularly like making a quick blueberry jam with the frozen berries for these donuts. I love using the fruits of our labor (literally) throughout the year!

No matter what jam you decide to use, homemade or store-bought, you really can’t go wrong with these vegan jelly filled donuts!


INGREDIENTS:

The Donuts

  • 4 cups all purpose flour

  • 3/4 cups aquafaba (whipped. click link for easy recipe)

  • 1/2 cup plus 2 tablespoons melted vegan butter

  • 1/4 cup sugar

  • 2 and 1/4 teaspoon dry active yeast

  • 1 cup plus 2 tablespoons plant based milk

  • 1/2 teaspoon salt

  • 1 cup store bought or homemade jelly or jam. If you are using a jam, just pop it into your blender for a few seconds to make sure the chunks of fruit become smooth. Otherwise it will not pipe easily into the donuts

  • 3-4 cups of oil for frying, I use grape seed but you could use whatever oil you normally fry with

The Glaze

  • 3 cups powdered sugar

  • 1/4 cup melted vegan butter

  • 1 teaspoon vanilla extract

  • 1/2 cup plant based milk, give or take


COOKING INSTRUCTIONS:

  1. Heat milk in microwave for 30 - 45 seconds. You want it warm, but not boiling hot.

  2. Add the warm milk, yeast, and sugar to the bowl of your stand mixer. If you do not have a stand mixer, add the contents to a large bowl. Let sit for 5 minutes to activate the yeast.

  3. After 5 minutes add the aquafaba, and melted butter to the mix. Next add the flour, and salt, and mix for 5 minutes on medium speed if using the stand mixer. If not using a stand mixer, then mix the ingredients together well in a bowl, then transfer to a floured counter top, and kneed the dough by hand for 5 minutes. The consistency of the dough should be soft, but not sticky.

  4. After the dough has been kneaded, place it in a lightly greased bowl and cover with plastic wrap. Pop it in the oven. You are NOT turning the oven on, just leaving it there to rise. If your oven has a dough proof setting you can turn that on. Leave dough to rise for one hour, or until it has doubled in size.

  5. Once the dough has finished rising, transfer to a lightly floured countertop. I like to divide the dough in half and work it in two batches. It makes it easier to roll out. Roll out one half of the dough to about 1/4- 1/2 inch thick. Using a 3 inch circle biscuit or cookie cutter (or donut cutter if you have one) begin cutting circles. Repeat with other half of dough. You should have a total of about 2 dozen donuts.

  6. Place donuts on cookies sheets, and let rest for about 15 - 20 minutes. They will become bigger as they rest.

  7. While they are resting, heat 2 - 3 inches of oil in a deep skillet or medium sized pot.

  8. Once oil is hot, begin adding the donuts to the oil, 2 or 3 at a time. Fry the donuts for about 20 second on each side then flip. Repeat one more time. This helps them cook though and not burn. If you don't have enough oil in the pan, and they are hitting the bottom, they will easily burn. So make sure to use enough oil!

  9. Allow donuts to cool on a wire cooling rack, placed on top of a paper-towel-lined cookie sheet. Once donuts are cooled, use a chop stick or skewer to poke a hole into the donut on one side. You can kind of turn the chop stick or skewer inside the donut to widen the hole. This is making room for the jelly. You want to make sure you have created enough room for a good amount of filling .

  10. Once all donuts are done frying, mix all of the ingredients for the glaze. If you find the glaze too thick, you can always thin it with some more milk.

  11. Dip one side of the donut in the glaze and place back on the wire rack to allow the excess glaze to drip off.

  12. Once the glaze has set, fill a piping bag, set with a jelly tip or larger frosting tip, with the jelly. Begin piping the jelly into the holes you made in the donuts with the chop stick. Once all the donuts are filled with jelly, you can serve as is, or sprinkle with powdered sugar.

IMG_0222.jpg