challah dough

Vegan Challah Cranberry Orange Jelly Donuts

Donuts how I love thee, let me count the ways….

If I were counting, I would love them a million different ways, including this one.

I make love making vegan donuts and make them often enough and my regular glazed donut recipe is DELICIOUS! I always make homemade vegan donuts for Hanukkah, but never until recently did it occur to me to try and make them with challah dough. I mean why, WHY did this revelation take me so long. They are both yeast doughs and pretty similar, but challah dough is an easier dough to make with less ingredients!

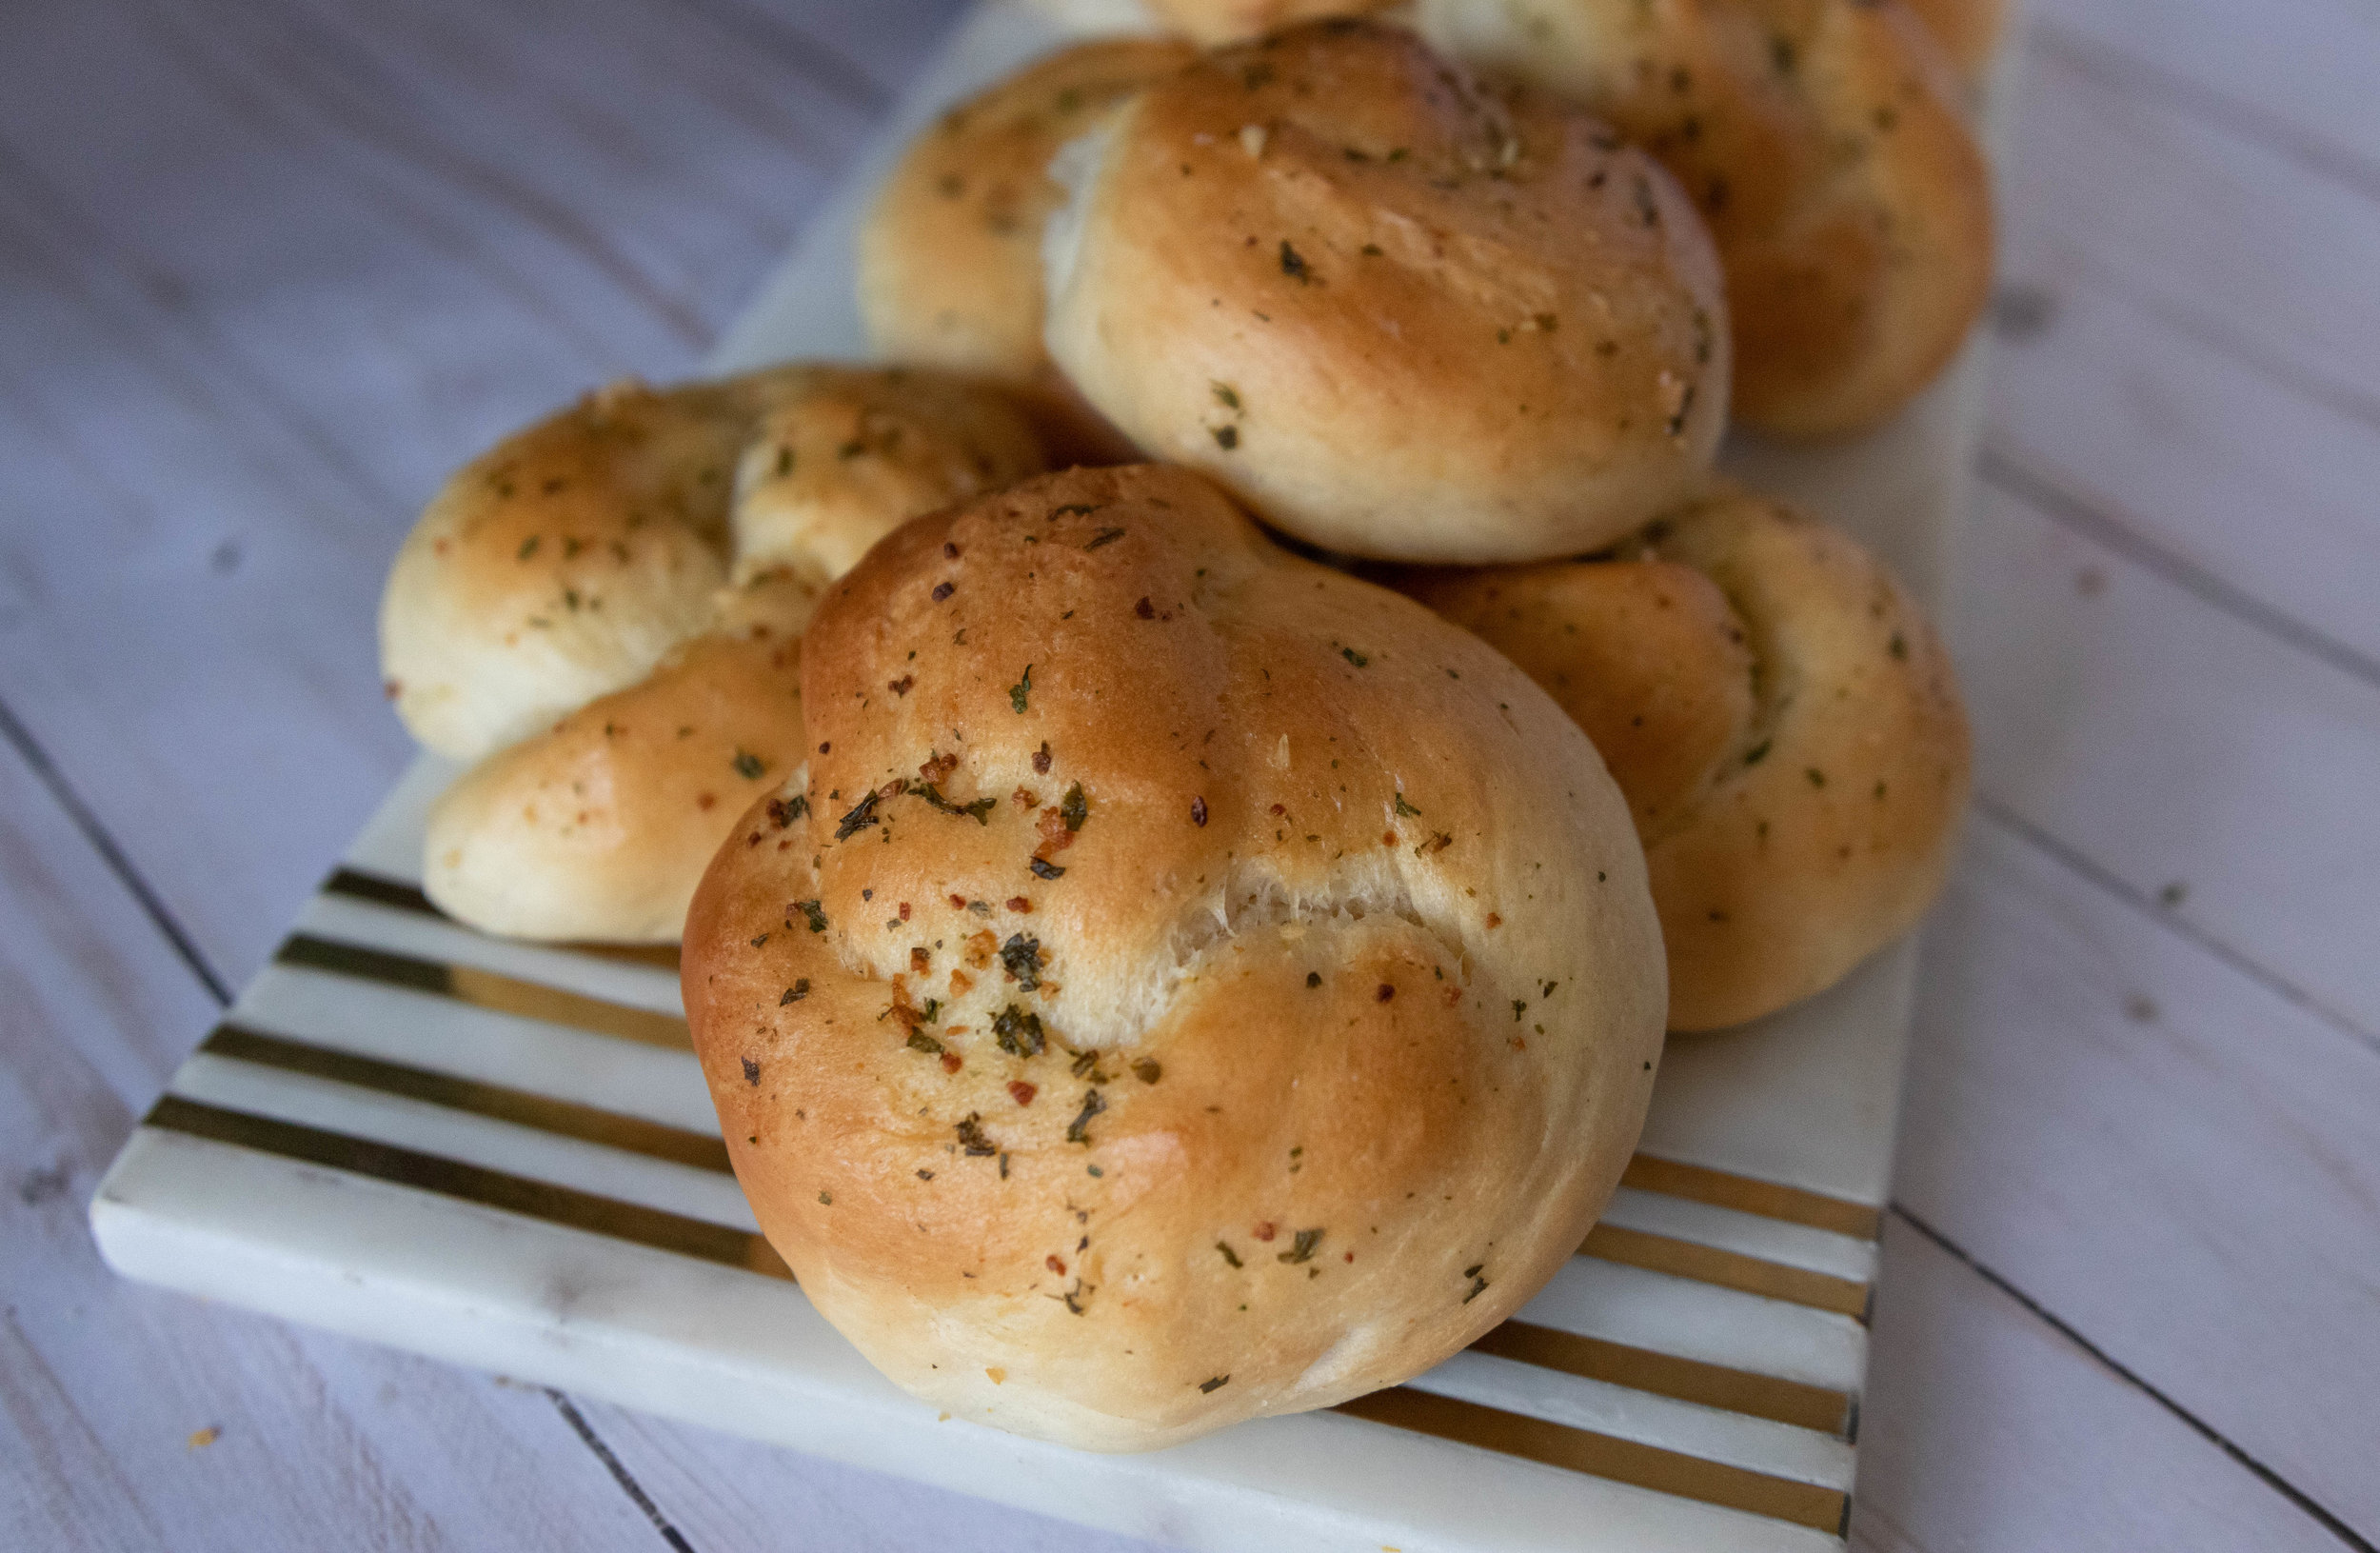
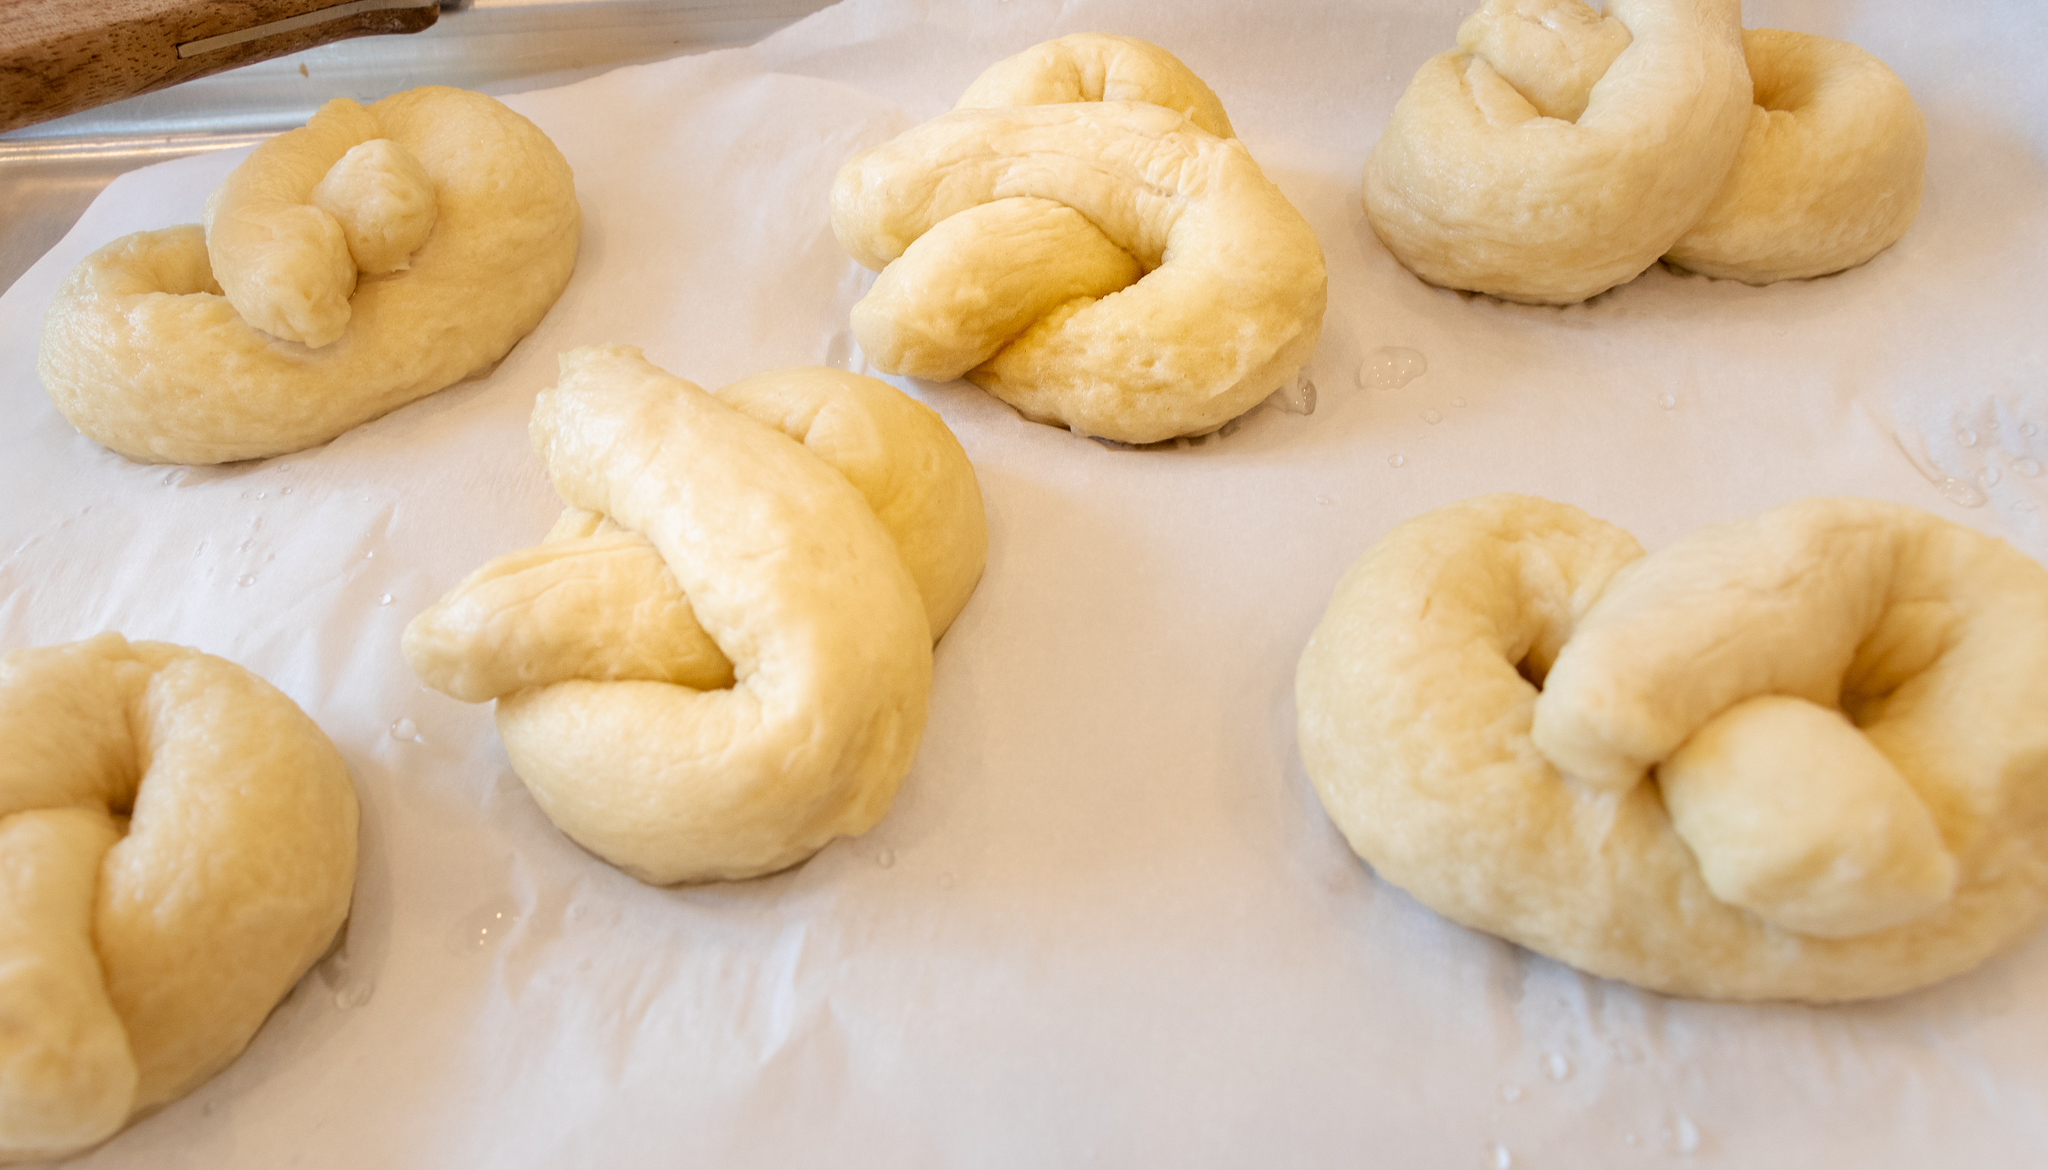
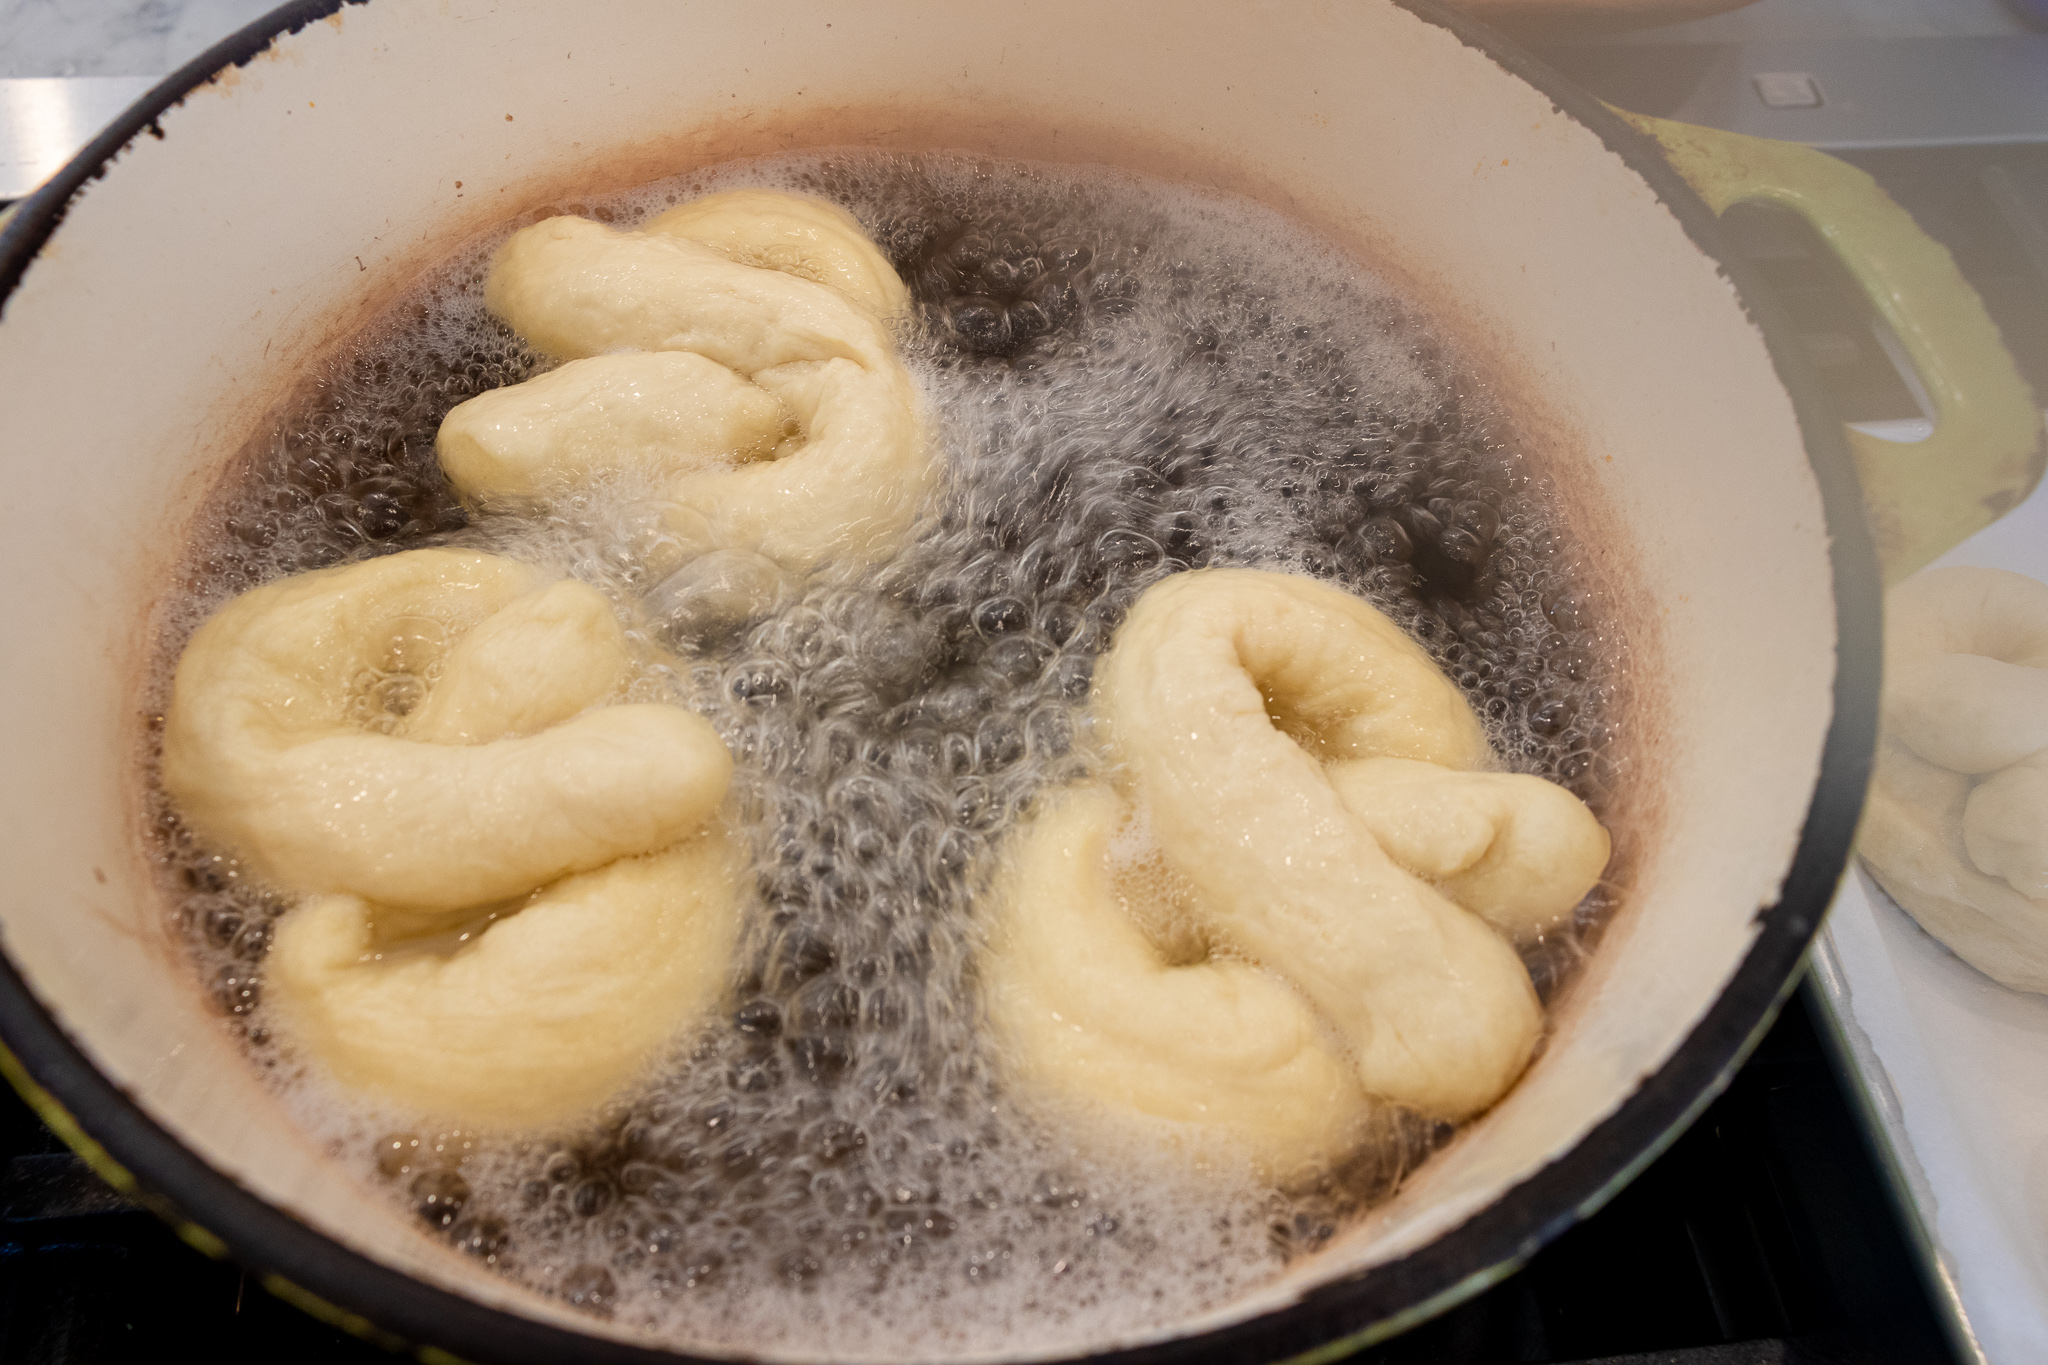
I make challah almost every week for shabbat. I make plain challah, stuffed challah, challah pretzels, challah rolls..all the challah things, but never a donut. I have never until now fried challah dough. And I am from the south and we fry everything down here.

After a week of testing various holiday challah recipe, I was honesty challahed out….I didn’t even think it was possible, but it is. I didn’t want to make another loaf of challah this week.

Never the less it is Friday and I feel like every shabbat NEEDS challah so I went to mix up my dough when it occurred to me to try and fry it up as a donut!! AND further more, try and make a Thanksgiving themed jelly filled donut on shabbat because on this particular year Hanukkah begins 3 days after Thanksgiving! A holiday donut mashup if you will.

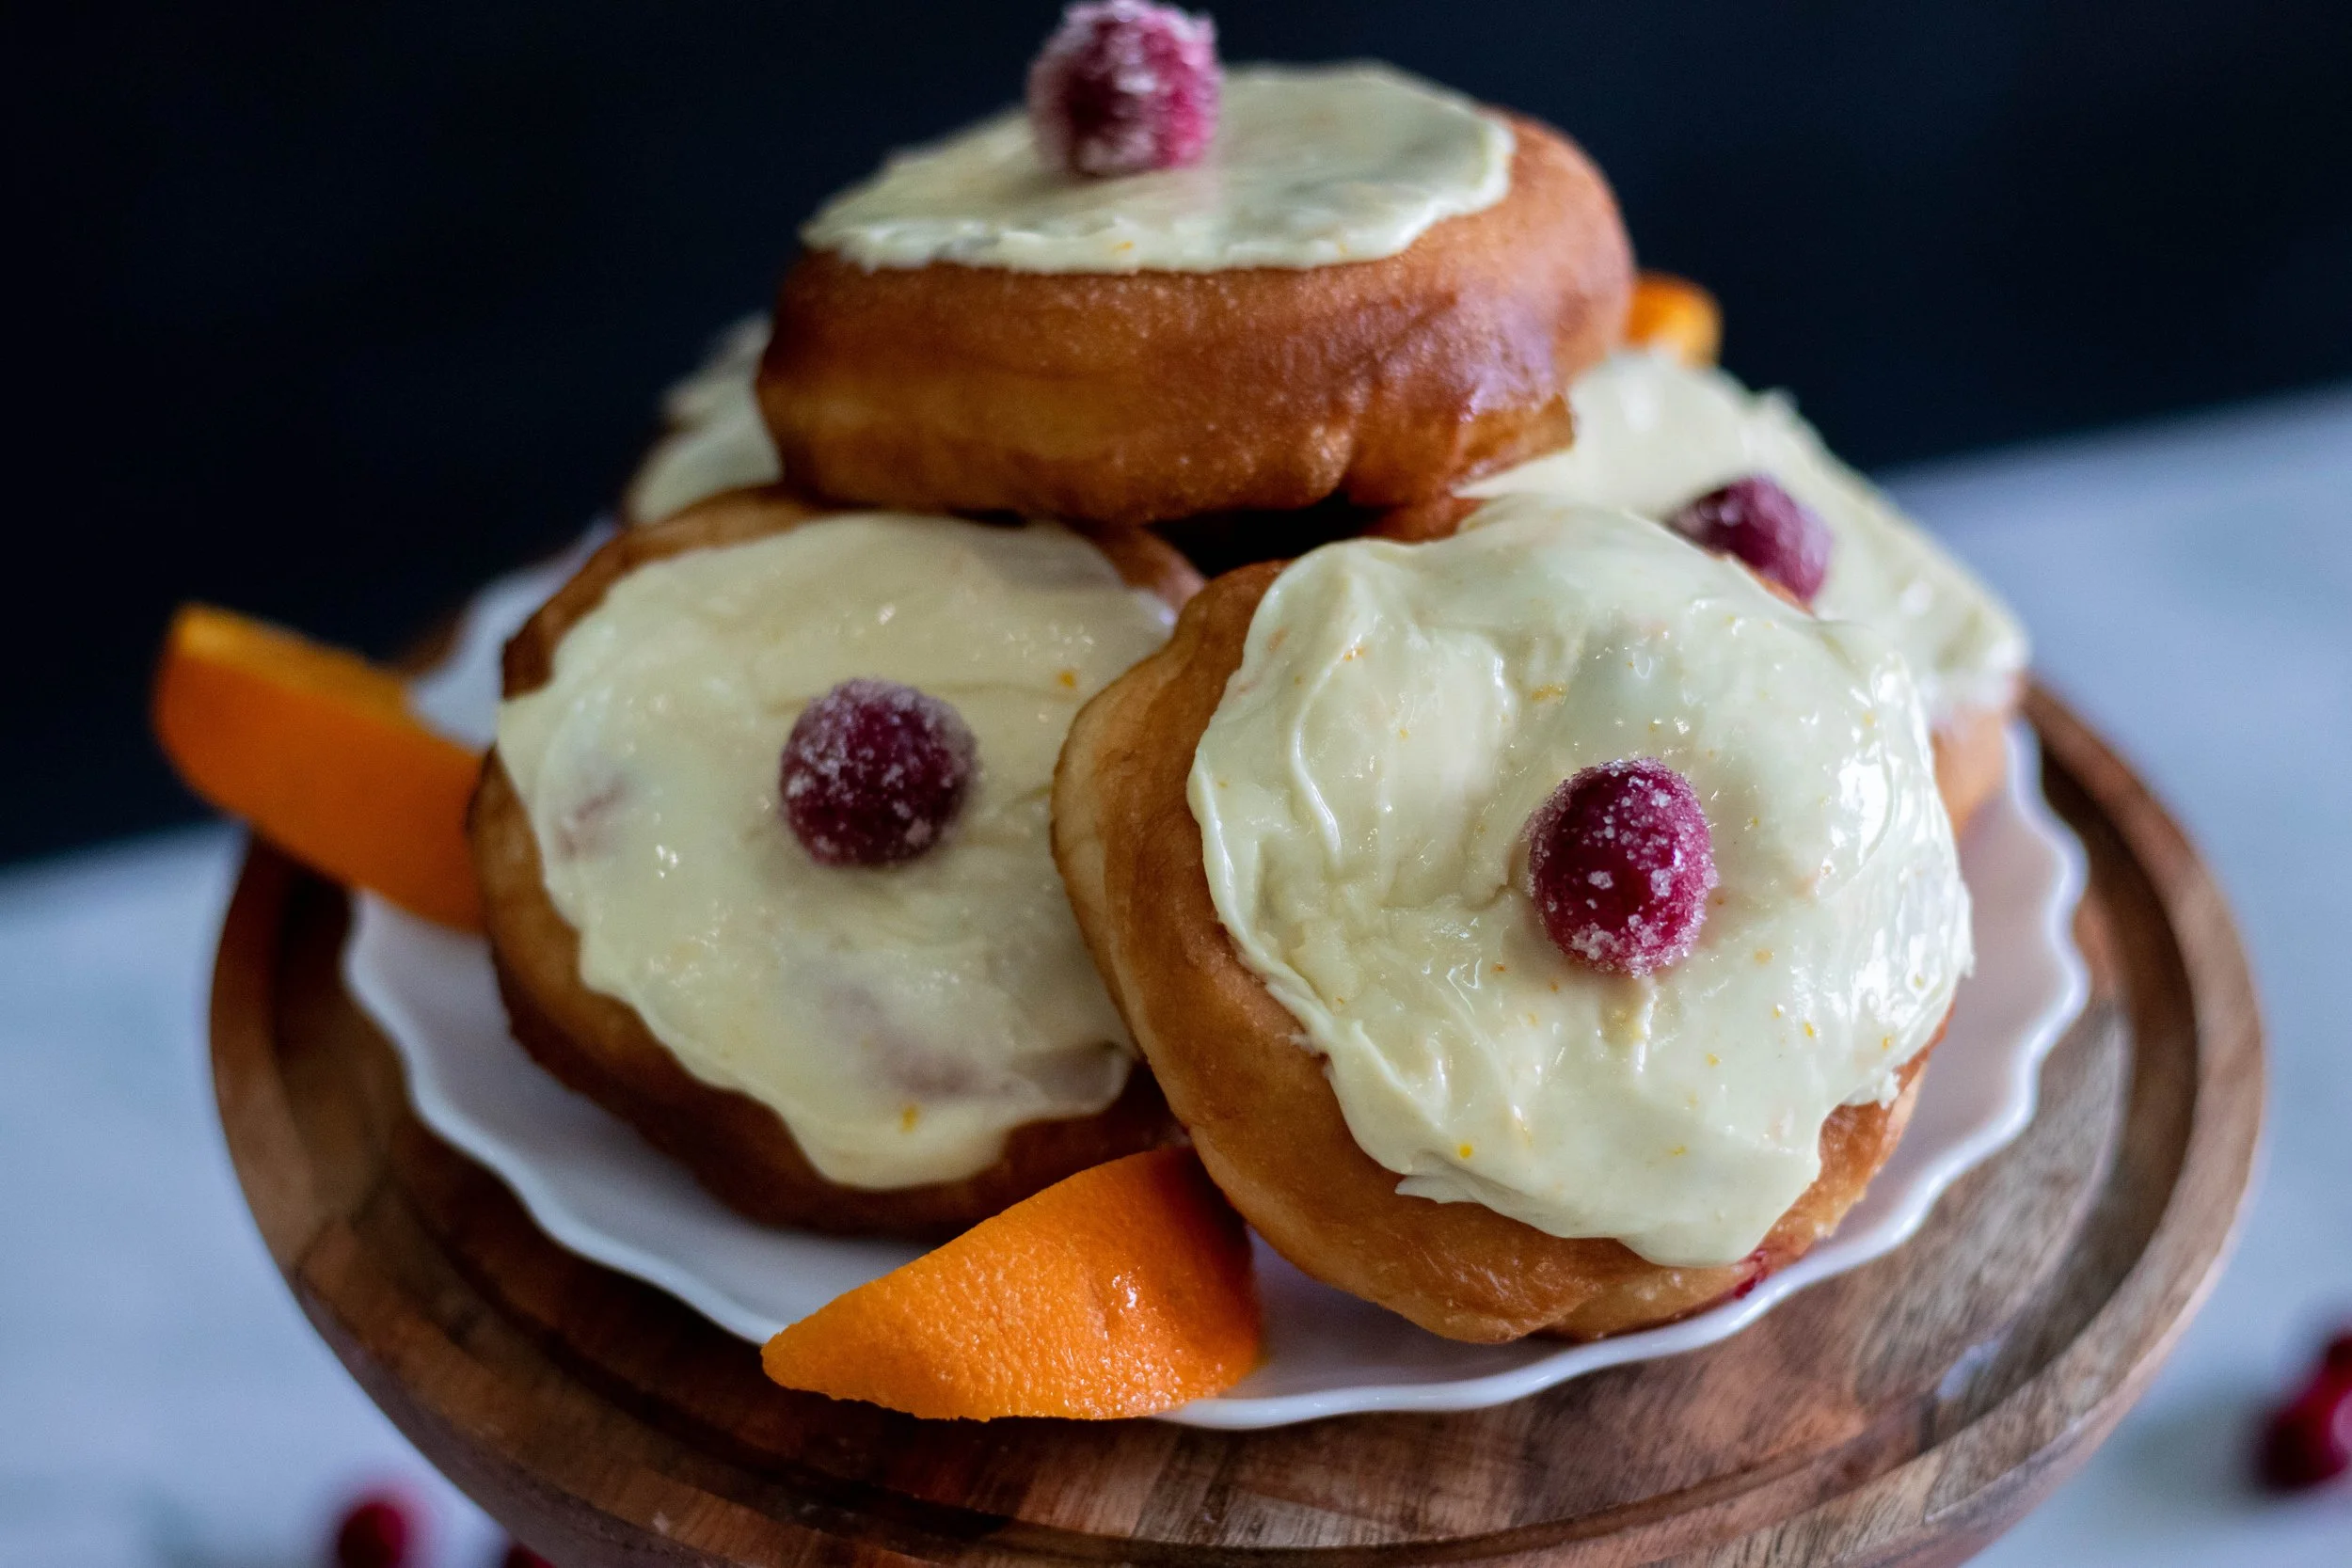
Not that you could only eat this vegan challah donut for Thanksgiving or Hanukkah.. This cranberry orange challah donut would be good any and every day.


I LOVE, LOVE, LOVE cranberry and orange together! It might be one of my all time favorite desserts combos. I think I love it so much because the tartness fo the cranberries offsets the sweetness of a desert and that I can appreciate. I don’t love super sweet desserts, and I want frosting in very measured portions. So this donut has now become my favorite that I have ever made, and filing a donut with cranberry is now my favorite vegan donut jelly filling!!

If you don’t want to make cranberry sauce, you can use store bought as well. If using whole cranberry sauce, make sure the cranberries are mashed up pretty well. If you don’t want the cute little cranberry on top, that Is no issue either, but candied cranberries are super easy to make and a real tasty snack. or cute cocktail garnish…just sayin.


So if you love donuts, love challah, and love all things orange cranberry, these donuts are for you. And even if you have never made or had challah, it is an easy dough that fries up to one amazing donut!

And if you are celebrating a shabbat, Thanksgiving, Hanukkah, or whatever, Happy Challah days, y’all! And if you are making challah donuts just because, then happy eating!!

INGREDIENTS:


INSTRUCTIONS:

  1. Follow instructions for preparing challah dough but add 1 teaspoons of vanilla and zest from half an orange to the dough…follow the remaining instructions up until the first rise.

  2. Prepare cranberry sauce while dough is rising.

  3. Prepare candied cranberries while dough is rising.

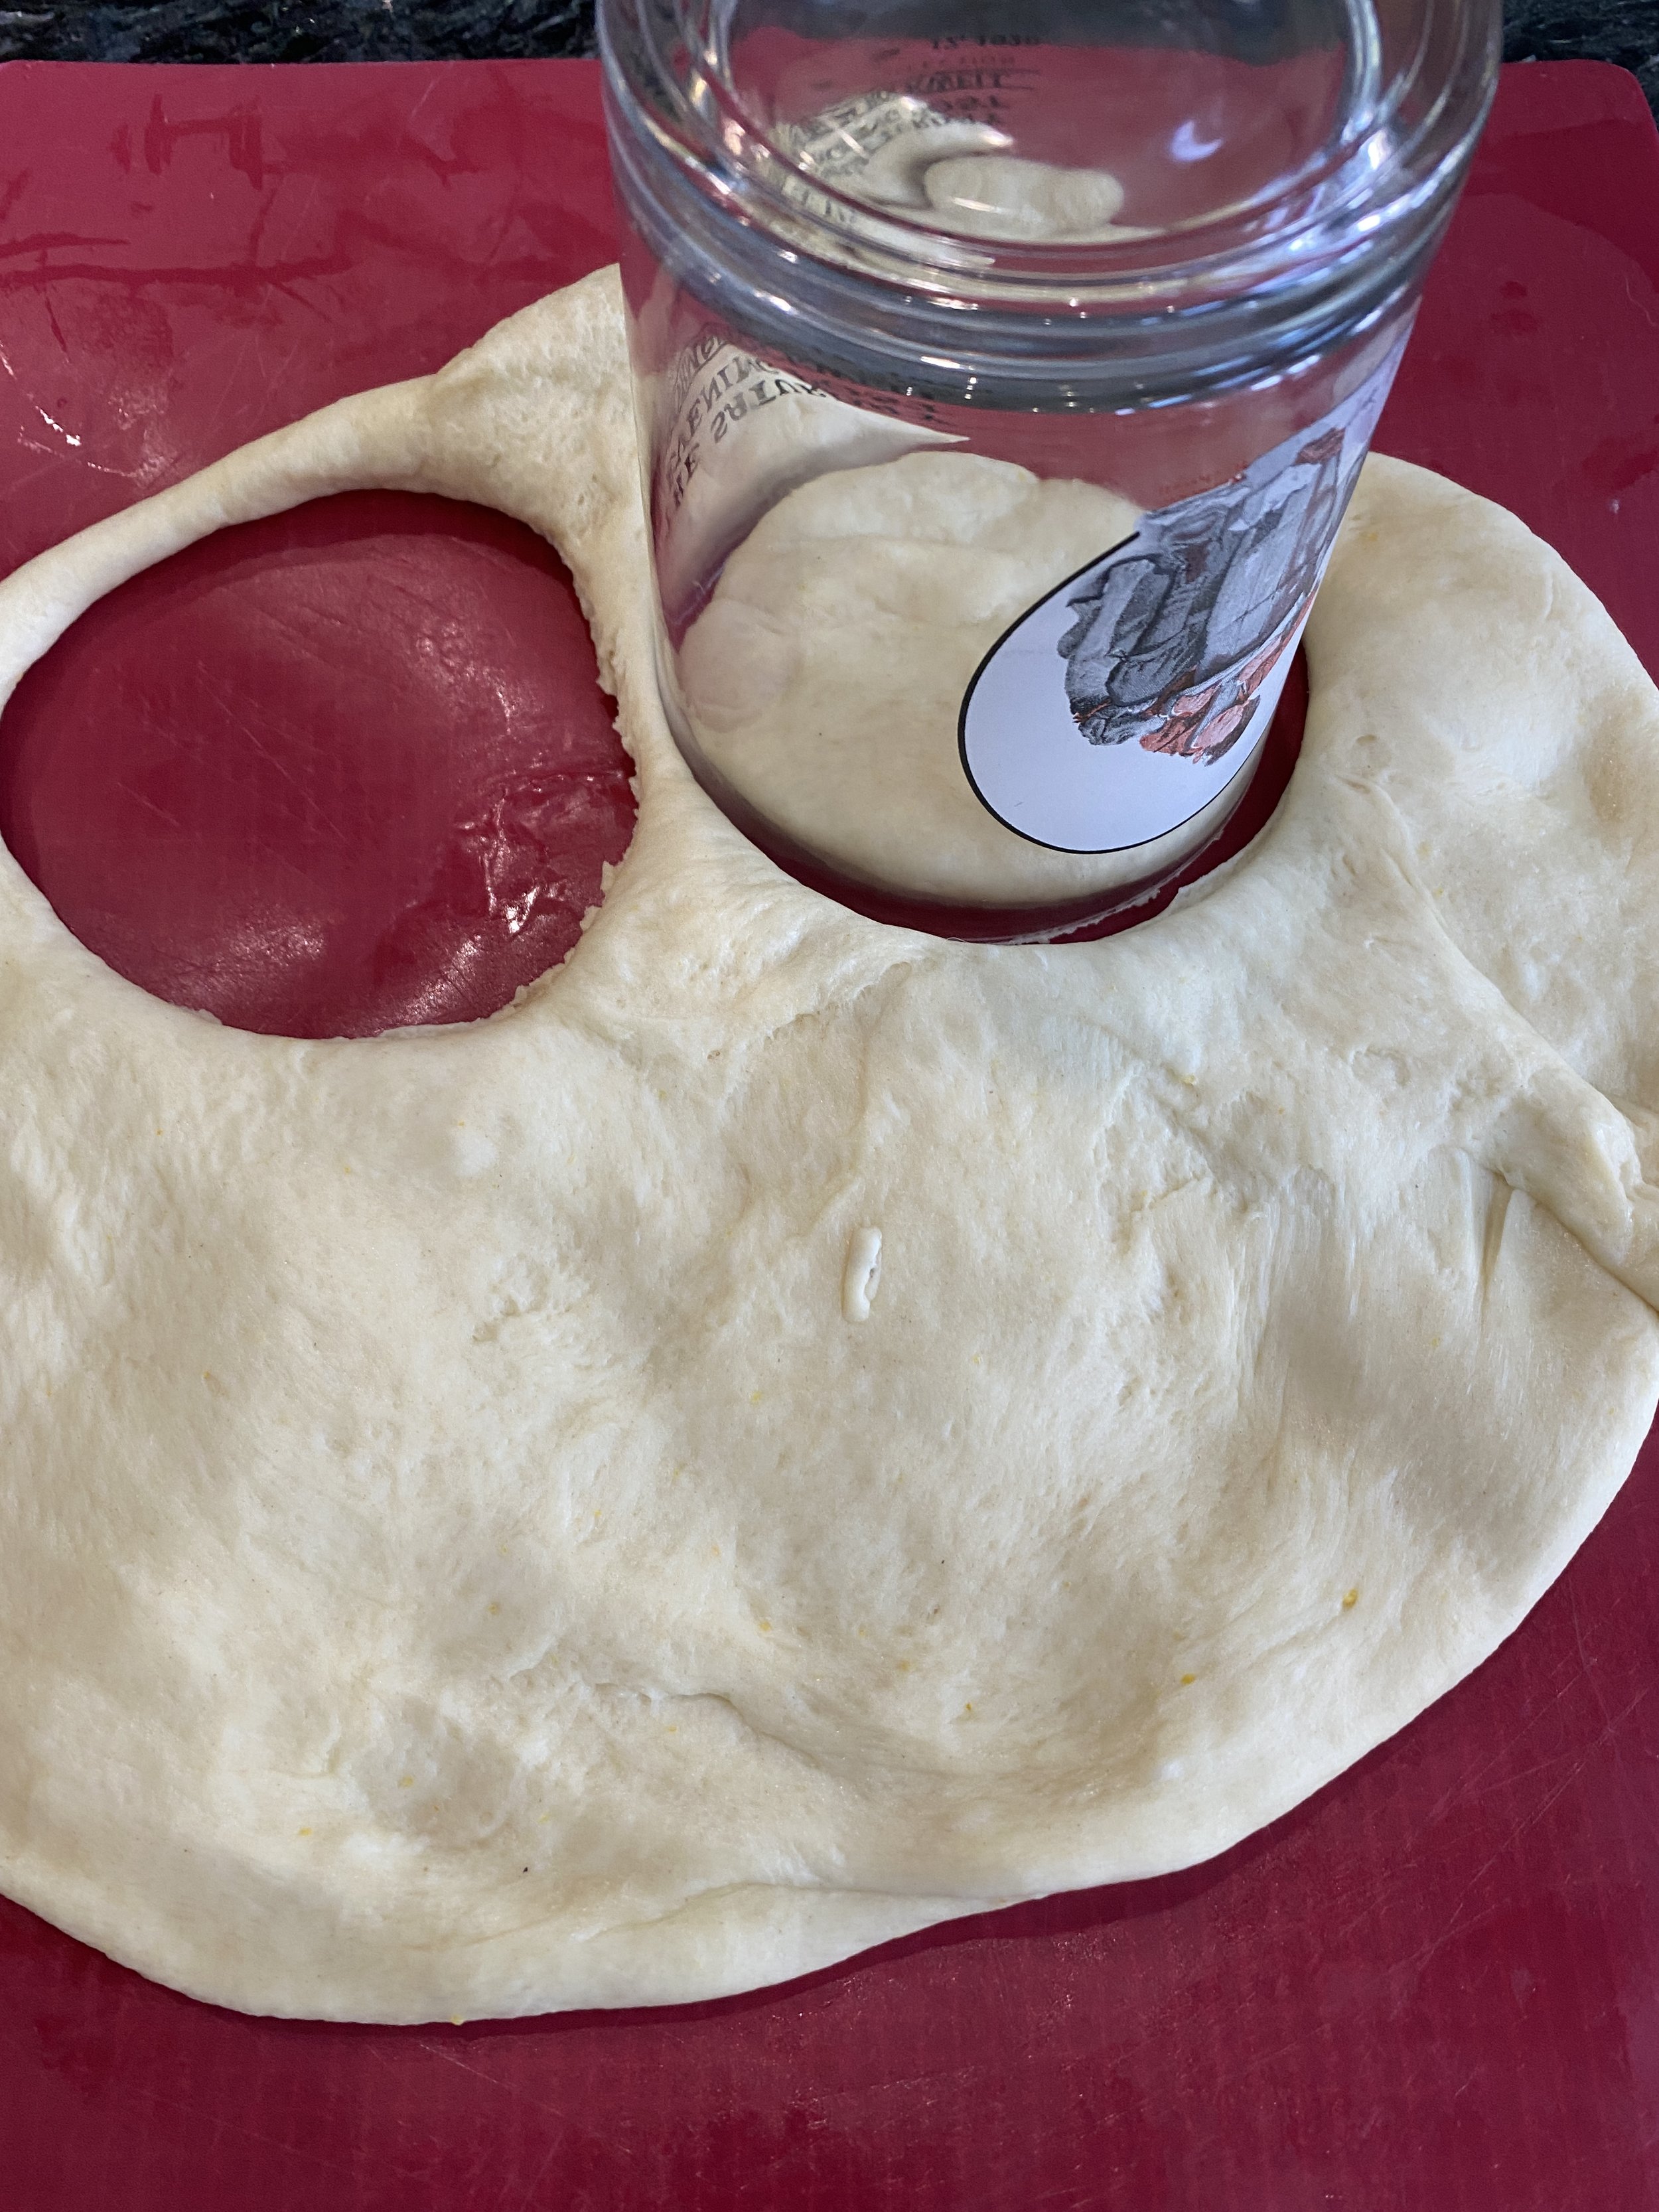
  4. Once the dough has finished its first rise, transfer to a lightly floured countertop. I like to divide the dough in half and work it in two batches. It makes it easier to roll out. Roll out one half of the dough to about 1/4- 1/2 inch thick. Using a 3 inch circle biscuit or cookie cutter (or donut cutter if you have one) begin cutting circles. Repeat with other half of dough. You should get 14-18 donuts depending on cutter size.

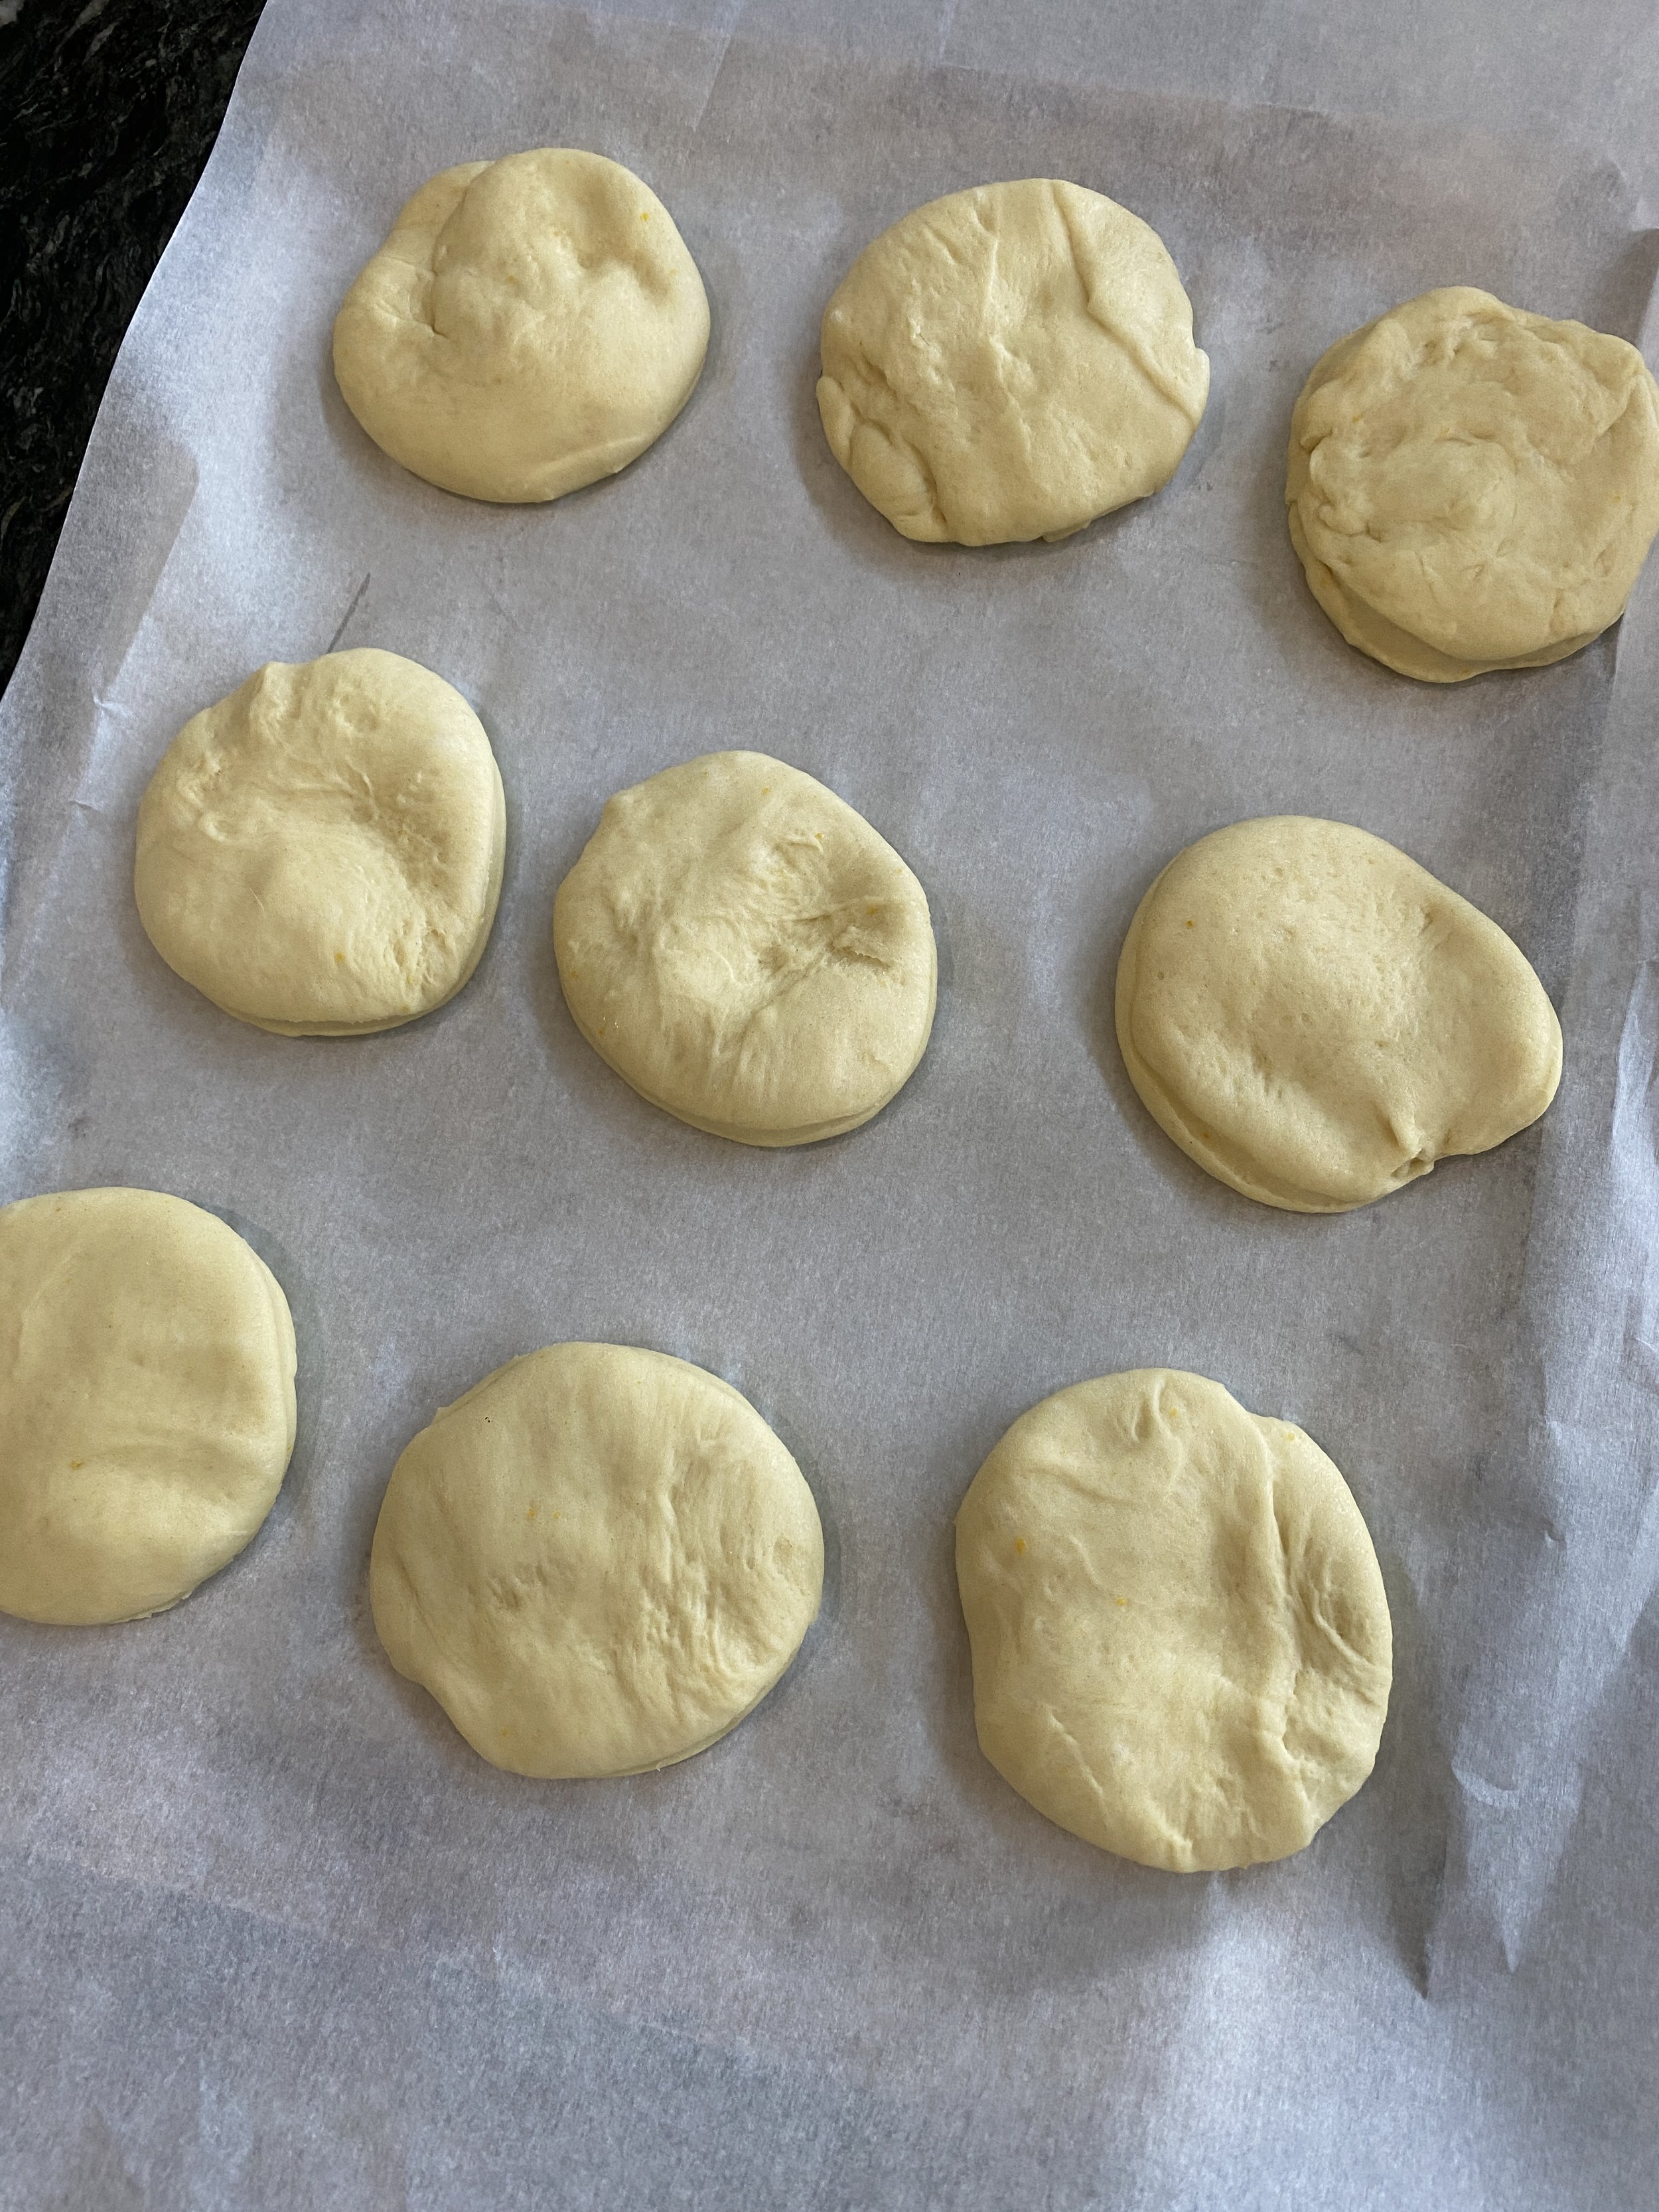
  5. Place donuts on cookies sheets, and let rest for about 25-30 minutes. They will become bigger as they rest.

  6. While they are resting, heat 2 - 3 inches of oil in a deep skillet or medium sized pot to 350 degrees. I’d you do not have a thermometer you can poke a wooden chopstick or skewer to the bottom of the pan. If tiny bubbles form around the tip then the oil is ready.

  7. Once oil is hot, begin adding the donuts to the oil, 2 or 3 at a time. Fry the donuts for about 20 second on each side then flip. Repeat one more time. This helps them cook though and not burn. If you don't have enough oil in the pan, and they are hitting the bottom, they will easily burn. So make sure to use enough oil! If the donuts seem to browning too quickly, reduce your heat.

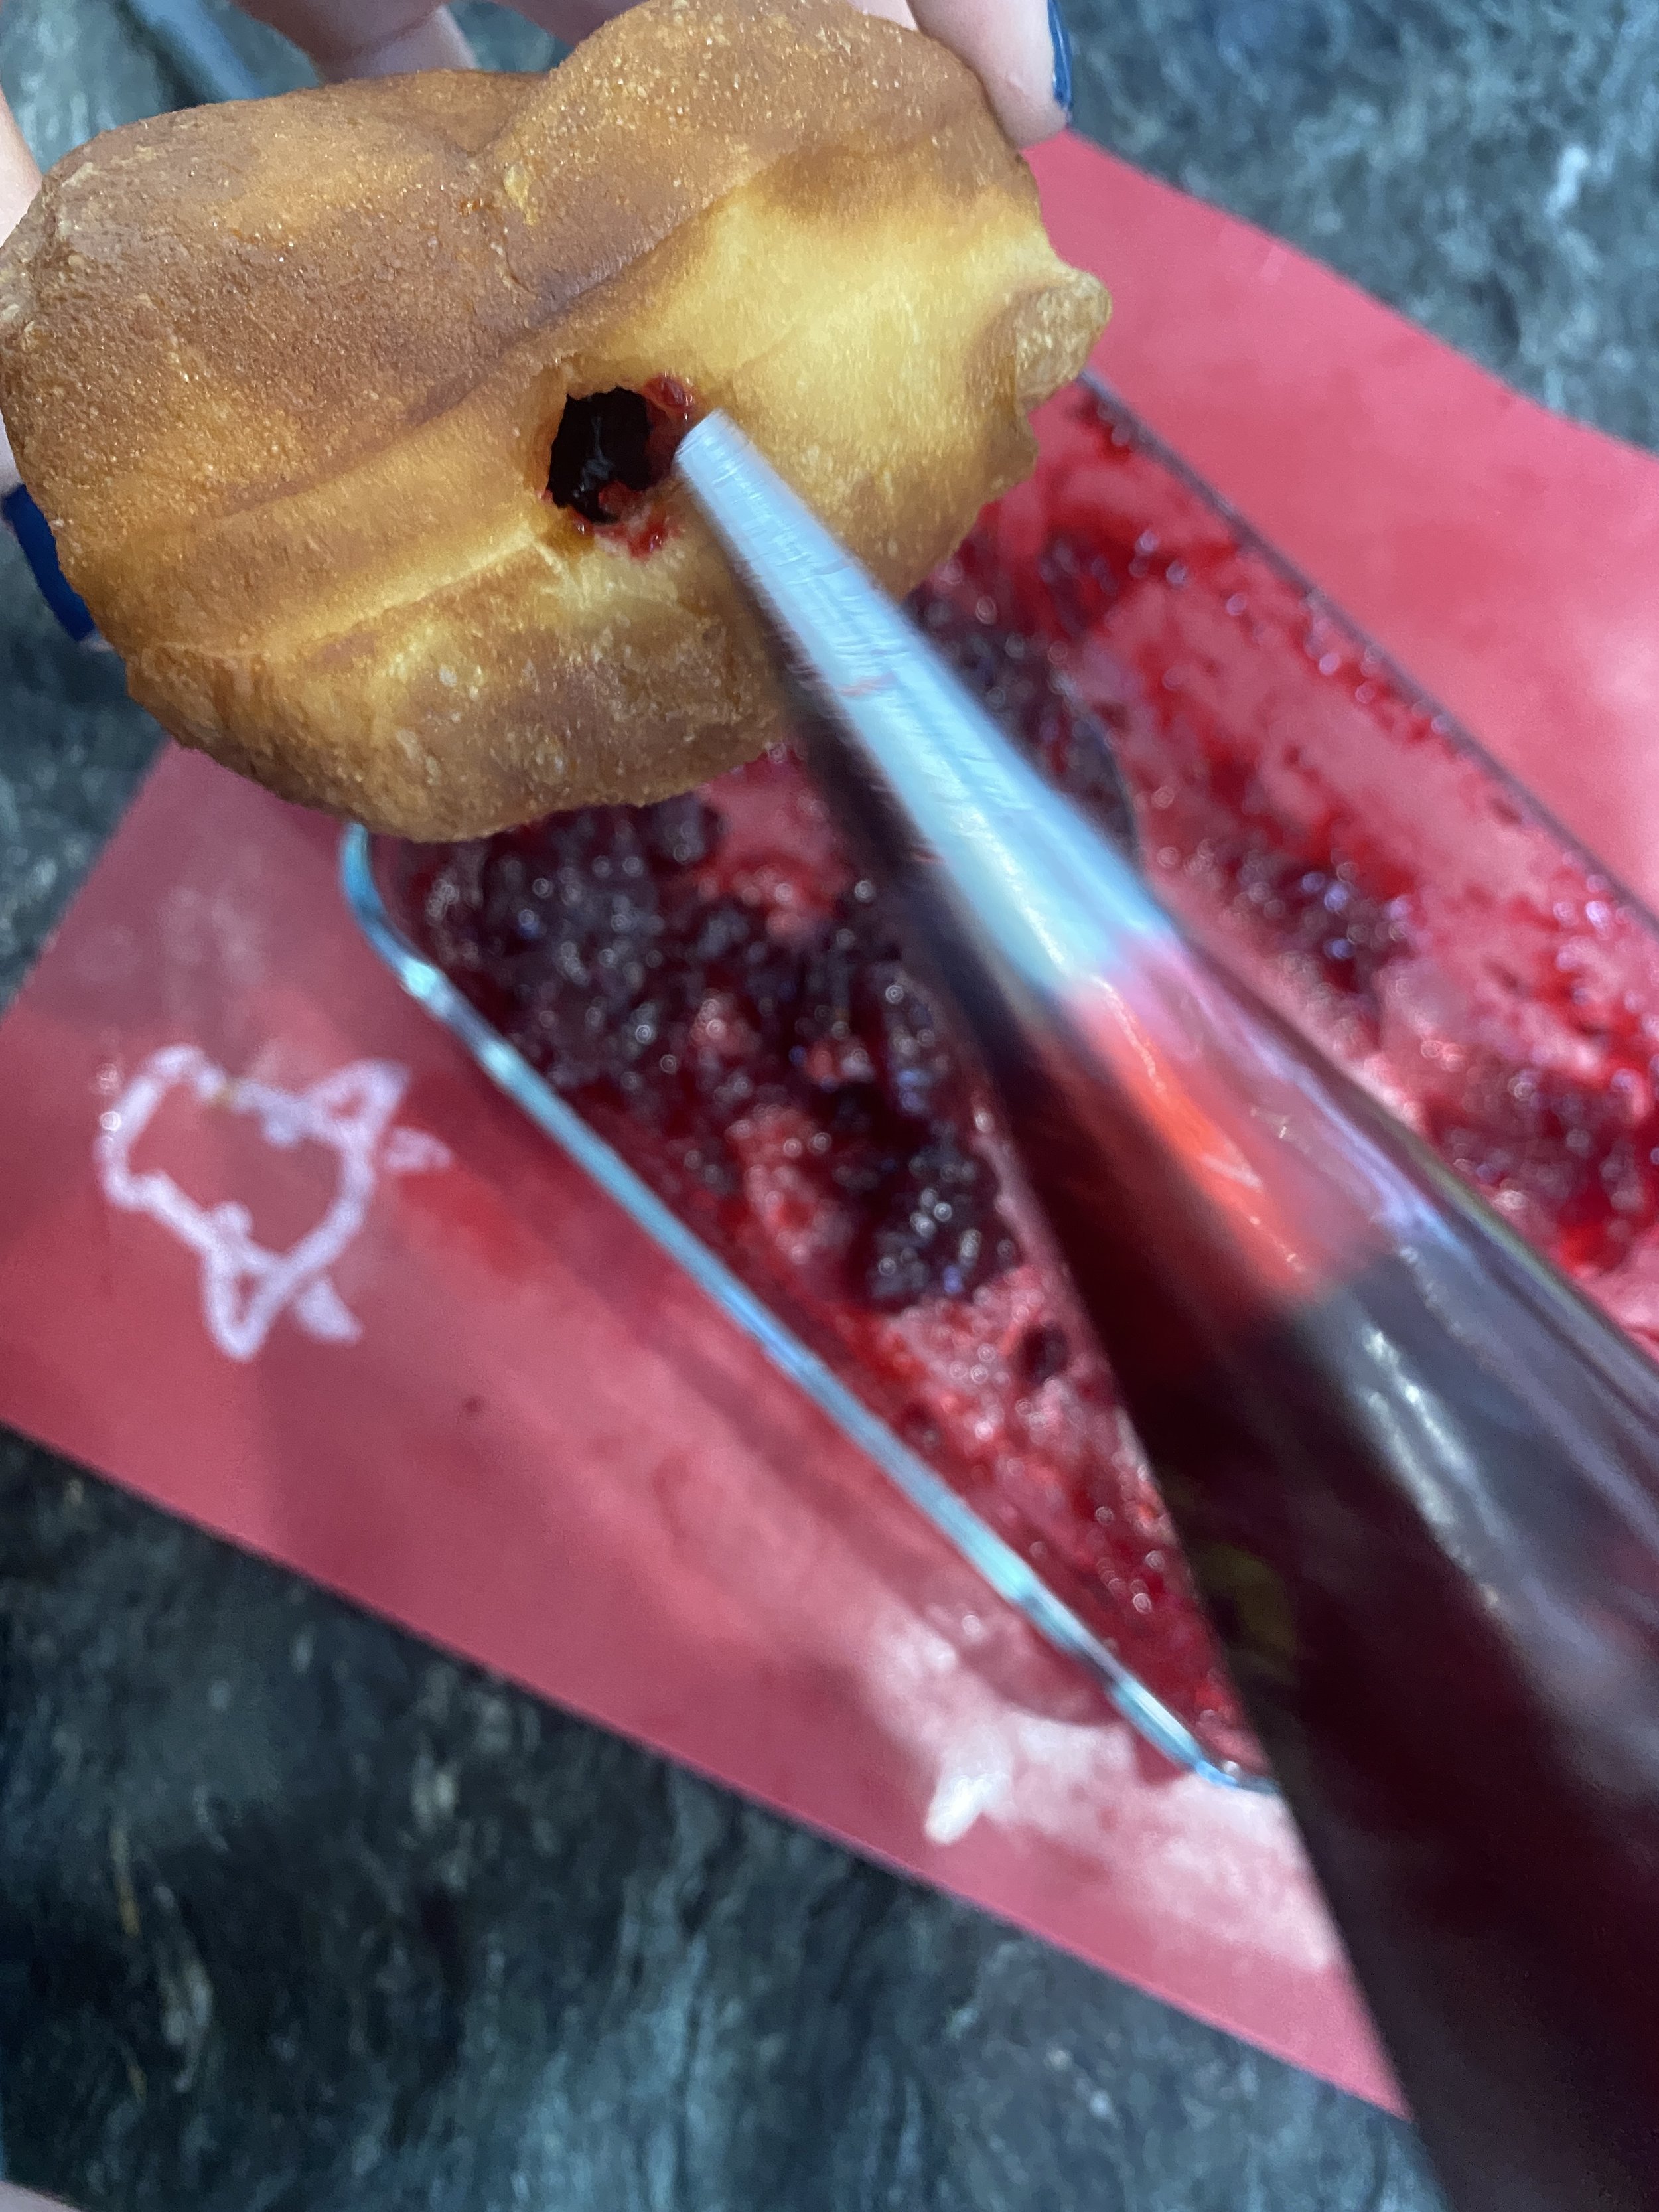
  8. Allow donuts to cool on a wire cooling rack, placed on top of a paper-towel-lined cookie sheet. Once donuts have cooled, use a long piping/filling tip (we used Witons 230 tip) or use a regular fat piping tip ( #12) and chop stick or skewer to poke a hole into the donut on one side. You can kind of turn the chop stick or skewer inside the donut to widen the hole. This is making room for the jelly. You want to make sure you have created enough room for a good amount of filling .

  9. Fit a piping bag fitted with a filler tip or a large piping tip, and fill with cranberry sauce. I will warn if using a filling tip the cranberry skins will tend to clog it, I had to use a skewer to unclog it every couple of donuts, a large piping tip should not clog as much but the filler tip is easy to use since it is long enough to get to the center of the donut without having to create a hole with a chopstick. Fill each donut with the cranberry sauce.

  10. Mix the 3 cups of powdered sugar with zest from half of an orange and remaining vanilla extract. Using a few teaspoons of milk at a time, mix the frosting for the donuts. I like a thick frosting that needs to be applied with a spreader. You are looking for a cake frosting consistency.

  11. Spread frosting on each donut and top with a candied cranberry. Store in the fridge or at room temperature in an air tight container.

If you like this recipe, try these:

Vegan Jelly Donut

Vegan Jelly Donut

Vegan Maple Bacon Donut

Vegan Maple Bacon Donut

Vegan Key Lime Donut

Vegan Garlic Challah Rolls

Garlic Challah Rolls

You probably already know that I bake lot of vegan challah. I talk about it constantly and have quite a few recipes for challah on the site!

It’s the perfect fluffy bread in my opinion. But, the dough is also pretty perfect for things like these vegan garlic challah rolls. Instead of baking up 2 loaves of bread with the dough, you get a giant batch of rolls!! You can make them bigger and use them for sandwiches, or make them smaller, like little garlic knots to serves with pasta or a nice dinner salad.

These are perfect for entertaining as well. It’s easier to grab a roll at a party then cut a slice of challah! These challah rolls will also freeze well, so you can save half the batch for later!! Freezable recipes for easy meal prep are always my favorite kind!

Challah Y’all for all things challah!


INGREDIENTS:

  • 4 cups all purpose flour

  • 1 1/4 cup aquafaba (measure the whipped product)

  • 1/3 cup sugar

  • 1/2 cup oil (I use grape seed but you can use any neutral oil you like)

  • 4 1/2 teaspoons dry active yeast

  • 1 tablespoon sugar

  • 1 tablespoon salt

  • 1 cup hot water. I just use hot water from the tap, you don't want it too hot or the yeast will die and it will not activate.

Garlic Butter:

  • 1/4 cup melted vegan butter

  • 3 teaspoons minced garlic

  • 1 teaspoon dried parsley


COOKING INSTRUCTIONS:

  1. In a large glass bowl mix hot water, yeast, and 1 tablespoon sugar

  2. Let the that sit for 10 minutes to activate, or until the mixture is super foamy at the top.

  3. In a stand mixer add the yeast mixture, aquafaba, sugar, oil, salt, and 2 cups of flour. (you can mix by hand, just mix the above, and add remaining flour slowly. You will need to knead it for the same amount of time. It's a good workout though!

  4. Mix until all of the ingredients are incorporated then add in the remaining flour. I typically will hand mix the first 2 cups of flour in, or use my paddle attachment and replace with the dough hook when I add the remaining flour.

  5. The dough should come together and not be sticky, if it seems sticky you can add 1/4 more flour a little at at time until the dough comes together. Your goal is smooth, and elastic-y dough, not sticky.

  6. Let the dough kneed in the mixer on low/medium speed for 10 minutes. The dough should be smooth at this point and have a sort of bounce back if you poke it.

  7. Form dough into a nice ball, and place in a lightly greased glass bowl. Cover the bowl with a damp kitchen towel, and place inside your oven turned off, OR on the bread proof setting if your oven has one.

  8. Bring a small pot of water to a boil and place in the bottom of the oven. The heat and steam from the water will help the dough to rise.

  9. Let dough rise about an hour, or until the dough has doubled in size.

  10. Remove dough from oven, and on a clean lightly floured work surface, divide the dough in half. Evenly divided each half into 8 pieces for dinner rolls, or you can divide each half into 16 pieces if you would like to make smaller garlic knots. Roll each piece of challah into a about a 6 inch rope. Criss cross the rope tucking one end into the the center to knot it, then tucking the ends under the roll.

  11. Place the rolls on 2 cookie sheets, and cover with a damp towel. You don't want the rolls touching or they will stick together as they bake. Place challah back in the oven and allow the rolls to rise again for about an hour.

  12. Once the rolls have risen, remove from oven, and preheat oven to 350 degrees.

  13. Mix the melted butter, minced garlic, and parsley in a bowl. Generously brush the mixture over each of the rolls after they have risen.

  14. The rolls will need to bake around 15- 20 minutes, depending on the oven. Keep an eye on them and once they begin to brown all over, give them a tap with your finger. If they sound hallow, they are done! if you have any leftover butter and garlic mix you can give them another brush mid bake.

  15. Let the rolls cool on a wire cooling rack before serving.

If you like this recipe, try these:

Vegan Pretzel Buns

Vegan No Rise Hamburger Buns

Easy Vegan Sandwich Bread

Garlic Challah Rolls

vegan garlic butter challah rolls!

Soft Vegan Challah Pretzels with Vegan Cheese Sauce

IMG_9578.jpg

Bread, in any an all forms is my favorite food.

I had to do a brief stint gluten free when our last daughter was born and we were trying to sort out her allergies. I actually had to give up dairy, wheat, and soy and it was giving up bread that did me in. I never touched dairy again, but bread, she’s my love language.

So obviously I needed to sort out an easy and delicious vegan soft pretzels recipe pretty quickly because soft pretzels are in my top 5 favorite breads. I mean come on, they are buttery, salty, soft, warm perfection.

I decided our vegan challah dough would work perfectly for creating the perfect vegan soft pretzel and I wasn’t wrong.

Don’t be intimidated by the aquafaba. It’s just bean cooking liquid and if you whip it up it acts like egg whites, which works really well in place of eggs in baked good!! I typically just use a can of chickpea liquid but any canned bean liquid will work!

And the cheese sauce!! Don’t forget the cheese sauce! There are only two suitable pretzel dips as far as I am concerned, spicy mustard or cheese sauce. Period. No further discussion on the matter. So I have added a recipe for a really quick and easy vegan cheddar cheese sauce in case you are not in a mustard mood! You are welcome.

So go make some soft pretzels! I promise your friends or family will be happy to help you eat them, or you can hoard them for yourself. I won’t judge you!


INGREDIENTS:

  • 4 cups all purpose flour

  • 1 1/4 cup whipped aquafaba (measure the whipped product, not the bean liquid)

  • 1/3 cup sugar

  • 1/2 cup oil (I use grape seed but you can use any neutral oil you like)

  • 4 1/2 teaspoons dry active yeast

  • 1 tablespoon sugar

  • 1 tablespoon salt

  • 1 cup hot water. I just use hot water from the tap, you don't want it too hot or the yeast will die, and it will not activate

  • 2 tablespoons baking soda ( This is for the water you dip the pretzels dough in before baking)

Cheese Sauce:

  • 1/2 cup cashews

  • 1 cup water

  • 2 tablespoons nutritional yeast

  • 1/2 teapsoon tumeric

  • 1/2 teaspoon smoked paprkia

  • 1 teapsoon dijon mustard

  • 2 1/2 tablespoons tapioca starch

  • 1 teaspoons light miso paste

  • 2 teaspoons apple cider vinegar

COOKING INSTRUCTIONS:

  1. In a large glass bowl mix hot water, yeast, and 1 tablespoon sugar.

  2. Let the that sit for 10 minutes to activate, or until the mixture is super foamy at the top.

  3. In a stand mixer add the yeast mixture, aquafaba, sugar, oil, salt, and 2 cups of flour. (you can mix by hand, just mix the above, and add remaining flour slowly. You will need to knead it for the same amount of time. It's a good workout though!

  4. Mix until all of the ingredients are incorporated, then add in the remaining flour. I typically will hand mix the first 2 cups of flour in, or use my paddle attachment and replace with the dough hook when I add the remaining flour.

  5. The dough should come together and not be sticky, if it seems sticky you can add 1/4 more flour a little at at time until the dough comes together. Your goal is smooth, and elastic-y dough, not sticky.

  6. Let the dough kneed in the mixer on low/medium speed for 10 minutes. The dough should be smooth at this point and have a sort of bounce back if you poke it.

  7. Form dough into a nice ball, and place in a lightly greased glass bowl. Cover the bowl with a damp kitchen towel, and place inside your oven turned off, OR on the bread proof setting if your oven has one.

  8. Bring a small pot of water to a boil and place in the bottom of the oven. The heat and steam from the water will help the dough to rise.

  9. Let dough rise about an hour, or until the dough has doubled in size.

  10. Remove dough from bowl and split in half. Next, evenly divide each half into 8 equal pieces.

  11. Rolling the dough pieces between both hands, form ropes that are about 12 inches long with each piece of dough.

  12. Take each rope and make a U shape. Take the tops of the U, cross then twist them once. Now bring the crossed dough over the bottom of the U. ( the pictures will help if this is confusing.)

  13. Allow pretzels to rest for about 15 mintues. While this is happening bring a large pot of water to a boil. Preheat oven to 400 degrees. Once pretzels are done resting, add 2 tablespoons of baking soda to the water.

  14. Add pretzels 2-3 at a time into the water for about 30 seconds. You will need to flip them half way through. Just use a slotted spoon and gently turn them over in the water. Return them to a parchment lined cookie sheet once they come out of the water.

  15. Brush pretzels with leftover aquafaba, and sprinkle with some corse sea salt before putting in the oven.

  16. Bake pretzels for 15- 20 minutes. I normally move my top rack to the highest position for this. That way they get nice a brown. You will need to keep a close eye on them, and if they brown really quickly, move them to a lower rack for the remainder of the bake time.

  17. Once done allow to cool on pan while you prepare the cheese sauce.

Cheese sauce:

  1. Place cashews in microwave safe container and cover with water. Microwave for 3 minutes.

  2. Drain water from cashews, then add all ingredients to a high speed blender or food processor.

  3. Blend until completely smooth.

  4. Pour mixture into a pot, and cook on medium heat, stirring the WHOLE time with a whisk.

  5. As soon as the cheese starts to thicken remove from heat. If it gets to thick, add a little more water and it will thin back out.


Cheese sauce will last about a week in the fridge, pretzels can be stored in airtight container at room temperature.

Yields 16 pretzels