Deli Meats

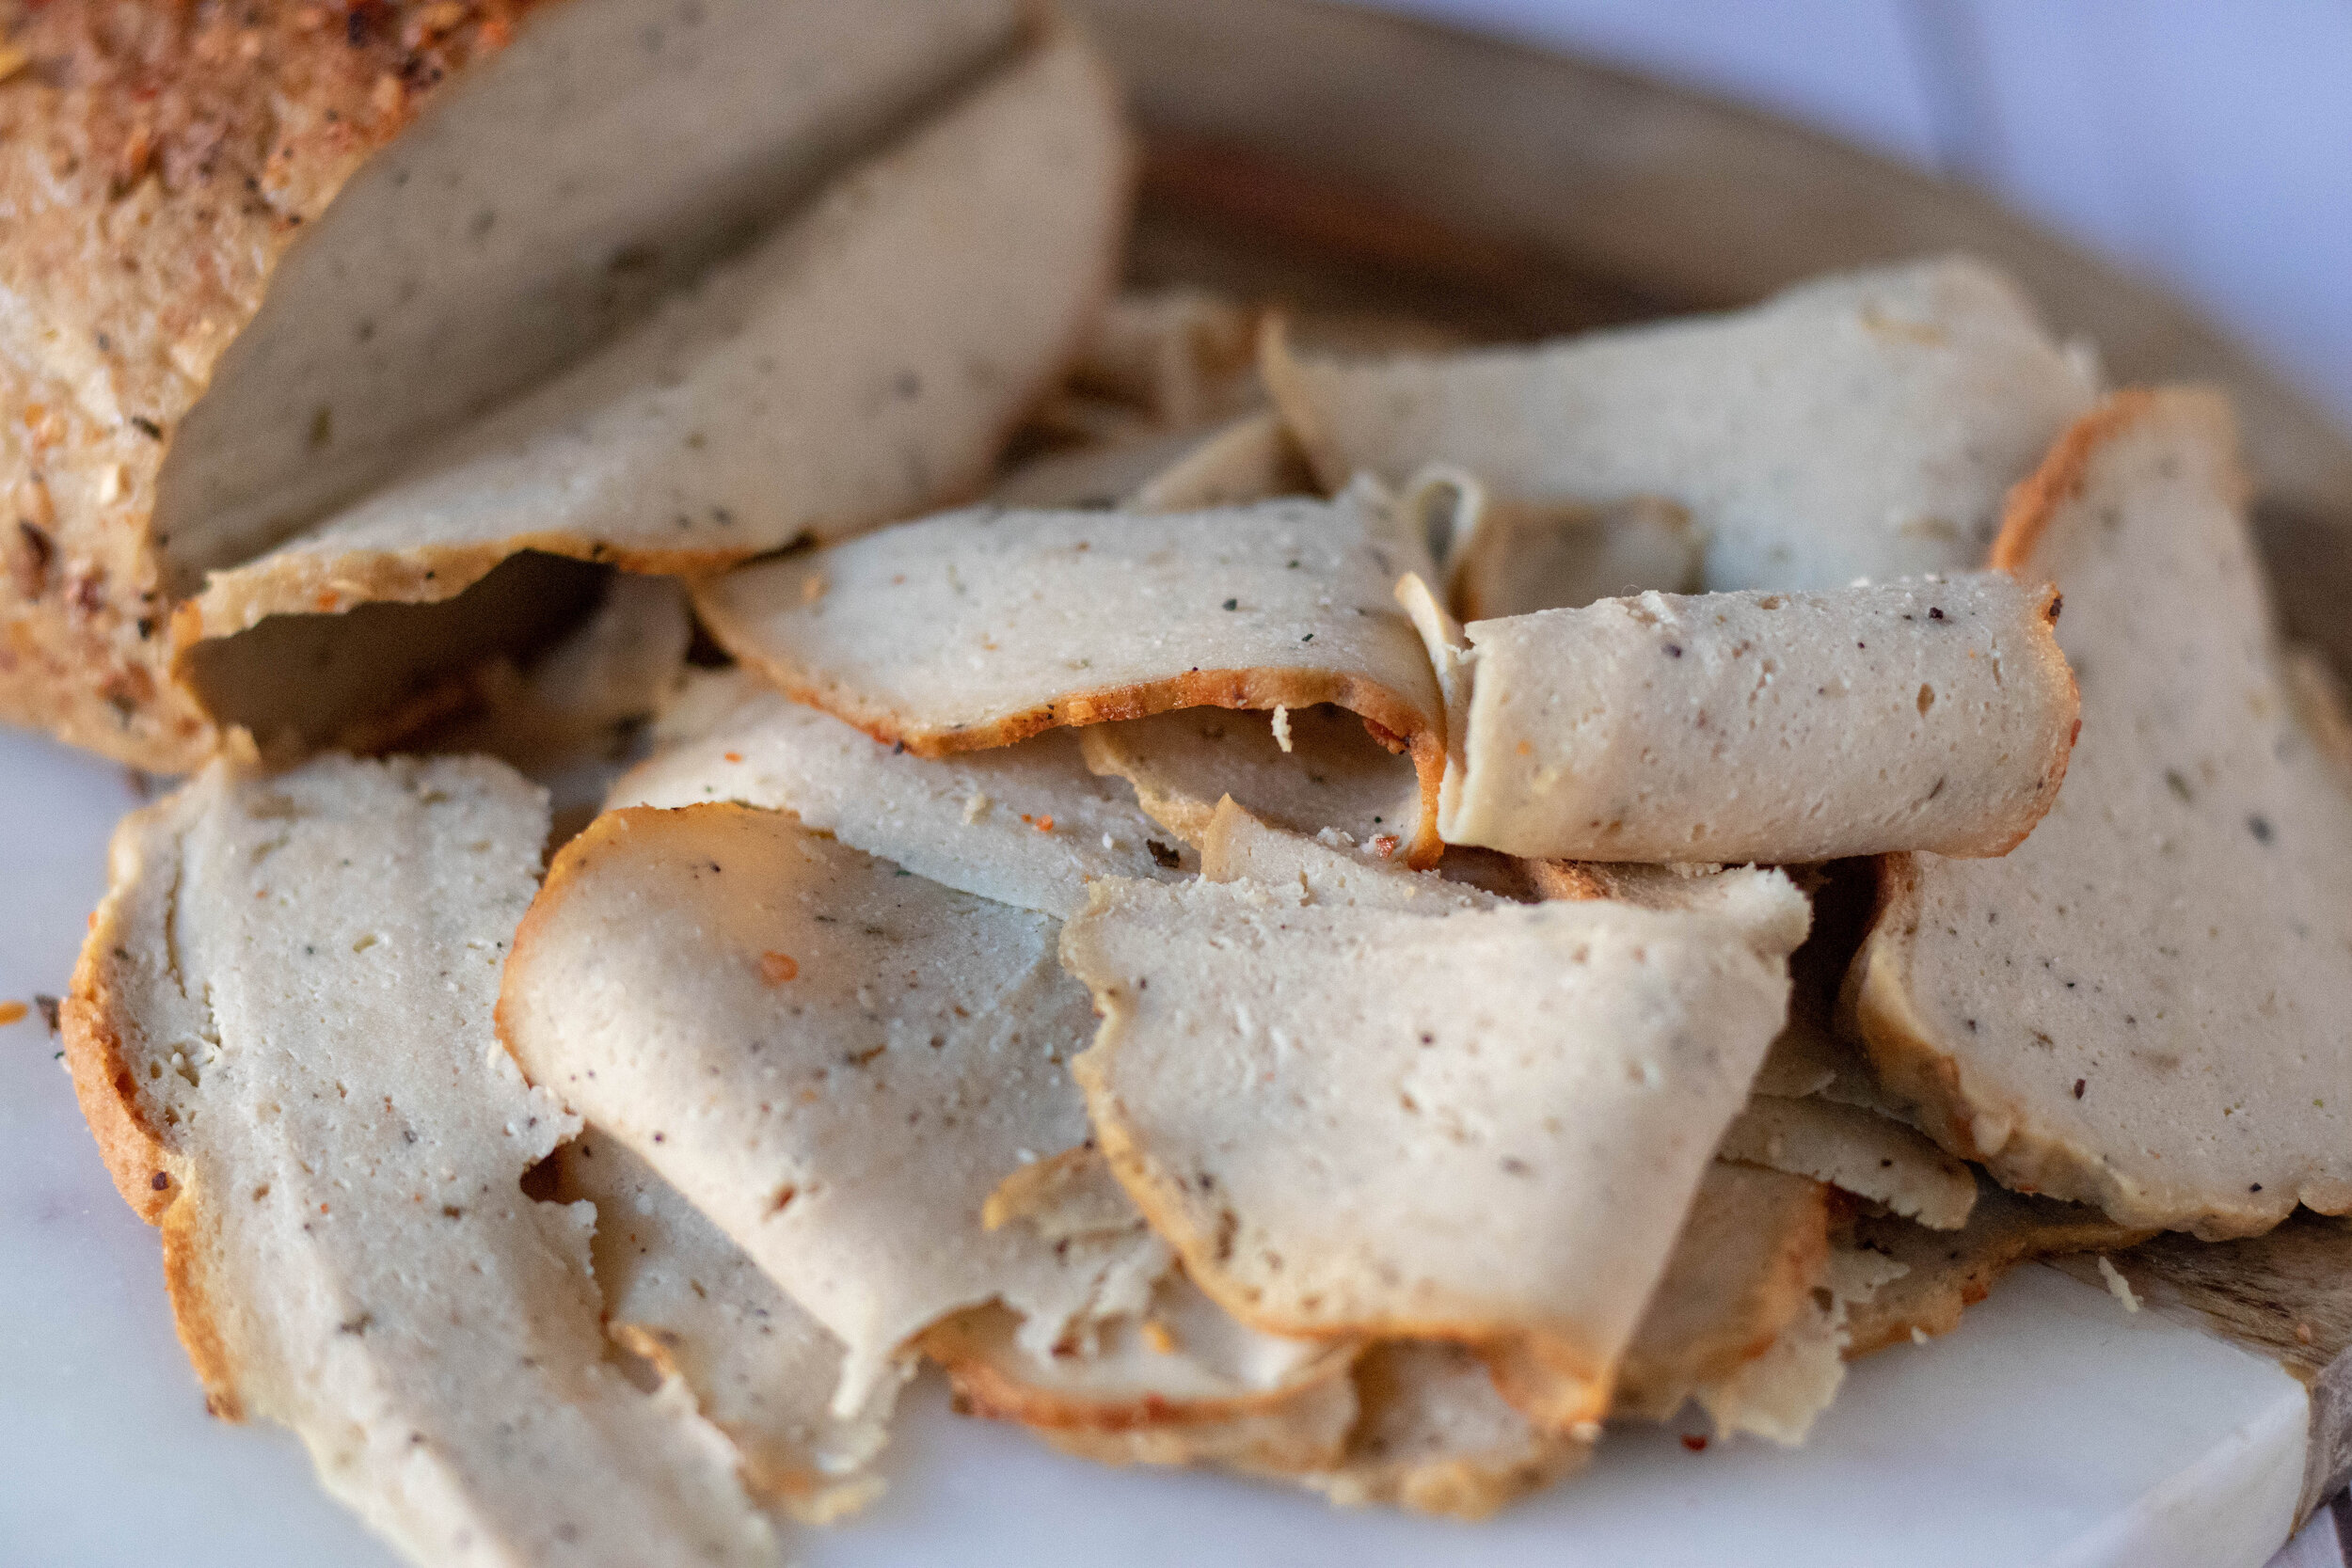
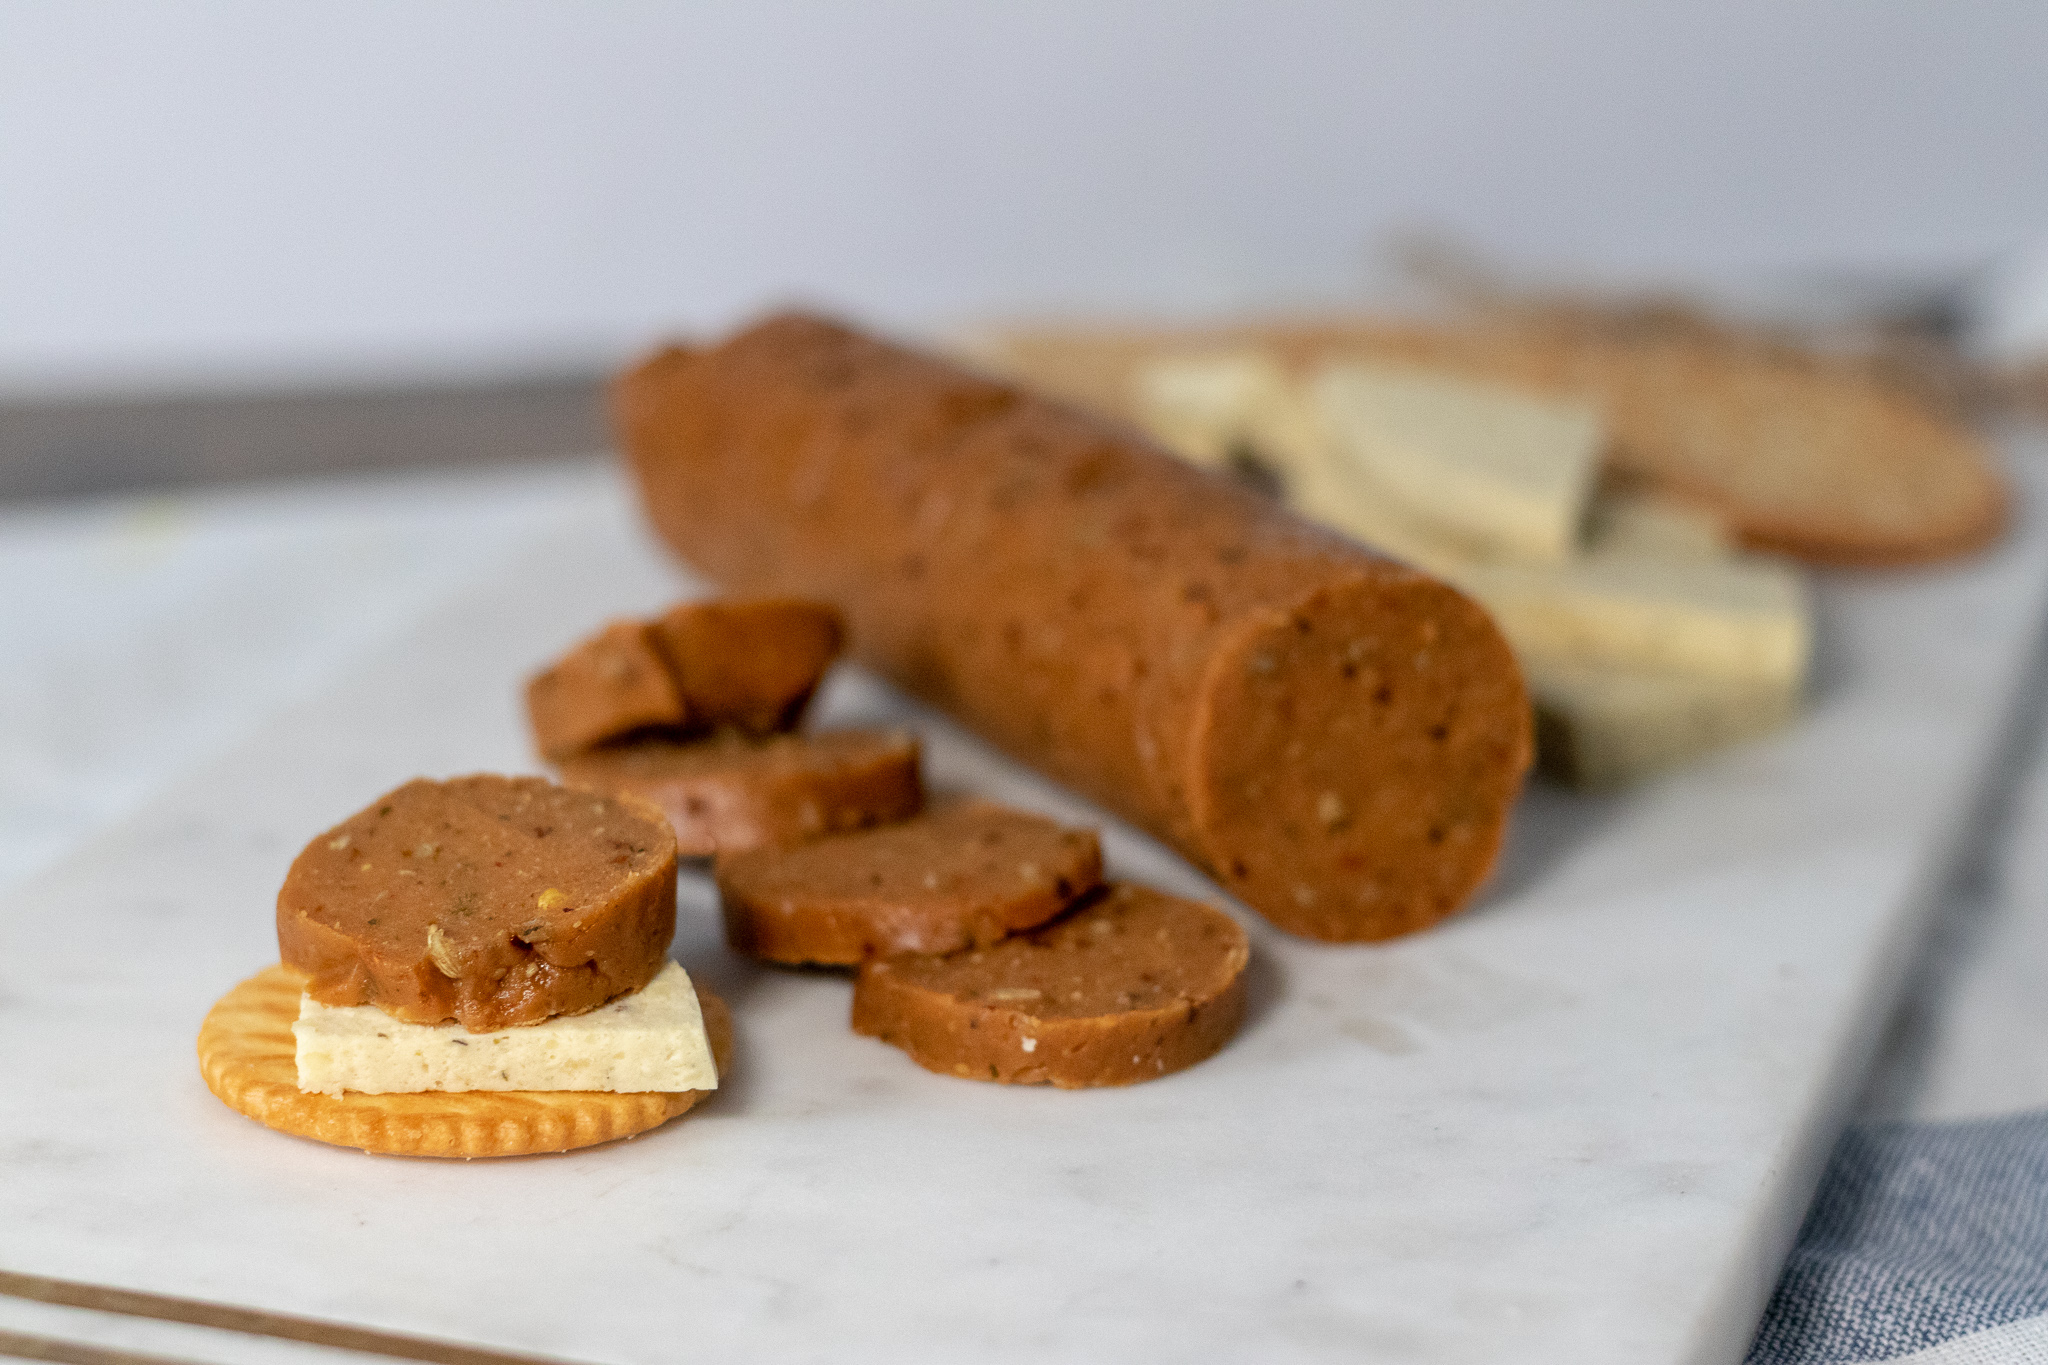
Vegan Buffalo Deli Turkey

IMG_2529.jpg

I make a lot of seitan based vegan meats.

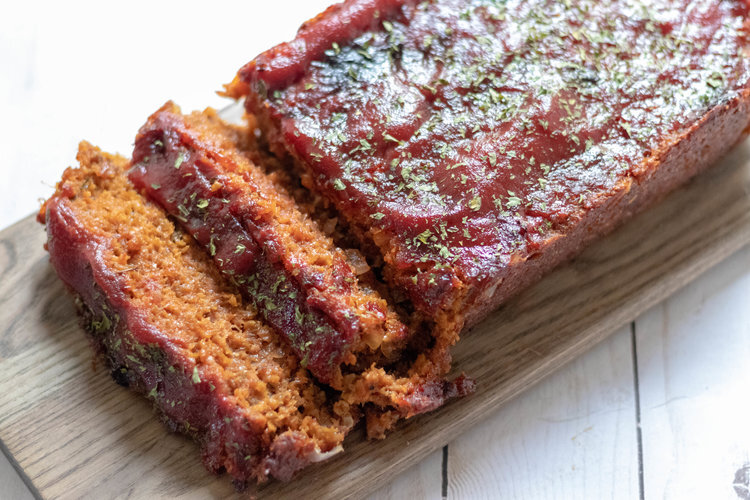
I have recipes for a holiday roast, holiday turkey style breast with crispy skin, chicken breast, pastrami, brisket, and even pepperoni. But until I made our original deli turkey I had never added tofu to the mix.

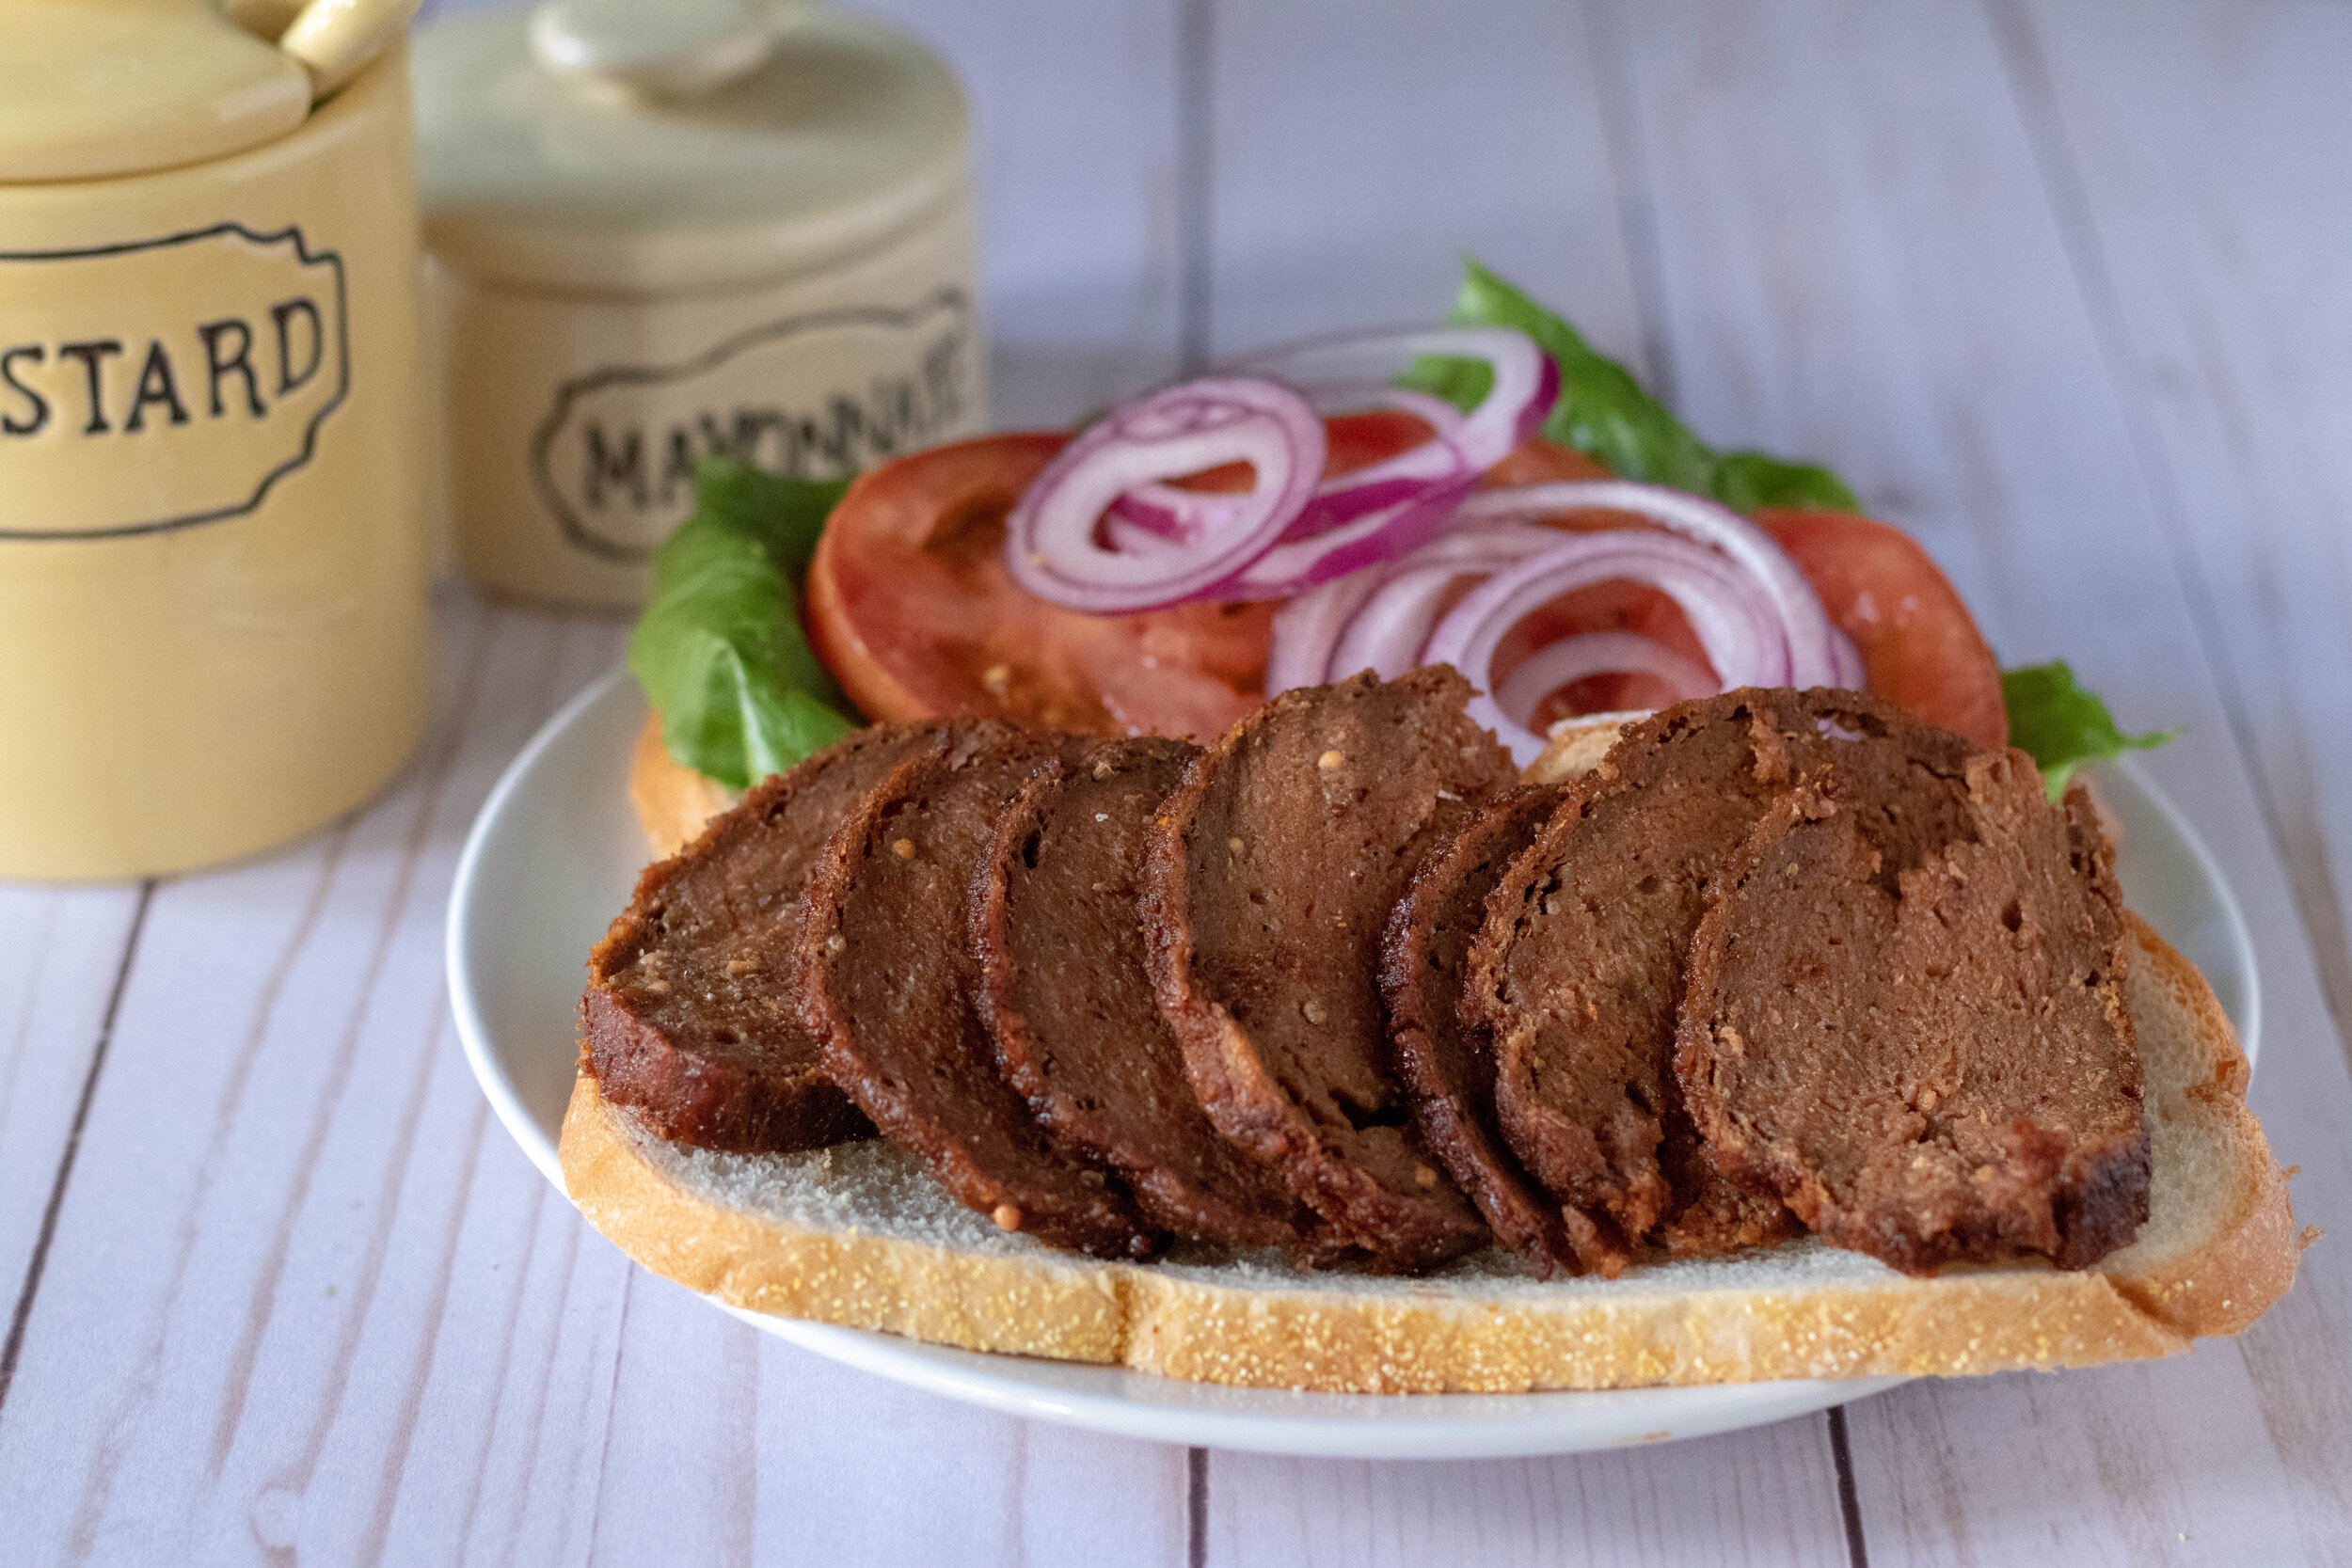
If there was ever a sandwich I missed since going vegan it is a regular old turkey sandwich. I used to love a good deli carved turkey sandwich more than almost anything. So I decided I would try to add tofu to my regular turkey style breast recipe to see if I could get it to a more deli sliced texture.

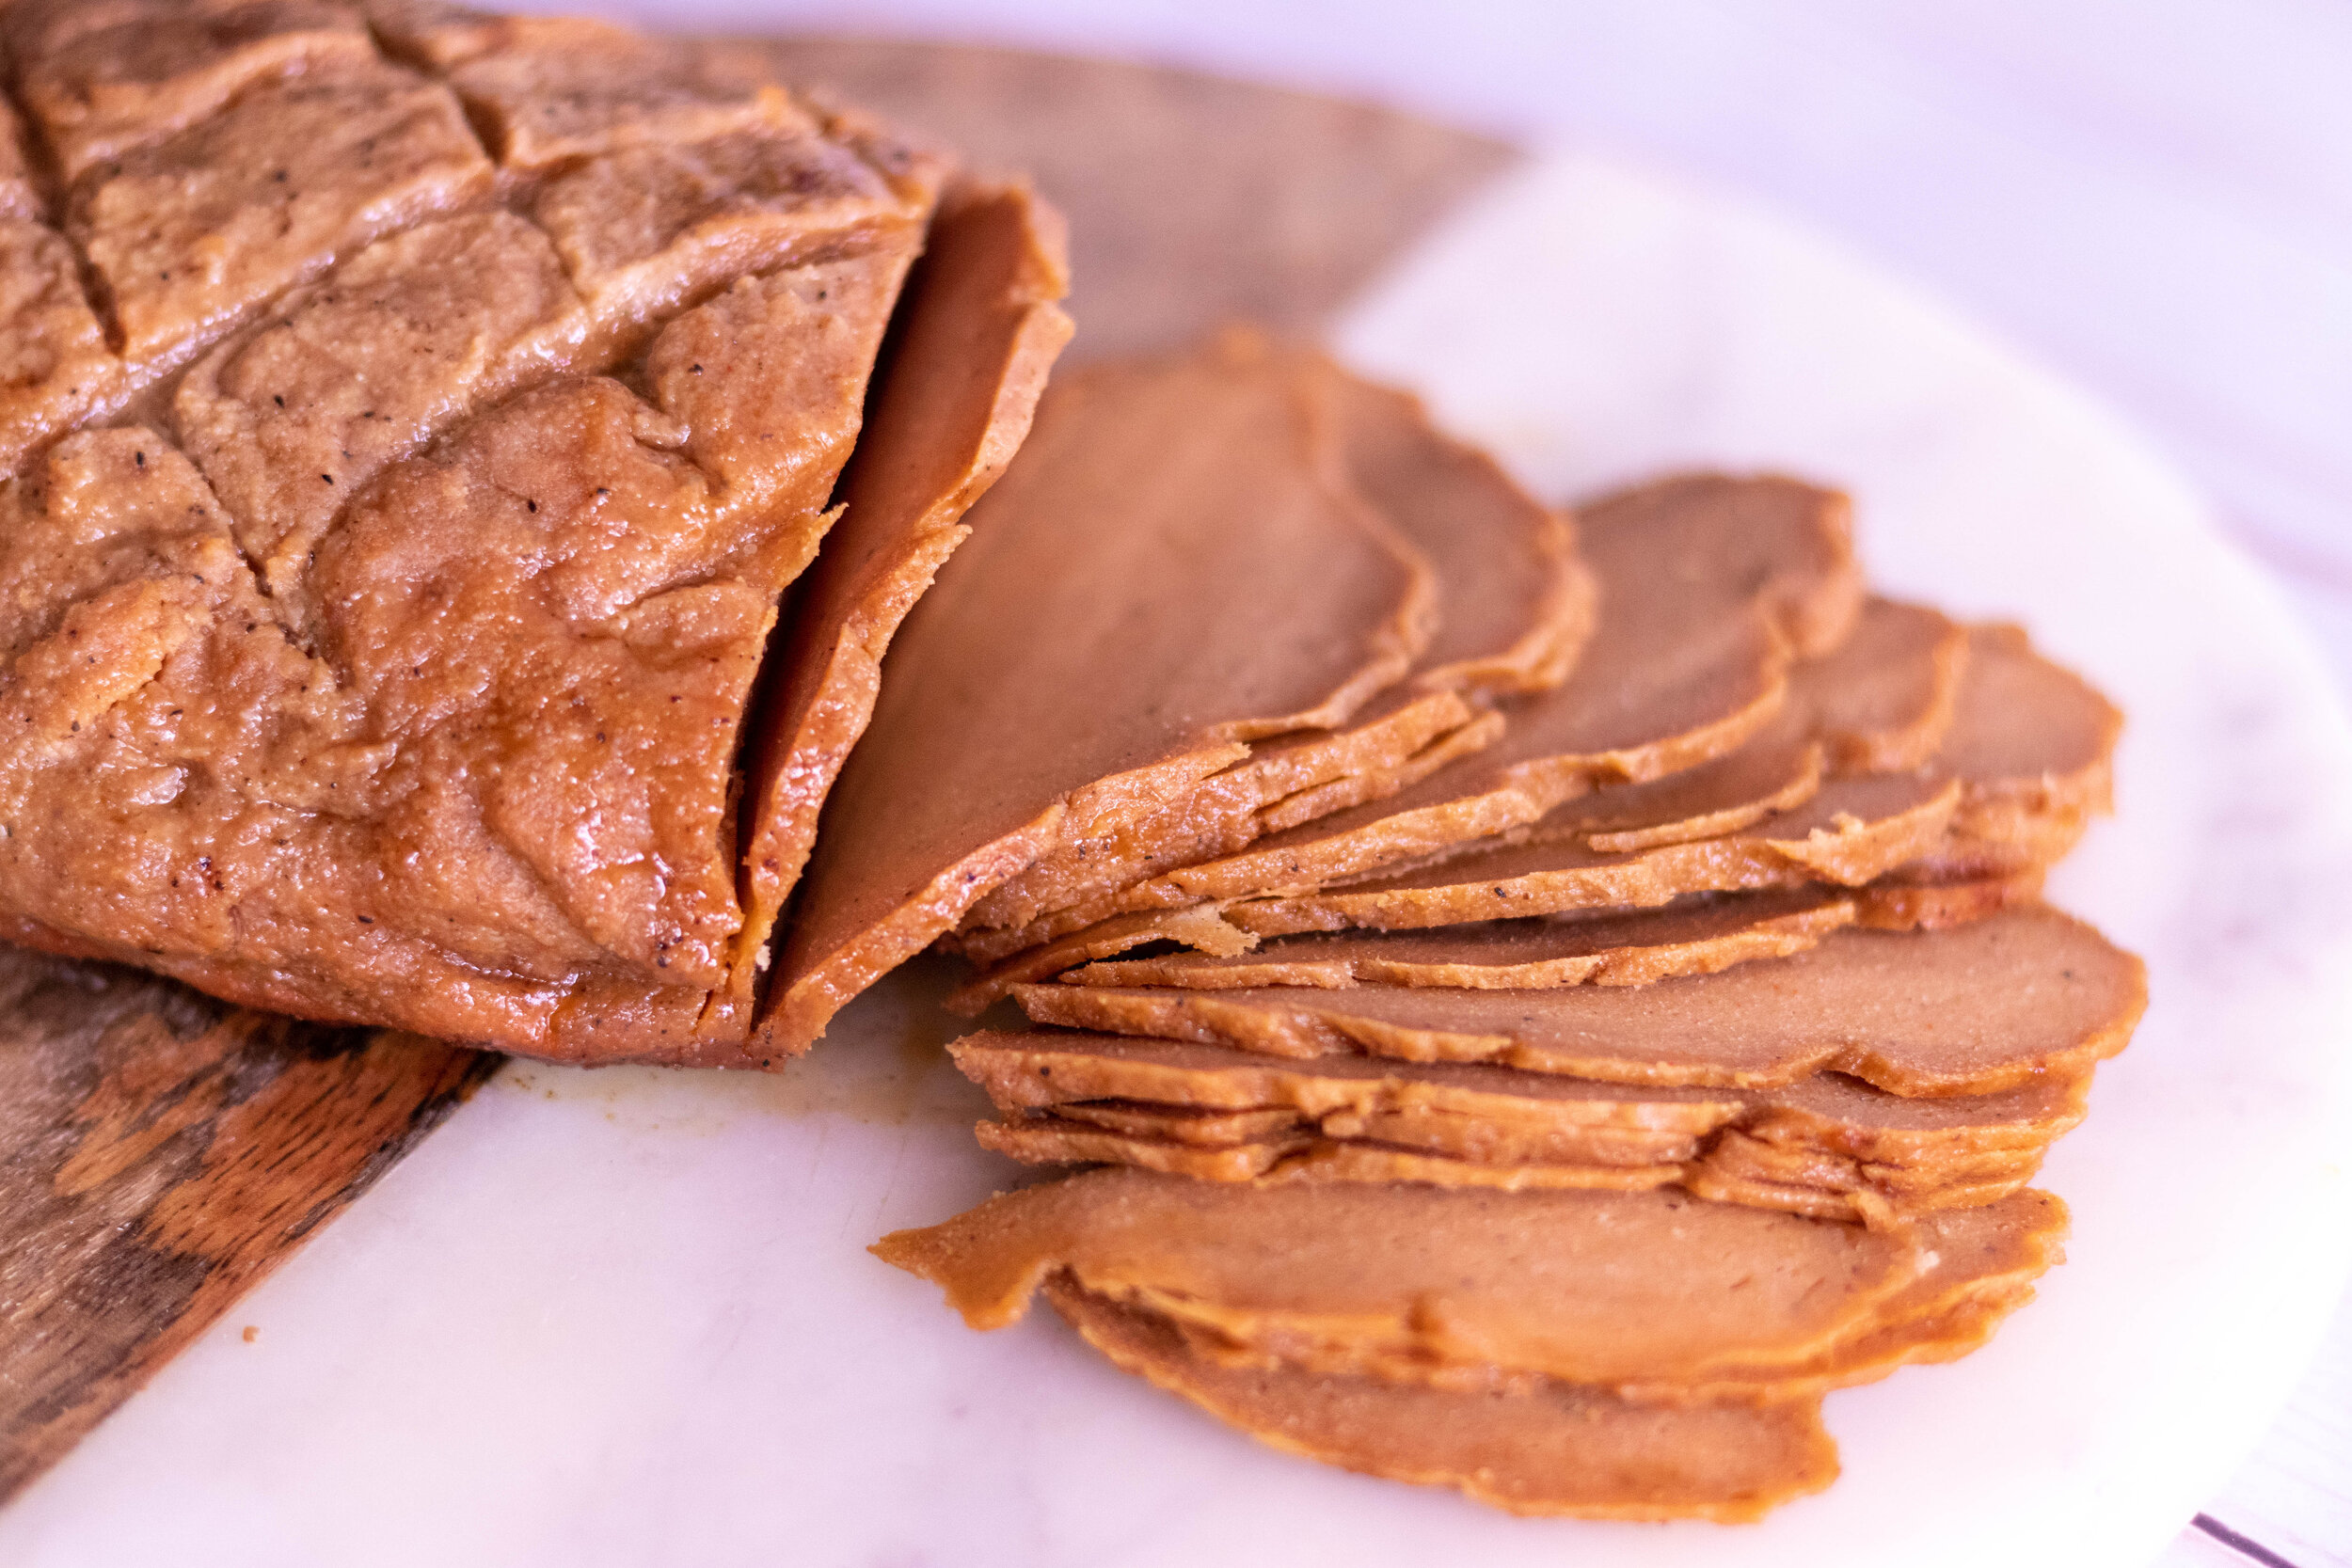
Y’all, the answer is YES! I have seen other people adding tofu to seitan recipes, and obviously Tofurkey lunch slices are a mix of tofu and vital wheat gluten so I decided to give it a go. It only took one experiment and it came out pretty perfect the first time. I was elated.

IMG_2552.jpg

Even my husband who normally passes on vital wheat gluten recipes loves it! I was so excited that I made sandwiches to take to my Mah Jong group, i’m sure I have mentioned my Mah Jong group before. Y’all, side note: learn to play Mah Jong, it’s SO FUN!! Sorry back to the point of this! They were skeptical at first but everyone who tried it was floored and surprised by how good it was! Yay for my Mah Jong crew loving vegan meats!!

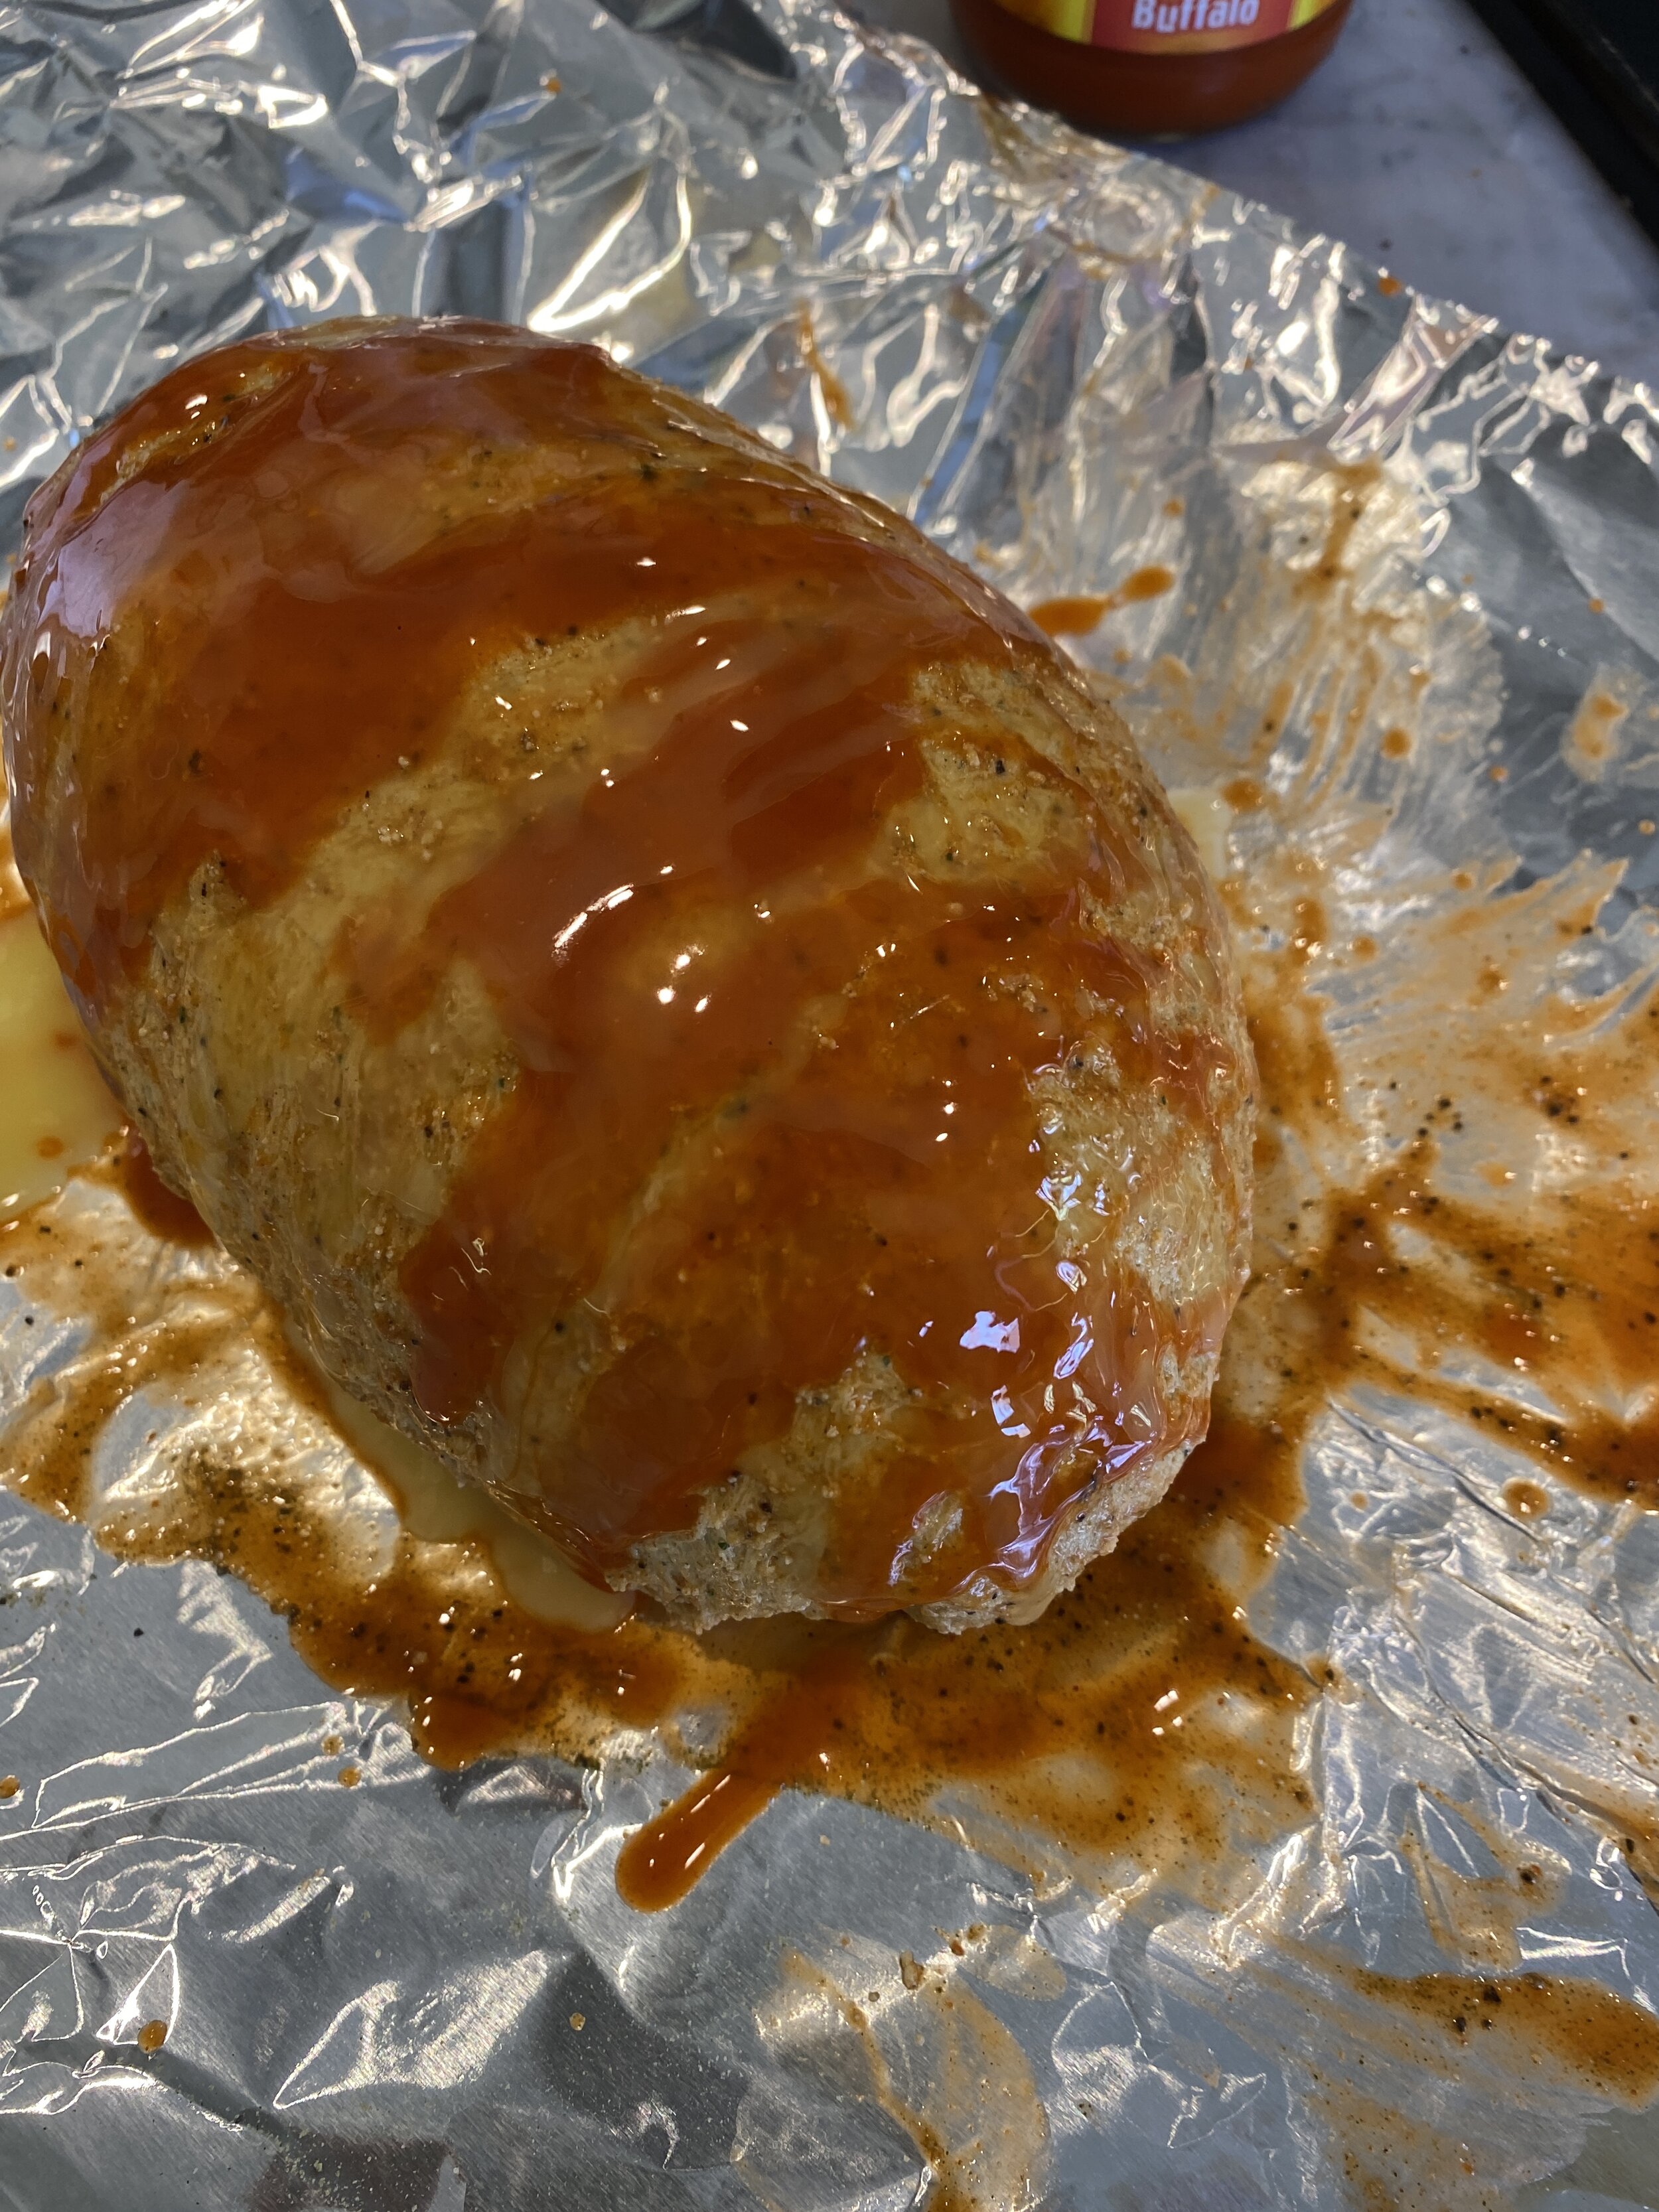
So after I created my original turkey recipe I have started playing with different rubs and spices. I am a sucker for any and all things buffalo and Franks Buffalo sauce is bought in bulk in this house. Why it took me so long to deicide to rub one of these bad boys down with some melted butter and Franks is beyond me but thank the heavens it finally occurred to me because OH MY GOSH, Y’ALL!!!!

If you are not into buffalo, check out our original deli sliced turkey recipe. Just as tasty but not spicy! But when the recipe tells you to LET IT REST IN THE FRIDGE, you have to muster all of your strength and patience and do as I say! You will not have the texture you want unless you “let the breast rest. “ So just cook it one night and let it sit in the fridge til the next day. And if you don’t let it rest and decide to dig right in, don’t message me and tell me it was not firm enough, not even joking.

So if you are missing some legit turkey but don’t want to eat an actual turkey, this is your answer! I promise, PROMISE, it will be worth your time and effort. Maybe just go ahead and make 2 at once!

IMG_2554.jpg

INGREDIENTS:

IMG_8062.JPG
  • 1 cup vital wheat gluten

  • 1 block extra firm high protein tofu (14oz -16oz block)

  • 1/2-3/4 cups water

  • 1/4 cup nutritional yeast

  • 2 tablespoons neutral flavored oil ( you can replace with water if you are oil free)

  • 2 tablespoons tapioca starch or corn starch

  • 2 teaspoons onion powder

  • 1-2 teaspoons garlic powder

  • 1/4 -1/2 teaspoon cayenne pepper

  • 1/2 teaspoon black pepper

  • 1 tablespoon No Chicken Better Than Bouillon, or any chicken-less bouillon cube or powder (if using cubes or powder just dissolve in with the water)

  • 1 teaspoon liquid smoke

  • 1 teaspoon salt optional if you feel like the bouillon is not salty enough

  • For the coating: 3 tablespoons up to 1/4 cup buffalo sauce, 1 teaspoon melted vegan butter ( we used Franks Buffalo sauce, it is vegan), plus 1/2 teaspoon garlic, and 1/2 teaspoon onion salt

  • A few teaspoons dried parsley (optional)

TROUBLESHOOTING THIS RECIPE:

*I used high protein tofu in a vacuum sealed package and this what I strongly advise using. It is much firmer than regular firm tofu and has less moisture and a more chewy texture. If you opt to use regular firm tofu you will need to press it first and remove as much liquid as possible. You may need to adjust the amount of water in the recipe as well. Add the water last, adding just enough to accomplish a firm dough.

  • *If you find your turkey has A LOT OF LITTLE HOLES, and a more BREAD LIKE TEXTURE this can be caused from under kneading the dough, BUT more likely cooking the seitan at too high of a temperature, or for too long. Check your ovens temperature with an oven thermometer. Your oven may just be cooking hotter than it registers. Also gas and electric ovens tend to cook differently. If you do not have an oven thermometer you can reduce the heat in your oven by 25 degrees, and keep the seitan covered for 50 minutes and open for 10.

INSTRUCTIONS:

Preheat oven to 350 degrees

  1. Break up the tofu and place it into a food processor with the regular metal blade. Run the processor for around a minute until the tofu is broken down.

  2. Add all of the remaining ingredients except the buffalo sauce and parsley and let the food processor run for a couple of minutes. You want the mixture to form a dough. Letting the processor run will help knead the dough. We want this seitan to be firm so we need it to knead for a bit. If you dough seems a bit too dry, you can add another few tablespoons of water, just don’t add too much more! I start at 1/2 cup and work from there.

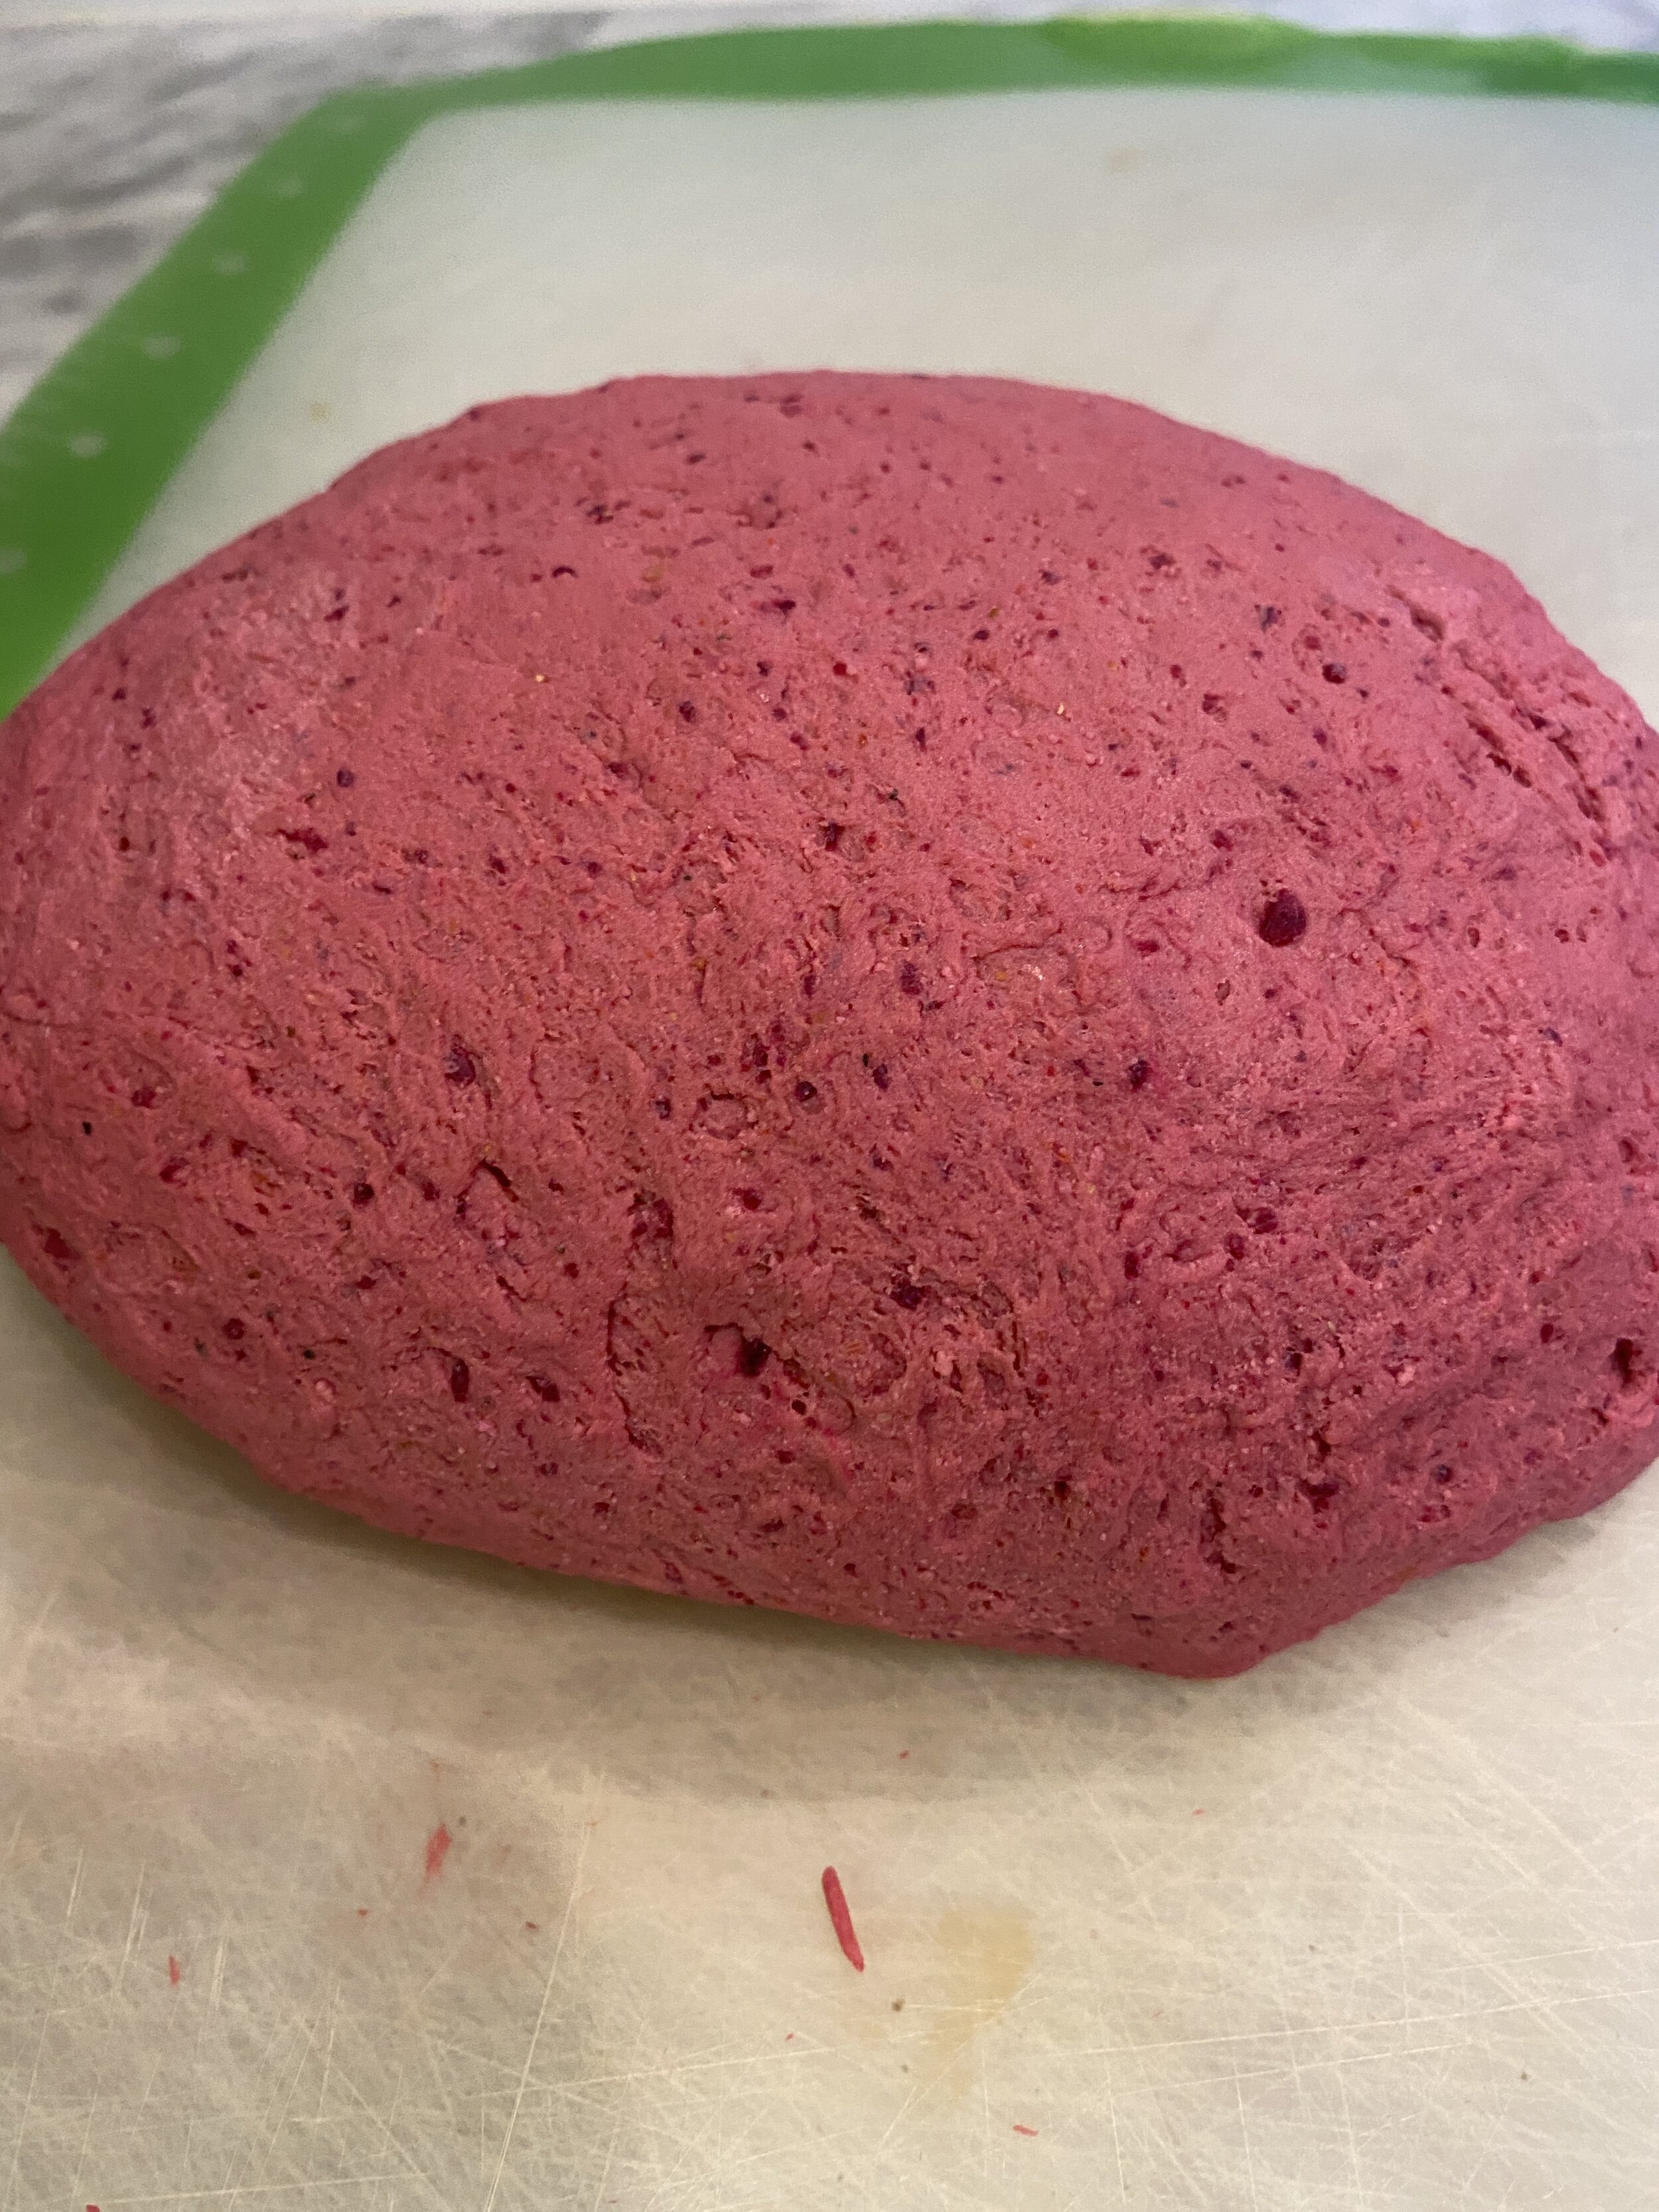
  3. Once you have a smooth but firm dough, remove it from the food processor and place on a clean counter. Knead the dough with your hands for about a minute, forming a kind of oval shaped loaf with the dough.

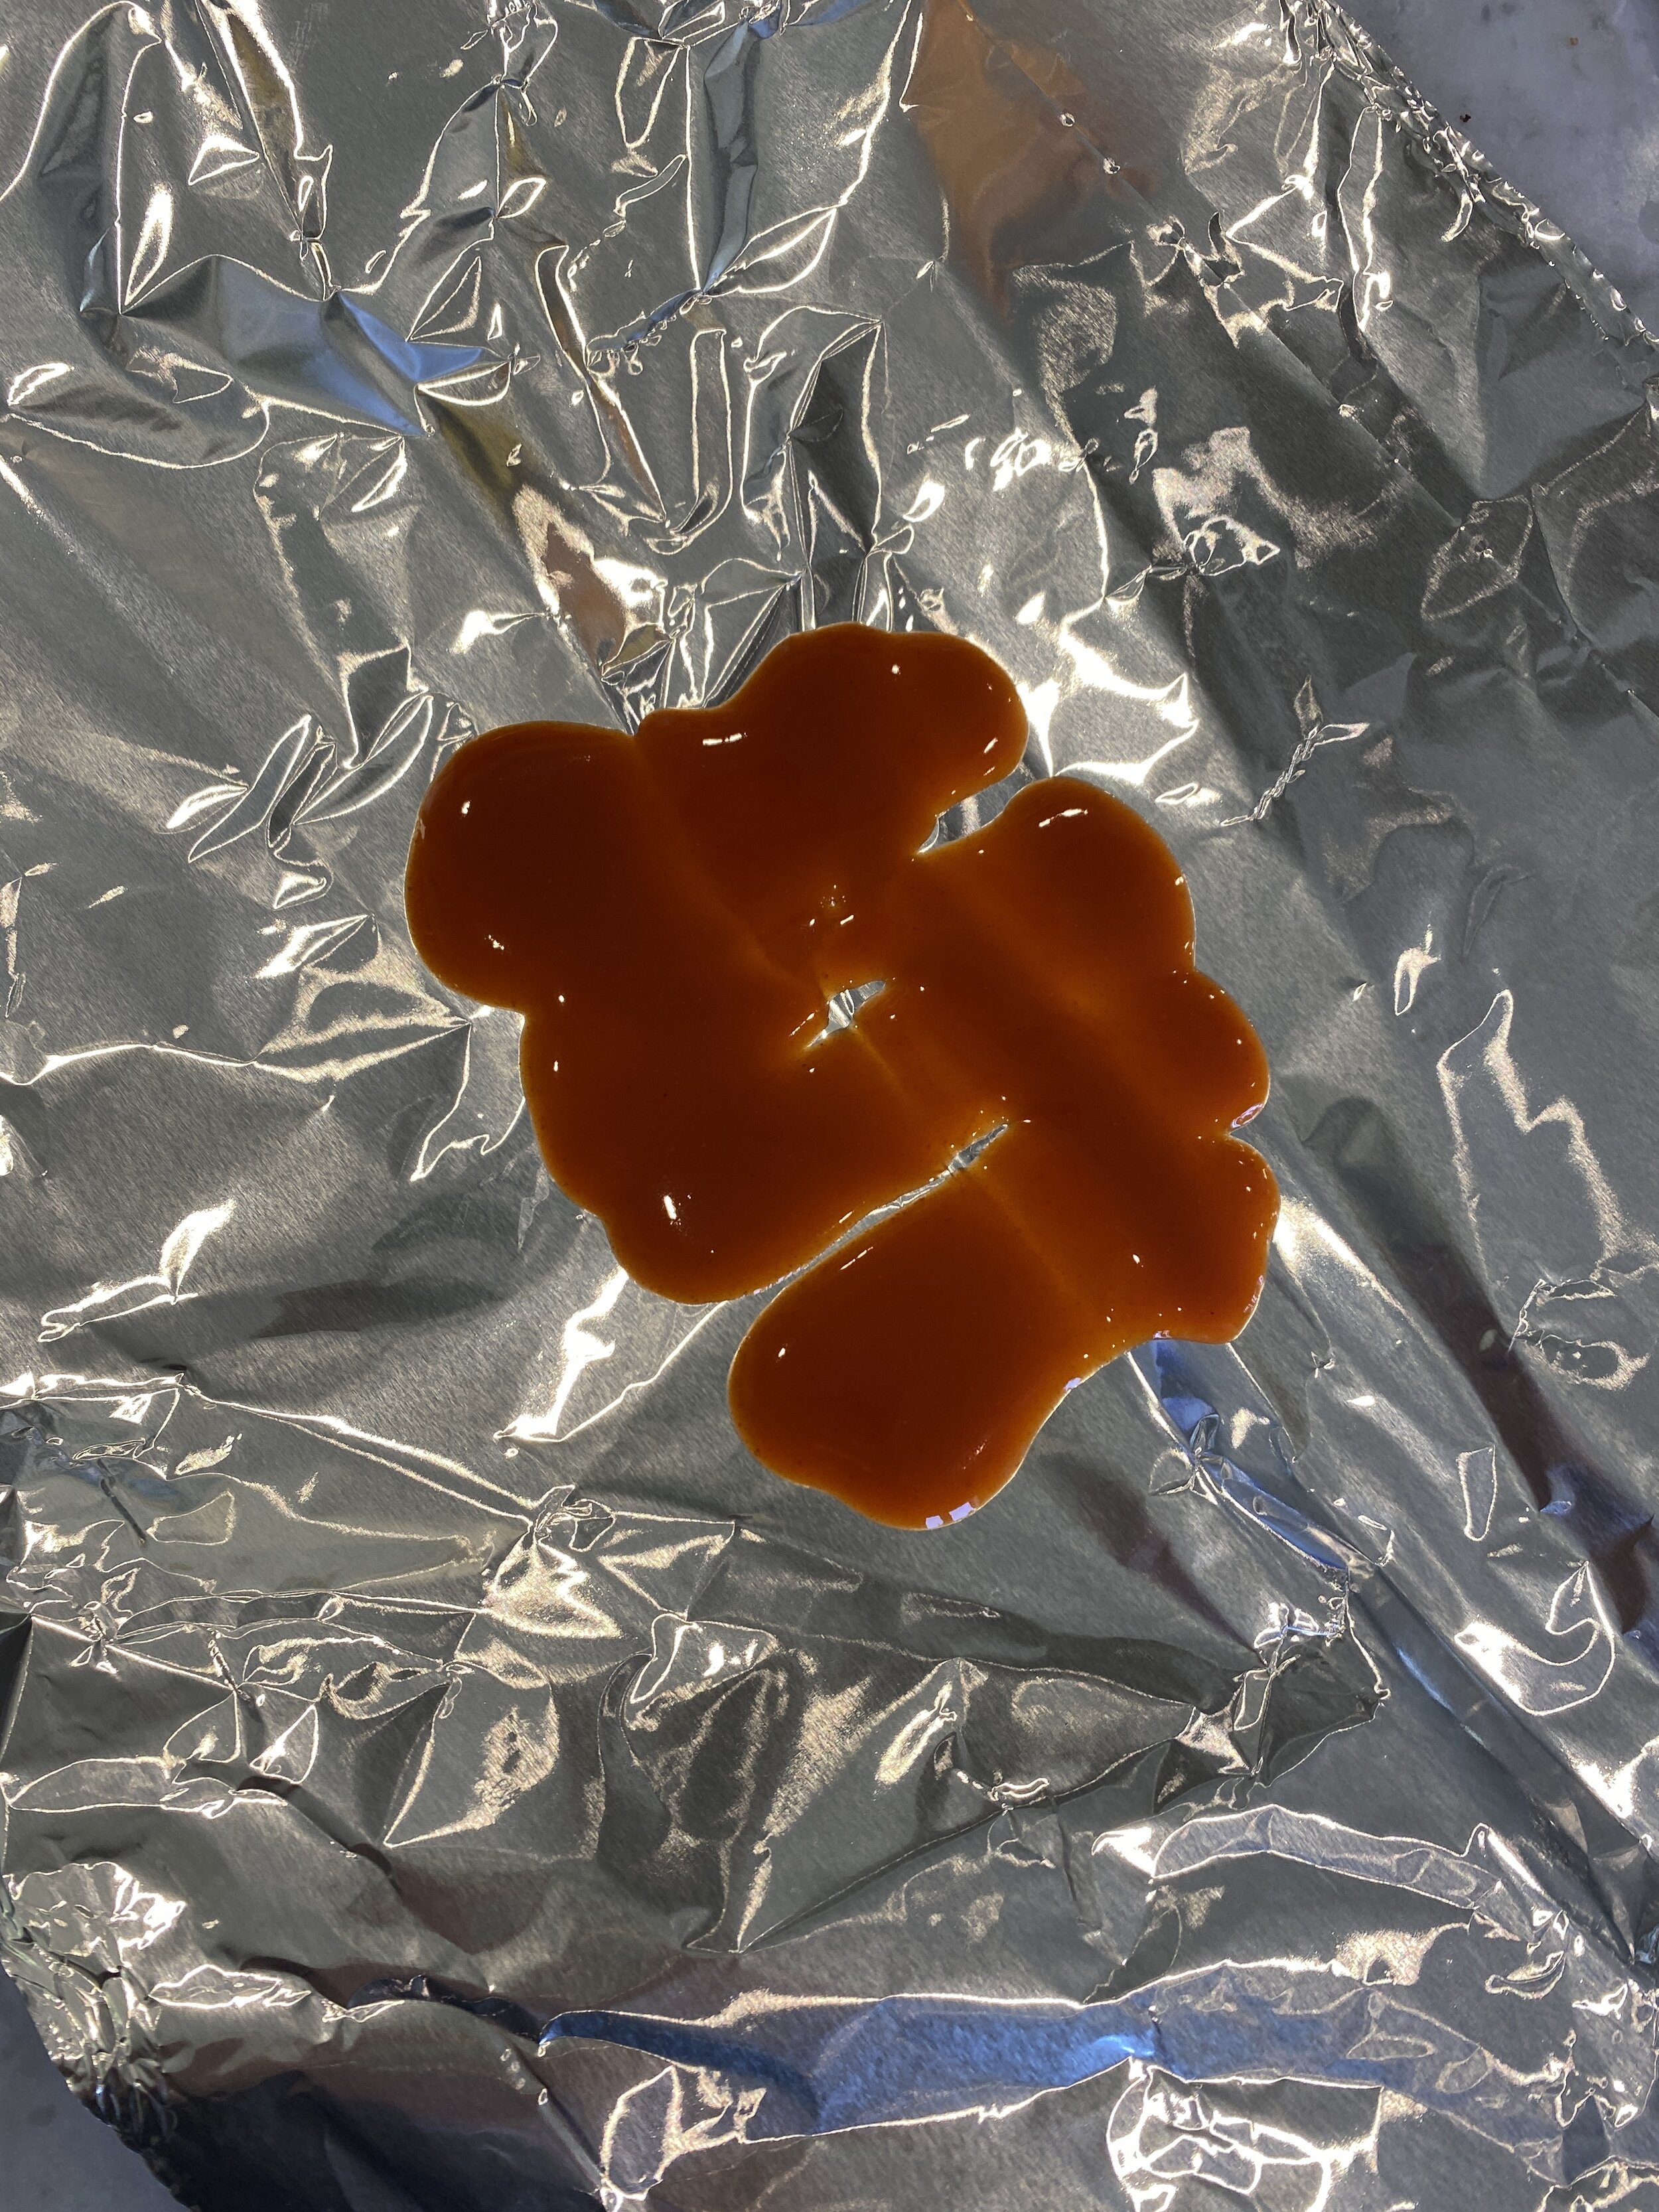
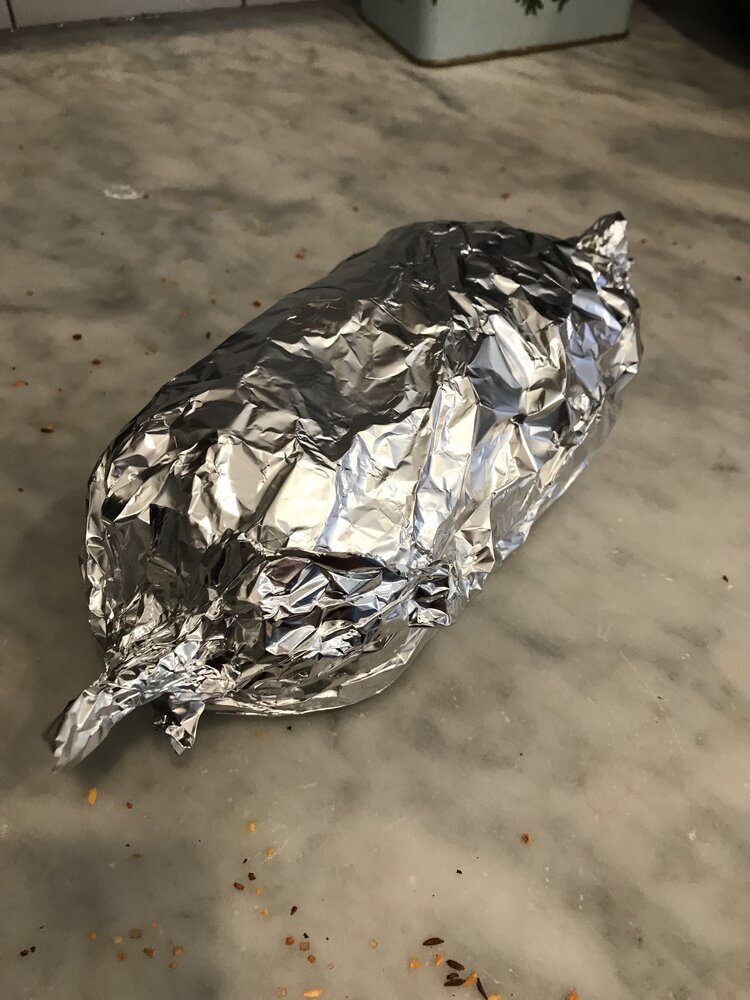
  4. Take a piece of aluminum for about 3x bigger than the loaf of dough, and lay it out flat. Coat the foil in spray oil or wipe it down with any oil you have. Mix the buffalo sauce, garlic, onion salt and butter in a small bowl. Pour half of the mixture in the center of the foil. Place the turkey on the foil and roll it around in the sauce. Sprinkle with dried parsley if you like. Pour the remaining sauce on top of the turkey. Seal up the foil nice and tight around the roast, twisting the ends. If you feel like the foil may leak then add a second piece tightly around the first.

  5. Place on a baking sheet and put in the oven on the middle rack. Bake sealed for 40 minutes. After 40 minutes carefully open up the foil, and continue baking for another 25-30 minutes.

  6. Remove finished “turkey” breast and let cool at room temp. Seal the foil back up and place the “turkey” breast in the fridge over night to rest. This step is important to get the texture we are trying achieve. If you try and serve it before it rests it will not be nearly as firm.

  7. Once the “turkey” breast has been in the fridge over night, you can remove it and slice it to serve. It should at this point be firm enough to slice using a mandolin or a sharp knife. Store in an air tight container in the fridge for up to 10 days.


If you like this recipe, then try these:

Vegan Corned Beef

Vegan Corned Beef

Vegan Salami

Vegan Salami

Vegan Turkey Breast with Crispy Skin

Vegan Turkey Breast with Crispy Skin

vegan flank steak

vegan flank steak

Vegan Corned Beef

IMG_2019.jpg

So I have been making vegan deli meats for a while now.

The one goal has always been making the best vegan sandwich I can get my hands on!

I could live off of sandwiches. They have everything! Bread ( bread is my love language) veggies, delicious vegan deli meat, and in my case, vegan mayo. Almost ever sandwich needs mayo or some mayo based spread, but that is just a matter opinion.

I also get asked regularly if I have a recipe for “fill in the blank.” So far I have covered turkey, ham, roast beef, brisket, pastrami, salami, and pepperoni. All the meats I missed after going vegan, and all the meats I wanted on a perfect vegan sandwich.

IMG_2045.jpg

A reuben is by far my all time hands down favorite sandwich. And I don’t discriminate. Before I was vegan I had a favorite reuben variation from all my favorite restaurants. From an original corned beef reuben to a turkey reuben, and even the most untraditional BBQ brisket with slaw reuben. I even make reuben latkes every year for Hanukkah.

I mean you can make a reuben with lots of different meats, and I just kept making mine with my vegan pastrami recipe, but one would argue the correct, traditional way is to make one with corned beef. And recently someone asked if I had a corned beef recipe. And I did not. Even with my fierce love of a reuben, I had just not delved into the world of corned beef making.

So I decided it was high time! And that is just what I did.

Making homemade seitan, especially deli meat is much easier than most people think, and if you have made any of my other deli meats recipes, you were probably surprised just how quick and easy it actually is.

If I were going to rate the other deli meats on my site as “beginner level’ then I might would rate this corned beef “intermediate.” Not as quick and easy, but truly to get a corned beef you are going to have to take a few extra steps.

Regular corned beef needs to hang out in a pickling brine for a time, hence the whole “corned” part of the name. It is also suppose to be sort of fall apart tender. This gave me some challenge as most of my deli meats are super firm so you can slice them nice and thin.

IMG_2008.jpg

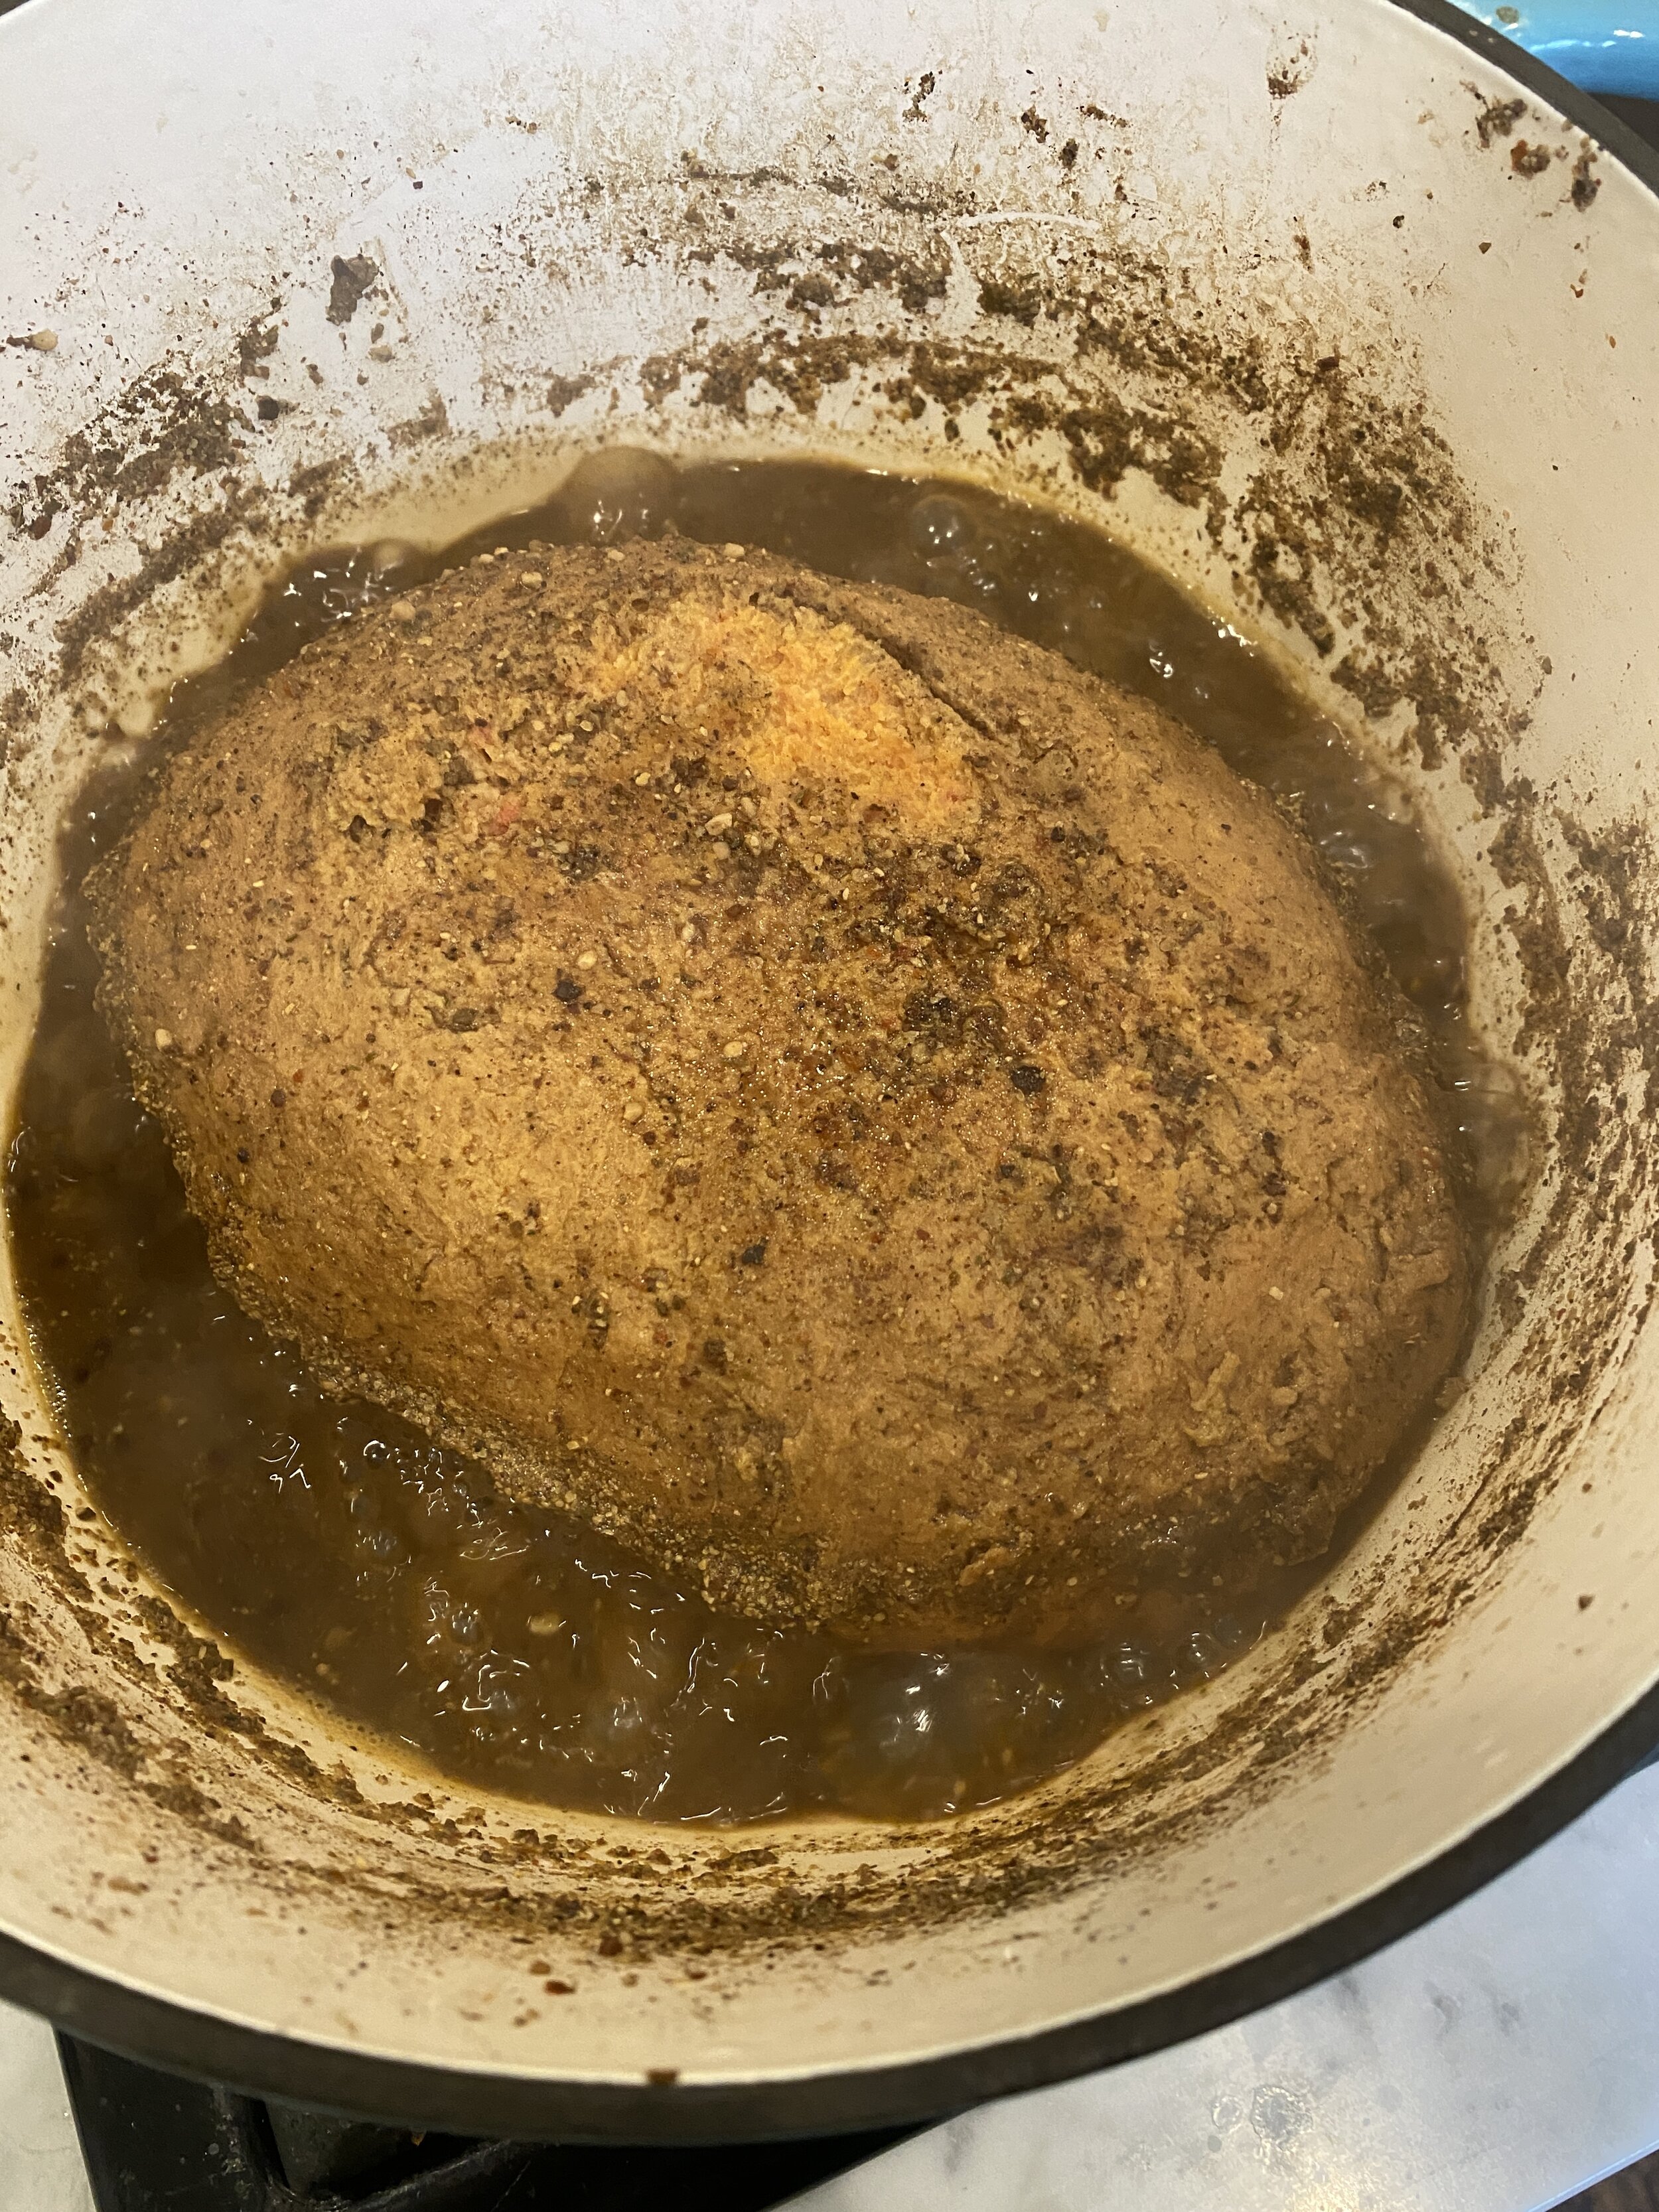
So for starters I needed a nice tender, and flavorful seitan, but I needed it to be able to slice thinly as well. So I opted to simmer the seitan in a pickling spice liquid and then wrap and bake it to steam. I really wanted all that flavor from the spice blend to sink in and simmering seemed like the answer. Baking it in the foil helped to firm it up and give it that nice outter coating.

This deli meat is not harder to make than the others on my site, but making the spice blend, and allowing it to simmer before the bake does take more time.

Outside of using this vegan corned beef to make the perfect reuben, it will also work great in you St Patty’s day corned beef and cabbage recipes. After you have allowed it to rest and firm up (NO, you may not skip this step) you can reheat it however you like. And now all the other vegans missing corned beef and cabbage will be green with envy….(bad St Patty’s day joke, I know)

Really, if you are on the fence with this recipe, it really is not too much harder than any of my other deli meats. It does take a little more time and effort, it may not end up on your weekly vegan meat making rotation, but I will be so worth it when you do make it! I promise.

And really yall, keep the seitan requests a comin’. I mean it only took me a year to get around to tackling this one but really, I do consider all the requests I get, and when I find the time and inspiration I am willing to try and tackle just about anything yall throw at me. Just don’t throw an actual deli meat at me, that would just be weird.

IMG_2021.jpg

INGREDIENTS:

  • 16 oz package of super firm tofu, the kind in a vacuum sealed package

  • 1 cup vital wheat gluten

  • 1/3 cup diced raw beet, peeled

  • 1 teaspoons No Beef Better than Bouillon

  • 1/4 cup corn starch or tapioca starch

  • 2 teaspoons dijon mustard

  • 2 tablespoons soy sauce or coconut aminos

  • 1 tablespoon oil ( I used grape seed)

  • 2 teaspoons liquid smoke

  • 2 teaspoon vegan Worcestershire sauce

  • 2 teaspoons minced garlic

  • 2 teaspoons onion powder

  • 2 teaspoons ground coriander

  • 1 teaspoon paprika

  • 2 teaspoons powdered mustard

  • 1 teaspoon each salt and black pepper

Pickling Spice :

You will need to use a spice grinder, coffee grinder, or mortar and pestle for this

  • 2 star of anise

  • 2 teaspoons juniper berries

  • 2 teaspoons yellow mustard seeds

  • 2 teaspoons brown mustard seeds

  • 2-3 teaspoons black pepper

  • 2 teaspoons all spice

  • 1/4 teaspoons ground clove, or 3 whole cloves

  • 1/2 teaspoon ground ginger

  • 1 teaspoon cardamom

  • 2 teaspoons dried dill

  • 1/2 teaspoon red pepper flakes

  • 1 teaspoon cinnamon

  • 1 teaspoon coriander

  • 2 whole bay leaves

Simmering Liquid:

  • 4 cups water

  • 1 heaping teaspoons No Beef Better Than Bouillon

  • 2 teaspoons dijon mustard

  • 1 teaspoon minced garlic

  • All of the pickling spice

  • 2 teaspoons corn starch or tapioca starch

INSTRUCTIONS:

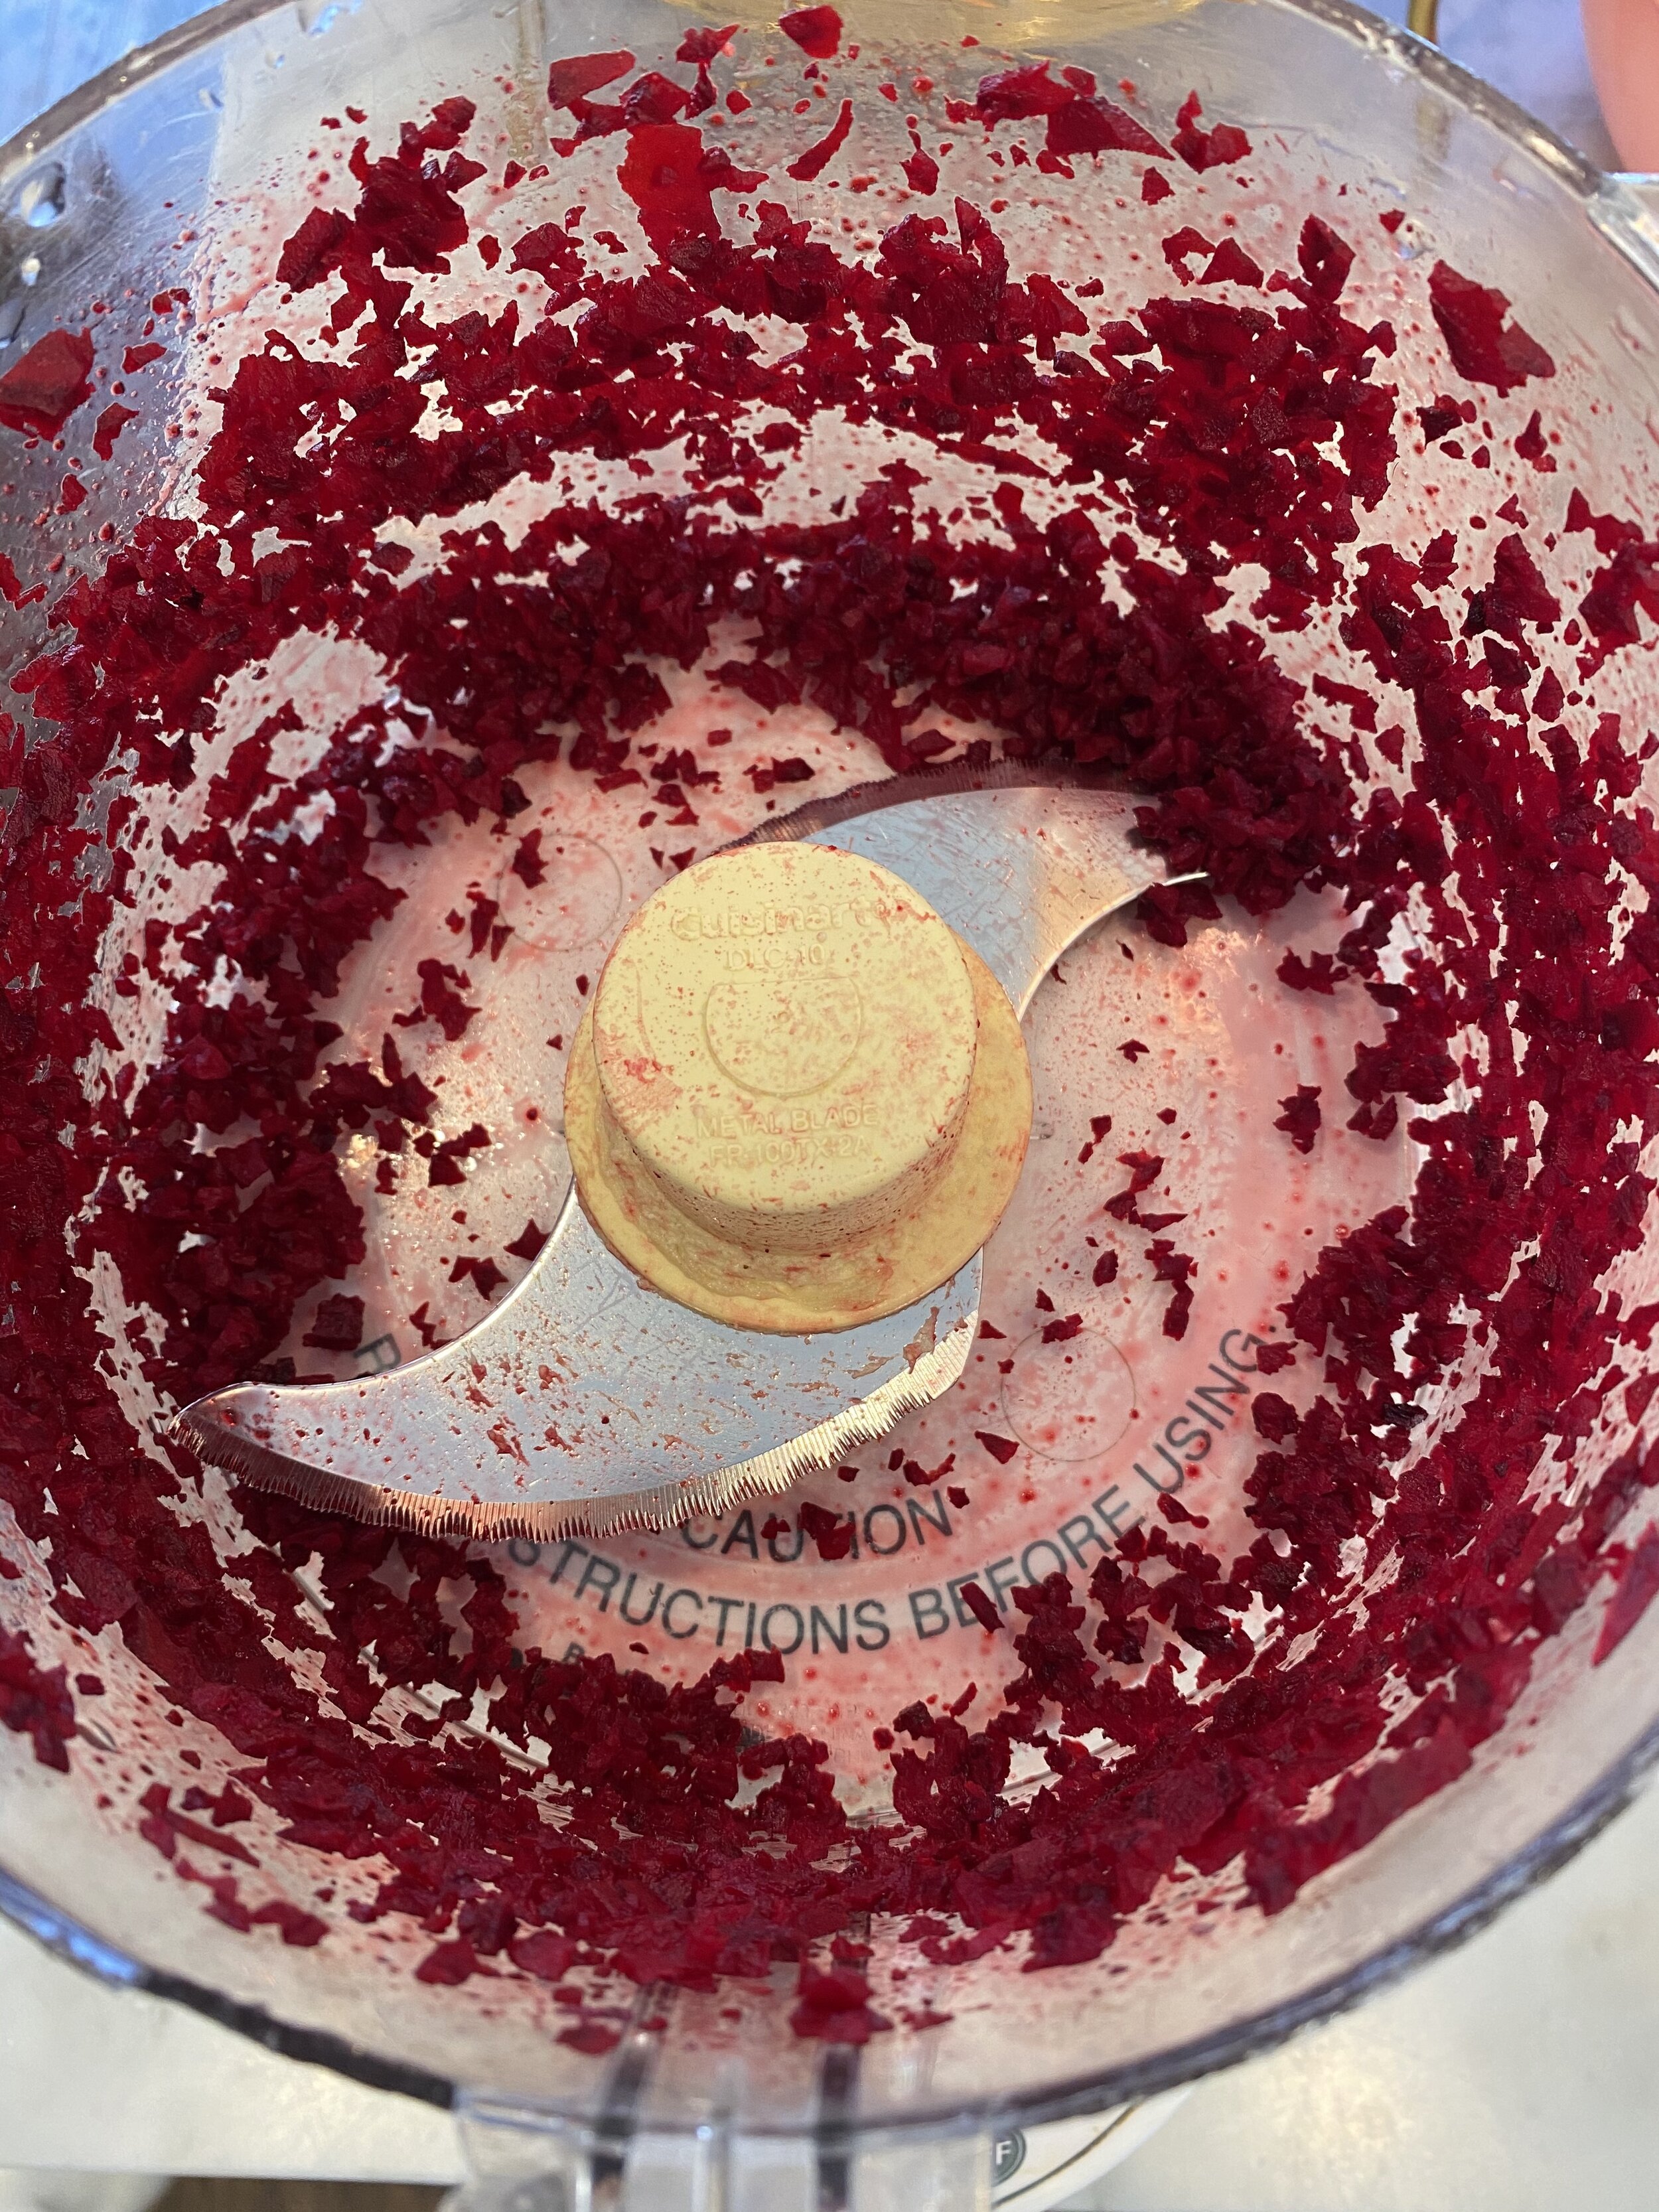
  1. Add the peeled and cubed beet to the food processor. Let it run for a minute and get the beet good and broken down.

  2. Break up the tofu and place it into a food processor along with the beet. Run the processor for around a minute until the tofu is broken down.

  3. Add all of the remaining ingredients and let the food processor run for a couple of minutes. You want the mixture to form a dough. Letting the processor run will help knead the dough. We want this seitan to be firm so we need it to knead for a bit. If the dough seems too dry, you can add water, just a teaspoon at a time until the dough comes together. I added NO water to my dough. The other liquid ingredients and the beet added enough moisture to mine.

  4. Once you have a smooth but firm dough, remove it from the food processor and place on a clean counter. Knead the dough with your hands for about a minute, forming a kind of oval shaped loaf with the dough.

  5. Add all of the spices to a spice grinder, or clean coffee grinder. Grind into a powder. I even dump in my already ground spices just to help mix it all up together. If using a mortar and pestle then just grind up the whole spices and mix them with the ground. I tend to have a decent selection of ground spices in my pantry at all times. I only added whole spices that I coudln’t find already ground. Use ground if you have it already.

  6. In a large pot or dutch oven, add all of the simmering liquid ingredients EXCEPT for the starch. Bring the liquid to a boil over high heat.

  7. Add the beef seitan to the liquid. Simmer with a lid for 25 minutes. Remove the lid for the remainder or the simmer, turning the seitan a few times as it cooks. After 45 minutes the liquid should be reduced by more than half.

  8. Take a piece of foil at least double the size of your seitan and spray it with some oil. Using tongs and a spatula, transfer the vegan corned beef to the foil.

  9. Preheat oven to 350 degrees

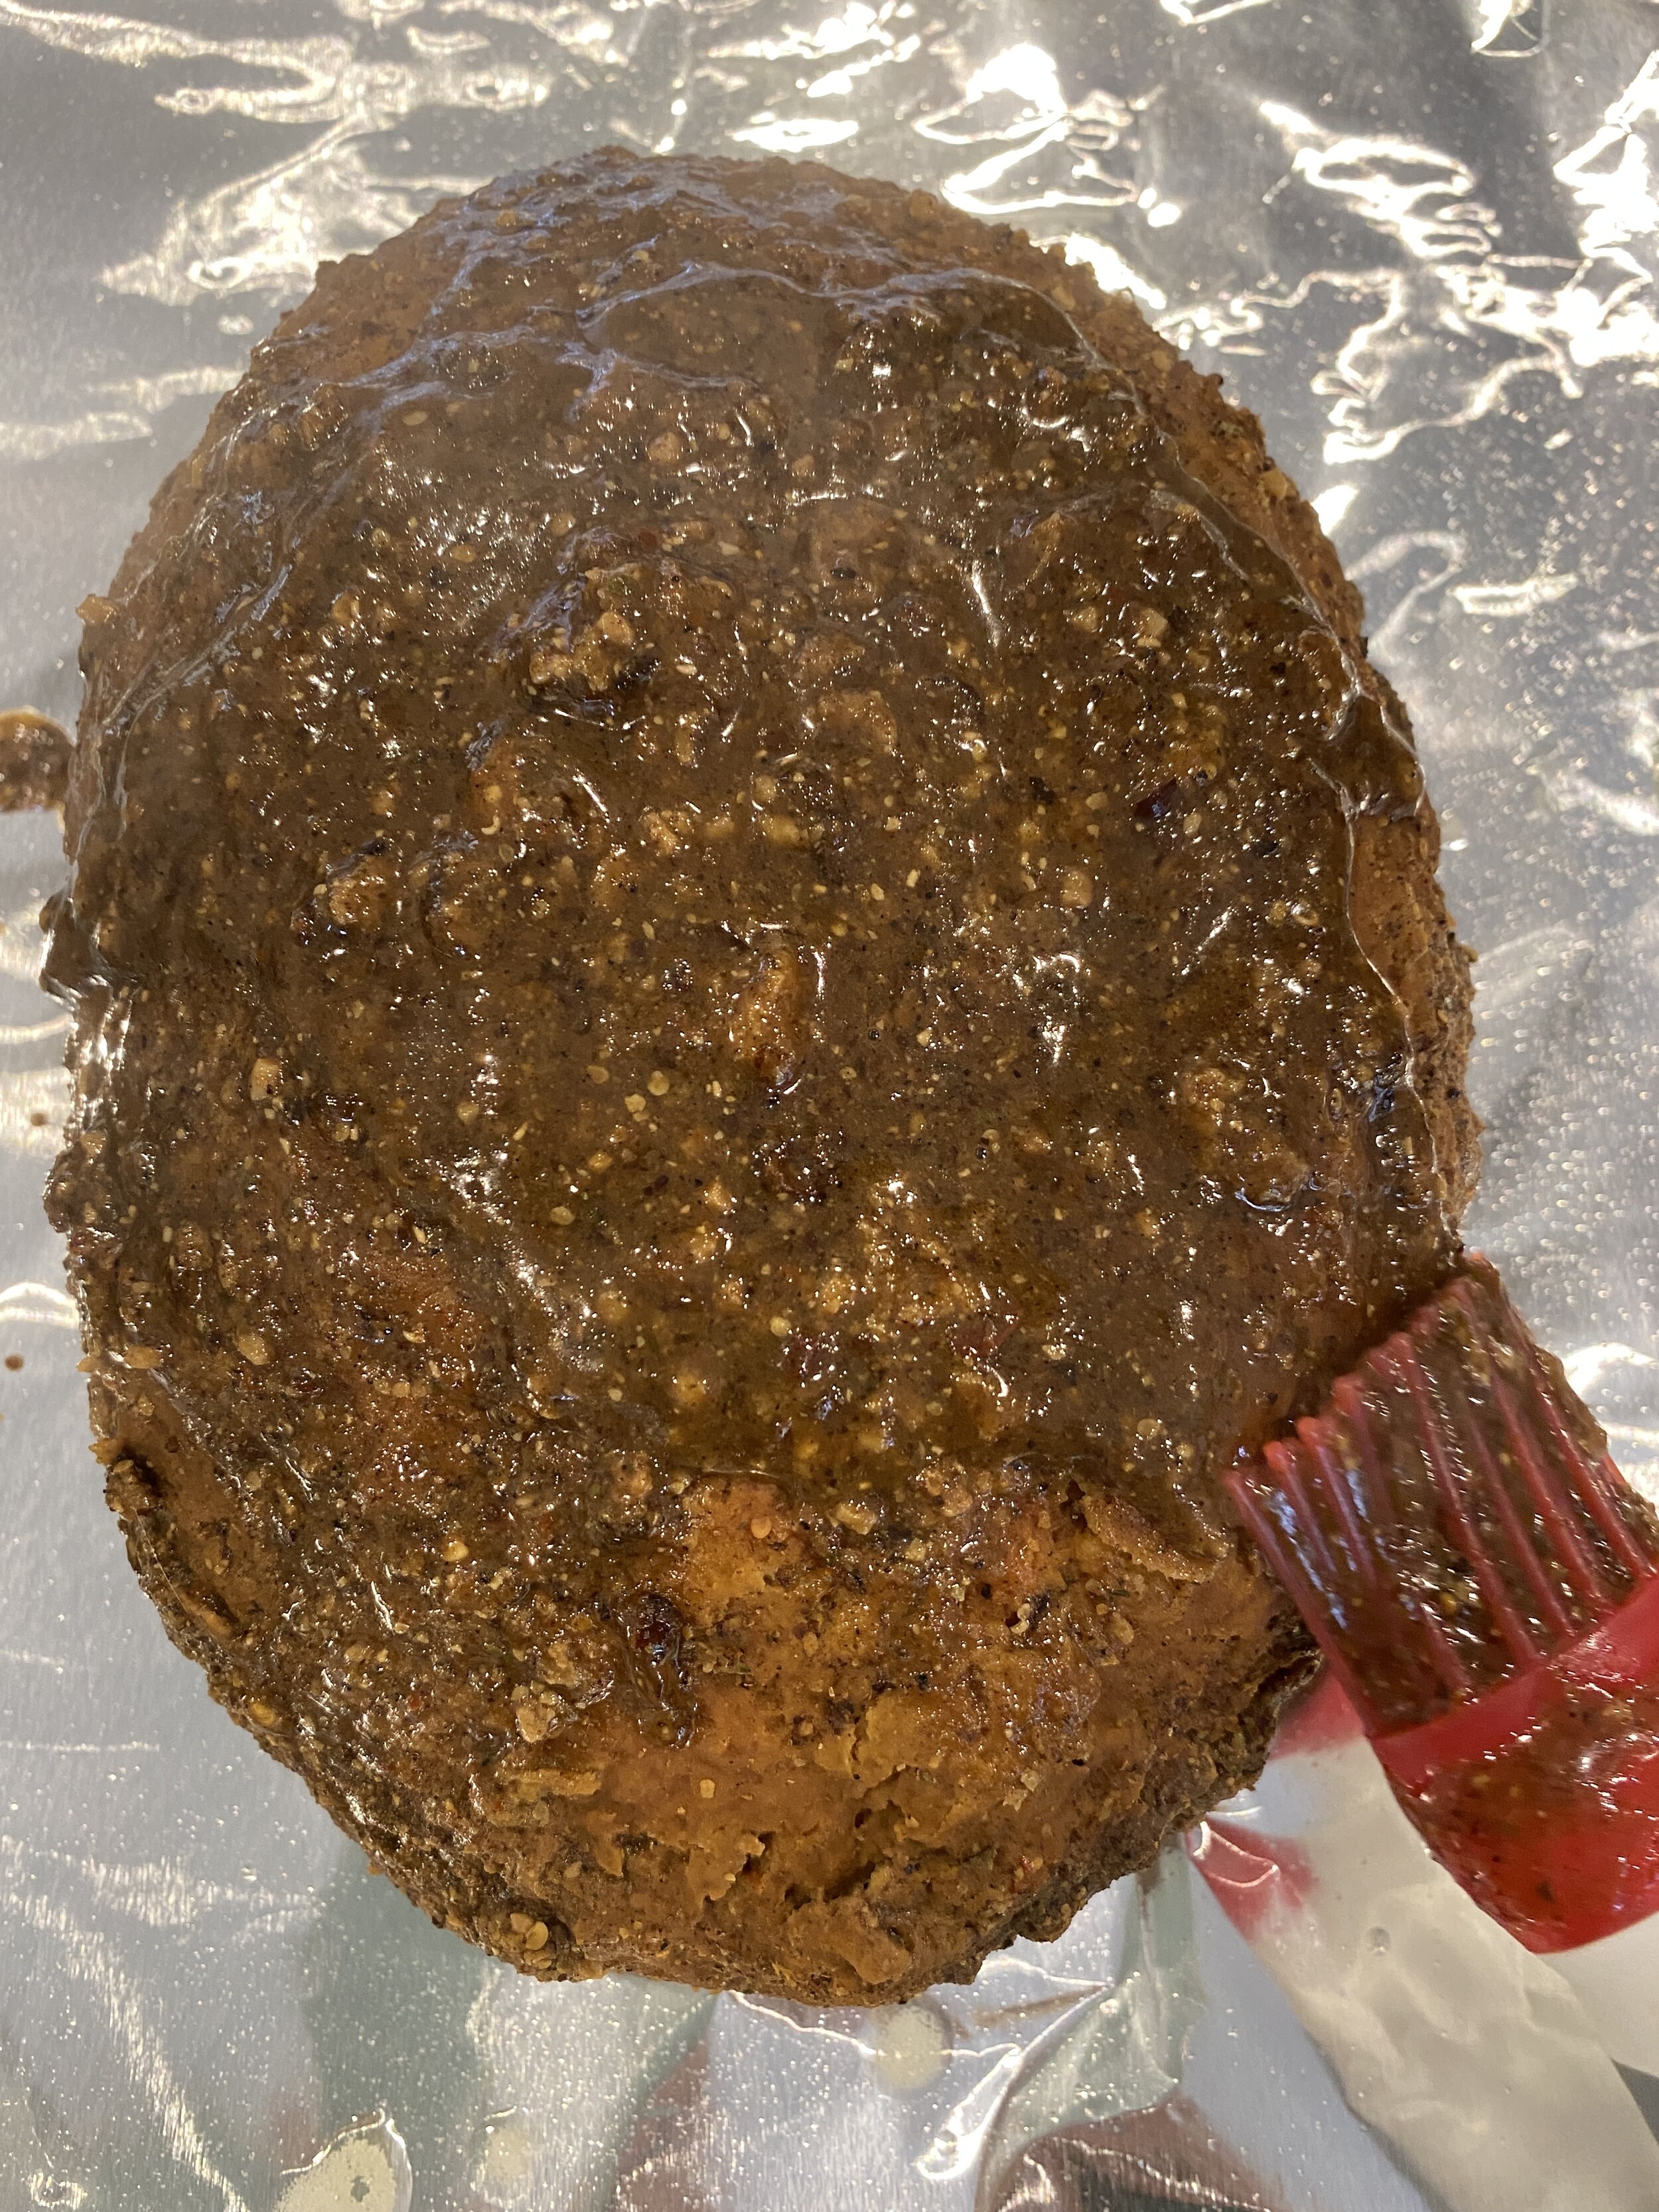
  10. Sprinkle 2 teaspoons of starch into the boiling liquid and whisk well. Scrape any bits of stuck seitan off the bottom of the pot into the mixture. Once it has thickened to a gravy consistency, spoon a few nice spoonfuls over the seitan and brush it on with a pastry brush. Flip the seitan and do the same on the other side. You won’t use all of the gravy you made.

  11. Tightly wrap the foil around the vegan corned beef and repeat with another large piece of foil giving it a nice tight double wrap.

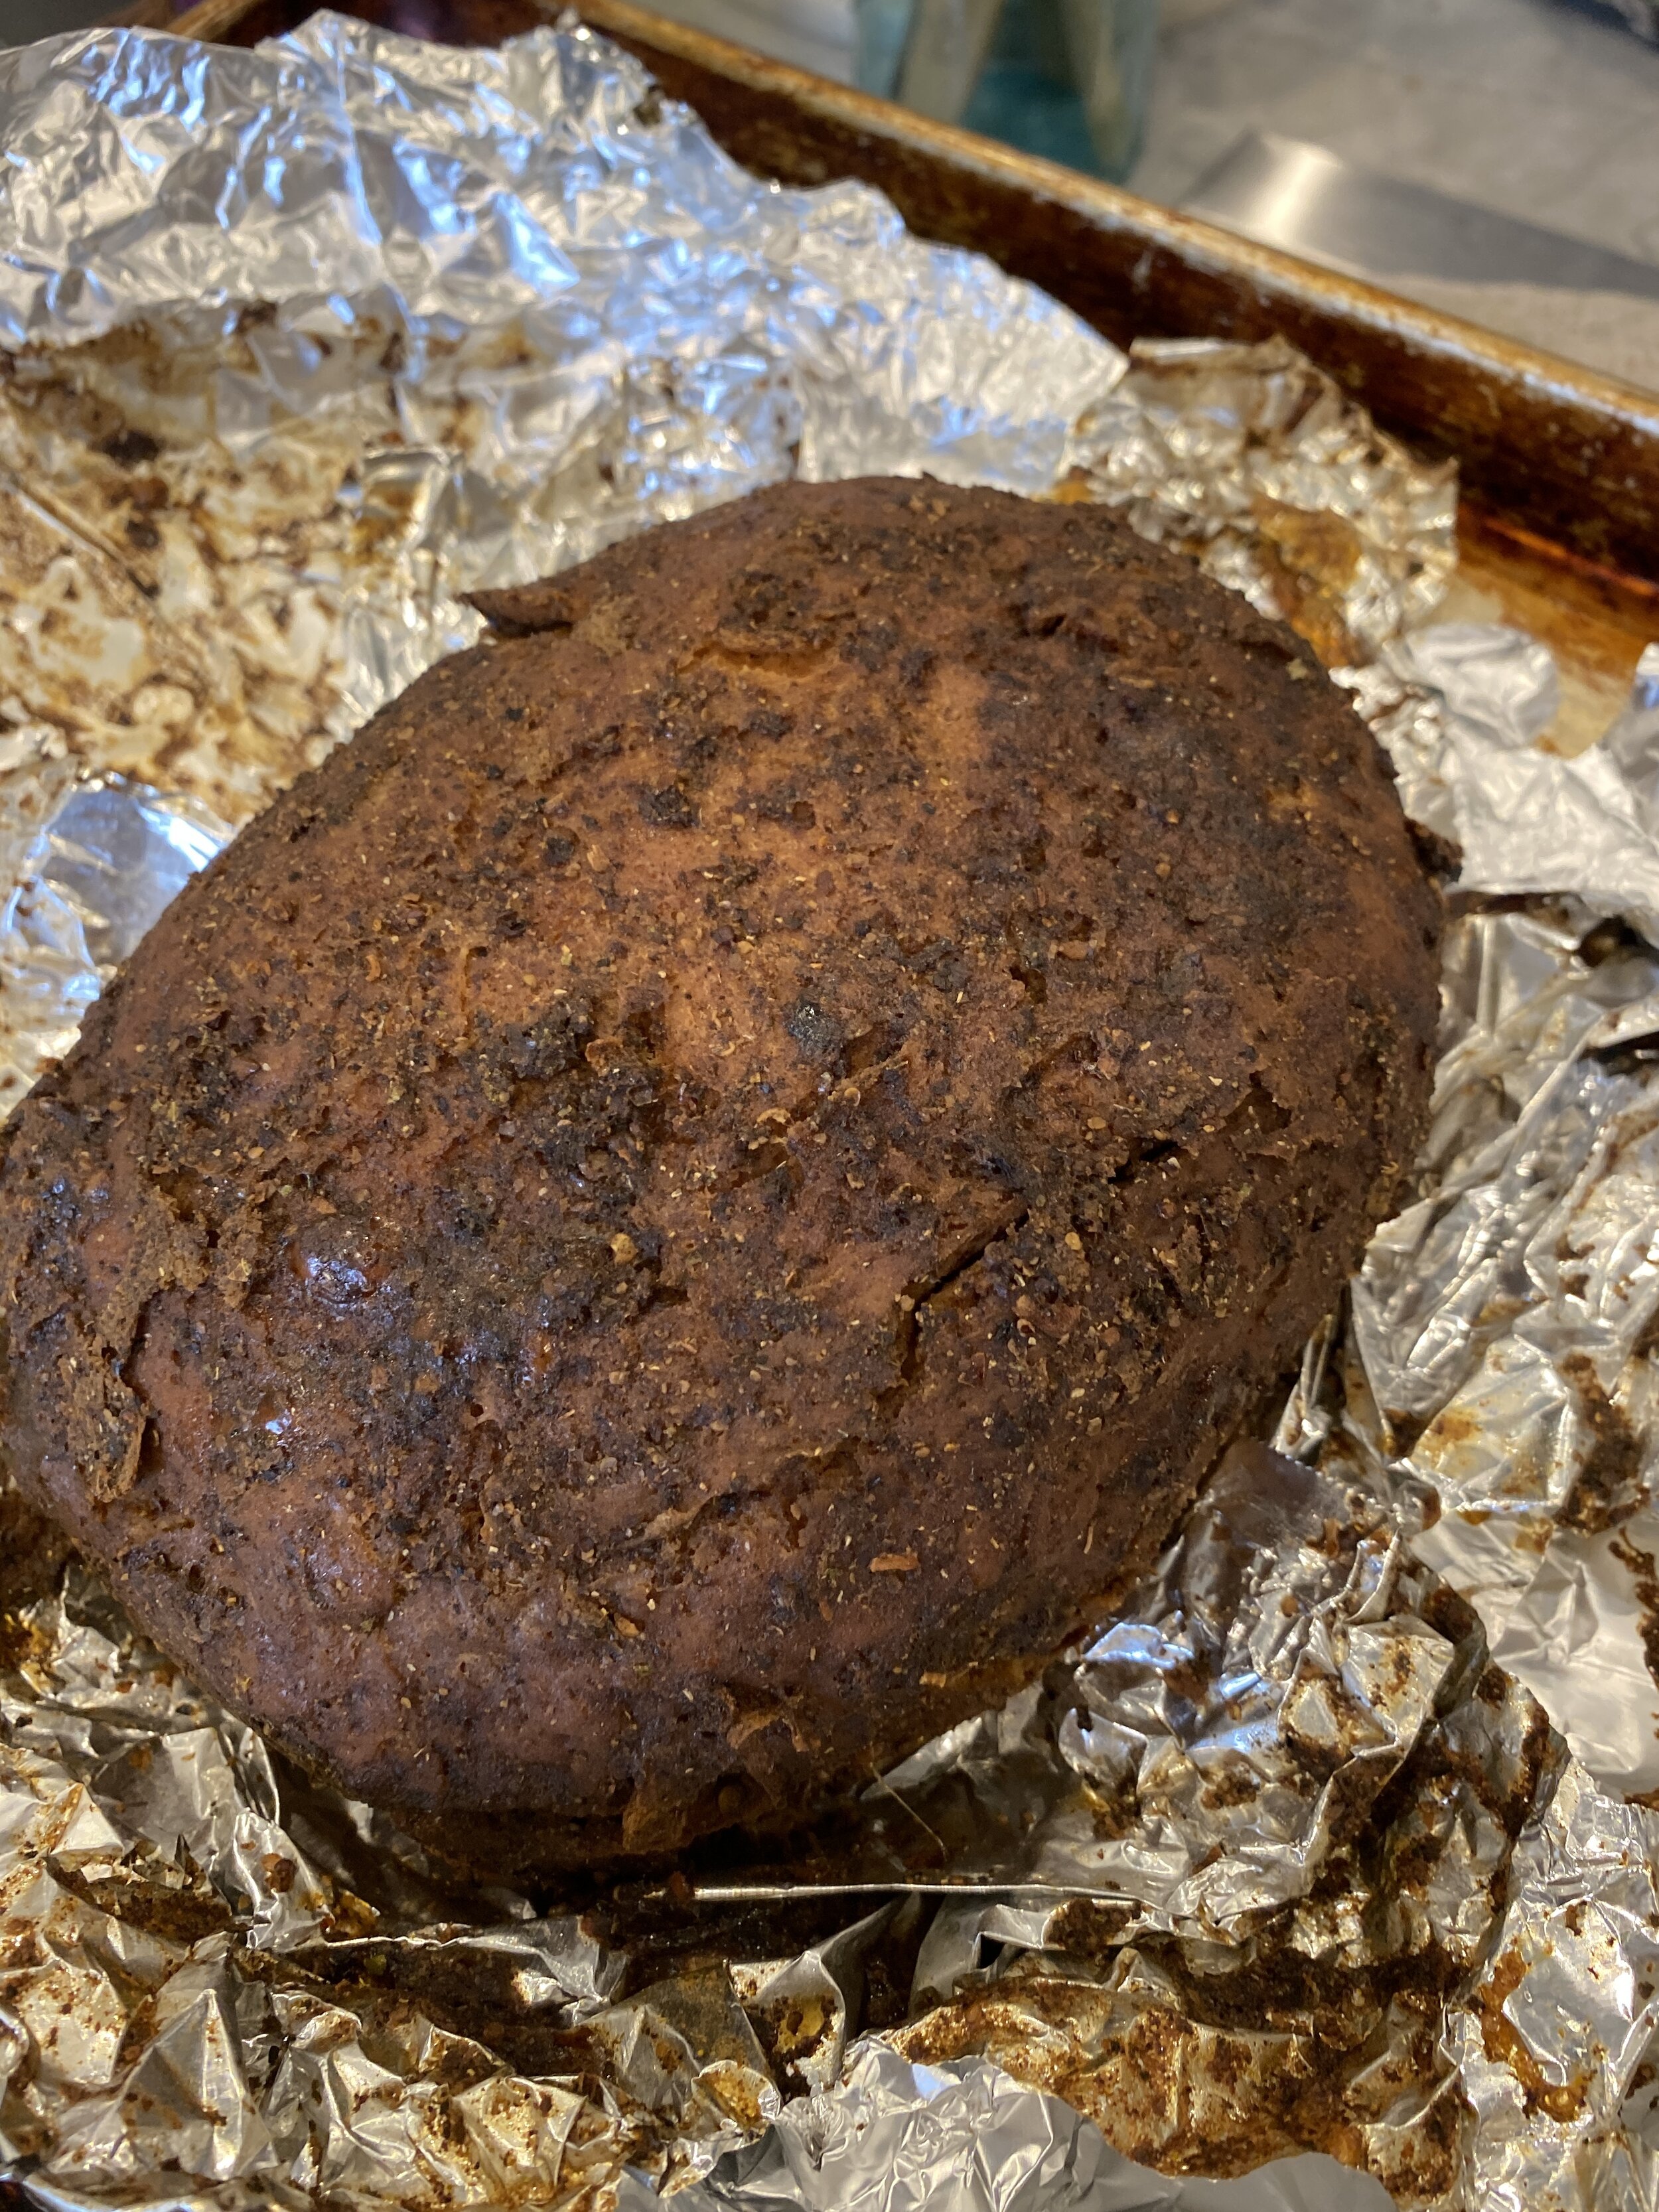
  12. Bake for 40 minutes. Carefully open up the foil and allow to bake for another 20 minutes. Remove from oven and allow to cool at room temperature for at least half an hour. Transfer to the fridge either wrapped back in the foil or you can drop it in a gallon freezer bag or some Tupperware. Allow the vegan corned beef to rest in the fridge over night or AT LEAST 6 HOURS. Seitan MUST REST to achieve the texture we are looking for. Trust me here. Let it rest.

  13. After the vegan corned beef has rested, you can slice it and store any leftovers in an airtight container in the fridge for up to a 10 days or freeze for up to 6 months. You can reheat the full roast by slicing it thick and heating in the oven at 350 covered in foil so it does not dry out or reheat it in a pan or even the crock pot if cooking in a broth with cabbage and other veggies.

TROUBLE SHOOTING THIS REICPE:

*I used high protein tofu in a vacuum sealed package and this what I strongly advise using. It is much firmer than regular firm tofu and has less moisture and a more chewy texture. If you opt to use regular firm tofu you will need to press it first and remove as much liquid as possible. You may need to adjust the amount of water in the recipet as well. Add the water last, adding just enough to accomplish a firm dough.

  • *If you find your turkey has A LOT OF LITTLE HOLES, and a more BREAD LIKE TEXTURE this can be caused from under kneading the dough, BUT more likely cooking the seitan at too high of a temperature, or for too long. Check your ovens temperature with an oven thermometer. Your oven may just be cooking hotter than it registers. Also gas and electric ovens tend to cook differently. If you do not have an oven thermometer you can reduce the heat in your oven by 25 degrees, and keep the seitan covered for 50 minutes and open for 10.


If you like this recipe, then try these:

vegan flank steak

vegan flank steak

Vegan Salami

IMG_9306.jpg

Many, many, many, months ago my friend Rosemary Kate sent me a text asking if I had made a vegan salami yet.

I had not. I had, however, thought about it, but had not tried it at that point. So I got right to work.

Guys, some things just don’t come that easily. Like you may try a recipe 5 times before it works out, or doesn’t.

In this case I think I made 5 or 6 salamis and was just not really satisfied with how it looked.

I mean I know looks are not what counts in life, but where food is concerned, they kind of do matter. And when you are trying to mimic a classic meat, you want people to look at it and say, “oh is that vegan salami”, so I just kept on trying.

IMG_9325.jpg

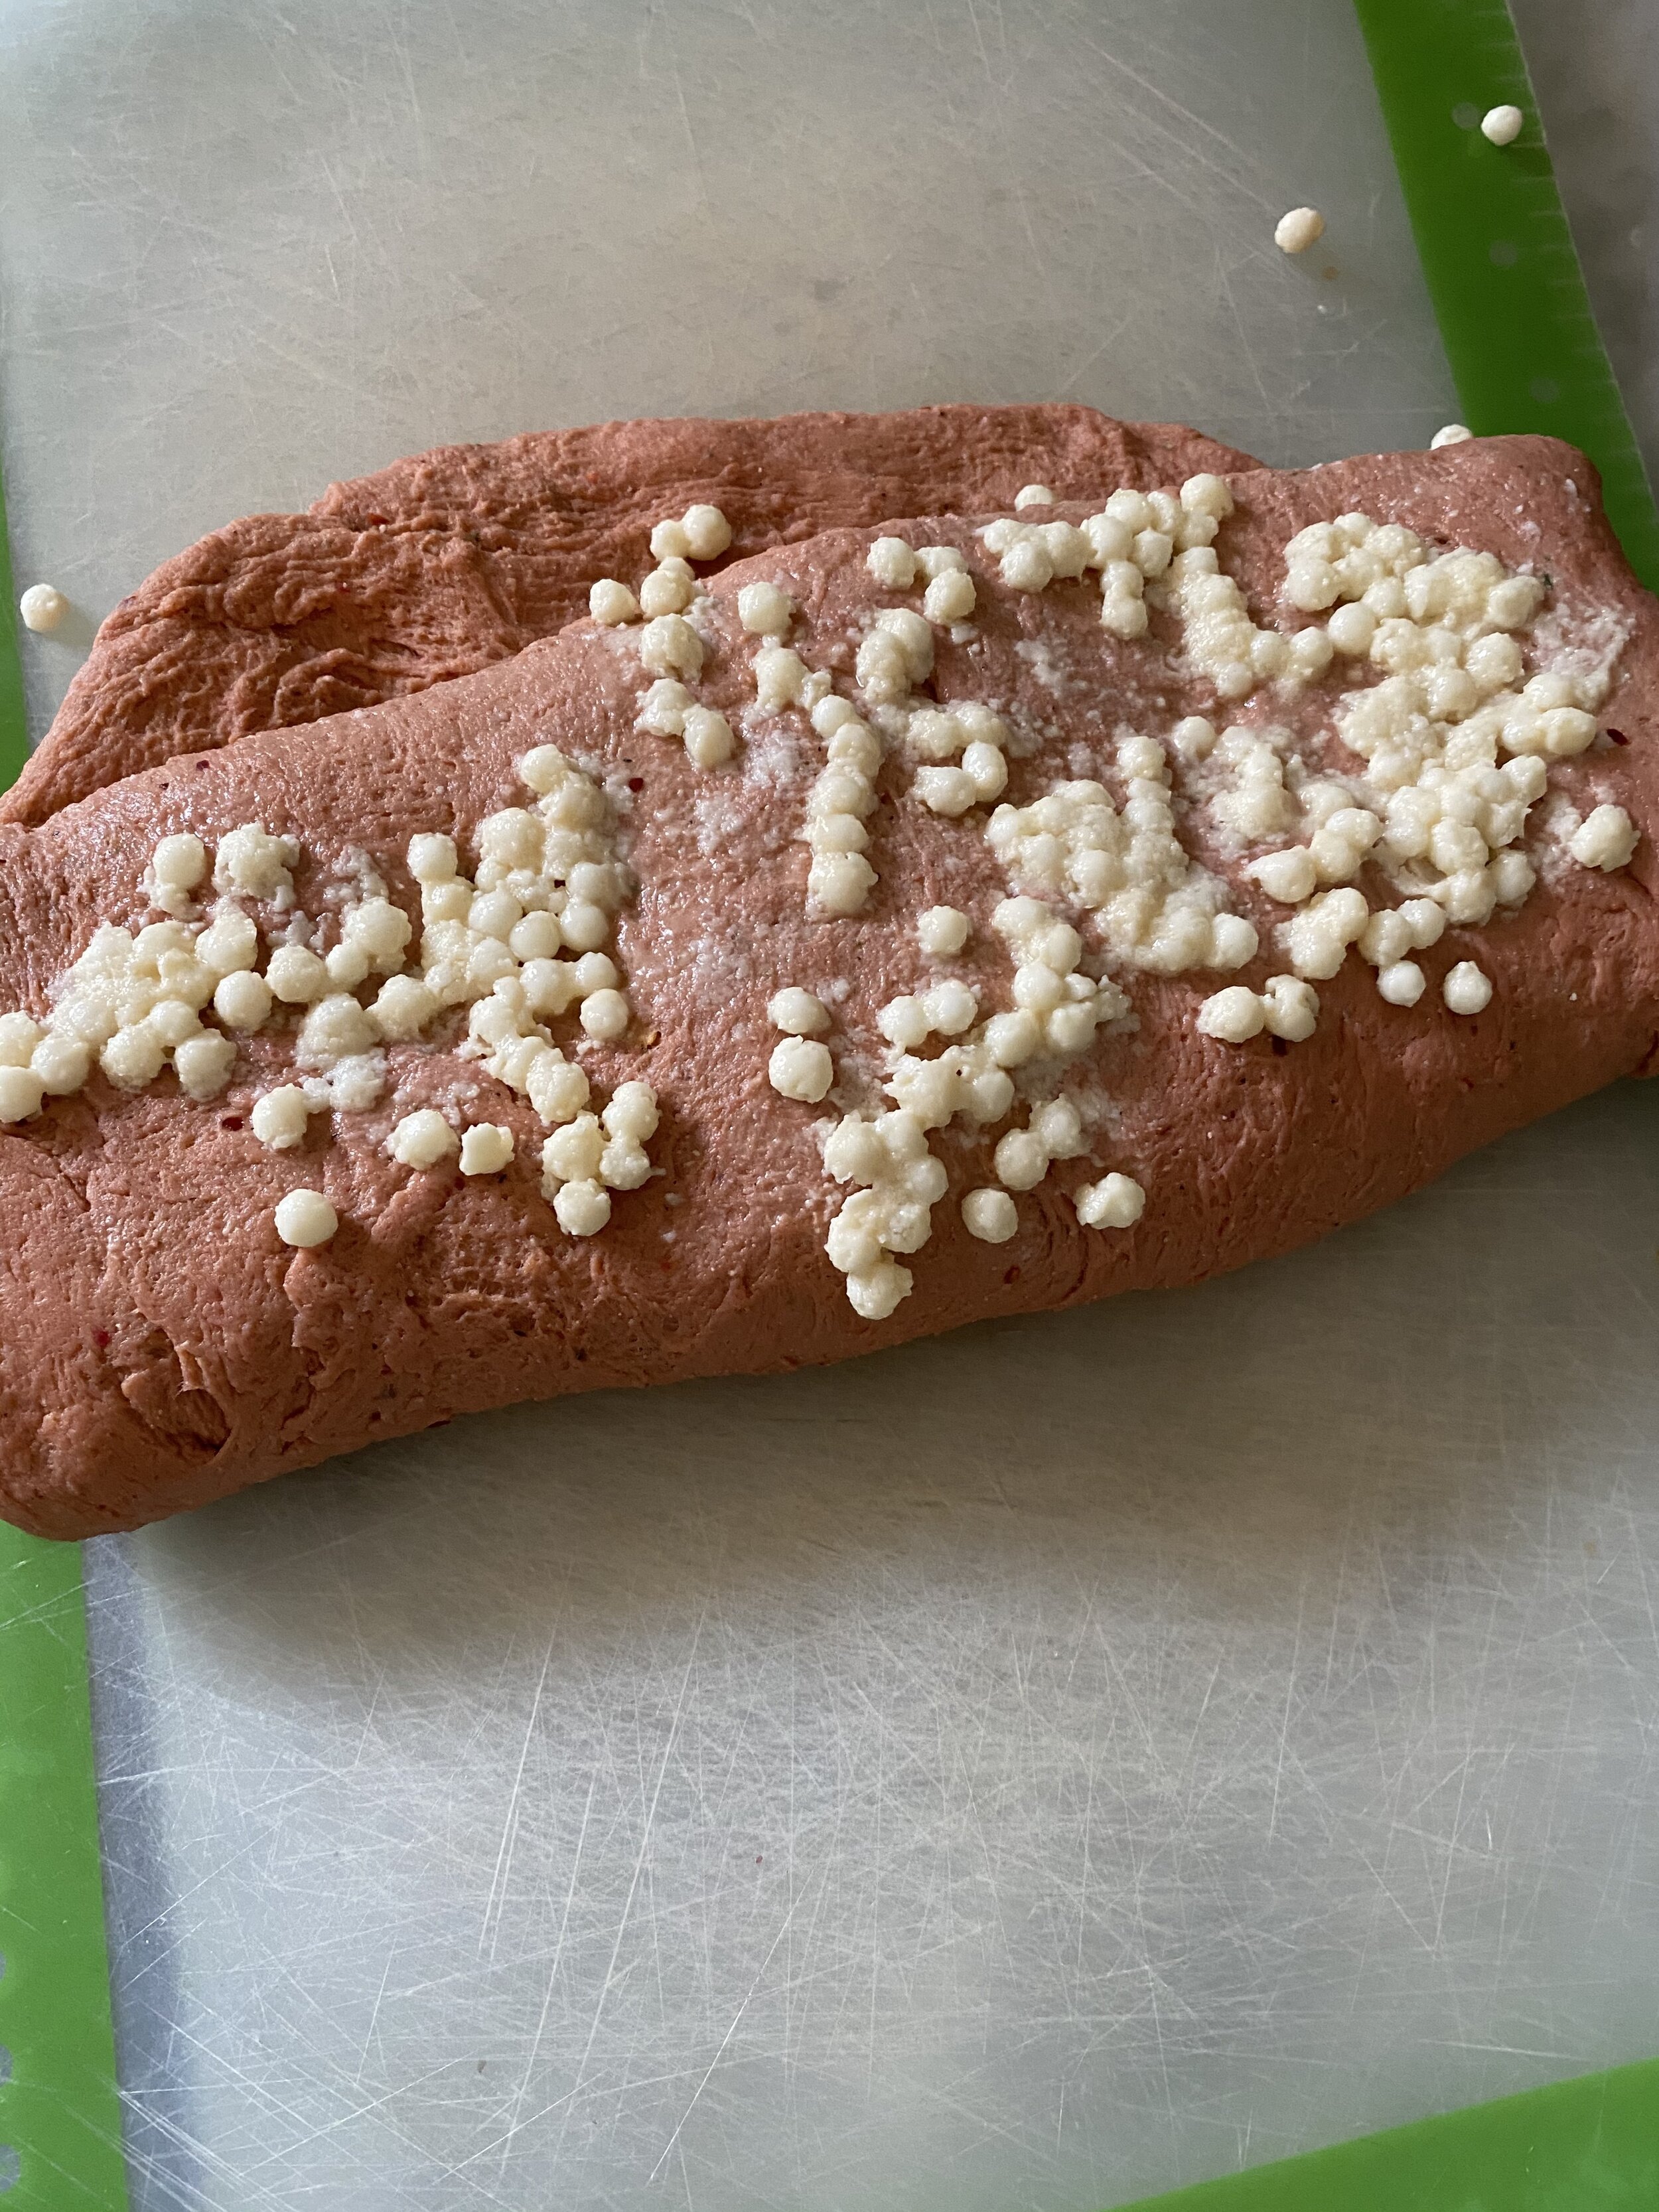
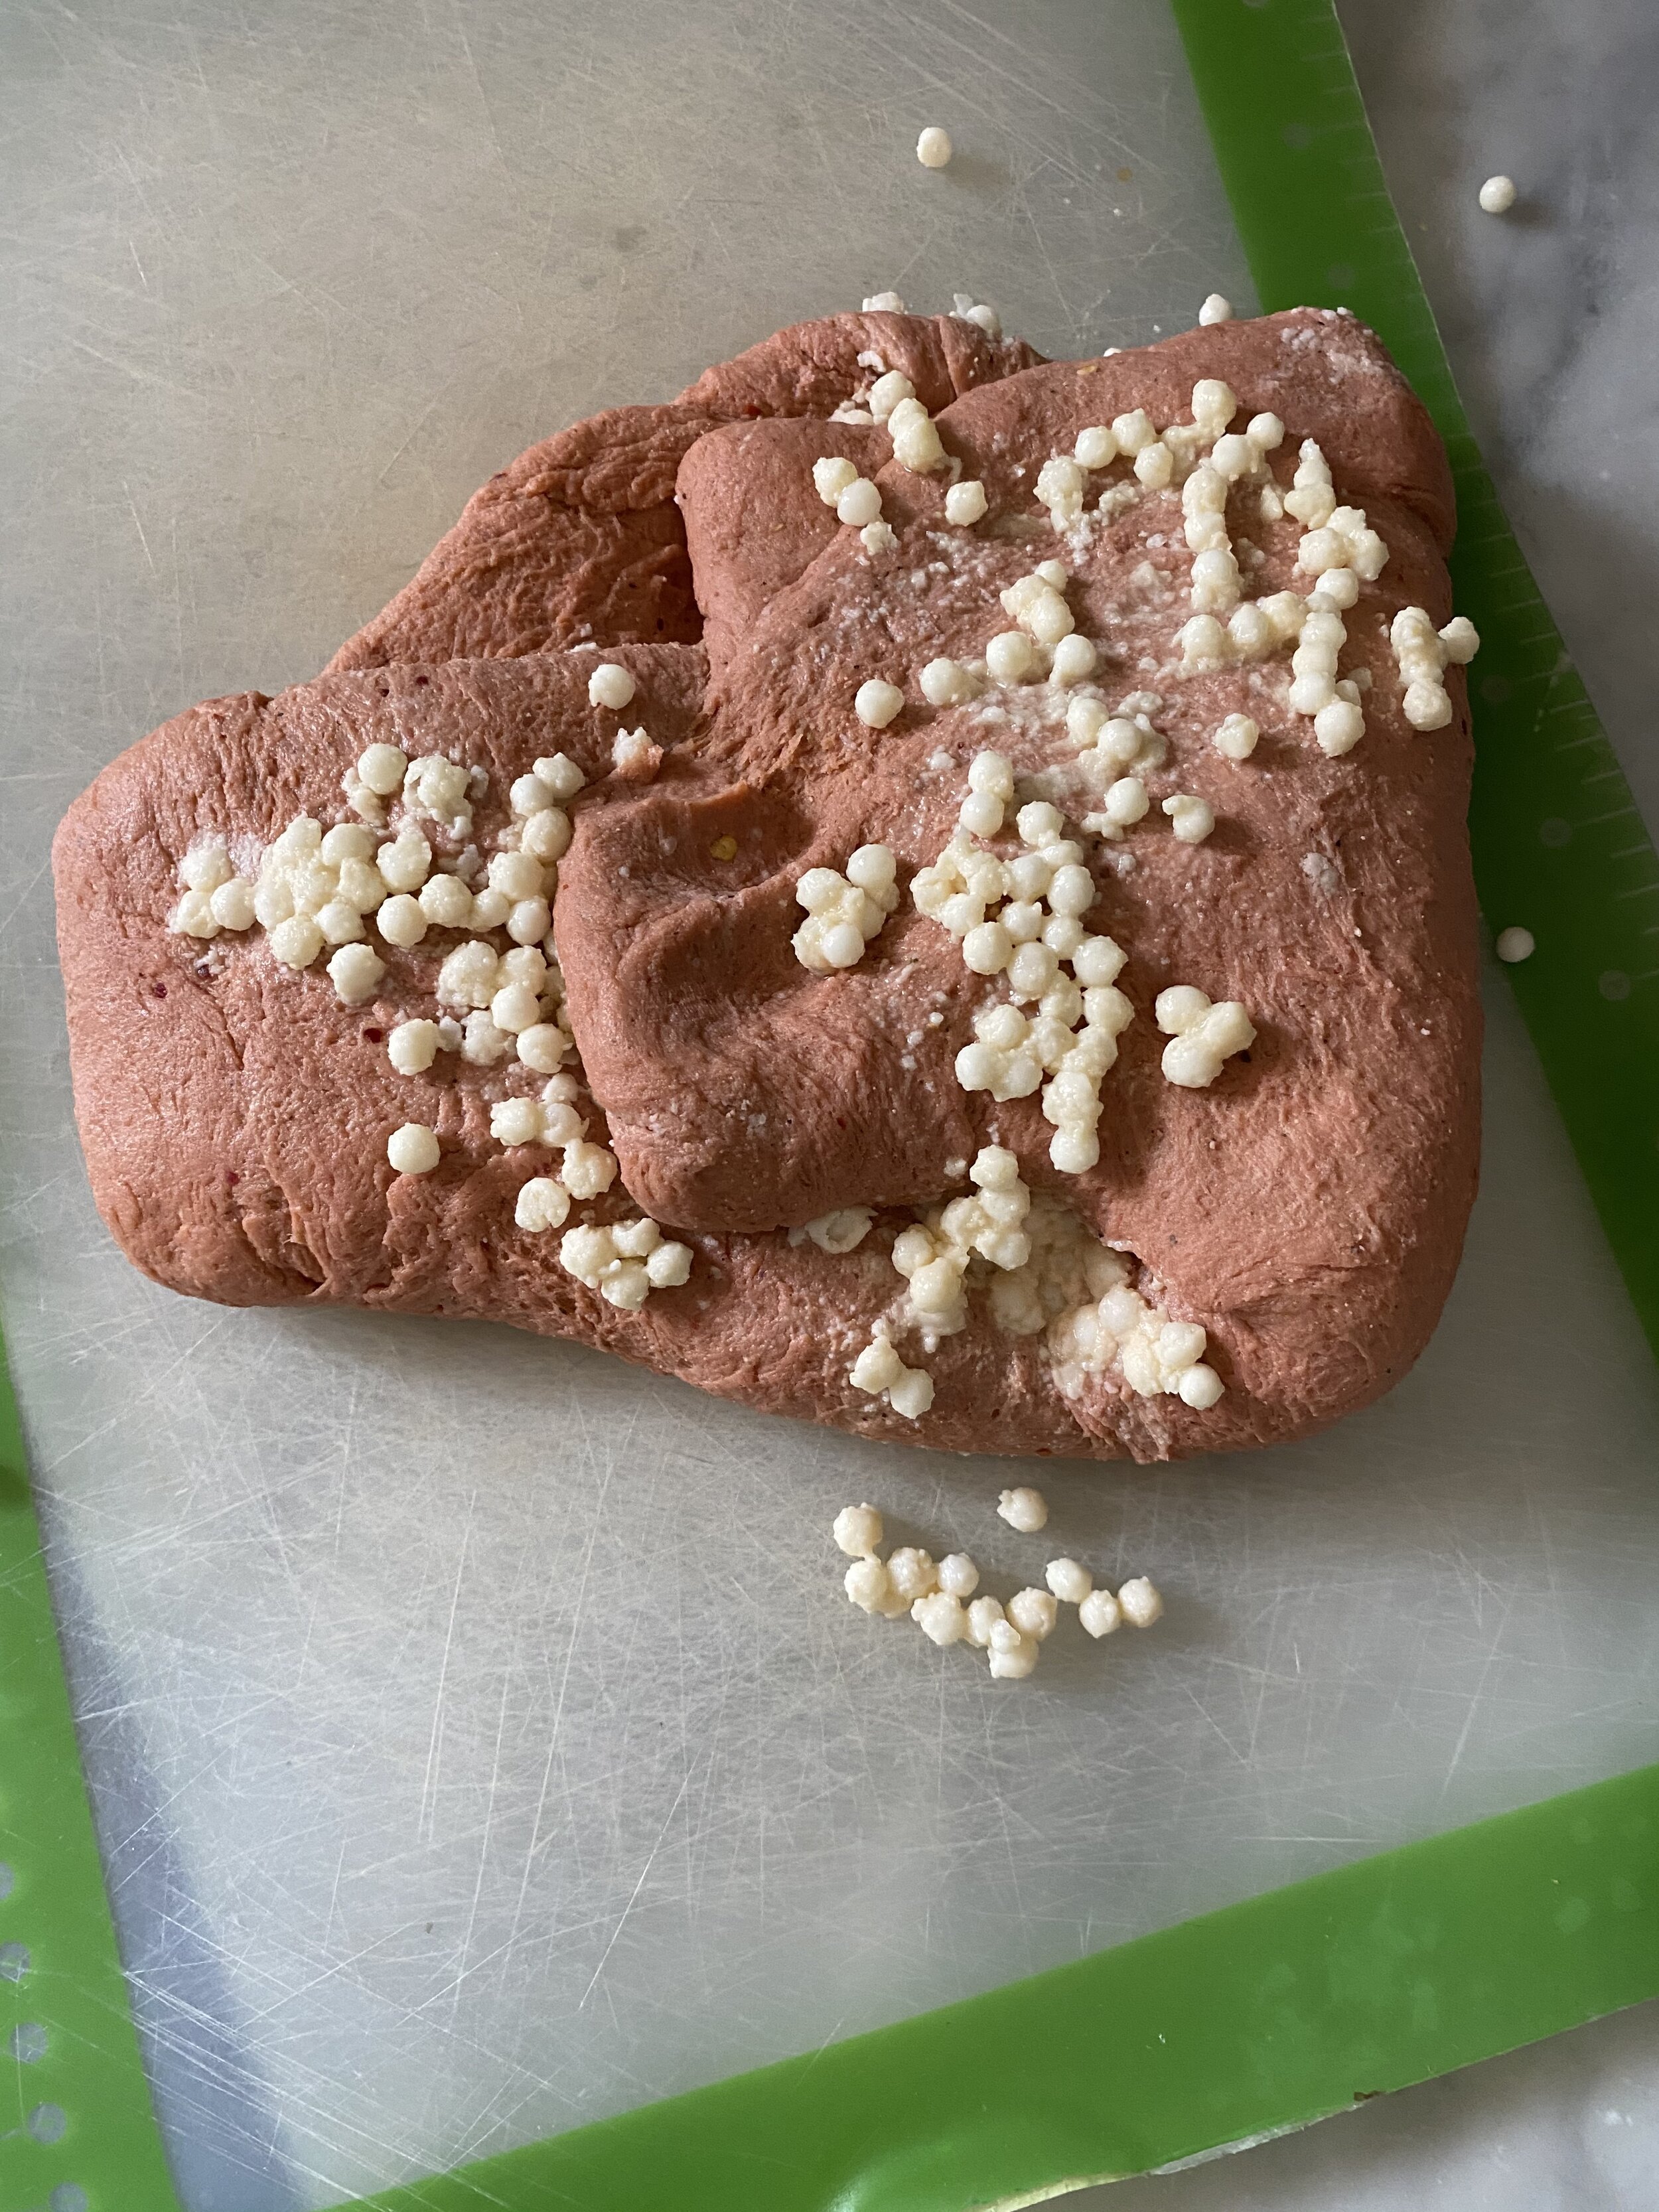
After attempting to mimic the fat bits with white seitan and it always failing, I tired small tapioca pearls.

My daughter and I have been mulling over the idea of using tapioca when I saw a fellow recipe creator and Facebook friend, Aleksandra (go join her Facebook group Creative Vegan Cooking! You will find so much inspiration there, I promise) make a beautiful seitan with tapioca!! And our suspicions were confirmed about using tapioca as the fat bits! She is a genius. I knew that already, but this sealed the deal.

I only had small pearls on hand so I tried that at first. And at first, that seemed like it was going to work. But once the salami baked up, the pearls were lost! Sigh…attempt number 5, at least.

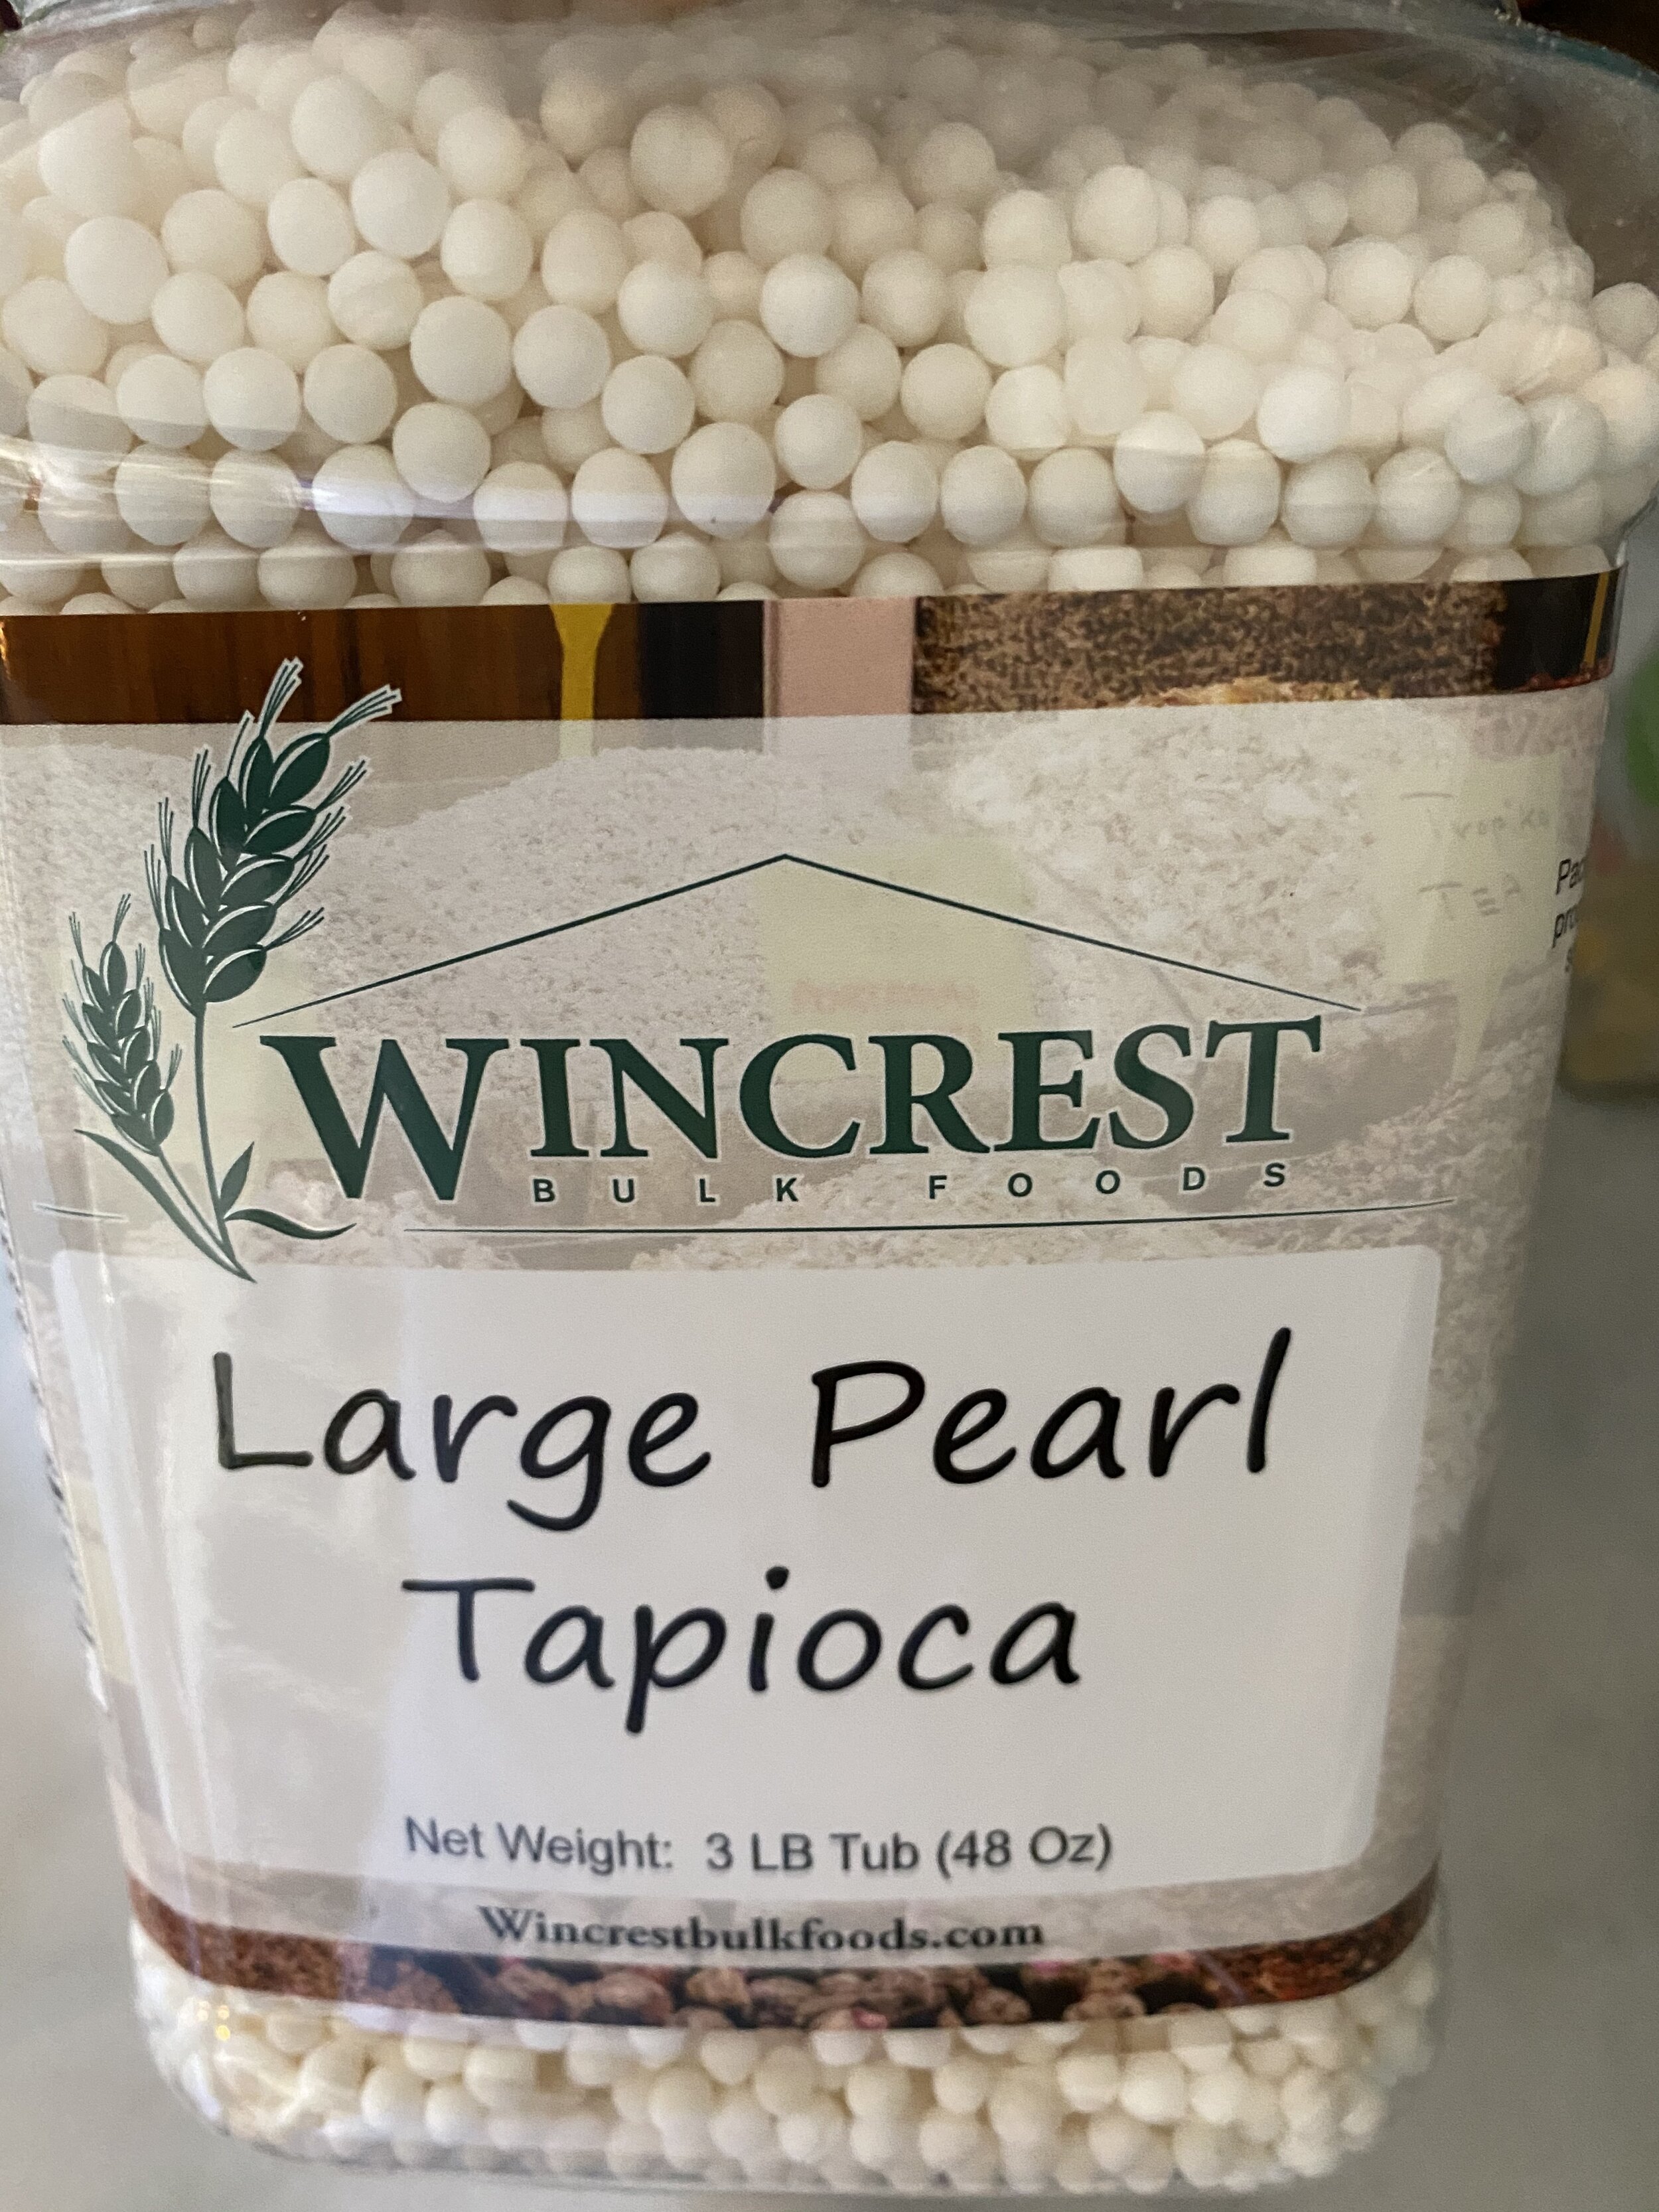
So you 100% NEED TO USE THE LARGE PEARLS. They do not get lost in the dough. I had to order mine online because I could not easily find them at a regular grocery store.

large tapioca pearls

Now if you do not care about it actually looking like salami, you do not have to use the pearls at all!! The only single thing those pearls do is recreate the fat bits in a non vegan salami. That is it. The taste and texture will be the same without them.

I am just tenacious and stubborn to a fault and would not dare post a vegan salami until I felt like it at least somewhat resembled a traditional salami.

This vegan salami recipe is pretty quick (mixing and baking that is) and easy to make. It does take some time for those pearls to soak, so keep that in mind when you go to make this vegan meat. You will need to soak the tapioca for about 4 hours. You will also need to allow for the VERY IMPORTANT REST TIME. And I yell this because you 100% have to let this salami rest before you go slicing into it. The texture depends on it.

I say this so you understand you will make vegan salami today and probably not eat it until tomorrow! But that is ok, good things come to those who wait, and this vegan salami is worth the wait.

It is also worth the savings. Store bought vegan meats are not very cheap. But if you make your own at home it will be pennies to the dollar you spend on pre-made vegan meats! That is reason enough for me to make my own vegan deli meats at home. They are so affordable and easy to make, once you start, there will be no looking back! Promise!

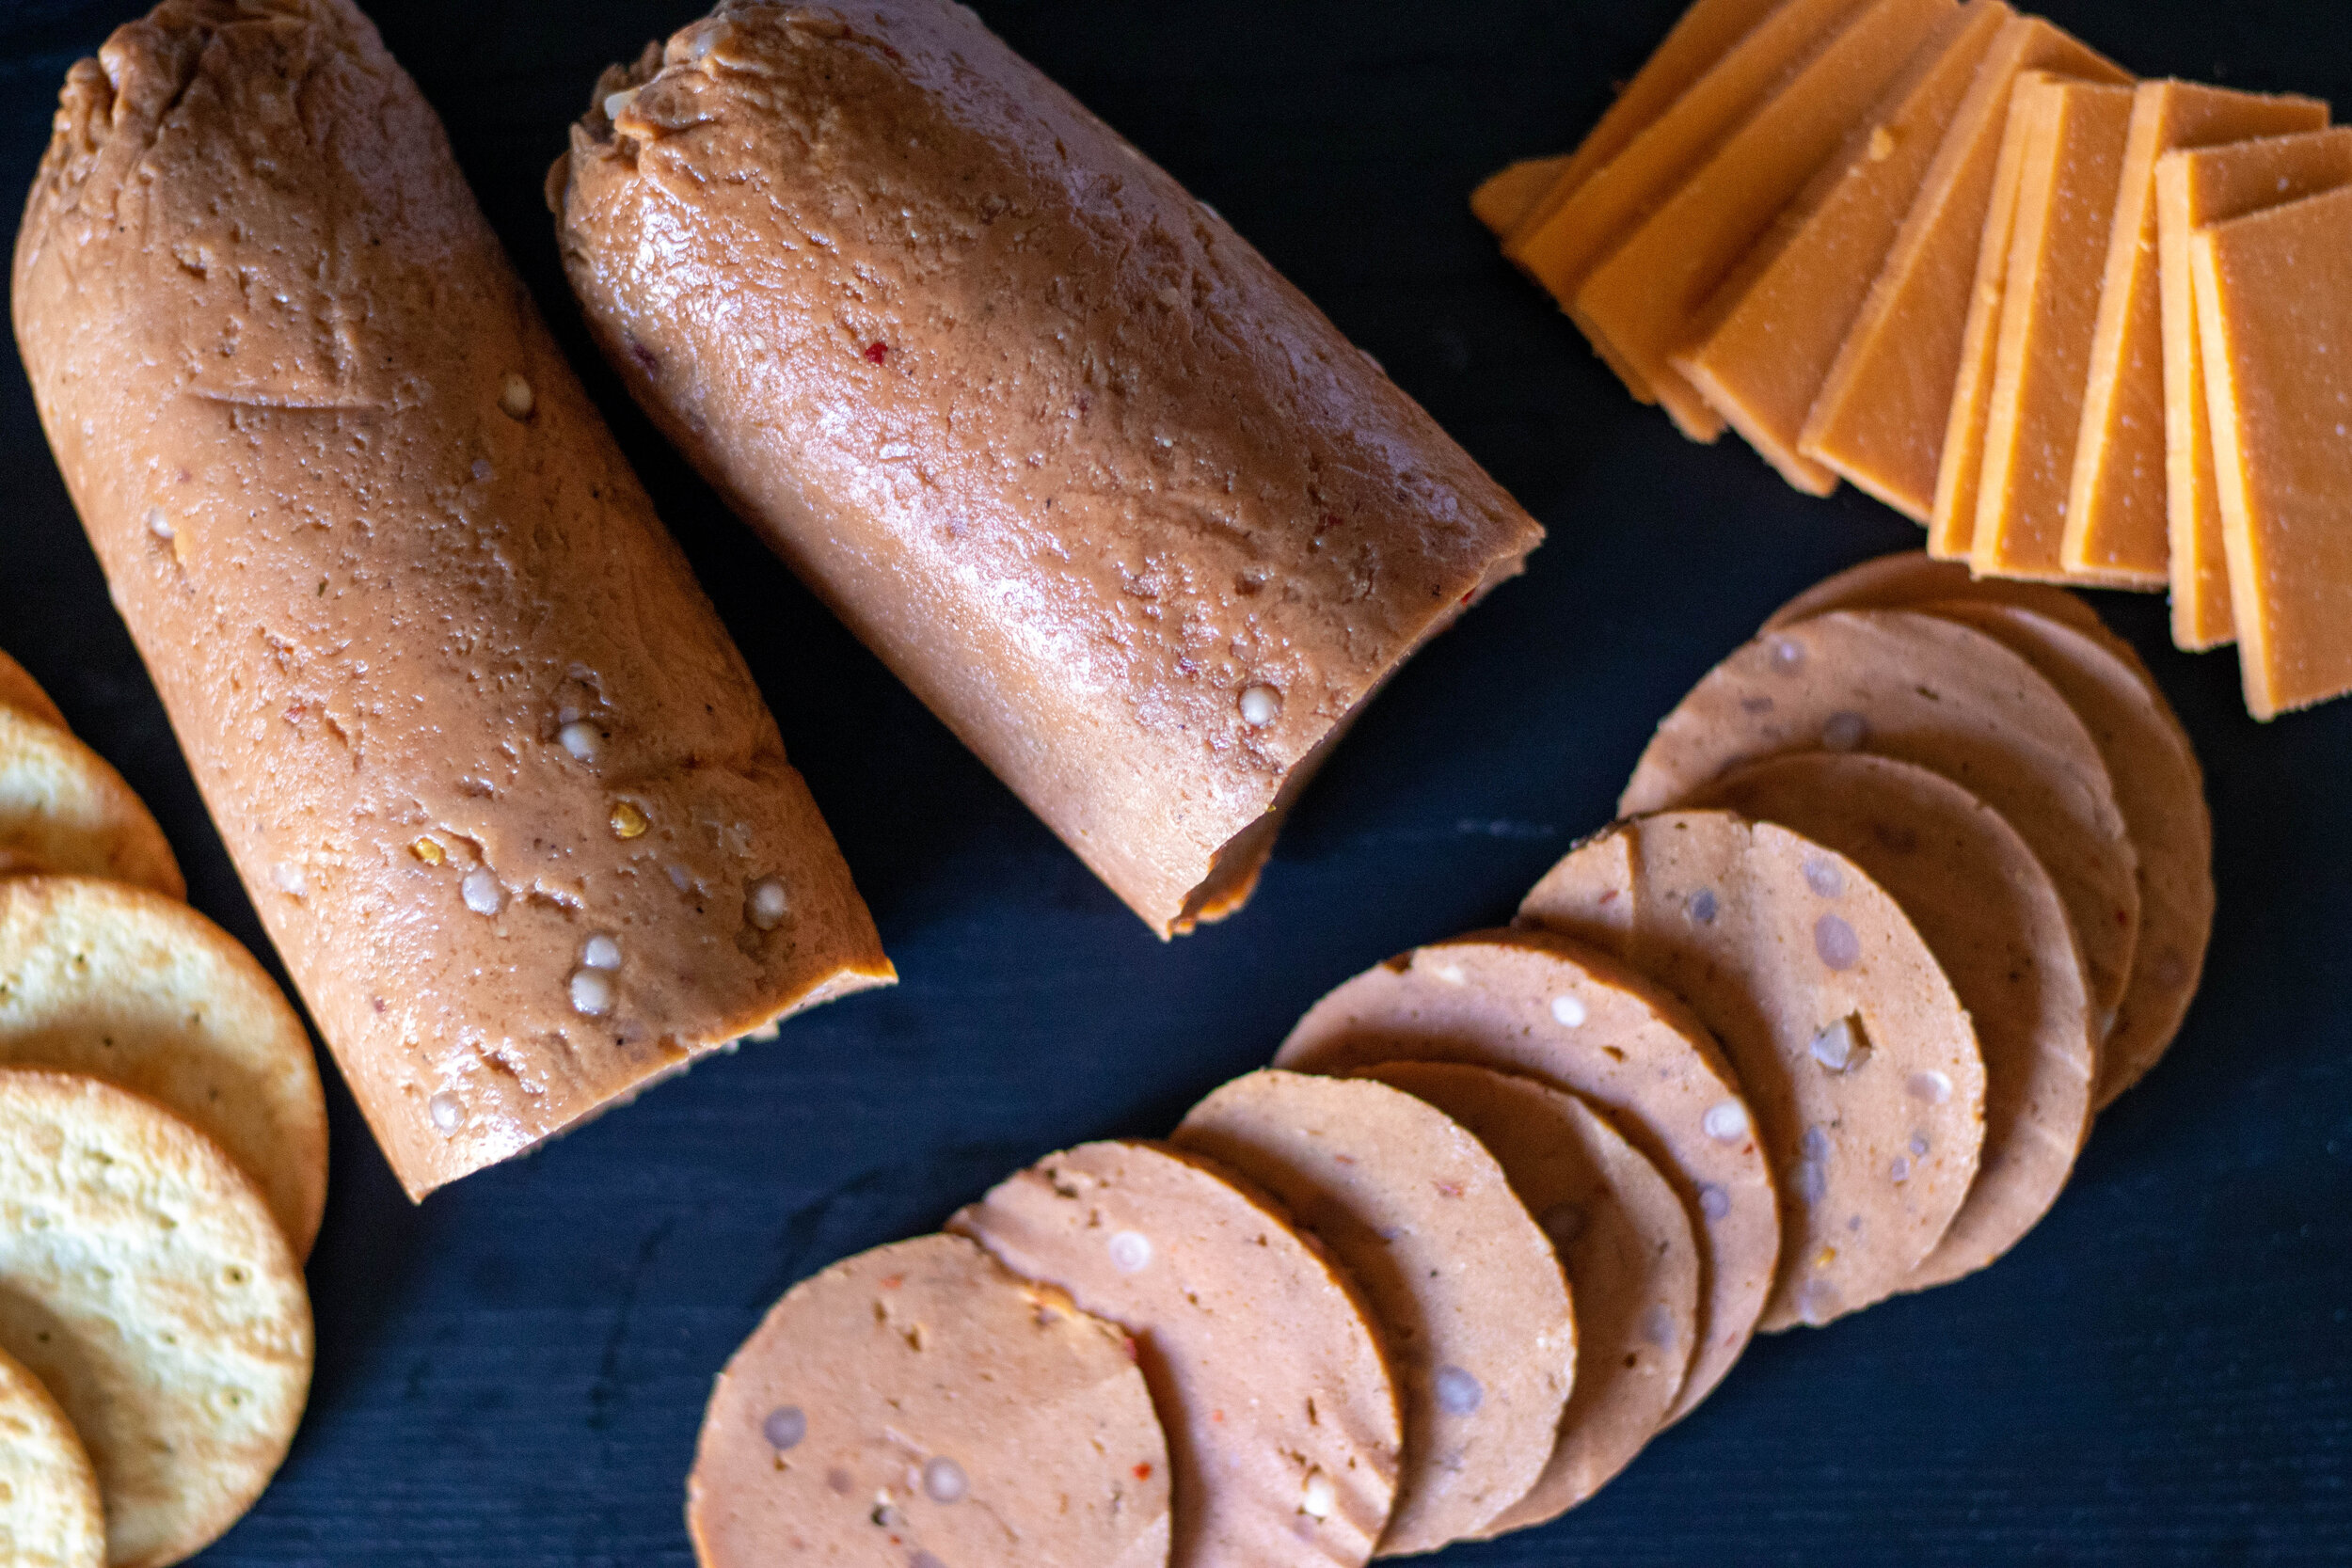
So go, make some vegan salami and stack it high on a cracker with a nice slice of vegan cheese, or on your favorite sandwich! It really is delicious and so easy to make your own vegan salami right at home!

IMG_9307.jpg

INGREDIENTS:

  • 16 oz of super firm tofu (the kind in vacuum sealed package)

  • 1 1/2 cups vital wheat gluten

  • 1/4 cup LARGE tapioca peals, plus hot water to soak them

  • 1/4 cup nutritional yeast

  • 1/4 cup tapioca or corn starch

  • 1/3 cup diced cooked beet (buy in a jar or tin, or you can wrap in foil and bake at 400 degrees until tender. After it has baked the peel easily comes off)

  • 2 tablespoons tomato paste

  • 1 tablespoons No Beef or Vegetable Better Than Bouillon. or some other vegan bouillon paste or powder

  • 2 teaspoons onion powder

  • 2 teaspoons minced garlic

  • 2 teaspoons dried mustard

  • 2 teaspoons sugar or monk fruit sweetener

  • 1-2 teaspoons black pepper

  • 1 teaspoon salt (optional)

  • 2 tablespoons neutral flavored oil (you can also use water instead)

  • 1-2 teaspoon liquid smoke

  • 1-2 teaspoons dried red pepper flakes

  • 1-2 tablespoons water if needed

*I use SUPER FIRM TOFU that is packaged in a sort of vacuum sealed wrapper. This tofu if much firmer than firm or extra firm and does not hold much water. Because of this you do not need to press this tofu AND it yields a much firmer seitan than regular or extra firm tofu. If you can only find firm or extra firm tofu then you will need to press it really well first, I suggest at least 30 minutes.

INSTRUCTIONS:

  1. In a medium sized bowl, add 1/4 cup of large tapioca pearls. Cover the pearls in HOT water. You can also add 1 teaspoon of bouillon if you like but don’t have to. Let the pearls soak for about 4 hours. Once they are done soaking, drain and set aside.

  2. Preheat oven to 350 degrees Fahrenheit

  3. Add the cooked beet to a food processor or high speed blender, and blend until the beet is well minced and broken down.

  4. Add the tofu (no need to press if using super firm) broken up into pieces into the food processor, or blender with the beet, and blend for a minute. You want to blend until the tofu iis good and broken down.

  5. Food Processor Instructions: Add all of the remaining ingredients and let the food processor run for a couple of minutes. You want the mixture to form a dough. Letting the processor run will help knead the dough. We want this seitan to be firm so we need it to knead for a bit. If you dough seems a bit too dry, you can add a tablespoons or of water, just don’t add too much more! You need a firm dough for this recipe.

  6. Blender Instructions: If you are using blender then break down the beet and tofu in the blender and get it as smooth as you can. Add the tofu and beet mixture to a bowl with the remaining ingredients and mix by hand. You will have to get the dough as mixed as you can then turn it out onto a clean surface to knead the dough by hand unit it comes together. You alternatively could add the tofu and beet mixture and remaining ingredients to a stand mixer with a dough hook attachment, and allow it to mix and knead that way.

  7. Once you have a smooth but firm dough, remove it from the food processor and place on a clean counter. Knead the dough with your hands for about a minute, forming a large rectangle shaped loaf with the dough. Try to stretch and flatten the dough out as much as you can.

  8. Sprinkle and few tablespoons of the tapioca pearls evenly over the dough and press them in the best you can with your hands (they like to pop out of the springy dough.) Now fold the dough in half and sprinkle more pearls, pressing them in. fold again, adding more pearls, repeating this process until you can not fold the dough any more, and you are out of pearls ( as you fold pearls will spring out as mentioned above, its ok if you don’t get them all in there.)

  9. Once you have gotten all of the pearls (or as many as you can) into the dough, cut it in half. Begin kneading one piece at time by hand until the dough comes back together and is somewhat smooth.

  10. Shape each piece of dough into a 7 or 8 inch log. You will need to roll and pinch the dough to get it as smooth as you can. Adding the tapioca pearls makes getting the dough smooth a little more difficult than if you were making something like a pepperoni. But it will get smooth, I promise.

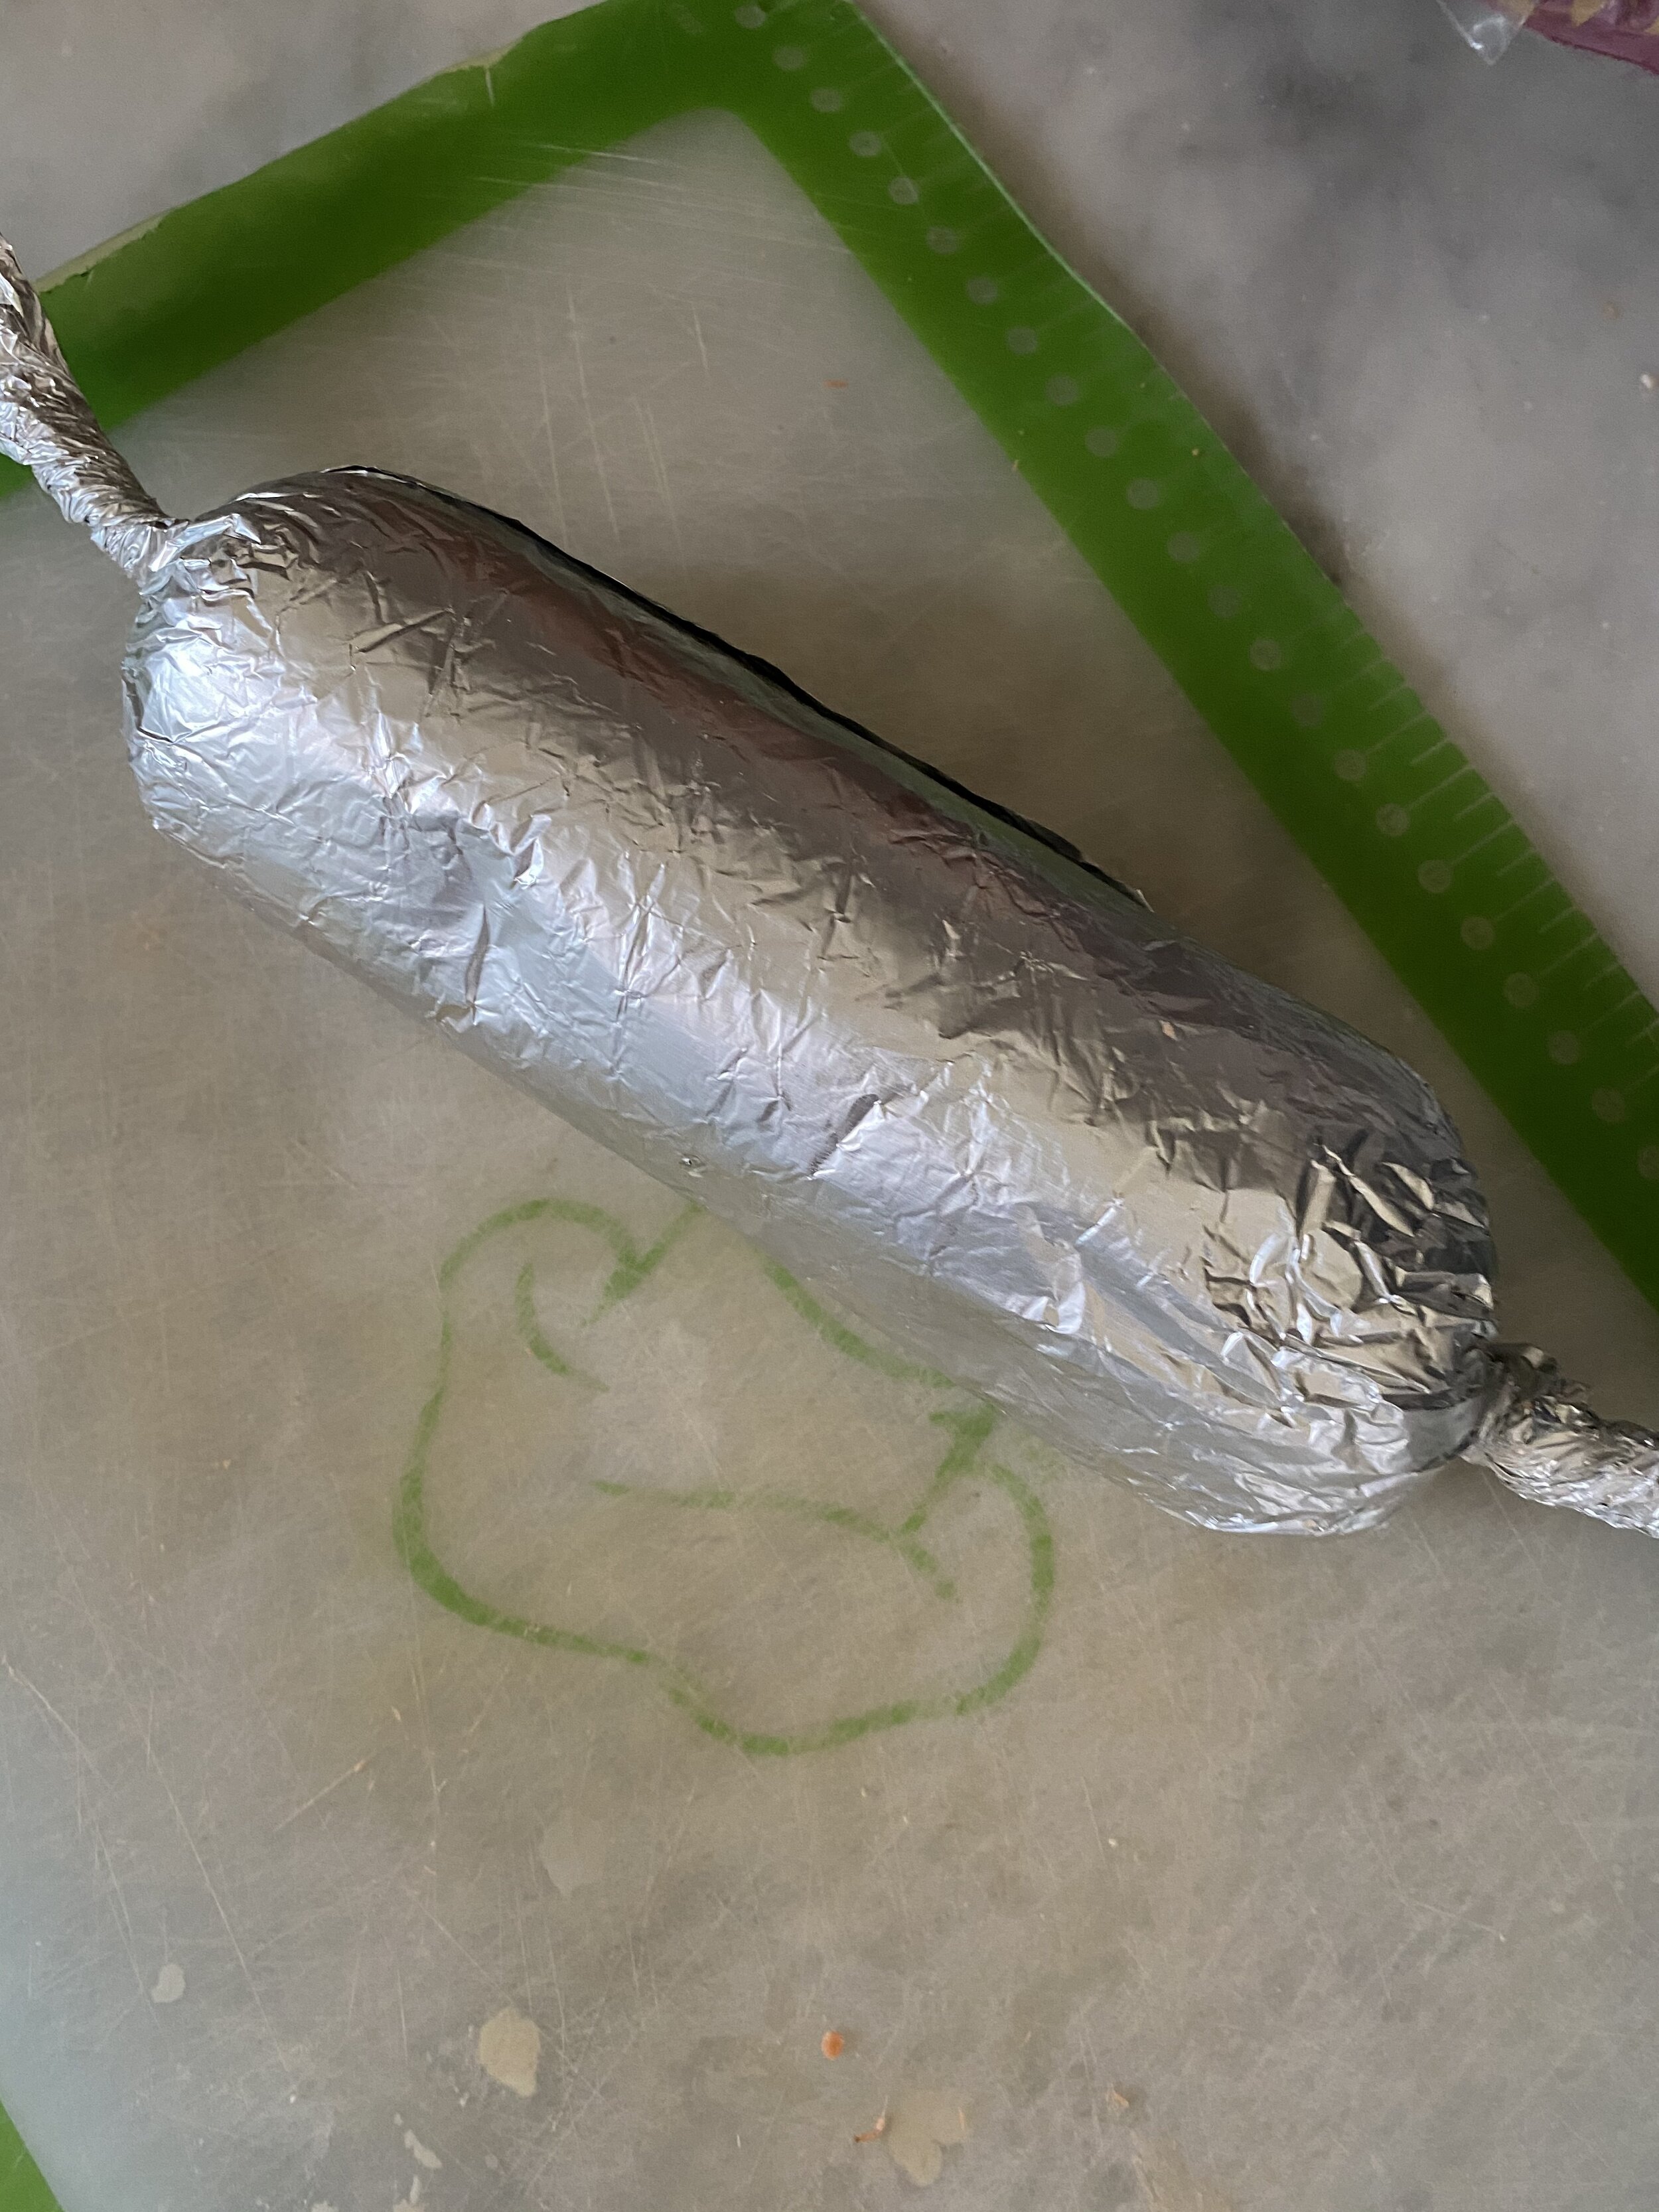
  11. Take two pieces of aluminum foil about 3x bigger than each log of dough, and lay it out flat. Coat the foil in spray oil or wipe it down with any oil you have. Place a log of seitan at one of the long ends of the foil and begin rolling. Once you have it rolled up tightly in the foil, twist up the ends of the foil nice and tight (see picture) like foil arms.

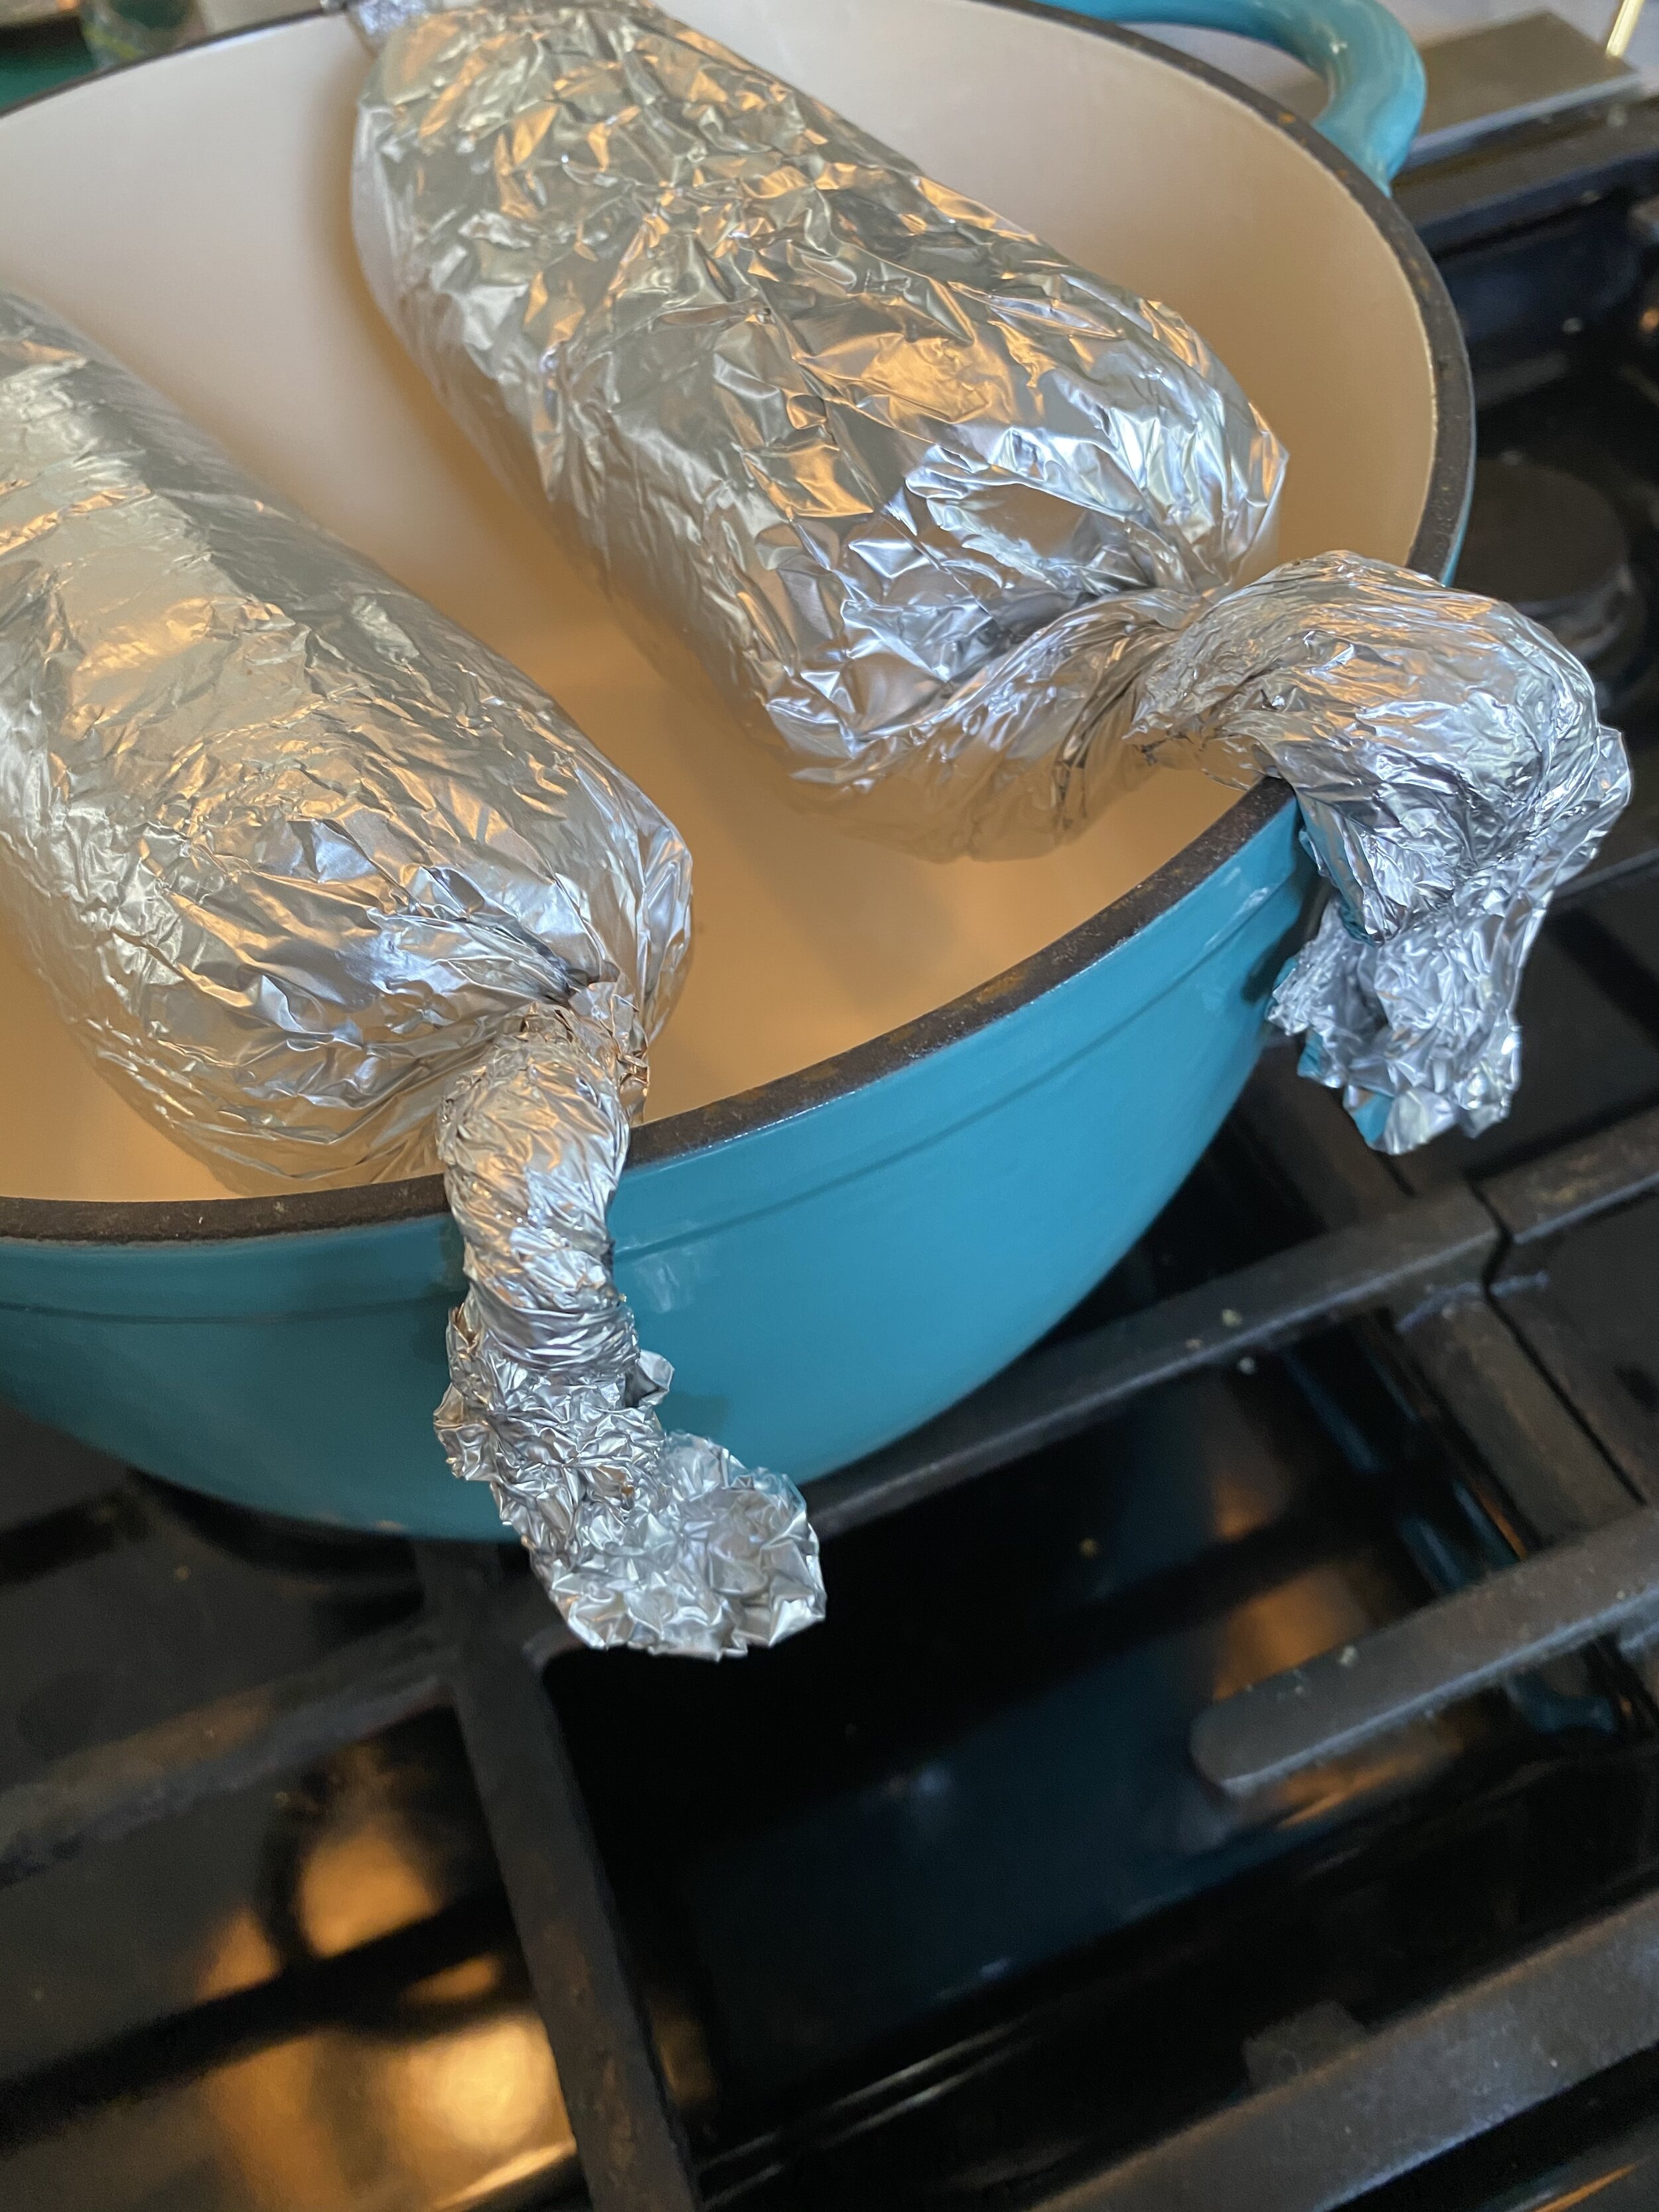
  12. Take a dutch oven, cast iron skillet, or even a baking dish, and use the foil ends to drape the salamis over the pot or pan. You want them suspended and not touching the bottom. If the salami is baked resting on a pan, the bottom tends to flatten a bit and brown while it bakes. This will help you keep a nice round shape without a water bath, and the bottom won’t brown!

  13. Place the pot or pan in the oven on the middle rack, and let the vegan salamis bake wrapped for 1 hour.

  14. Remove from the oven and allow to cool enough to open the foil. Allow to further cool at room temperature. Once cooled place in a zip lock bag or airtight container in the fridge.

  15. Leave the vegan salami in the fridge to rest for at least 6 hours. I normally just leave mine to rest over night. The salami MUST REST! Seitan will firm up only after it has a nice long rest in the fridge! If you want a firm sliceable vegan salami then you have to let it rest, y’all!

  16. Store rested vegan salami in the fridge for up to 10 days in an air tight container, or freeze for up to 6 months.

Trouble shooting issues with your vegan salami:

  1. If your vegan salami seems too doughy after it has rested, then you may not have kneaded it long enough. The longer you knead seitan dough the tougher / firmer it will get. Make sure to let the dough knead a few minutes. Also make sure you wrap that foil nice and tight!!!

  2. It also may be that your oven temp is off and is not the temperature it is registering. You can get an oven thermometer to check the real temp or next time just let it bake an extra 20 minutes.

  3. If you seitan seems bread like, with little holes in it after it has rested, once you slice it, then your oven may be cooking hotter than it registers or you maybe have cooked it too long. Again, can get an oven thermometer and check the temp, or just knock back the temp 20 degrees or so then next time you bake it.

If you like this recipe, then try these:

vegan flank steak
vegan flank steak

Vegan Glazed Deli Ham

IMG_8116.jpg

I make a lot of seitan based vegan meats. So bare with me while I talk turkey for a minute. The ham talk will follow.

I have recipes for a holiday roast, holiday turkey style breast with crispy skin, chicken breast, pastrami, brisket, and even pepperoni. But until our turkey recipe, I had never added tofu to the mix.

If there was ever a sandwich I missed since going vegan it is a regular old turkey sandwich. I used to love a good deli carved turkey sandwich more than almost anything. So I decided I would try to add tofu to my regular turkey style breast recipe to see if I could get it to a more deli sliced texture.

Y’all, the answer is YES! I have seen other people adding tofu to seitan recipes, and obviously Tofurkey lunch slices are a mix of tofu and vital wheat gluten so I decided to give it a go. It only took one experiment and it came out pretty perfect the first time. I was elated.

So once I realized how easy the turkey was, I went on to make a vegan roast beef using the same method!

Ham was my next stop on the vegan lunch meat deli tour, and I knew if I made it the same way as the turkey but changed a few wet ingredients and spices, I would get the same successful results I got with the turkey and roast beef.

Oh and a glaze. Whats a ham without a glaze?!?!

IMG_8115.jpg

Growing up I LOVED when my parents bought a Honey Baked Ham for the holidays. I was never a fan of packaged deli ham but I lived for leftover Honey Baked Ham sandwiches on a Hawaiian roll with mayo. So that was the kind of ham I was looking to recreate.

You can slice this ham extra thin if that is your preferred texture, or leave it a little on the thick side to mimic more of a holiday ham. And because I loved a glazed ham the most, I gave this one a nice sweet brown sugar glaze with a hint of soy for the salt and to add a little color to the top.

My kids love our easy vegan deli turkey recipe so when I offered them this ham (2 of my kids have only ever had ham once at a friends how when they were really young, the other two, never) they announced “I don’t think I liked ham that one time I ate it.” But since we were out of turkey and they wanted and sandwich, they gave in and made a vegan ham sandwich for lunch.

We were out and about and my 14 year old daughter was super reluctant to eat said sandwich, but y’all, if I could have videoed her face when she took that first bite…priceless. Lets just say she is now a big fan of vegan ham non white bread with mayo and vegan American cheese.

So if you have made any of other vegan deli meat recipe and looking to switch it up, try the ham. Its just as good as the turkey, roast beef, or brisket, just more, well, ham like!

IMG_8108.jpg

INGREDIENTS:

  • 1 block super firm tofu, 14-16 oz

  • 1 cup vital wheat gluten

  • 1/4 cup ketchup or tomato sauce

  • 1/4 cup nutritional yeast

  • 2 tablespoons neutral flavored oil ( you can replace with water if you are oil free)

  • 2 tablespoons tapioca starch or corn starch

  • 1 tablespoon white sugar

  • 2 teaspoons onion powder

  • 1 teaspoons garlic powder

  • 1 teaspoon smoked paprika

  • 1/2 teaspoon black pepper

  • 1 teaspoon coriander

  • 1/8 teaspoon nutmeg

  • 1/8 teaspoon allspice

  • 1 teaspoon salt is you think it needs more (the bouillon and soy add a bit of salt as is)

  • 1 tablespoon Garlic or Vegetable Better Than Bouillon (I used garlic)

  • 2 teaspoons liquid smoke

  • 1 tablespoon coconut aminos or soy sauce

  • 2 tablespoons water if need (add last)

Glaze Coating:

  • 2 tablespoon brown sugar

  • 2 teaspoons dry mustard

  • 1/2 teaspoons salt

  • 2 teaspoons soy sauce or coconut aminos

TROUBLE SHOOTING THIS REICPE:

*I used high protein tofu in a vacuum sealed package and this what I strongly advise using. It is much firmer than regular firm tofu and has less moisture and a more chewy texture. If you opt to use regular firm tofu you will need to press it first and remove as much liquid as possible. You may need to adjust the amount of water in the recipet as well. Add the water last, adding just enough to accomplish a firm dough.

  • *If you find your turkey has A LOT OF LITTLE HOLES, and a more BREAD LIKE TEXTURE this can be caused from under kneading the dough, BUT more likely cooking the seitan at too high of a temperature, or for too long. Check your ovens temperature with an oven thermometer. Your oven may just be cooking hotter than it registers. Also gas and electric ovens tend to cook differently. If you do not have an oven thermometer you can reduce the heat in your oven by 25 degrees, and keep the seitan covered for 50 minutes and open for 10.

INSTRUCTIONS:

Preheat oven to 350 degrees

  1. Break up the tofu and place it into a food processor with the regular metal blade. Run the processor for around a minute until the tofu is broken down.
  2. Add all of the remaining ingredients and let the food processor run for a couple of minutes. You want the mixture to form a dough. Letting the processor run will help knead the dough. We want this seitan to be firm so we need it to knead for a bit. If you dough seems a bit too dry, you can add another few tablespoons of water, just don’t add too much more! This dough came out stickier than the turkey because of the consistency of the ketchup and I did not have to add ANY water to mine. If your dough seems too sticky, then add 2 more tablespoons of starch.

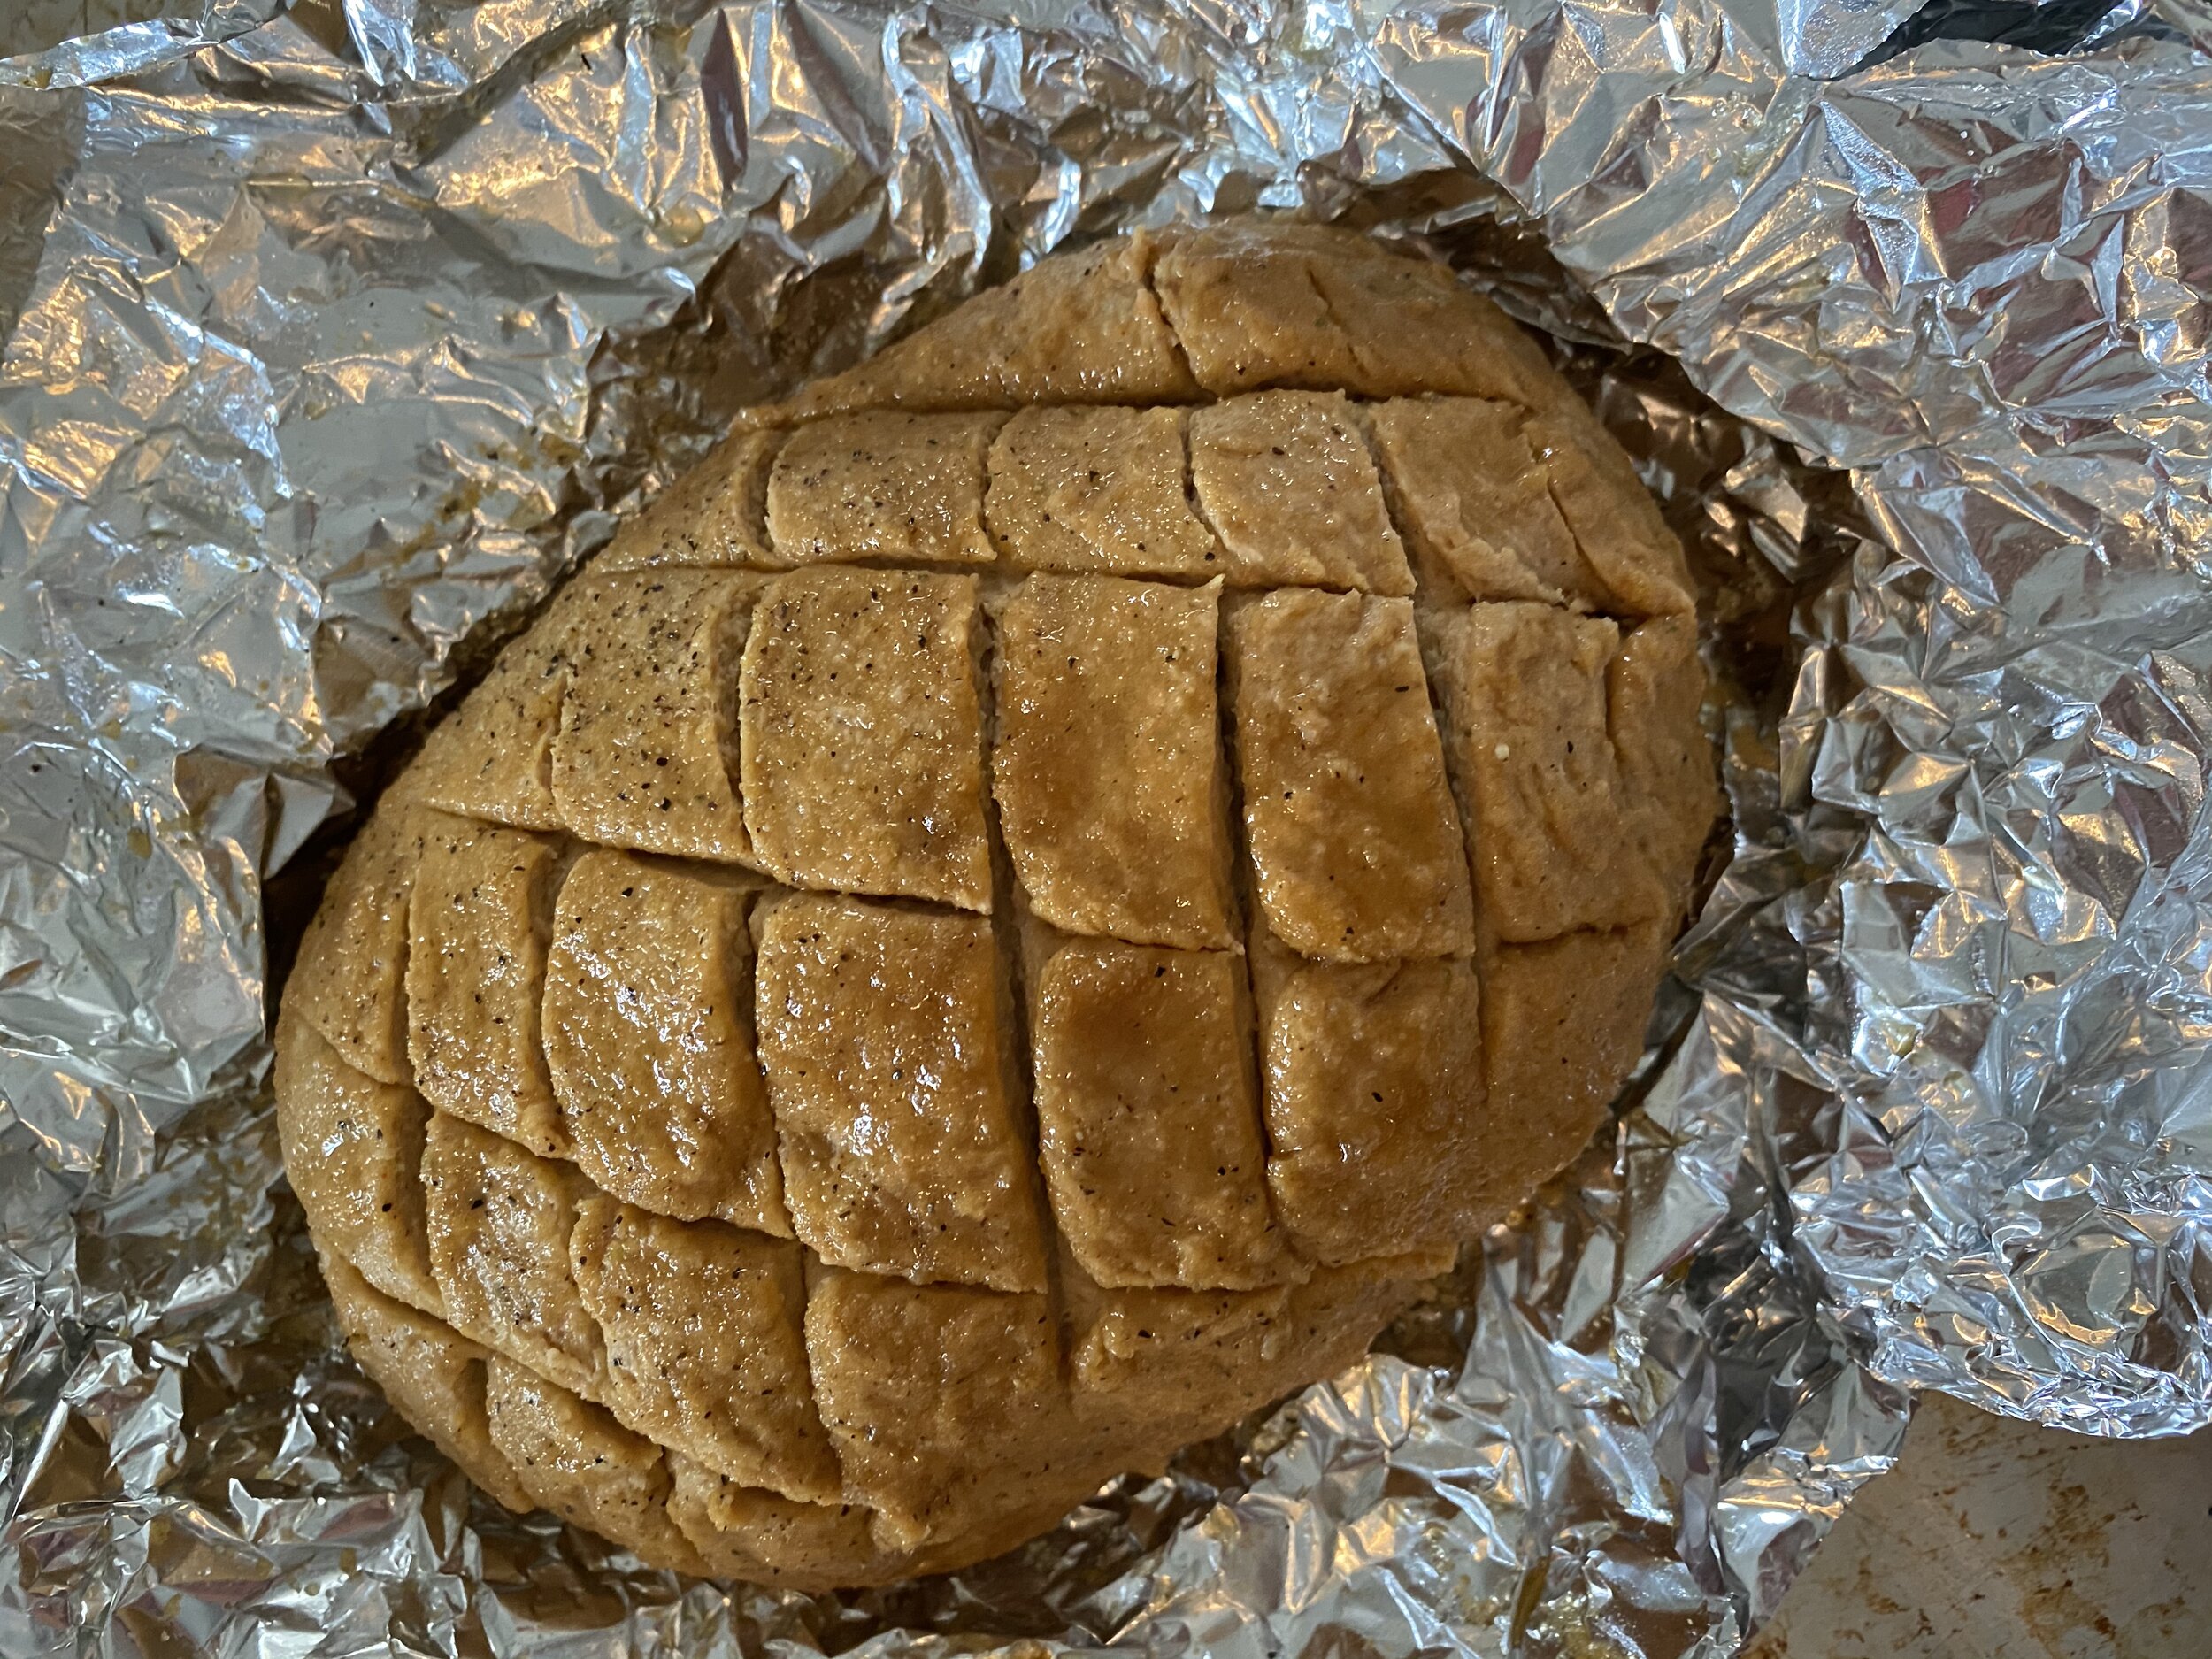
  3. Once you have a smooth but firm dough, remove it from the food processor and place on a clean counter. Knead the dough with your hands for about a minute, forming a kind of oval shaped loaf with the dough. Using a very sharp knife, score crisscross marks across the top of the loaf about an eighth of an inch deep.

  4. Take a piece of aluminum for about 3x bigger than the loaf of dough, and lay it out flat. Coat the foil in spray oil or wipe it down with any oil you have. Sprinkle the brown sugar, mustard, and salt in the middle of the foil and give a little mix. Place the loaf on the seasoning and roll it around. The goal is to fully coat the loaf in the seasoning!

  5. Place the loaf back in the center of the foil and fold up the sides, pinching at the top to seal it up, then twist the ends to fully seal the foil.

  6. Place on a baking sheet and put in the oven on the middle rack. Bake sealed for 30 minutes. After 30 minutes carefully open up the foil and brush the top with a teaspoon or two of soy sauce, and continue baking for another 30 minutes.

  7. Remove finished “ham” and let cool at room temp. Seal the foil back up and place the “ham” in the fridge over night to rest. This step is important to get the texture we are trying achieve. If you try and serve it before it rests it will not be nearly as firm.

  8. Once the “ham” has been in the fridge over night, you can remove it and slice it to serve. It should at this point be firm enough to slice using a mandolin or a sharp knife. Store in an air tight container in the fridge for up to 10 days.

If you like this recipe, then try these:

Vegan Dry Rubbed Brisket

Vegan Dry Rubbed Brisket

Vegan Deli Sliced Turkey

Vegan Deli Sliced Turkey

Vegan Deli Sliced Roast Beef

Vegan Deli Sliced Roast Beef

IMG_8125.jpg

Vegan Deli Sliced Roast Beef

I want to give credit where credit is due, and this recipe idea gets all it’s credit from a person named J Sweeney! J left me a comment recently about taking our vegan deli sliced turkey recipe and adapting it to make a roast beef.

It maybe took me 2 minutes from the time I read the comment until I was standing over my food processor making this recipe happen.

J had asked for suggestions on turning the turkey to vegan roast beef and I had ideas but needed to test them out. I knew it need a beet for color and a change of spices and seasoning. I have brisket and pastrami recipes where I use jackfruit instead or tofu and that works very well to accomplish the textures I am trying to accomplish there. But tofu would be better suited for deli sliced vegan roast beef. So I that’s what I did, and thanks to J for sparking me to even try to make this recipe, it worked and is delicious.

Vegan deli meats are actually really easy to make at home and way cheaper than buying per made versions. You can control the seasoning, and you know every single ingredient that is going into you vegan deli meats.I love knowing what my family is eating and I love saving a ton of money because with a house full of kids and few teenagers, we go through a LOT of sandwiches!

IMG_7404.jpg

Now, when I say let this recipe rest, I mean it! If you bake this roast beef and decide to slice it right away, DO NOT COME SASSING ME WHEN THE TEXUTE SEEMS OFF!! It needs to rest. That is what will help the “roast beef” to firm up and slice deli thin. Sorry, I didn’t make the rules about seitan, and I don’t really love rules, but this is one I always follow. It’s for the good of the vegan roast beef, y’all!

If you are not a fan, or never have been a fan of roast beef, try one of our other deli meats, they are linked at the bottom of this recipe. I would go as far as to say you would be hard pressed to find a better vegan turkey recipe anywhere. That’s a bold statement, but seriously, for as easy as it is to make, and for how convincing and delicious it is, you will probably never look for another vegan turkey lunch meat recipe, again. And maybe the same will be true for this vegan roast beef, as well.

So thanks J Sweeney for the inspiration, and I hope y’all are happy with this vegan roast beef effort. I know I was, and am so glad you reached out and that this was the result!

IMG_7398.jpg

*This recipe calls of super firm tofu, the kind vacuum sealed and not sitting in a tray of water. If you choose to use extra firm tofu packed in water, the results will vary. Too much liquid will alter the texture of this vegan roast beef. I highly suggest looking for the super firm tofu.

INGREDIENTS:

IMG_7806.jpg
  • 1 block super firm tofu, the kind in a vacuum sealed pack

  • 1 cup vital wheat gluten

  • 1/4 cup raw beet, cubed (one small beet)

  • 2 tablespoons - 1/4 cup brown sugar

  • 2 teaspoon vegan Worcestershire sauce

  • 2 teaspoons dried thyme

  • 2 teaspoons dried rosemary

  • 2 teaspoons garlic powder

  • 1 teaspoon black pepper

  • 1 tablespoon No Beef, or Vegetable Better Than Bouillon

  • 2 tablespoons soy sauce

  • 1/4 cup nutritional yeast

  • 2 tablespoons corn or tapioca starch

  • 2 tablespoon neutral tasting oil

Spice Coating:

  • 2 tablespoons brown sugar

  • 1 teaspoon dried thyme

  • 1 teaspoon dried rosemary

  • 1 teaspoon smoked paprika

  • 1 teaspoon garlic powder

  • 1/2 teaspoon salt

  • 1/4 teaspoon black pepper

INSTRUCTIONS:

Preheat oven to 350 degrees

  1. Add the peeled and cubed beet to the food processor. Let it run for a minute and get the beet good and broken down.

  2. Break up the tofu and place it into a food processor along with the beet. Run the processor for around a minute until the tofu is broken down.
  3. Add all of the remaining ingredients and let the food processor run for a couple of minutes. You want the mixture to form a dough. Letting the processor run will help knead the dough. We want this seitan to be firm so we need it to knead for a bit. If the dough seems too dry, you can add water, just a teaspoon at a time until the dough comes together. I added NO water to my dough. The other liquid ingredients and the beet added enough moisture to mine.

  4. Once you have a smooth but firm dough, remove it from the food processor and place on a clean counter. Knead the dough with your hands for about a minute, forming a kind of oval shaped loaf with the dough.

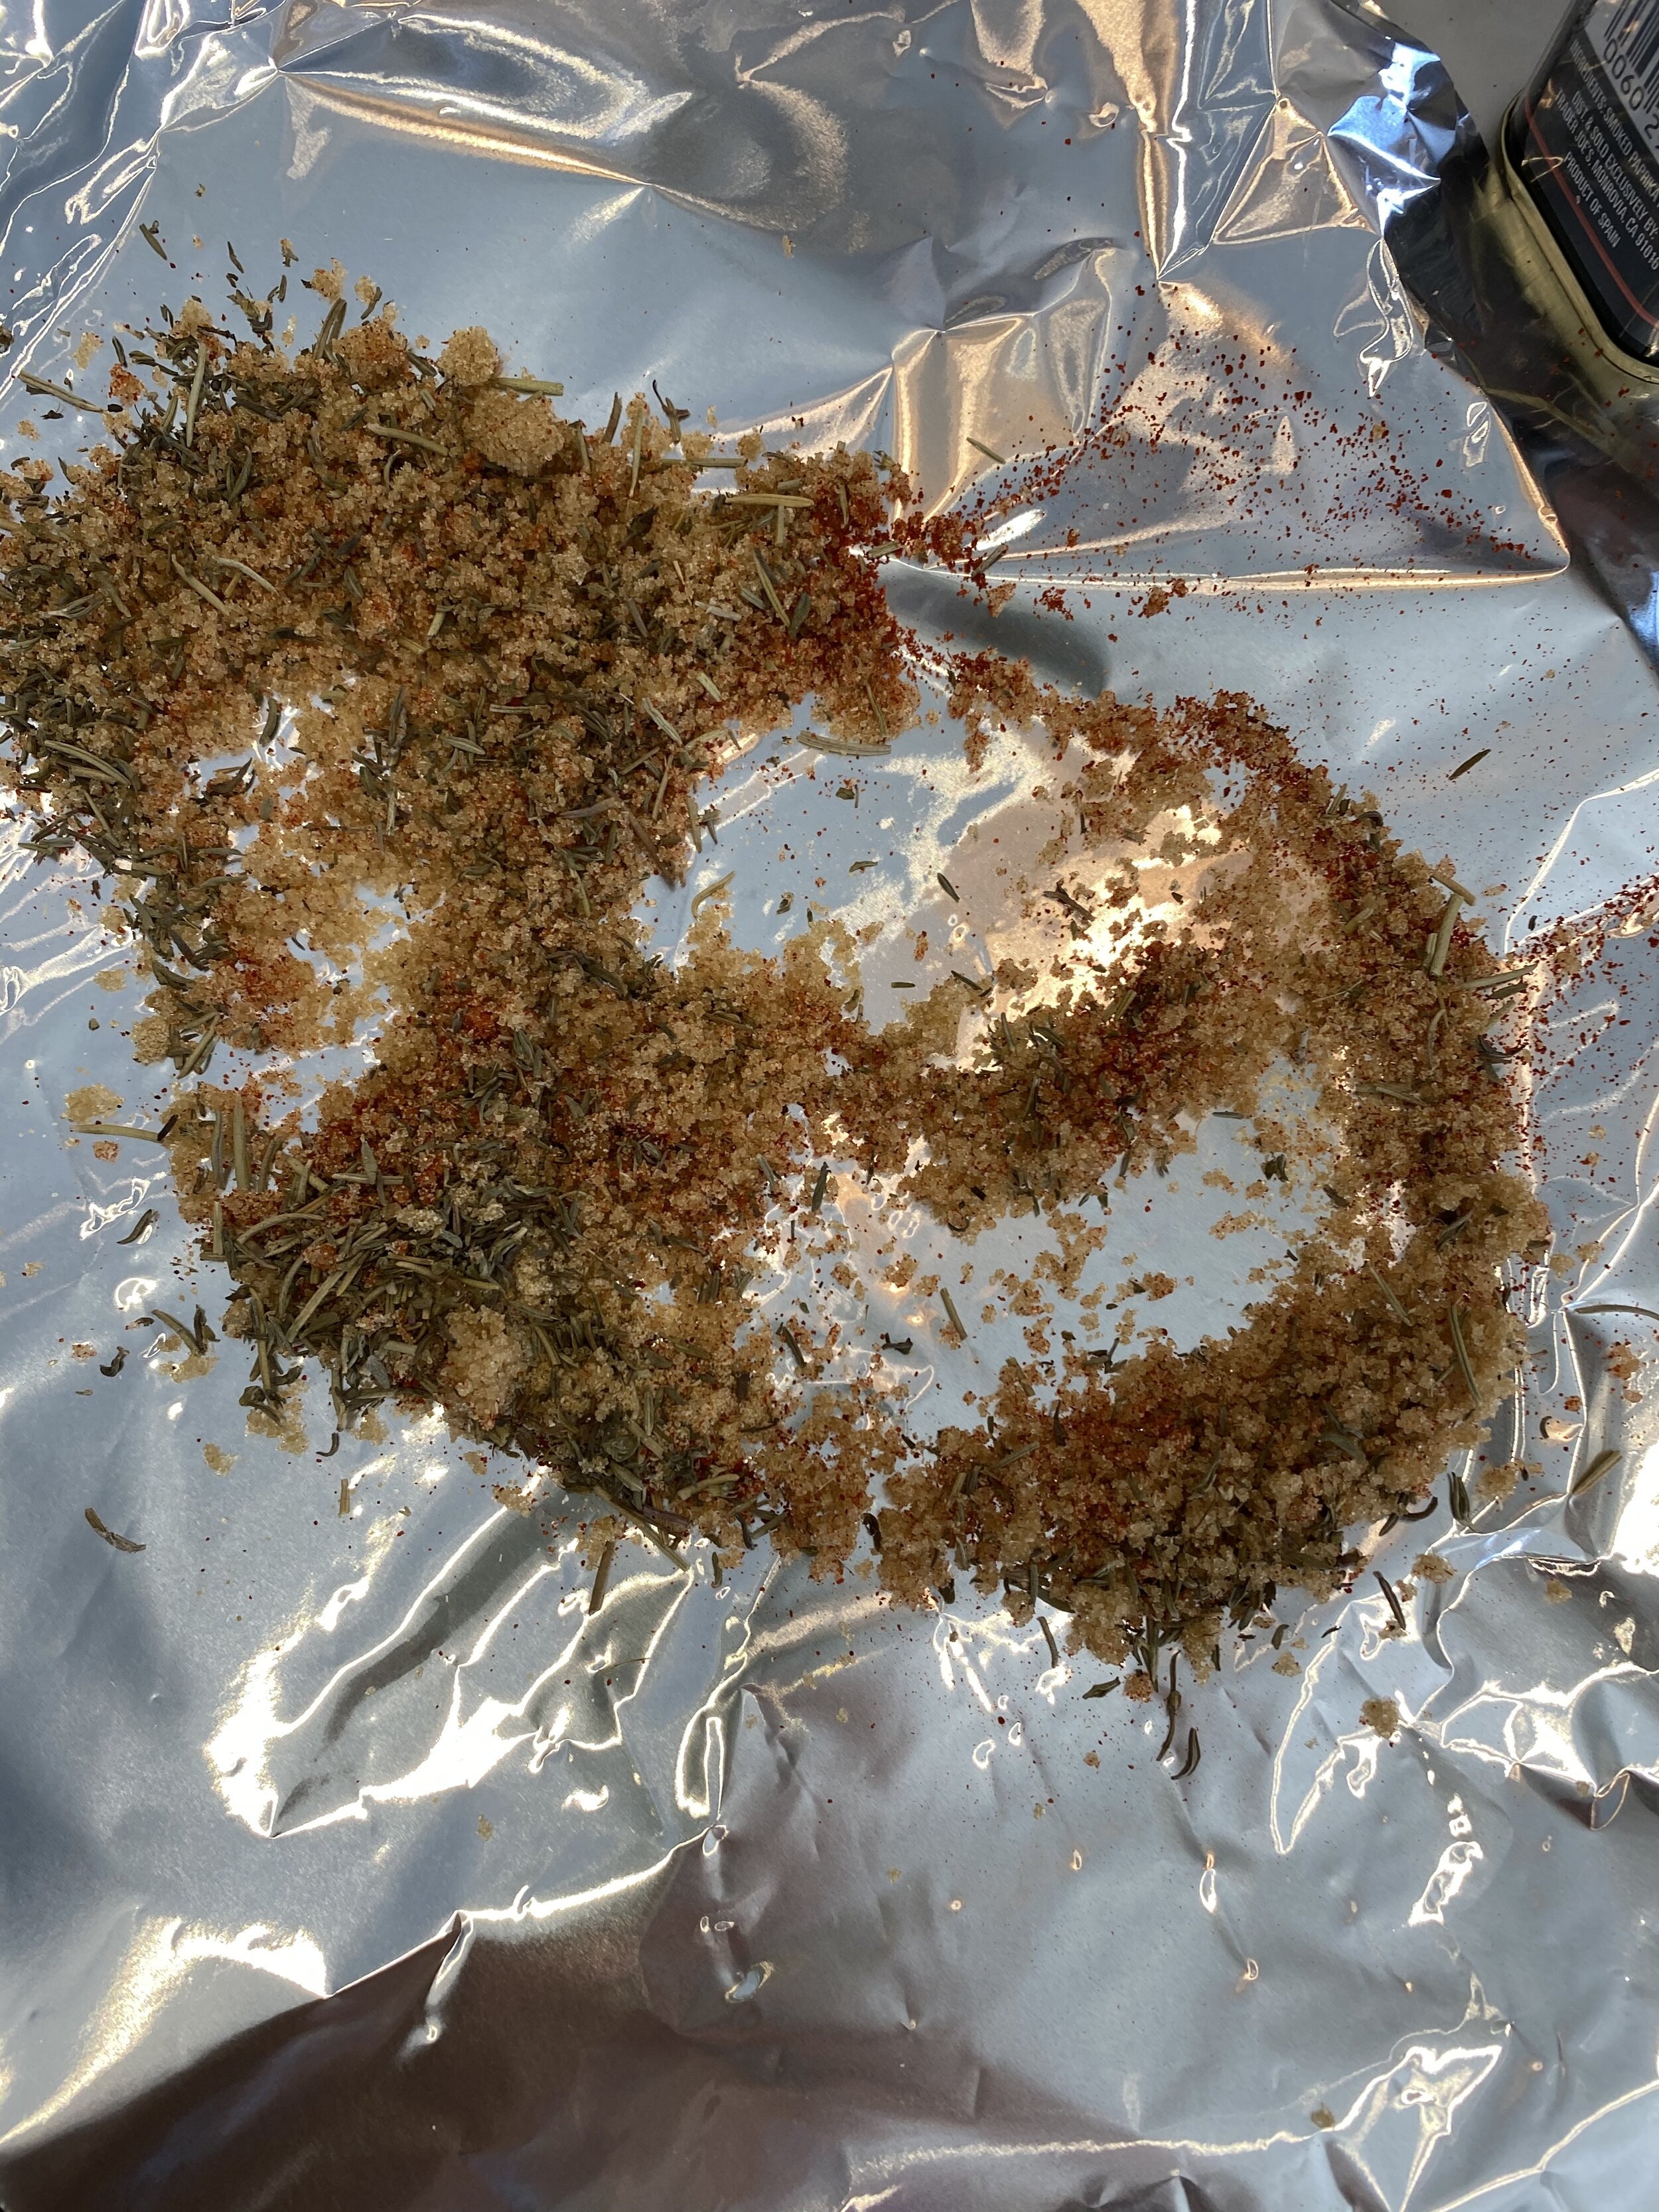
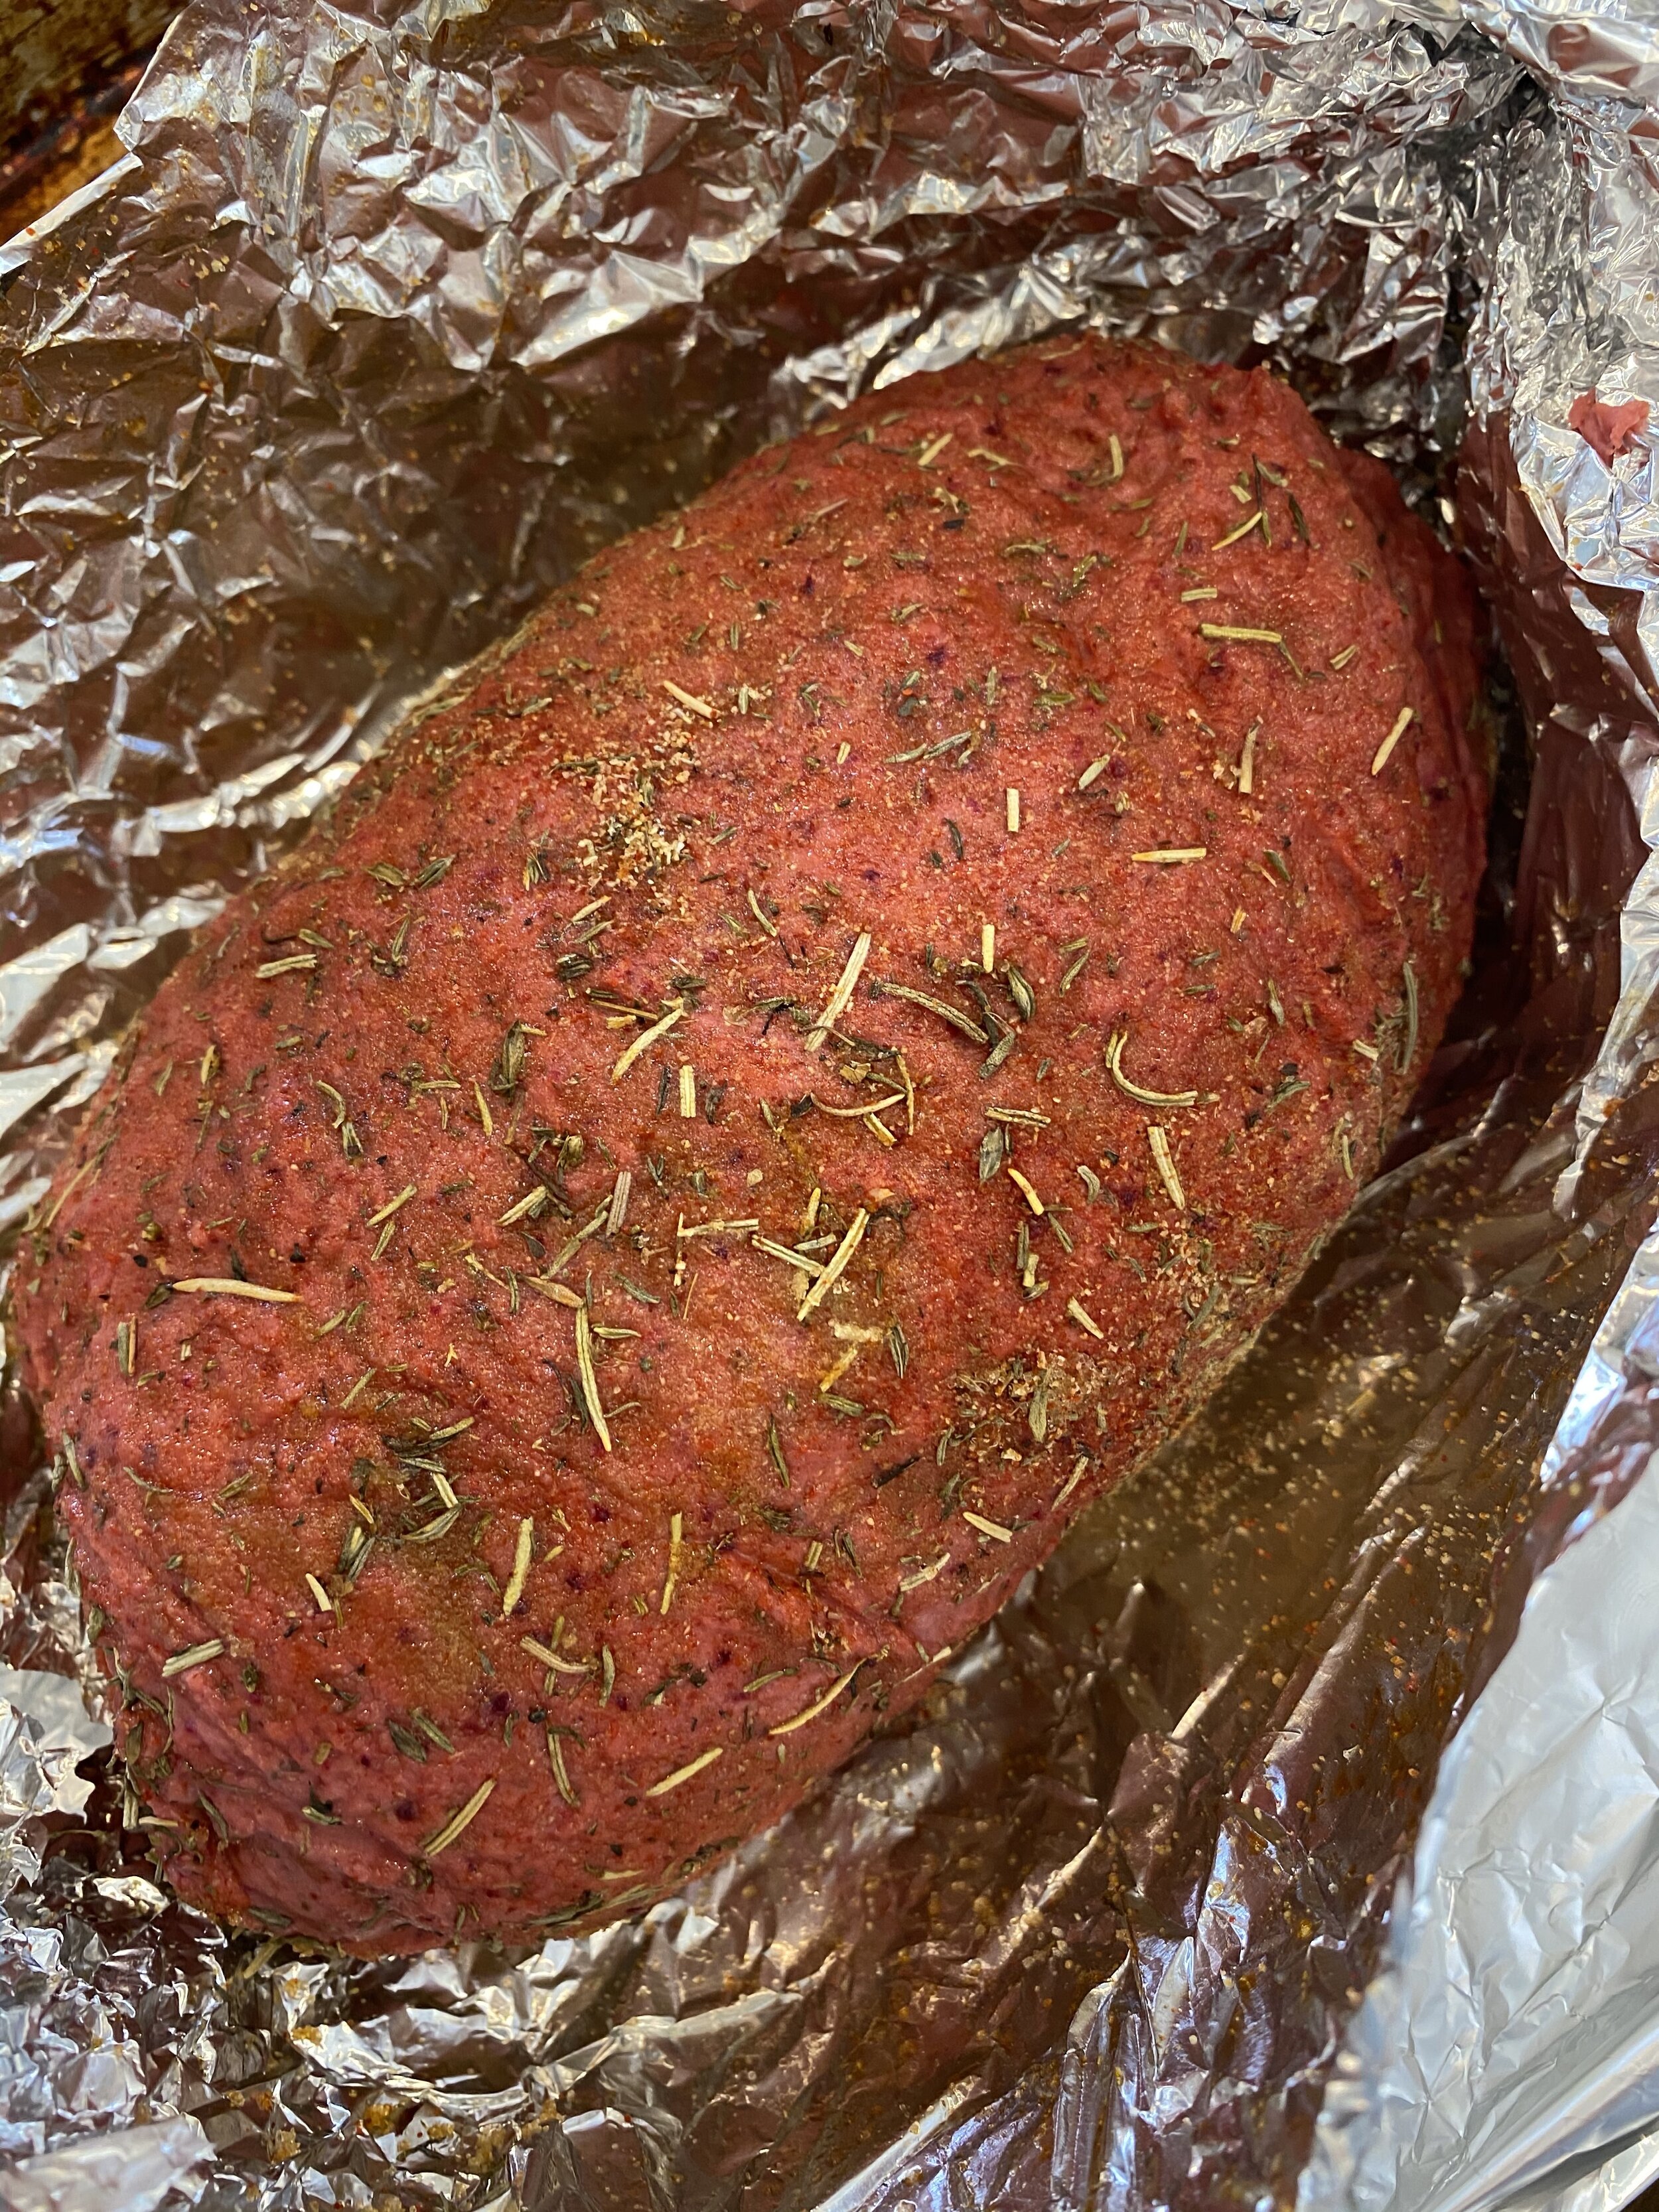
  5. Take a piece of aluminum for about 3x bigger than the loaf of dough, and lay it out flat. Coat the foil in spray oil or wipe it down with any oil you have. Sprinkle half of the spice coating in the center of the foil. Place the loaf on the seasoning and roll it around. Sprinkle the remaining seasoning over the top and press it in. The goal is to fully coat the loaf in the seasoning!

  6. Place the loaf back in the center of the foil and fold up the sides, pinching at the top to seal it up, then twist the ends to fully seal the foil.

  7. Place on a baking sheet and put in the oven on the middle rack. Bake sealed for 30 minutes. After 30 minutes carefully open up the foil, and continue baking for another 30-40 minutes.

  8. Remove finished vegan roast beef and let cool at room temp. Seal the foil back up and place the vegan roast beef in the fridge over night to rest. This step is important to get the texture we are trying achieve. If you try and serve it before it rests it will not be nearly as firm.

  9. Once the vegan roast beef has been in the fridge over night, you can remove it and slice it to serve. It should at this point be firm enough to slice using a mandolin or a sharp knife. Store in an air tight container in the fridge for up to 10 days.

TROUBLE SHOOTING THIS REICPE:

*I used high protein tofu in a vacuum sealed package and this what I strongly advise using. It is much firmer than regular firm tofu and has less moisture and a more chewy texture. If you opt to use regular firm tofu you will need to press it first and remove as much liquid as possible. You may need to adjust the amount of water in the recipet as well. Add the water last, adding just enough to accomplish a firm dough.

  • *If you find your turkey has A LOT OF LITTLE HOLES, and a more BREAD LIKE TEXTURE this can be caused from under kneading the dough, BUT more likely cooking the seitan at too high of a temperature, or for too long. Check your ovens temperature with an oven thermometer. Your oven may just be cooking hotter than it registers. Also gas and electric ovens tend to cook differently. If you do not have an oven thermometer you can reduce the heat in your oven by 25 degrees, and keep the seitan covered for 50 minutes and open for 10.

If you like this recipe, then try these:

IMG_7402.jpg

Vegan Deli Sliced Turkey Breast

Vegan Deli Sliced Turkey Breast

I make a lot of seitan based vegan meats.

I have recipes for a holiday roast, holiday turkey style breast with crispy skin, chicken breast, pastrami, brisket, and even pepperoni. But until now I had never added tofu to the mix.

If there was ever a sandwich I missed since going vegan it is a regular old turkey sandwich. I used to love a good deli carved turkey sandwich more than almost anything. So I decided I would try to add tofu to my regular turkey style breast recipe to see if I could get it to a more deli sliced texture.

Y’all, the answer is YES! I have seen other people adding tofu to seitan recipes, and obviously Tofurkey lunch slices are a mix of tofu and vital wheat gluten so I decided to give it a go. It only took one experiment and it came out pretty perfect the first time. I was elated.

Vegan Deli Sliced Turkey Breast

Even my husband who normally passes on vital wheat gluten recipes loves it! I was so excited that I made sandwiches to take to my Mah Jong group, i’m sure I have mentioned my Mah Jong group before. Y’all, side note: learn to play Mah Jong, it’s SO FUN!! Sorry back to the point of this! They were skeptical at first but everyone who tried it was floored and surprised by how good it was! Yay for my Mah Jong crew loving vegan meats!!

If you do not like the spice profile I used, feel free to change it up. That part is up to you. But when the recipe tells you to LET IT REST IN THE FRIDGE, you have to muster all of your strength and patience and do as I say! You will not have the texture you want unless you “let the breast rest. “ So just cook it one night and let it sit in the fridge til the next day. And if you don’t let it rest and decide to dig right in, don’t message me and tell me it was not firm enough, not even joking.

So if you are missing some legit turkey but don’t want to eat an actual turkey, this is your answer! I promise, PROMISE, it will be worth your time and effort. Maybe just go ahead and make 2 at once!

Vegan Sliced Deli Turkey Breast

INGREDIENTS

This is what the tofu looks like that I used. Vacuum sealed, not in a tray of water.

This is what the tofu looks like that I used. Vacuum sealed, not in a tray of water.

  • 1 block extra firm high protein tofu (14oz -16oz block)

  • 1 cup vital wheat gluten

  • 1/2-3/4 cups water

  • 1/4 cup nutritional yeast

  • 2 tablespoons neutral flavored oil ( you can replace with water if you are oil free)

  • 2 tablespoons tapioca starch or corn starch

  • 2 teaspoons onion powder

  • 1-2 teaspoons garlic powder

  • 1/2 teaspoon sage

  • 1 teaspoon rosemary

  • 1 tablespoon No Chicken Better Than Bouillon, or any chicken-less bouillon cube or powder (if using cubes or powder just dissolve in with the water)

  • 1 teaspoon liquid smoke

  • 1 teaspoon salt optional if you feel like the bouillon is not salty enough

  • 3 tablespoons hickory seasoning, or any other seasoning you like to coat the “turkey.” I often use a chili lime seasoning, jerk seasoning, or even Italian blend.

TROUBLE SHOOTING THIS REICPE:

*I used high protein tofu in a vacuum sealed package and this what I strongly advise using. It is much firmer than regular firm tofu and has less moisture and a more chewy texture. If you opt to use regular firm tofu you will need to press it first and remove as much liquid as possible. You may need to adjust the amount of water in the recipet as well. Add the water last, adding just enough to accomplish a firm dough.

  • *If you find your turkey has A LOT OF LITTLE HOLES, and a more BREAD LIKE TEXTURE this can be caused from under kneading the dough, BUT more likely cooking the seitan at too high of a temperature, or for too long. Check your ovens temperature with an oven thermometer. Your oven may just be cooking hotter than it registers. Also gas and electric ovens tend to cook differently. If you do not have an oven thermometer you can reduce the heat in your oven by 25 degrees, and keep the seitan covered for 50 minutes and open for 10.

Vegan Sliced Turkey Breast
vegan-deli-sliced-turkey-breast-process-2.jpg

INSTRUCTIONS:

Preheat oven to 350 degrees

  1. Break up the tofu and place it into a food processor with the regular metal blade. Run the processor for around a minute until the tofu is broken down.

  2. Add all of the remaining ingredients and let the food processor run for a couple of minutes. You want the mixture to form a dough. Letting the processor run will help knead the dough. We want this seitan to be firm so we need it to knead for a bit. If you dough seems a bit too dry, you can add another few tablespoons of water, just don’t add too much more! I start at 1/2 cup and work from there.

  3. Once you have a smooth but firm dough, remove it from the food processor and place on a clean counter. Knead the dough with your hands for about a minute, forming a kind of oval shaped loaf with the dough.

  4. Take a piece of aluminum for about 3x bigger than the loaf of dough, and lay it out flat. Coat the foil in spray oil or wipe it down with any oil you have. Sprinkle half of the hickory, or whatever seasoning you are using in the center of the foil. Place the loaf on the seasoning and roll it around. Sprinkle the remaining seasoning over the top and press it in. The goal is to fully coat the loaf in the seasoning!

  5. Place the loaf back in the center of the foil and fold up the sides, pinching at the top to seal it up, then twist the ends to fully seal the foil.

  6. Place on a baking sheet and put in the oven on the middle rack. Bake sealed for 30 minutes. After 30 minutes carefully open up the foil, and continue baking for another 30-40 minutes.

  7. Remove finished “turkey” breast and let cool at room temp. Seal the foil back up and place the “turkey” breast in the fridge over night to rest. This step is important to get the texture we are trying achieve. If you try and serve it before it rests it will not be nearly as firm.

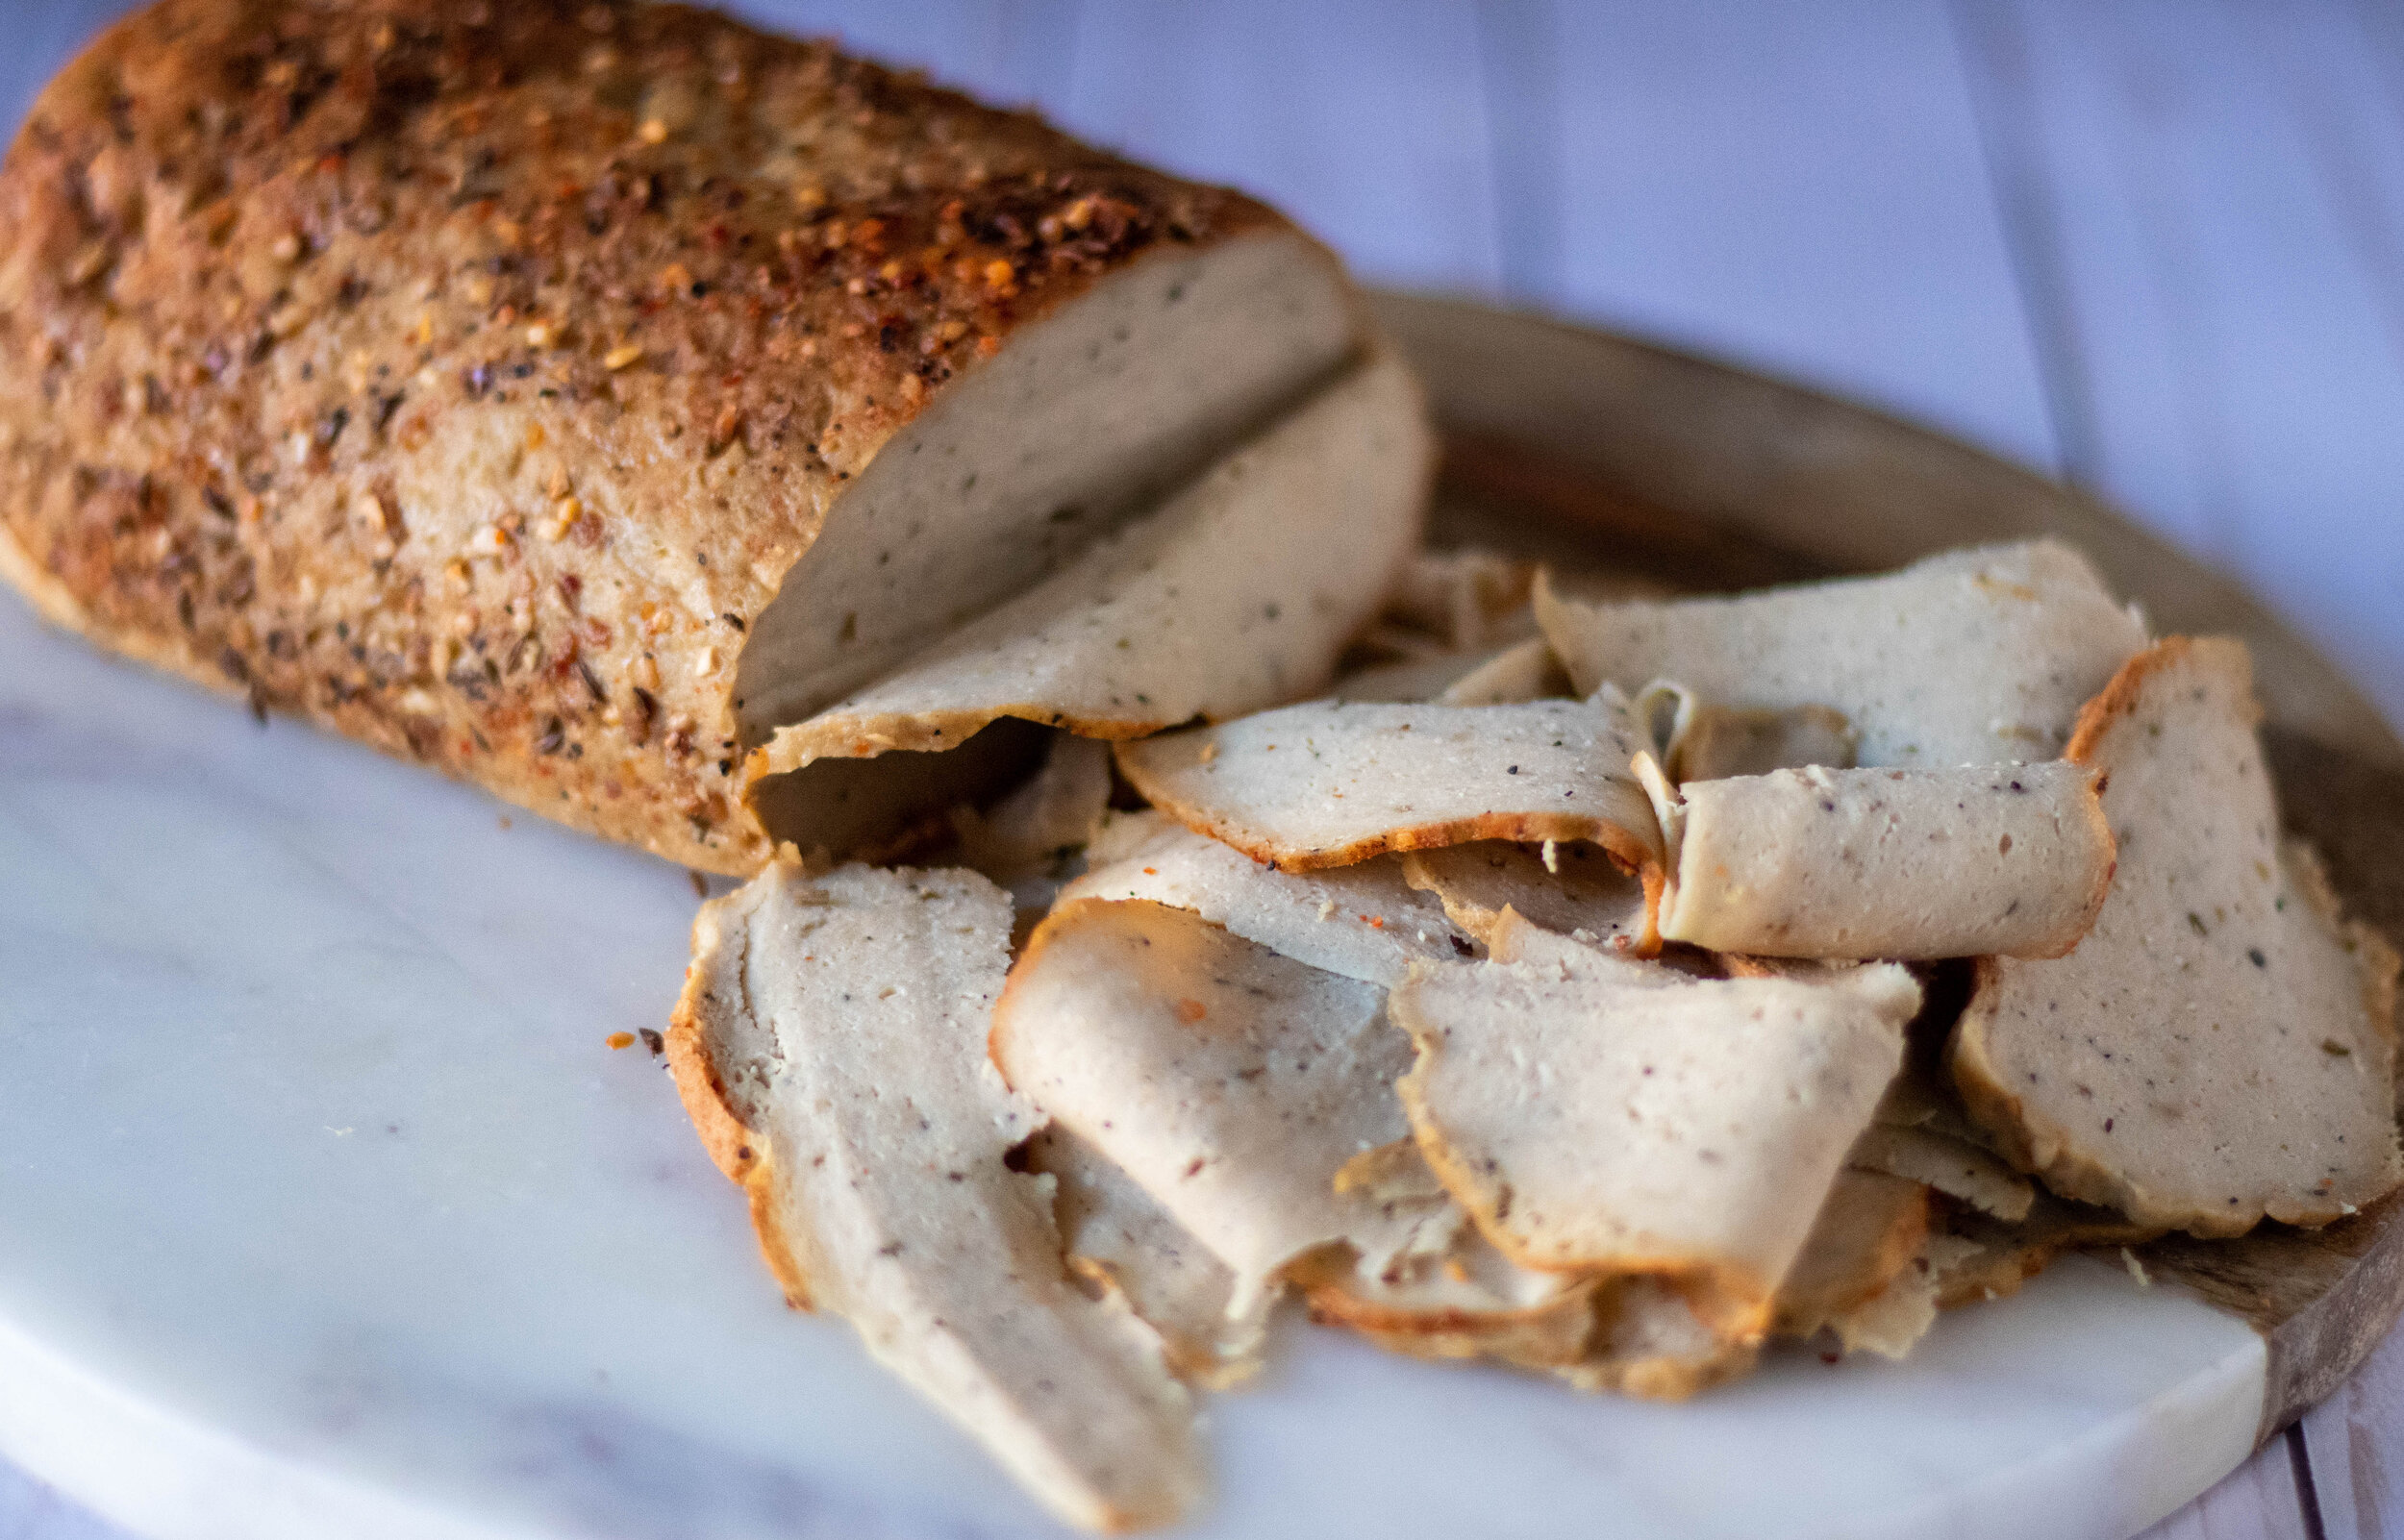
  8. Once the “turkey” breast has been in the fridge over night, you can remove it and slice it to serve. It should at this point be firm enough to slice using a mandolin or a sharp knife. Store in an air tight container in the fridge for up to 10 days.

    If you like this recipe, then try these:

Vegan Deli Sliced Turkey Breast Sandwich

Vegan Pastrami

IMG_5189.jpg

I am always experimenting with making new vegan meats using vital wheat gluten. Mostly because I never hated the taste of meat, so after going vegan found myself looking for a replacement.

Sure, you can buy plenty of vegan faux meats in the grocery store now, but making them at home is much cheaper and actually really easy! Vital wheat gluten is pretty inexpensive and is a great source of plant based protein!

Making seitan (wheat meat) is just as easy as making dough, and can be done right in your food processor. Just dump in the ingredients, mix, form, and bake!

Seriously, not hard at all. So recently when I was chatting with my rabbi about food and the subject of pastrami came up, I instantly knew I needed to adapt our vegan brisket recipe and try for a vegan pastrami. Since pastrami is often made from brisket anyways, I just changed up the spices and added some beet for color.

It turned out delicious. Does it taste like pastrami?!? Well, if being totally honest I don’t think I am an excellent judge of that since I have not eaten any animal product in a really long time, but my omnivore neighbors didn’t hate it when I made them a sandwich, and when I asked how it tasted, the answer was “ It just tasted good!” I’ll take it!

IMG_5188.jpg

INGREDIENTS:

You will need aluminum foil, and a 9x13 baking dish for this recipe

  • 1 can jackfruit in brine

  • 1 1/4 cup vital wheat gluten

  • 1/3 cup diced raw beet, peeled

  • 1/4 cup tapioca starch

  • 1/4 cup nutritional yeast

  • 1 teaspoon Vegetable Better than Bouillon

  • 2 tablespoons water

  • 2 teaspoons dijon mustard

  • 2 tablespoons soy sauce or coconut aminos

  • 1 tablespoon oil ( I used grape seed)

  • 2 teaspoons liquid smoke

  • 2 teaspoon vegan Worcestershire sauce

  • 2 teaspoons minced garlic

  • 2 teaspoons onion powder

  • 2 teaspoons ground coriander

  • 1 teaspoon paprika

  • 1 tablespoon brown sugar

  • 2 teaspoons powdered mustard

  • 1 teaspoon mustard seed, toasted (optional)

  • 1 teaspoon each salt and black pepper

DRY RUB:

  • 3 tablespoons brown sugar

  • 1 teaspoon ground coriander

  • 1 teaspoons mustard powder

  • 1 teaspoons salt

  • 1 teaspoon black pepper

  • 1 teaspoon onion powder

IMG_5177.jpg

INSTRUCTIONS:

preheat oven to 350 degrees.

  1. Drain and rinse the jackfruit. Peel the beet and dice it into small pieces. Break down the jackfruit and beet in your food processor until it is finely minced.

  2. Add the remaining ingredients to the food processor and mix for a minute, until a sort of dough forms. If you are adding mustard seeds, just toss it in a skillet and let it toast for a few minutes before adding it to the mix.

  3. If you do not have a food processor you can break down the beet and jackfruit in a blender. In a medium bowl add the jackfruit/beet mixture, and remaining ingredients. Using your hands, (I promise it’s just easier, but your hands may be stained for a day or so) mix all of the ingredients together until a dough forms. Knead the dough by hand for a few minutes.

  4. Form the dough into about an 8 inch log shape. Tear off a piece of foil that is about 3 times the size of the dough.

  5. Mix up the ingredients for the dry rub in a bowl.

  6. Pour dry rub into the middle of the foil. Take the dough and roll it in the rub to cover all sides.

  7. Spray the dough and the foil with some cooking spray and wrap the dough in the foil, sealing it up. Just make sure it is going to be easy to open.

  8. Place the foil covered pastrami into a 9x13 pan and place in the oven on the top rack. Bake sealed for 30 minutes. After 30 minutes open up the foil pouch and continue baking for another 30-40 minutes.

  9. Allow the pastrami to coo then refrigerate over night. It will slice easily once cooled. It should even be firm enough to thinly slice on a mandolin.

If you like this recipe, try these:

IMG_5192.jpg

Easy vegan pastrami with vital wheat gluten and jackfruit.

Vegan Pepperoni

IMG_1910.jpg

I just want to let y’all know how super easy making a batch of vegan pepperoni can actually be. Seriously! Mix the ingredients, roll it up in some foil, bake, and you are eating delicious homemade vegan pepperoni before you know it! Put it on a cracker, put it on a pizza, eat it all by itself because its that good!!

Don’t be intimidated by making seitan if you have never tried you hand at it. Working with vital wheat gluten is as easy as working with regular flour. Making seitan is really just making dough! You can steam it, boil it, or bake it. For this recipe we are steaming it in foil to achieve a pepperoni like texture!

I often make vegan pepperoni when making a cheese plate for parties, or for just snaking on with vegan cheese and crackers for my kids. I have over 30 cheese recipes on the site, so find one you love and make up a batch to go along with your vegan pepperoni!

This recipe makes two logs of pepperoni, so if you don’t think you will use both very quickly, you can freeze the second for up to a a few months. Just drop it in a freezer bag and thaw when you are ready to use it.

I often top our vegan stuffed crust pizza with this pepperoni! Its made with an easy vegan homemade mozzarella cheese sauce and is so easy and so tasty!! Its one of my kids favorite dinners.

INGREDIENTS:

  • 1 cup vital wheat gluten

  • 1/4 cup nutritional yeast

  • 2 teaspoons minced garlic

  • 2 teaspoons smoked paprika

  • 2 teaspoons onion powder

  • 2 teaspoons dijon mustard

  • 2 teaspoons fennel seeds

  • 1 teaspoon oregano

  • 1/2 teaspoon salt

  • 1/2 teaspoon black pepper

  • 1 teaspoon red pepper flakes

  • 1/4 cup tapioca or corn starch

  • 1 tablespoon soy sauce or amnios

  • 1 teaspoon liquid smoke

  • 2 teaspoon light miso paste

  • 1 teaspoon vegetable Better than Bouillon

  • 3/4-1 cup water


INSTRUCTIONS:

Preheat oven to 350 degrees

  1. Food processor instructions: Add all ingredients to the food processor and mix for about a minute to allow a dough to form and knead.

  2. Hand mixing instructions: Add all ingredients to a bowl and mix until a ball of dough has formed. Transfer the mixture to a clean countertop or cutting board and knead the dough for a few minutes. Start with 3/4 cups water but If the dough seems too dry or isn’t coming together, add a few tablespoons more until you have a soft, but well formed dough.

  3. Divide the dough in half and form each half into a 10 inch log shape.

  4. Spray a good sized piece of foil, maybe 7 tot 8 inches long, with some cooking spray. Place a log of pepperoni at one end and begin rolling the pepperoni into the foil. Twist the ends and repeat with a second piece of foil. You need the foil nice and tightly wrapped and the ends good and sealed. The pepperoni will bake in a water bath so you don’t want any liquid getting in.

  5. Repeat the same processes with the second pepperoni.

  6. Fill baking dish with about a half inch of water and place both foil wrapped pepperonis into the water.

  7. Bake for 30 minutes then turn each pepperoni and bake for another 30 minutes.

  8. Carefully remove foil wrapped pepperonis from the baking pan and transfer to a plate. Leave pepperonis wrapped in foil and allow to cool for about 20 minutes before attempting to unwrap them. Once they have cooled and you can handle them, unwrap the foil and let pepperoni cool uncovered in the fridge for an hour. The pepperoni will firm up more and slice easier if you leave it over night to rest! I typically make a batch the day before I want to use it! But it can be eaten as soon as it cools.

  9. Store in an airtight container or zip lock bag in the fridge.

  10. Serve on pizza, with vegan cheese and crackers, or by itself!

*giving credit where credit is due…Pepperoni was the first vegan meat I ever made using the recipe by Robin Robertson from Veganize It! cook book. I have adapted and changed the recipe over the years to suit my taste and pantry staples, as most seitan pepperoni recipes are pretty similar…but I woulnd’t know know the first thing about most things vegan cooking if not for this particular woman’s cookbooks when we first became vegan. I can not recommend her cookbooks enough! She’s a vegan genius.

IMG_1915.jpg