chocolate

Chocolate Coconut Macaroon Smoothie (With Matzah Toffee)

IMG_2417.jpg

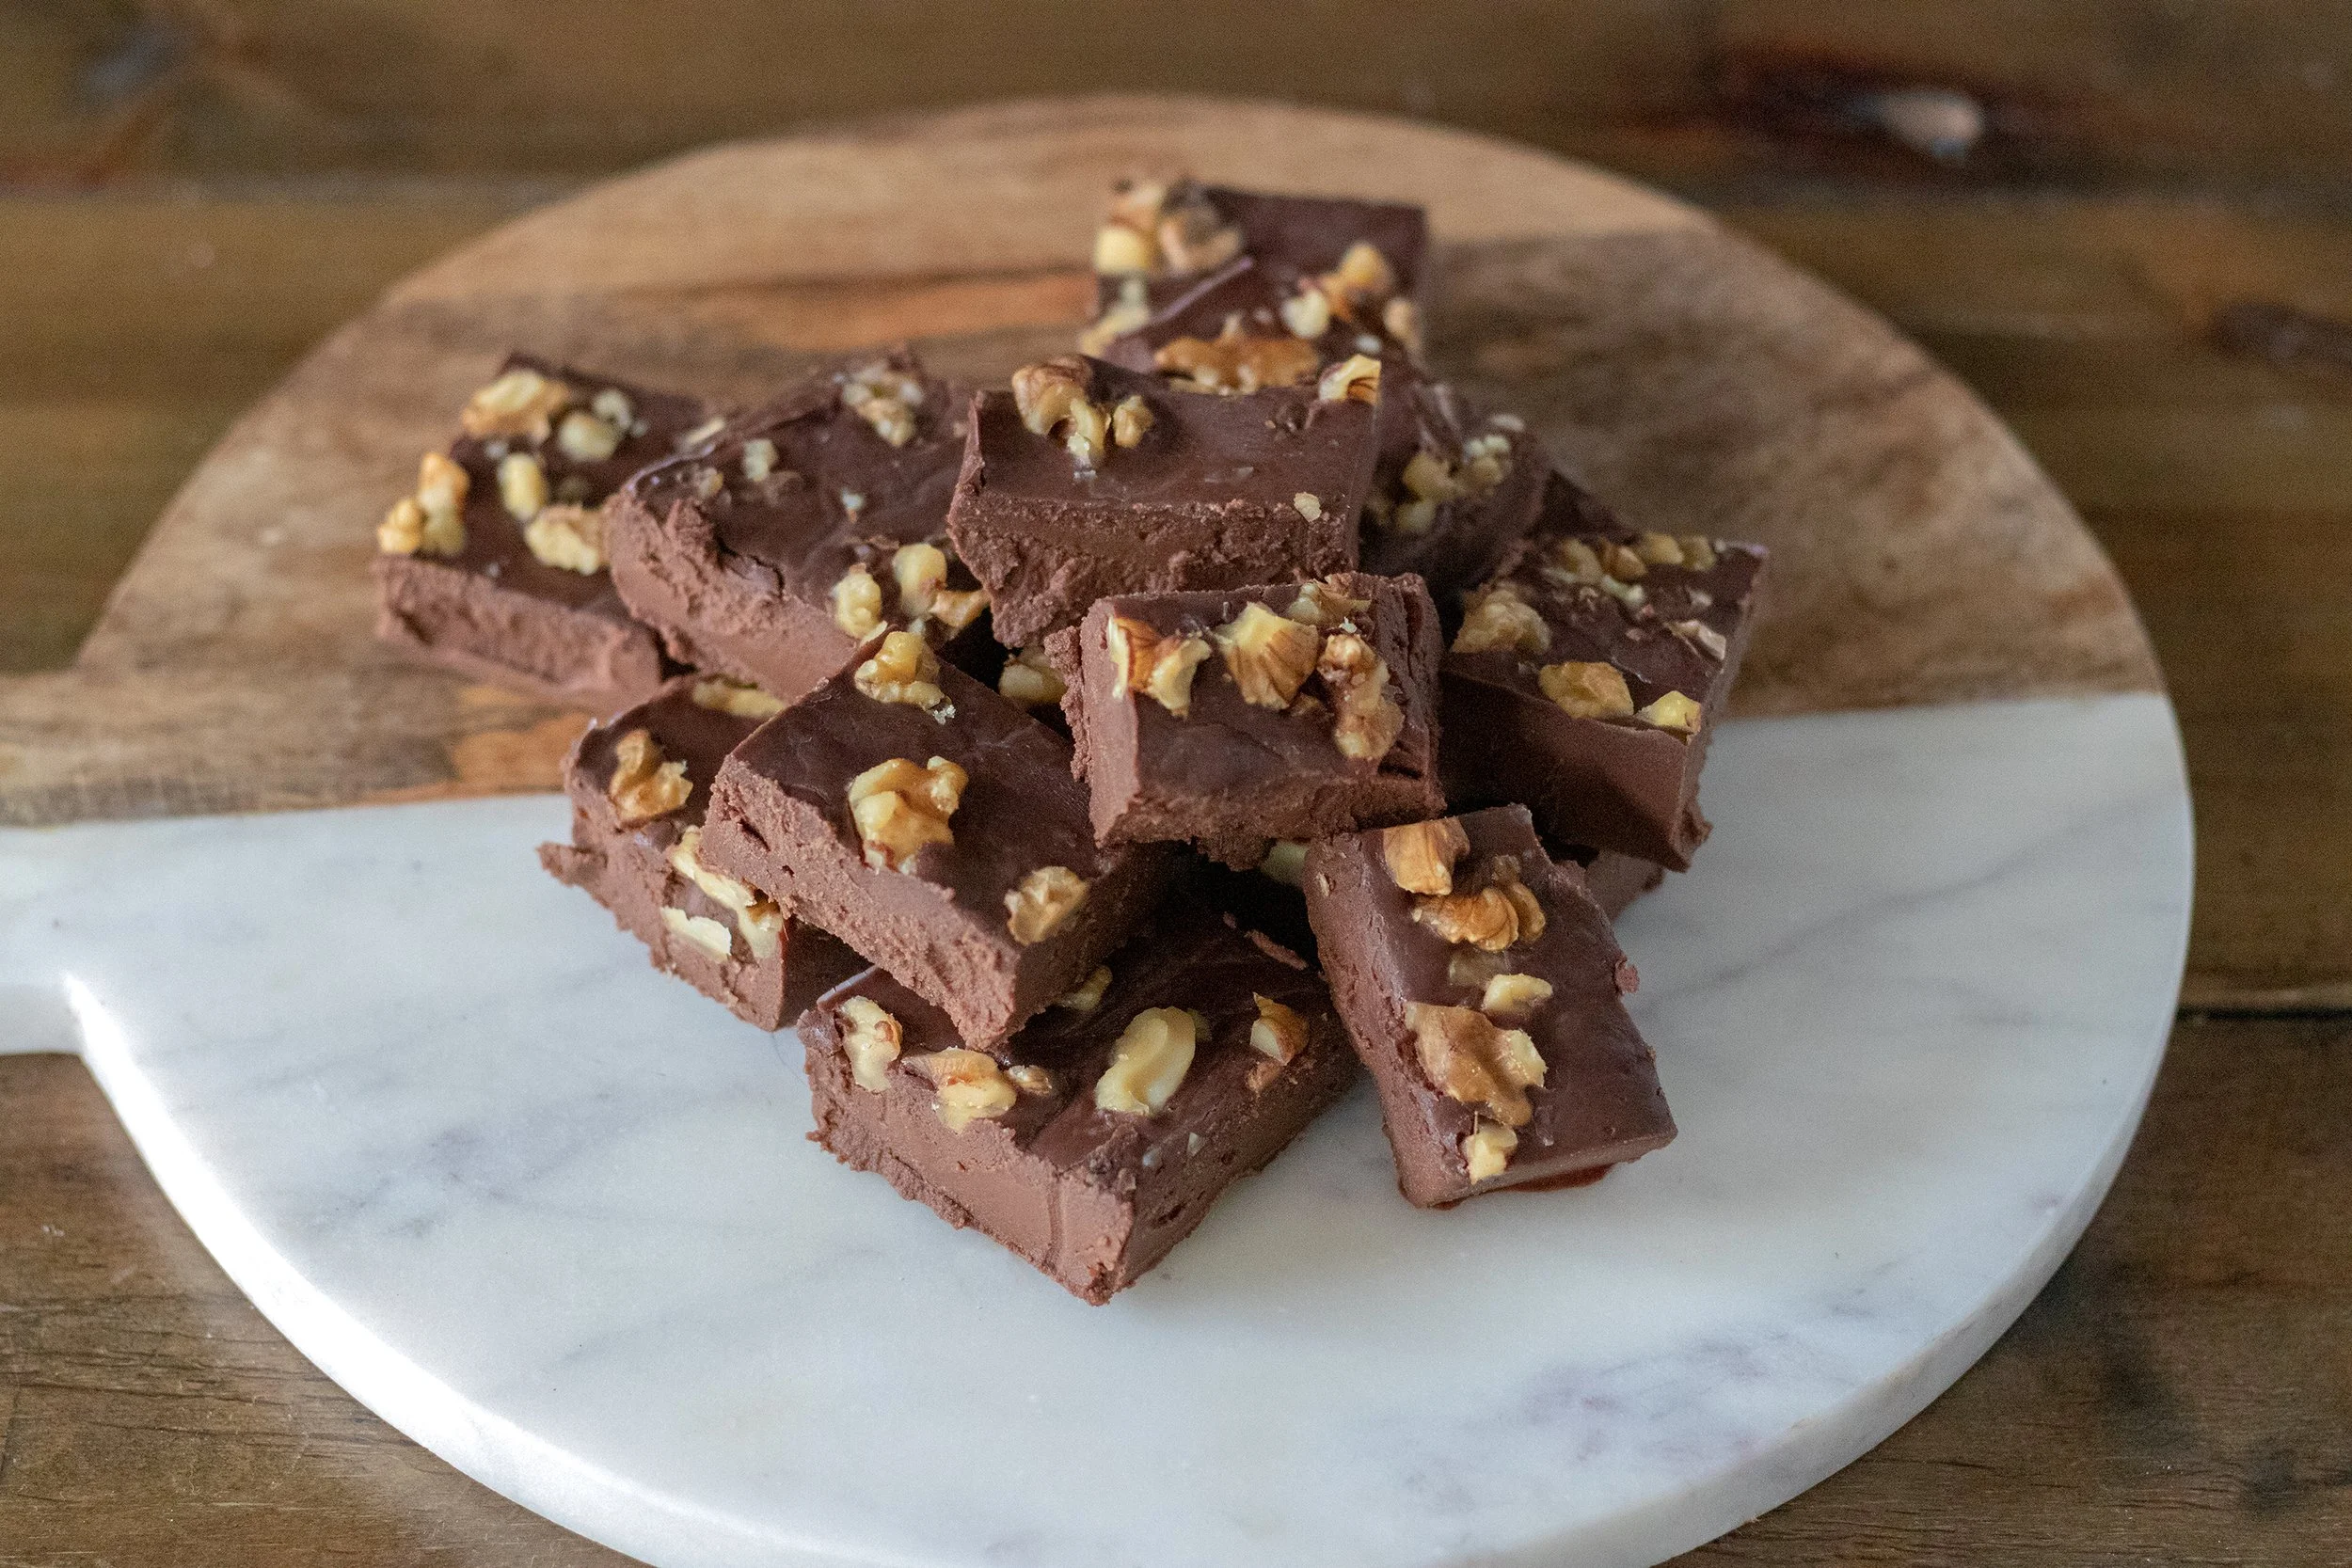
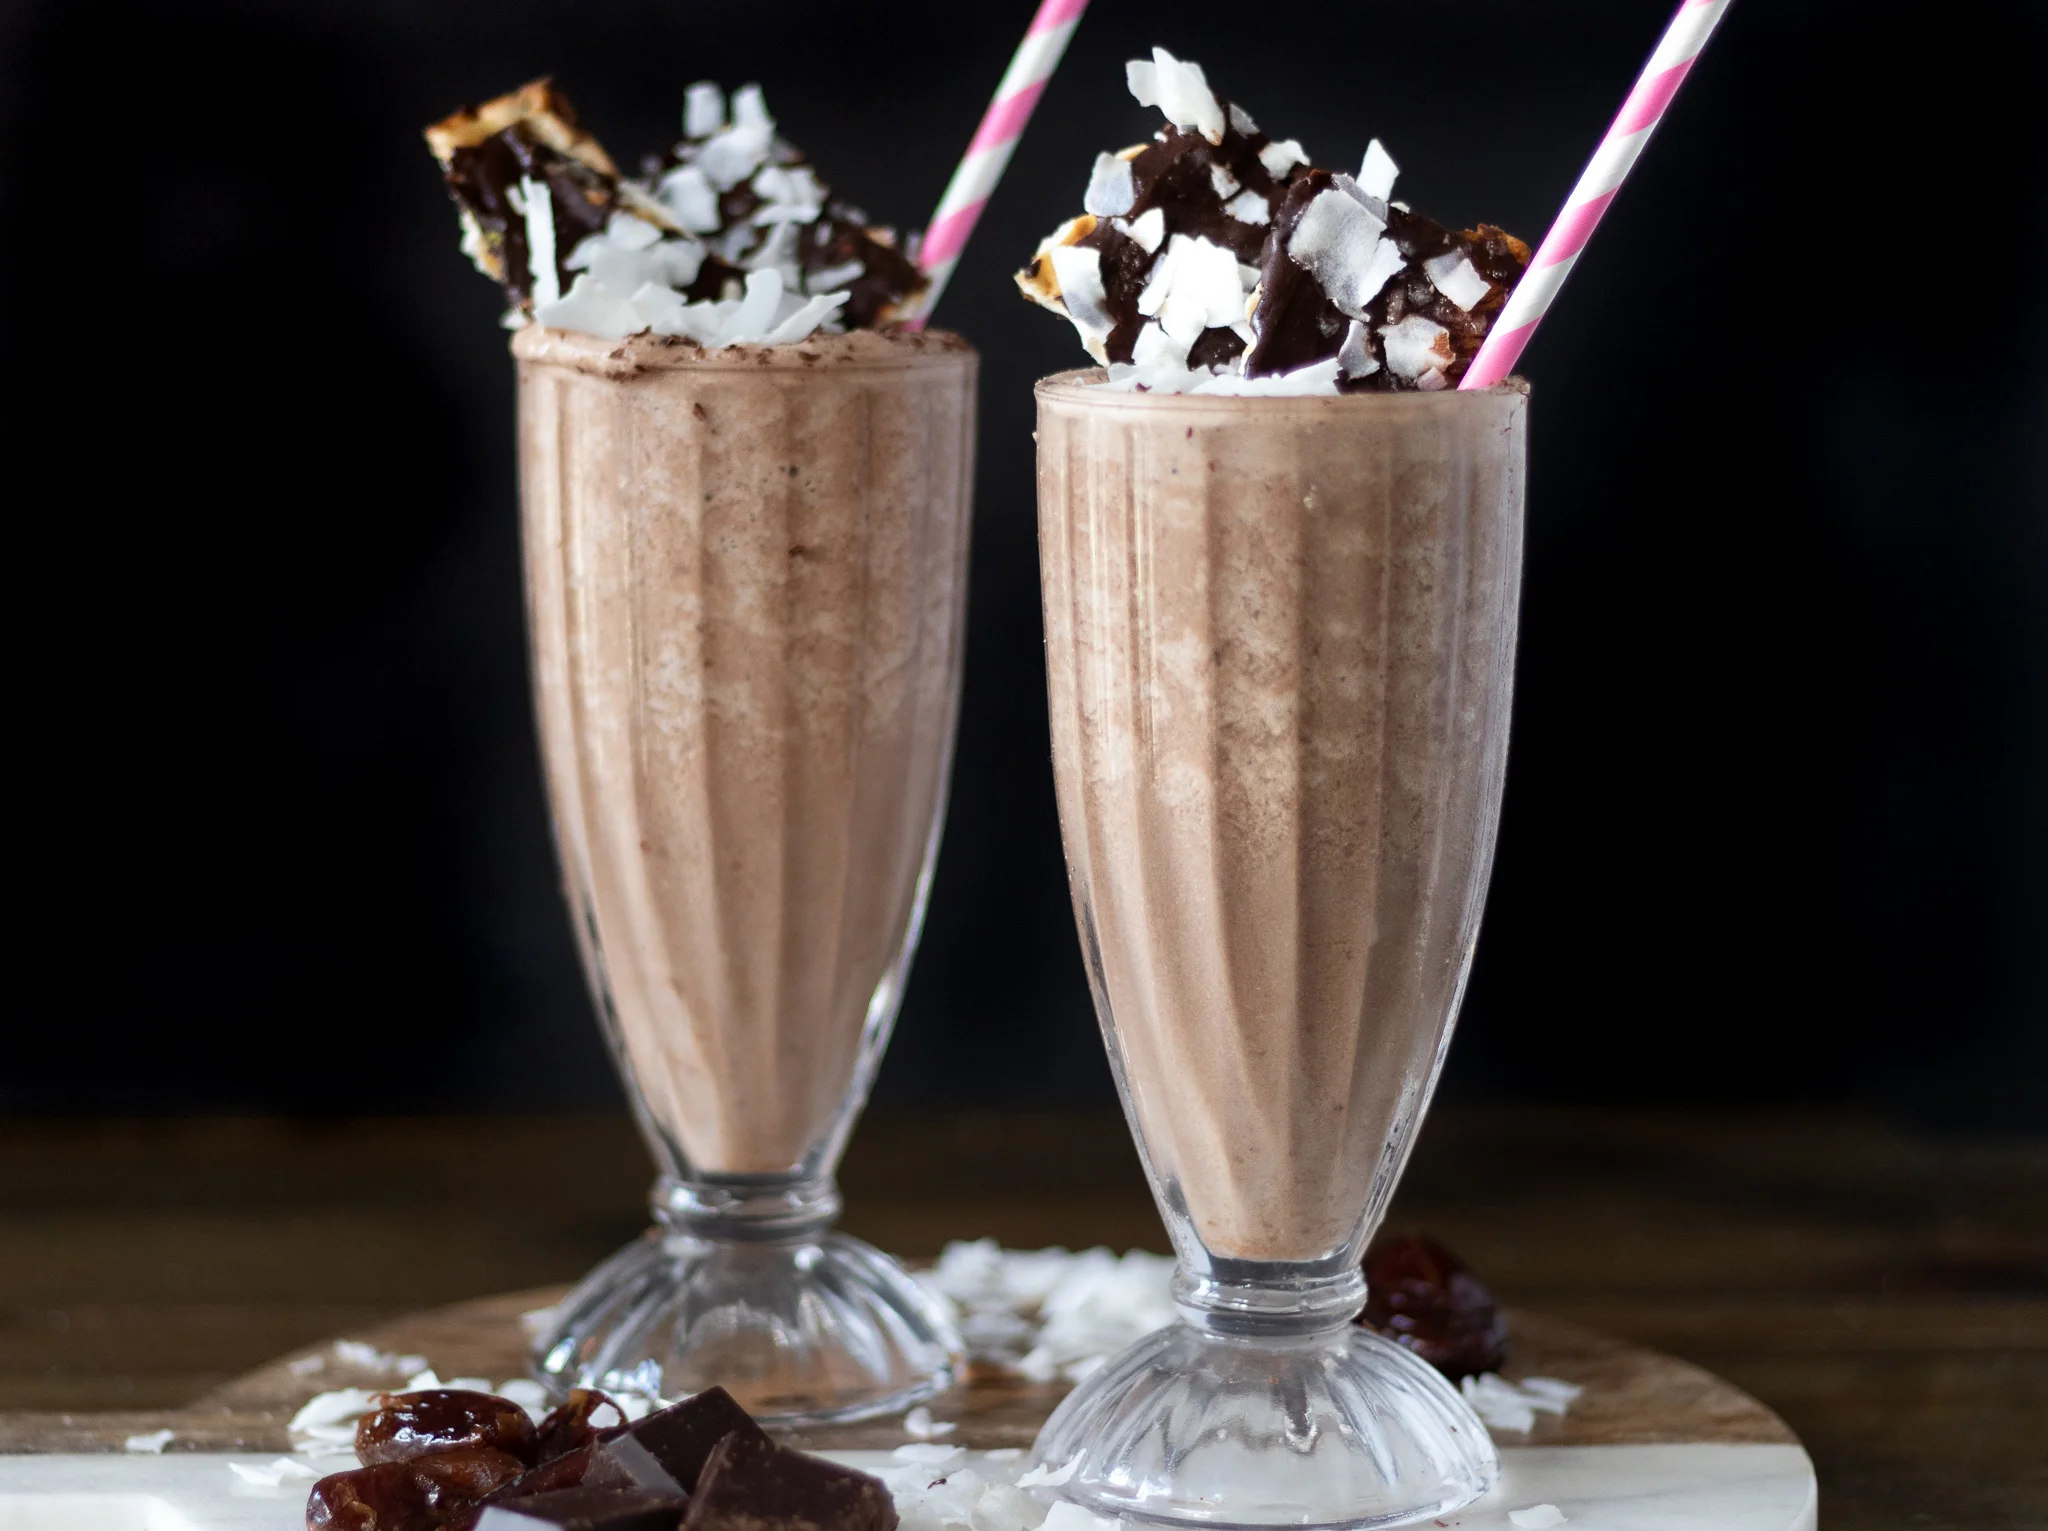
Sometimes I want a healthy smoothie with a side of not so healthy matzah toffee. I mean, I am gonna feel a whole lot less badly about drinking this than I am an actual milk shake!!

And that little bit of matzah toffee on the side gives me just enough guilty pleasure without totally wrecking an otherwise healthy and filling shake! This my friends is what we call balance.

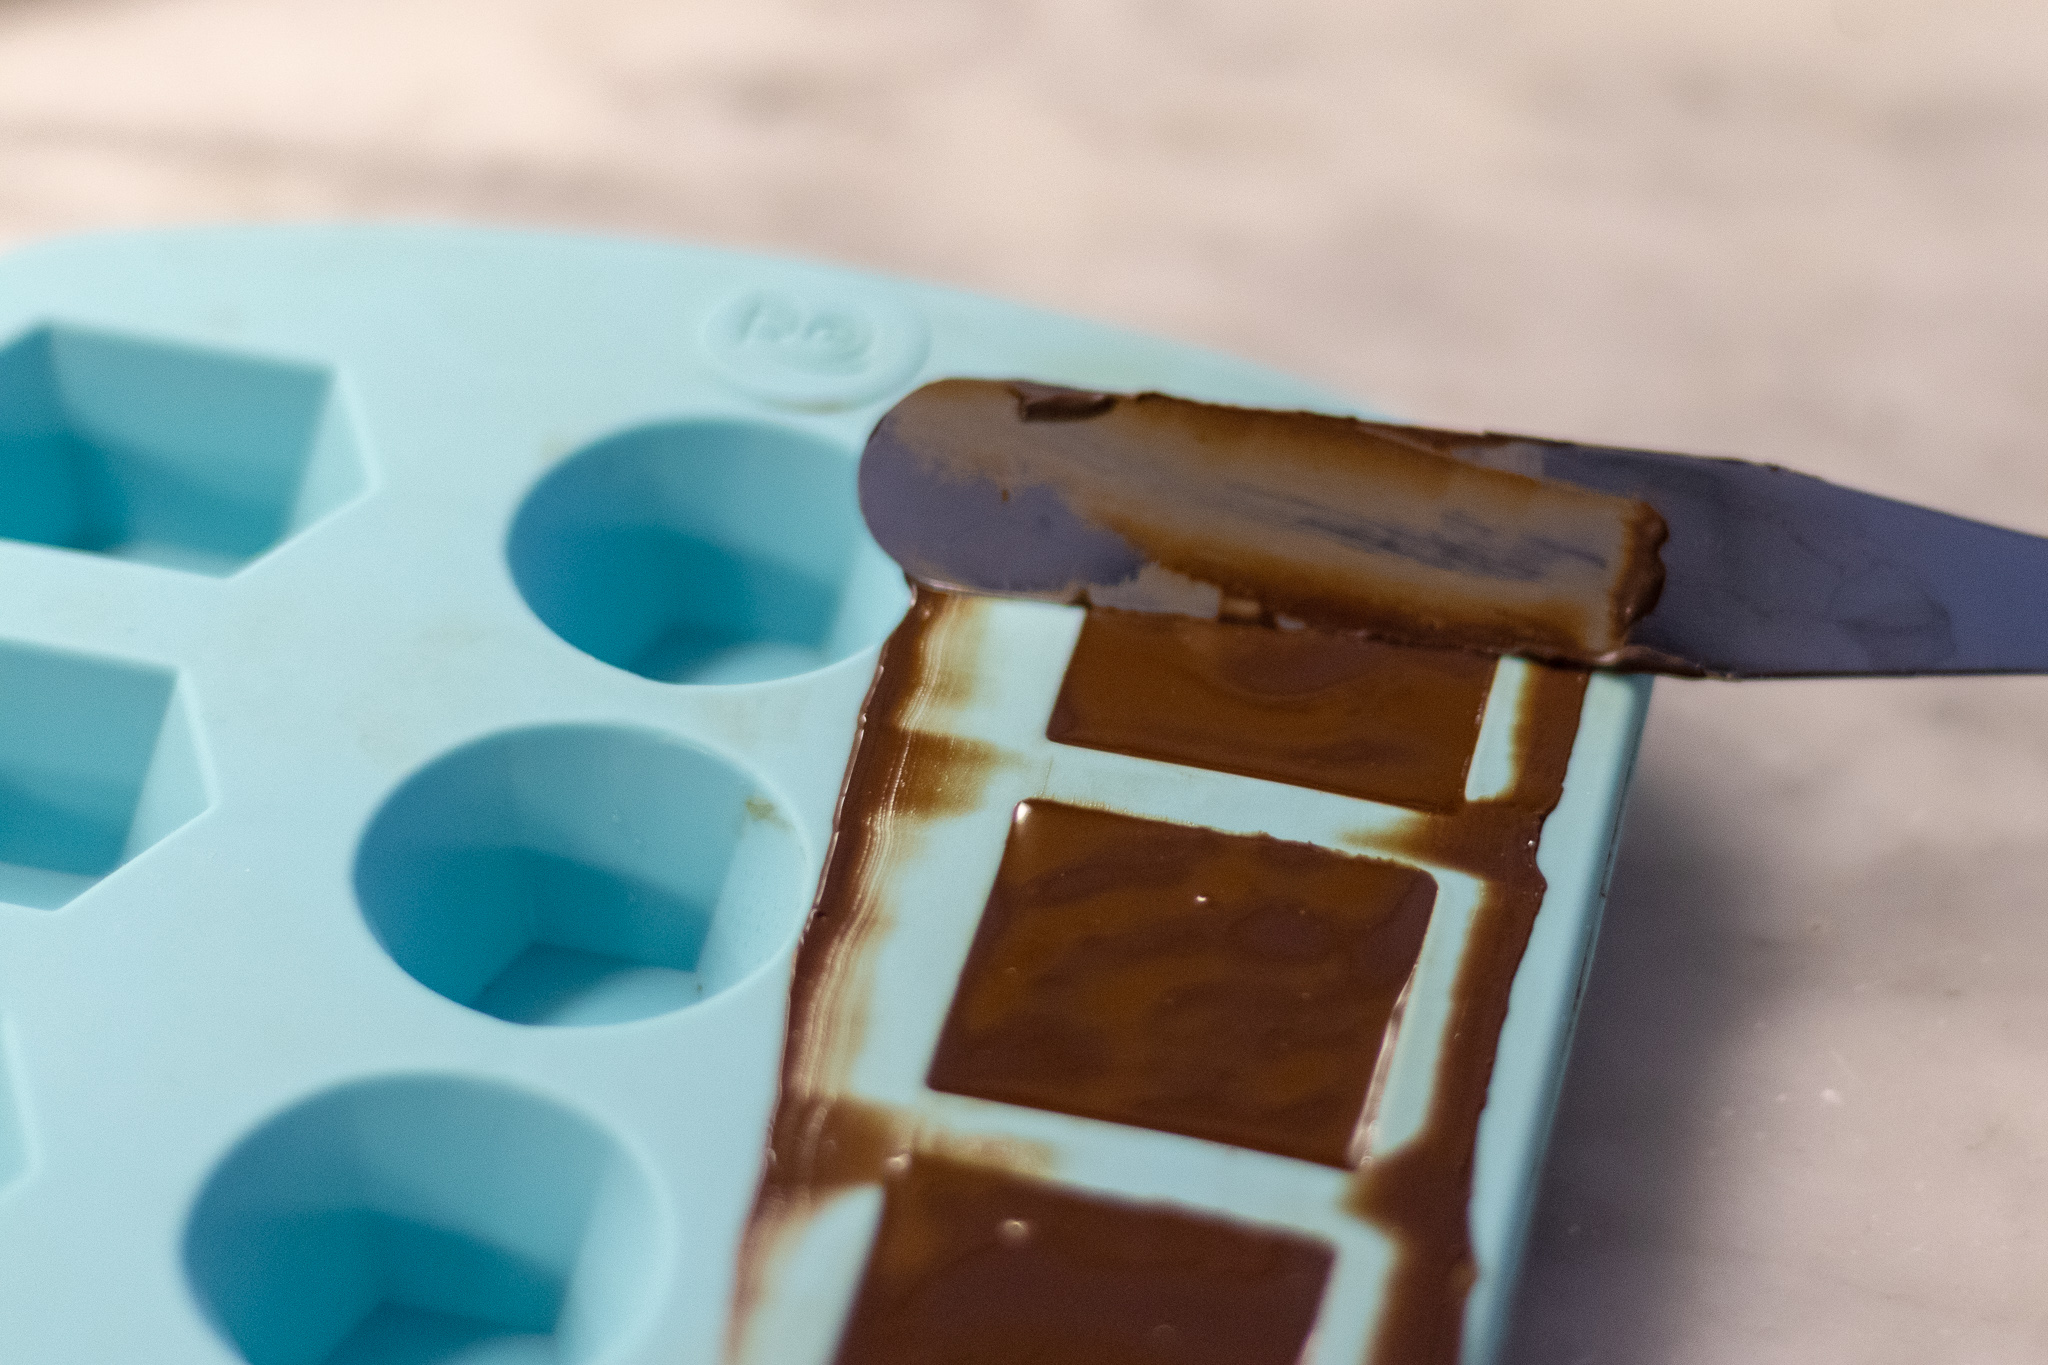
Feel free to skip the matzah toffee. I tend to make this shake at passover when I have matzah toffee laying around.

The smoothie is still delicious without it! Its quick and easy with just the right amount of sweetness. Drop some protein powder in it, and call it breakfast, lunch, or dinner!


NGREDIENTS:

  • 2 cups coconut or almond milk

  • 2 cups ice

  • 1/4 cup cashews

  • 3 tablespoons dark cocoa powder

  • 5-6 pitted dates

  • 3 tablespoons shredded coconut (more if you like)

  • Optional: 2 tablespoons agave, if the dates have not made it sweet enough for you

  • optional: 1 to 2 scoops vanilla protein powder

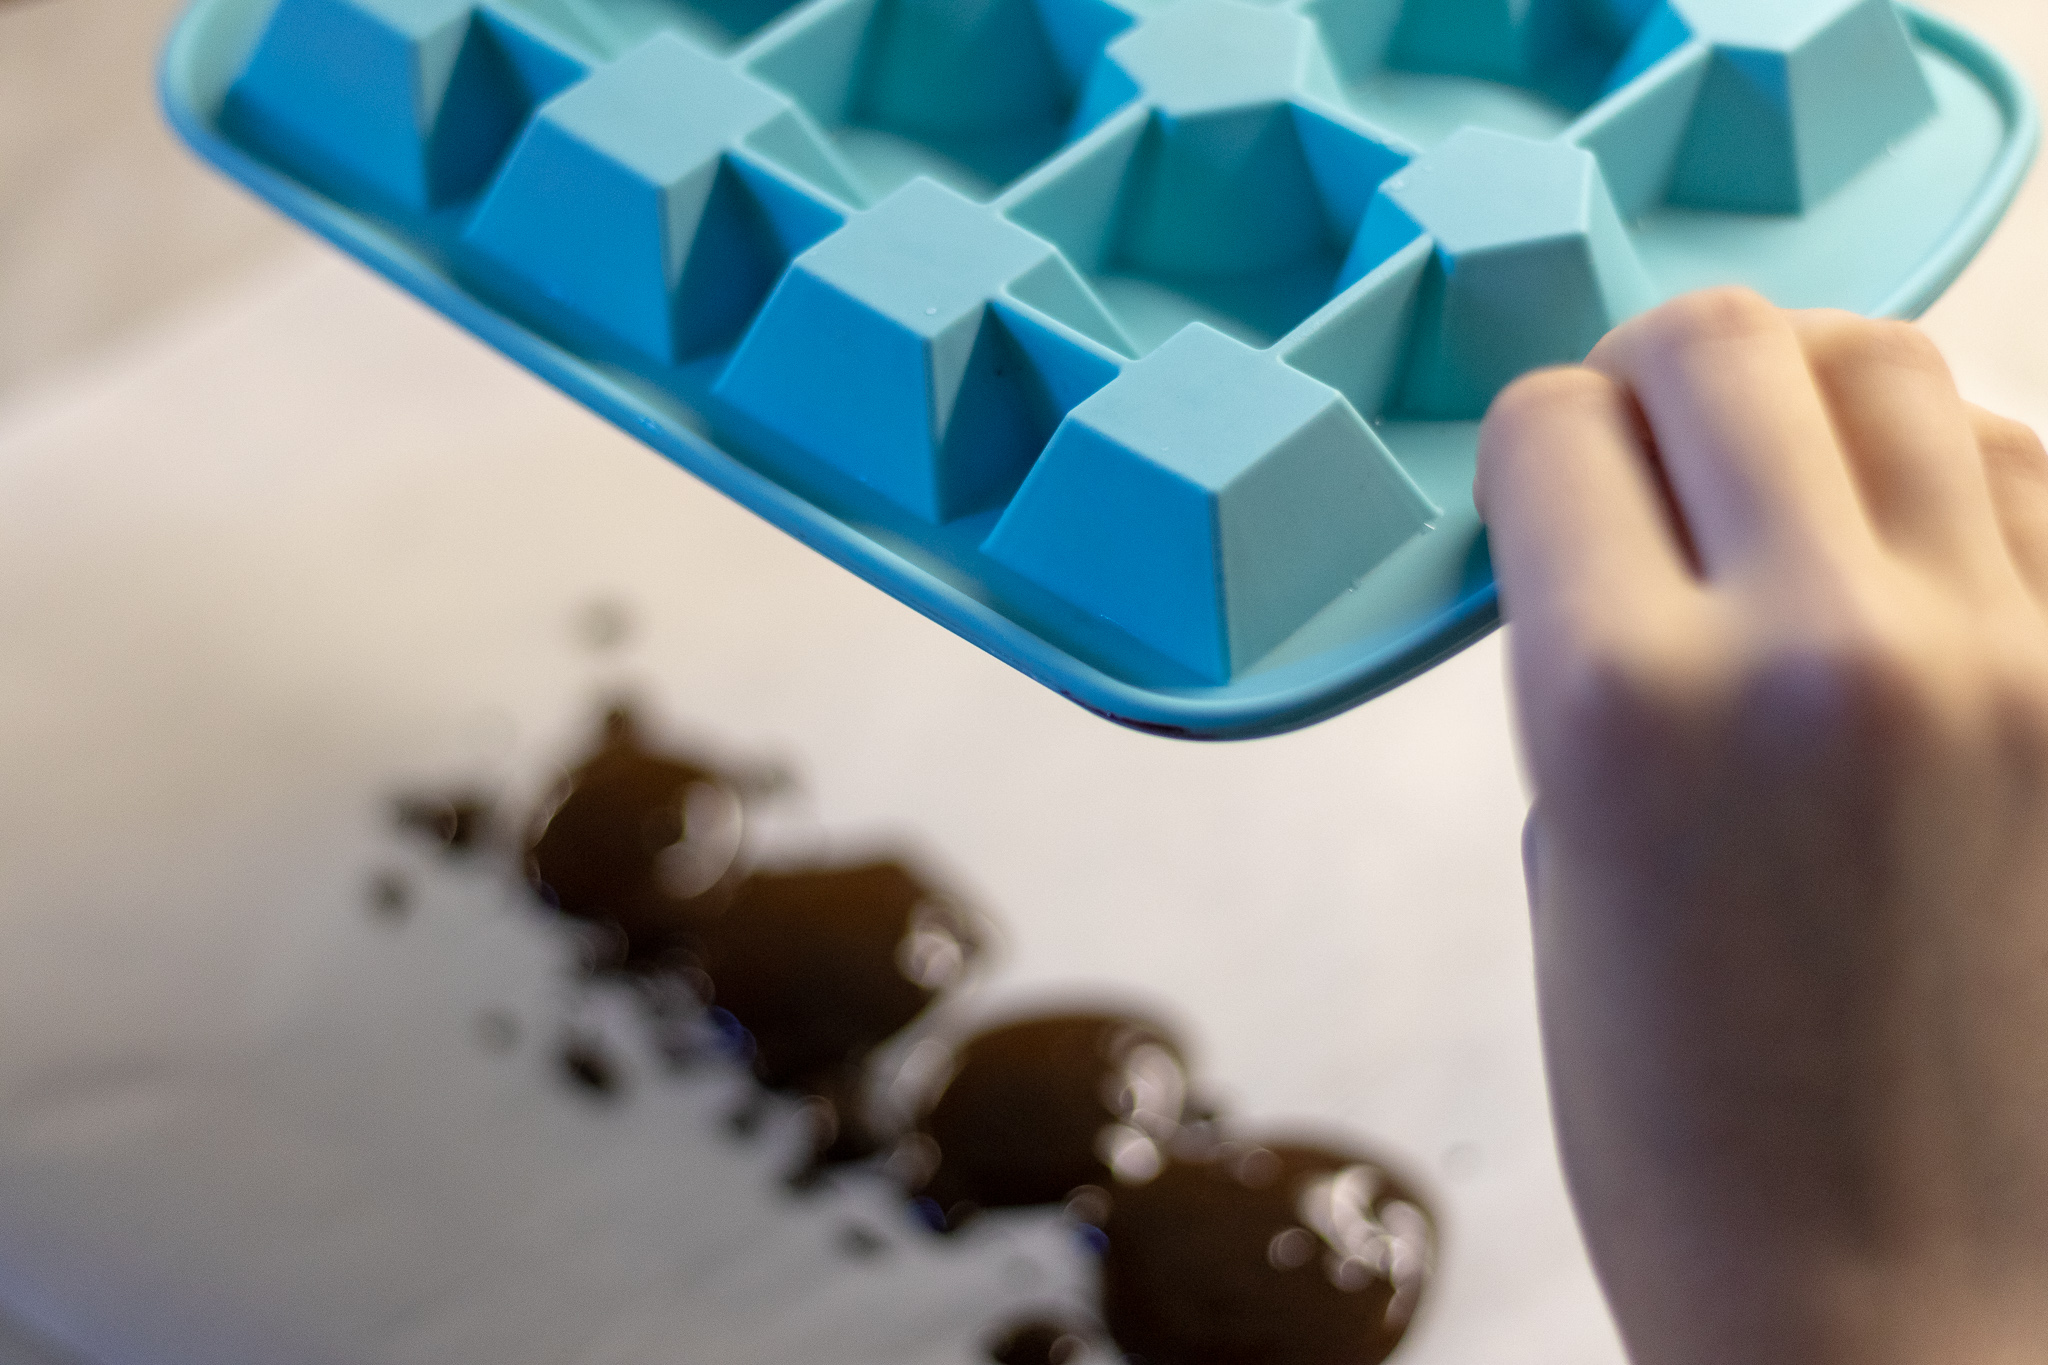
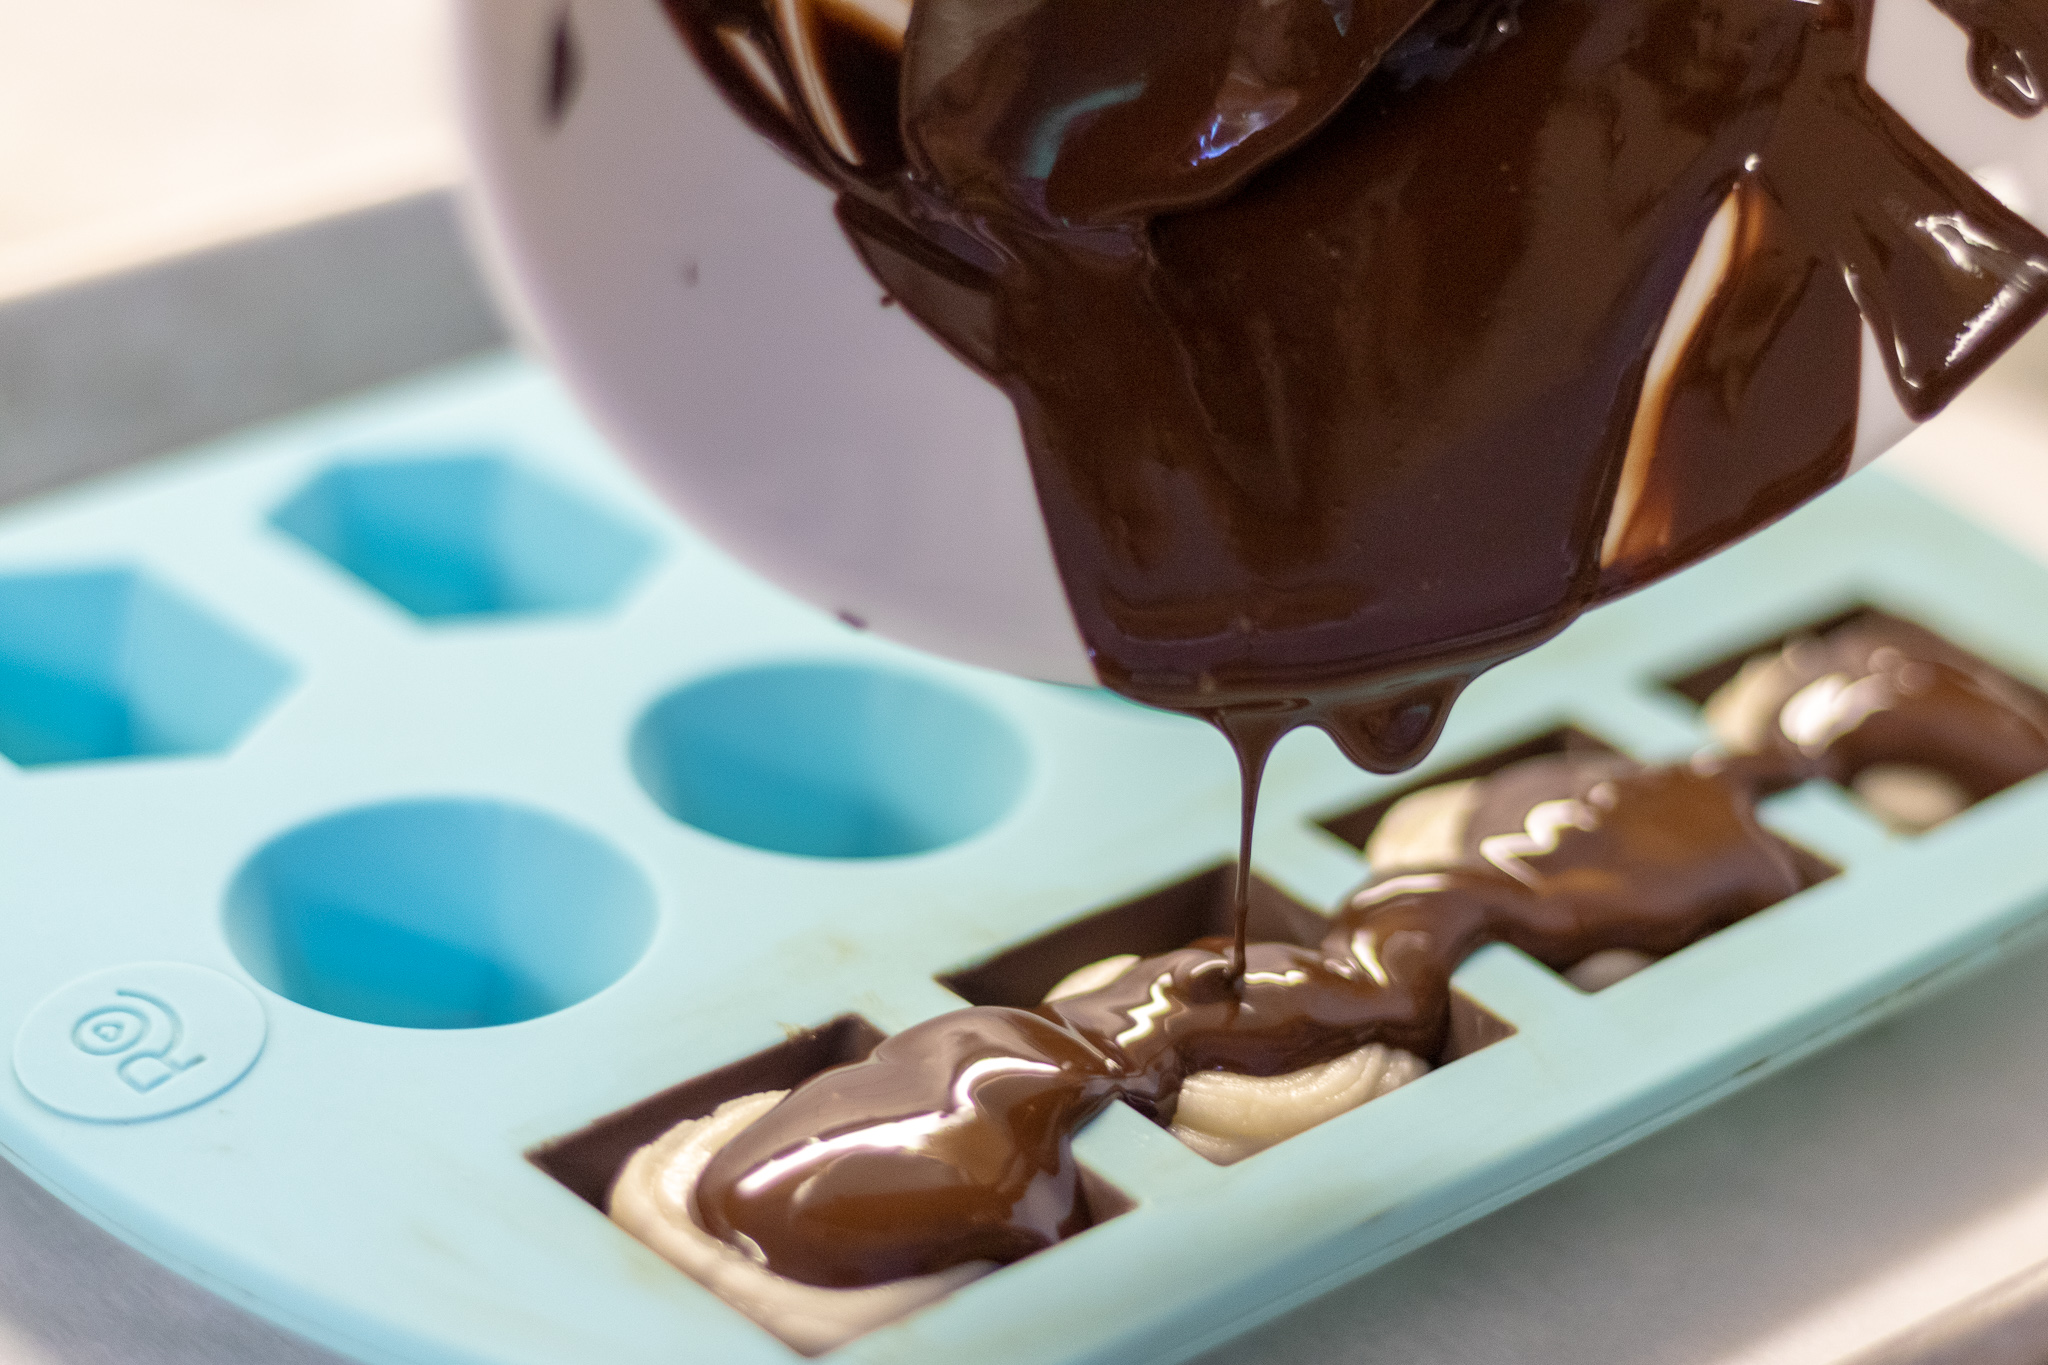
  • Optional: A few pieces of matzah toffee for garnish


INSTRUCTIONS:

  1. Add all of the ingredients to a blender and mix until smooth. You can add the dates before adding any agave and taste it to see if its sweet enough. When I make this for myself, I think the dates make it plenty sweet. When I make it for my family they beg to differ, so I always have to add a few squirts of agave. Just adjust according to your own taste. If you are using protein powder and it is sweet, then that may do it as well.

  2. Divide between 2 large glasses or 3 smaller glasses, and garnish with more shredded coconut or a few pieces of broken up Matzah Toffee. If making fresh matzah toffee for the recipe, you can sprinkle it with shredded coconut instead of sprinkles.

Vegan Chocolate Toffee Matzah

IMG_2450.jpg

If you celebrate Passover then you probably already know all about matzah toffee, otherwise known as matzah crack.

I mean if you have to eat matzah for a week, you gotta get creative! I don’t hate matzah. I am however 100% over eating it after a week.

I don’t hate it, lets say I tolerate it. BUT when you pour butter, sugar, chocolate and sprinkles all over it, I FLIPPING LOVE IT!

Suddenly Passover is the best time of year. So much for feeling afflicted!

You may have also had something like this made with saltine crackers, but I promise, PROMISE, it is better on thin, crispy, light matzah!

So even if you do not celebrate passover, you can still grab a box of matzah in the international isle of your local grocery store and make yourself a batch of this yearly favorite. And if you by some chance get invited to a Passover Seder, now you know what to make!


INGREDIENTS:

  • 5 pieces of plain matzah (you can use regular or Gluten Free)

  • 3/4 cups dairy free butter (I use earth balance)

  • 1 cup brown sugar

  • 1 cup chopped vegan dark chocolate, or chocolate chips

  • course sea salt

  • sprinkles (optional)


INSTRUCTIONS:

Preheat oven to 350 degrees.

  1. In a medium sauce pan, heat brown sugar and butter over medium heat, stirring continuously. Simmer for 3 to 5 minutes, allowing all of the sugar to melt, and the mixture to become smooth.

  2. Cover a large cookie sheet in a layer of parchment or foil (this makes for easier cleanup.) Make a single layer of matzah on the pan. You may have to break a piece in half to fit it all on one pan, or you can use 2 pans.

  3. Evenly spread the sugar/ butter mixture over the pieces of matzah. You want to completely cover each piece with the mixture . Place the pan in the oven on the middle rack. Allow the matzah to bake for about 5 minutes.

  4. Remove matzah from the oven, leaving it on the pan. Sprinkle the tops of the hot matzah with the chocolate. It will quickly melt. Evenly spread the melted chocolate over the matzah. Sprinkle with salt and sprinkles.

  5. Place the pan in the fridge or the freezer to cool, and allow the chocolate to harden.

  6. Once the matzah has hardened, either cut into bite size pieces with a knife, or break into pieces with your hands. Store in an airtight container in the fridge, or at room temperature.

1.jpg

Easy Vegan Chocolate Fudge

When I was a kid, we spent countless weekends camping out in the North Ga Mountains. By camping I mean sleeping comfortably in an RV right outside of the tourist town of Helen, Ga. It’s a cute little mountain town that looks like an old Bavarian vil…

When I was a kid, we spent countless weekends camping out in the North Ga Mountains.

By camping I mean sleeping comfortably in an RV right outside of the tourist town of Helen, Ga. It’s a cute little mountain town that looks like an old Bavarian village.

Growing up the shops ranged from things like candle making, local jewelry, outlets, a cool/creepy wax museum, and the fudge shop!


My dad always let me get fudge and it was the thing I looked forward to the most. Fast forward 20 something years and we recently went back to take our own kids. Neeless to say, the architecture hasn’t changed, but the shops and crowds certainly have. It’s still charming and fun to visit, but It wasn’t the Helen of my childhood. Time keeps on moving I guess, and people no longer want swirly, hand dipped, wizard and dragon carved candles? What?!?! I was genuinely surprised by this?


I was able to get ridiculous matching airbrush t-shirts with one of my favorite old friends, but otherwise it was sort of a let down. Also, now that we are vegan, I couldn’t share the joy of choosing a slab of fudge with my kid.

So what’s a girl to do, other than go home and make her kids some vegan fudge, and assure them that back in the day, Helen was once one of her favorite places on earth. An amazing place I spent summers floating down the Chattahoochee river on inner tubes, watching candles get carved, and eating enough fudge to make you sick.


I just hope we can give our kids memories like this, and find our own places that they hold dear in their hearts, even if they change over time. And I assure you every time I make a batch of vegan fudge, I will remember Helen like it was when I was a kid, and it will make my heart happy. So, now where can a girl get a swirly, glittered, hand carved wizard candle?

INGREDIENTS:

  • 4 1/2 oz vegan dark chocolate

  • 1 can full fat coconut milk or cream

  • 1/2 cup sugar

  • 1/4 cup peanut, almond, or sunbutter

  • pinch of salt

  • 1/4 cup chopped walnuts (optional)

INSTRUCTIONS:

  1. Chop the dark chocolate into small pieces.

  2. Add chocolate, sugar, and coconut milk to a medium sauce pan. Heat over medium/low heat, allowing the the chocolate to melt, and the mixture to come to a simmer. Let the mixture simmer for about 5-7 minutes, stirring continuously. Stir in the peanut butter and allow it to melt. Add the pinch of salt.

  3. Line an 8x8 baking dish with parchment paper. Pour the fudge mixture into the pan.

  4. Top with walnuts if you like, then allow the fudge to chill uncovered in the fridge for about 4 hours to firm up.

  5. Cut and serve fudge. Store leftovers in an airtight container in the fridge.

IMG_2234.jpg

Vegan Valentine's Chocolates (3 ways)

IMG_1168.jpg

I am pretty sure in my lifetime I have eaten more heart shaped boxes of chocolates than I care to share with you.

I LOVE cream filled, caramel filled, nugget filled, nut filled, jelly filled, chocolates. Seriously, my husband will attest to this fact, and he will also tell you I am the kind of person who will take one bite out of each one, like a jerk, so that they are from the point on property of ME, and so no one else will want them (I’m not proud of this, but it is what it is.) You know what I am talking about. You take a little bite out of one and realize its not your fave and move on, but once all the good ones are gone you will go back to those less tasty chocolates, out of desperation.

But, what if you made your own chocolates full of your most favorite flavors, AND they were vegan! Well my friends it’s actually really simple! You just need a candy mold, some vegan chocolate, and a few things for the fillings.

I wish I could take full credit for these sweet little master pieces, but it is actually our 13 year old, genius of a baker daughter ,Peyton, who brought us to this magical place of homemade chocolates! I will however take full credit for eating more of these candies than anyone else in our house.

So this Valentine’s Day (or any ol random day) whip up a batch of these for someone you love, like, simply tolerate, or even for yourself.

And if you don’t want to make them yourself, get one of your kids to do it while you watch reruns of the Office with your feet up, sipping on some coffee (I’m just daydreaming at this point) xoxo


Ingredients:

You will need candy molds for this recipe. You can use any candy molds you like, but we have found the hard molded plastic molds work better than the silicon. The silicon molds tend to cause the candies to crack when you attempt to remove them from the mold.

  • 1 cup chopped dark vegan chocolate or vegan chocolate chips

  • 1 teaspoon coconut oil

Strawberry cream filling:

  • 1 1/2 cups powdered sugar

  • 1 large strawberry, mashed up

  • 2 tablespoons softened vegan butter

  • 2 tablespoons light corn syrup

Maple cream filling:

  • 1 3/4 cups powdered sugar

  • 2 tablespoons maple syrup

  • 2 tablespoons softened vegan butter

  • 2 tablespoons light corn syrup

Carmel filling:

  • 2/3 cups white sugar

  • 3 tablespoons water

  • 1 tablespoon corn syrup

  • 7 tablespoons oat milk or canned coconut milk (these milks are thick and work well for caramel)

  • 1 tablespoon of vegan butter

  • pinch of salt

Instructions:

  1. Start buy getting set up: You will need a nice big piece of parchment paper or a silicone mat. Line up your candy molds next to the parchment paper or mat.

  2. Place the chocolate and coconut oil in a microwave safe dish. Microwave chocolate for 30 seconds at time, stirring each time, until all of the chocolate has melted.

  3. Coating the molds: Pour a small amount of melted chocolate into each mold and spread the chocolate up the sides. Tap the molds on the counter to remove any air bubbles, then turn the molds upside down onto the parchment paper so the extra chocolate drips out (see pictures above.) Pop the molds in the fridge for 10 - 15 minutes or until the chocolate has set. Prepare filings while molds set.

  4. For the strawberry and maple filling: Mix all of the ingredients for either filing in a bowl until nice and smooth, and there are not more powdered sugar lumps. If making strawberry, first mash the fresh strawberry with a fork in the bowl before adding the other ingredients.

  5. For the caramel filling: In a small sauce pan add white sugar, corn syrup, water, and stir. Place pan on the stove top on medium heat. DO NOT STIR THE MIXTURE ONCE IT IS ON THE STOVE. Allow the mixture to simmer until golden brown. Once the mixture has reached golden brown, remove from the heat and carefully stir in the butter and milk. The mixture tends to bubble up a lot once you add the butter and milk, so be careful not to burn yourself. Once everything is well combined, pour caramel into a bowl and allow to cool.

  6. To fill the molds: Pipe or scoop filling into the centers of the chocolate coated molds, leaving enough room around the sides and the top to cover the candies in chocolate. Reheat the chocolate until it has melted. Pour melted chocolate over the filling all the way to the tops of the molds. Once all of the molds are covered in chocolate, run a cake scraper, or butter knife across the top of the candy tray to remove the excess chocolate. Pop chocolates back in the fridge until the chocolate is hard and set. Turn over your mold and tap to remove the chocolate (if using the hard mold) or if using a silicon mold, gently peel the mold away from the candies and remove.

  7. Store leftover chocolates in the fridge. (They get a bit melty if they sit out too long and its warm inside your house, so I always just keep them in the fridge)


This recipe will fill 2 - 3 molds depending on the size of the mold. There is normally leftover filling which we refrigerate for a later batch. The cream fillings will keep in the fridge for several weeks. You may need to melt more chocolate depending on how many candies you are making, as well.

IMG_1058.jpg