I don’t know about you, but I am assuming if you found this recipe, you likely grew up on Lil Smokies too.
We used them for crockpot BBQ cocktail wieners or pigs in a blanket pretty often at my house. I actually can’t remember a holiday get together, or cookout without a crockpot of BBQ Lil Smokies sitting on the counter. They are nostalgic for me.
If you don’t know what a Lil Smokies is, it is simply a brand of a tiny little sausage links in the US. I guess there are different brands of the same kind fo product, but Lit Smokies are what we grew up eating.
I have thought about making vegan Lil Smokies for years but just never got around to it until now. I make homemade vegan hotdogs often enough but wasn’t sure these would work since I did not plan on indiviulay wrapping up a gazzilion lit franks to steam. Who would want to do that.
So I decided to try baking them with the pan wrapped up in foil vs the franks themselves.

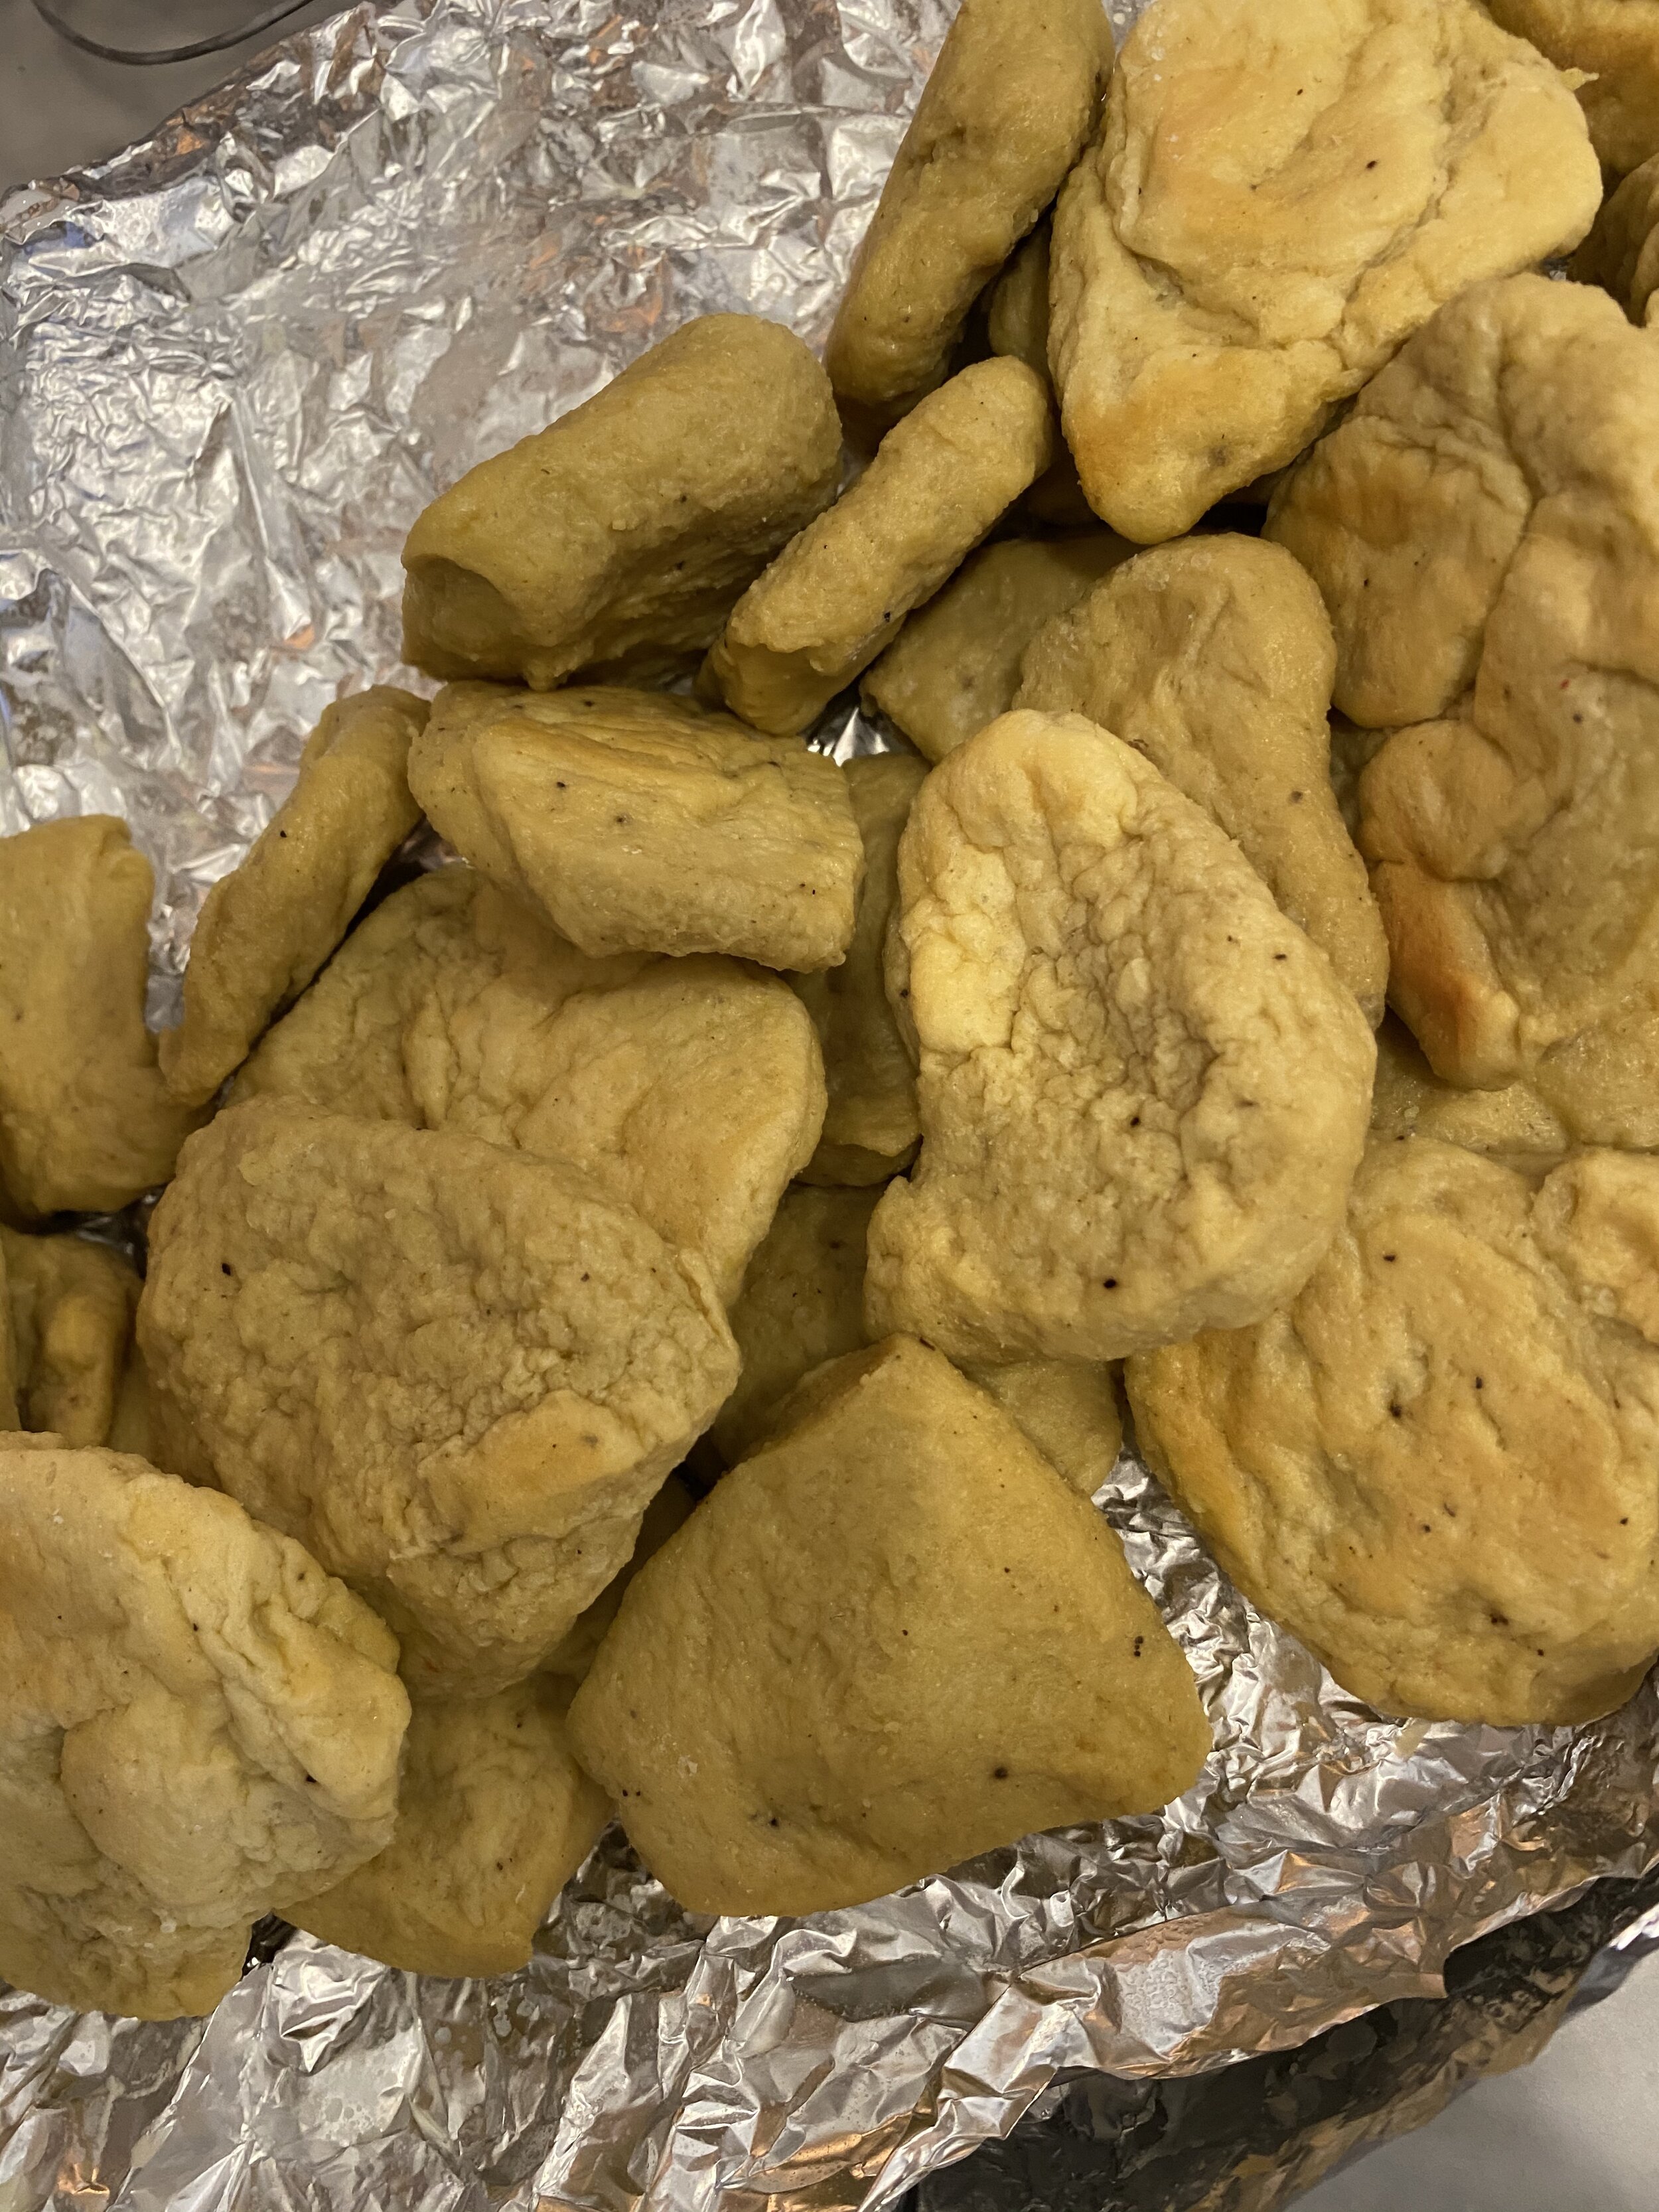
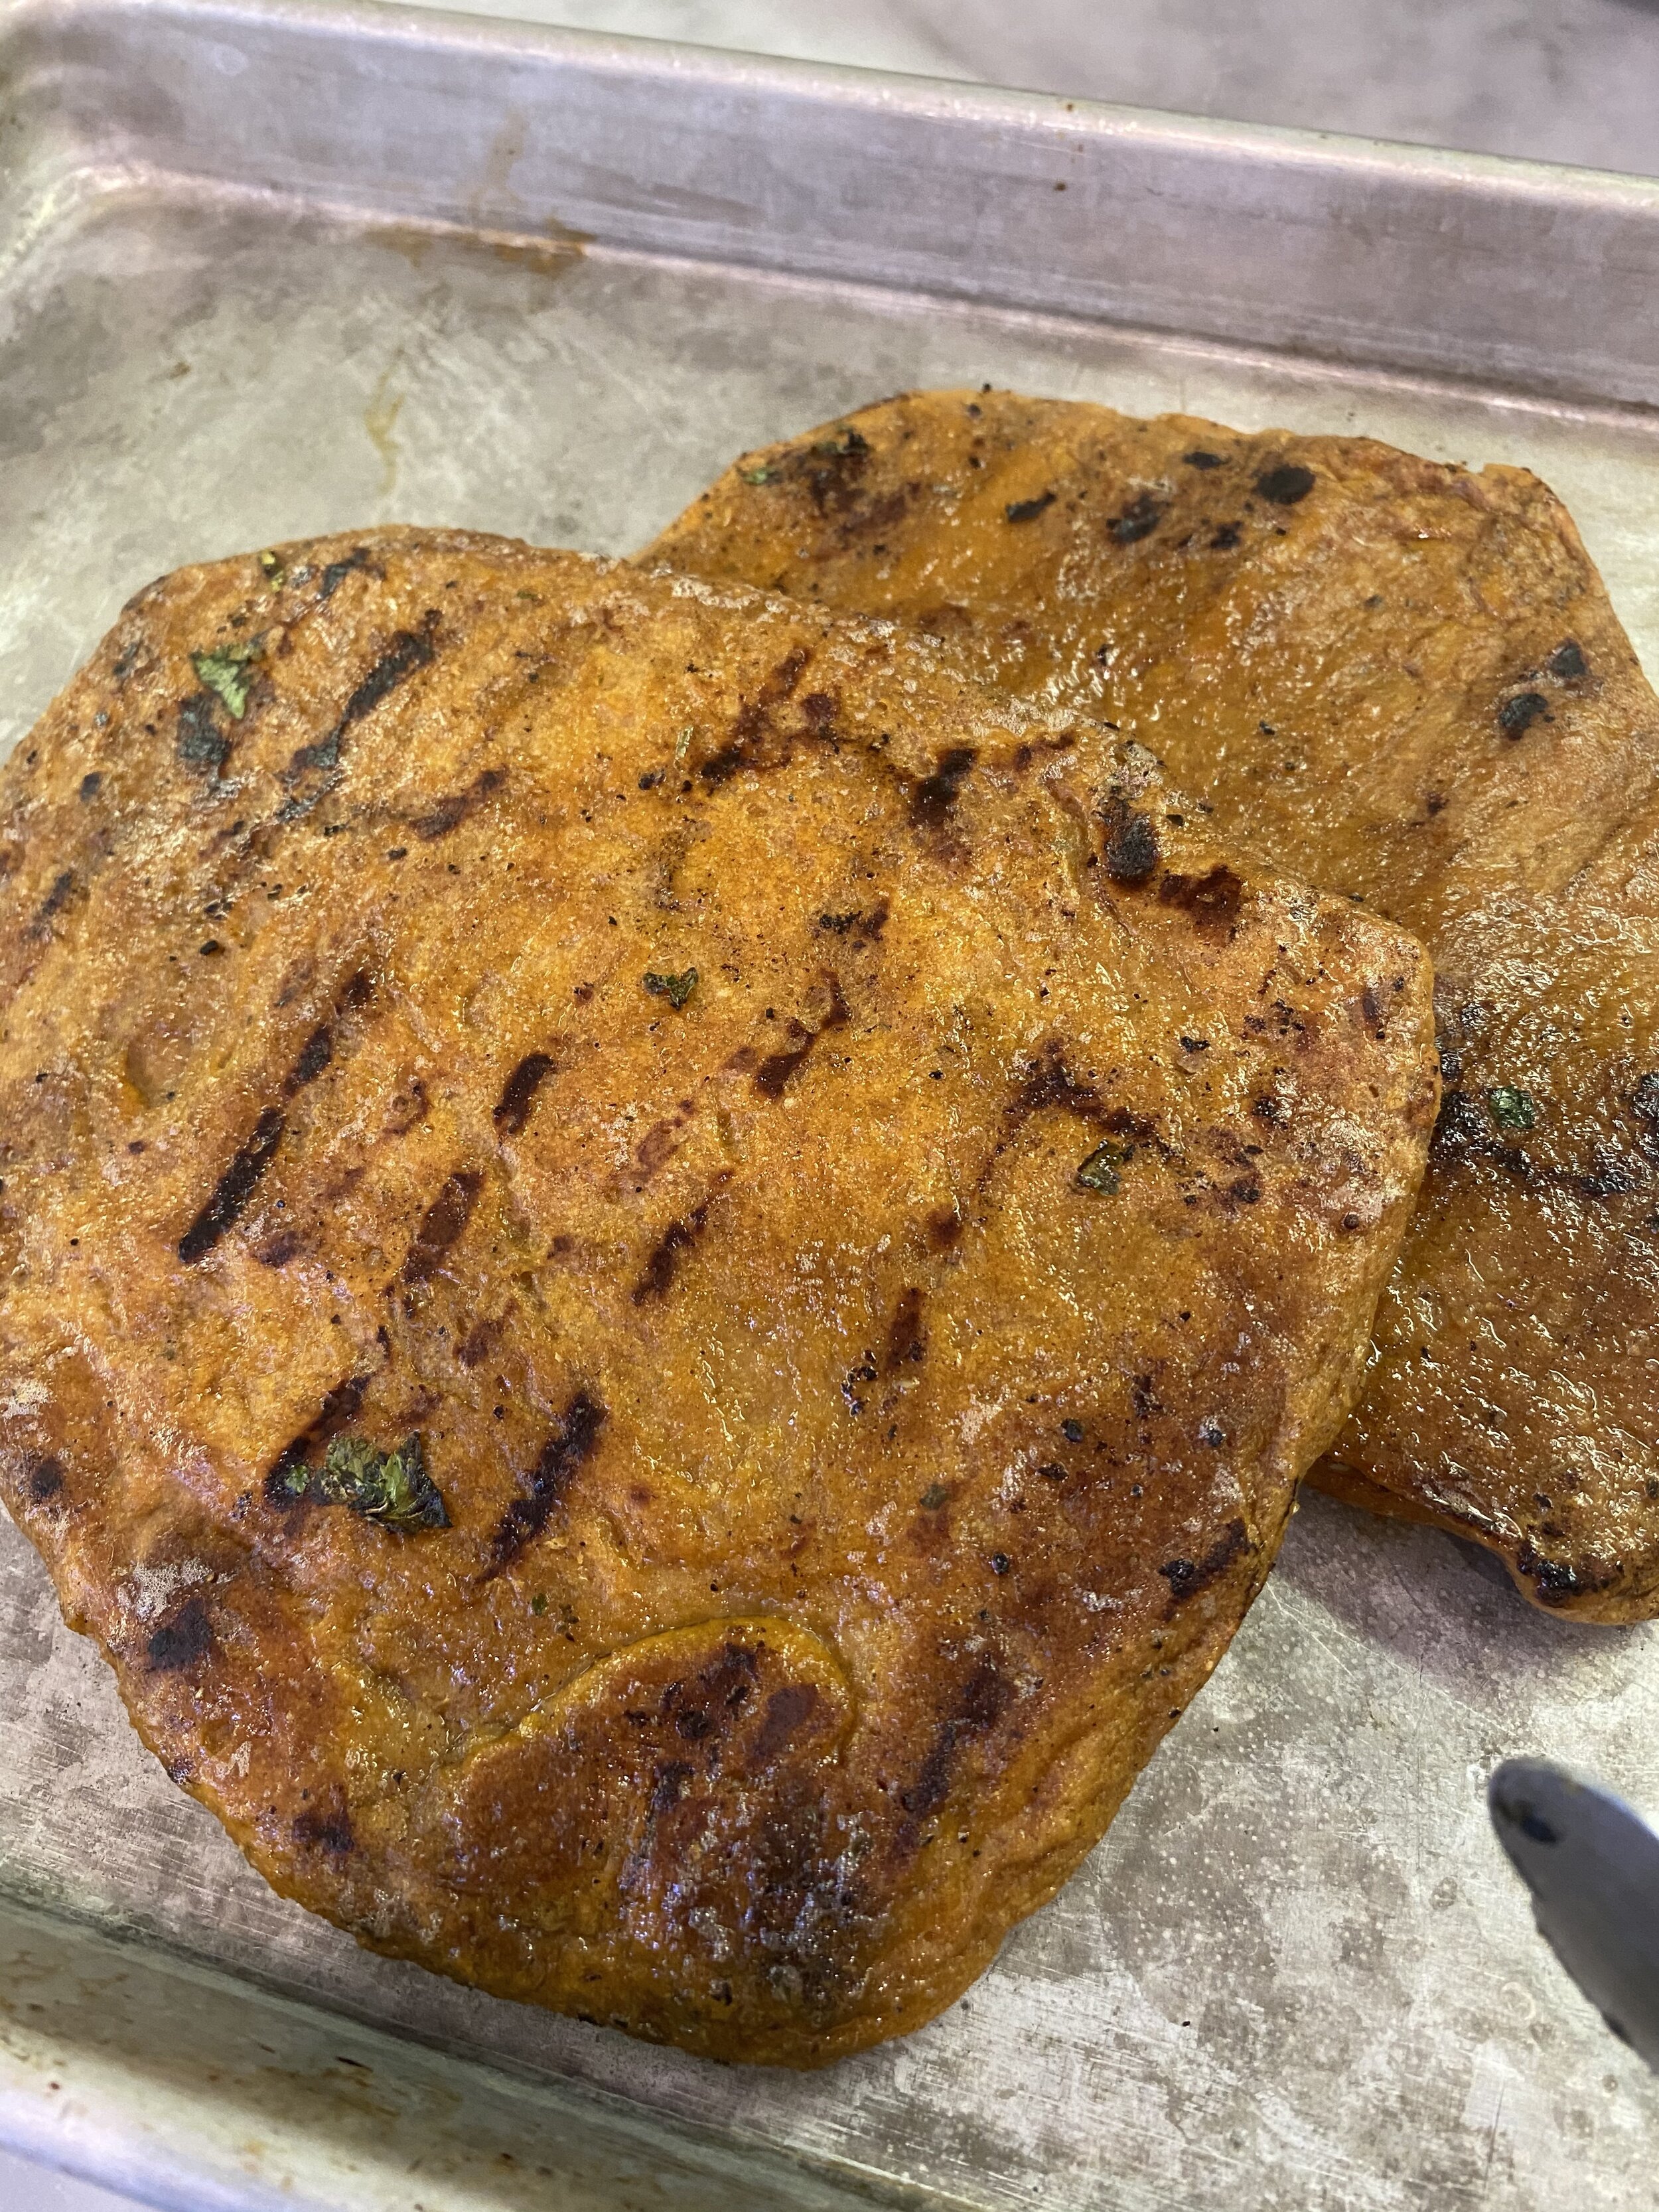
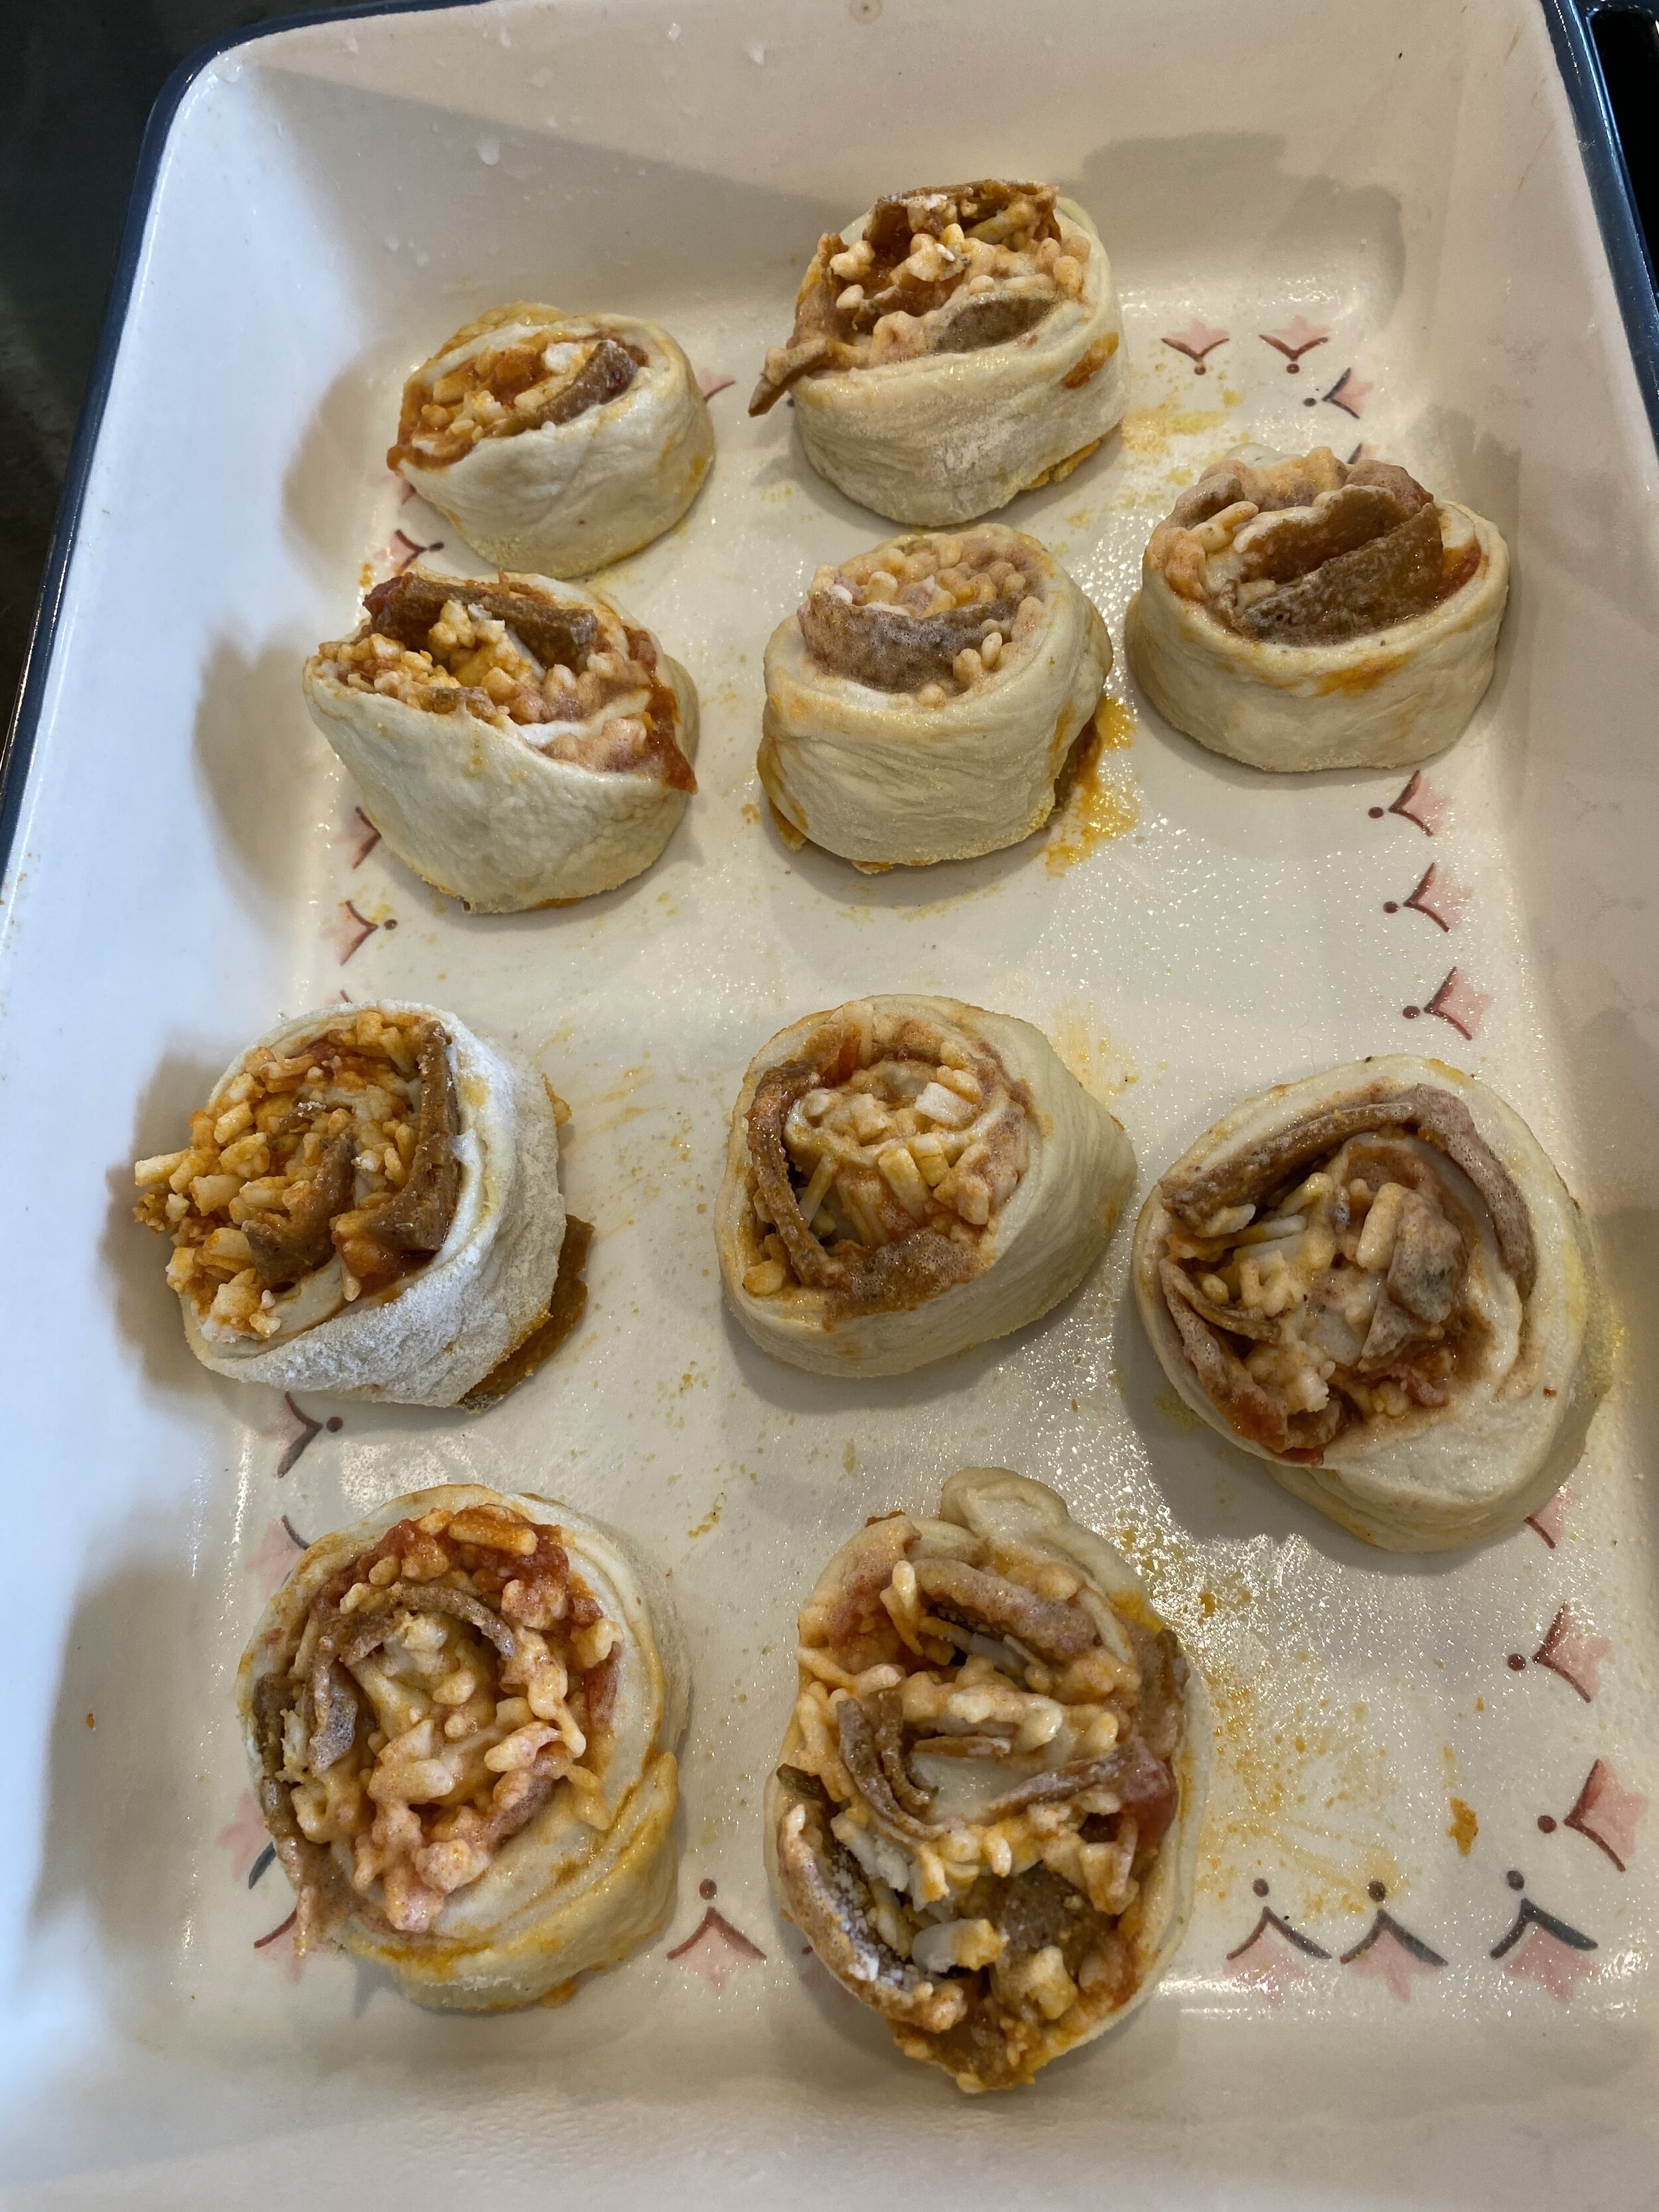
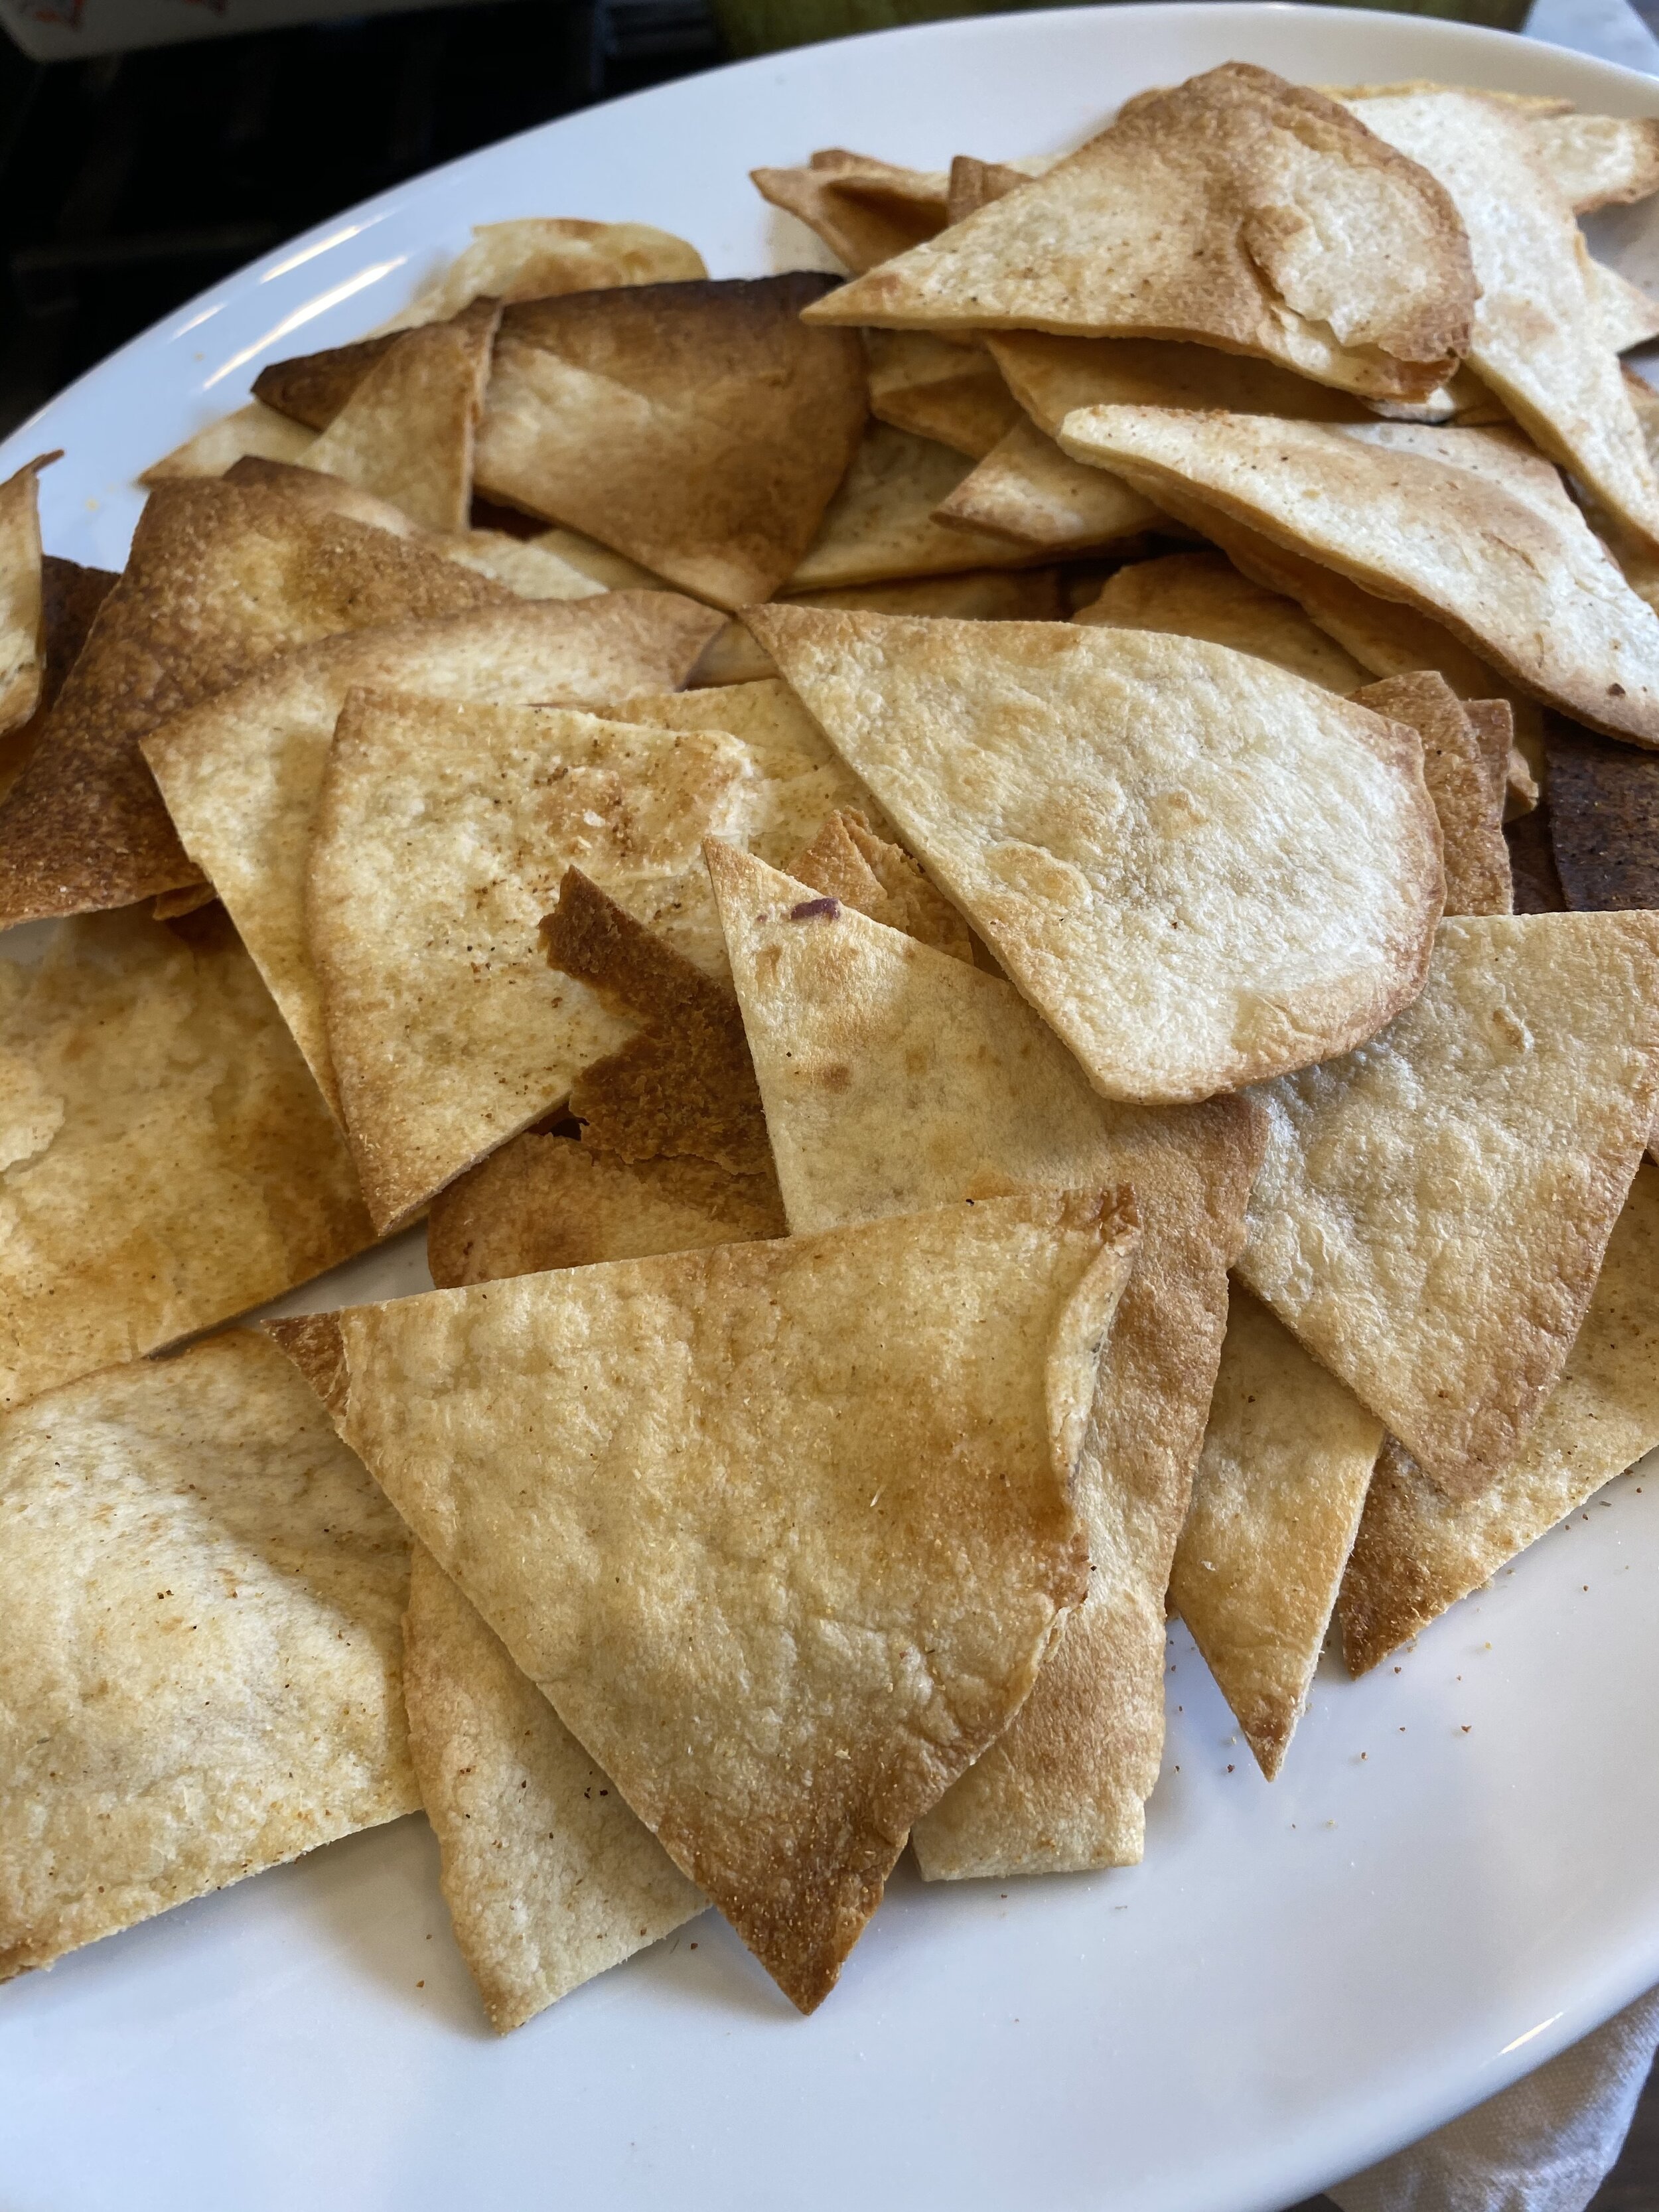
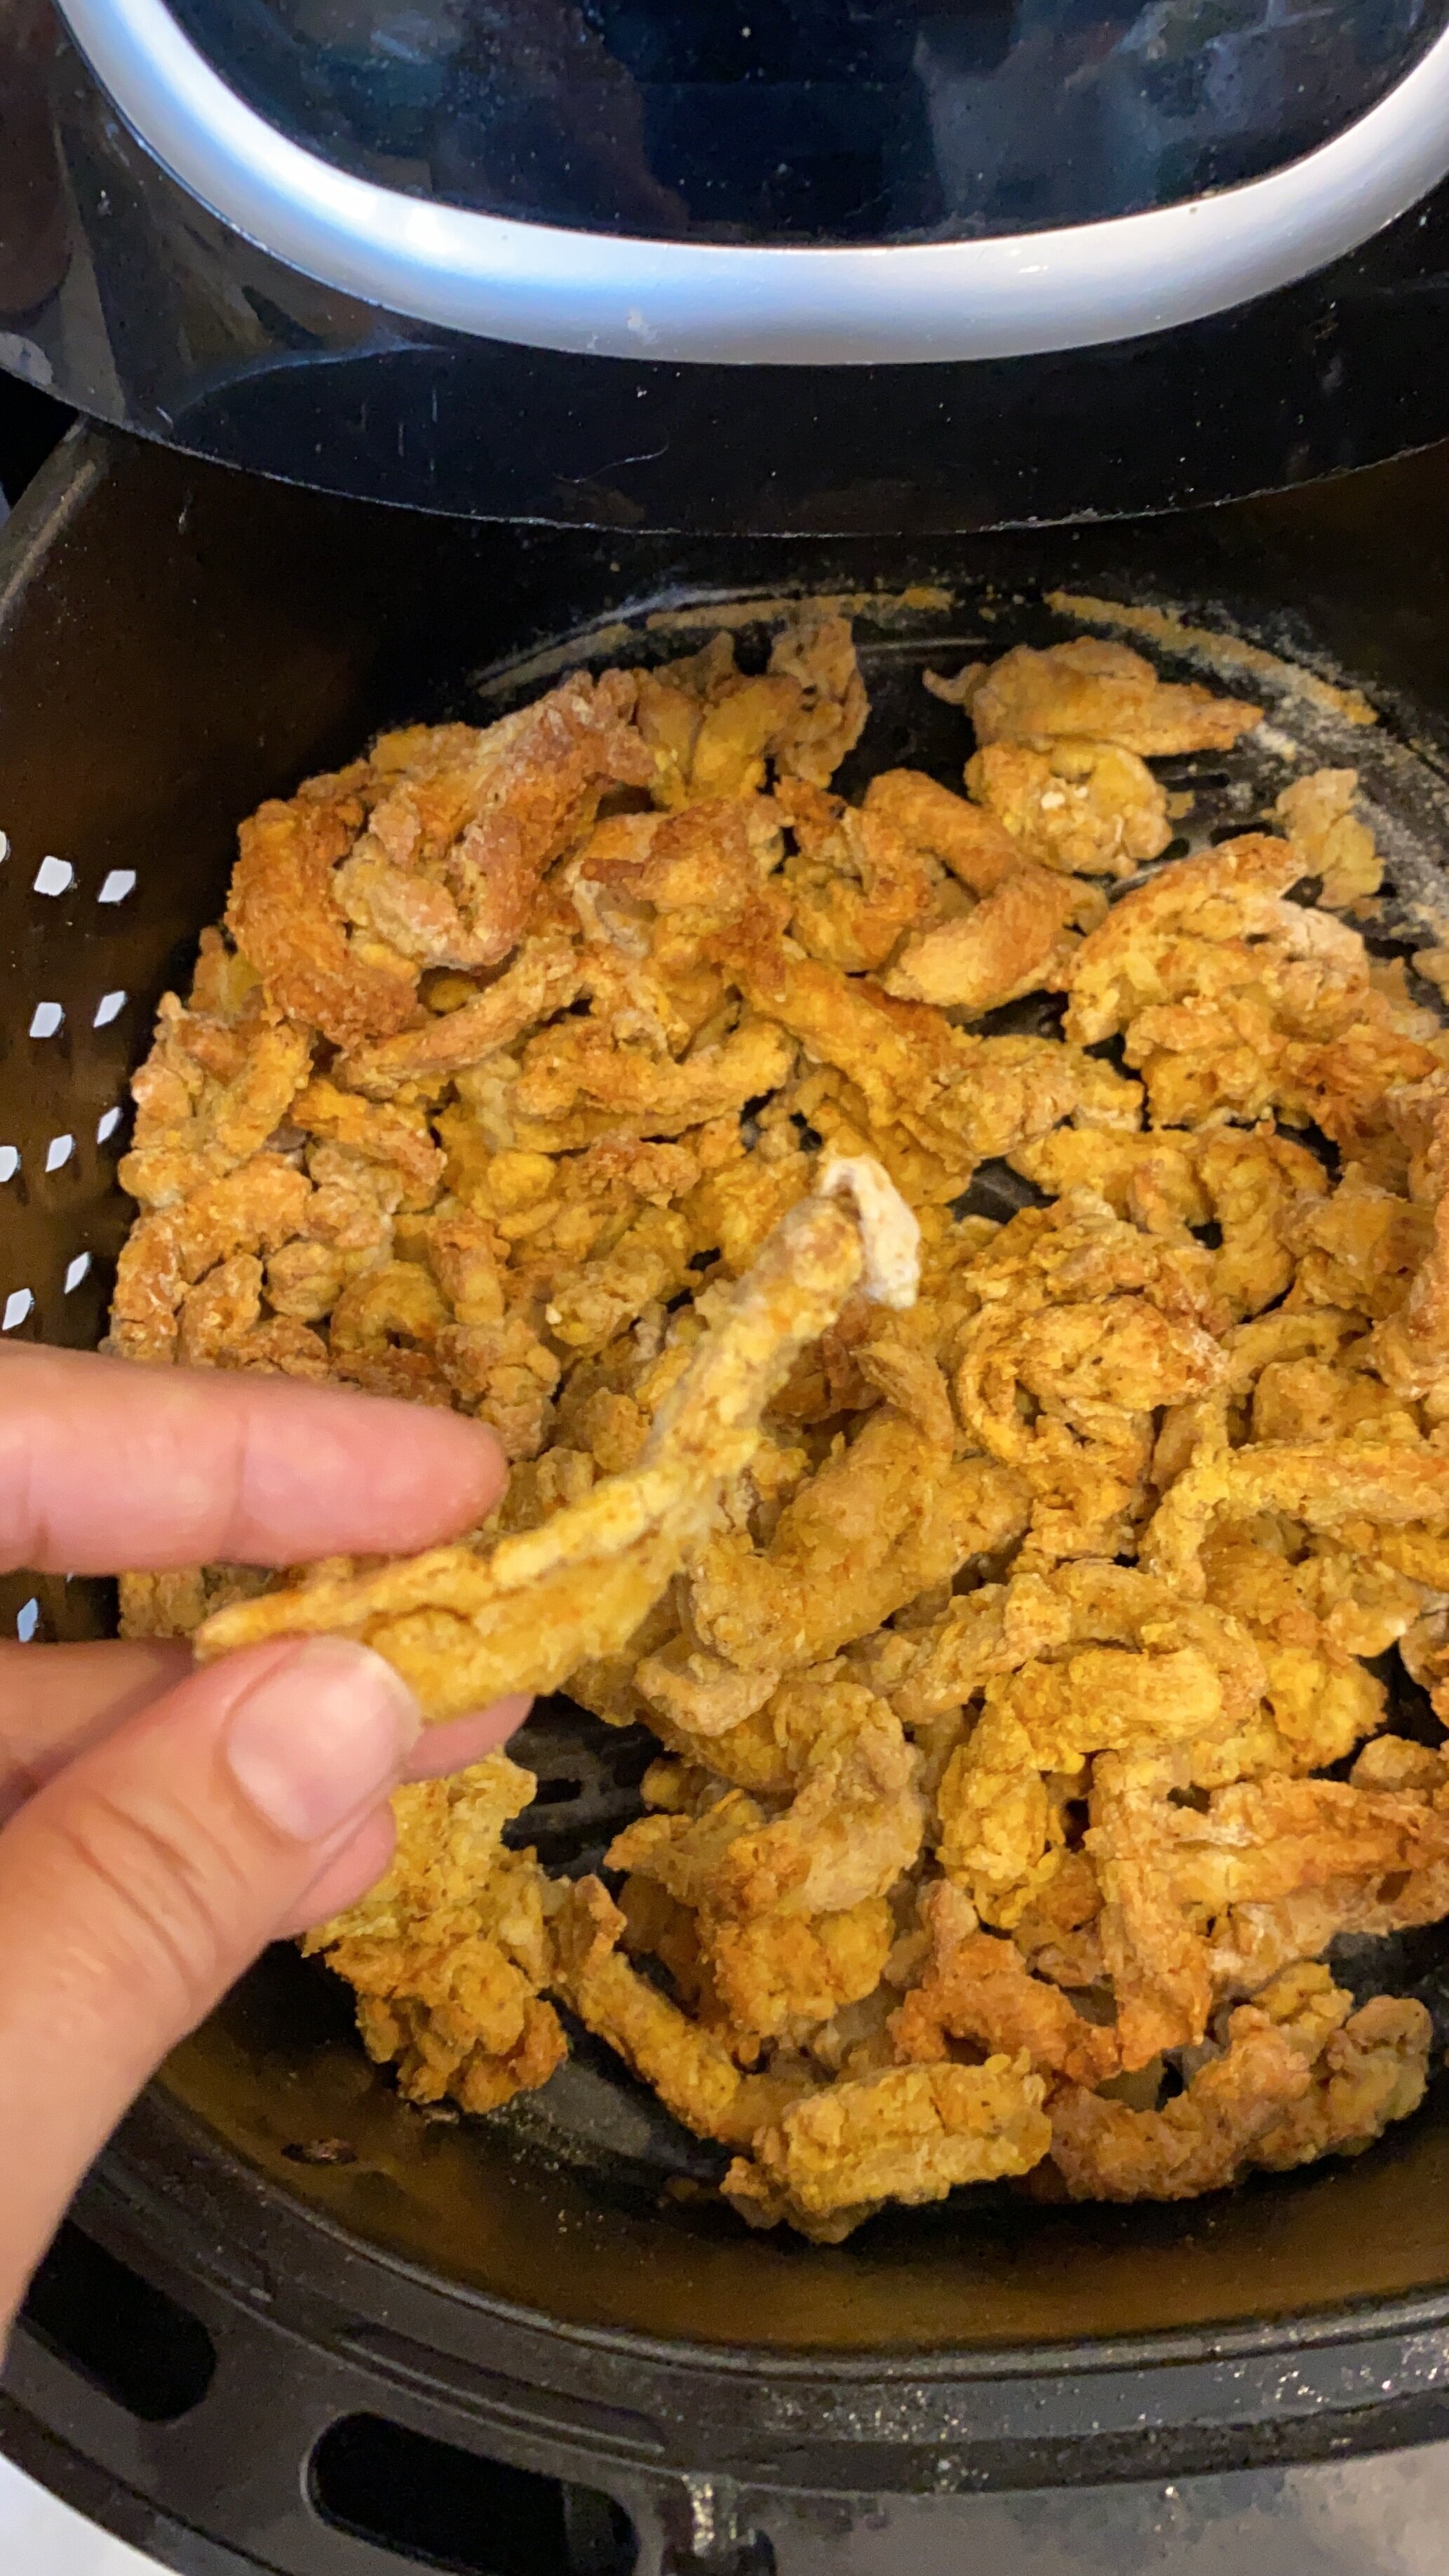
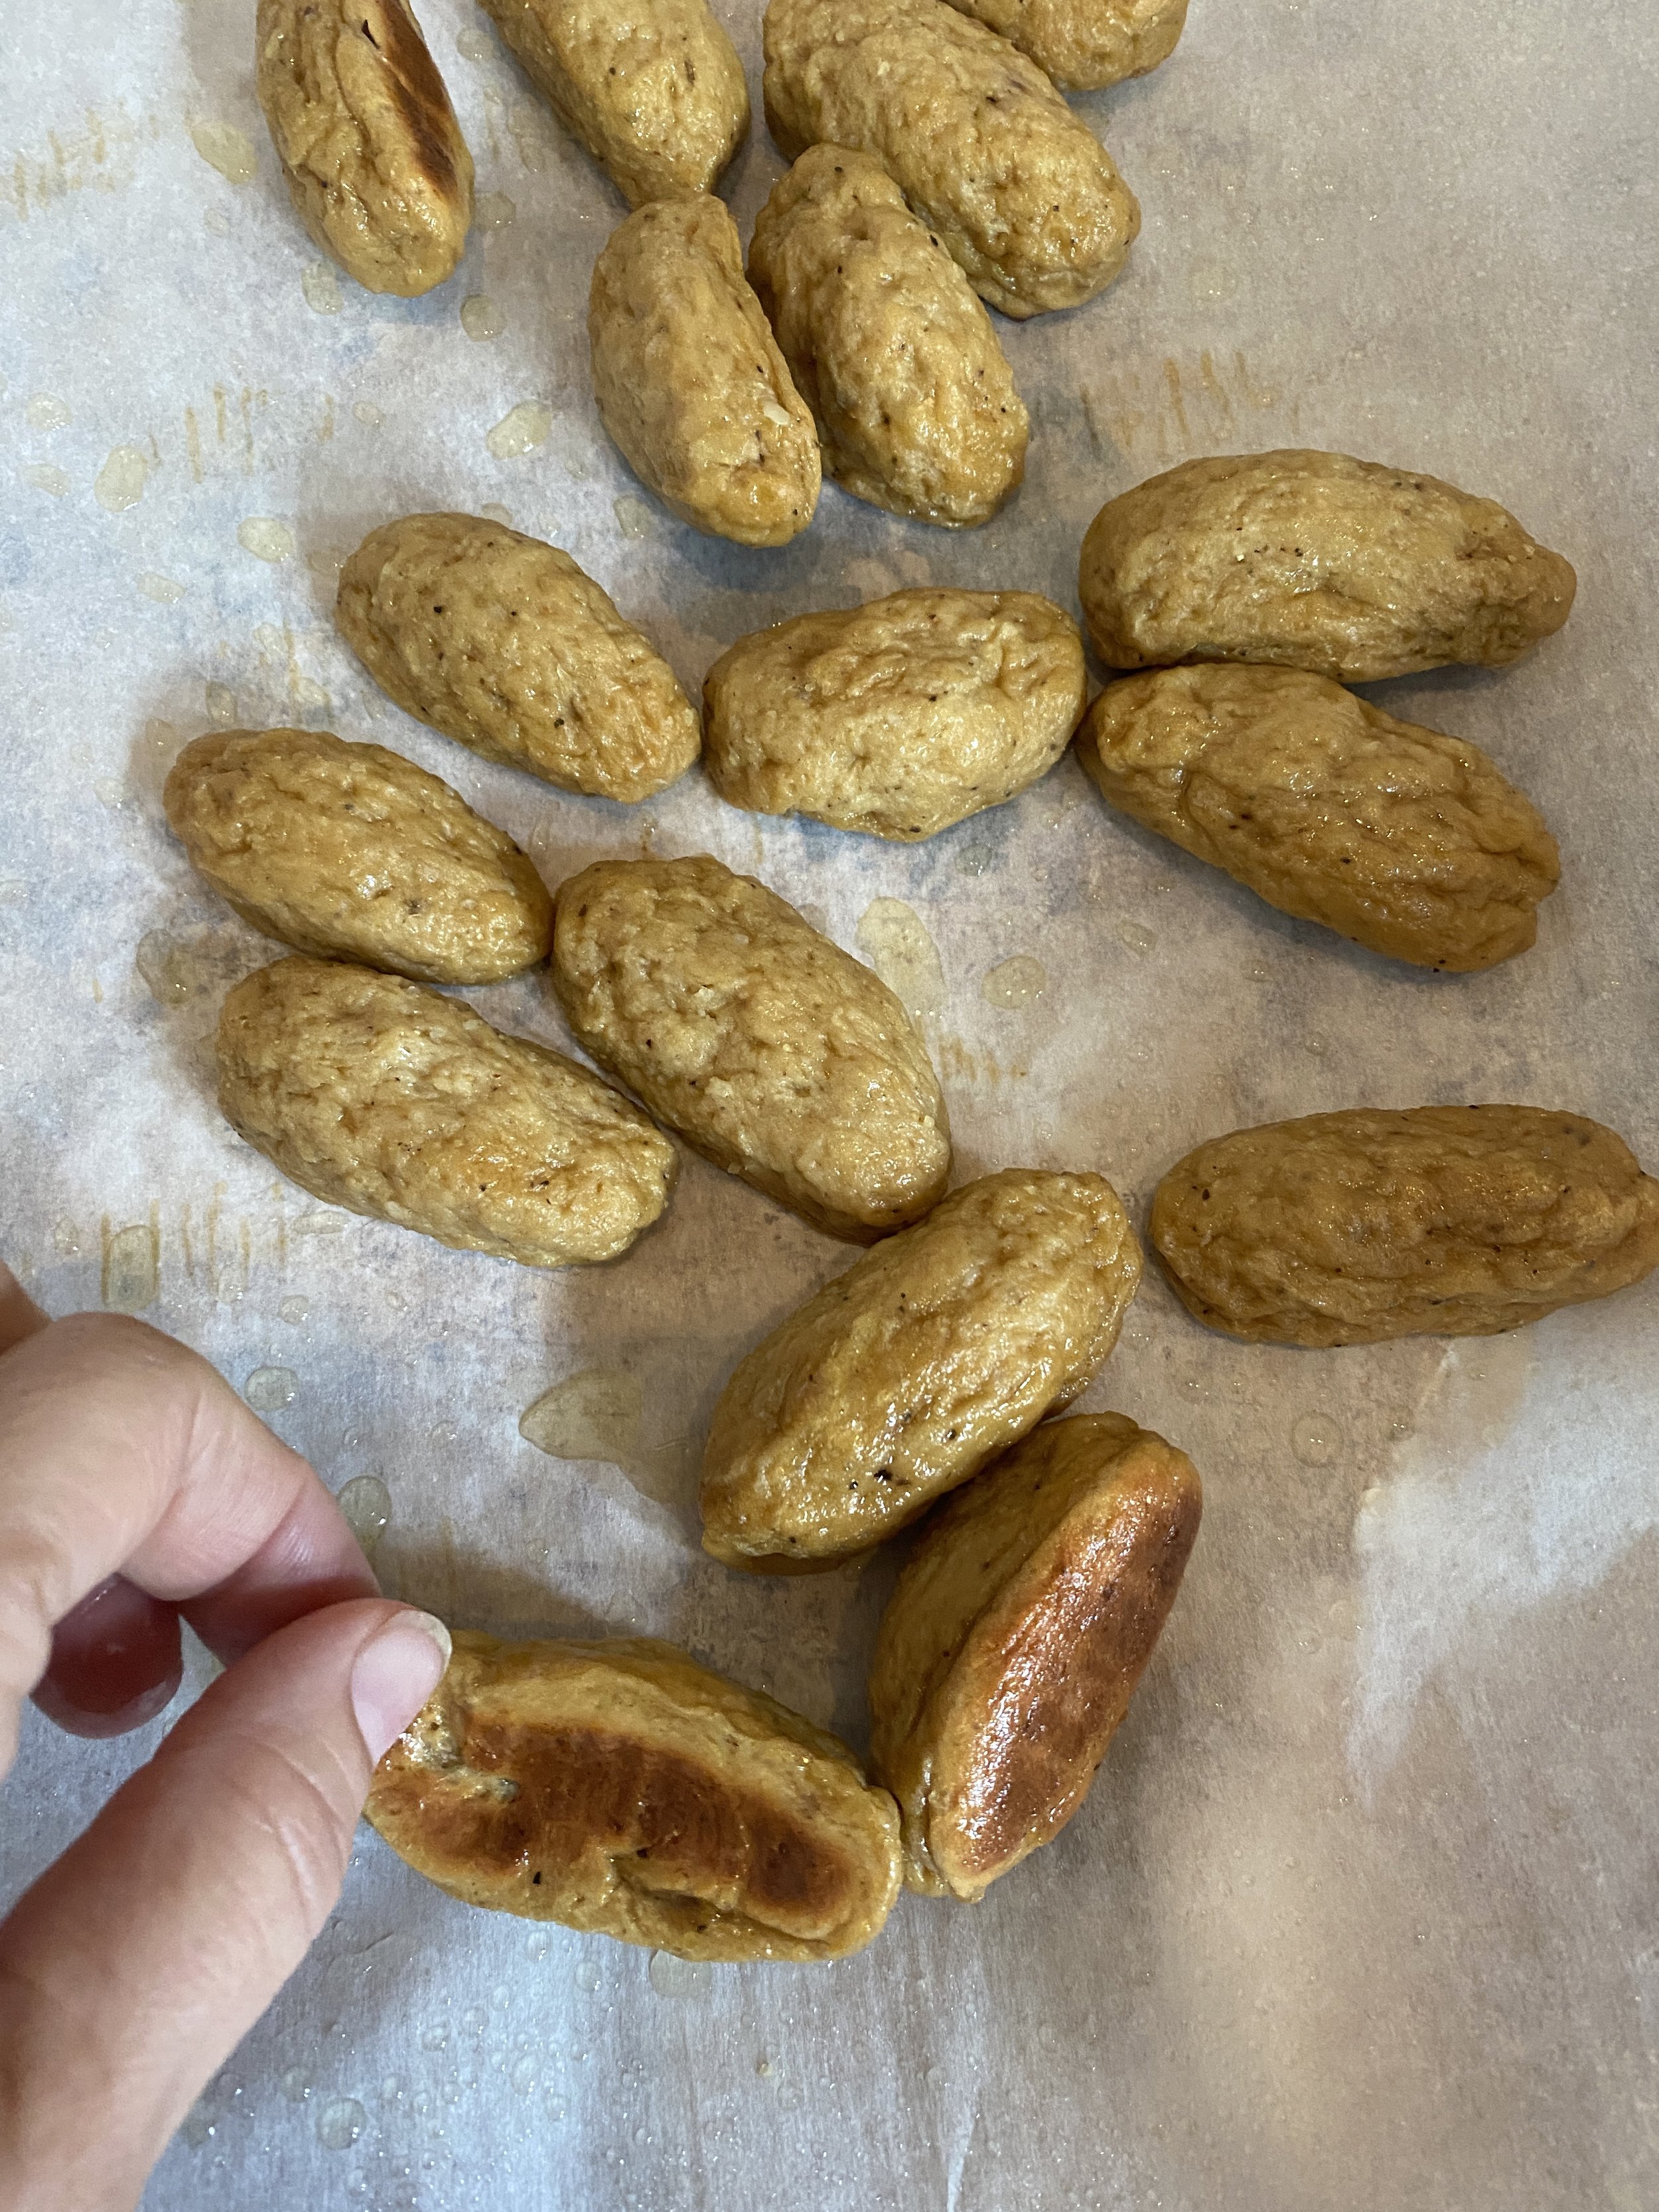
Well yall, it worked!! I did add pictures of the batch I cooked on a lower oven rack that got weird. I got a little careless forming that last batch, and in my oven they seem to have cooked hotter than those on the top rack. Keep this in mind. ALL OVENS COOK DIFFERENTLY, this always effects seitan and it comes down to trial and error sometimes. Often ovens are not cooking at their registered temp. So it is a good idea to get a oven thermometer to know what yours is doing, and avoid cooking your seitan or baked goods too hot. This is true with all seitan. Don’t let this discourage you, just keep this in mind.
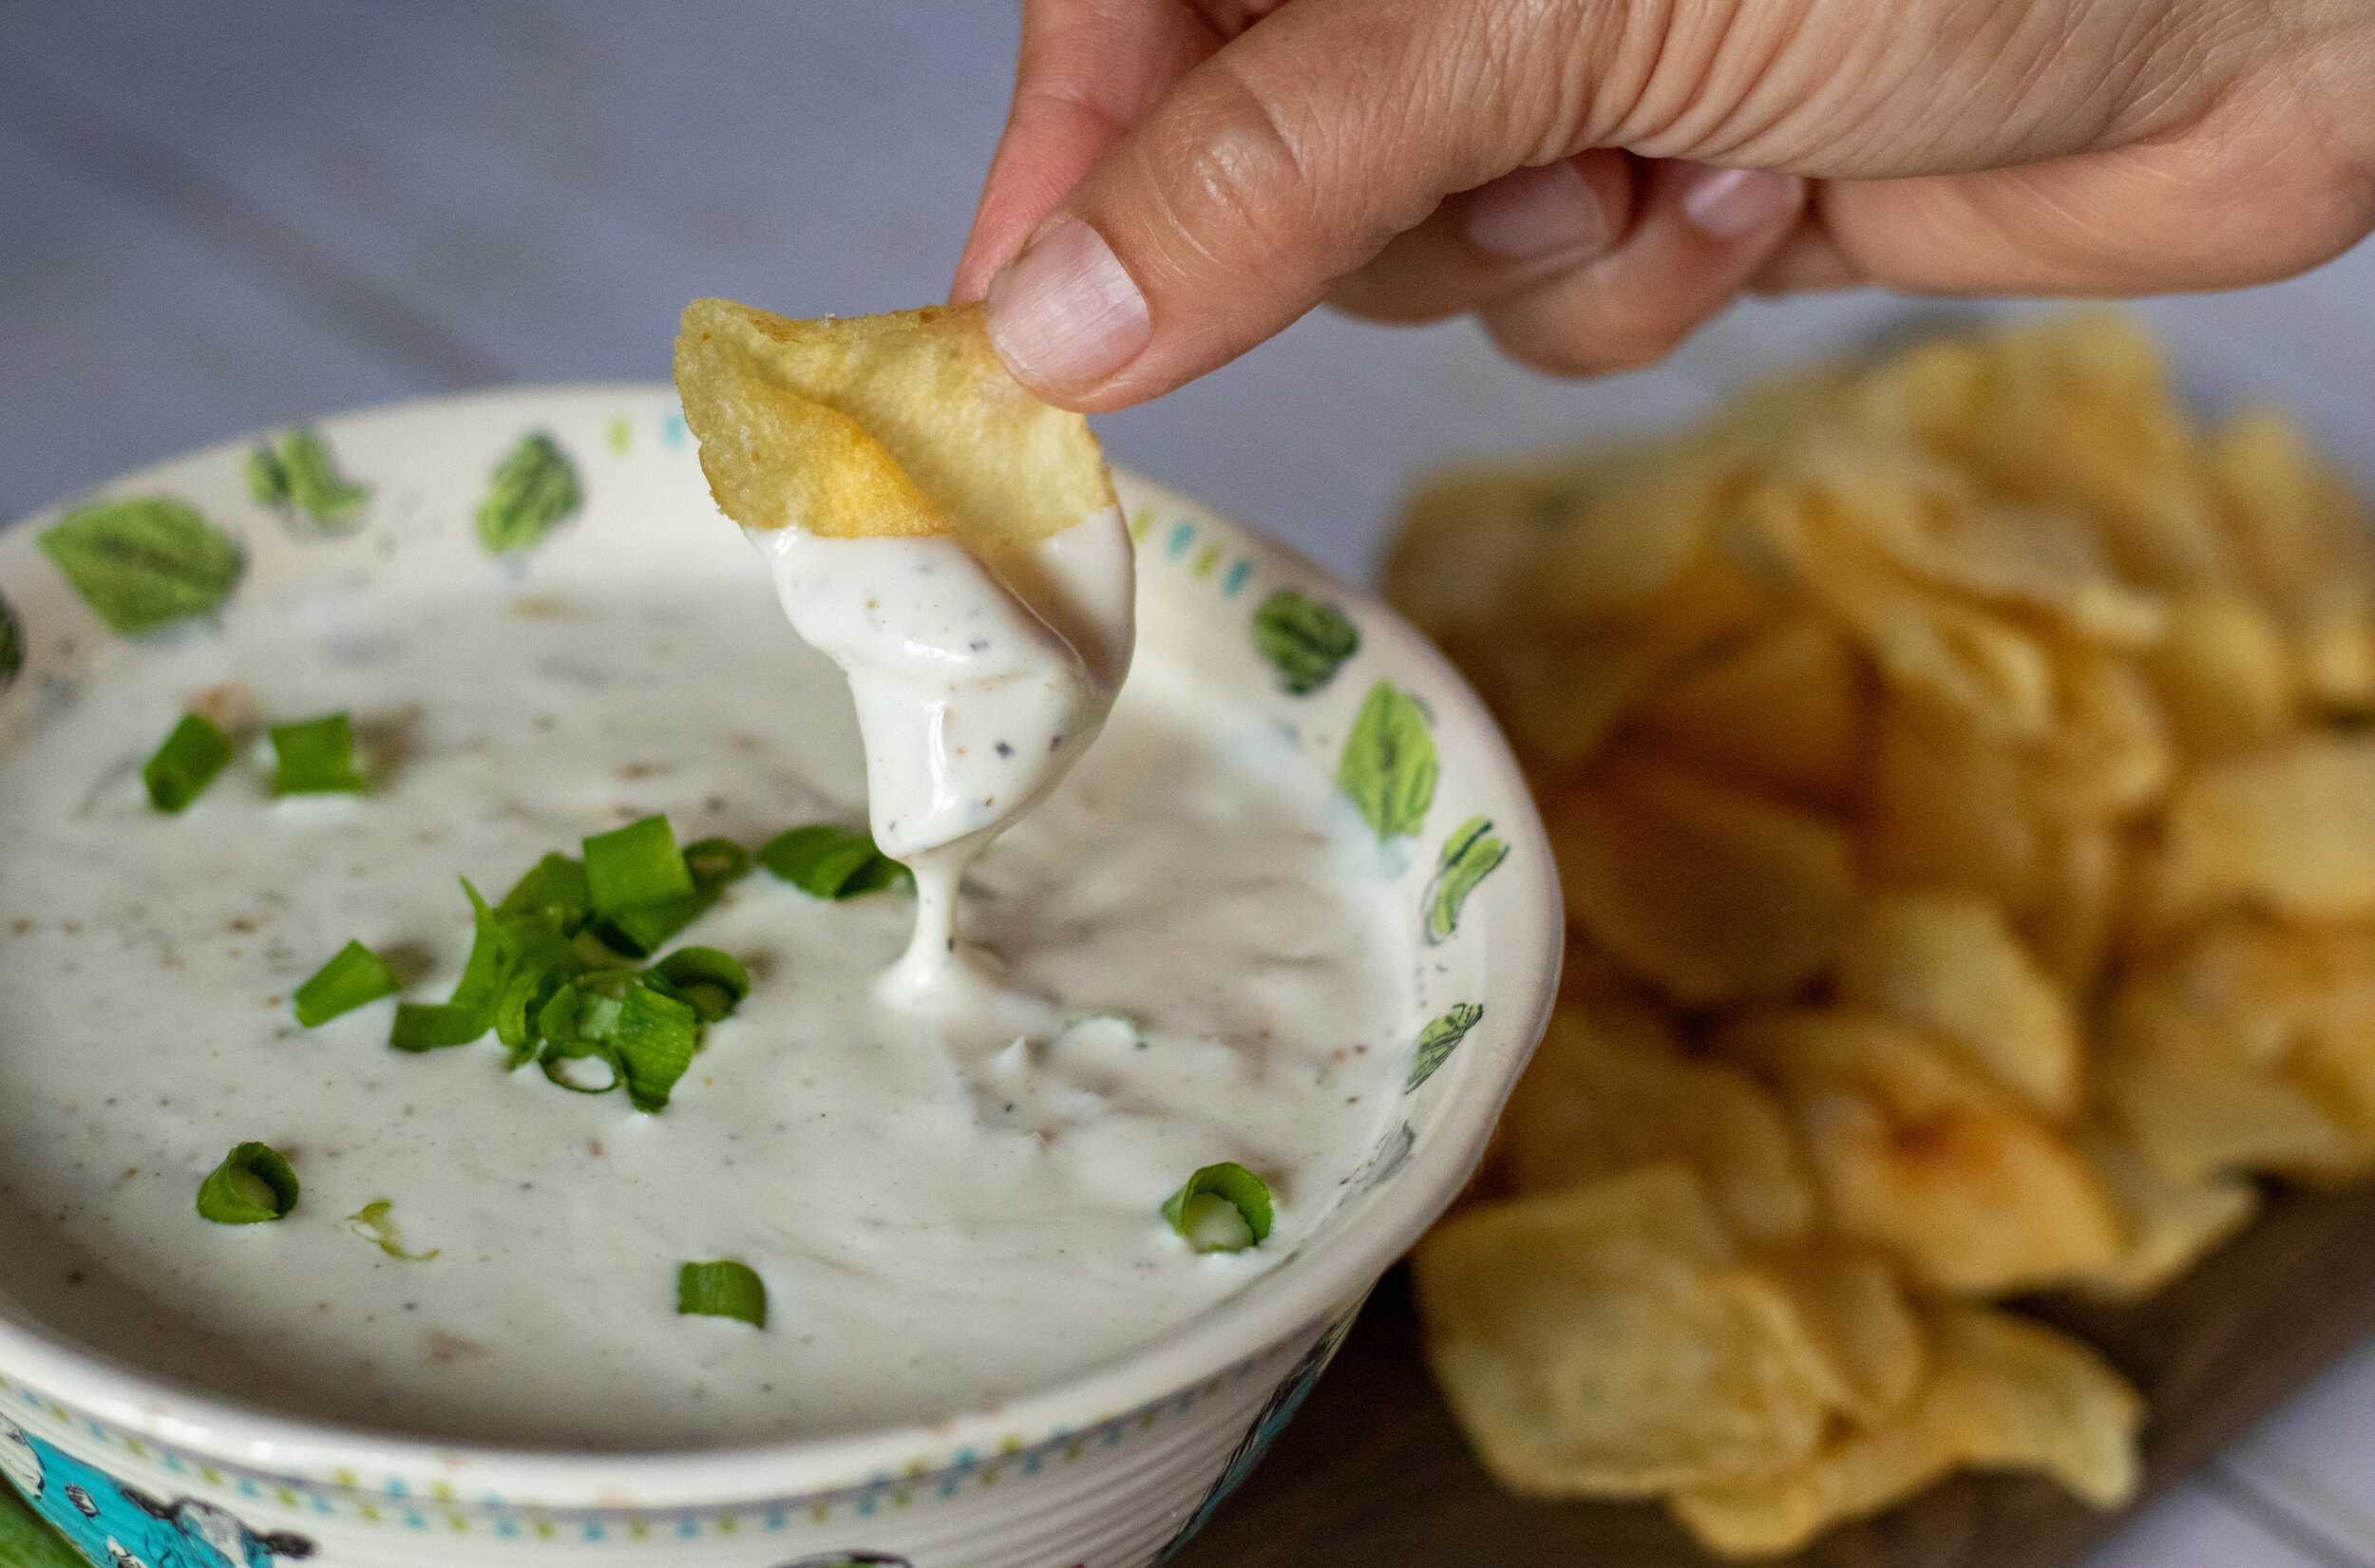
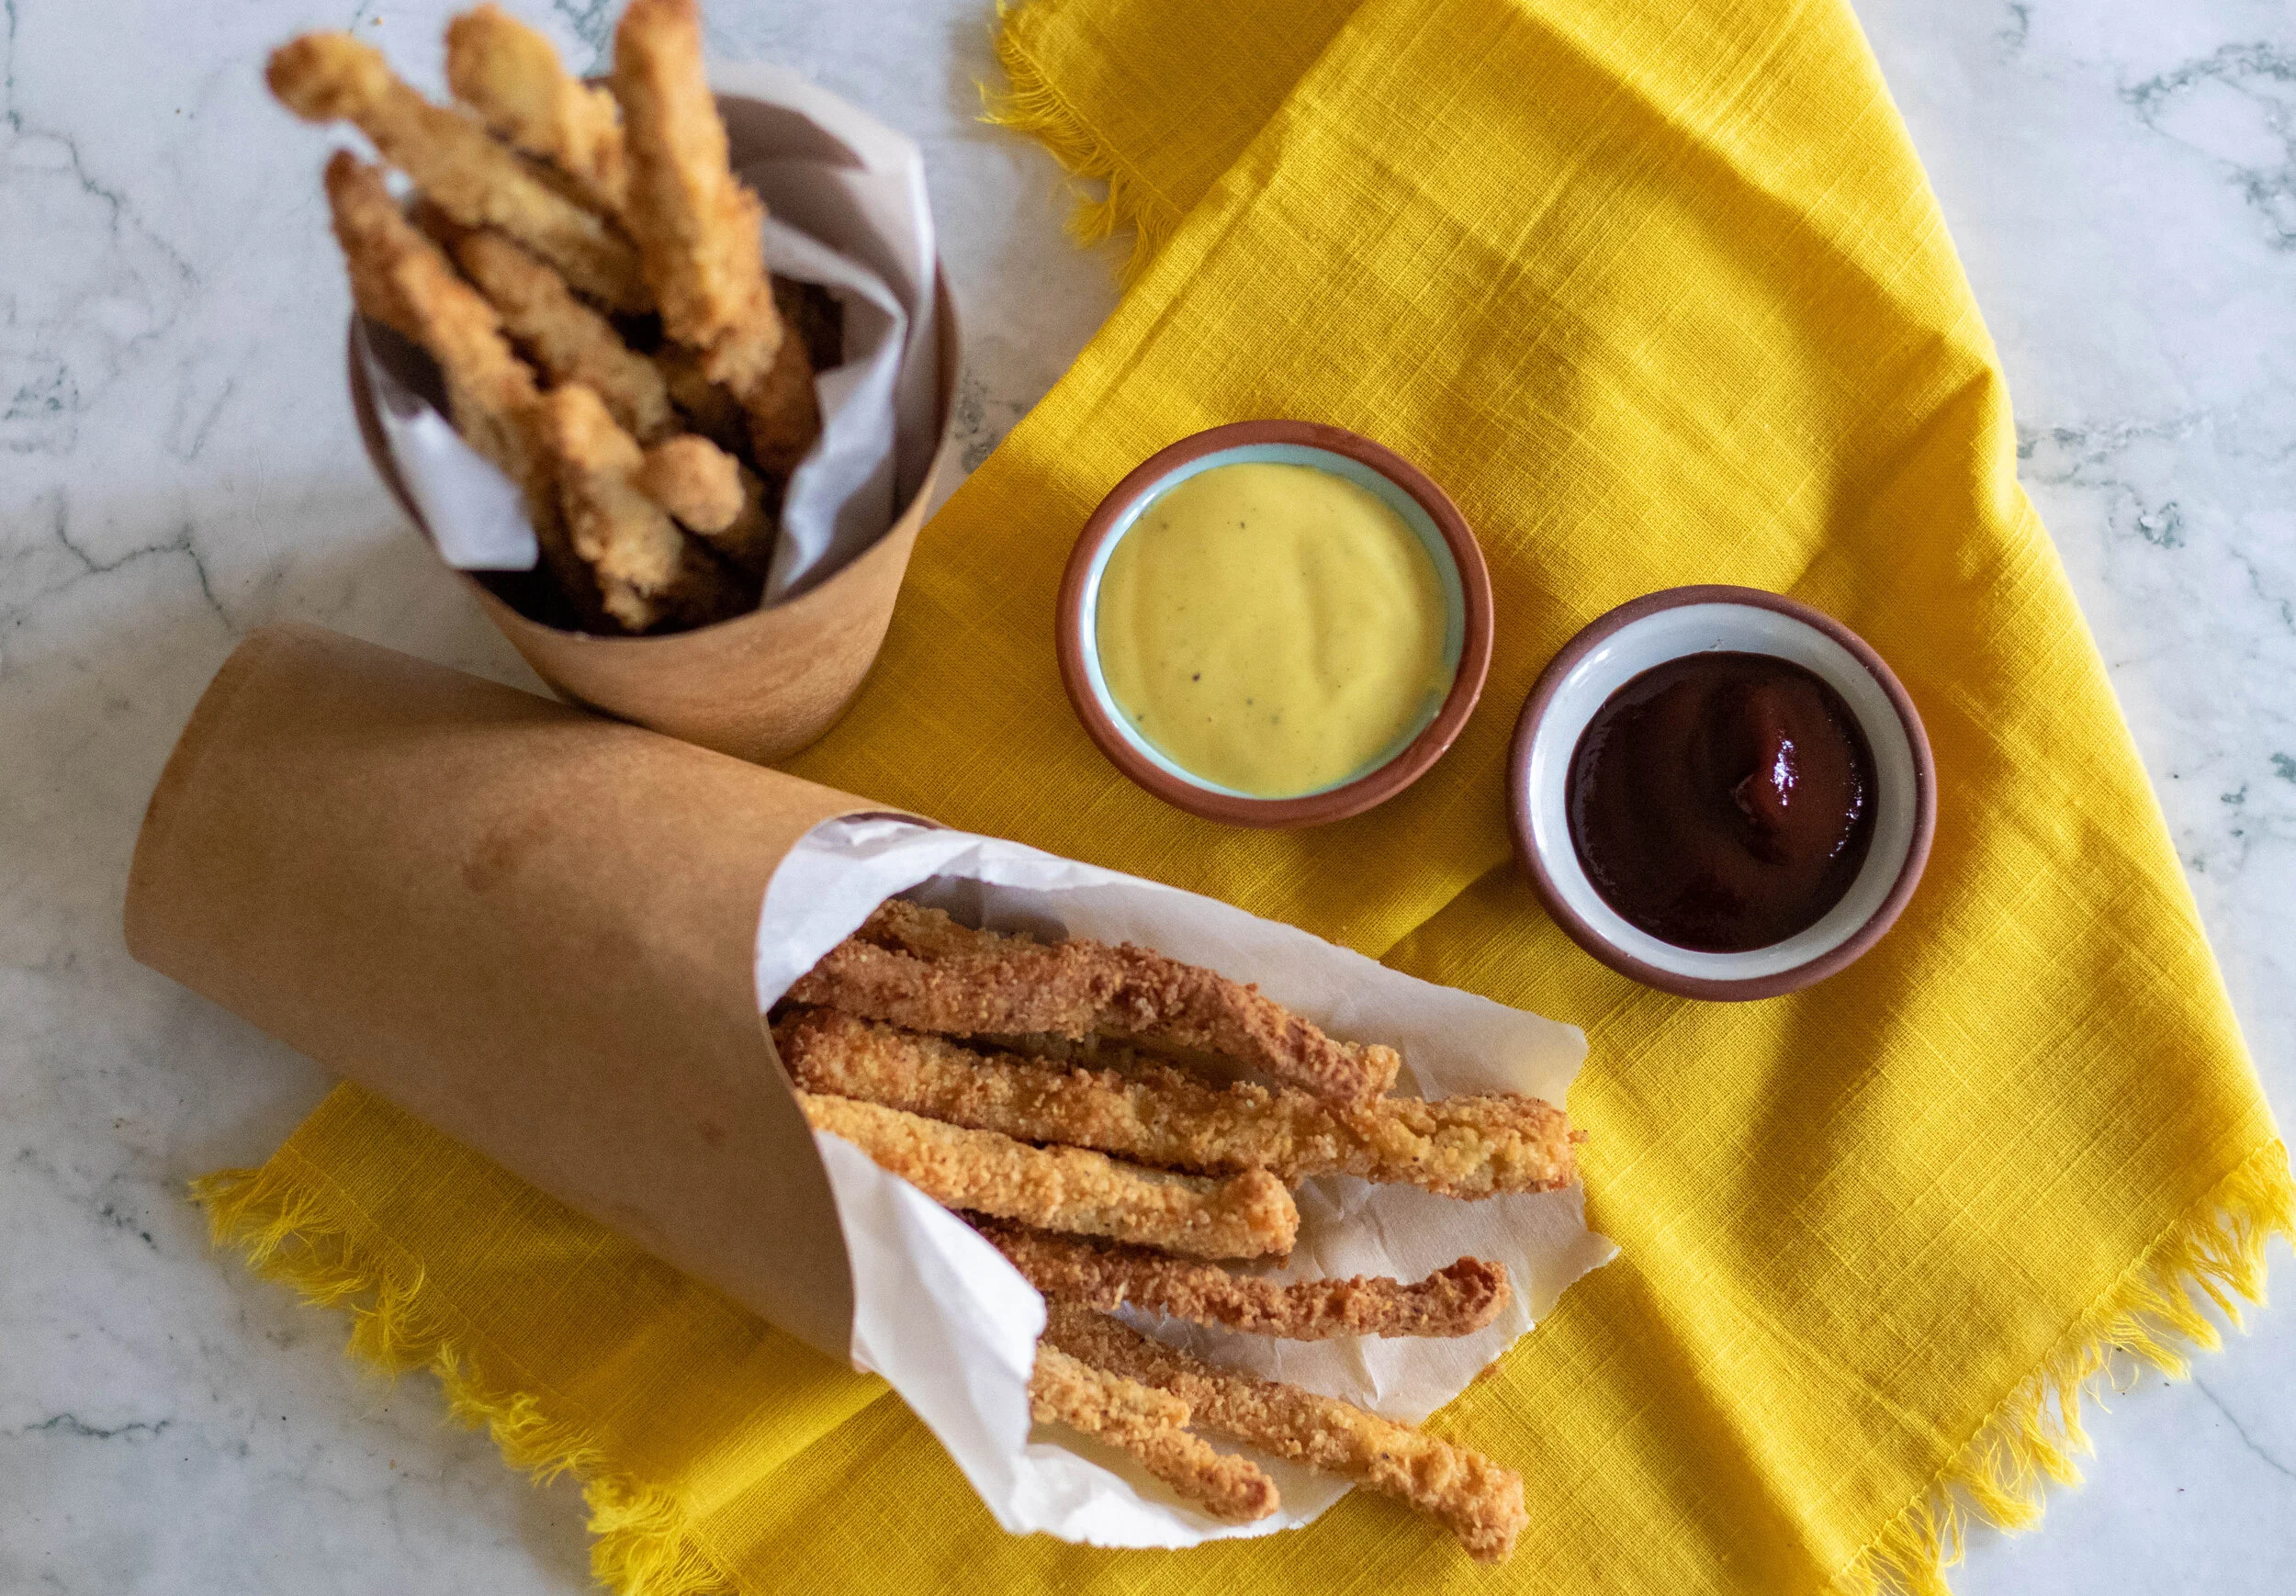
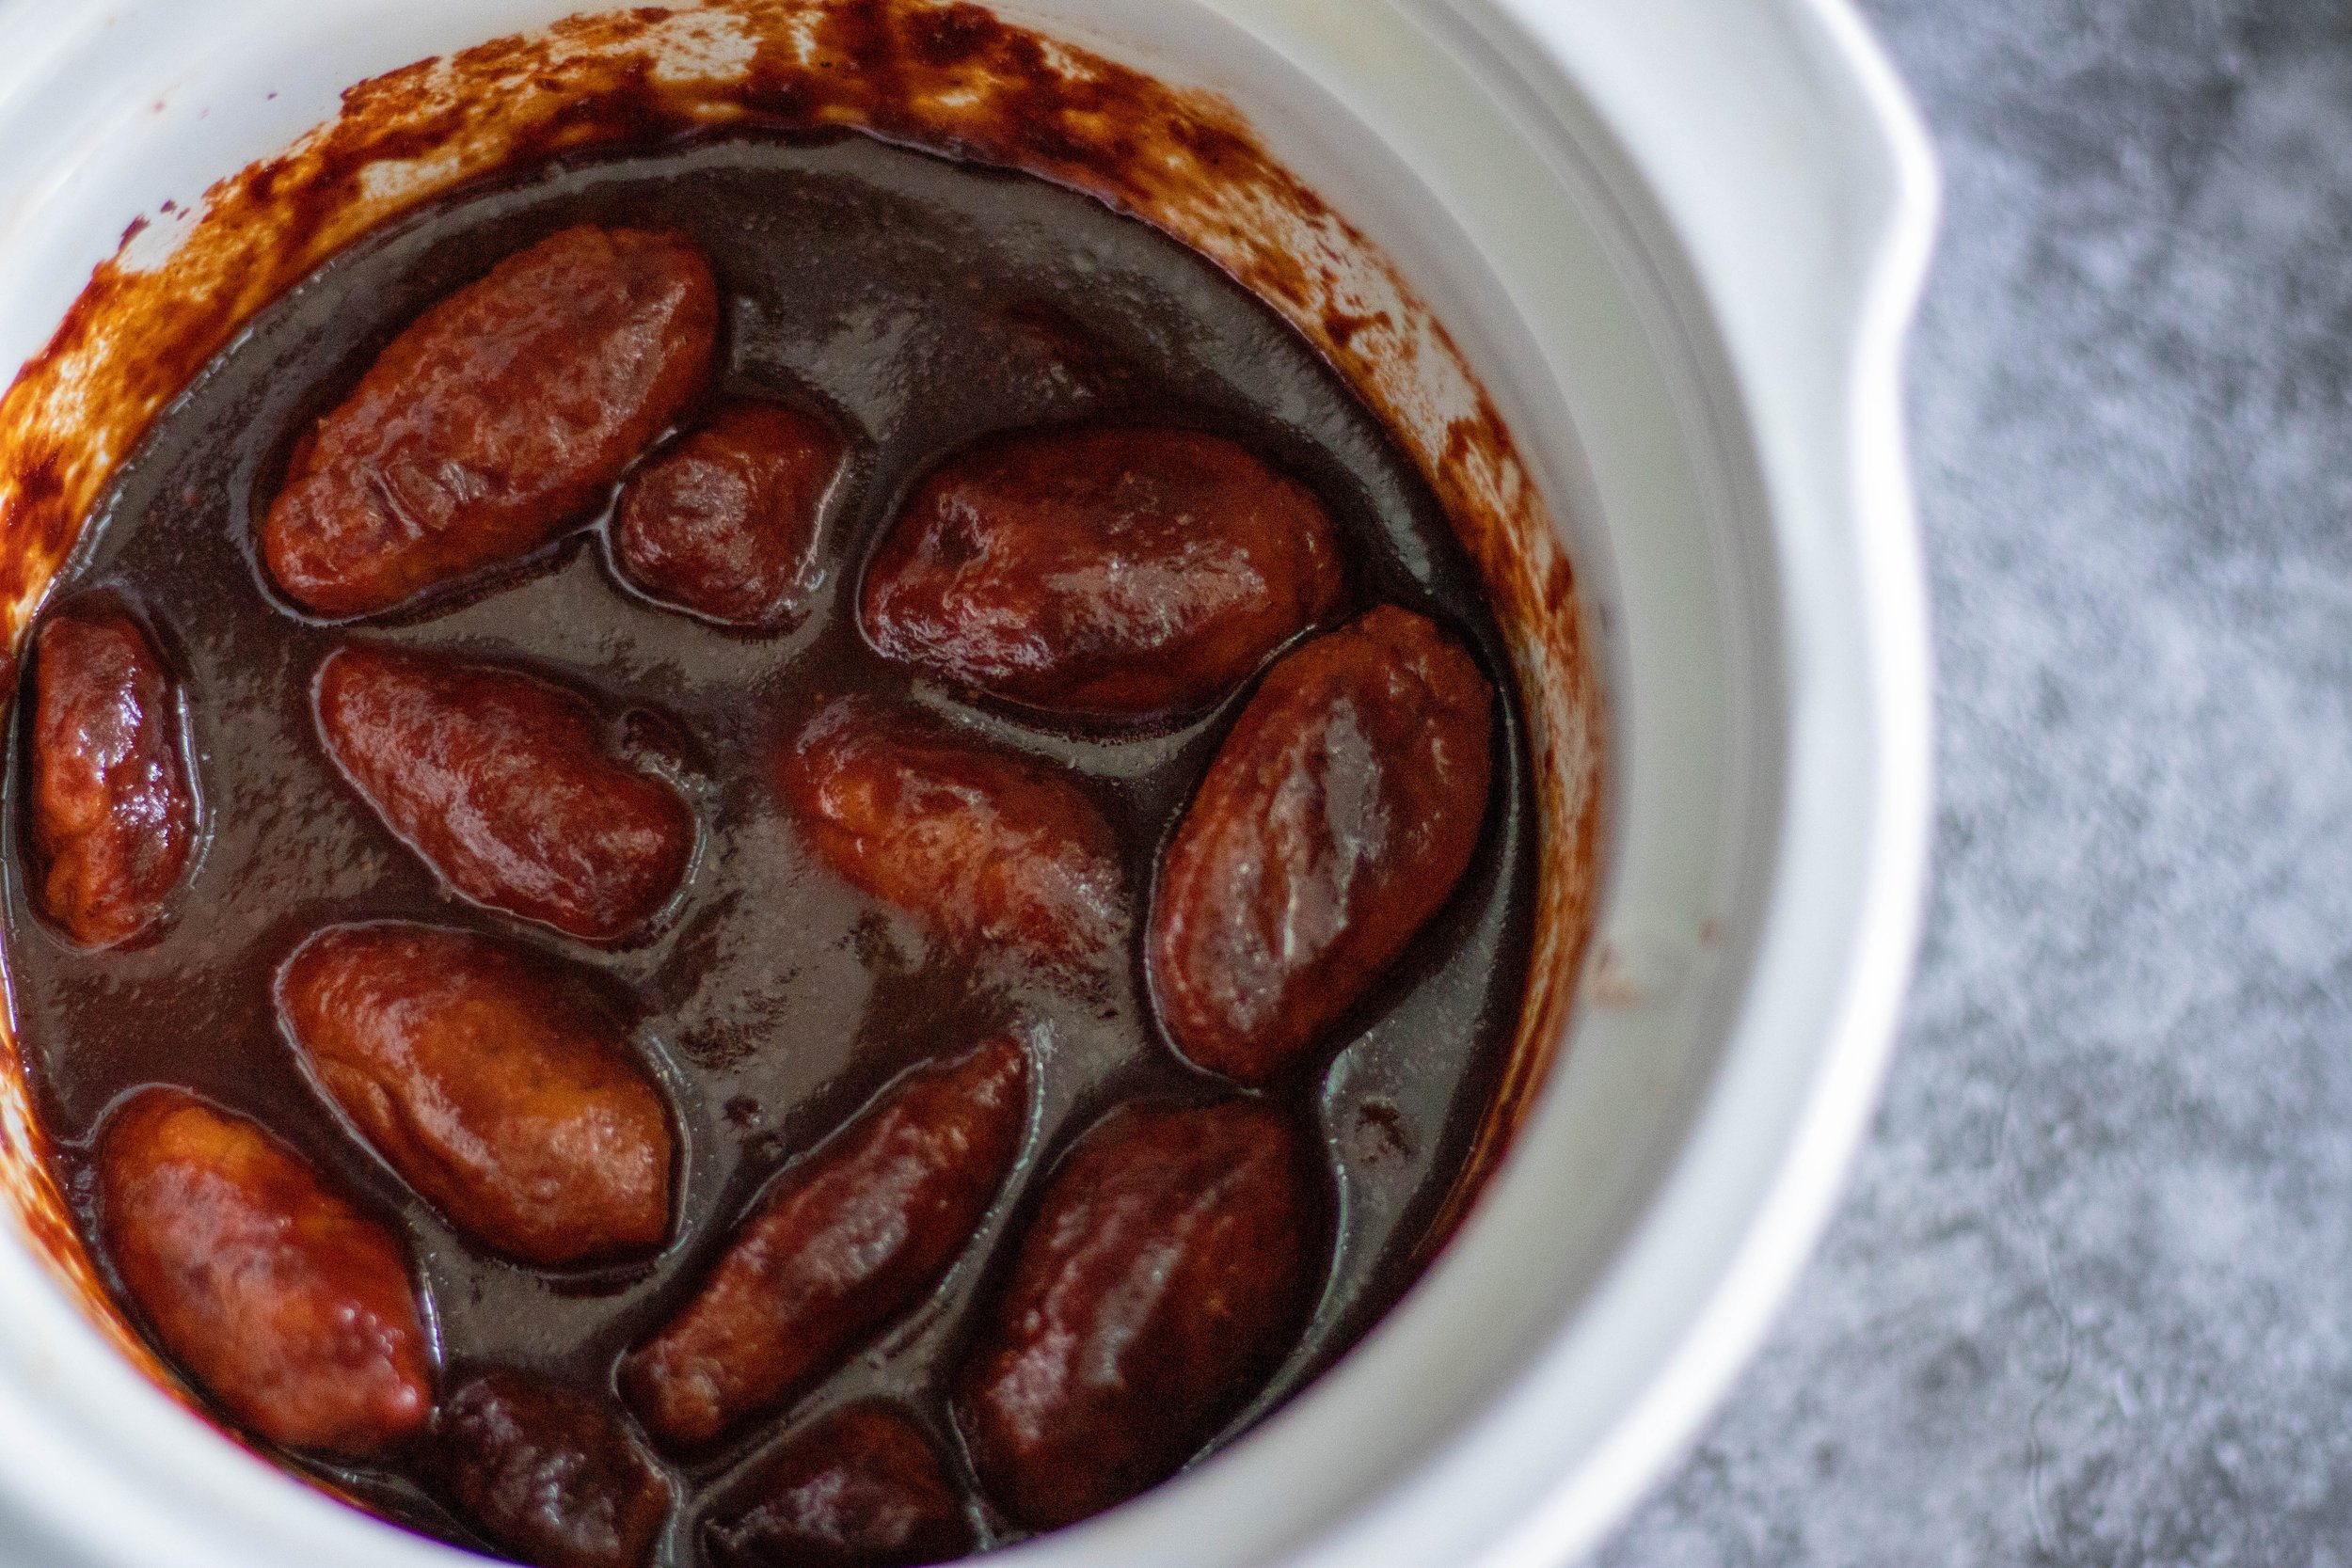
After you get the Lil links mixed up, baked, and rested, the rest is easy peasy. Mix the bbq sauce up, toss it all into a crockpot or slow cooker, and bust out the party toothpicks! Potlucks, football watching, birthday parties, BBQs, whatever the occasion, you can now enjoy the tiny BBQ Lil Smokies you used to love! What a time to be alive, y’all!
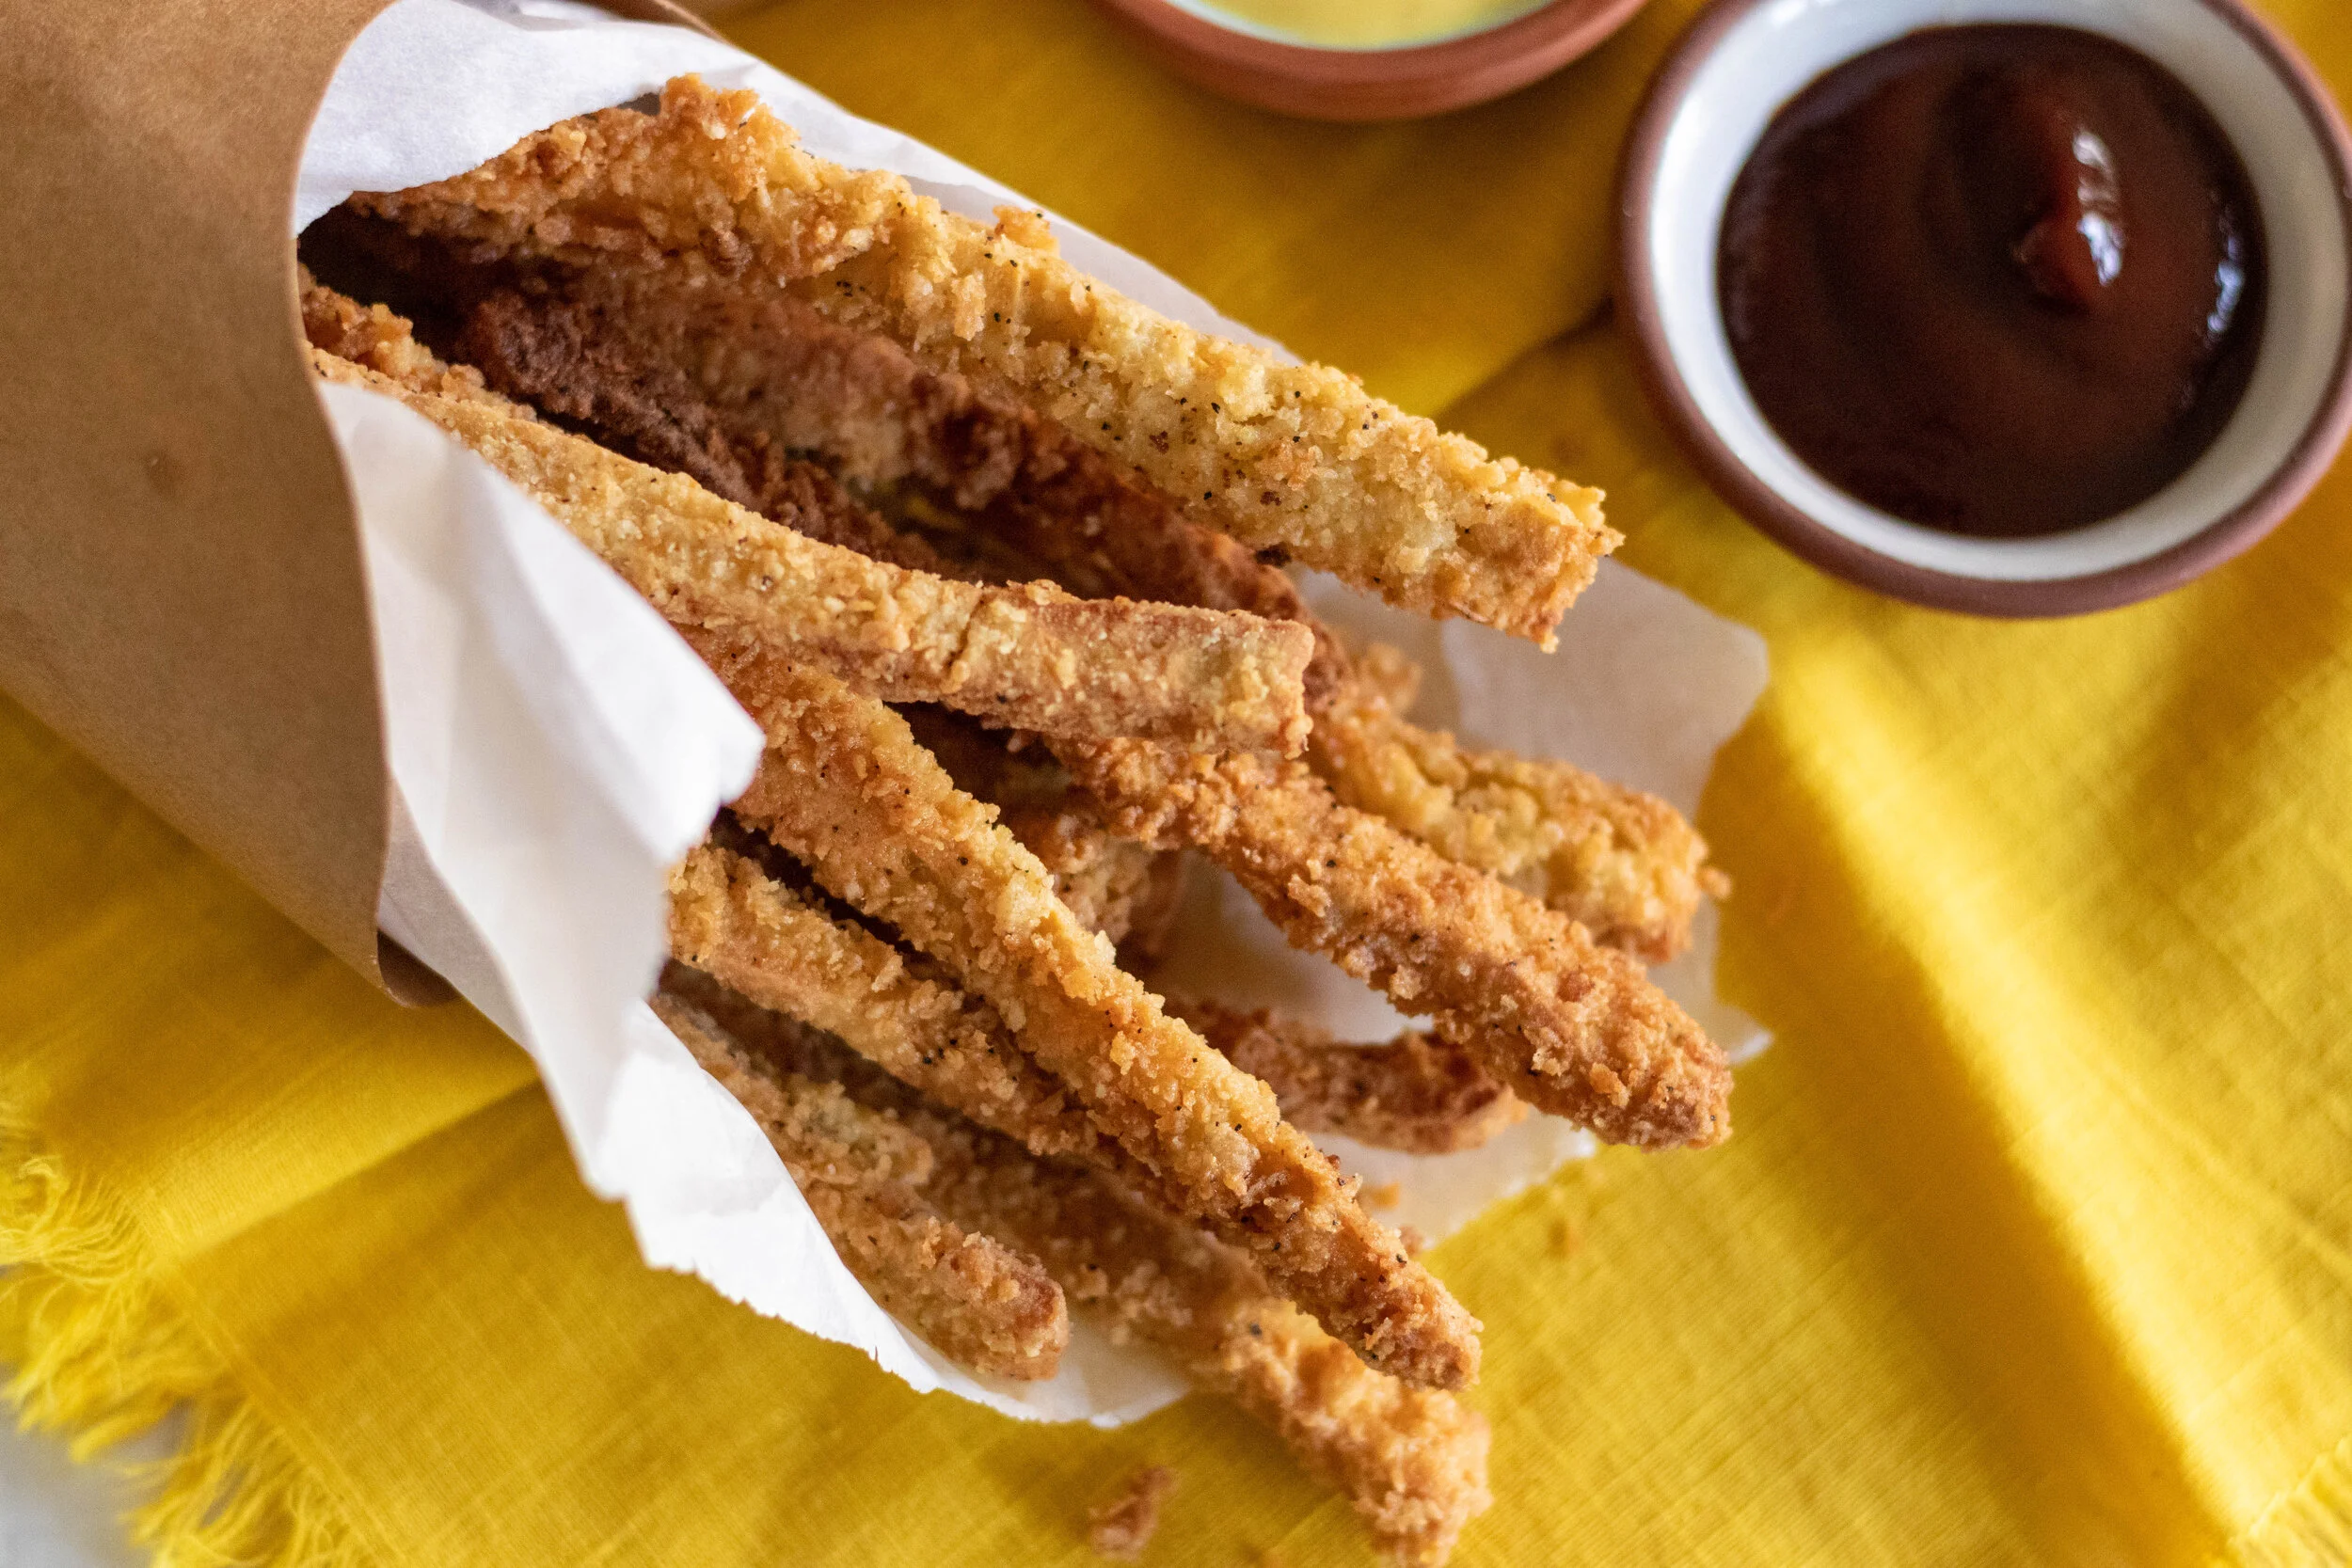
*Below is a picture of the perfect vegan Lil Smokies vs the ones that got weird. Same dough, baked on same brand of pan, same oven temp, at the same time. The ones on the left were just on a different oven rack and I did not take as much care forming them. Truly they seemed to just have baked hotter on that rack causing them to bake faster and the bottoms to brown. This tells me my bottom oven coil must cook hotter than my top and my oven in fact. ( not surprised) does not bake evenly. I added both to the sauce and you could not tell the difference once it did. So if yours come out looking weird, the should still taste good!
INGREDIENTS:
For the Vegan Lil Smokies:
16 oz package of super firm tofu, the kind that is vacuum sealed in little water
1 and 1/2 cups vital wheat gluten
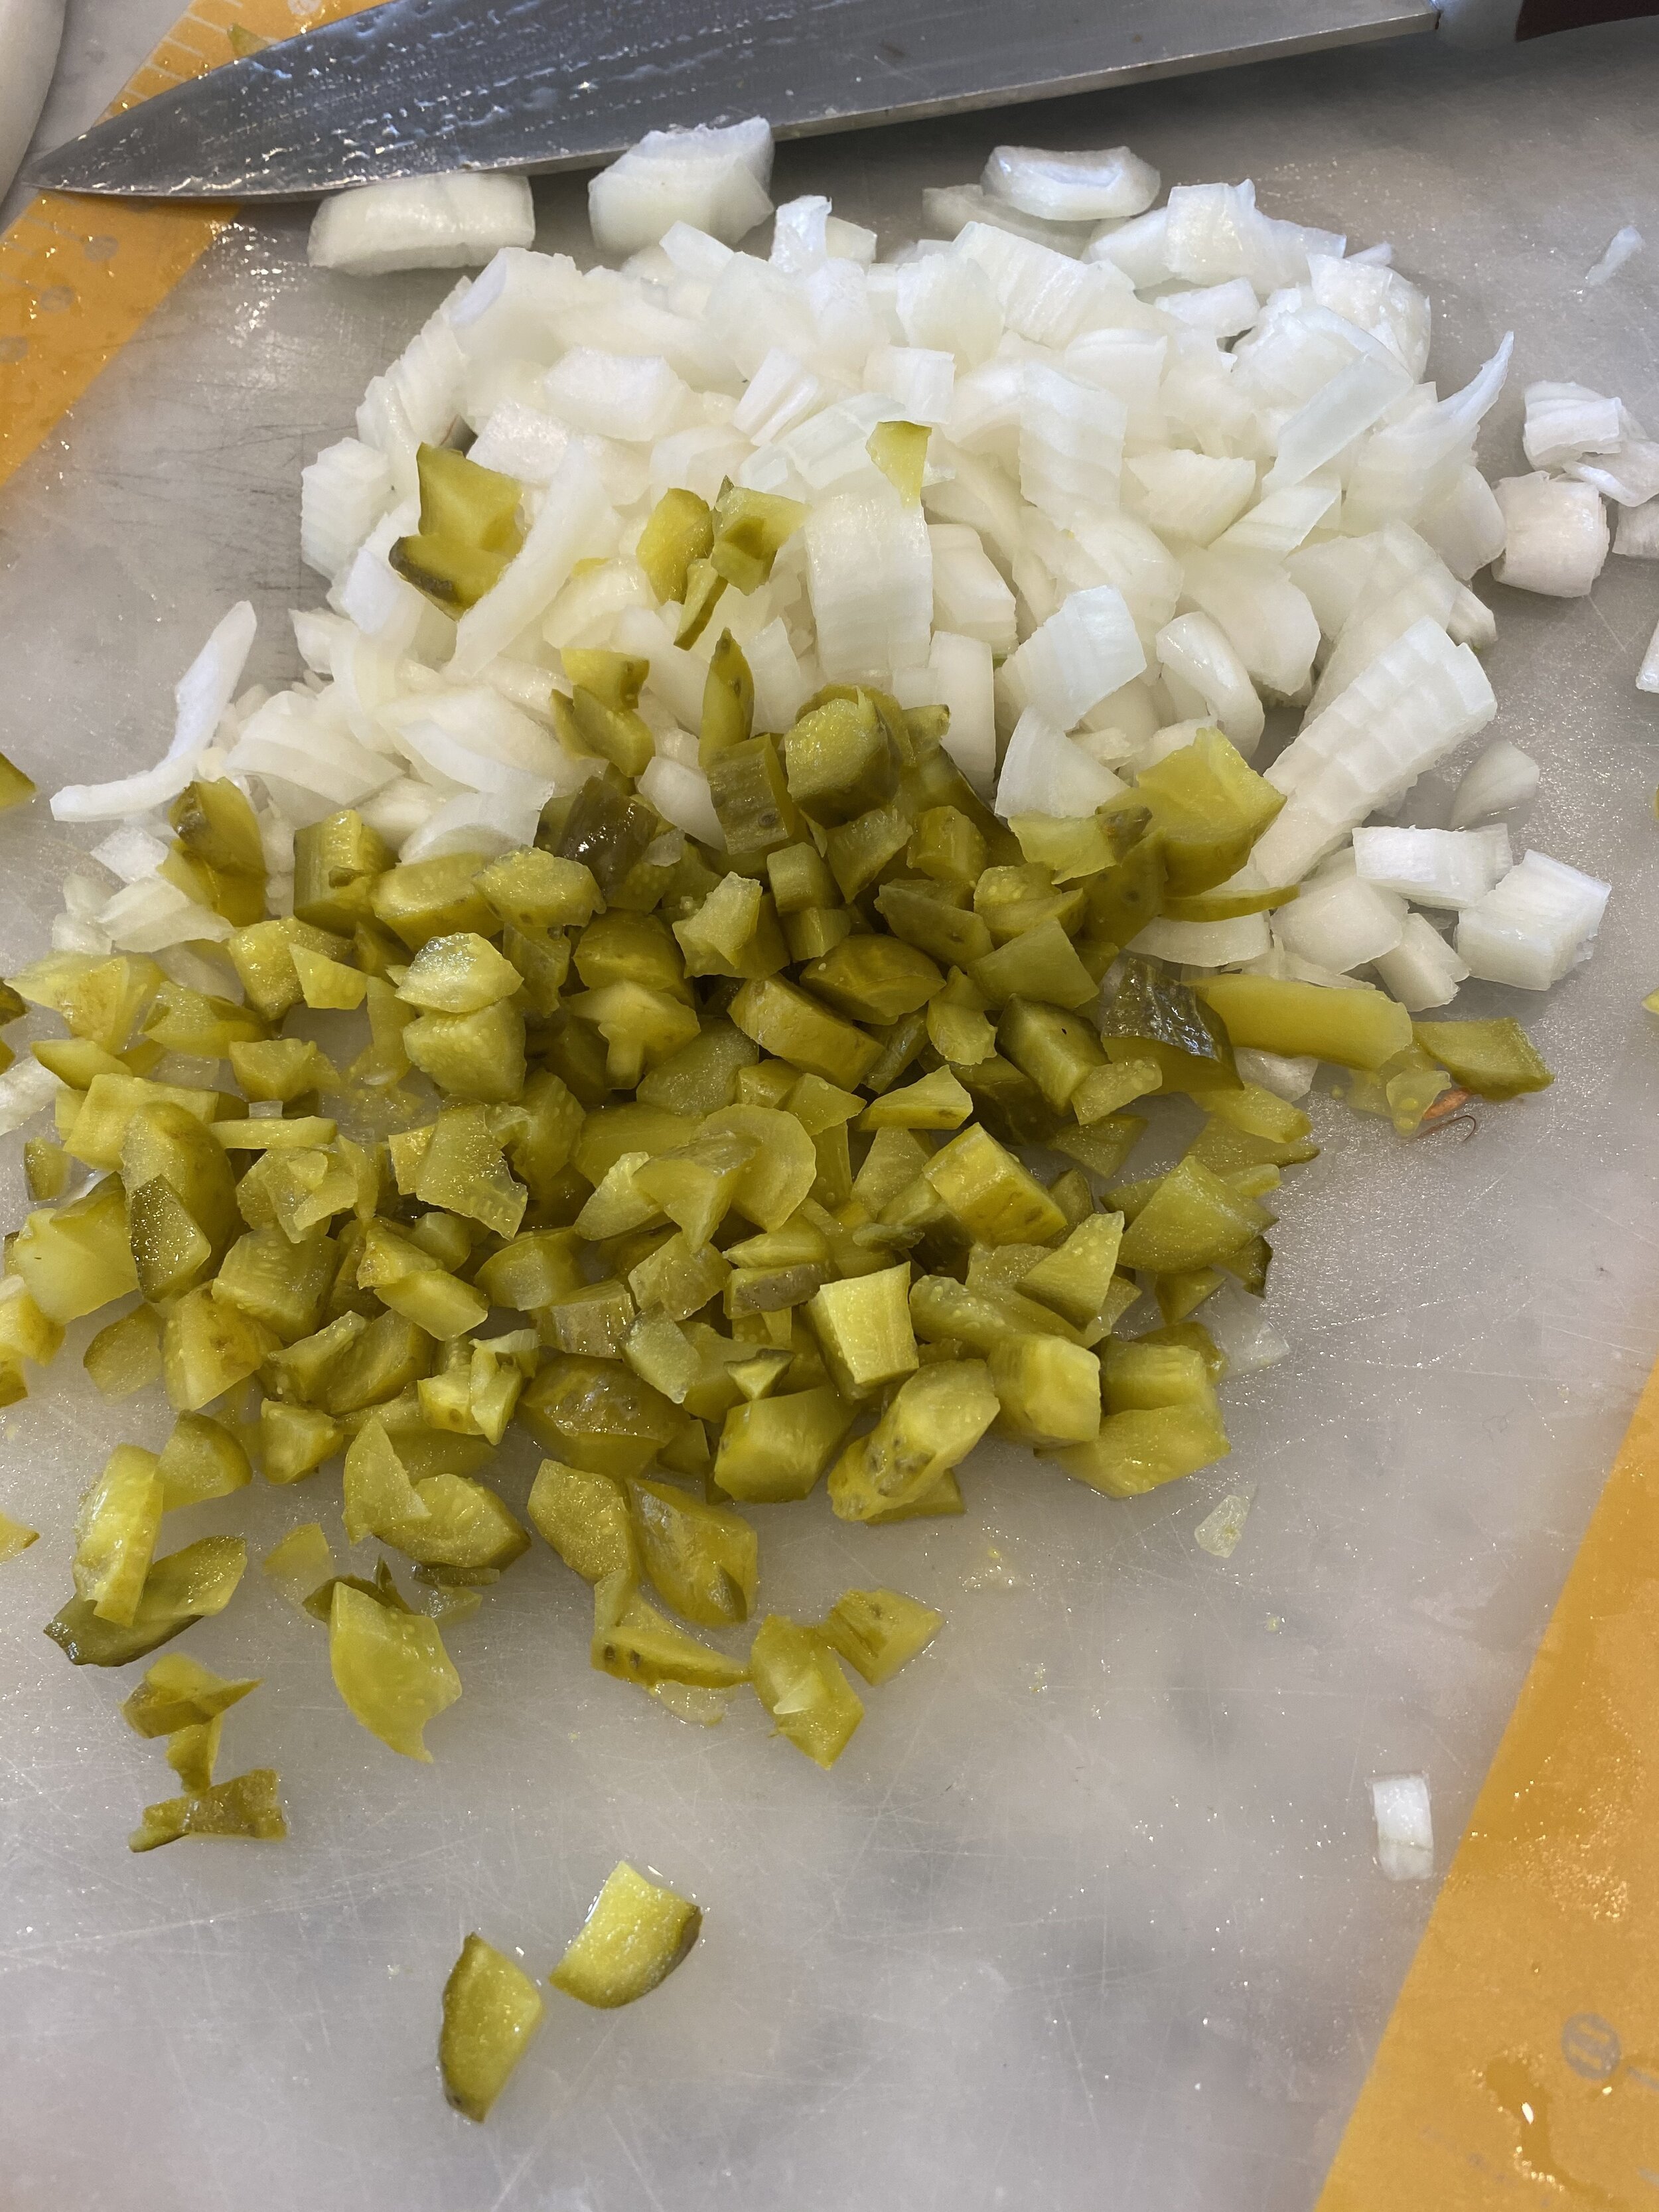
1/3 cup yellow onion
1/4 cup sauerkraut (just the cabbage, not the juice)
1/4 cup nutritional yeast
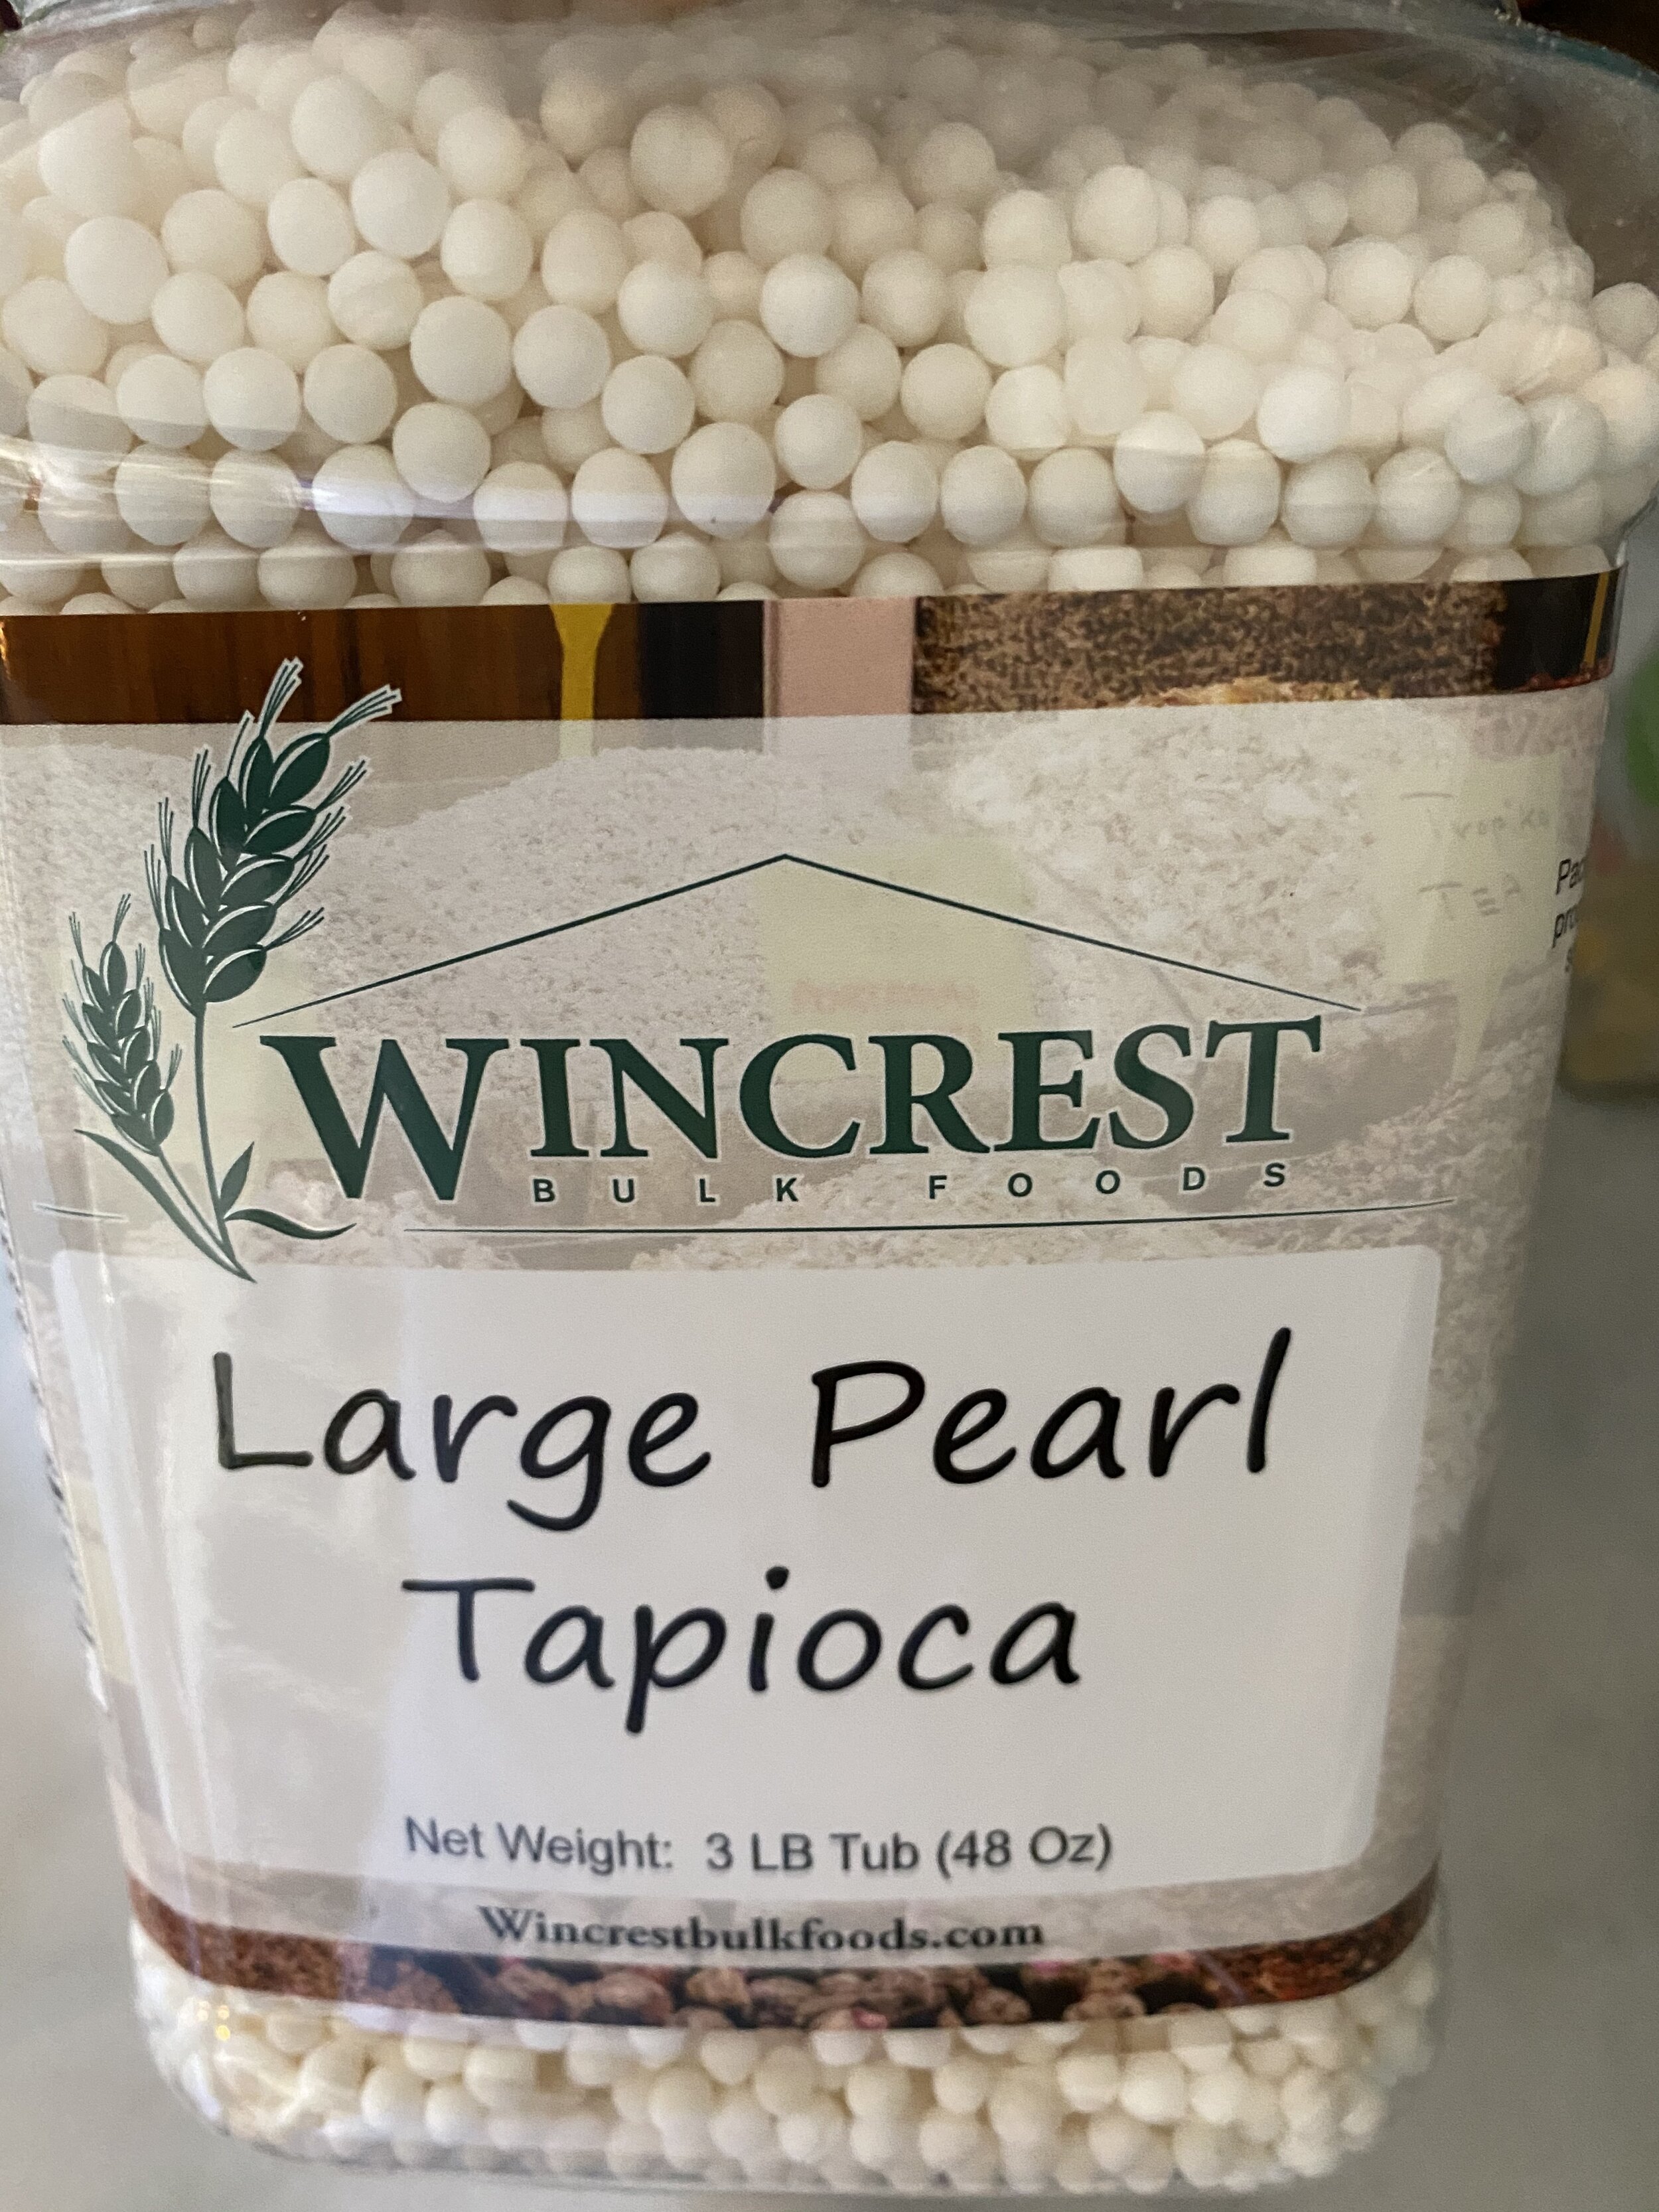
2 tablespoons tapioca or corn starch
3 tablespoons ketchup or tomato sauce
2 tablespoons neutral flavored oil
1 tablespoonNo Beef Better Than Bouillon, or vegan beef bouillon powder
2 teaspoons liquid smoke
1 teaspoons ground coriander
1 teaspoon dried mustard
1 teaspoon paprika
1-2 teaspoon garlic powder
2 teaspoons onion powder
1 1/2 teaspoons sugar
1 teaspoon salt
1/2 teaspoon black pepper
a few tablespoons water if needed
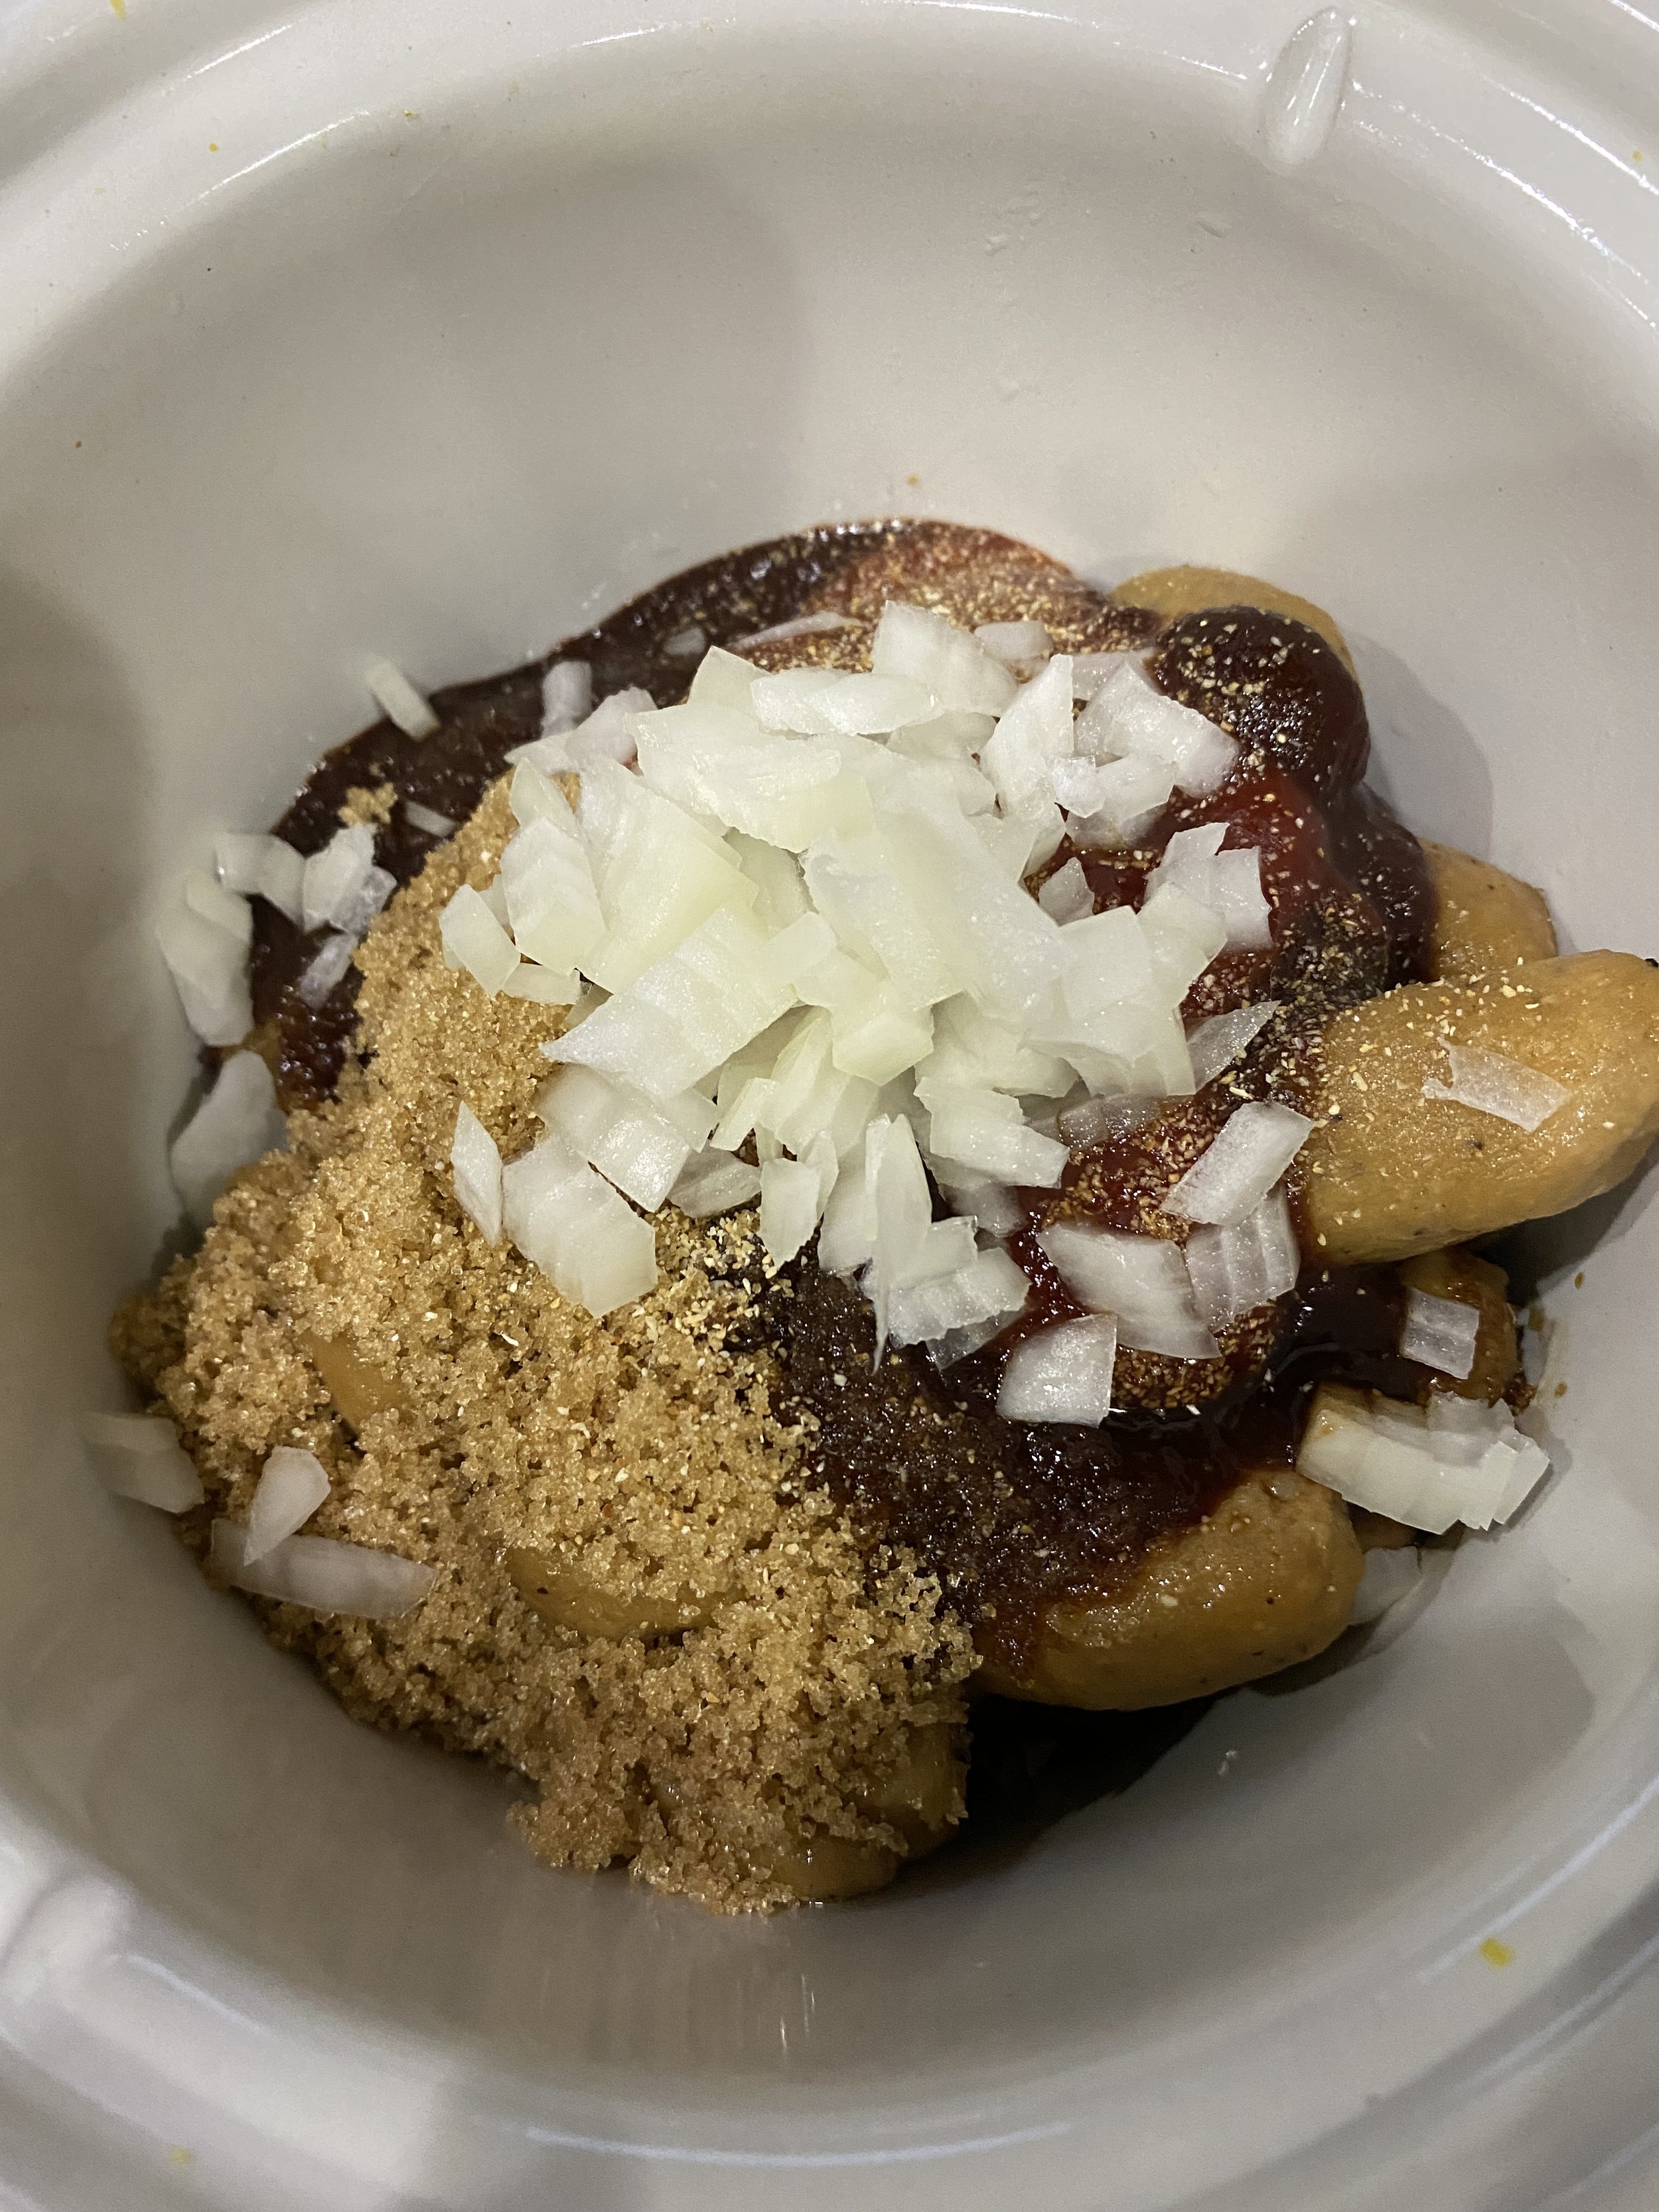
For the Sauce:
1 bottle any bbq sauce you like
1 cup brown sugar
1/2 small onion finely diced
1 tablespoon soy sauce
1/4 cup ketchup
1 teaspoon garlic powder
(You can easily half this recipe and use half a batch of the Vegan Lil Smokies)

INSTRUCTIONS:
Preheat oven to 350 degrees
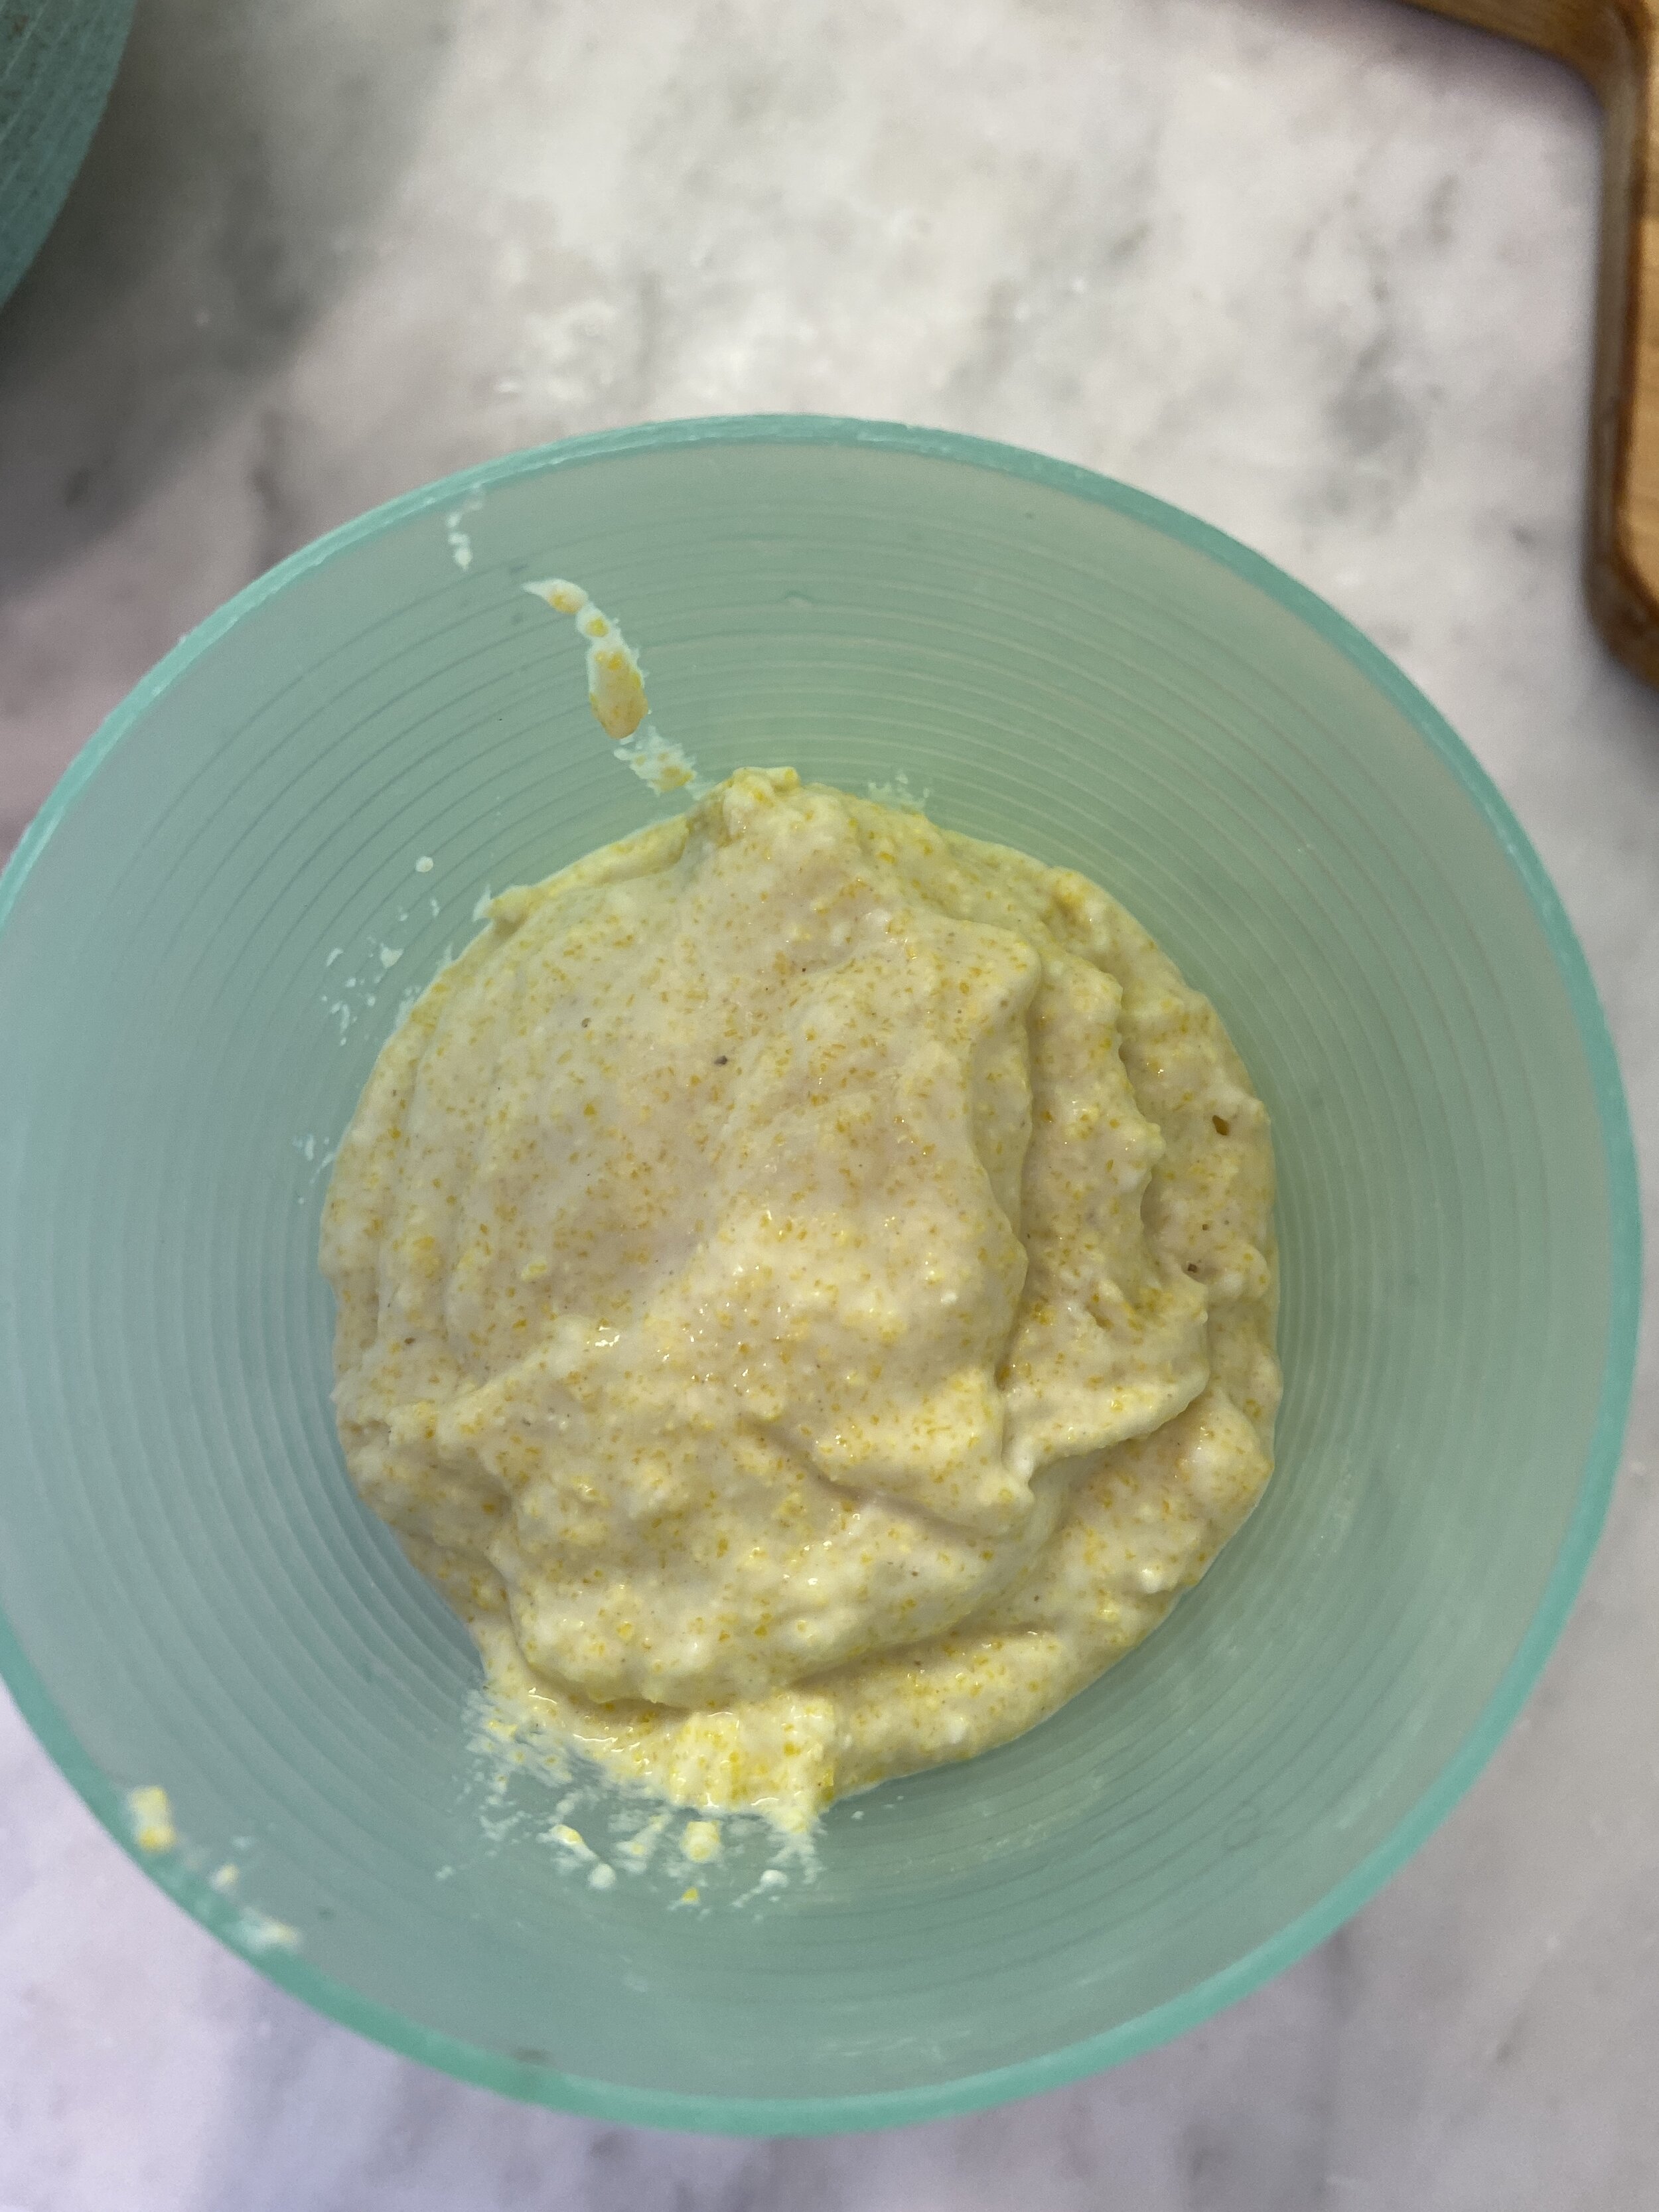
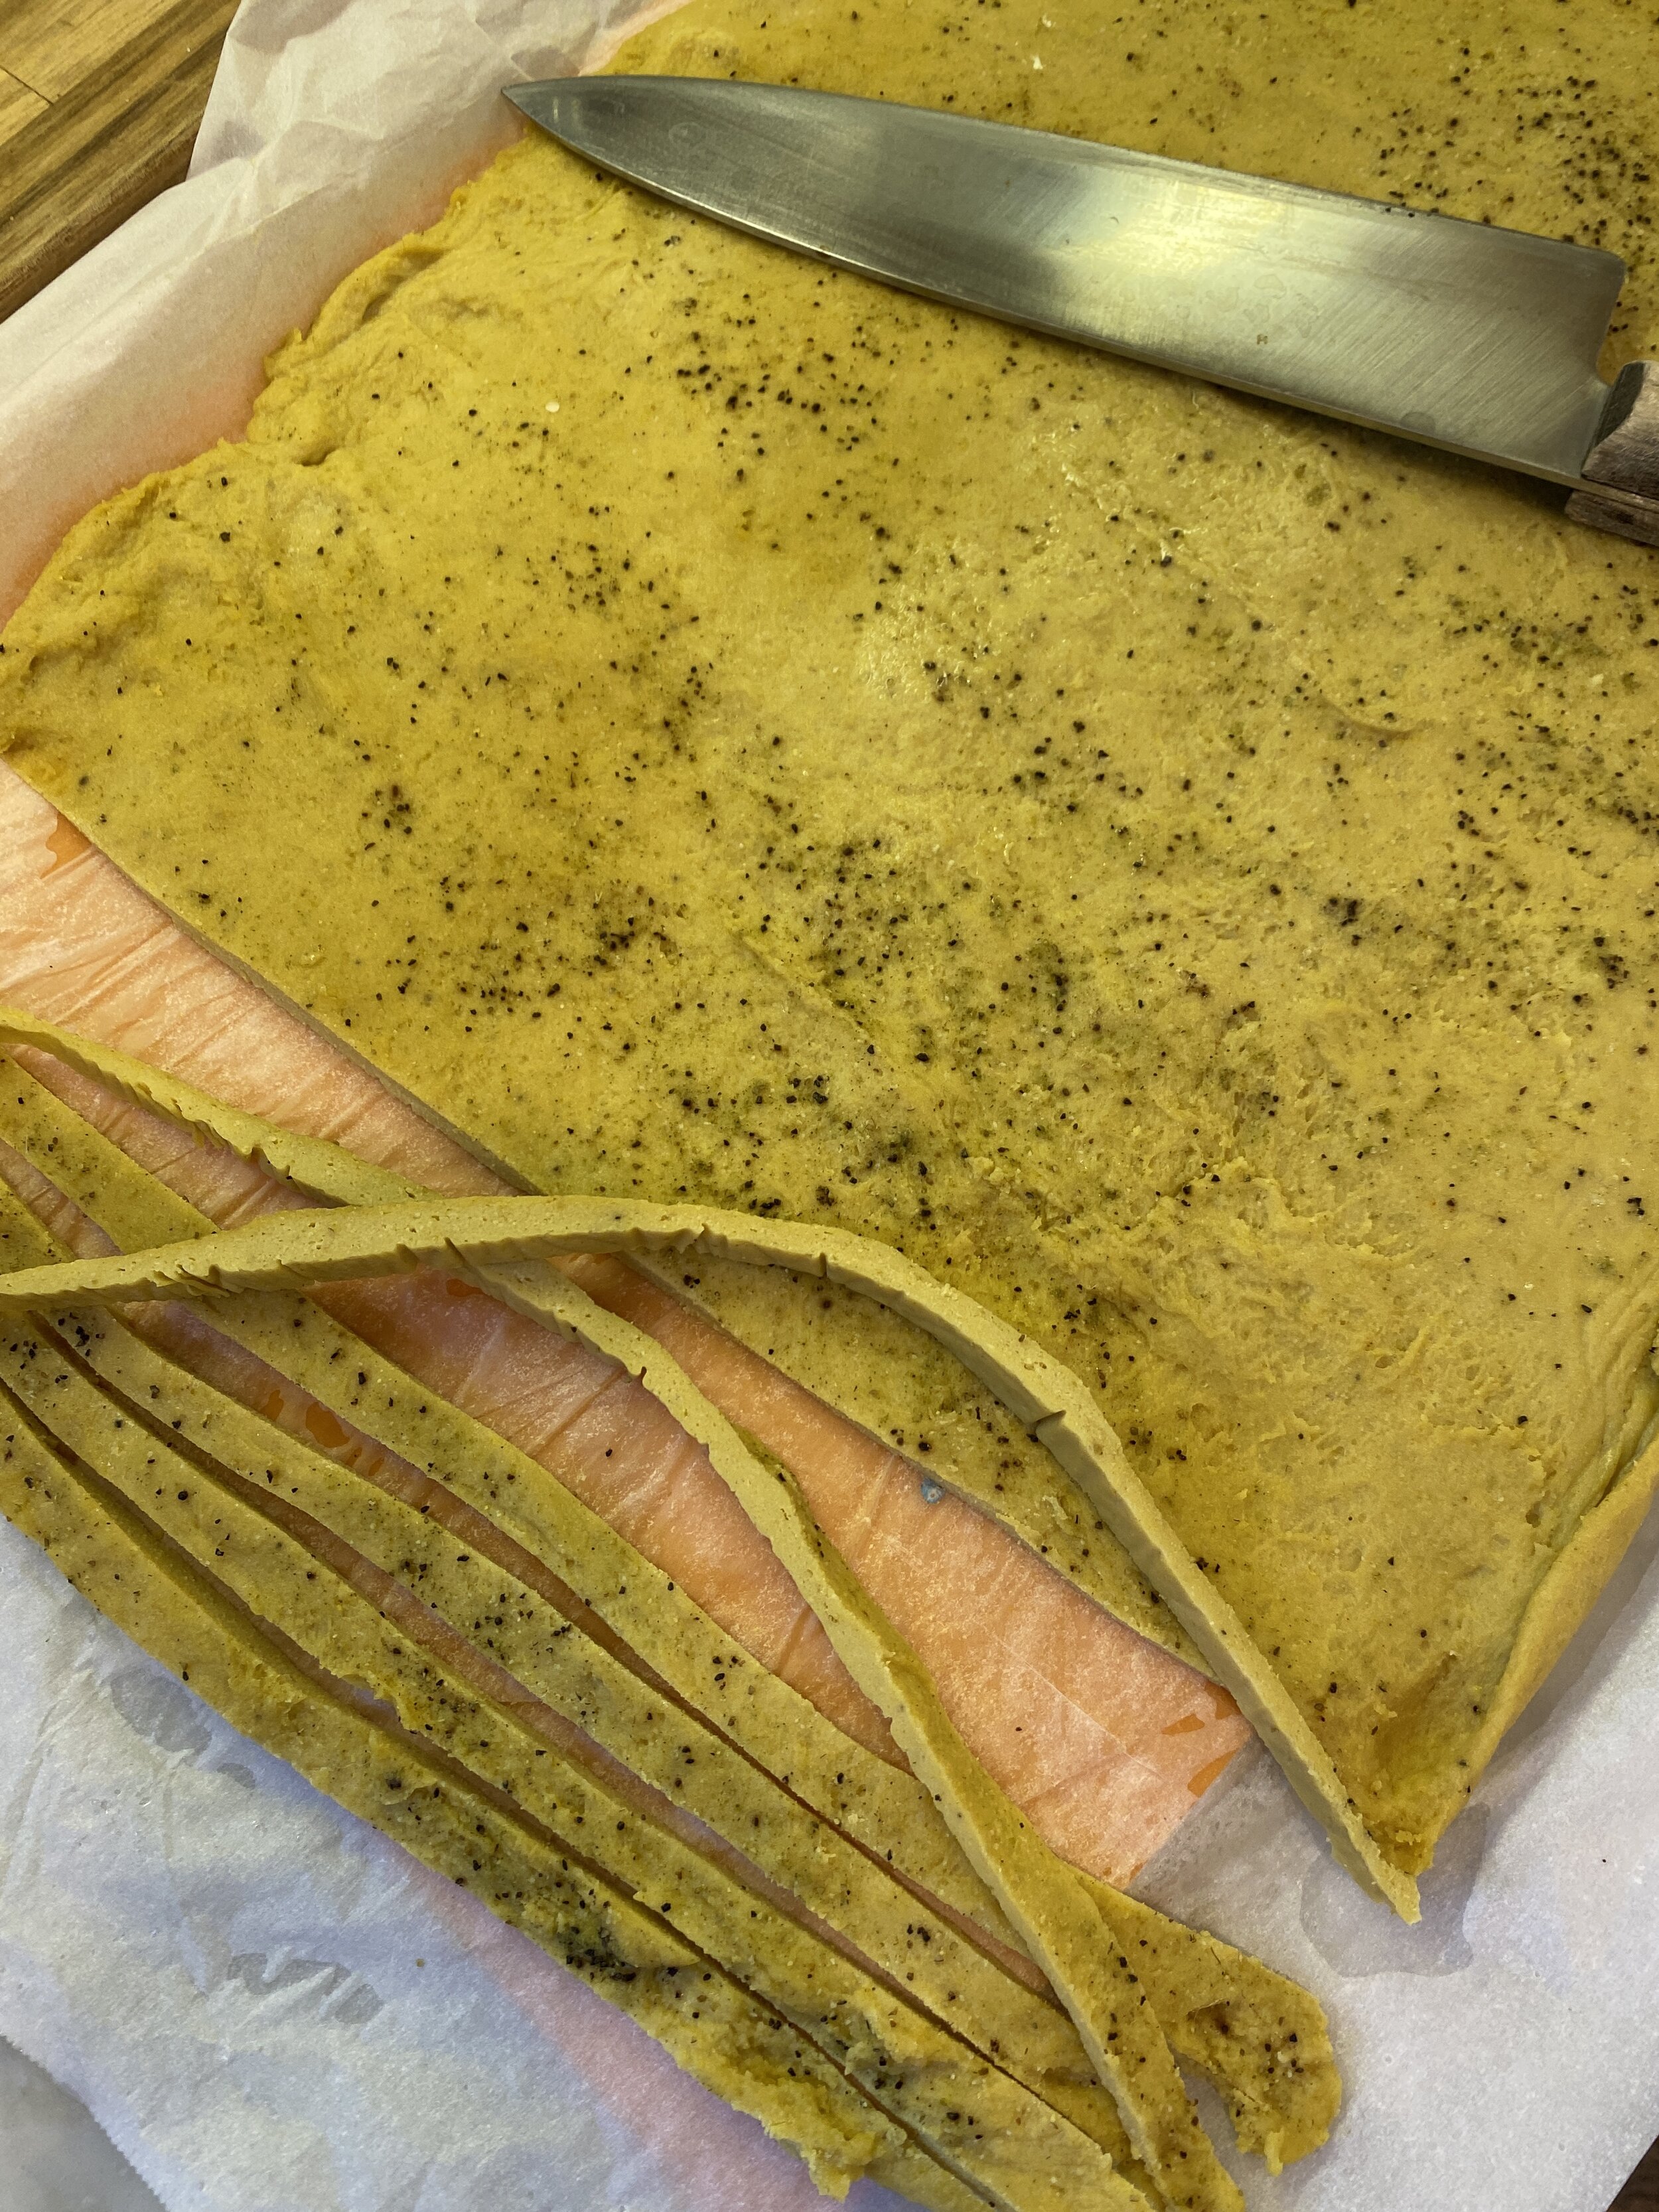
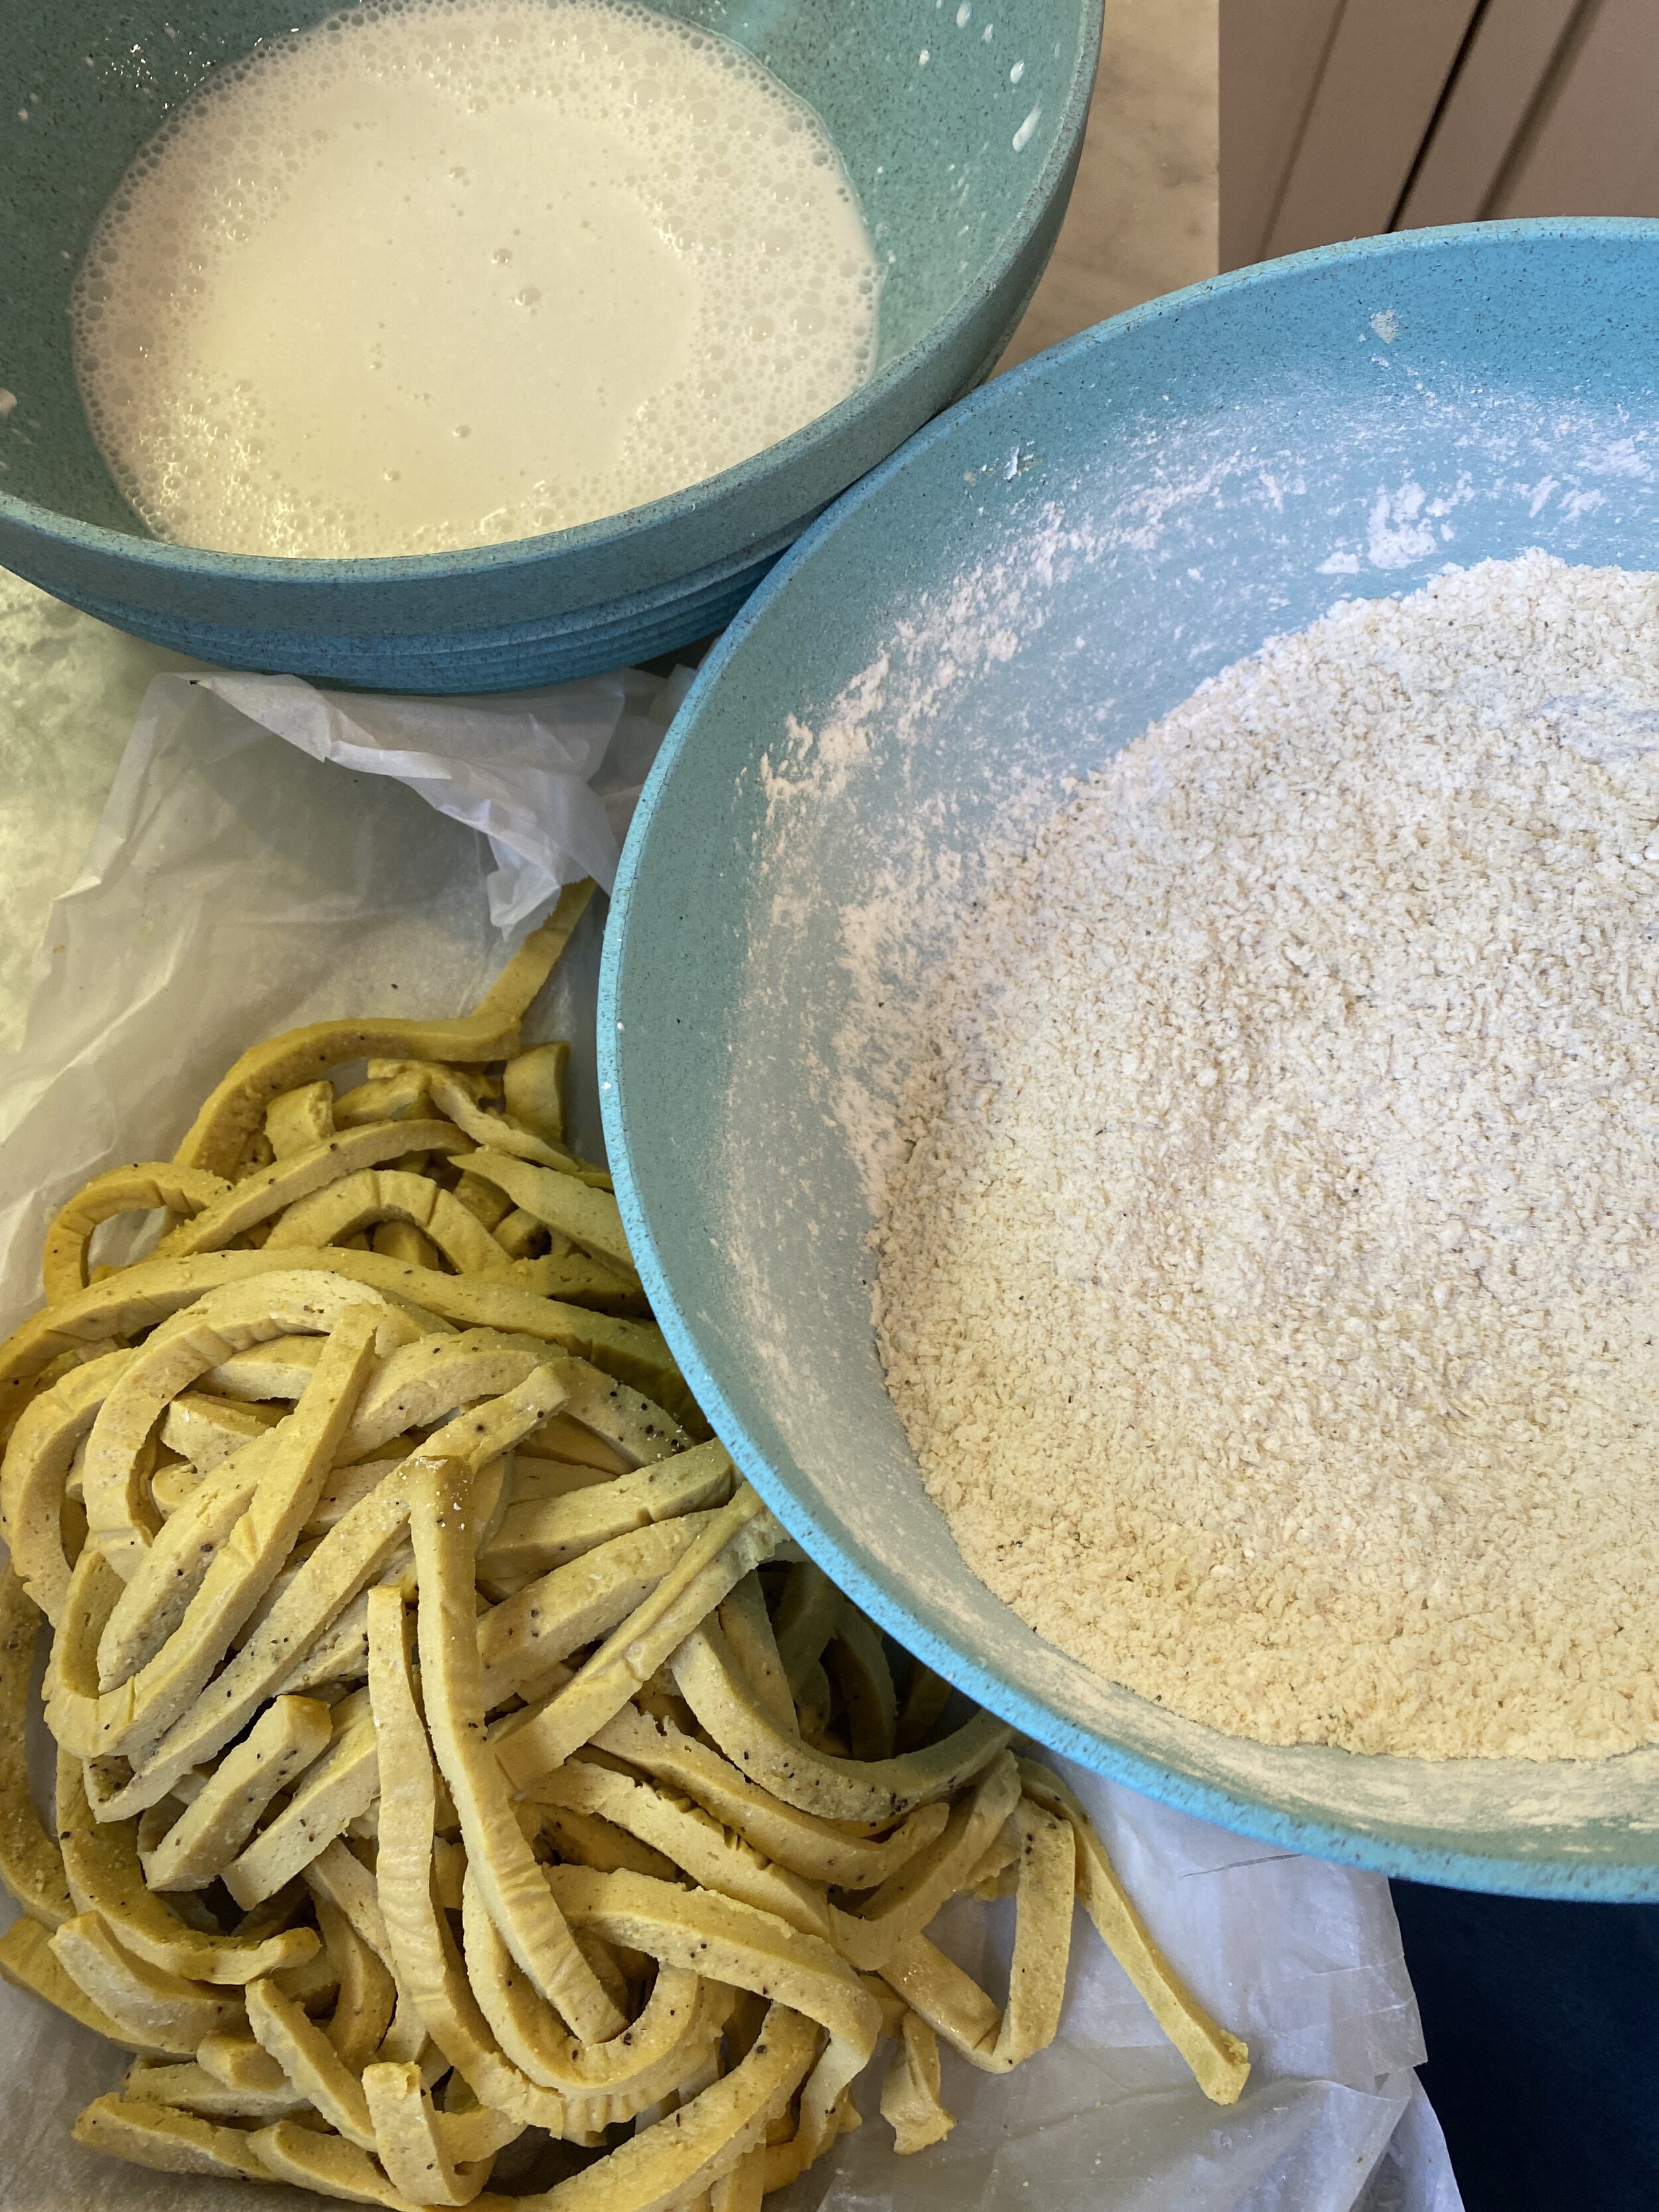
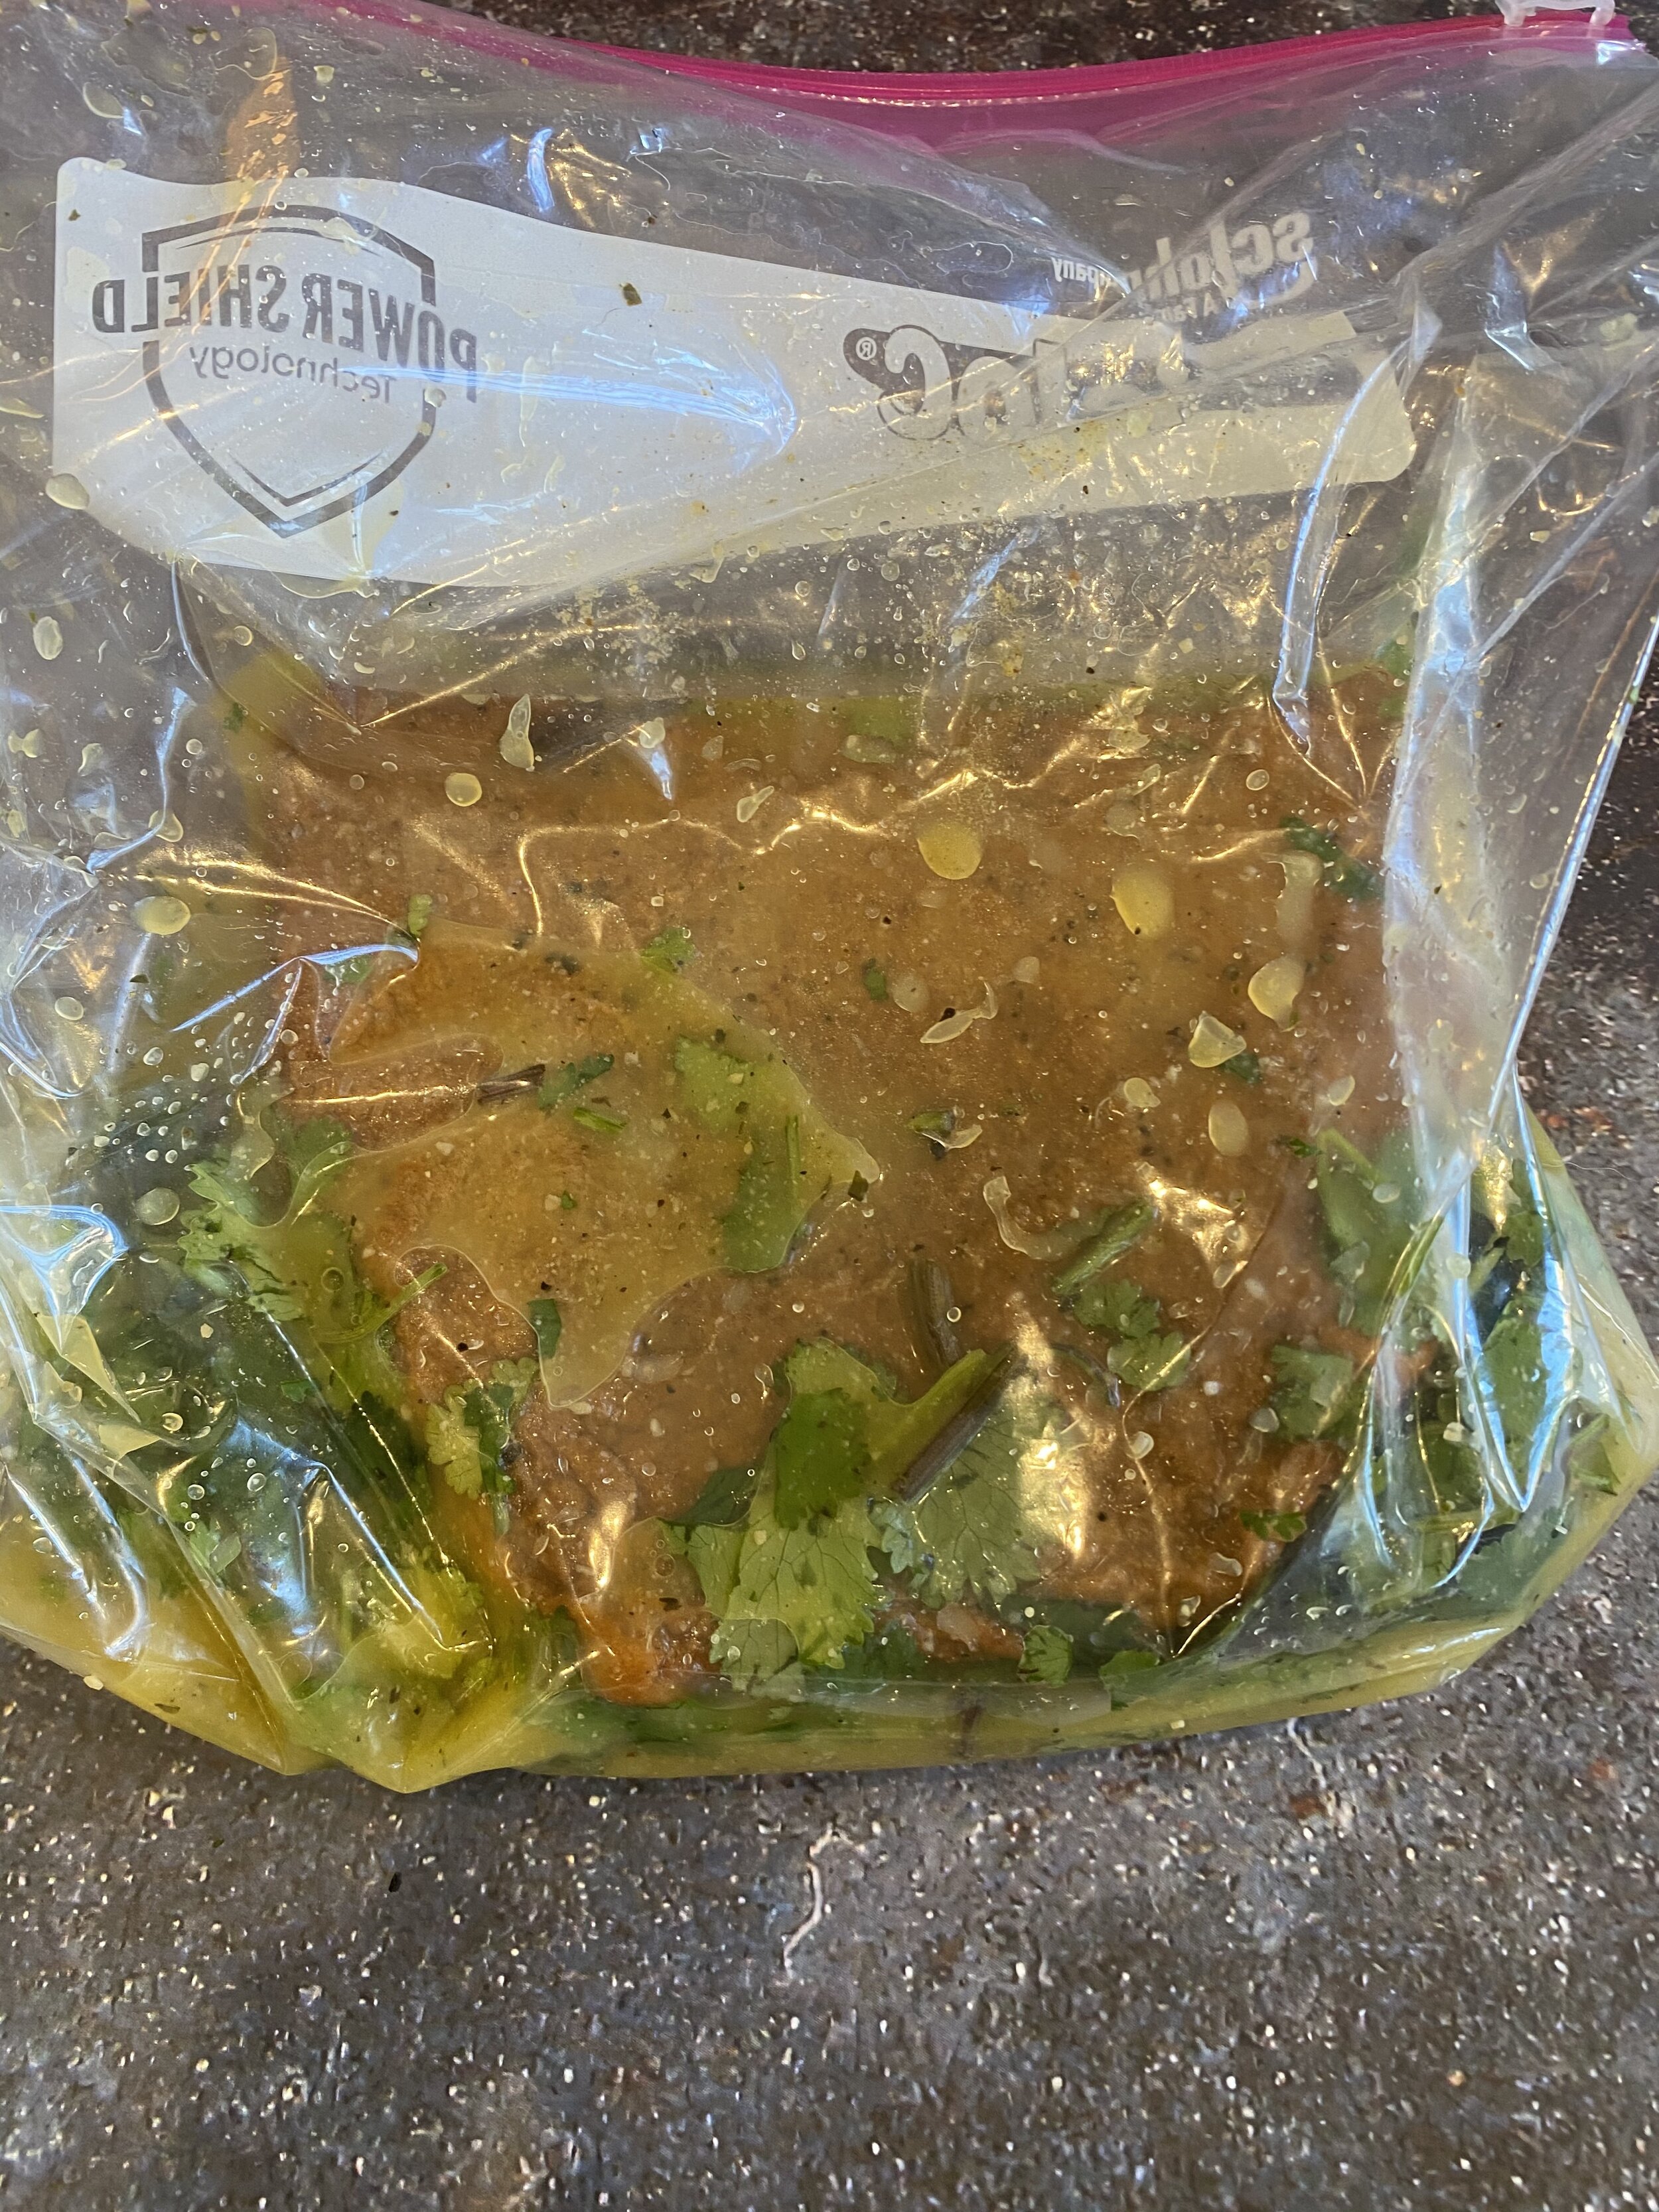
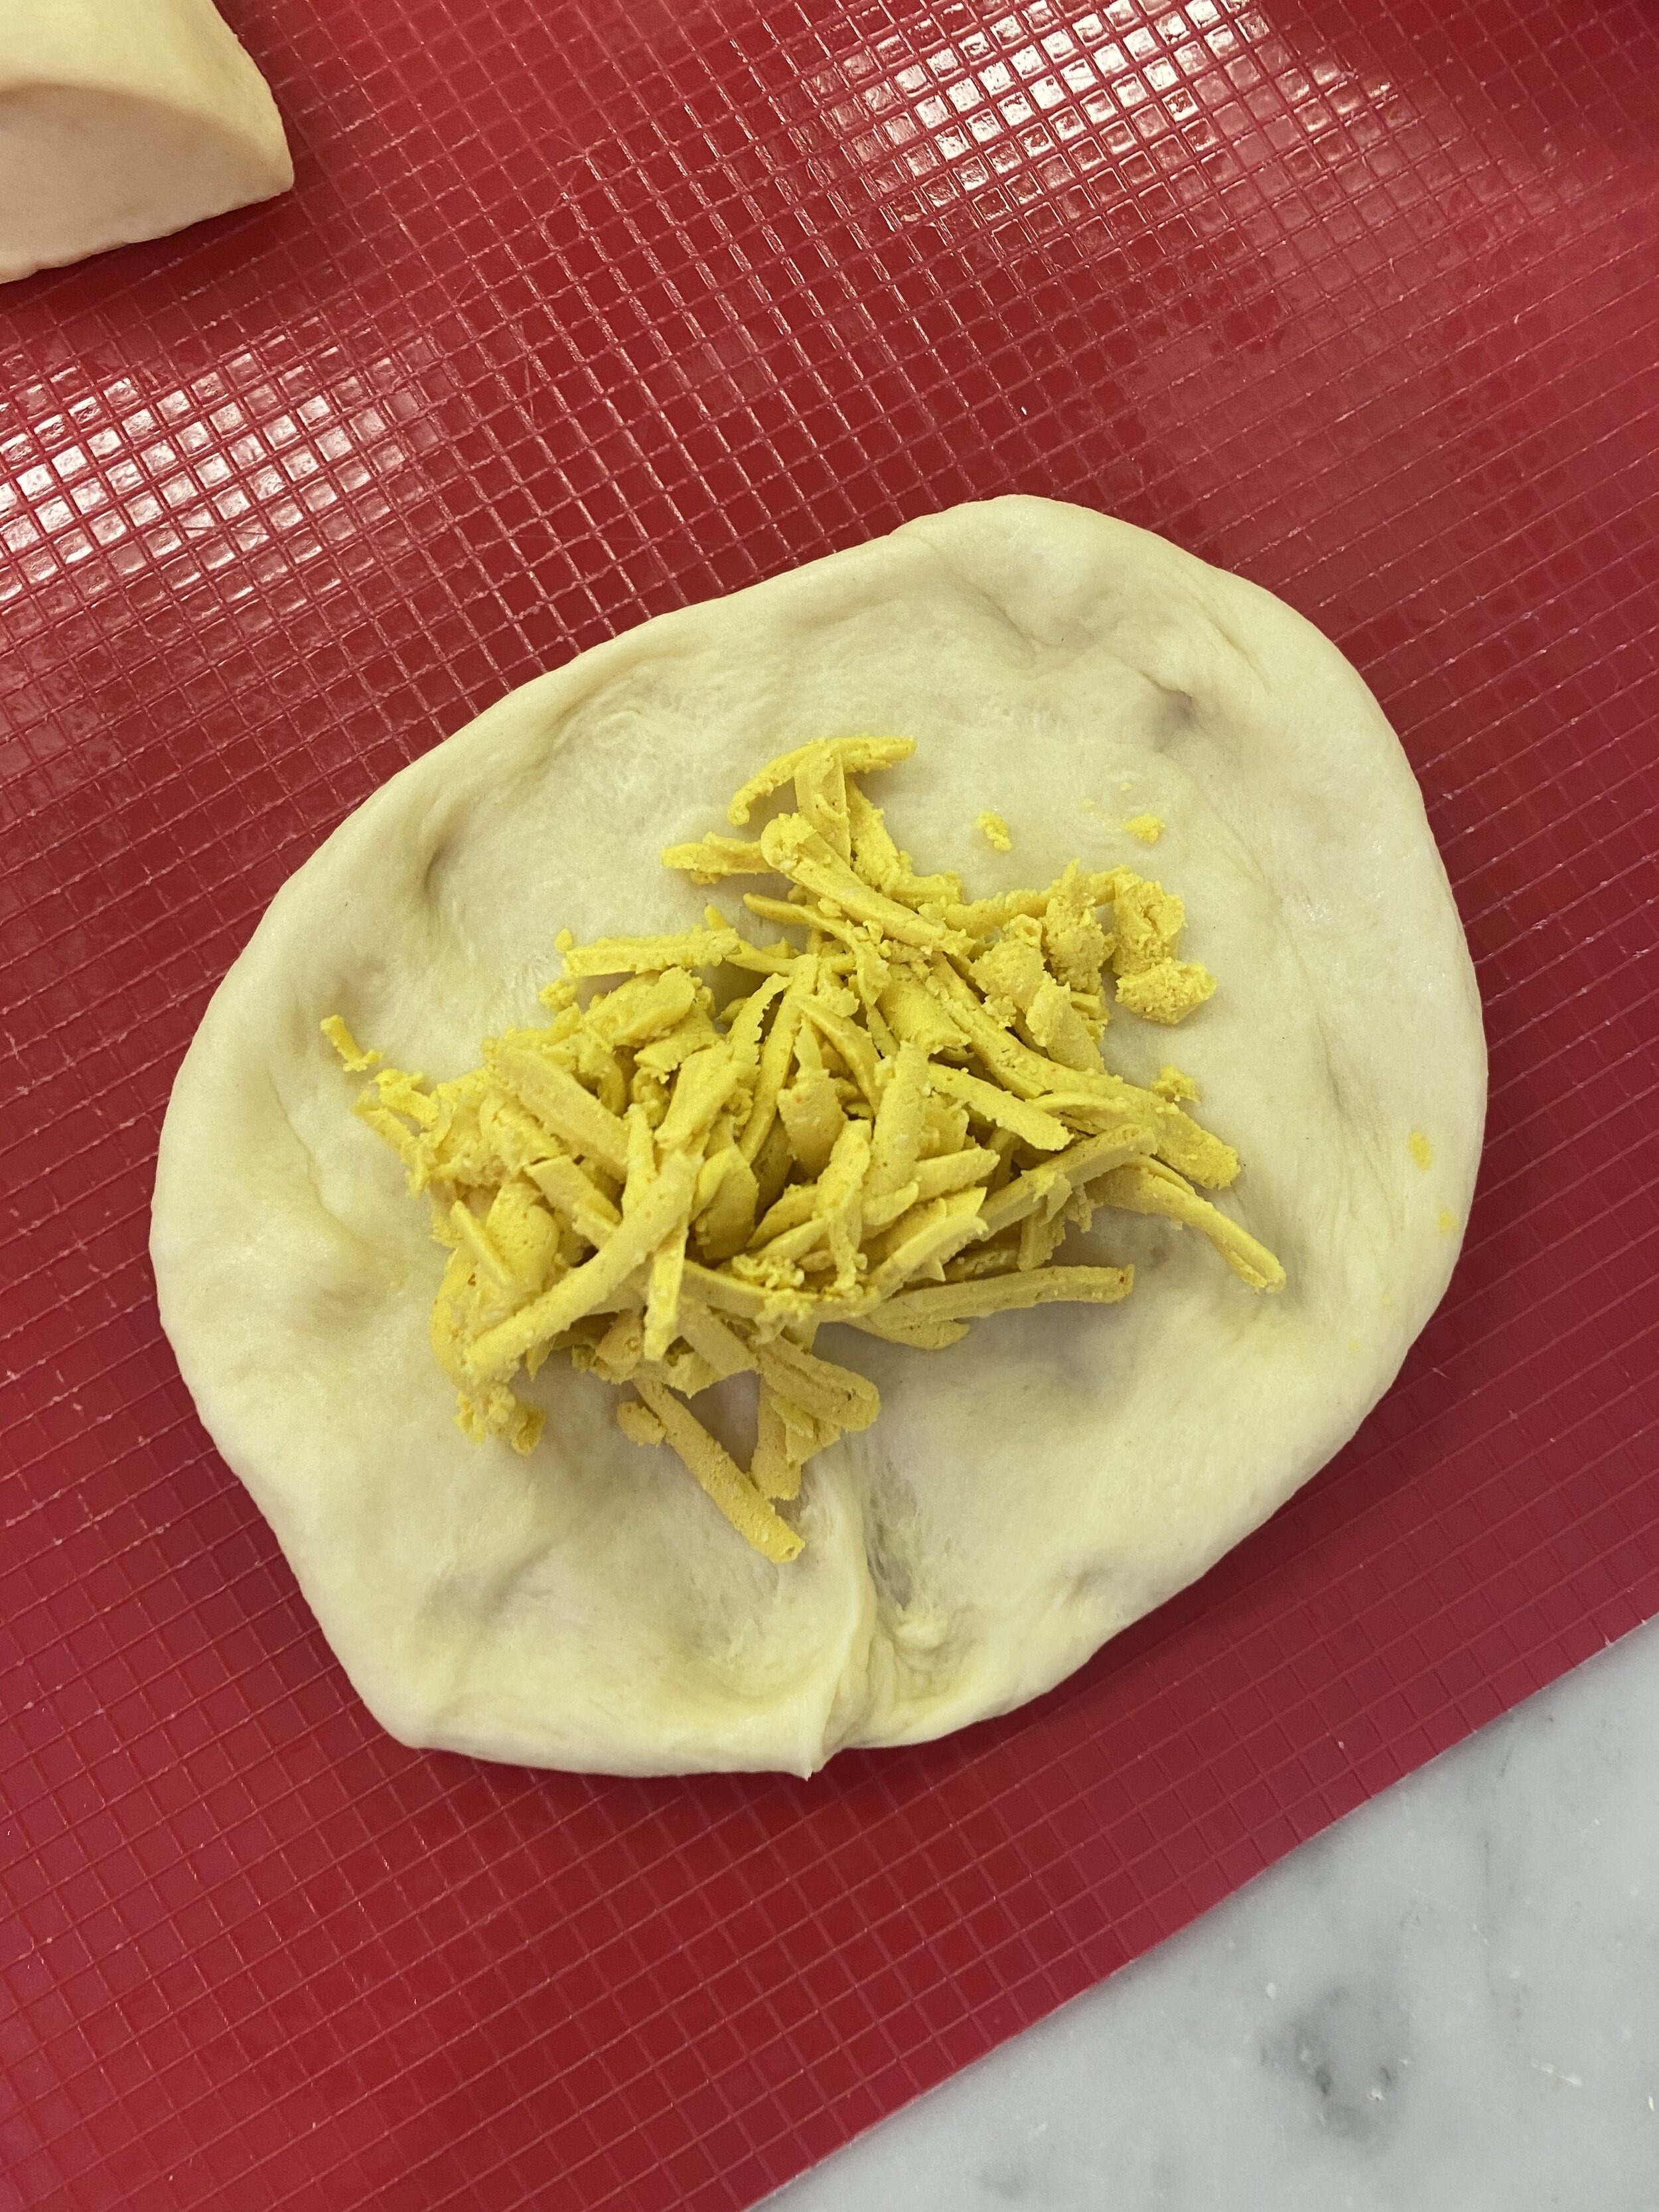
Dice the onion. Break up the tofu and place it into a food processor with the regular metal blade along with the onion and sauerkraut. Run the processor for around a minute until the tofu and onion are broken down.
Add all of the remaining ingredients and let the food processor run for a couple of minutes. You want the mixture to form a dough. Letting the processor run will help knead the dough. We want this seitan to be firm so we need it to knead for a bit. If you dough seems a bit too dry, you can add a few tablespoons of water, just don’t add too much more!
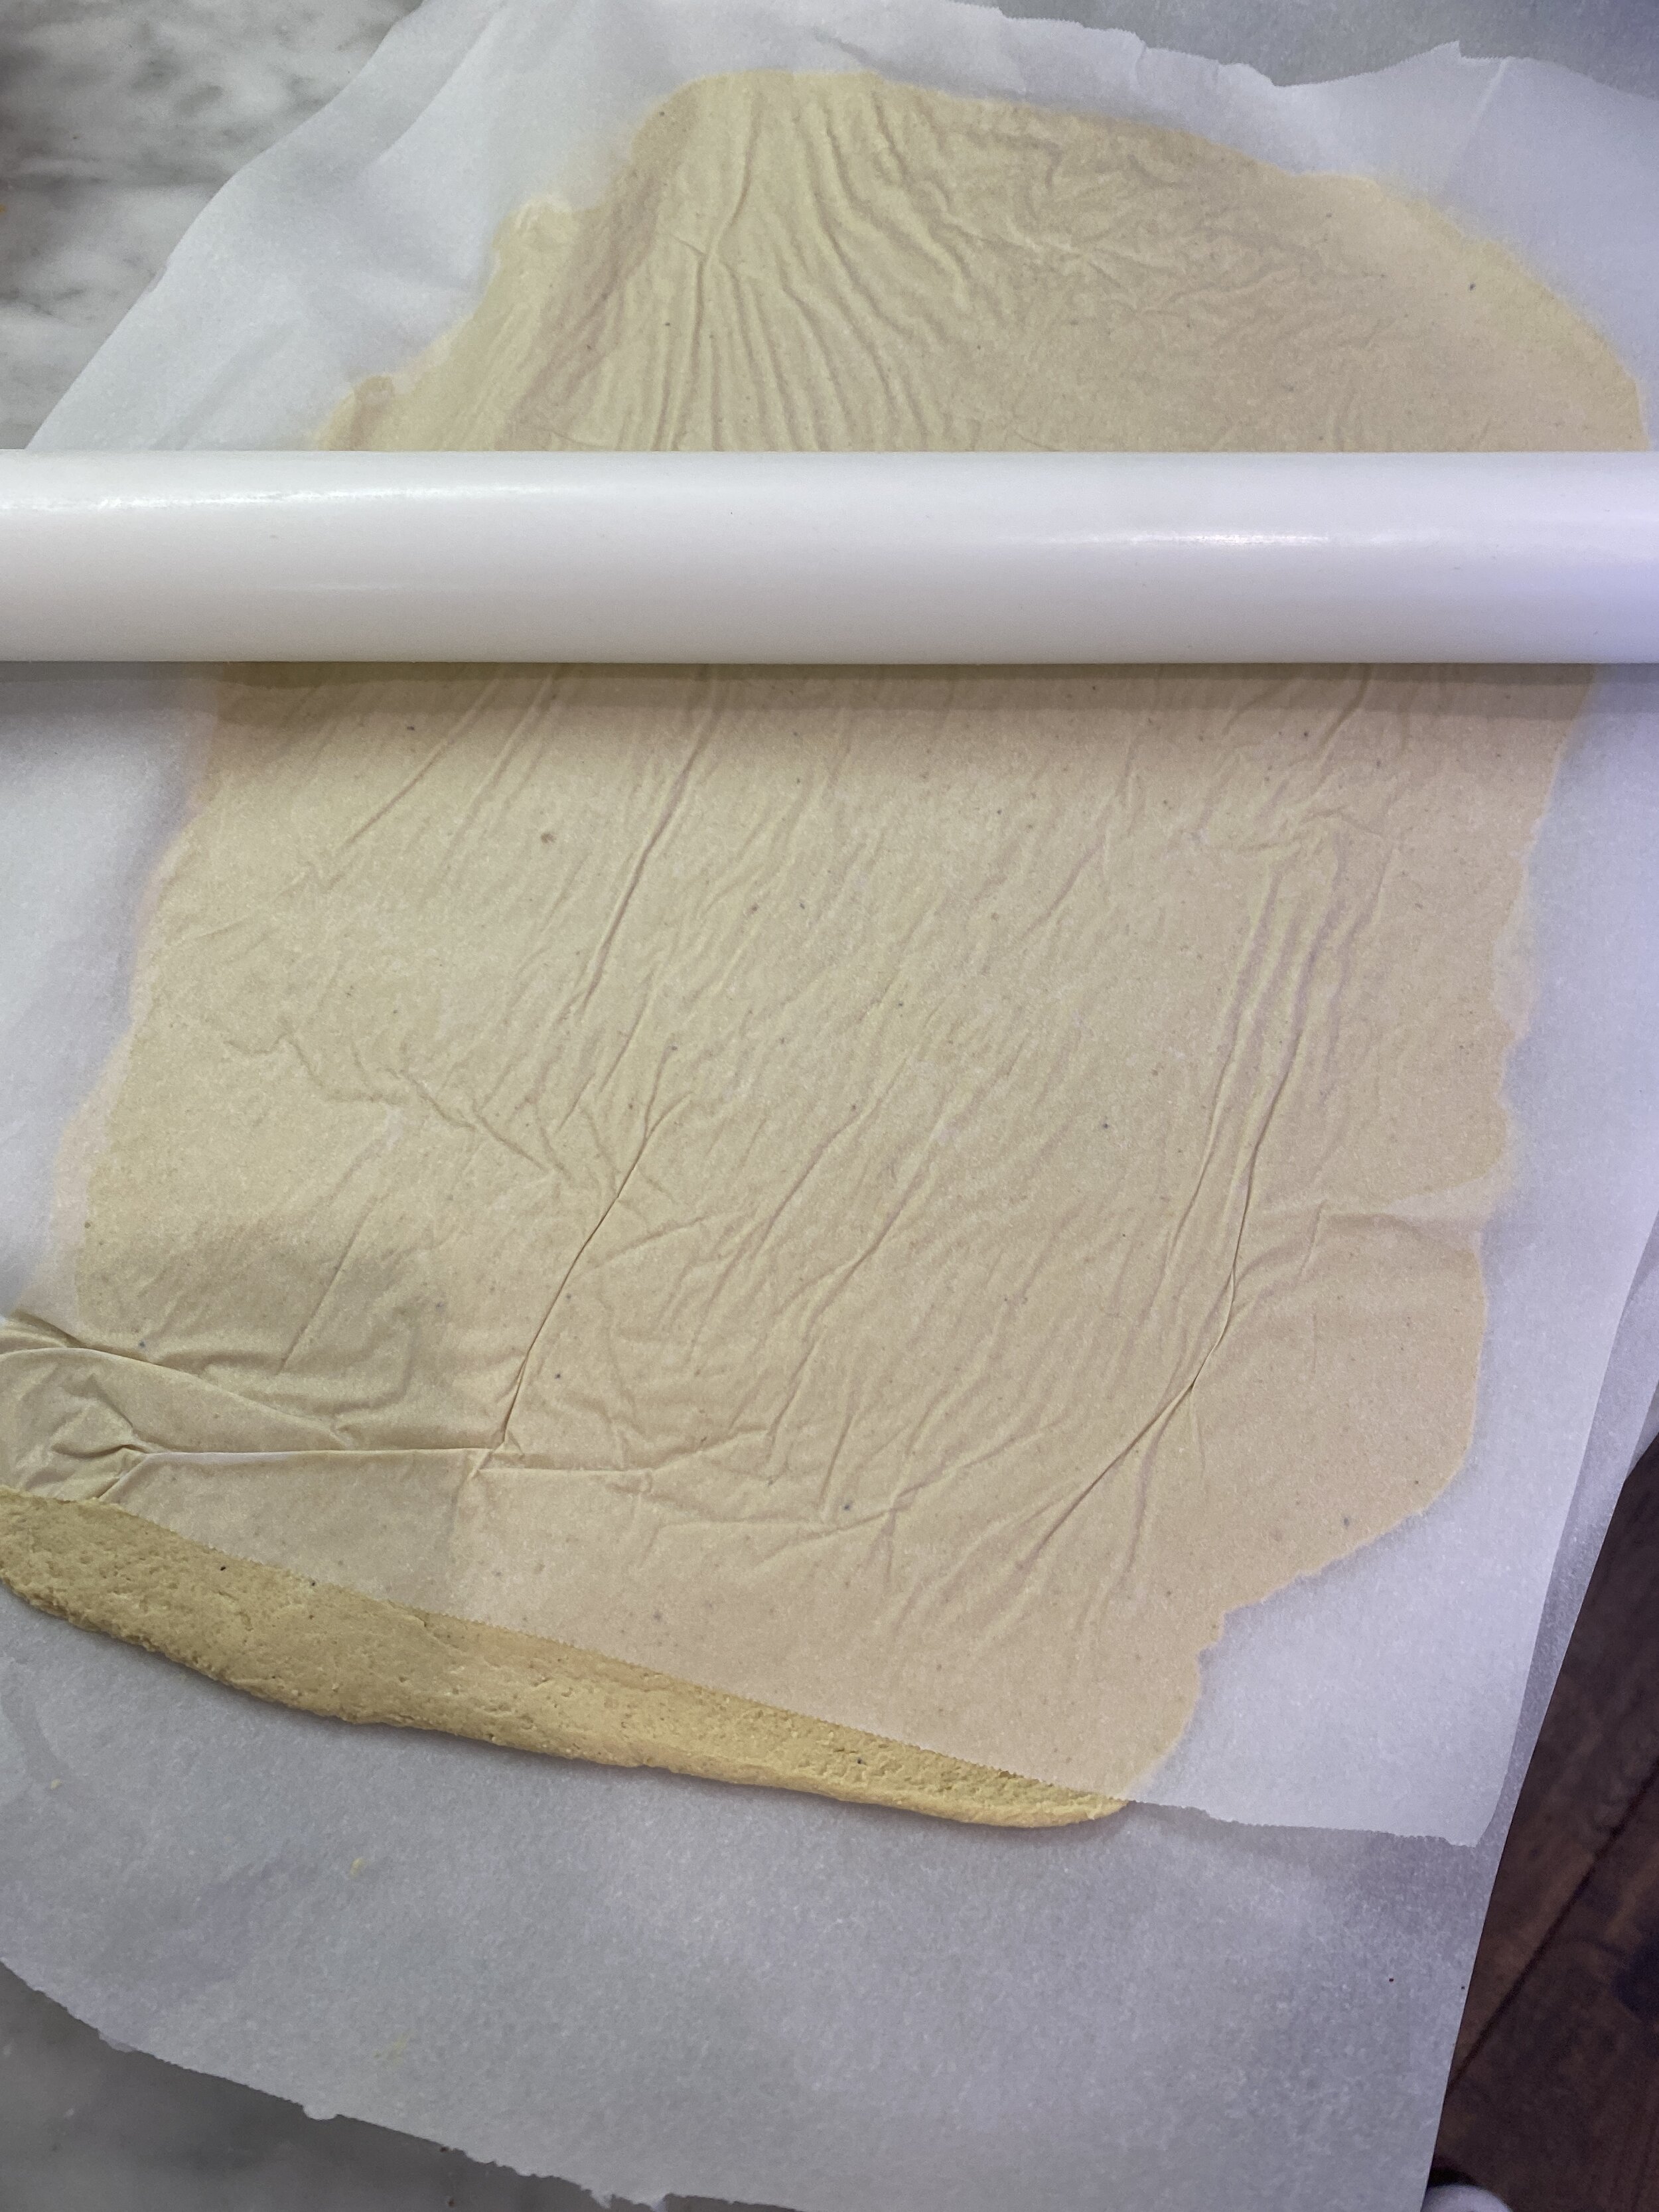
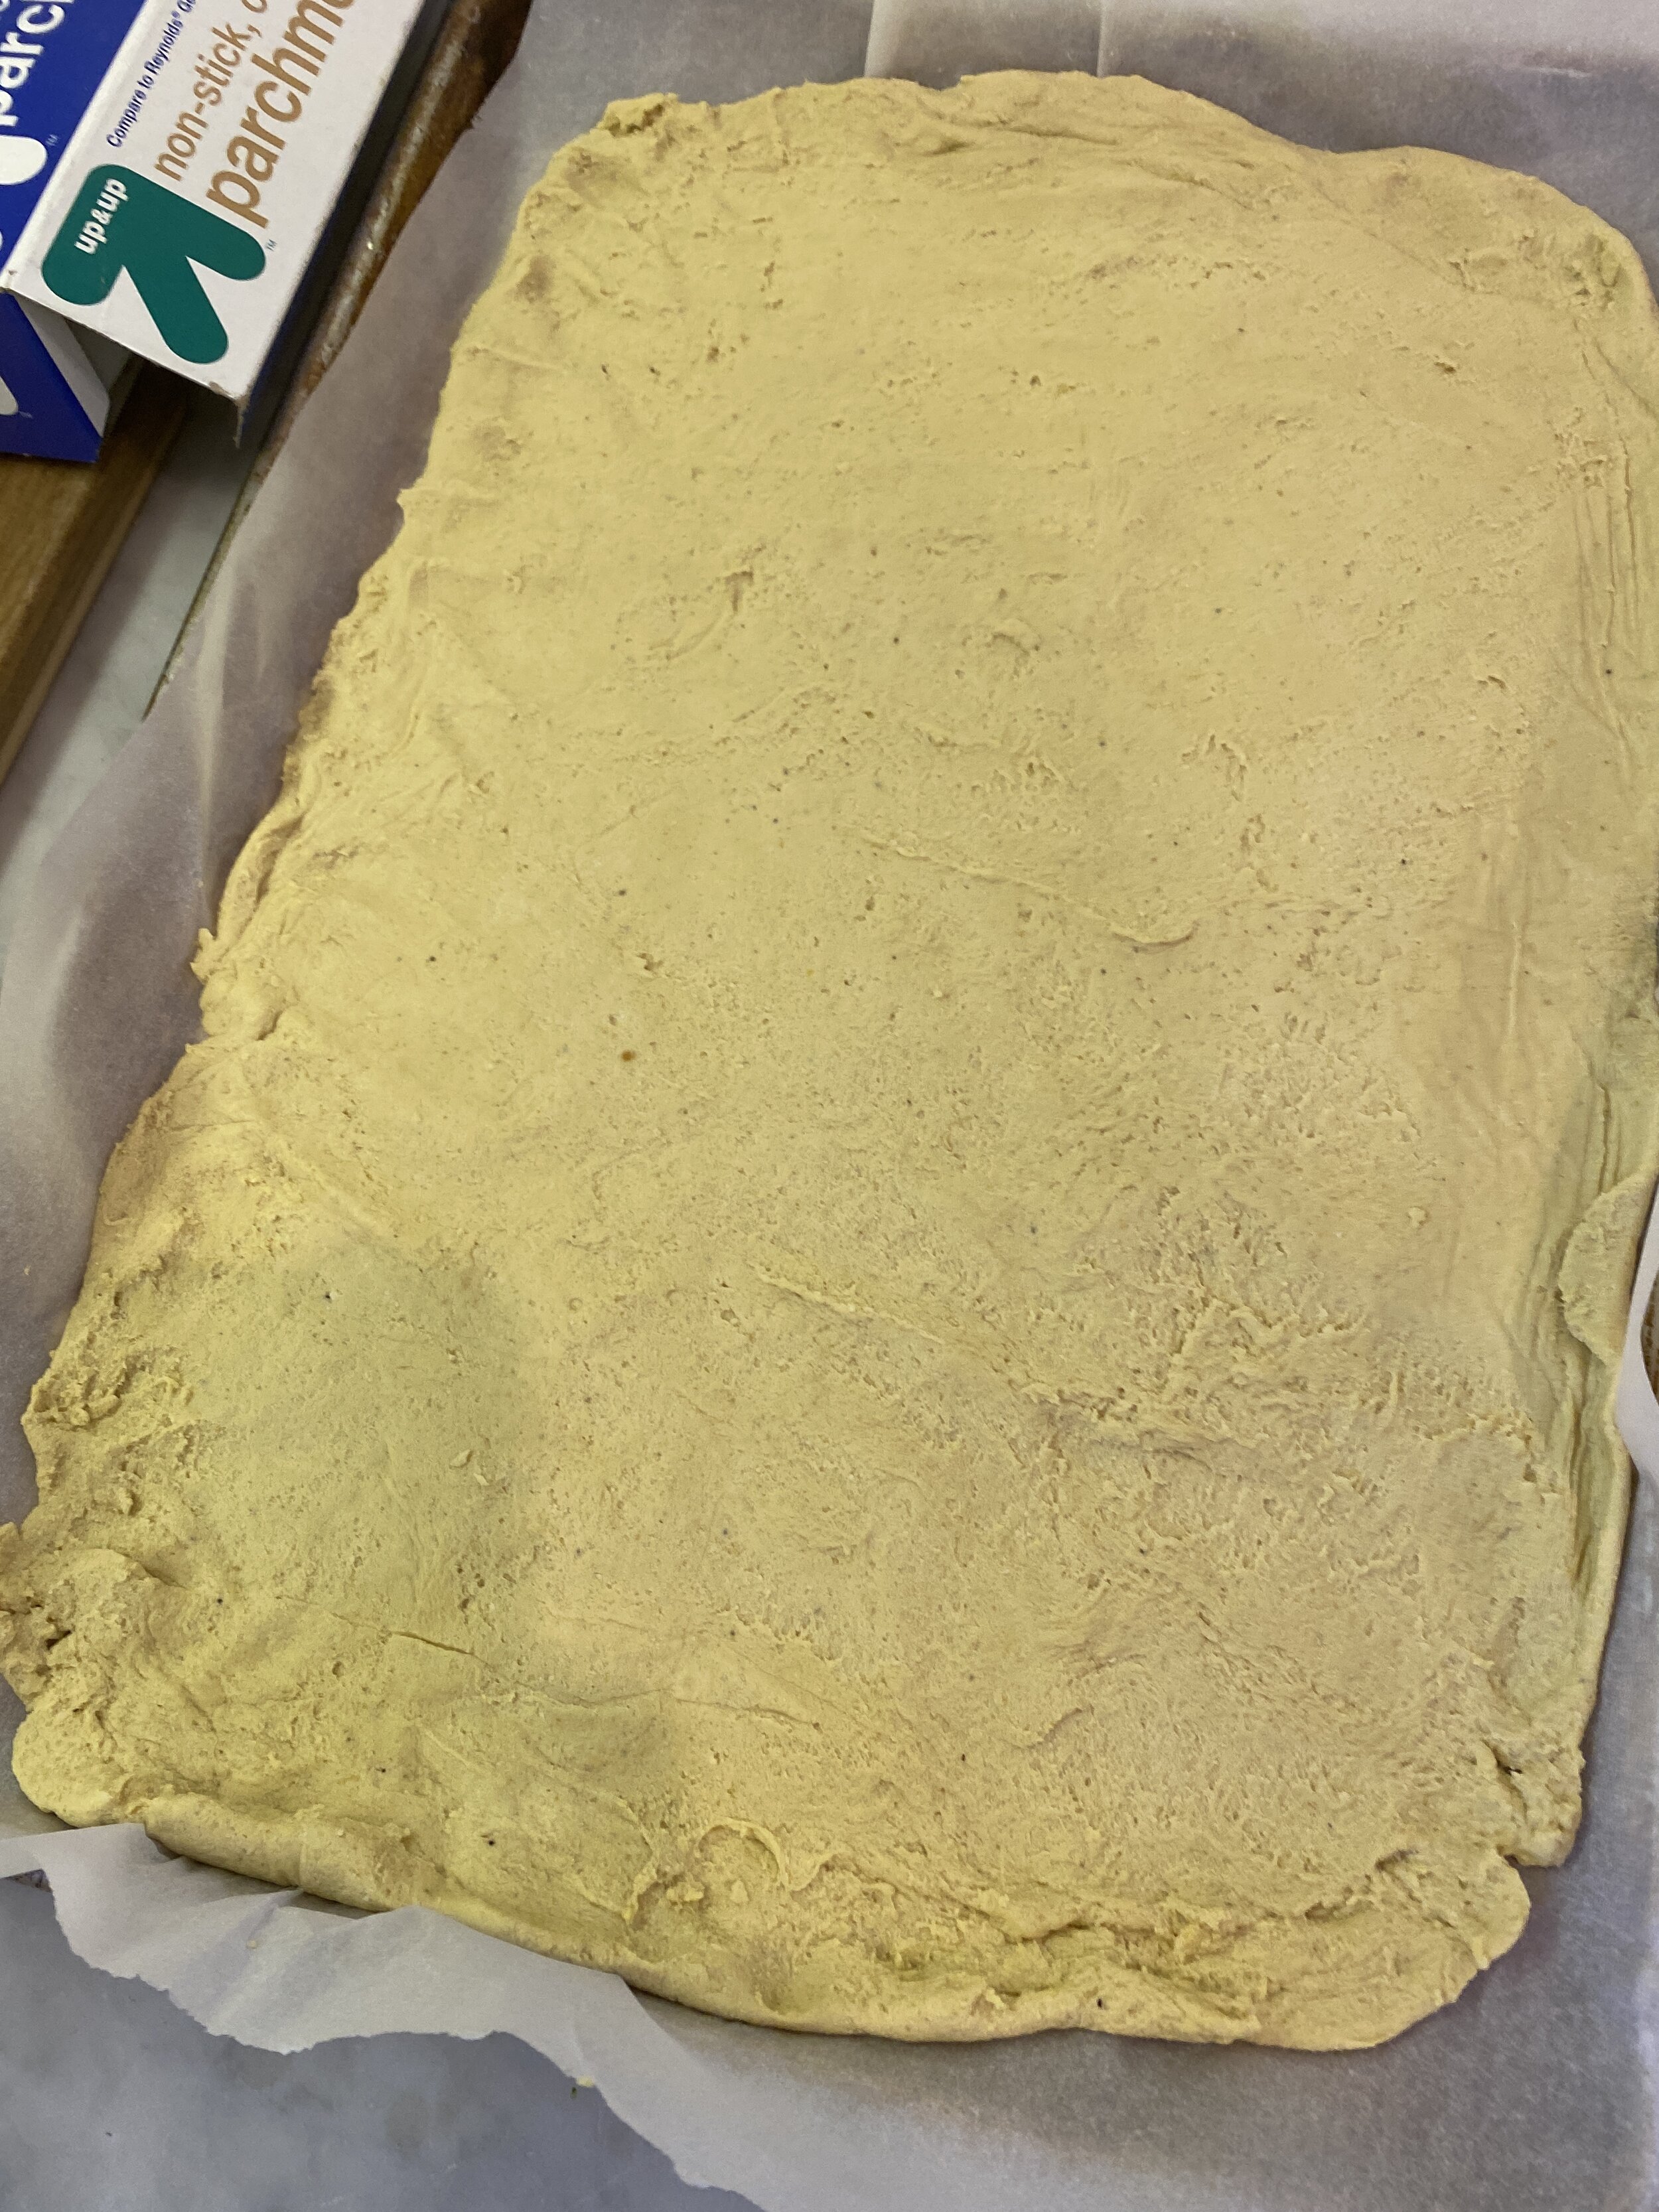
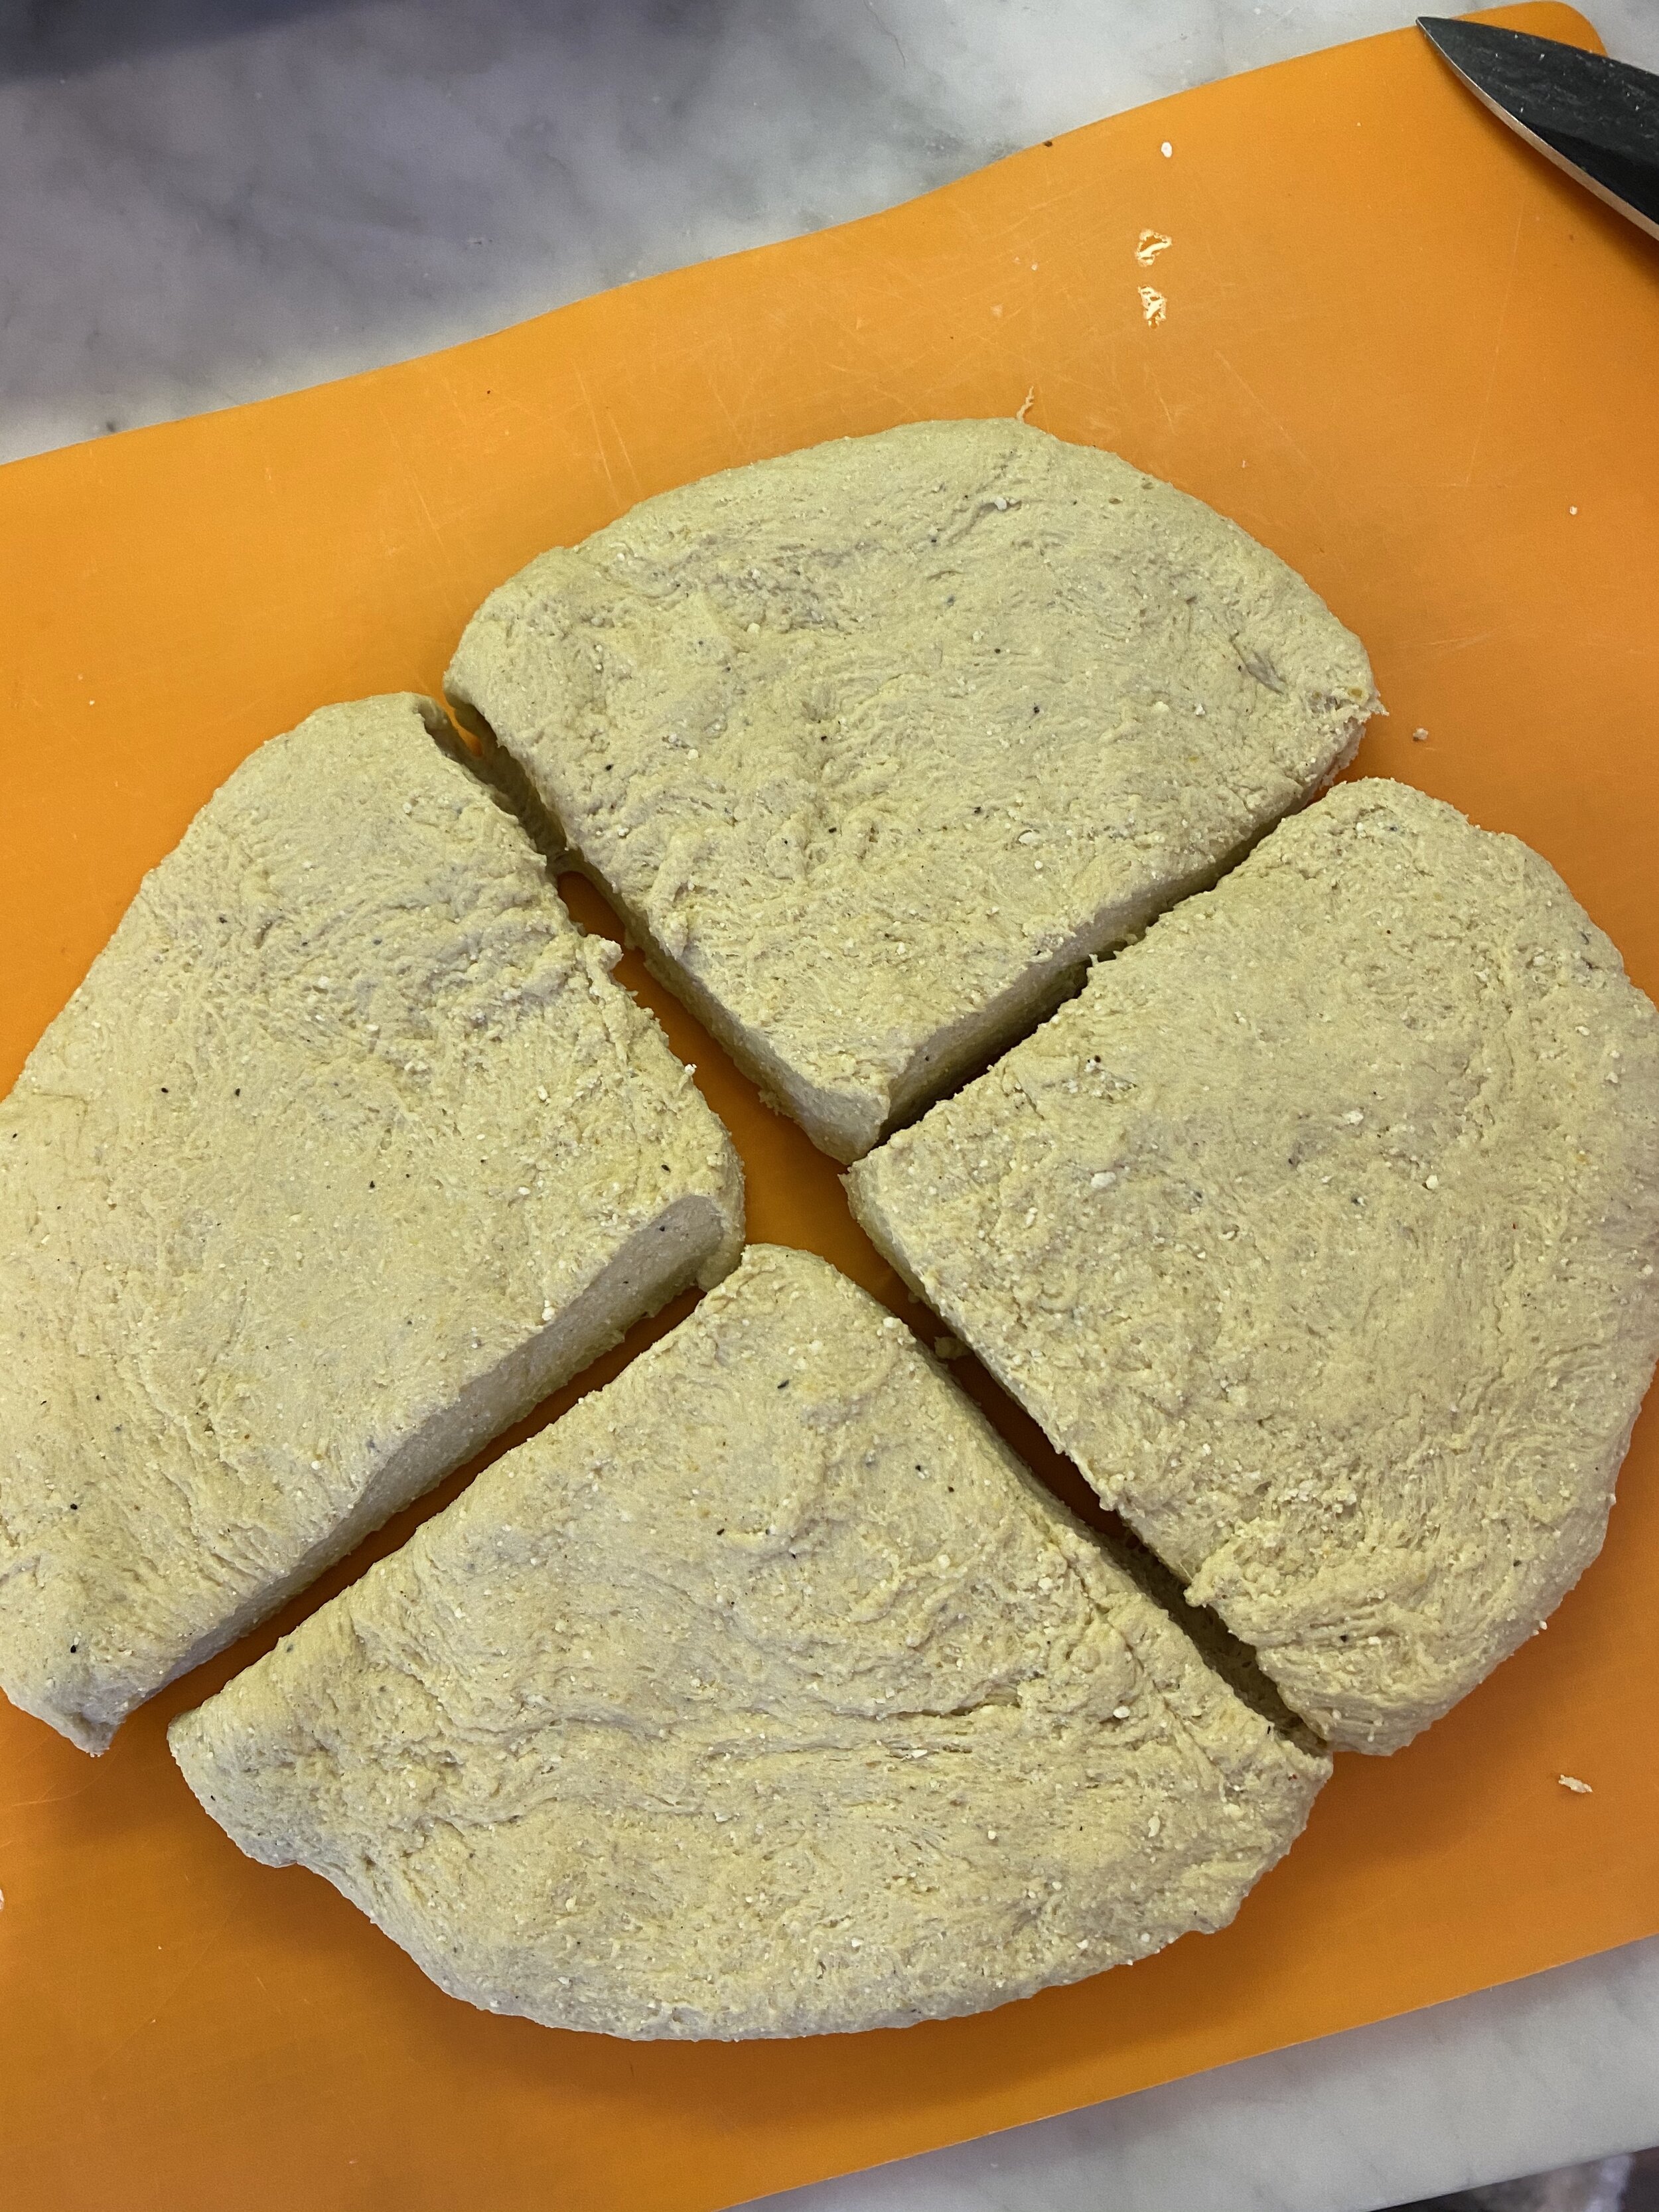
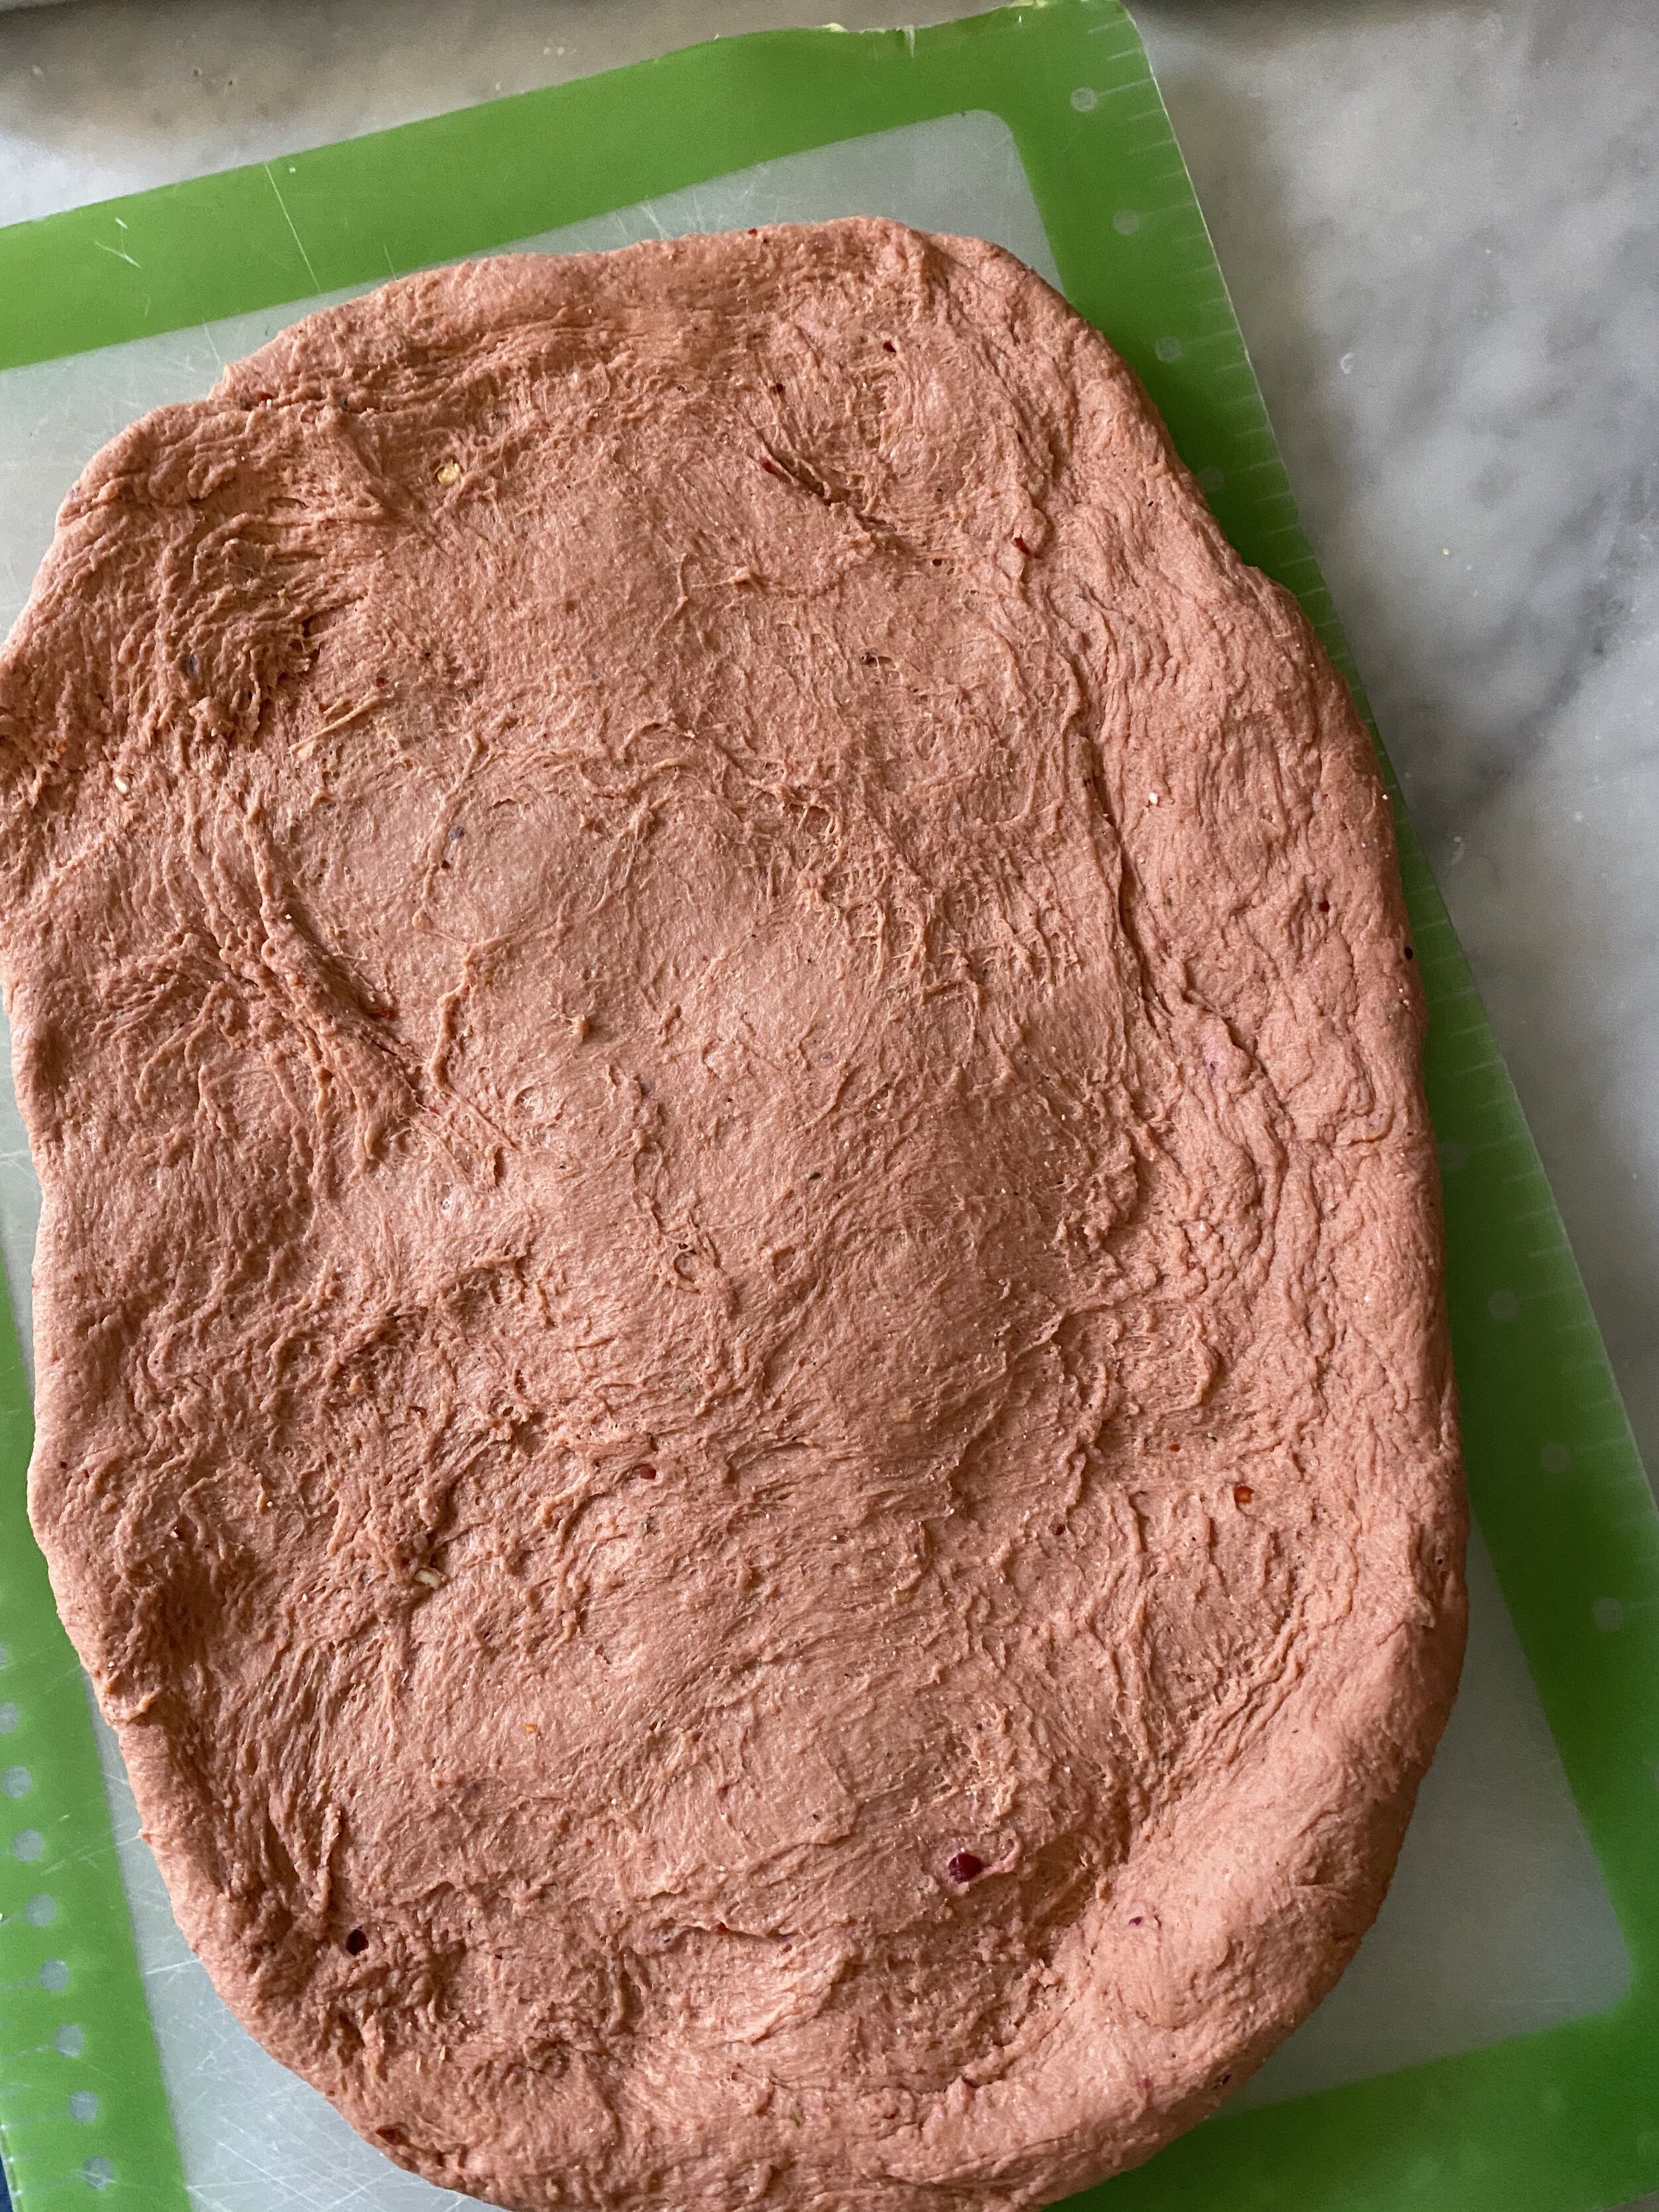
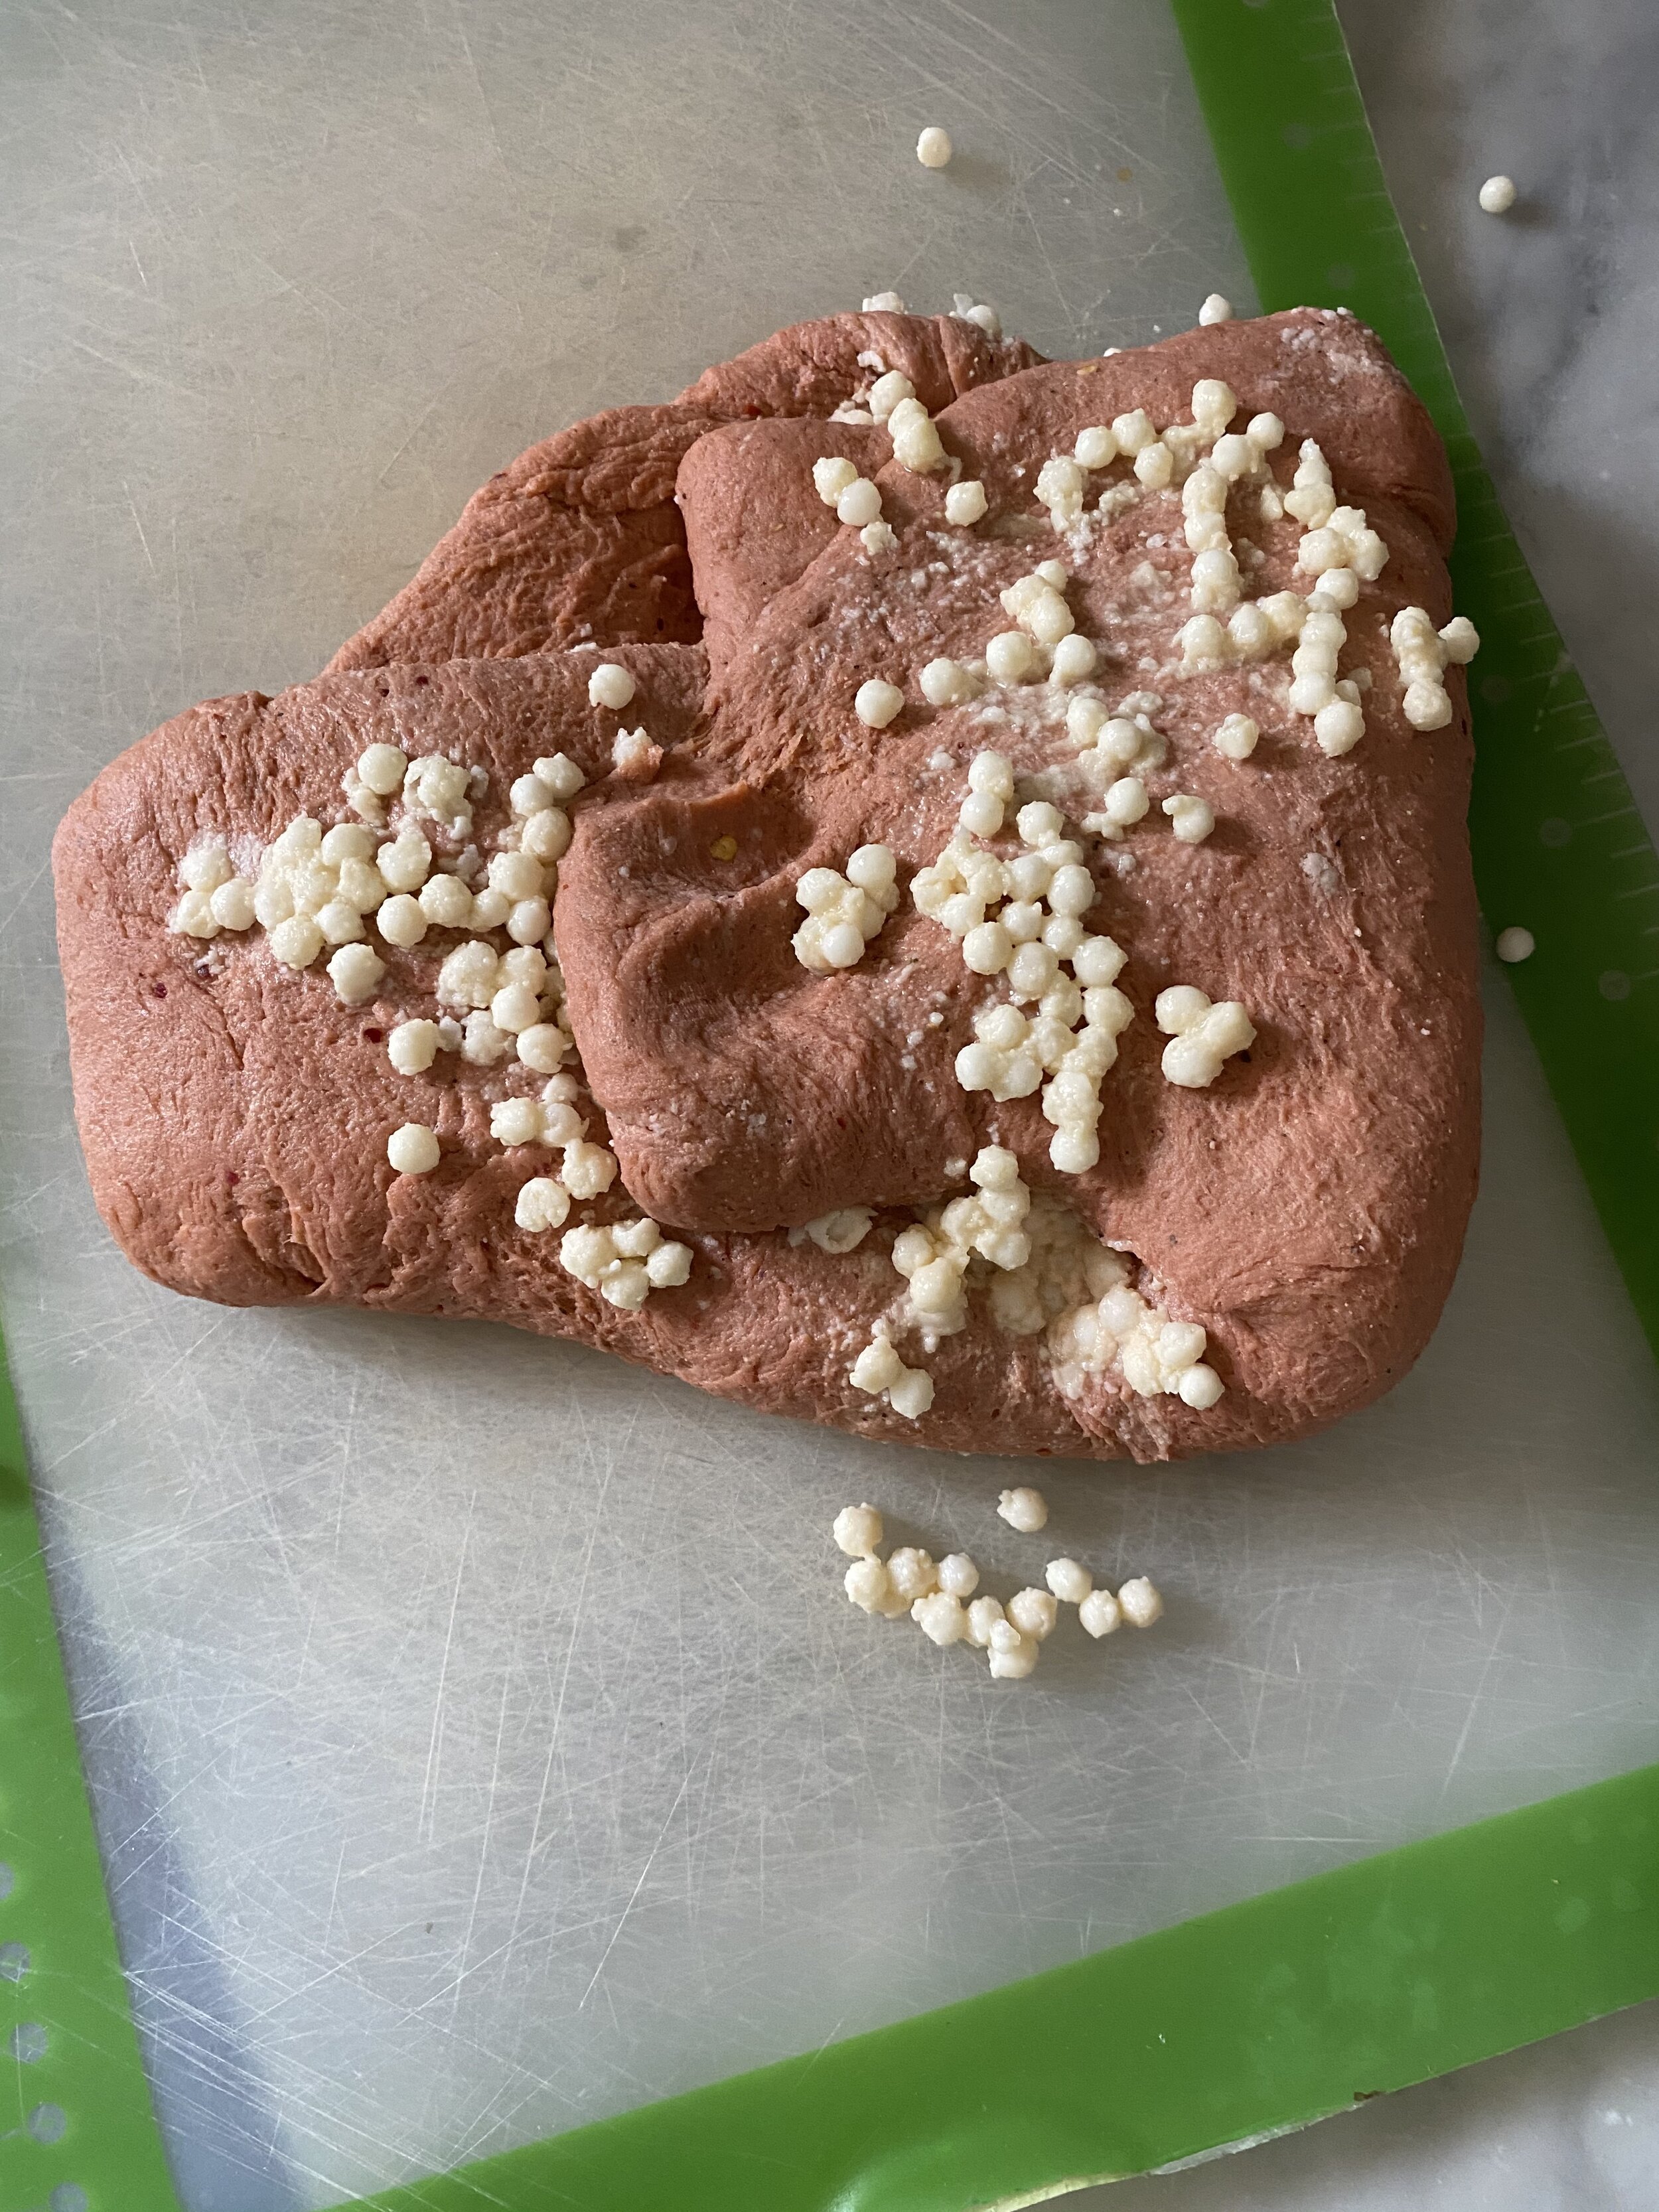
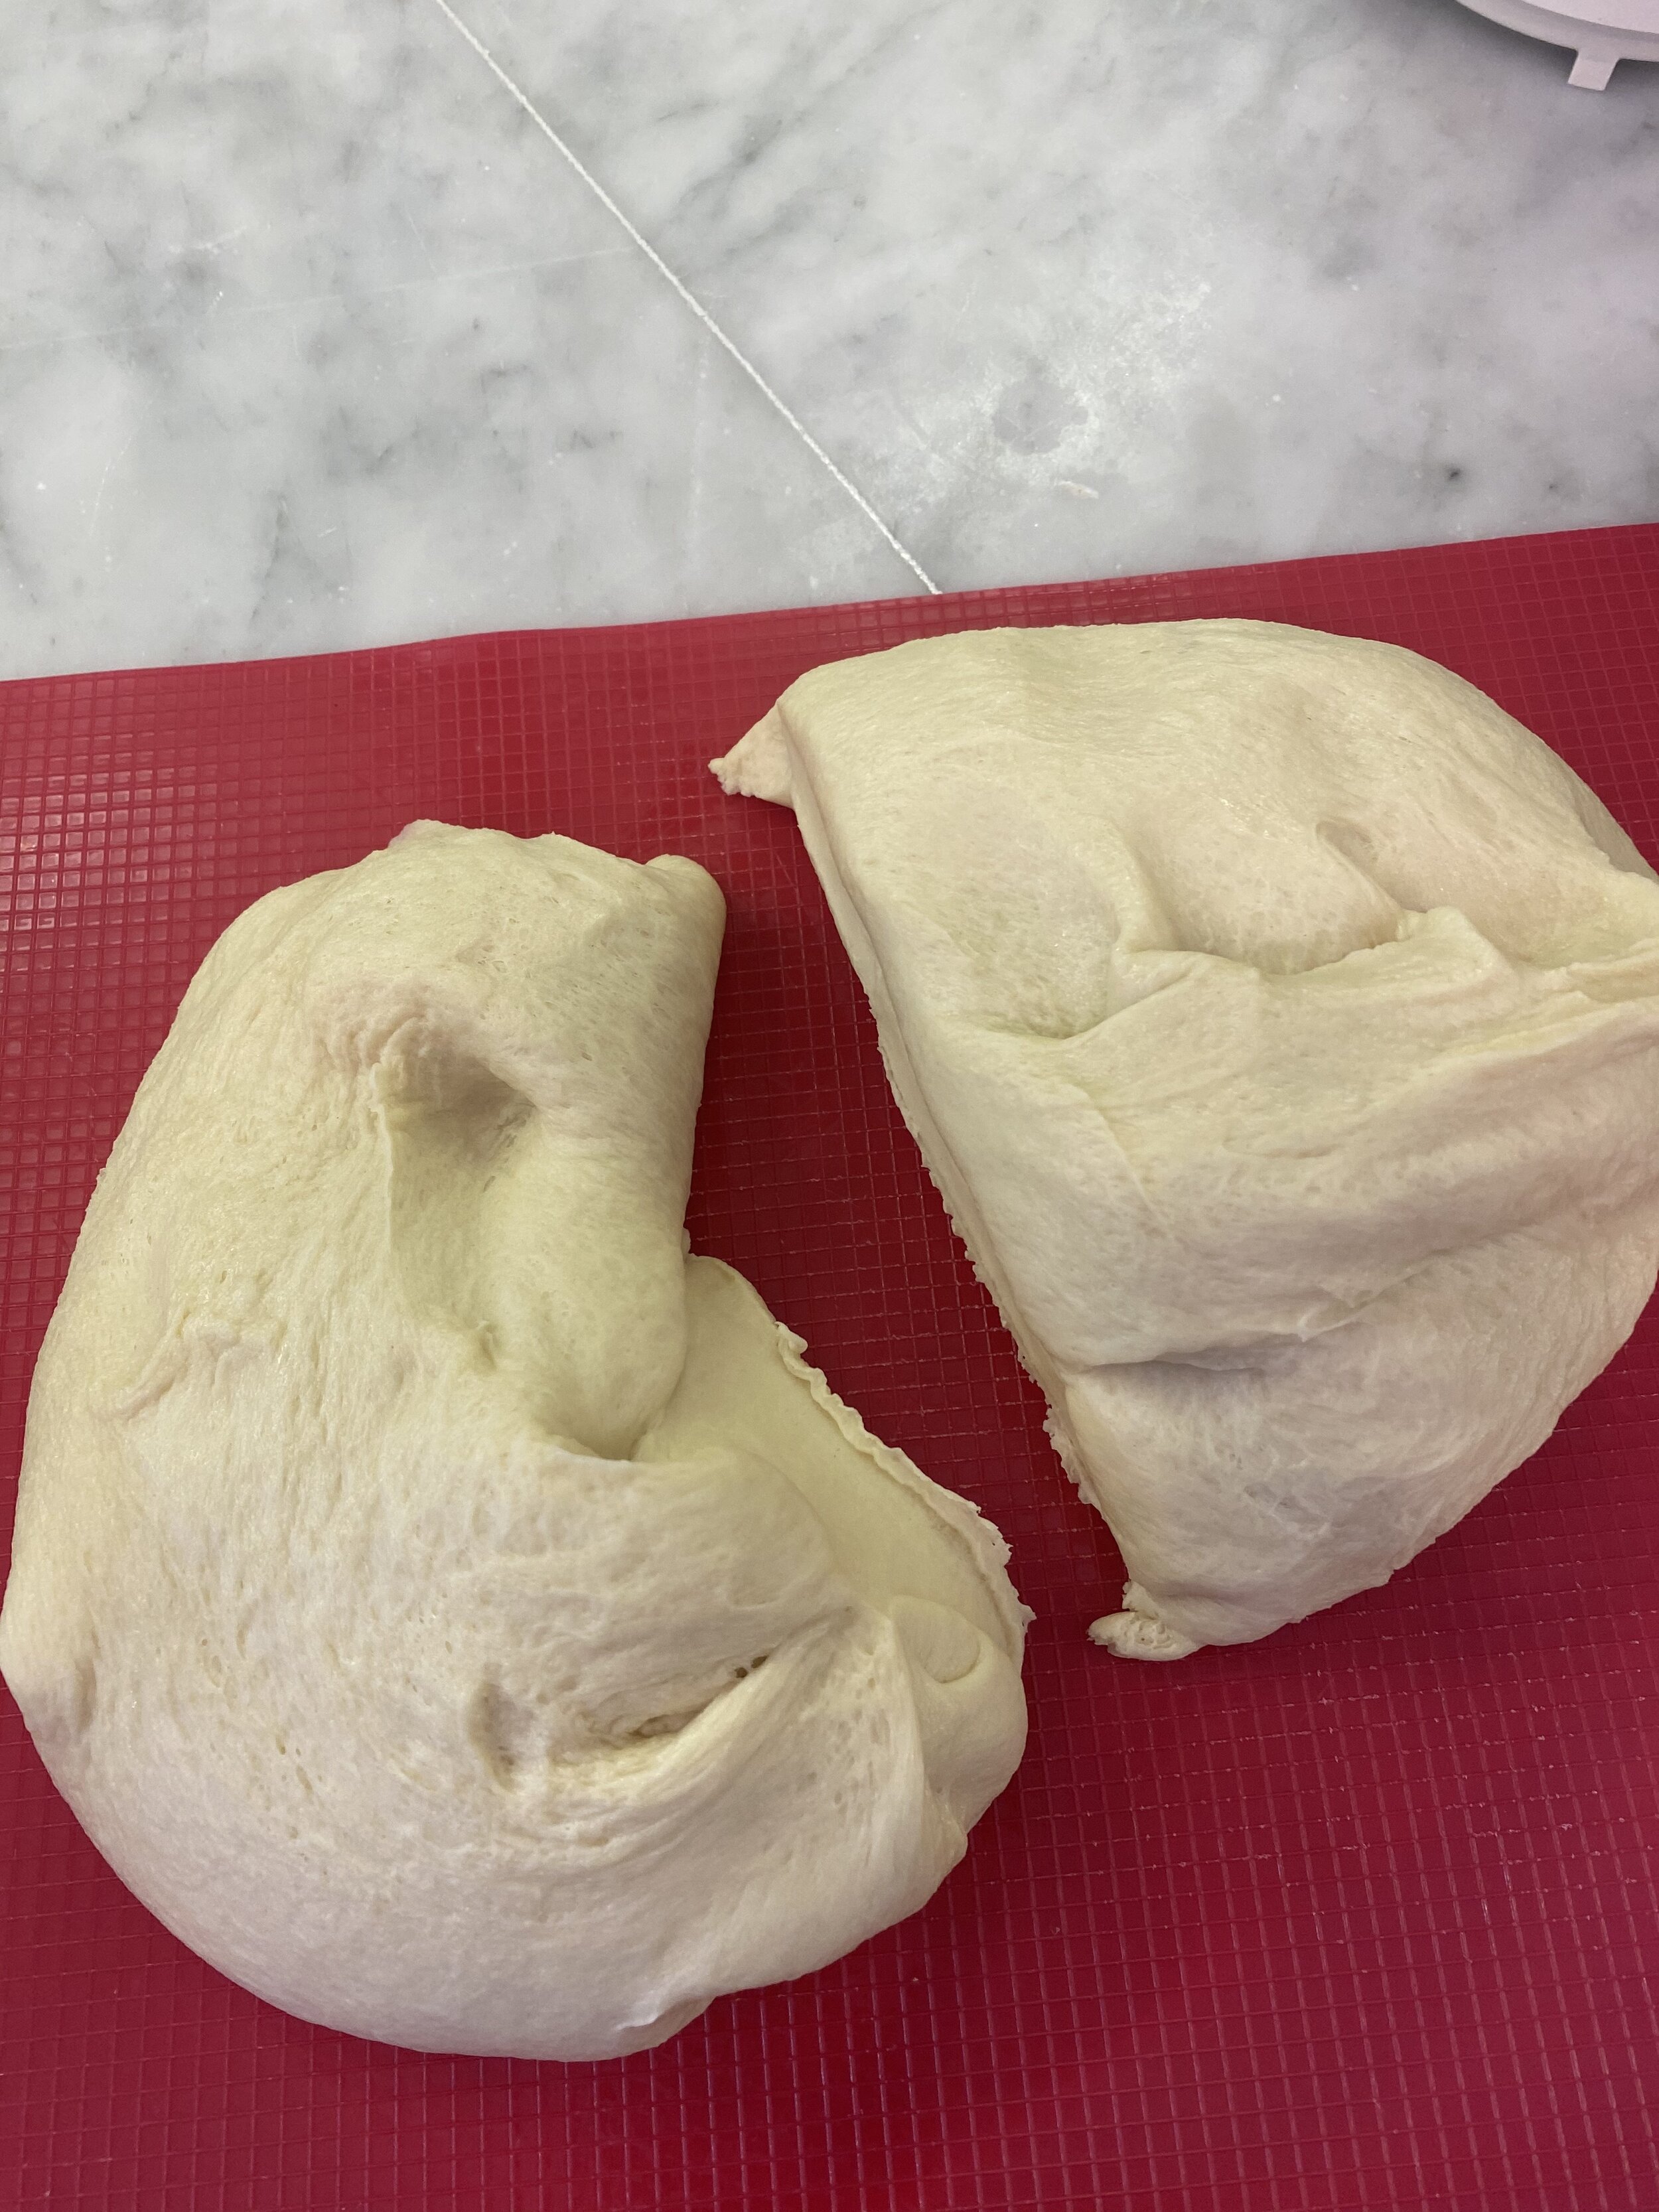
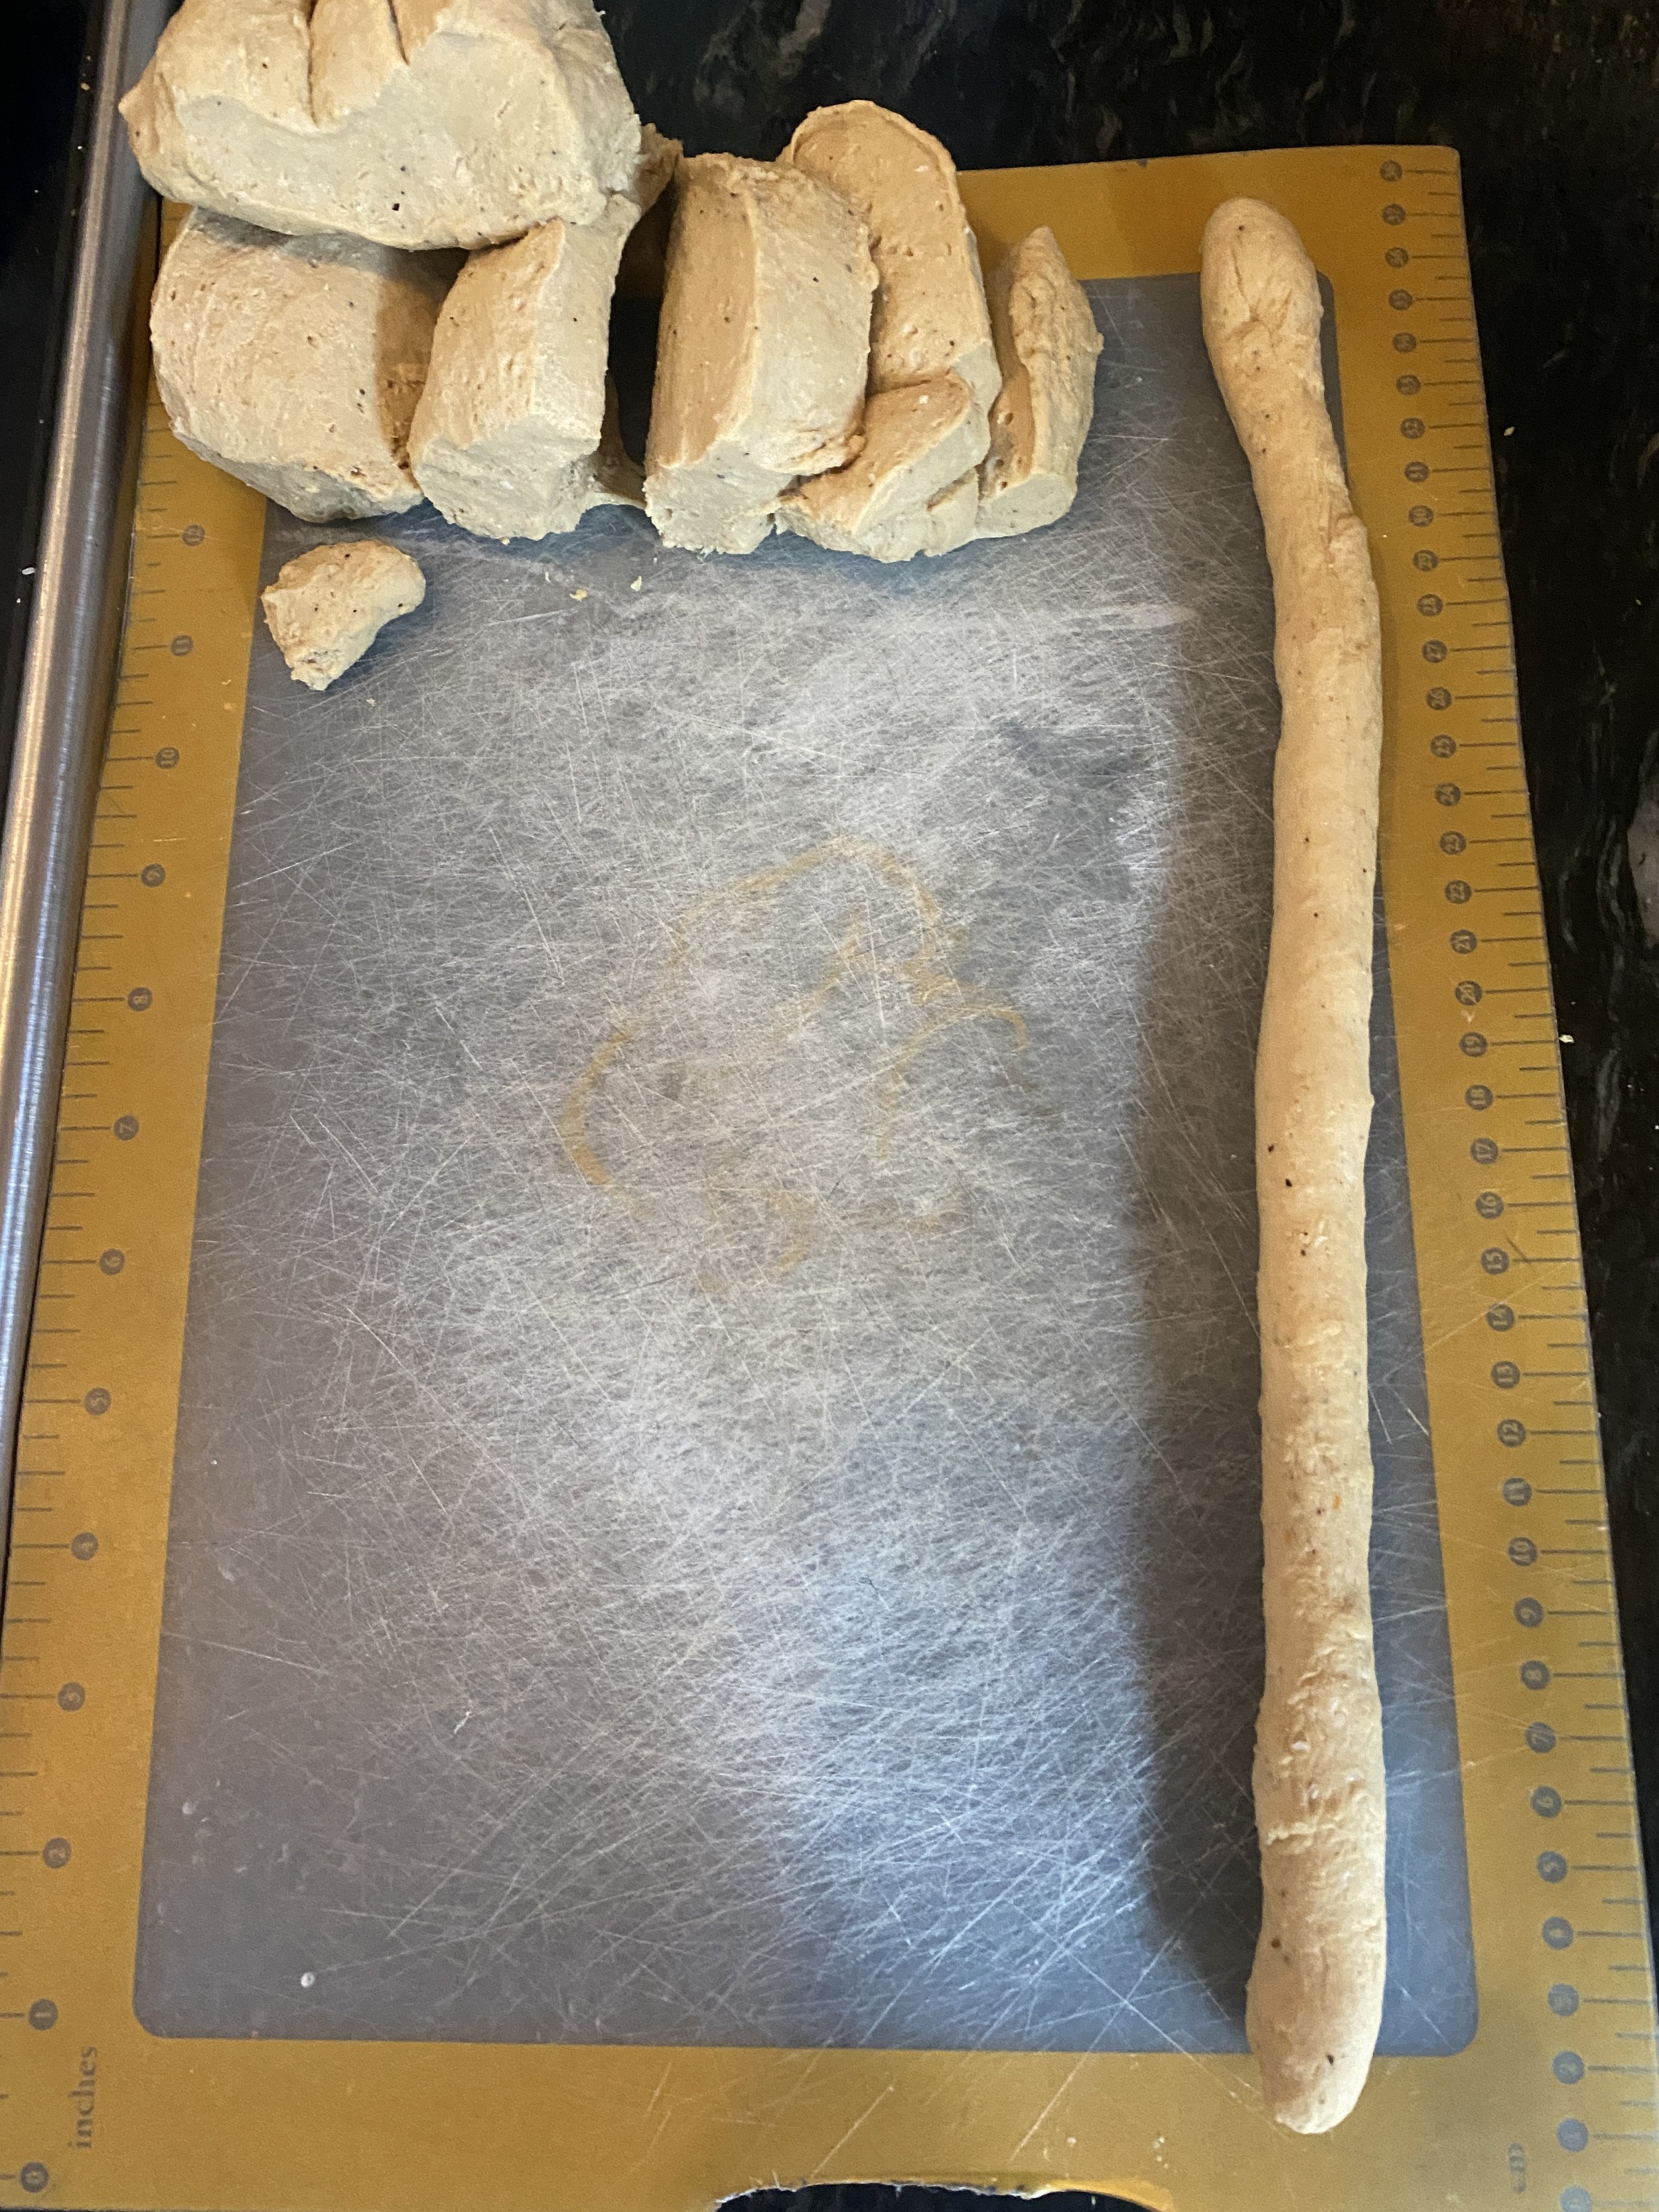
Once you have a smooth but firm dough, remove it from the food processor and place on a clean counter. Knead the dough with your hands for about a minute, forming a kind of rectangular shaped loaf with the dough.
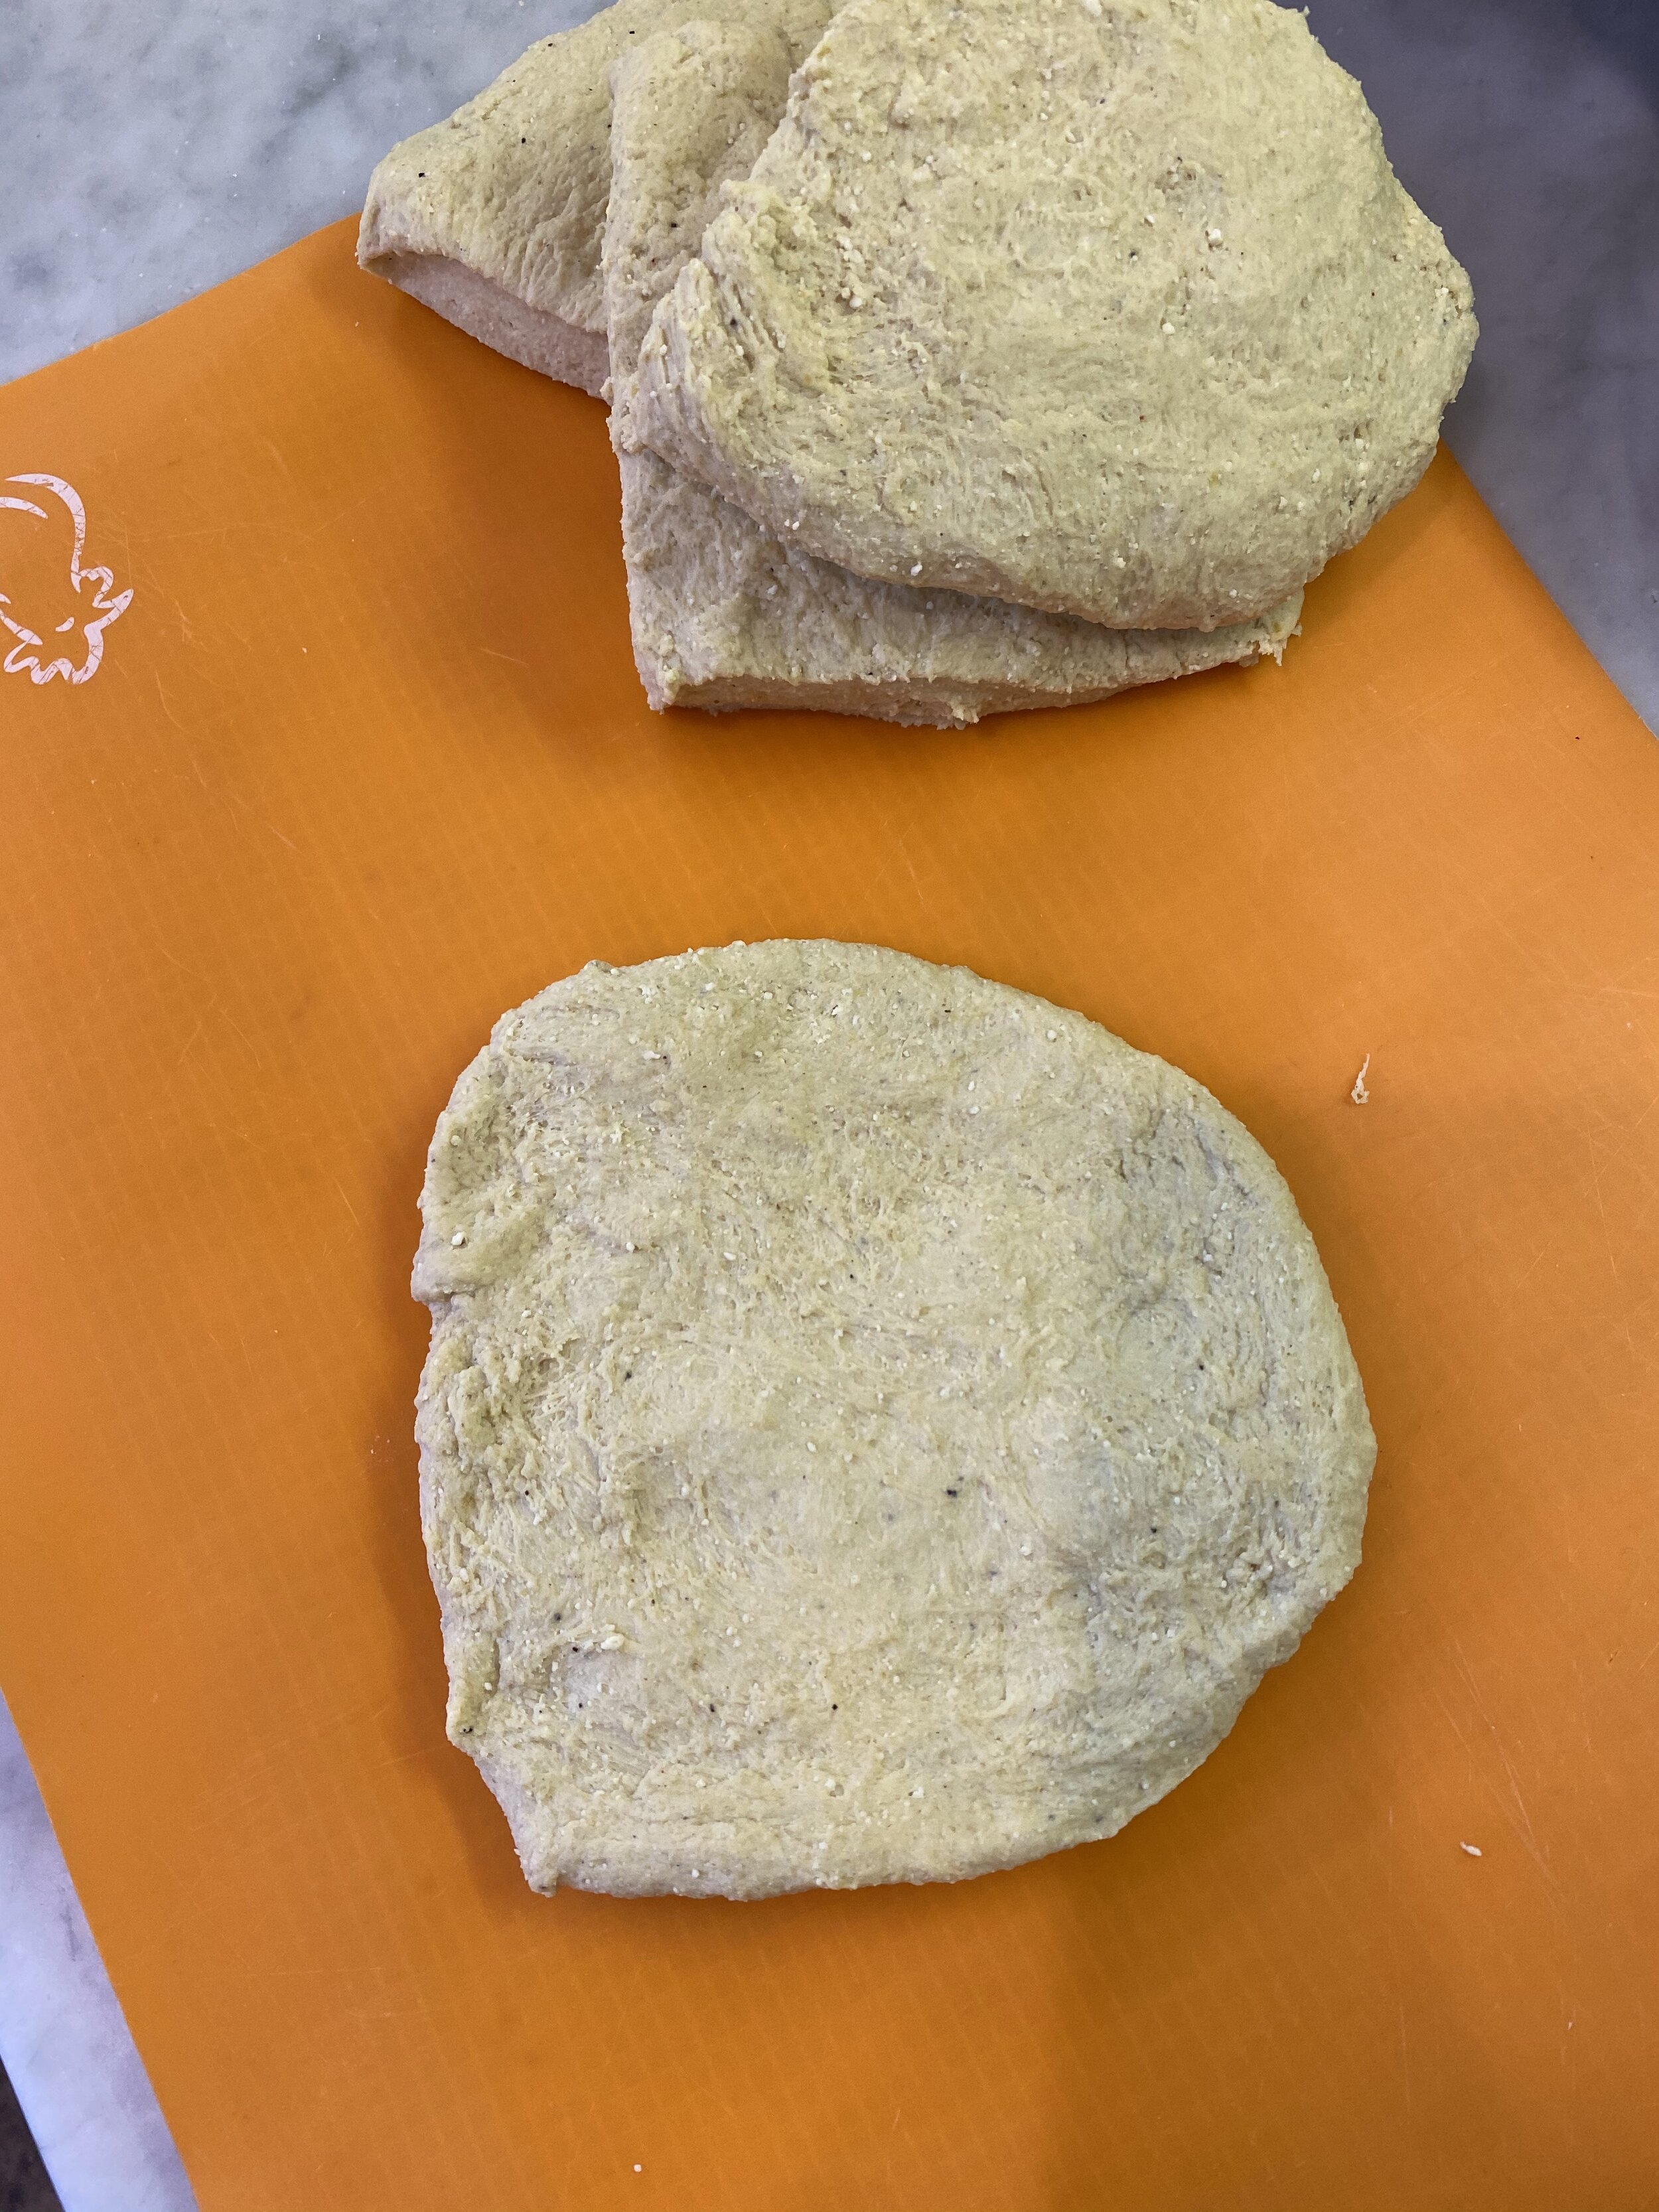
Evenly divide the dough into about 6 pieces.
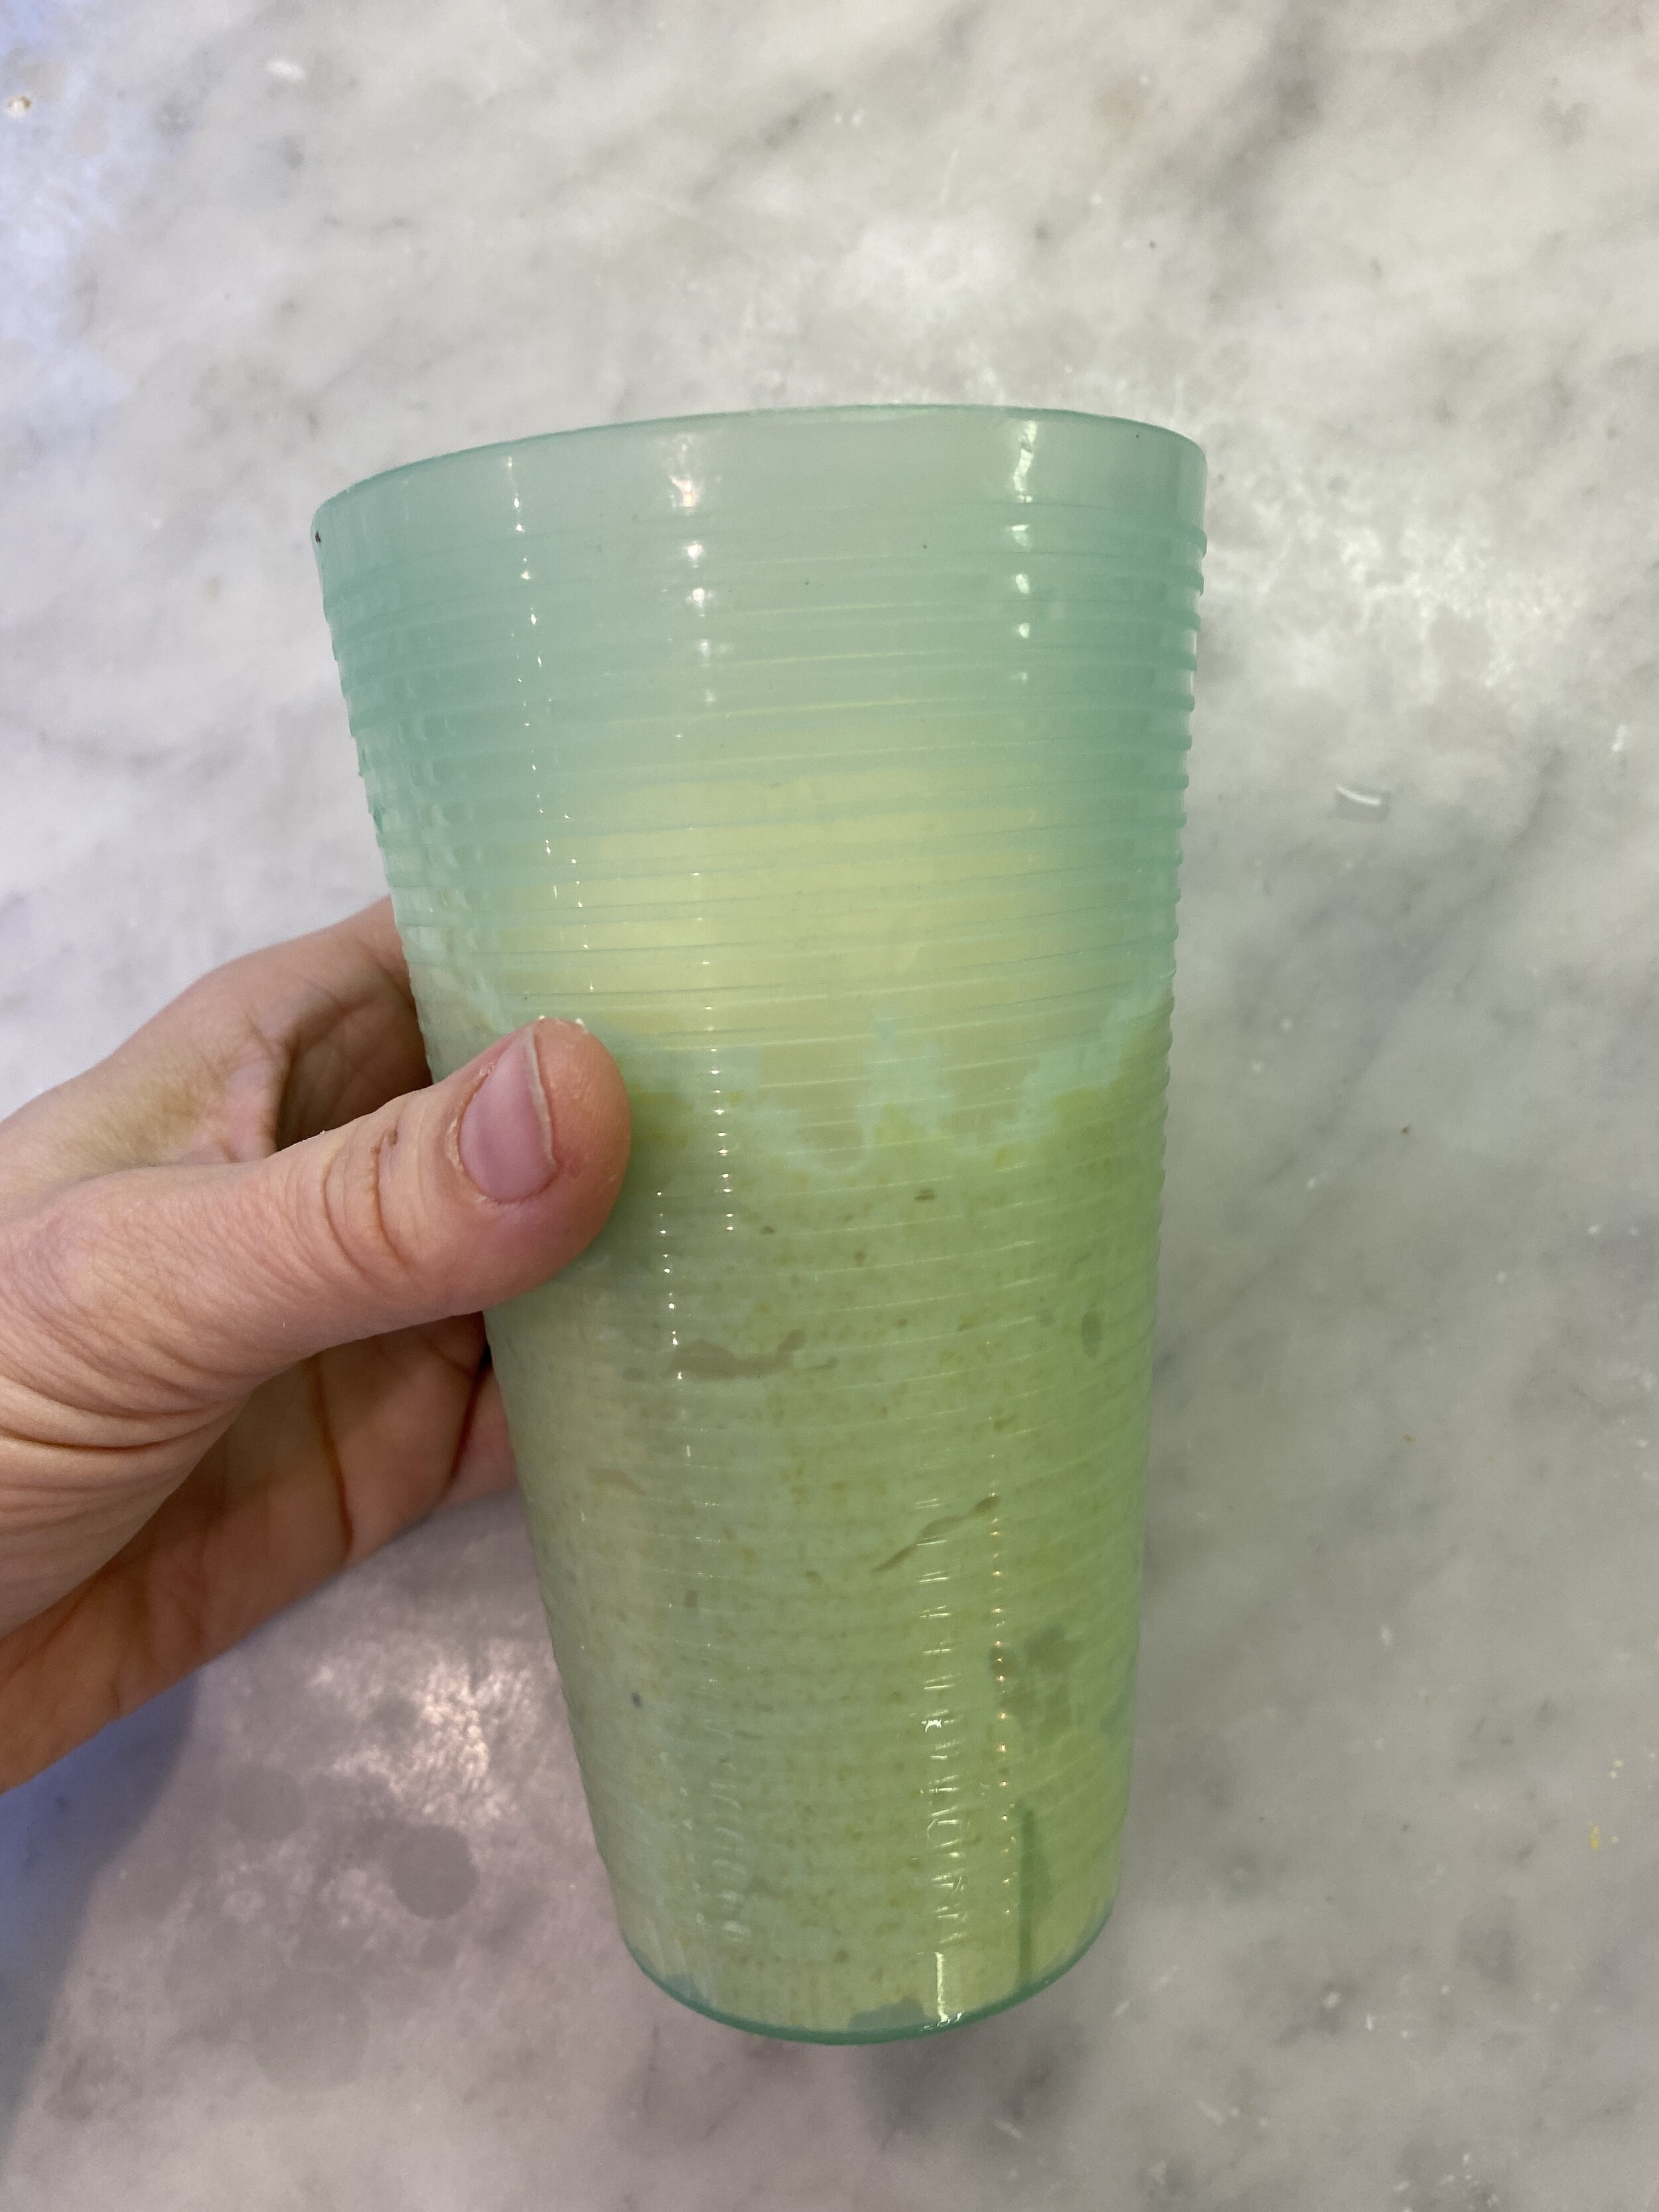
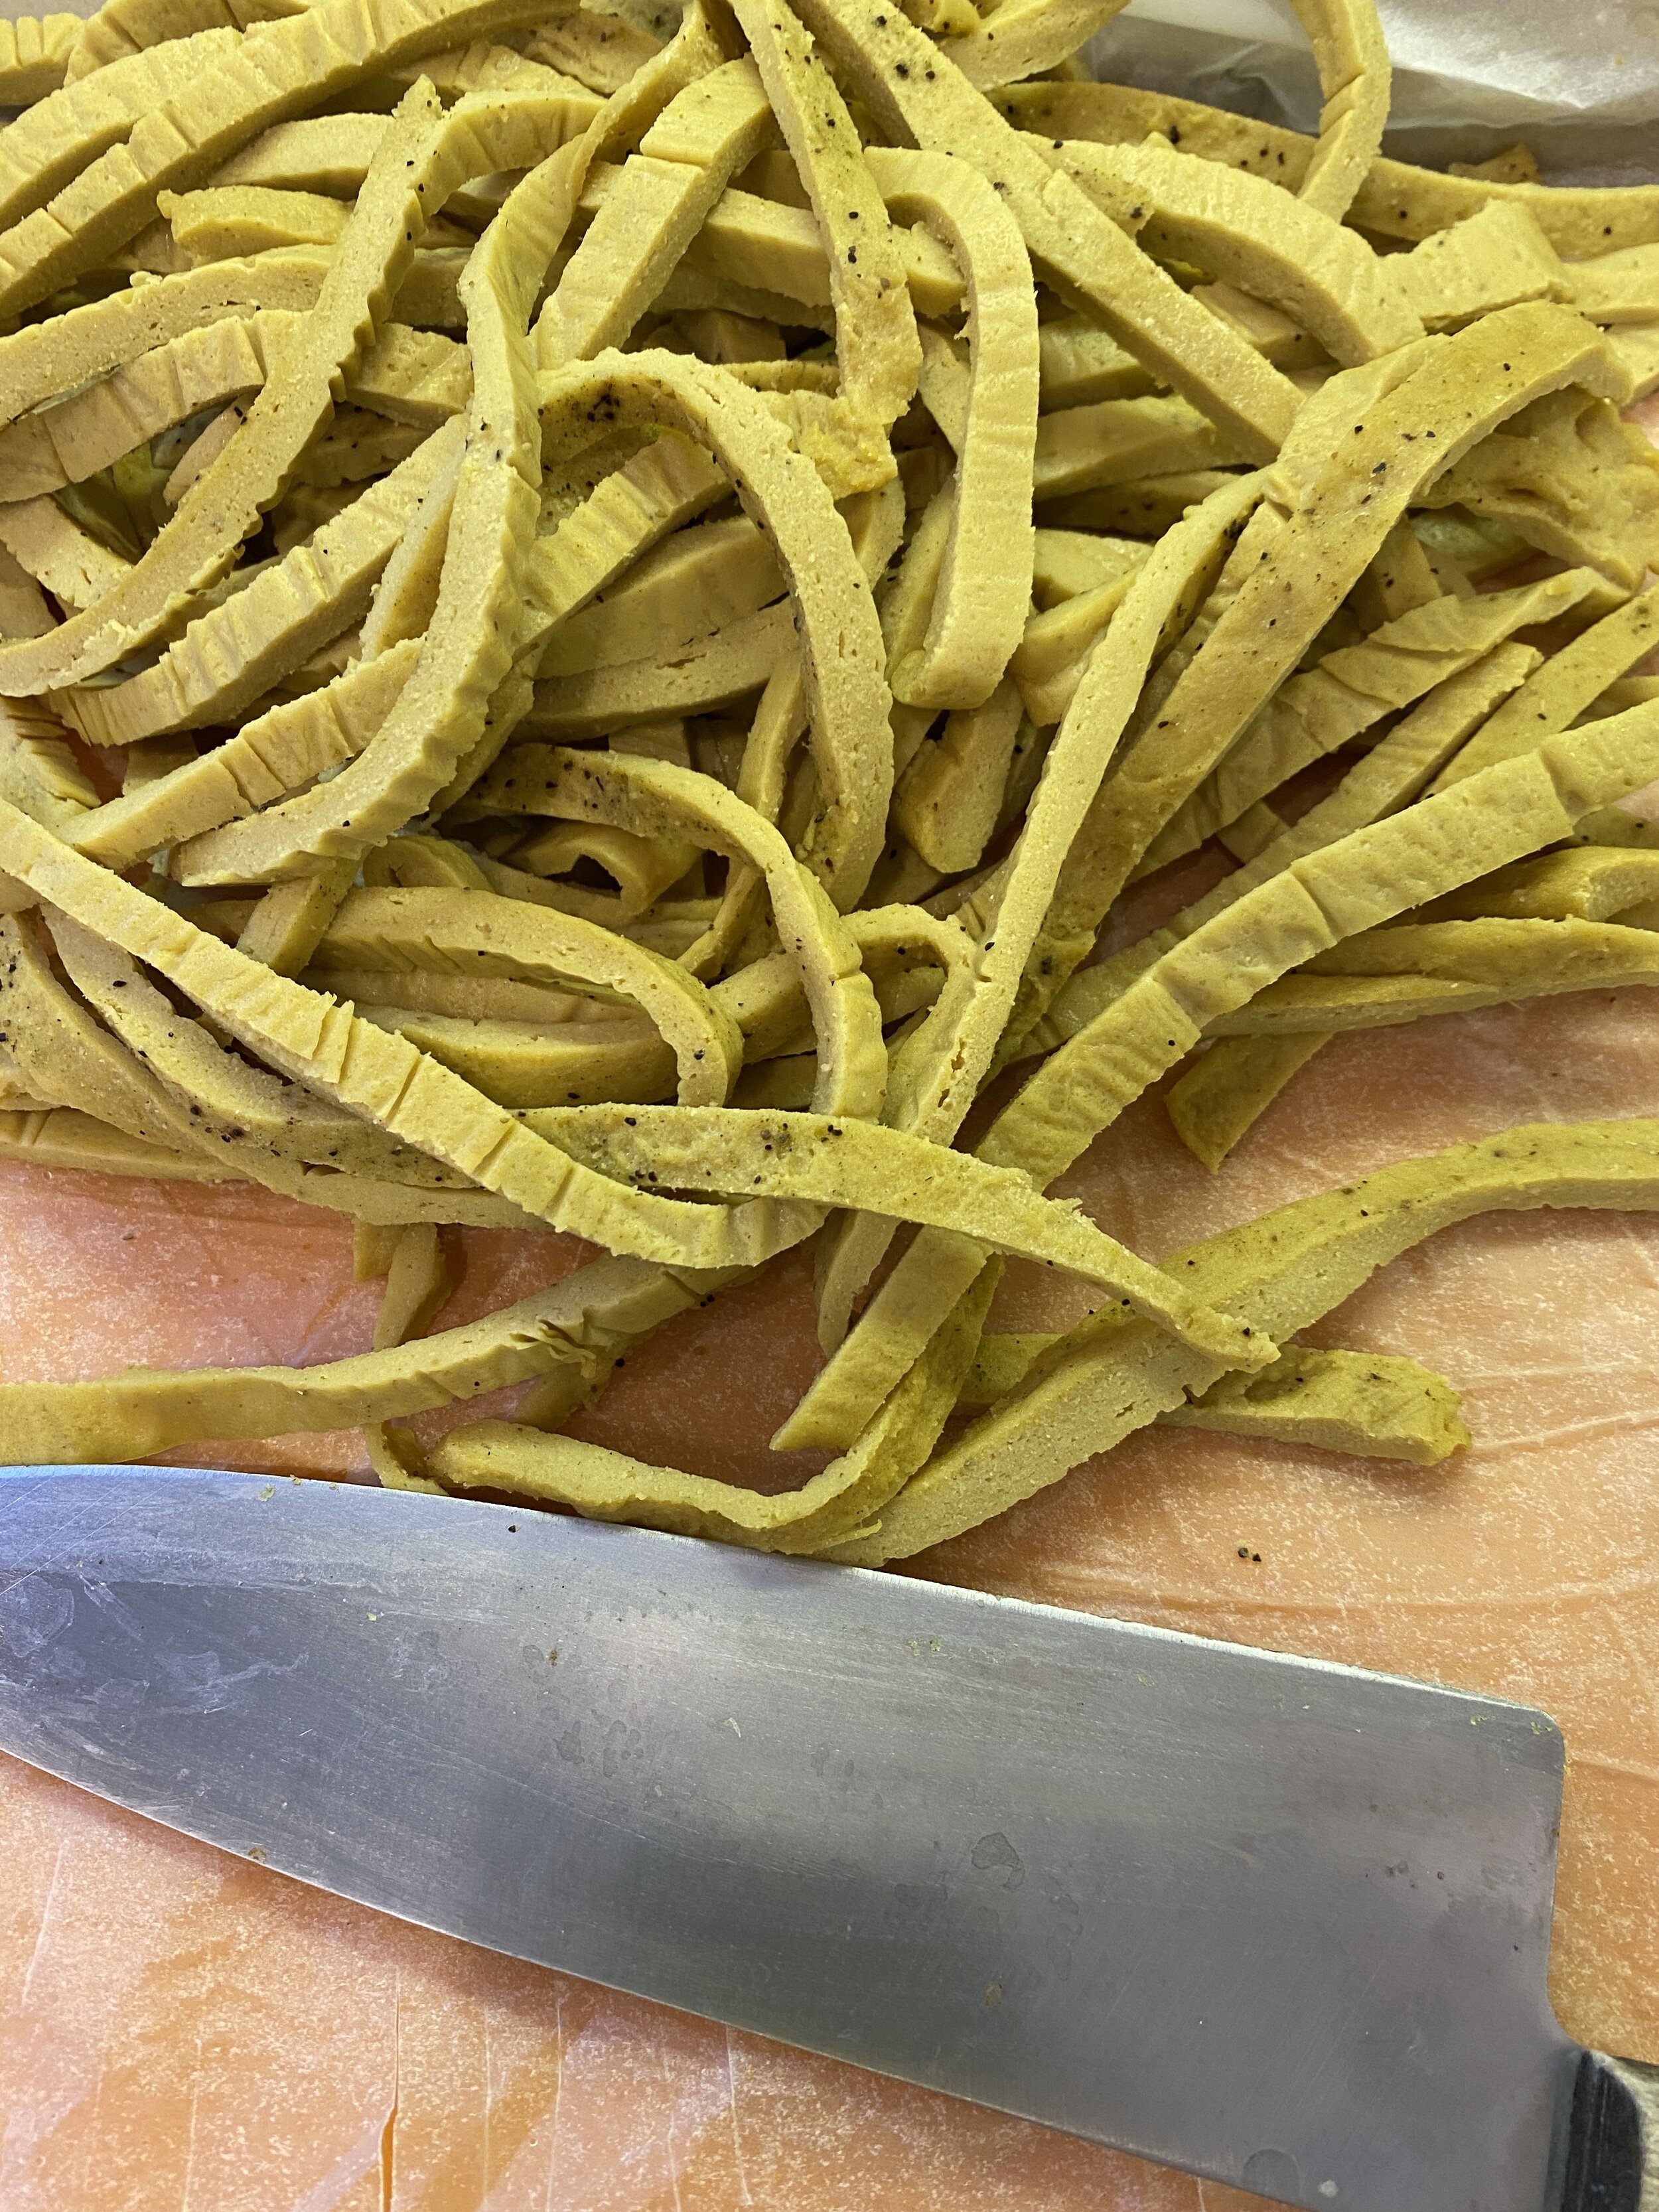
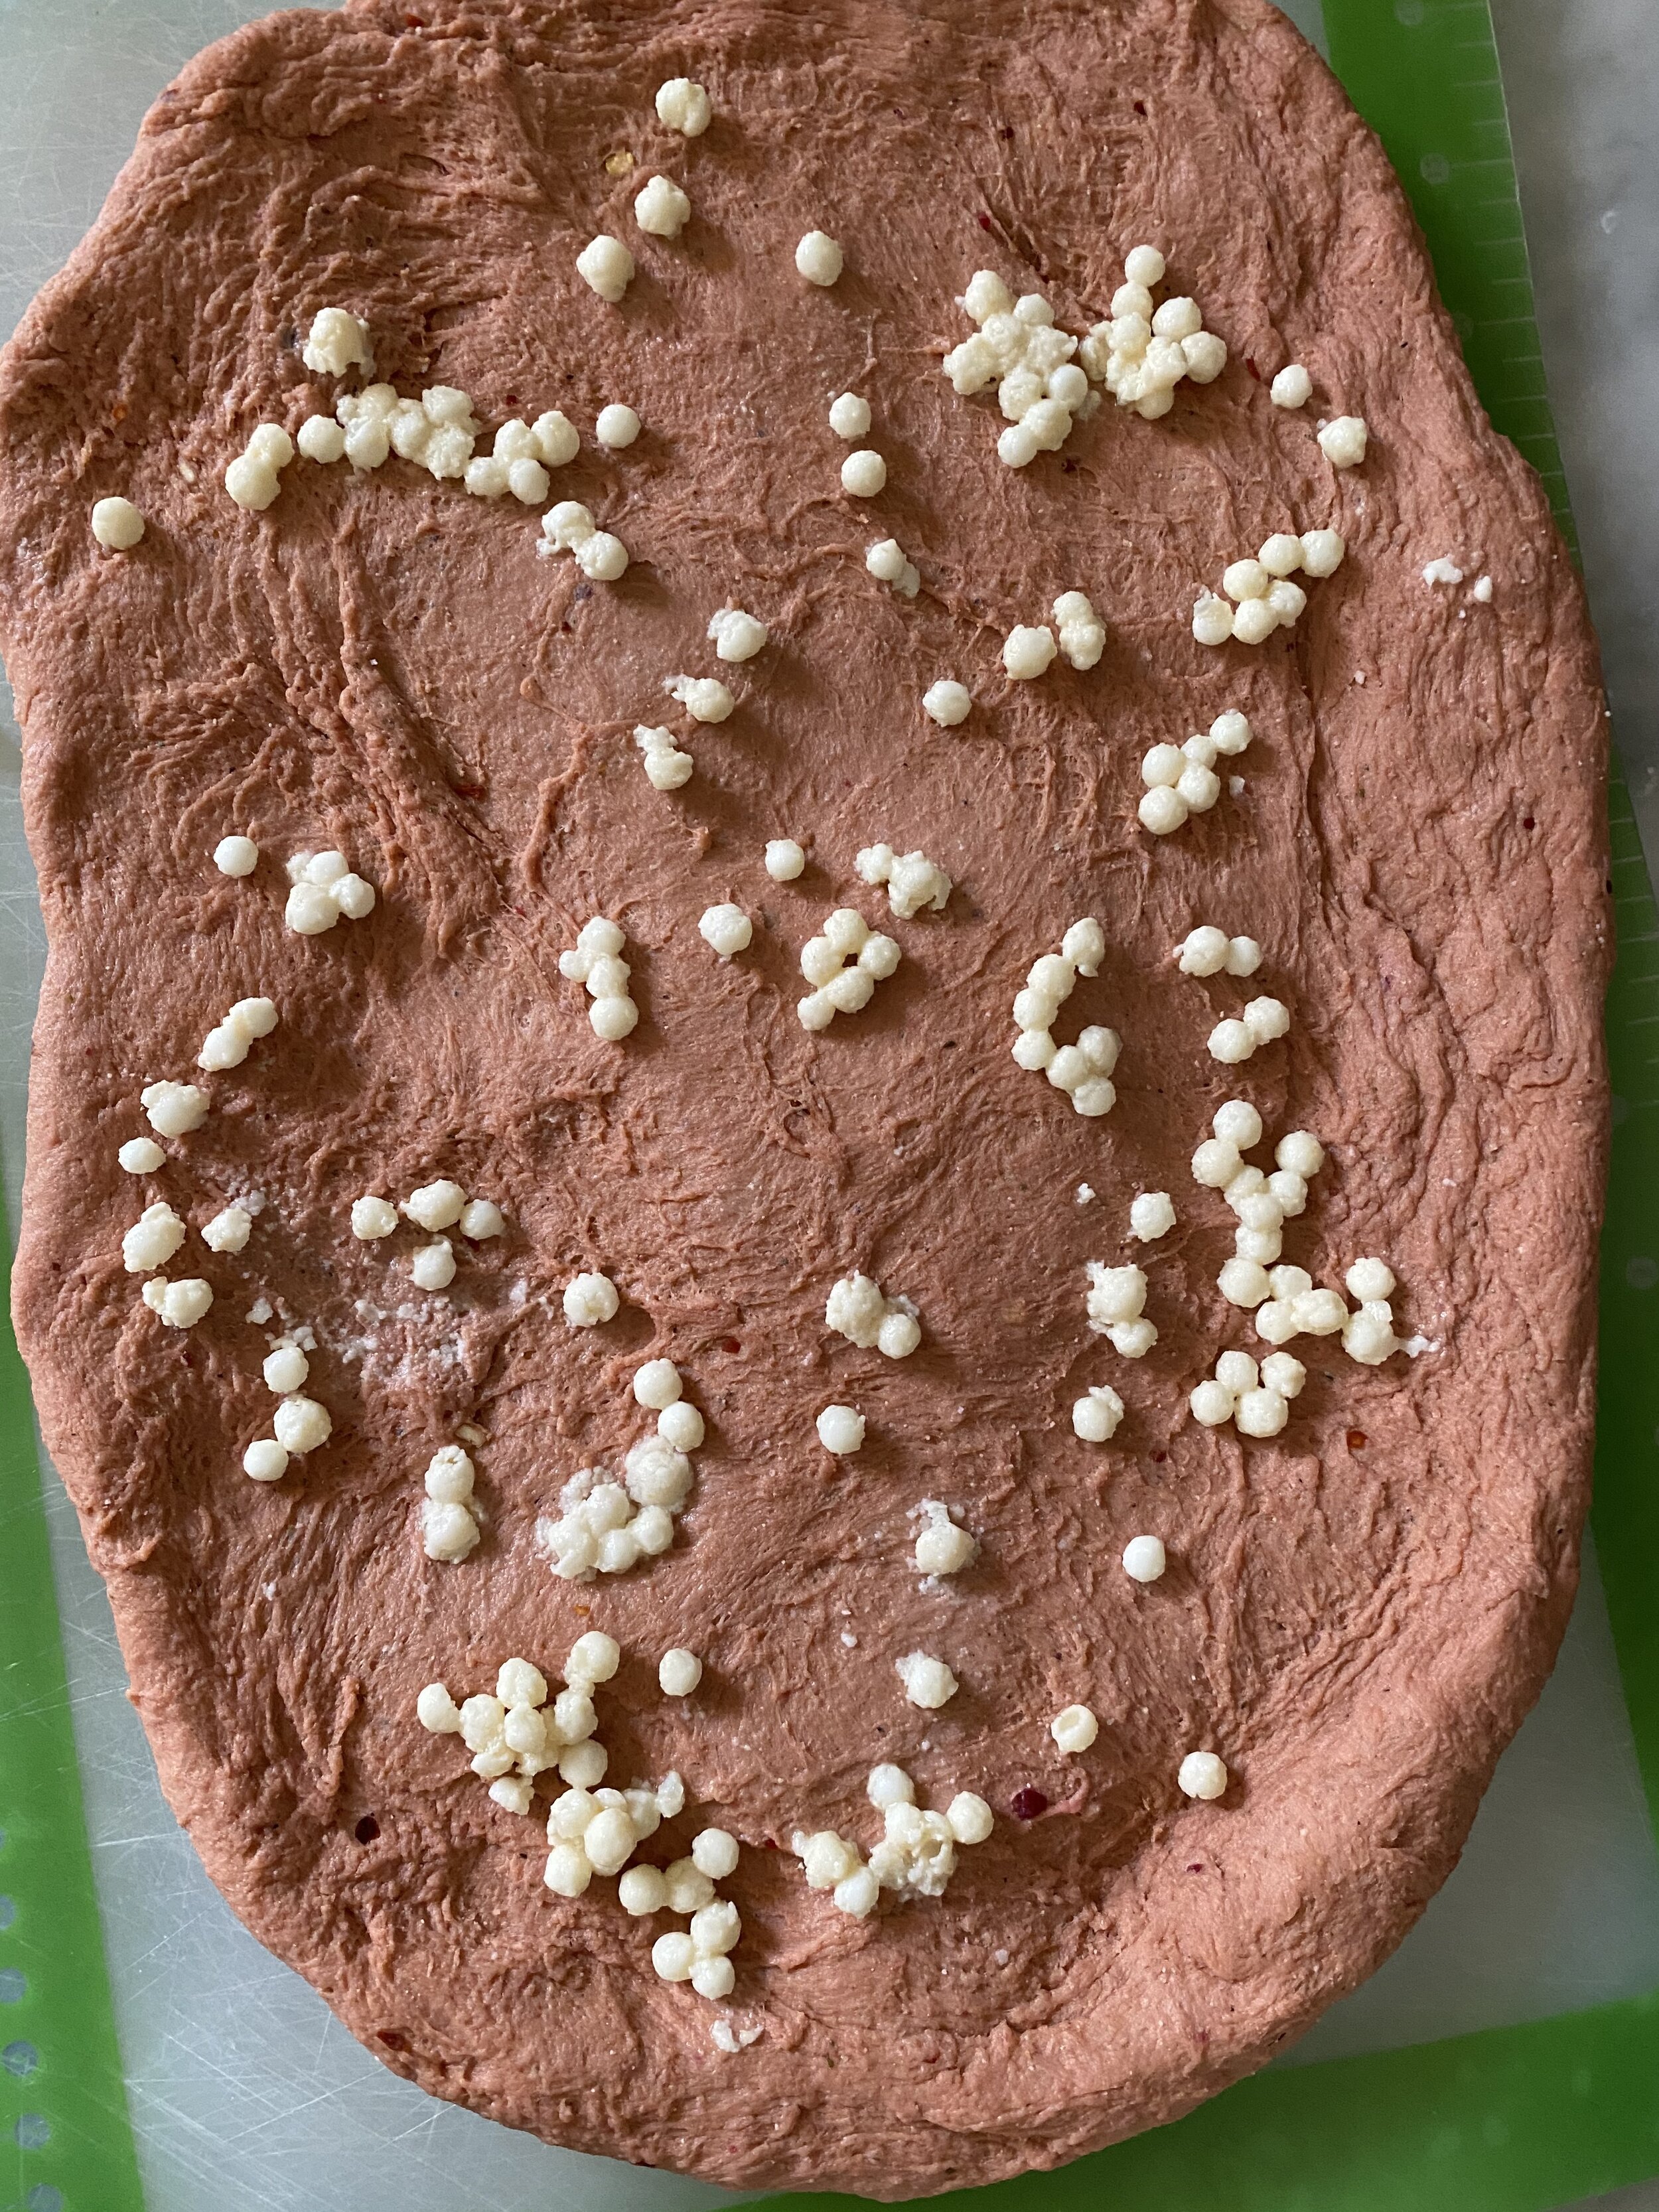
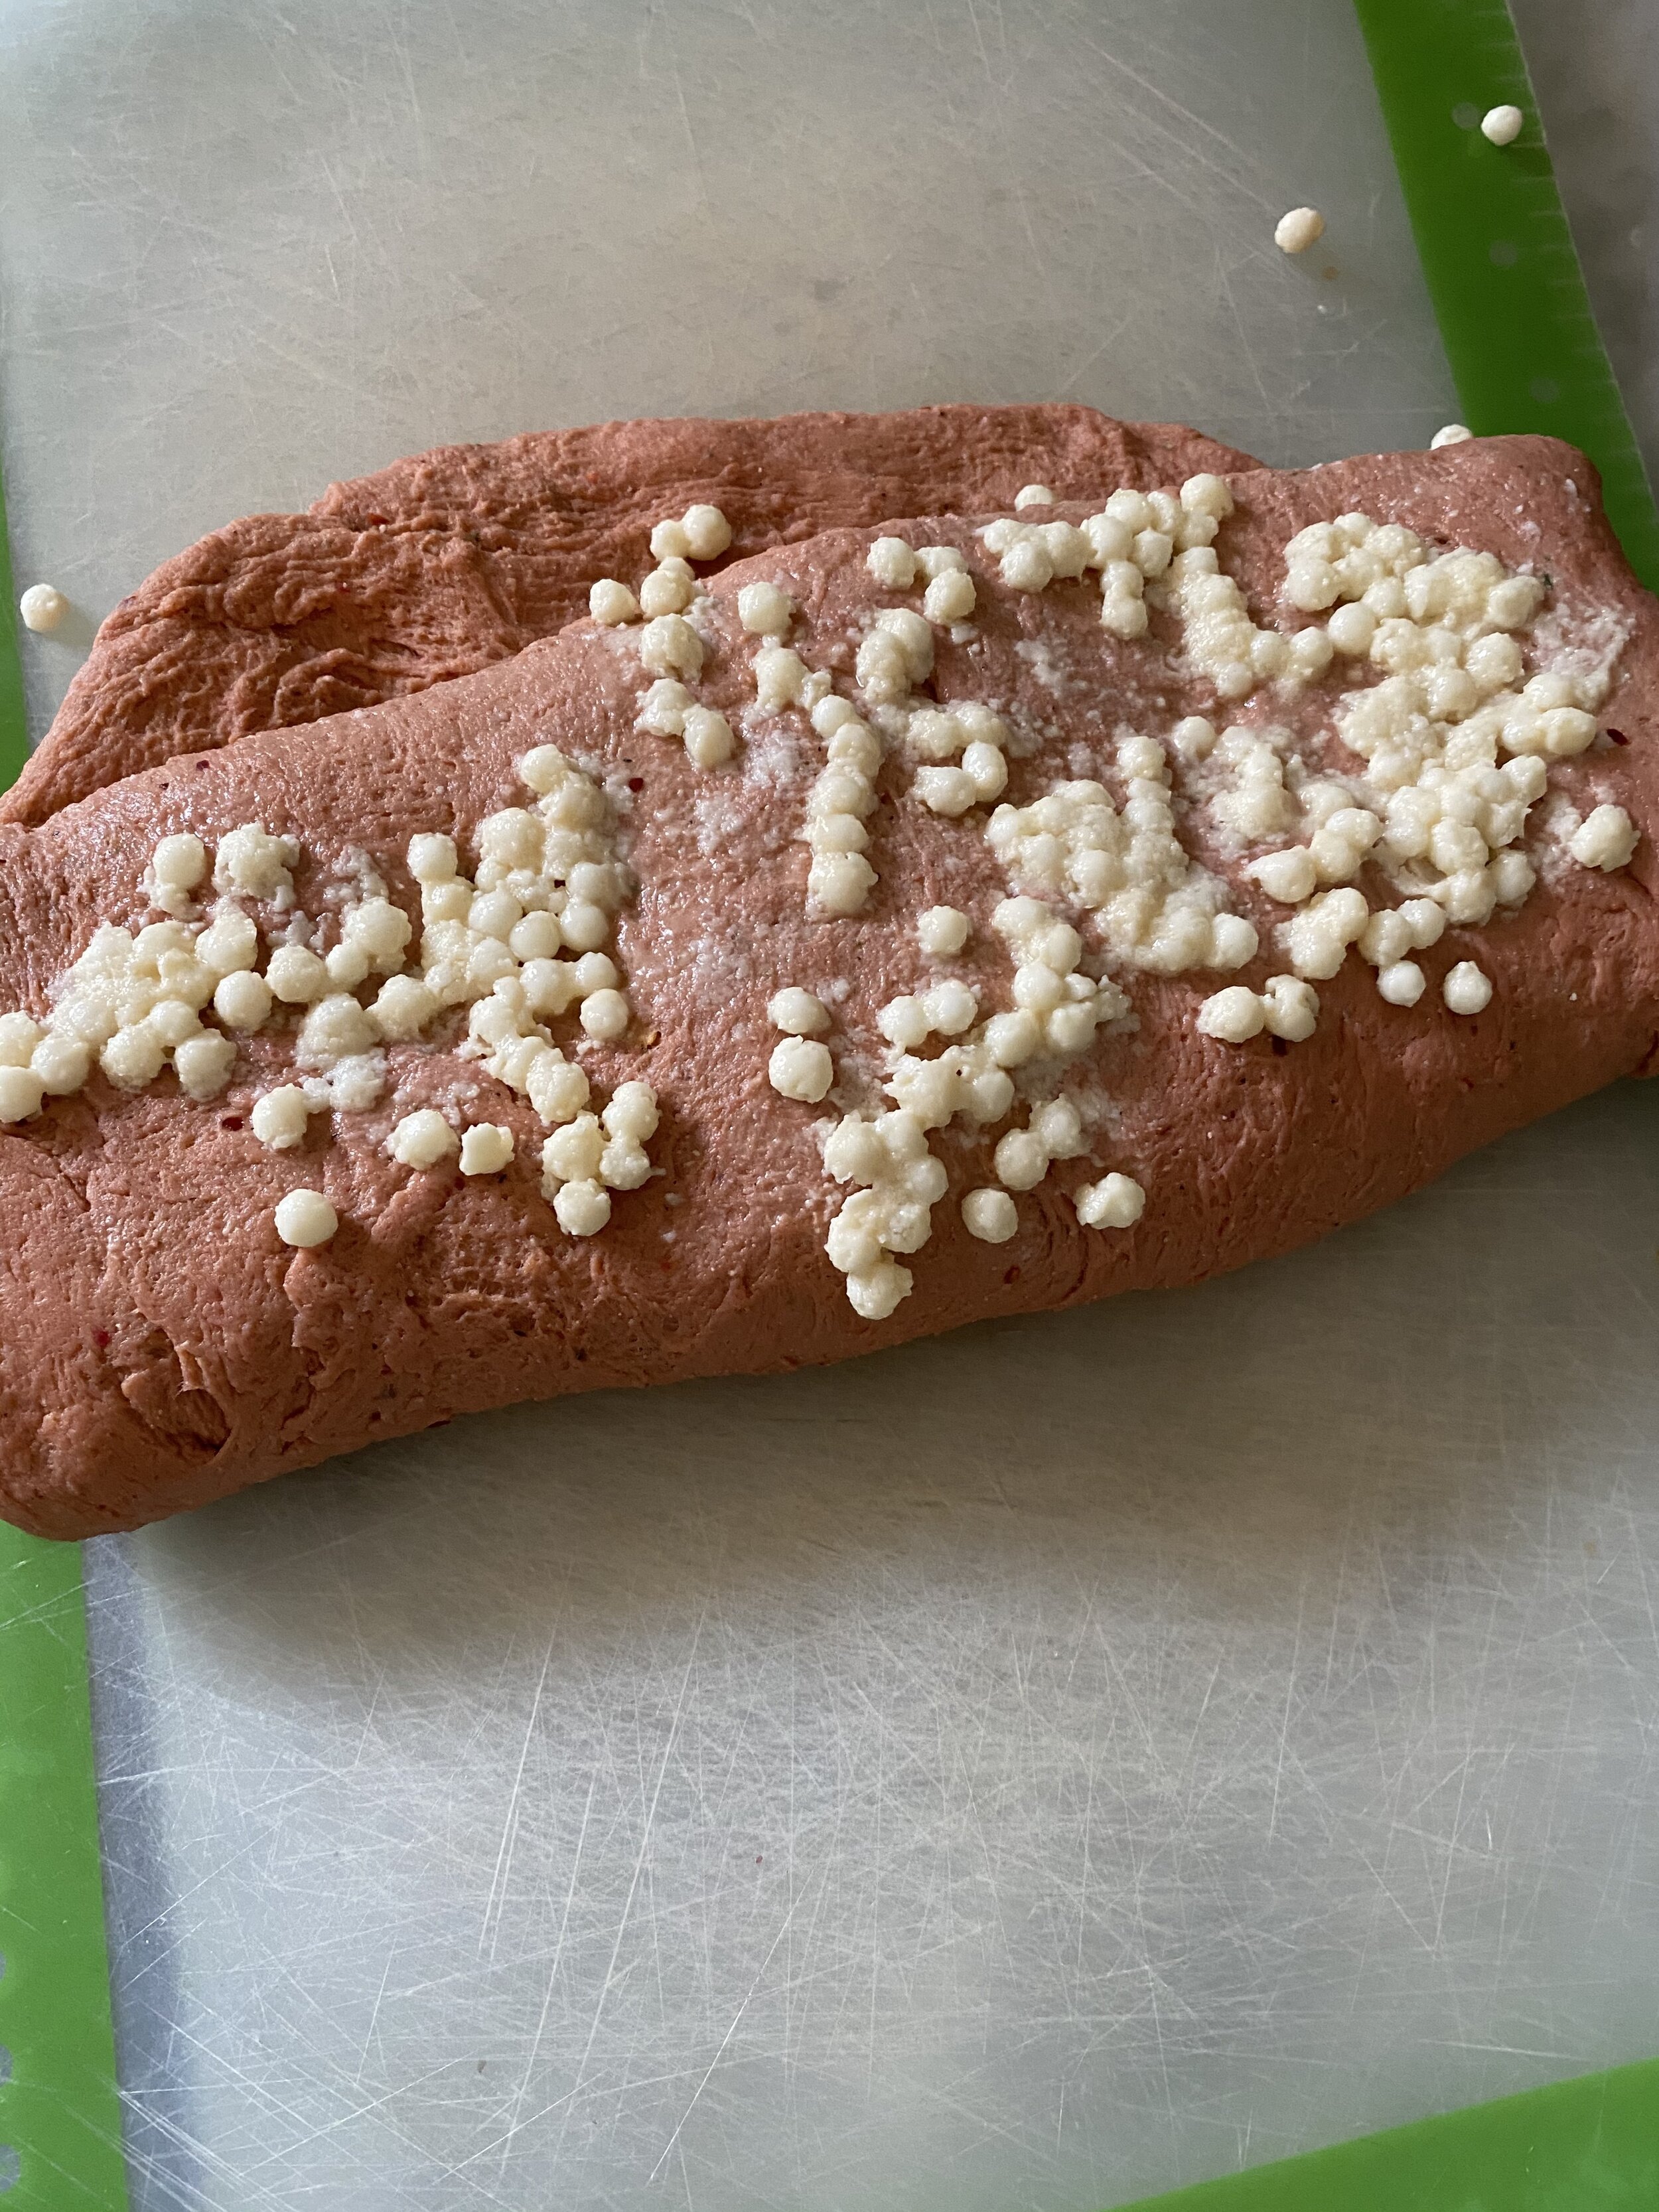
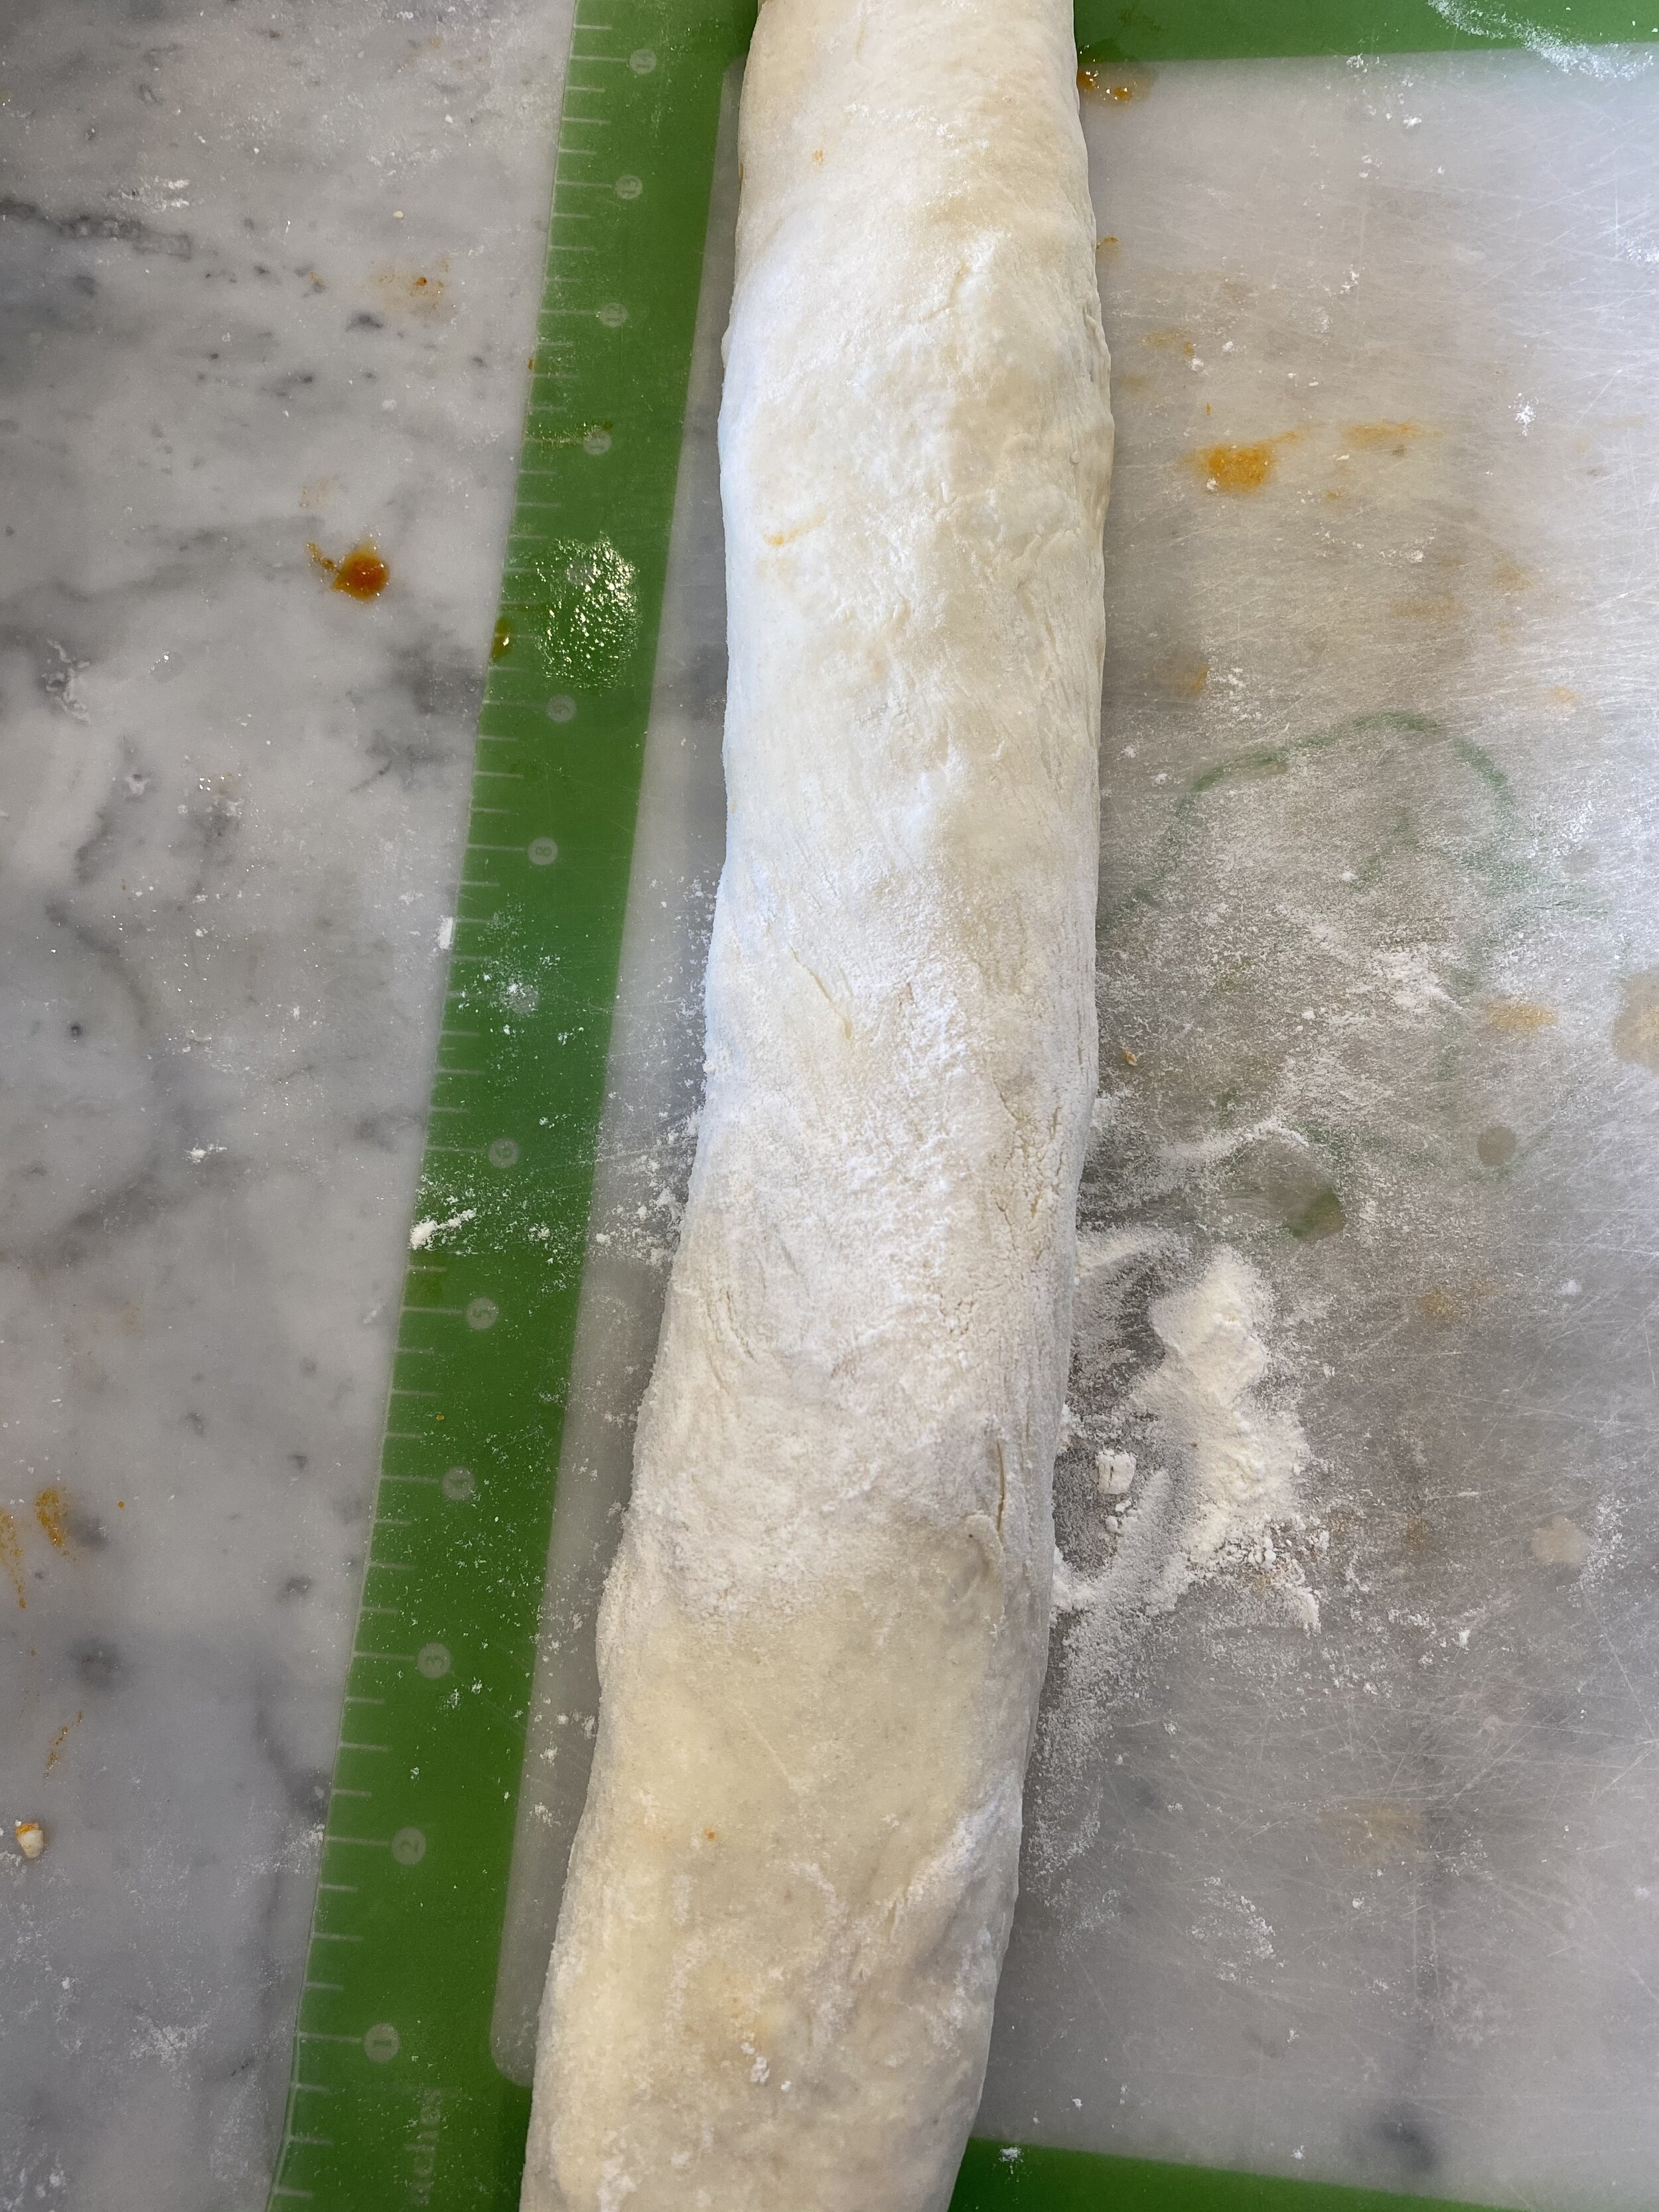
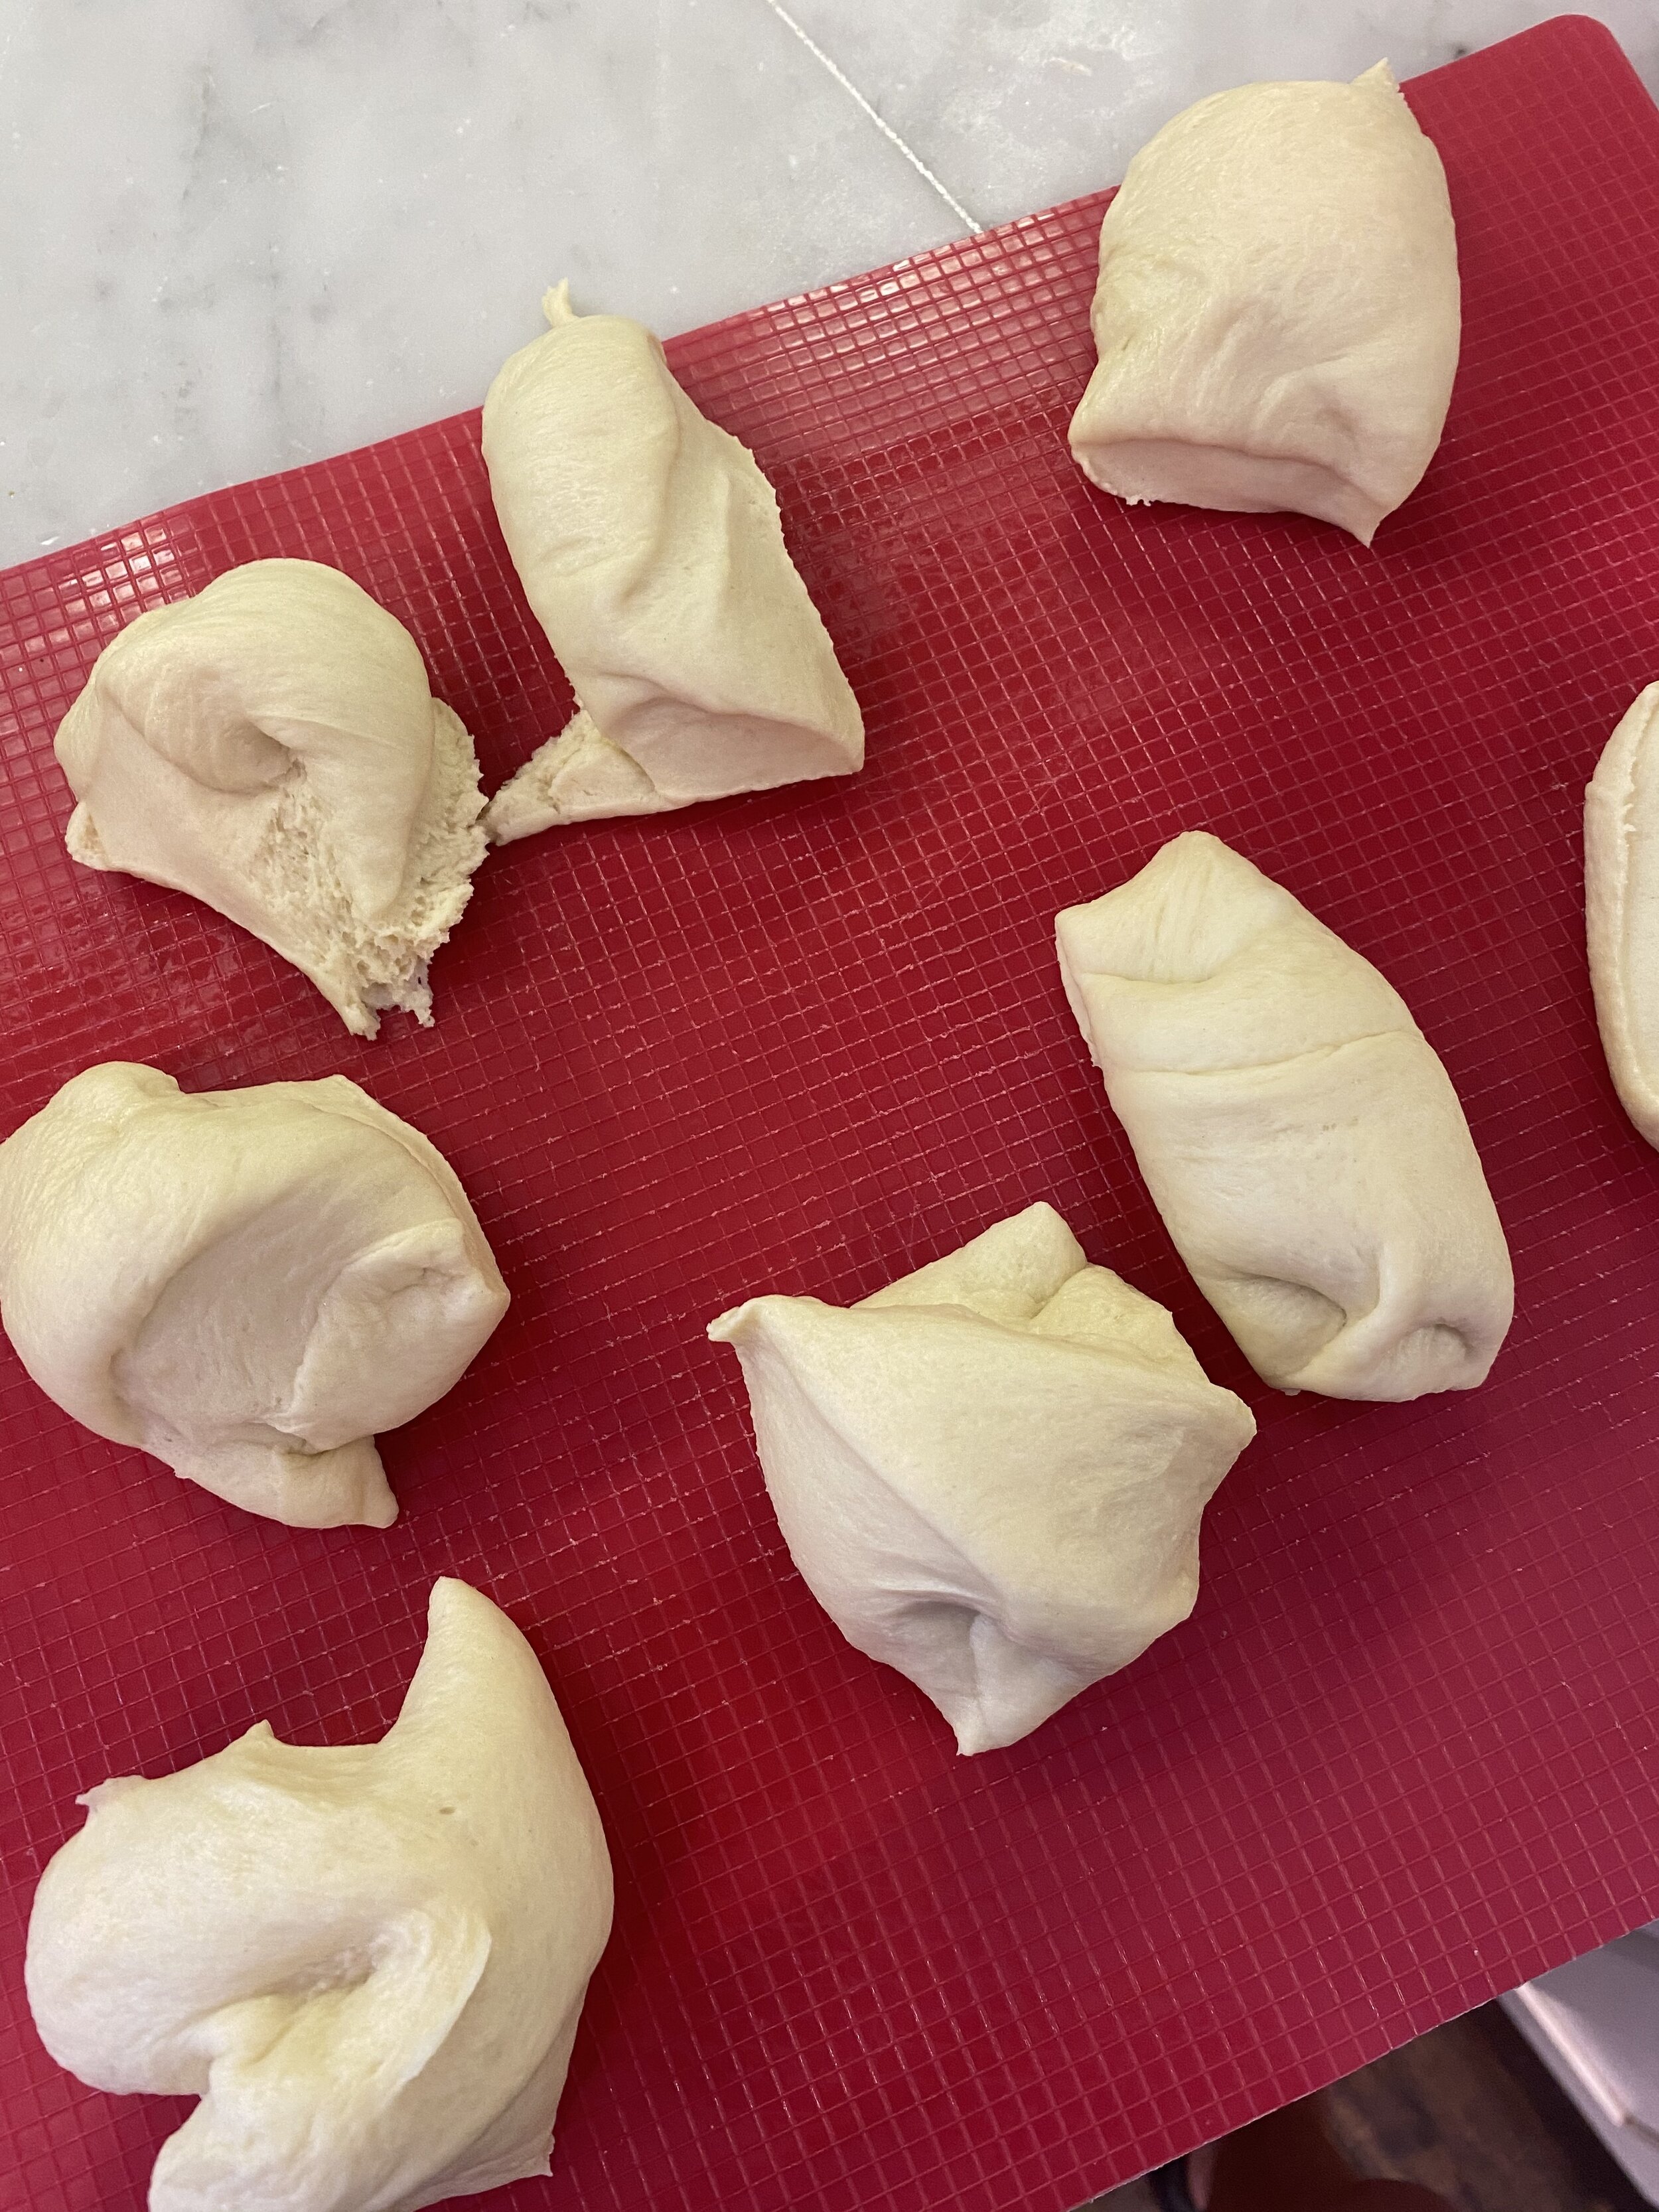
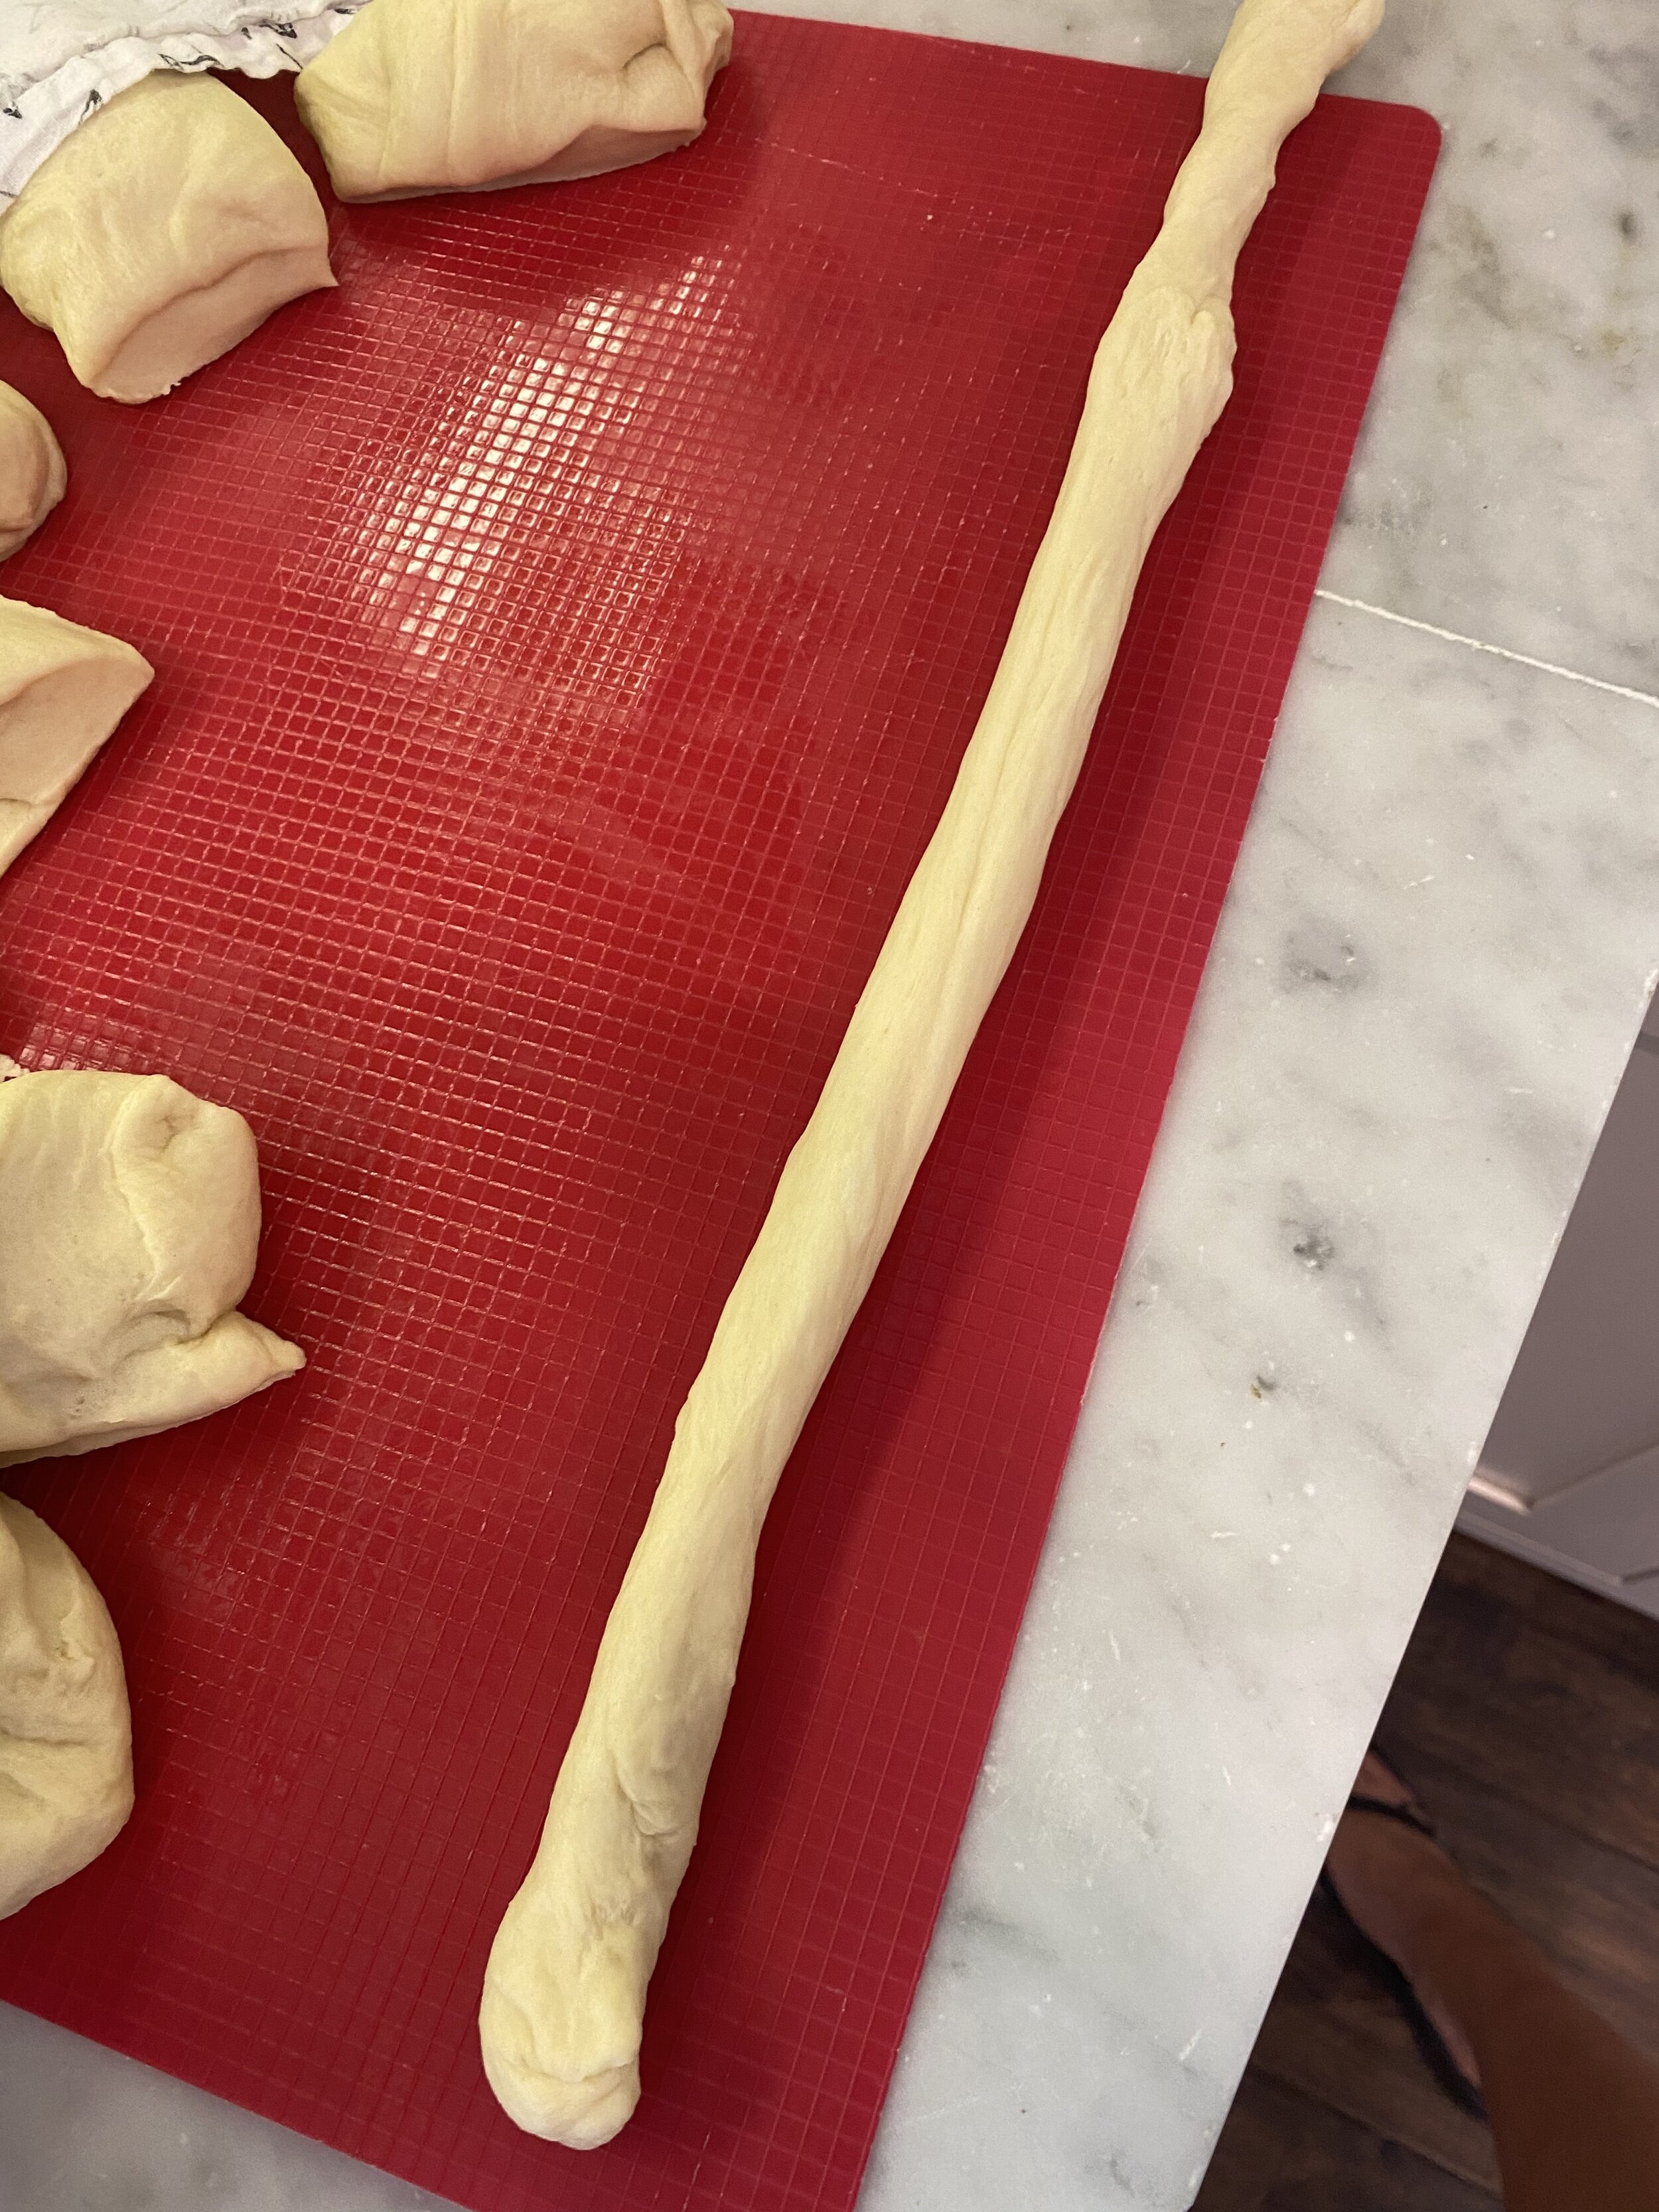
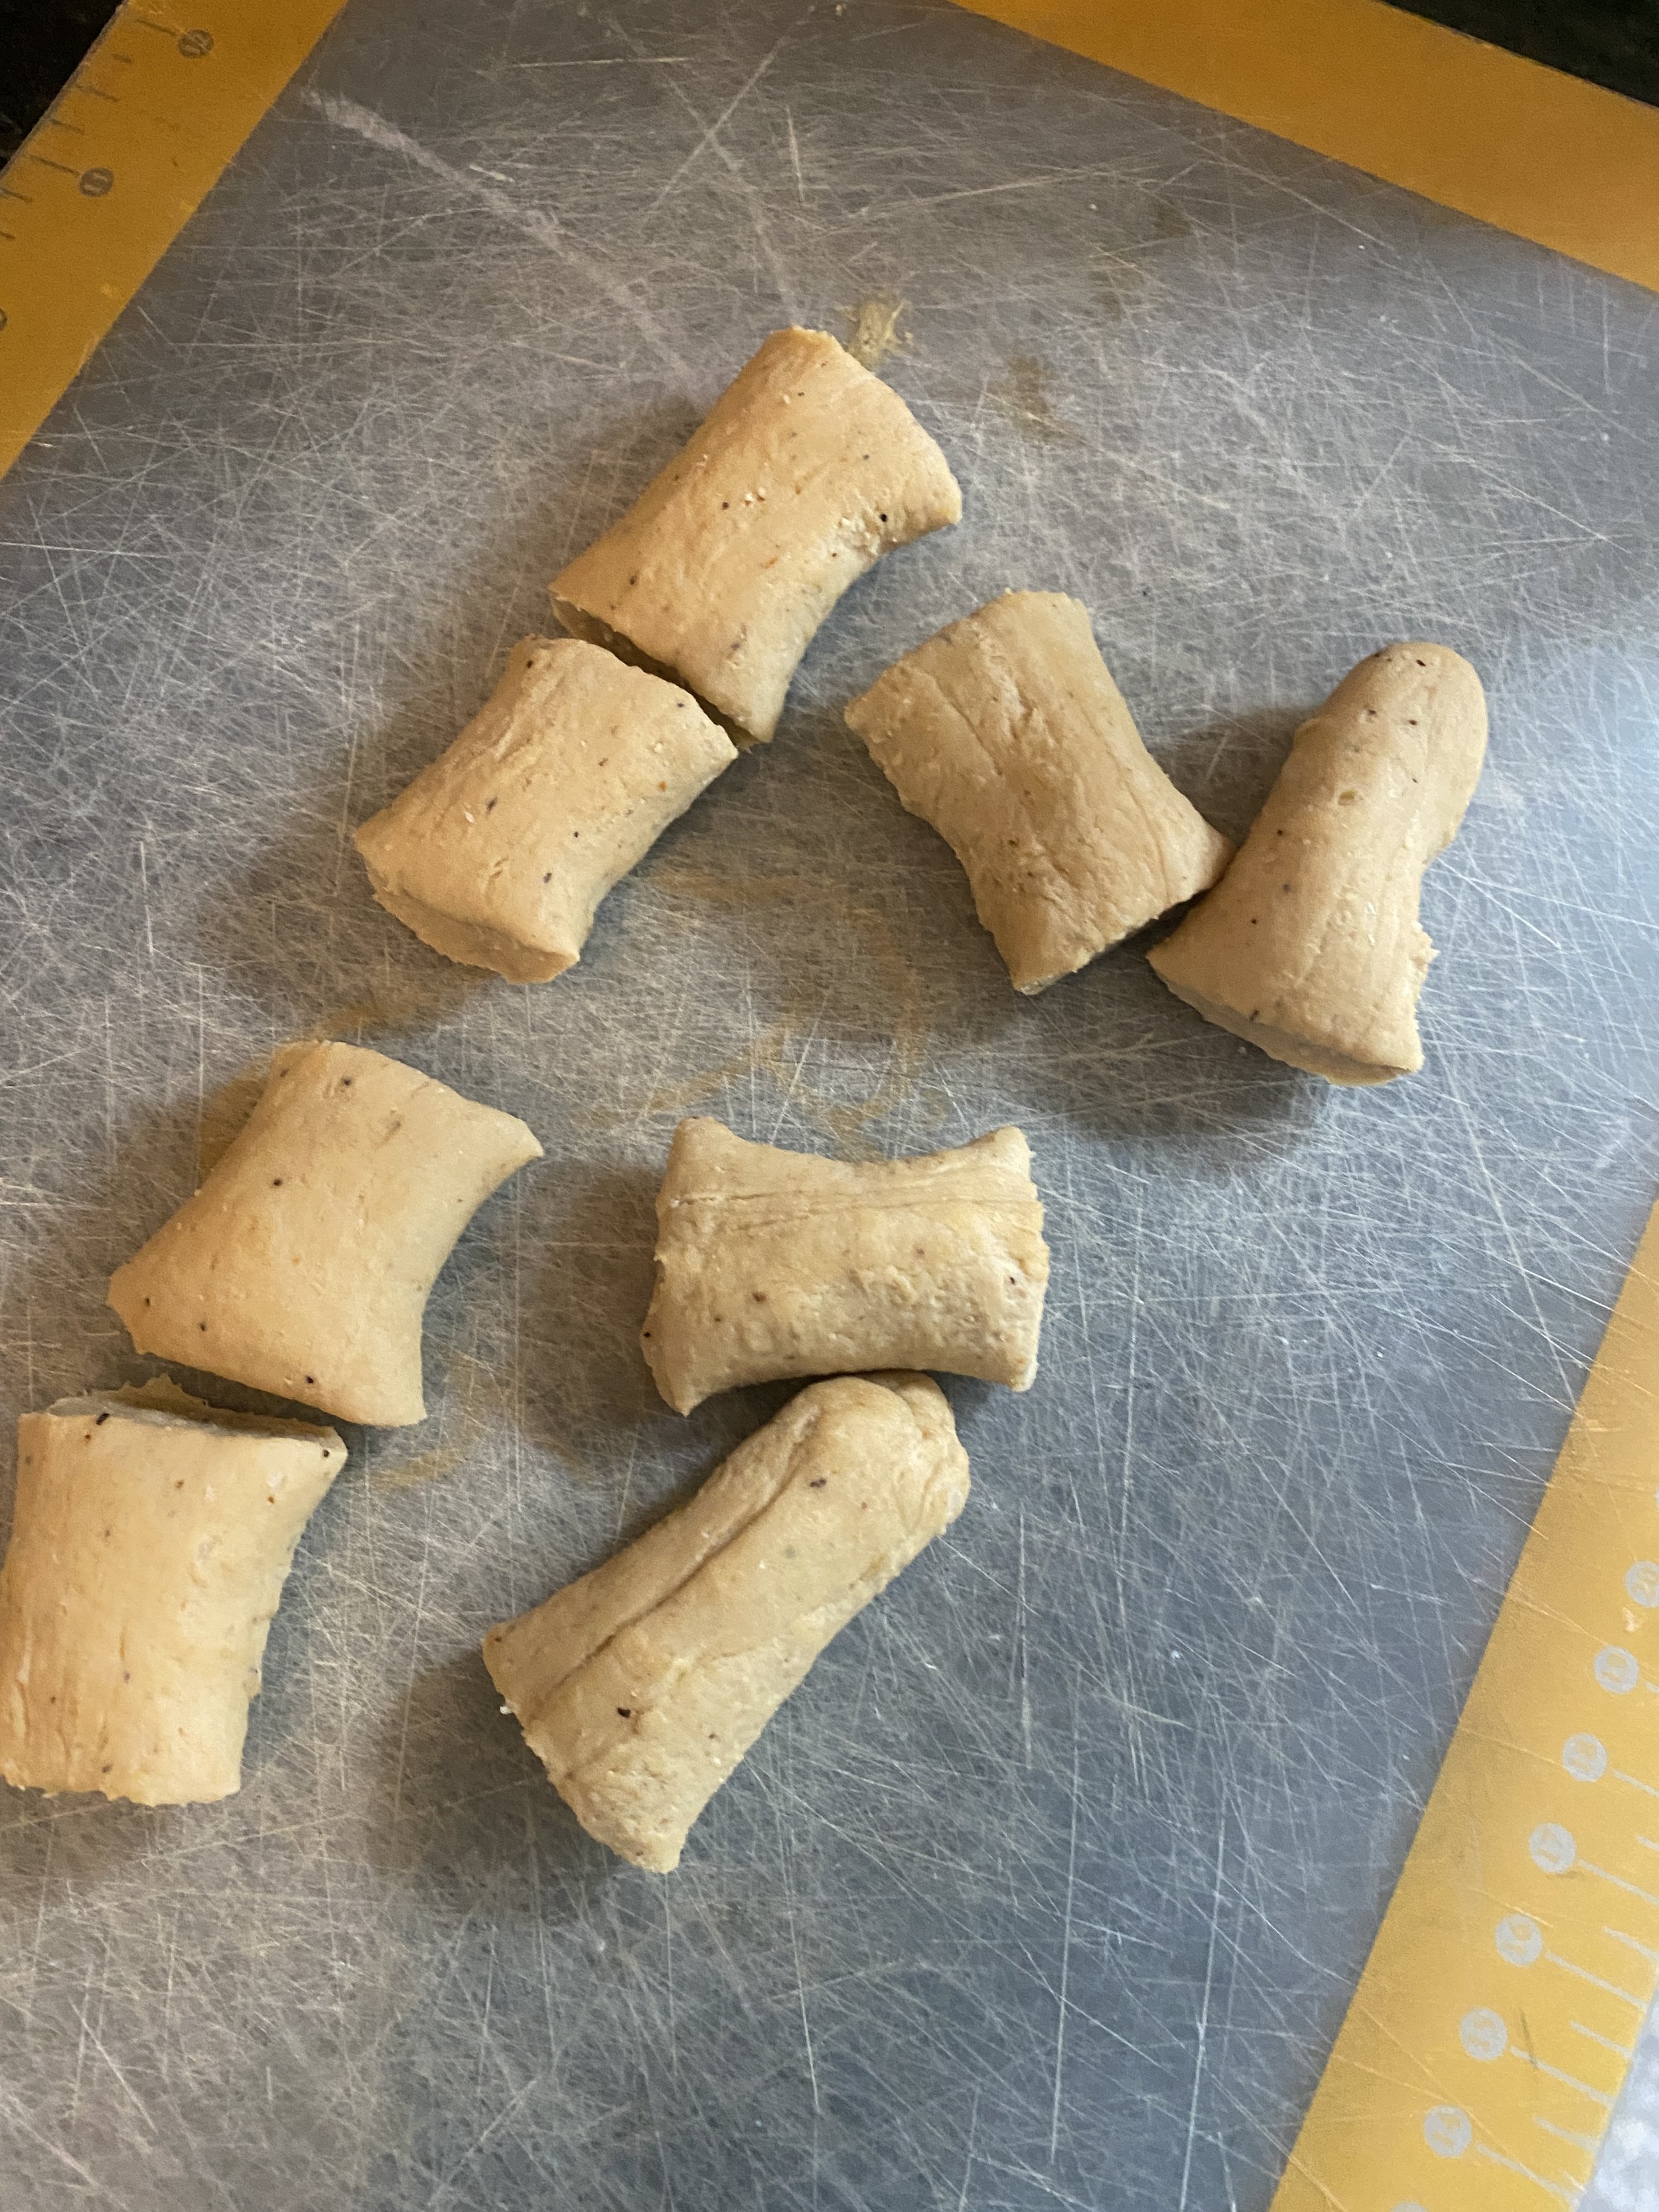
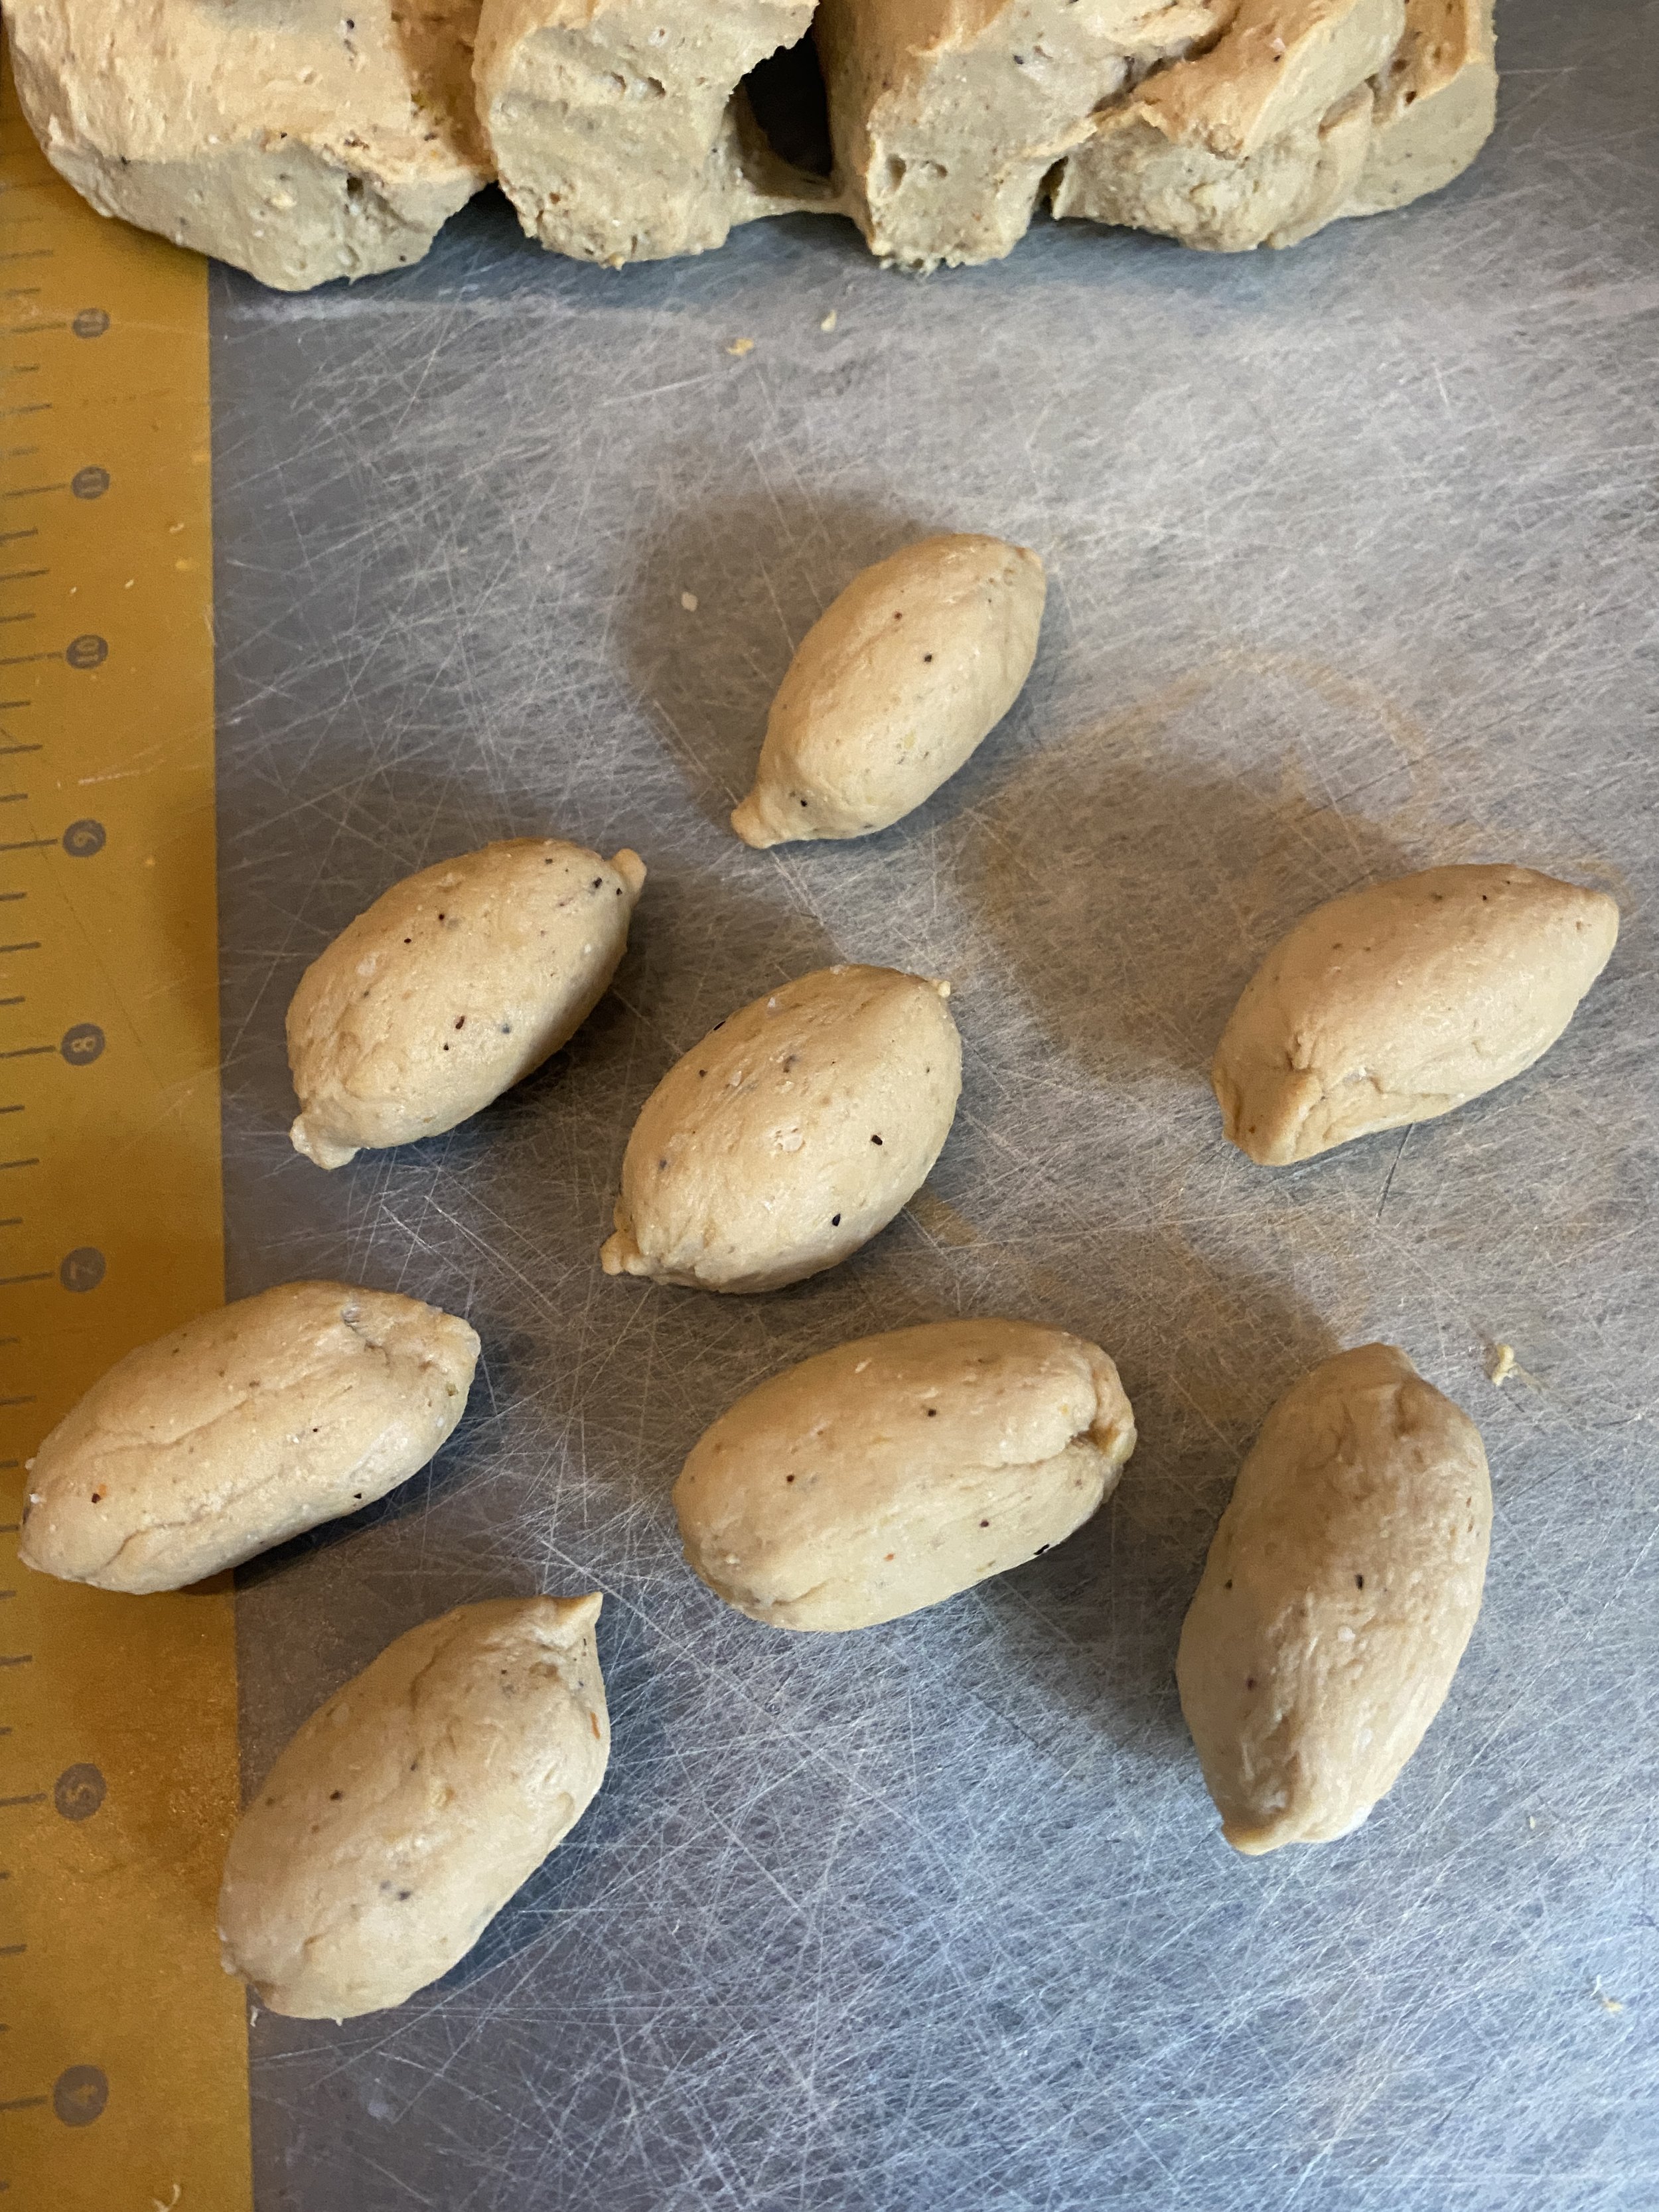
Take each piece and working them in your hands, one at a time, forming a dough rope. I like to roll between my hands and then lay the rope out on a clean counter top or cutting mat and continue rolling until each piece is around a 16 inch rope.
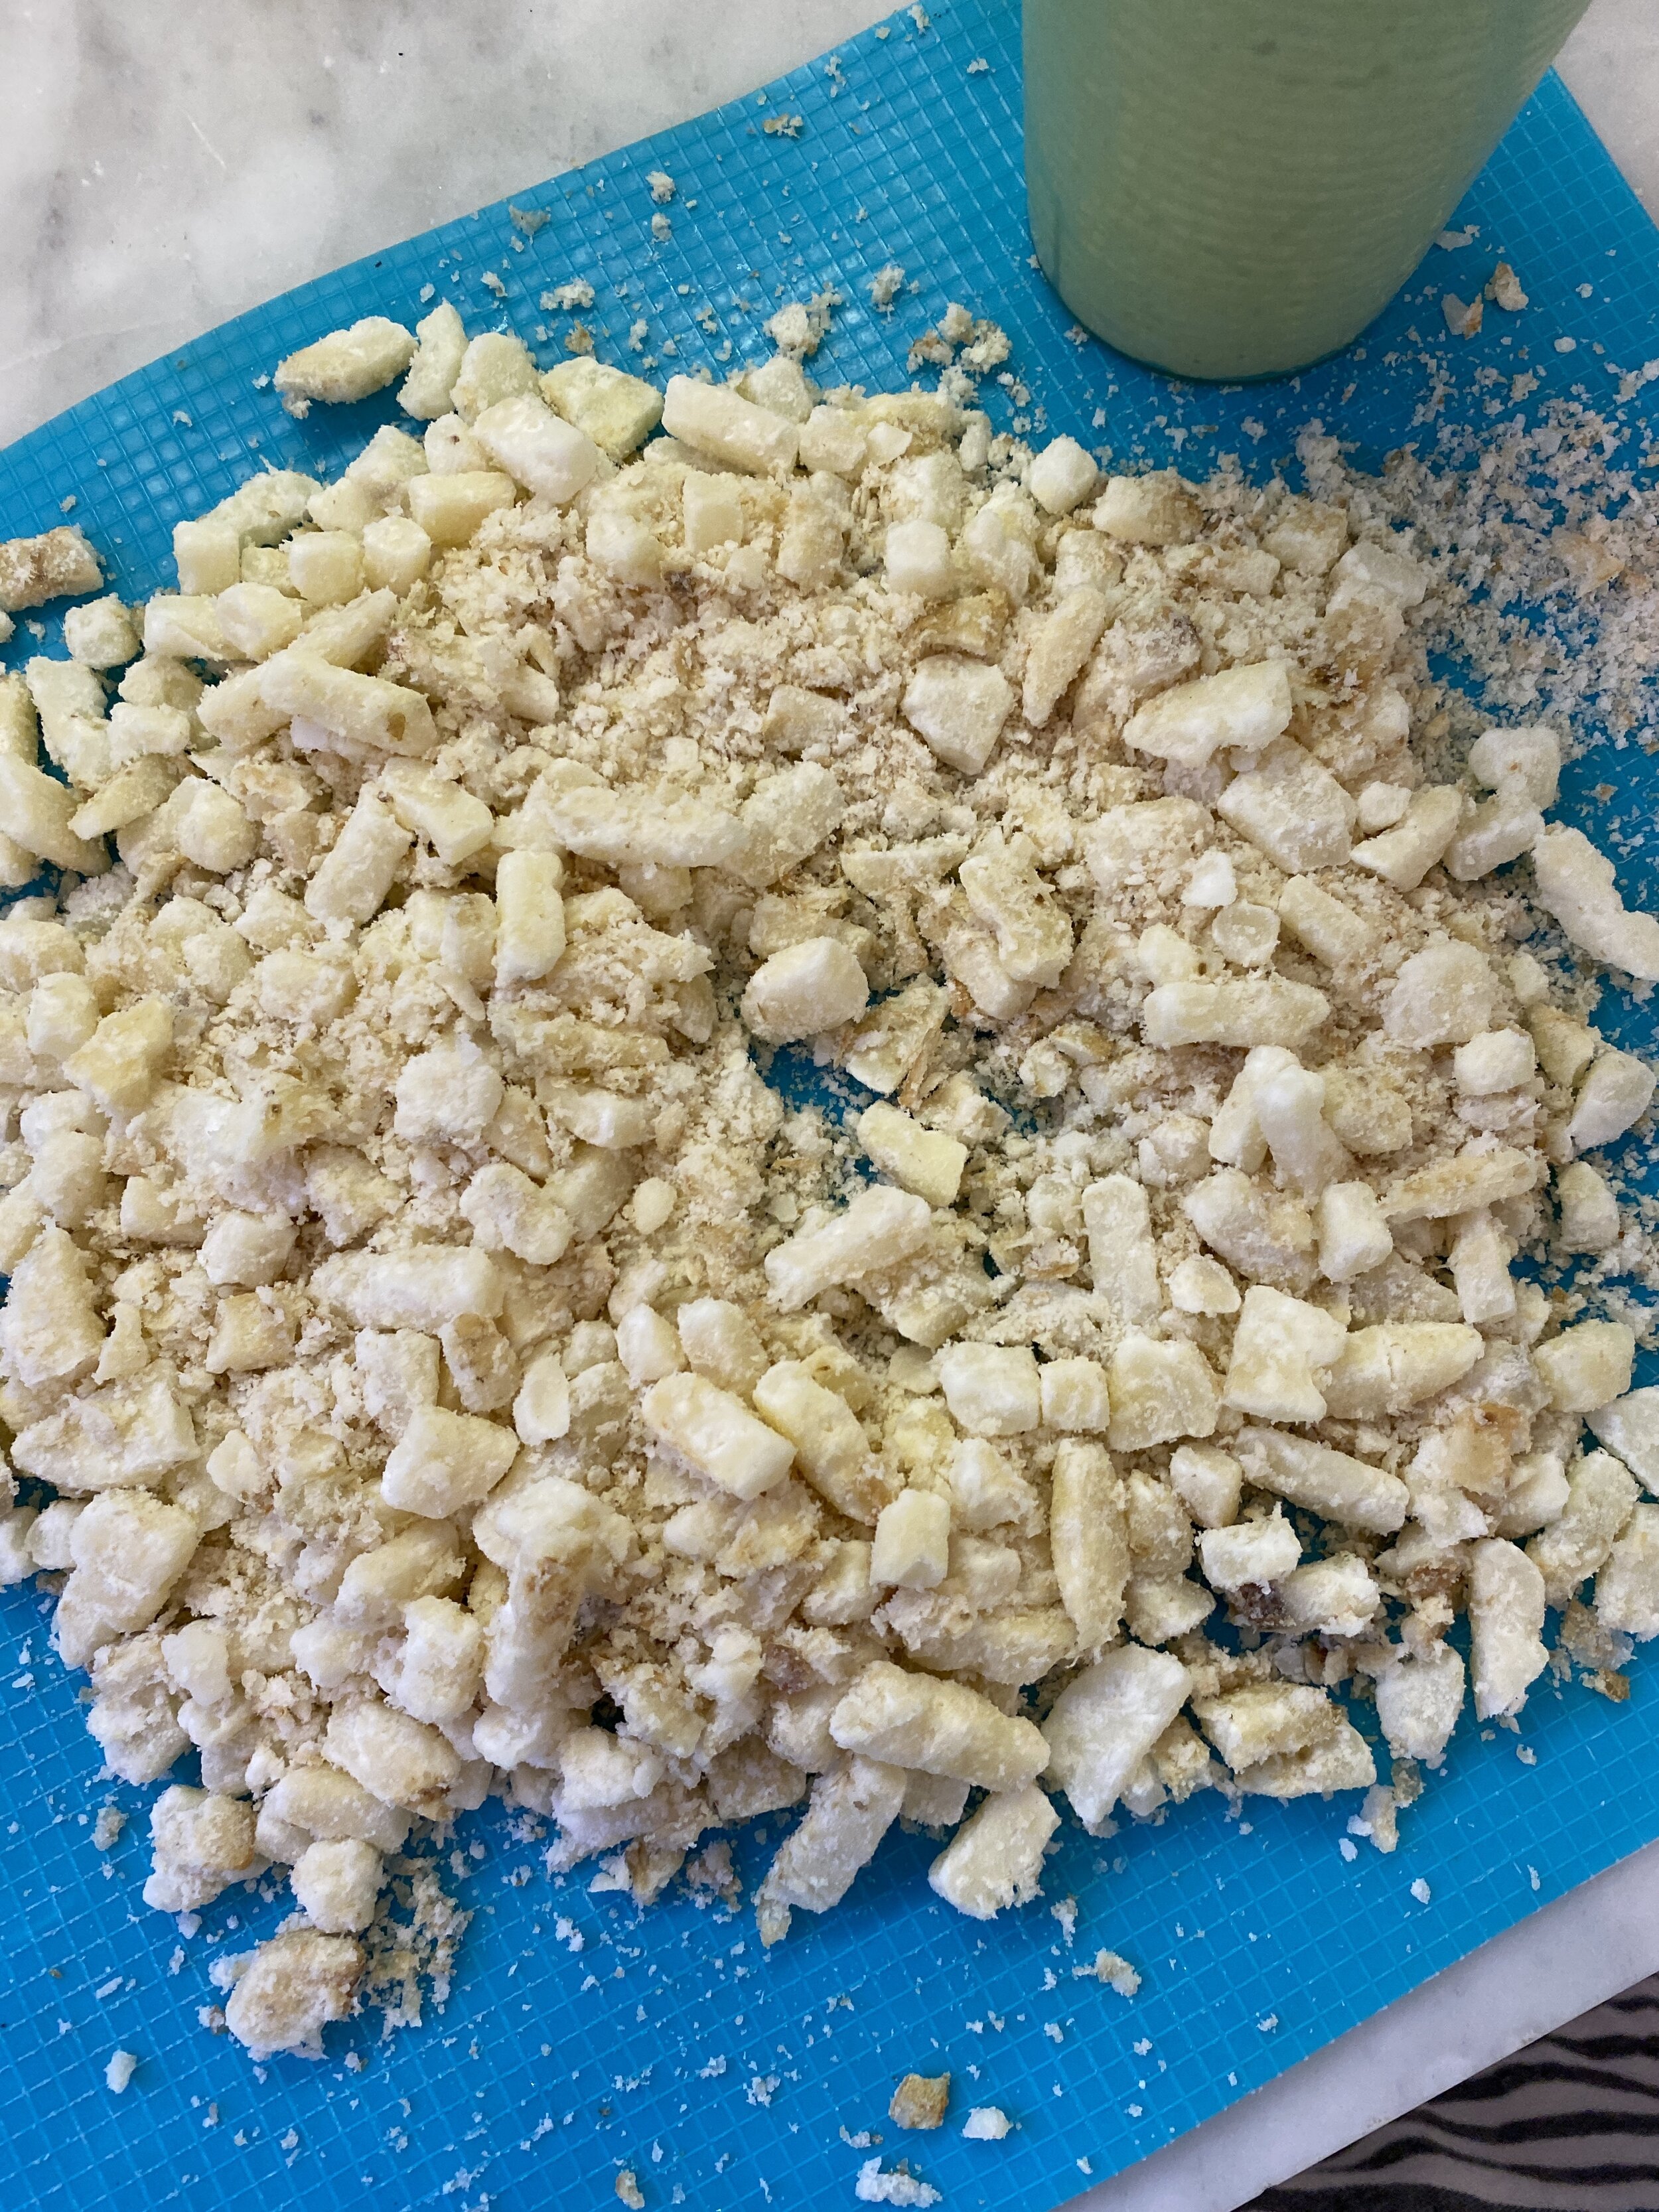
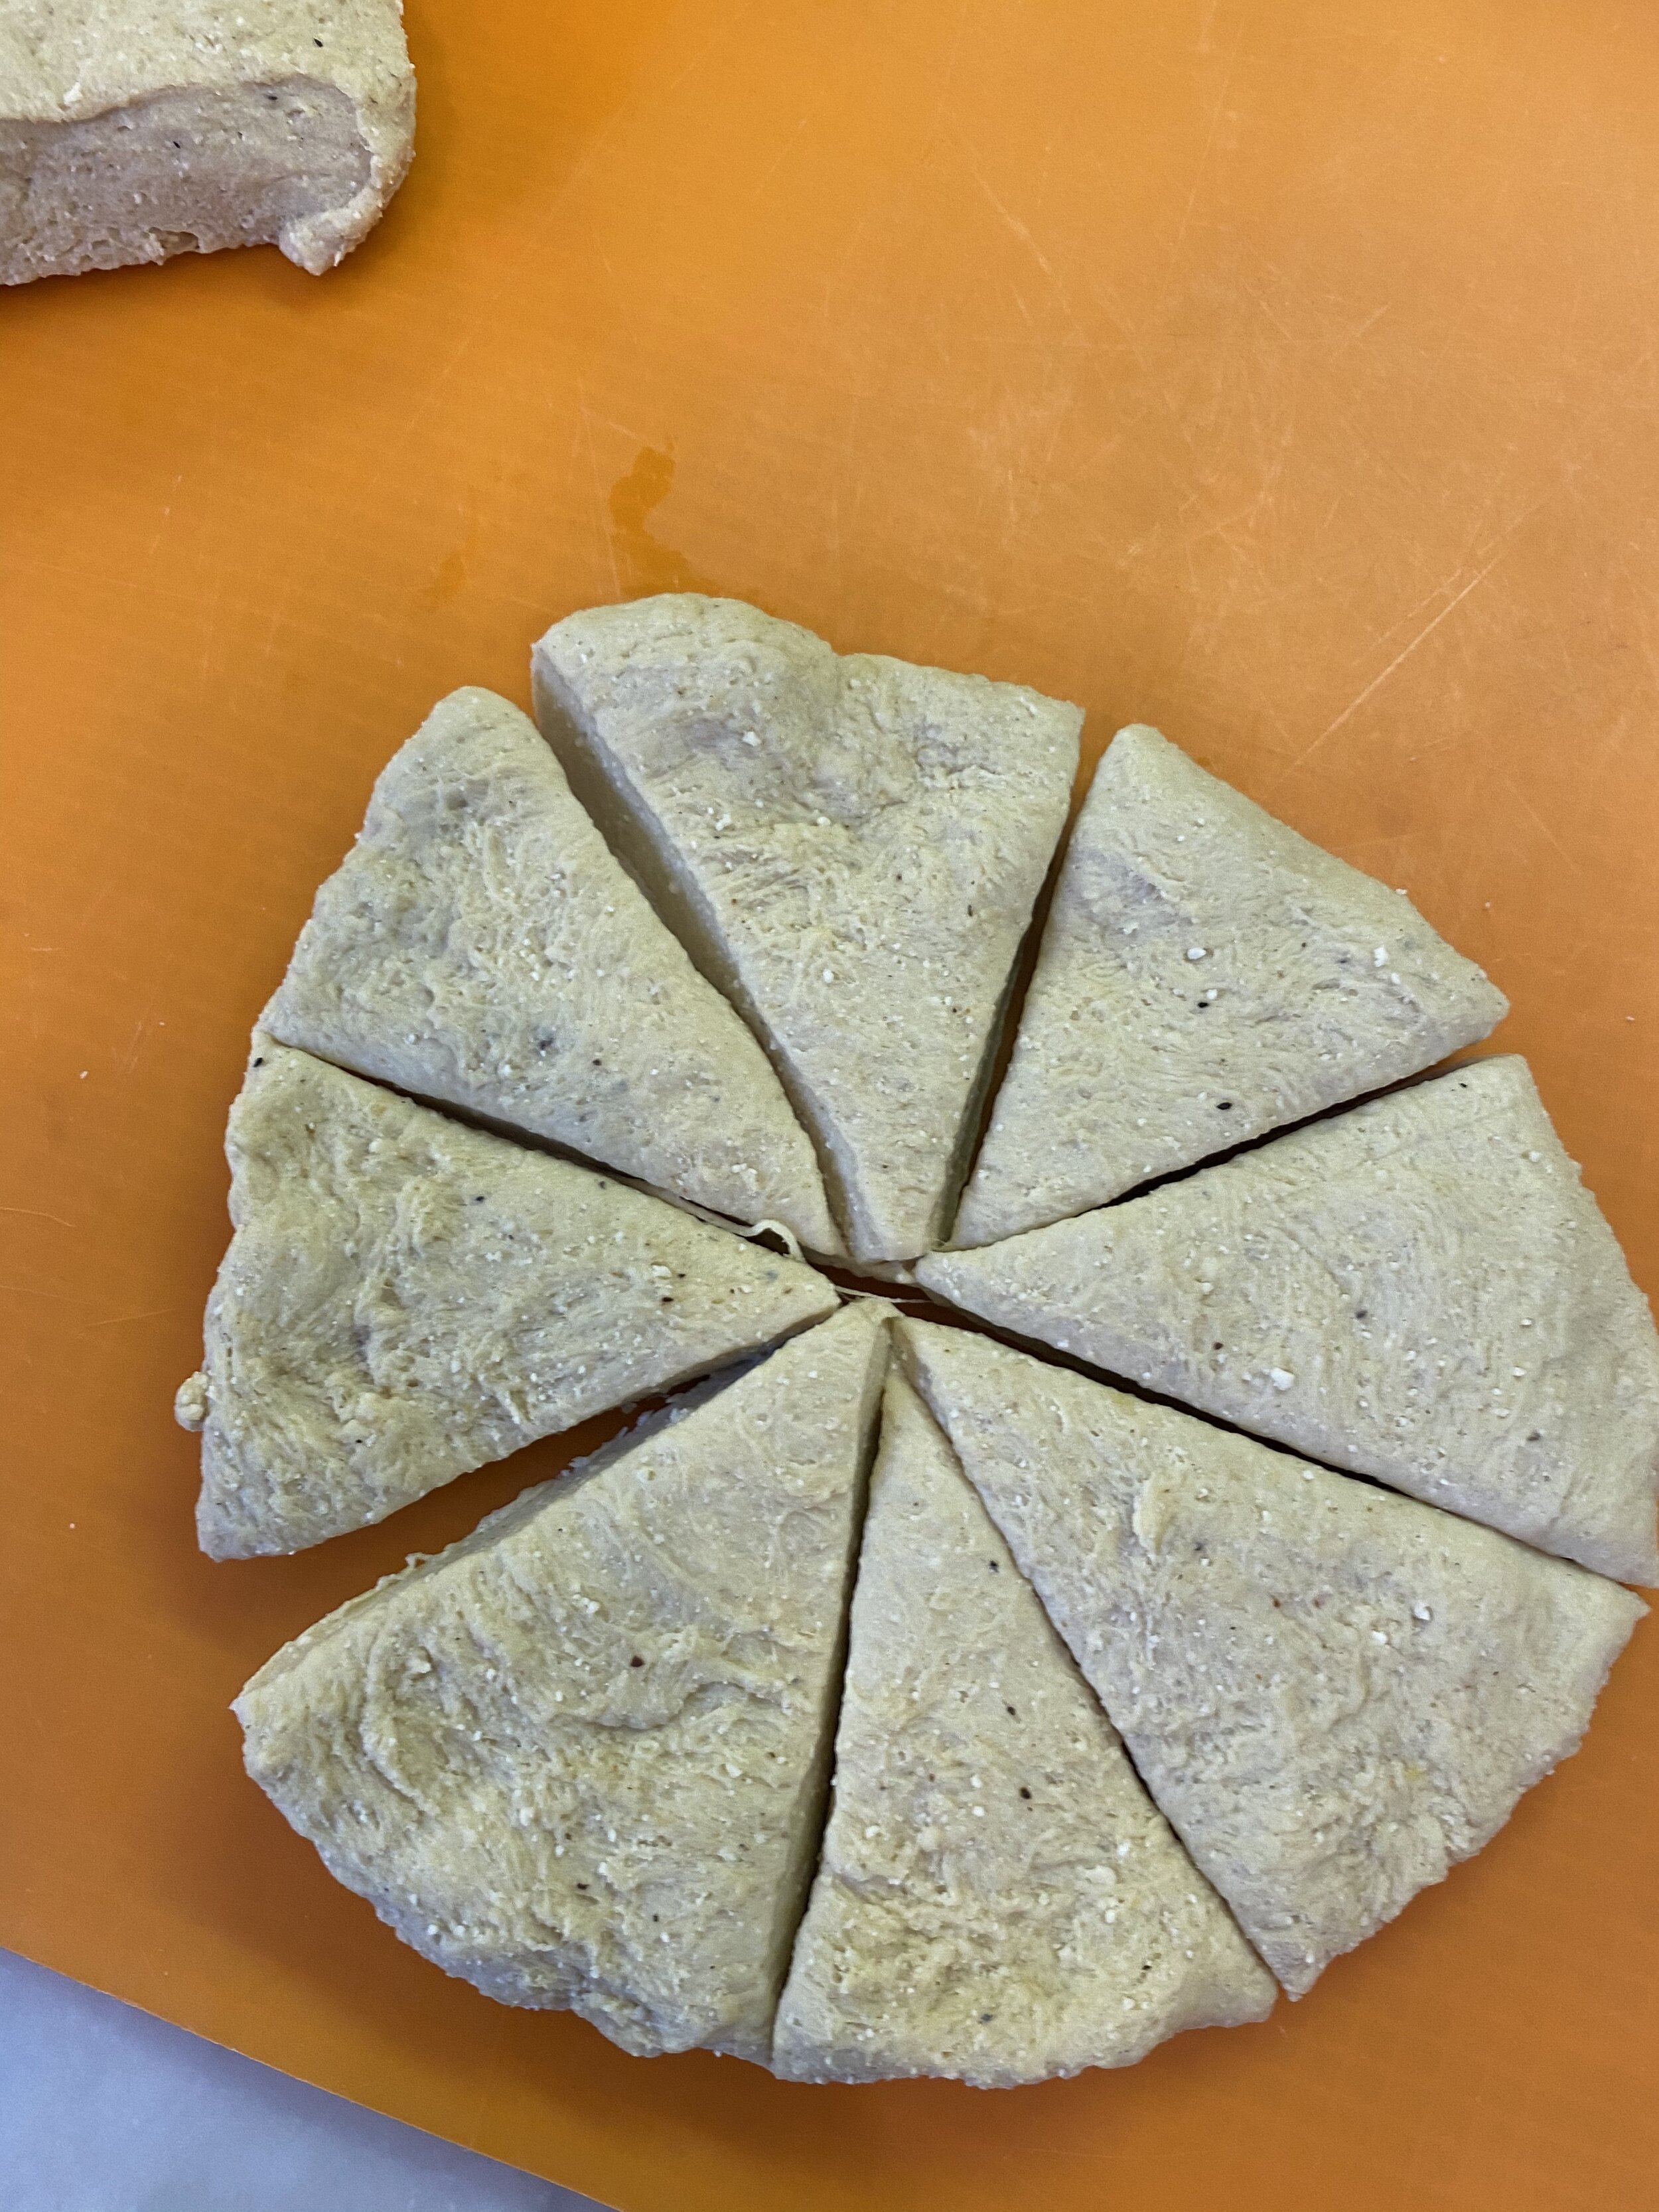
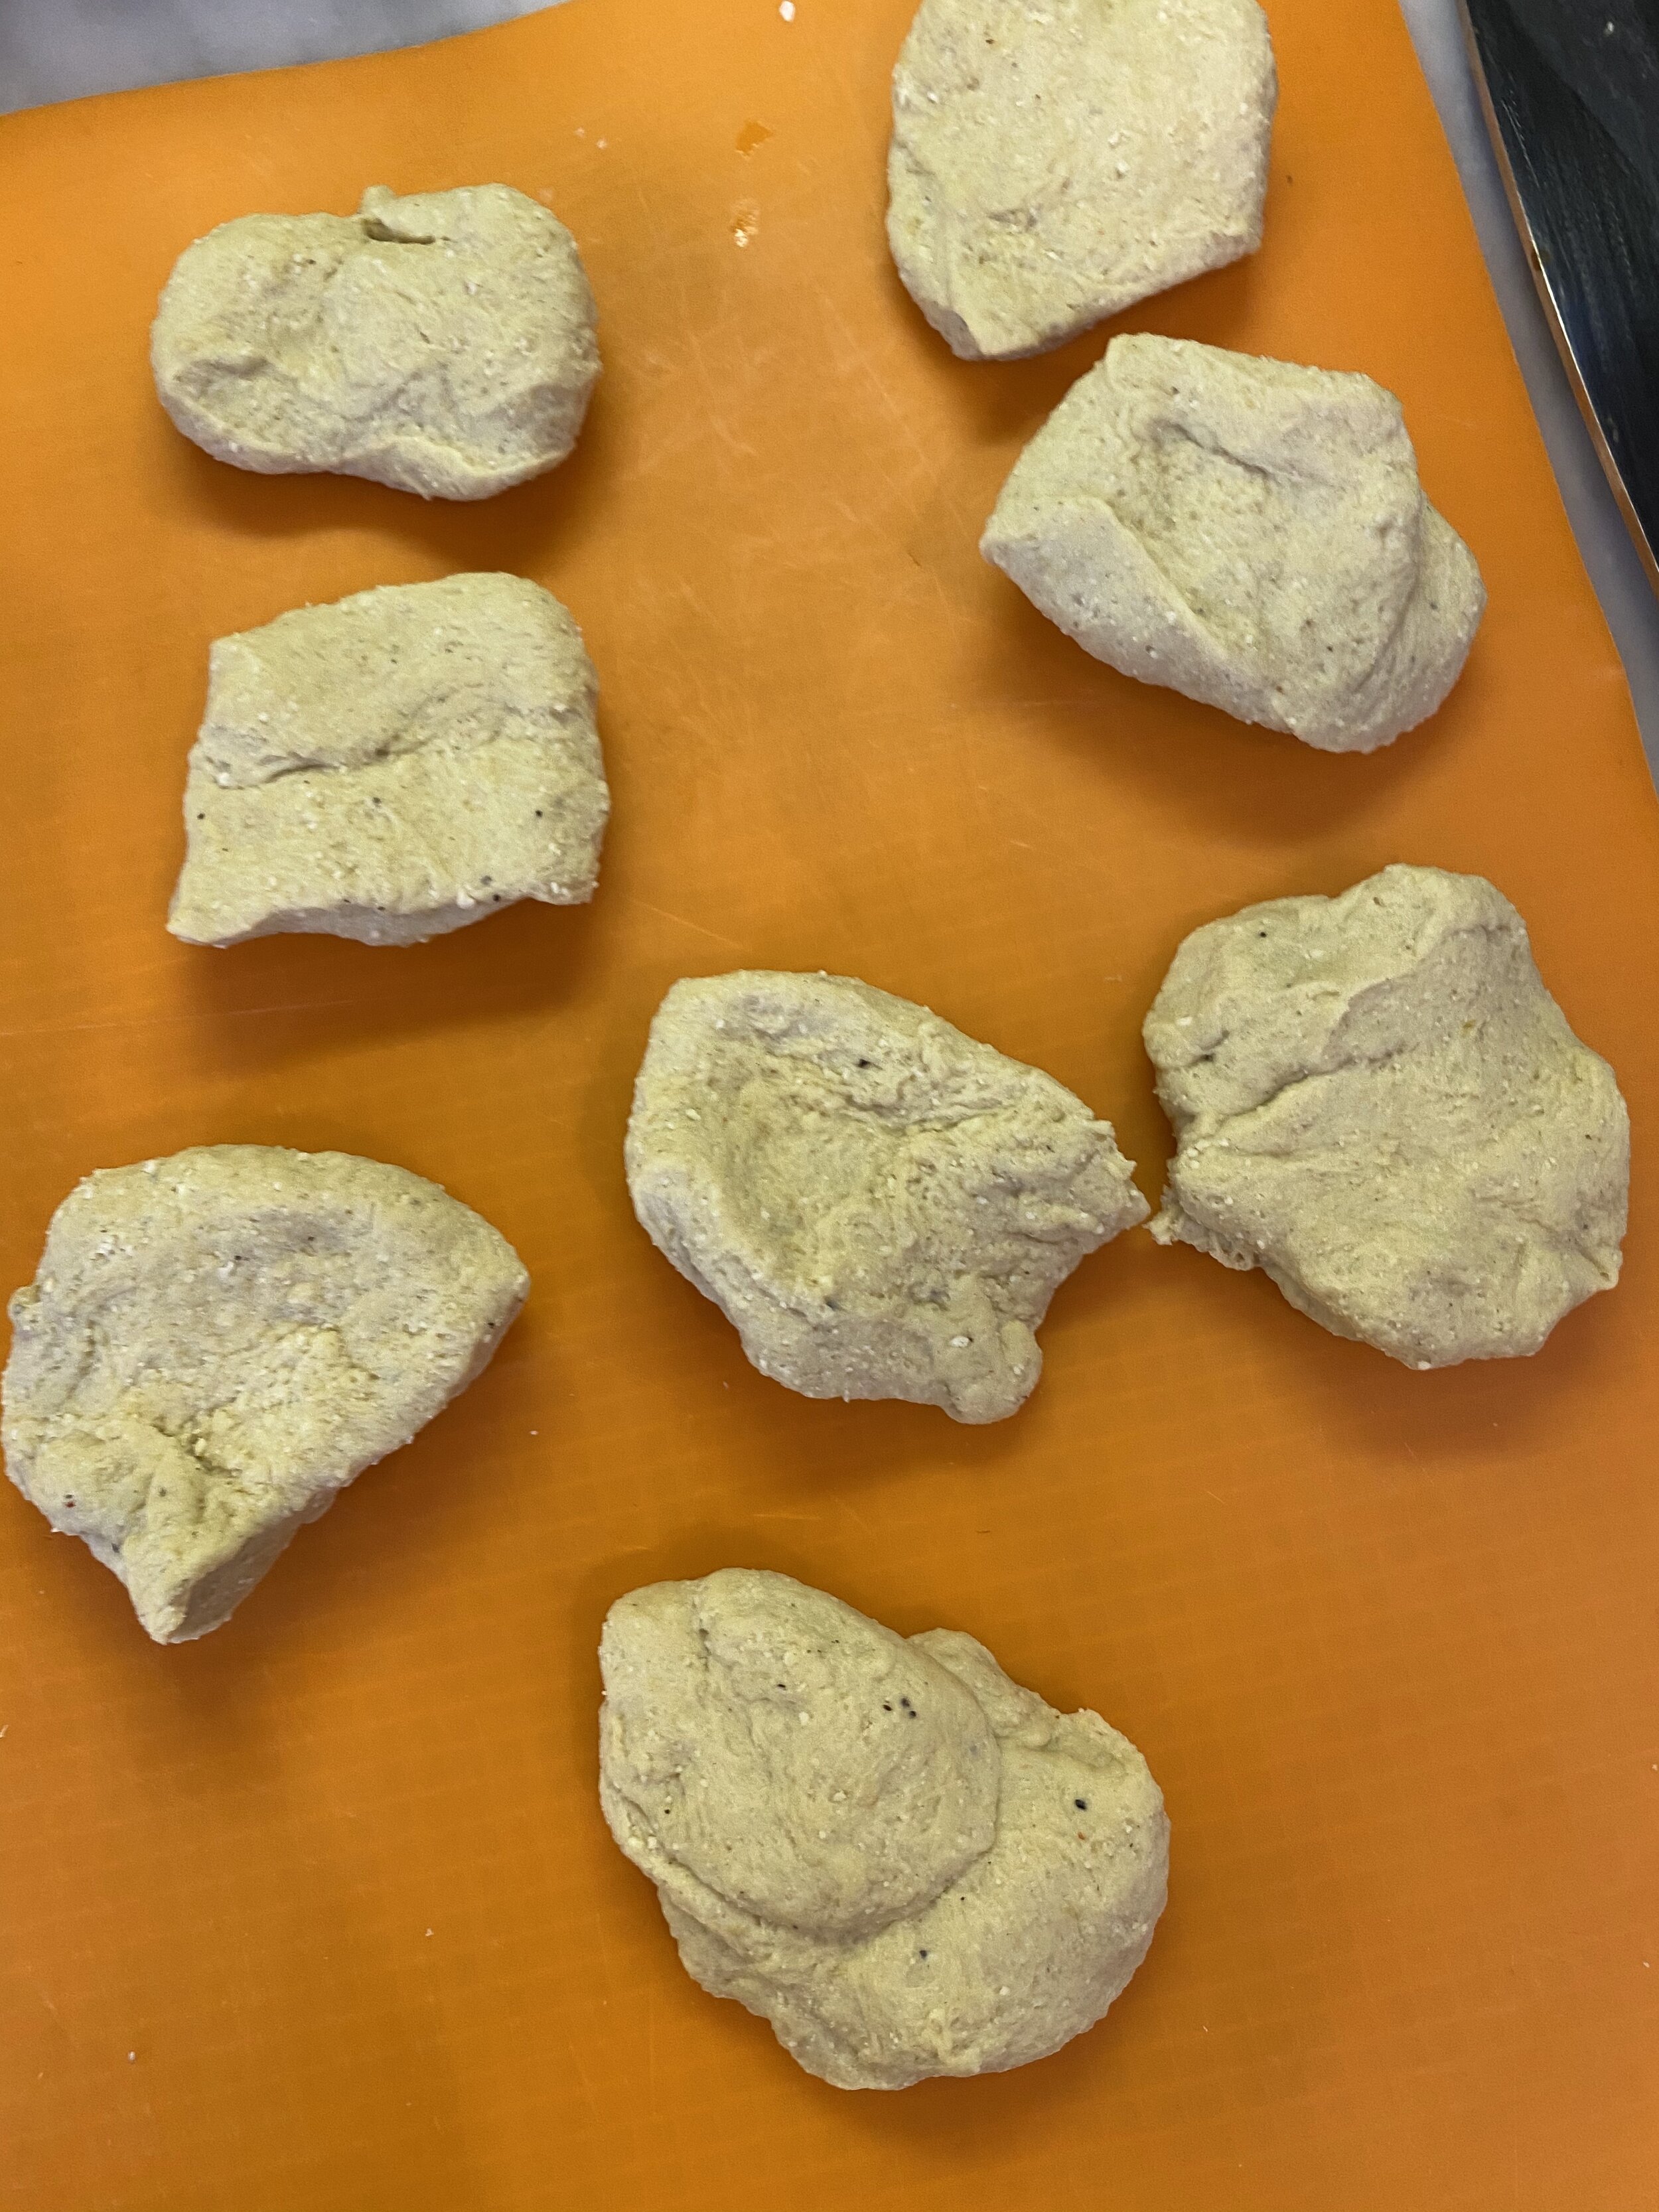
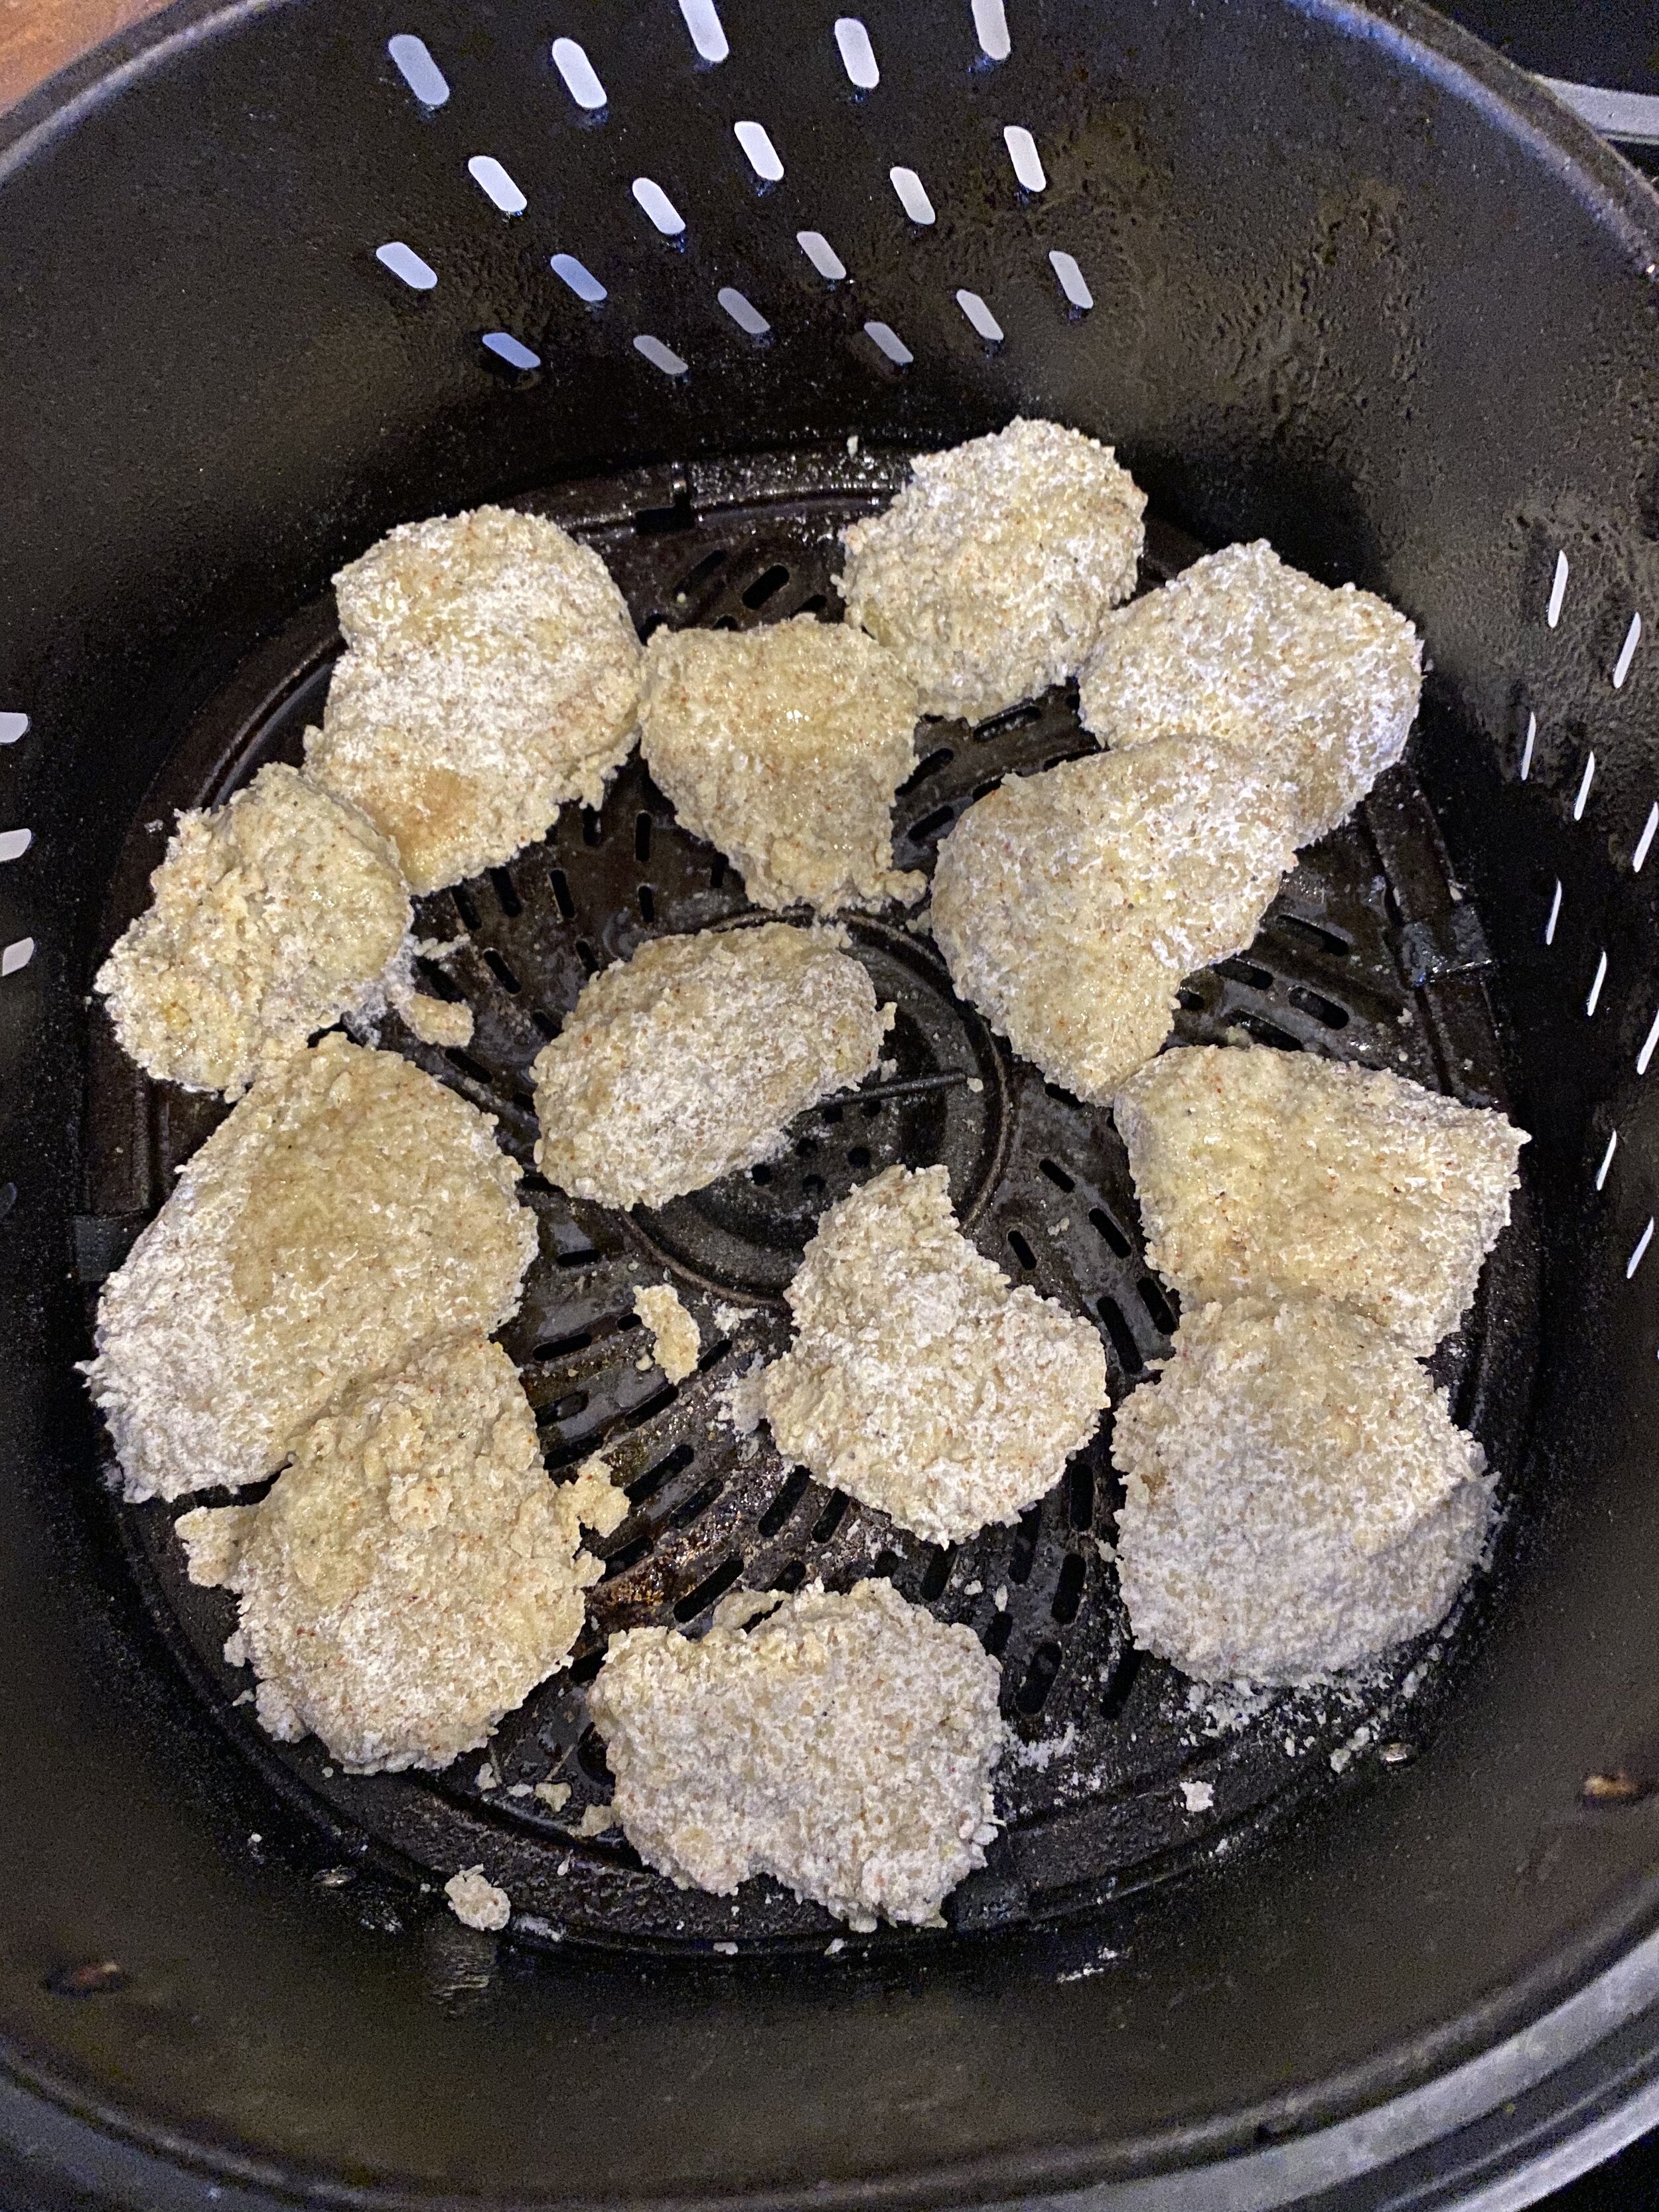
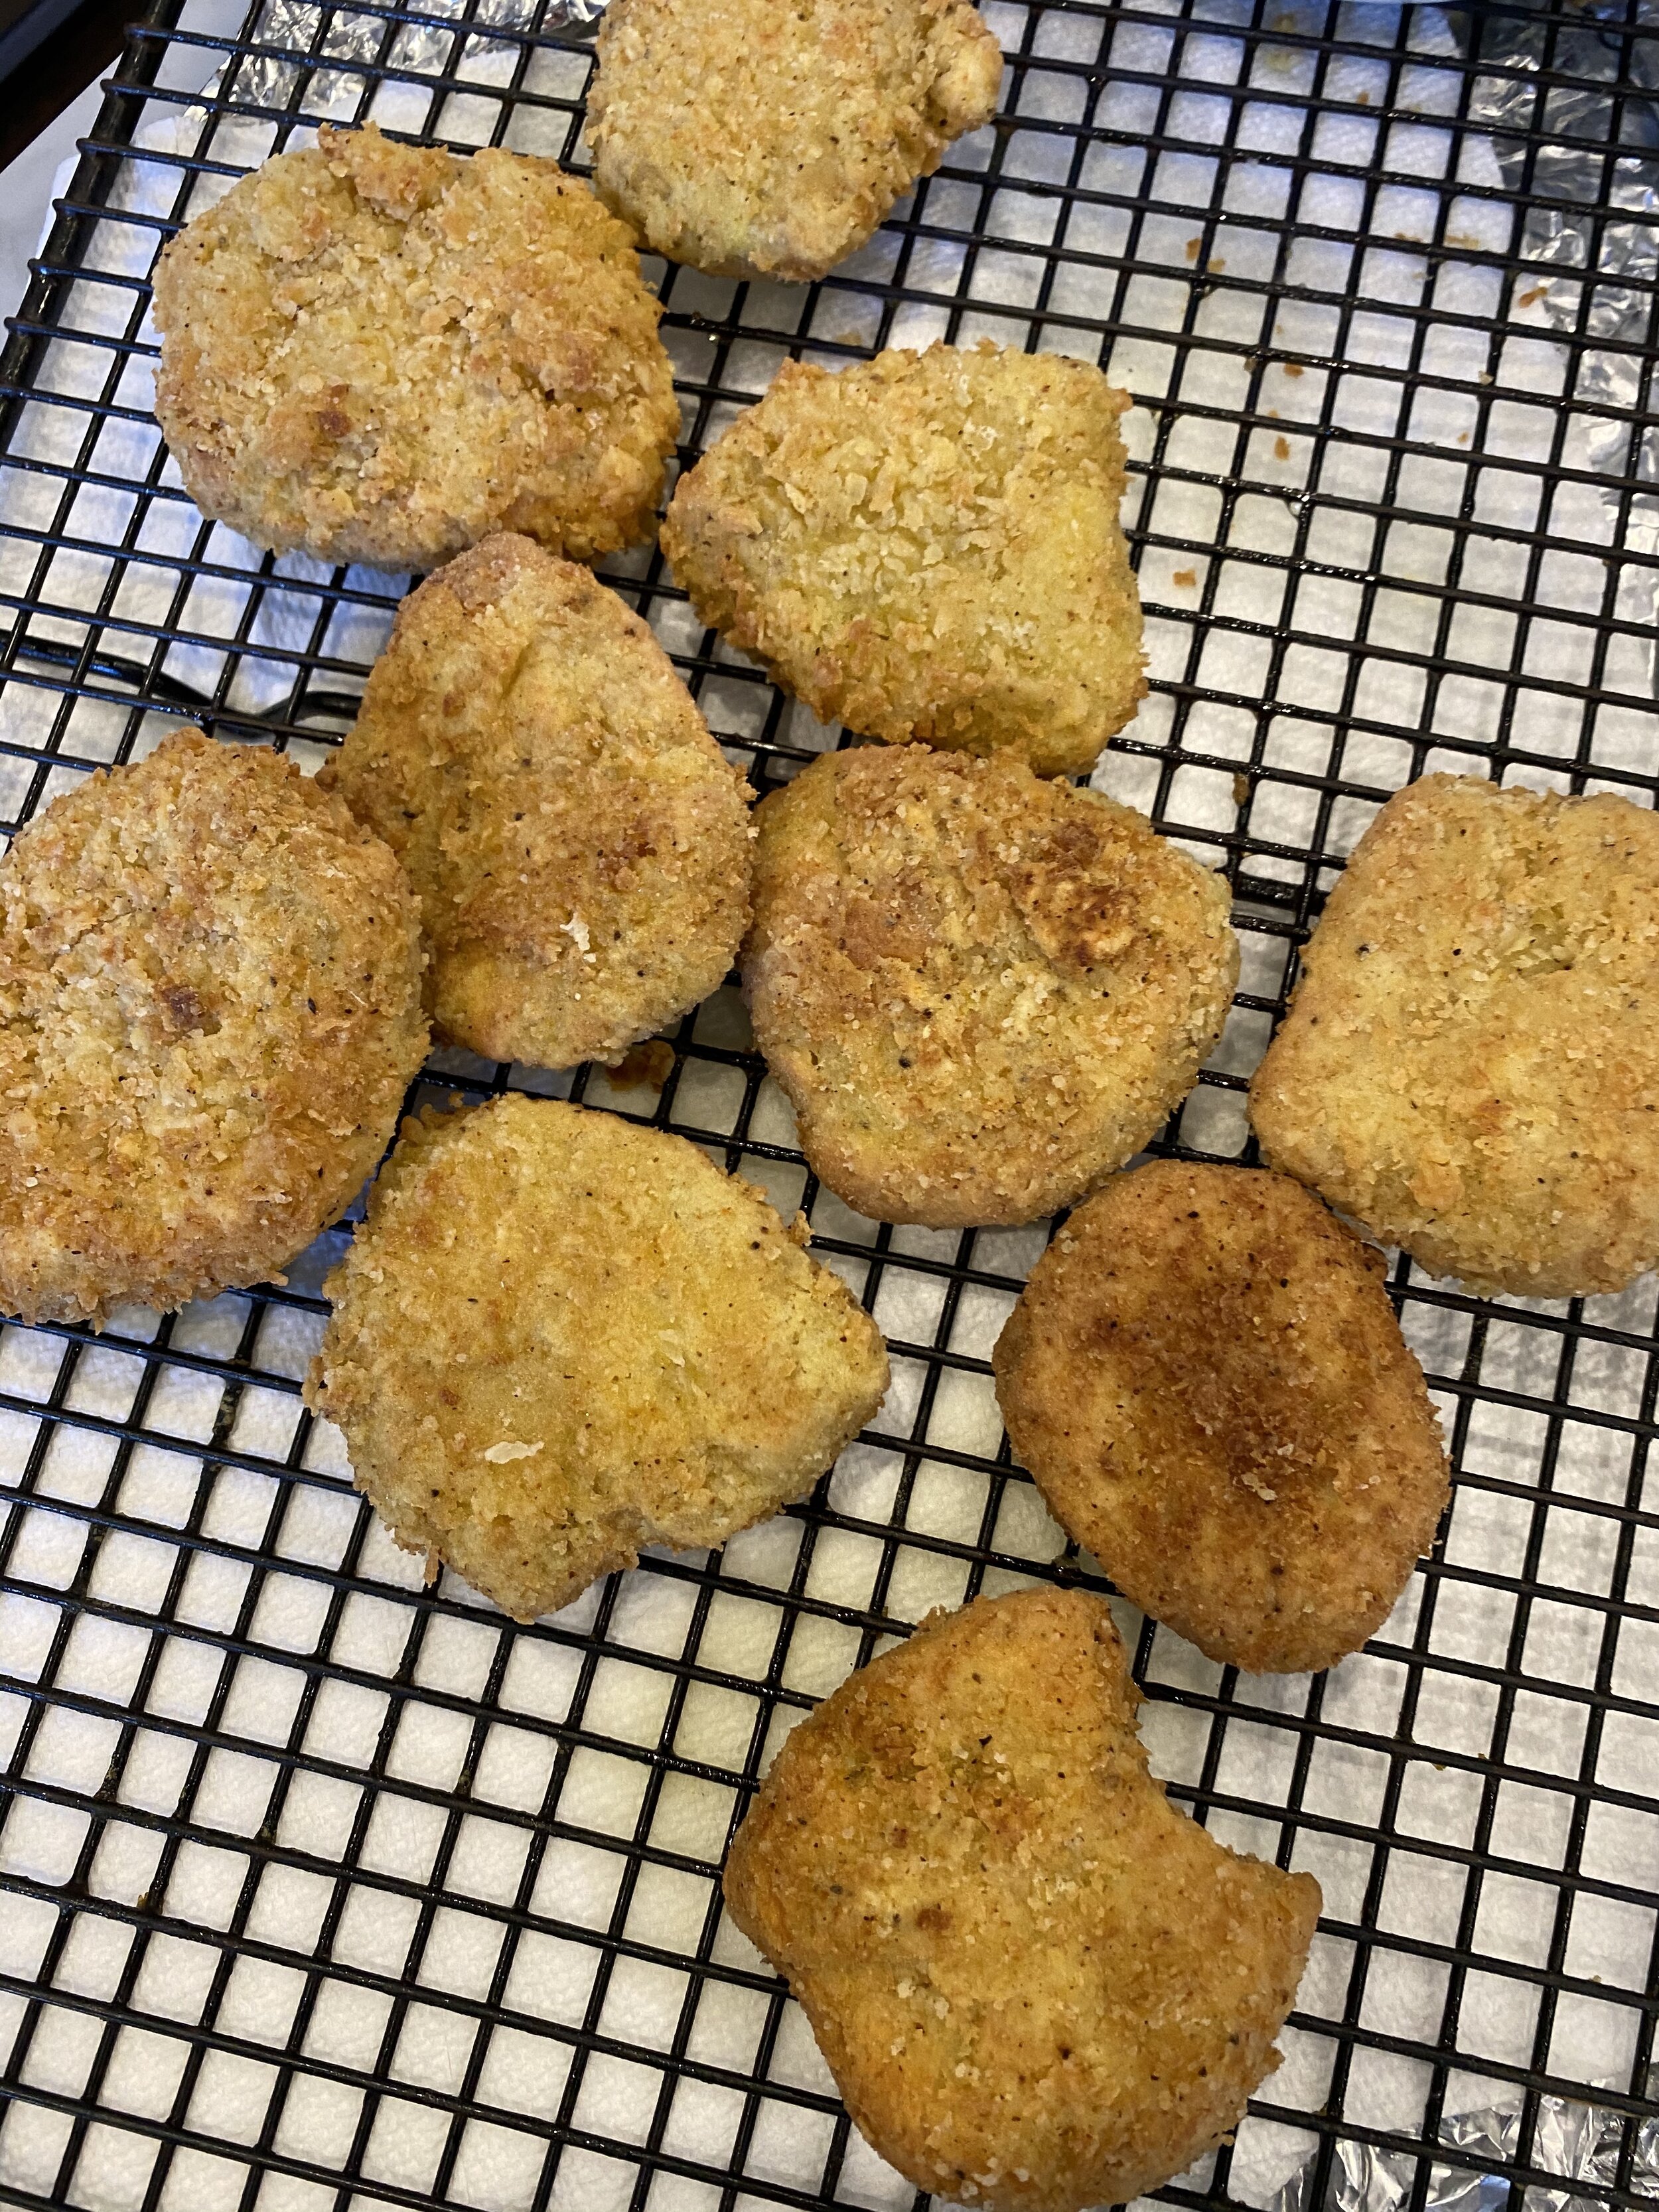
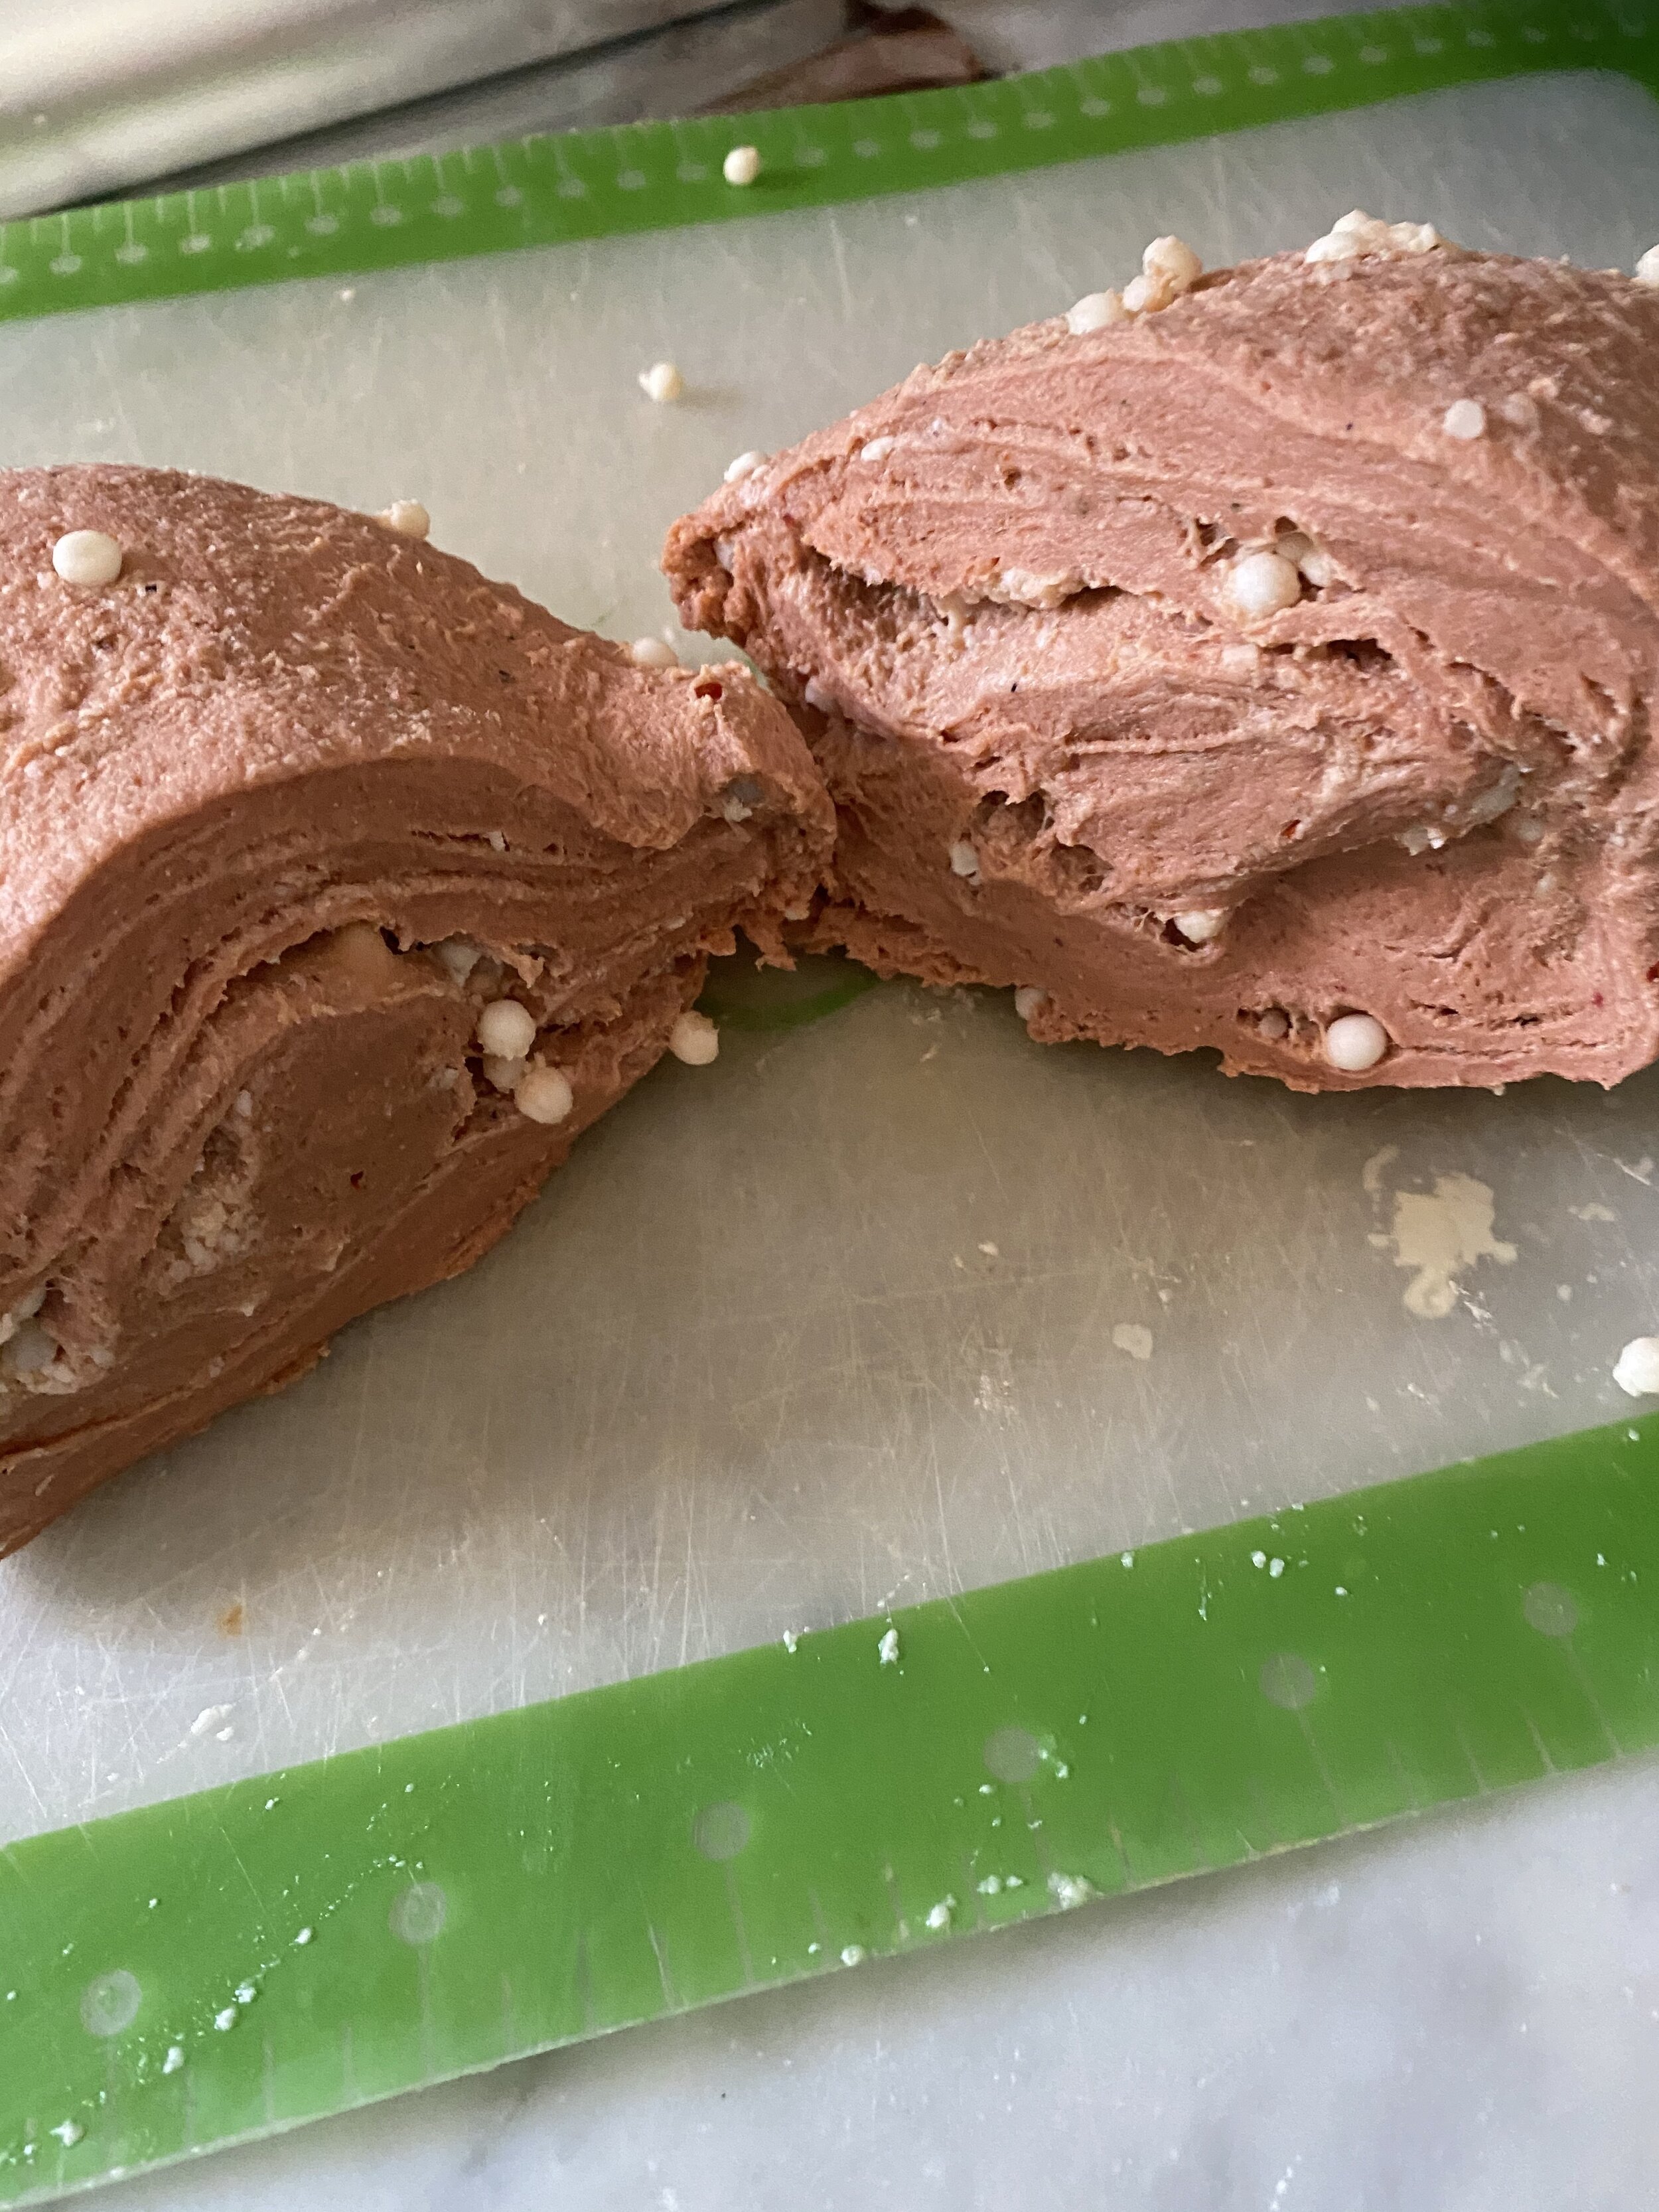
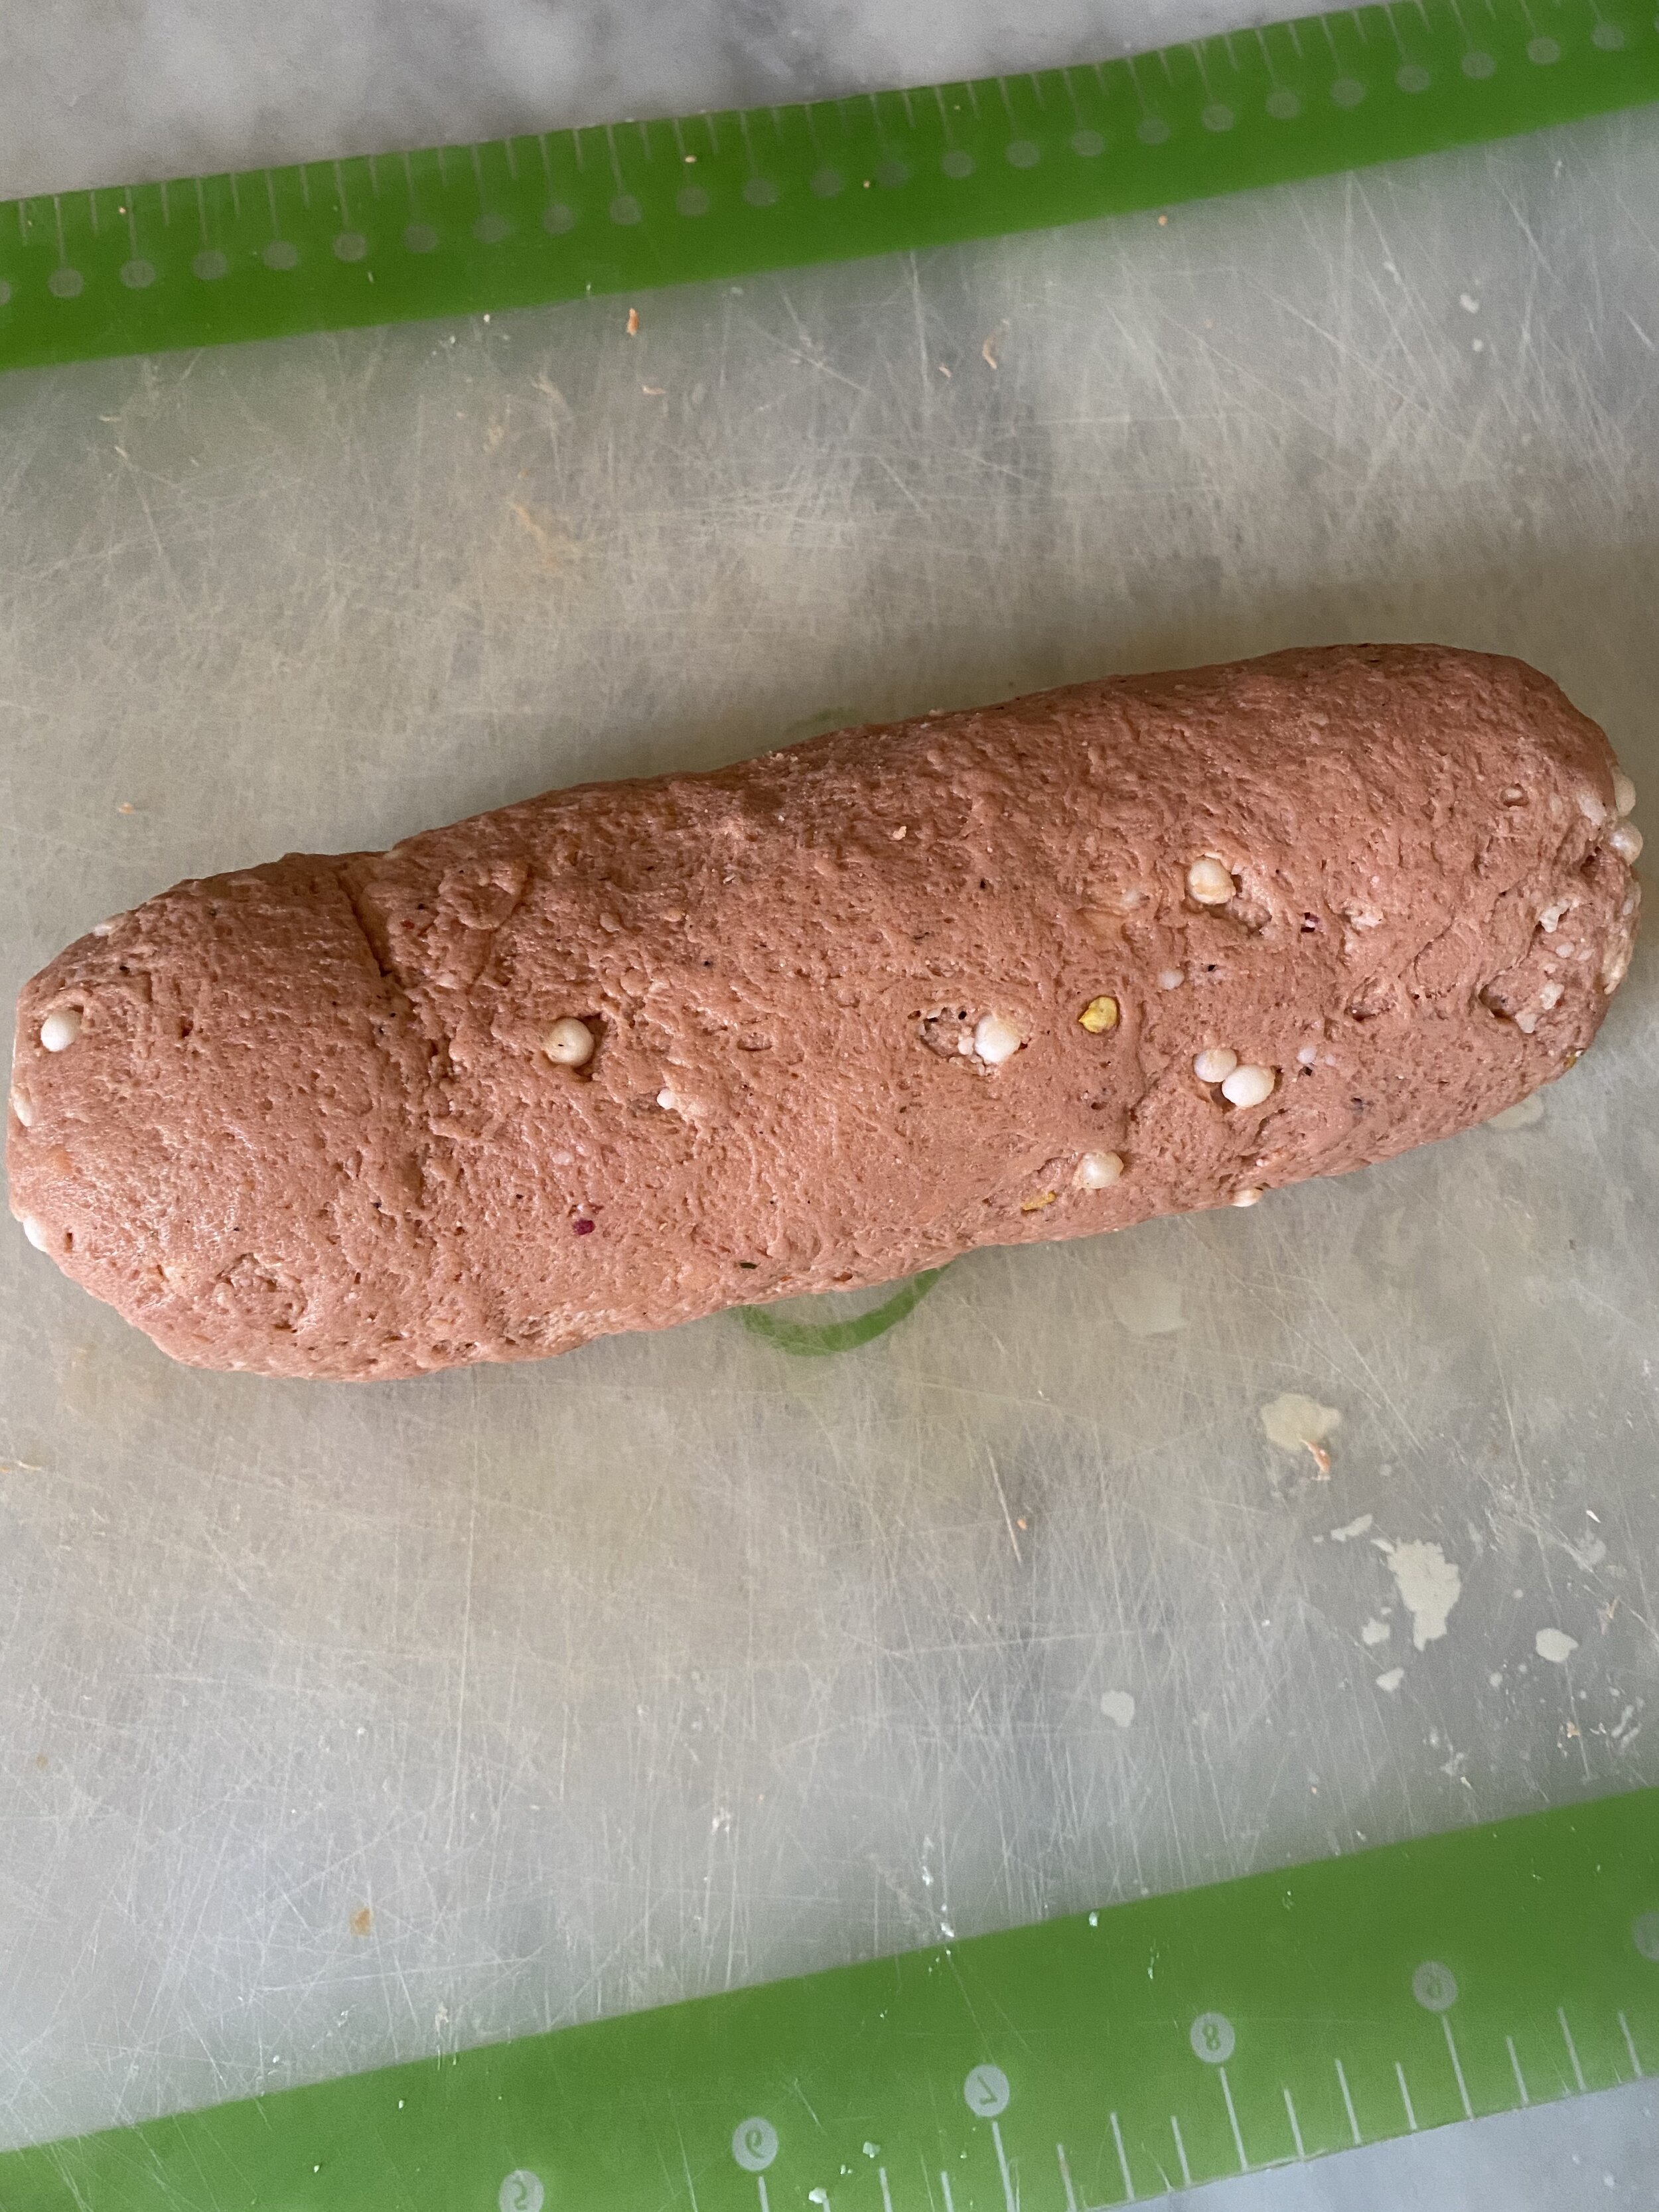
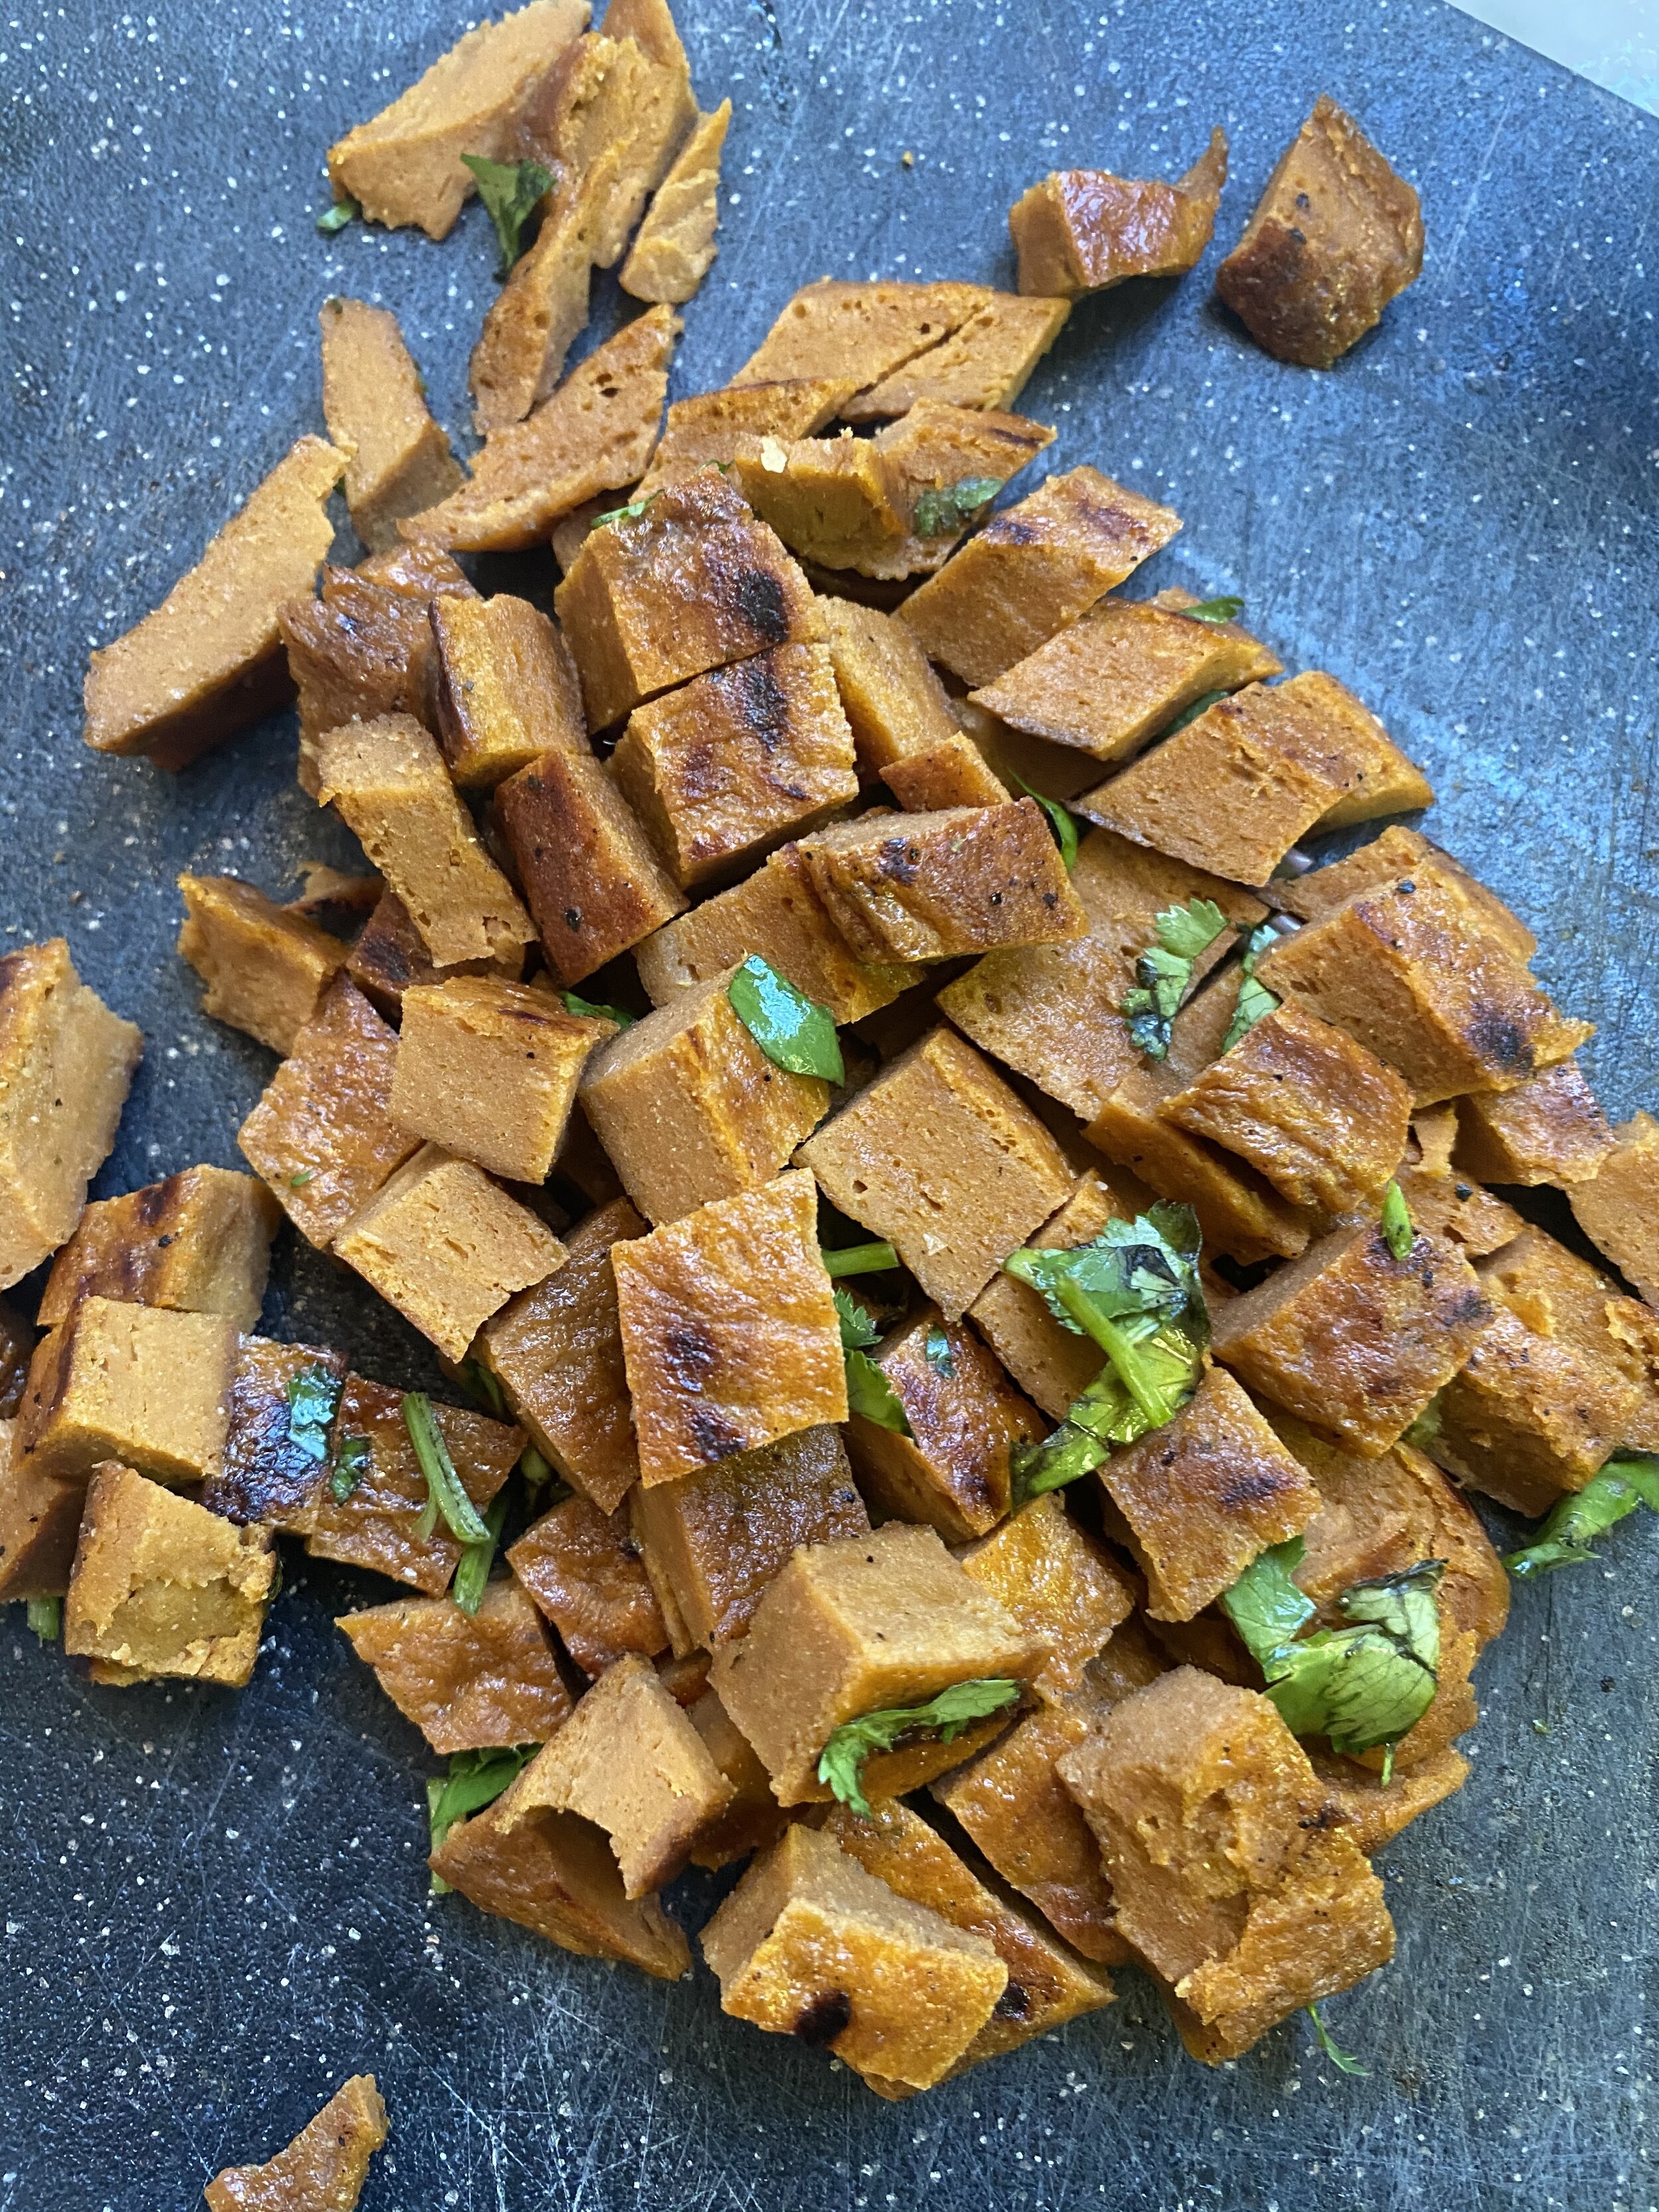
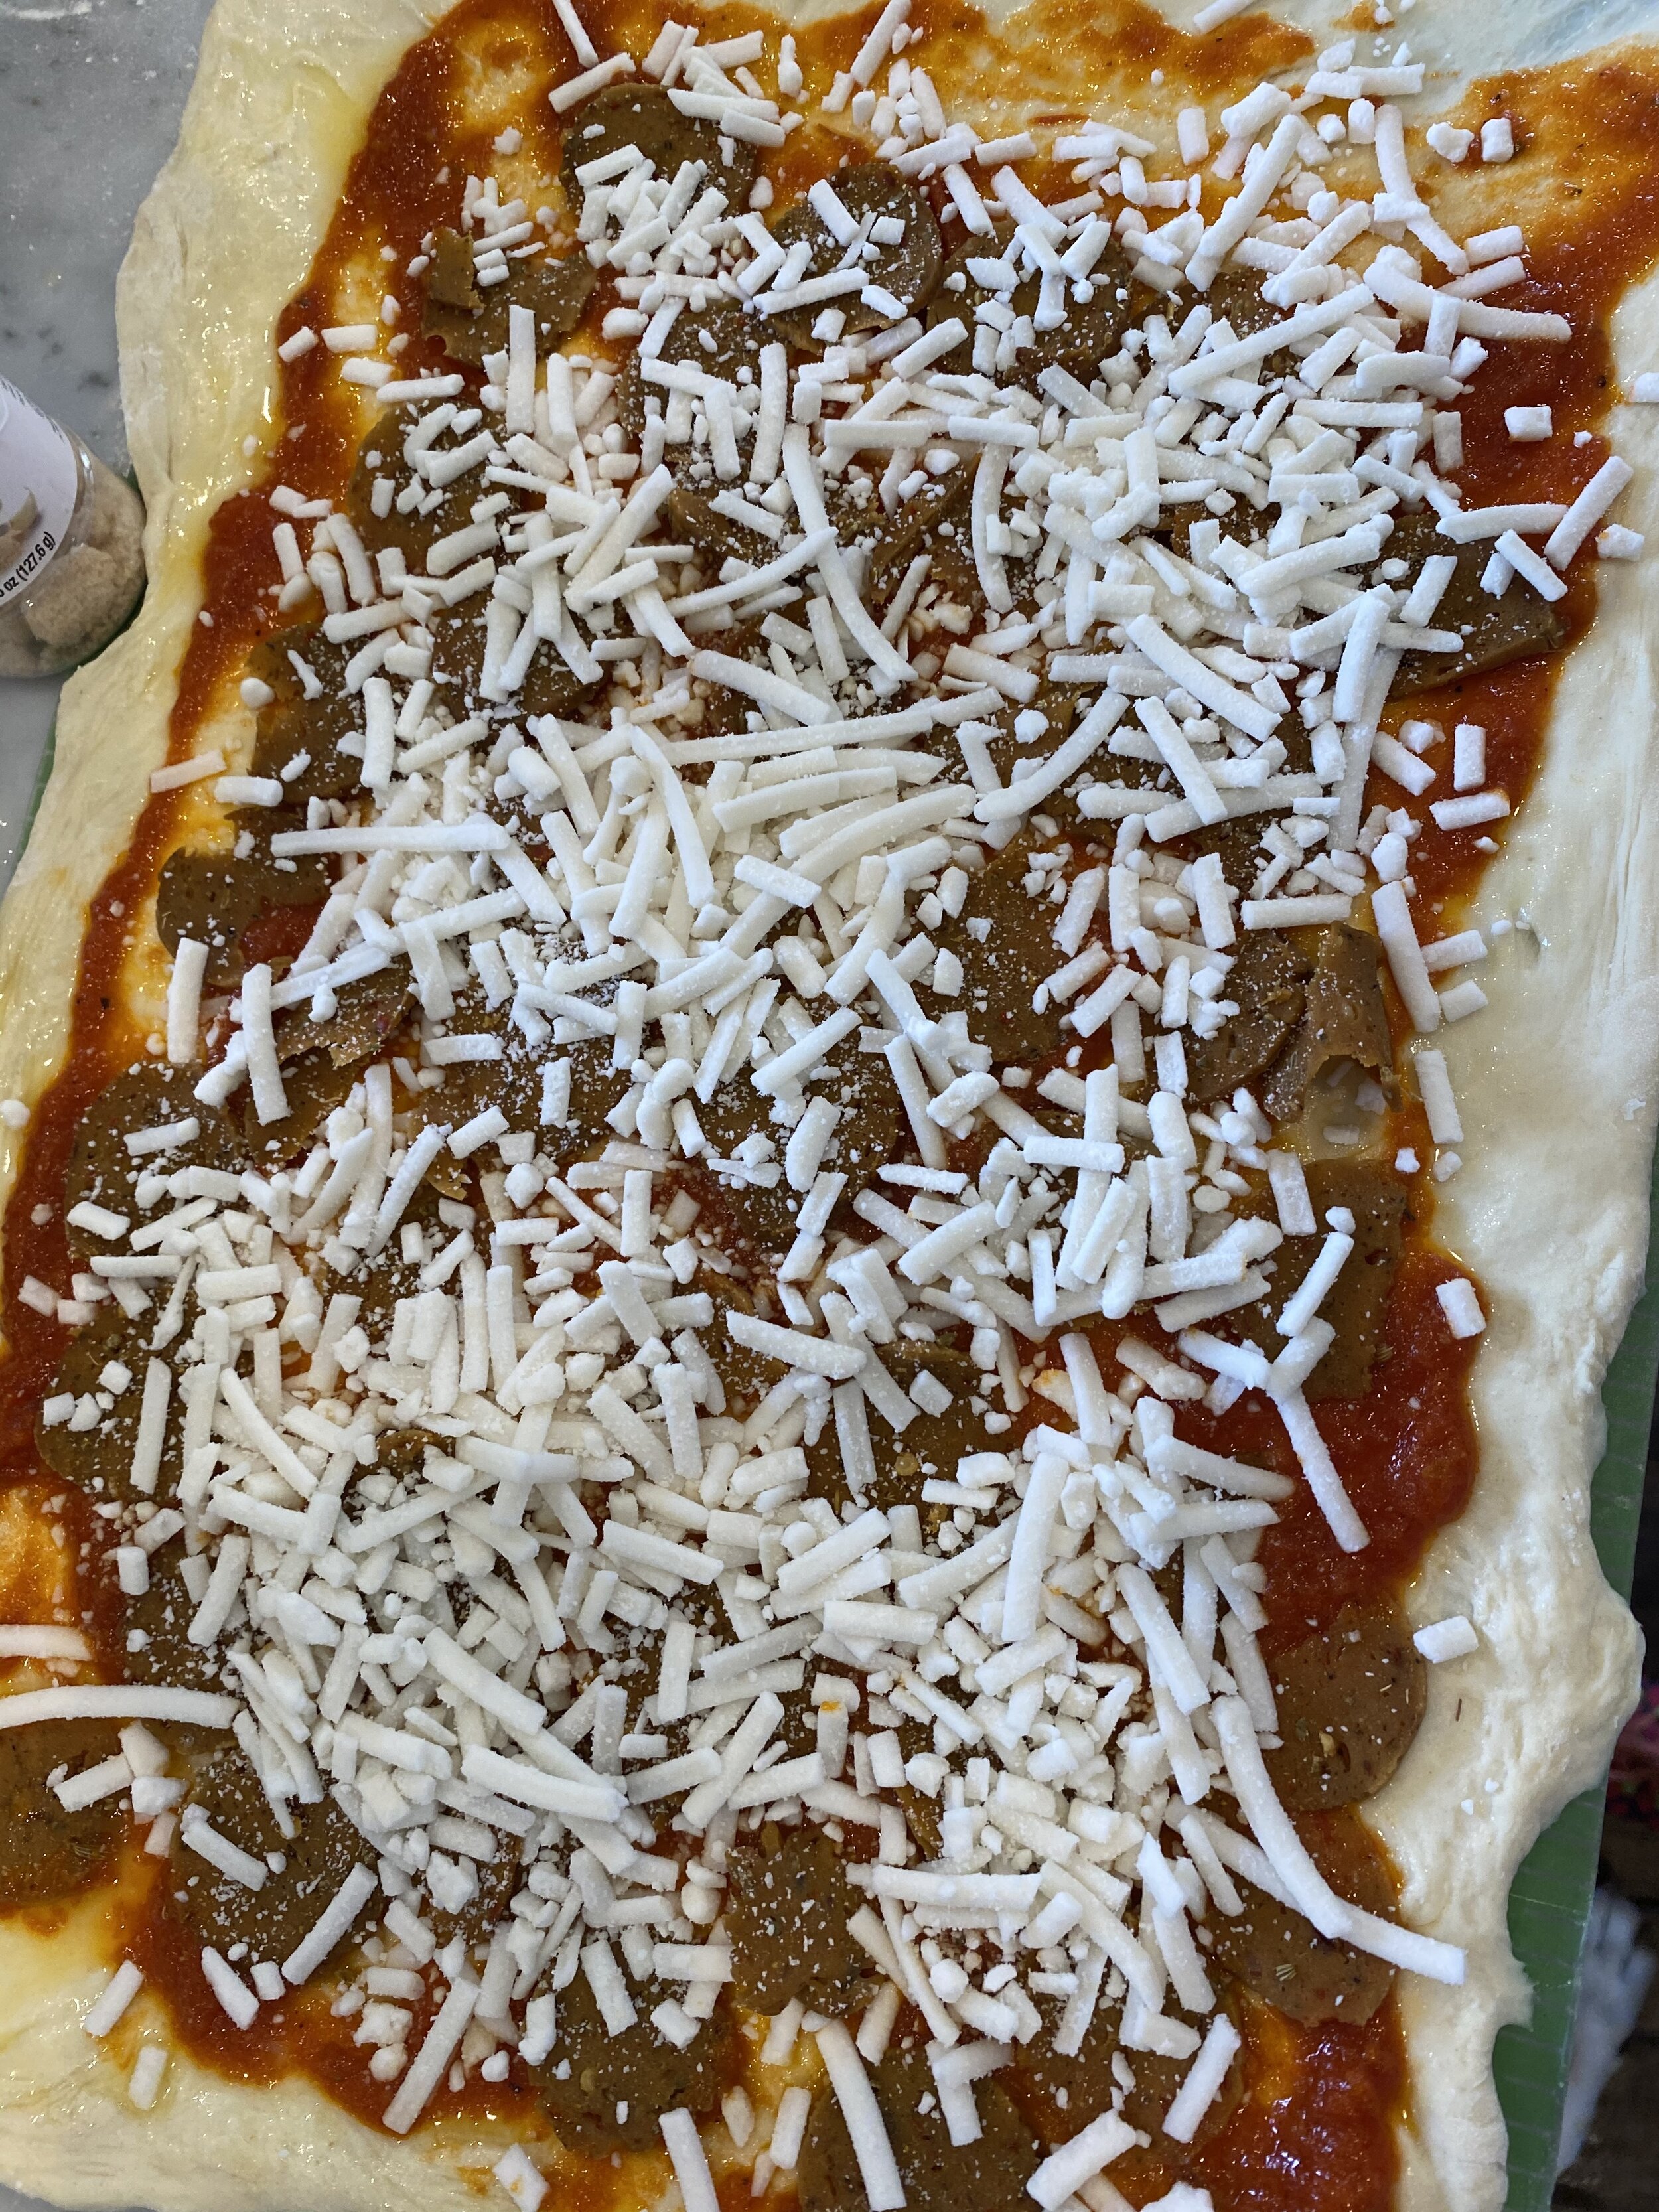
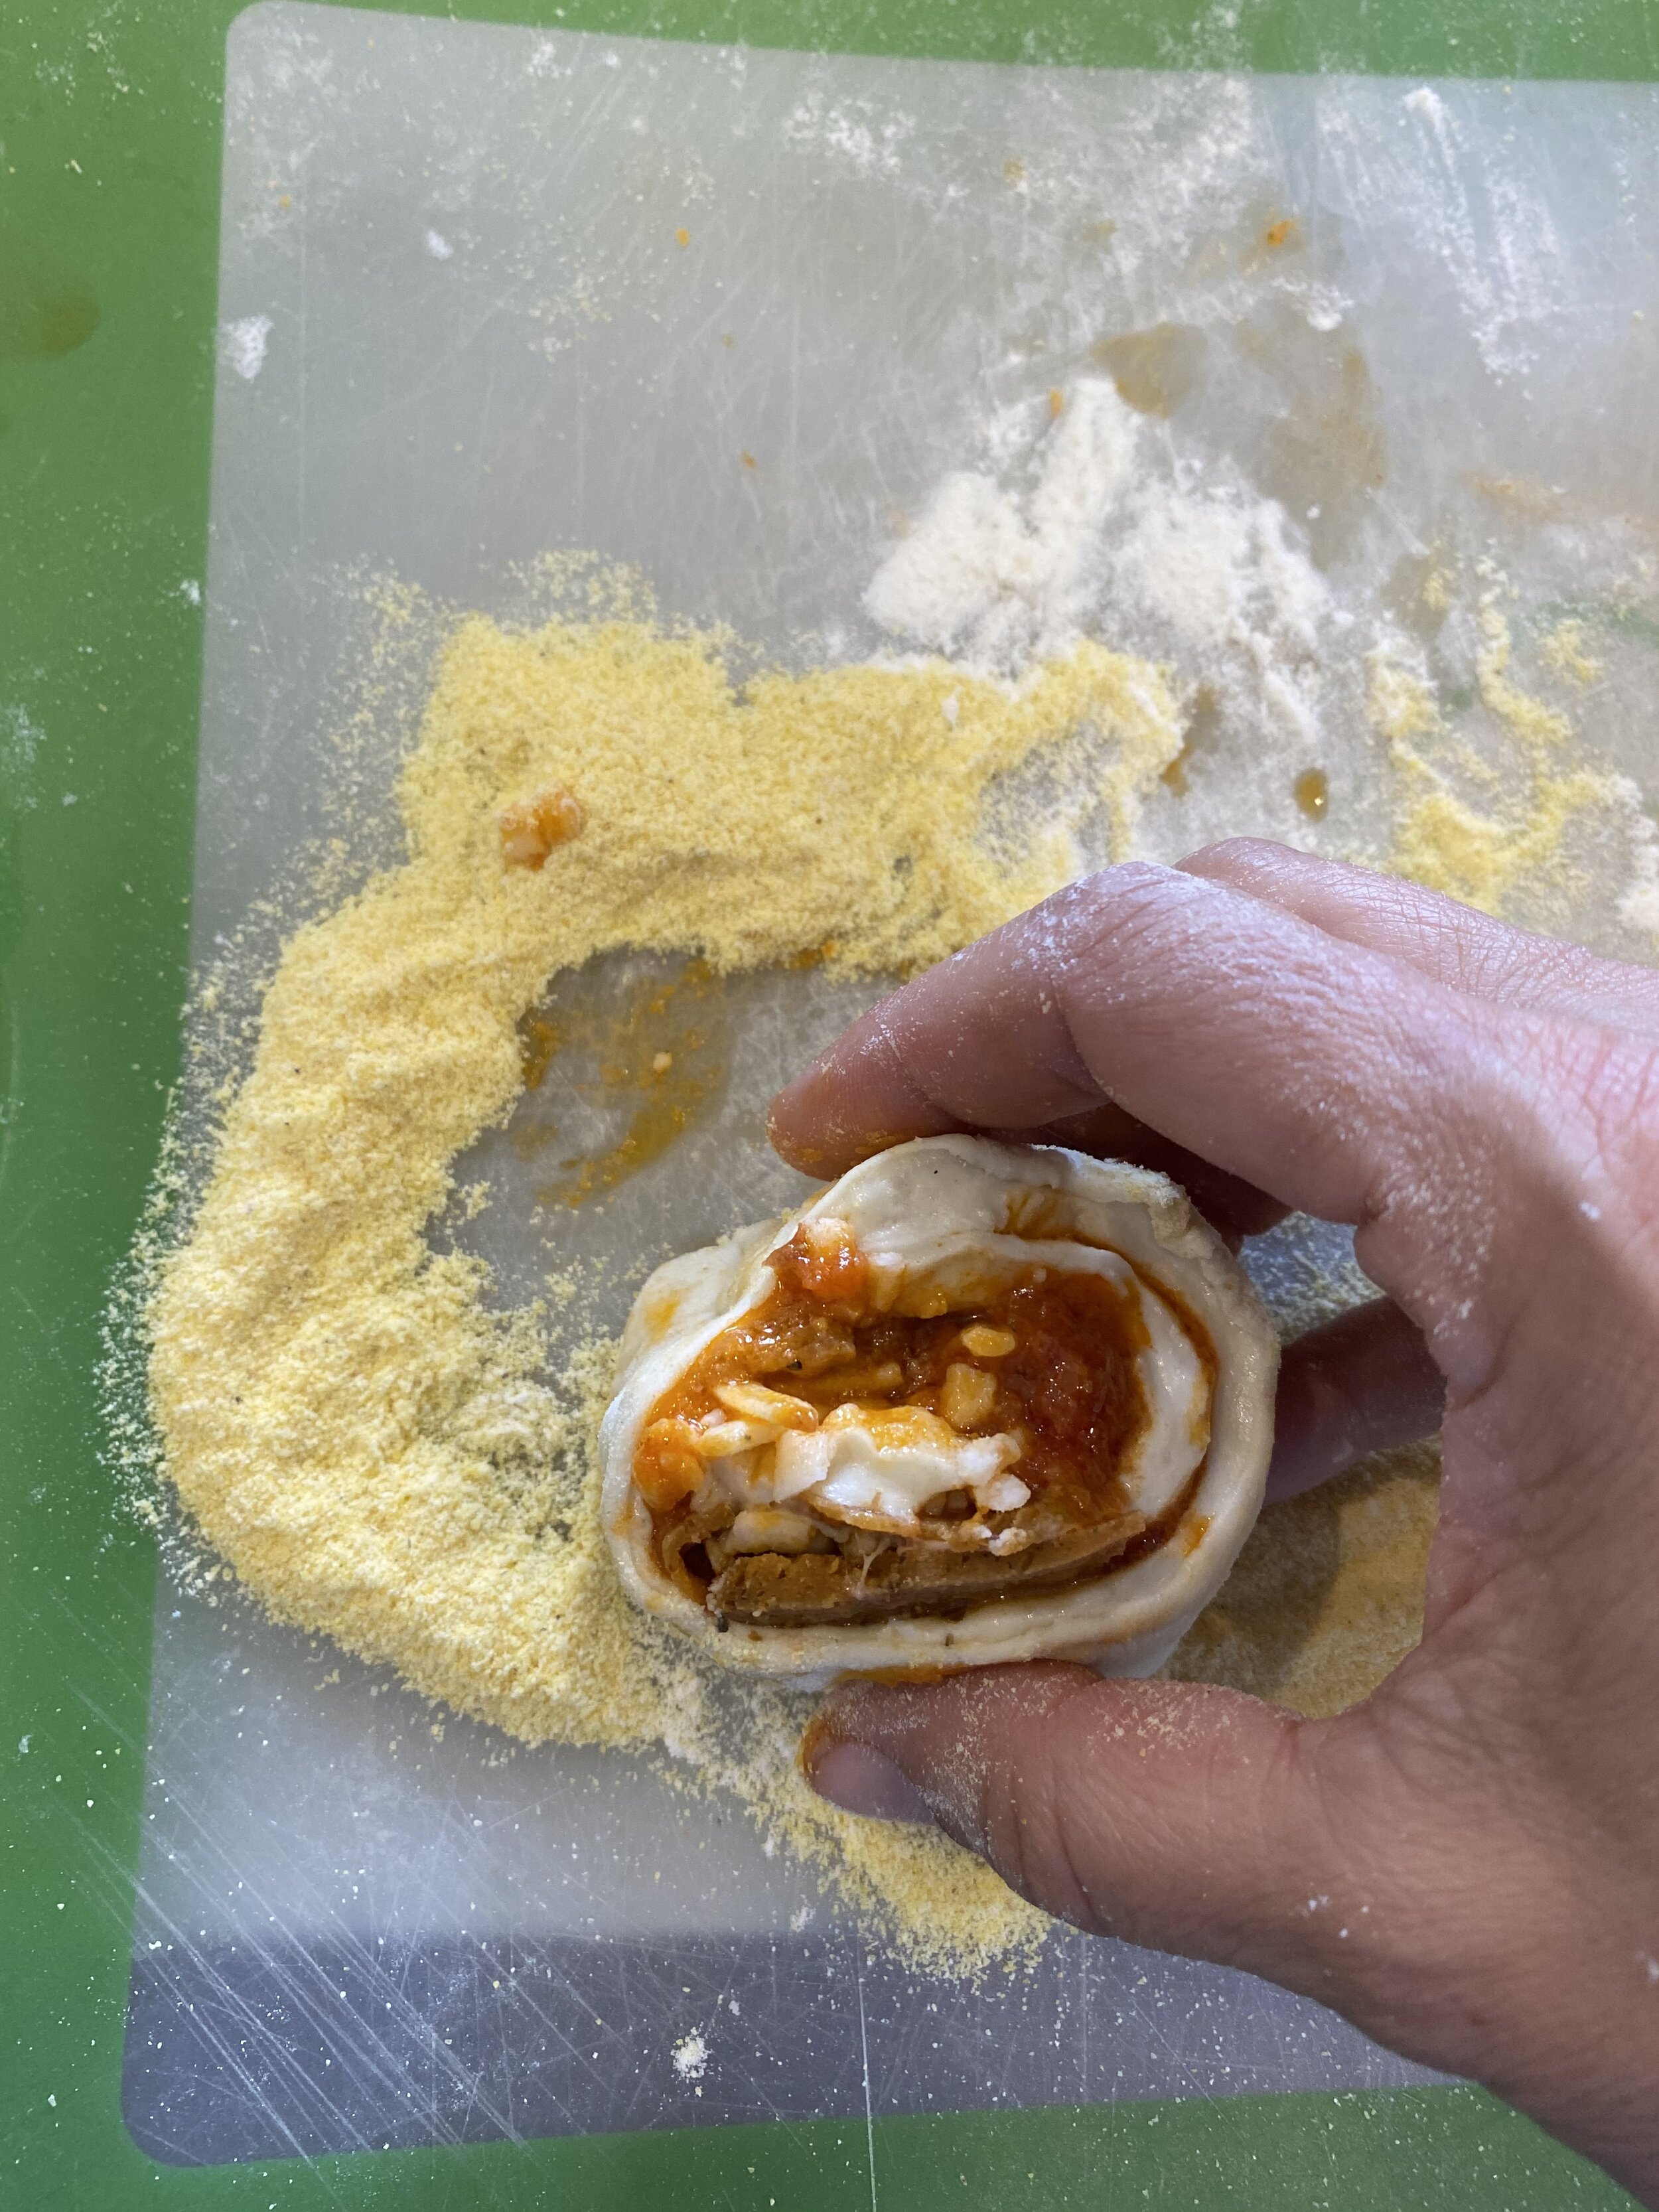
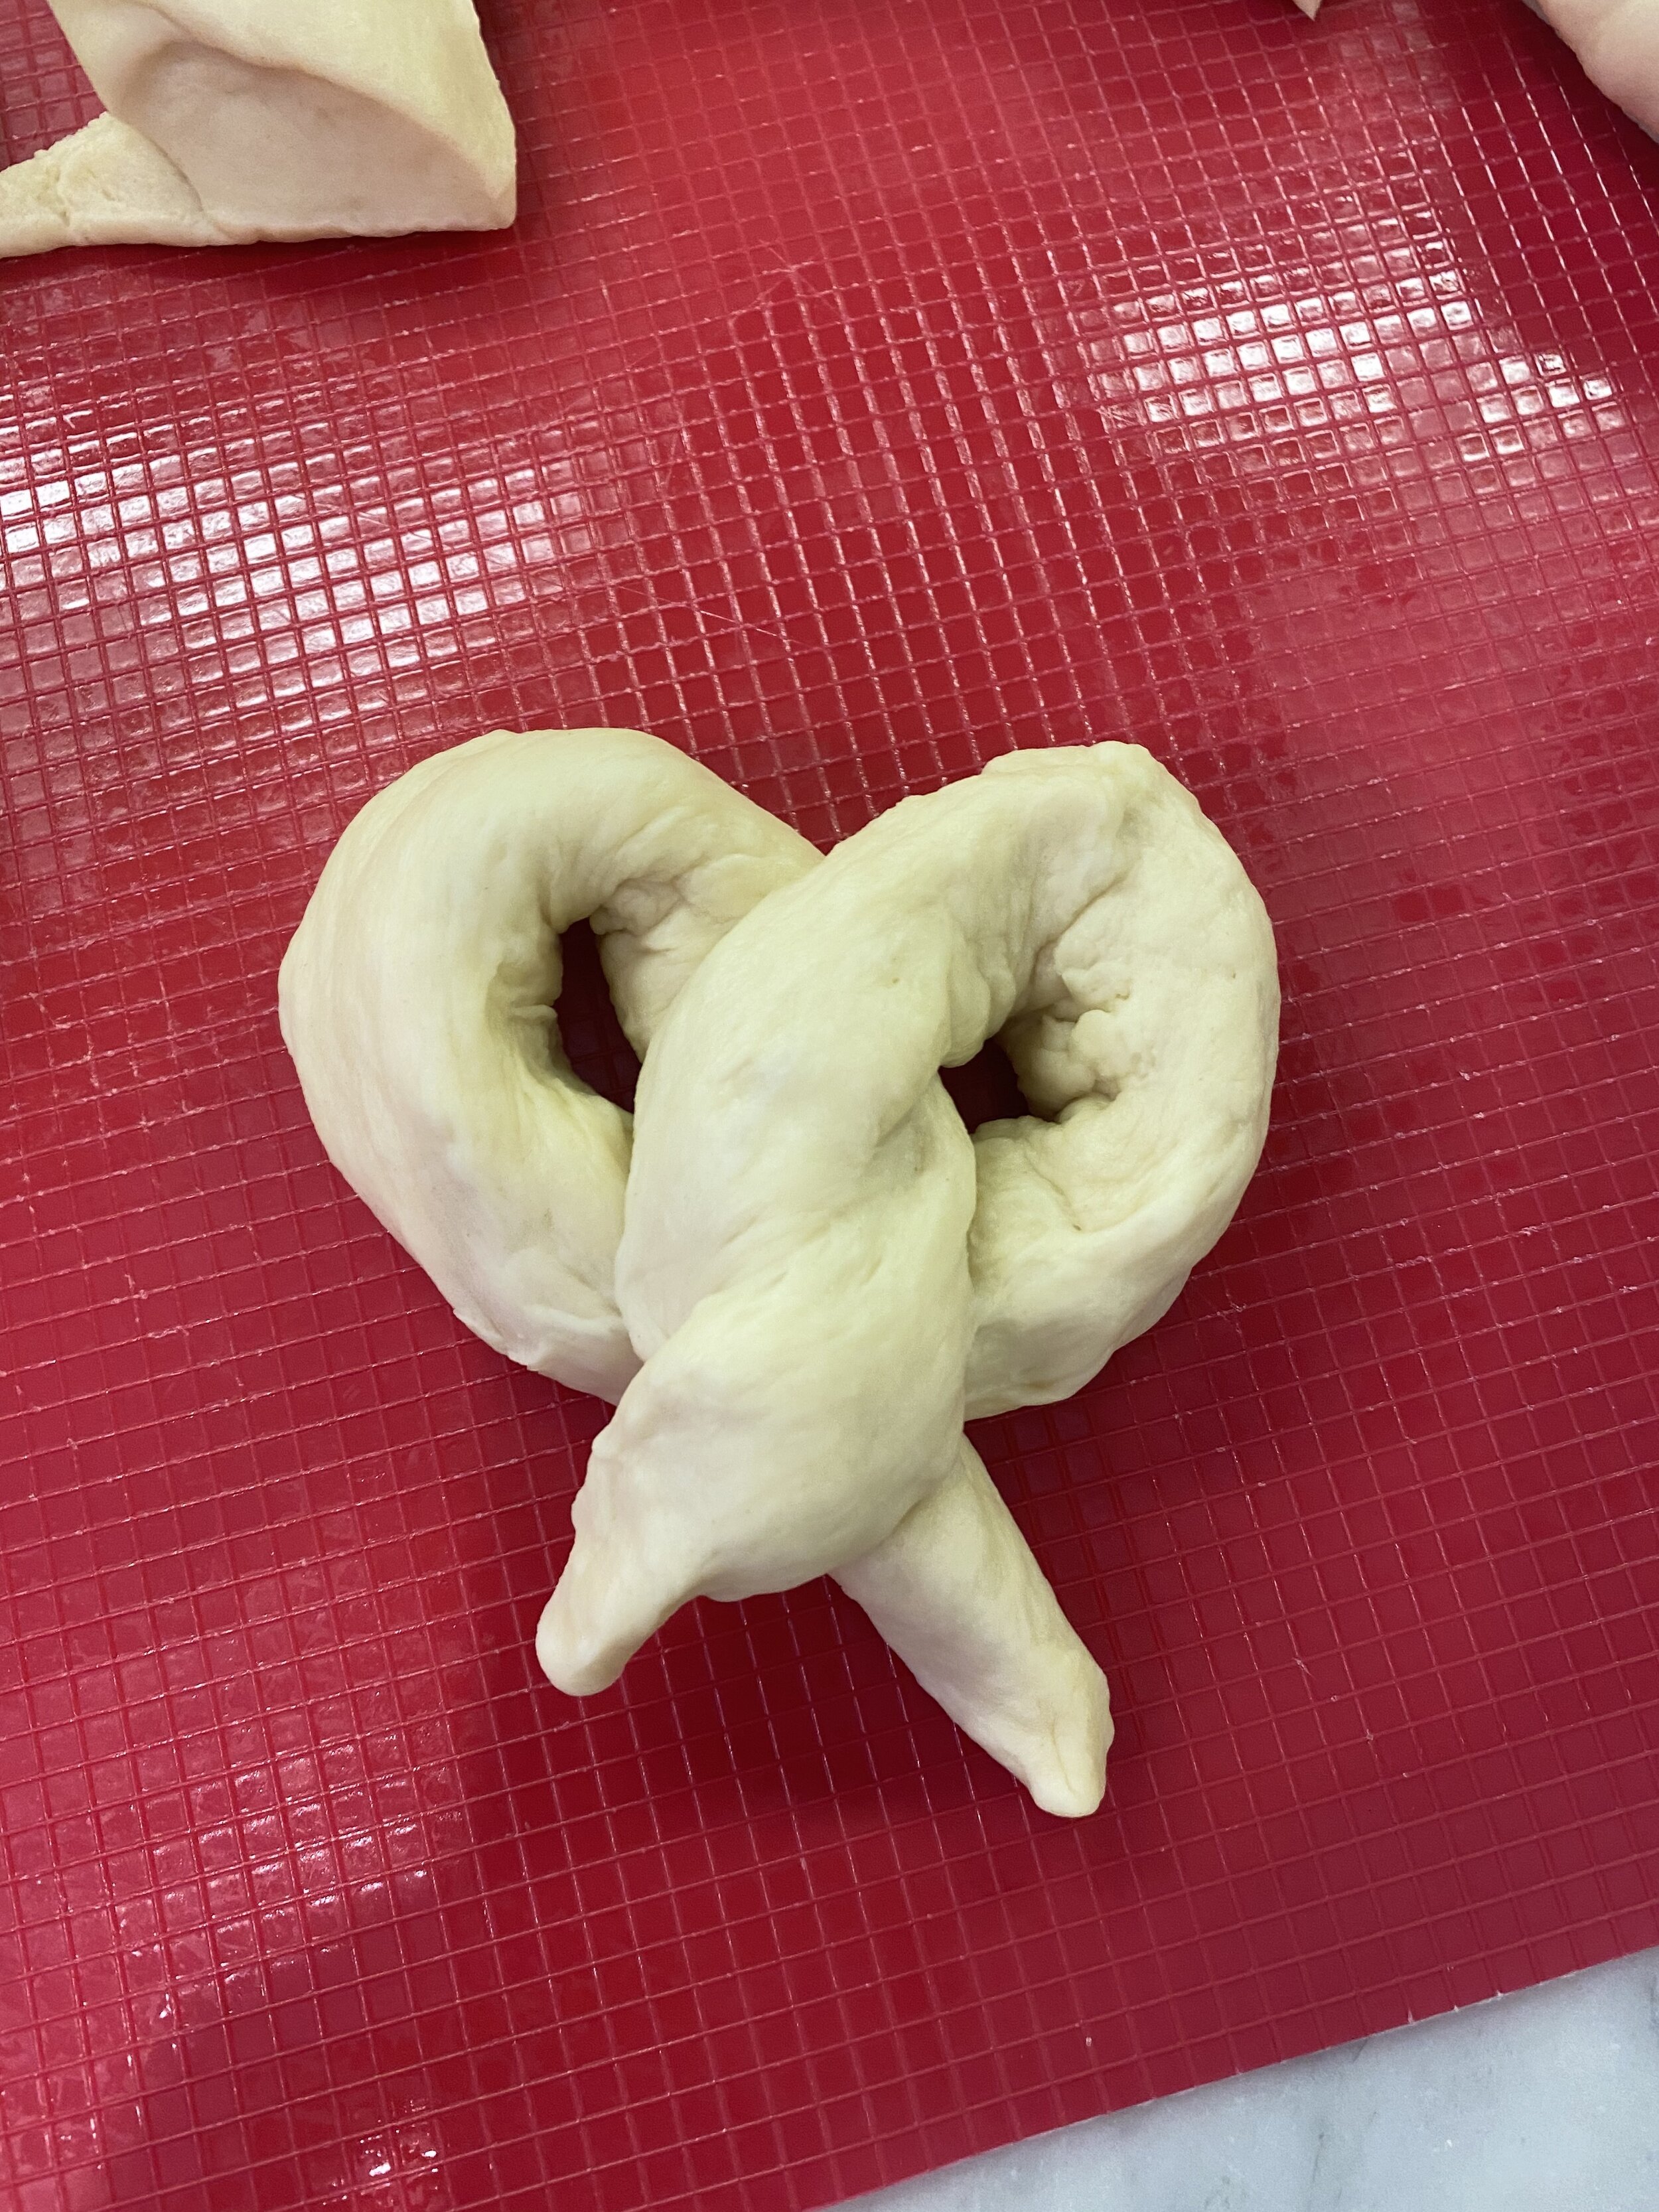
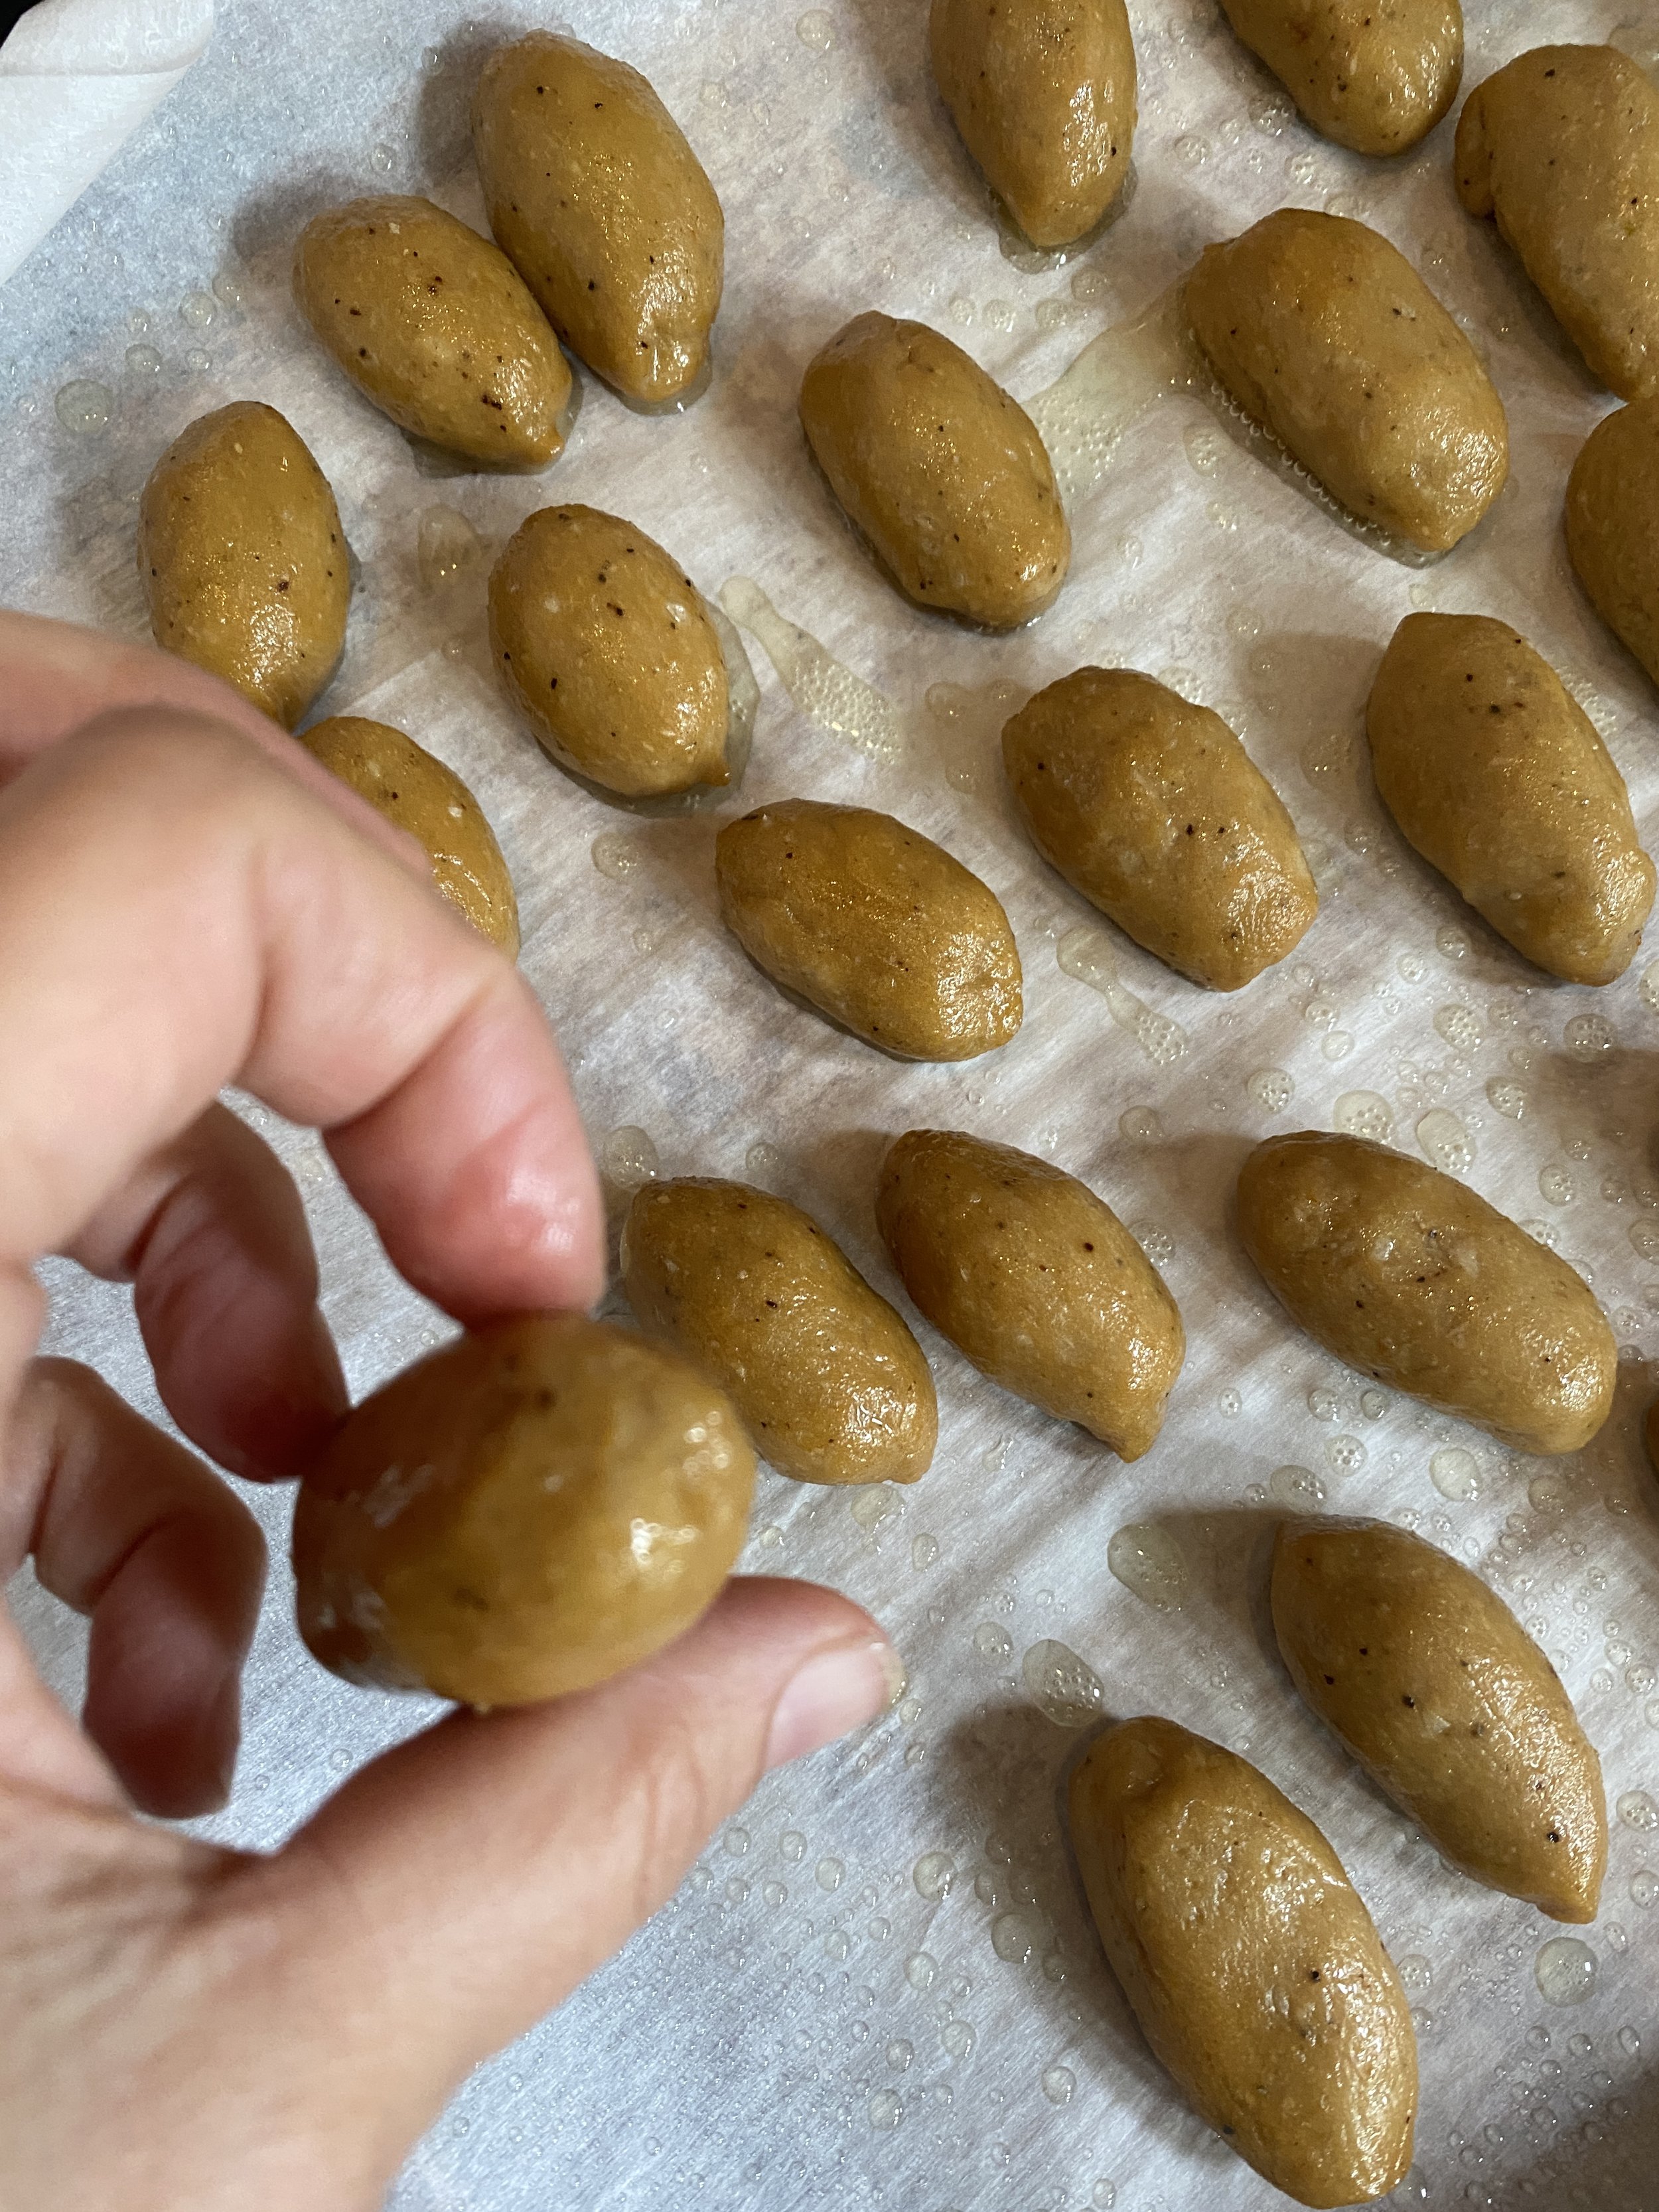
Cut each rope into 8 equal sized pieces. Roll each piece in your hand to form a mini hotdog link shape, kind of pinching the ends to seal them. Try to get the dough as smooth as possible. I have pictured below the difference in taking your time to get the dough smooth, and the ones I rushed.
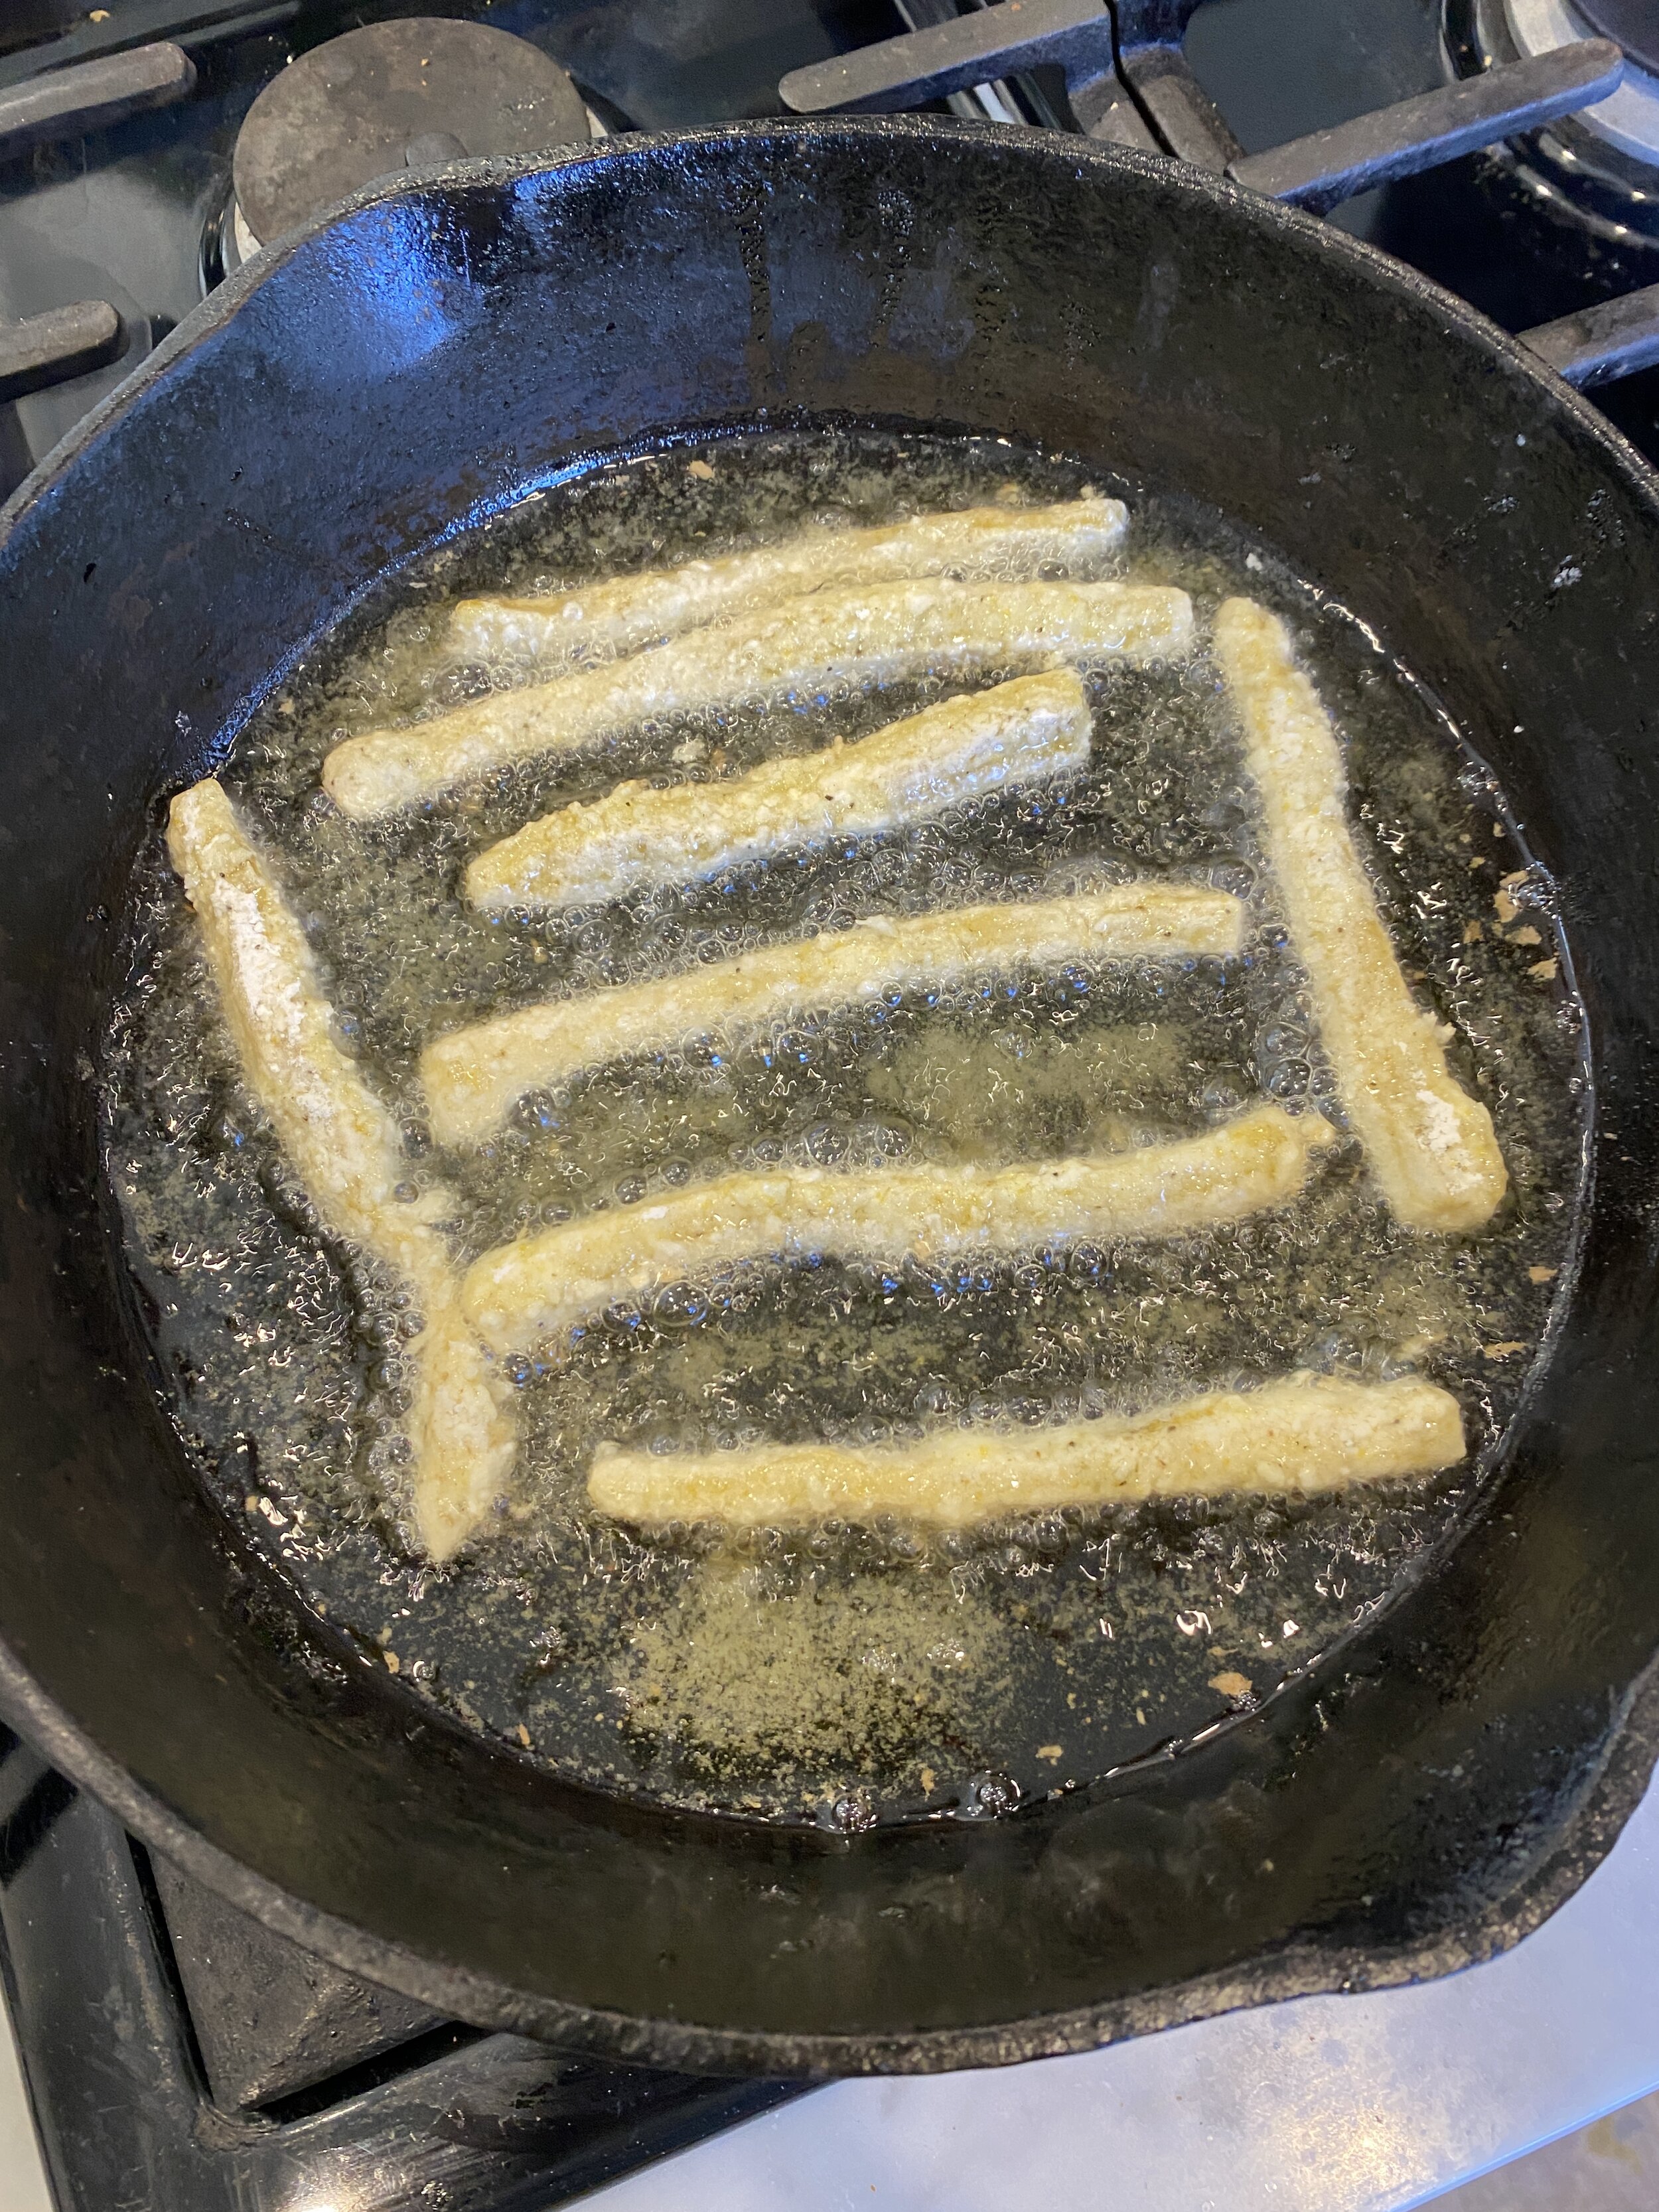
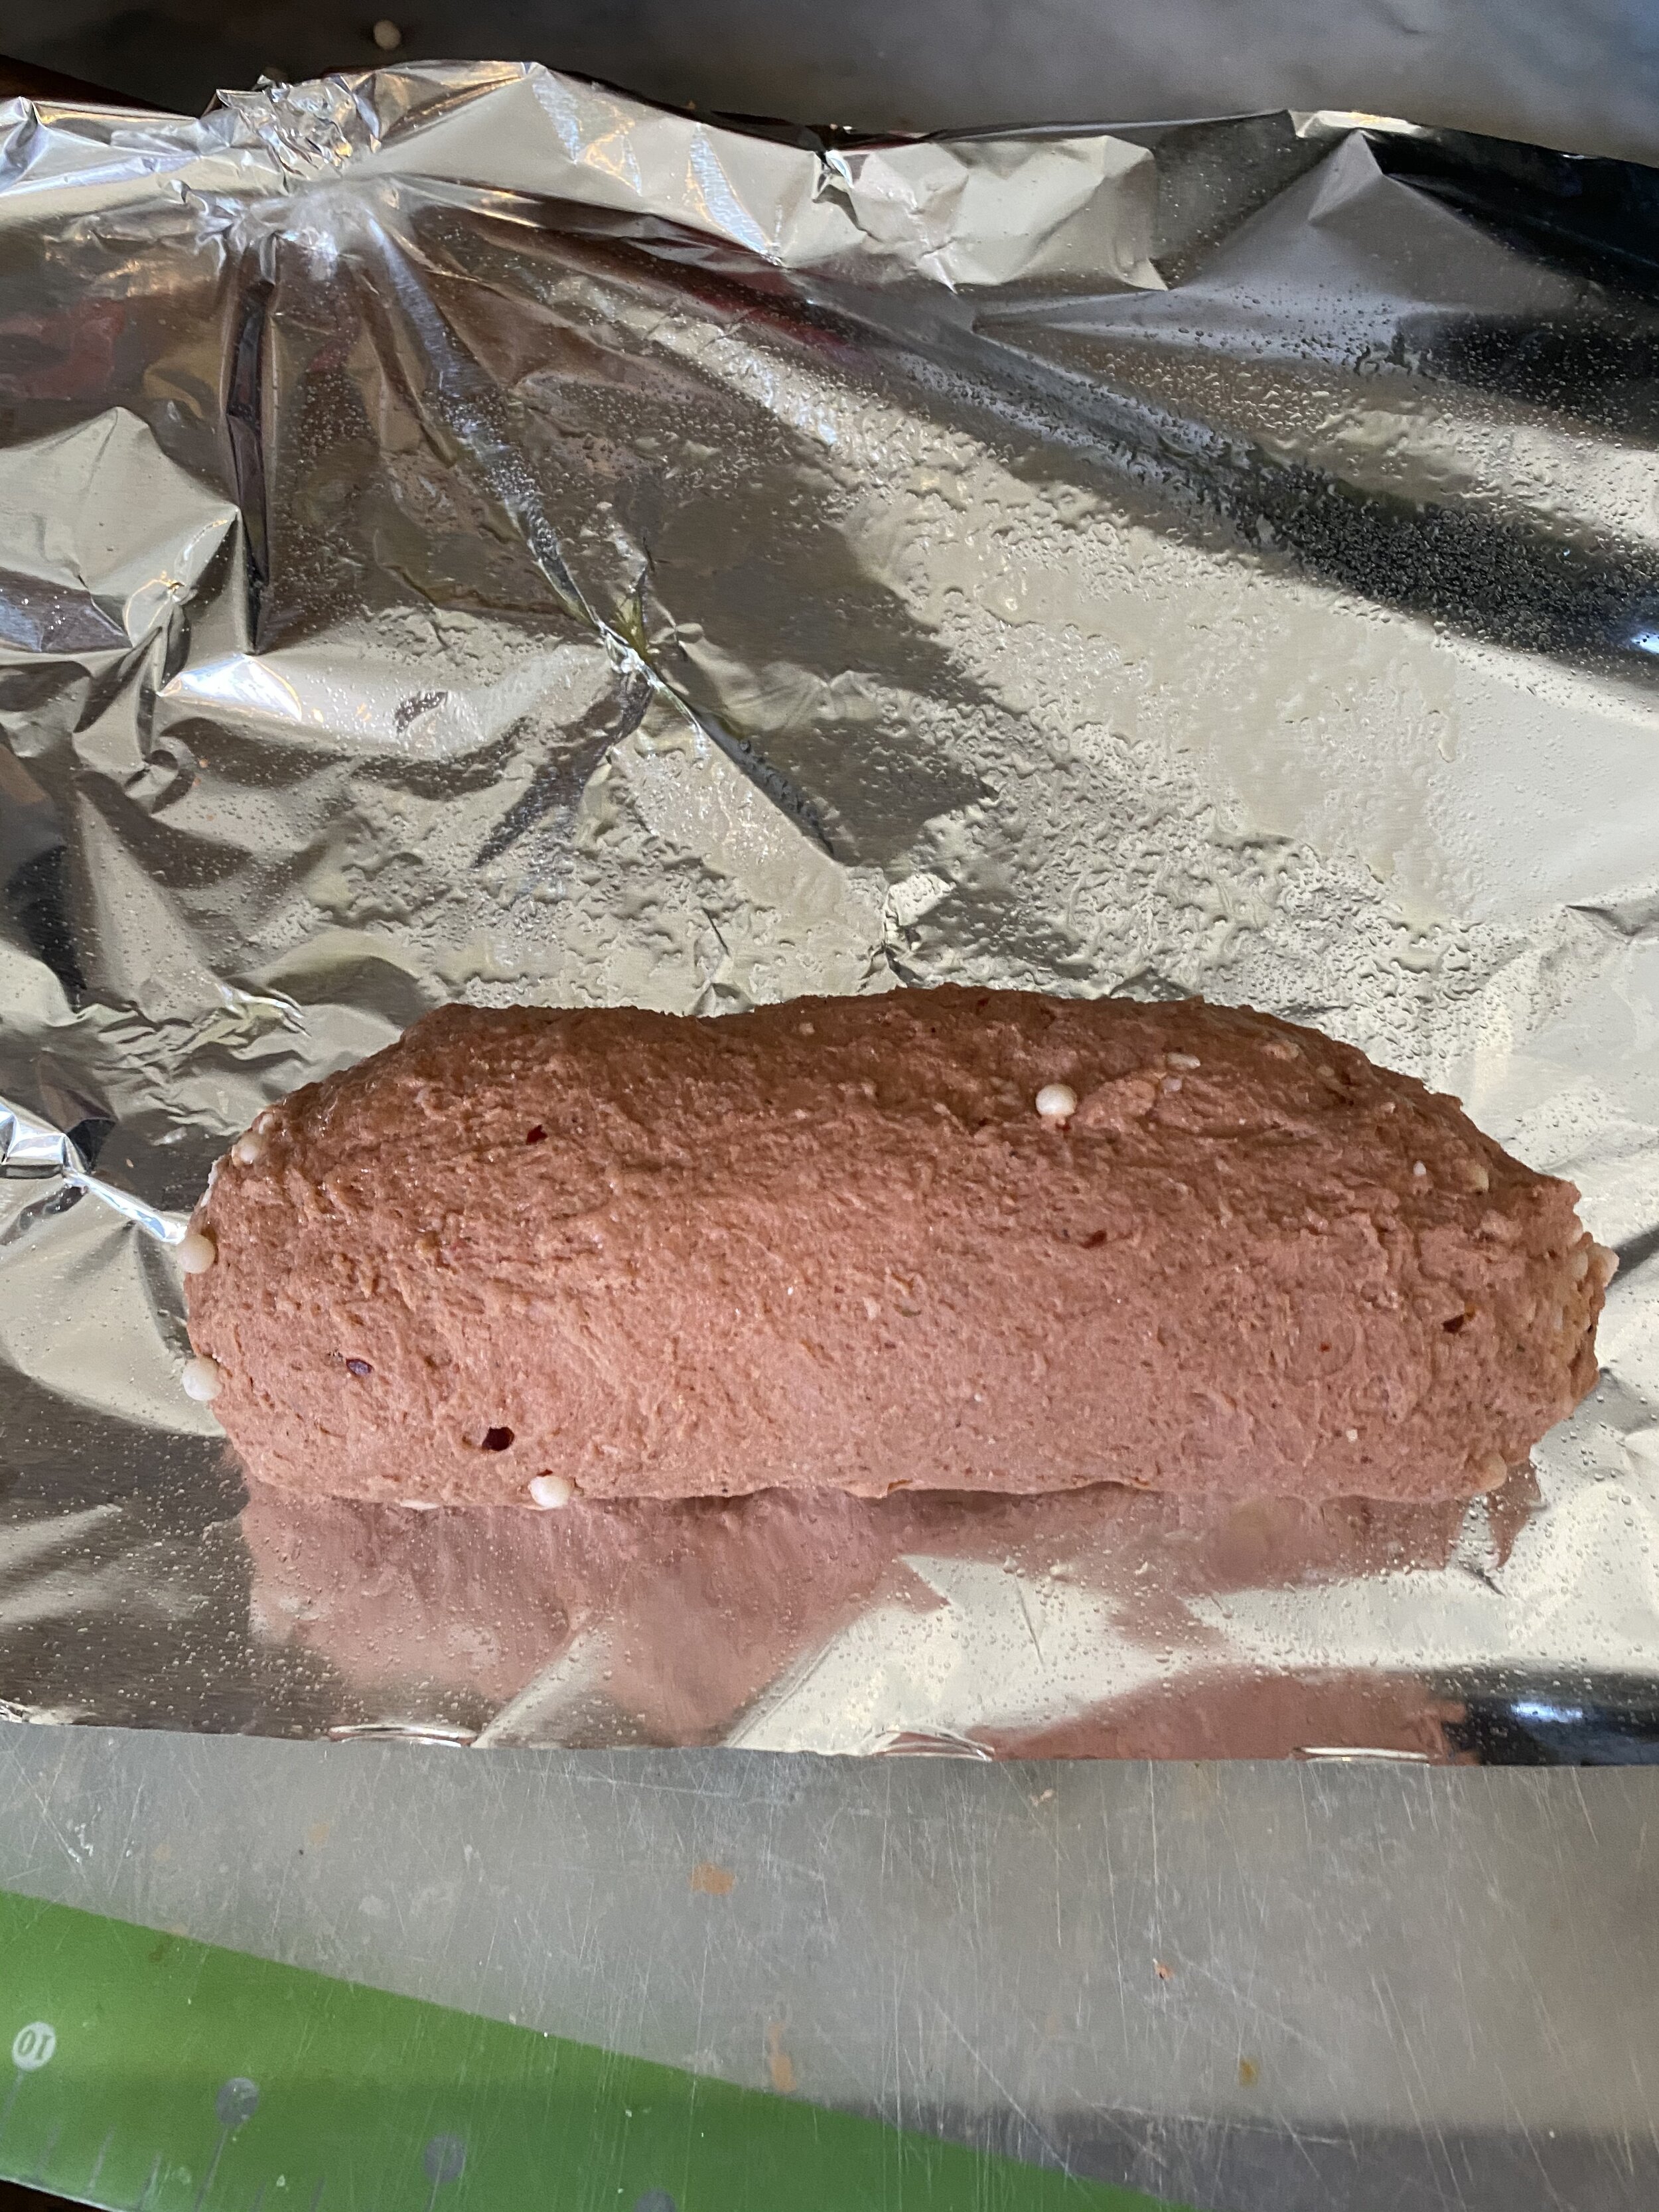
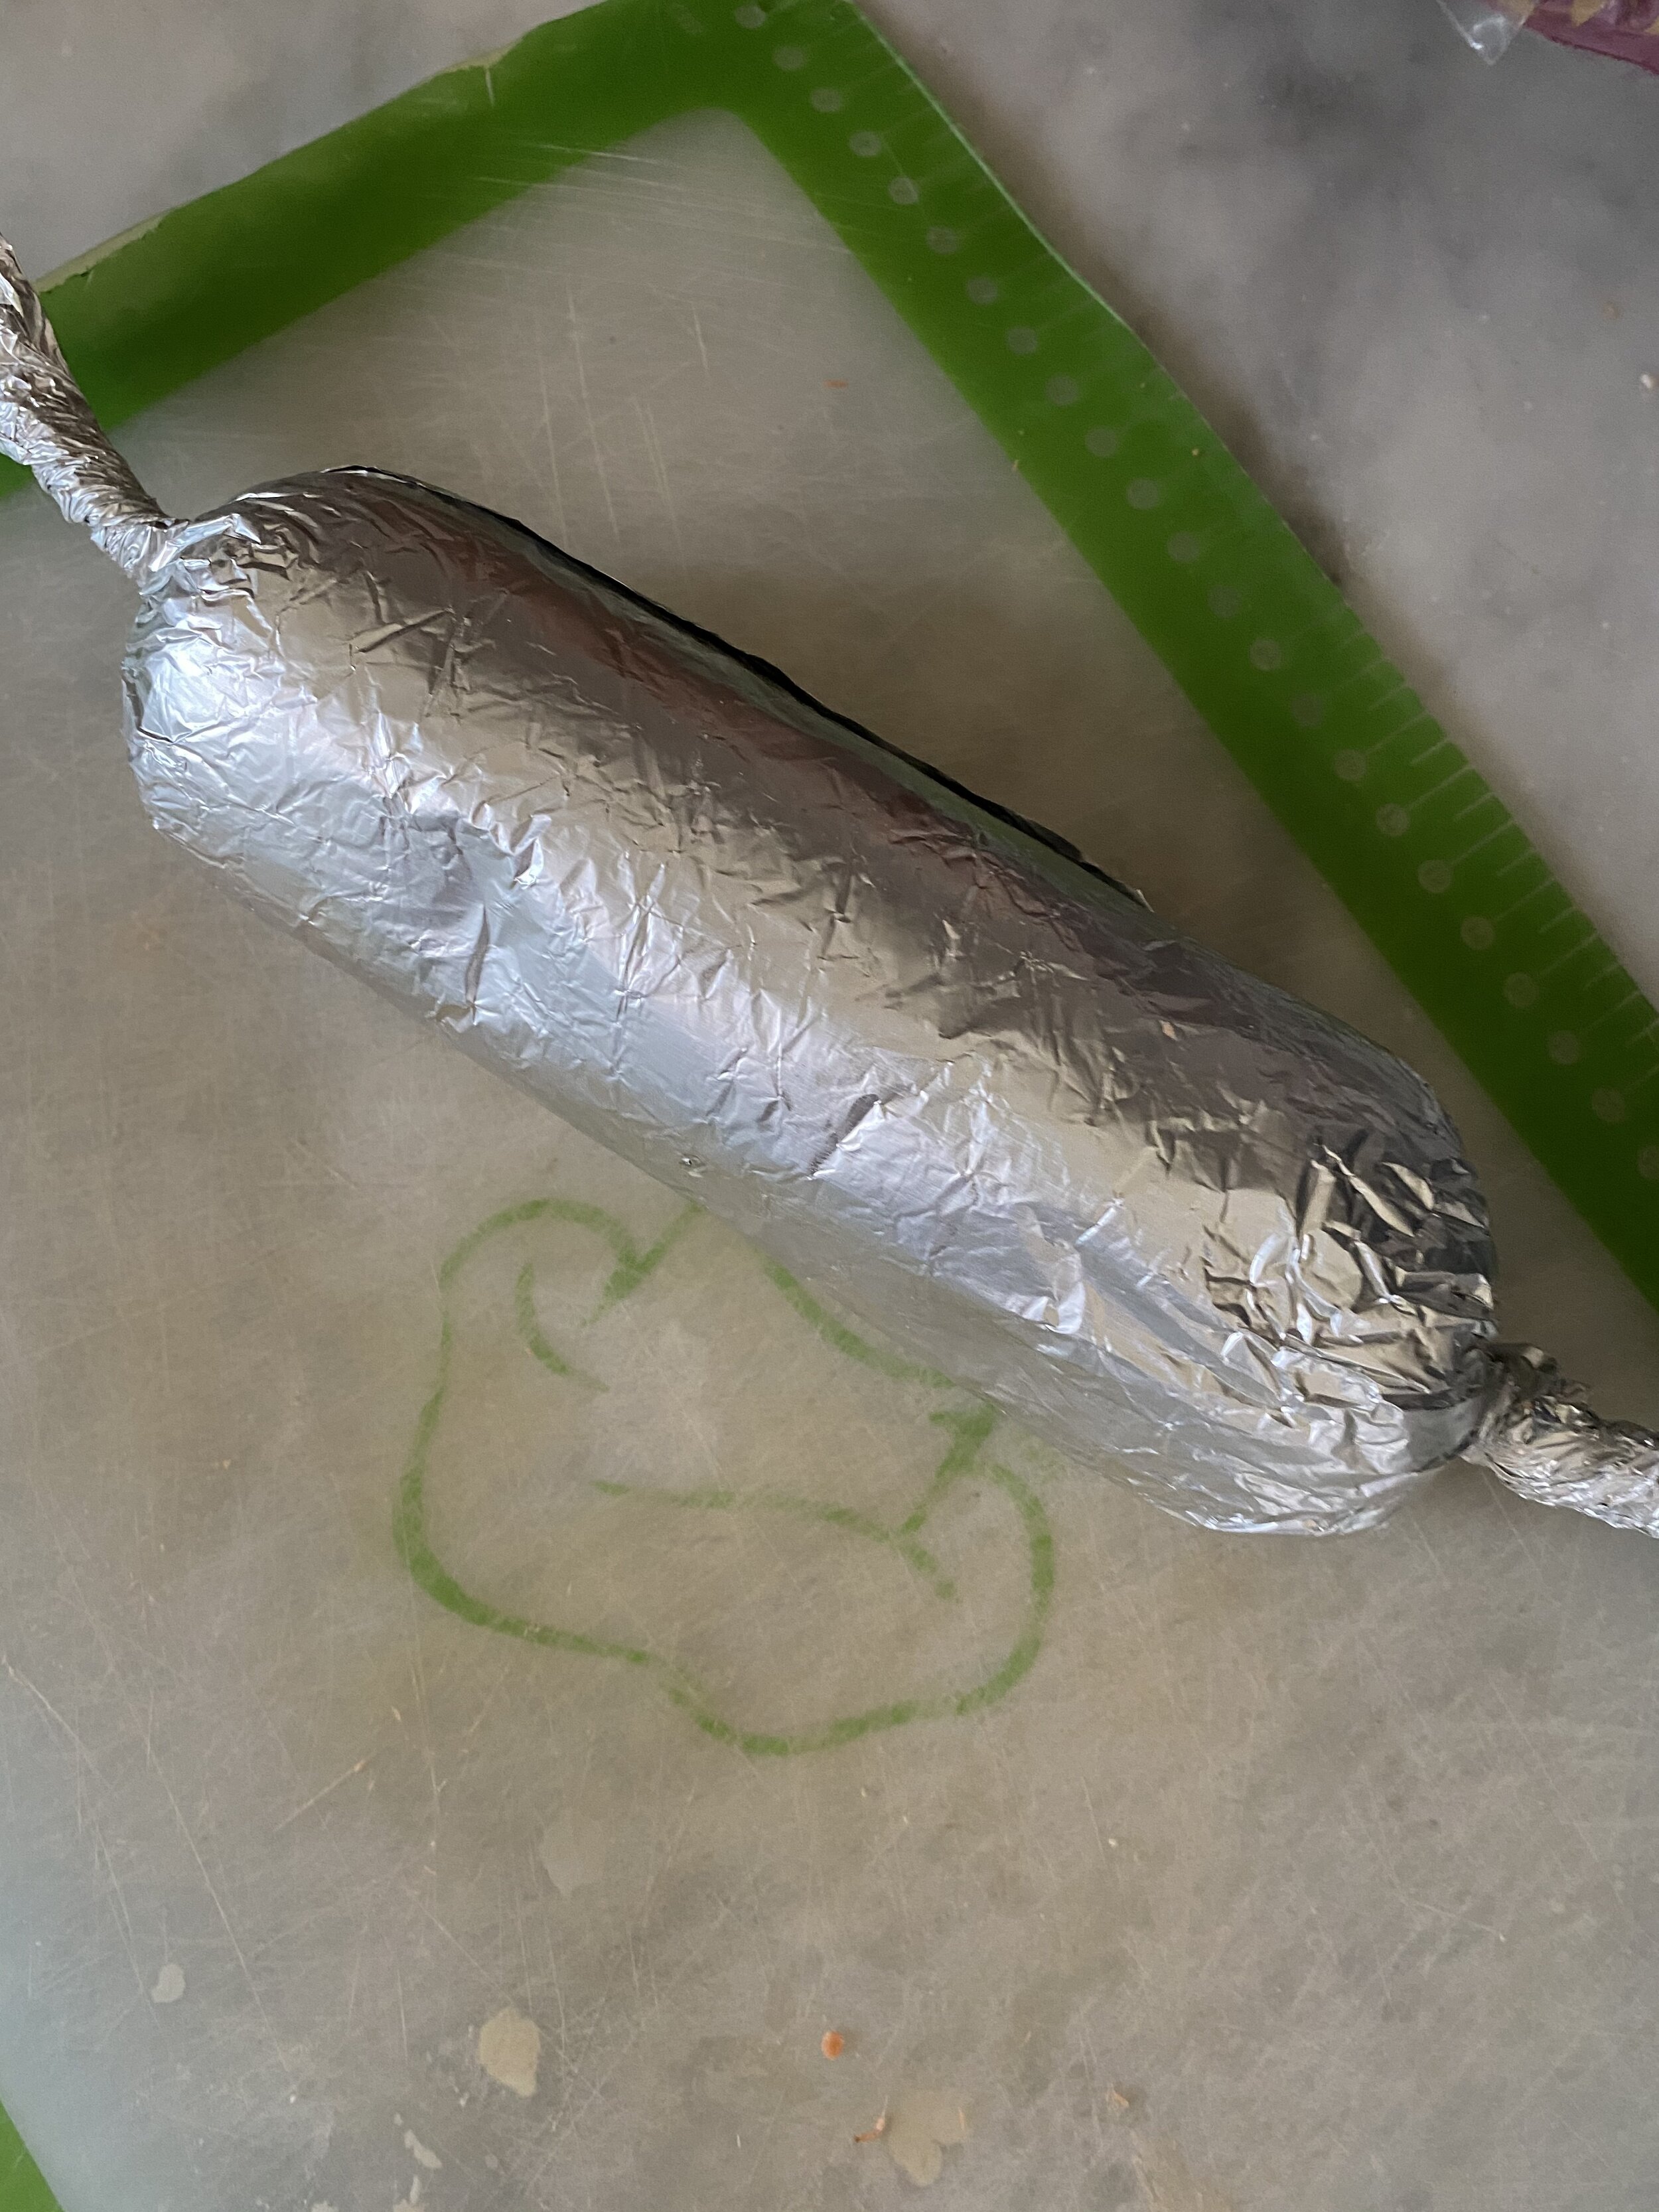
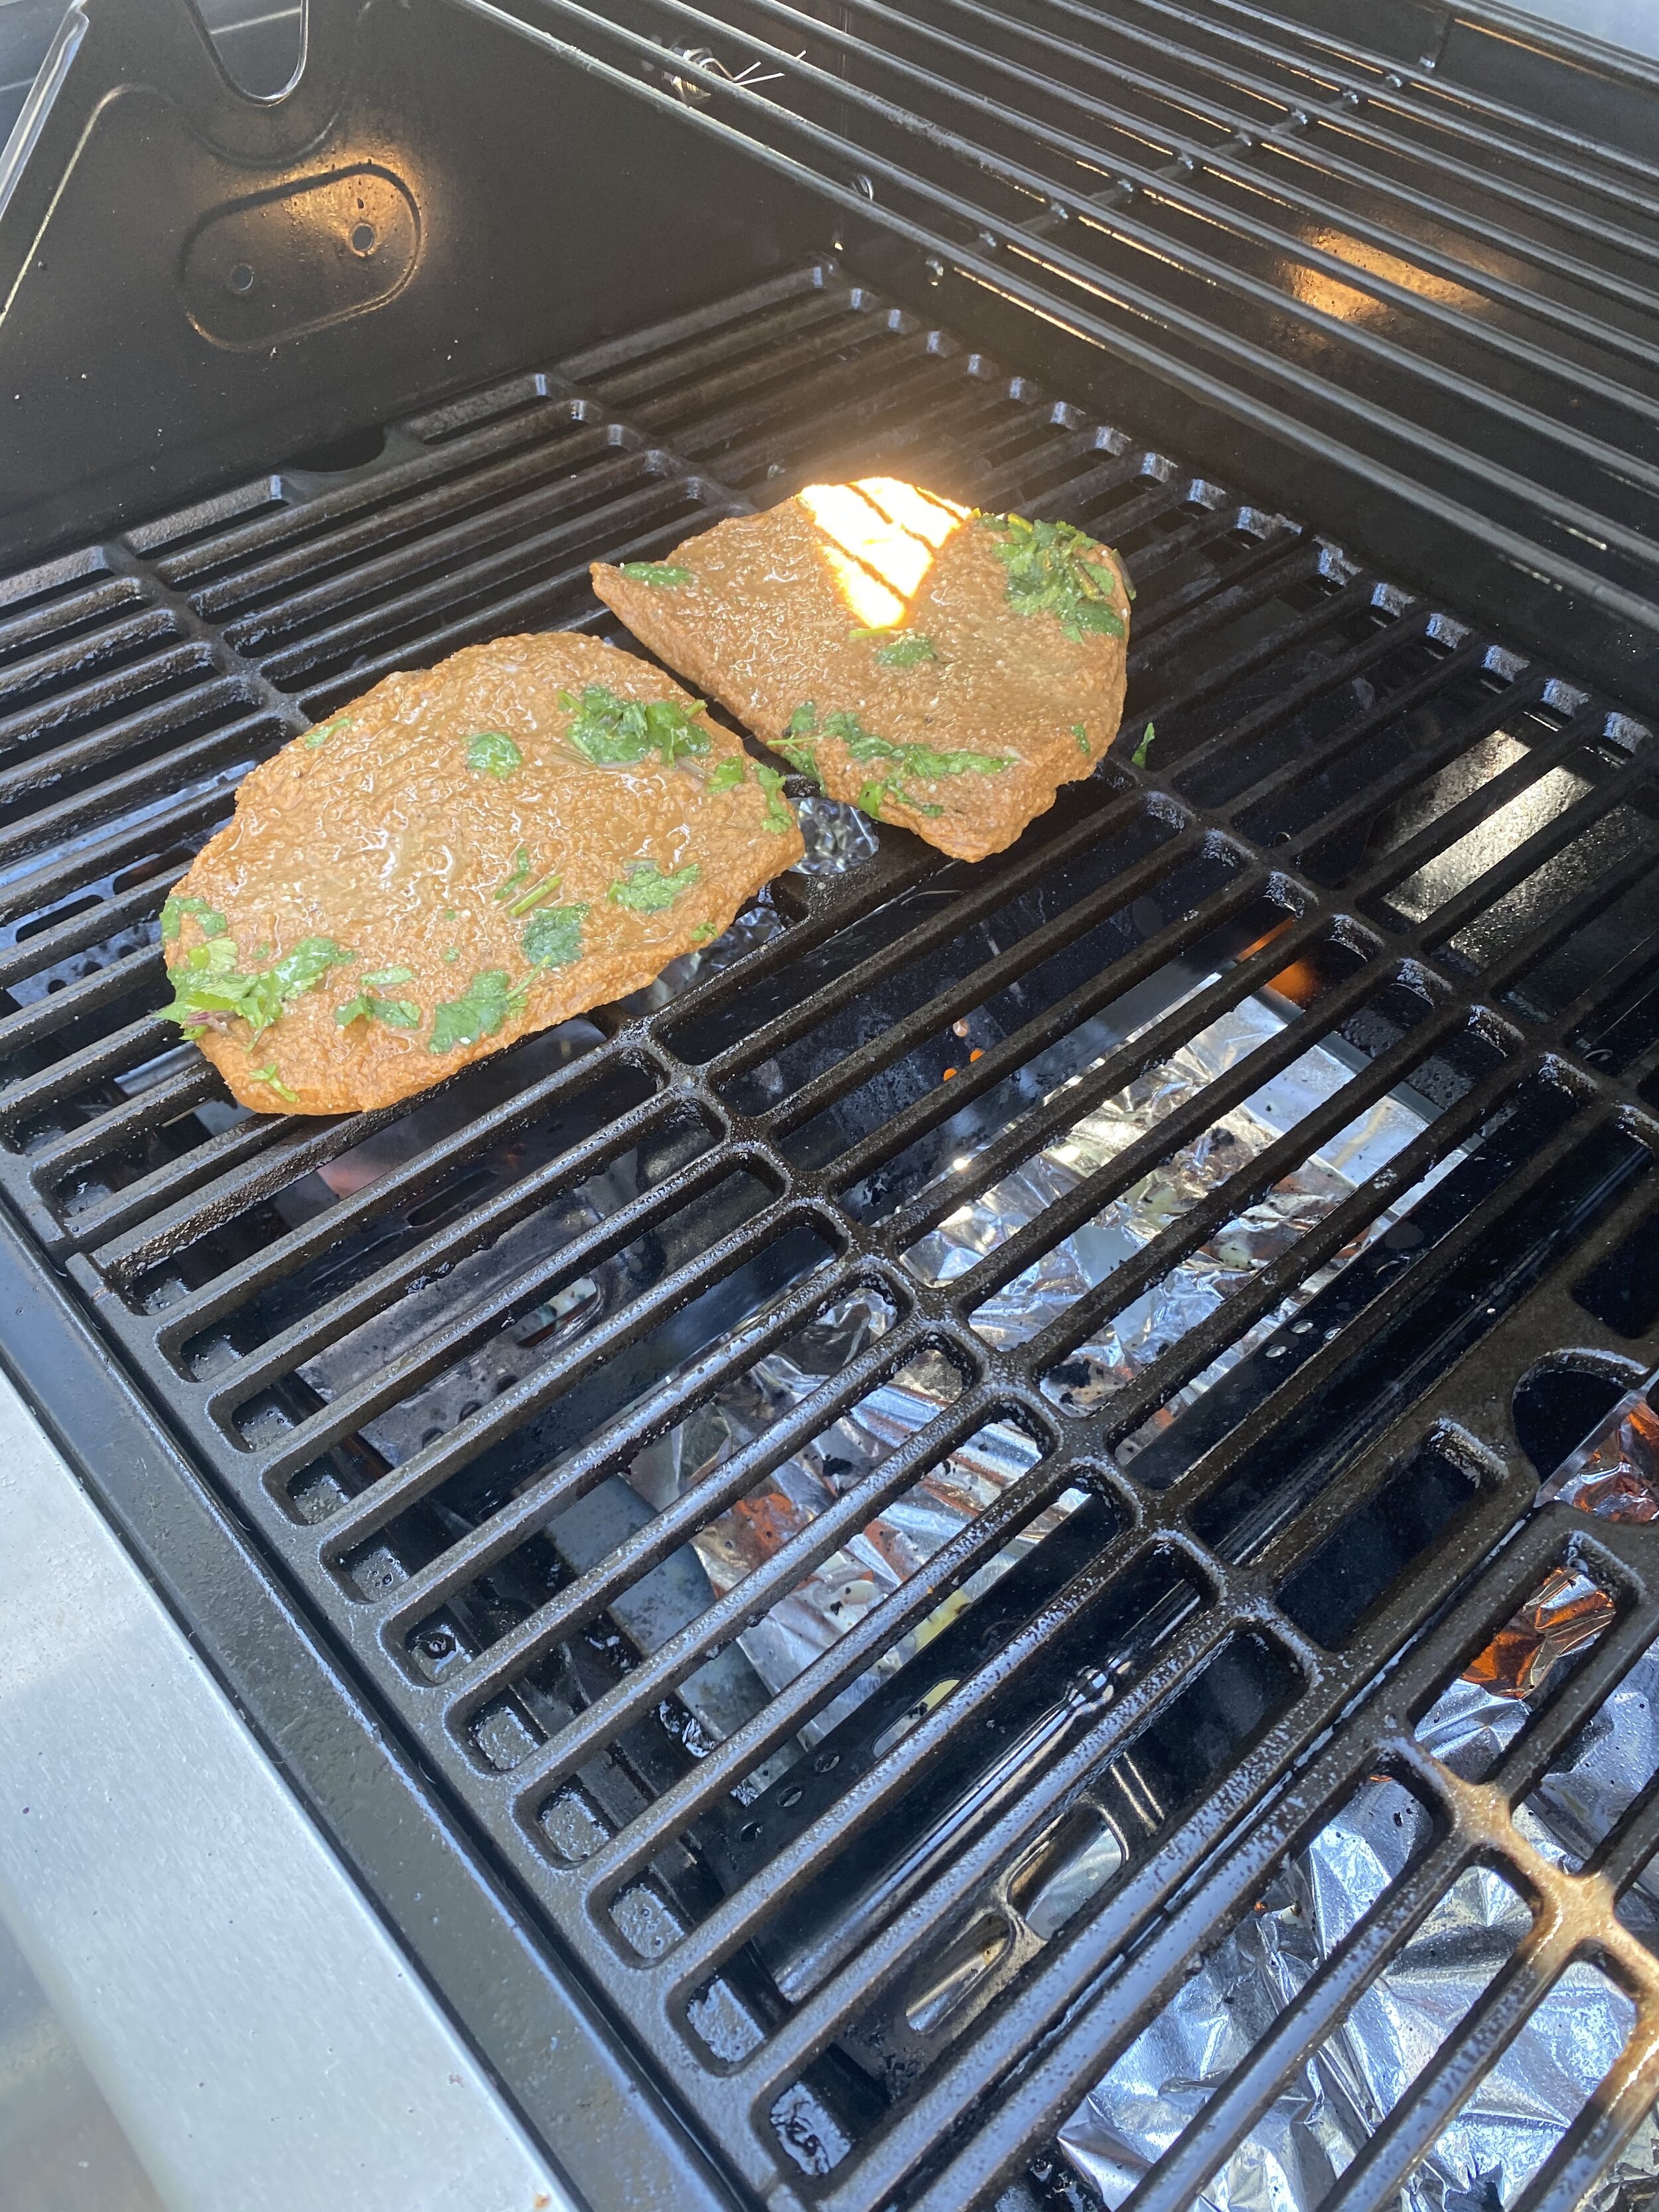
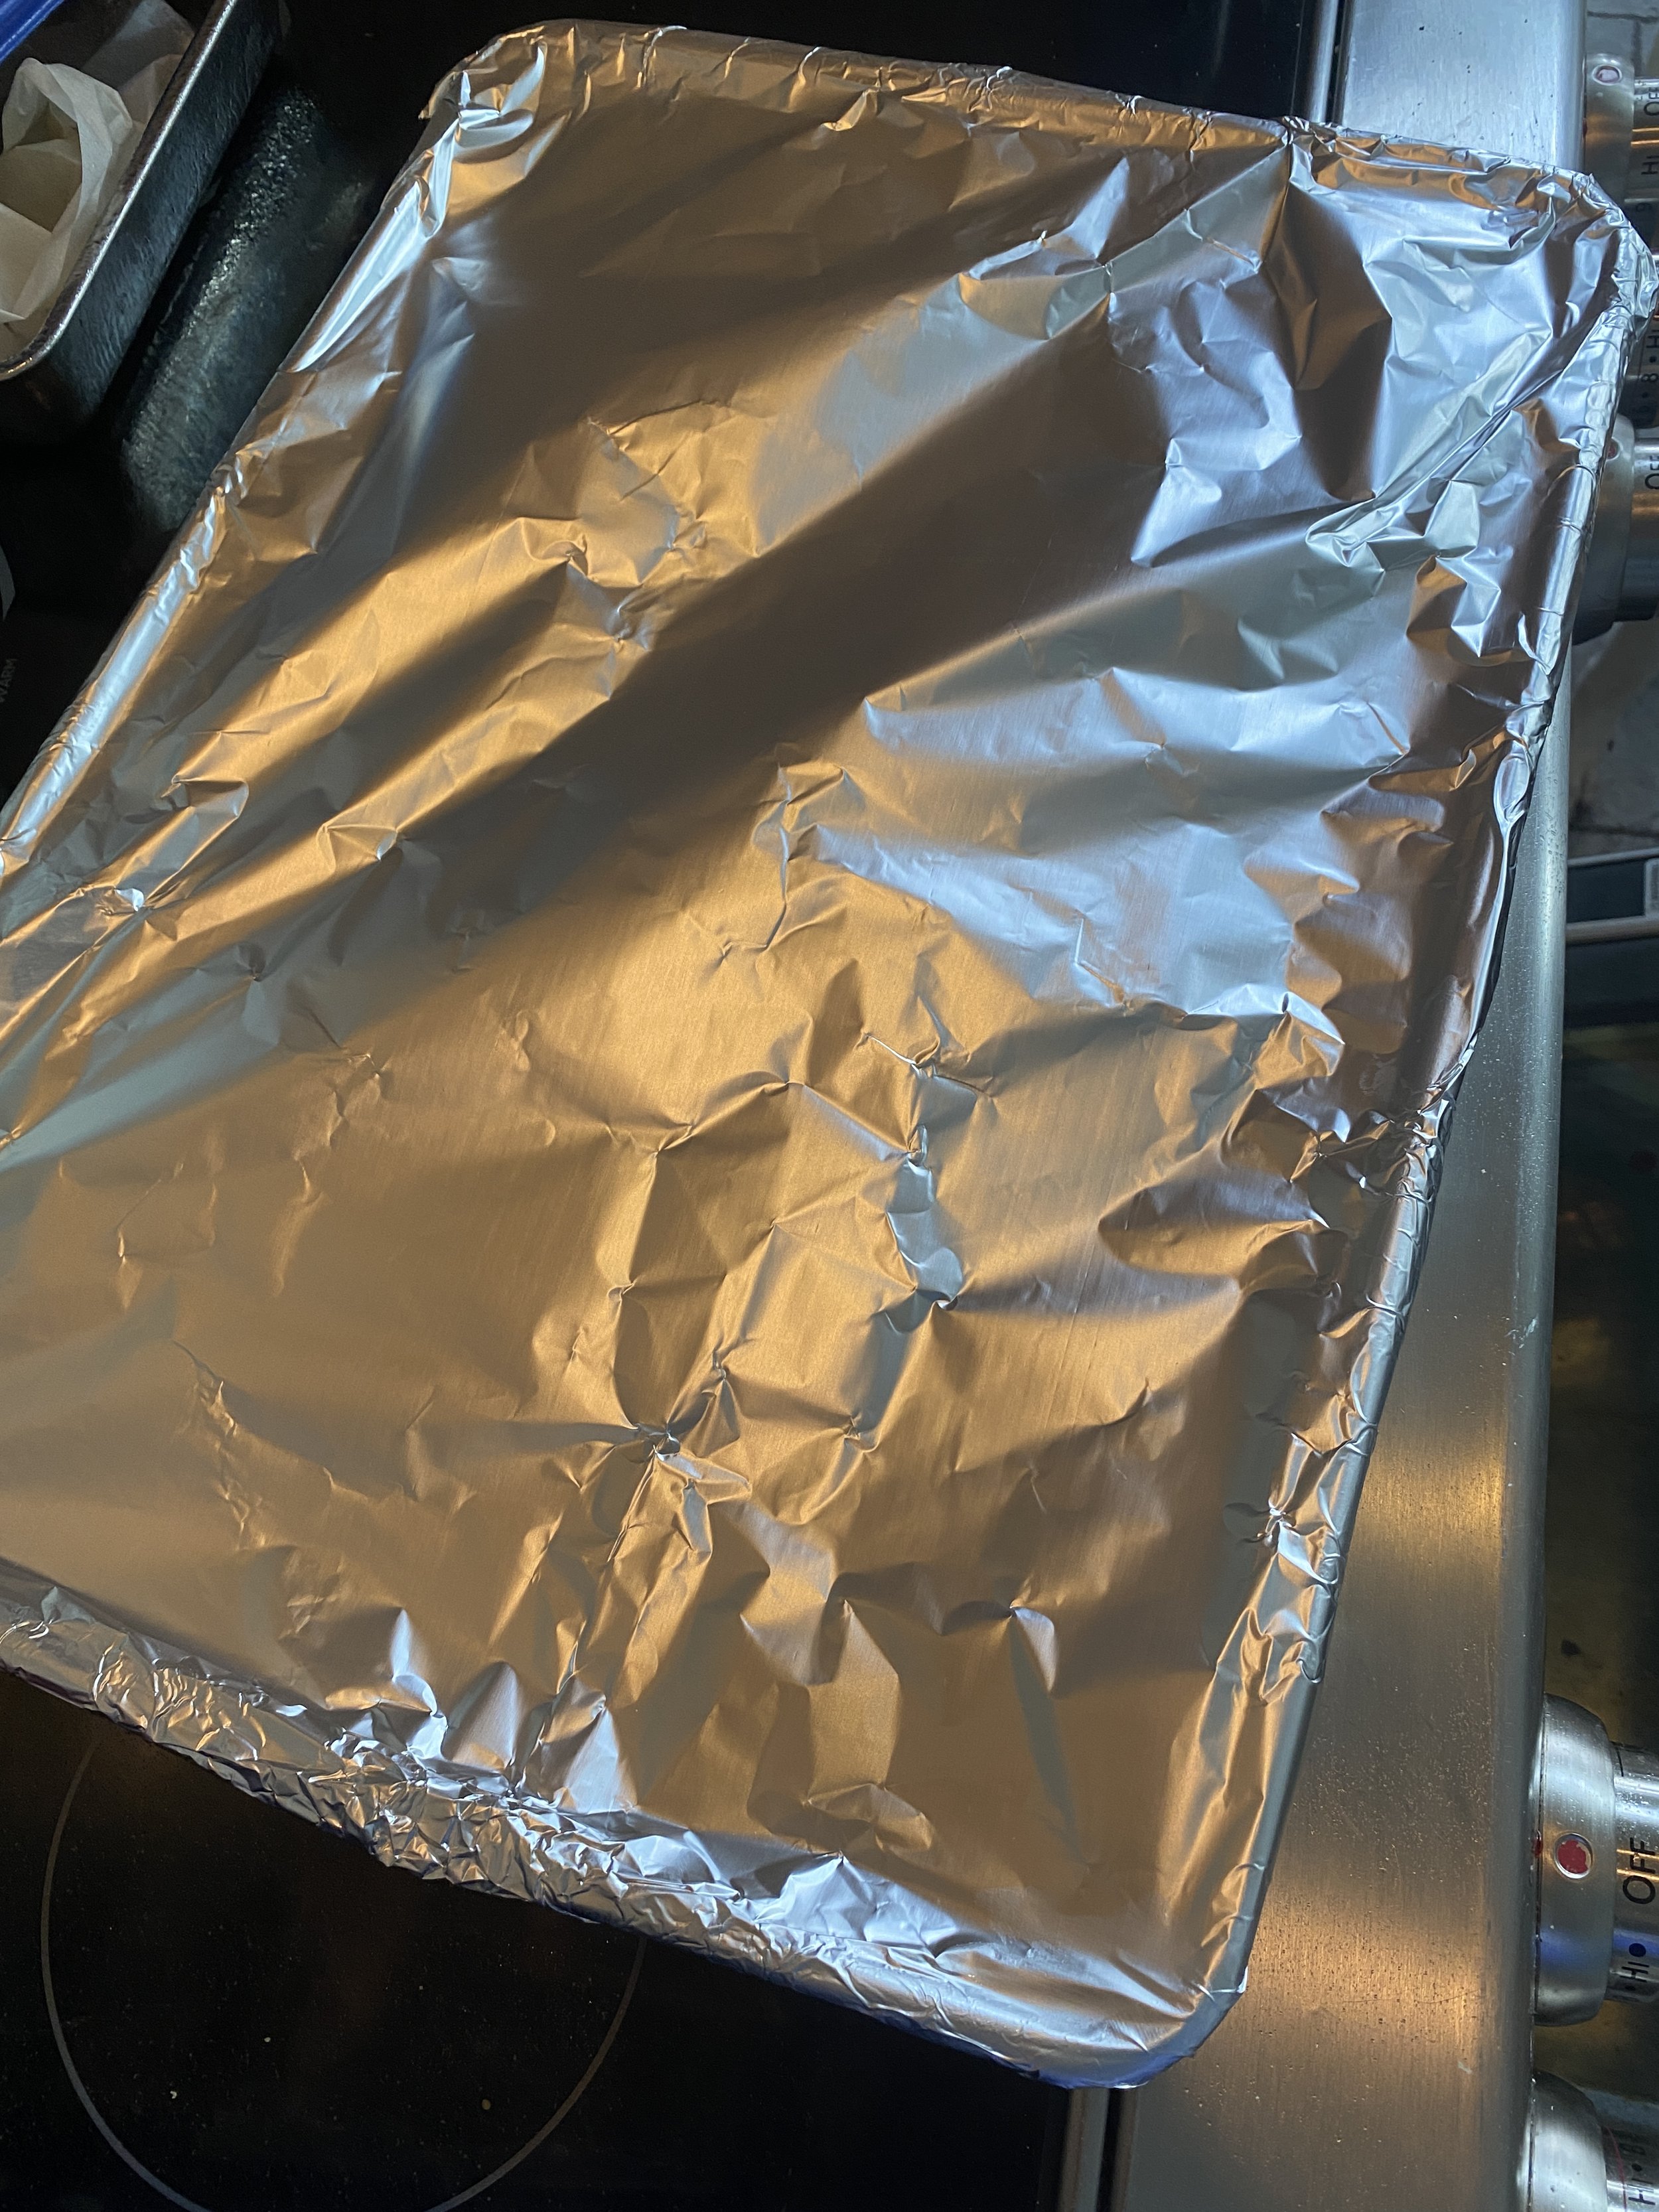
Place all of the little smokies on 2 cookies sheets lined in parchment paper. Spray the smokies with some cooking oil and cover the pans tightly with foil. I wrap the foil around the pans and tuck it. You need the smokies to steam on the pan so make sure you have a nice seal around the edges with the foil.
Place the pans in the oven and bake wrapped for 20 minutes. My smokies on the top rack of my oven came out perfectly. The ones on the rack below cooked too hot on the bottom. I suggest keep both pans on the top rack if they will fit, or swapping the pans mid bake so each batch bakes evenly.
Carefully remove the vegan lil smokies from the oven and let them cool a minute on the pan. Transfer them to bowl and pop them in the fridge to rest for at least 4-5 hours. This rest is what gives you the correct texture for these vegan lil smokies. THEY MUST REST.
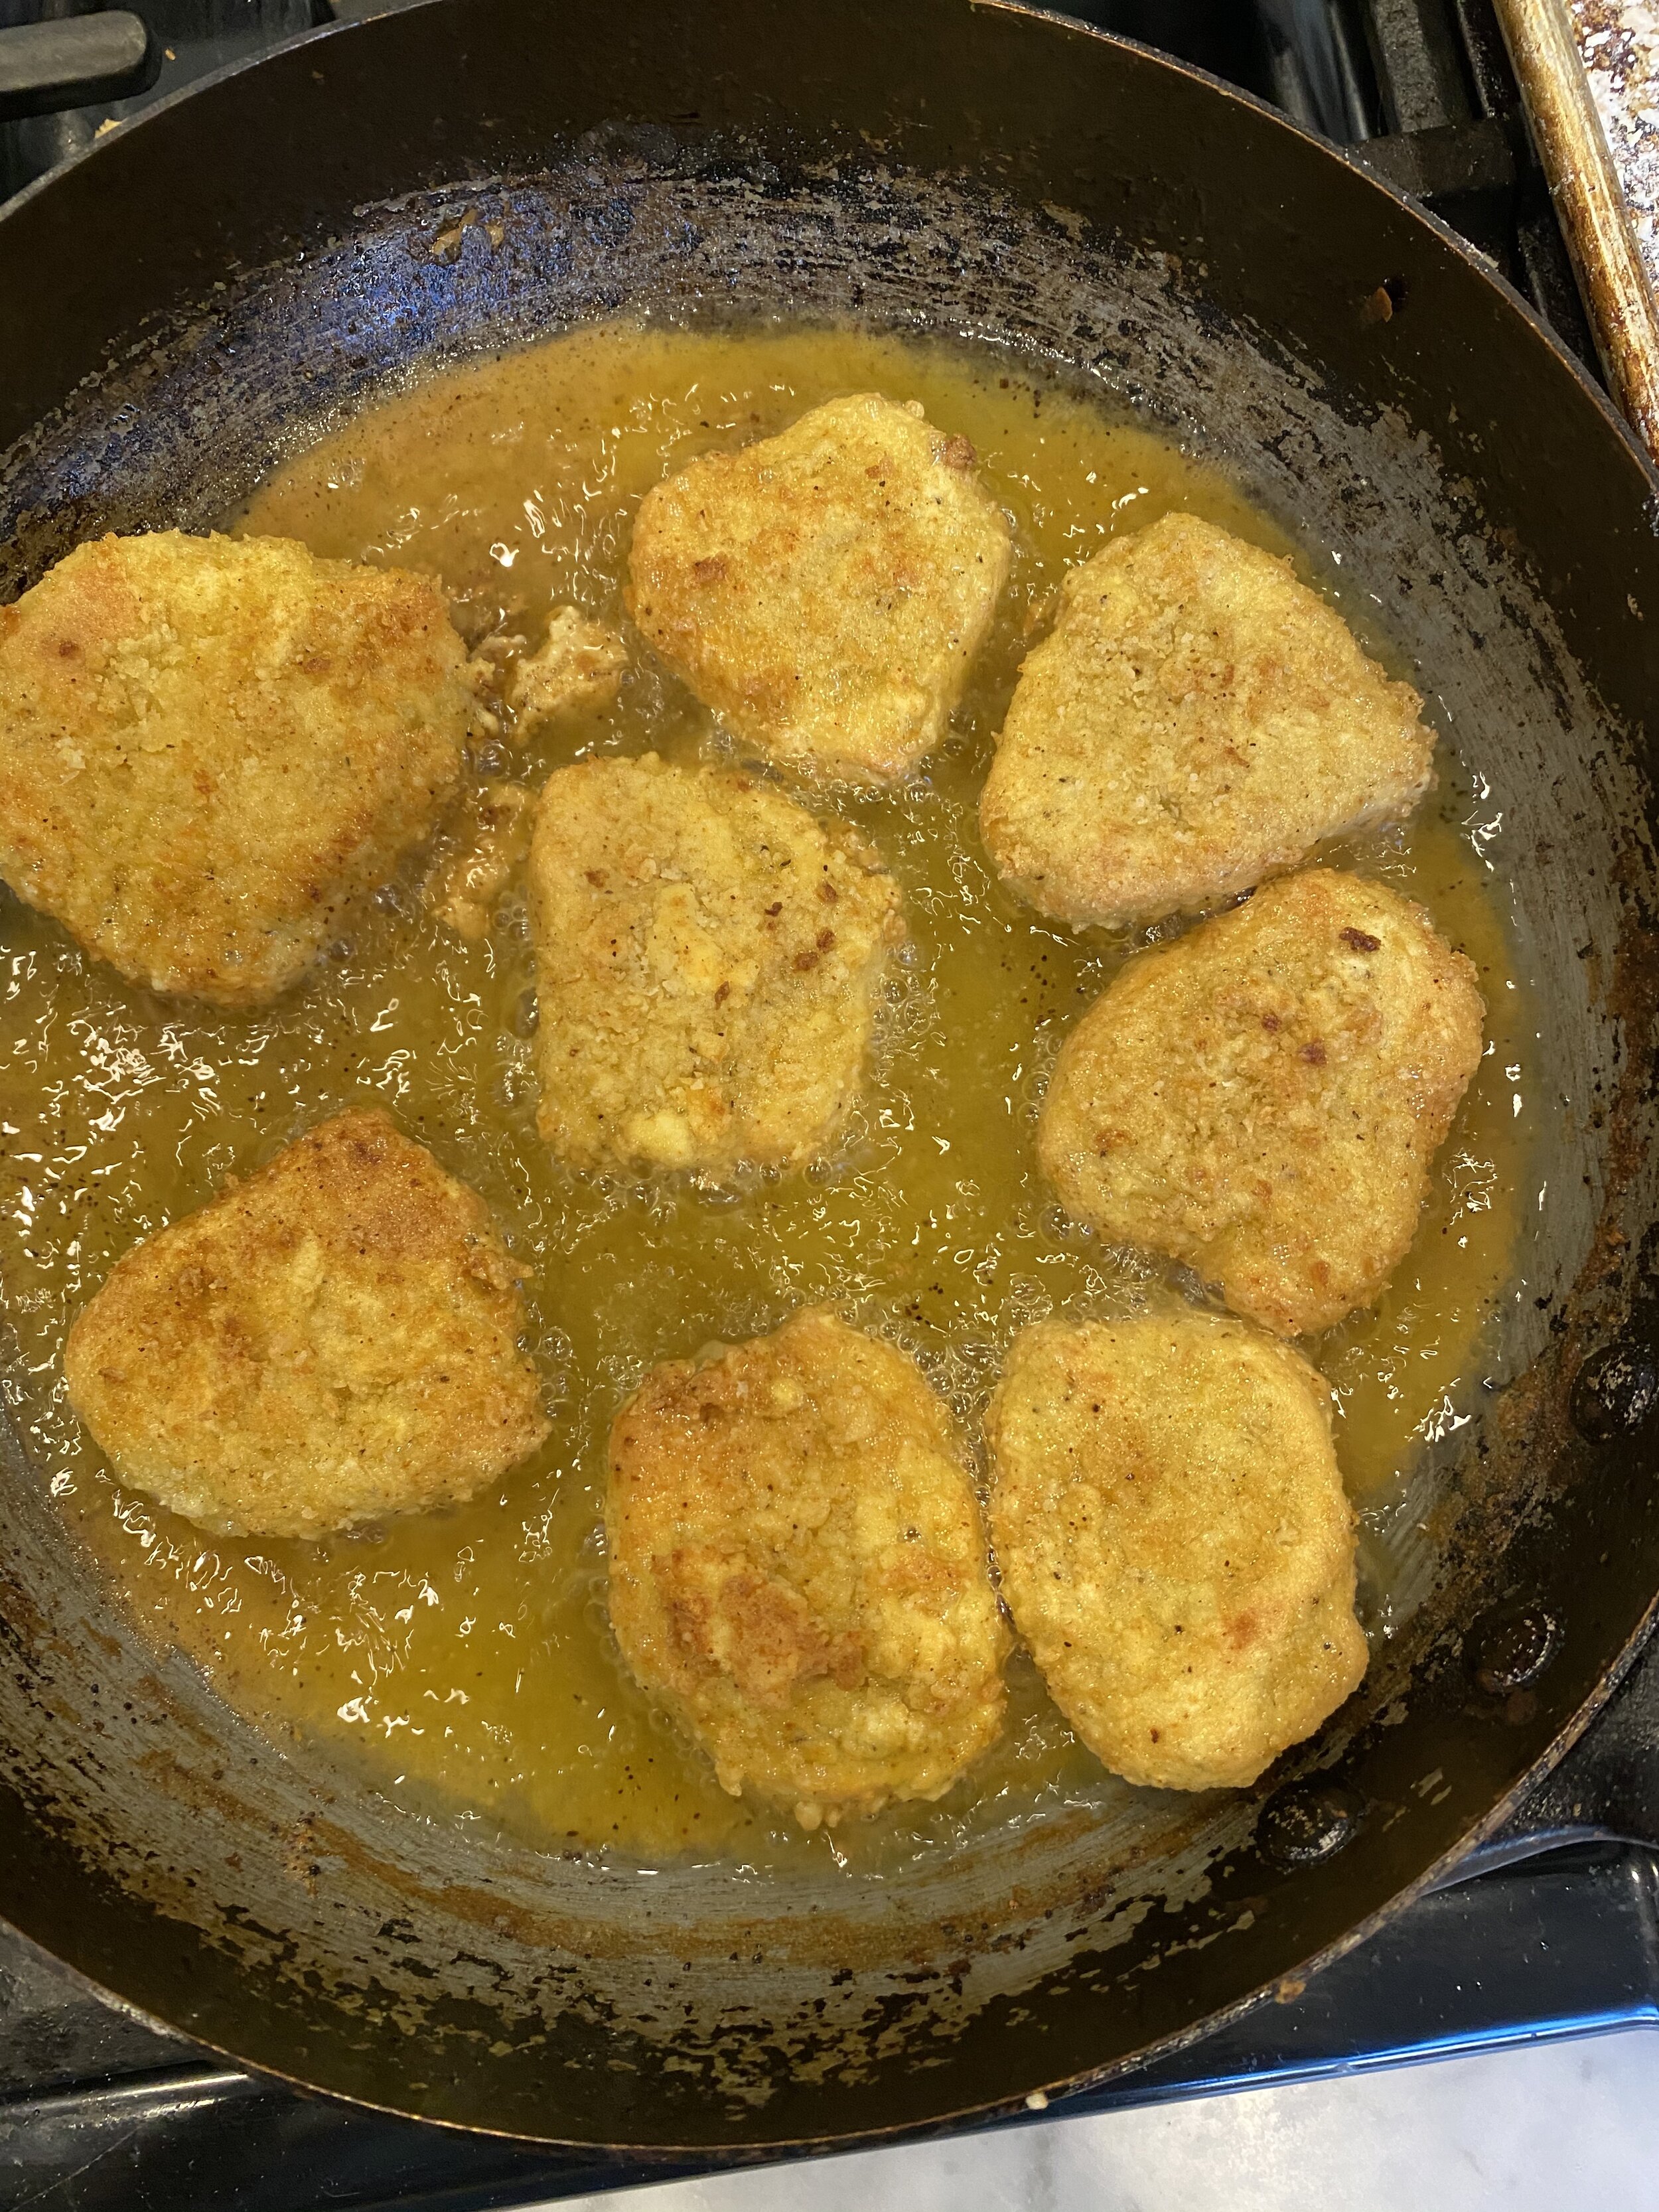
Mix all of the sauce ingredients right in your crockpot or slow cooker and add the rested vegan Lil Smokies. I tuRned mine on high for 4 hours and switched it to warm. It will depend on your crockpot, but all you are really doing is heating the sauce for the sugar to melt and onions to soften, and heating the lit smokies through. After that has happened, just keep your crockpot/ slow cooker on warm. Alternatively, you can heat the sauce on the stove top in a pot. Add the smokies and let them heat through and transfer to a bowl to serve.
If you like this recipe, then try these: